
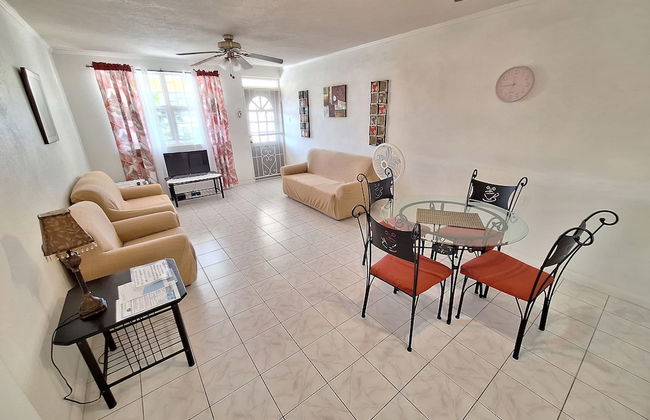
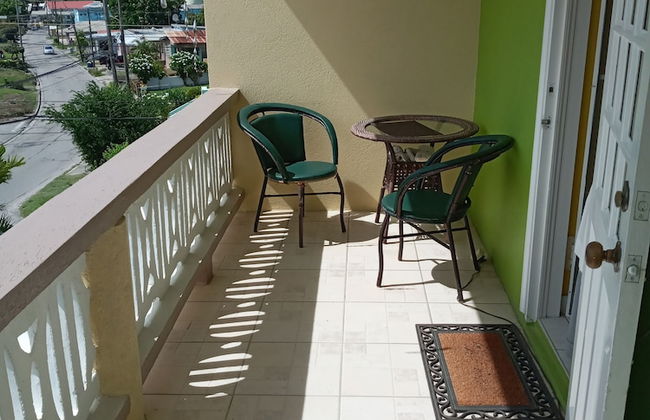
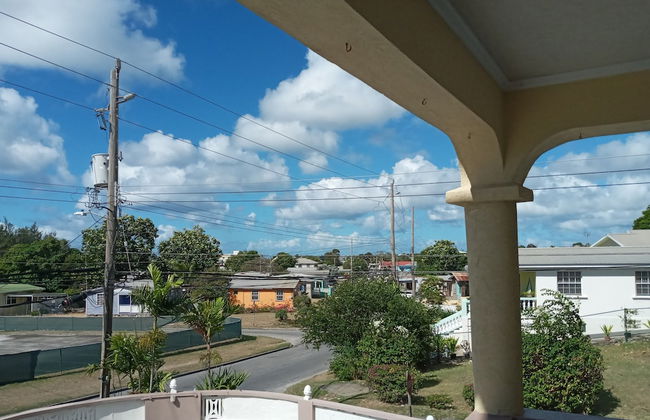
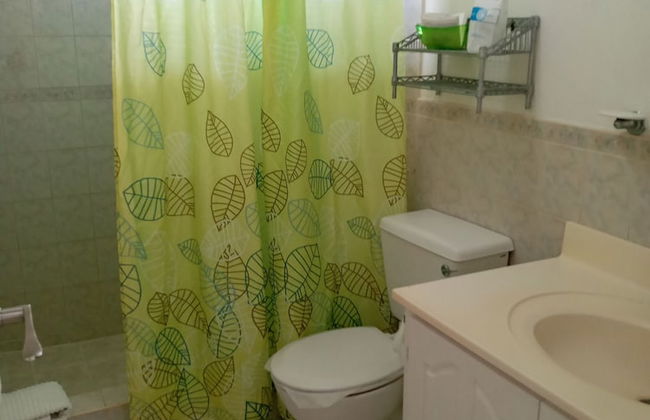
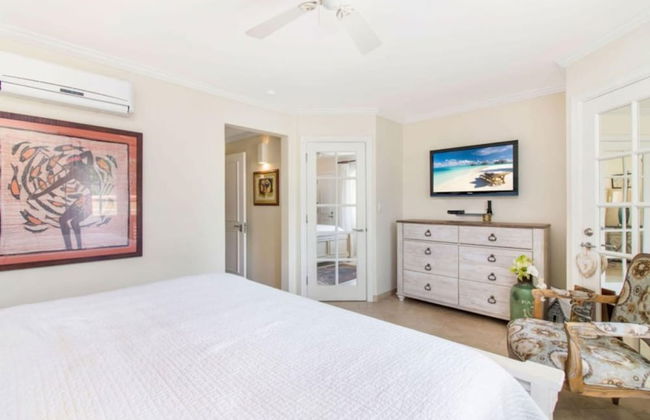
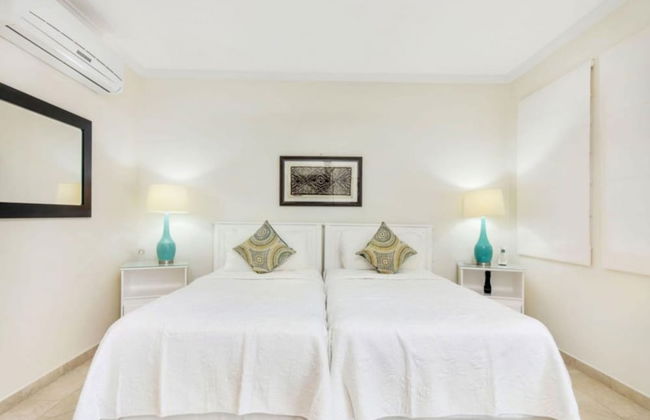
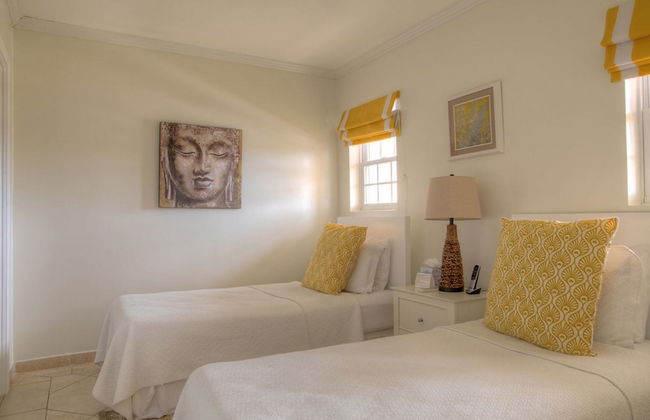
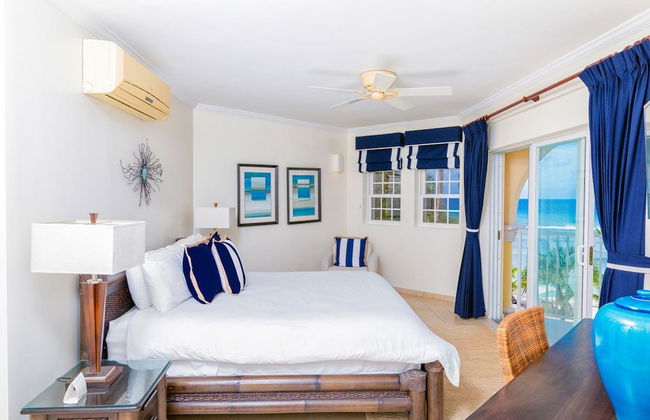
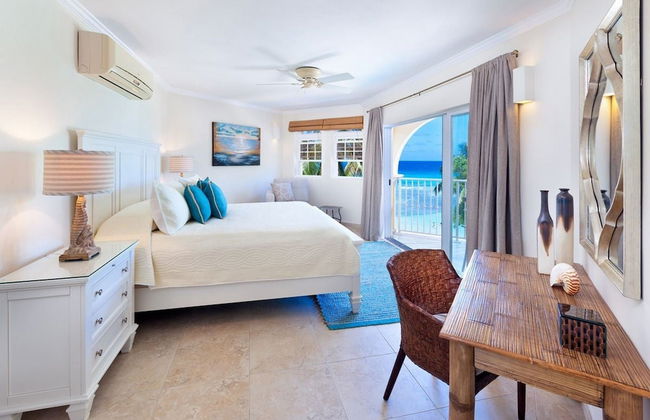
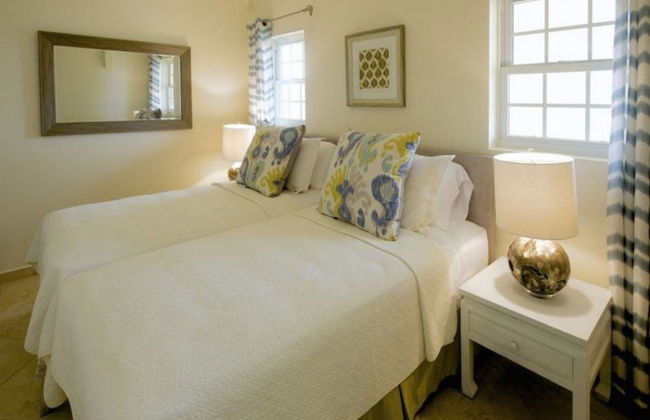
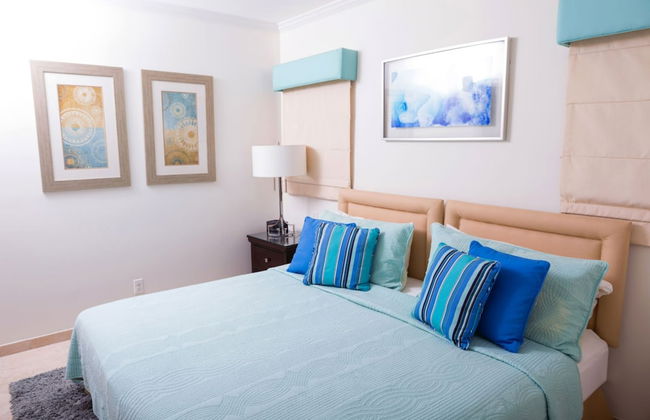
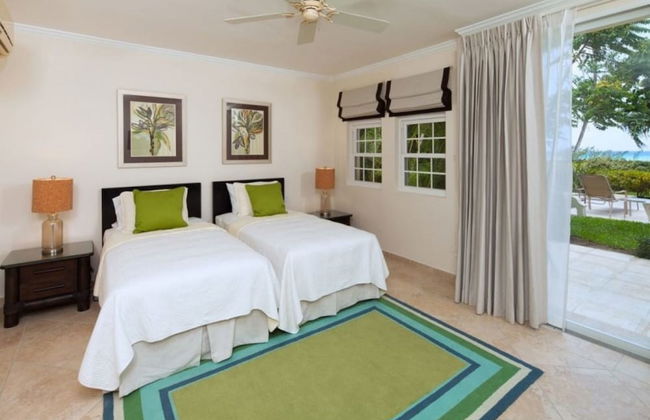
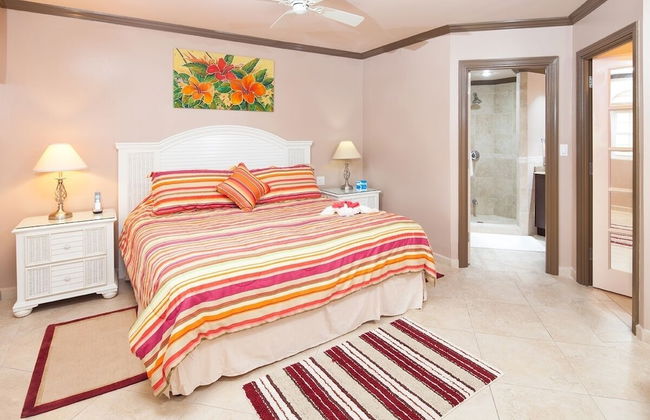
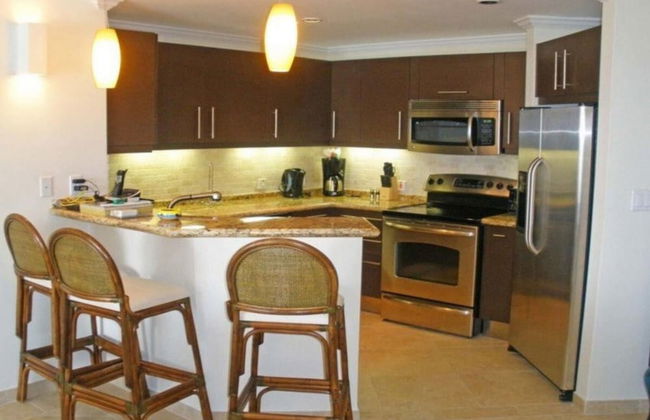
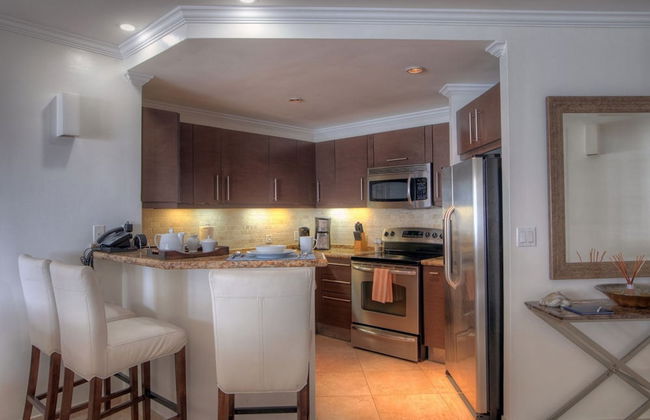
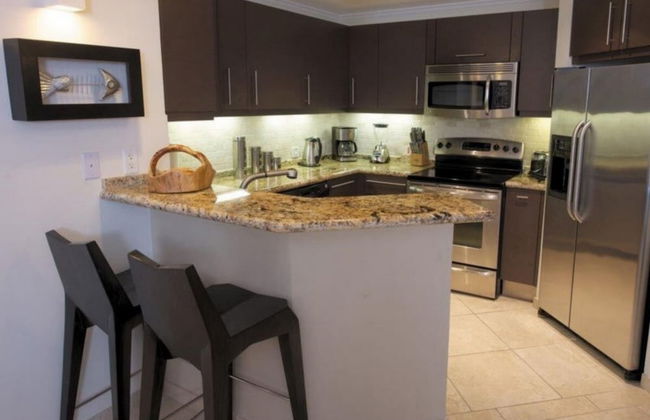
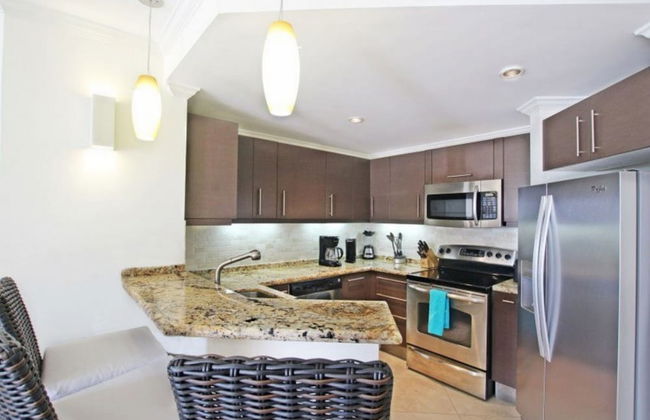
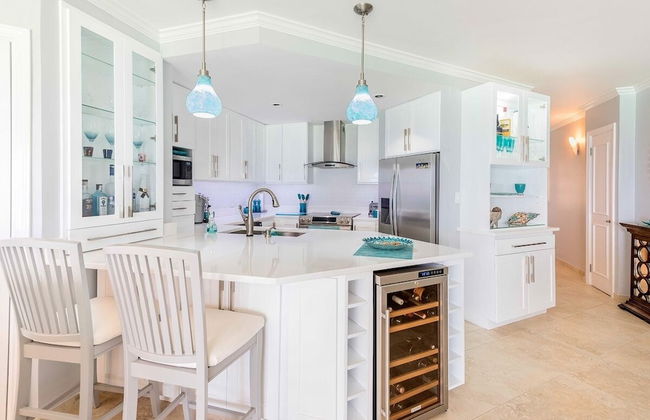
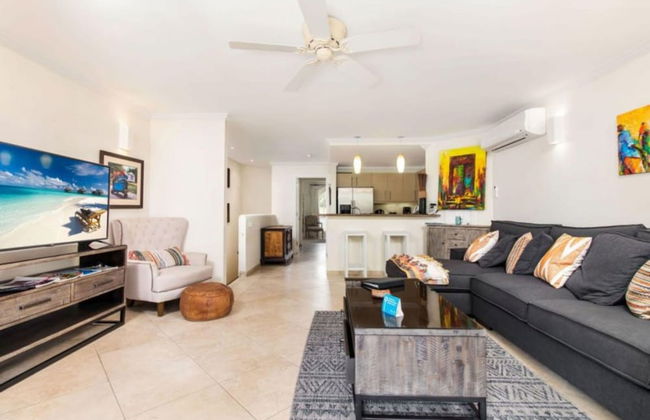
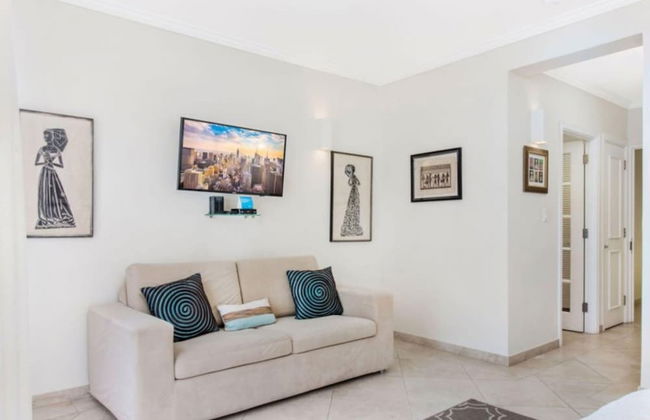
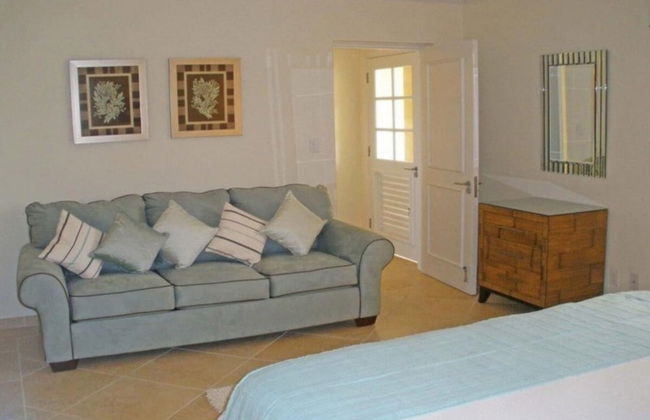
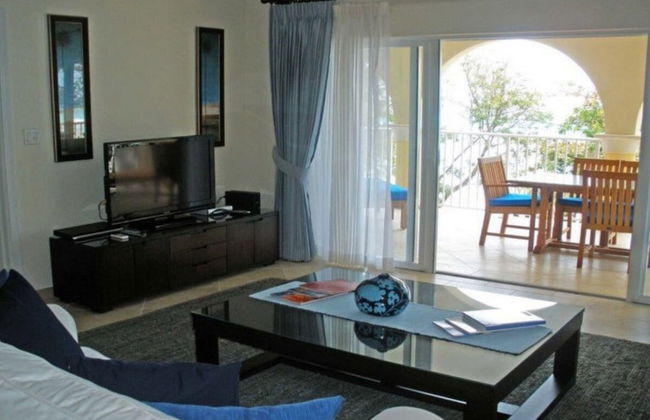
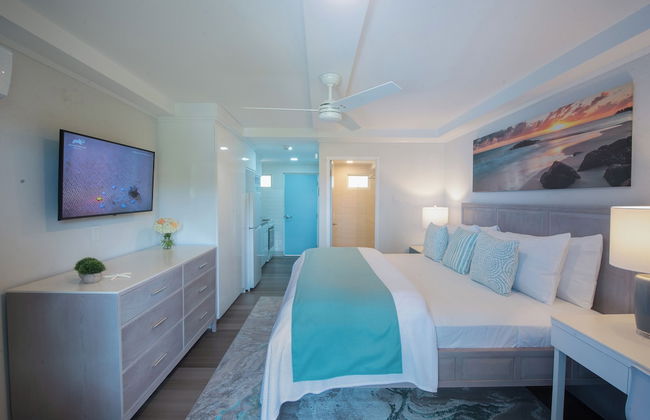
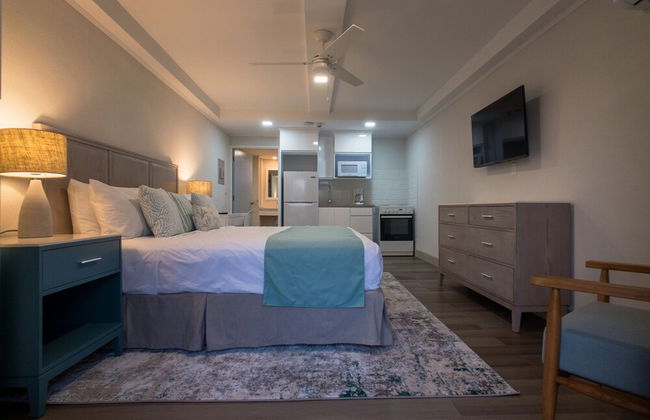
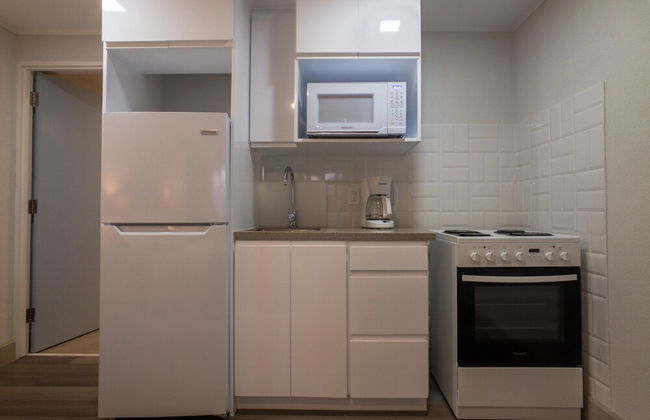
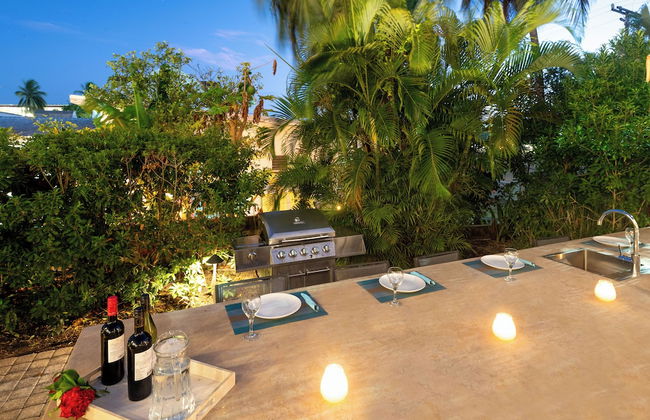
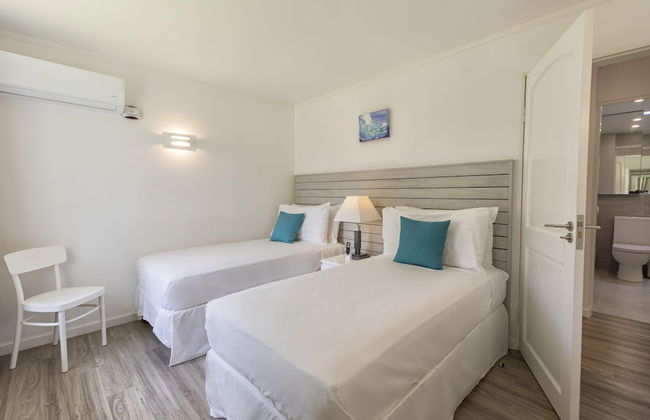
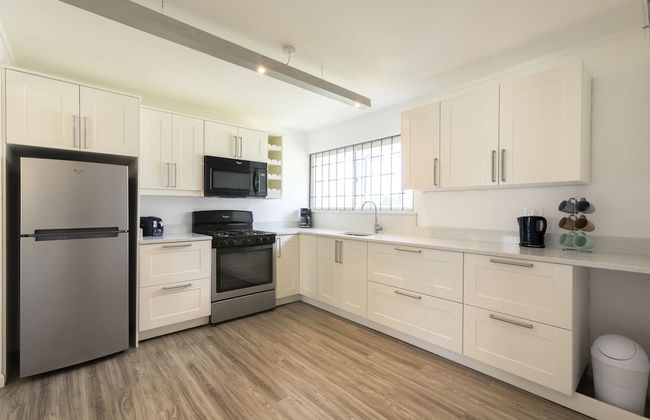
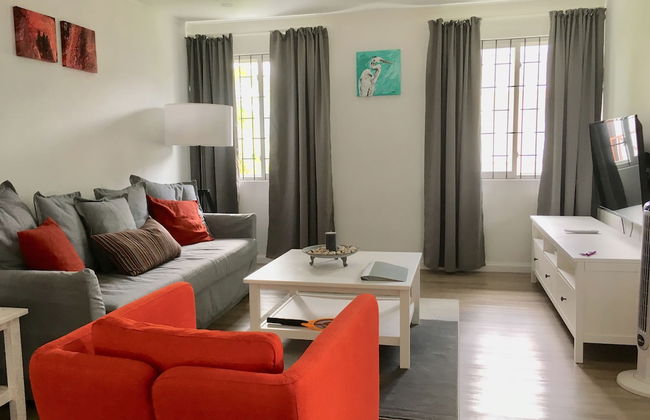
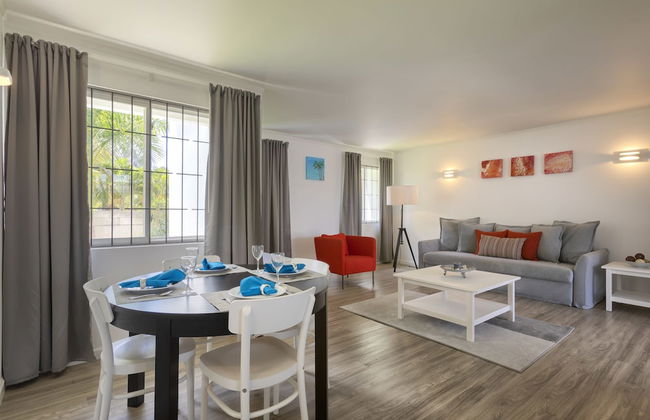
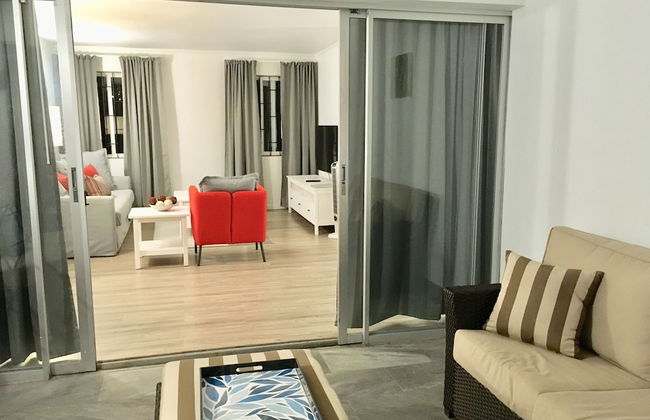
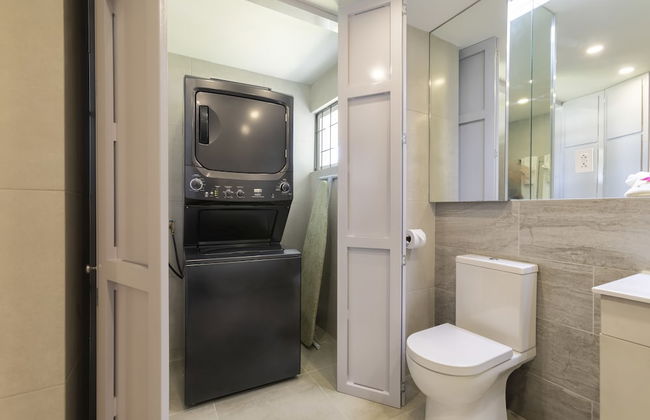
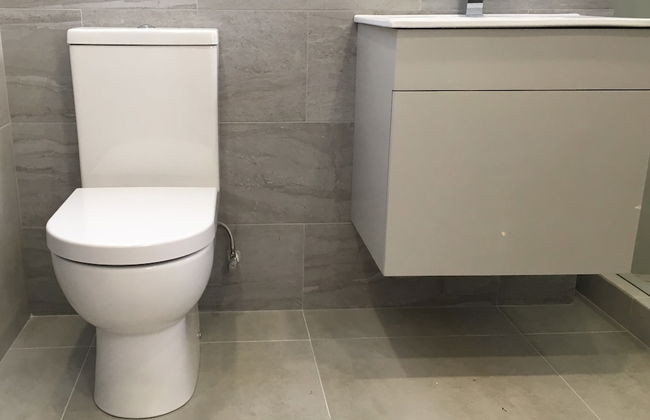
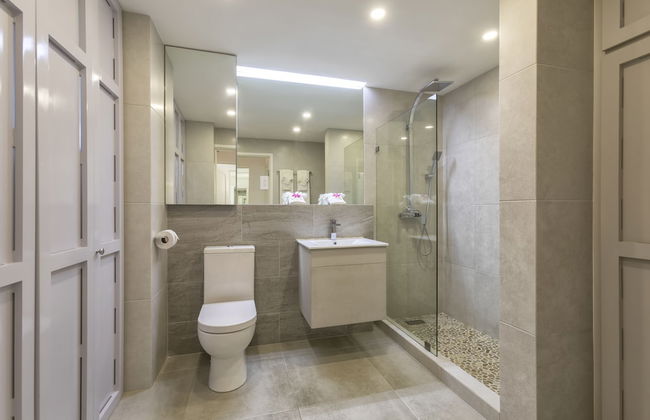
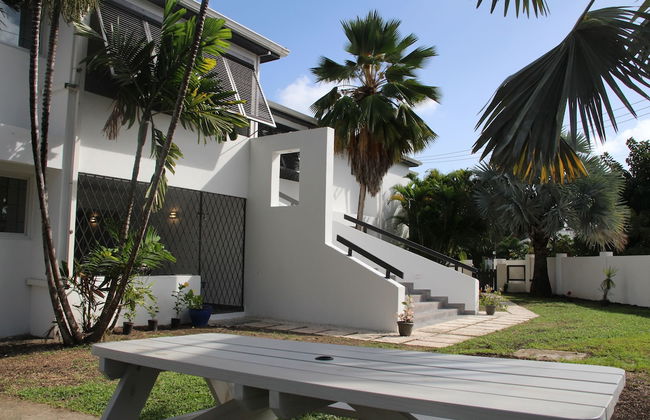
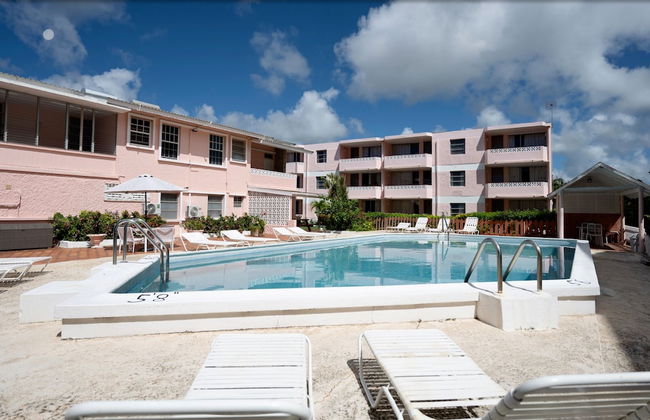
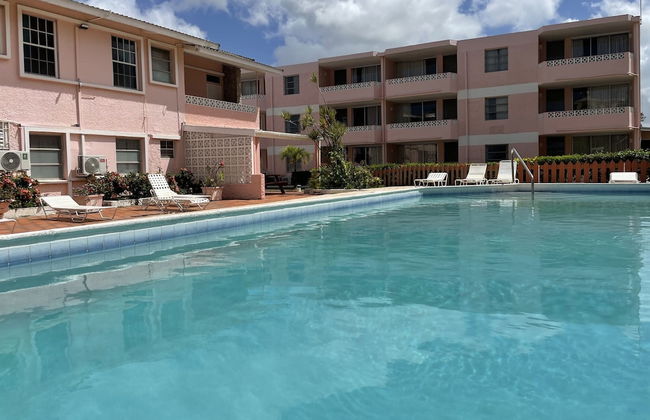
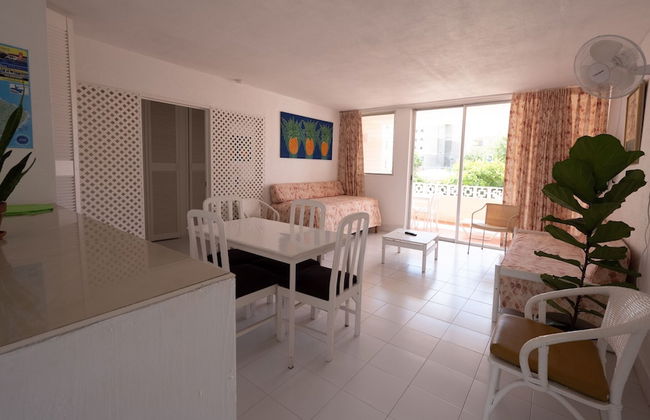
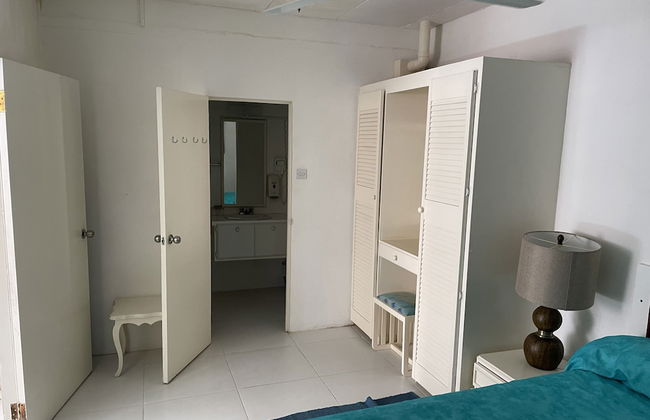
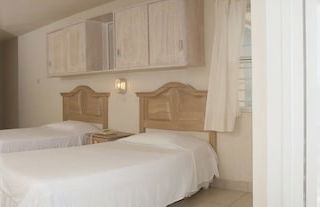
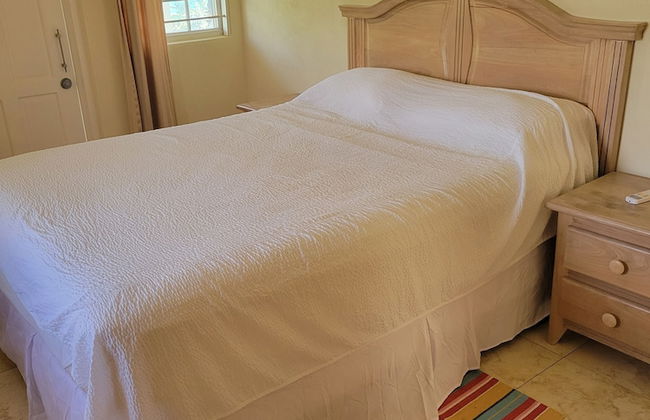
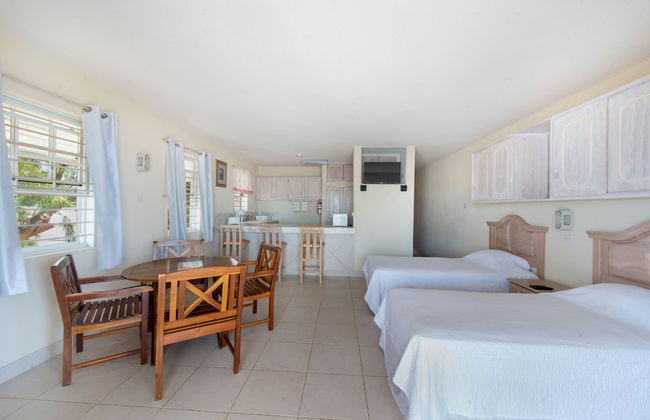
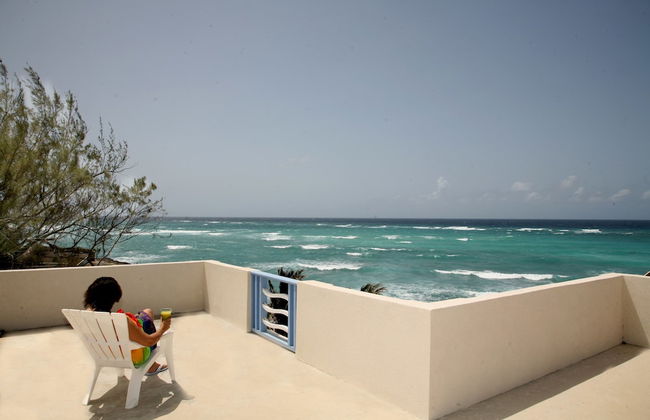
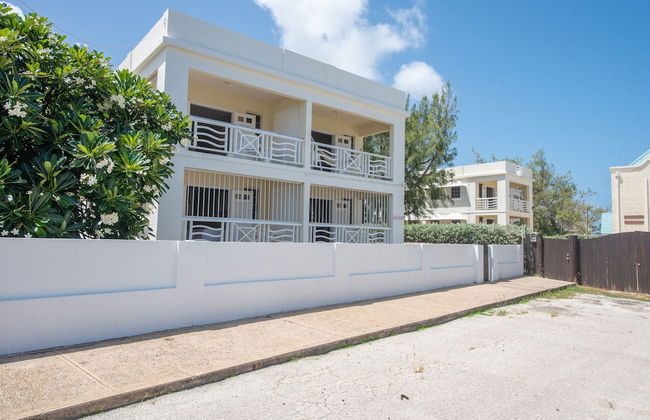
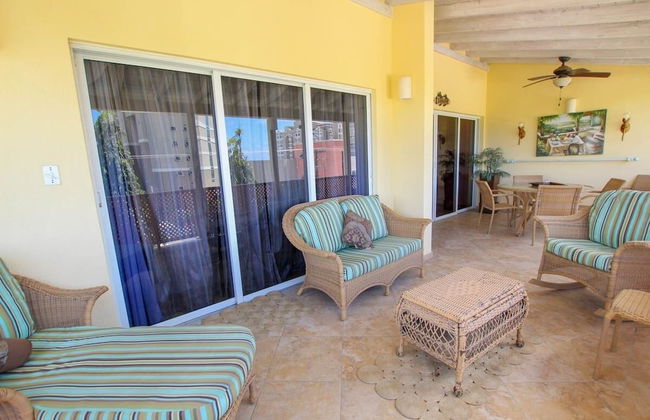
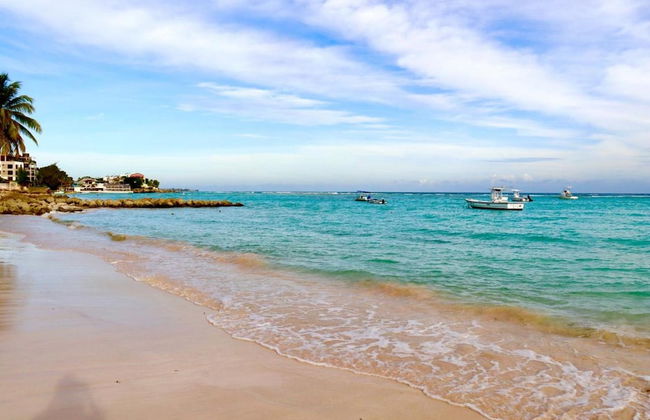
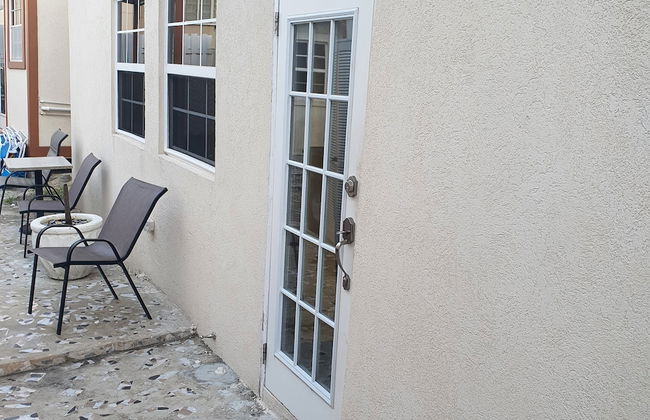
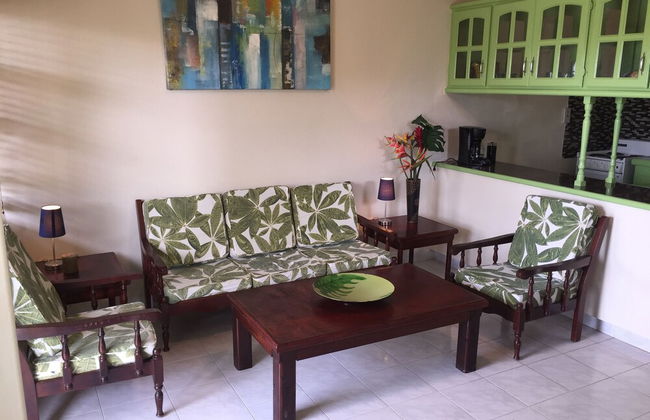
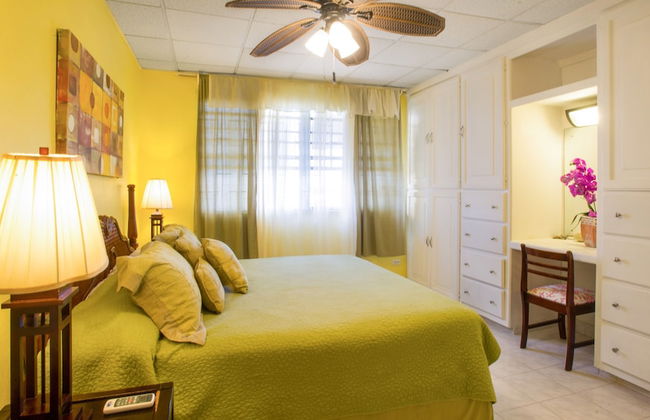
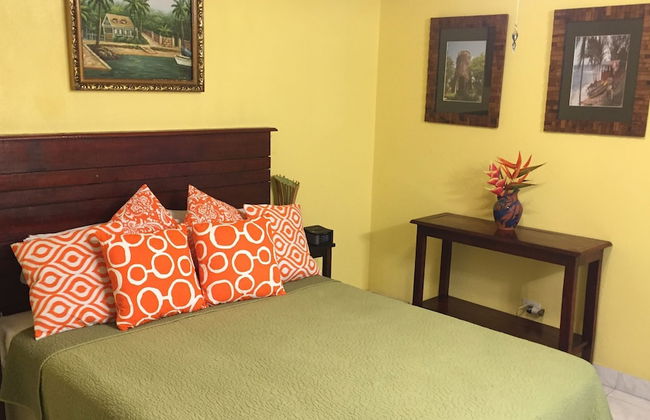
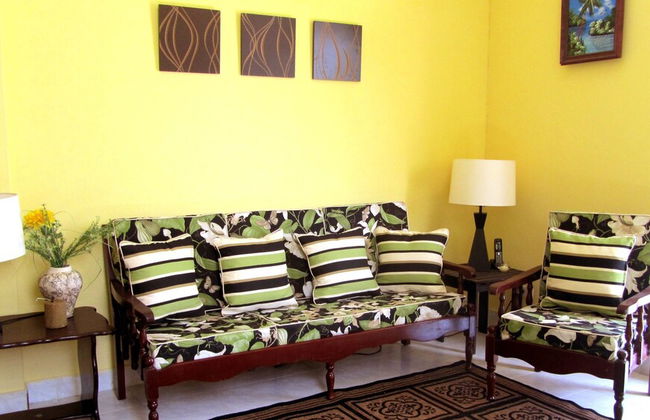
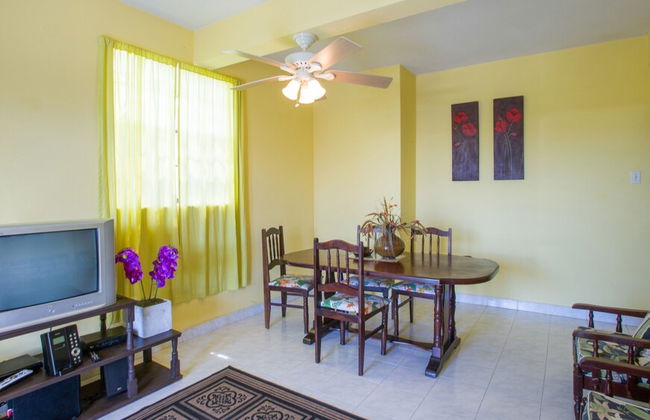
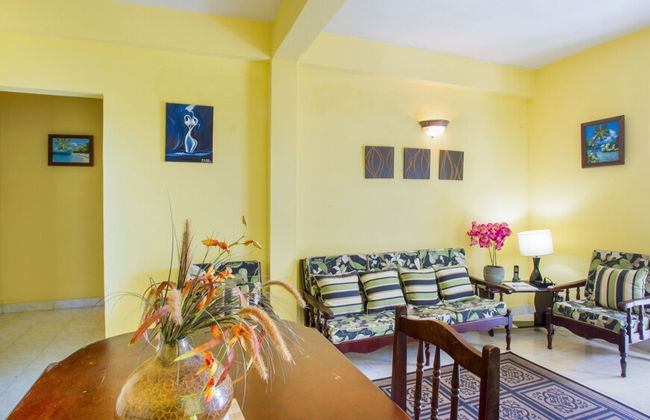
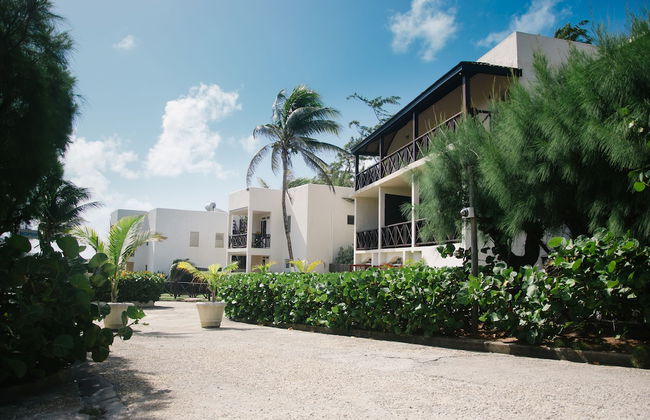
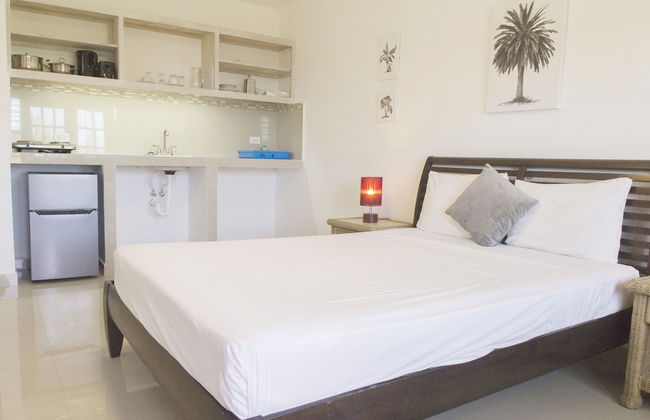
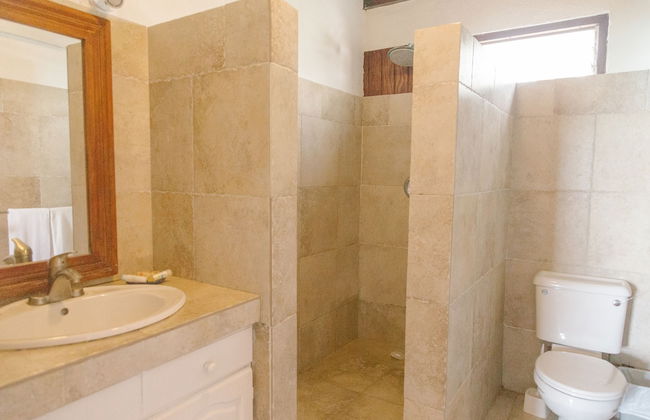
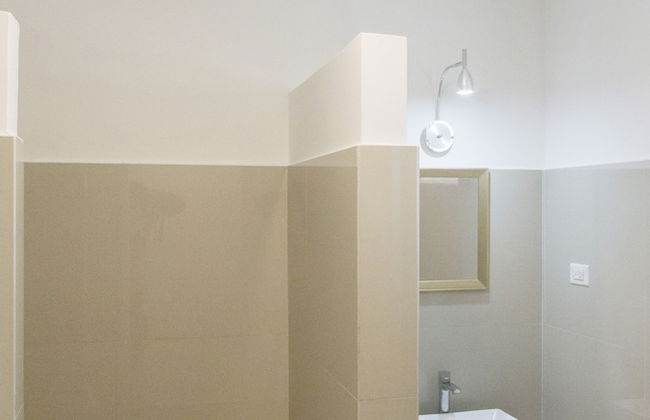
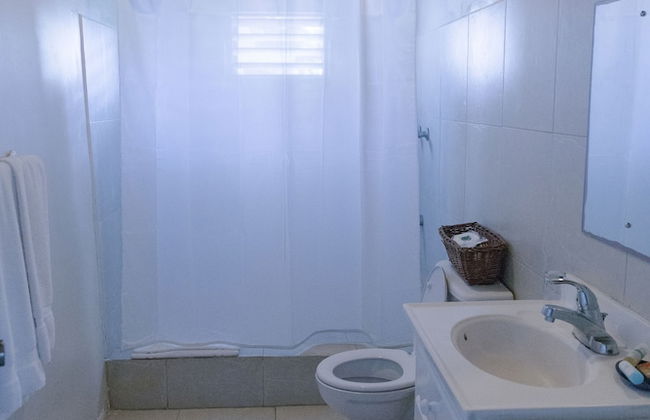
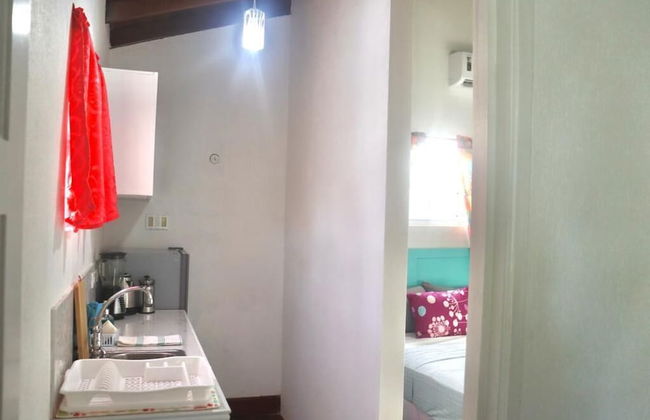
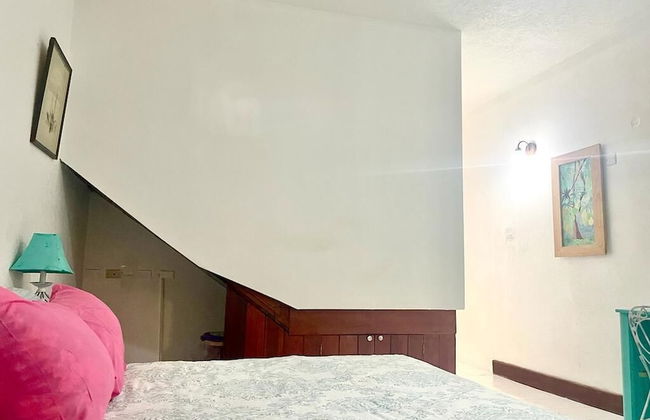
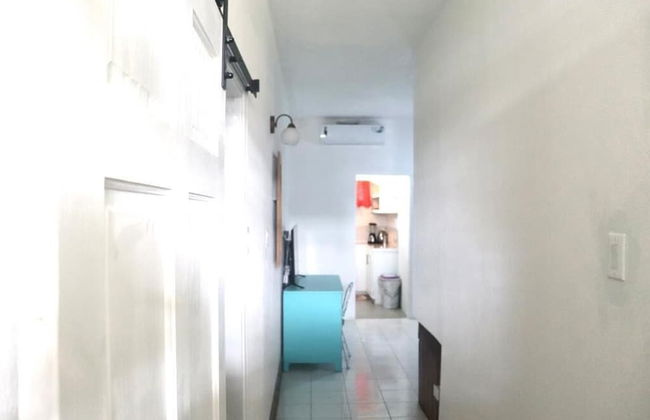
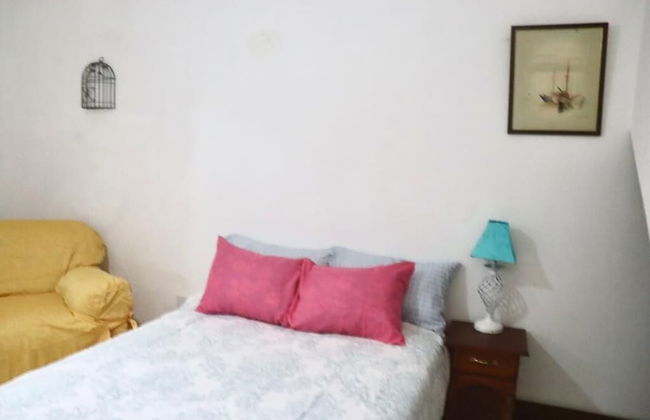
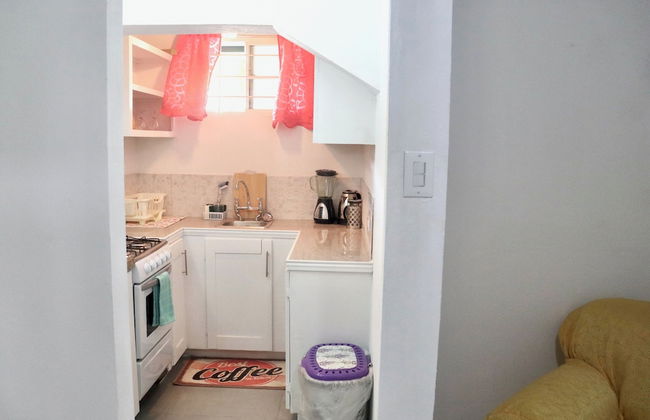
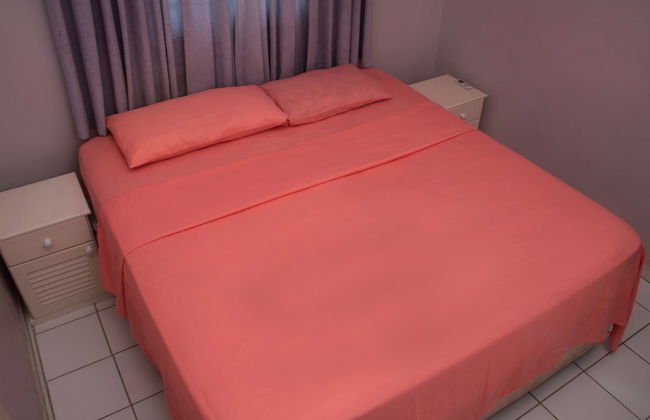
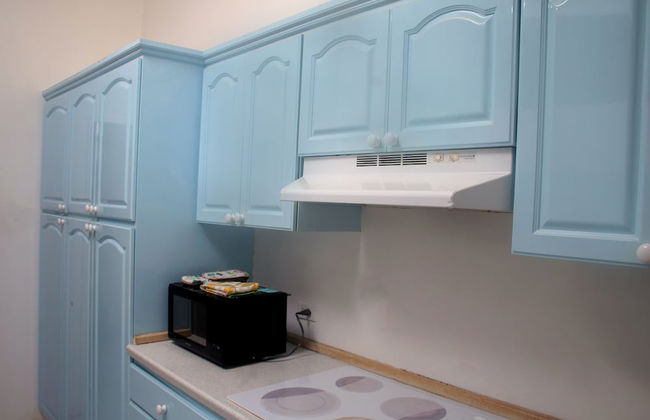
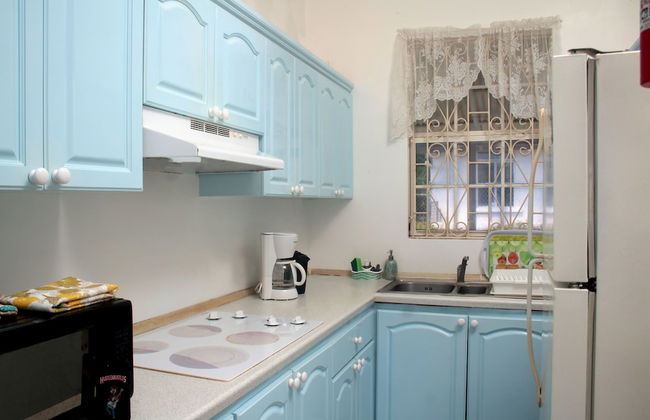
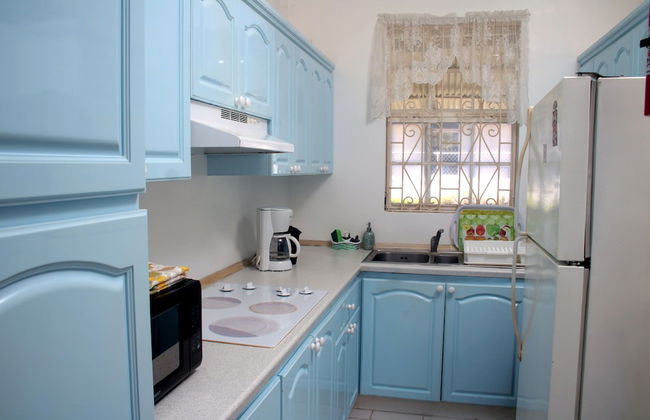
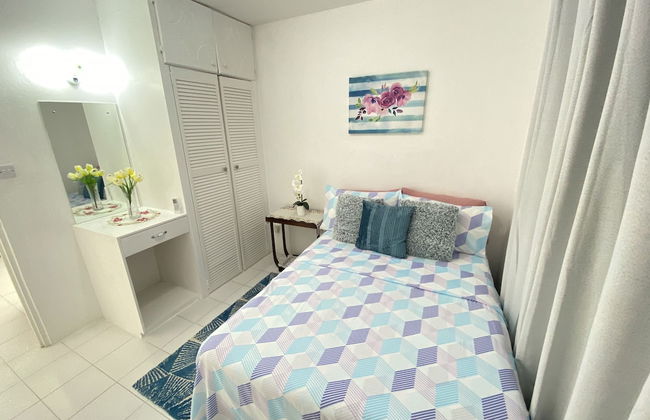
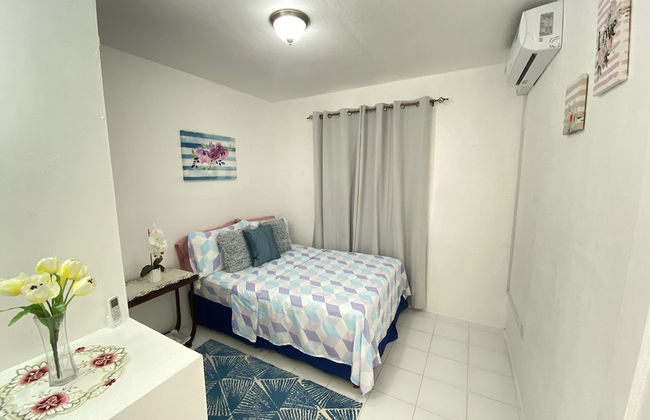
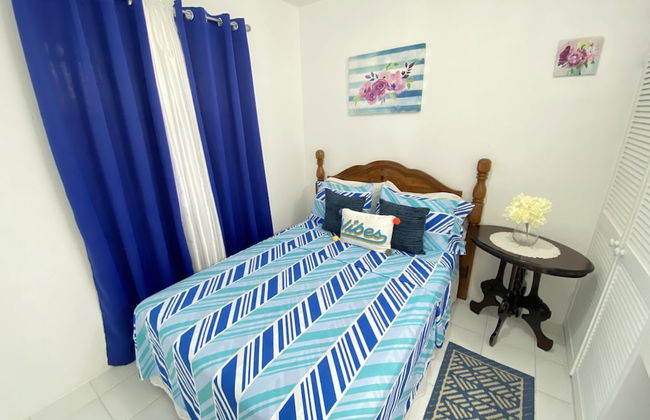
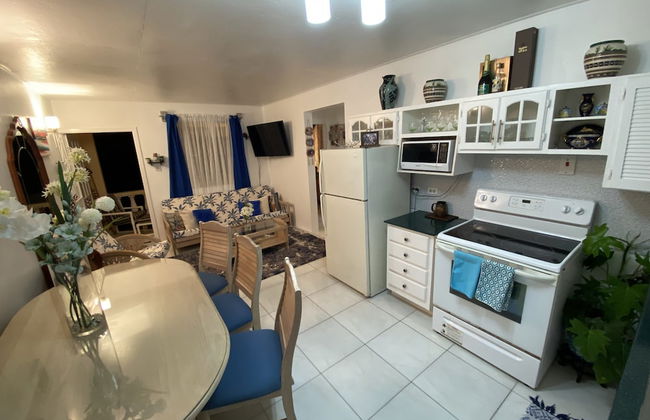
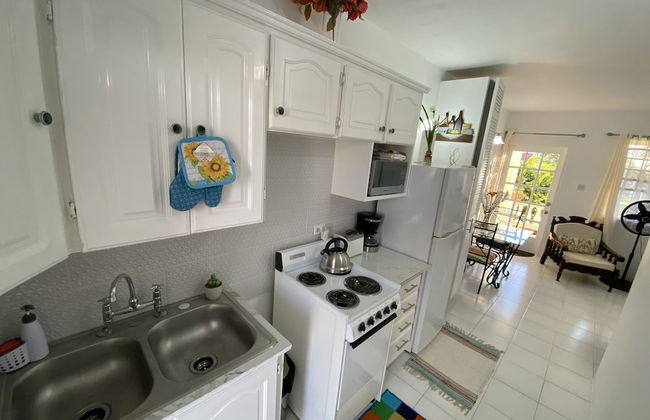
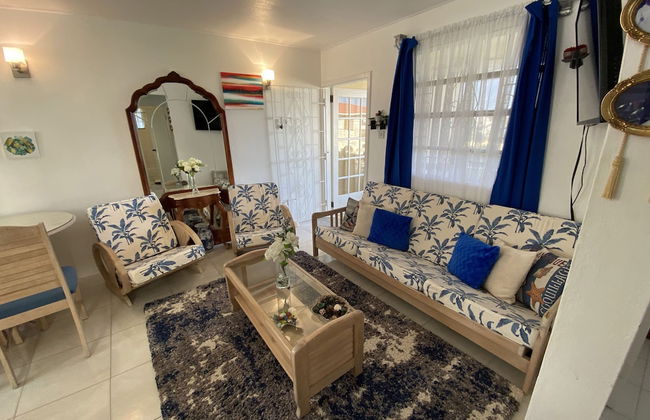
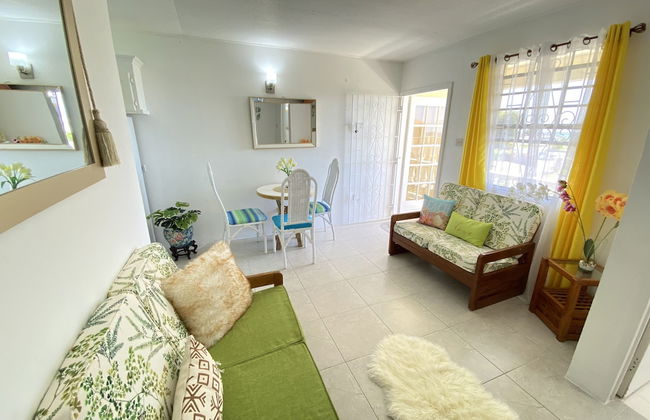
49 Apartamentos em Christ Church
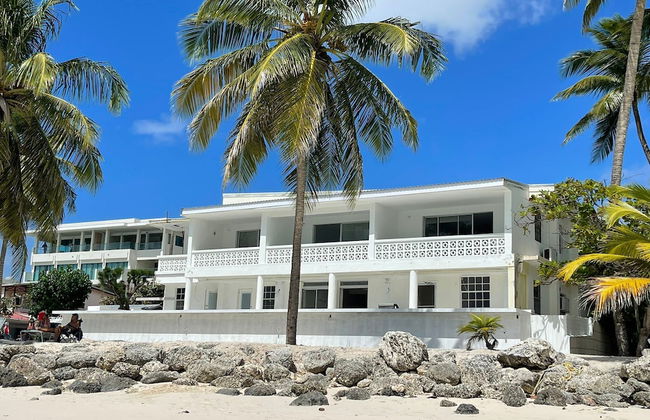


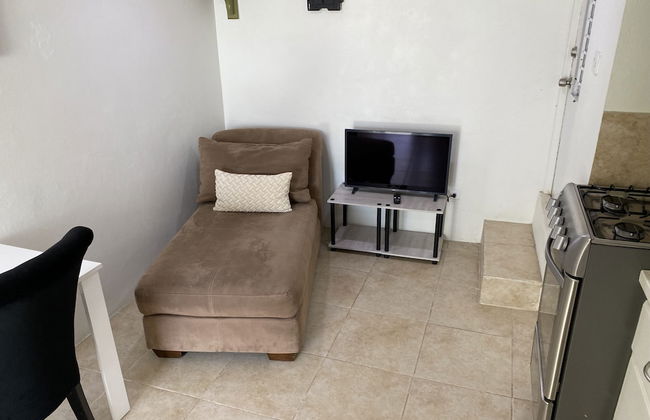
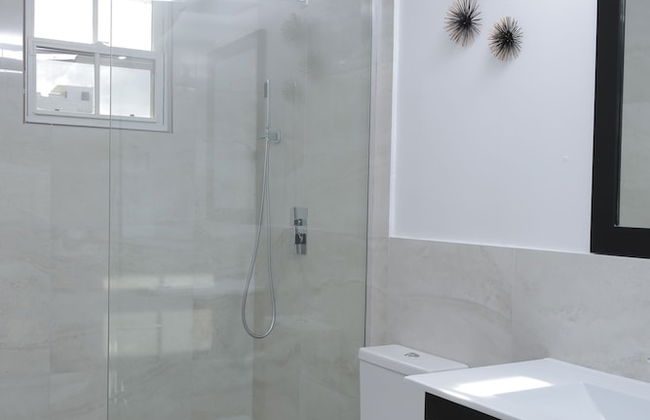
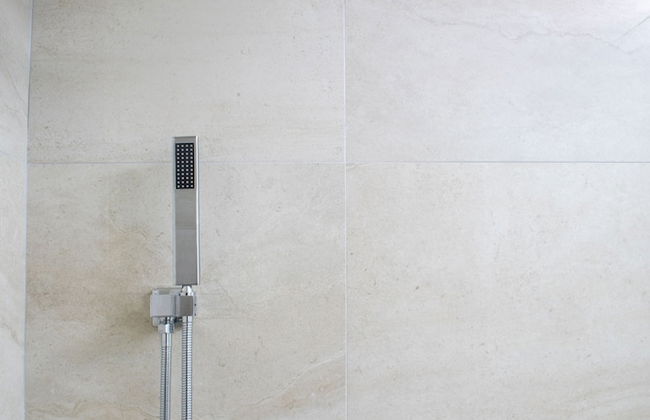


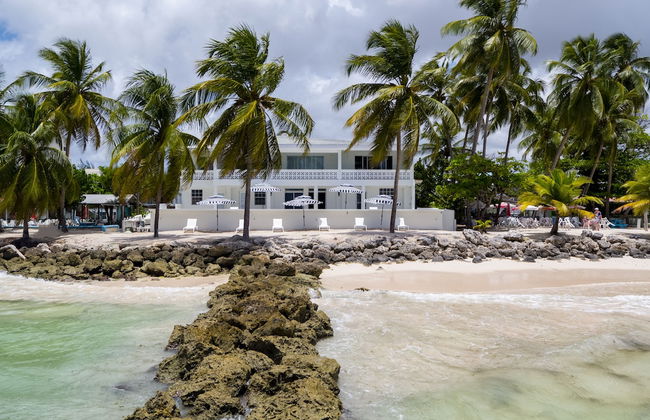

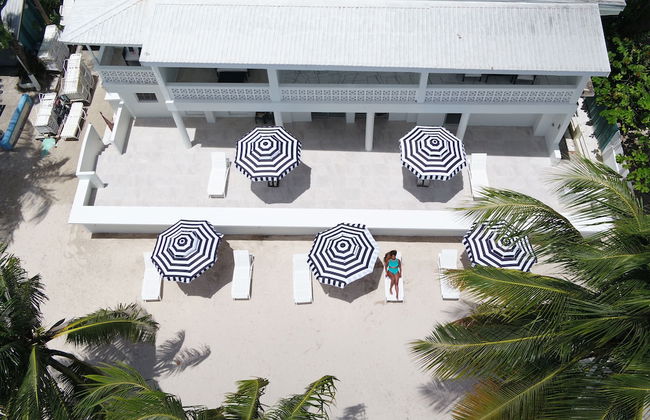


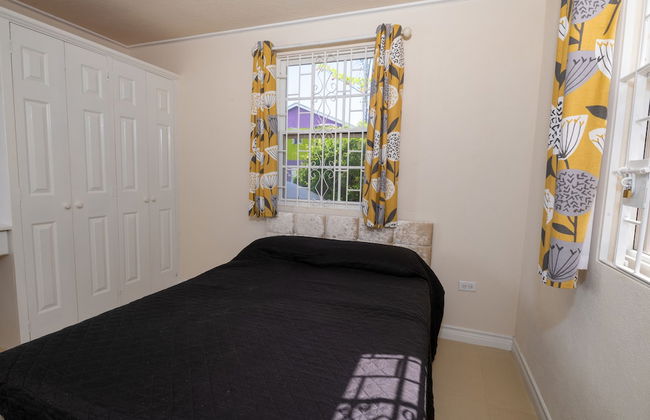
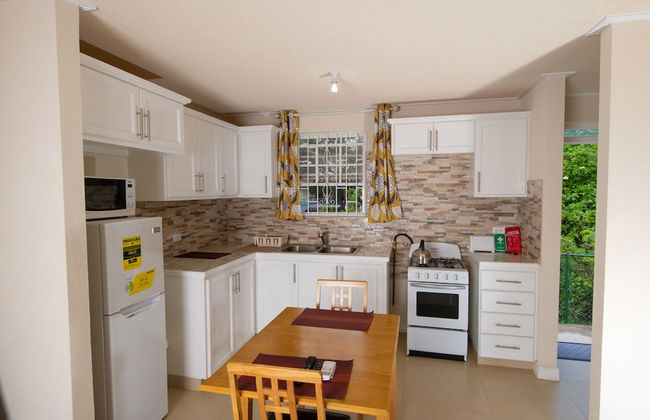
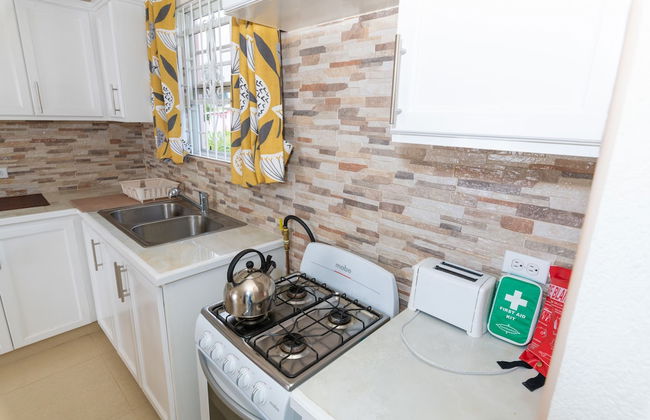
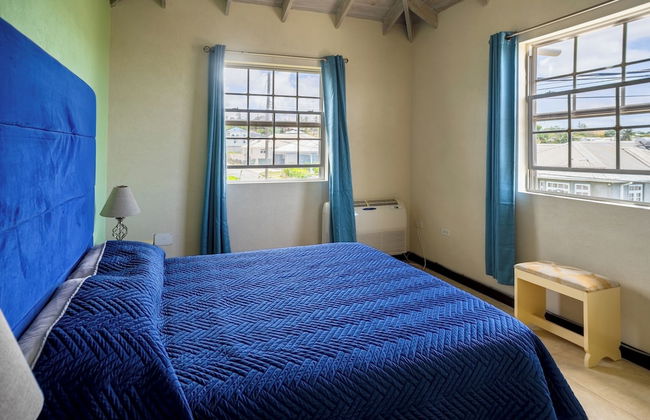
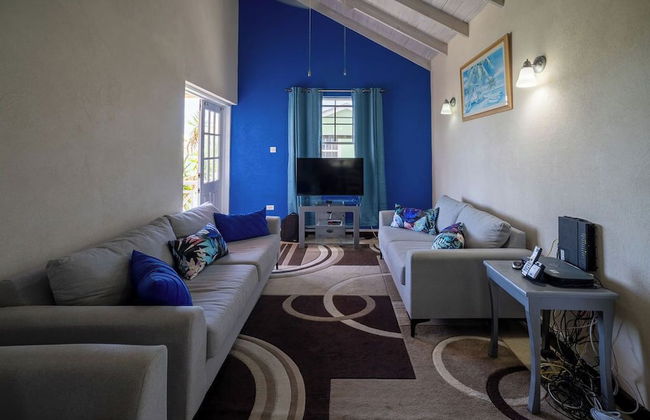
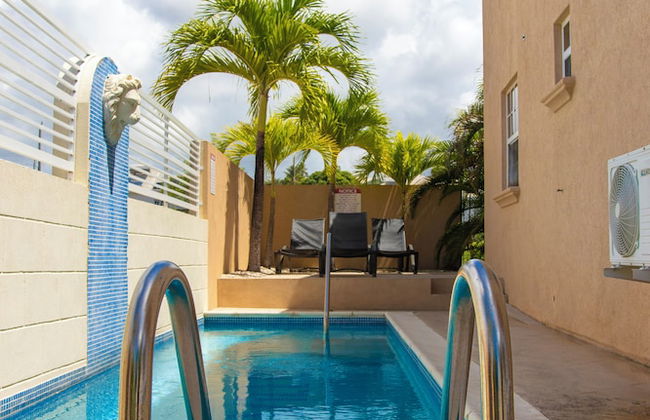
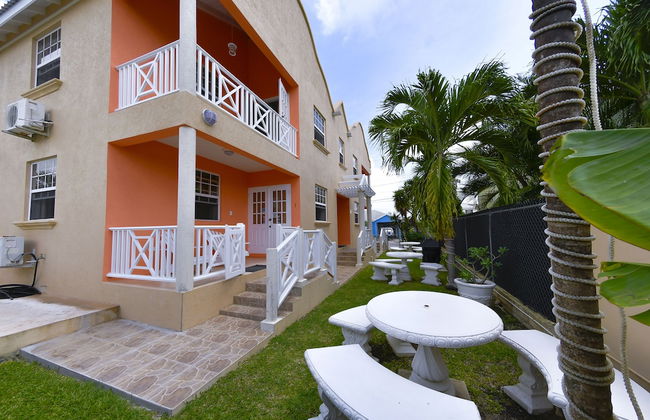
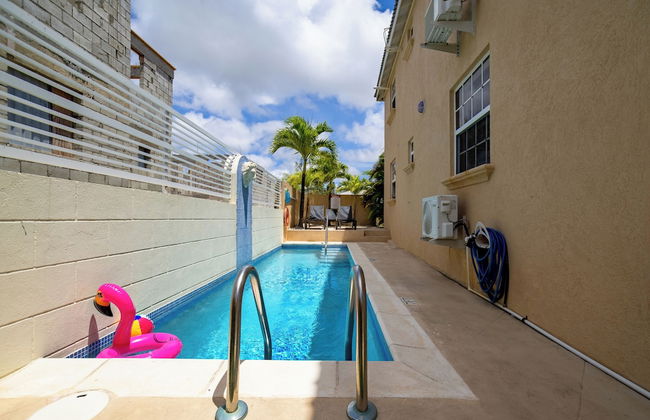
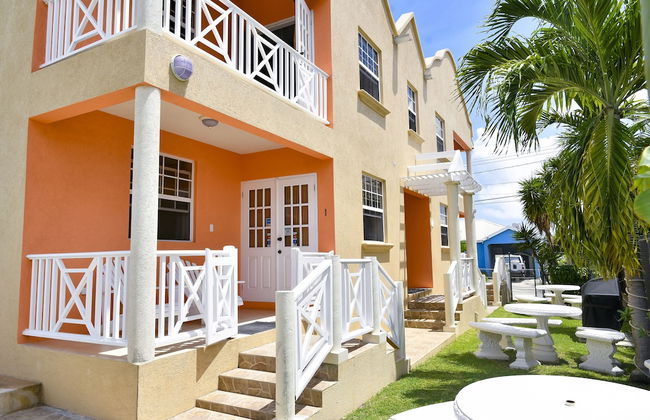
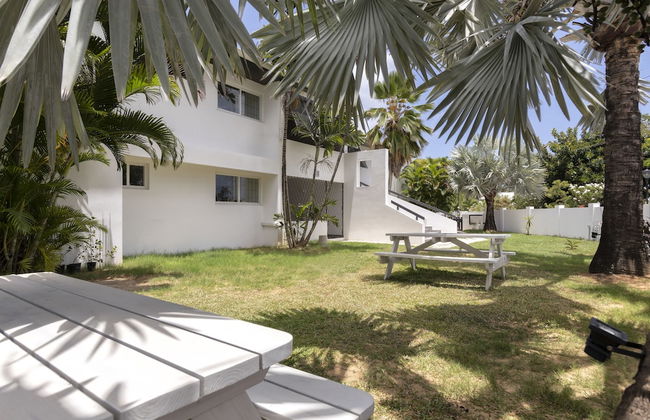
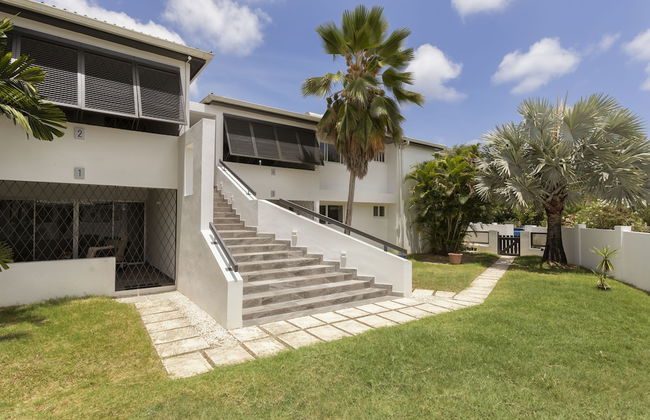
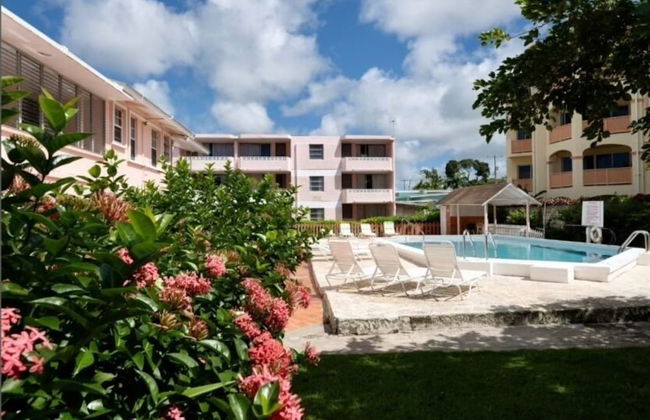
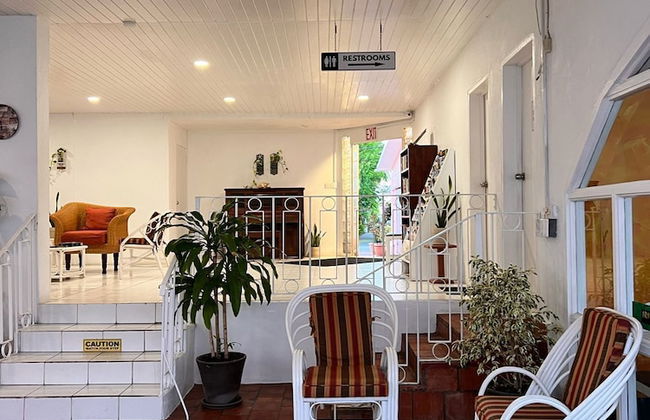
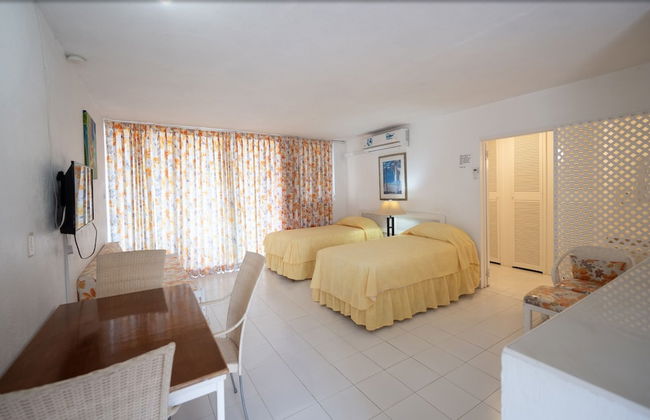
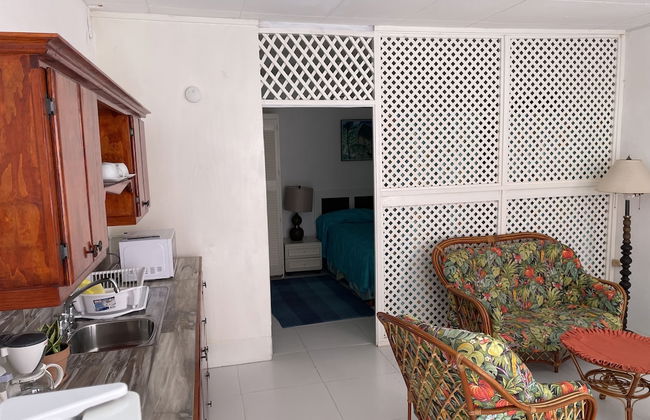
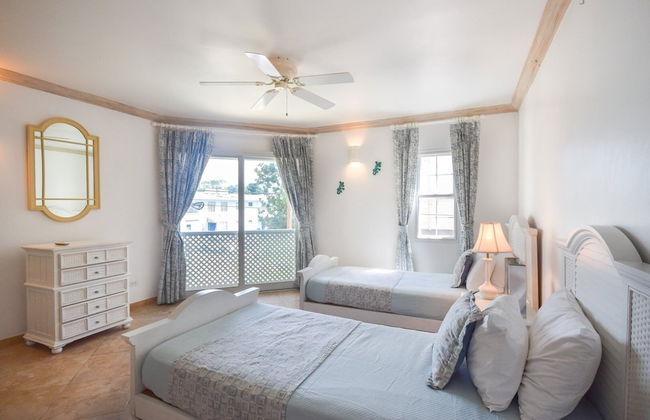
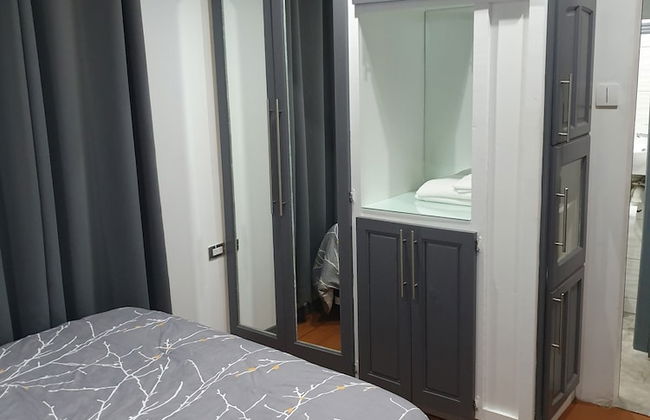
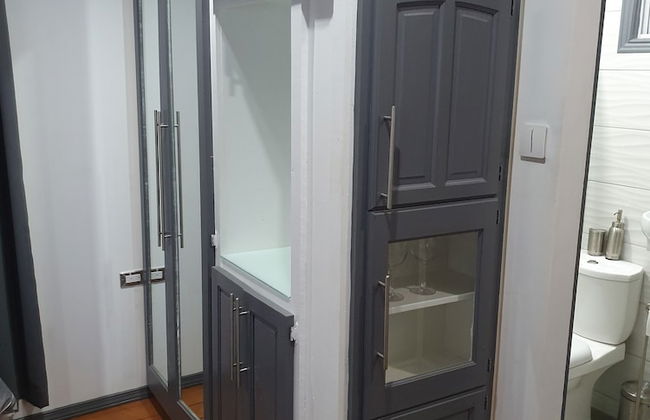
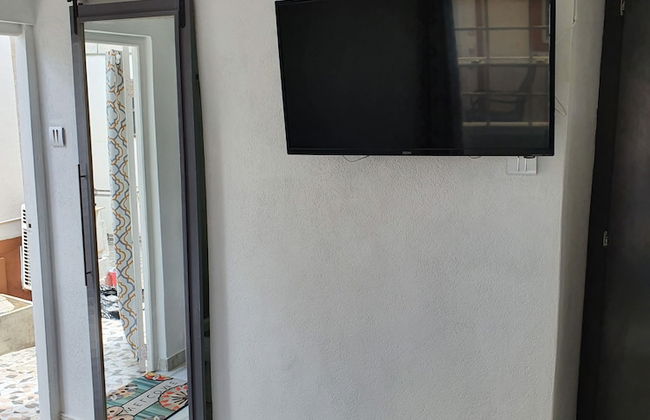
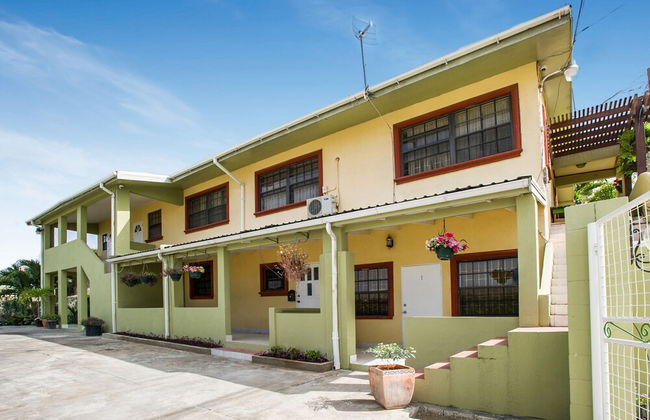
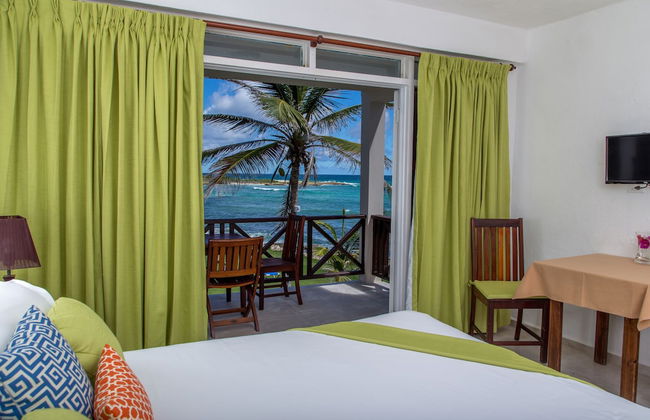
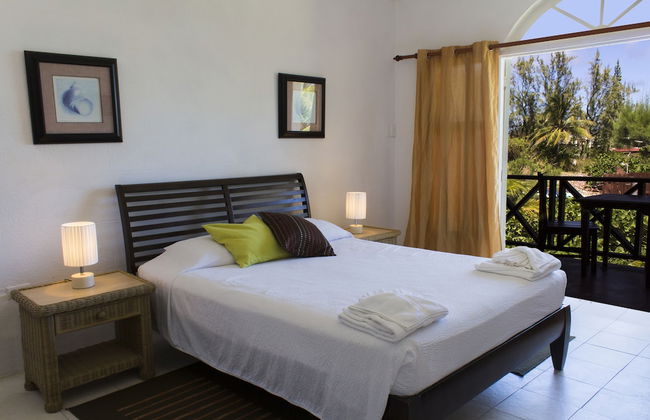
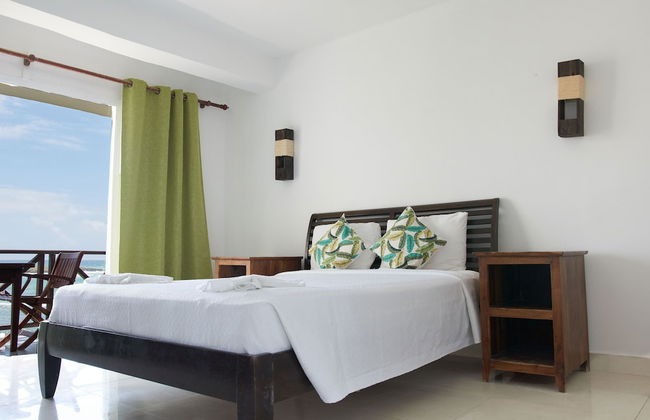
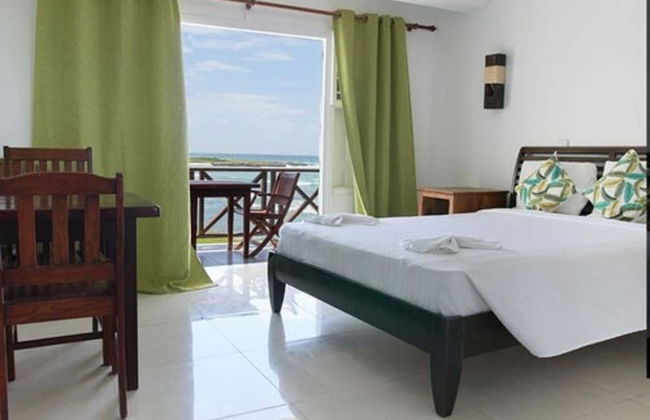
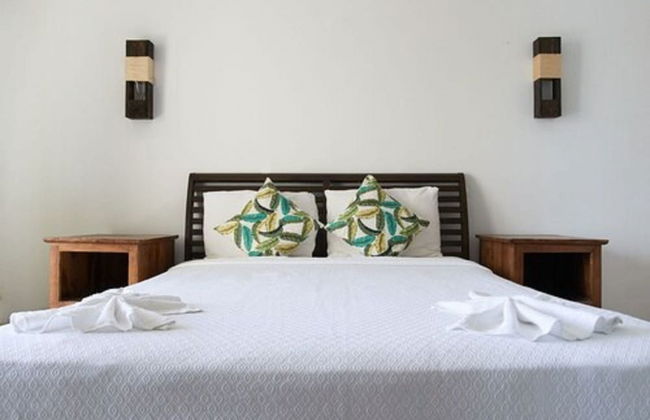
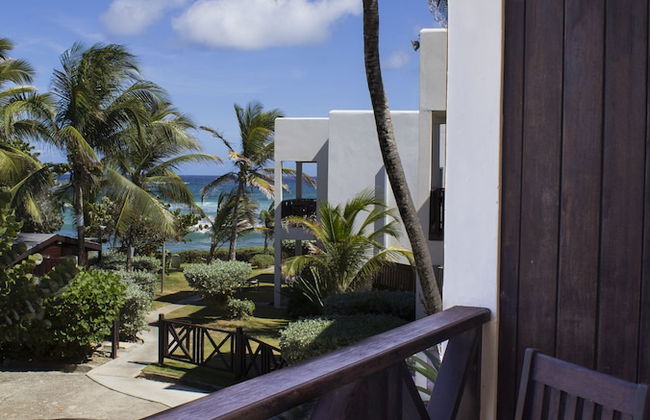
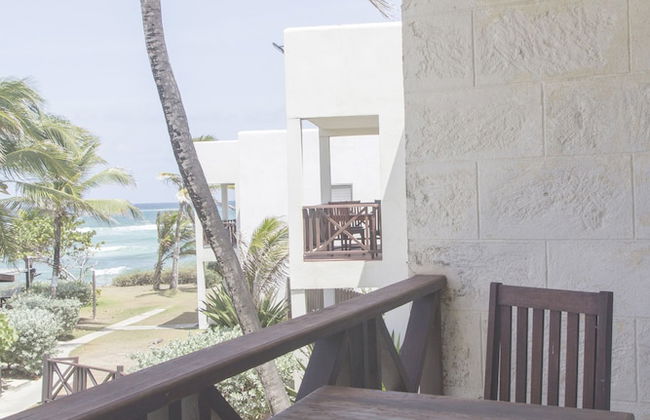
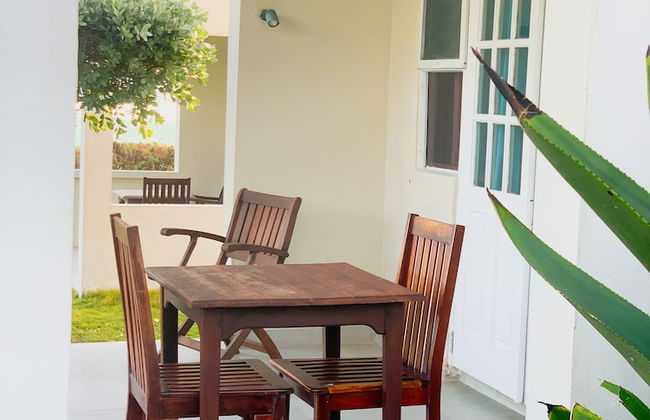
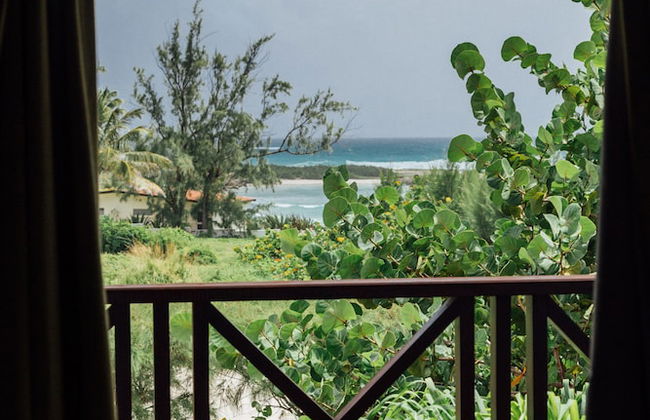
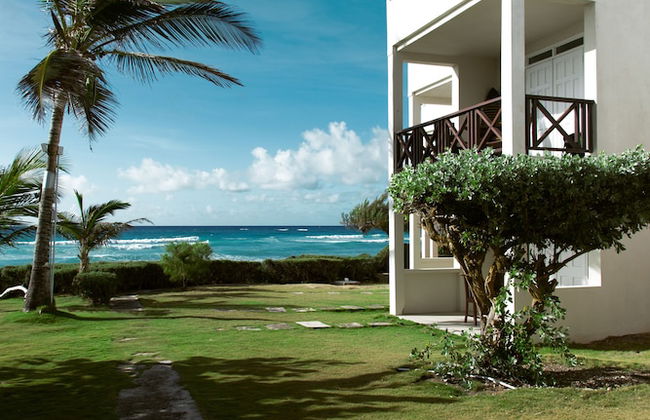
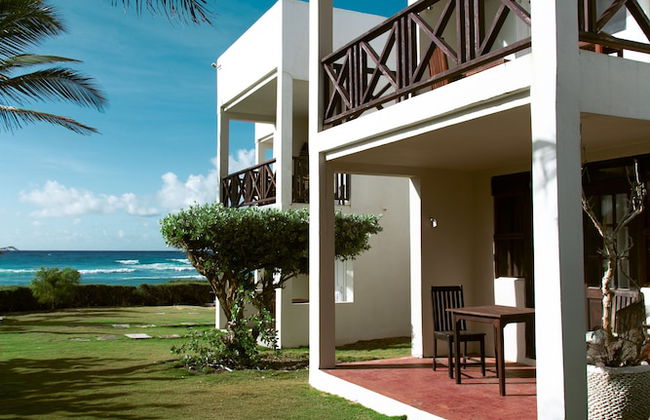
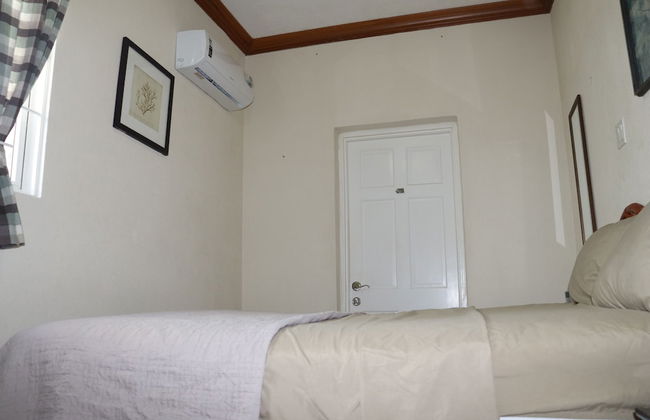
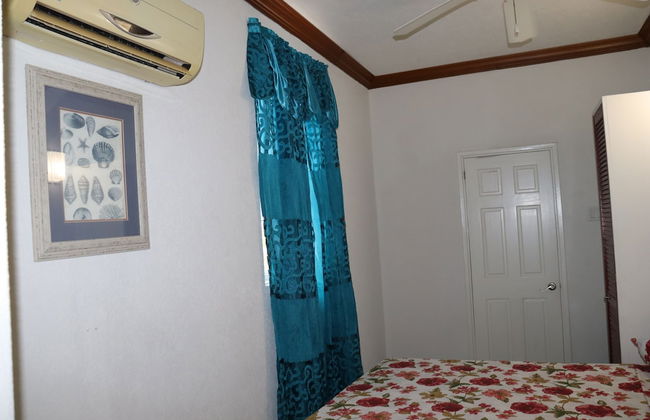
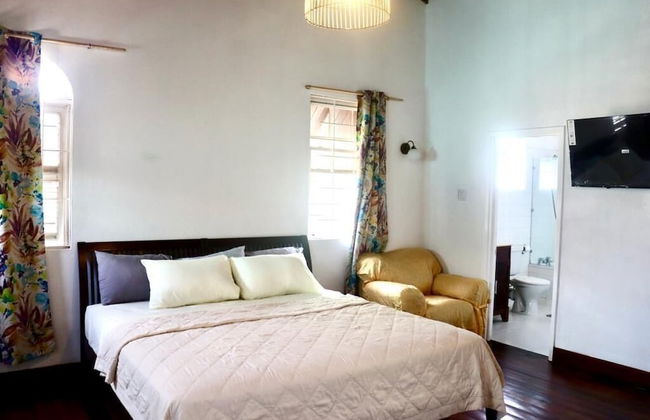
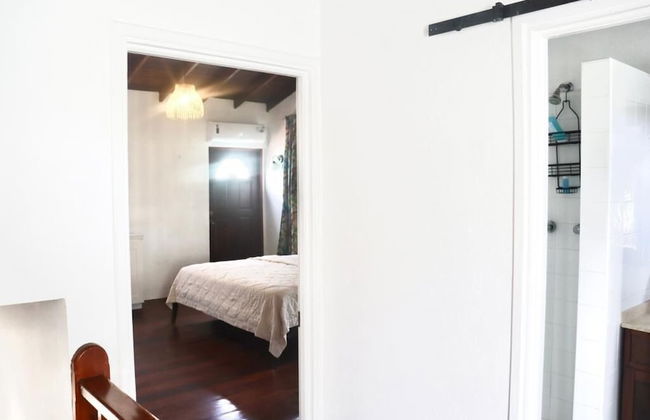
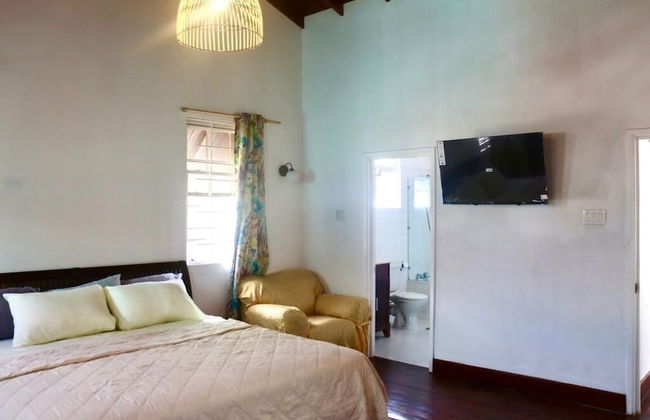
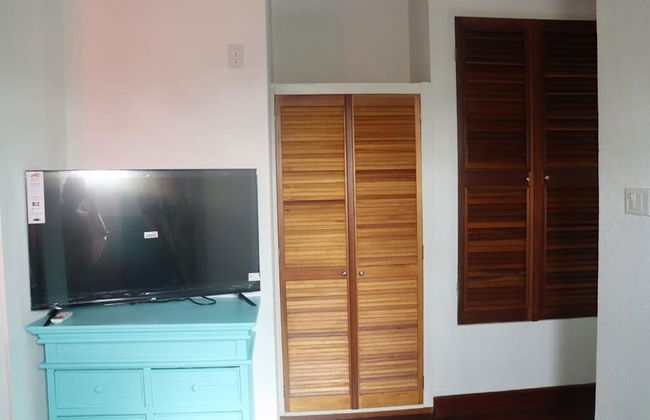
The Royal Bliss Barbados
Christ Church
- 130 M2
- 5 pessoas
- Kitchenette
- Ar-condicionado
- Terraço
- Estacionamento
- Varanda
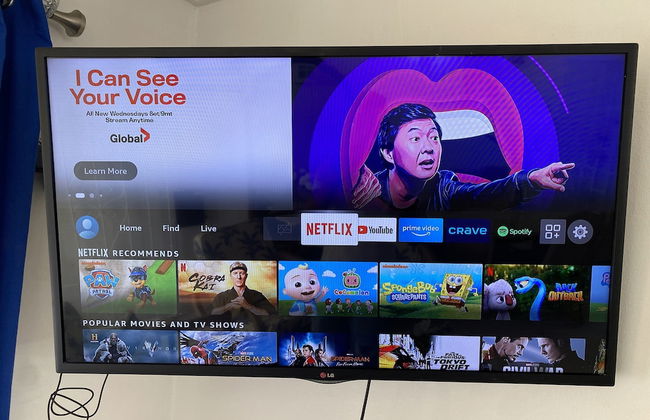
- Tv
- Máquina de lavar roupa
- Churrasco
- Toalhas
- Lençóis
99 avaliações


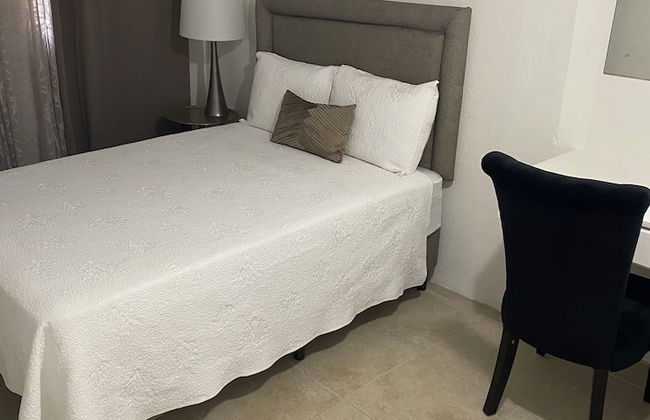
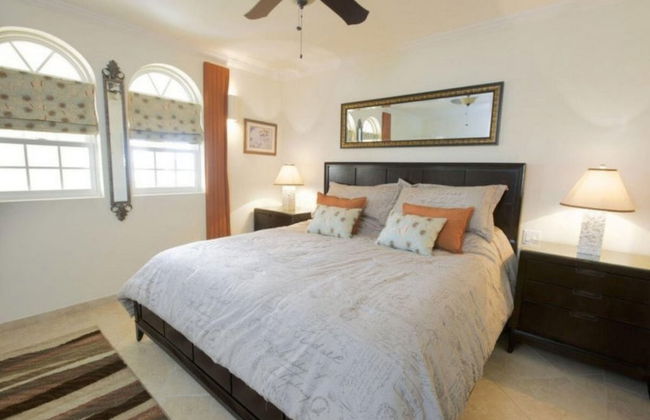
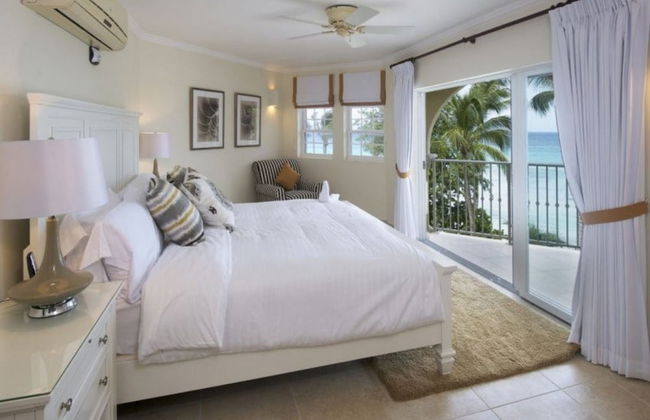
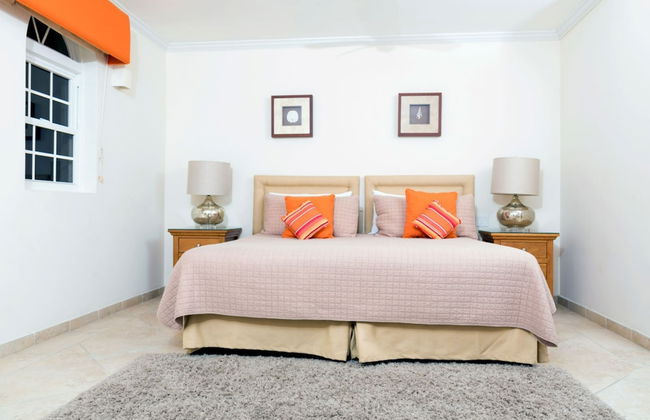
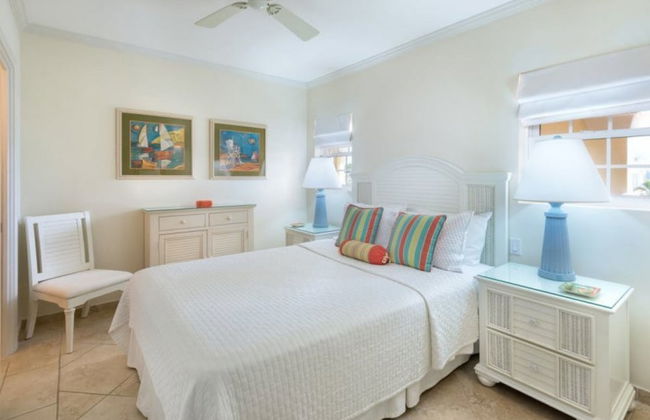
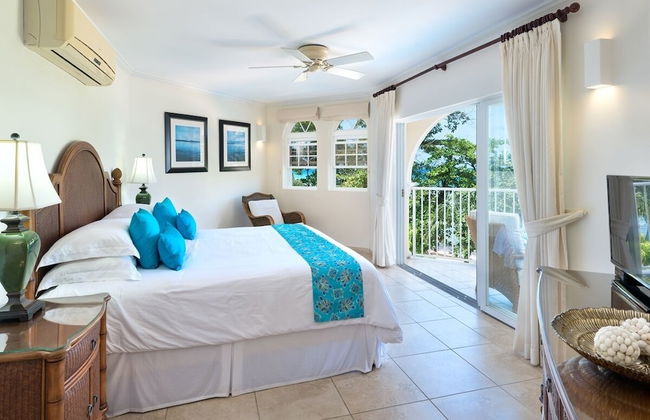
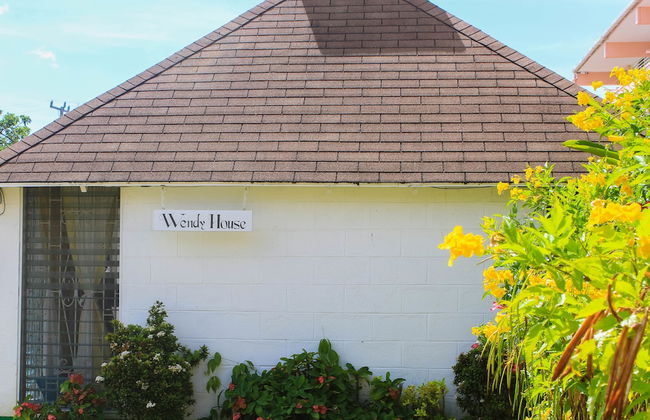
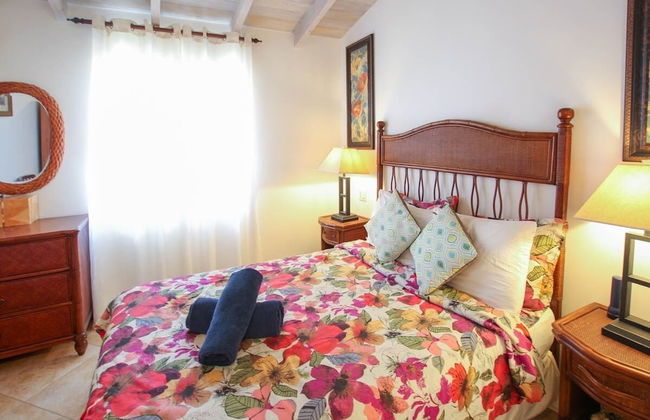
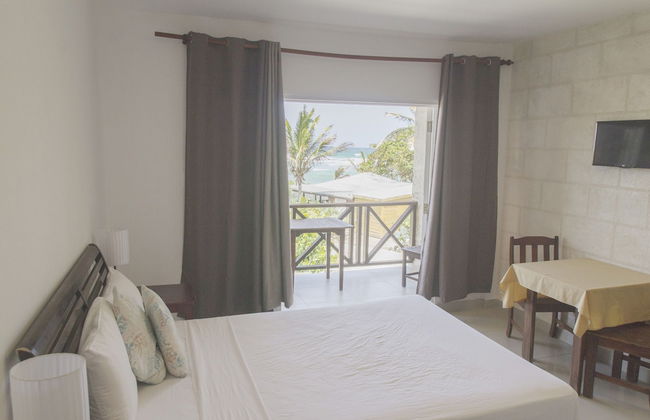
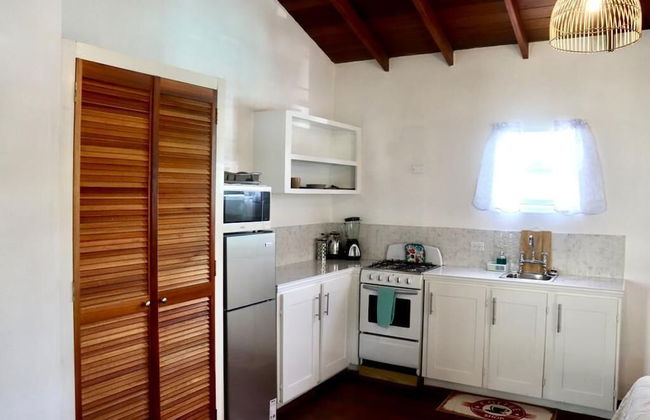
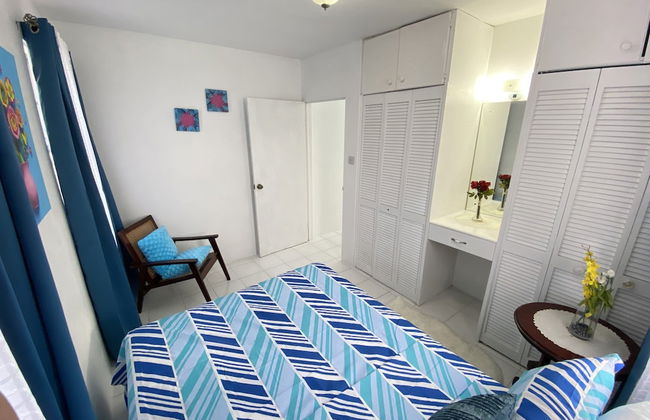
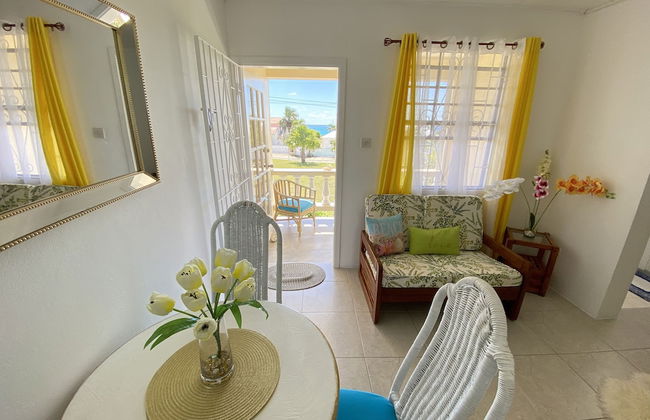
THE Cottage, Saint Davids, Christ Church, Barbados
Christ Church - St Davids
- 4 pessoas
- Ar-condicionado
- Terraço
- Piscina
- Estacionamento
- Jardim
- Tv
- Máquina de lavar roupa
- Toalhas
- Lençóis
11 avaliações


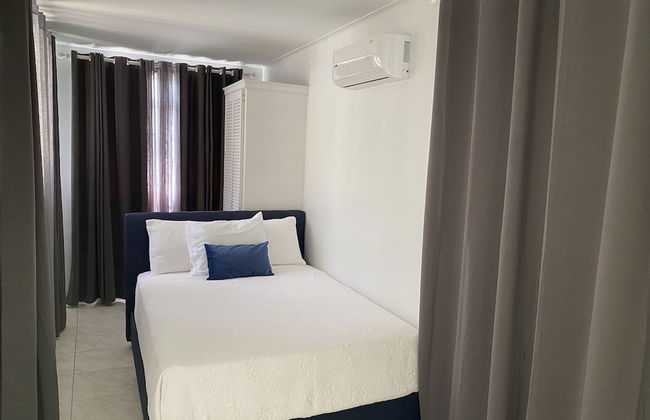
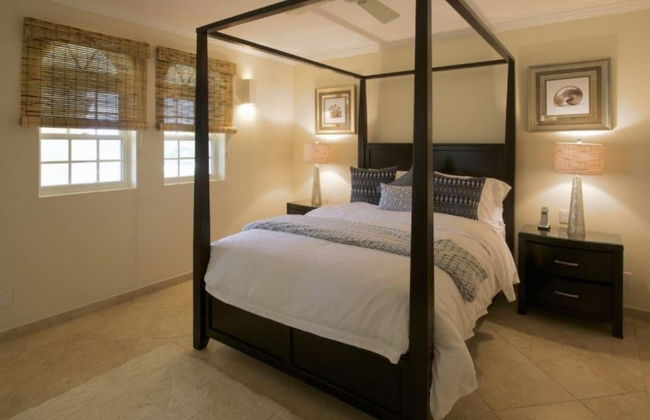
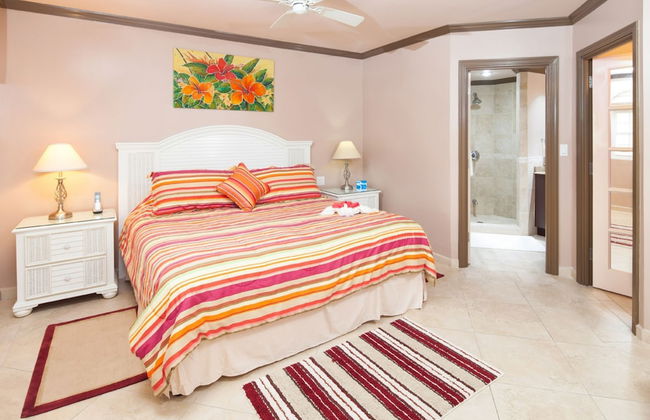
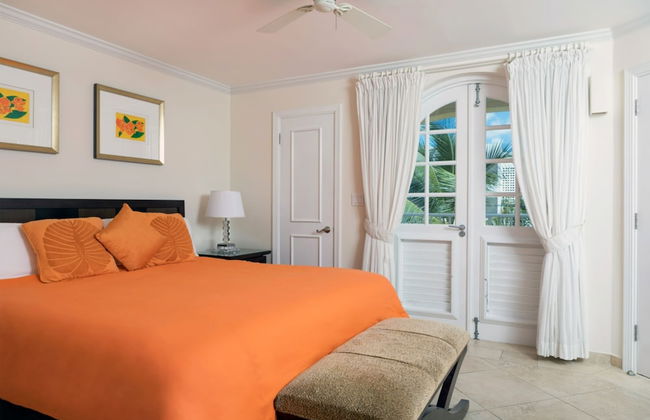
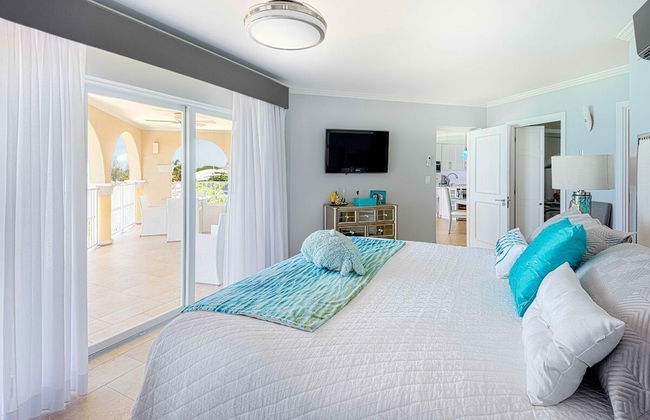
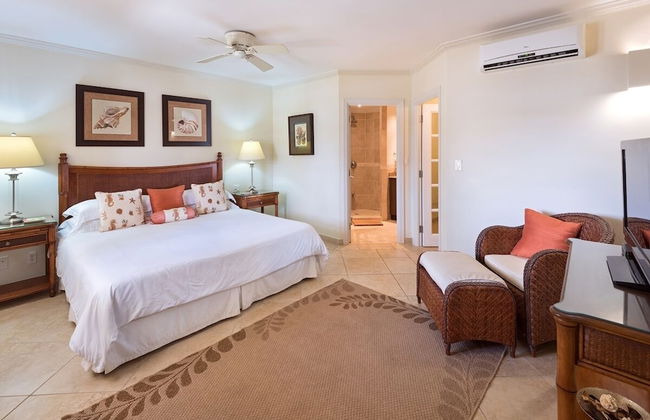
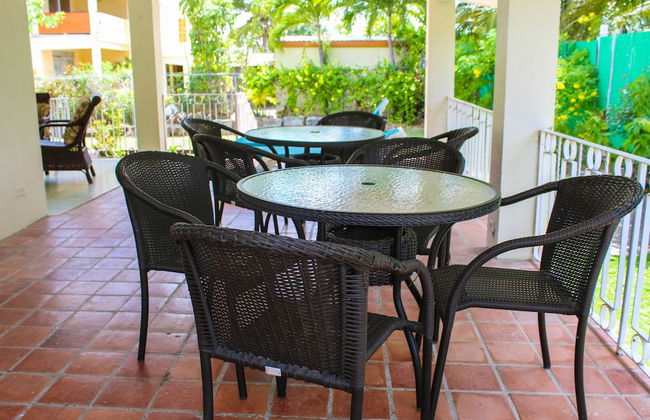
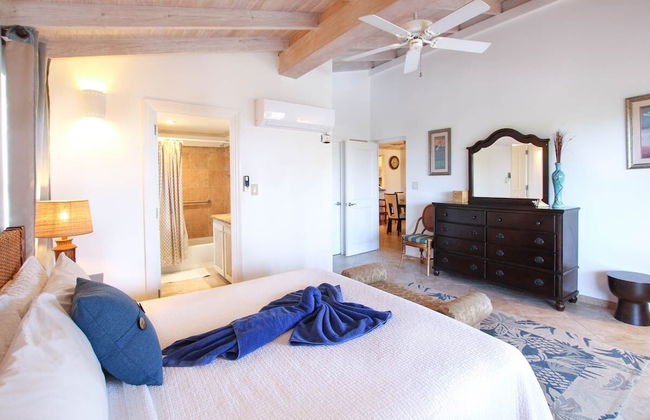
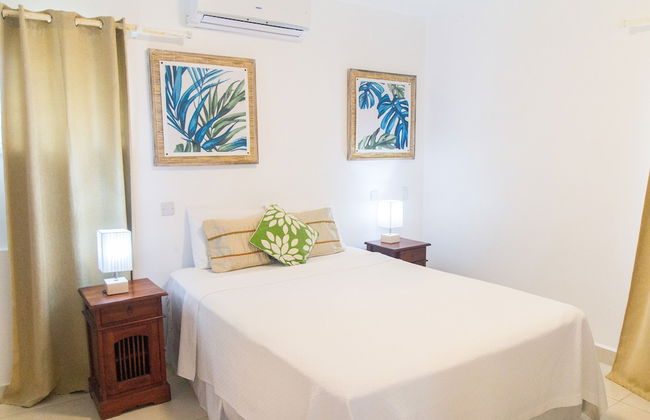
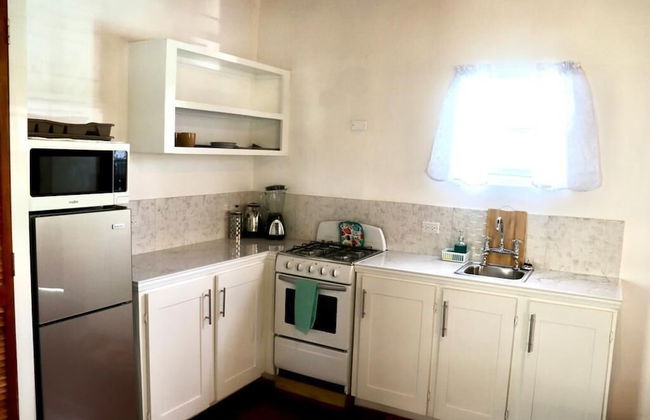
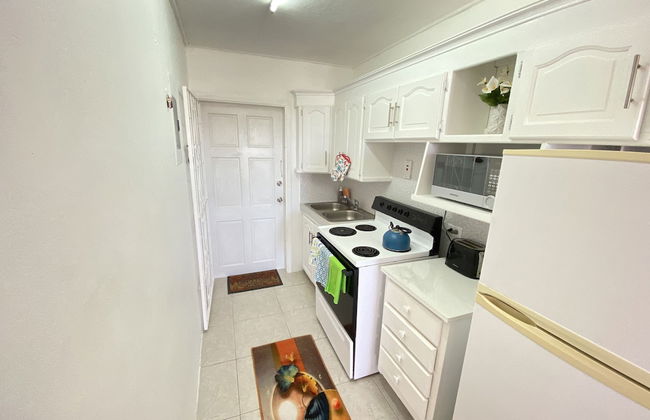
Hopeville Apartments
Christ Church
- 4 pessoas
- Ar-condicionado
- Terraço
- Estacionamento
- Jardim
- Tv
- Máquina de lavar roupa
- Toalhas
- Lençóis
54 avaliações


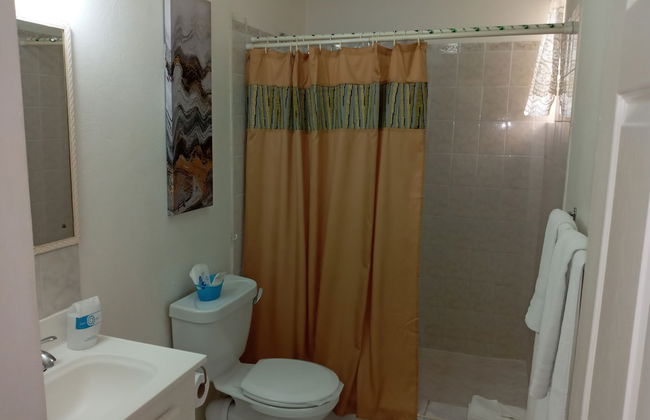


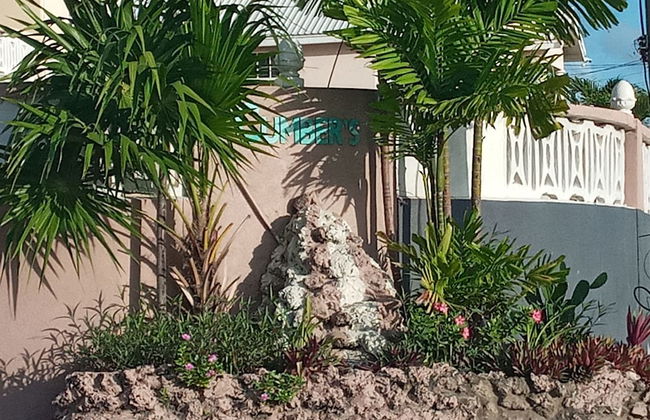


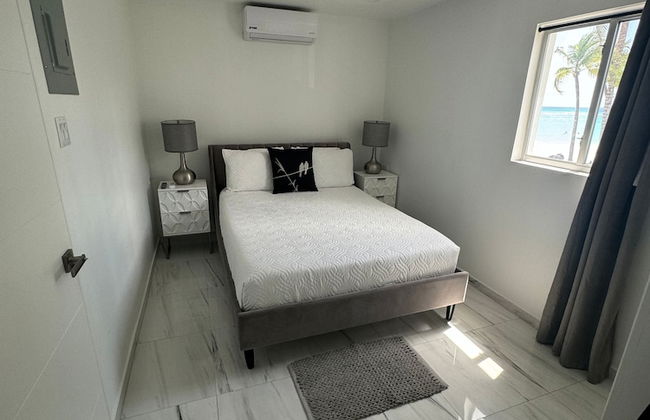
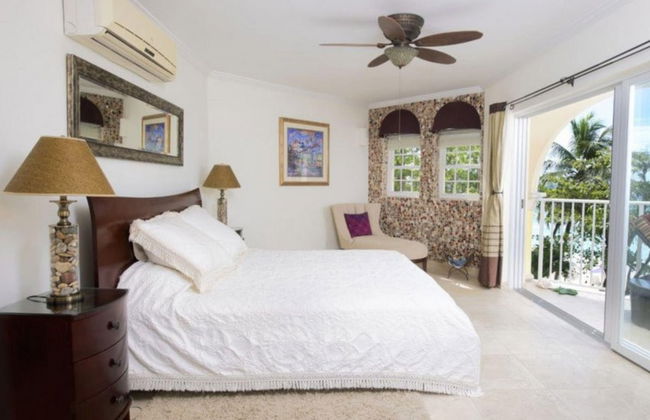
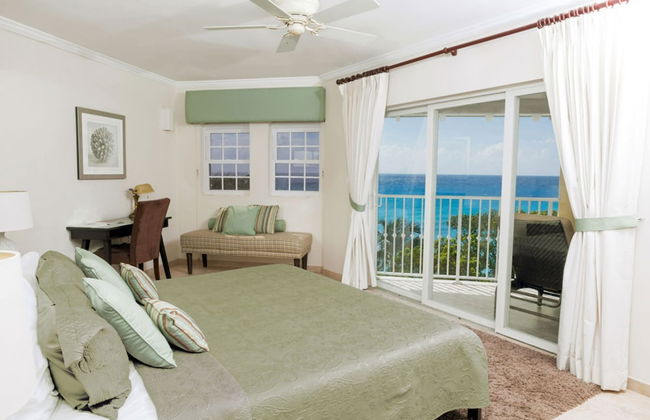
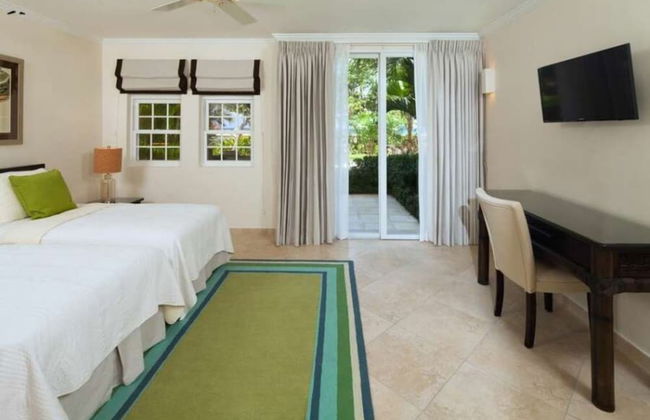
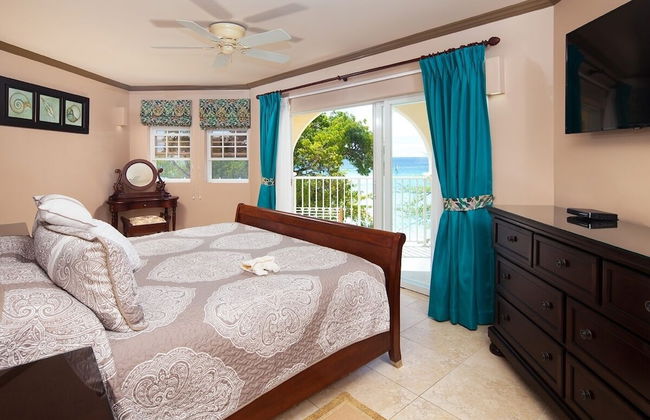
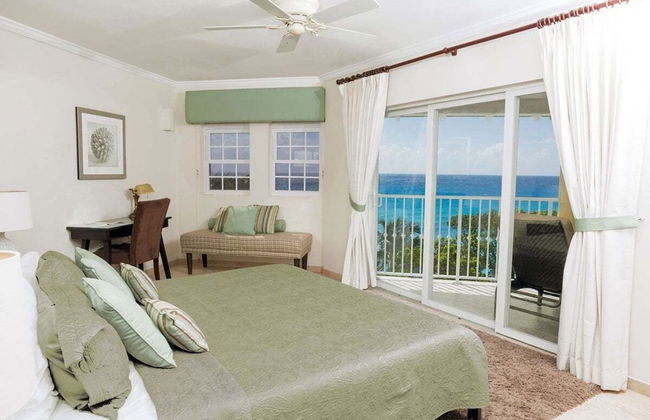
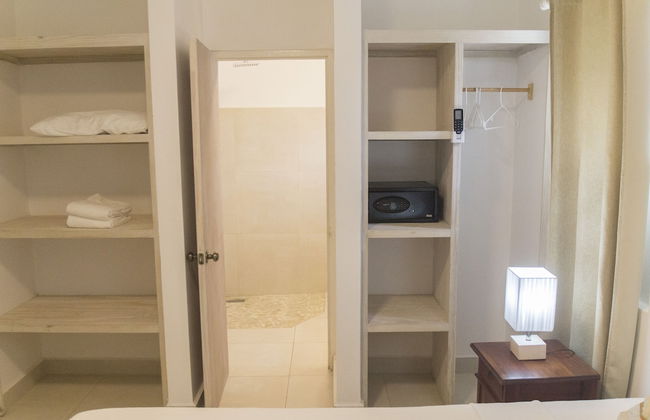
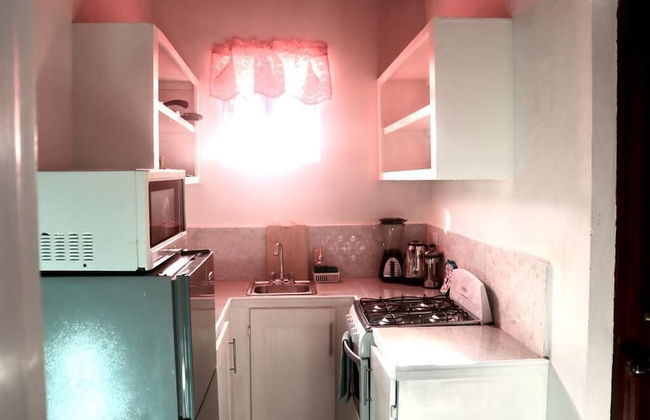
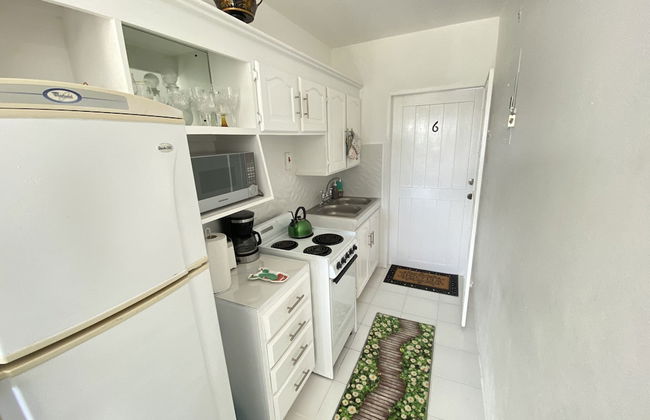
Cumber's Tropical Apartments
Christ Church
- 4 pessoas
- Ar-condicionado
- Terraço
- Estacionamento
- Varanda
- Tv
- Toalhas
- Lençóis
33 avaliações


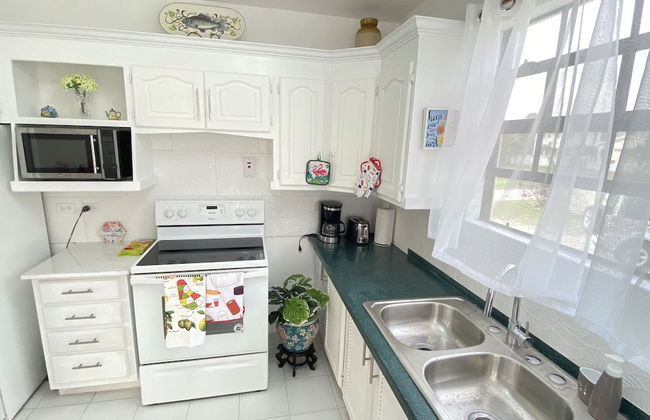
Best E Villas Providence
Christ Church
- 149 M2
- 4 pessoas
- Ar-condicionado
- Terraço
- Piscina
- Estacionamento
- Jardim
- Tv
- Máquina de lavar roupa
- Churrasco
- Toalhas
- Lençóis
15 avaliações


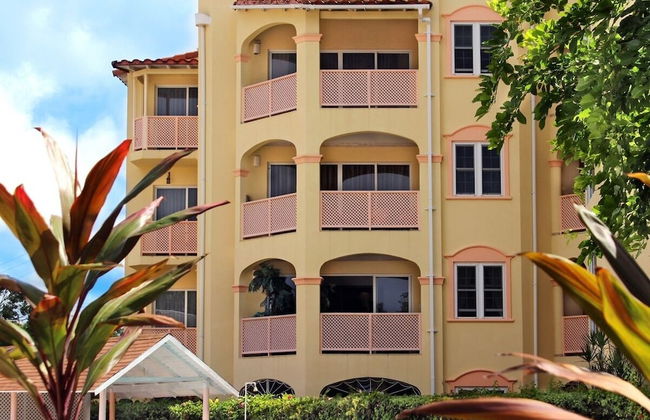
Sapphire Beach Condominiums by Blue Sky Luxury
Christ Church
- 169 M2
- 6 pessoas
- Ar-condicionado
- Piscina
- Estacionamento
- Elevador
- Varanda
- Jardim
- Tv
- Máquina de lavar roupa
- Toalhas
- Lençóis
71 avaliações


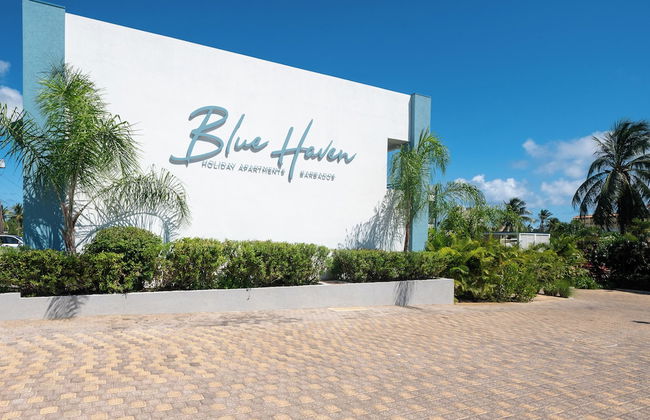


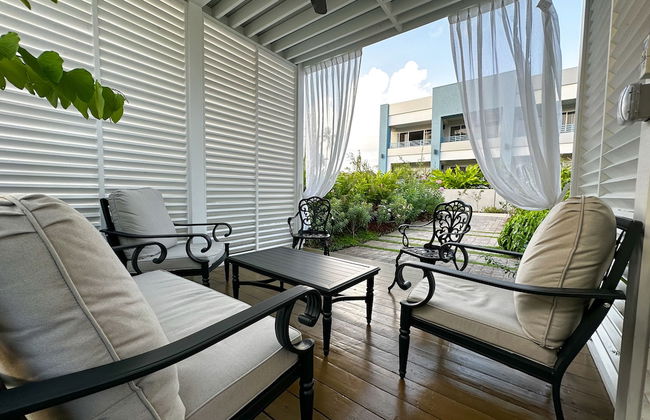
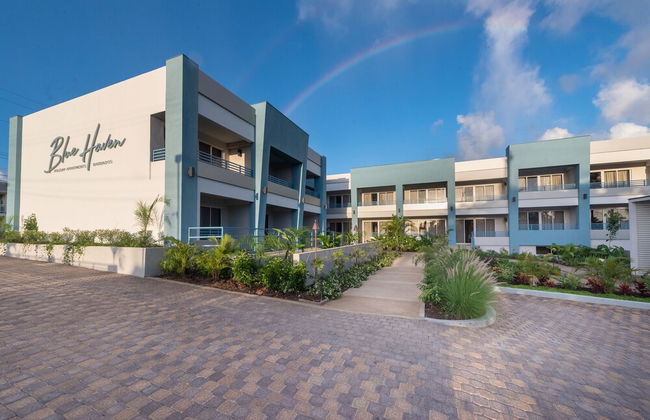
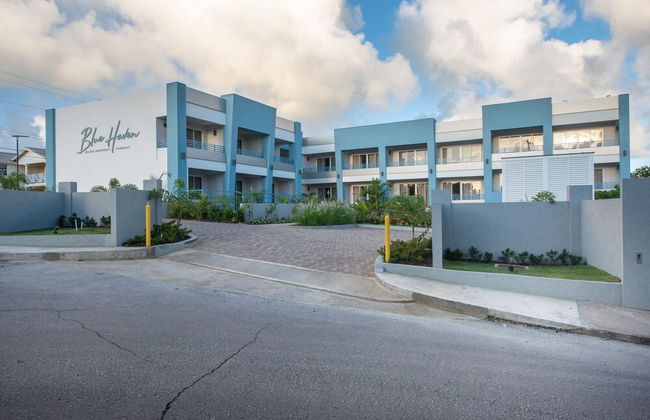


Blue Haven Holiday Apartments
Christ Church
- 3 pessoas
- Kitchenette
- Ar-condicionado
- Estacionamento
- Jardim
- Tv
- Toalhas
- Lençóis
177 avaliações


Dover Woods Apartments
Christ Church
- 92 M2
- 6 pessoas
- Ar-condicionado
- Terraço
- Estacionamento
- Varanda
- Jardim
- Tv
- Máquina de lavar roupa
- Toalhas
- Lençóis
18 avaliações


The Monteray Hotel
Christ Church
- 193 M2
- 6 pessoas
- Kitchenette
- Ar-condicionado
- Terraço
- Piscina
- Estacionamento
- Varanda
- Jardim
- Tv
- Toalhas
- Lençóis
122 avaliações


Beverley Apartments
Christ Church
- 6 pessoas
- Ar-condicionado
- Estacionamento
- Elevador
- Jardim
- Tv
- Toalhas
- Lençóis
8 avaliações
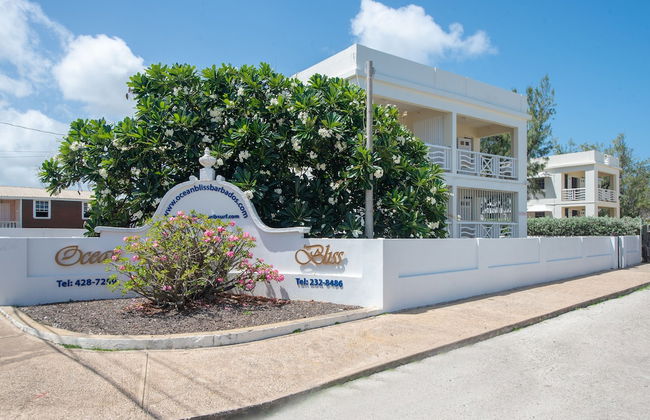


Ocean Bliss Apartments
Christ Church
- 4 pessoas
- Ar-condicionado
- Terraço
- Estacionamento
- Elevador
- Jardim
- Tv
- Máquina de lavar roupa
- Toalhas
34 avaliações


Modern 2-bed Apt Near Beach In St. Lawrence Gap 2 Bedroom Apts by Bluescape
Christ Church
- 6 pessoas
- Ar-condicionado
- Elevador
- Varanda
- Tv
- Máquina de lavar roupa
- Toalhas
- Lençóis
4 avaliações


Melrose Beach Apartments
Christ Church
- 4 pessoas
- Kitchenette
- Ar-condicionado
- Terraço
- Estacionamento
- Varanda
- Tv
- Toalhas
- Lençóis
98 avaliações


BK Villas
Christ Church
- 130 M2
- 6 pessoas
- Ar-condicionado
- Terraço
- Estacionamento
- Varanda
- Tv
- Toalhas
2 avaliações


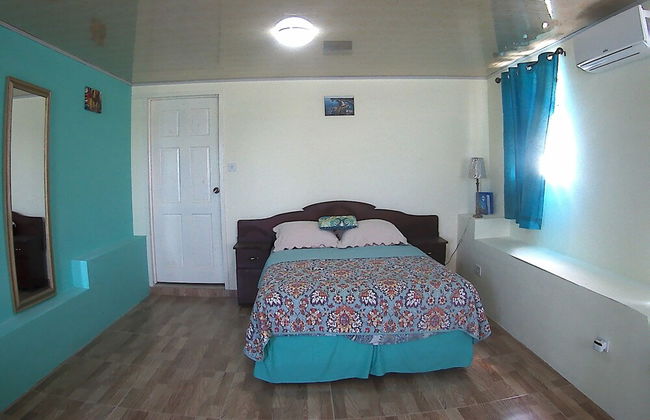
Ocean Spray Apartments
Christ Church
- 6 pessoas
- Kitchenette
- Ar-condicionado
- Terraço
- Estacionamento
- Jardim
- Tv
- Toalhas
- Lençóis
388 avaliações


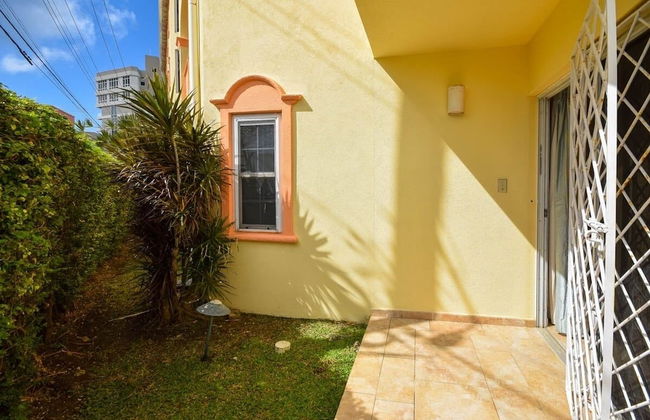
BLR Beach Villas
Christ Church
- 2 pessoas
- Ar-condicionado
- Terraço
- Estacionamento
- Tv
- Máquina de lavar roupa
- Toalhas
- Lençóis
29 avaliações


Michelin Apartments
Christ Church
- 3 pessoas
- Kitchenette
- Estacionamento
- Tv
- Máquina de lavar roupa
- Toalhas
- Lençóis
2 avaliações


Searocks Beach Apartment
Christ Church
- 4 pessoas
- Ar-condicionado
- Estacionamento
- Varanda
- Toalhas
- Lençóis
1 avaliação