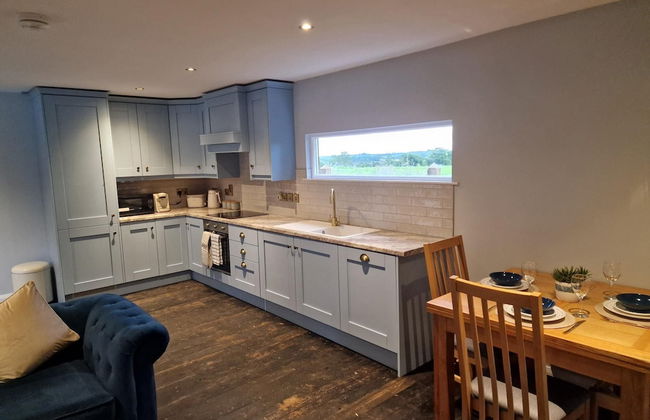
154 Apartamentos em Condado de Antrim


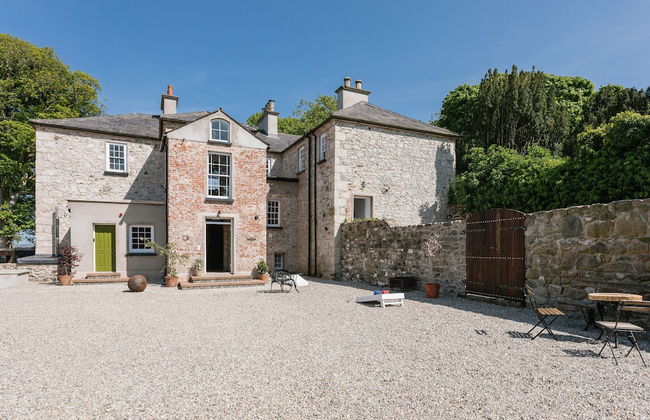
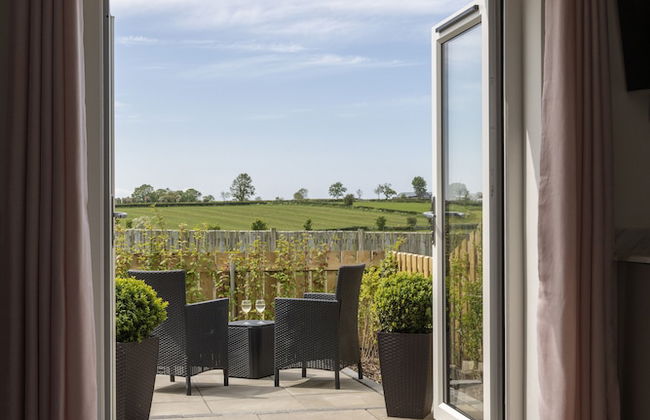
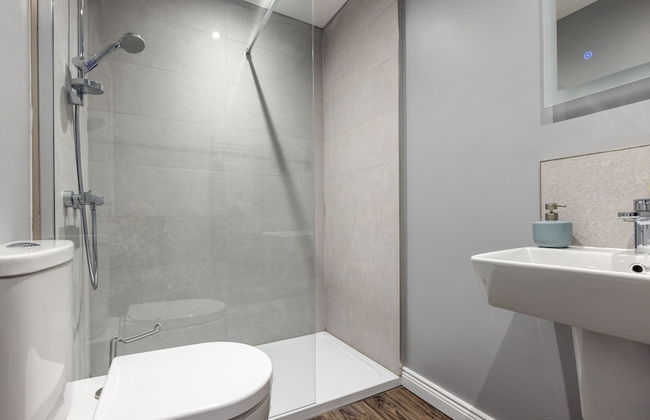
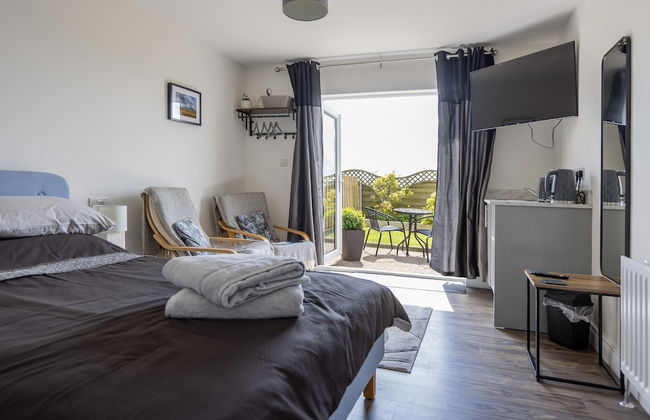
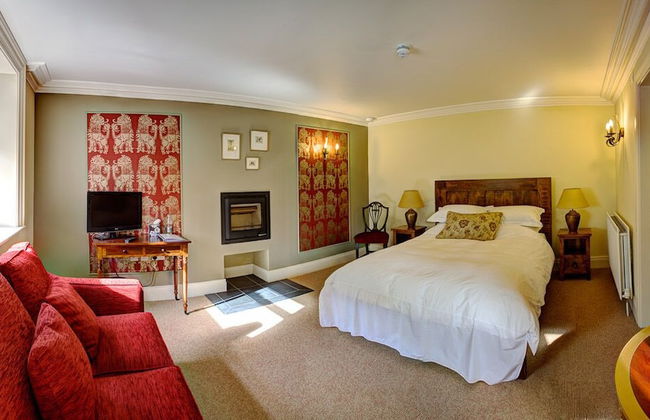
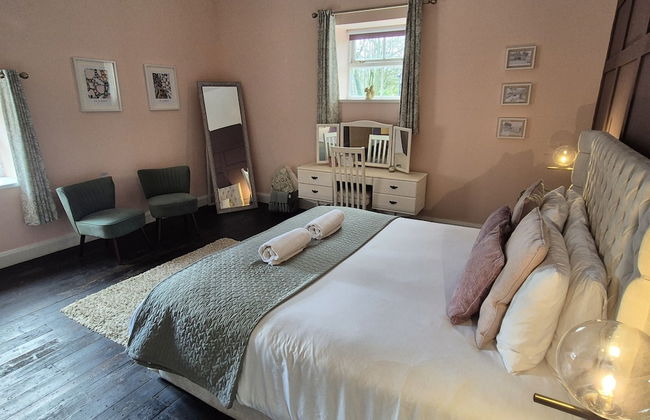
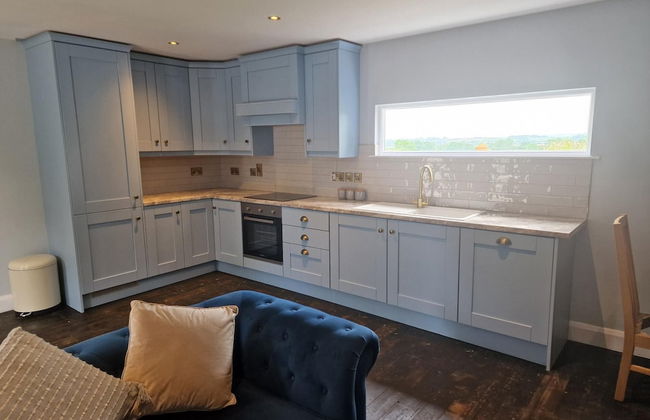
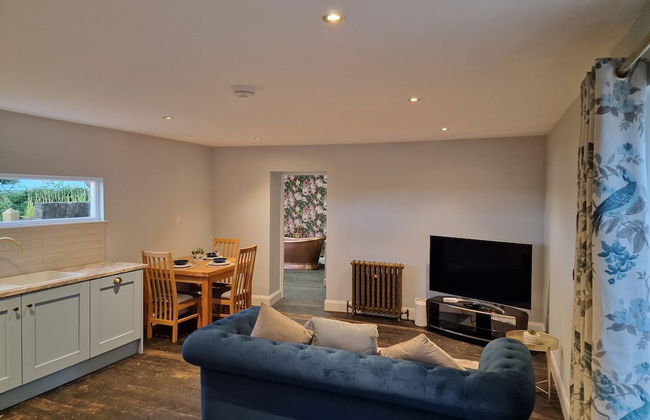
Kinbane Self-Catering
Ballycastle - Ballycastle
- 14 M2
- 2 pessoas
- Aquecimento
- Terraço
- Estacionamento
- Jardim
- Tv
- Chaminé
- Toalhas
- Lençóis
40 avaliações


Curran Gate Luxury Apartments, Portrush
Portrush - Portrush
- 153 M2
- 6 pessoas
- Aquecimento
- Terraço
- Estacionamento
- Elevador
- Varanda
- Jardim
- Tv
- Máquina de lavar roupa
- Toalhas
- Lençóis
16 avaliações
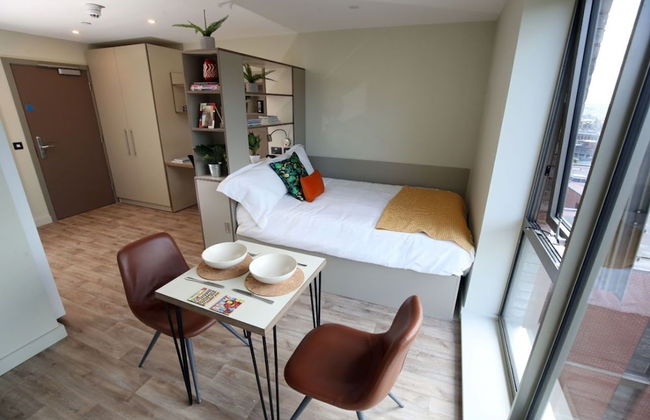
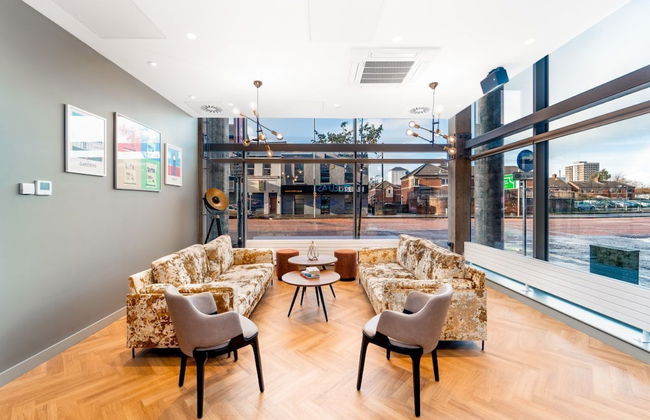


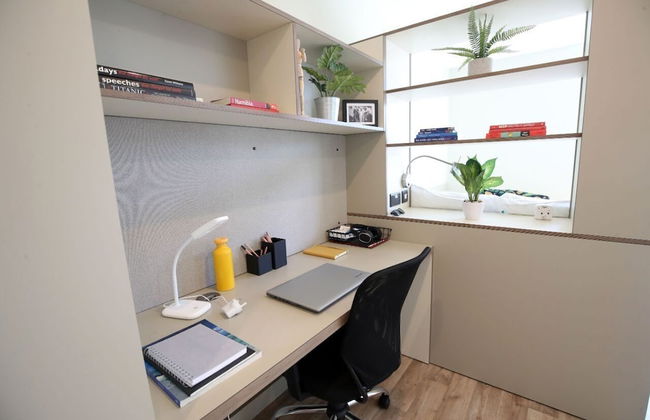


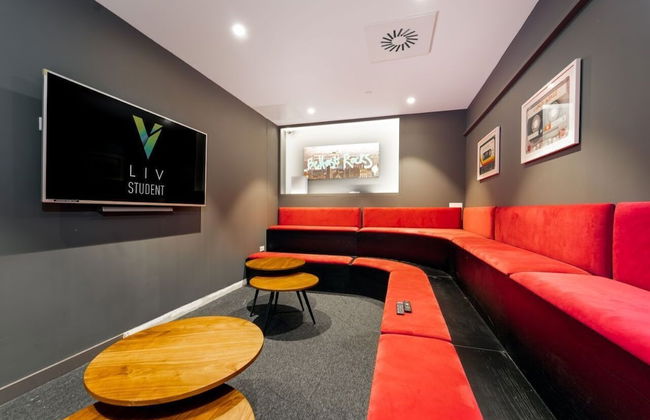

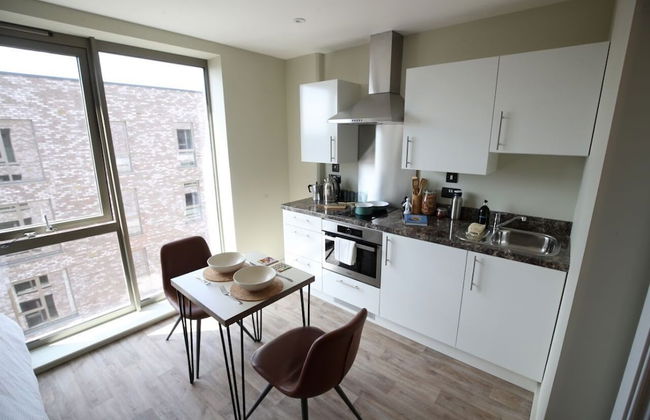
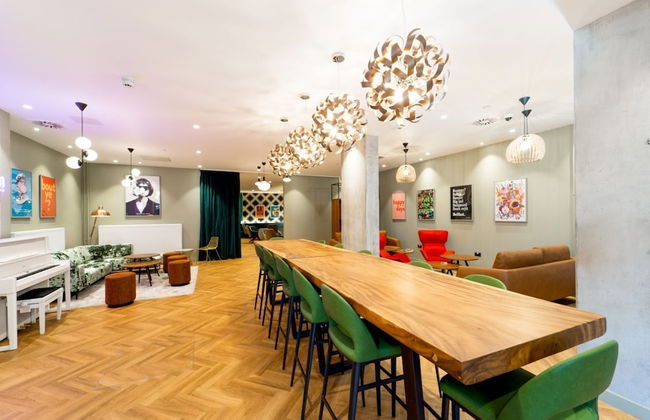


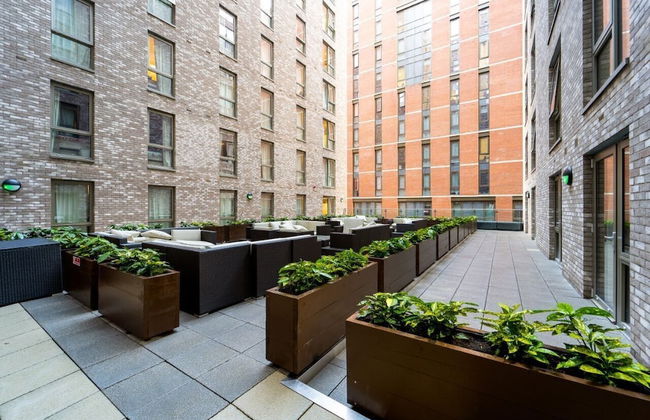
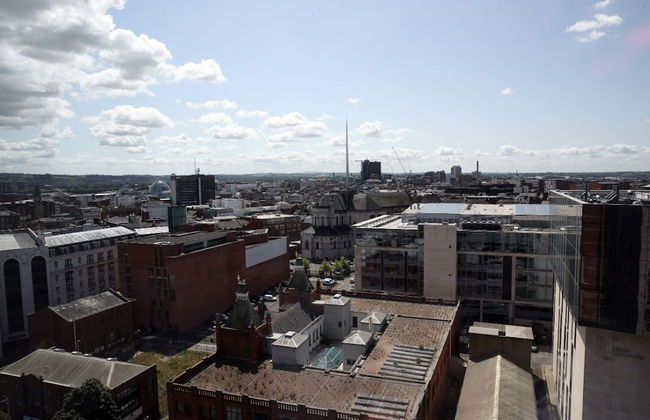
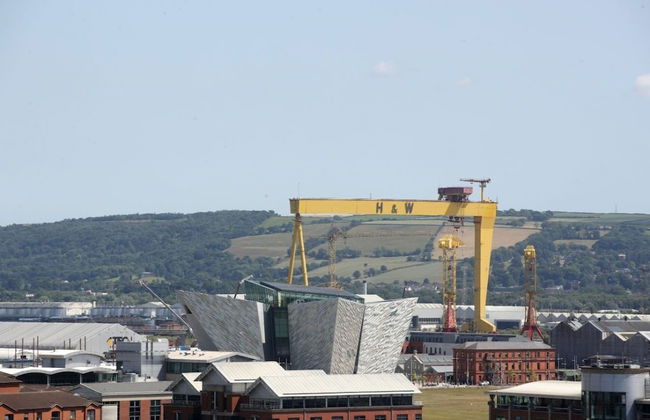
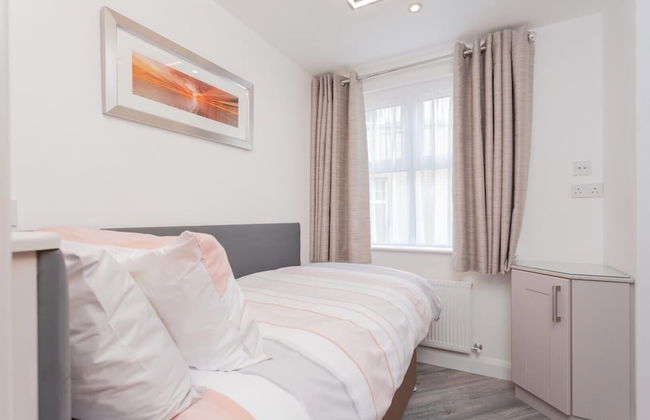
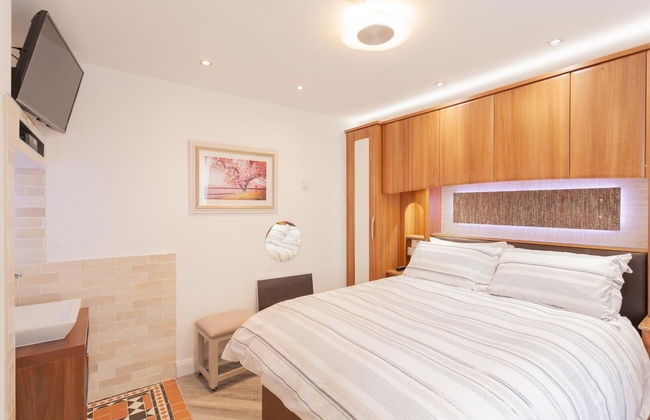
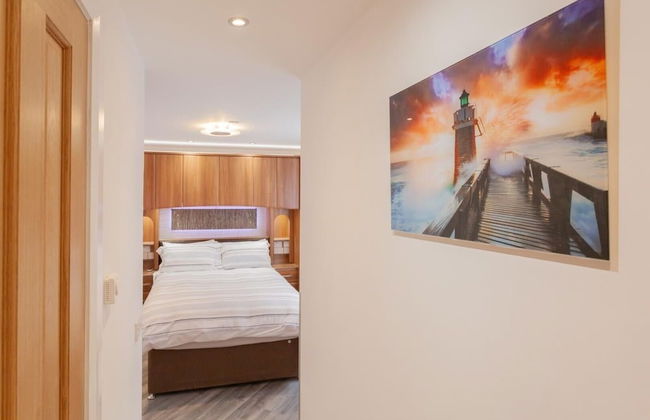
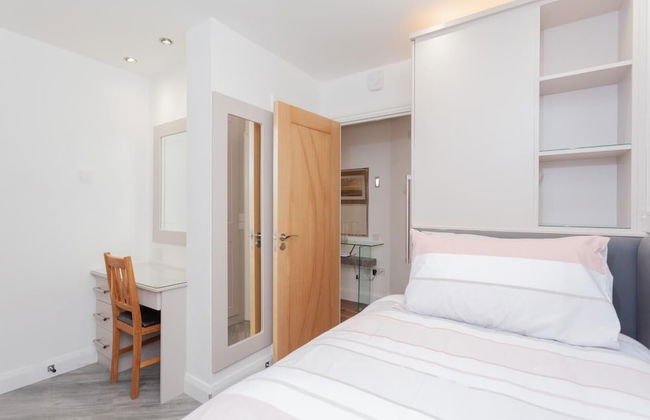
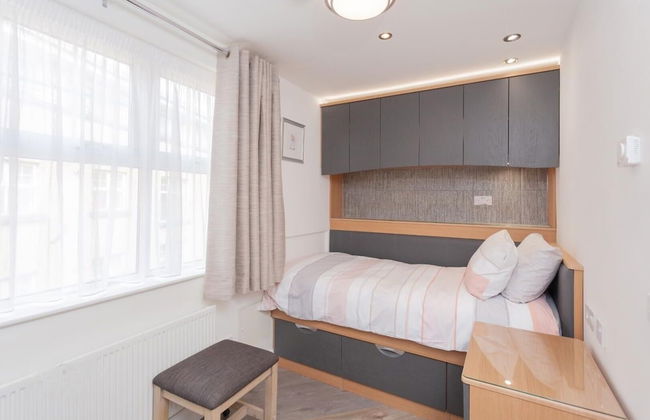
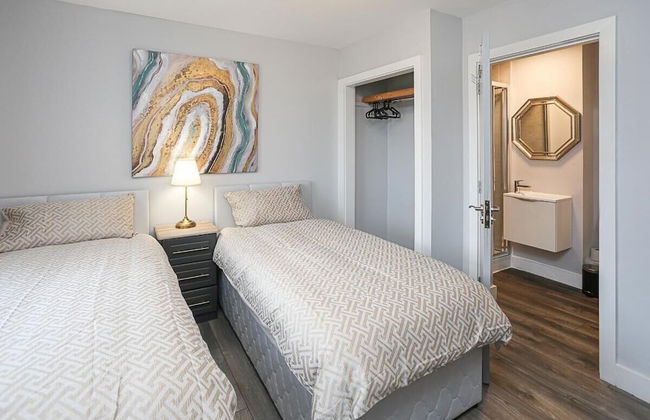
Central Belfast Apartments: Student Accommodation
Belfast - Belfast
- 17 M2
- 2 pessoas
- Terraço
- Elevador
14 avaliações


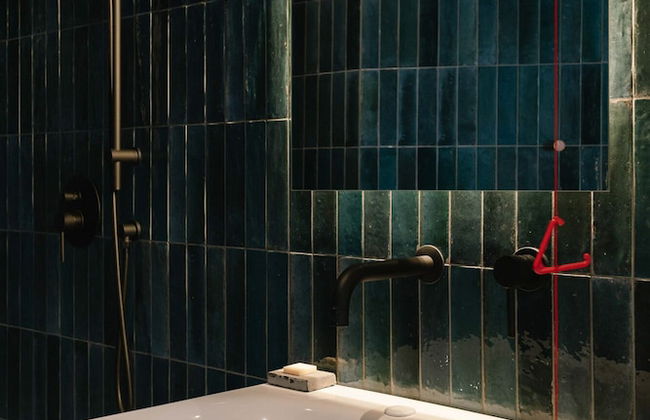
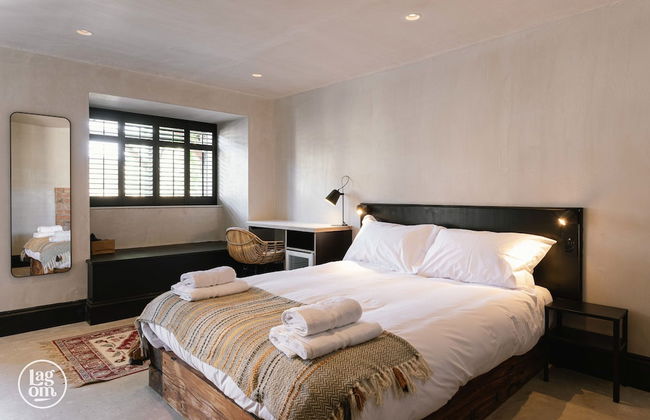


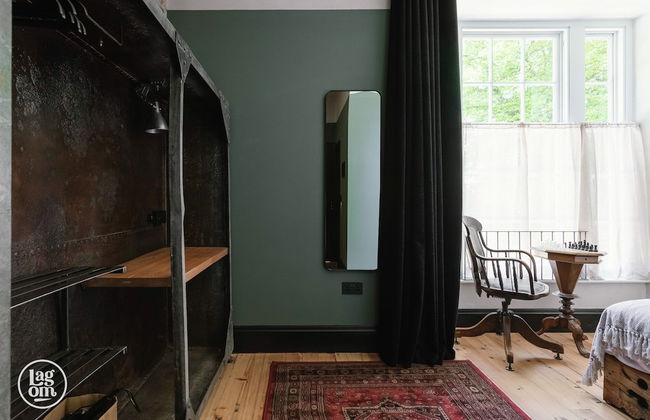


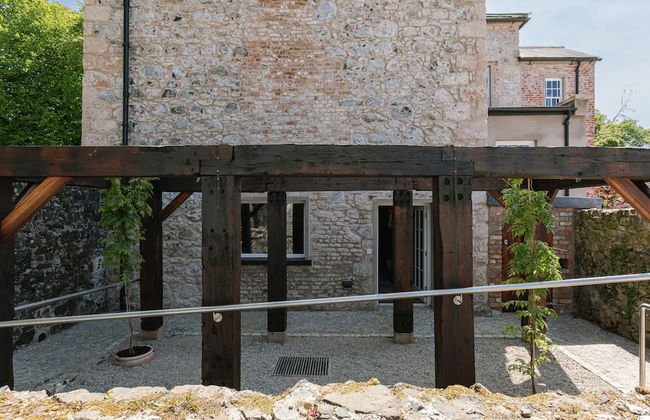
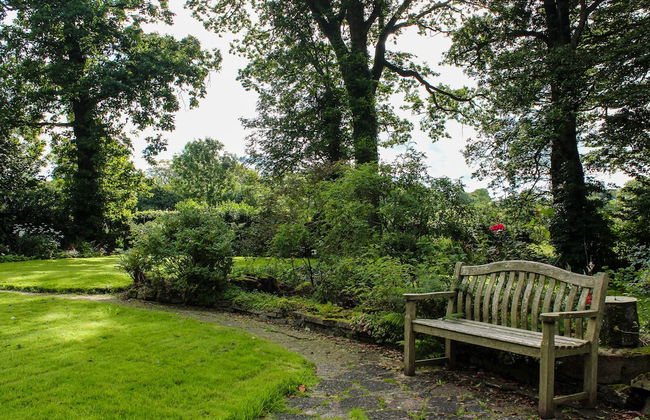
Stay Lagom Lodge
Ballycastle - Ballycastle
- 5 pessoas
- Aquecimento
- Terraço
- Estacionamento
- Jardim
- Tv
- Chaminé
- Churrasco
- Toalhas
- Lençóis
24 avaliações


Antrim Coast Apartments
Ballymena - Cushendall
- 74 M2
- 4 pessoas
- Aquecimento
- Terraço
- Estacionamento
- Tv
- Toalhas
- Lençóis
40 avaliações


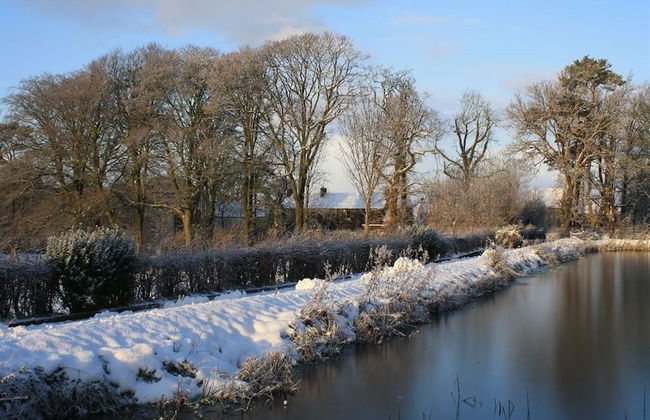
Causeway Coast Retreats
Ballymoney - Dervock
- 2 pessoas
- Kitchenette
- Aquecimento
- Terraço
- Estacionamento
- Jardim
- Tv
- Toalhas
- Lençóis
12 avaliações


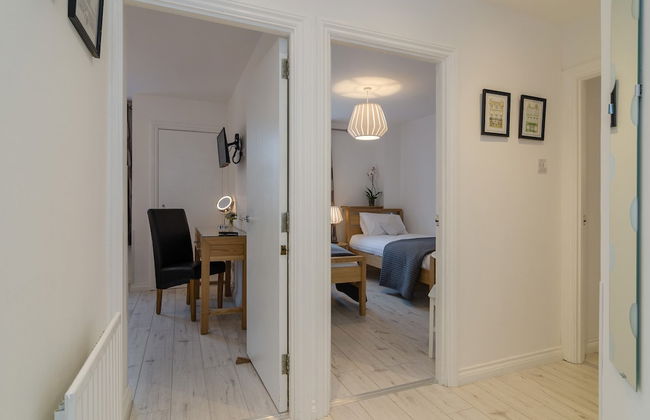
The Ulsterville Residences
Belfast - Belfast
- 4 pessoas
- Aquecimento
- Estacionamento
- Jardim
- Tv
- Máquina de lavar roupa
- Toalhas
- Lençóis
10 avaliações


Ballylagan Organic Farm
Ballyclare - Ballyclare
- 204 M2
- 9 pessoas
- Kitchenette
- Aquecimento
- Estacionamento
- Jardim
- Tv
- Máquina de lavar roupa
- Churrasco
- Toalhas
- Lençóis
33 avaliações


Central Belfast Apartments: Alfred Street
Belfast - Belfast
- 79 M2
- 6 pessoas
- Aquecimento
- Tv
- Máquina de lavar roupa
- Toalhas
- Lençóis
17 avaliações


Salisbury Court City Central by BHR Apartments
Belfast - Belfast
- 65 M2
- 4 pessoas
- Aquecimento
- Estacionamento
- Tv
- Máquina de lavar roupa
- Toalhas
- Lençóis
11 avaliações


Central Belfast Apartments: Salisbury
Belfast - Belfast
- 6 pessoas
- Ar-condicionado
- Aquecimento
- Estacionamento
- Tv
- Máquina de lavar roupa
- Toalhas
- Lençóis
58 avaliações


Maryville City Central by BHR Apartments
Belfast - Belfast
- 65 M2
- 5 pessoas
- Aquecimento
- Terraço
- Estacionamento
- Varanda
- Jardim
- Tv
- Máquina de lavar roupa
- Toalhas
- Lençóis
10 avaliações


Stable Court Apartments
Antrim - Muckamore
- 70 M2
- 6 pessoas
- Aquecimento
- Terraço
- Estacionamento
- Jardim
- Tv
- Máquina de lavar roupa
- Churrasco
- Toalhas
17 avaliações


Cordia Serviced Apartments
Belfast - Belfast
- 4 pessoas
- Aquecimento
- Terraço
- Estacionamento
- Elevador
- Tv
- Máquina de lavar roupa
- Toalhas
- Lençóis
159 avaliações


Wellington Park Boutique Apartments
Belfast - Belfast
- 4 pessoas
- Aquecimento
- Estacionamento
- Tv
- Toalhas
- Lençóis
29 avaliações


Perfect City Center Location, Parking, 4 Beds
Belfast - Belfast
- 65 M2
- 5 pessoas
- Aquecimento
- Estacionamento
- Tv
- Máquina de lavar roupa
- Toalhas
- Lençóis
23 avaliações


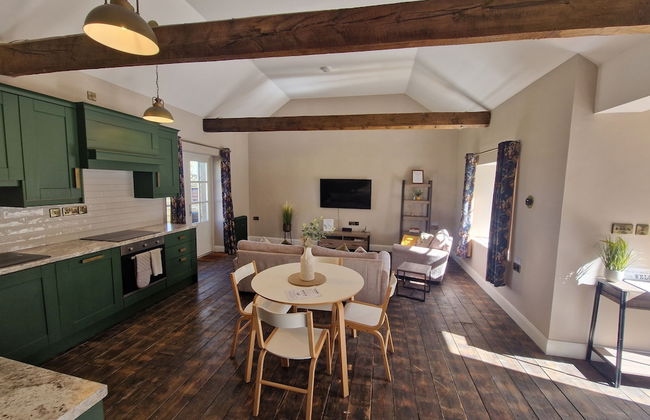
Squirrel Cottage
Ballymena - Dunloy
- 70 M2
- 2 pessoas
- Aquecimento
- Terraço
- Estacionamento
- Jardim
- Tv
- Máquina de lavar roupa
- Toalhas
- Lençóis
10 avaliações


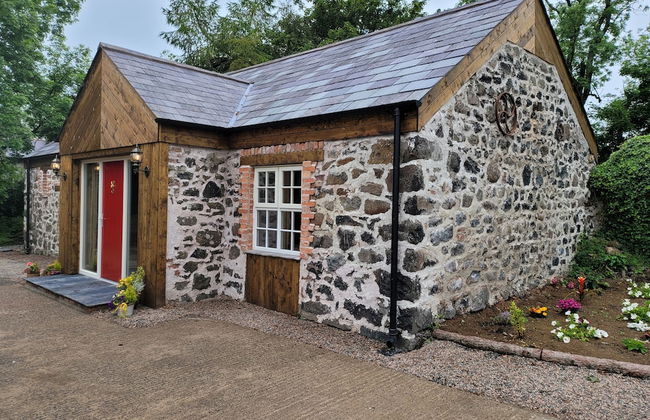
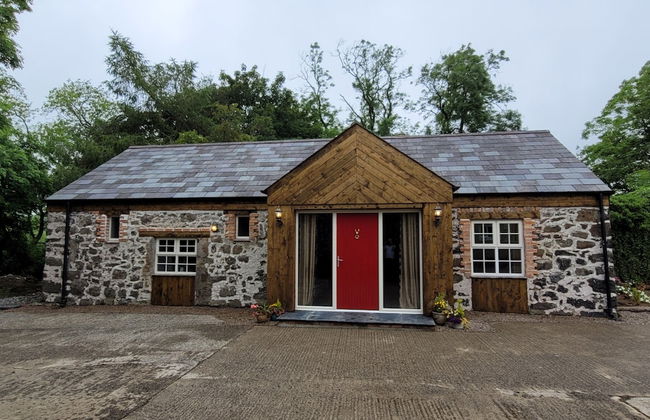


Hawthorn Hollow
Ballymena - Dunloy
- 70 M2
- 2 pessoas
- Aquecimento
- Estacionamento
- Jardim
- Tv
- Máquina de lavar roupa
- Churrasco
- Toalhas
- Lençóis
6 avaliações
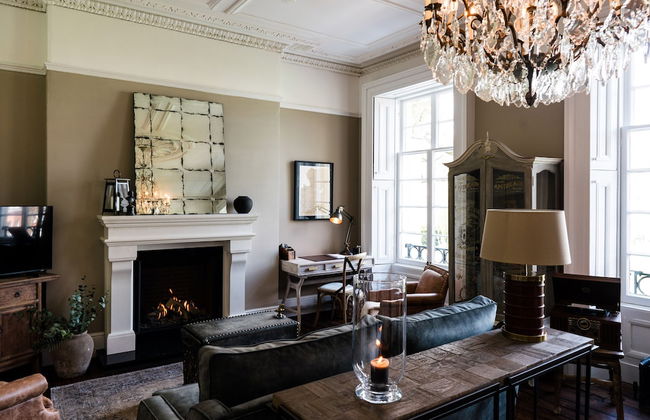


Regency House
Belfast - Belfast
- 95 M2
- 5 pessoas
- Aquecimento
- Estacionamento
- Jardim
- Tv
- Máquina de lavar roupa
- Chaminé
- Toalhas
- Lençóis
9 avaliações