
42 Apartamentos em Condado de Down


Godfrey Mews
Newry - Cloughoge
- 86 M2
- 4 pessoas
- Ar-condicionado
- Aquecimento
- Estacionamento
- Elevador
- Tv
- Máquina de lavar roupa
- Toalhas
- Lençóis
27 avaliações


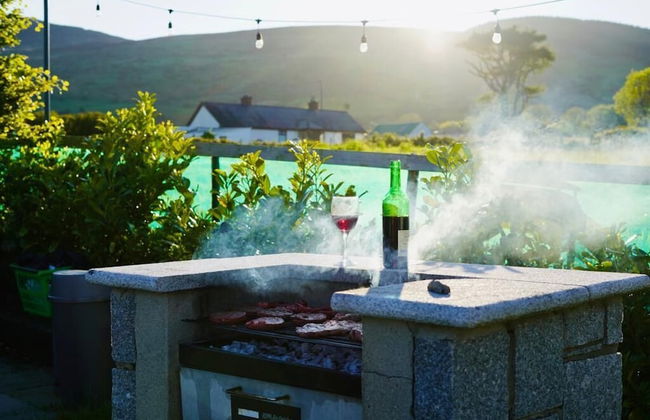
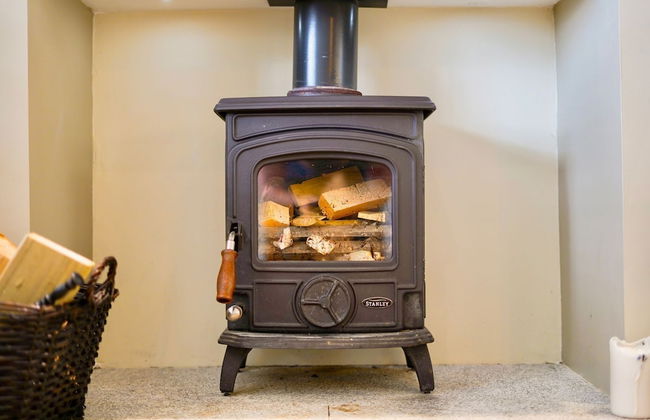
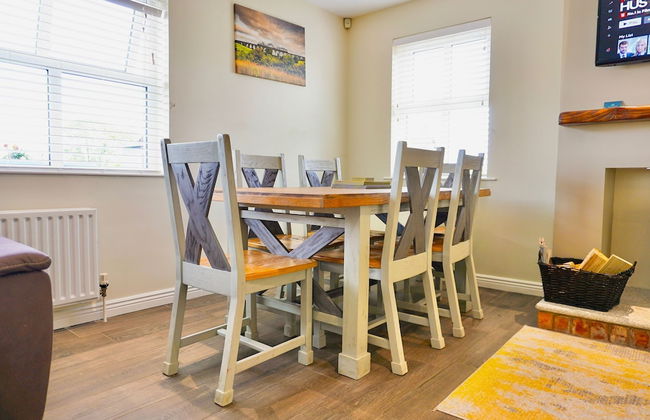
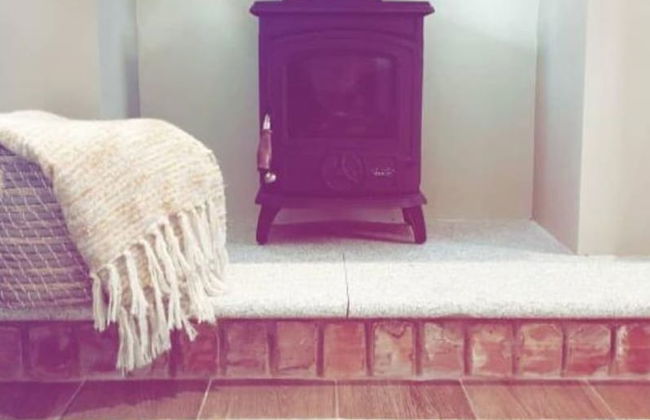
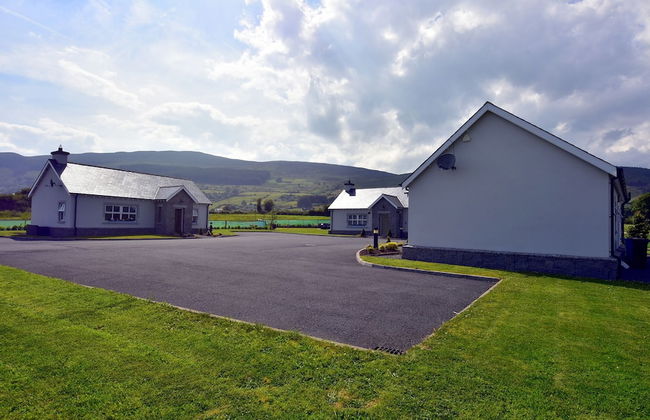
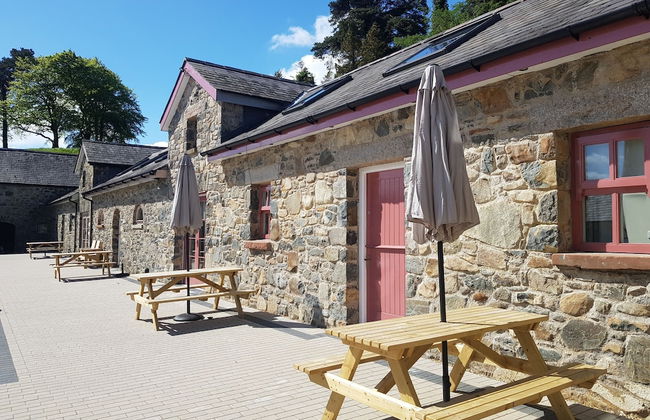
Oatlands Self Catering Cottages
Hillsborough - Hillsborough
- 6 pessoas
- Aquecimento
- Estacionamento
- Tv
- Máquina de lavar roupa
- Chaminé
- Churrasco
- Toalhas
- Lençóis
11 avaliações


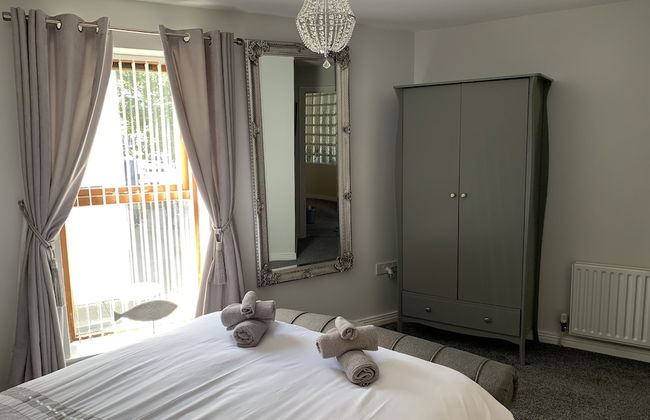
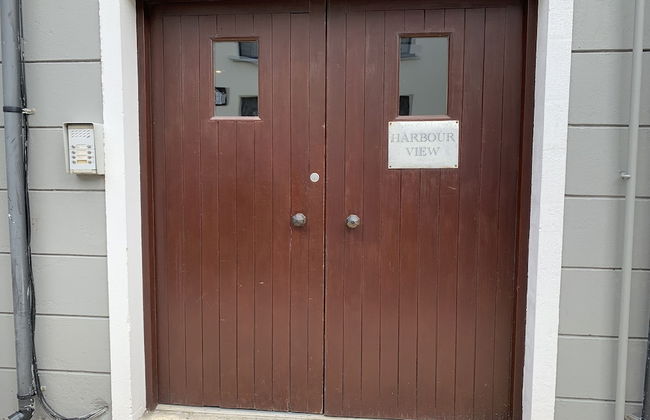
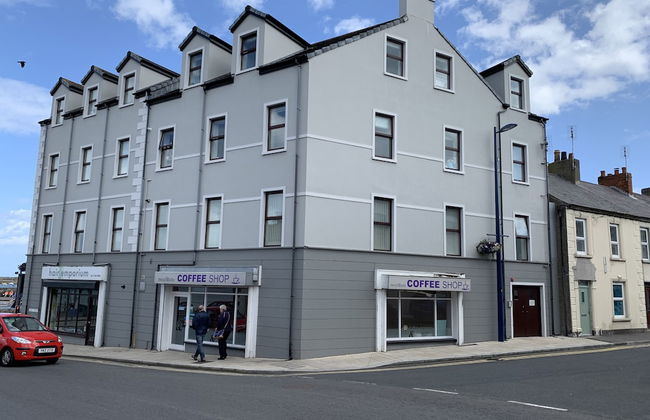
Hamilton House Holiday Apartments
Downpatrick - Killyleagh
- 55 M2
- 4 pessoas
- Aquecimento
- Estacionamento
- Tv
- Máquina de lavar roupa
- Toalhas
- Lençóis
17 avaliações


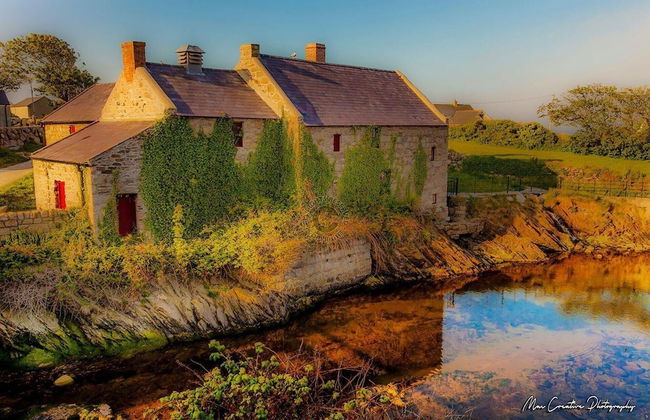
Magical 3-bed Stone Built Cottage - Sleeps 6
Ballynahinch - Ballynahinch
- 90 M2
- 6 pessoas
- Aquecimento
- Estacionamento
- Tv
- Toalhas
- Lençóis
9 avaliações
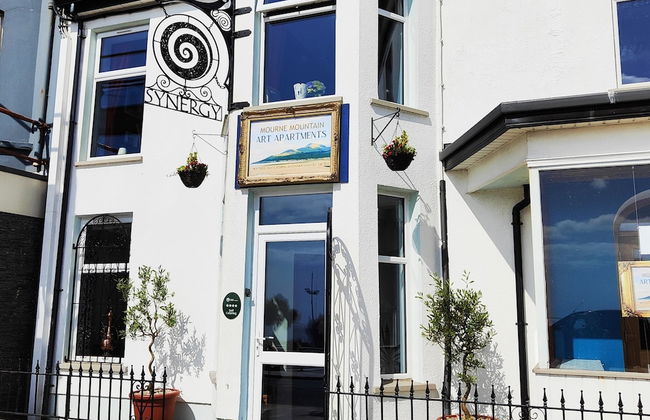

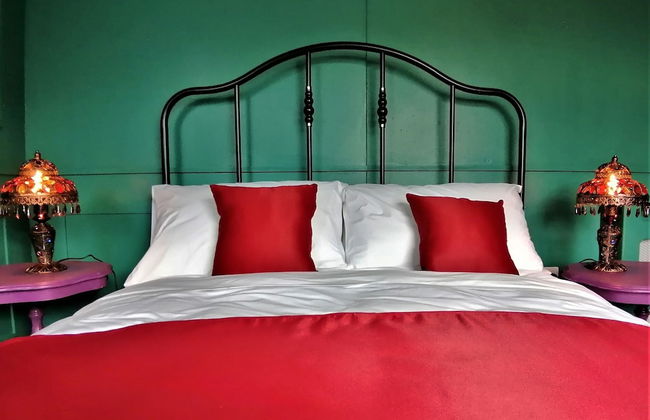


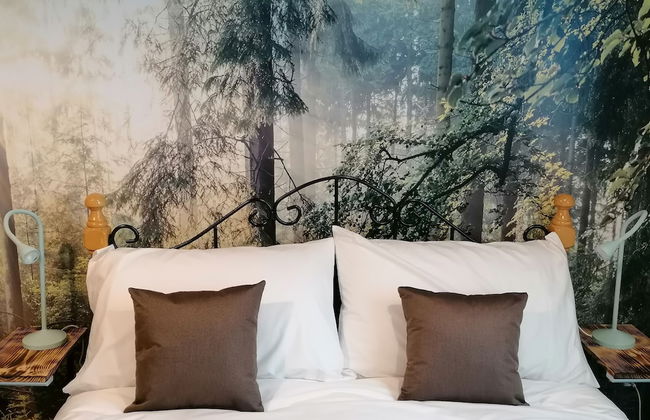


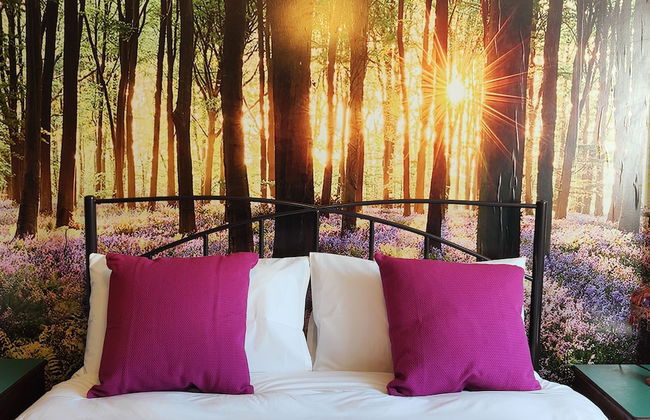


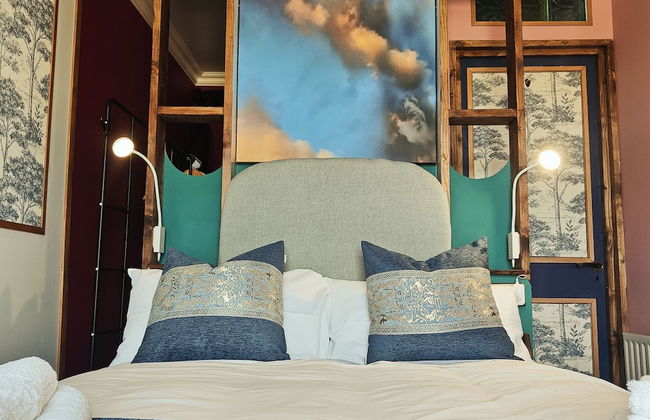

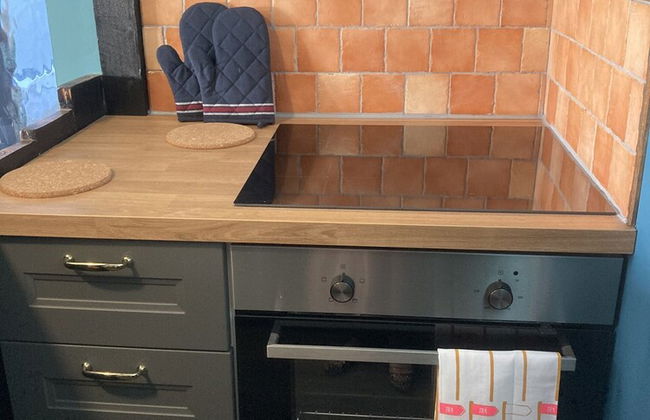
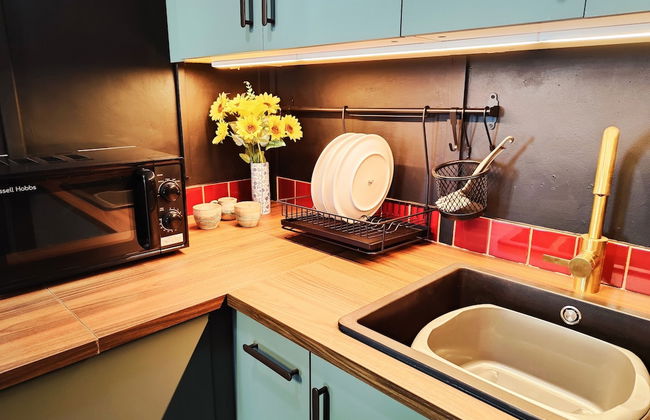


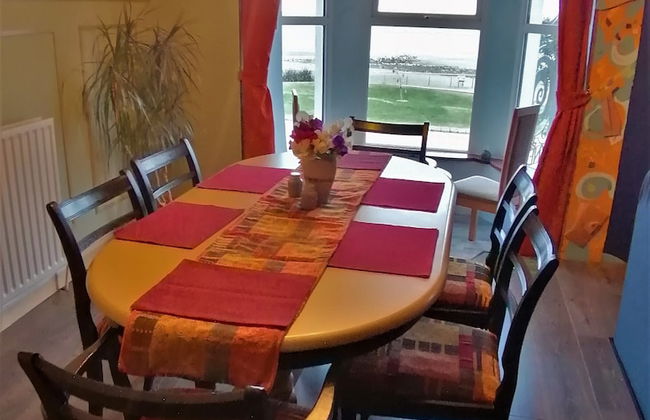


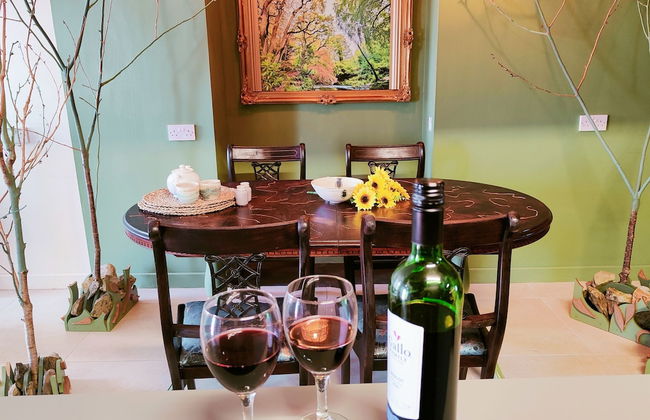


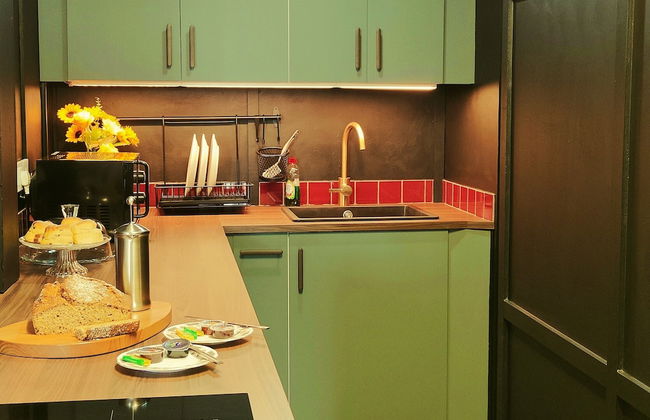


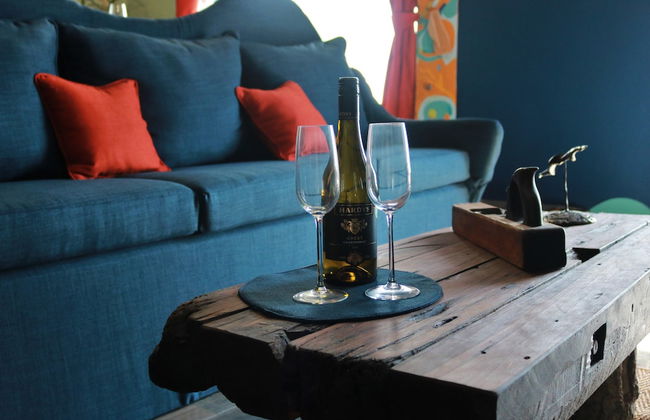


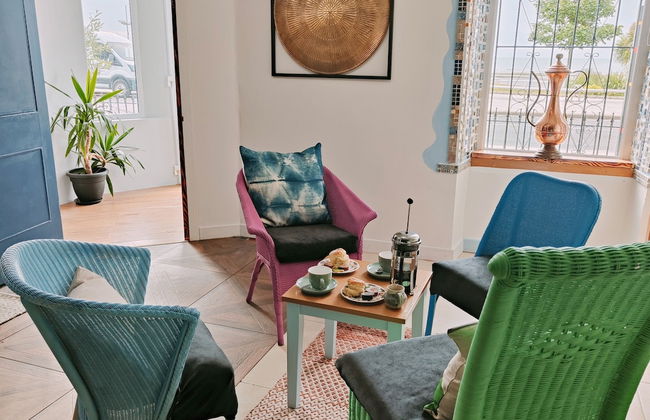
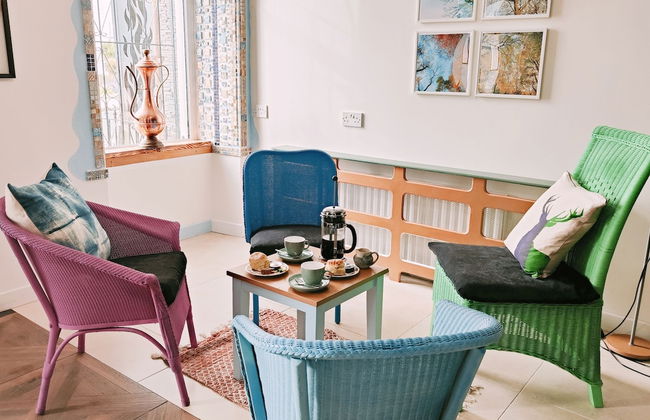
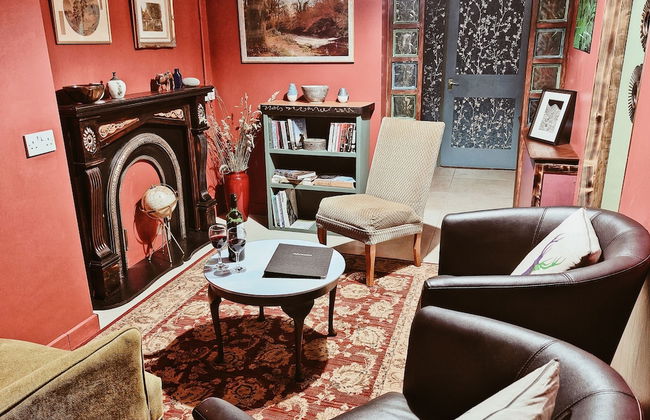


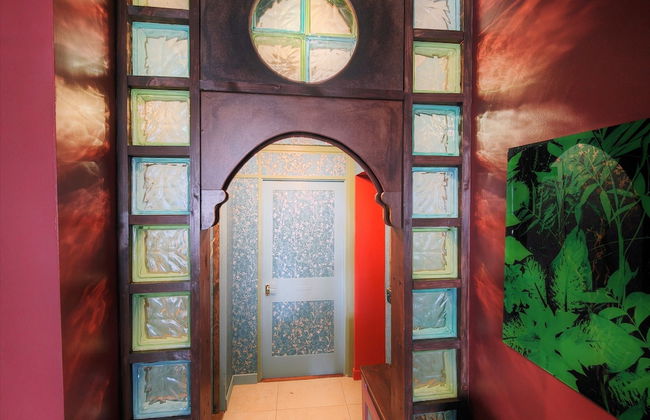


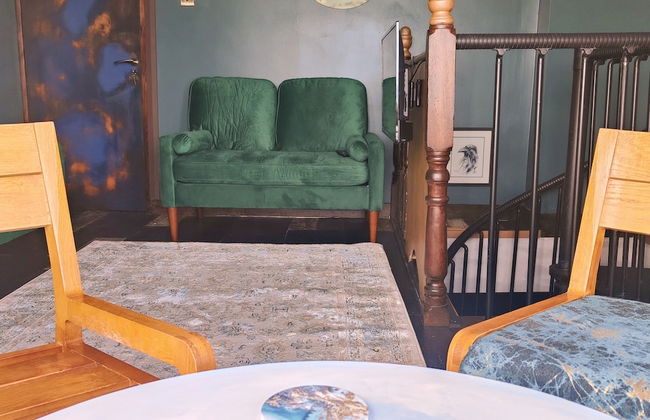

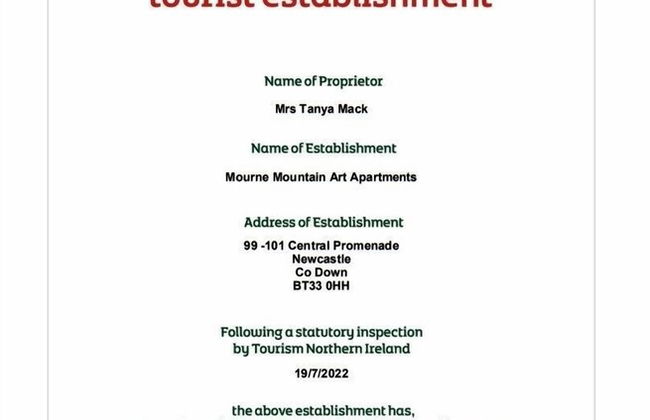

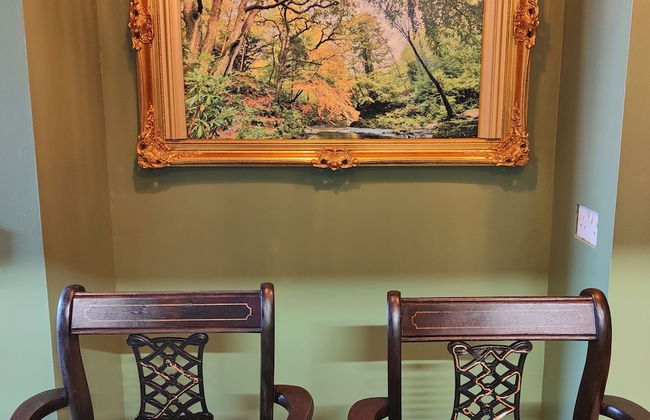

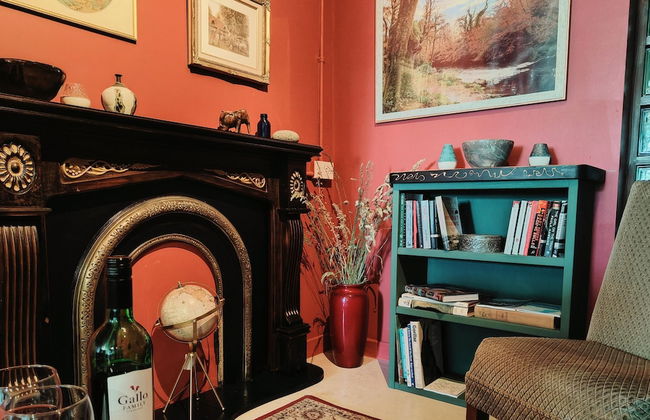


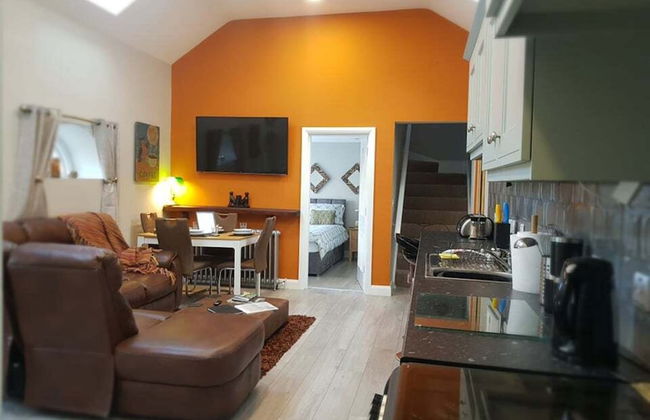
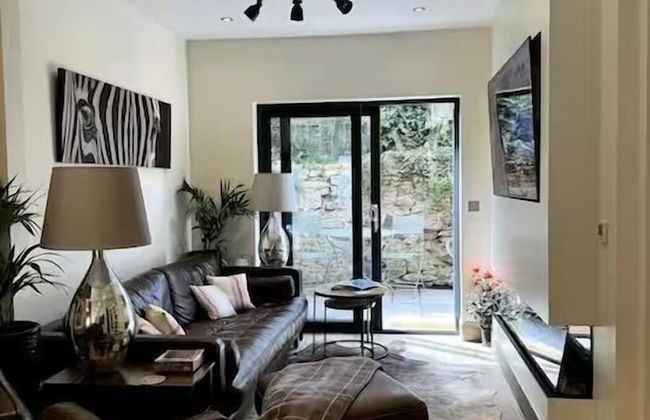
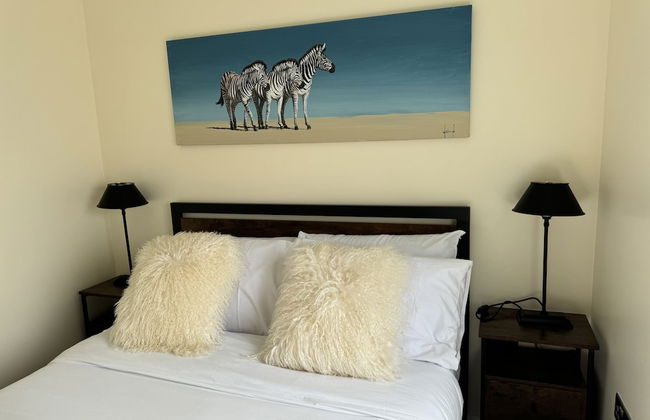
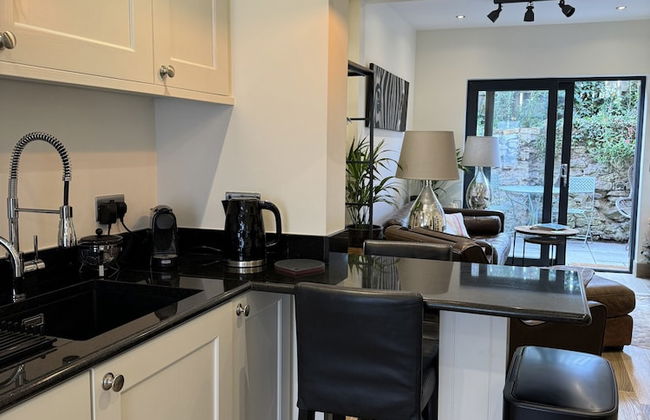
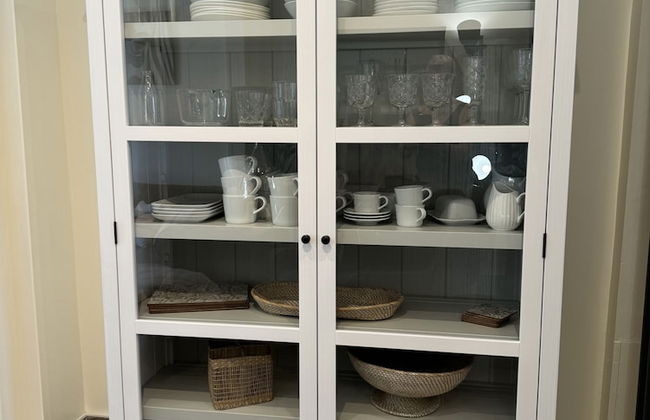
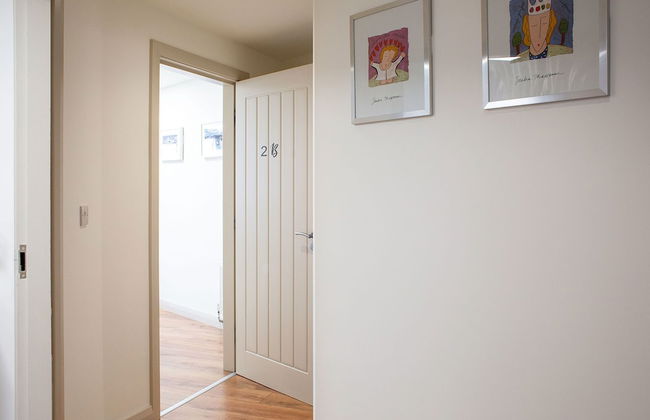
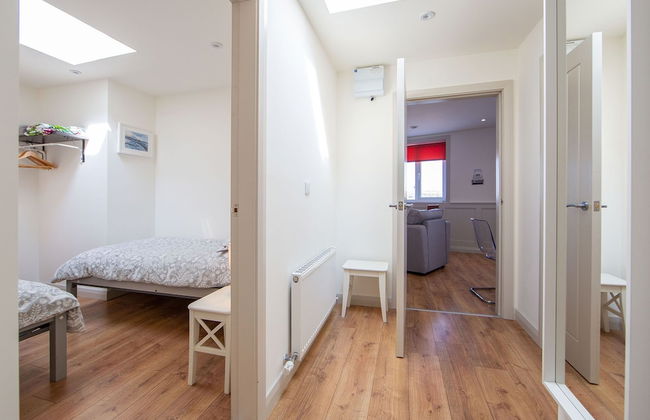
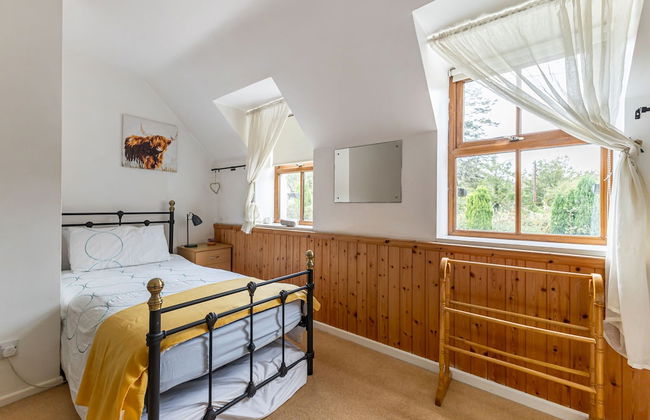
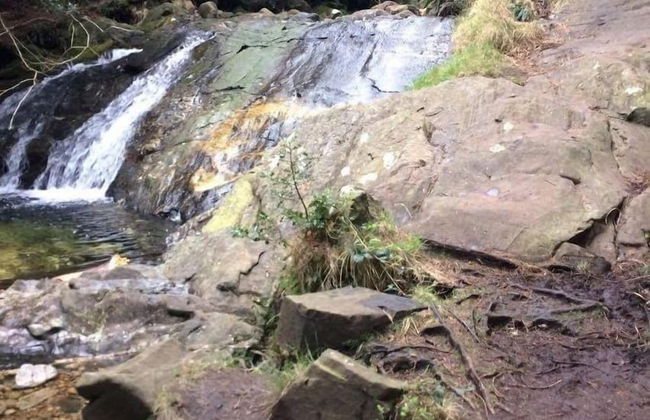
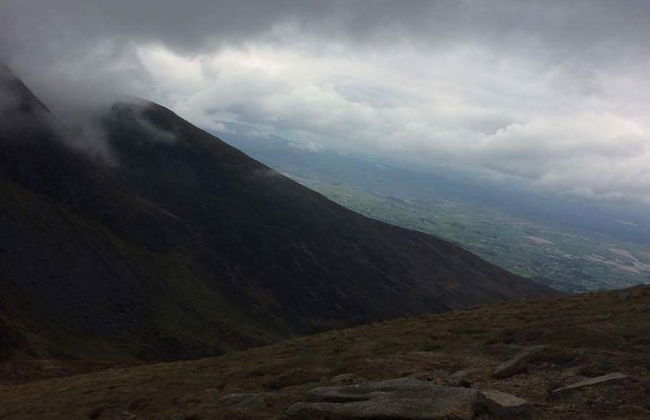
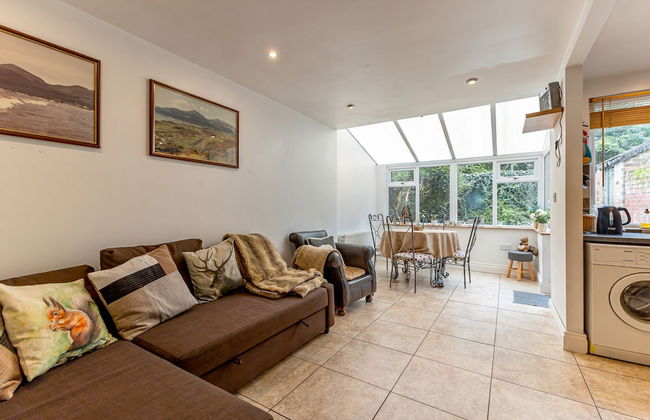
Mourne Mountain Art Apartments
Newcastle - Newcastle
- 76 M2
- 6 pessoas
- Aquecimento
- Estacionamento
- Tv
- Máquina de lavar roupa
- Toalhas
- Lençóis
7 avaliações


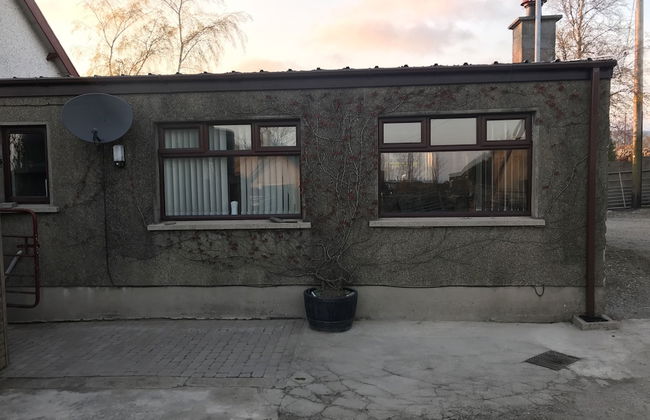
Foot of the Mournes - Cottage - Sleeps 4 - Parking
Newry - Ballymartin
- 70 M2
- 4 pessoas
- Aquecimento
- Estacionamento
- Tv
- Máquina de lavar roupa
- Chaminé
- Toalhas
- Lençóis
7 avaliações


Rostrevor Valley Holiday Park- En-suite Rooms with Hot tub and Private Car Service
Newry - Rostrevor
- 50 M2
- 3 pessoas
- Kitchenette
- Aquecimento
- Estacionamento
- Tv
- Chaminé
- Churrasco
- Toalhas
- Lençóis
6 avaliações


Clonlum Holiday Cottages
Newry - Killeavy
- 69 M2
- 5 pessoas
- Kitchenette
- Aquecimento
- Estacionamento
- Jardim
- Tv
- Máquina de lavar roupa
- Toalhas
- Lençóis
10 avaliações


Cobbles Cottage - 2 Bedroom Stone Built Cottage
Ballynahinch - Ballynahinch
- 40 M2
- 4 pessoas
- Aquecimento
- Estacionamento
- Tv
- Toalhas
- Lençóis
7 avaliações


Rose Cottage Captivating 1-bed Cottage in Bangor
Donaghadee - Donaghadee
- 2 pessoas
- Aquecimento
- Terraço
- Estacionamento
- Jardim
- Tv
- Máquina de lavar roupa
- Chaminé
- Toalhas
- Lençóis
3 avaliações


Bay Tree Cottage
Hillsborough - Hillsborough
- 130 M2
- 4 pessoas
- Aquecimento
- Terraço
- Estacionamento
- Jardim
- Tv
- Máquina de lavar roupa
- Chaminé
- Toalhas
- Lençóis
3 avaliações


Downshire Haven
Holywood - Holywood
- 4 pessoas
- Aquecimento
- Tv
- Máquina de lavar roupa
- Toalhas
- Lençóis
2 avaliações


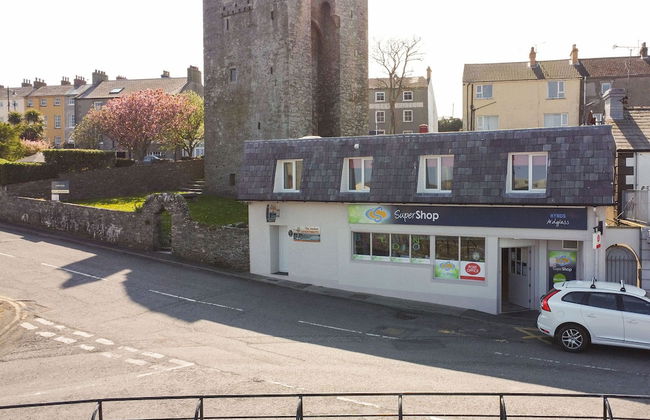

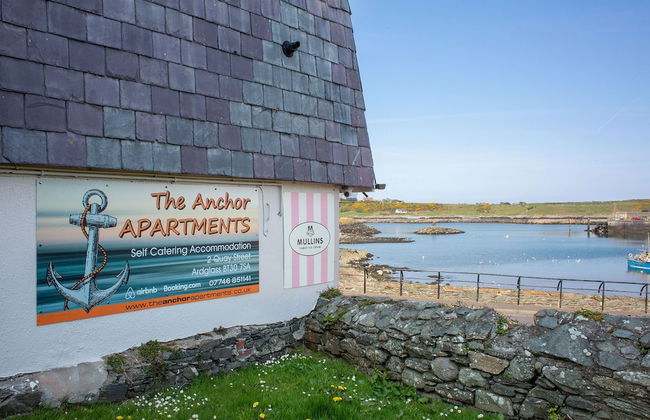
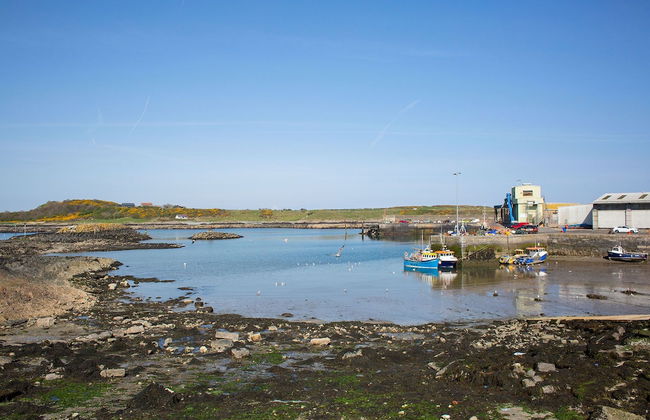

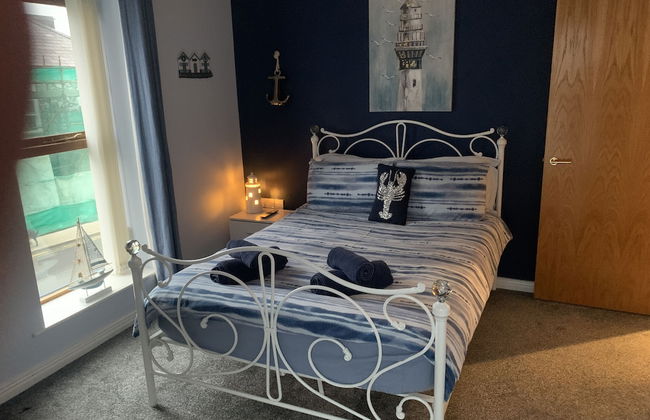
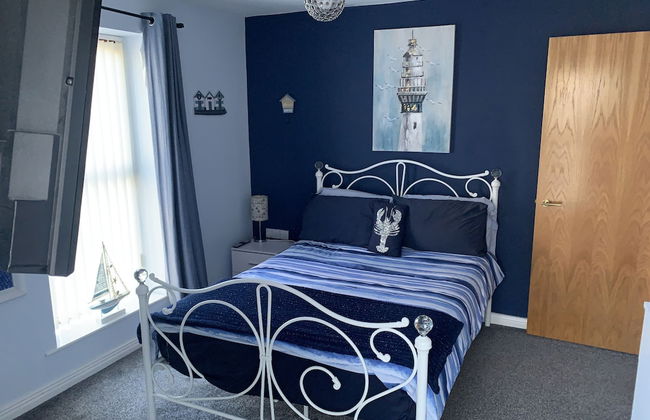
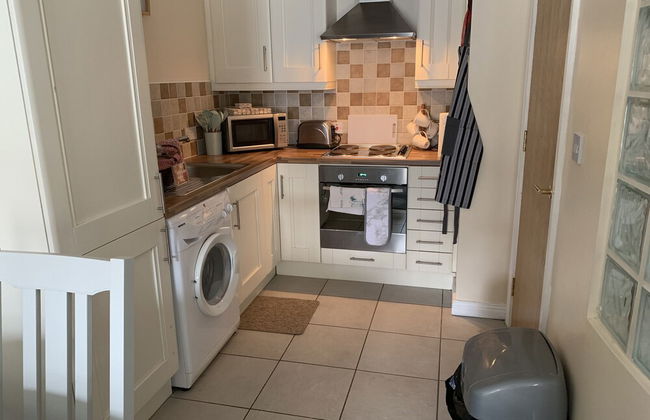
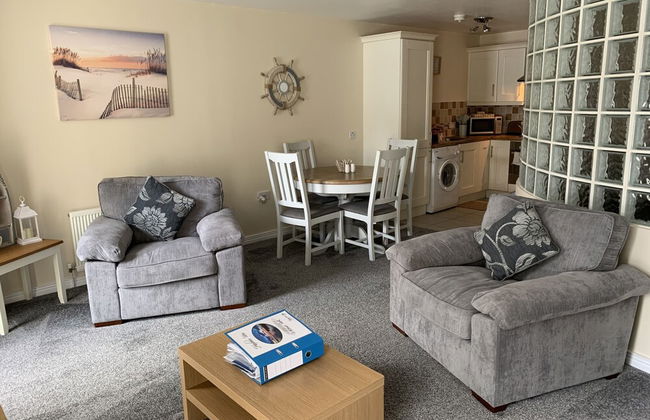
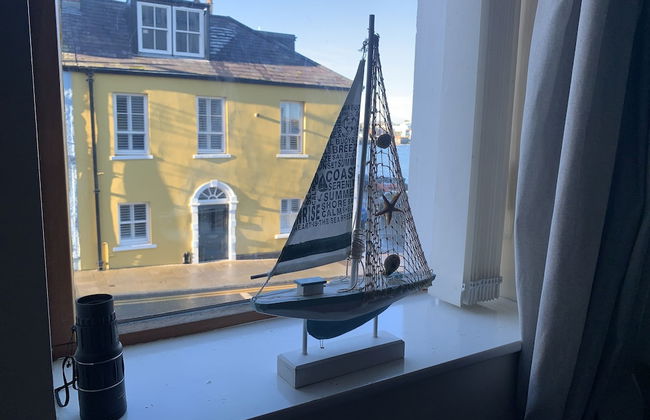
The Anchor Apartments
Downpatrick - Ardglass
- 4 pessoas
- Aquecimento
- Estacionamento
- Tv
- Máquina de lavar roupa
- Churrasco
- Toalhas
- Lençóis
2 avaliações


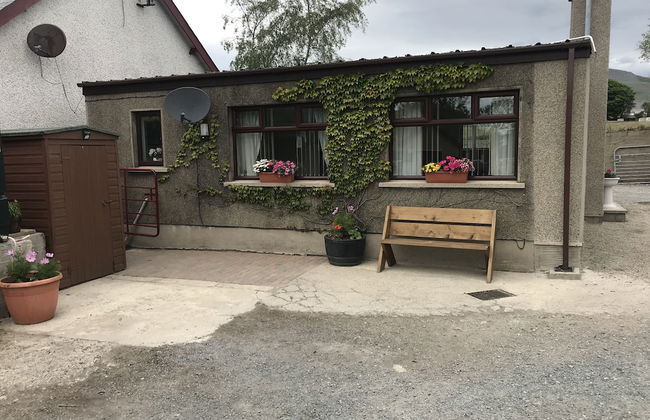
Cosy Barn Conversion in the Mournes
Newry - Ballymartin
- 4 pessoas
- Aquecimento
- Estacionamento
- Tv
- Máquina de lavar roupa
- Chaminé
- Toalhas
- Lençóis
3 avaliações


Apartment Sleeps 2 With Wood Fire
Newry - Silverbridge
- 2 pessoas
- Aquecimento
- Estacionamento
- Chaminé
- Toalhas
- Lençóis
2 avaliações
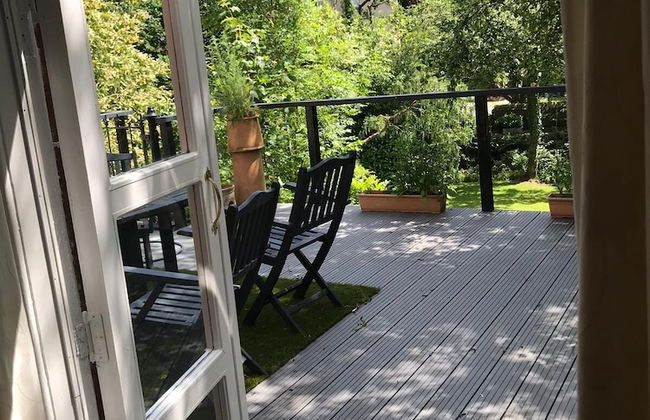
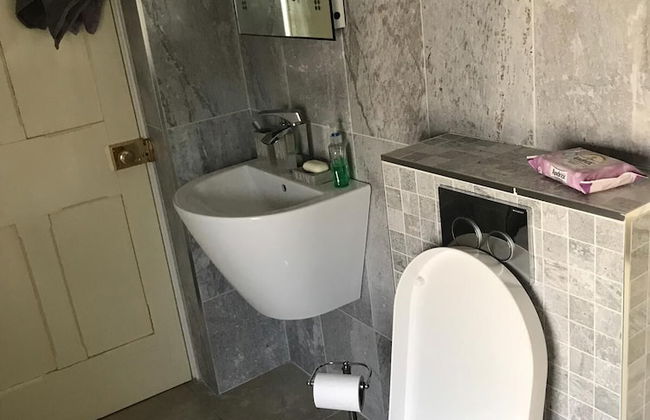
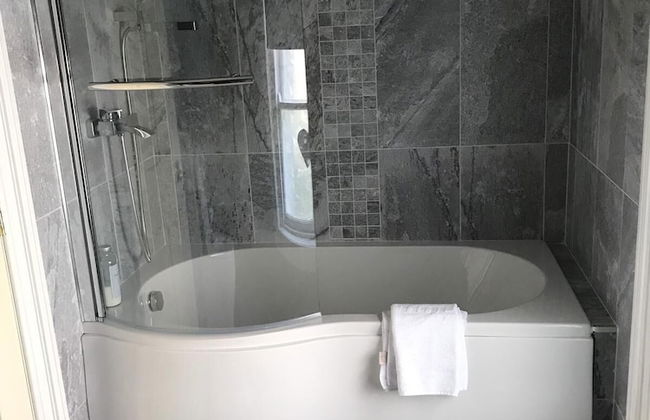


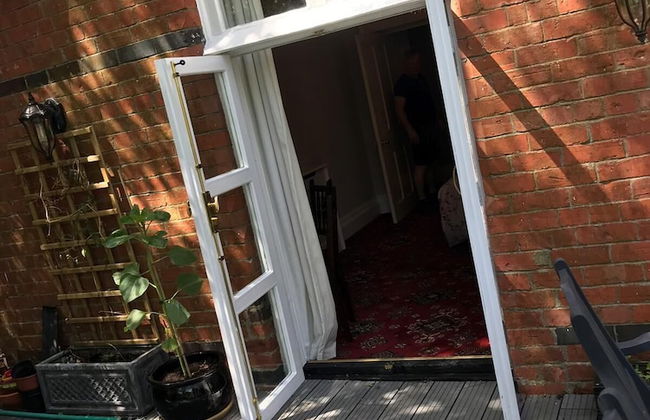
Beautiful Garden Double Room With Private Access
Newry - Rostrevor
- 40 M2
- 2 pessoas
- Aquecimento
- Estacionamento
- Jardim
- Tv
- Toalhas
- Lençóis
2 avaliações


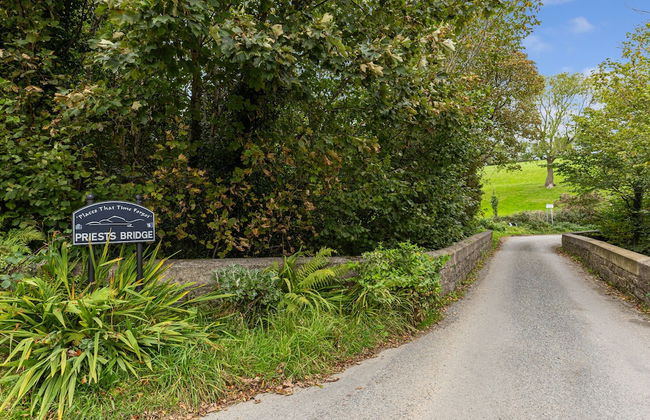

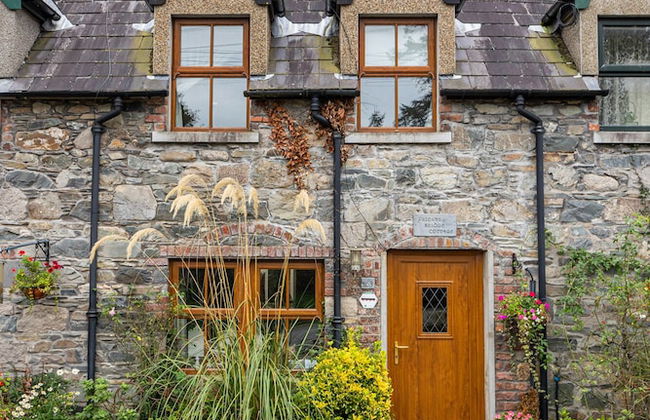

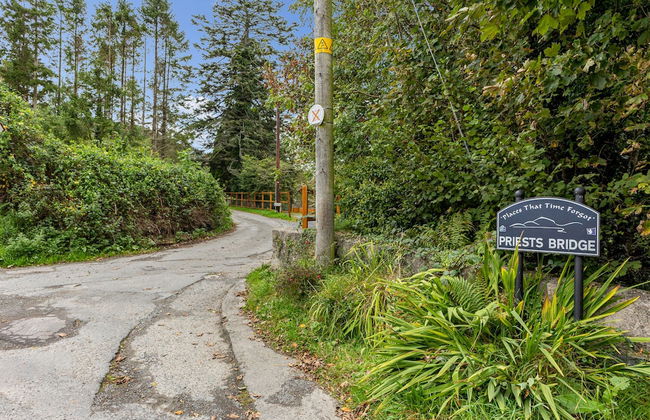


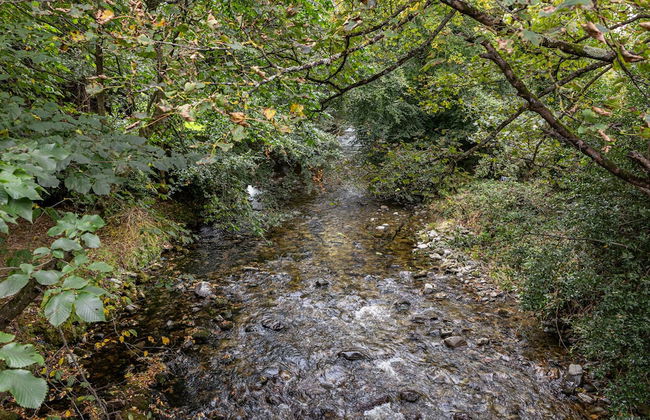

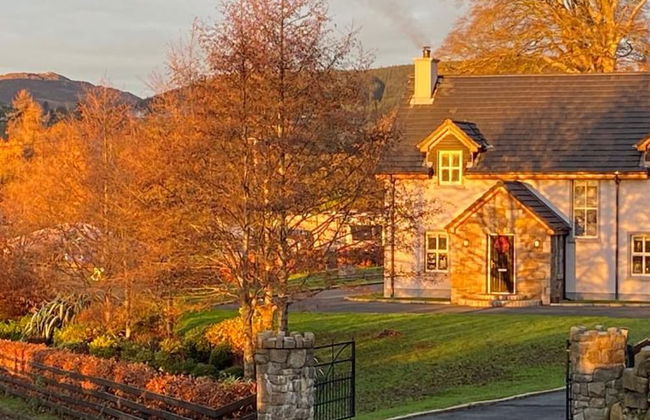
Priest Bridge Cottage
Newcastle - Newcastle
- 80 M2
- 9 pessoas
- Aquecimento
- Estacionamento
- Jardim
- Tv
- Máquina de lavar roupa
- Chaminé
- Churrasco
- Toalhas
- Lençóis
6 avaliações