
299 Apartamentos em Gauteng


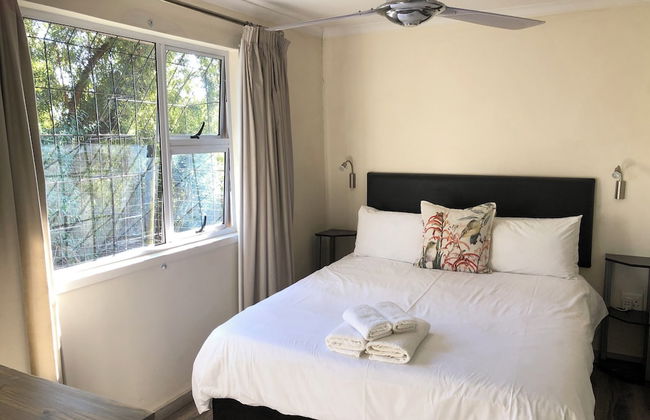


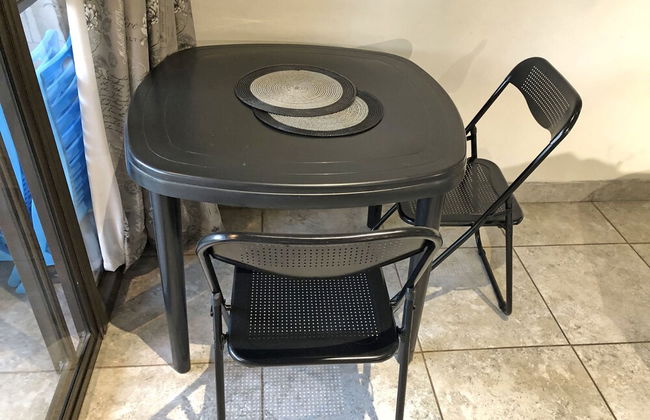


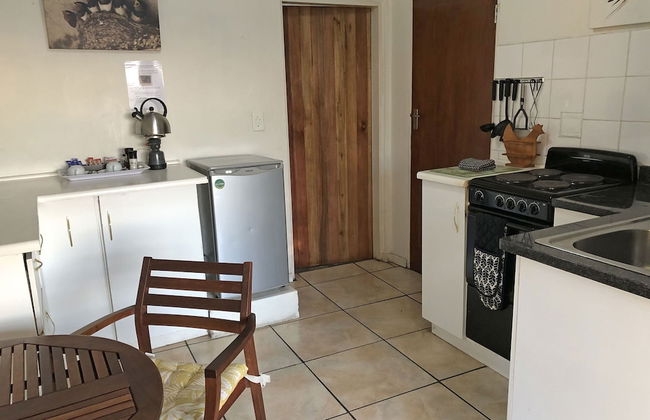


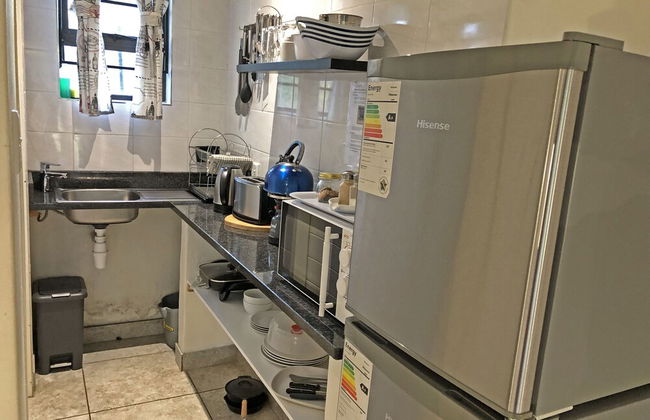

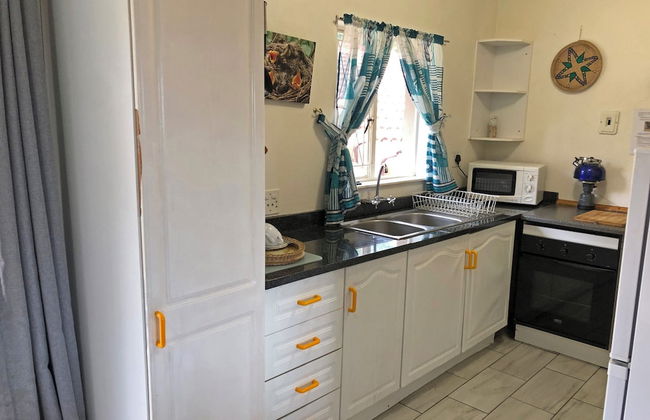

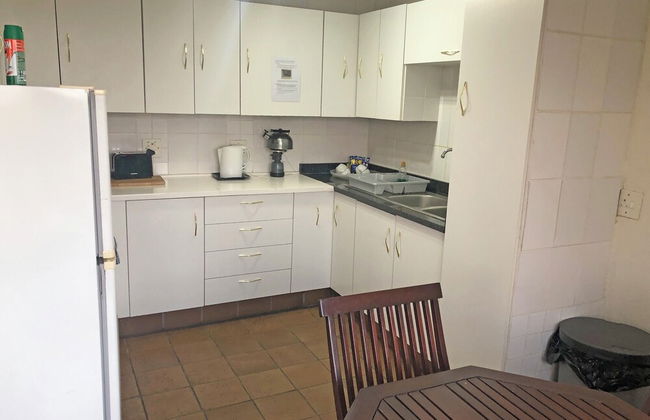

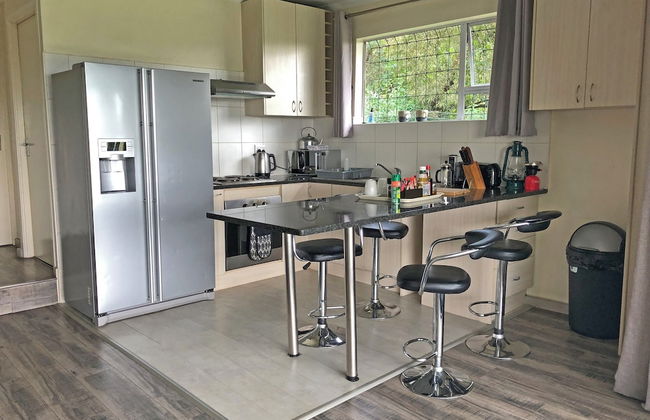
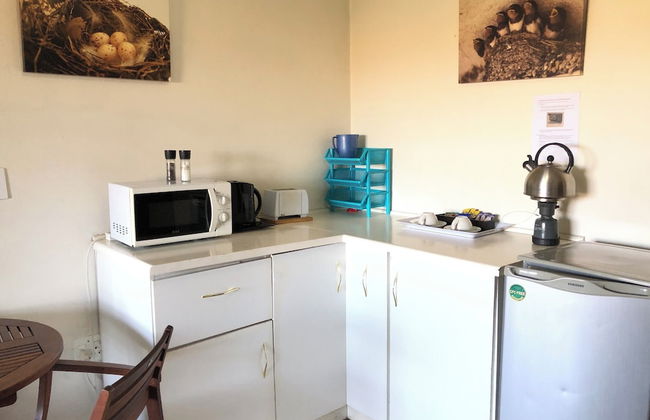
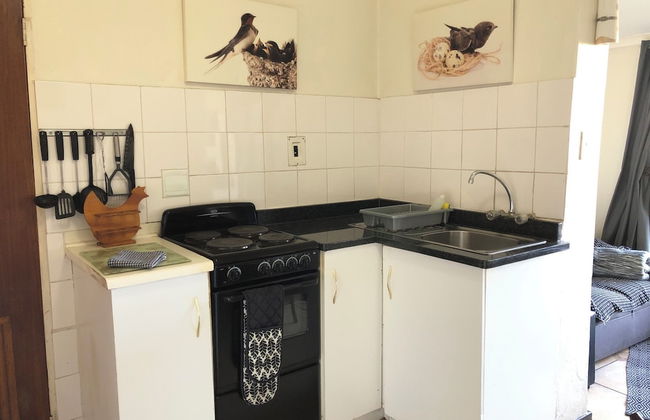


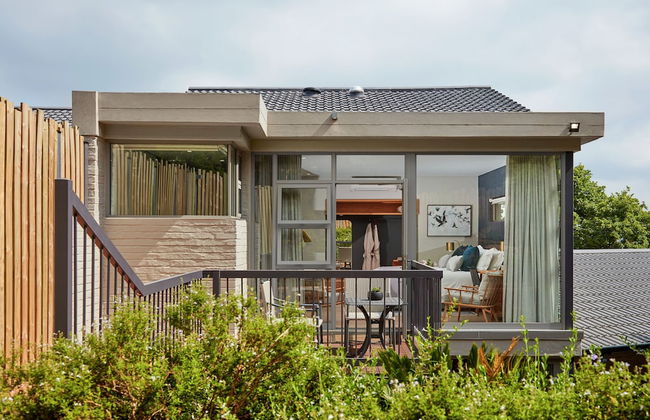
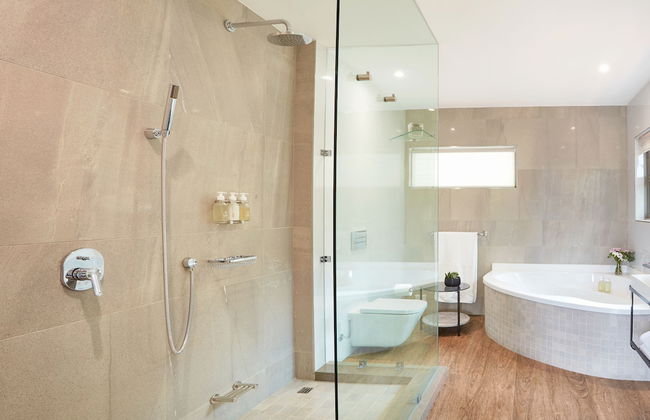
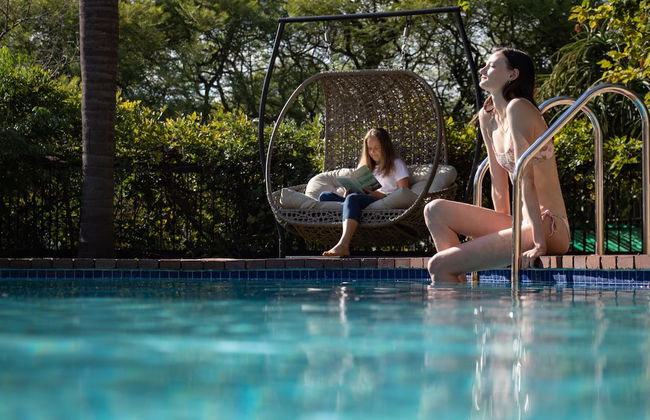
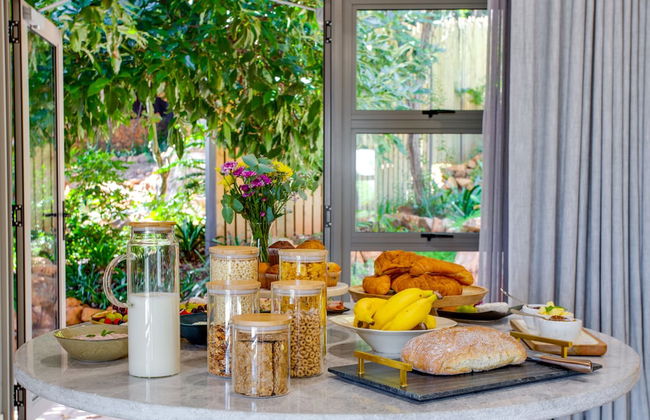
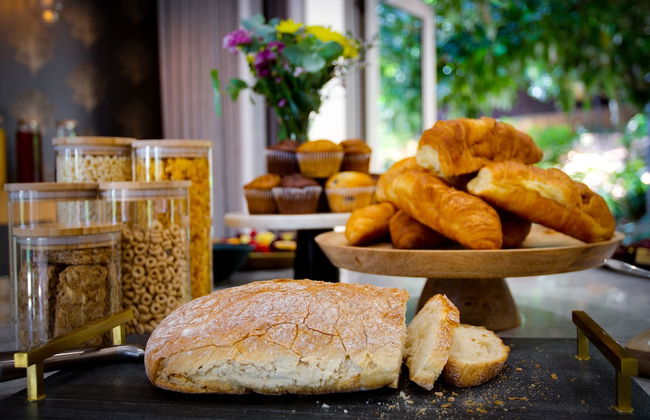
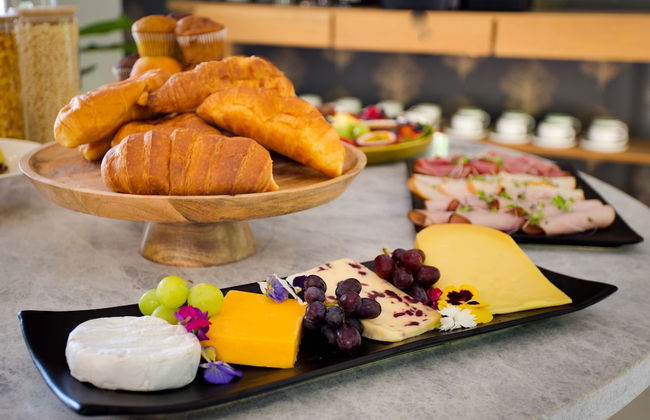
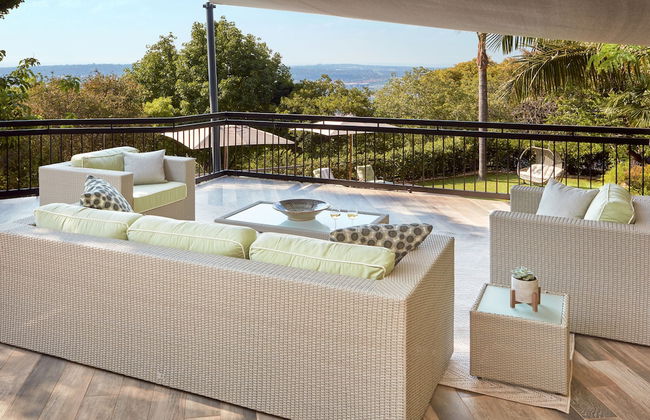
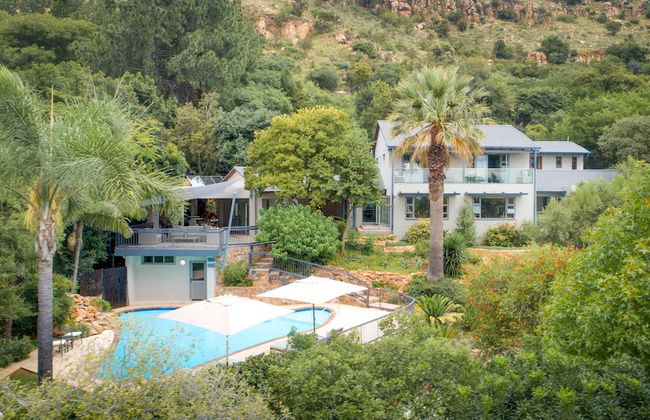
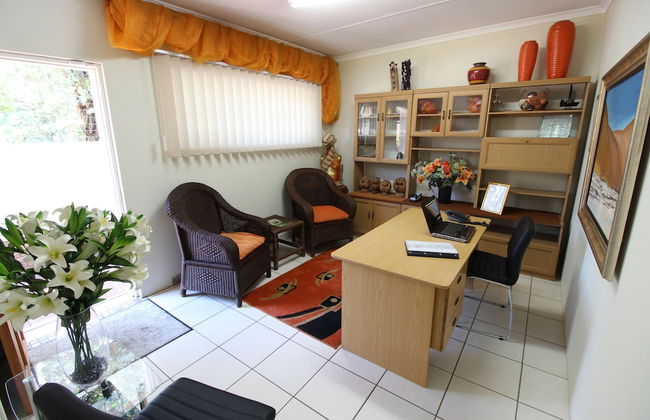
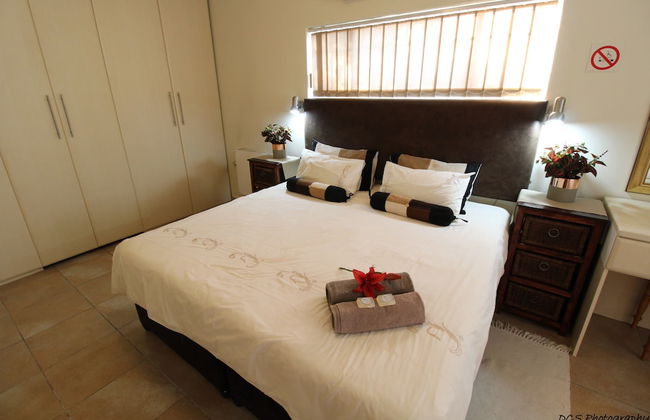
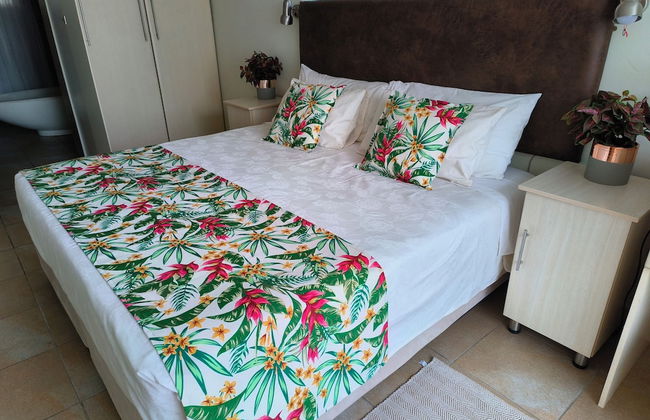
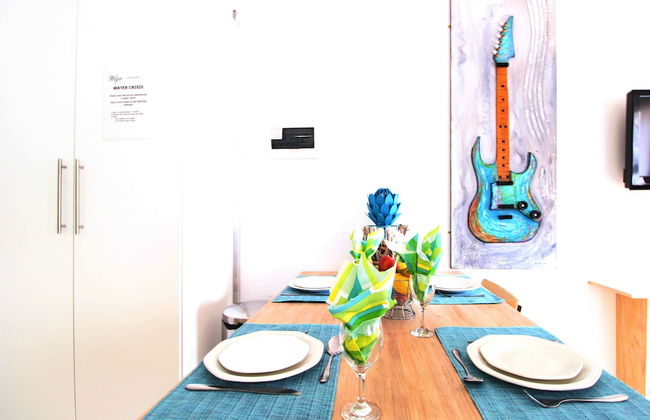
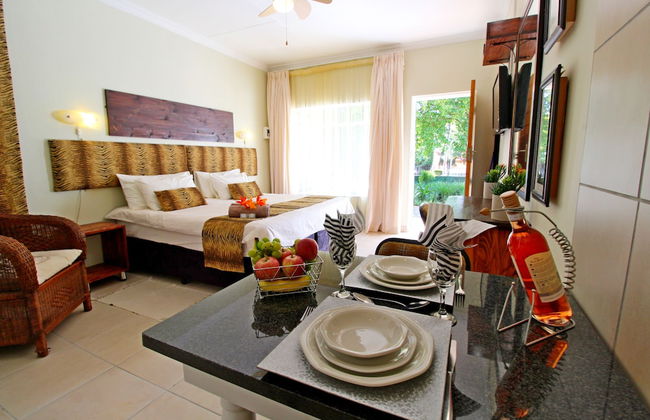
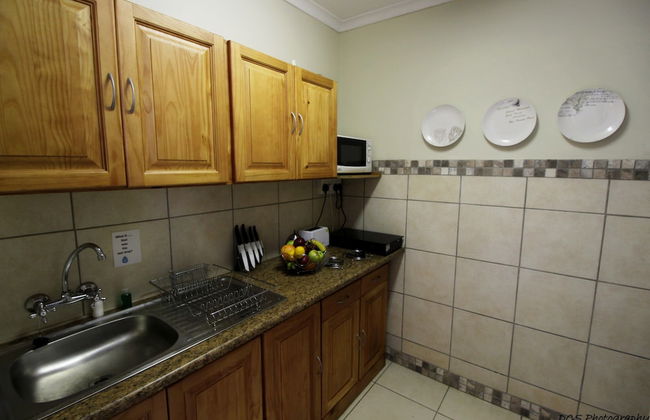
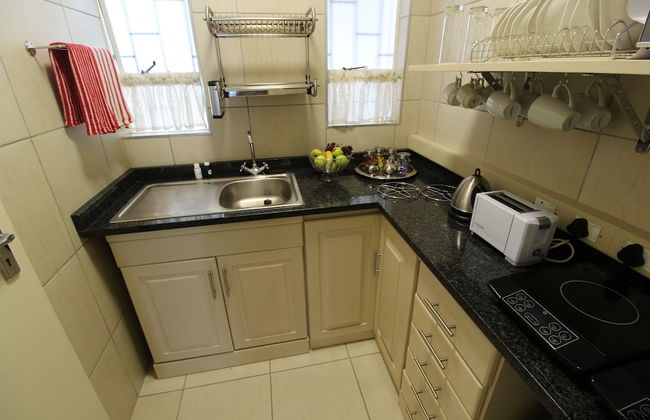
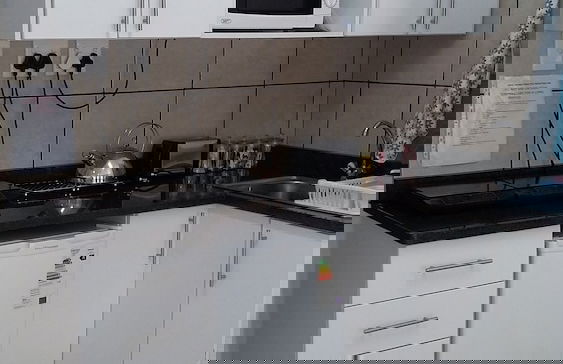
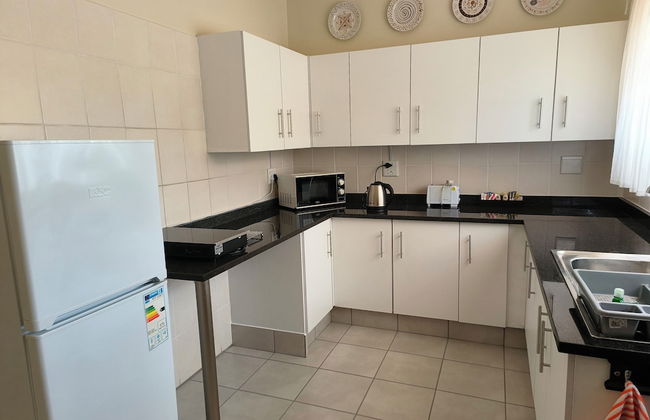
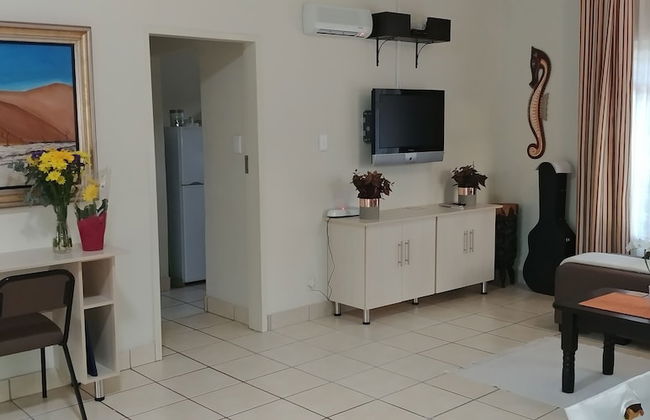
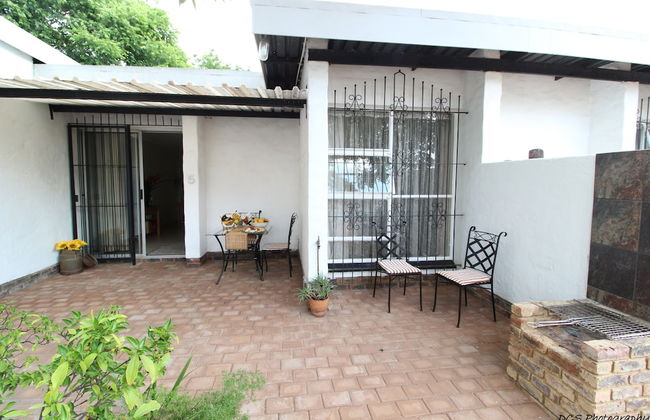
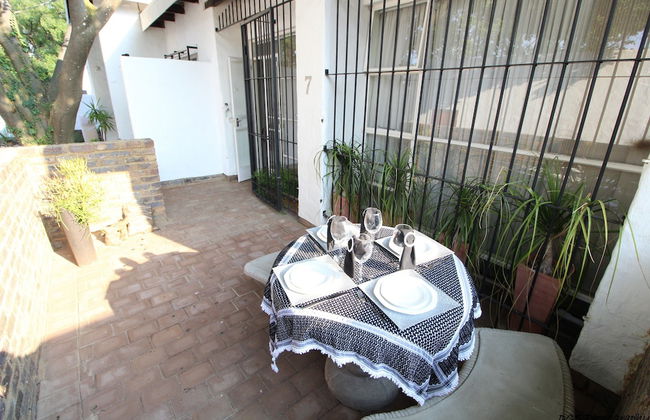
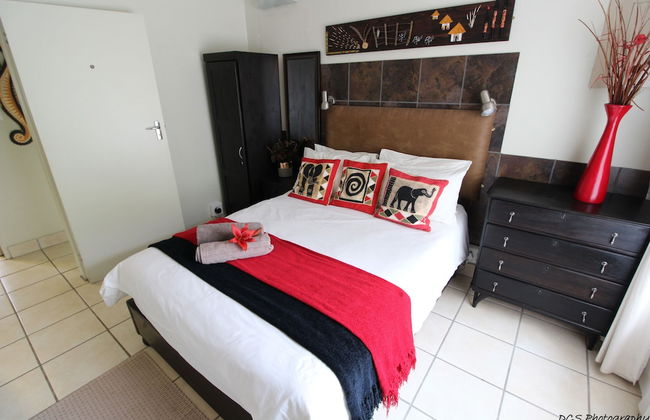
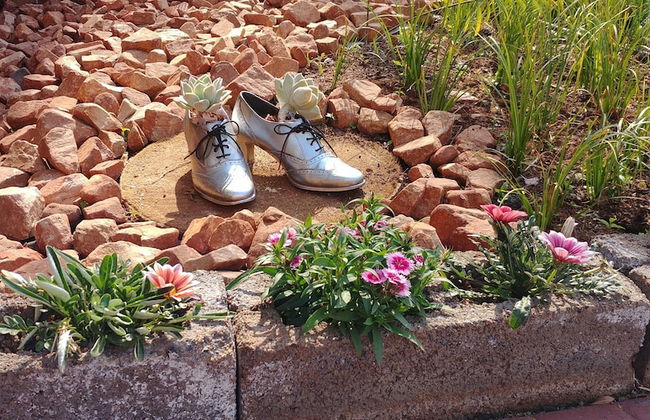
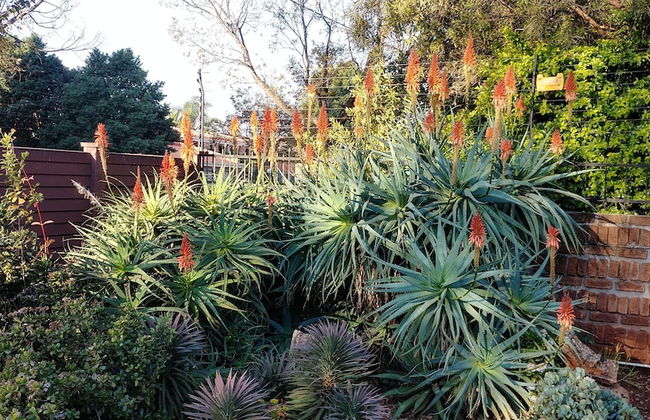
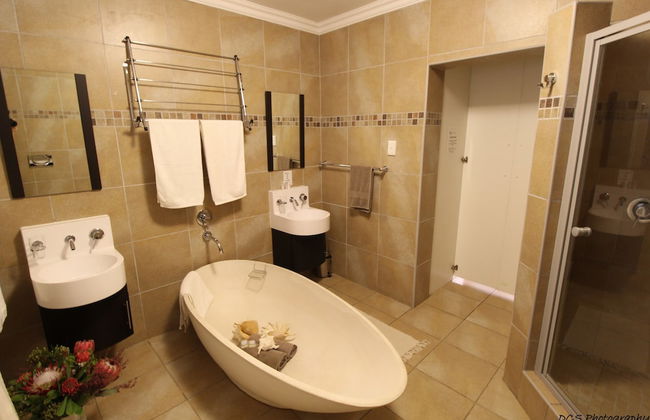
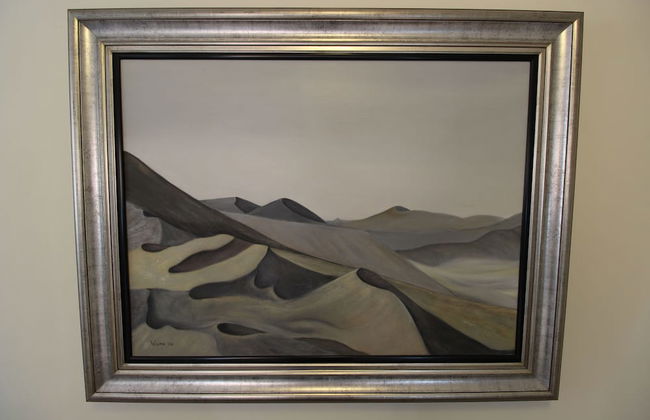
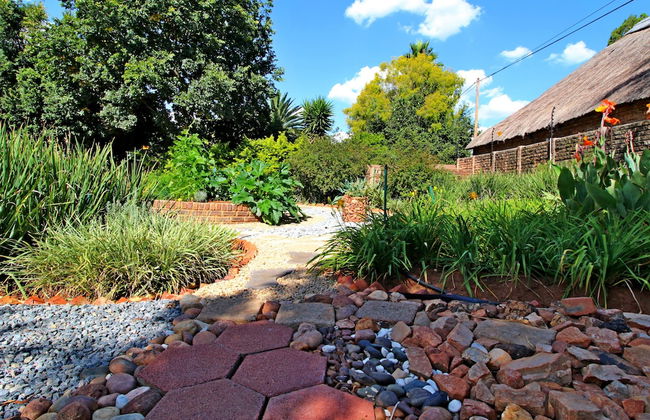
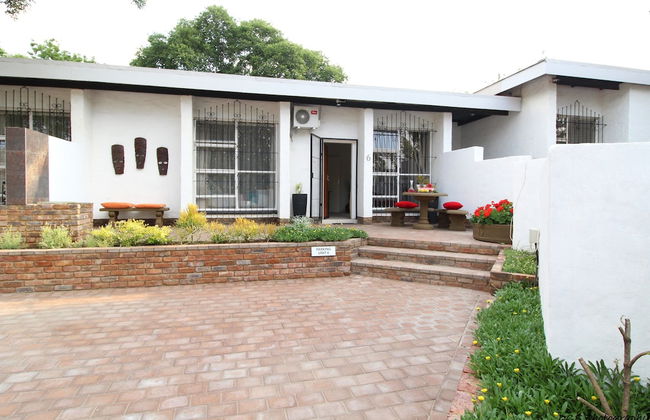
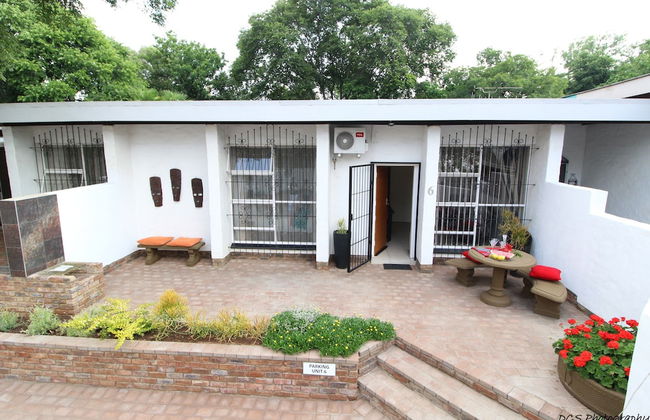
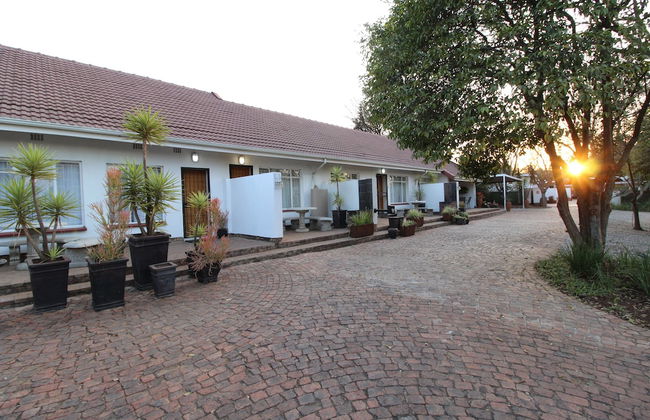
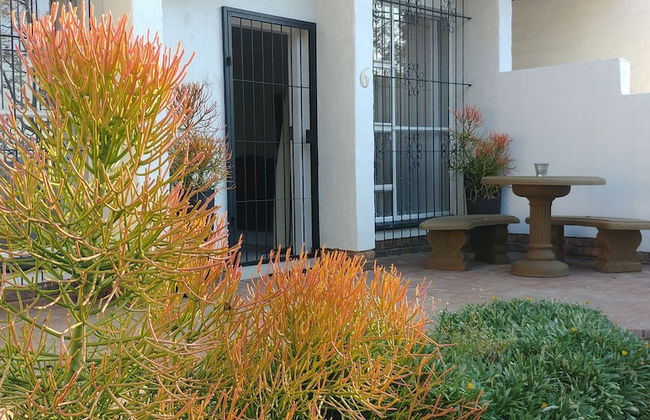
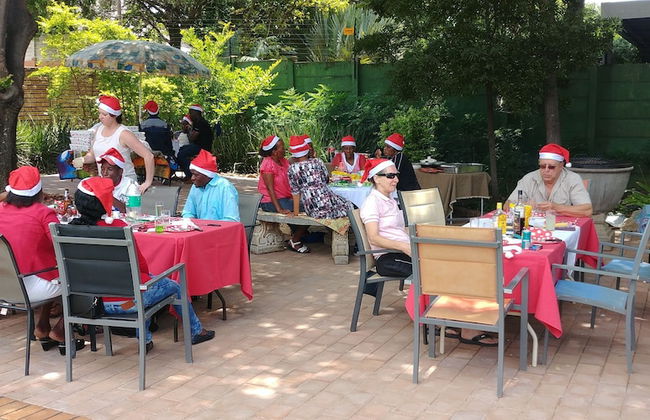
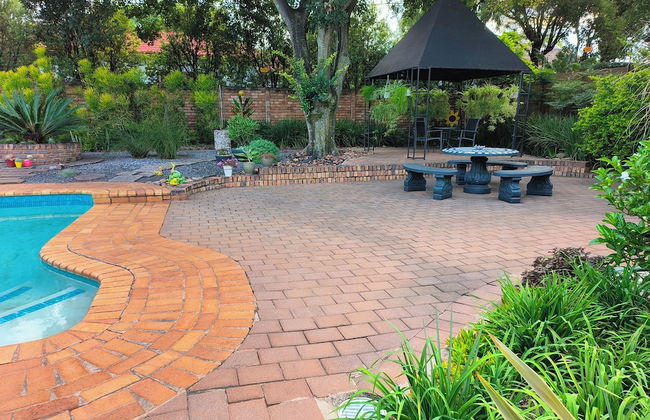
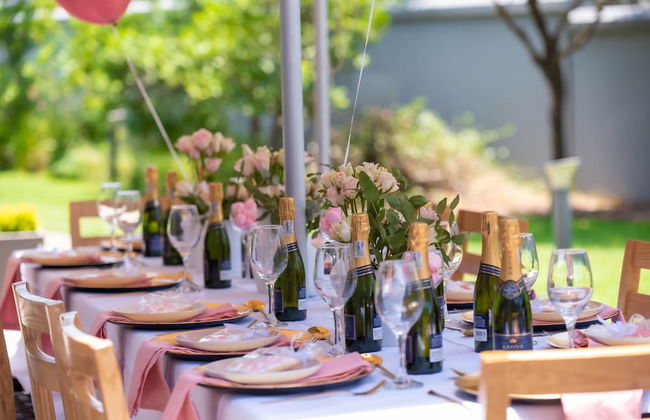
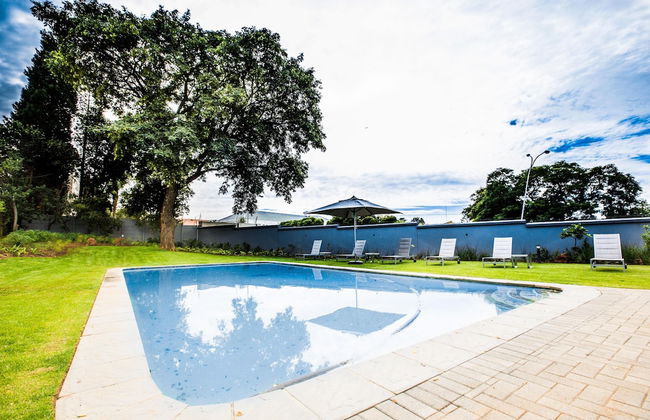
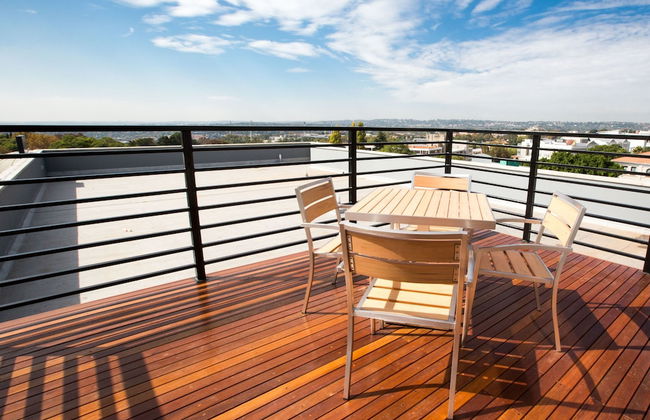
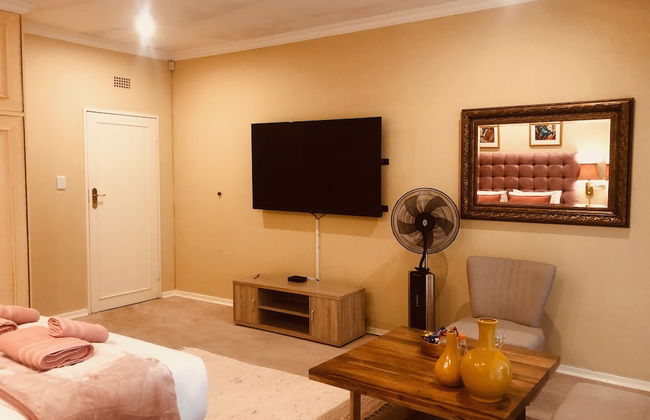
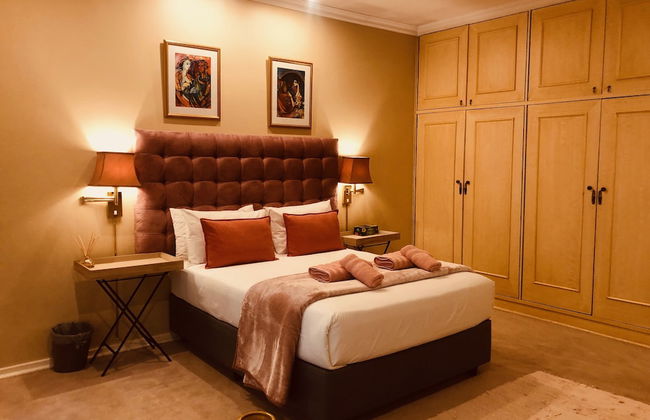
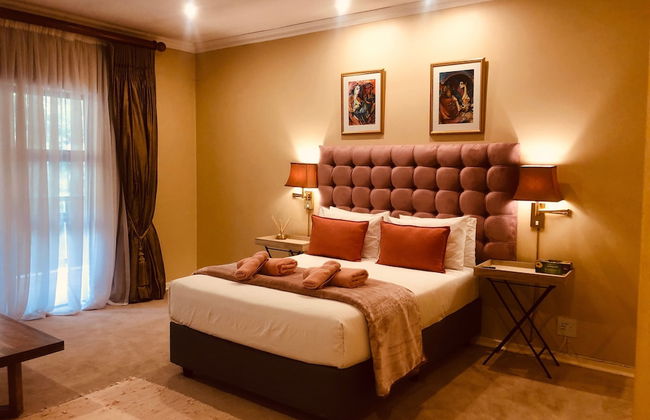
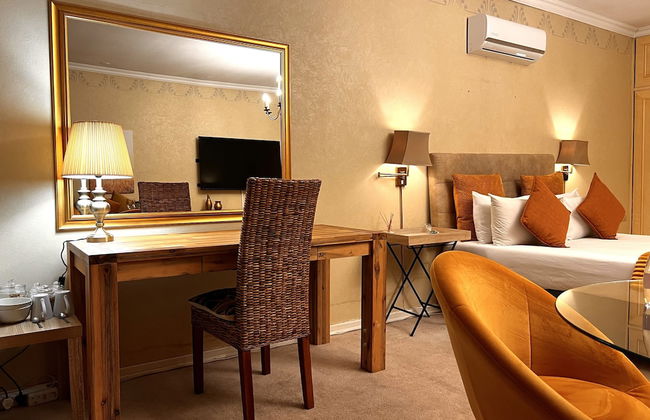
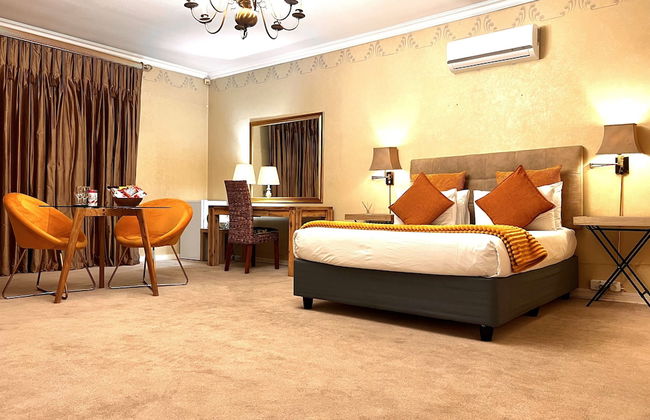
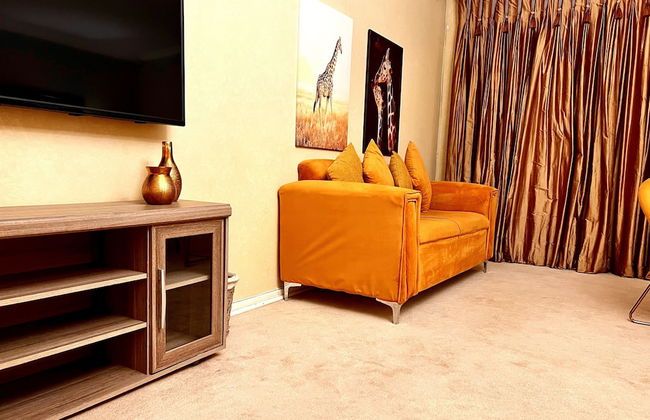
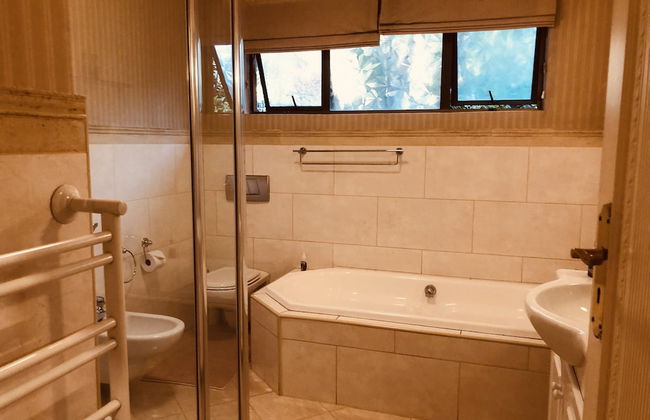
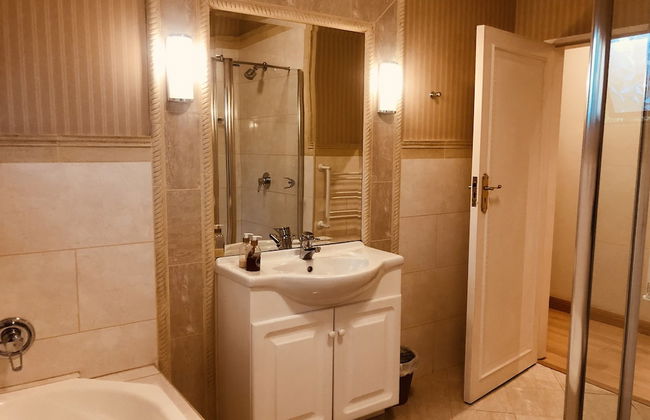
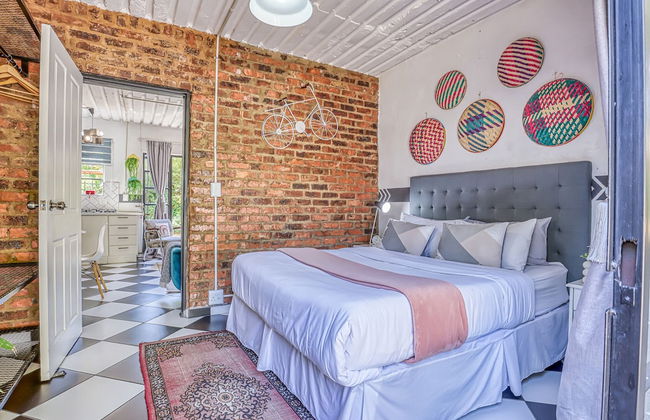
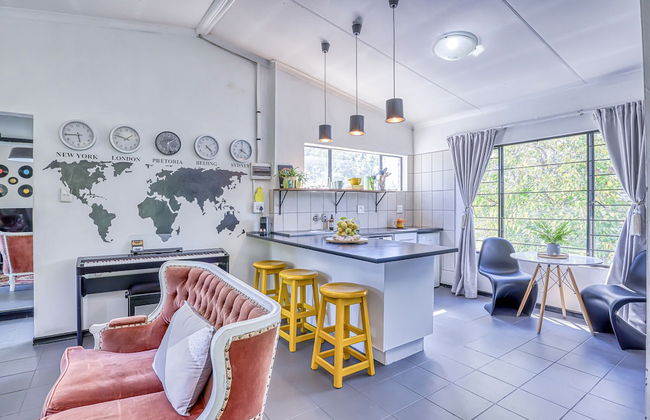
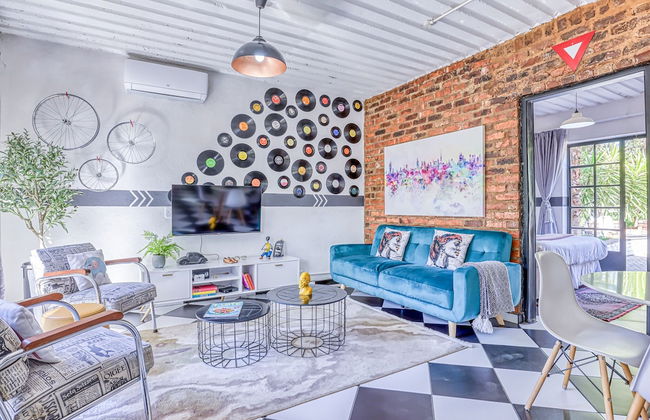
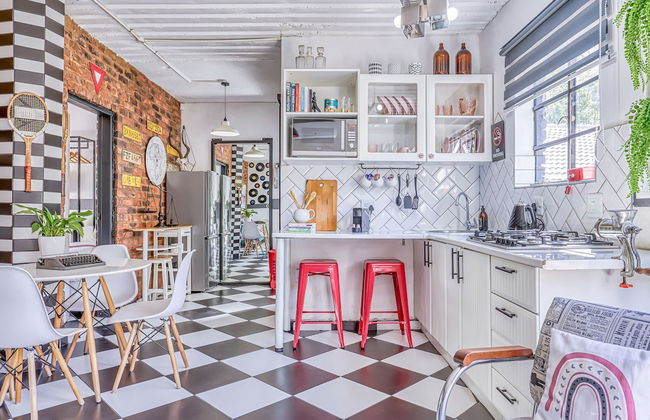
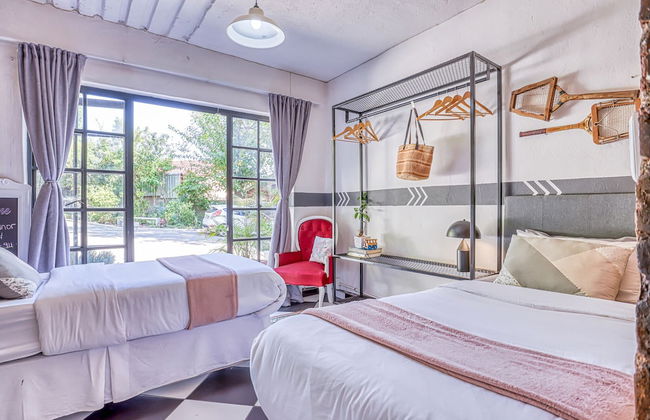
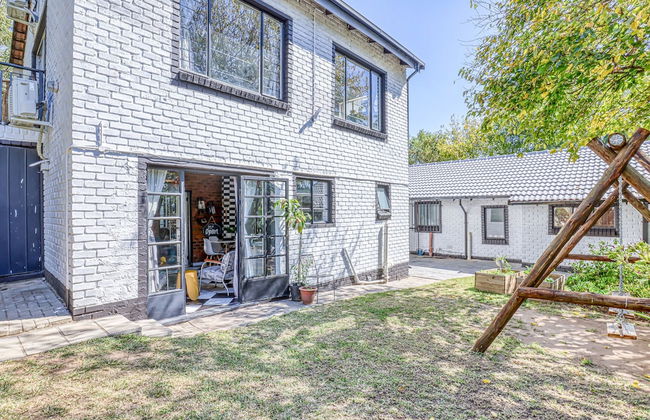
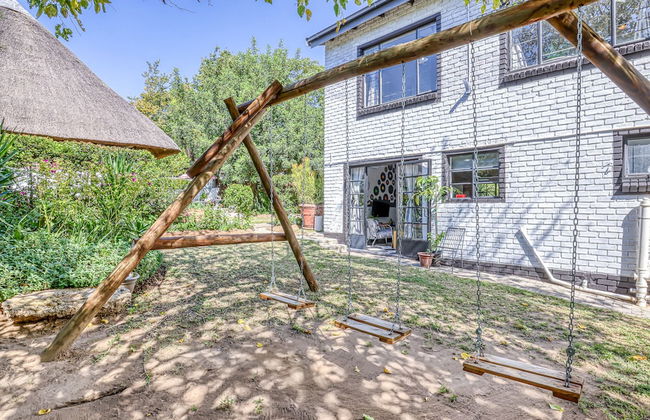
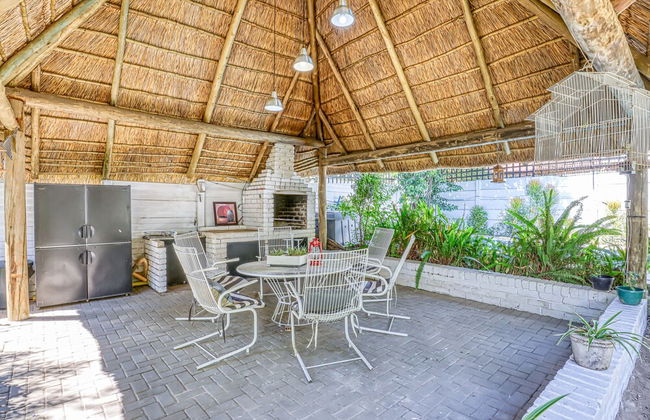
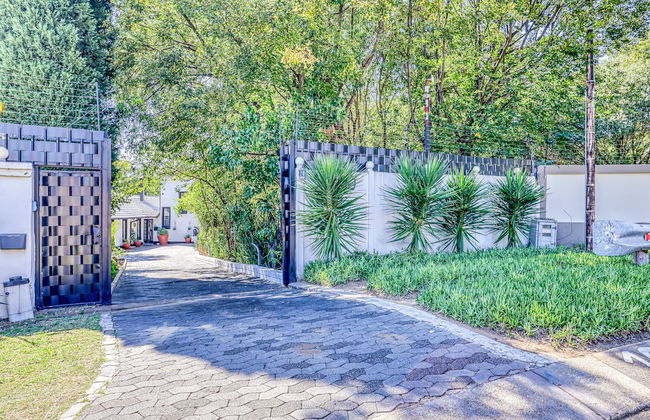
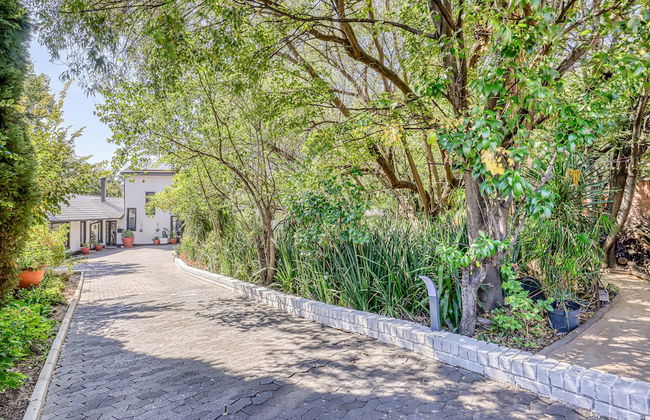
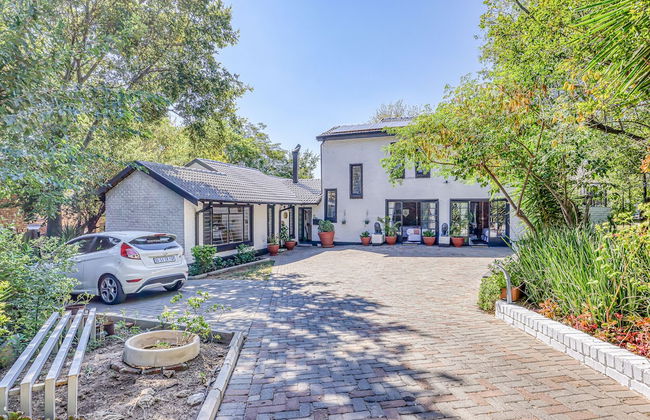
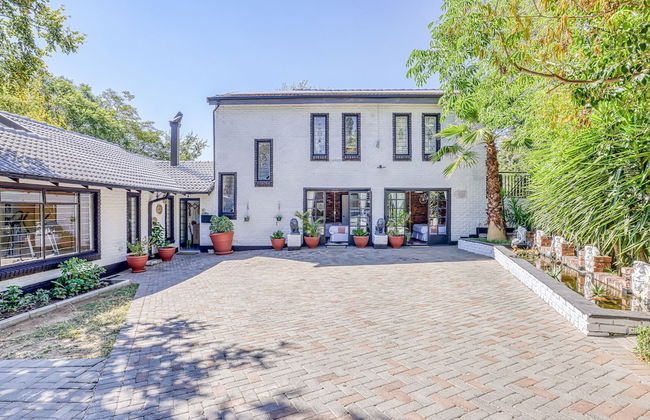
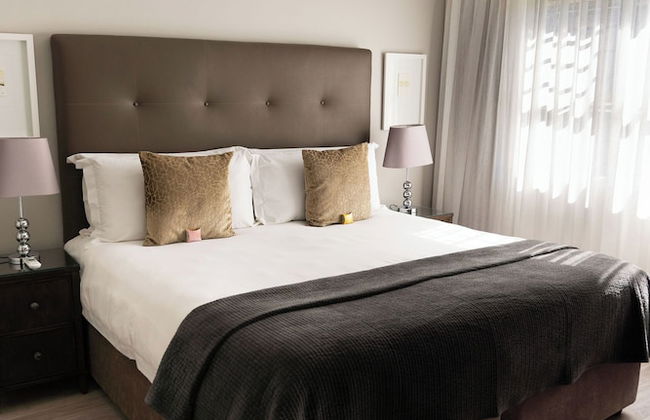
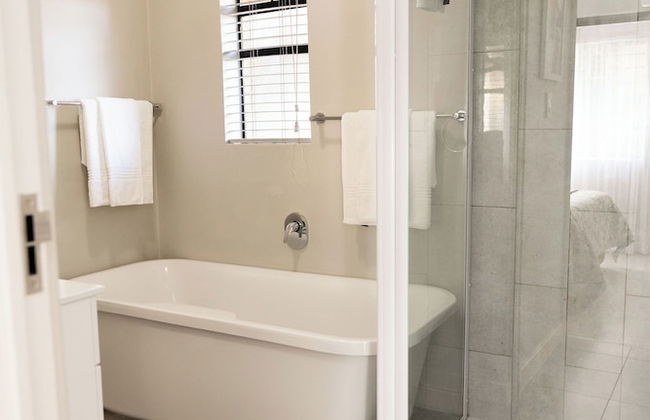
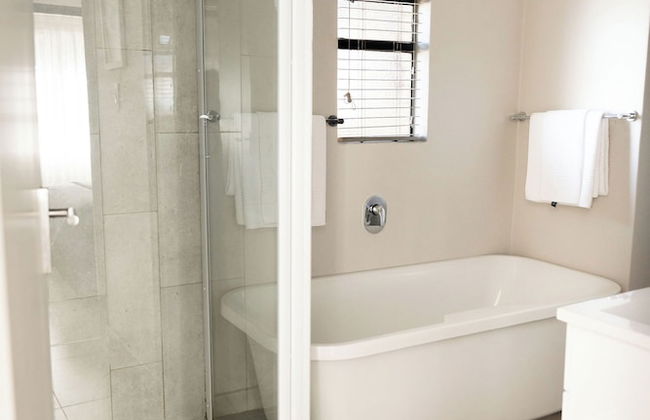
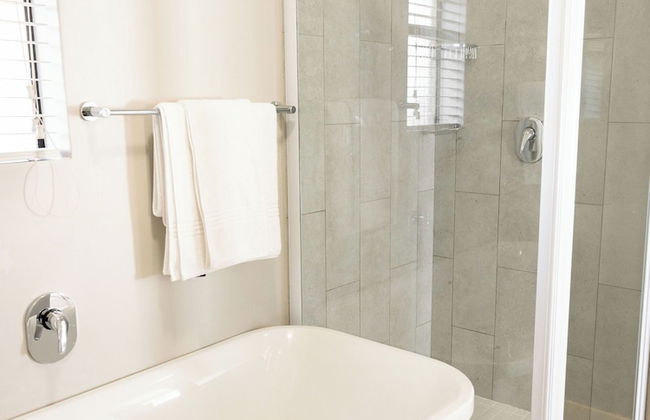
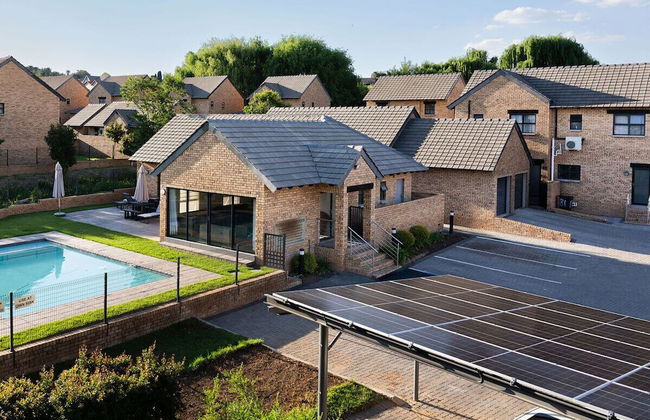
Hills and Dales Accommodation
Lindley AH - 2.8 km do centro
- 120 M2
- 6 pessoas
- Kitchenette
- Ar-condicionado
- Terraço
- Piscina
- Estacionamento
- Varanda
- Jardim
- Tv
- Chaminé
- Churrasco
- Toalhas
- Lençóis
13 avaliações


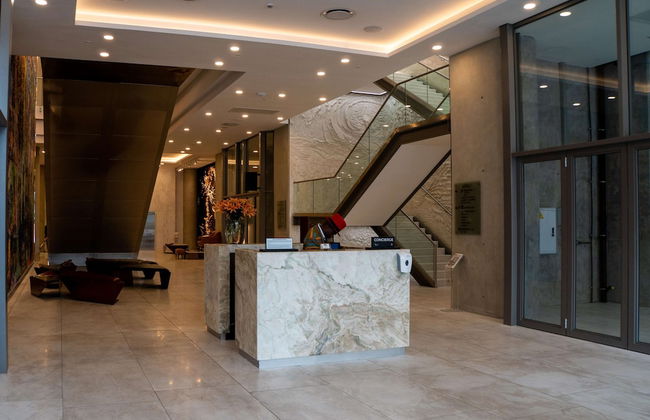
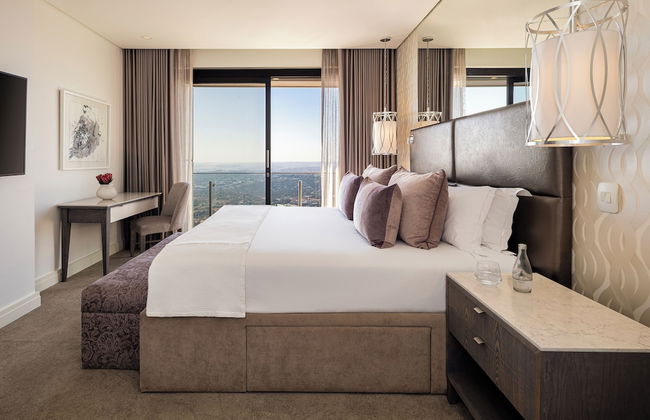
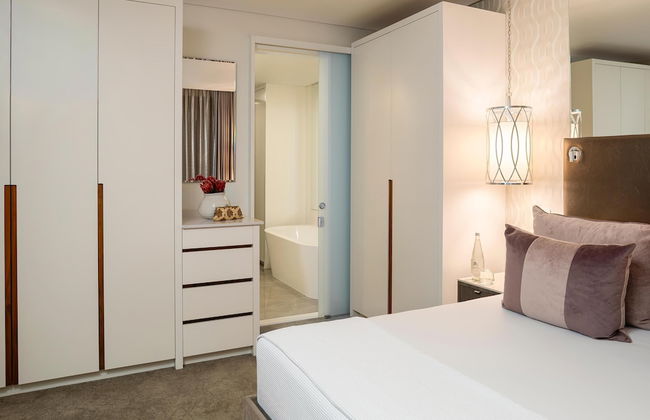
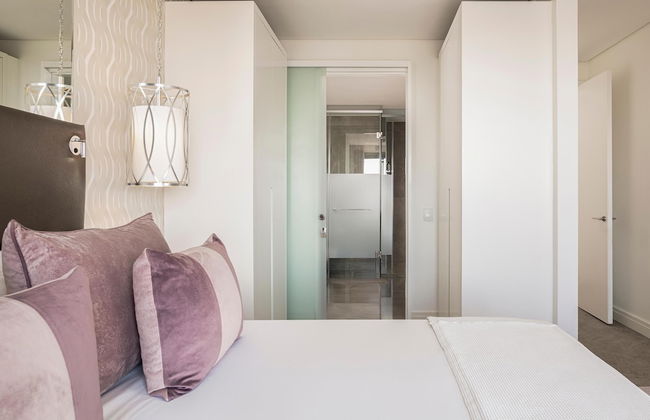
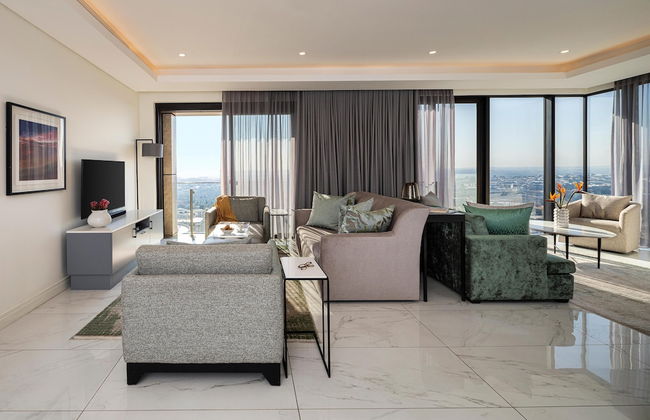
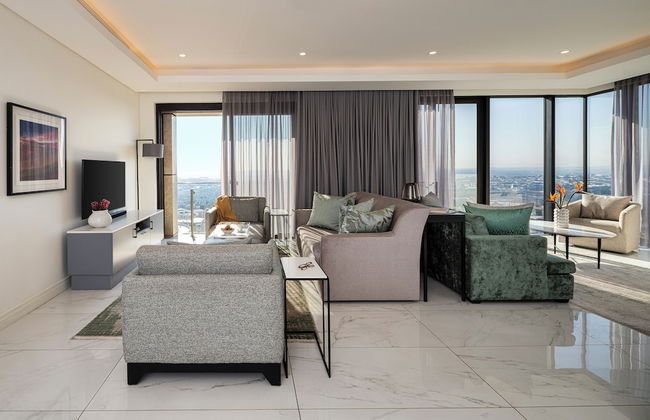
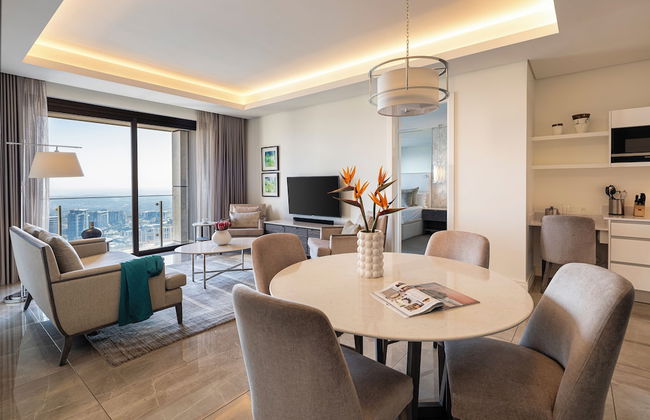
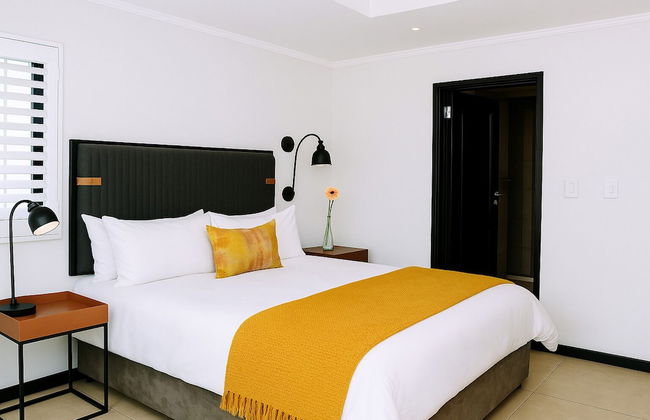
Ellipse Executive Apartments
Waterfall City
- 120 M2
- 5 pessoas
- Ar-condicionado
- Aquecimento
- Piscina
- Estacionamento
- Elevador
- Tv
- Máquina de lavar roupa
- Toalhas
- Lençóis
10 avaliações
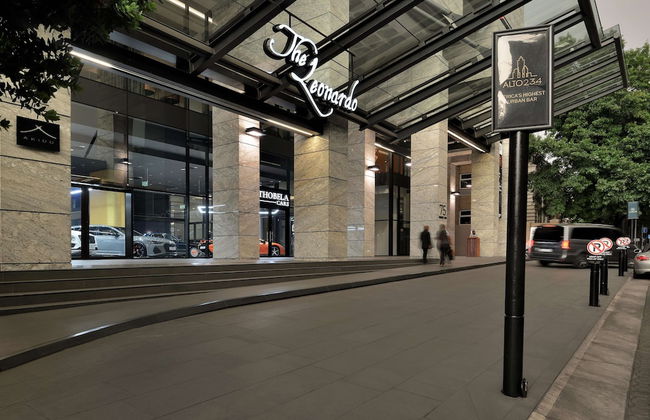


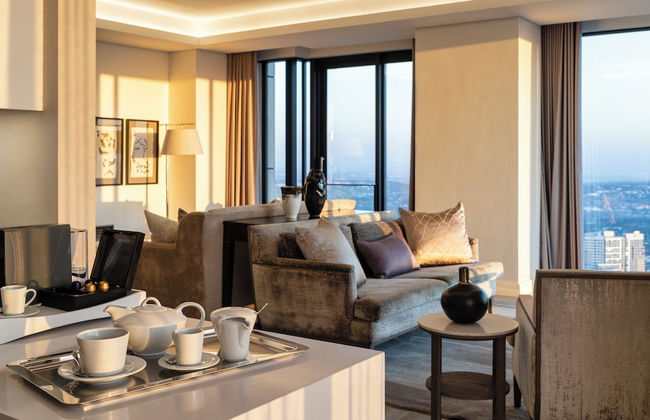


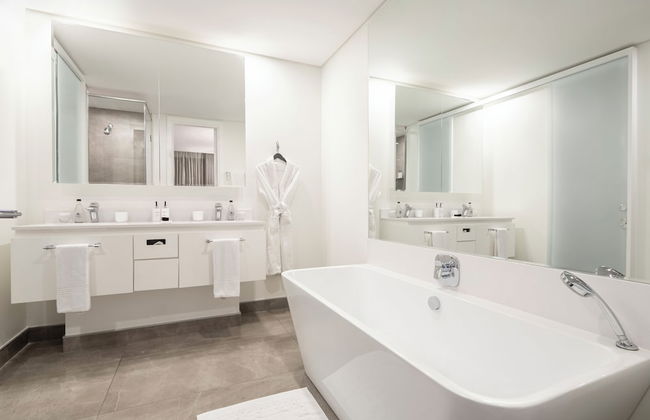


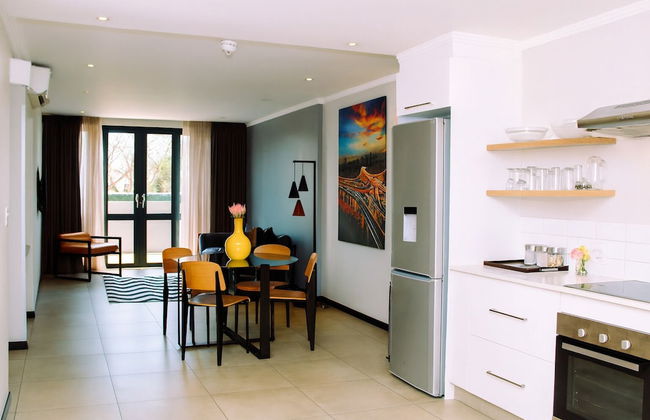
The Leonardo
Sandown
- 175 M2
- 6 pessoas
- Ar-condicionado
- Aquecimento
- Terraço
- Piscina
- Estacionamento
- Elevador
- Tv
- Máquina de lavar roupa
- Toalhas
- Lençóis
41 avaliações
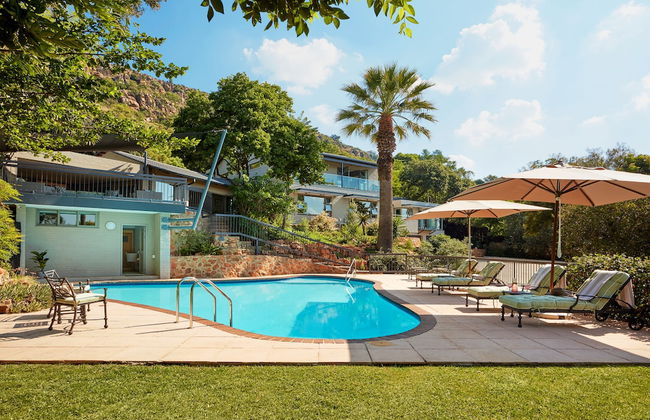


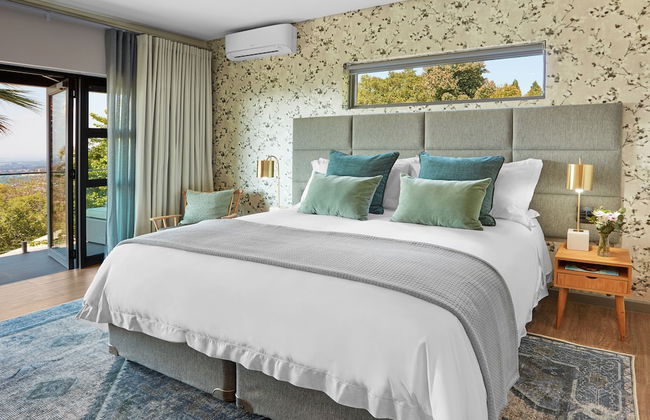
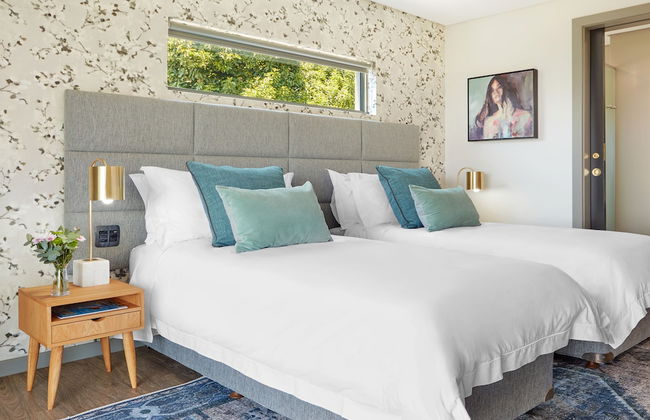


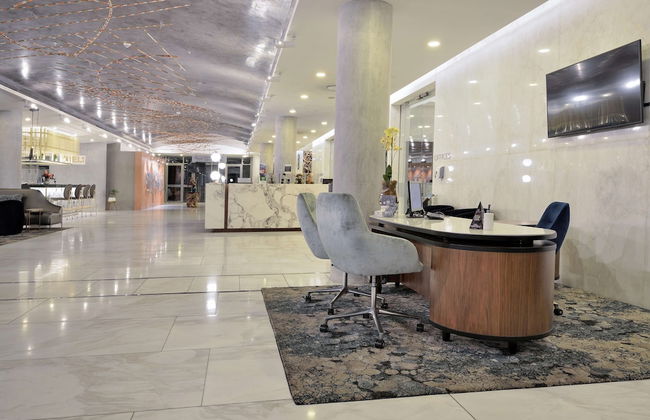
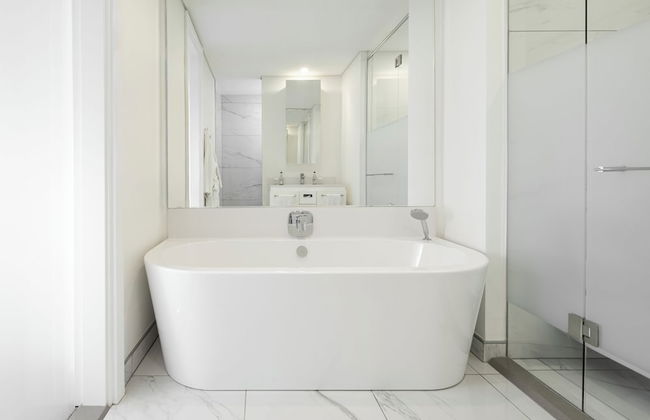
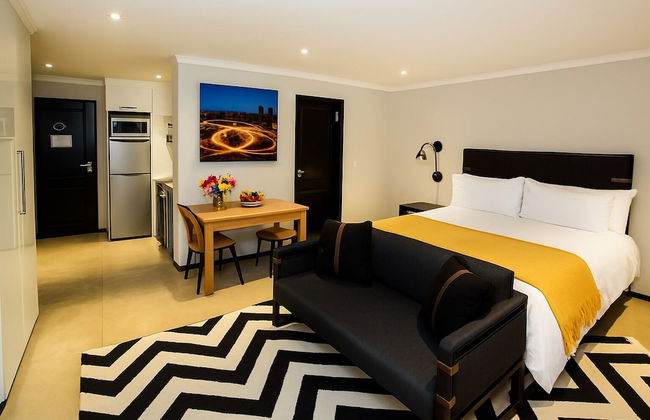
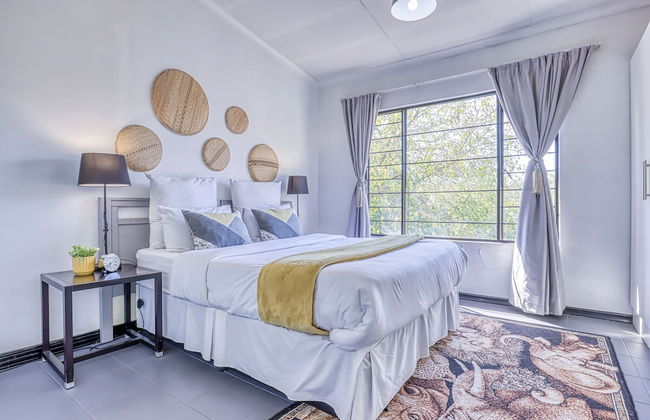
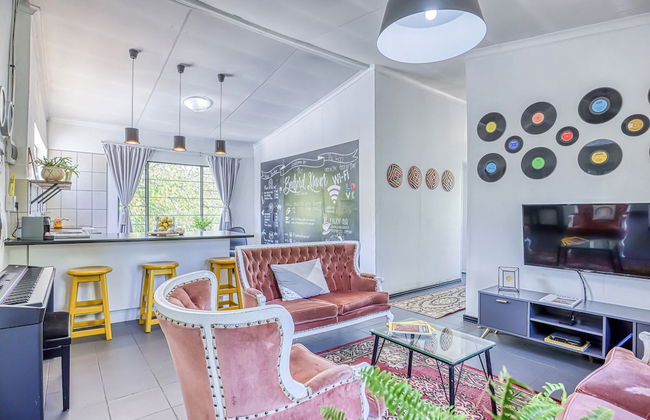
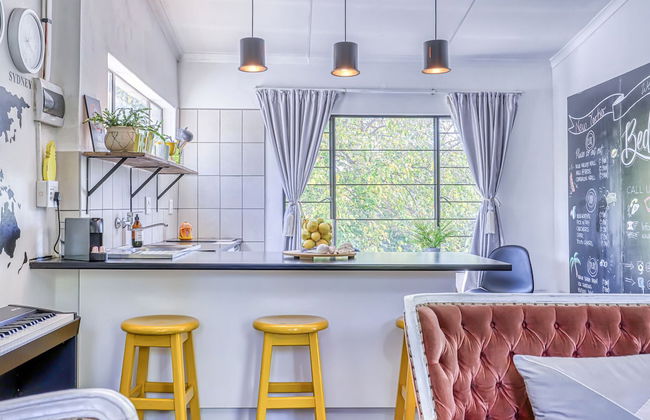
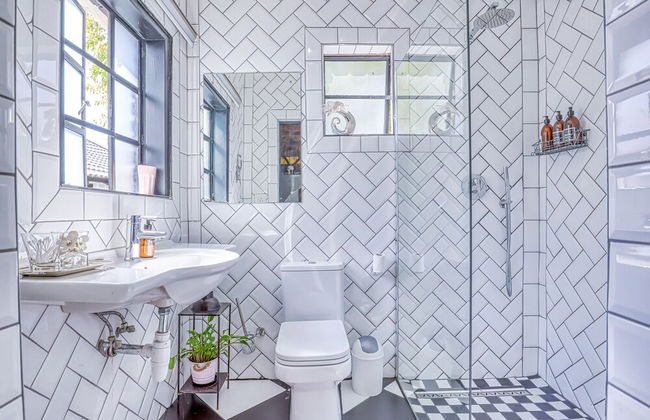
The Cliffside Boutique Getaway
Northcliff - 640 m do centro
- 37 M2
- 3 pessoas
- Ar-condicionado
- Aquecimento
- Terraço
- Piscina
- Estacionamento
- Varanda
- Jardim
- Tv
- Churrasco
- Toalhas
- Lençóis
7 avaliações


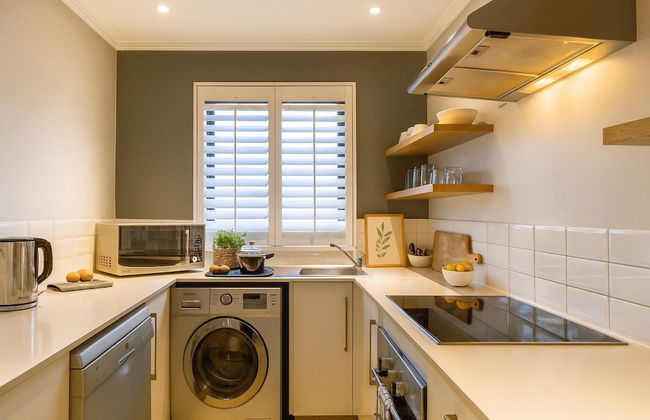
Wilger Guesthouse
Hennopspark
- 38 M2
- 3 pessoas
- Kitchenette
- Ar-condicionado
- Aquecimento
- Terraço
- Piscina
- Estacionamento
- Varanda
- Jardim
- Tv
- Churrasco
- Toalhas
- Lençóis
7 avaliações


Margaret's Place
Kensington
- 35 M2
- 3 pessoas
- Kitchenette
- Aquecimento
- Terraço
- Piscina
- Estacionamento
- Jardim
- Tv
- Chaminé
- Churrasco
- Toalhas
- Lençóis
15 avaliações


Moonflower Cottages
Victory Park
- 120 M2
- 6 pessoas
- Kitchenette
- Aquecimento
- Terraço
- Piscina
- Estacionamento
- Varanda
- Jardim
- Tv
- Churrasco
- Toalhas
- Lençóis
11 avaliações
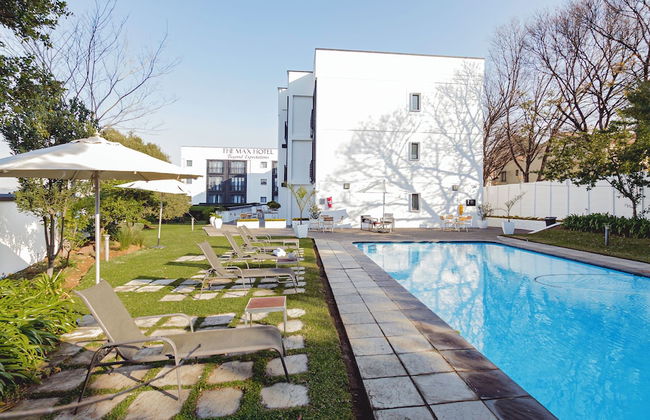


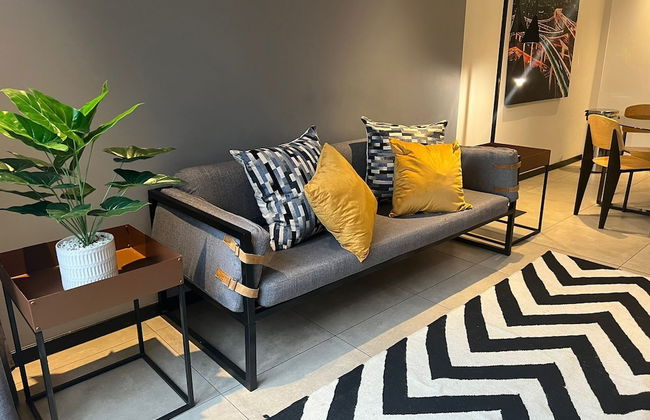


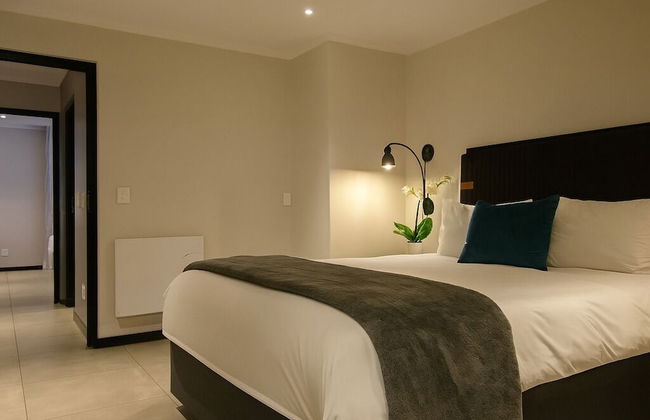
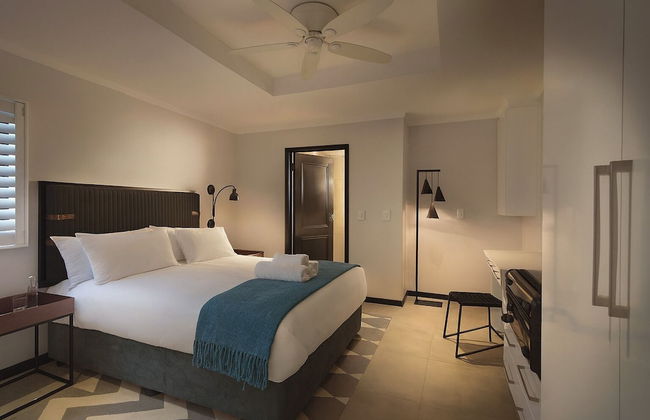


The Max Hotel Sandton
Illovo
- 110 M2
- 6 pessoas
- Ar-condicionado
- Aquecimento
- Terraço
- Piscina
- Estacionamento
- Elevador
- Jardim
- Tv
- Máquina de lavar roupa
- Churrasco
- Toalhas
171 avaliações


Villa Moyal
Melrose North
- 19 M2
- 4 pessoas
- Ar-condicionado
- Aquecimento
- Terraço
- Piscina
- Estacionamento
- Varanda
- Jardim
- Tv
- Máquina de lavar roupa
- Churrasco
- Toalhas
- Lençóis
28 avaliações


Bedford Manor
The Reeds Ext 5
- 80 M2
- 4 pessoas
- Ar-condicionado
- Aquecimento
- Terraço
- Piscina
- Estacionamento
- Varanda
- Jardim
- Tv
- Churrasco
- Toalhas
- Lençóis
11 avaliações


The Hub
Joanesburgo - 16.8 km do centro
- 85 M2
- 4 pessoas
- Ar-condicionado
- Aquecimento
- Terraço
- Piscina
- Estacionamento
- Elevador
- Varanda
- Jardim
- Tv
- Máquina de lavar roupa
- Toalhas
- Lençóis
24 avaliações


Kyalami Creek Luxury Apartments
Willaway
- 73 M2
- 4 pessoas
- Ar-condicionado
- Aquecimento
- Piscina
- Estacionamento
- Varanda
- Tv
- Máquina de lavar roupa
- Churrasco
- Toalhas
17 avaliações


Easy Stay - The Median
Rosebank
- 4 pessoas
- Aquecimento
- Estacionamento
- Elevador
- Tv
- Máquina de lavar roupa
- Toalhas
- Lençóis
20 avaliações


Absolute Farenden Apartments
Arcadia
- 64 M2
- 4 pessoas
- Kitchenette
- Ar-condicionado
- Terraço
- Estacionamento
- Varanda
- Tv
- Máquina de lavar roupa
- Toalhas
- Lençóis
48 avaliações


Anka Lodge
Atholl
- 100 M2
- 4 pessoas
- Kitchenette
- Aquecimento
- Terraço
- Piscina
- Estacionamento
- Jardim
- Tv
- Churrasco
- Toalhas
- Lençóis
19 avaliações


House Sandrock Muckleneuk
Pretória - 2.3 km do centro
- 60 M2
- 2 pessoas
- Aquecimento
- Terraço
- Piscina
- Estacionamento
- Varanda
- Jardim
- Tv
- Máquina de lavar roupa
- Toalhas
- Lençóis
3 avaliações


Easy Stay - The Vantage
Rosebank
- 78 M2
- 4 pessoas
- Ar-condicionado
- Estacionamento
- Elevador
- Máquina de lavar roupa
- Toalhas
- Lençóis
50 avaliações


Akanani Apartments
Arcadia
- 35 M2
- 3 pessoas
- Kitchenette
- Ar-condicionado
- Terraço
- Estacionamento
- Tv
- Toalhas
- Lençóis
15 avaliações


CAG The Vantage
Rosebank
- 102 M2
- 6 pessoas
- Terraço
- Estacionamento
- Elevador
- Varanda
- Tv
- Máquina de lavar roupa
- Toalhas
- Lençóis
142 avaliações