
31 Apartamentos em Haverfordwest

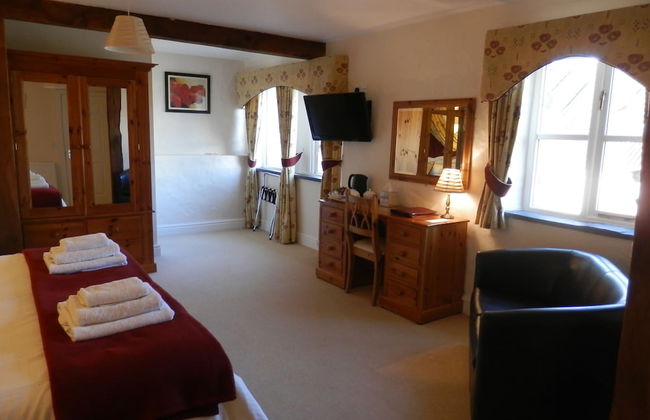


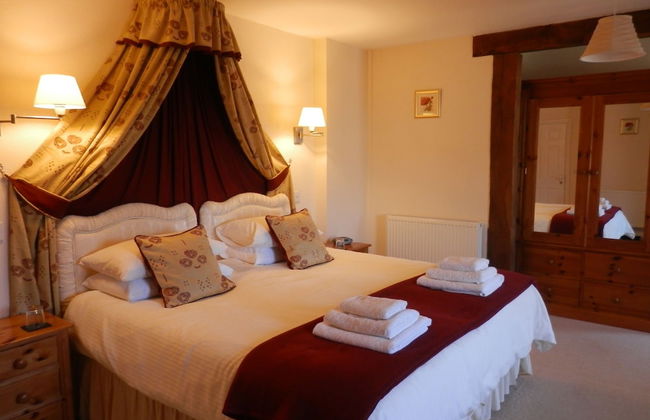


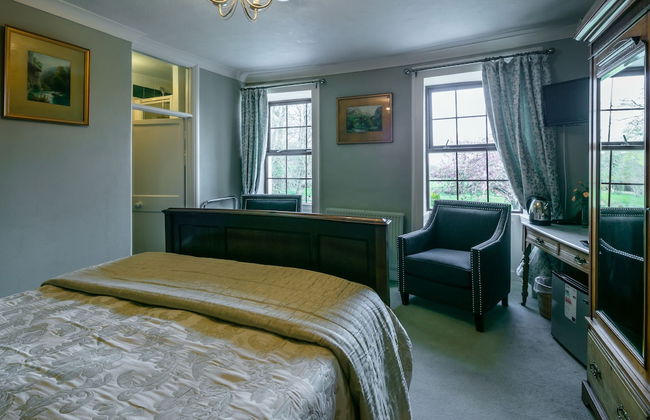


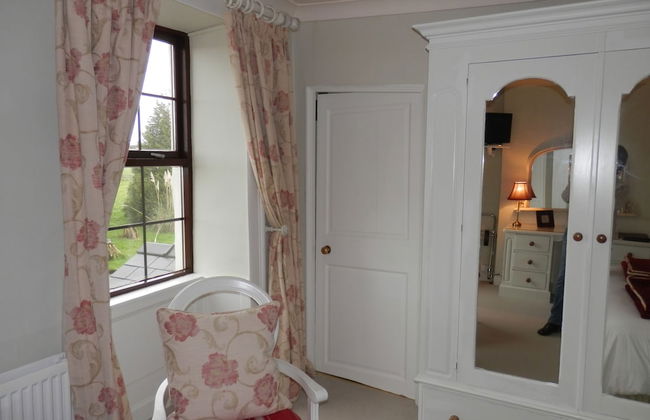
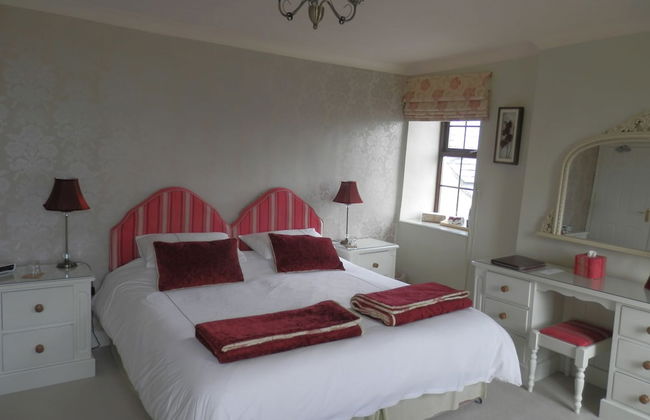
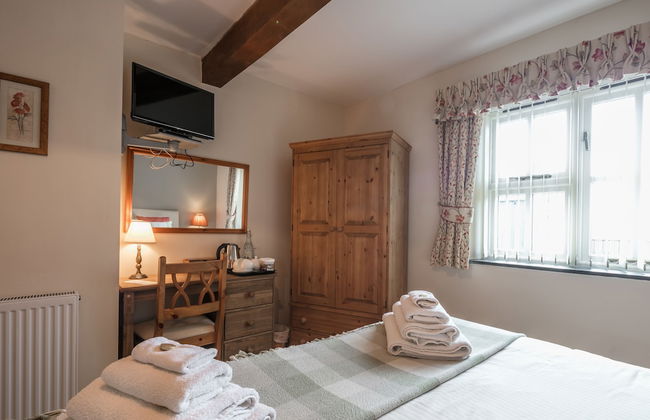
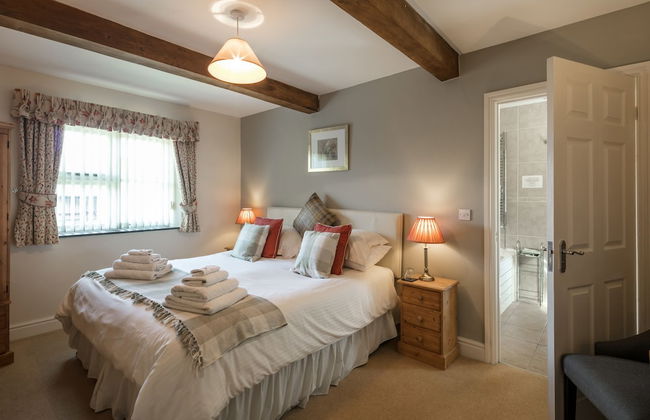
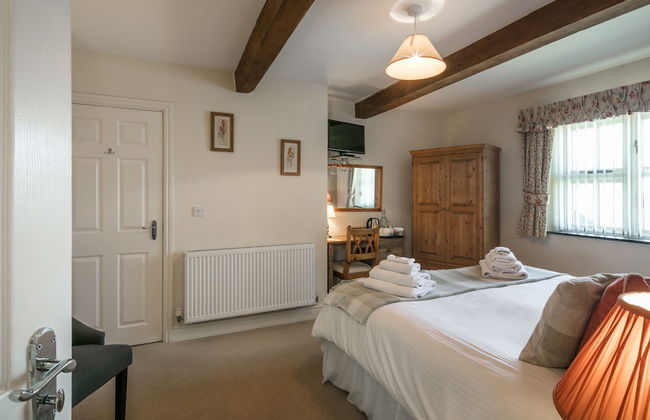


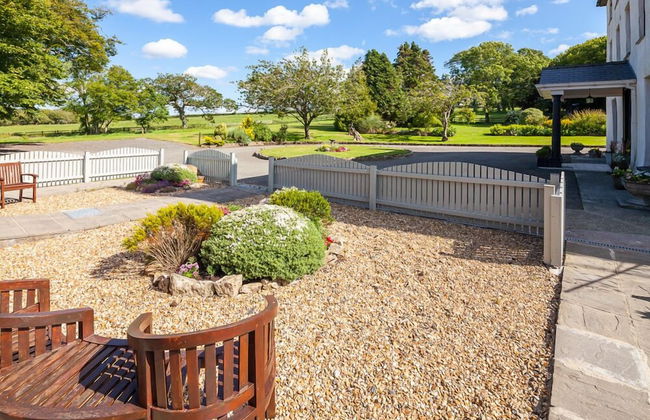
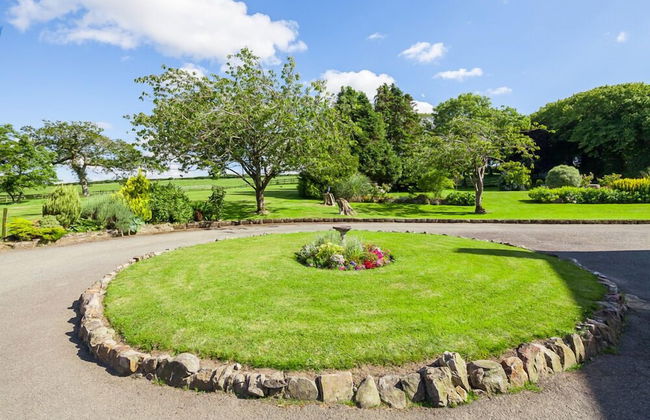


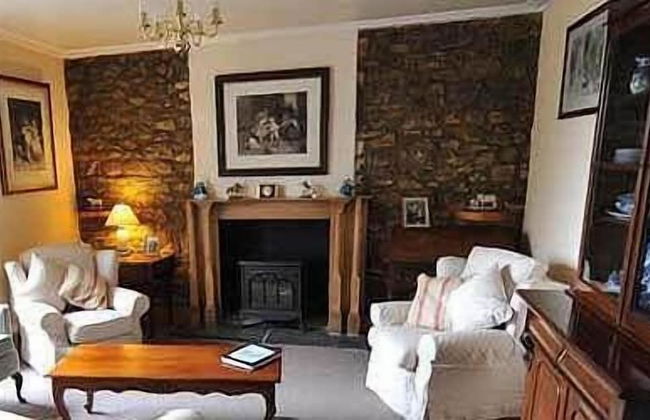

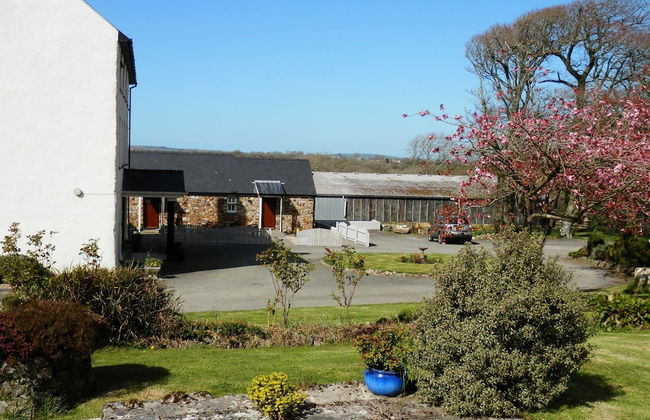

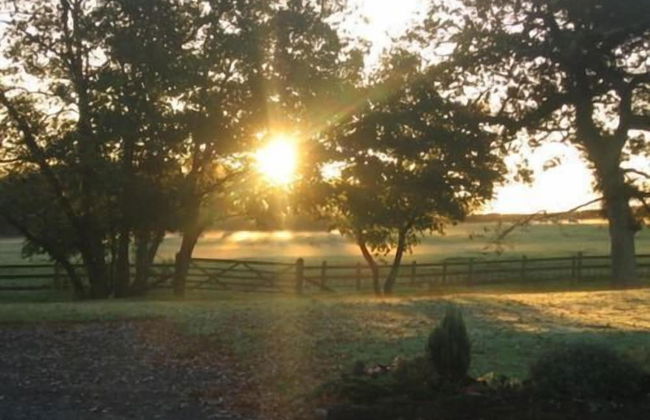
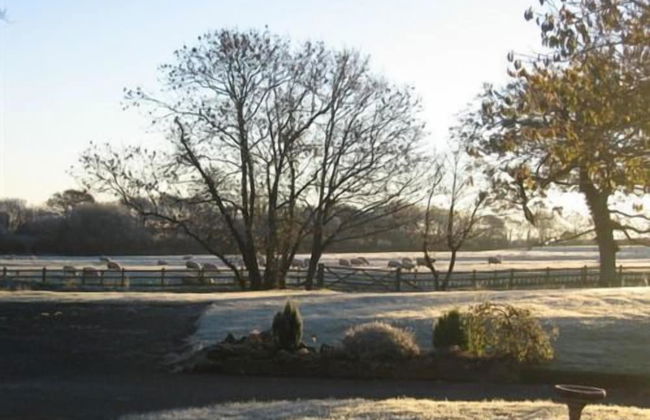

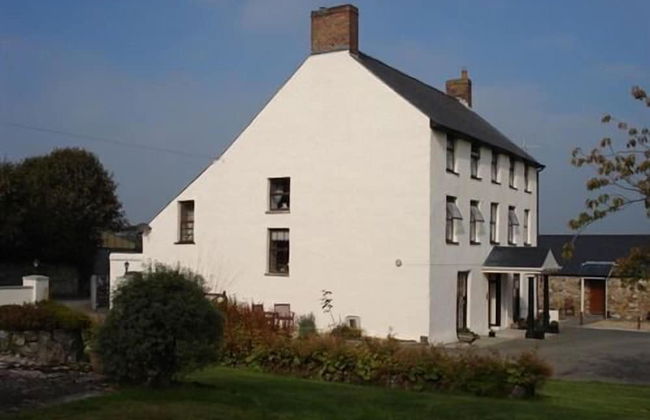
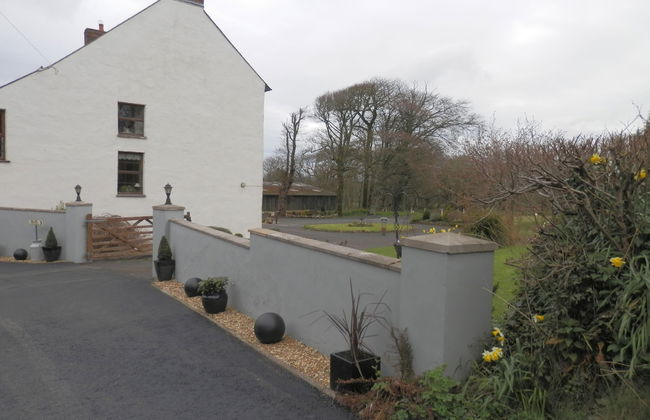

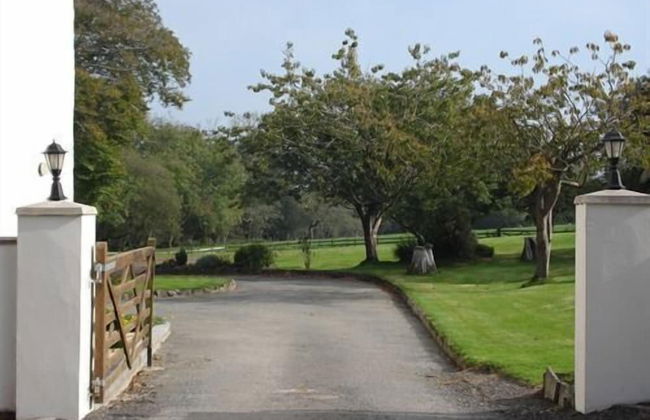
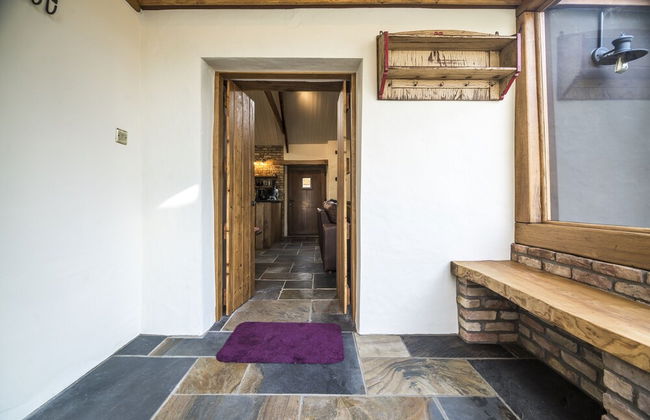
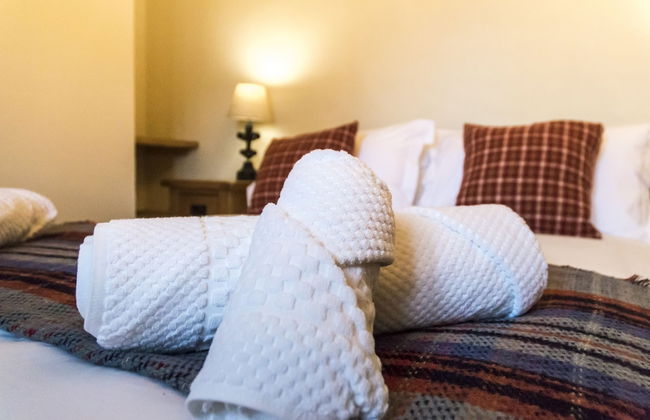
East Hook Farm & Country House
Haverfordwest - Portfield Gate
- 2 pessoas
- Ar-condicionado
- Terraço
- Estacionamento
- Jardim
- Tv
- Toalhas
- Lençóis
97 avaliações


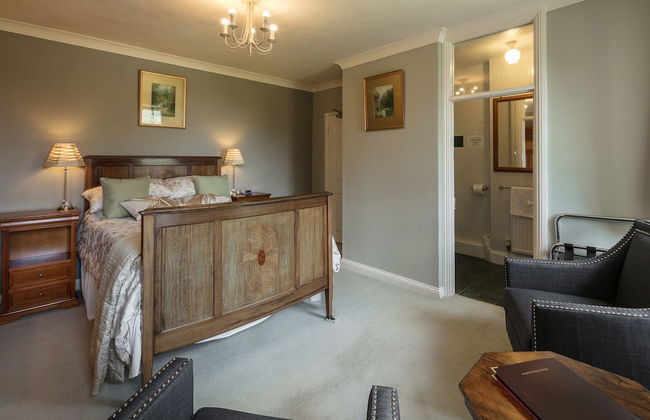
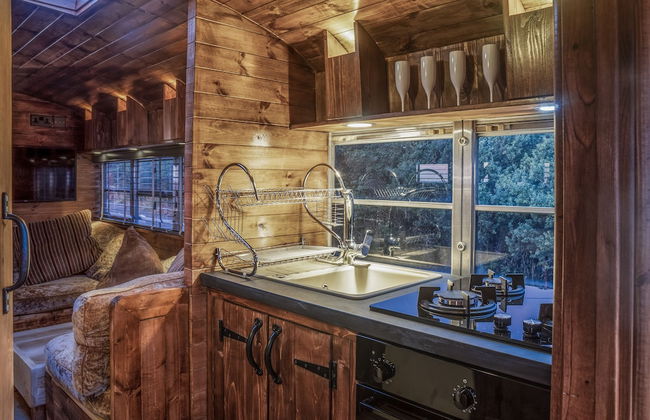
Lavender - Luxurious Barn Conversion
Haverfordwest - Tiers Cross
- 4 pessoas
- Aquecimento
- Terraço
- Estacionamento
- Varanda
- Jardim
- Tv
- Máquina de lavar roupa
- Toalhas
9 avaliações


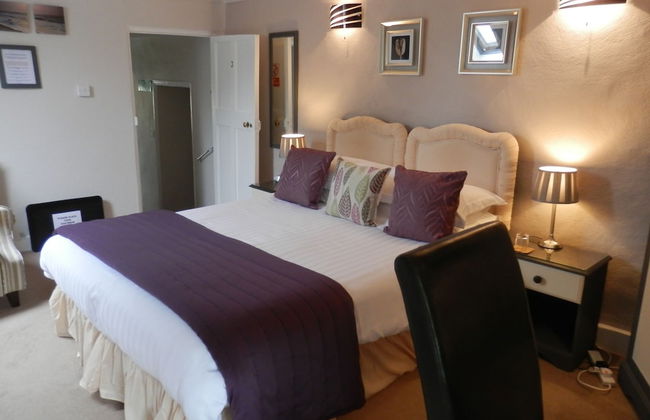
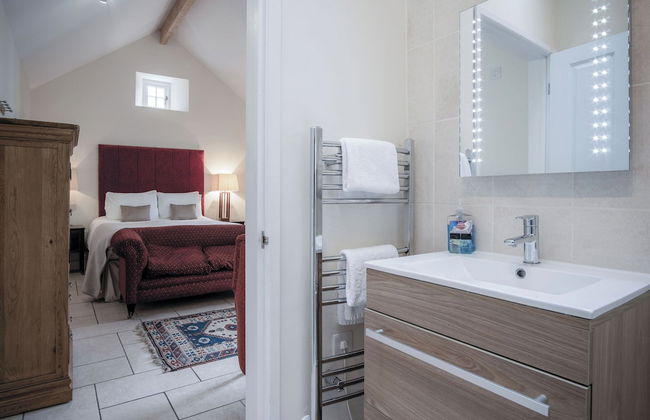
Brook Cottage - 2 Bedroom Cottage - Dale
Haverfordwest - Dale
- 74 M2
- 4 pessoas
- Aquecimento
- Terraço
- Estacionamento
- Jardim
- Tv
- Toalhas
- Lençóis
2 avaliações


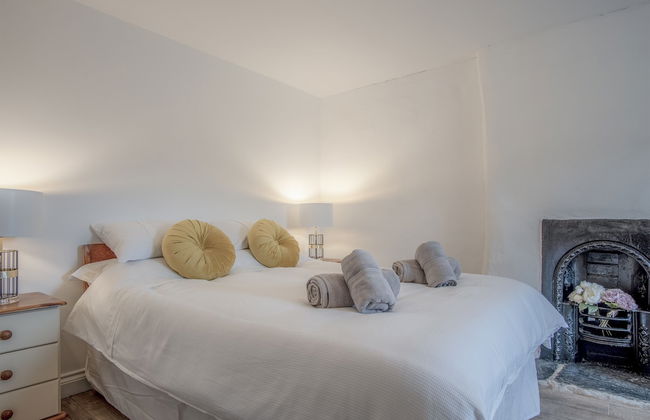
Foxglove - Luxurious Barn Conversion
Haverfordwest - Tiers Cross
- 4 pessoas
- Aquecimento
- Terraço
- Estacionamento
- Jardim
- Tv
- Máquina de lavar roupa
- Toalhas
- Lençóis
2 avaliações


Nolton Haven Mill - The Mill House
Haverfordwest - Nolton Haven
- 6 pessoas
- Aquecimento
- Terraço
- Estacionamento
- Jardim
- Tv
- Chaminé
- Churrasco
- Toalhas
- Lençóis
2 avaliações


American School Bus - Blossom Farm
Haverfordwest - Tiers Cross
- 22 M2
- 4 pessoas
- Aquecimento
- Estacionamento
- Tv
- Chaminé
- Toalhas
- Lençóis
3 avaliações


Caradog - 1 Bedroom - St Ishmael's
Haverfordwest - St Ishmaels
- 20 M2
- 2 pessoas
- Aquecimento
- Terraço
- Estacionamento
- Tv
- Toalhas
- Lençóis
6 avaliações


Teilo - 1 Bedroom - St Ishmael's
Haverfordwest - St Ishmaels
- 19 M2
- 2 pessoas
- Aquecimento
- Terraço
- Estacionamento
- Tv
- Toalhas
- Lençóis
2 avaliações


Brook Cottage - 1 Bedroom Cottage - Dale
Haverfordwest - Dale
- 37 M2
- 2 pessoas
- Aquecimento
- Terraço
- Estacionamento
- Jardim
- Tv
- Toalhas
- Lençóis
2 avaliações


Brynach - 1 Bedroom - St Ishmael's
Haverfordwest - St Ishmaels
- 20 M2
- 2 pessoas
- Aquecimento
- Terraço
- Estacionamento
- Tv
- Toalhas
- Lençóis
1 avaliação


Brook Cottage Green - 2 Bedroom - Dale
Haverfordwest - Haverfordwest
- 84 M2
- 4 pessoas
- Aquecimento
- Terraço
- Estacionamento
- Jardim
- Tv
- Chaminé
- Toalhas
- Lençóis
1 avaliação


The Hideaway - 2 Bed Holiday Home - Little Haven
Haverfordwest - Little Haven
- 111 M2
- 4 pessoas
- Aquecimento
- Estacionamento
- Jardim
- Tv
- Toalhas
- Lençóis
1 avaliação


American Airstream - Blossom Farm - Tiers Cross
Haverfordwest - Tiers Cross
- 23 M2
- 2 pessoas
- Aquecimento
- Estacionamento
- Varanda
- Tv
- Toalhas
- Lençóis
1 avaliação


Caleb's Cottage - 4 Bed Cottage - Solva
Haverfordwest - Solva
- 130 M2
- 8 pessoas
- Aquecimento
- Estacionamento
- Jardim
- Tv
- Chaminé
- Toalhas
- Lençóis
1 avaliação


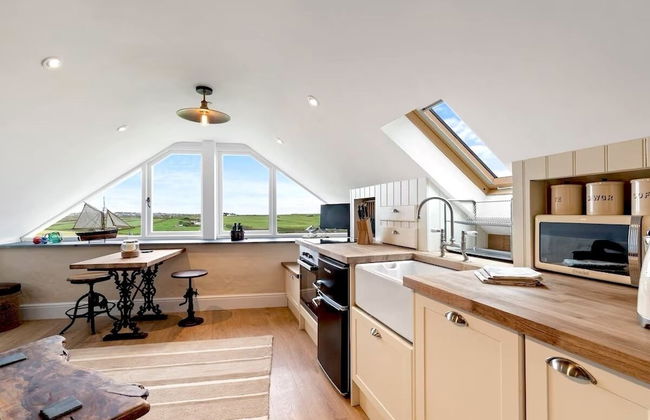


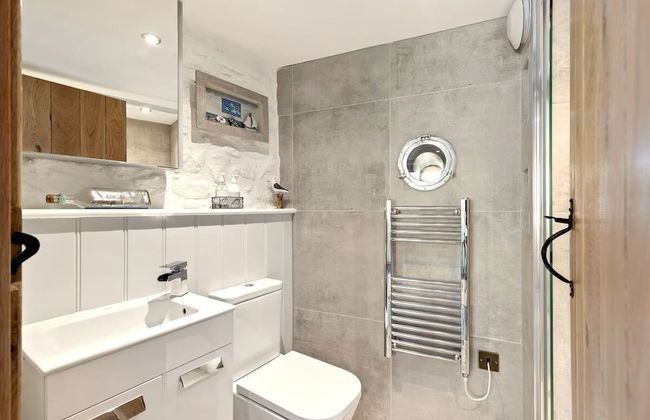

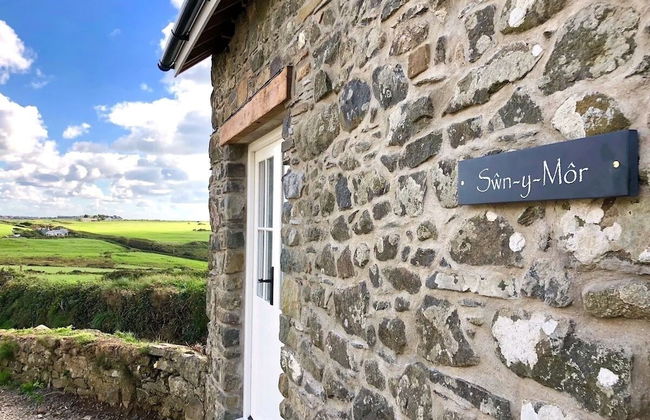


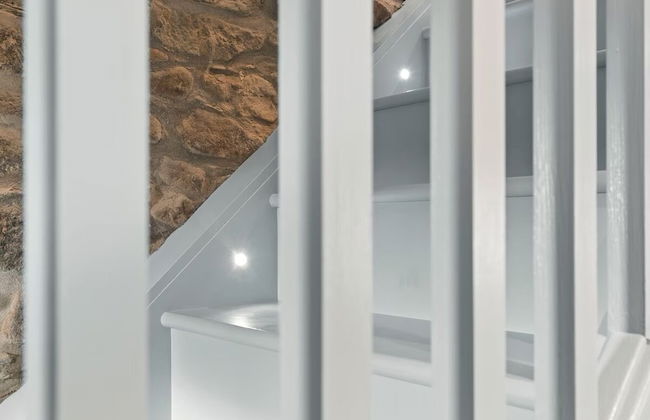


Swn y Môr - 1 Bedroom Cottage - Whitesands
Haverfordwest - St Davids
- 66 M2
- 2 pessoas
- Aquecimento
- Estacionamento
- Tv
- Churrasco
- Toalhas
- Lençóis
1 avaliação


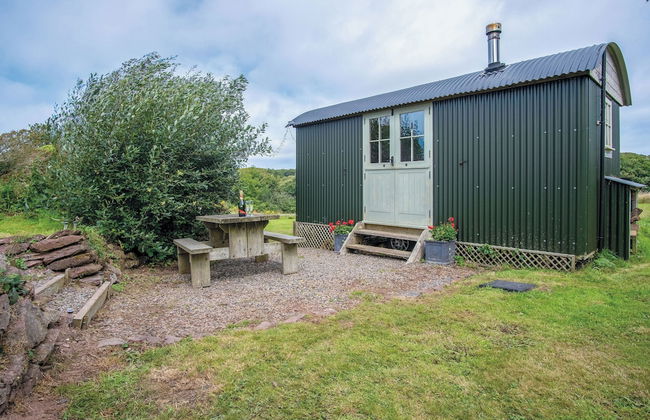


Haven View - 1 Bed Shepherds Hut - St Ishmael's
Haverfordwest - St Ishmaels
- 19 M2
- 2 pessoas
- Kitchenette
- Terraço
- Estacionamento
- Jardim
- Chaminé
- Churrasco
- Toalhas
- Lençóis
1 avaliação


Immaculate 1-bed Studio in Haverfordwest
Haverfordwest - Haverfordwest
- Estacionamento
- Jardim
1 avaliação


Awel y Môr - 3 Bedroom Cottage - Whitesands
Haverfordwest - St Davids
- 112 M2
- 6 pessoas
- Aquecimento
- Estacionamento
- Tv
- Máquina de lavar roupa
- Chaminé
- Churrasco
- Toalhas
- Lençóis
1 avaliação


Fern Cottage - 1 Bedroom - Tiers Cross
Haverfordwest - Tiers Cross
- 2 pessoas
- Ar-condicionado
- Aquecimento
- Terraço
- Estacionamento
- Tv
- Chaminé
- Toalhas
- Lençóis
1 avaliação