
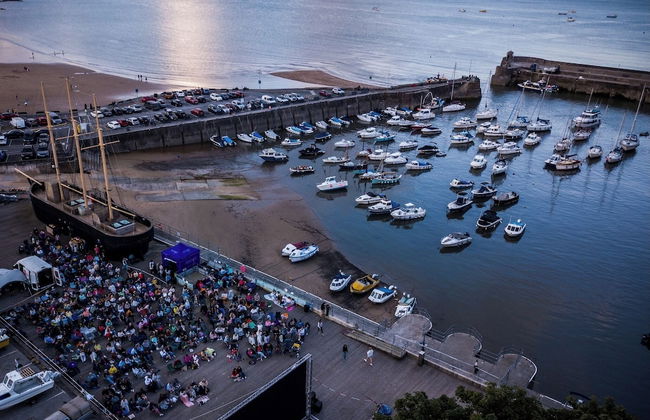
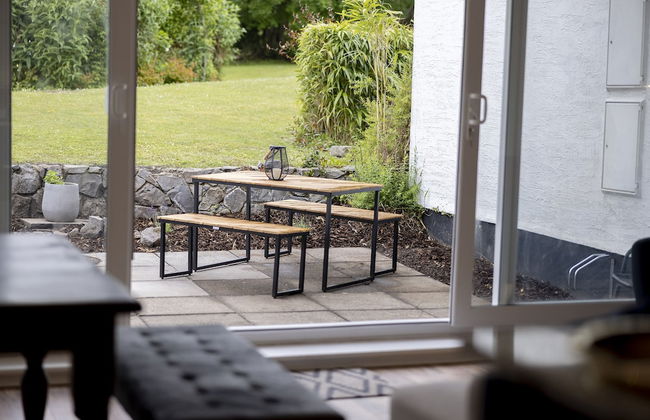
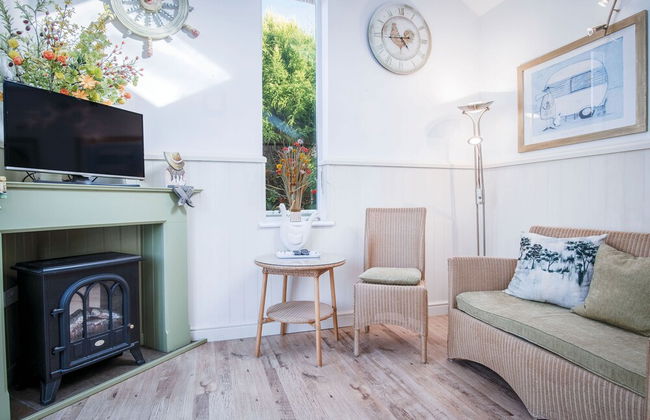
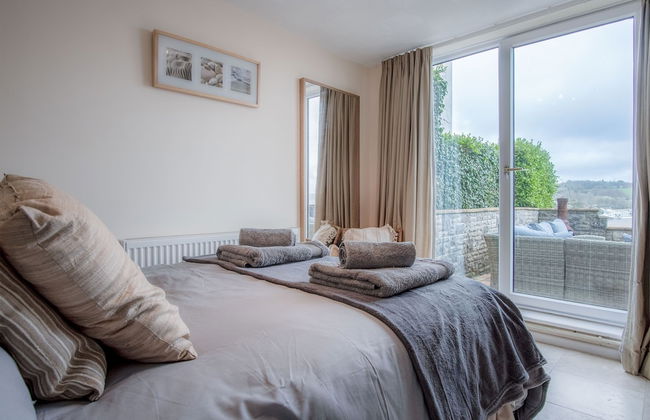
111 Apartamentos em Saundersfoot


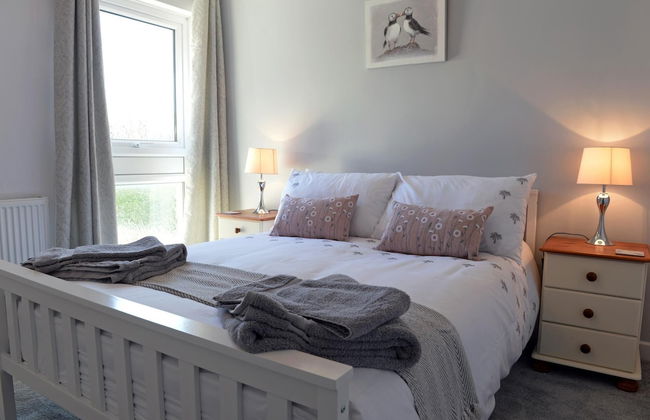
Johnnys Cove - 2 Bedroom - New Hedges
Saundersfoot - Broadfield
- 101 M2
- 4 pessoas
- Aquecimento
- Terraço
- Estacionamento
- Jardim
- Tv
- Máquina de lavar roupa
- Churrasco
- Toalhas
- Lençóis
3 avaliações


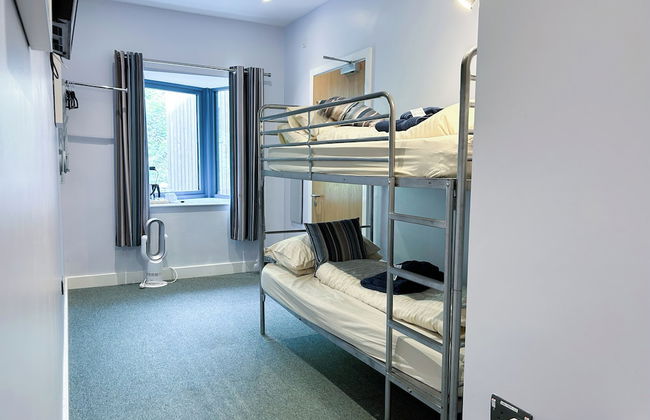
Willows Rest - 1 Bed Shepherd's Hut - Pentlepoir
Saundersfoot - Pentlepoir
- 23 M2
- 2 pessoas
- Aquecimento
- Estacionamento
- Tv
- Churrasco
- Toalhas
- Lençóis
2 avaliações


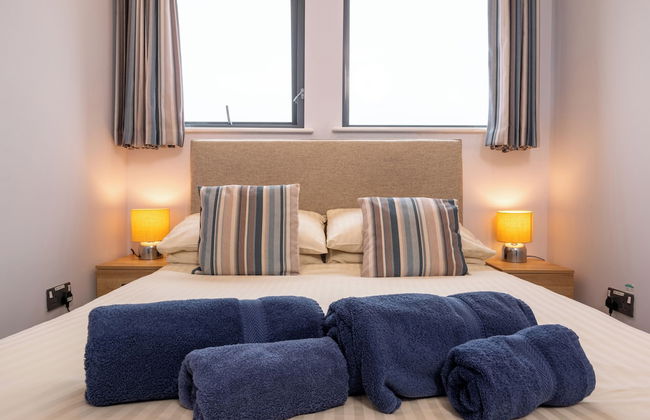
Beach Court - 1 Bedroom Apartment - Saundersfoot
Saundersfoot - Saundersfoot
- 51 M2
- 2 pessoas
- Aquecimento
- Estacionamento
- Tv
- Máquina de lavar roupa
- Lençóis
3 avaliações


Coppet Cove - 2 Bed - Saundersfoot
Saundersfoot - Saundersfoot
- 6 pessoas
- Aquecimento
- Tv
- Máquina de lavar roupa
- Toalhas
3 avaliações


Pharmacy Court - 2 Bed - Saundersfoot
Saundersfoot - Saundersfoot
- 70 M2
- 4 pessoas
- Aquecimento
- Varanda
- Tv
- Toalhas
- Lençóis
2 avaliações


Pleasant View - Direct Beach Access Sea Views and Parking
Saundersfoot - Saundersfoot
- 4 pessoas
- Aquecimento
- Terraço
- Varanda
- Tv
- Toalhas
- Lençóis
1 avaliação


Swn Y Mor - 1 Bedroom Studio - Saundersfoot
Saundersfoot - Saundersfoot
- 37 M2
- 2 pessoas
- Aquecimento
- Tv
- Toalhas
- Lençóis
2 avaliações


Swn Y Tonnau - Sea Front Apartment Spectacular Sea Views Parking Direct Beach Access
Saundersfoot - Saundersfoot
- 1250 M2
- 4 pessoas
- Aquecimento
- Tv
- Toalhas
- Lençóis
1 avaliação


S r M r - Log Burner Peaceful Cottage Dog Friendly
Saundersfoot - Saundersfoot
- 6 pessoas
- Aquecimento
- Varanda
- Jardim
- Tv
- Máquina de lavar roupa
- Chaminé
- Churrasco
- Toalhas
- Lençóis
1 avaliação


The Hawthorns - Large Luxury Cottage Hot Tub Sea Views
Saundersfoot - Saundersfoot
- 10 pessoas
- Aquecimento
- Varanda
- Jardim
- Tv
- Máquina de lavar roupa
- Chaminé
- Churrasco
- Toalhas
- Lençóis
1 avaliação
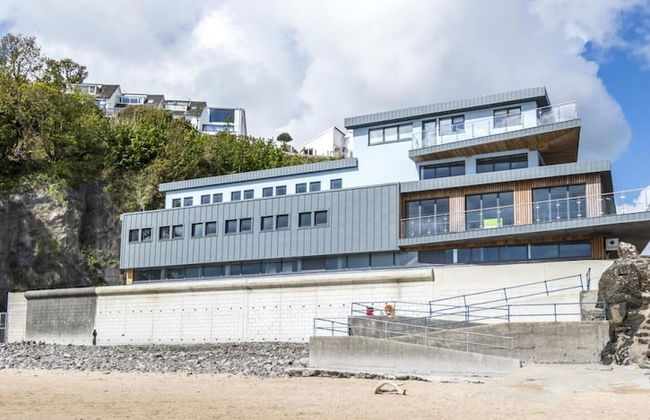


Harbour Stays - The Marine Centre
Saundersfoot - Saundersfoot
- 2 pessoas
- Aquecimento
- Estacionamento
- Elevador
- Tv
- Toalhas
- Lençóis
3 avaliações


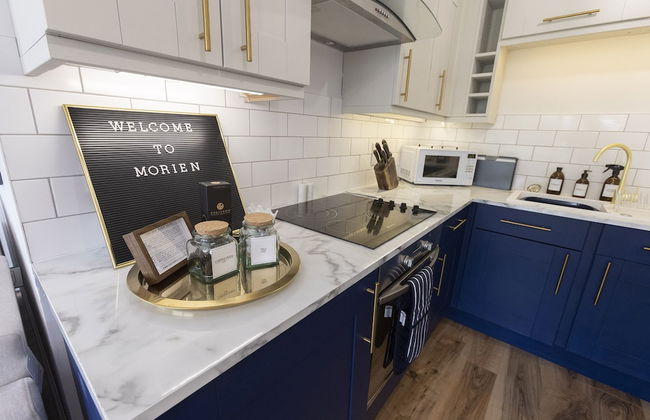


Morien - 2 Bed Apartment - Saundersfoot
Saundersfoot - Saundersfoot
- 74 M2
- 4 pessoas
- Aquecimento
- Terraço
- Estacionamento
- Tv
- Lençóis
1 avaliação


Harbour Court - 2 Bedroom - Saundersfoot
Saundersfoot - Saundersfoot
- 46 M2
- 4 pessoas
- Aquecimento
- Tv
- Toalhas
- Lençóis
1 avaliação


Bee Happy - 1 Bedroom Holiday Home - Saundersfoot
Saundersfoot - Saundersfoot
- 36 M2
- 2 pessoas
- Aquecimento
- Estacionamento
- Tv
- Toalhas
- Lençóis
1 avaliação


Penlan - 3 Bedroom Cottage - Saundersfoot
Saundersfoot - Saundersfoot
- 167 M2
- 6 pessoas
- Aquecimento
- Terraço
- Estacionamento
- Jardim
- Tv
- Máquina de lavar roupa
- Chaminé
- Churrasco
- Toalhas
- Lençóis
1 avaliação


Mermaid Apartment - Sea Front Apartment With Views
Saundersfoot - Saundersfoot
- 4 pessoas
- Aquecimento
- Tv
- Máquina de lavar roupa
- Chaminé
- Toalhas
- Lençóis
1 avaliação


Captains Walk - 4 Bedroom Apartment - Saundersfoot
Saundersfoot - Saundersfoot
- 111 M2
- 8 pessoas
- Aquecimento
- Terraço
- Tv
- Máquina de lavar roupa
- Churrasco
- Toalhas
- Lençóis


Hafordwen - 4 Bedroom Holiday Home - Saundersfoot
Saundersfoot - Saundersfoot
- 186 M2
- 8 pessoas
- Aquecimento
- Terraço
- Estacionamento
- Jardim
- Tv
- Chaminé
- Toalhas
- Lençóis


Minarvon - 2 Bedroom Apartment - Saundersfoot
Saundersfoot - Saundersfoot
- 84 M2
- 4 pessoas
- Aquecimento
- Estacionamento
- Elevador
- Tv
- Máquina de lavar roupa
- Toalhas
- Lençóis


Glenvale - 2 Bedroom Apartment - Saundersfoot
Saundersfoot - Saundersfoot
- 60 M2
- 4 pessoas
- Aquecimento
- Terraço
- Estacionamento
- Tv
- Máquina de lavar roupa
- Chaminé
- Toalhas
- Lençóis