
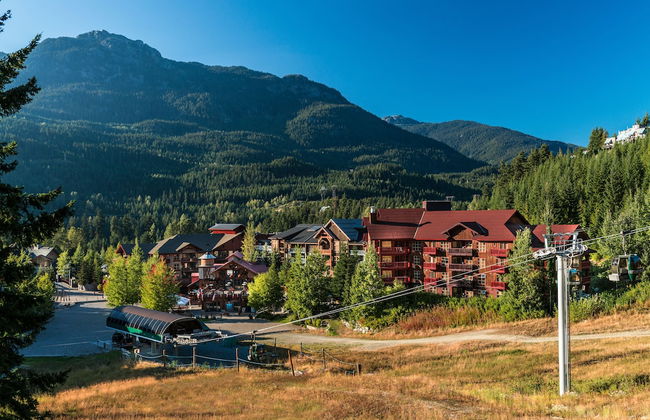
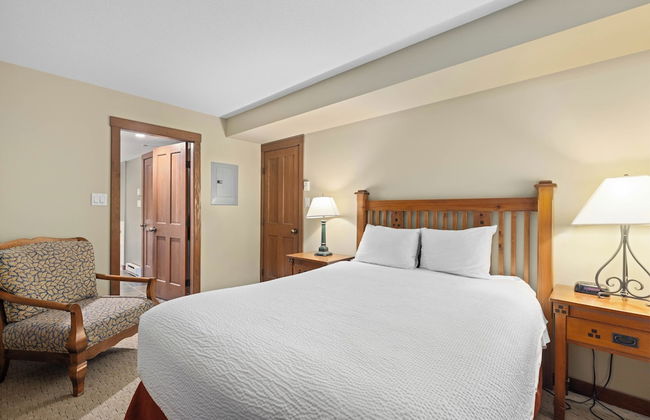
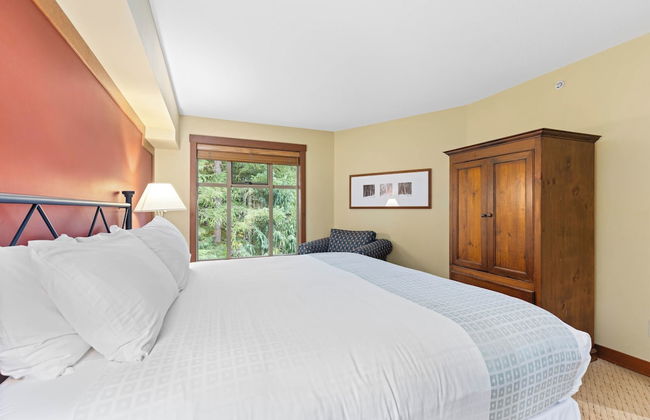
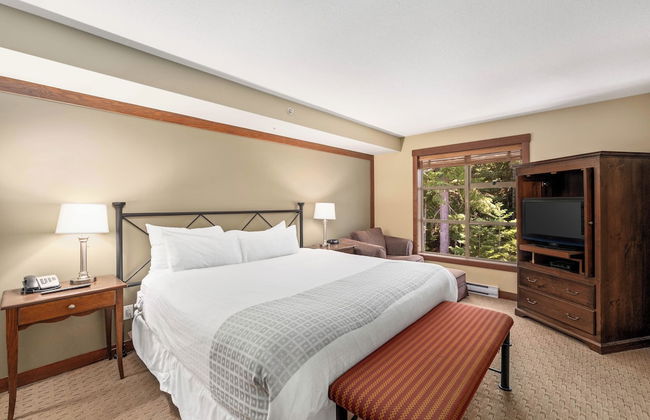
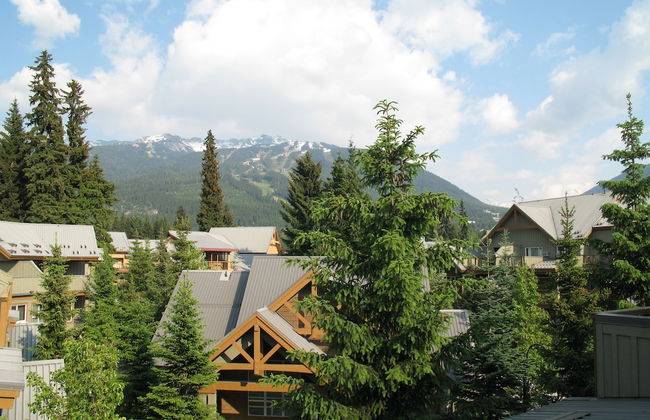
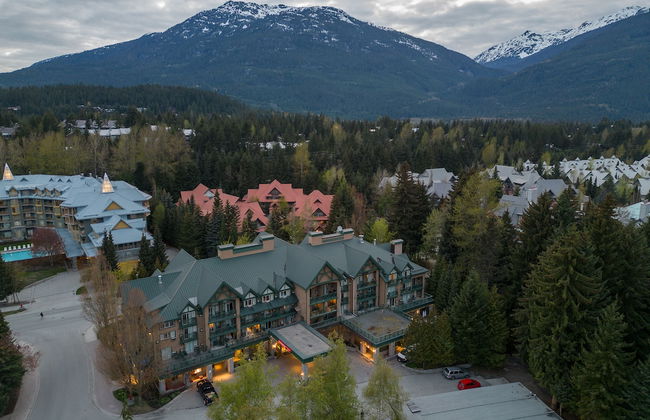
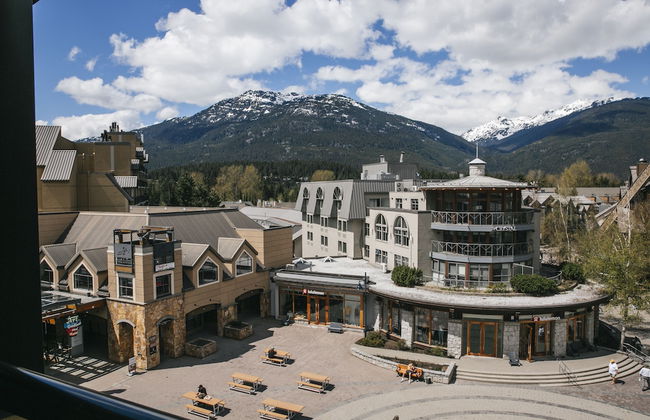
161 Apartamentos em Squamish-Lillooet
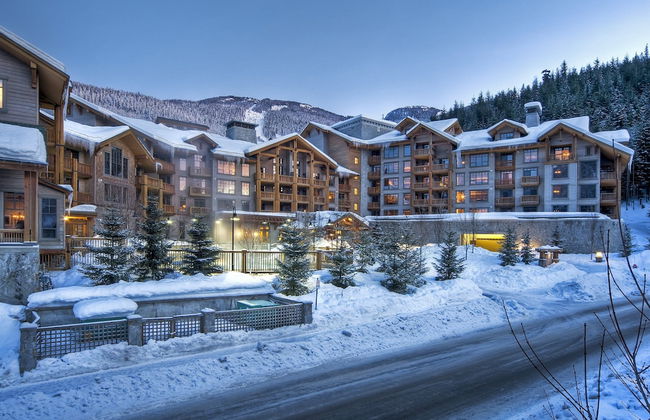
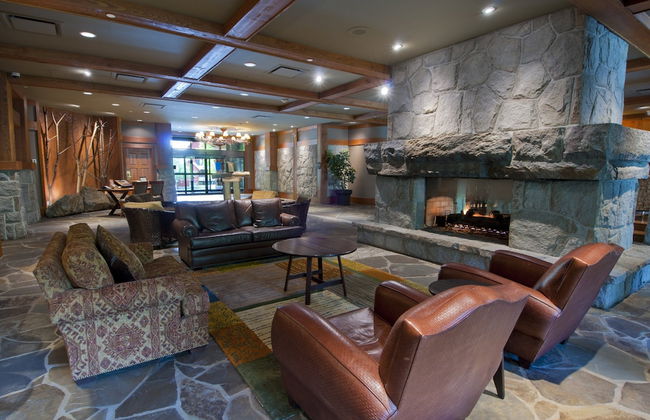
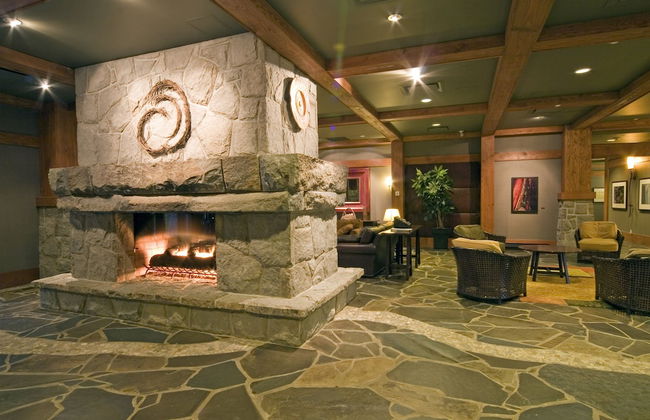

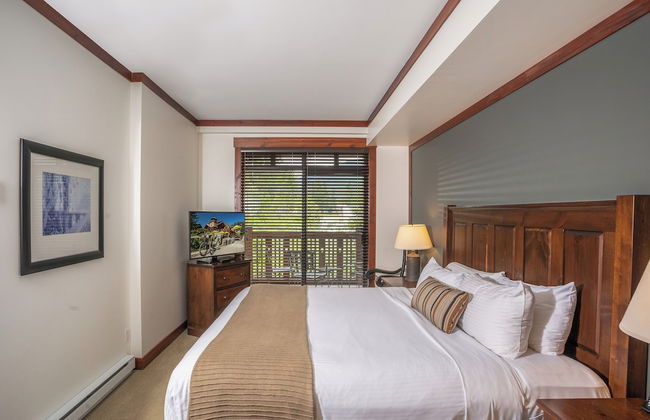
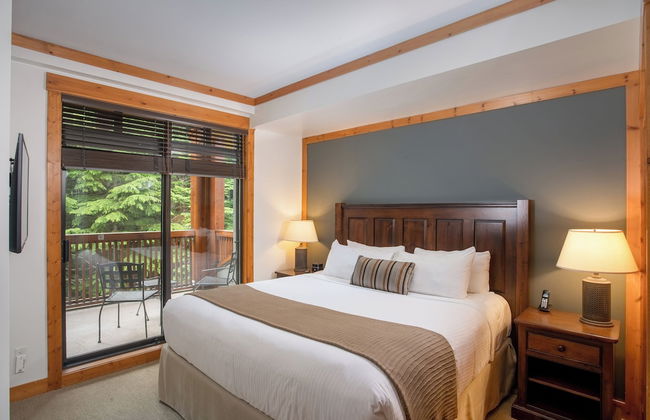


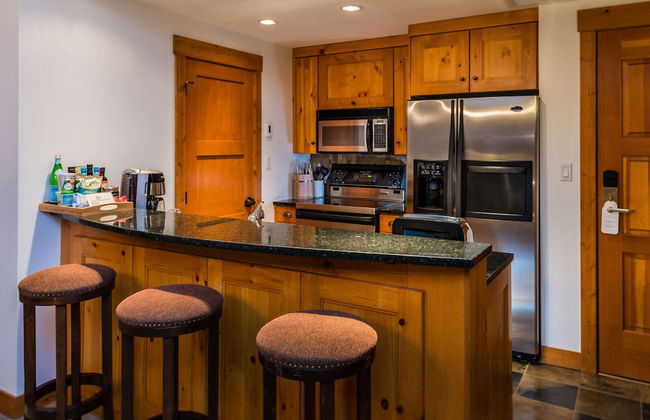

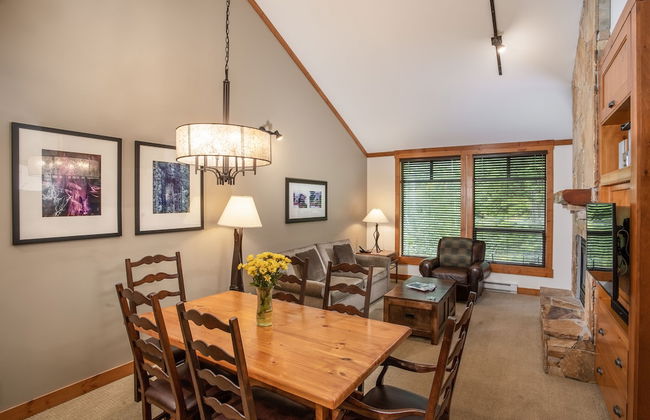
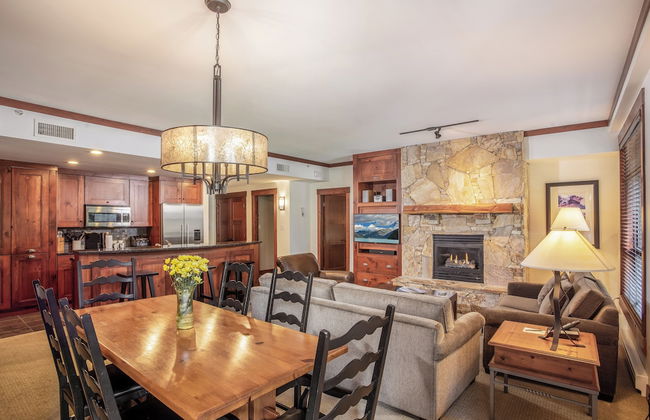

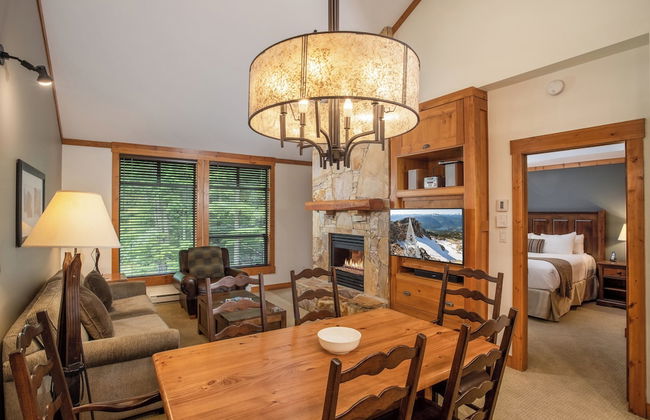


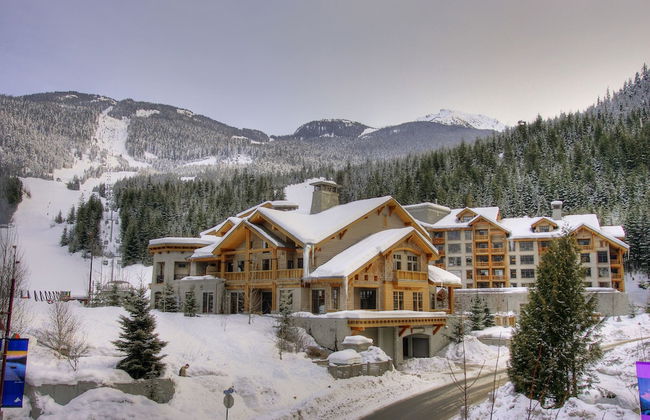
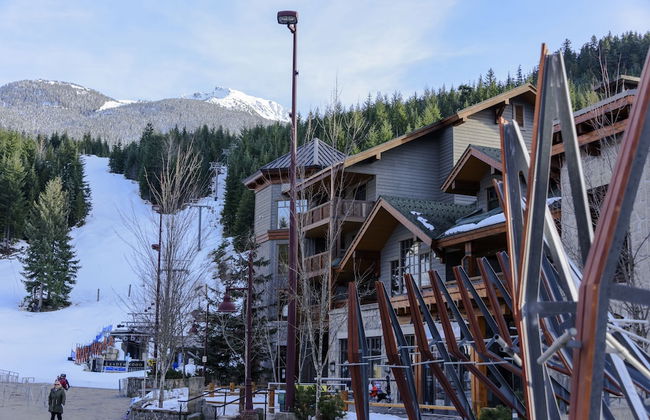


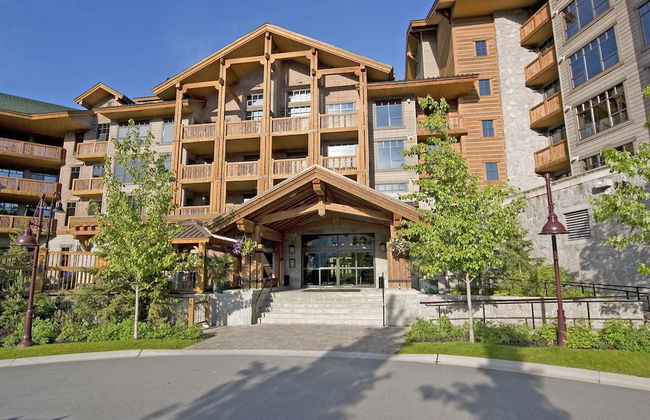

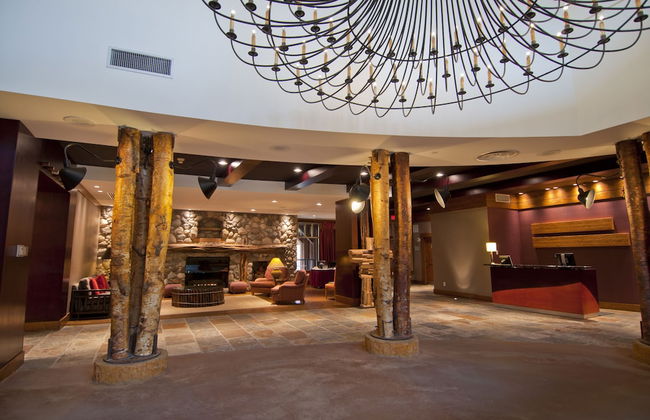
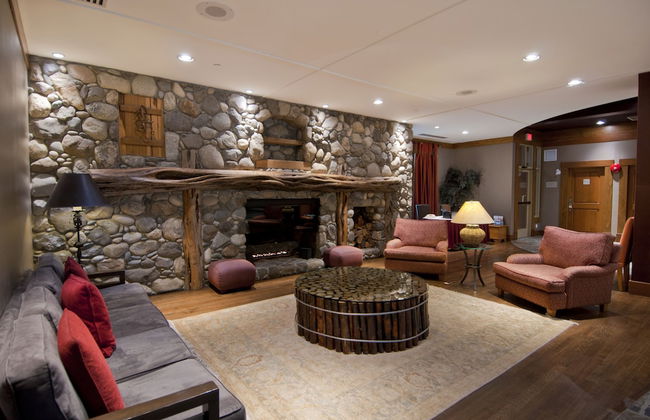
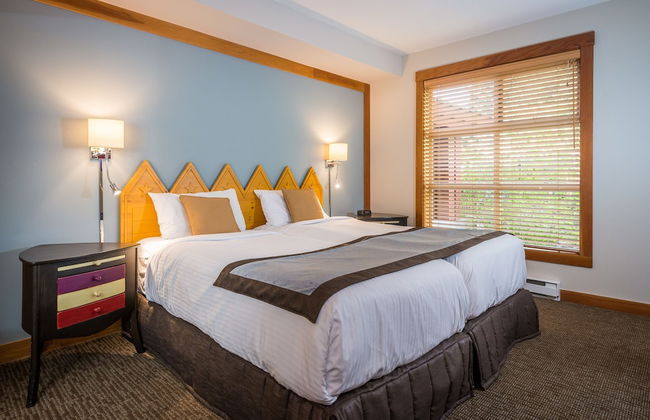
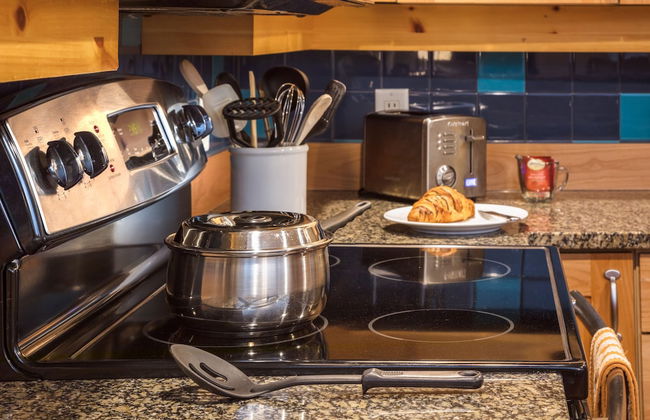
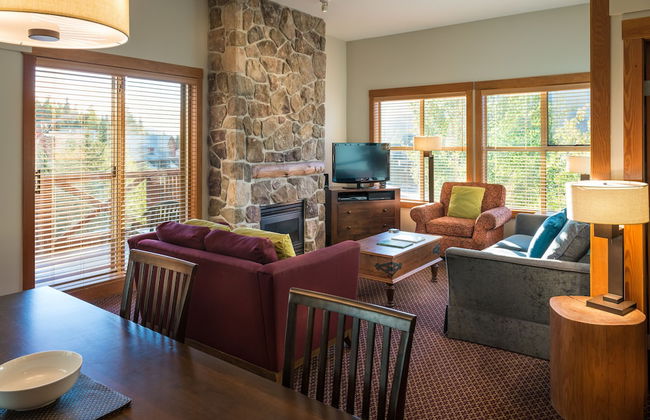
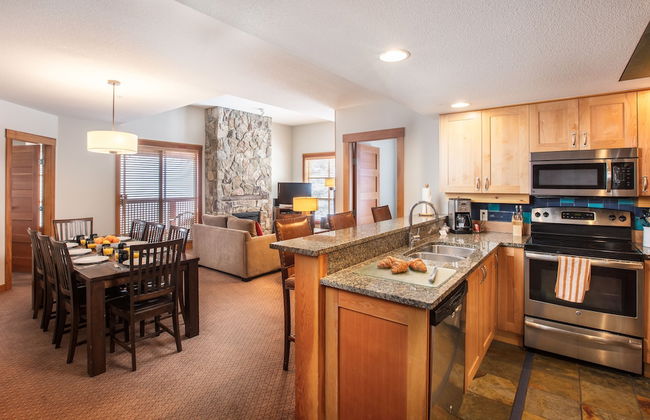
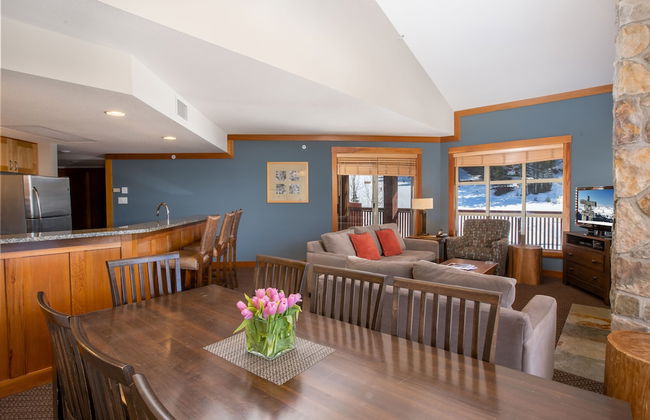
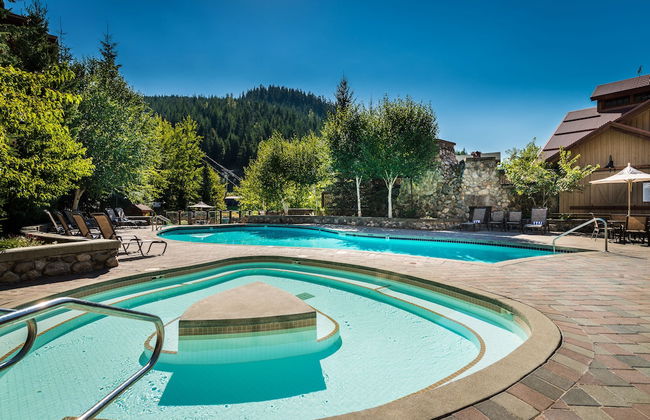
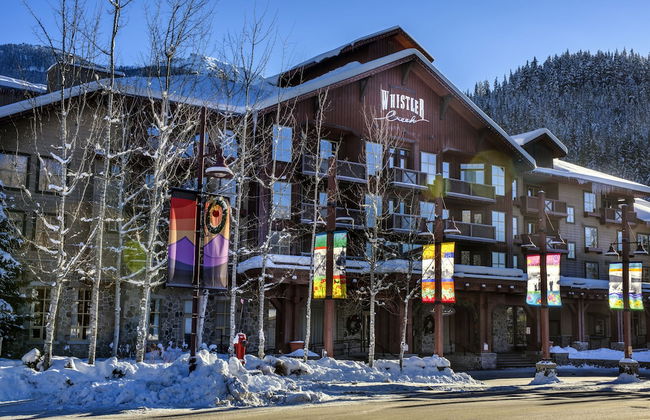
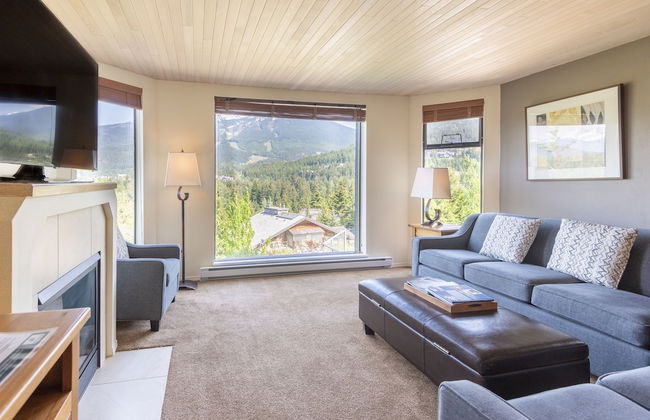
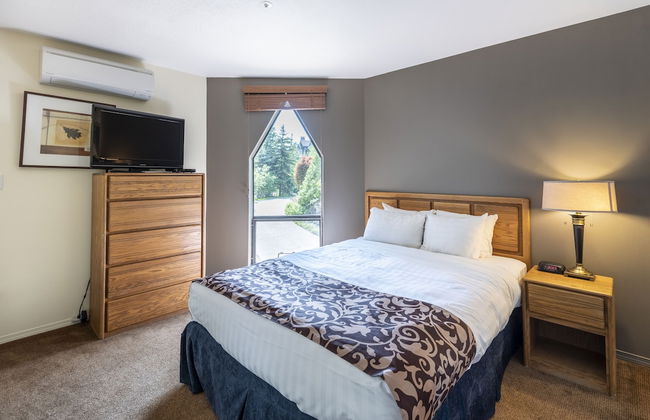
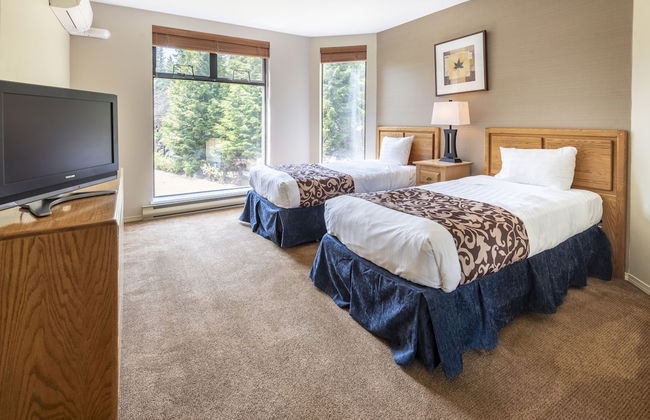
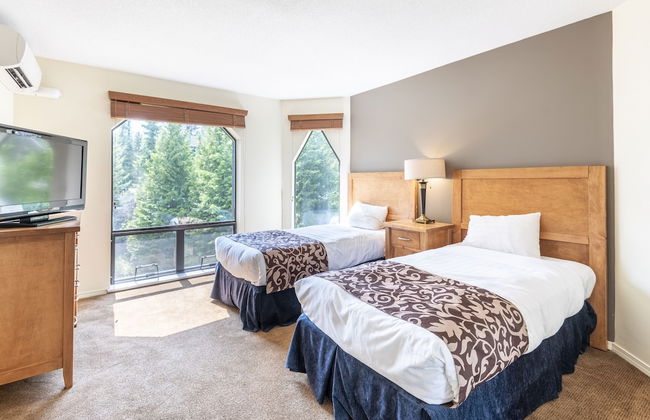
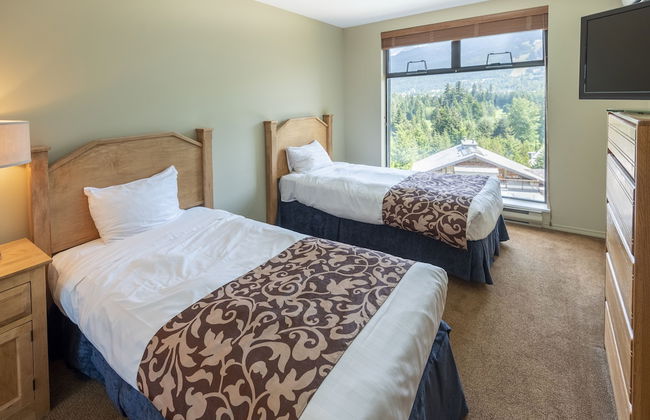
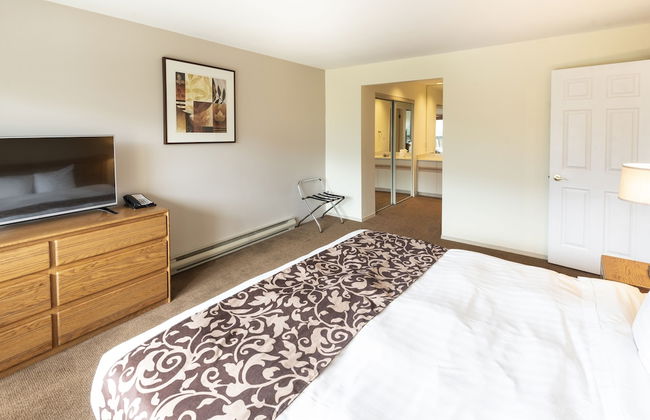
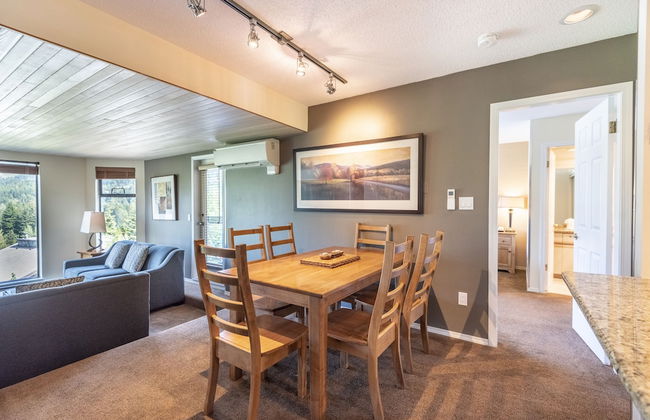
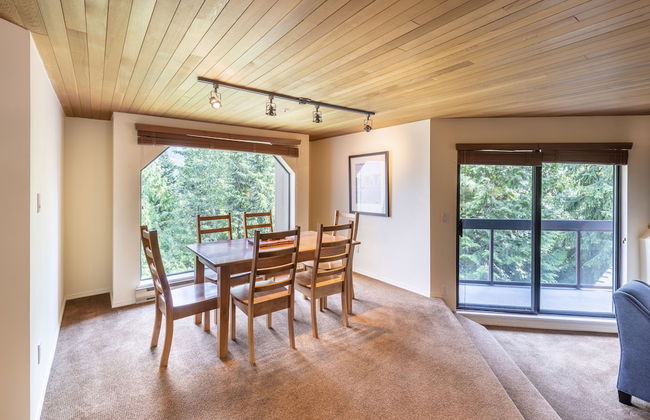
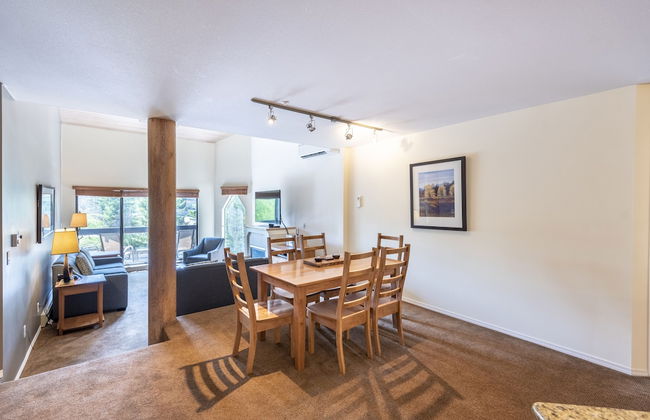
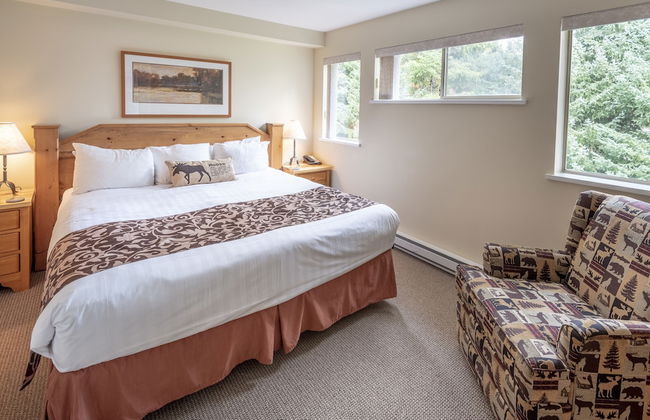
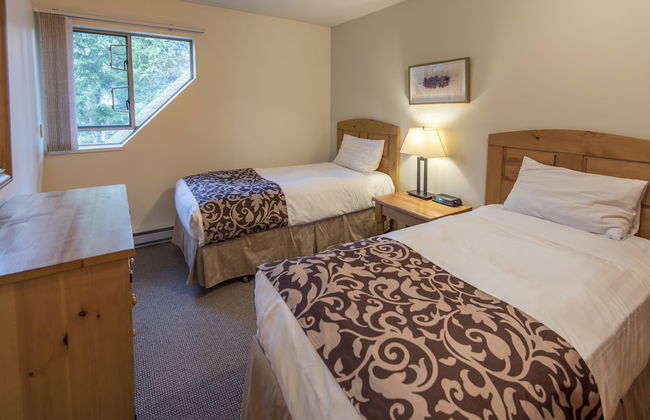
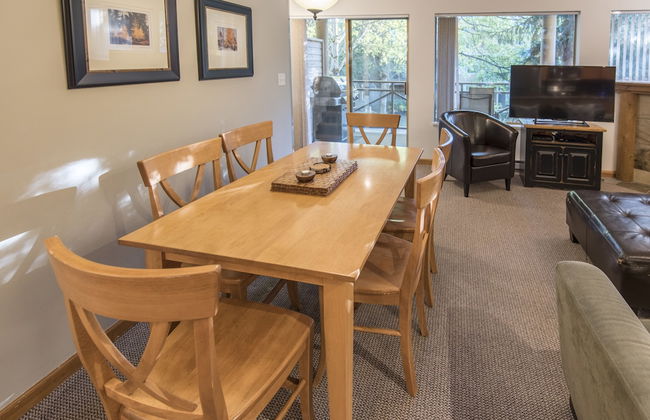
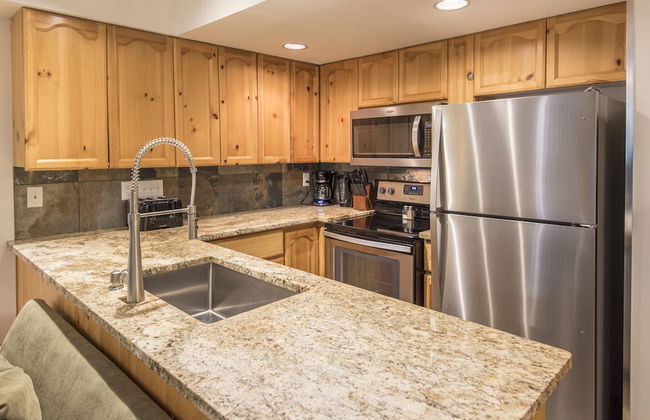
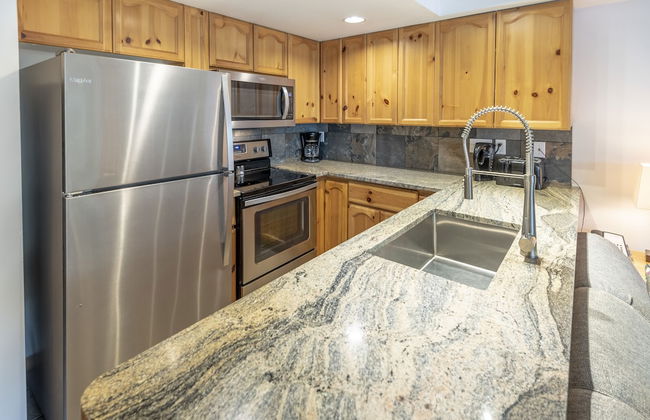
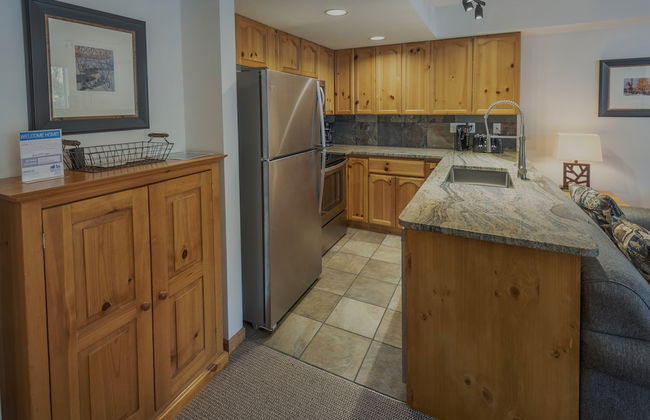
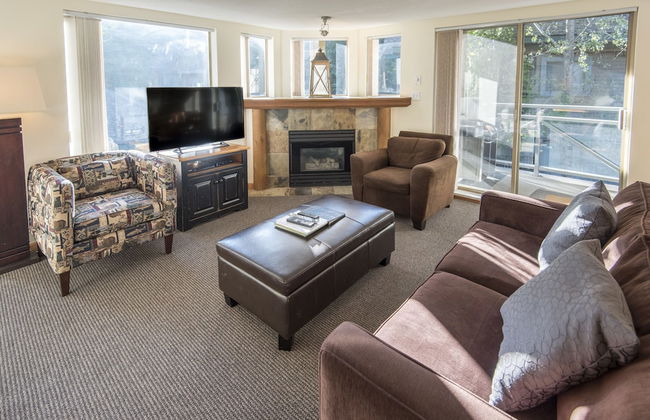
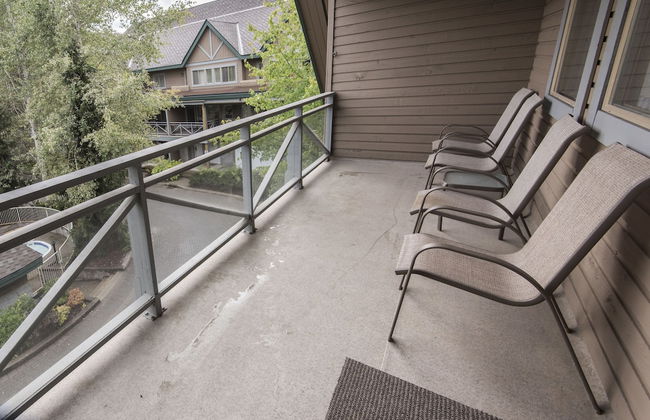
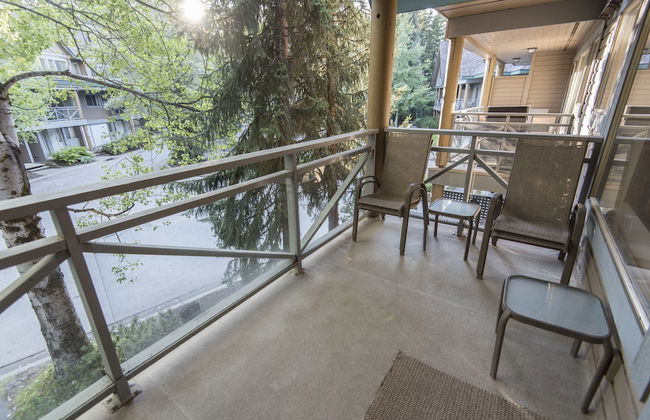
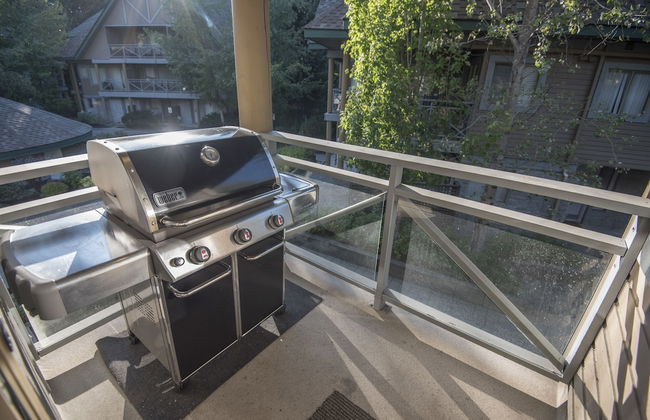
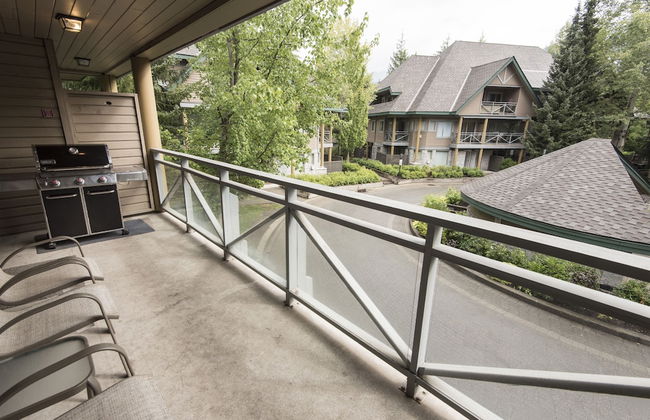
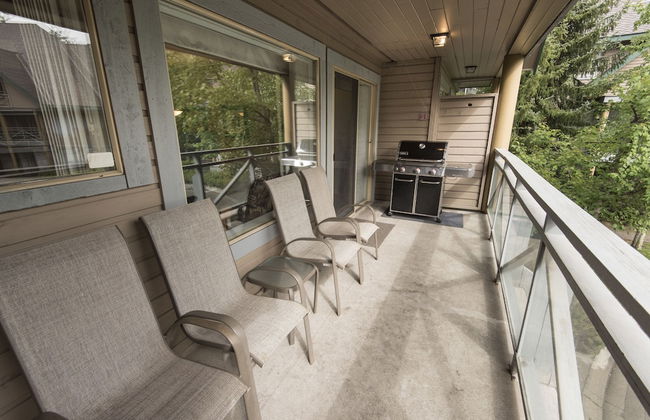
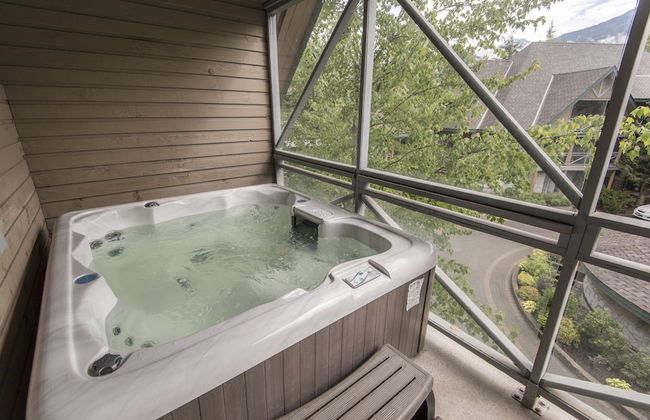
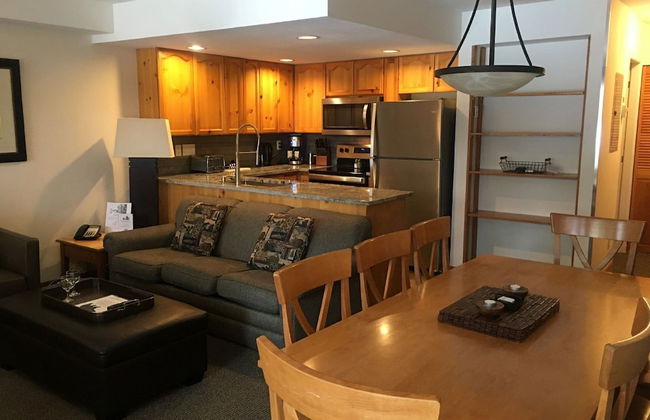
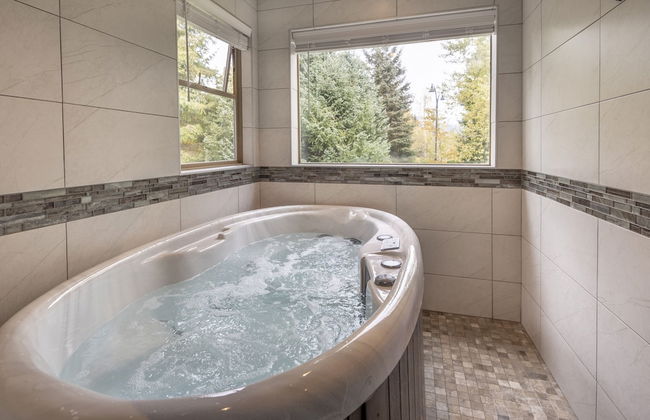
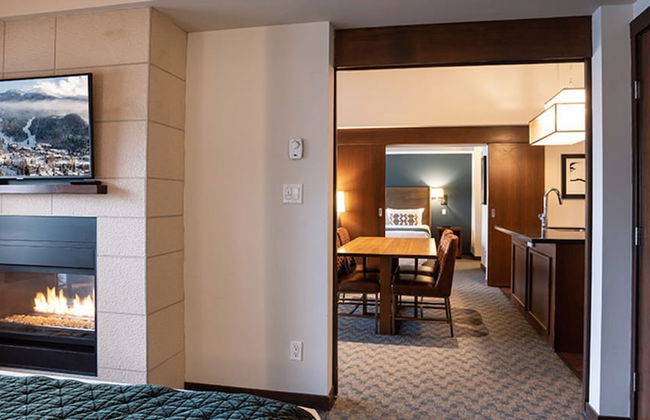
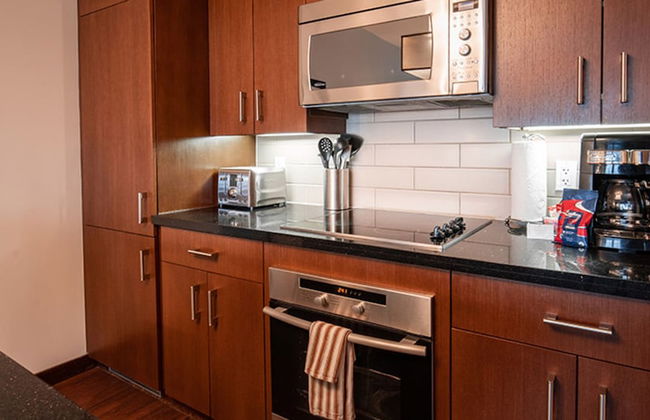
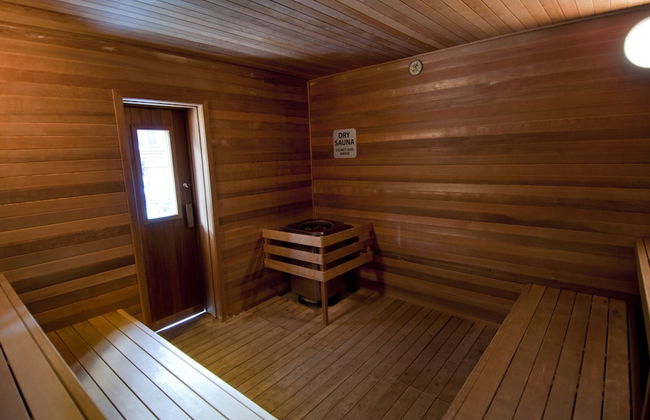
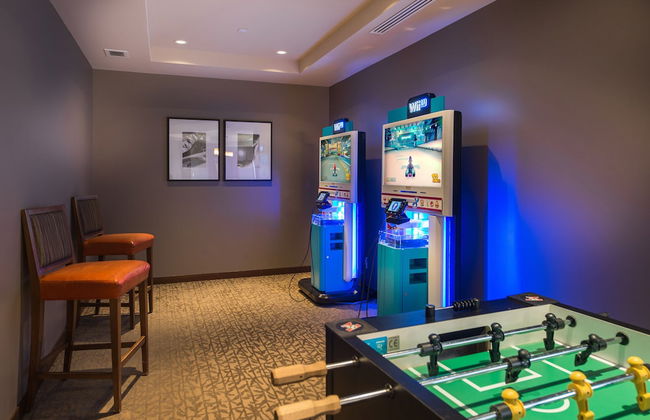
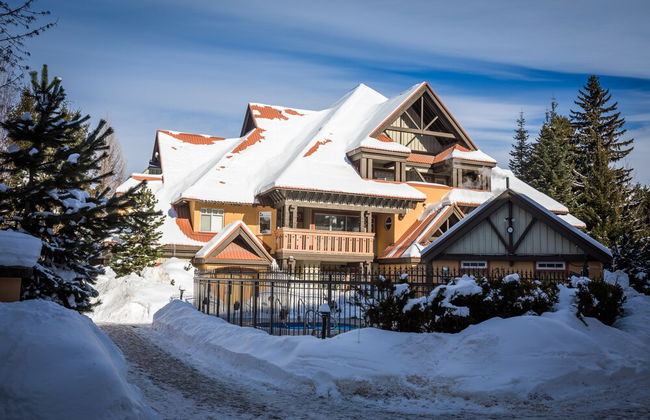
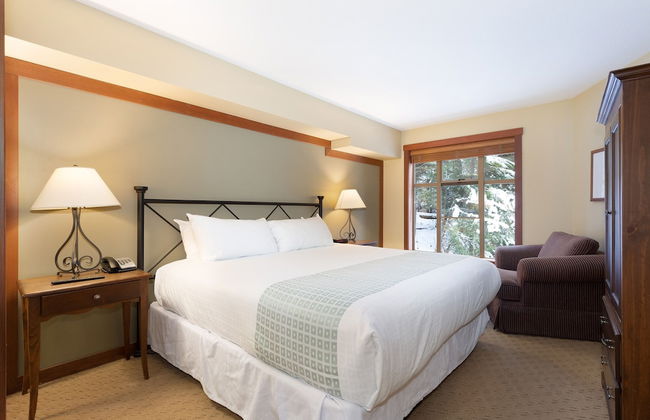
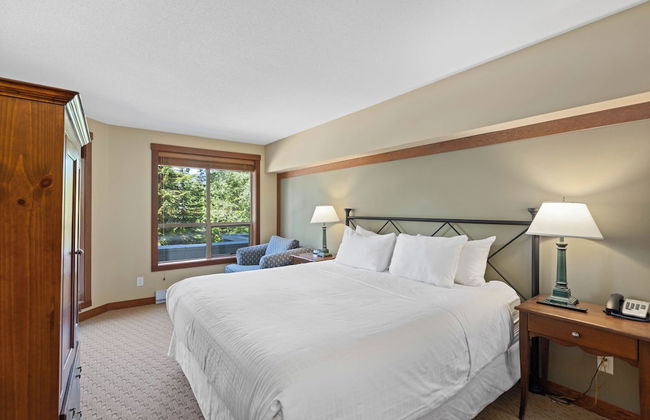
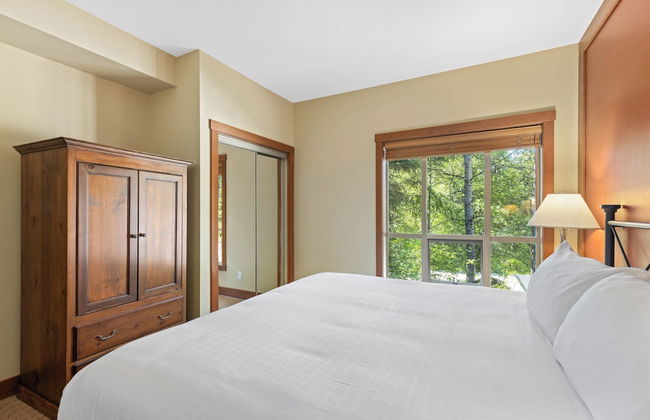
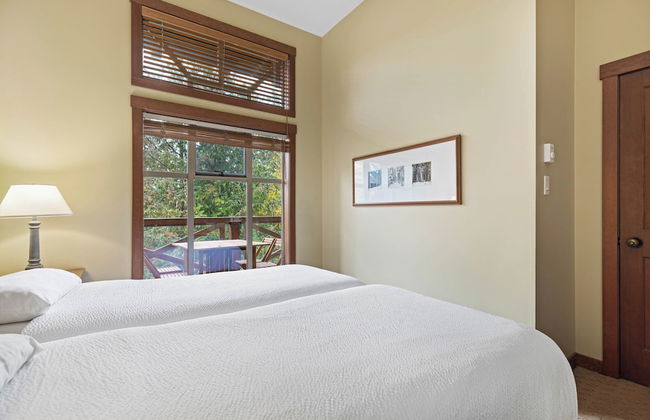
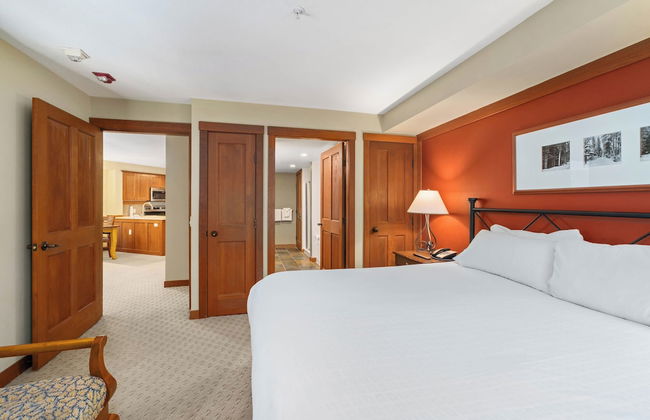
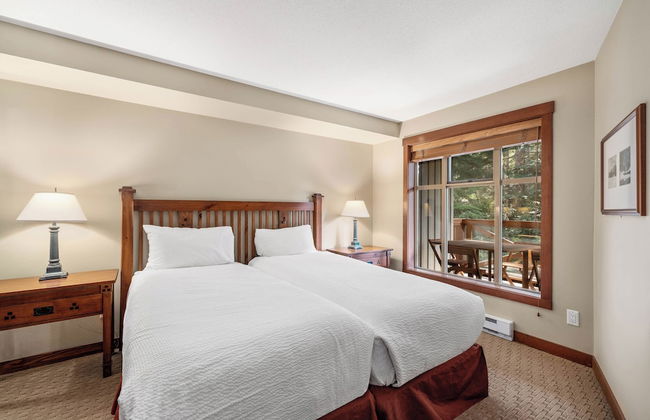
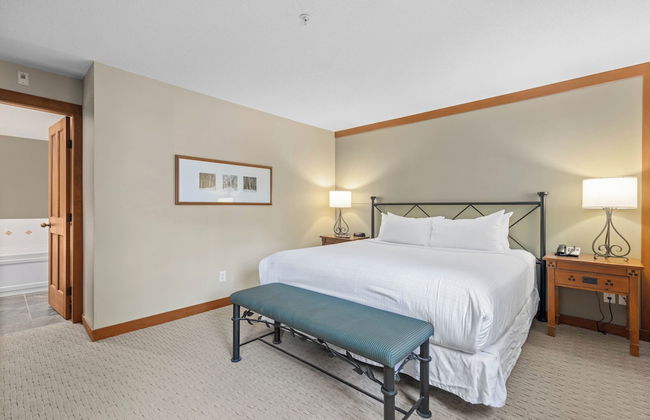
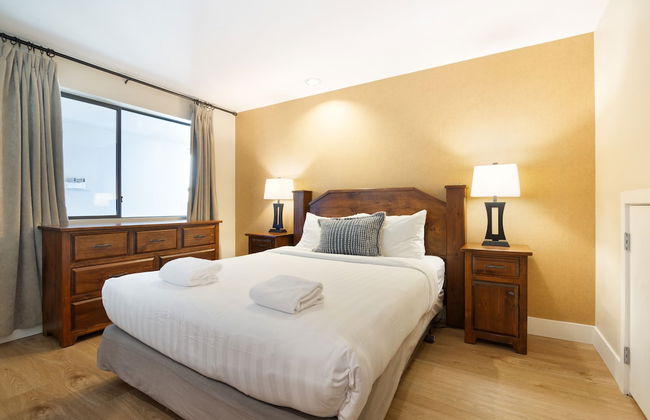
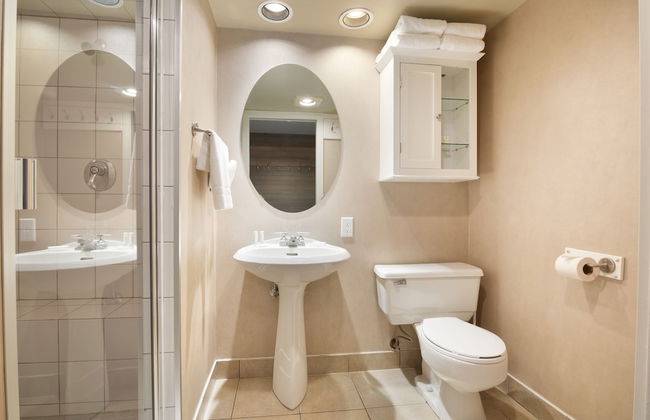
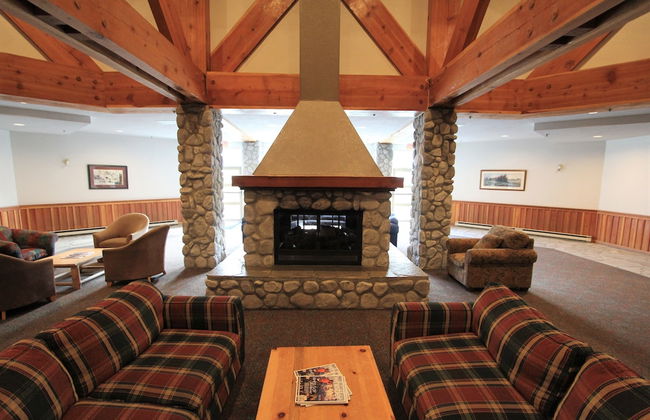
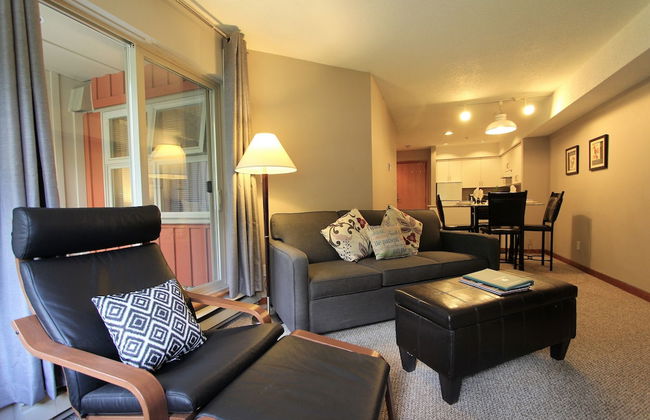
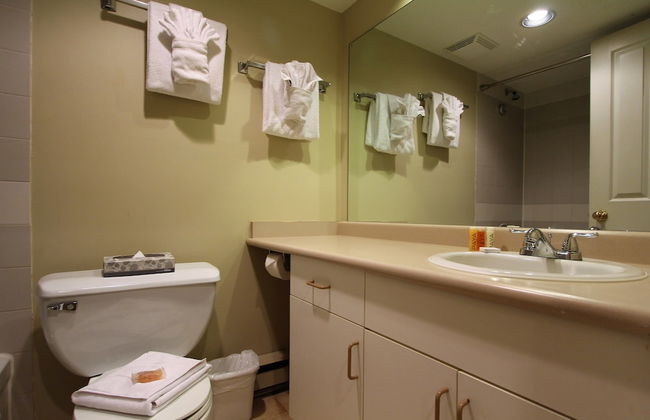
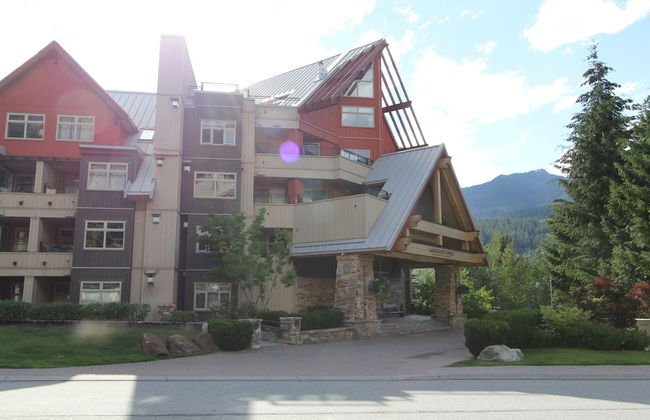
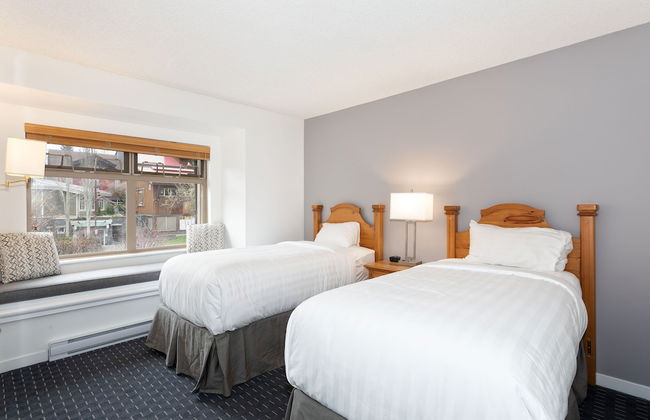
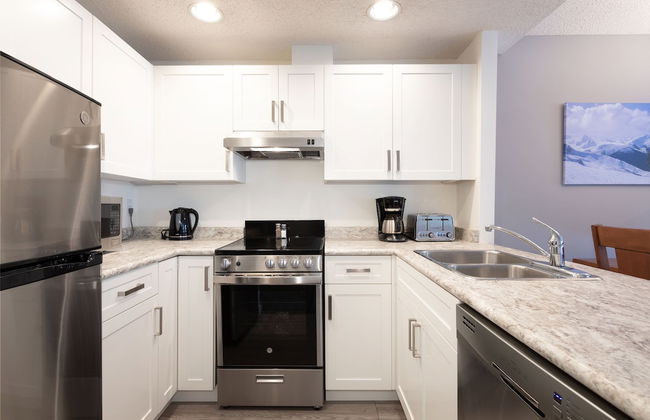
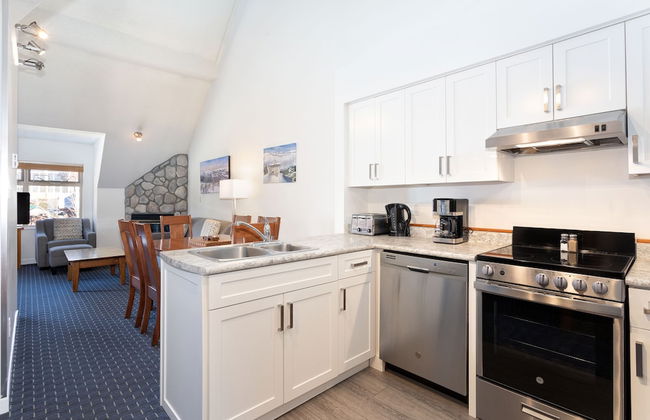
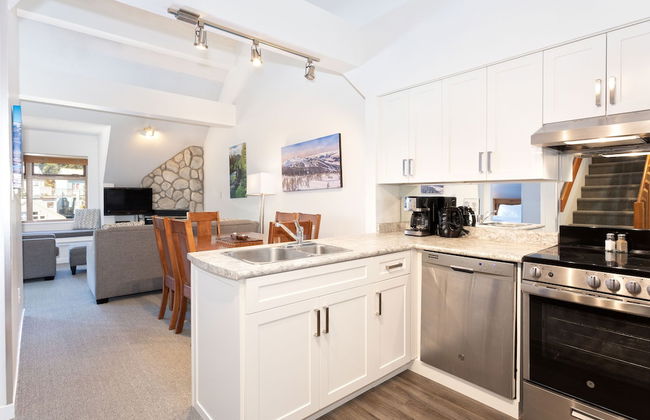
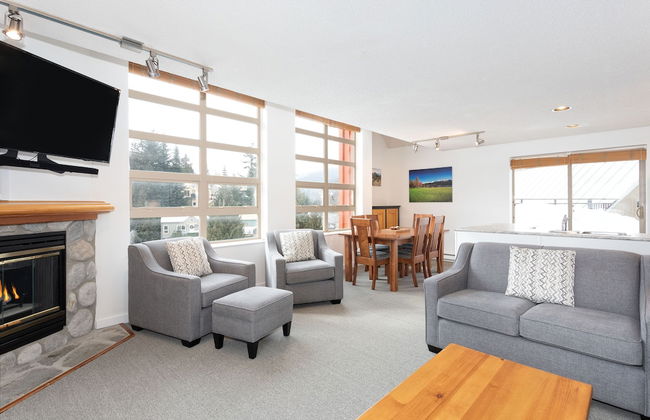
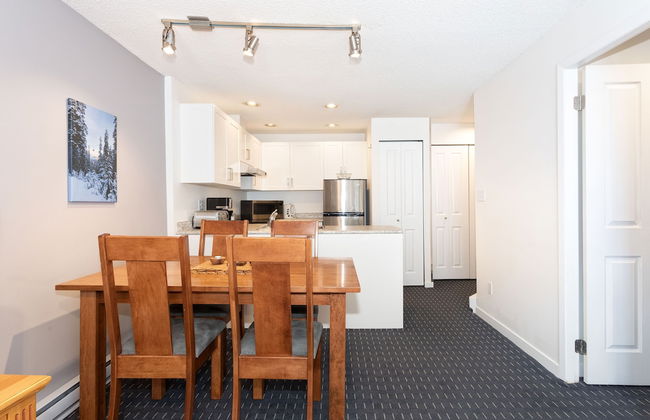
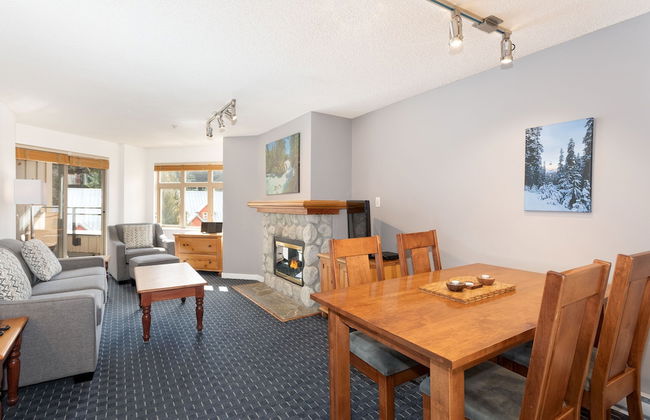
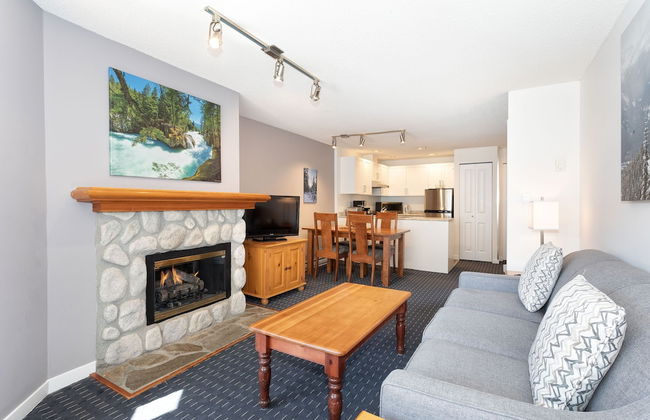
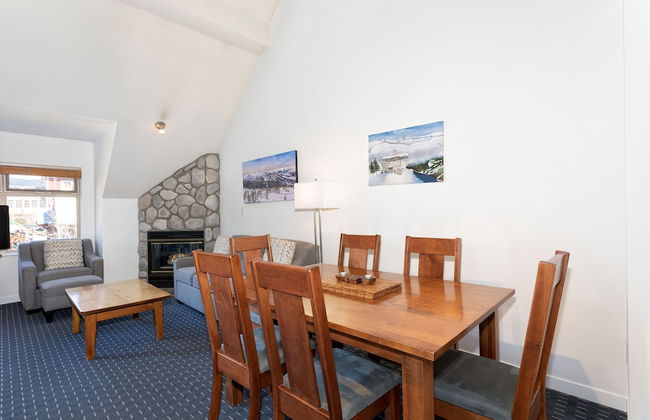
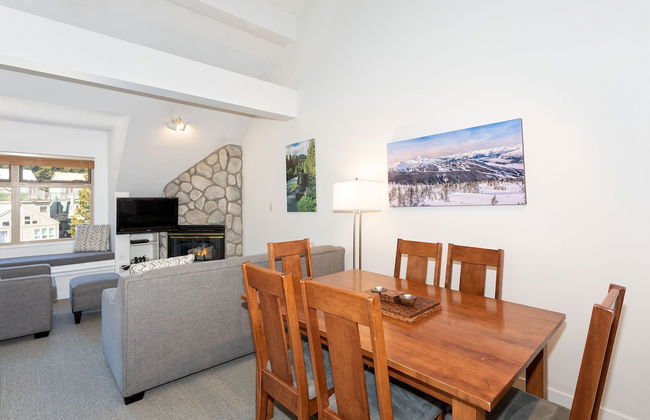
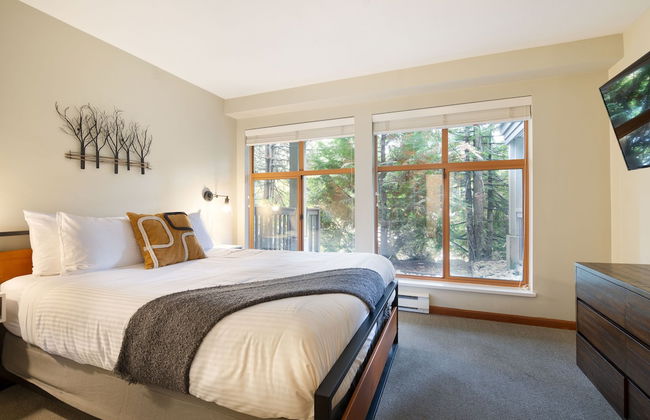
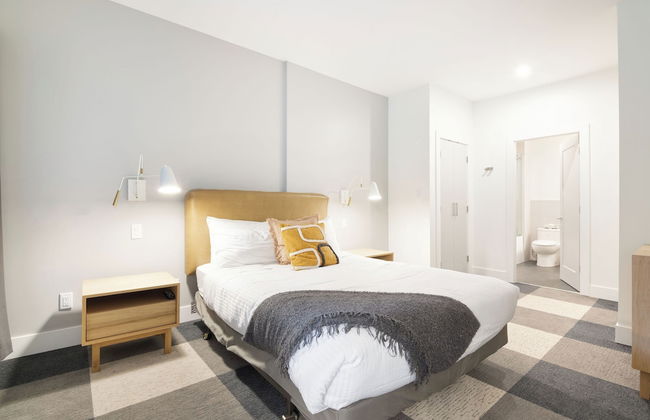
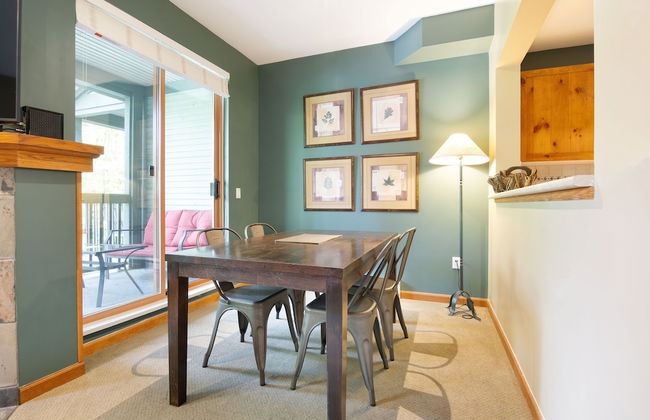
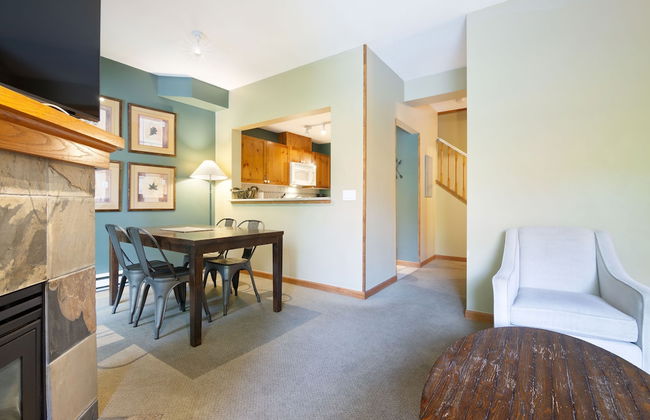
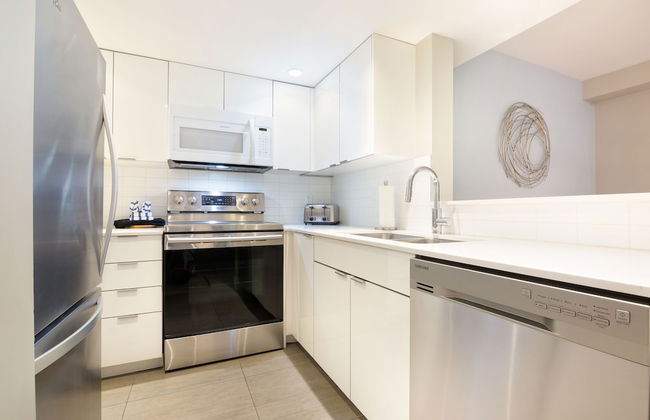
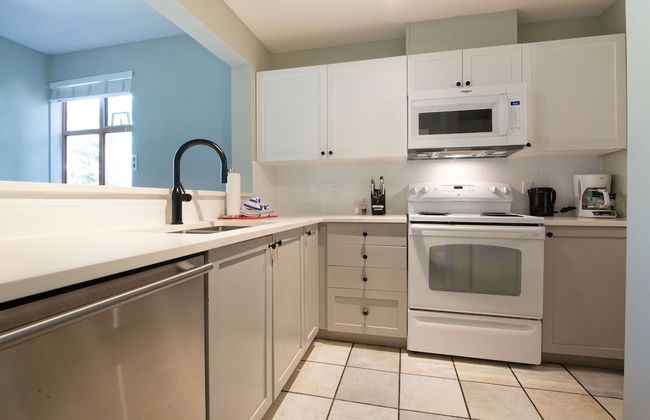
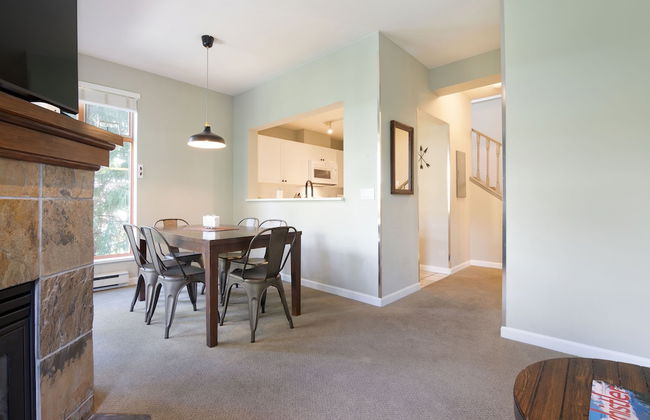
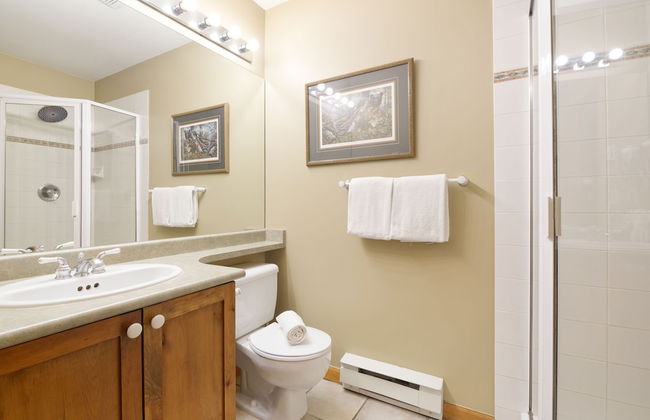
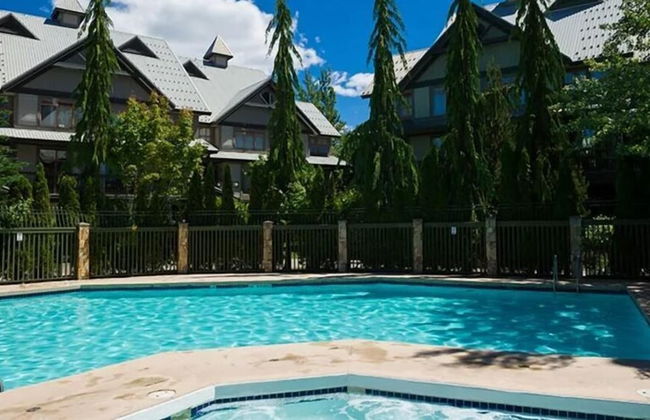
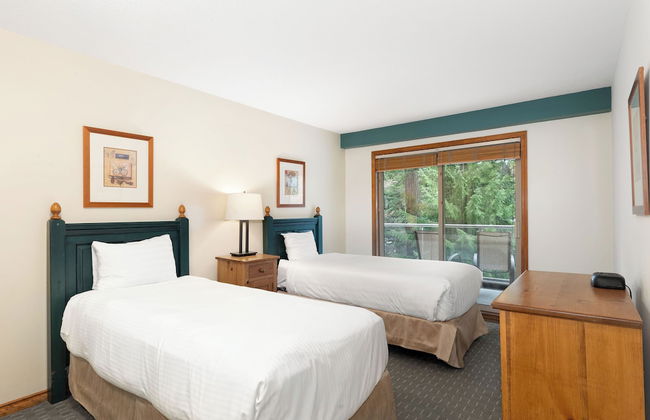
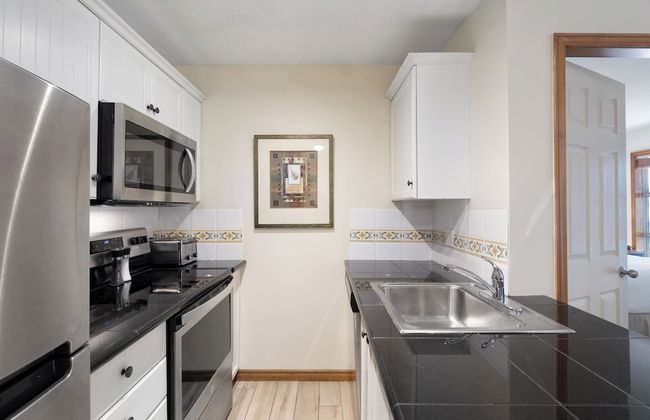
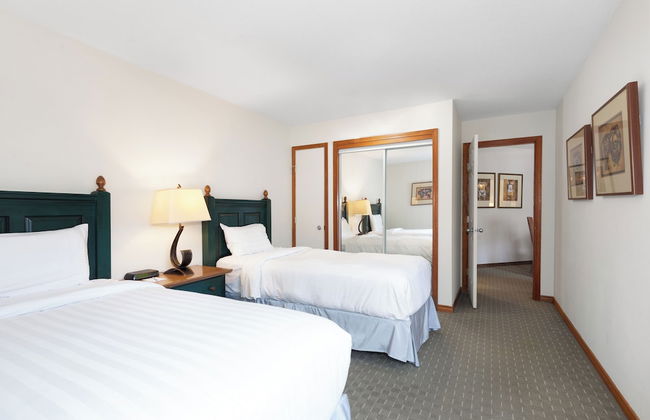
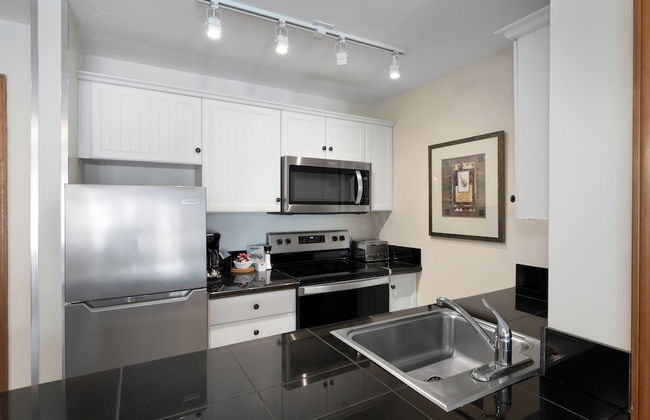
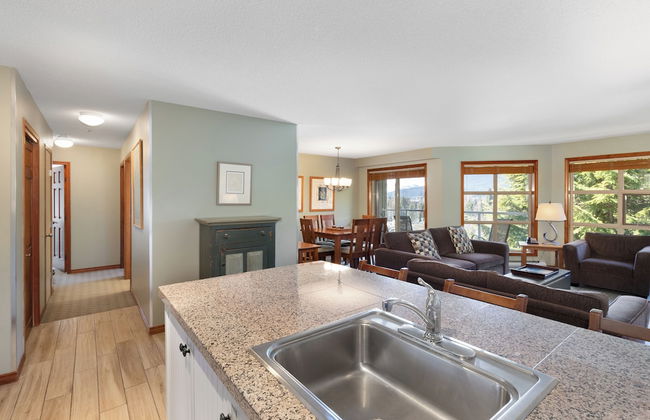
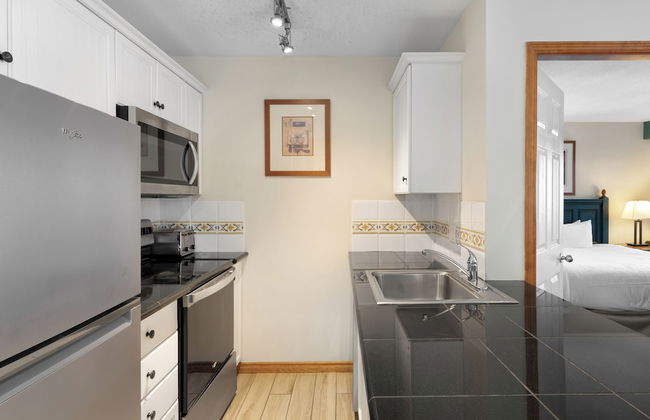
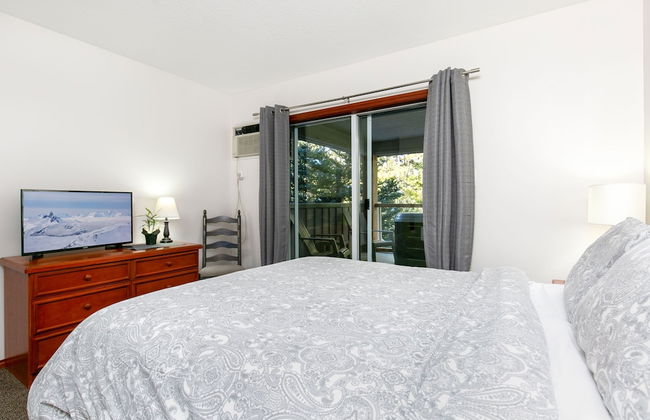
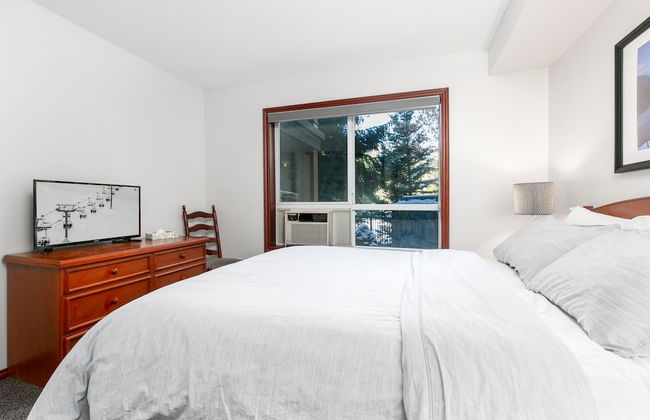
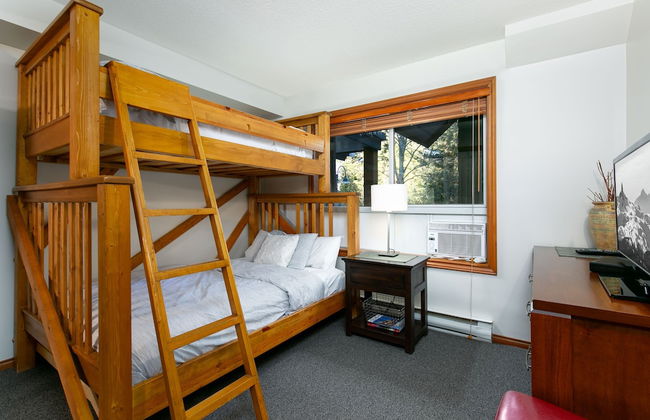
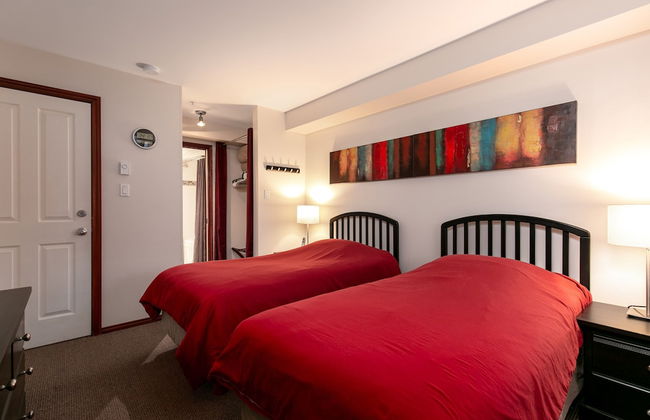
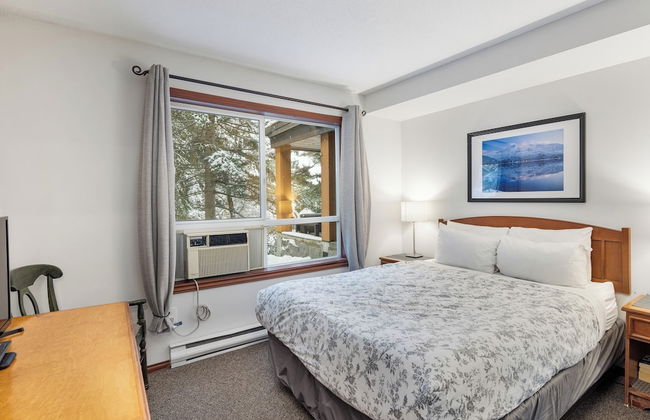
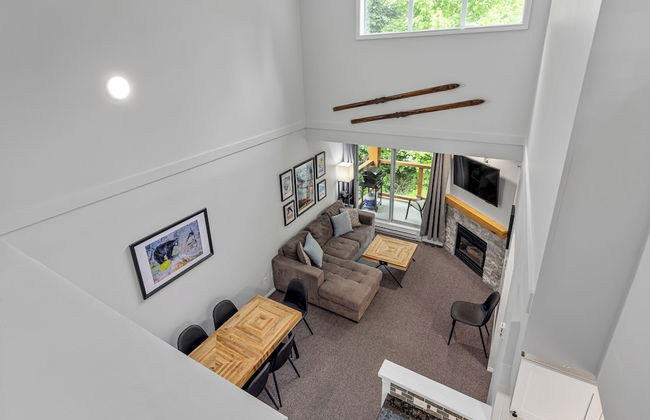
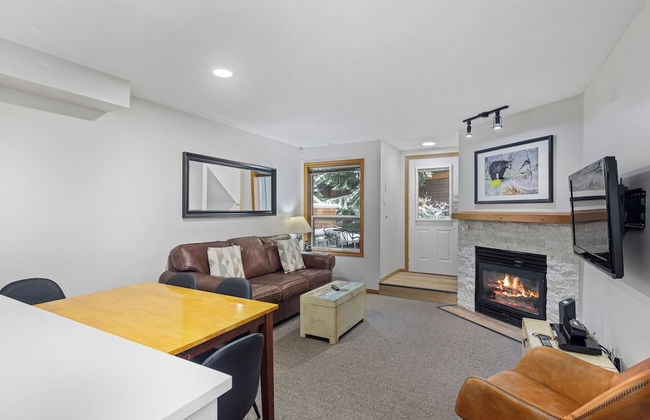
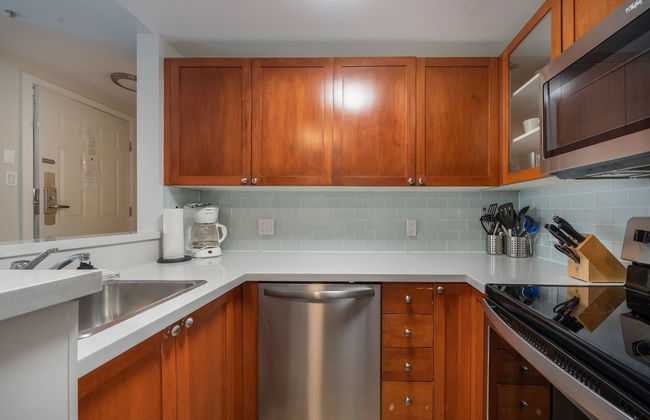
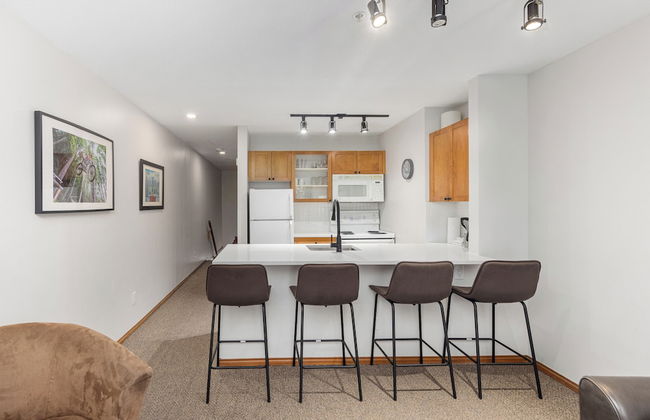
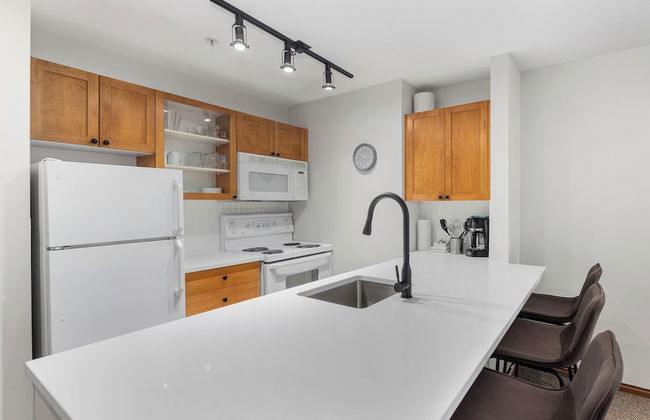
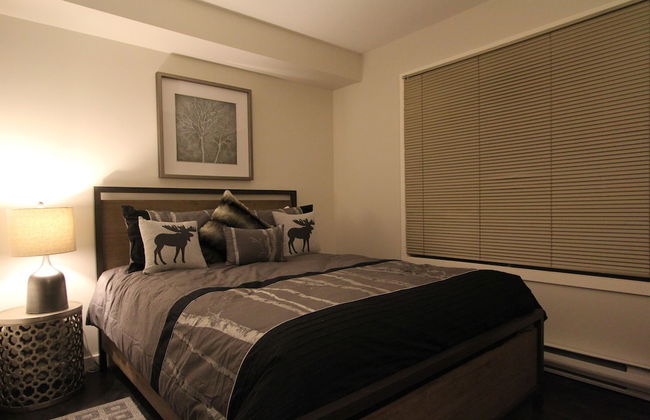
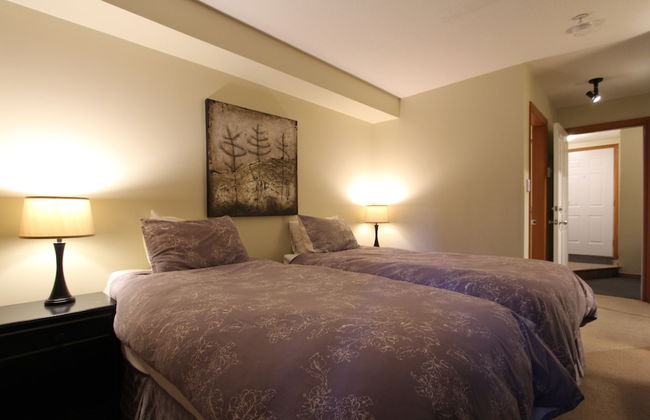
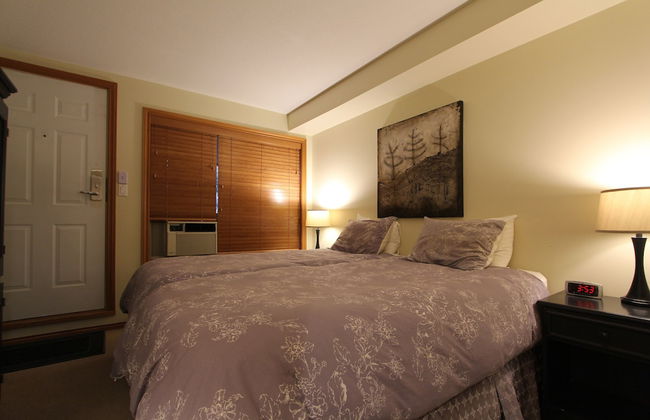
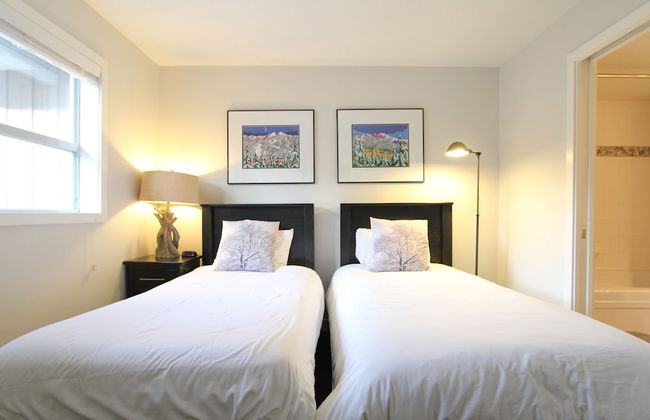
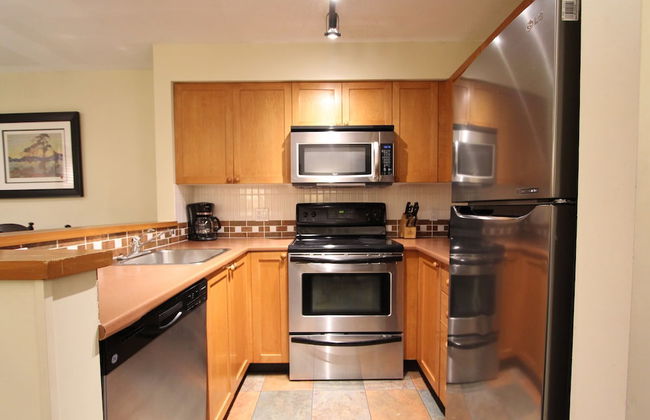
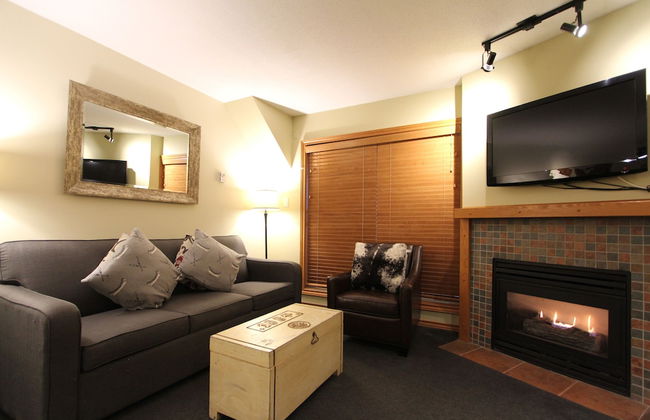
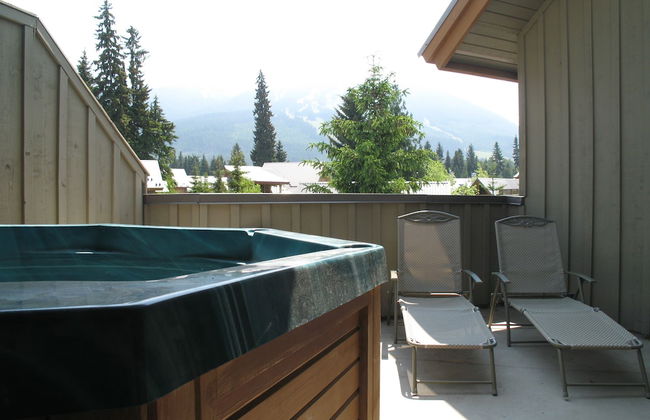
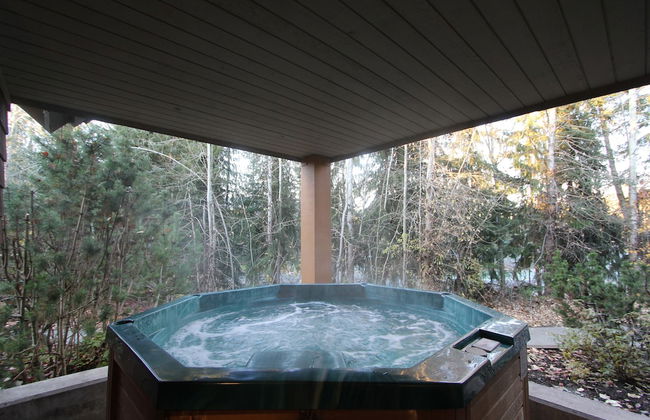
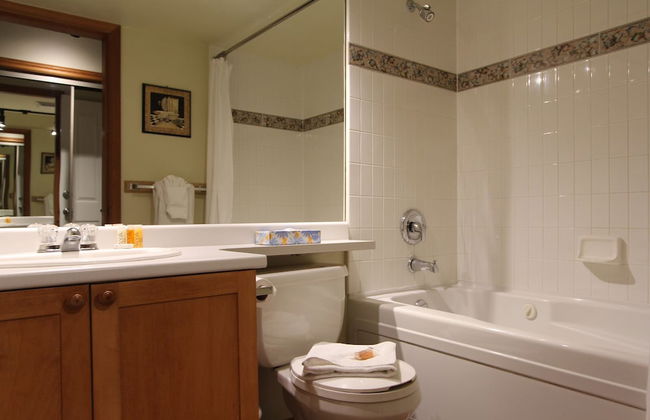
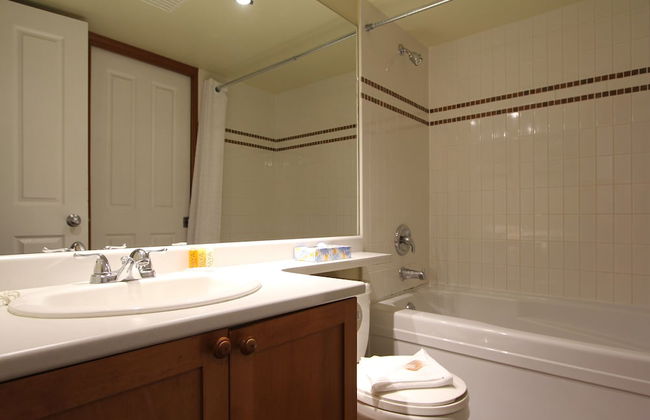
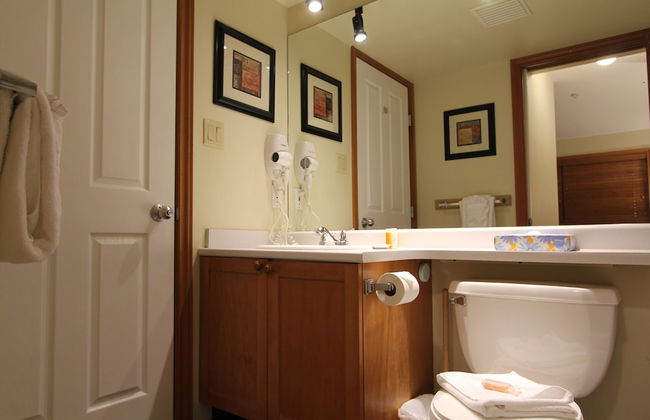
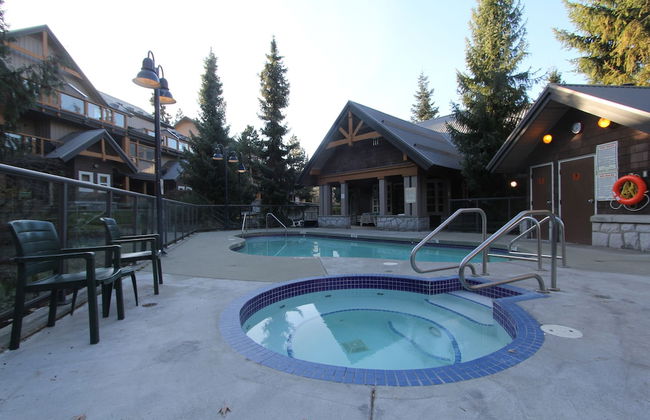
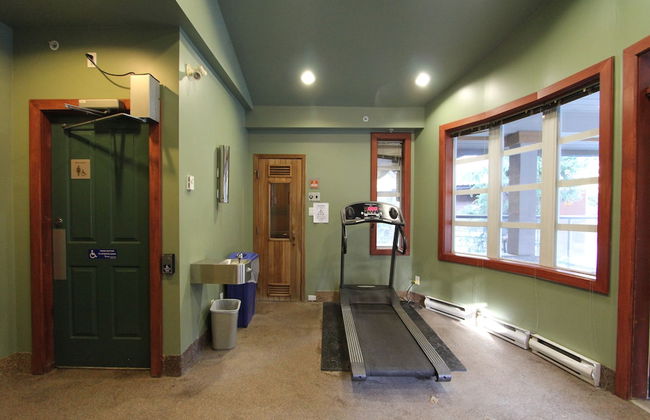
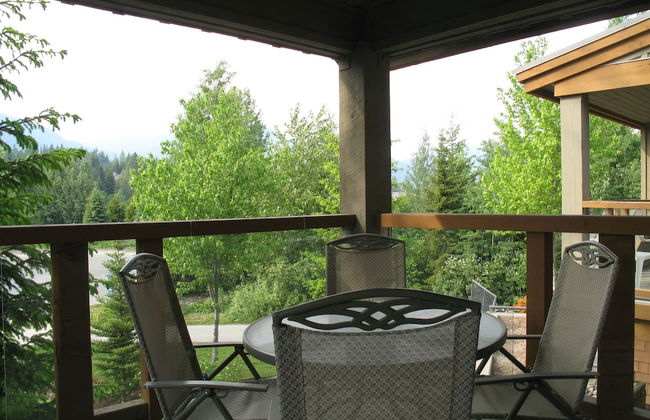
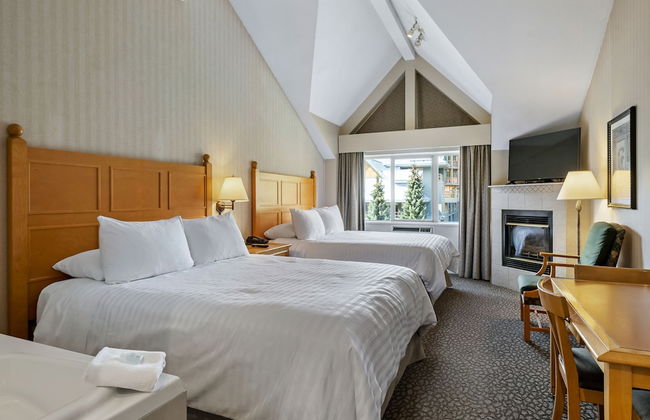
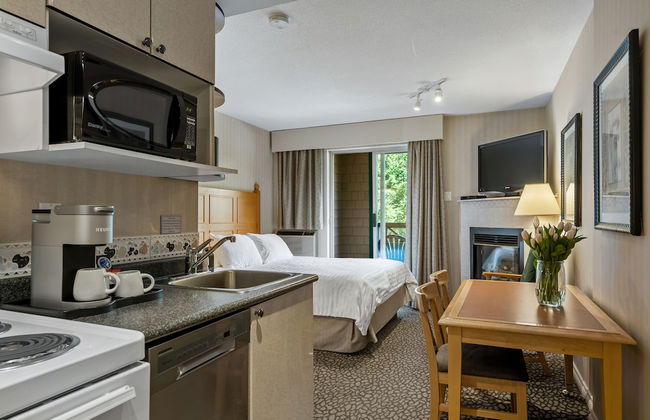
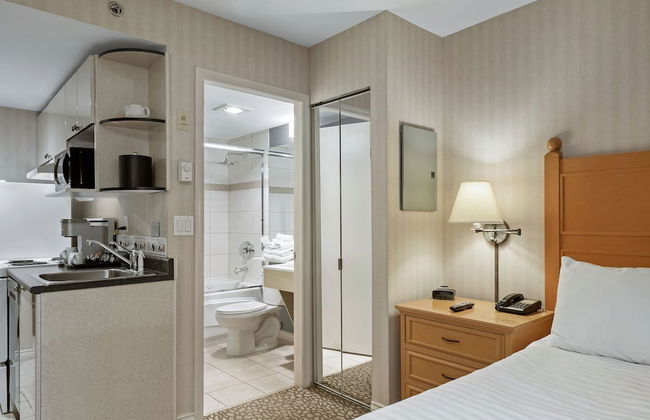
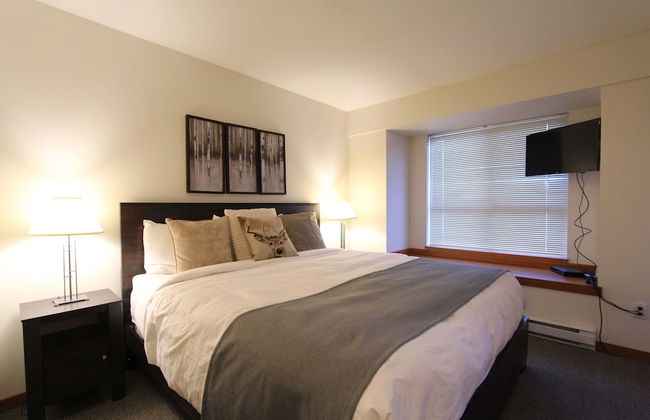
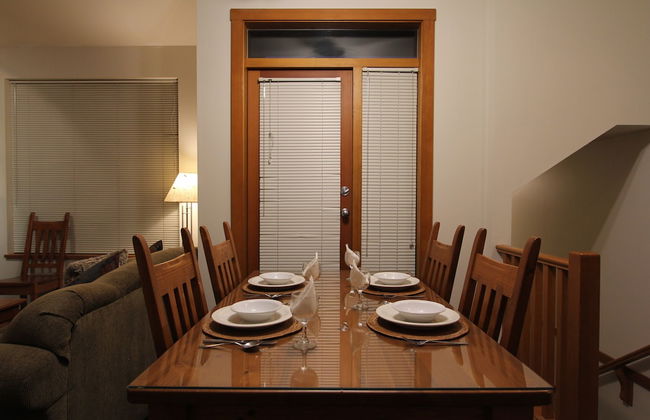
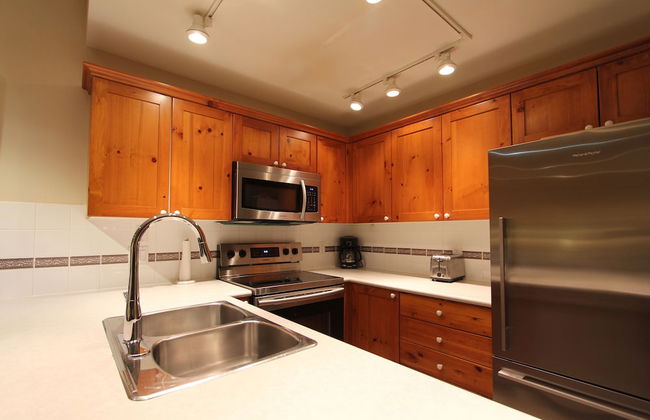
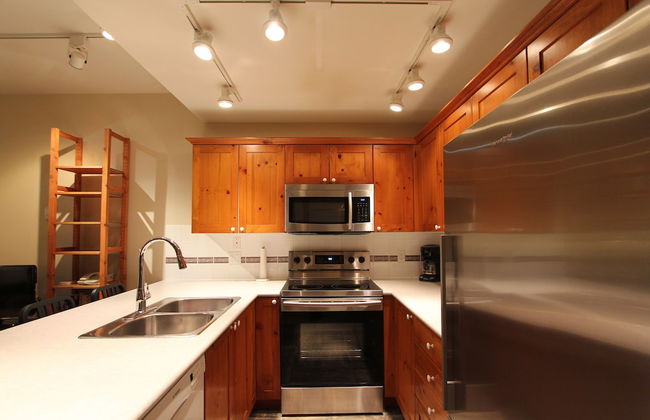
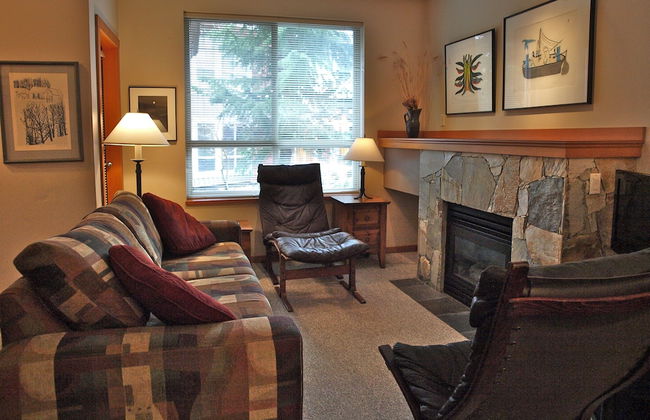
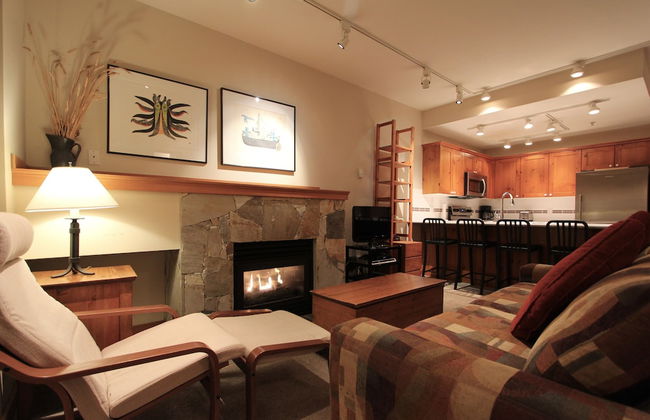
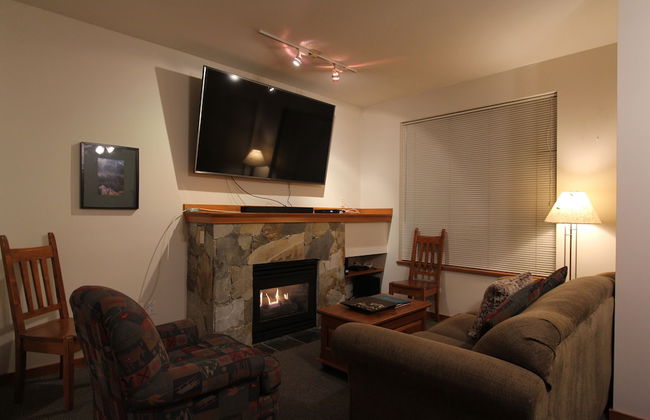
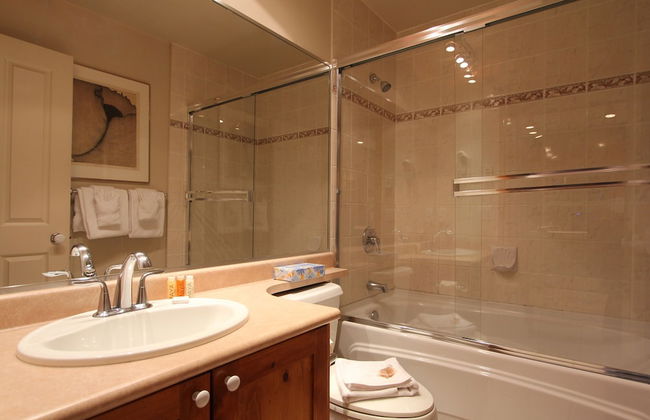
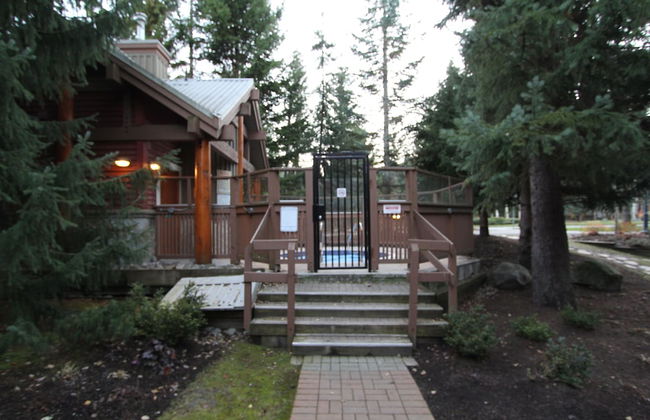
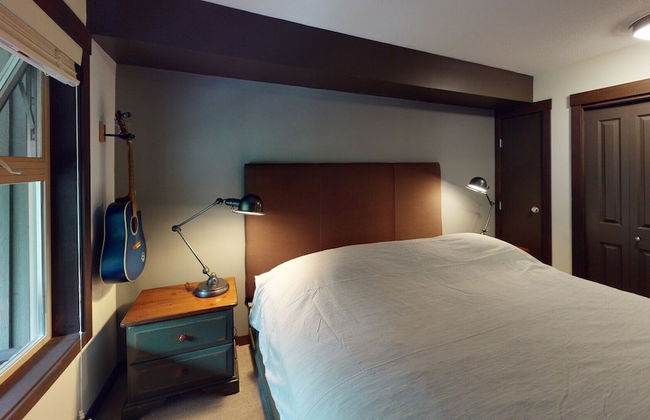
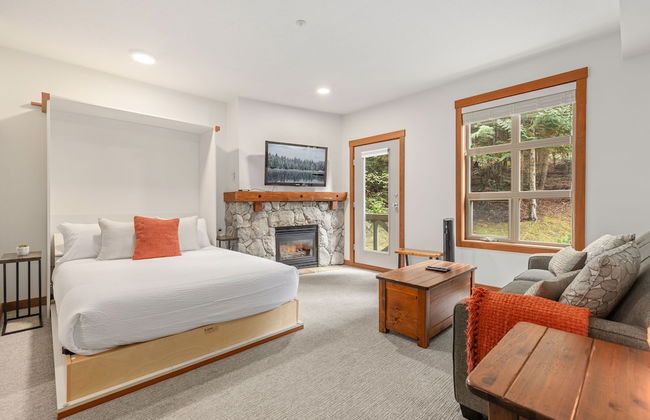
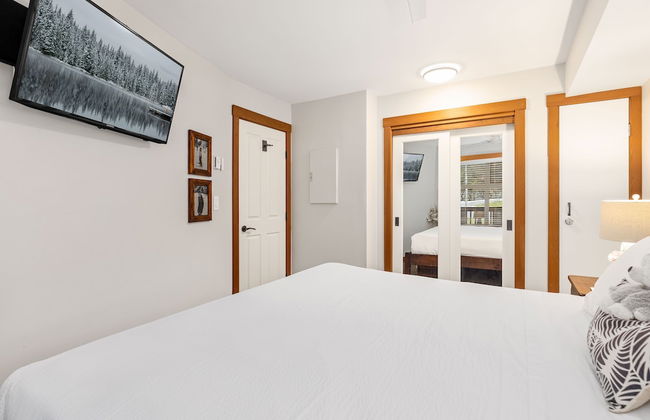
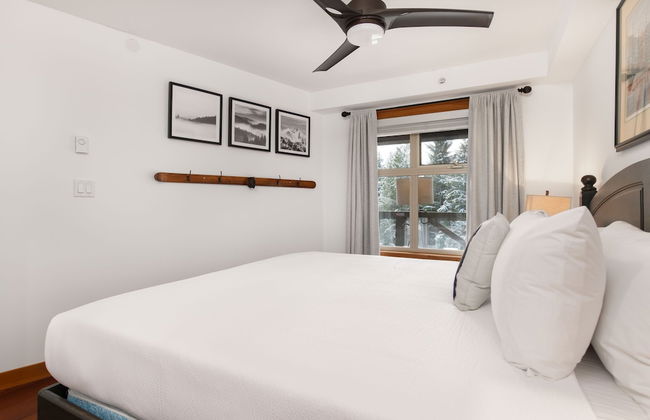
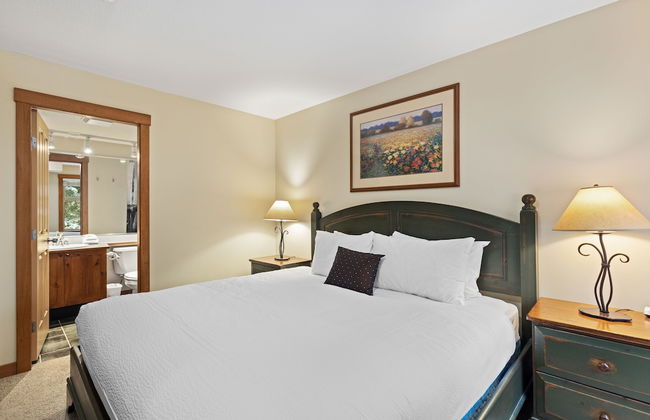
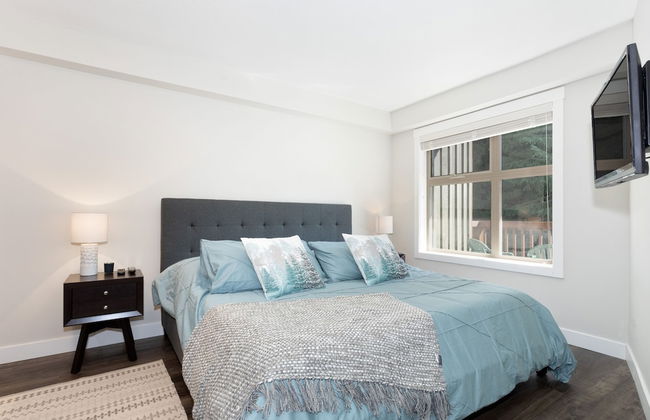
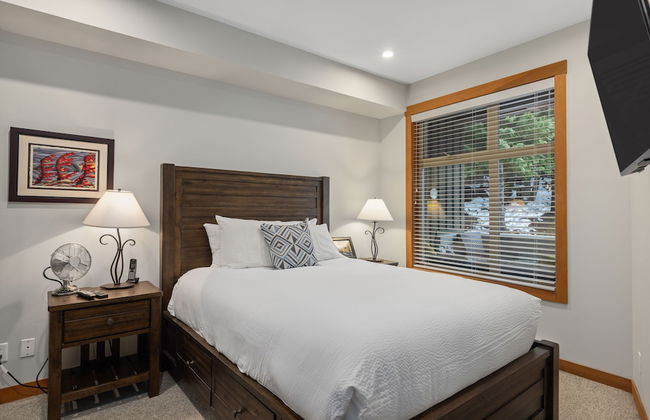
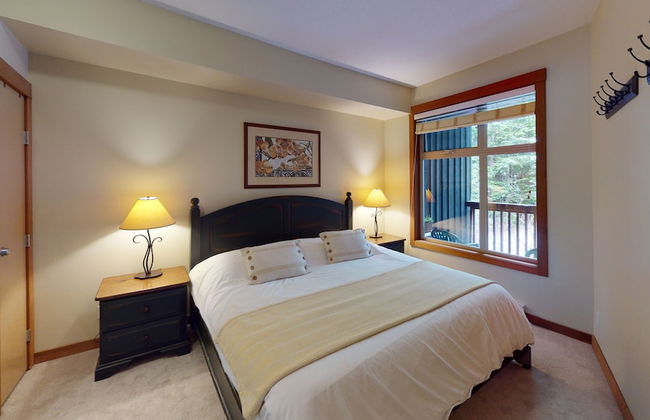
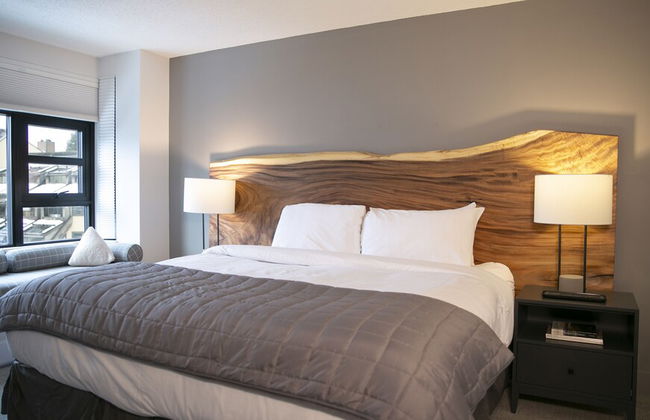
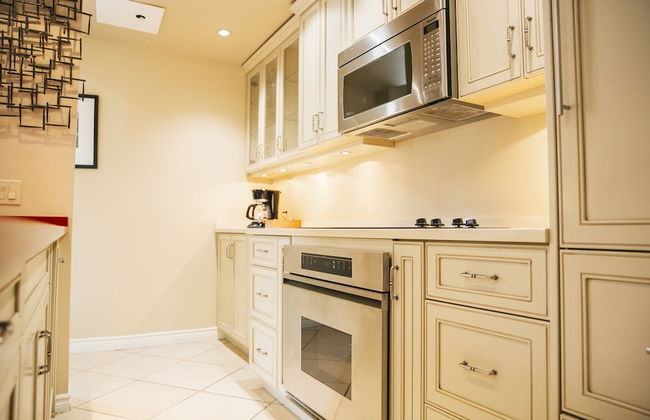
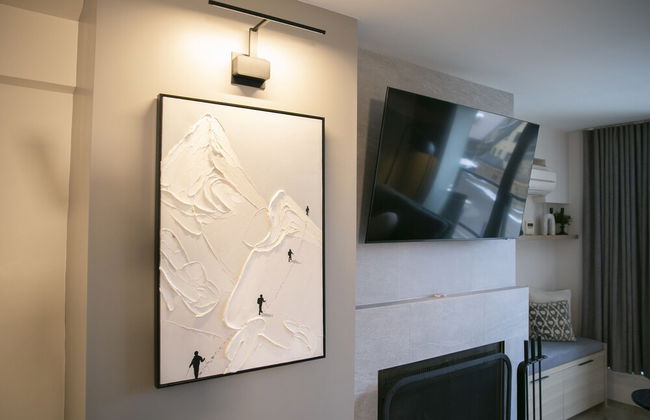
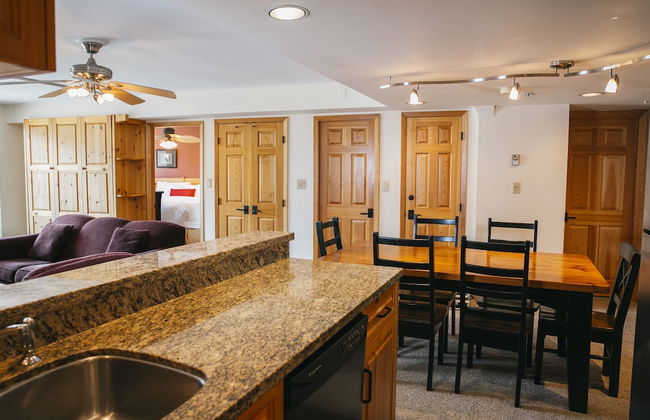
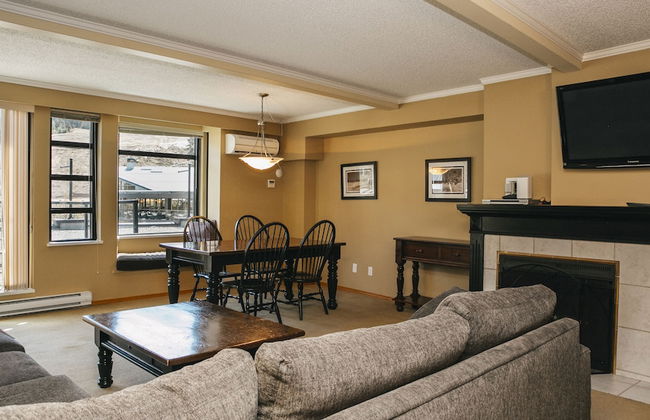
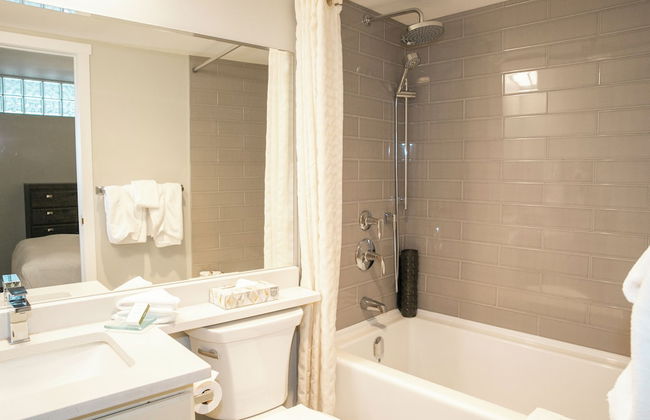
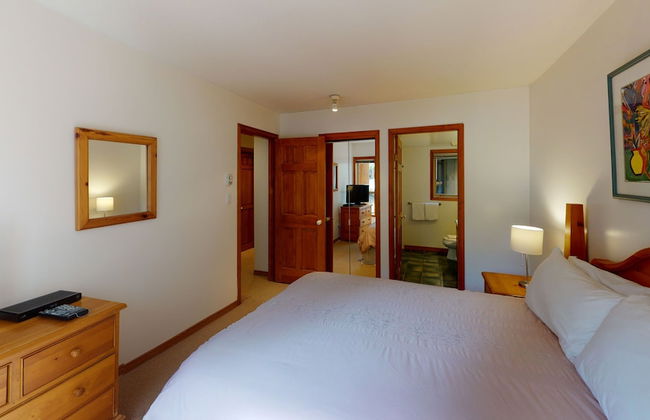
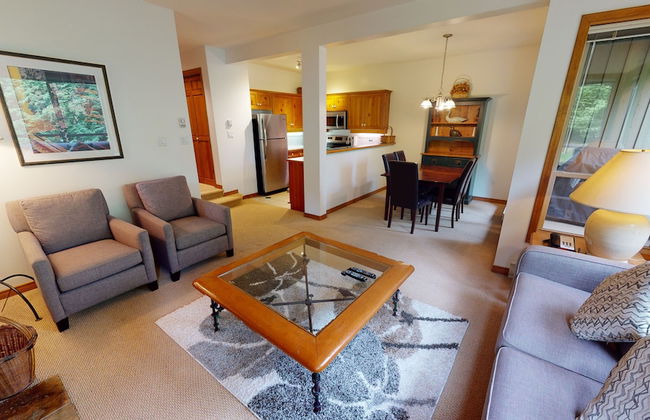
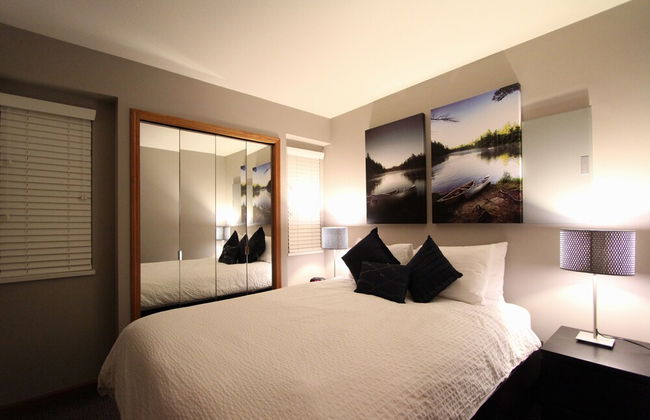
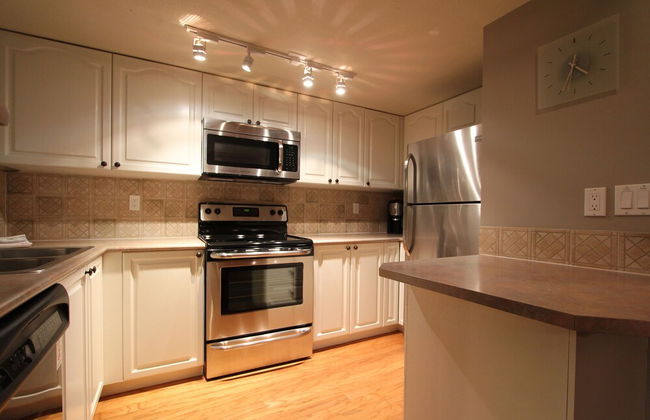
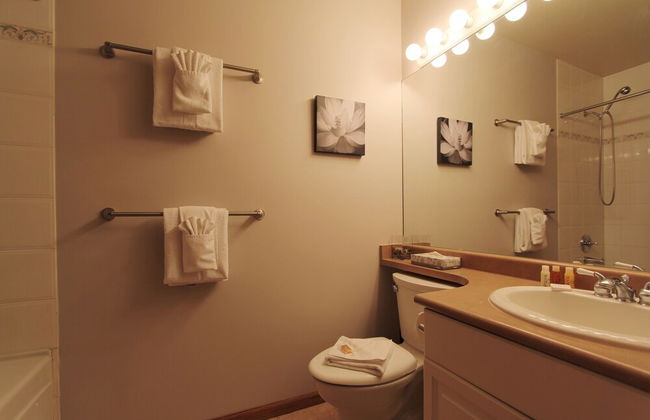
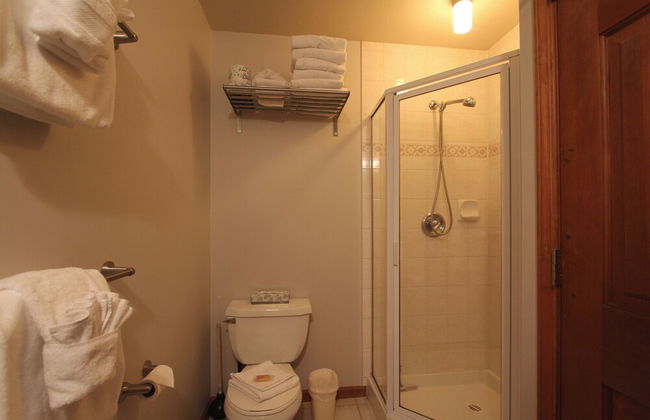
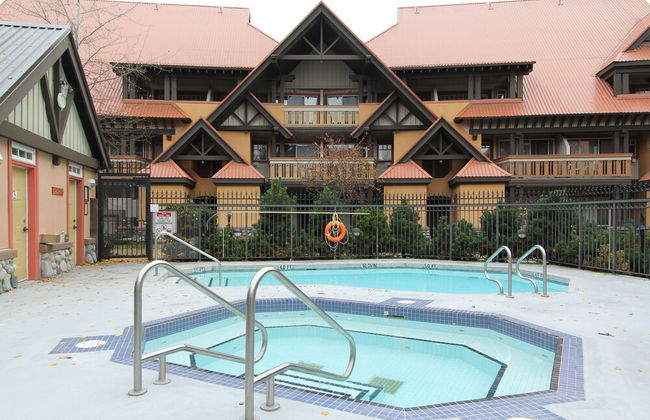
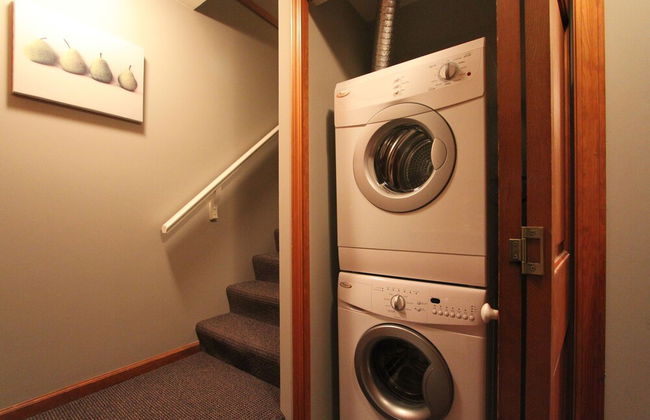
First Tracks Lodge
Whistler - 3.4 km do centro
- 116 M2
- 8 pessoas
- Ar-condicionado
- Terraço
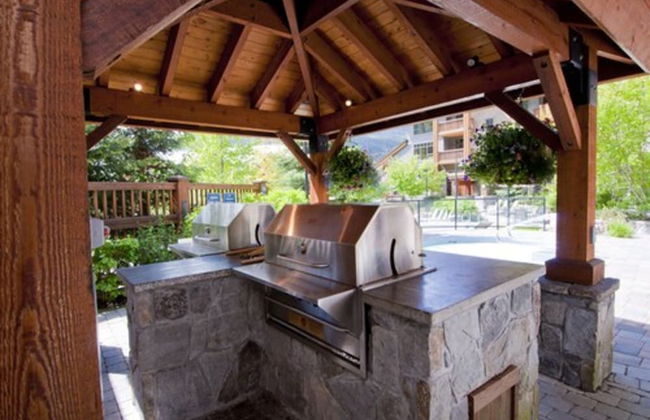
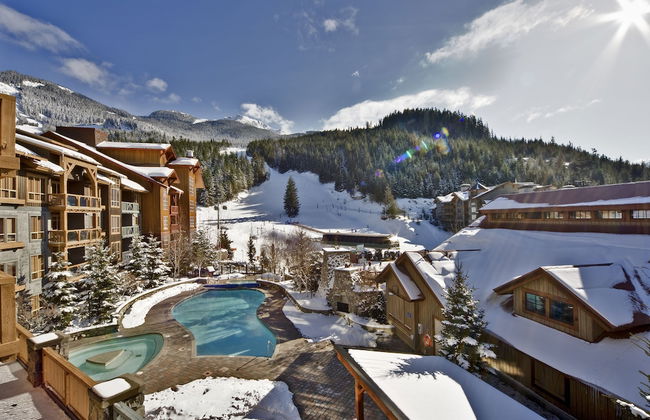
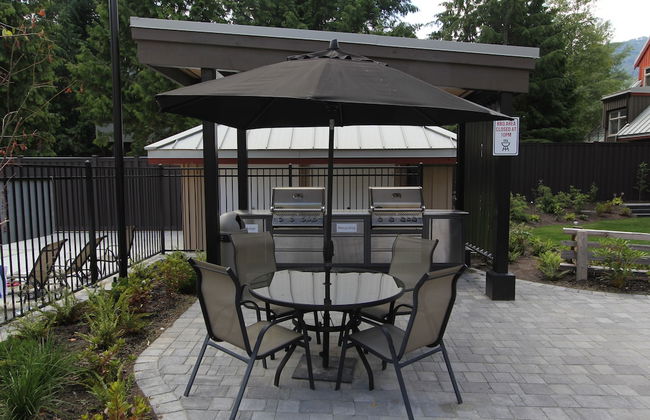
- Piscina
- Estacionamento
- Elevador
- Varanda
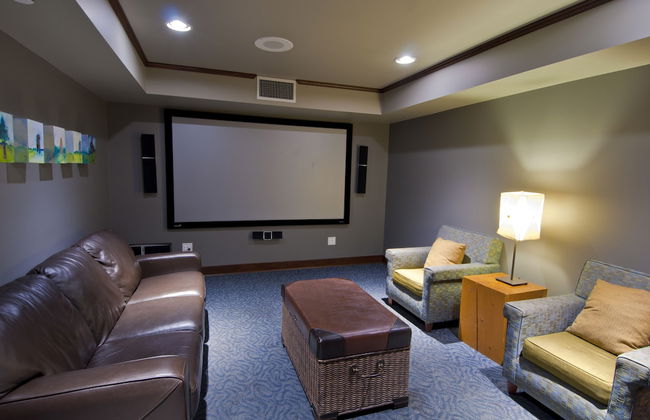
- Tv
- Máquina de lavar roupa
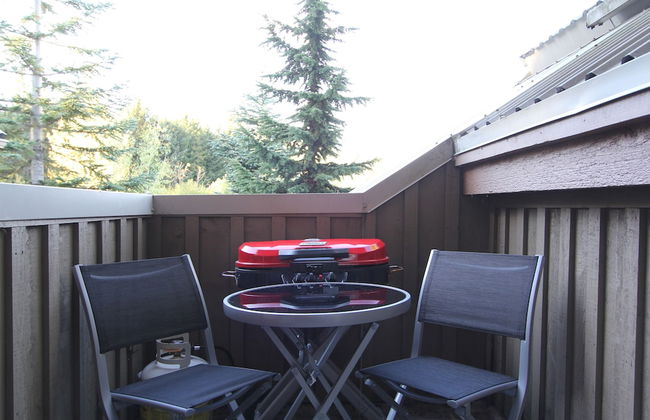
- Chaminé
- Churrasco
- Toalhas
- Lençóis
482 avaliações


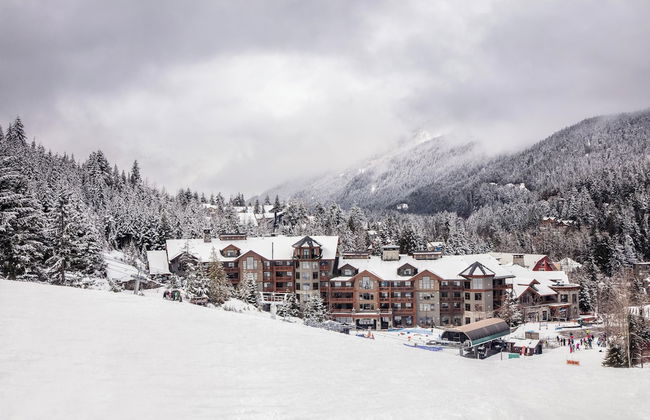

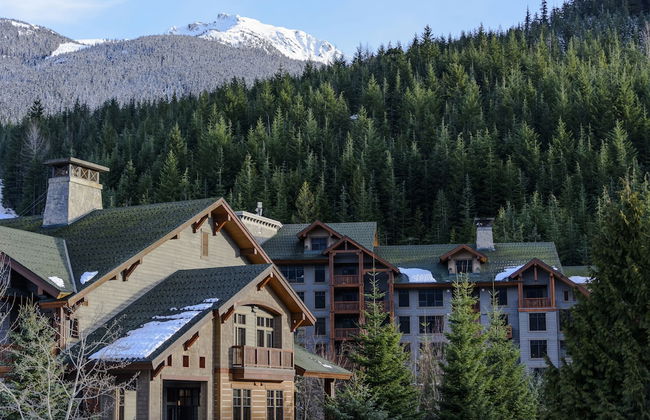
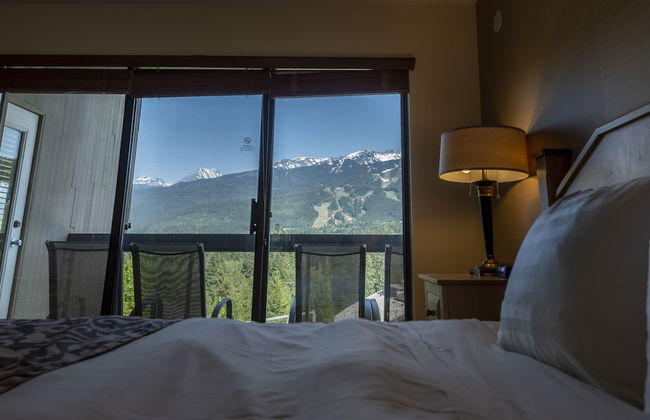
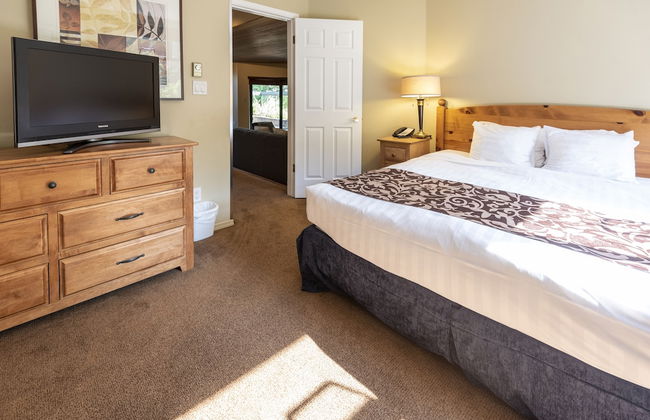
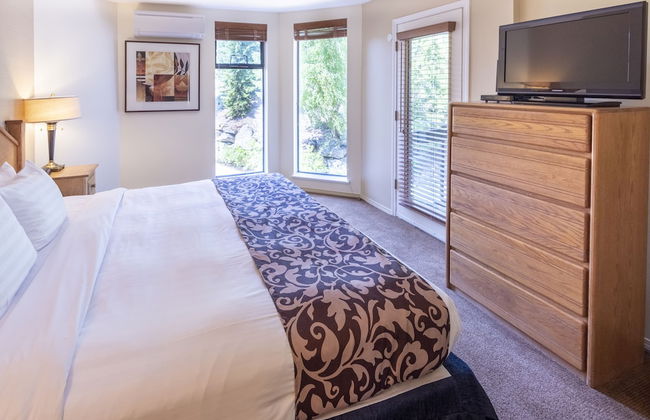
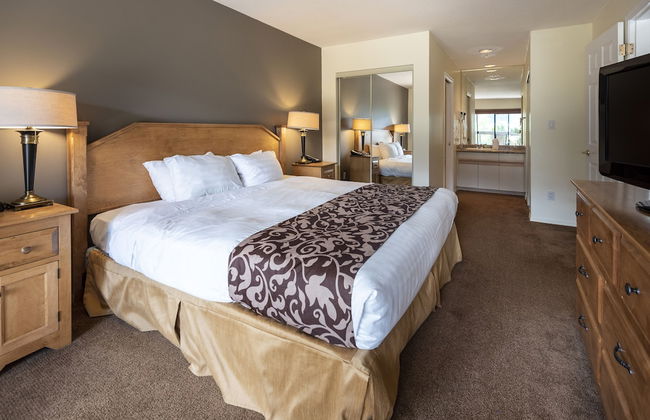
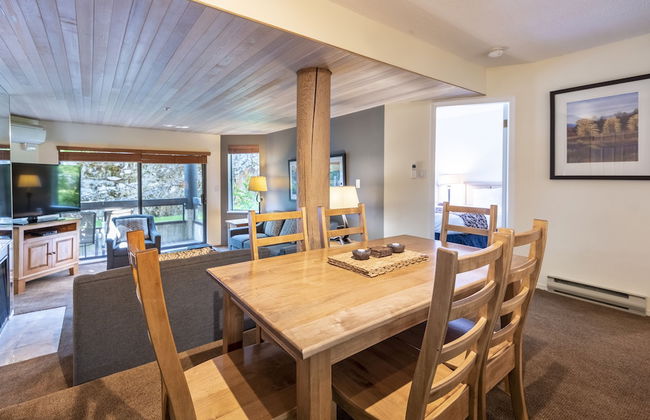
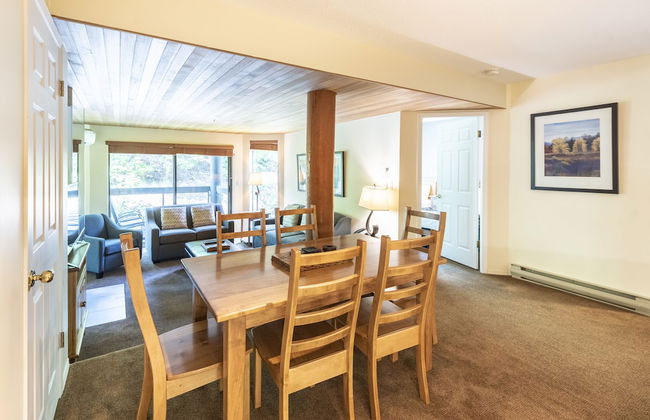
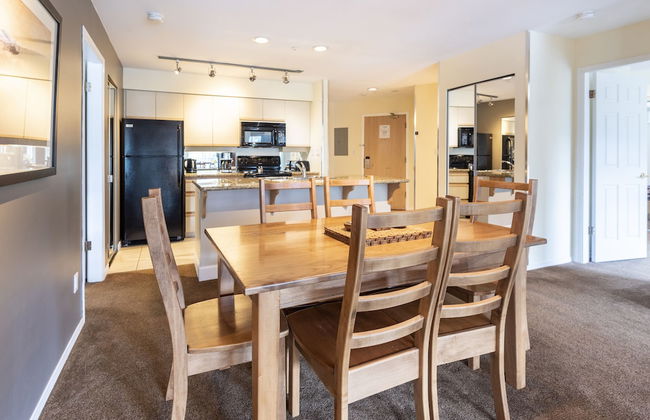
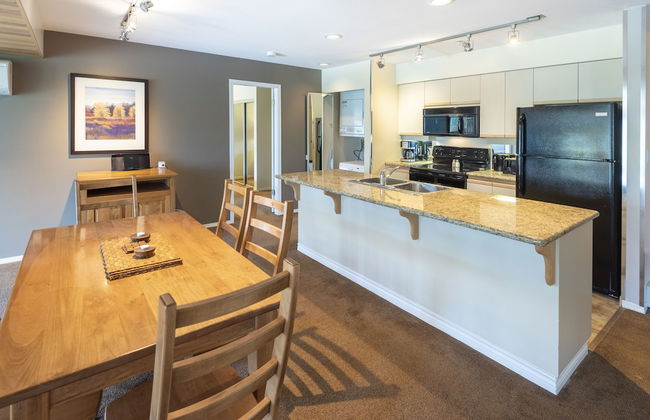
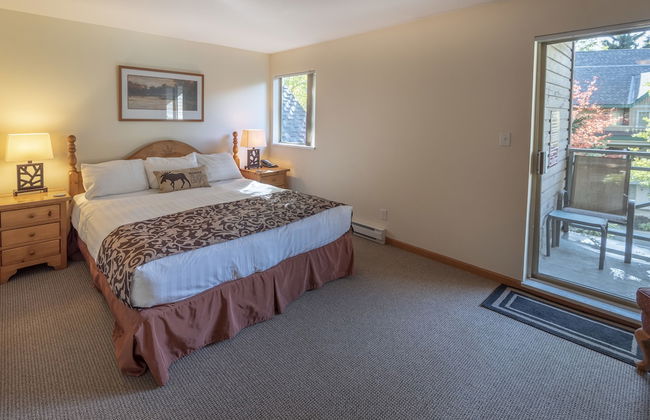
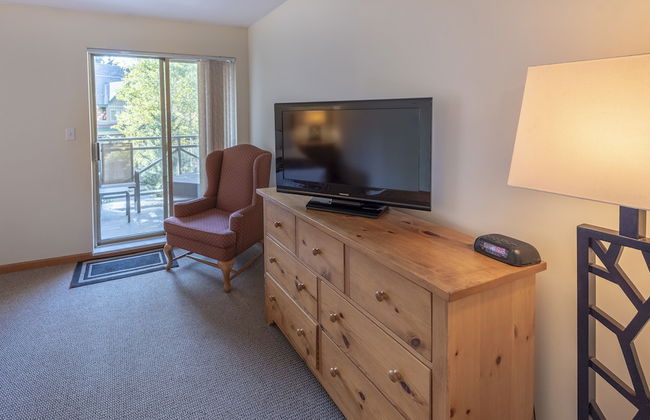
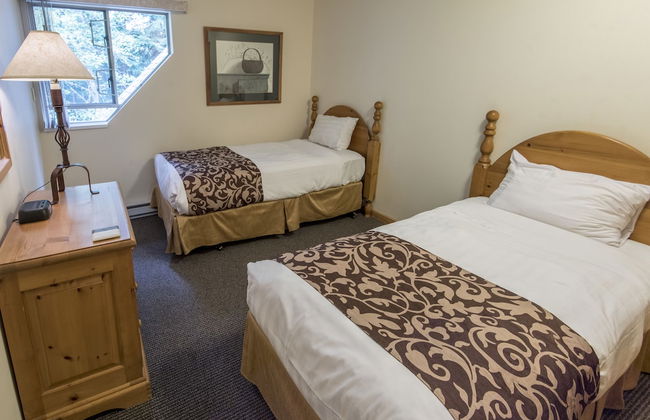
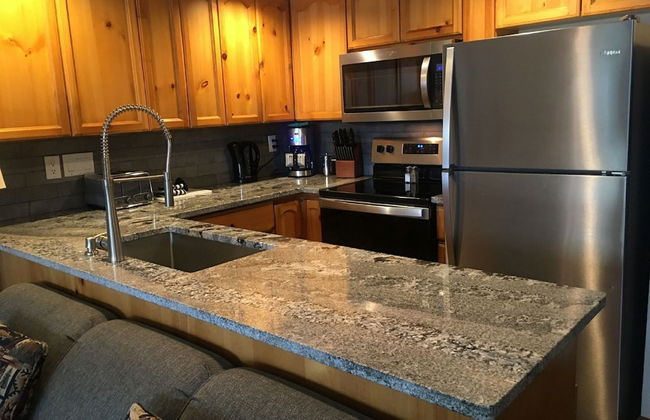
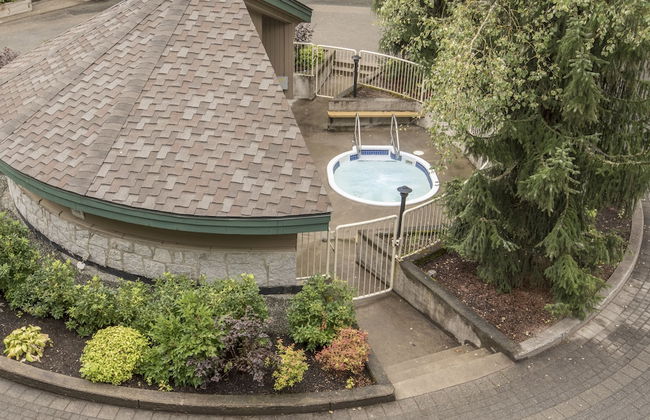
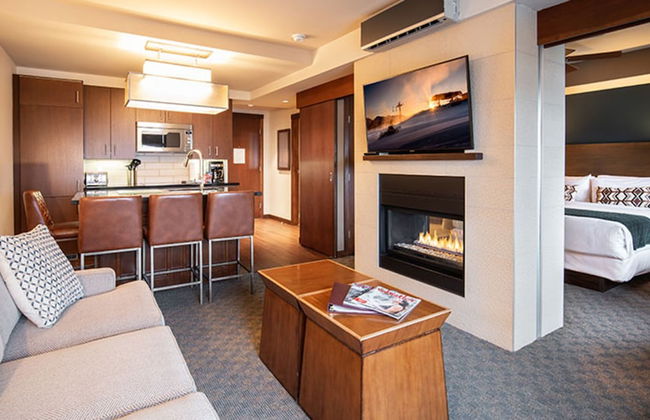
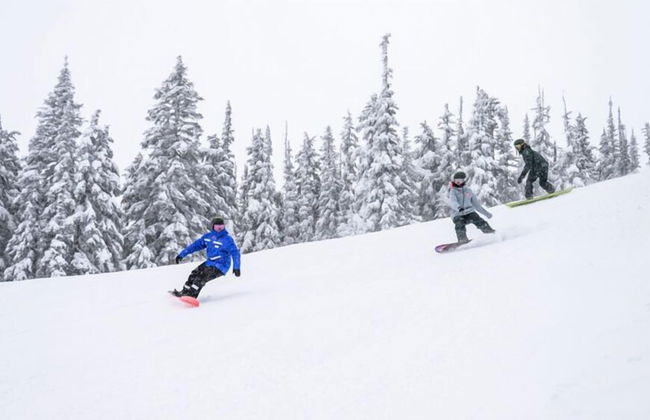
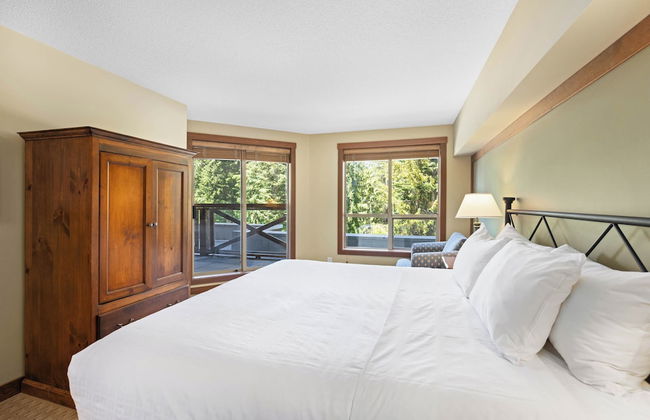
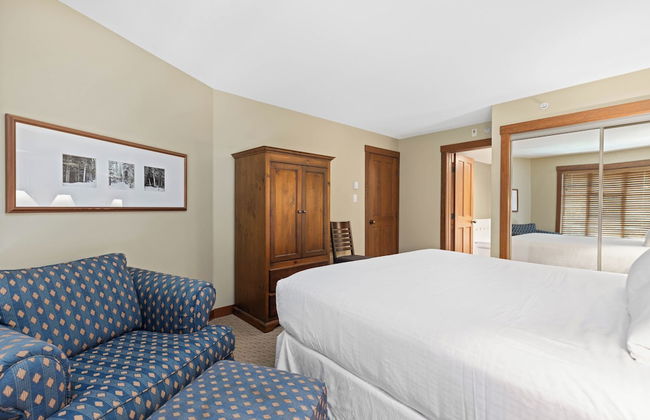
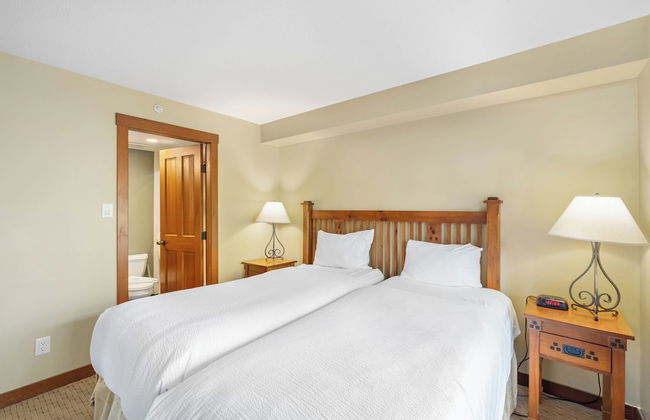
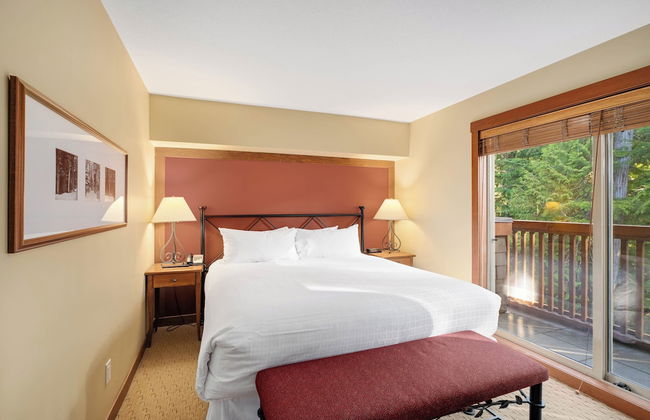
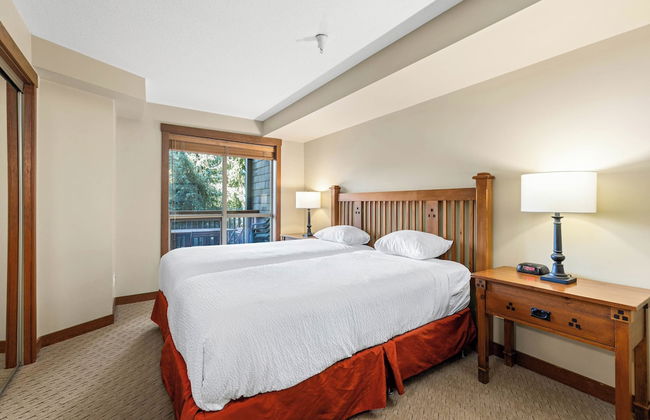
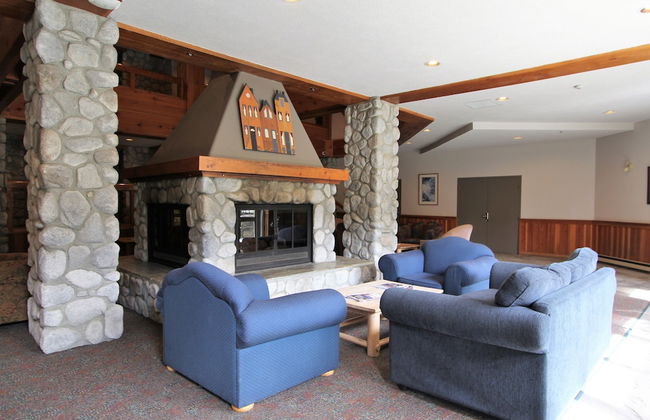
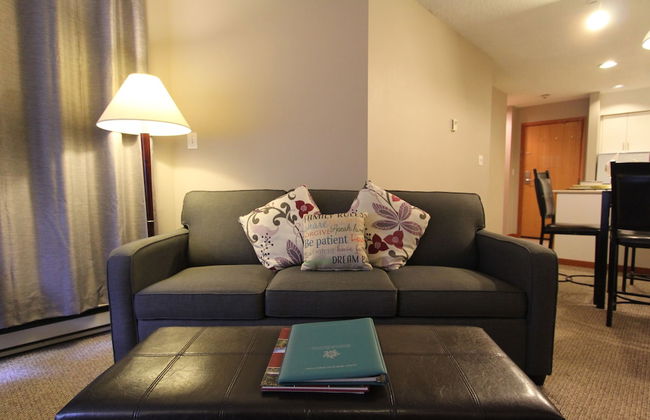
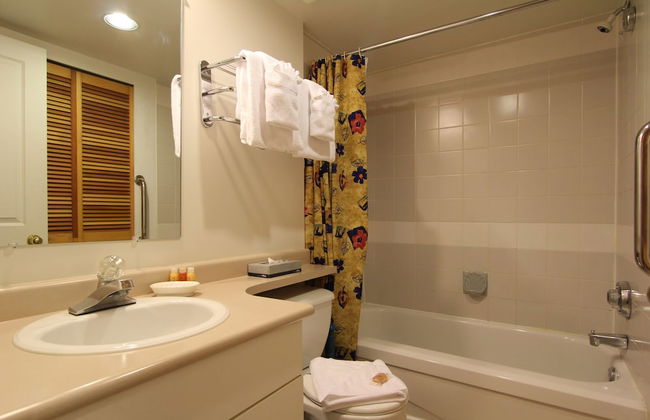
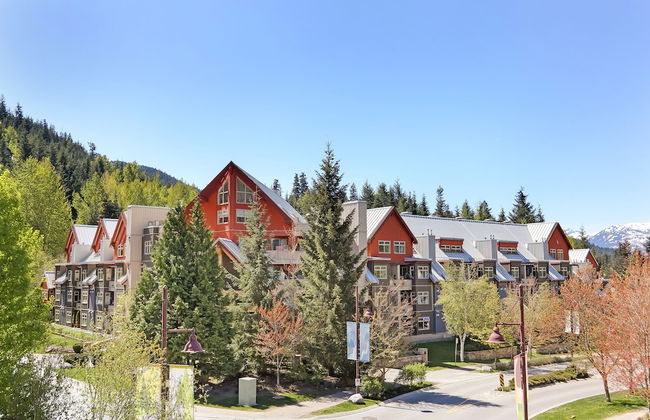
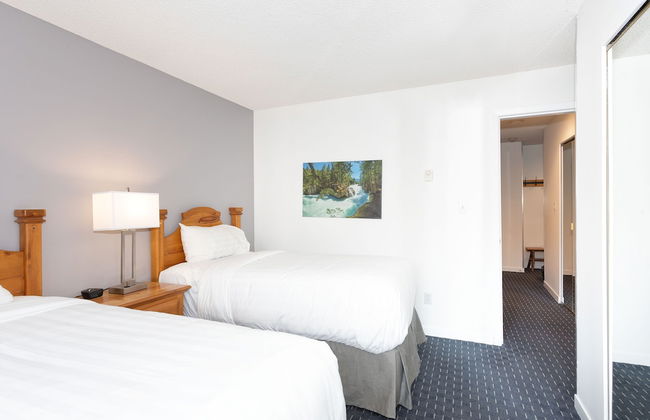
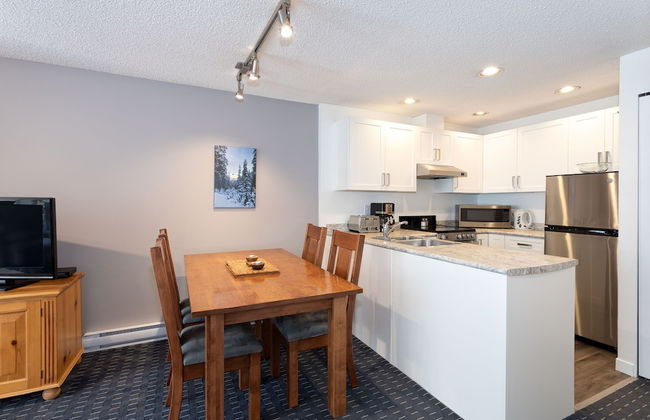
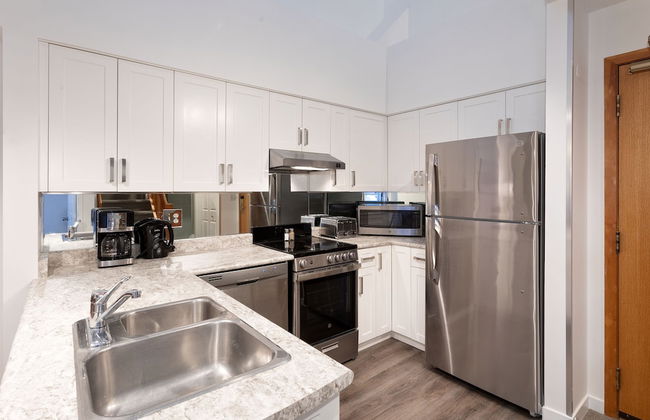
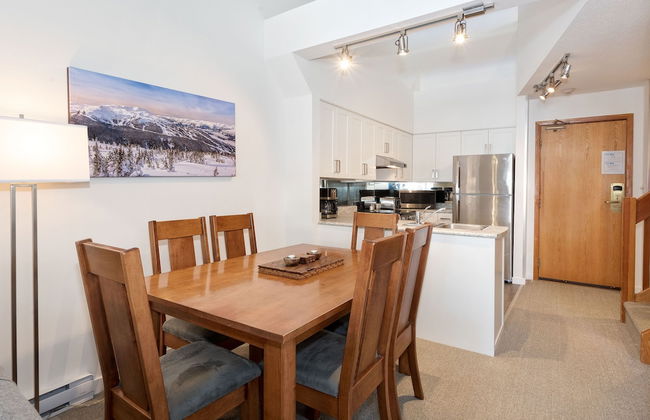
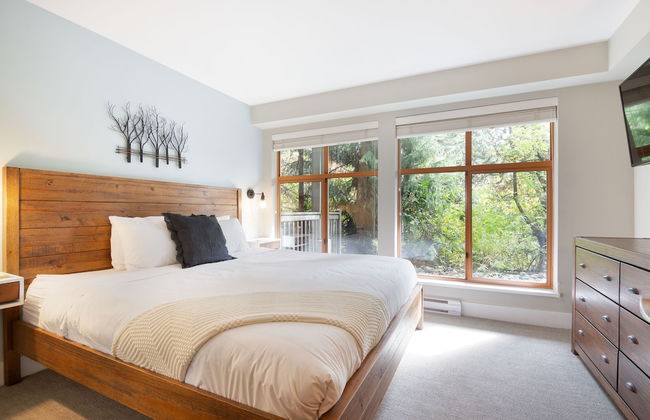
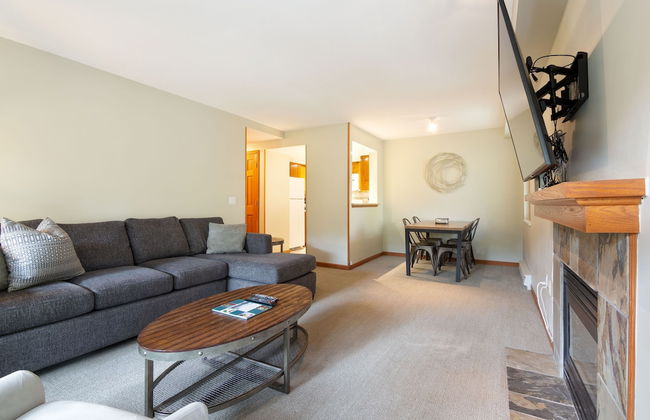
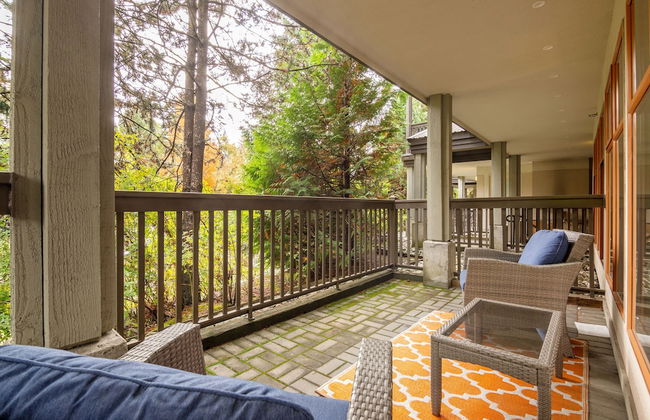
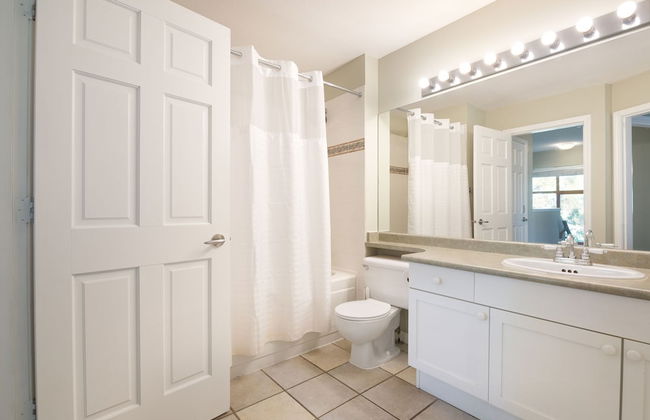
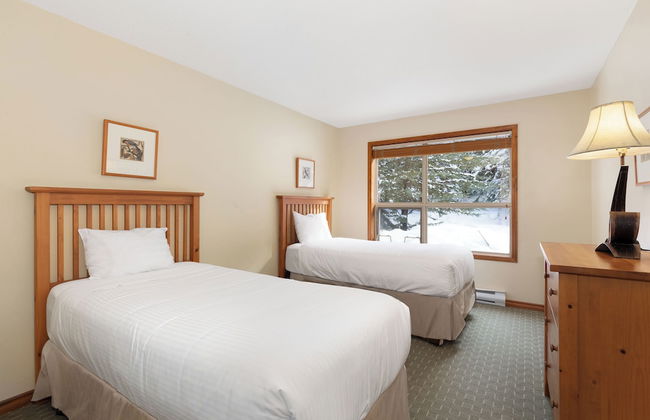
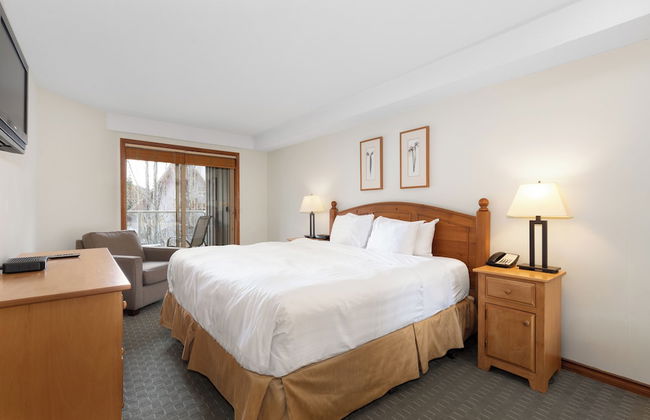
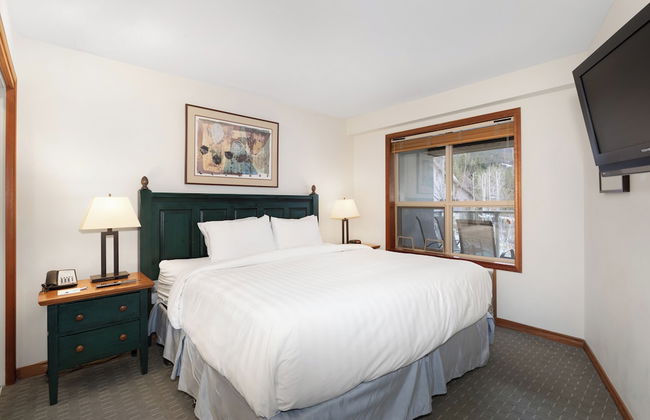
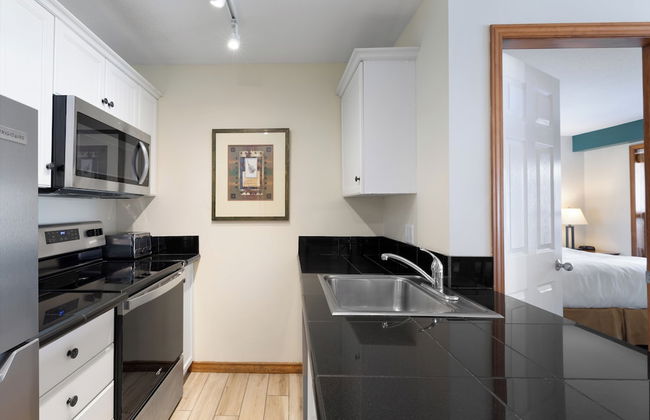
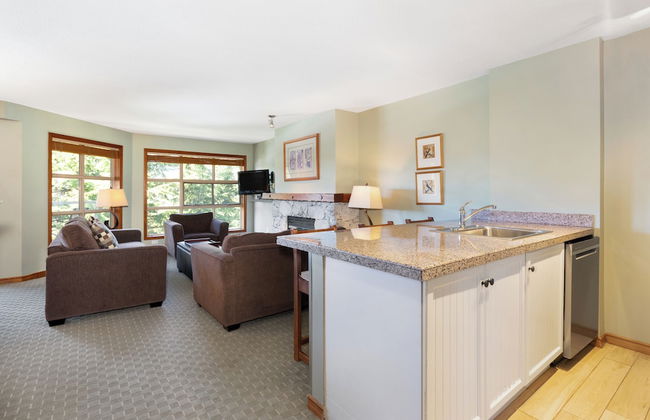
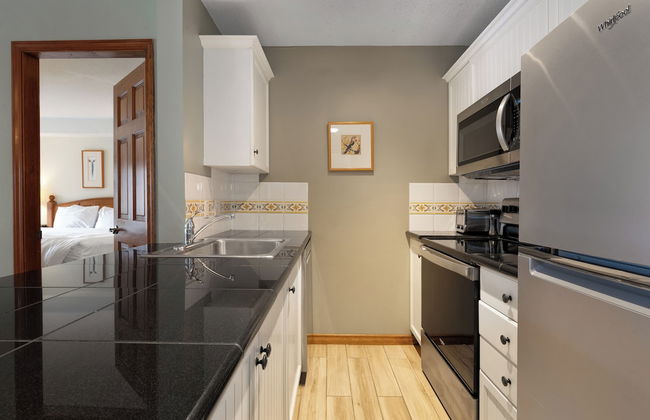
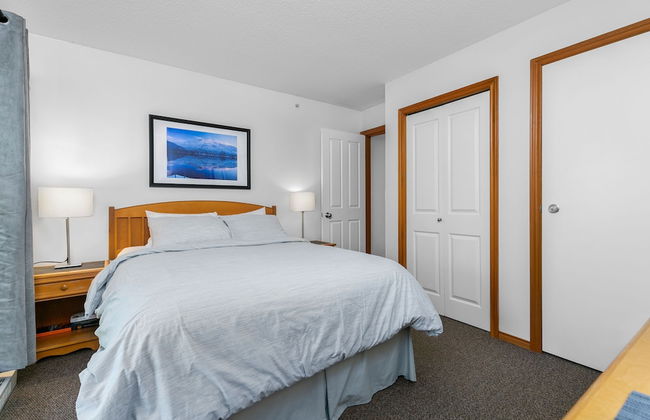
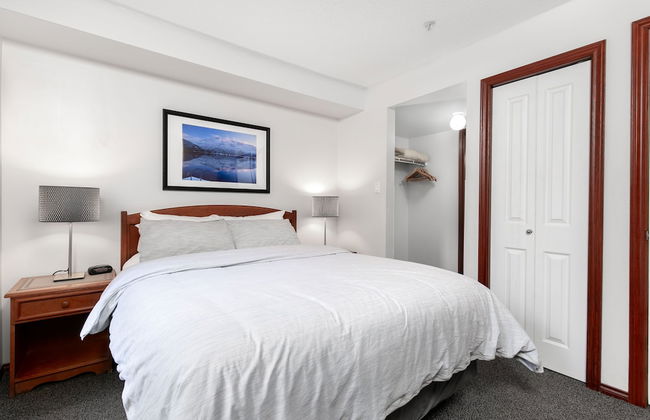
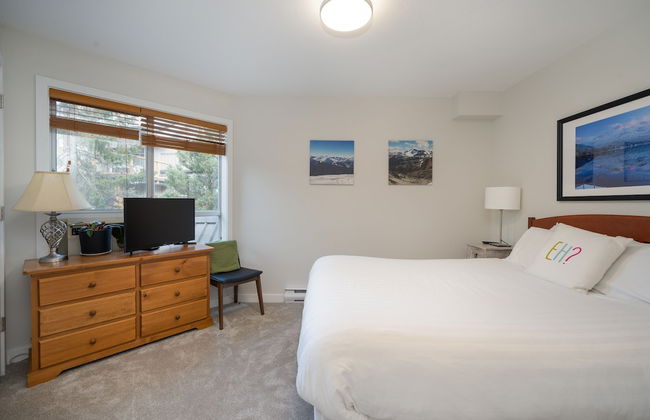
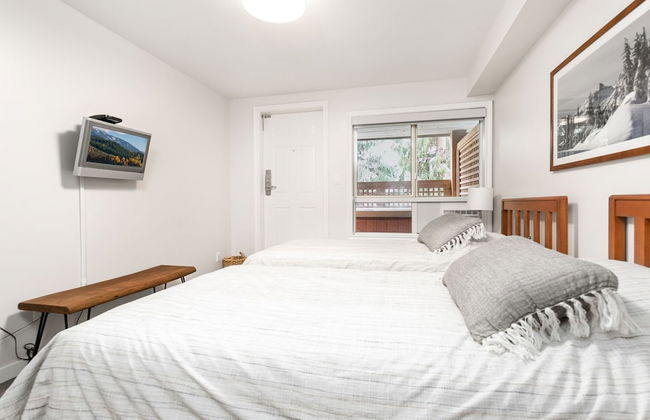
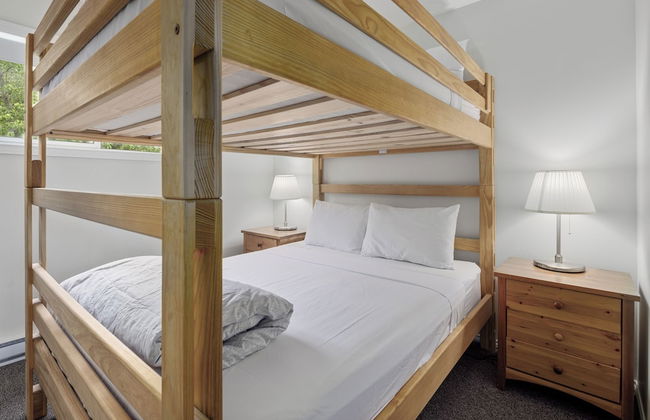
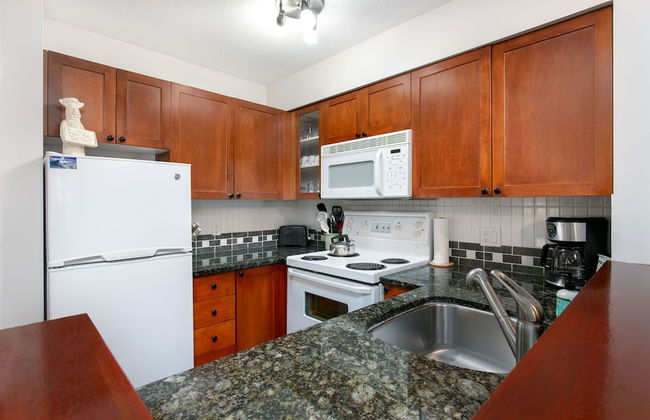
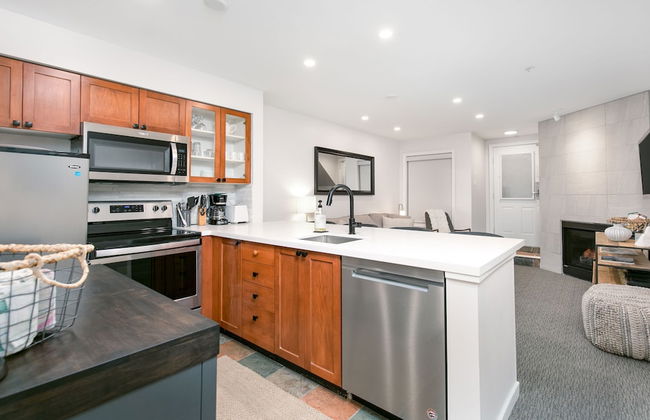
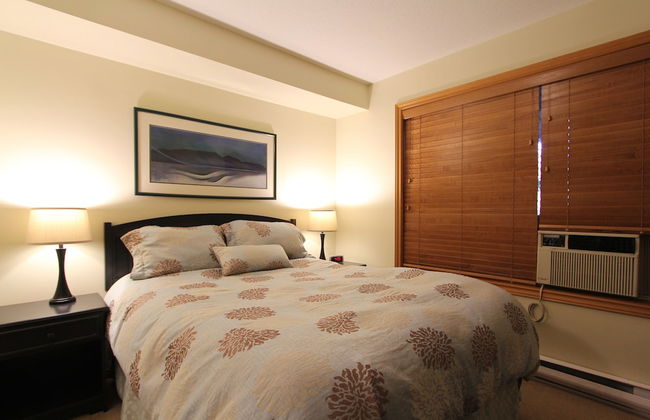
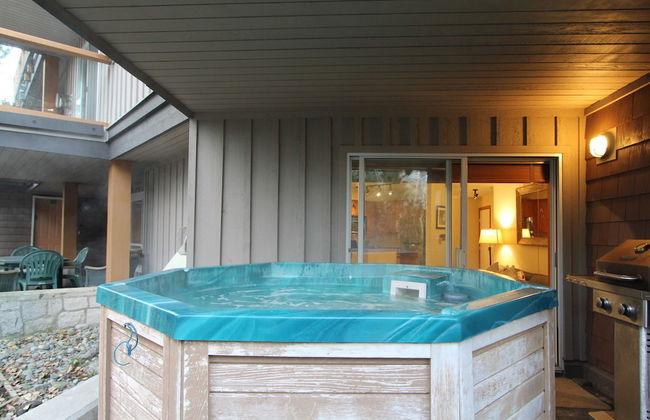
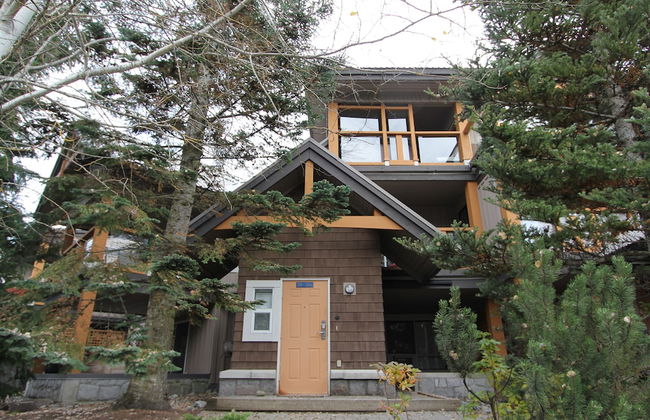
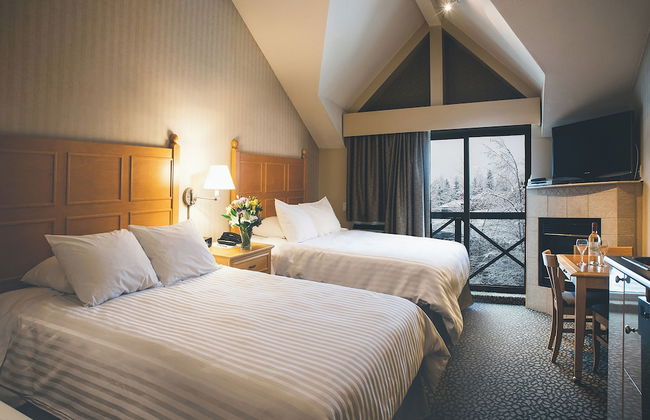
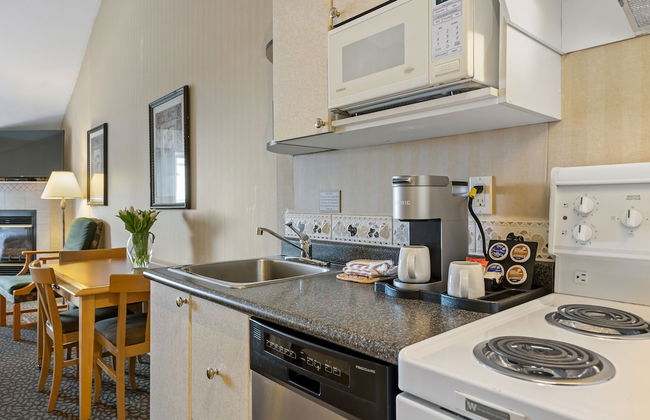
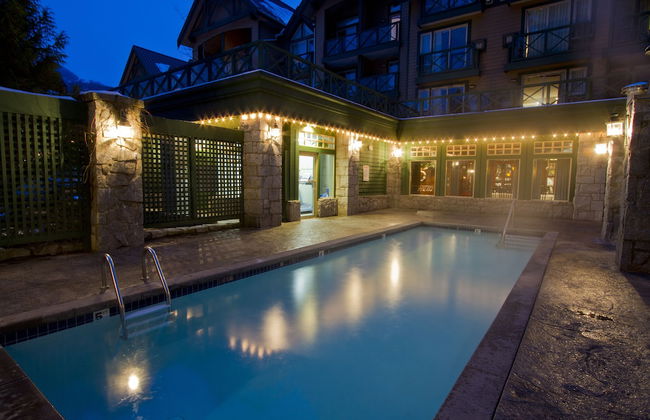
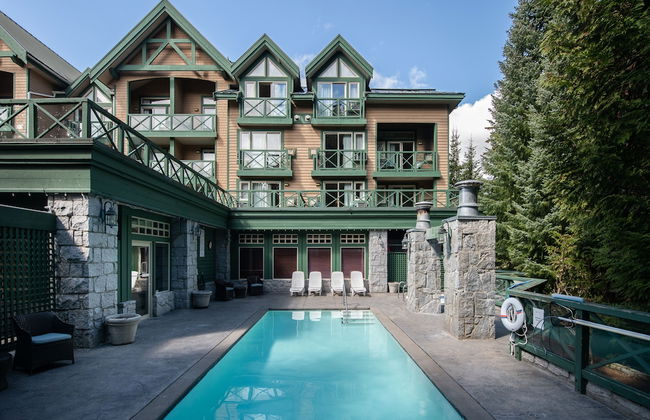
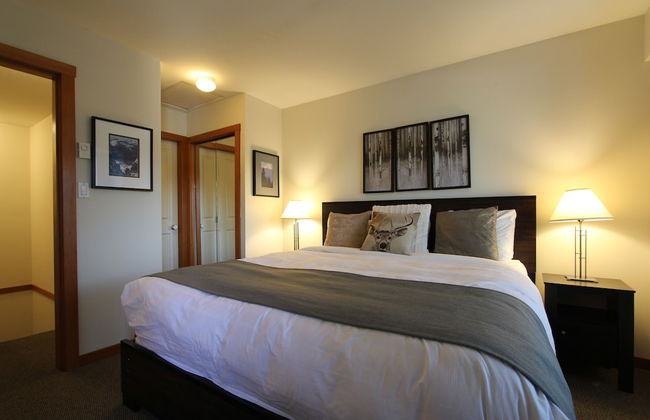
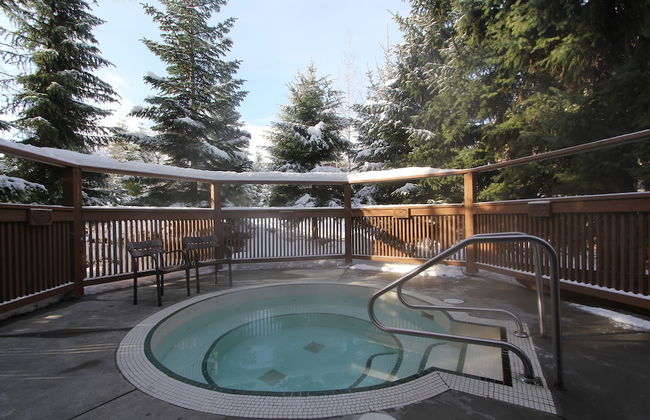
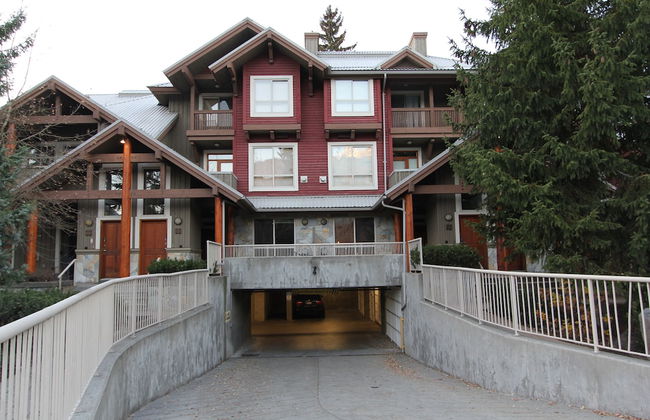
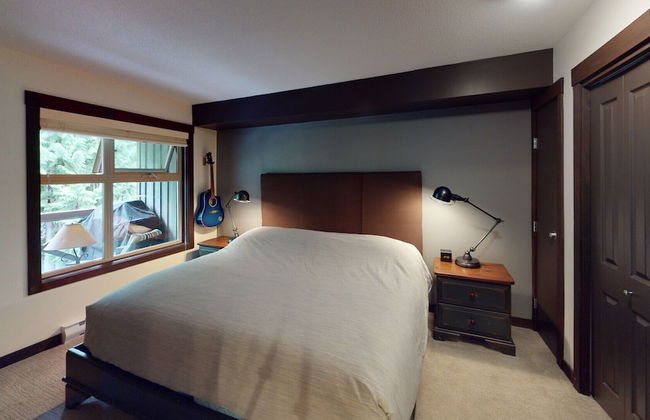
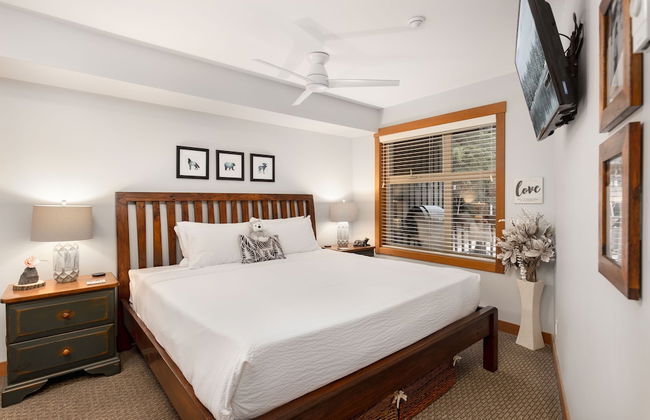
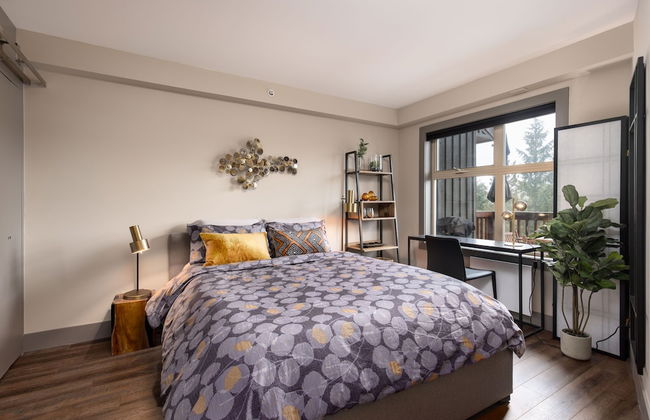
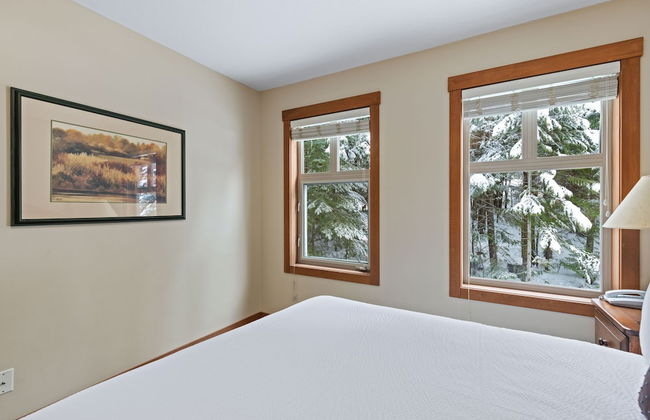
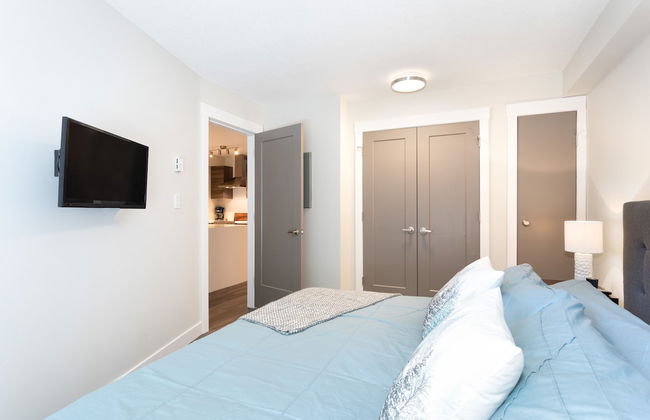
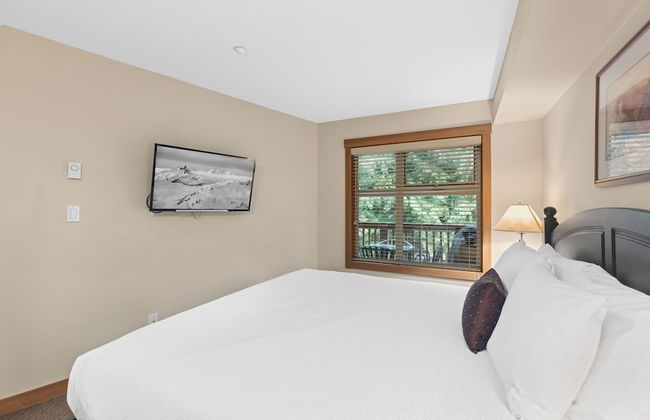
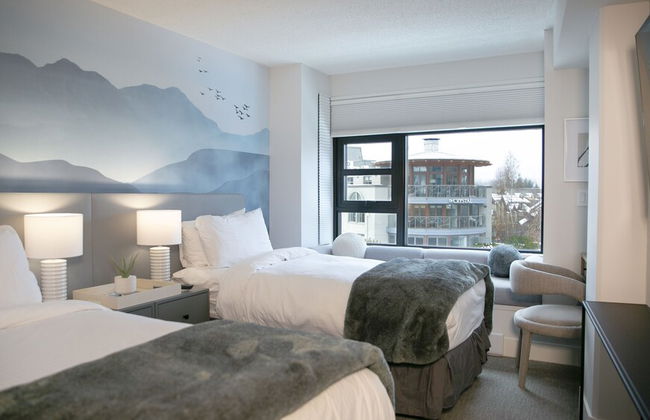
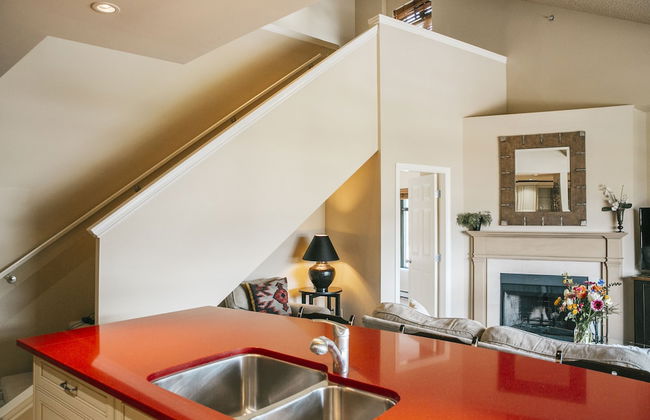
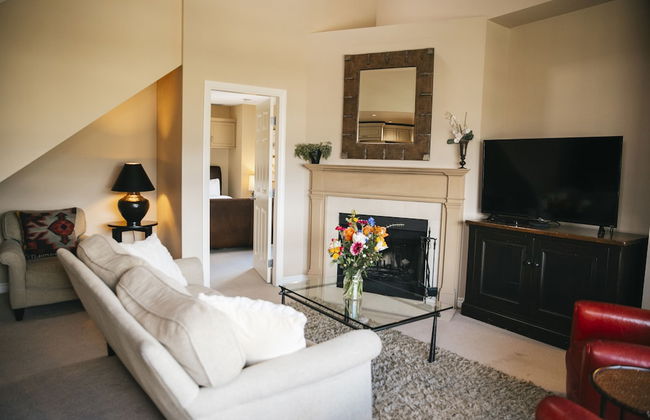
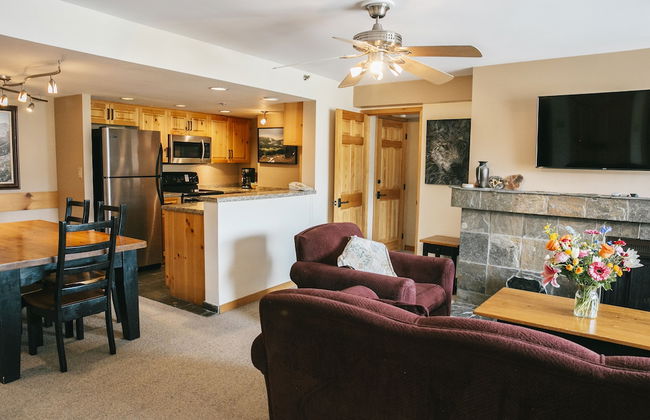
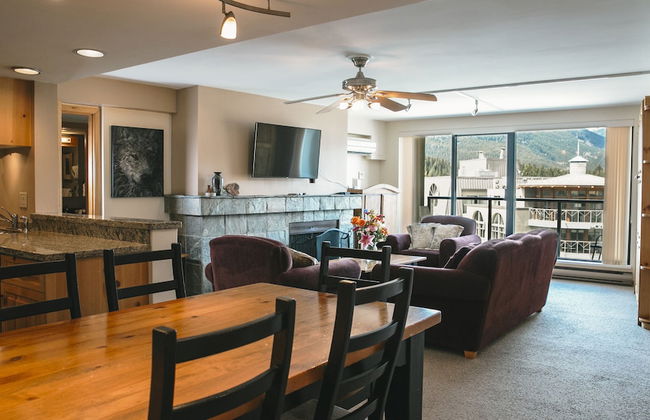
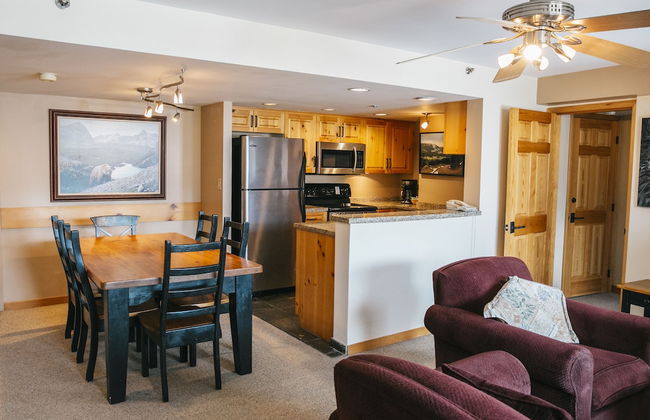
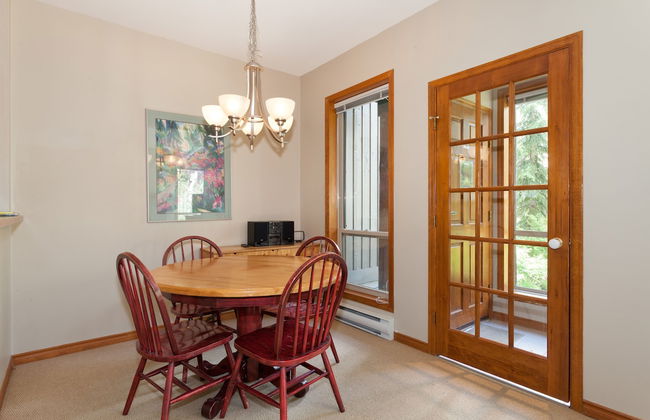
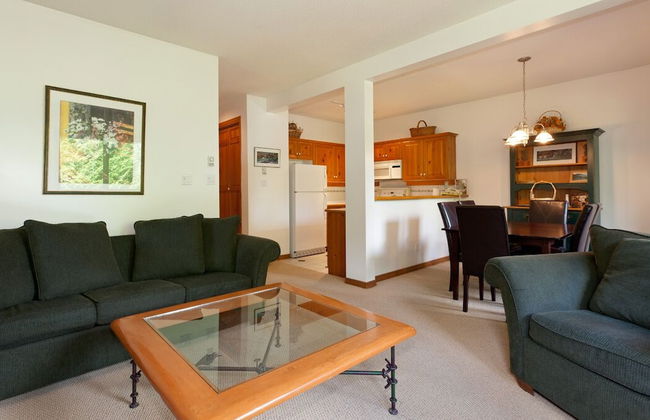
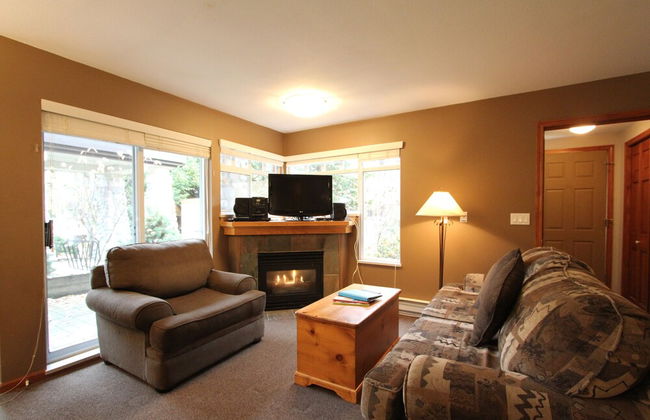
Legends Whistler
Whistler - 3.3 km do centro
- 116 M2
- 8 pessoas
- Ar-condicionado
- Terraço
- Piscina
- Estacionamento
- Elevador
- Varanda
- Tv
- Máquina de lavar roupa
- Chaminé
- Churrasco
- Toalhas
- Lençóis
1437 avaliações


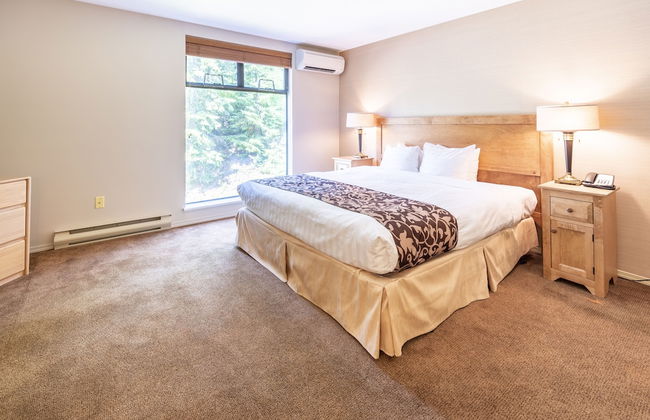


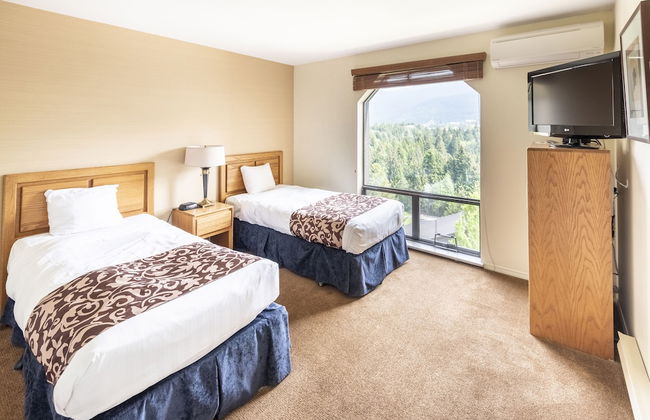


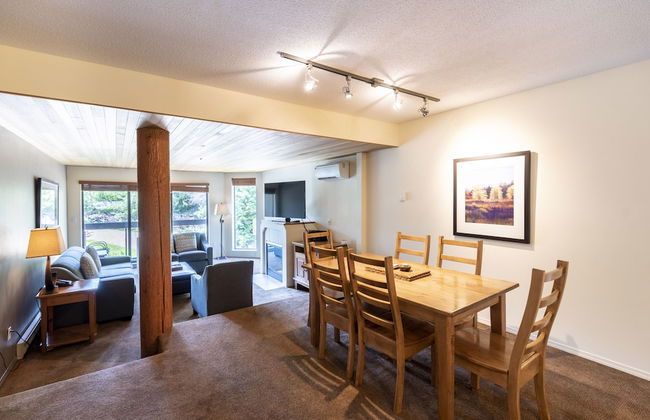


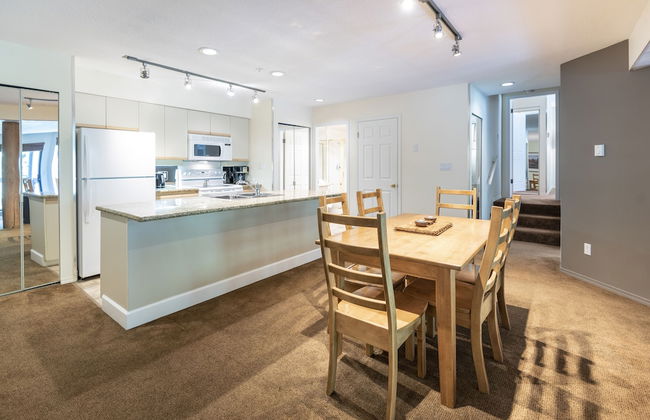


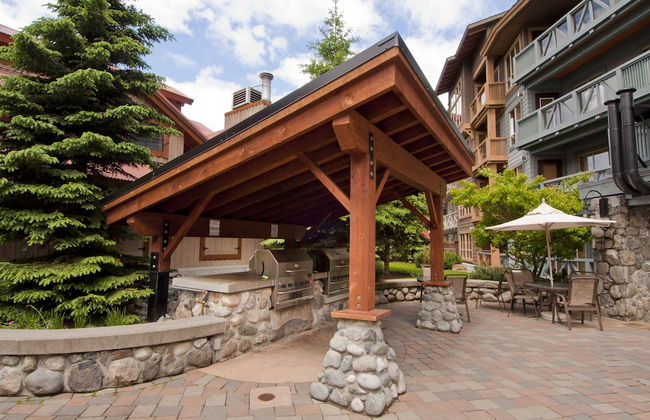
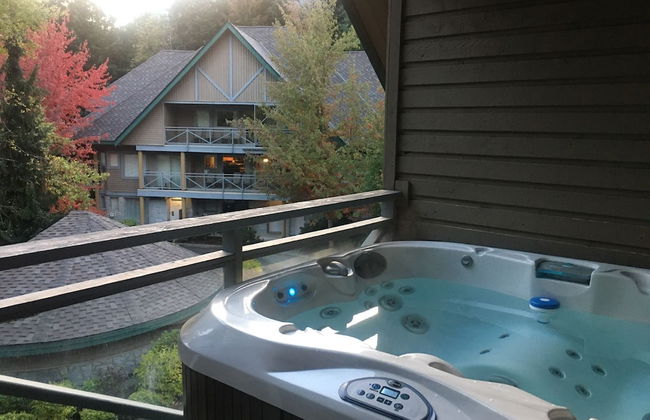
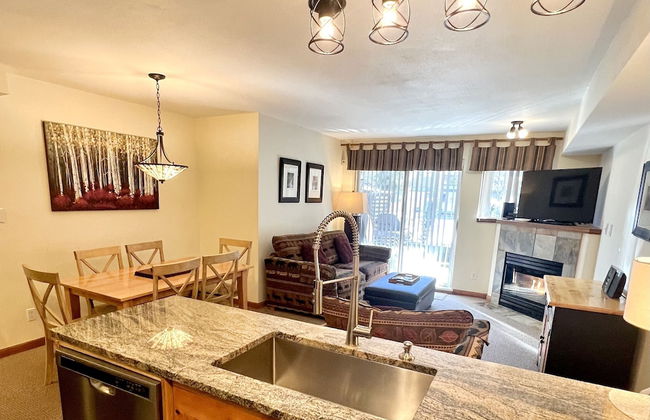
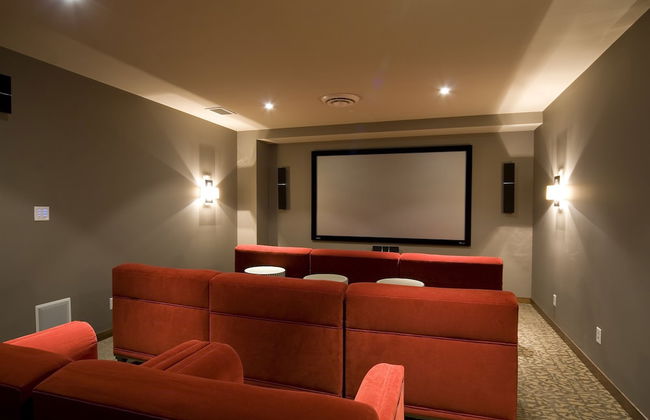
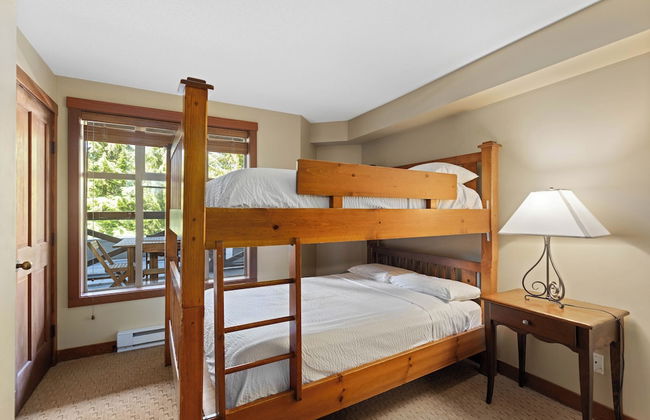
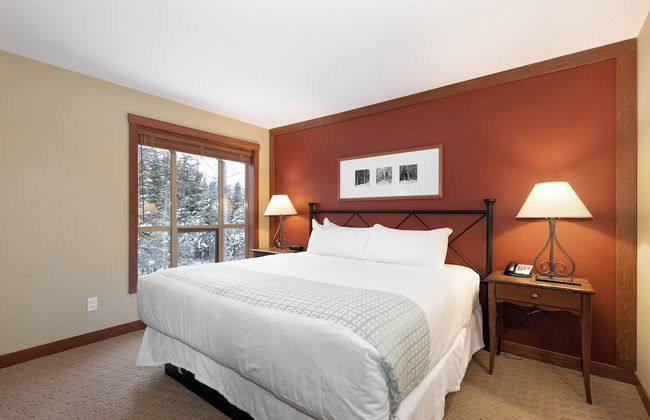
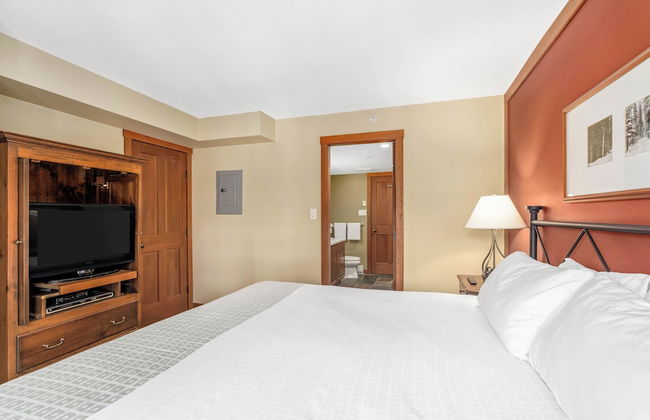
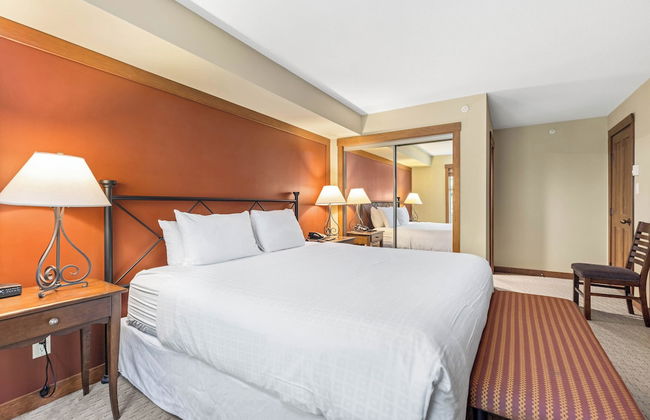
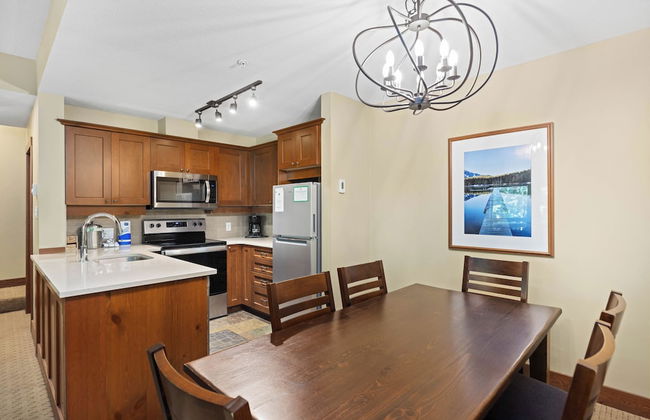
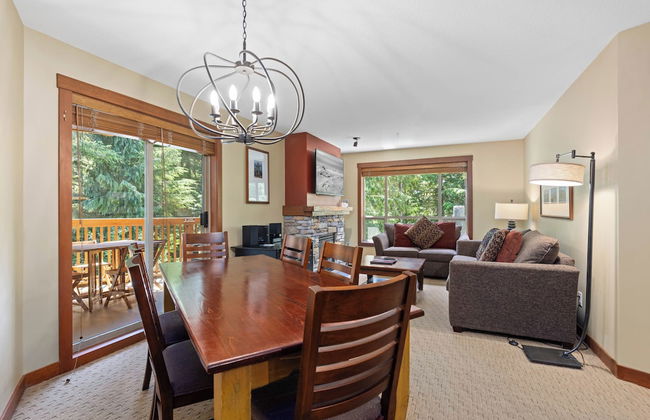
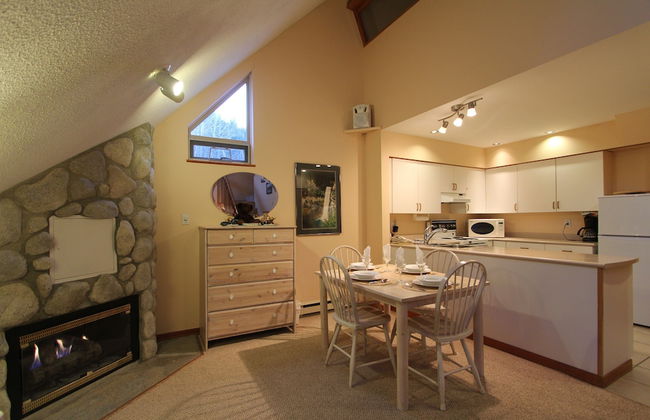
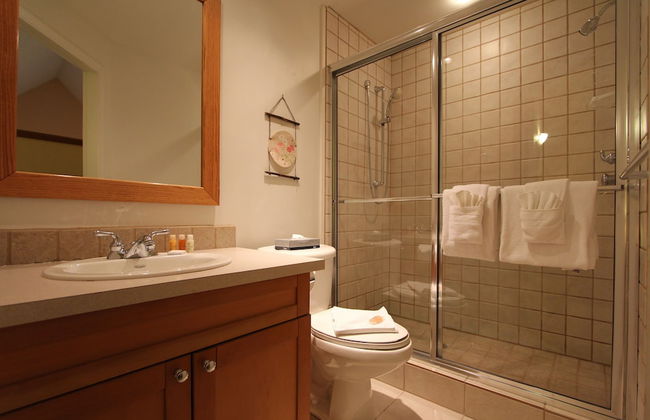
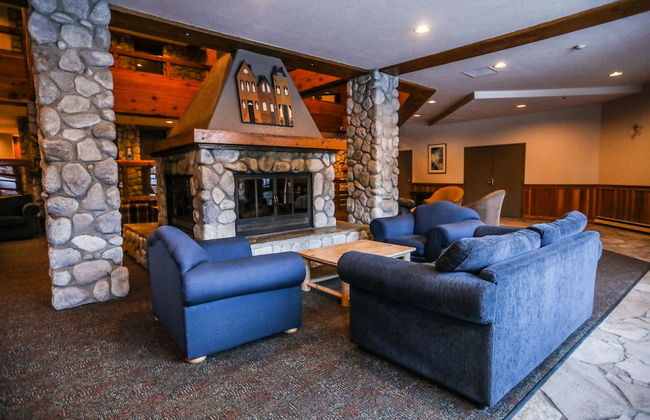
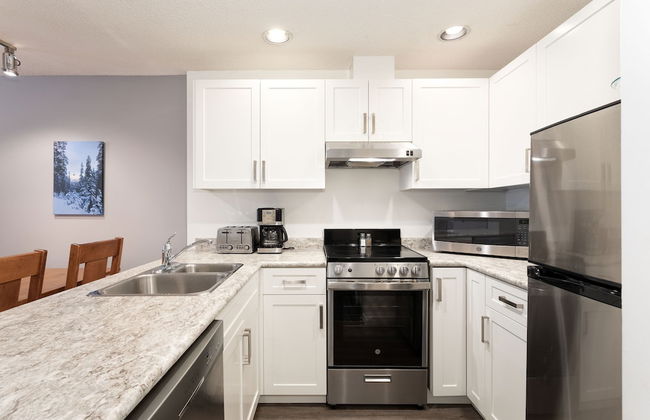
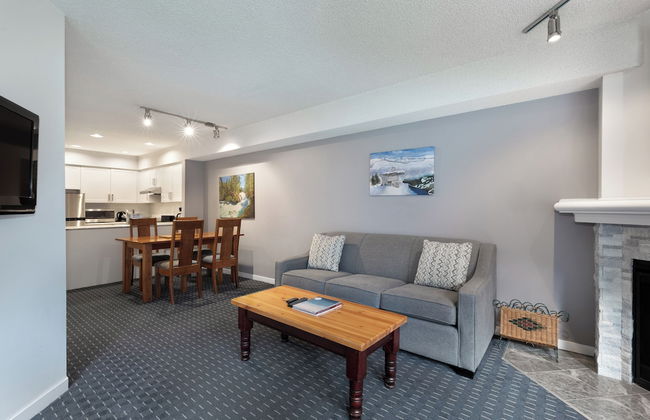
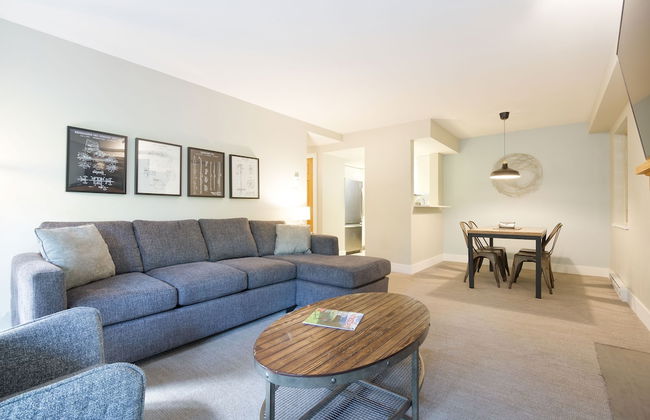
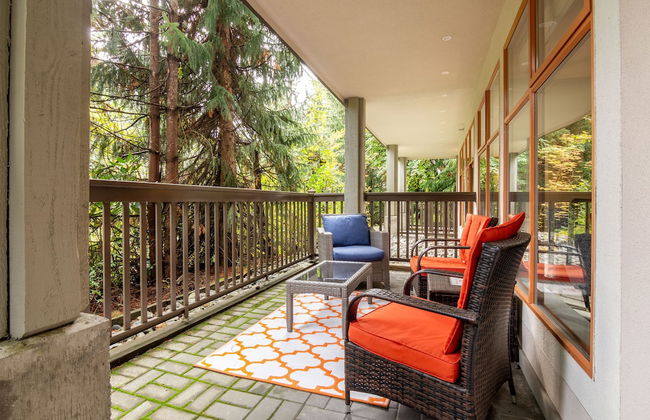
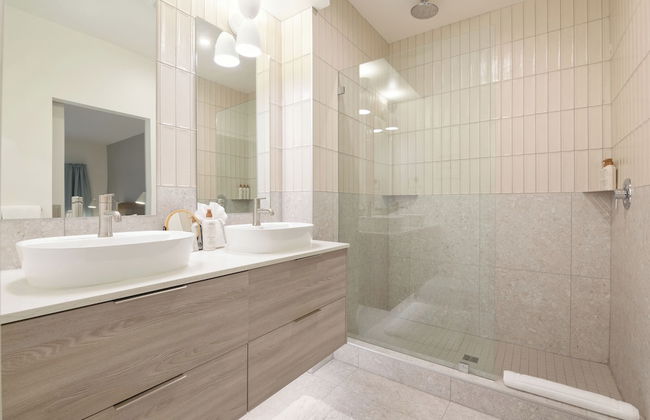
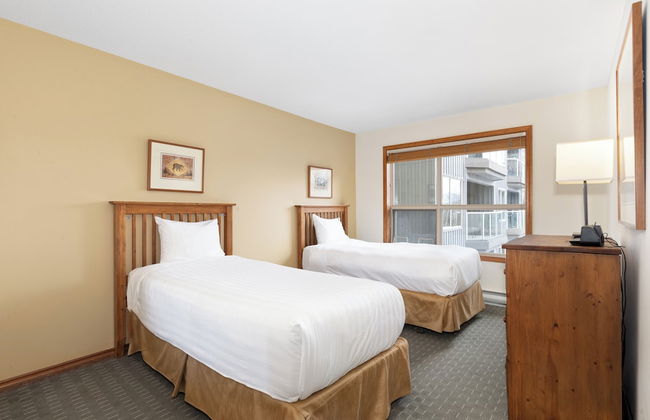
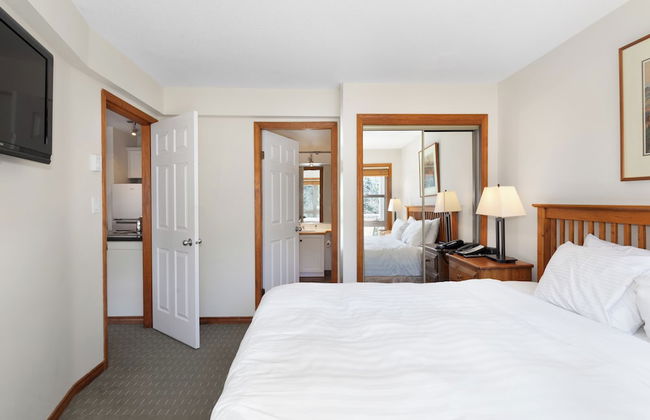
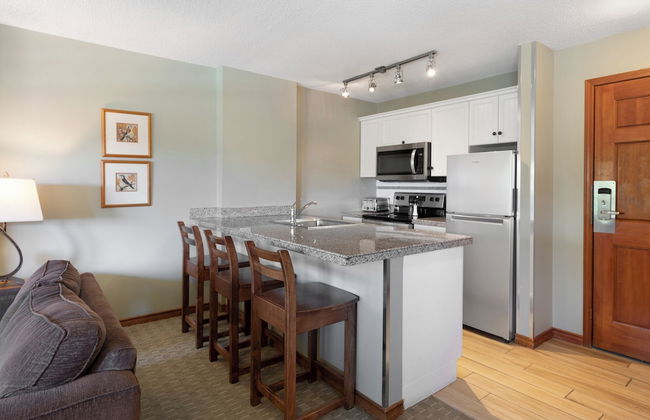
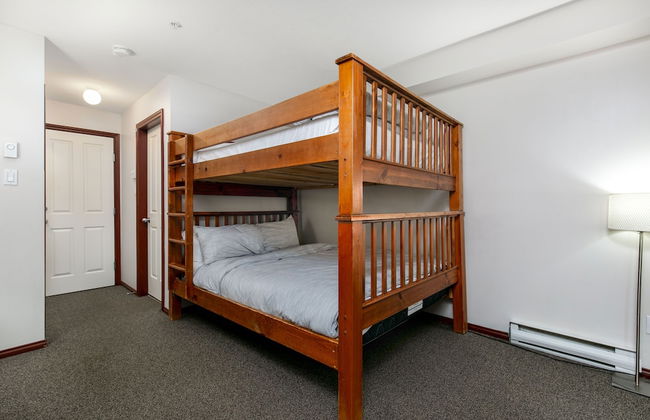
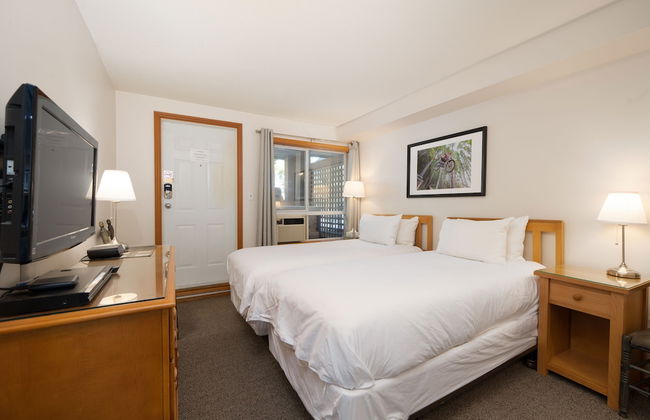
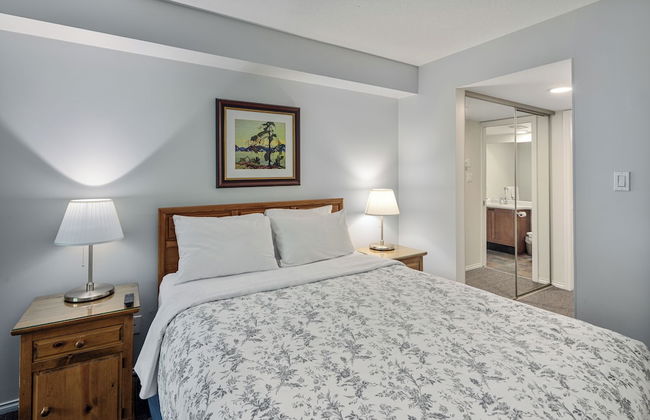
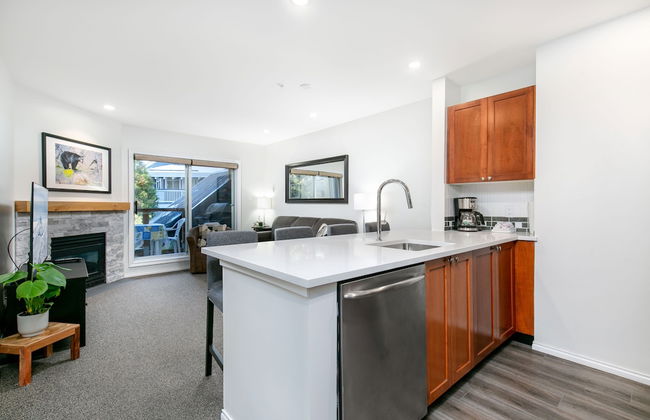
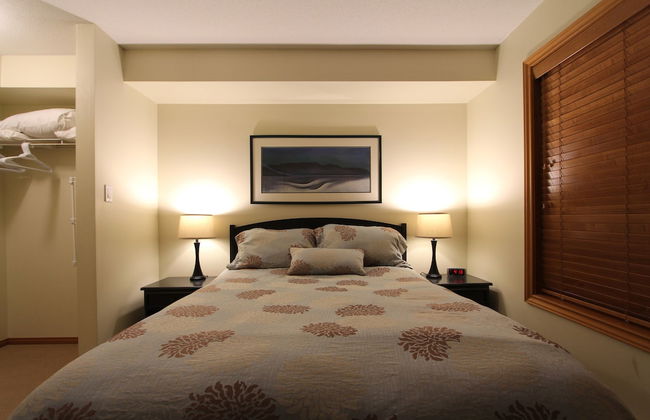
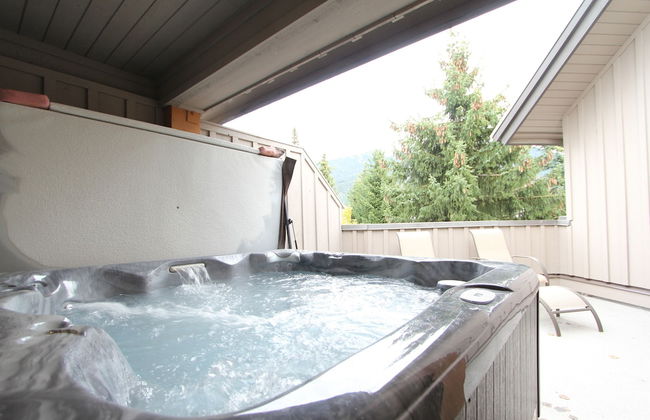
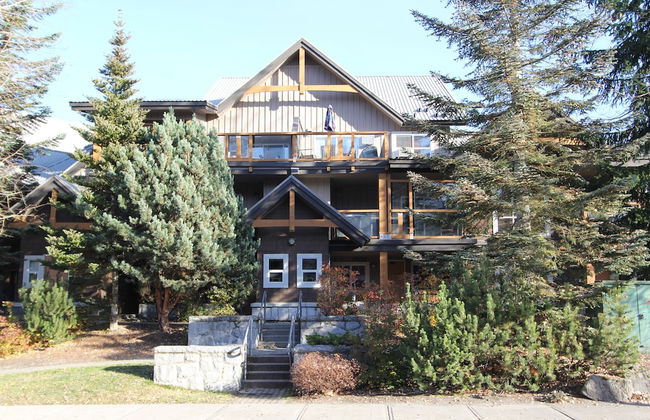
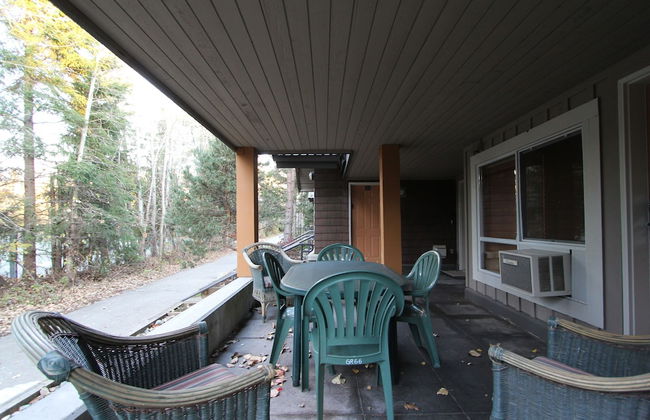
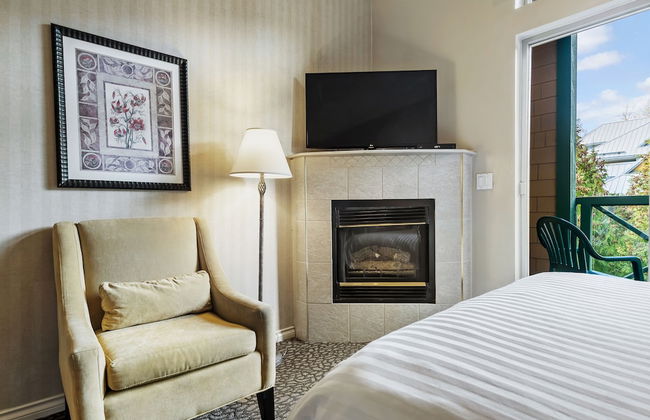
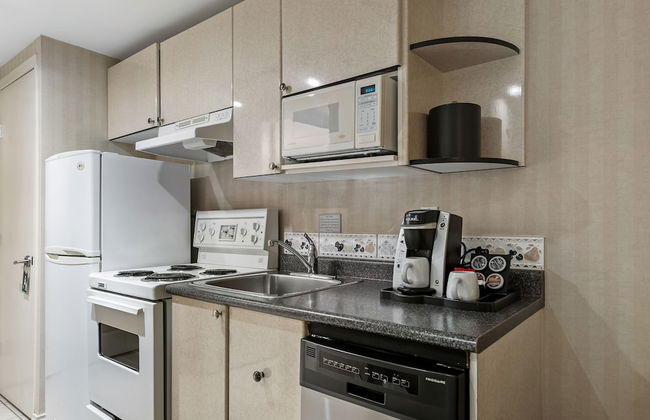
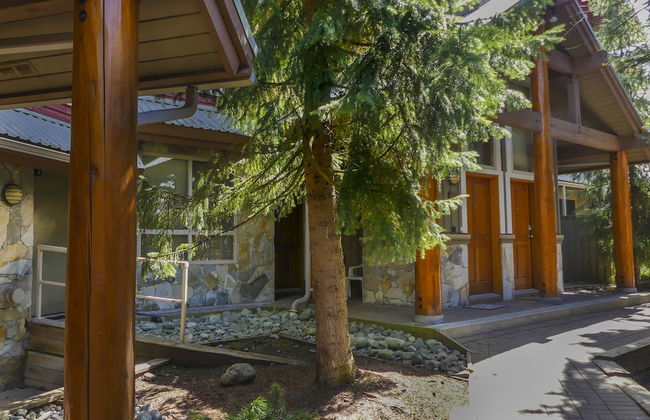
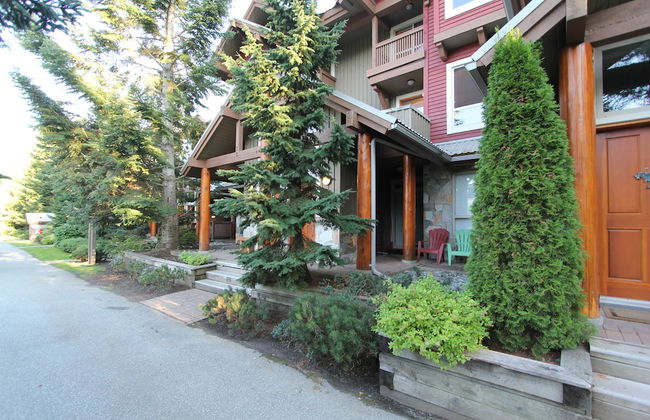
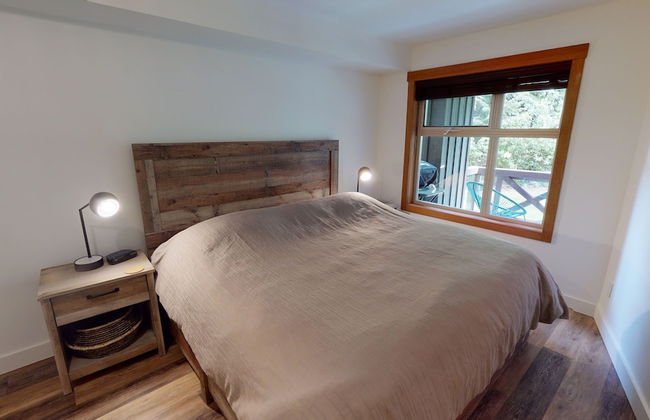
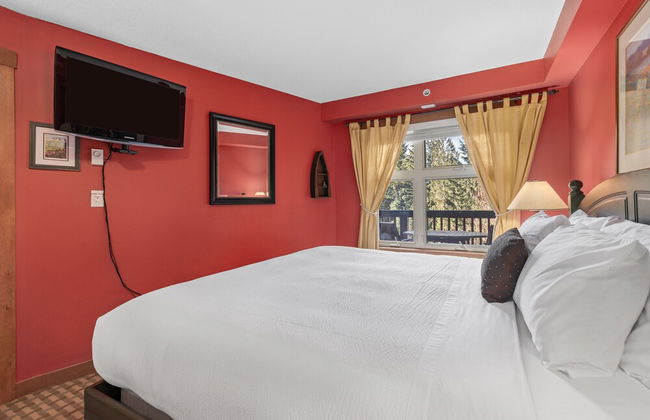
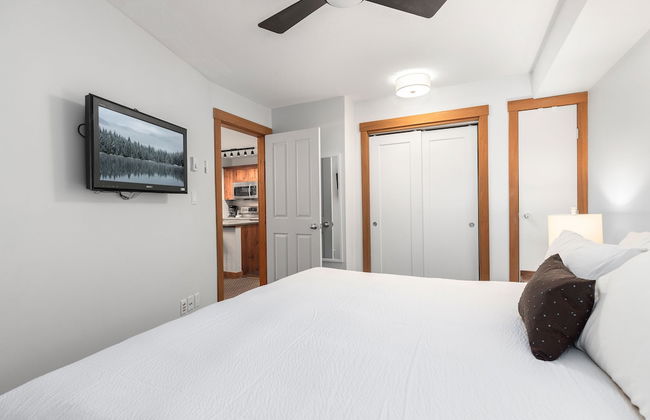
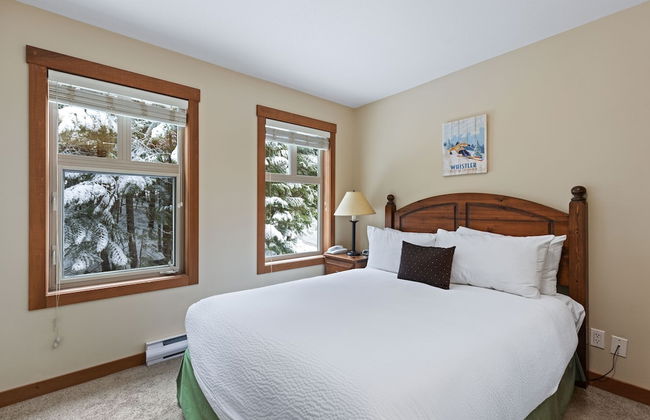
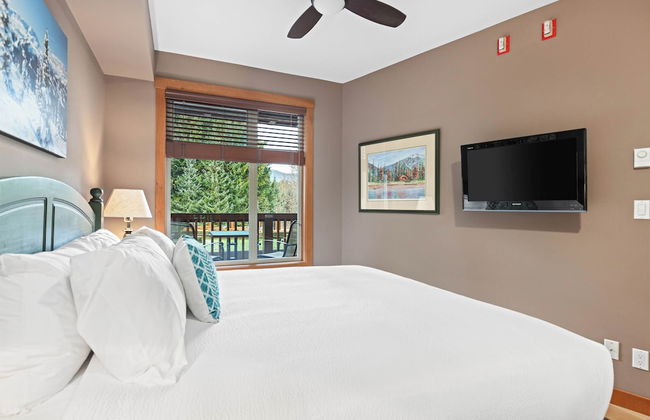
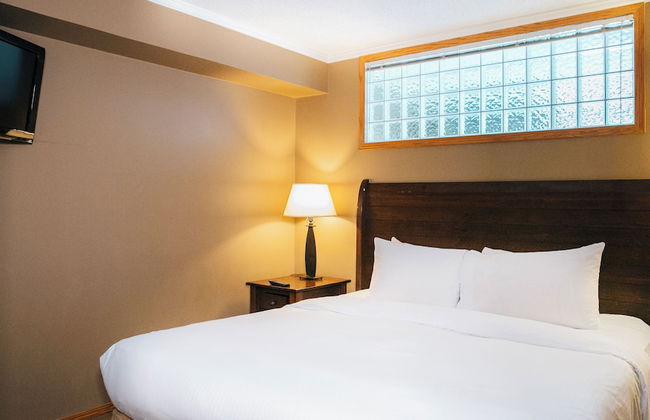
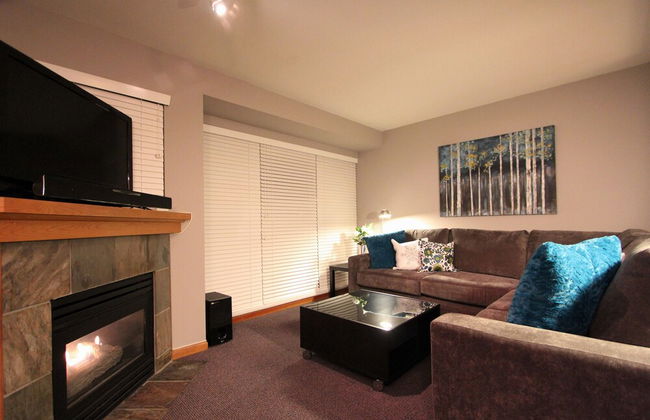
The Ironwood
Whistler - 880 m do centro
- 8 pessoas
- Ar-condicionado
- Aquecimento
- Terraço
- Piscina
- Estacionamento
- Elevador
- Tv
- Máquina de lavar roupa
- Chaminé
- Churrasco
- Toalhas
- Lençóis
109 avaliações


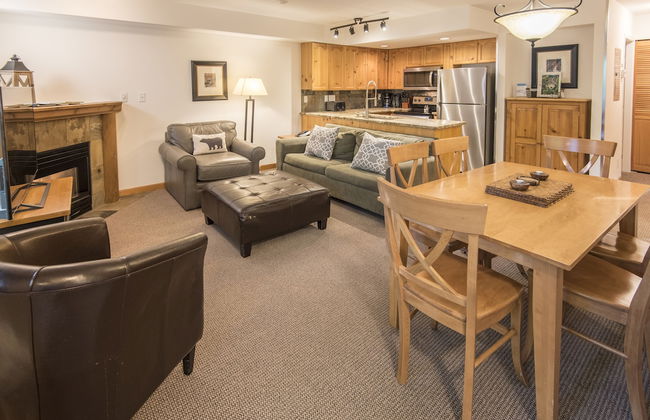


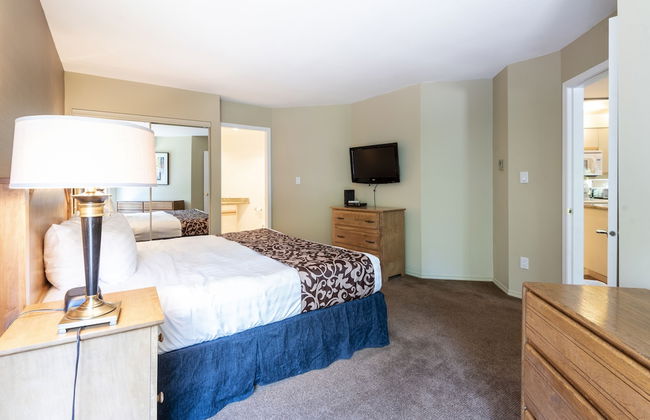
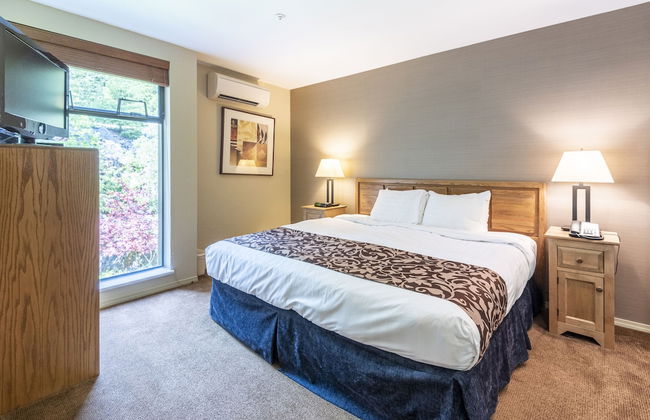
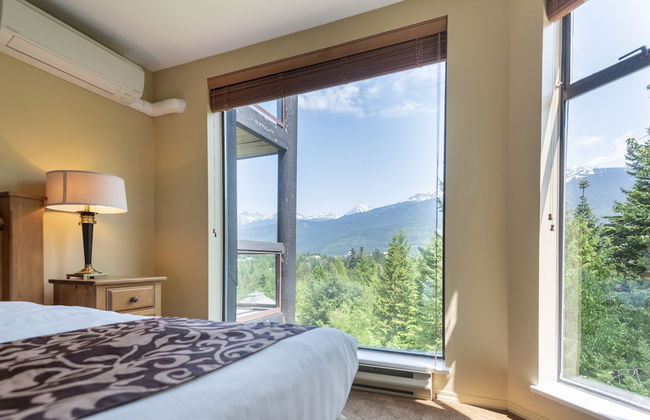
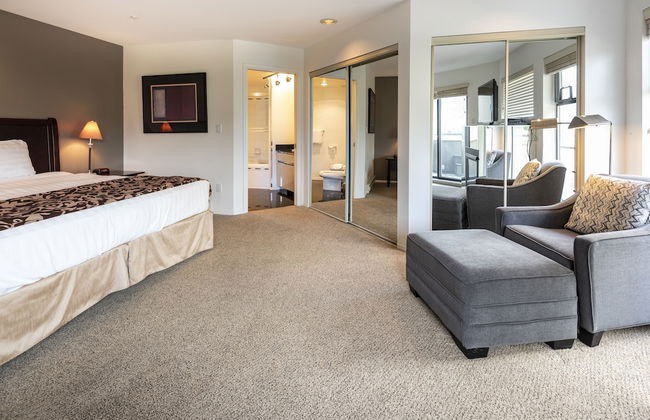
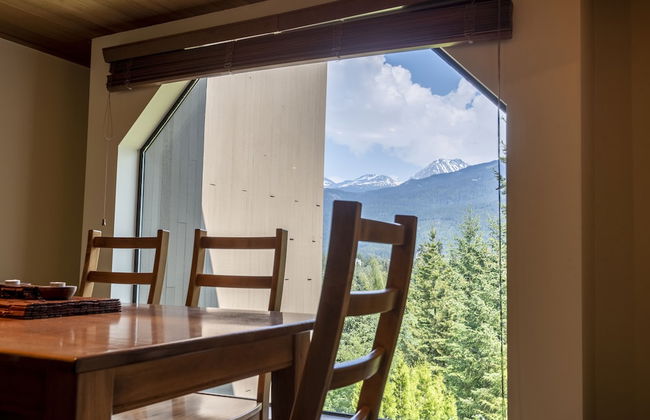
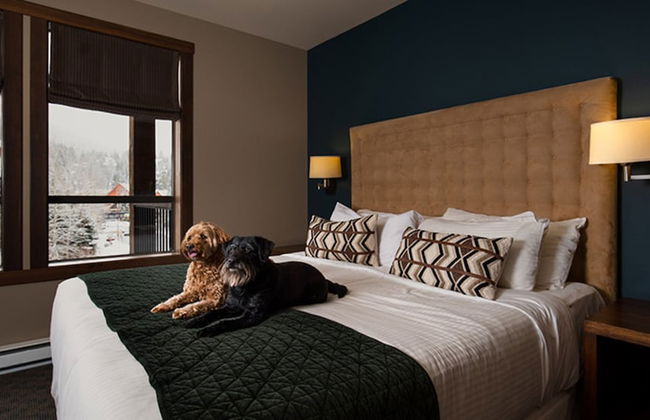
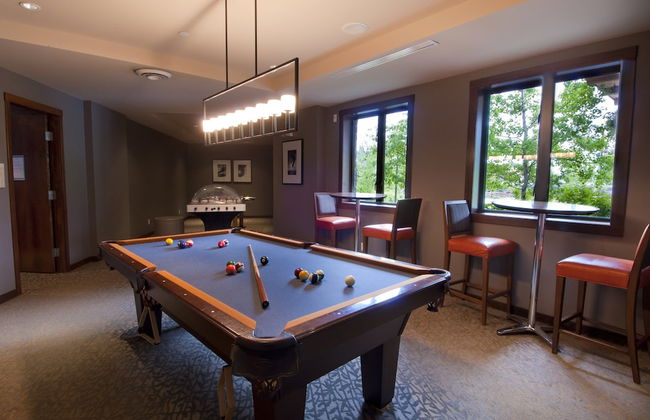
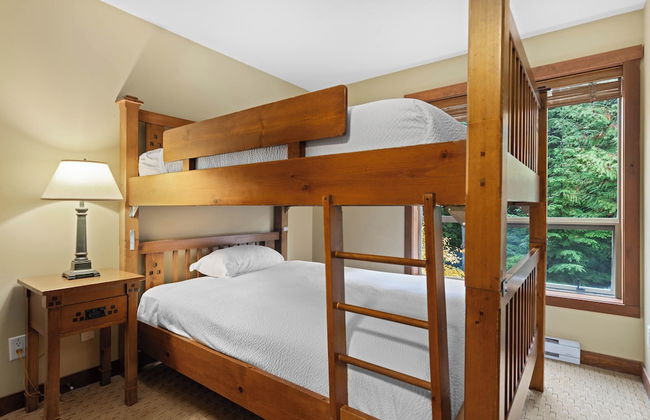
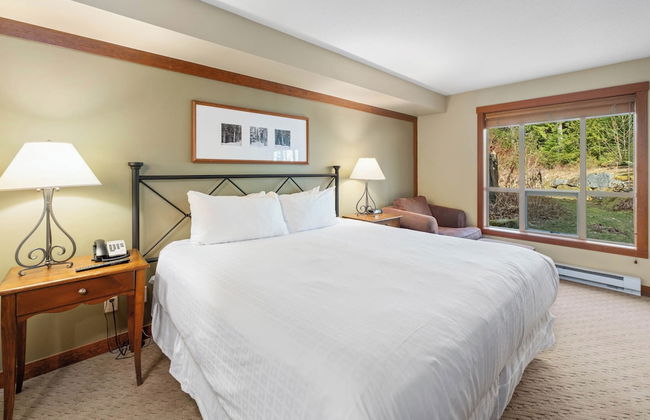
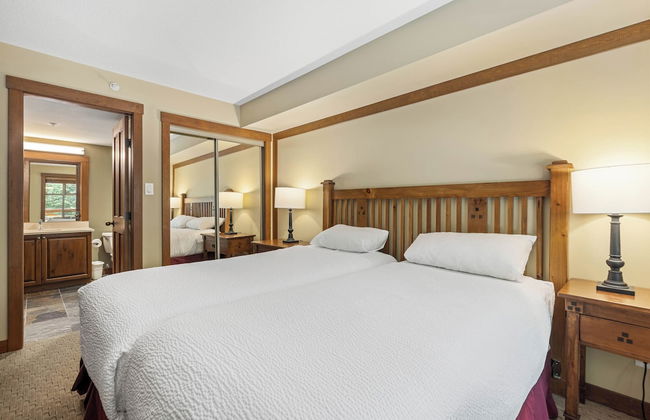
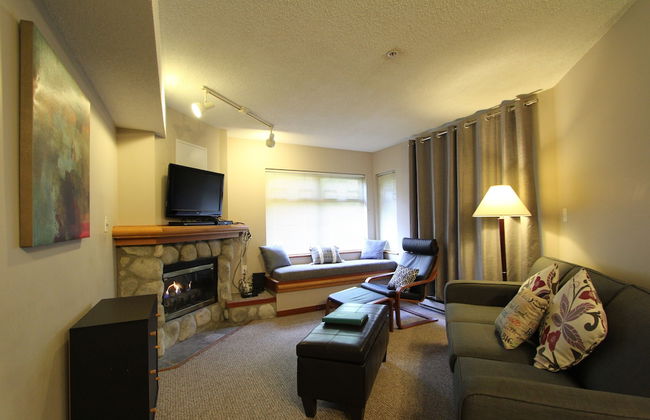
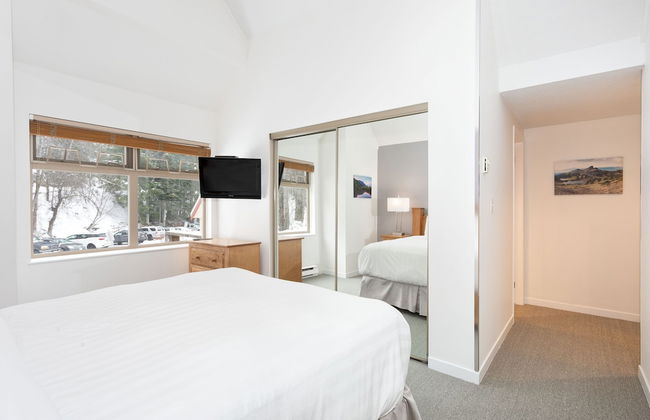
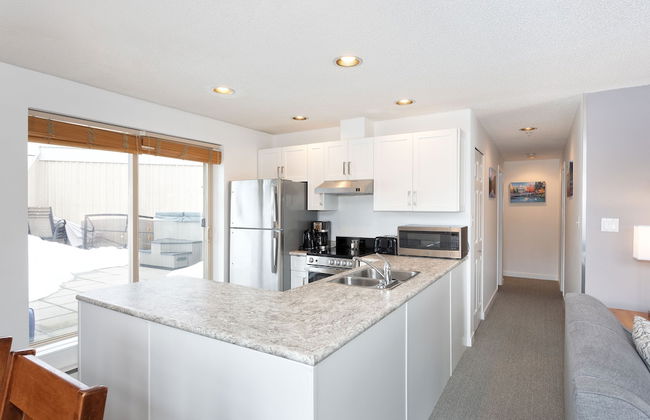
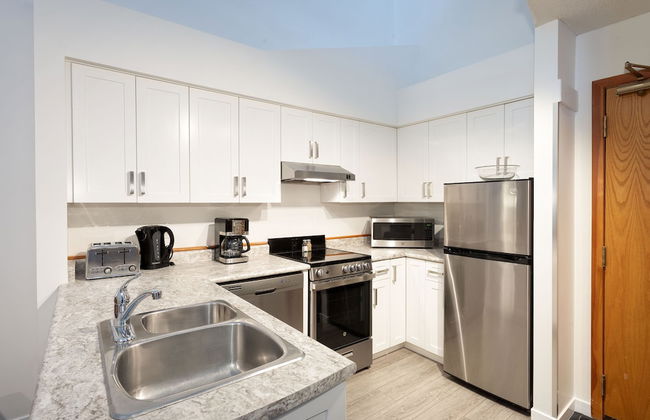
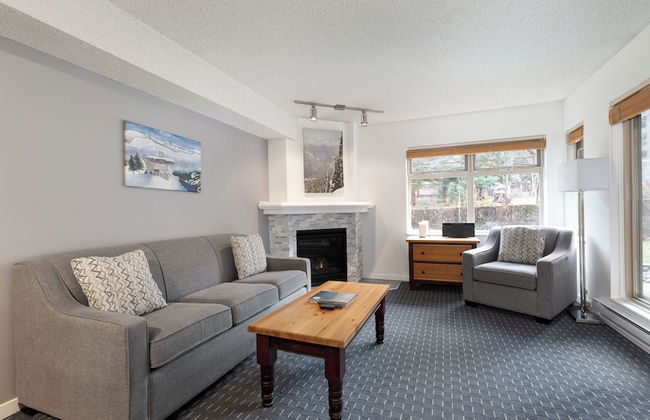
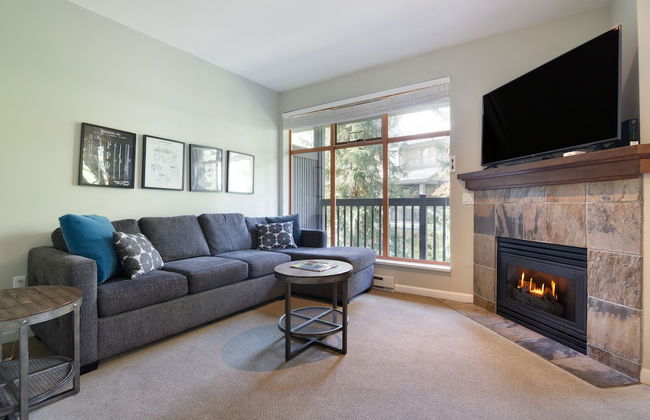
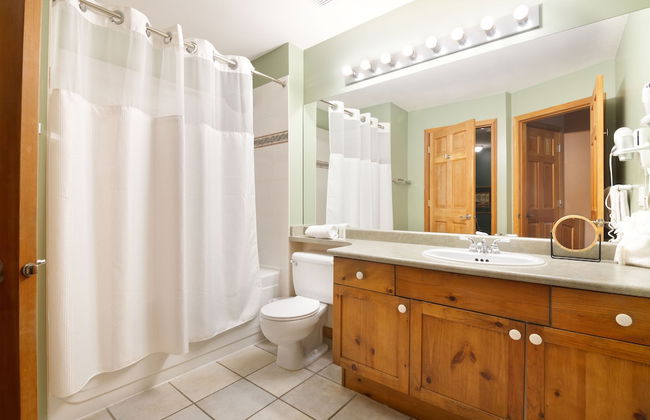
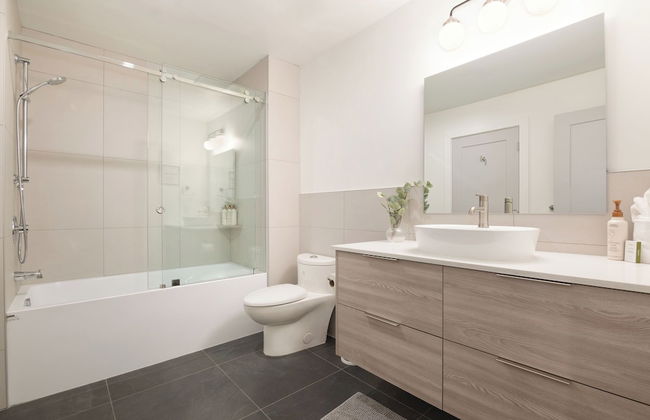
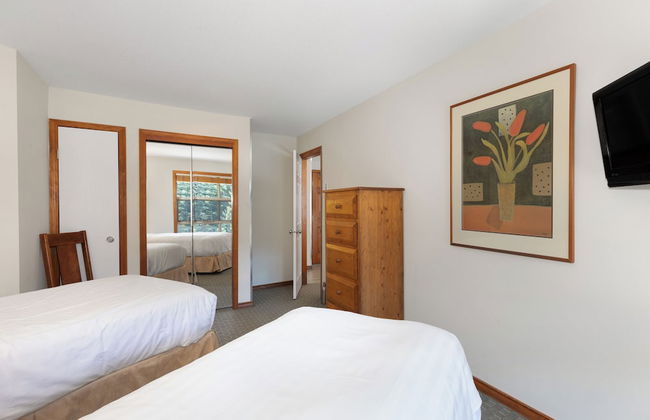
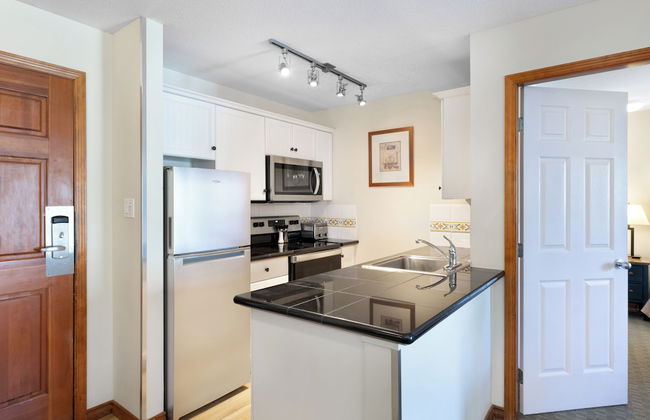
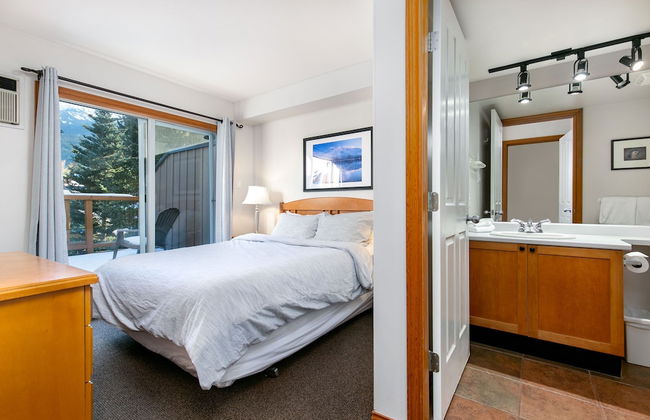
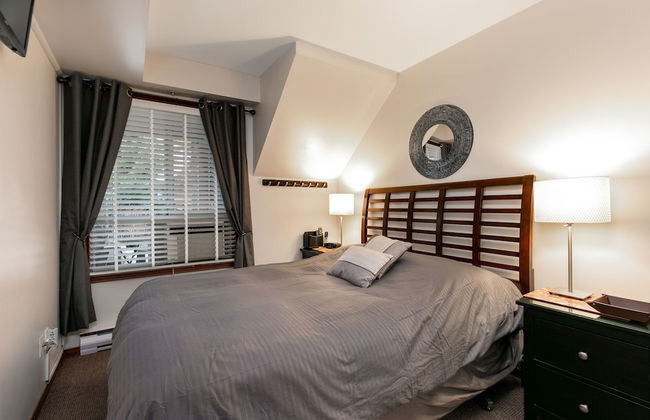
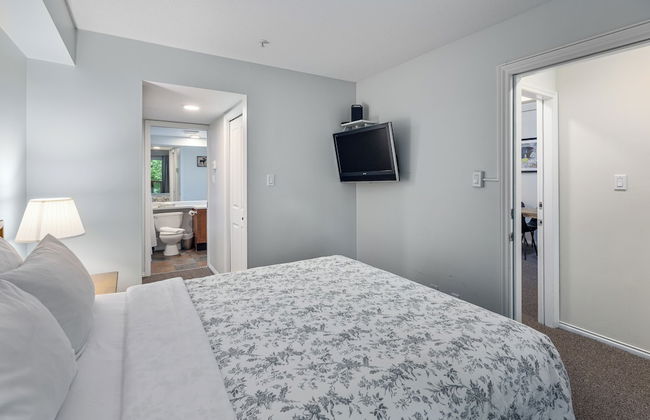
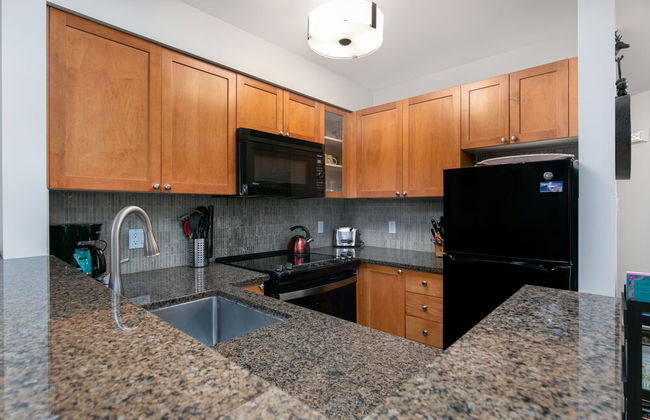
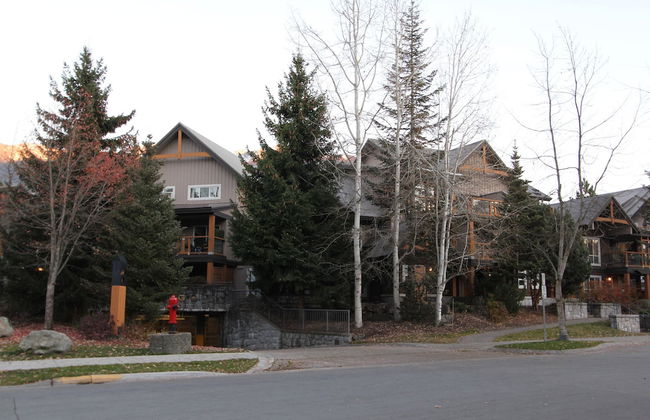
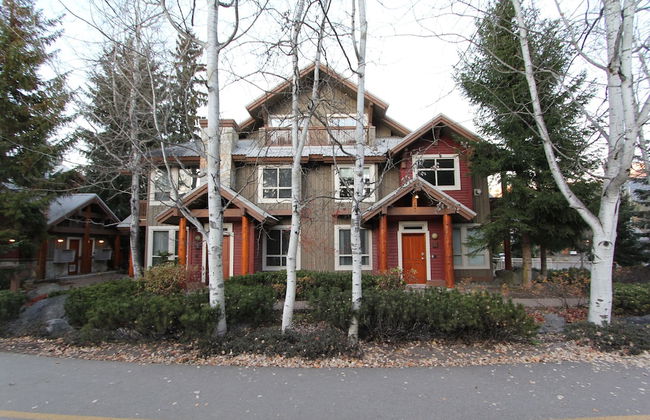
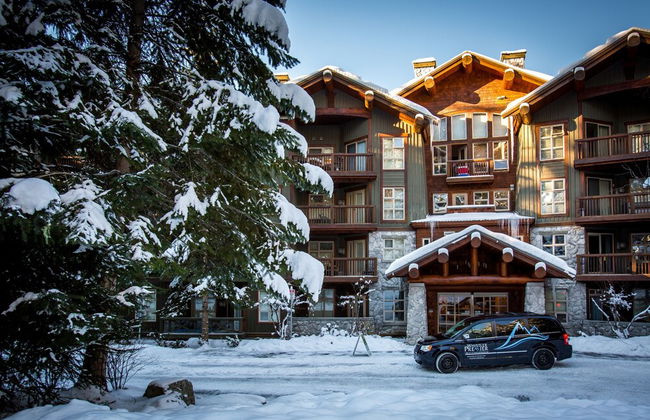
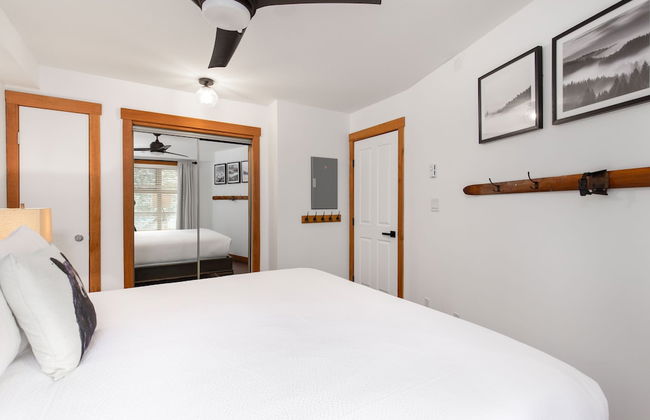
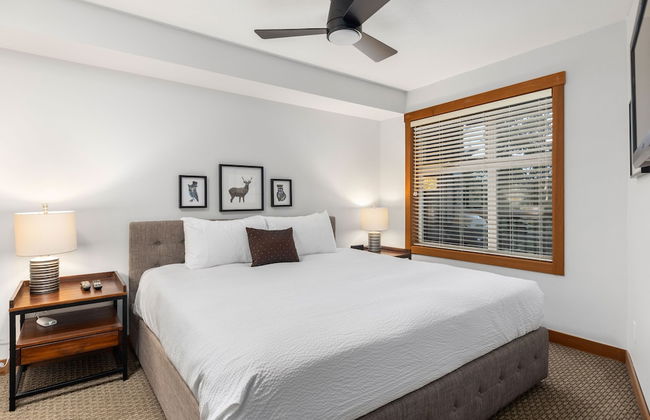
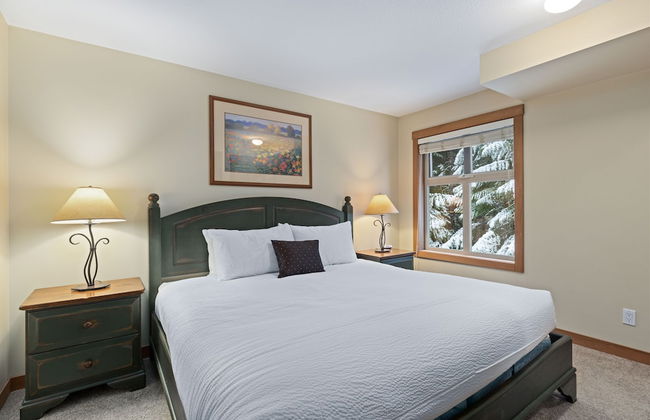
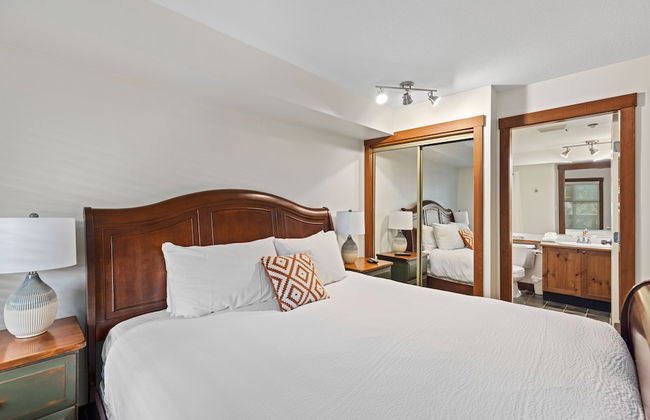
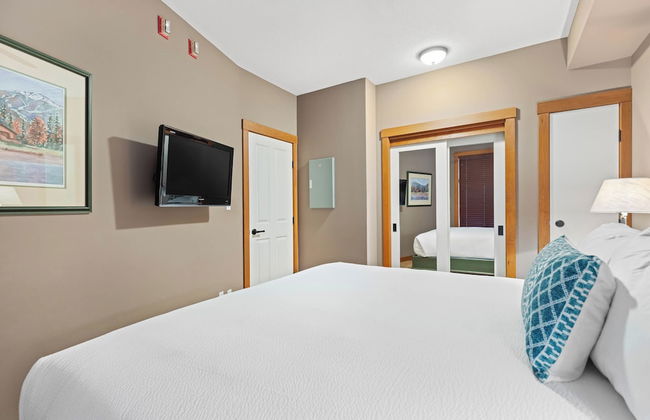
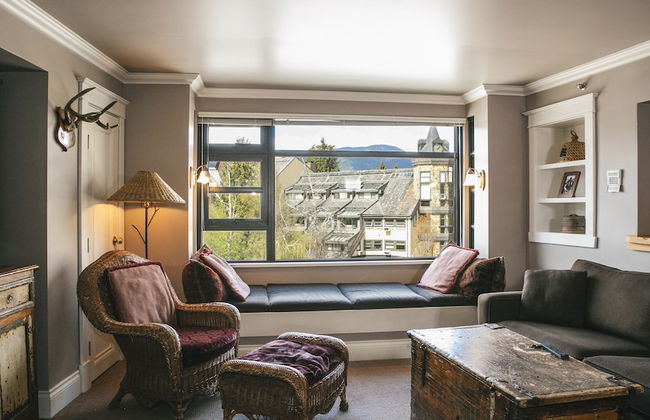
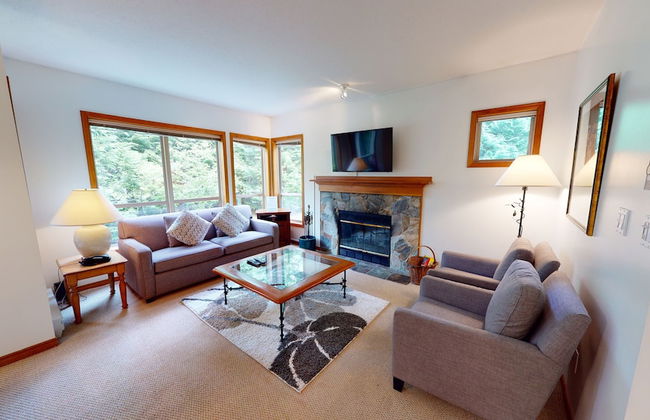
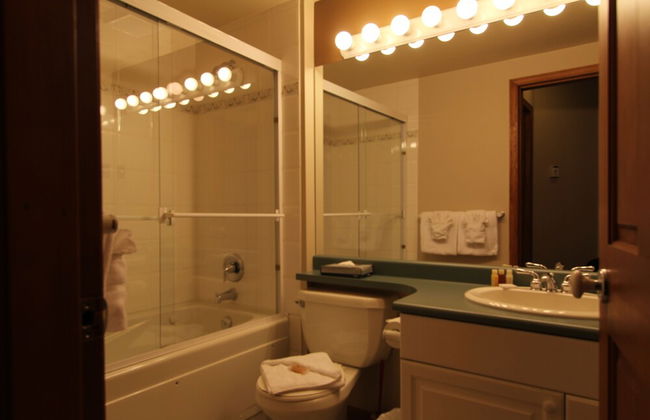
Valhalla Vacations at Whistler
Whistler - No centro
- 125 M2
- 8 pessoas
- Ar-condicionado
- Aquecimento
- Terraço
- Varanda
- Tv
- Máquina de lavar roupa
- Chaminé
- Toalhas
- Lençóis
17 avaliações


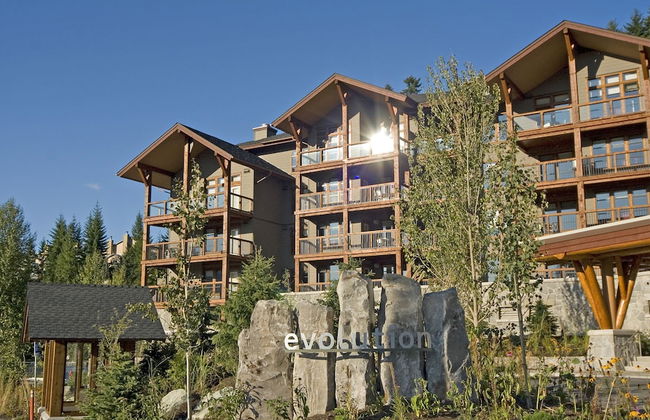


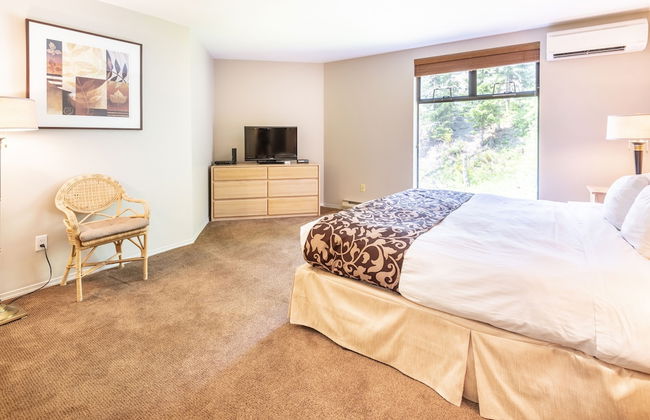
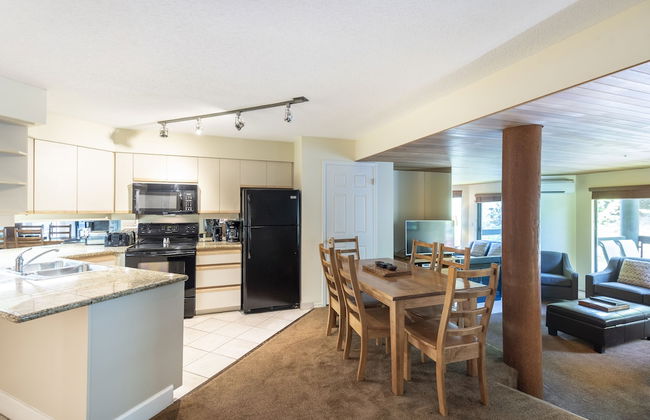
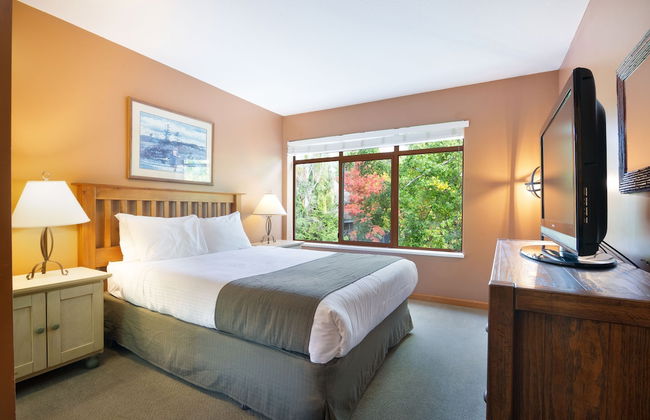
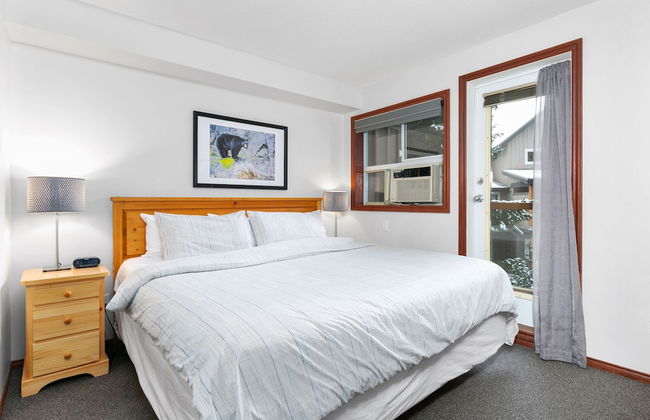
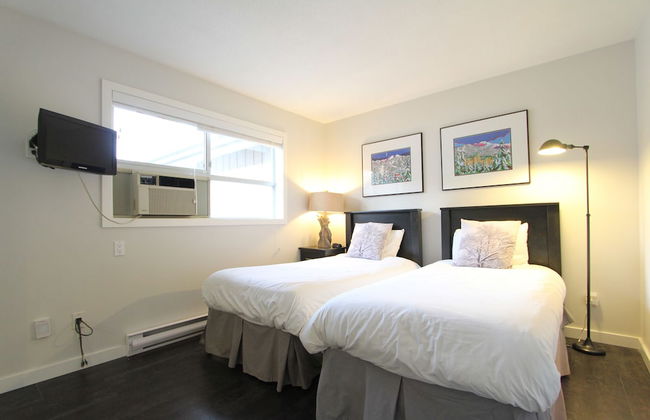
Evolution Whistler
Whistler - 3.2 km do centro
- 94 M2
- 6 pessoas
- Ar-condicionado
- Piscina
- Estacionamento
- Elevador
- Varanda
- Tv
- Máquina de lavar roupa
- Chaminé
- Churrasco
- Toalhas
- Lençóis
799 avaliações
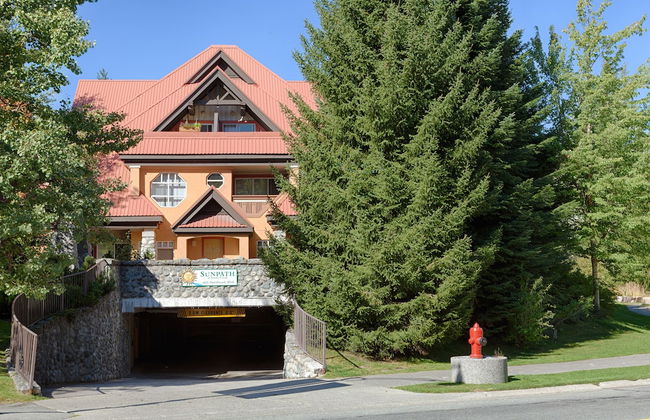

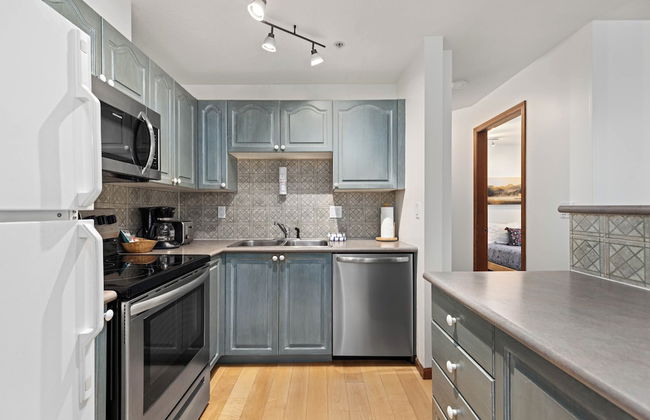


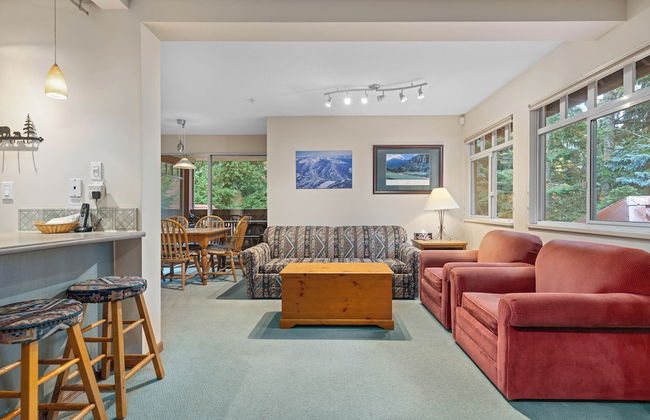

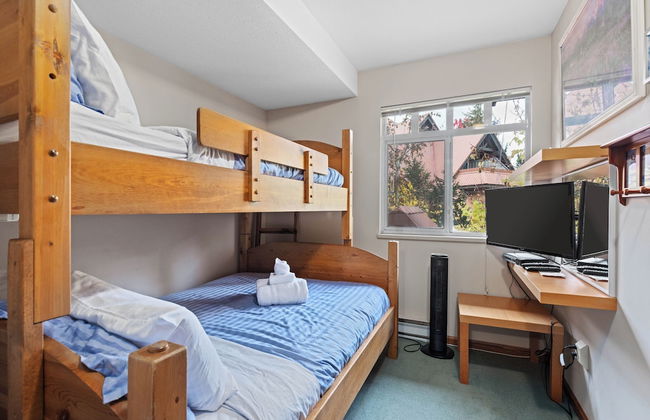


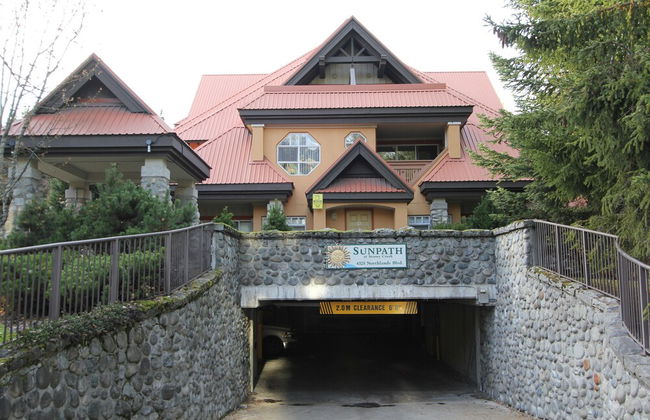
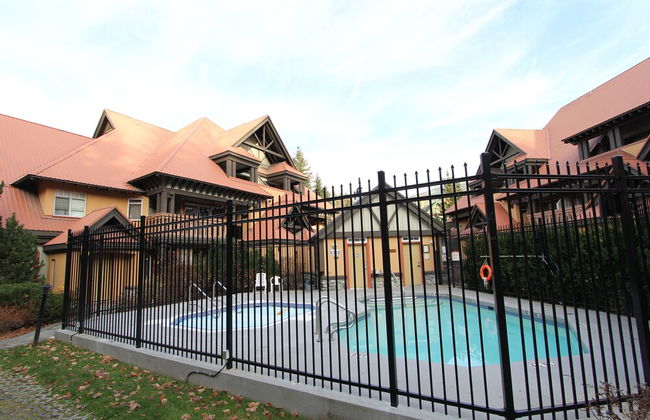
Stoney Creek Sunpath by Whistler Premier
Whistler - No centro
- 93 M2
- 8 pessoas
- Aquecimento
- Piscina
- Estacionamento
- Tv
- Máquina de lavar roupa
- Chaminé
- Toalhas
- Lençóis
28 avaliações


Horstman House by Whistler Premier
Whistler - 790 m do centro
- 102 M2
- 8 pessoas
- Aquecimento
- Piscina
- Estacionamento
- Elevador
- Varanda
- Tv
- Máquina de lavar roupa
- Chaminé
- Toalhas
- Lençóis
732 avaliações


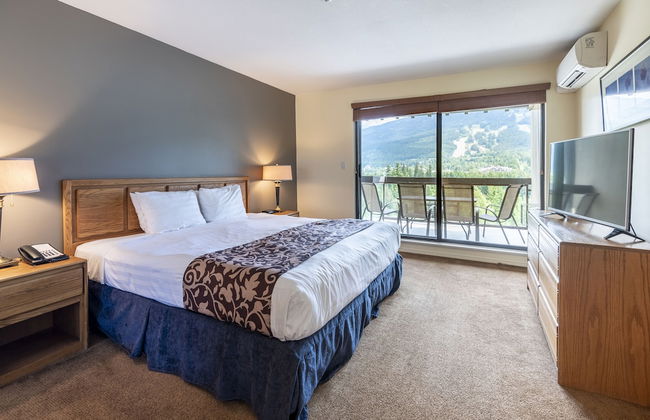
Powder's Edge by LaTour Hotels and Resorts
Whistler - 280 m do centro
- 125 M2
- 8 pessoas
- Ar-condicionado
- Aquecimento
- Piscina
- Estacionamento
- Elevador
- Tv
- Máquina de lavar roupa
- Chaminé
- Toalhas
- Lençóis
47 avaliações
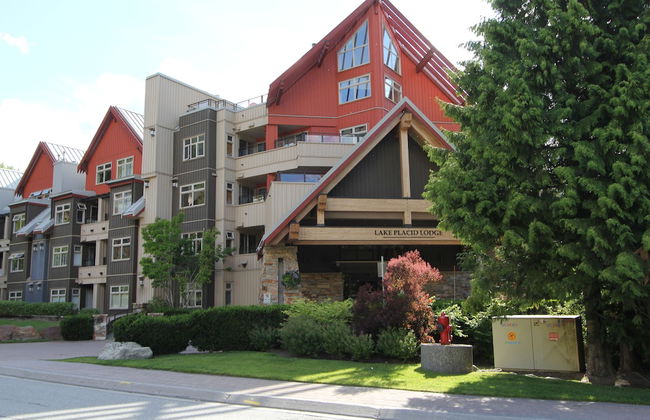


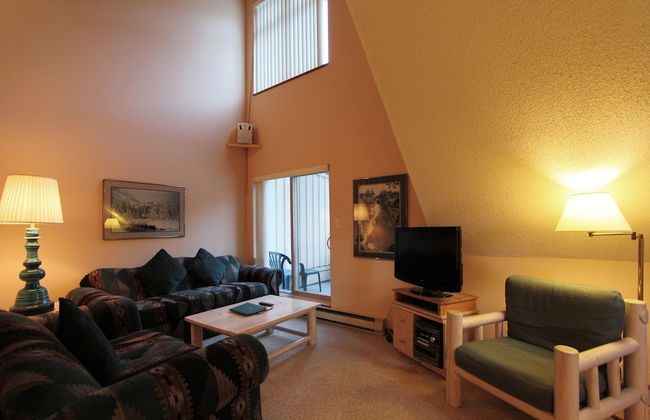


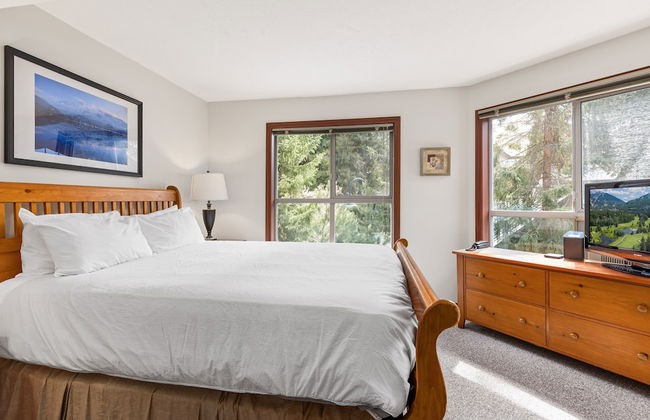
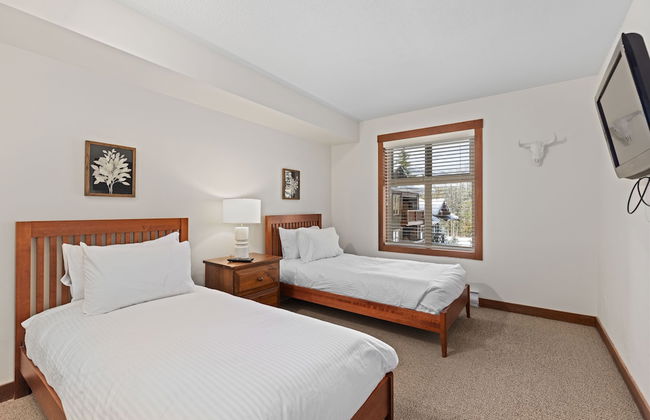
Lake Placid Lodge By Whistler Retreats
Whistler - 3.4 km do centro
- 56 M2
- 4 pessoas
- Aquecimento
- Terraço
- Piscina
- Estacionamento
- Elevador
- Tv
- Chaminé
- Churrasco
- Toalhas
- Lençóis
19 avaliações


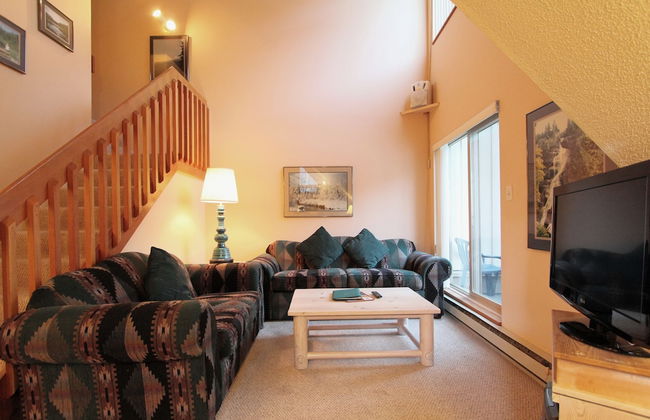
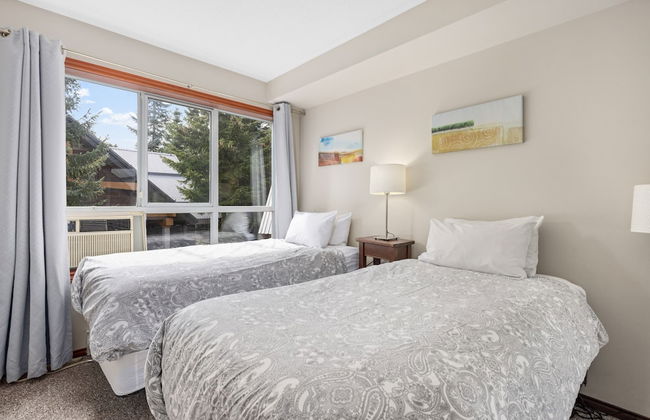
Lake Placid Lodge by Whiski Jack
Whistler - 3.4 km do centro
- 97 M2
- 6 pessoas
- Ar-condicionado
- Aquecimento
- Terraço
- Piscina
- Estacionamento
- Elevador
- Varanda
- Jardim
- Tv
- Máquina de lavar roupa
- Chaminé
- Churrasco
- Toalhas
- Lençóis
43 avaliações


Whistler Vacation Club at NorthStar
Whistler - No centro
- 139 M2
- 6 pessoas
- Aquecimento
- Piscina
- Estacionamento
- Tv
- Máquina de lavar roupa
- Chaminé
- Toalhas
- Lençóis
55 avaliações

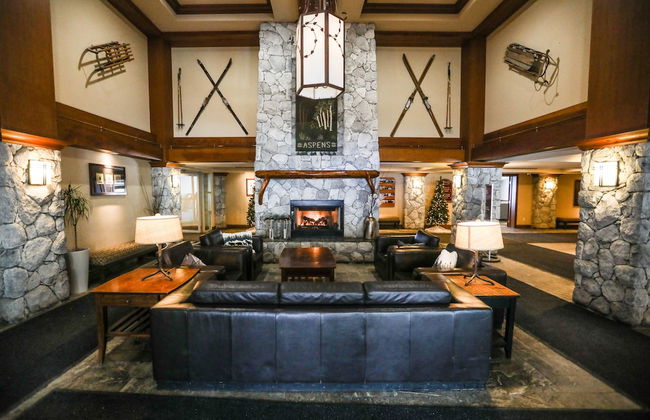


The Aspens by Whiski Jack
Whistler - 420 m do centro
- 75 M2
- 6 pessoas
- Aquecimento
- Piscina
- Estacionamento
- Elevador
- Varanda
- Tv
- Chaminé
- Toalhas
- Lençóis
78 avaliações


Glaciers Reach by AllSeason VR
Whistler - No centro
- 84 M2
- 6 pessoas
- Ar-condicionado
- Aquecimento
- Terraço
- Piscina
- Estacionamento
- Varanda
- Jardim
- Tv
- Máquina de lavar roupa
- Chaminé
- Toalhas
- Lençóis
70 avaliações


Glacier's Reach by Whistler Retreats
Whistler - No centro
- 88 M2
- 6 pessoas
- Ar-condicionado
- Aquecimento
- Terraço
- Piscina
- Estacionamento
- Varanda
- Tv
- Máquina de lavar roupa
- Chaminé
- Toalhas
- Lençóis
12 avaliações


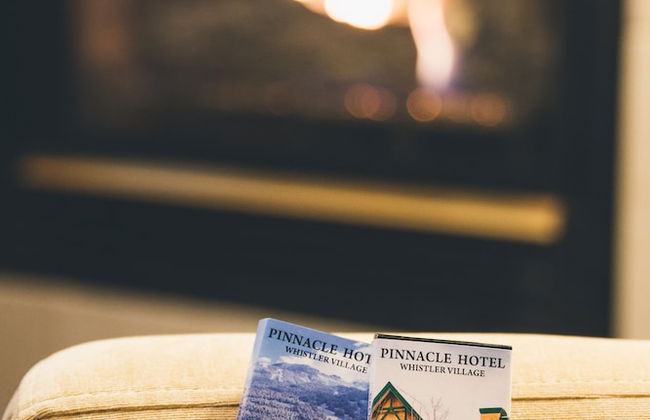
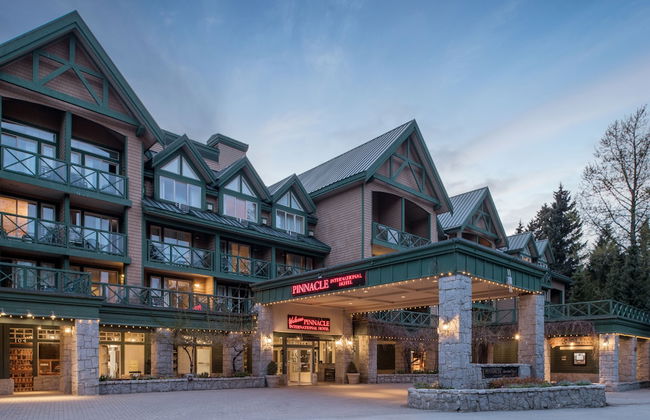
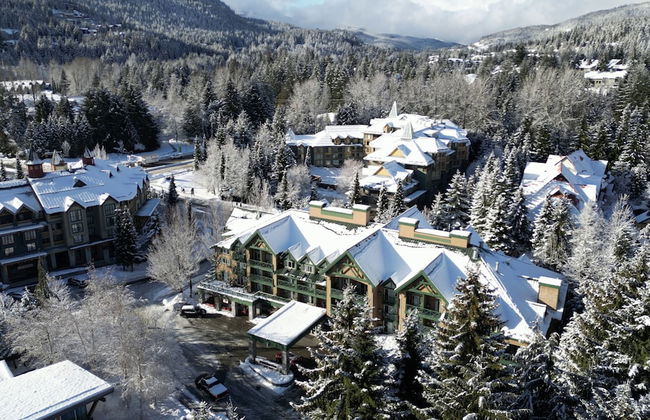

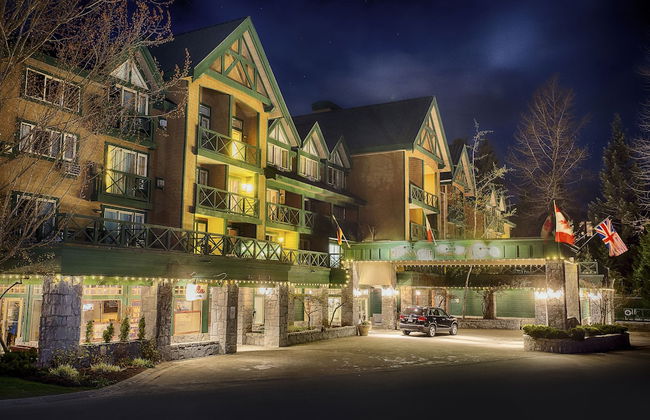
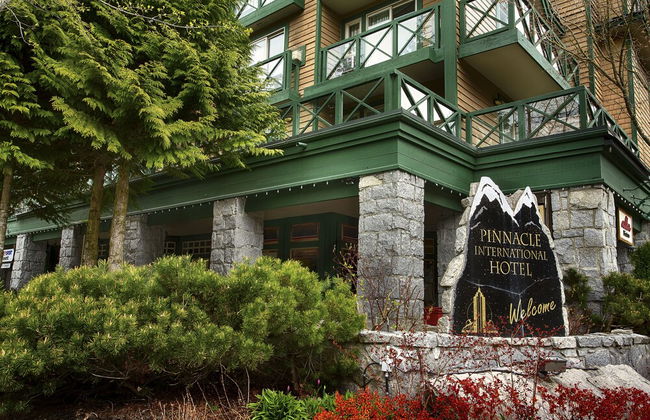


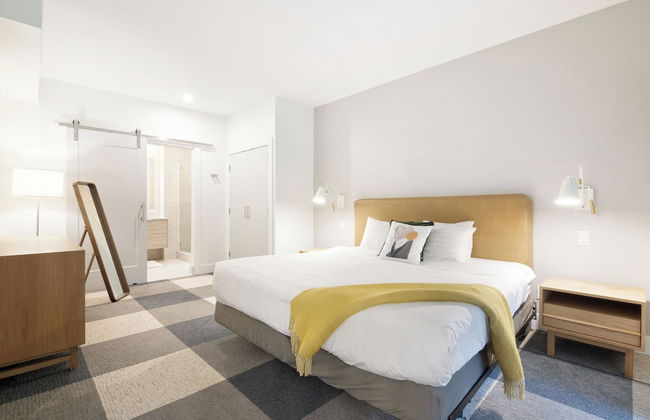
Pinnacle Hotel Whistler Village
Whistler - No centro
- 32 M2
- 4 pessoas
- Kitchenette
- Ar-condicionado
- Aquecimento
- Piscina
- Estacionamento
- Elevador
- Varanda
- Tv
- Chaminé
- Toalhas
- Lençóis
4298 avaliações


Symphony Condos by Whistler Retreats
Whistler - No centro
- 92 M2
- 6 pessoas
- Aquecimento
- Estacionamento
- Tv
- Máquina de lavar roupa
- Chaminé
- Toalhas
- Lençóis
11 avaliações


Lost Lake Lodge by Whistler Premier
Whistler - 920 m do centro
- 70 M2
- 6 pessoas
- Aquecimento
- Piscina
- Estacionamento
- Elevador
- Varanda
- Tv
- Máquina de lavar roupa
- Chaminé
- Toalhas
- Lençóis
550 avaliações


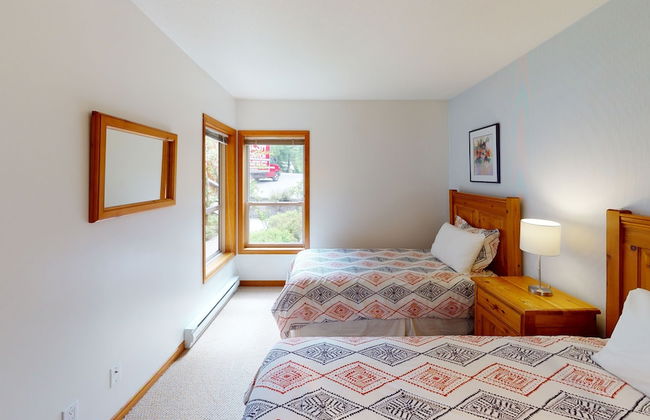
Carleton Lodge
Whistler - No centro
- 102 M2
- 6 pessoas
- Ar-condicionado
- Estacionamento
- Tv
- Máquina de lavar roupa
- Chaminé
- Toalhas
- Lençóis
134 avaliações
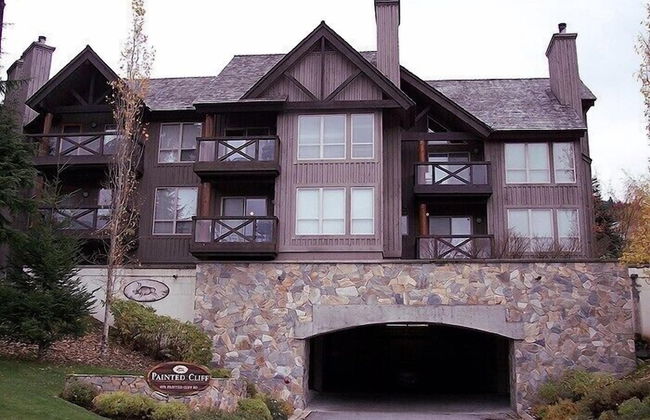


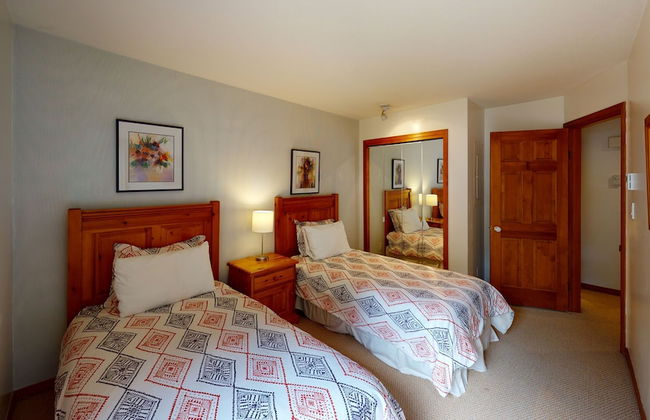


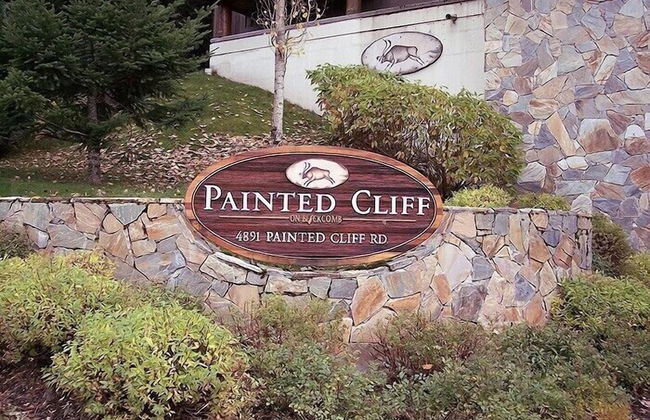
Painted Cliff by Whistler Premier
Whistler - 600 m do centro
- 6 pessoas
- Aquecimento
- Estacionamento
- Tv
- Máquina de lavar roupa
- Chaminé
- Toalhas
- Lençóis
20 avaliações


Sunpath Condos by Whistler Retreats
Whistler - No centro
- 107 M2
- 8 pessoas
- Aquecimento
- Piscina
- Estacionamento
- Varanda
- Tv
- Máquina de lavar roupa
- Chaminé
- Toalhas
- Lençóis
13 avaliações