
400 Apartamentos em Barbados


Best E Villas Prospect
Saint James
- 167 M2
- 6 pessoas
- Ar-condicionado
- Terraço
- Piscina
- Estacionamento
- Varanda
- Jardim
- Tv
- Máquina de lavar roupa
- Churrasco
- Toalhas
- Lençóis
20 avaliações


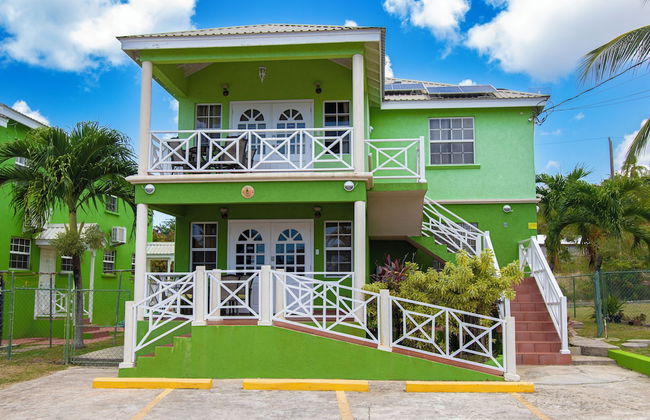
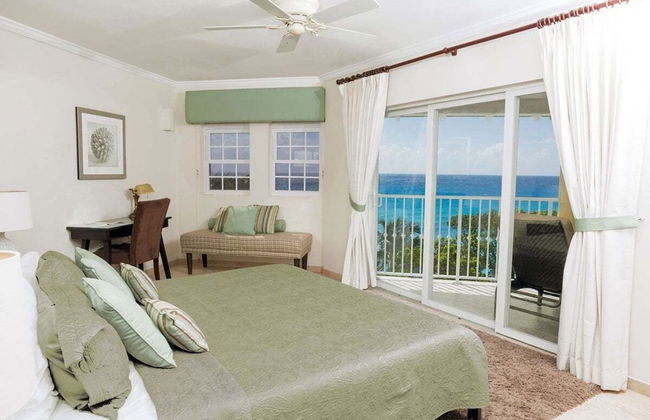
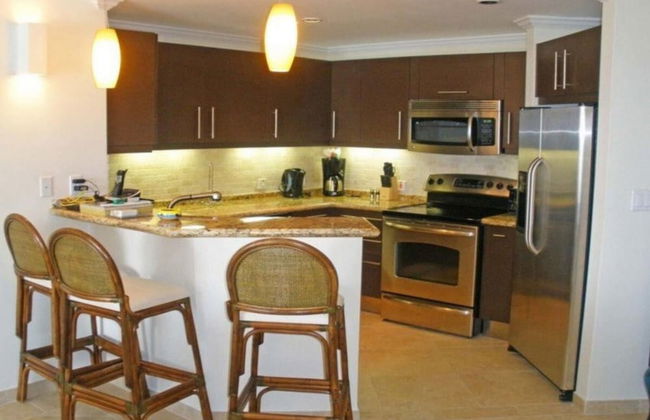
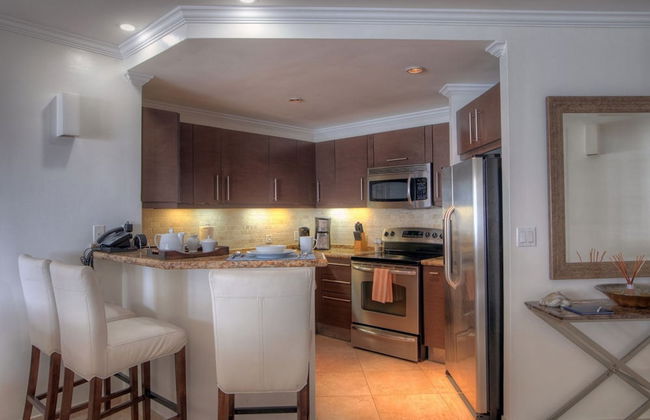
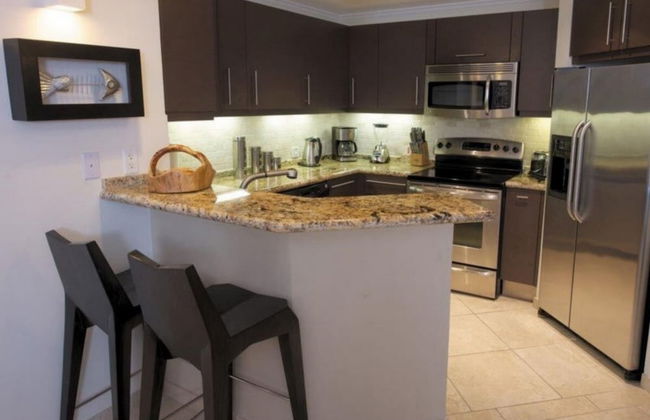
The Royal Bliss Barbados
Christ Church
- 130 M2
- 5 pessoas
- Kitchenette
- Ar-condicionado
- Terraço
- Estacionamento
- Varanda
- Tv
- Máquina de lavar roupa
- Churrasco
- Toalhas
- Lençóis
99 avaliações


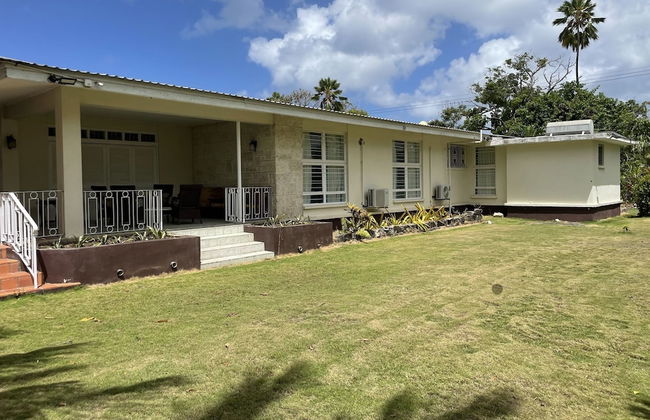
THE Cottage, Saint Davids, Christ Church, Barbados
Christ Church - St Davids
- 4 pessoas
- Ar-condicionado
- Terraço
- Piscina
- Estacionamento
- Jardim
- Tv
- Máquina de lavar roupa
- Toalhas
- Lençóis
11 avaliações


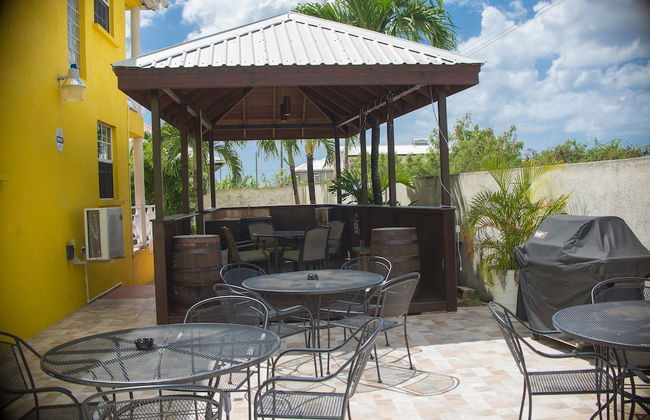
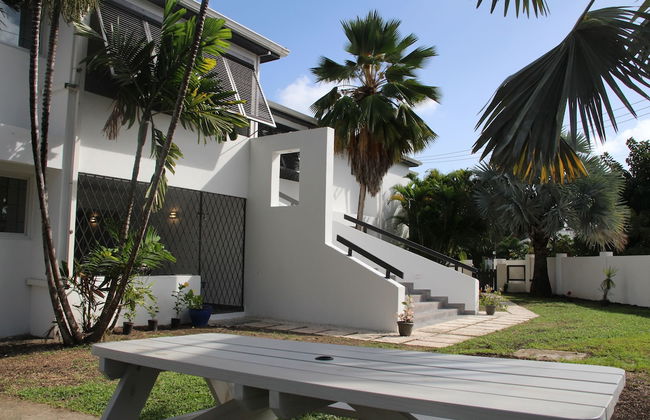
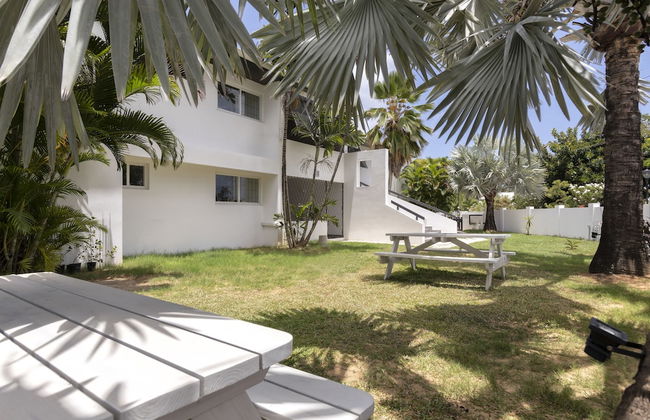
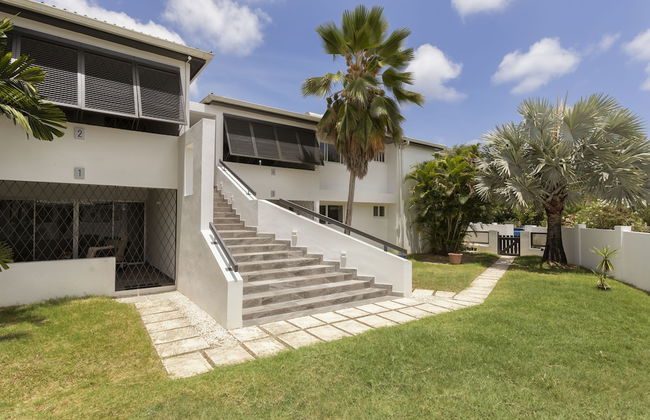
Hopeville Apartments
Christ Church
- 4 pessoas
- Ar-condicionado
- Terraço
- Estacionamento
- Jardim
- Tv
- Máquina de lavar roupa
- Toalhas
- Lençóis
54 avaliações


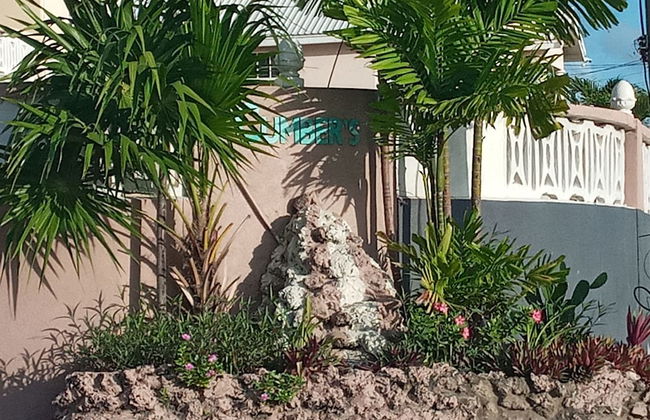


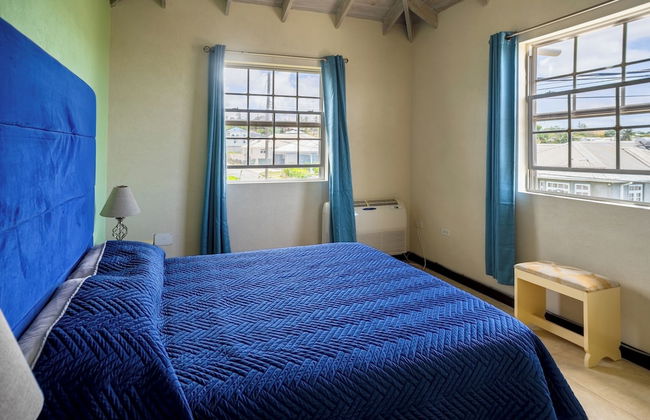
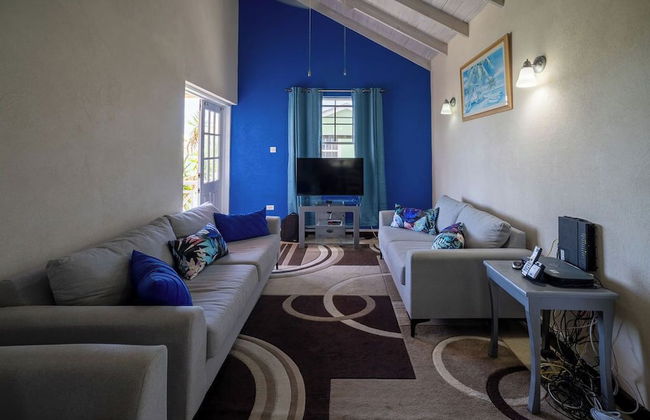
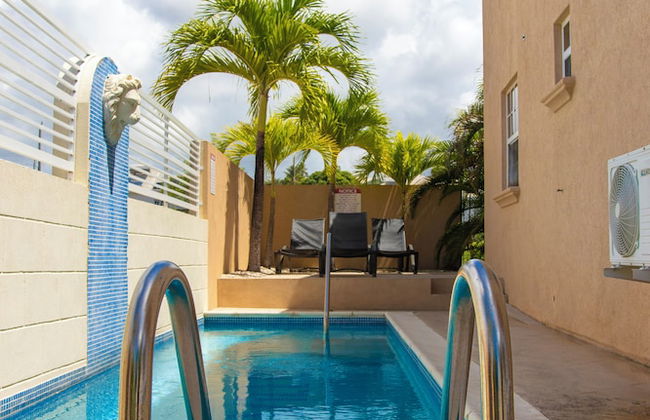
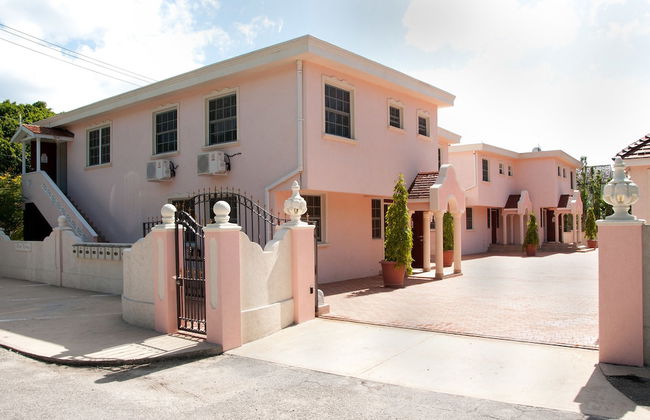
Cumber's Tropical Apartments
Christ Church
- 4 pessoas
- Ar-condicionado
- Terraço
- Estacionamento
- Varanda
- Tv
- Toalhas
- Lençóis
33 avaliações


Best E Villas Providence
Christ Church
- 149 M2
- 4 pessoas
- Ar-condicionado
- Terraço
- Piscina
- Estacionamento
- Jardim
- Tv
- Máquina de lavar roupa
- Churrasco
- Toalhas
- Lençóis
15 avaliações


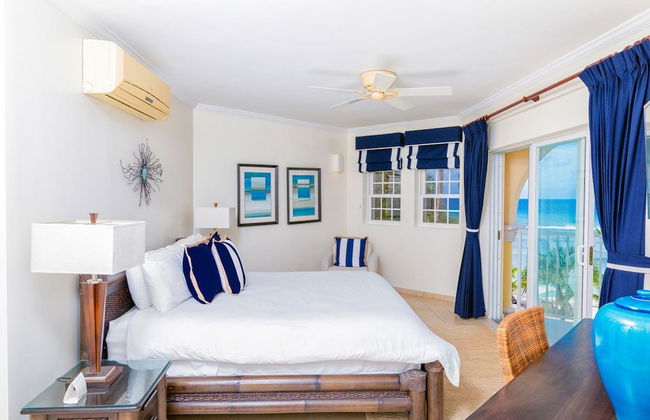
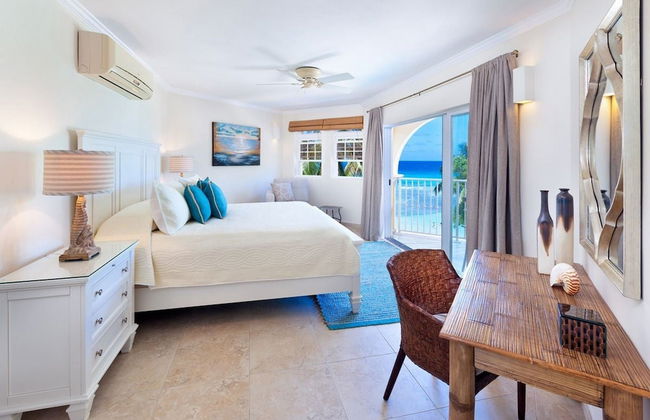


Sapphire Beach Condominiums by Blue Sky Luxury
Christ Church
- 169 M2
- 6 pessoas
- Ar-condicionado
- Piscina
- Estacionamento
- Elevador
- Varanda
- Jardim
- Tv
- Máquina de lavar roupa
- Toalhas
- Lençóis
71 avaliações


Santosha Barbados
Saint Andrew - Benab - 460 m do centro
- 6 pessoas
- Kitchenette
- Ar-condicionado
- Terraço
- Piscina
- Estacionamento
- Varanda
- Jardim
- Churrasco
- Toalhas
- Lençóis
139 avaliações


Manderley Villas
Saint Philip
- 2 pessoas
- Ar-condicionado
- Terraço
- Estacionamento
- Tv
- Máquina de lavar roupa
- Toalhas
- Lençóis
70 avaliações


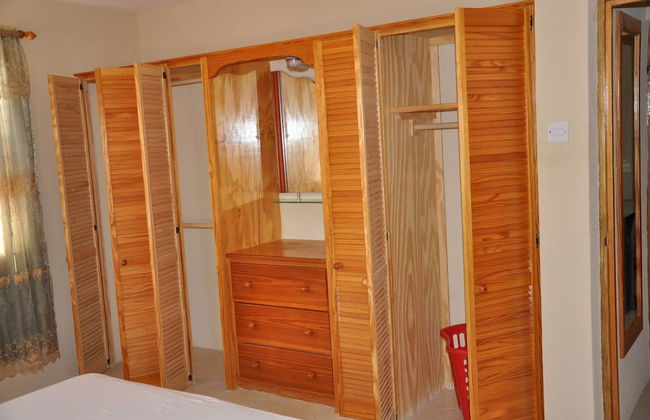

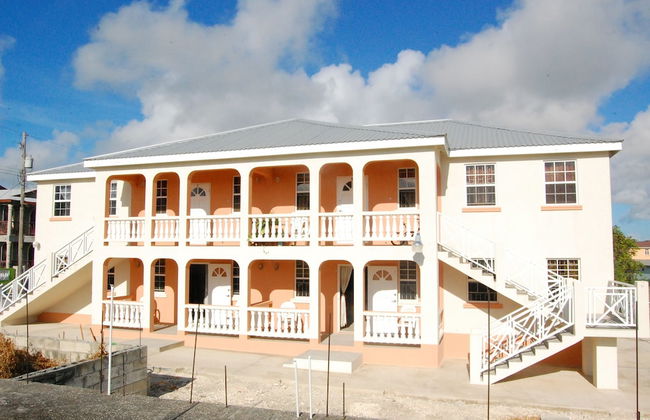
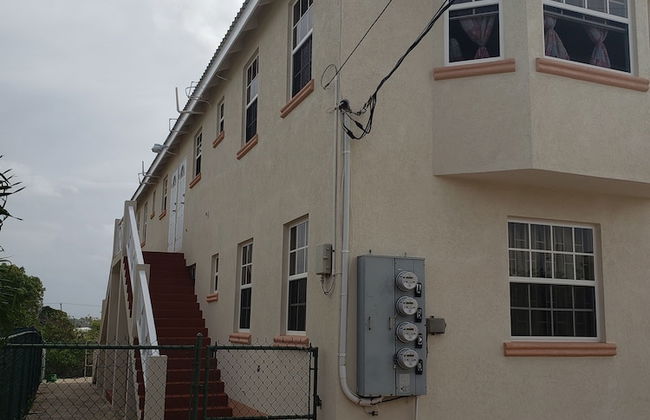

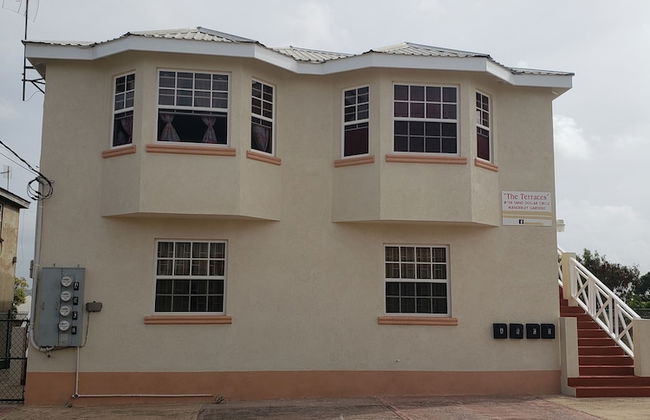
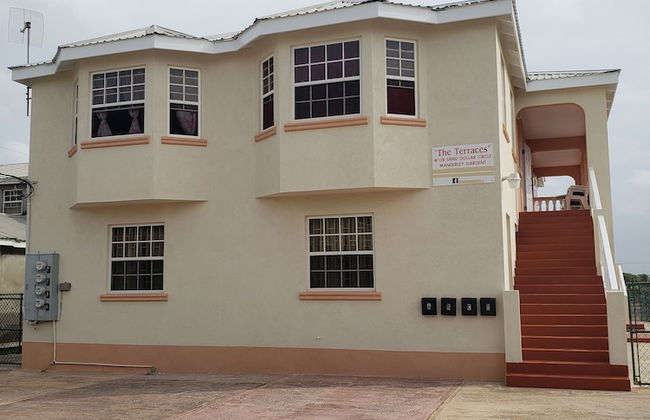

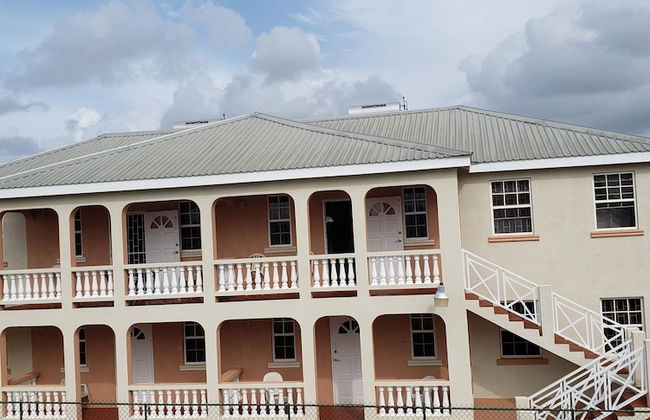
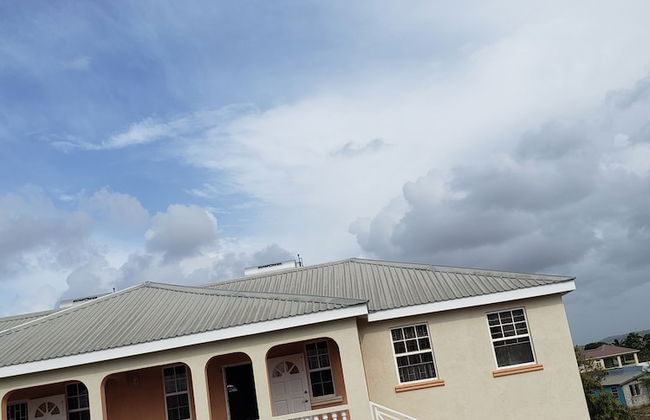


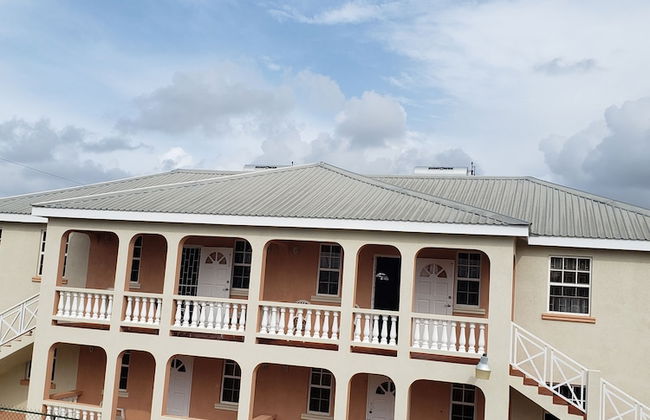
The Terraces at Mangrove
Saint Philip
- 5 pessoas
- Ar-condicionado
- Terraço
- Estacionamento
- Varanda
- Tv
- Máquina de lavar roupa
- Toalhas
85 avaliações


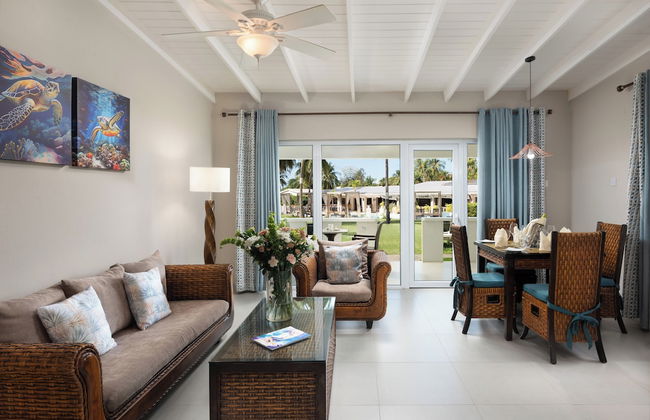
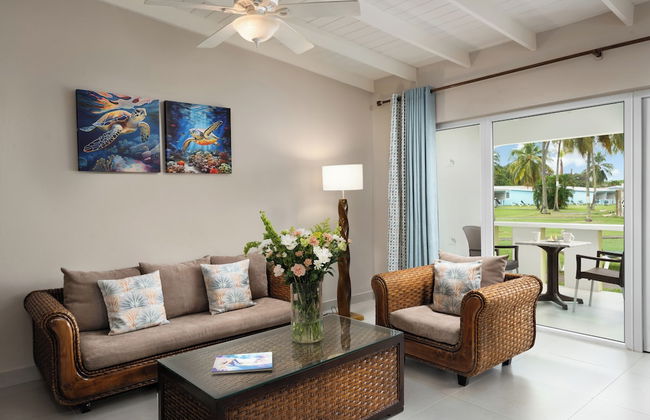

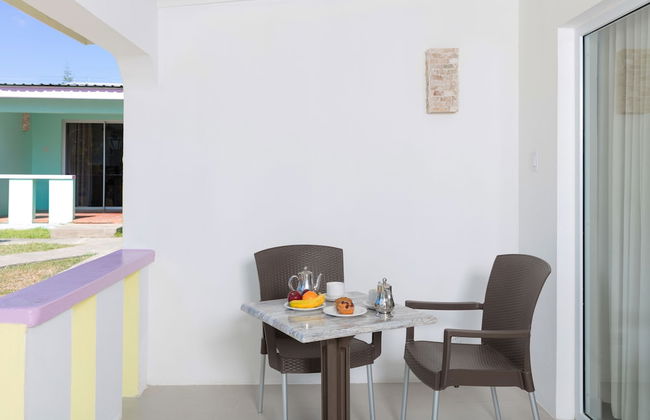


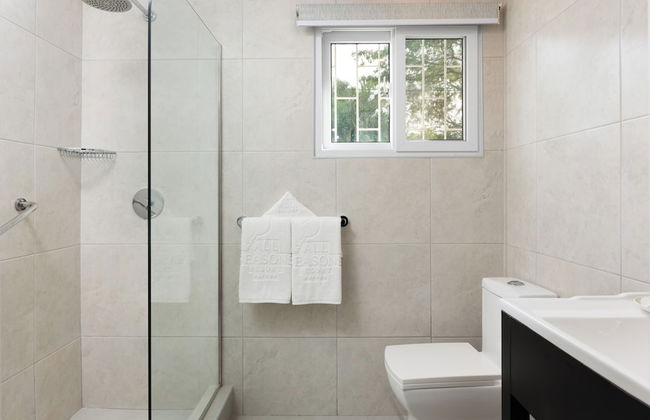


All Seasons Resort - Europa
Saint James
- 70 M2
- 4 pessoas
- Kitchenette
- Ar-condicionado
- Terraço
- Piscina
- Estacionamento
- Jardim
- Tv
- Toalhas
- Lençóis
27 avaliações


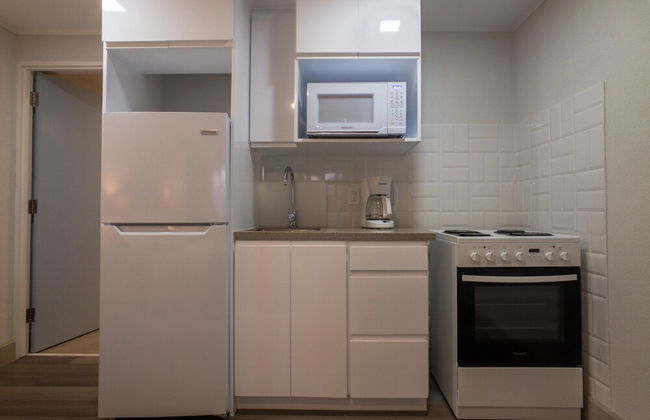


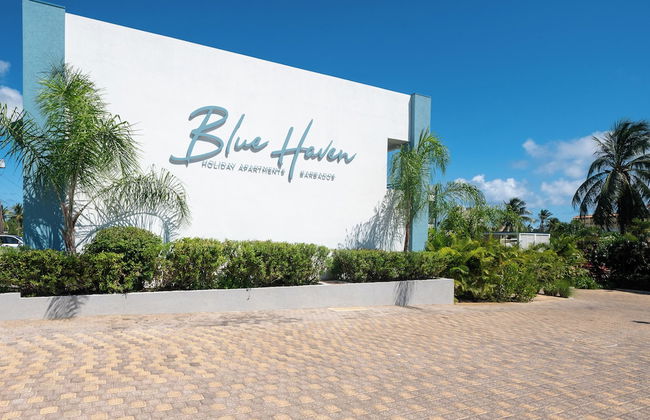


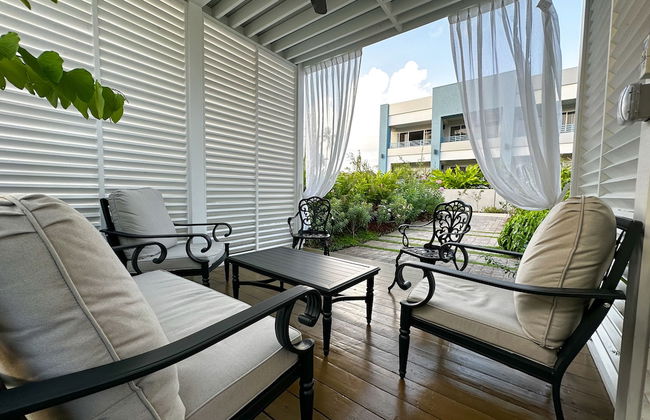
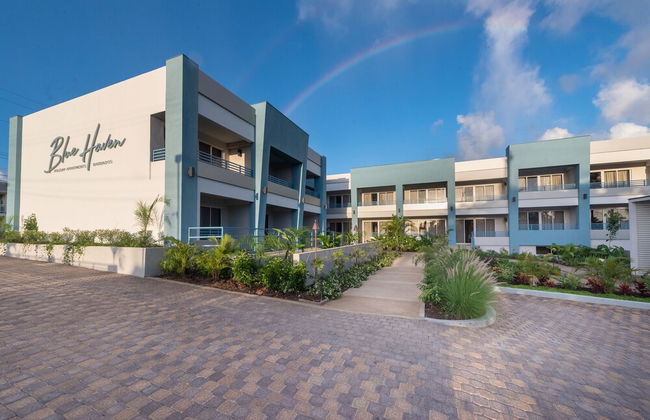
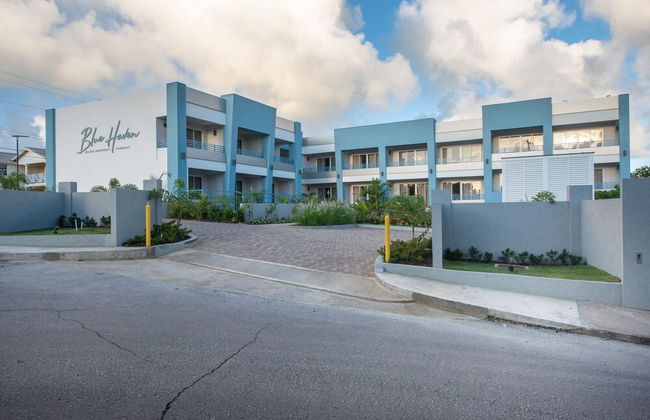

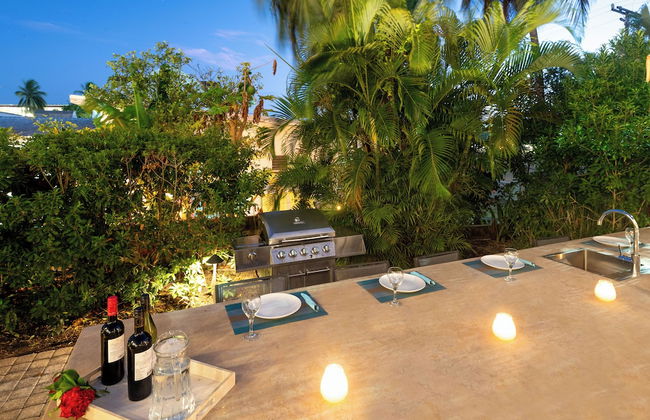


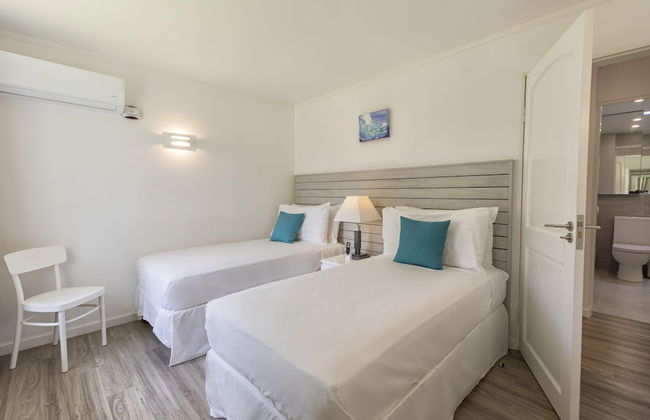
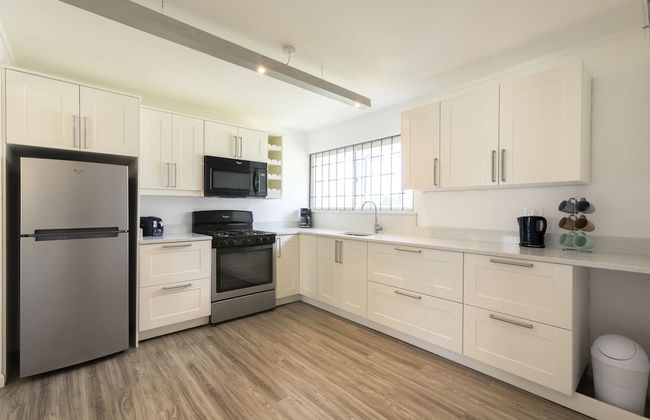
Blue Haven Holiday Apartments
Christ Church
- 3 pessoas
- Kitchenette
- Ar-condicionado
- Estacionamento
- Jardim
- Tv
- Toalhas
- Lençóis
177 avaliações


Dover Woods Apartments
Christ Church
- 92 M2
- 6 pessoas
- Ar-condicionado
- Terraço
- Estacionamento
- Varanda
- Jardim
- Tv
- Máquina de lavar roupa
- Toalhas
- Lençóis
18 avaliações


Sandy Bliss Condominiums
Saint James
- 4 pessoas
- Ar-condicionado
- Elevador
- Varanda
- Jardim
- Tv
- Máquina de lavar roupa
- Toalhas
- Lençóis
13 avaliações


Sugar Hill Tennis Village B306 by Altman
Saint James
- 4 pessoas
- Ar-condicionado
- Terraço
- Piscina
- Estacionamento
- Elevador
- Varanda
- Jardim
- Tv
- Máquina de lavar roupa
- Toalhas
- Lençóis
2 avaliações


Palm Grove Villas & Hotel
Saint James
- 125 M2
- 4 pessoas
- Ar-condicionado
- Piscina
- Estacionamento
- Tv
- Máquina de lavar roupa
- Toalhas
22 avaliações

Believe Caribbean Apartments
Bridgetown
- 56 M2
- 4 pessoas
- Ar-condicionado
- Terraço
- Estacionamento
- Varanda
- Tv
- Máquina de lavar roupa
- Toalhas
- Lençóis
41 avaliações


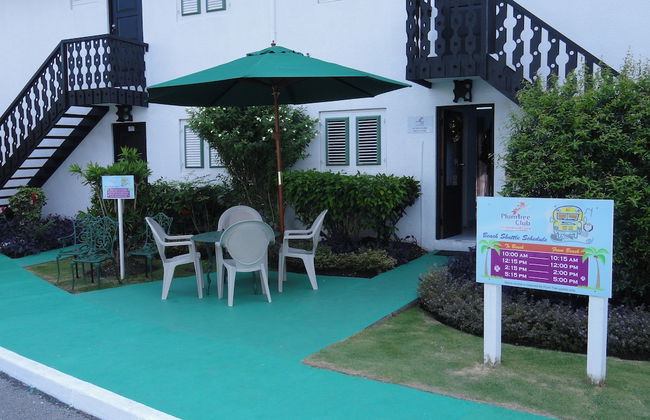


Plum Tree Club
Christ Church
- 65 M2
- 4 pessoas
- Ar-condicionado
- Terraço
- Piscina
- Varanda
- Jardim
- Tv
- Churrasco
- Toalhas
- Lençóis
191 avaliações


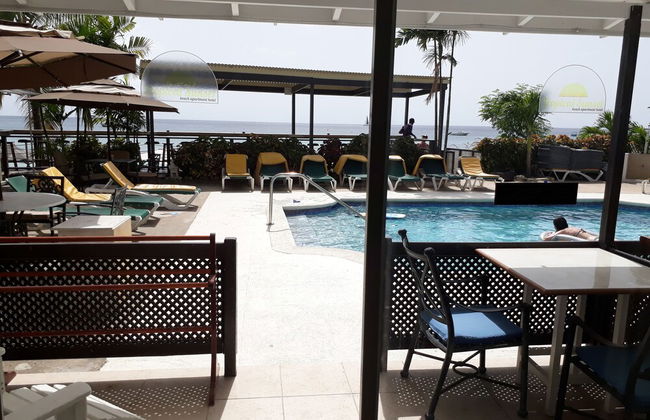
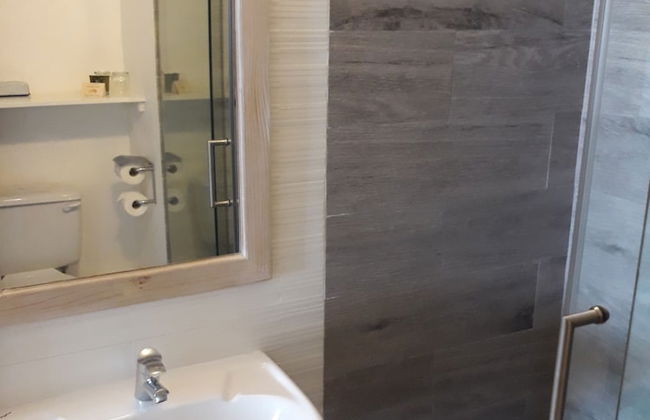
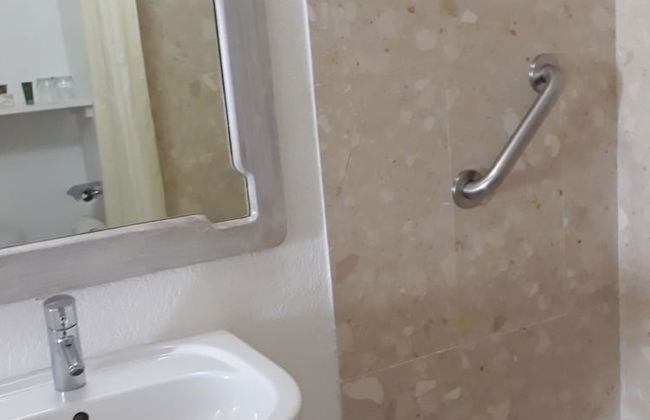


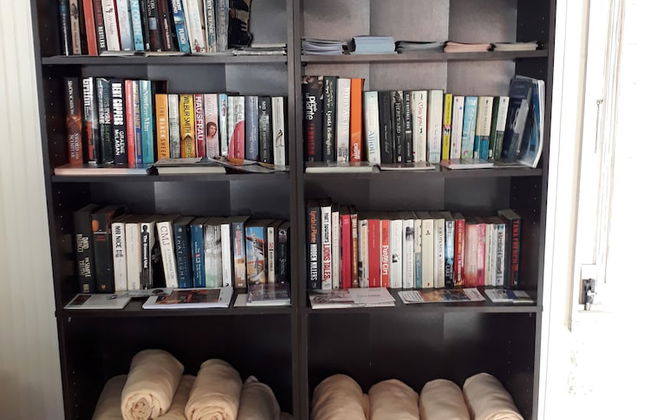


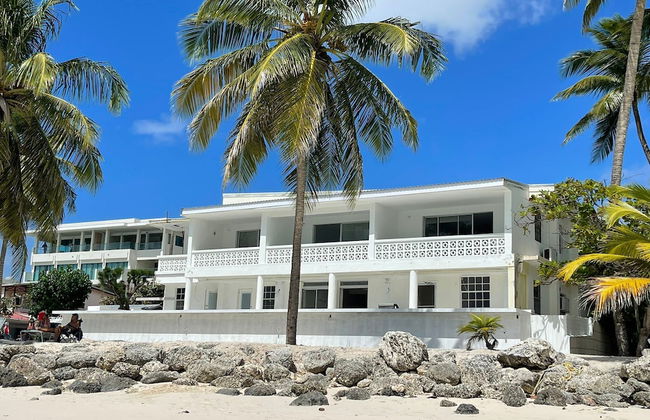
Tropical Sunset Beach Apartment Hotel
Saint James
- 4 pessoas
- Kitchenette
- Ar-condicionado
- Terraço
- Piscina
- Varanda
- Jardim
- Tv
- Churrasco
- Toalhas
- Lençóis
173 avaliações


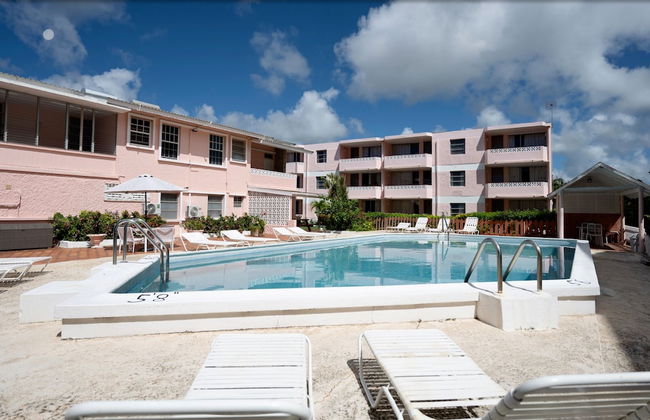
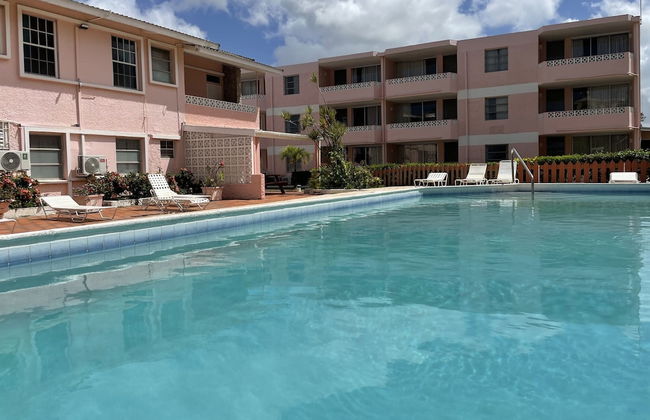


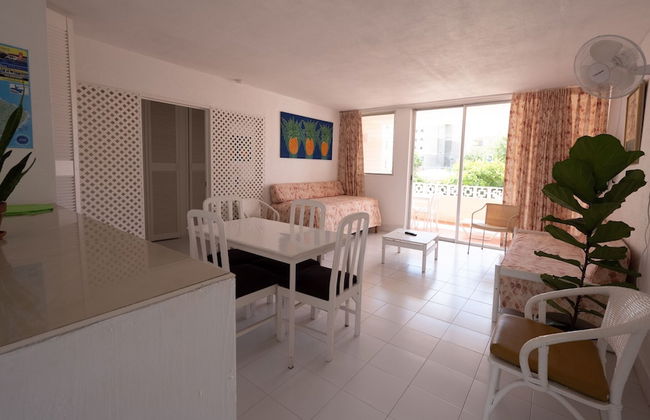


The Monteray Hotel
Christ Church
- 193 M2
- 6 pessoas
- Kitchenette
- Ar-condicionado
- Terraço
- Piscina
- Estacionamento
- Varanda
- Jardim
- Tv
- Toalhas
- Lençóis
122 avaliações