
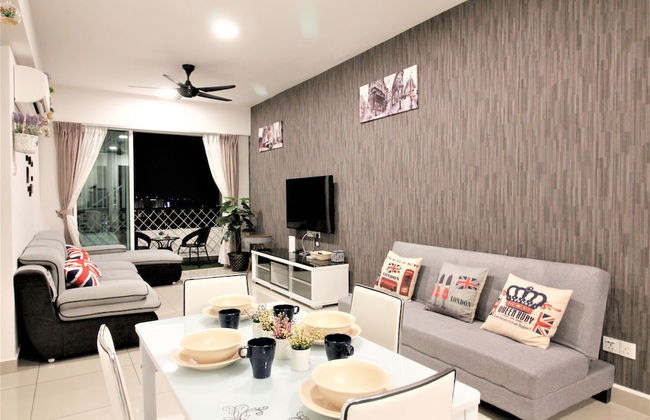

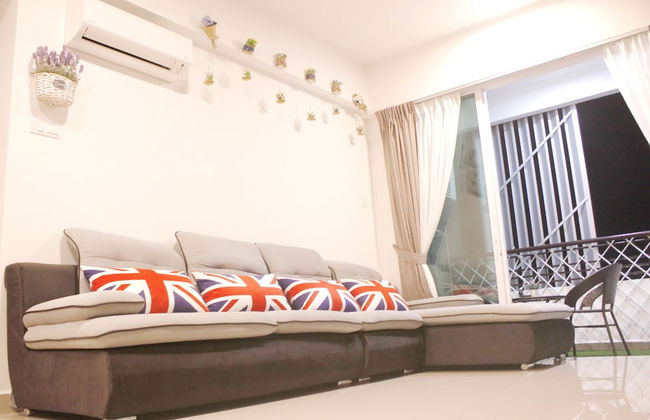


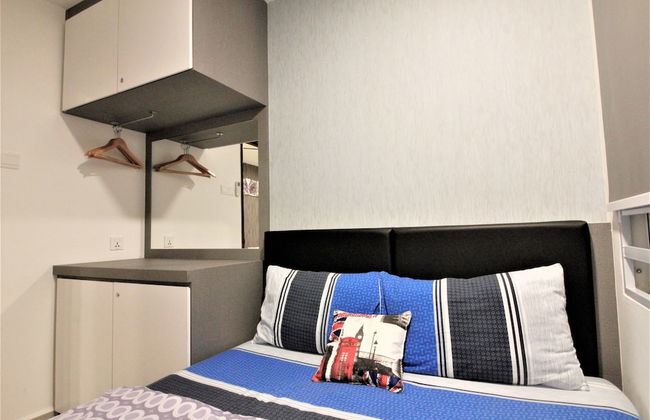

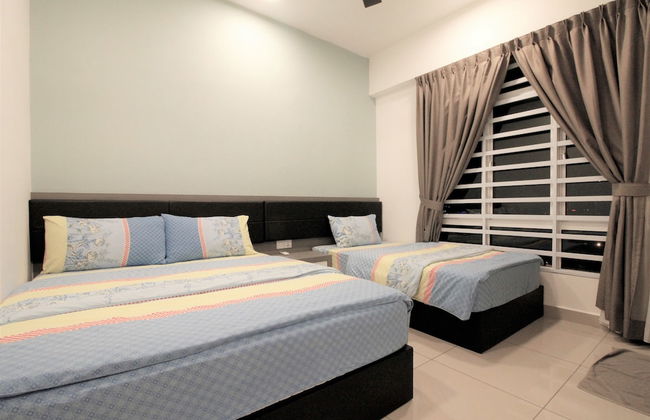


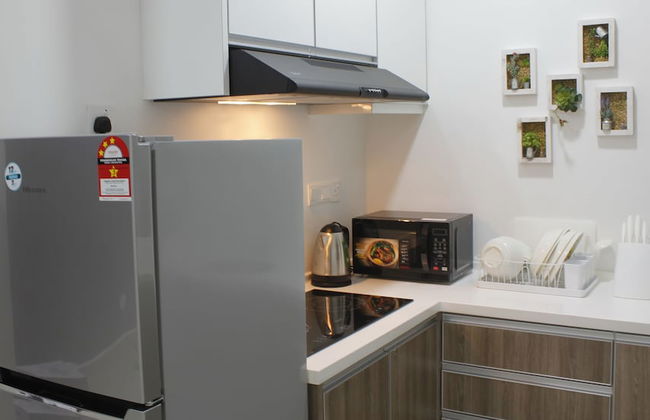

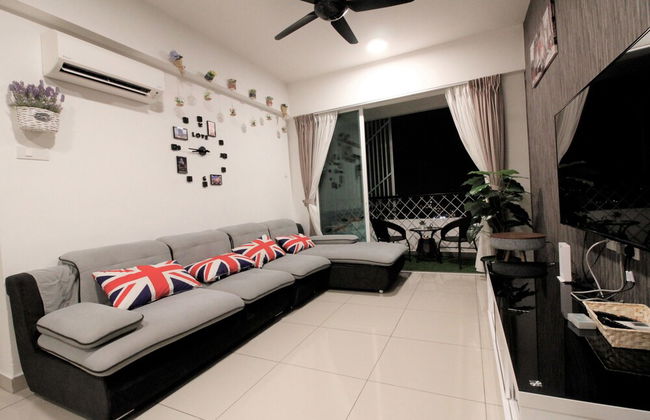
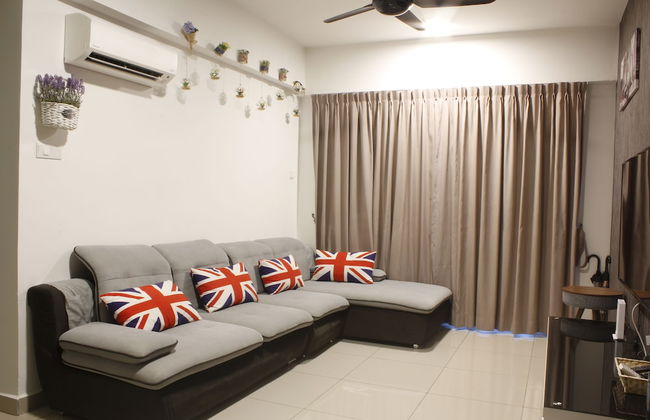

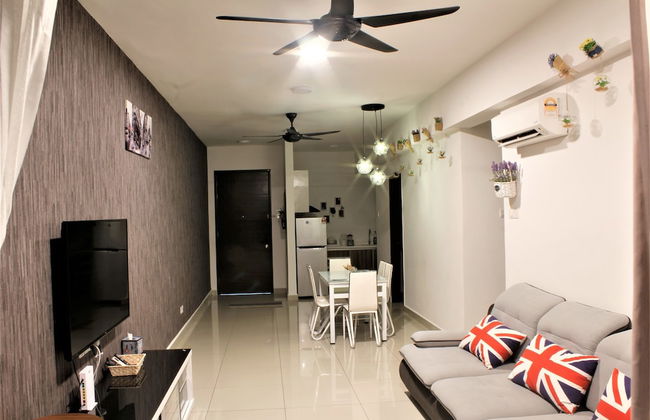


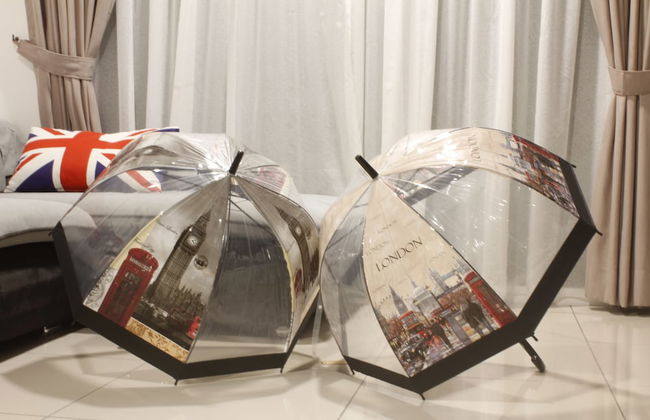


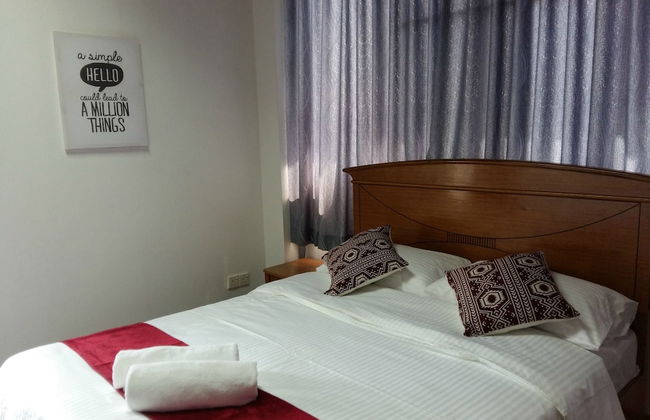
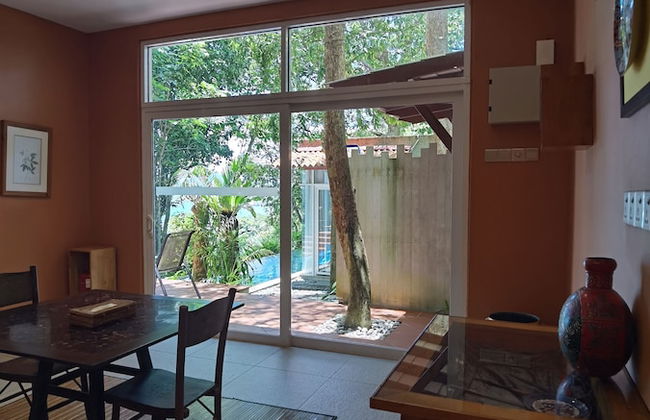
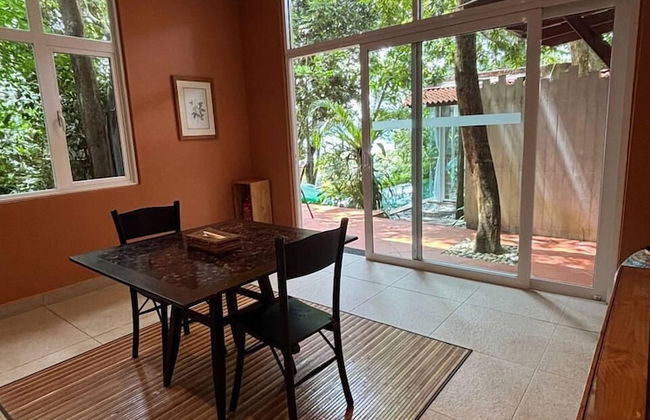
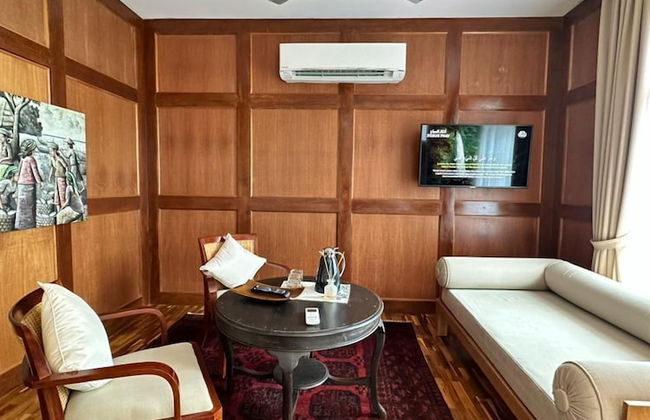
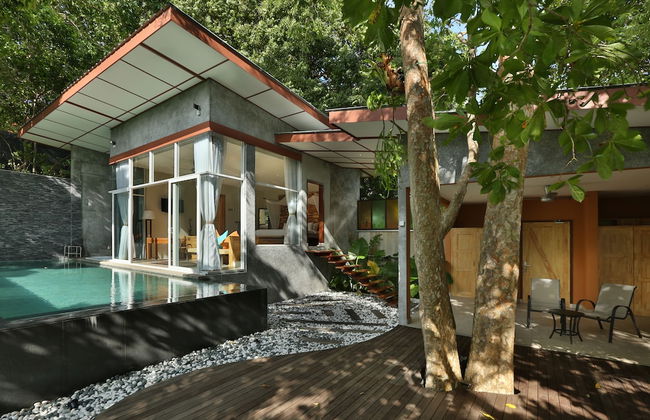
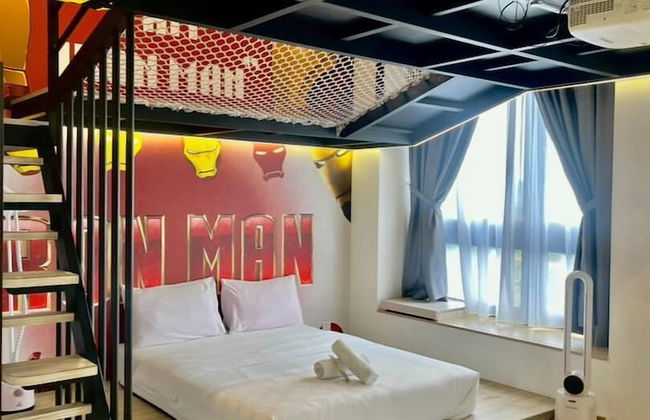
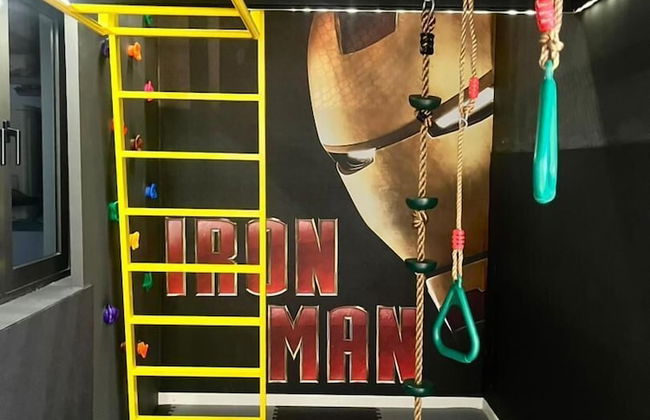
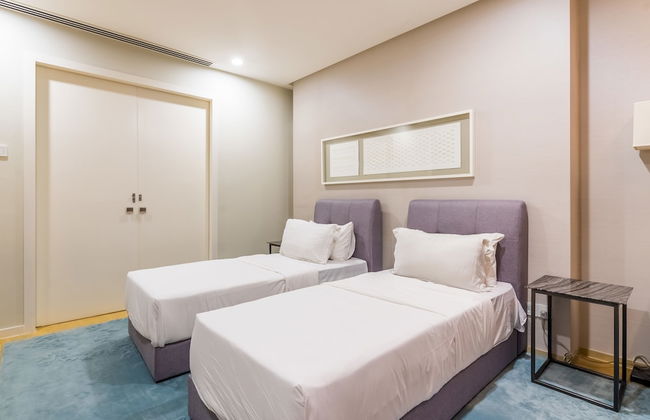
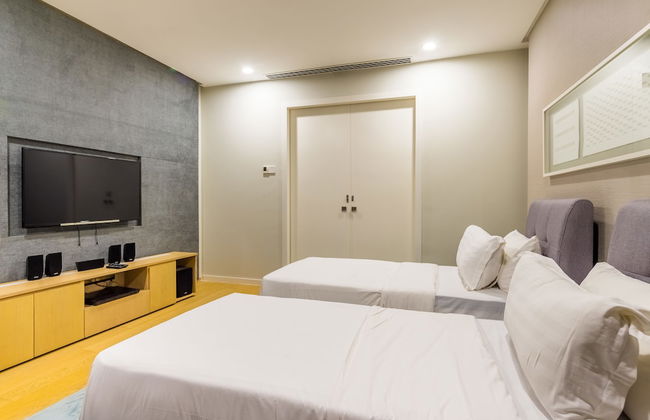
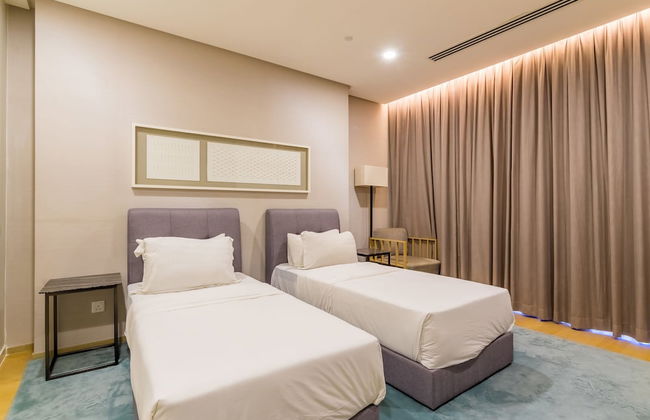
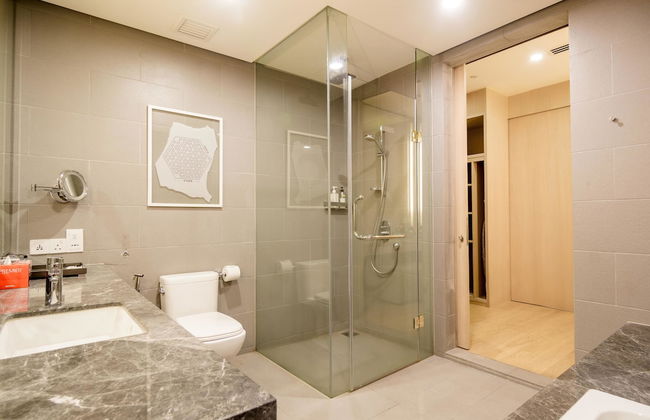
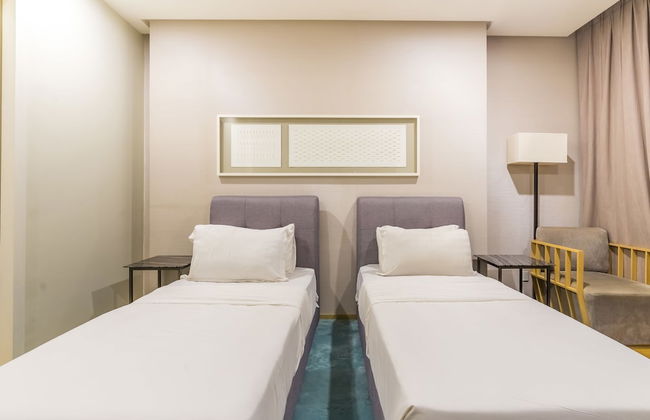
H2H London House
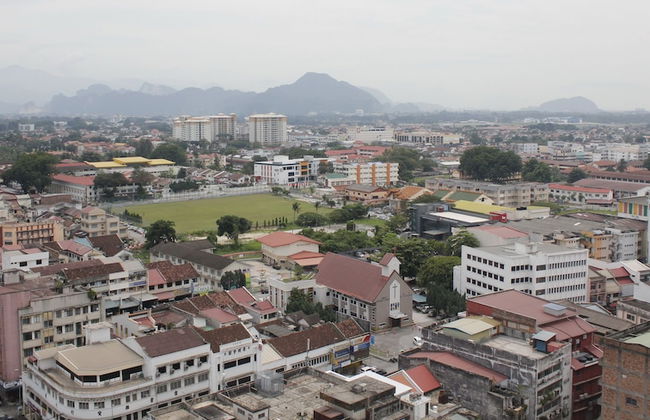
Ipoh - Ipoh - 3.6 km do centro
- 8 pessoas
- Kitchenette
- Ar-condicionado
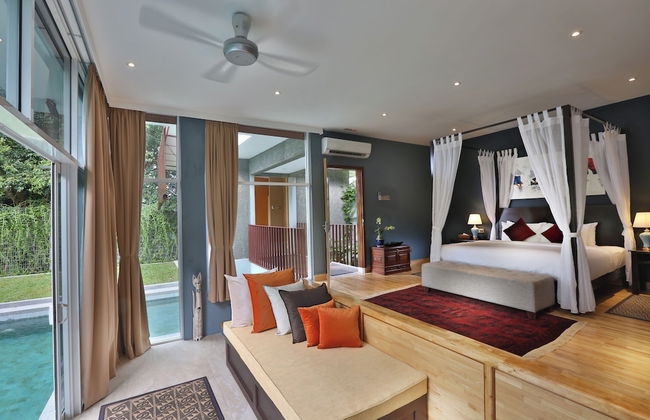
- Terraço
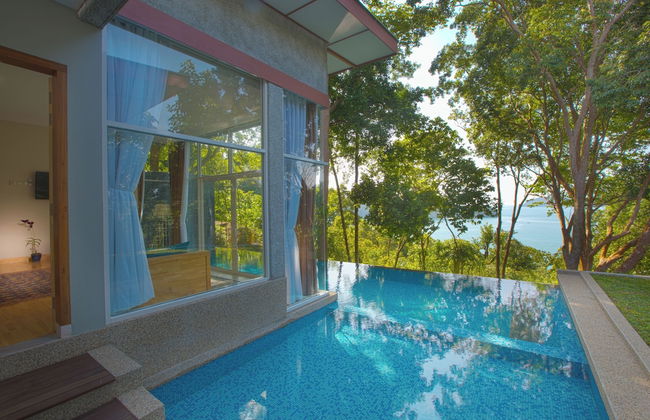
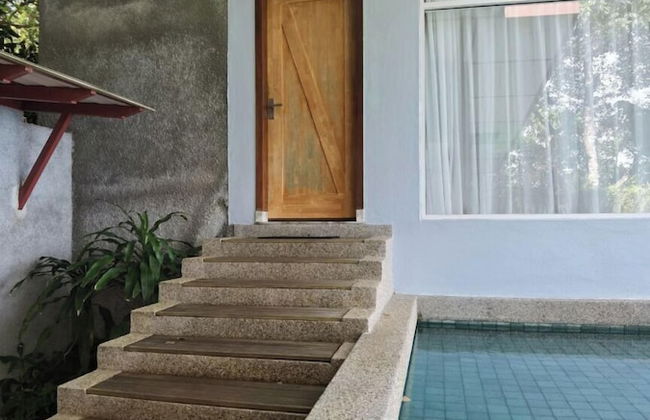
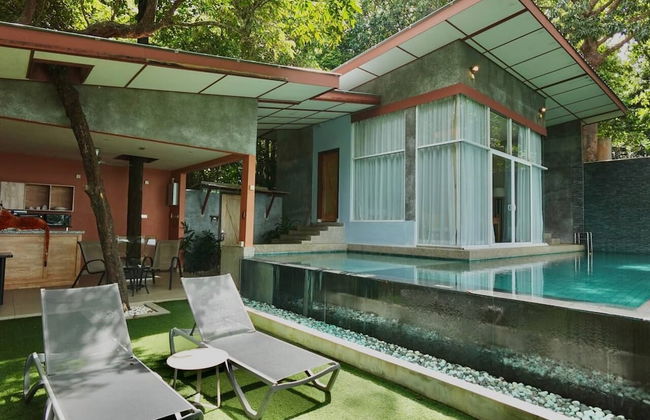
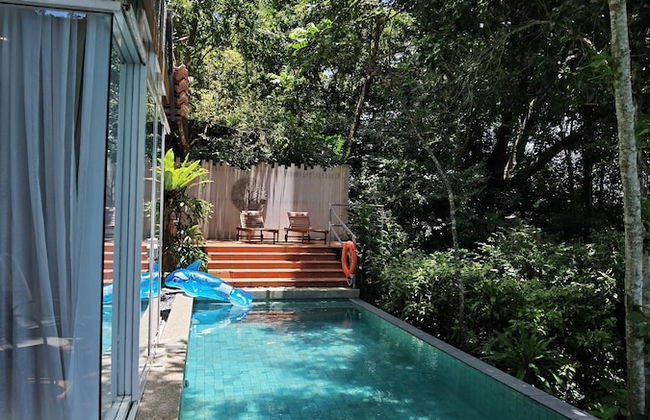
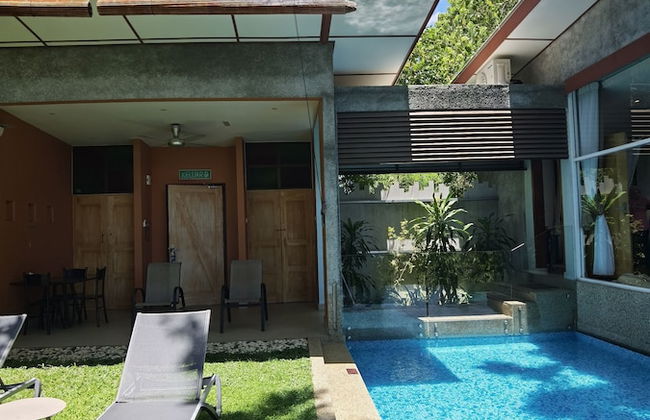
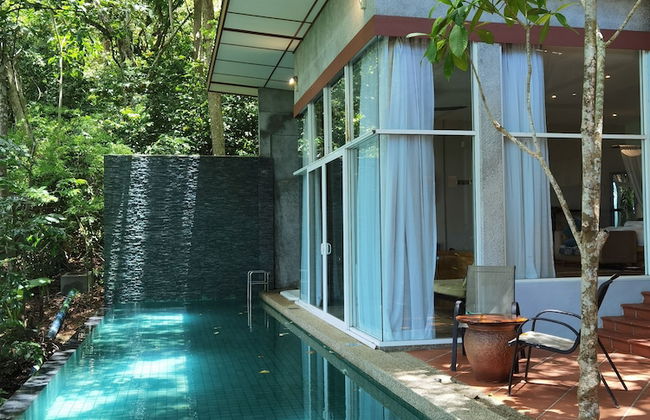
- Piscina
- Estacionamento
- Elevador
- Tv


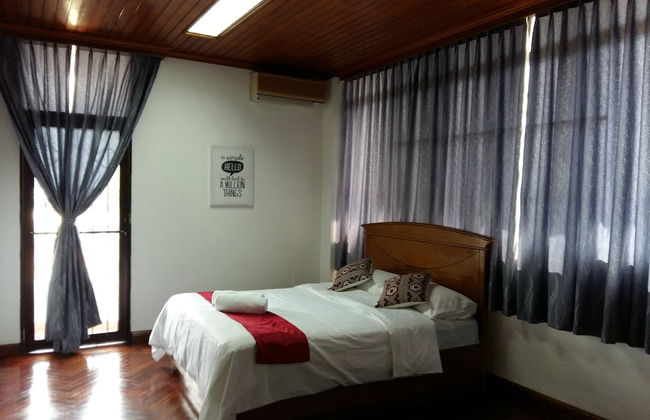
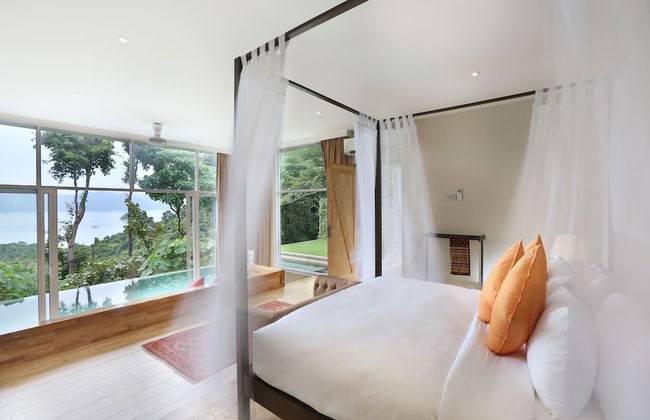
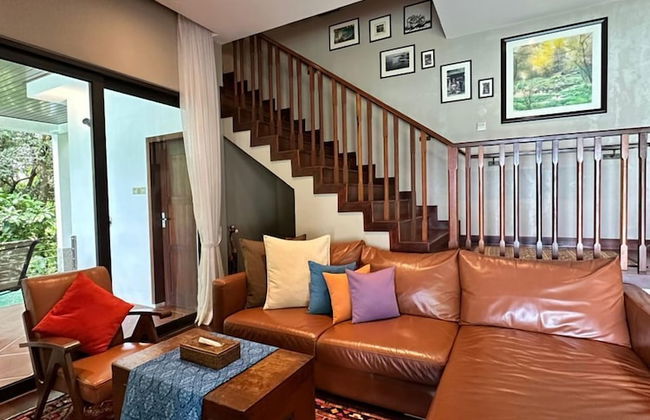
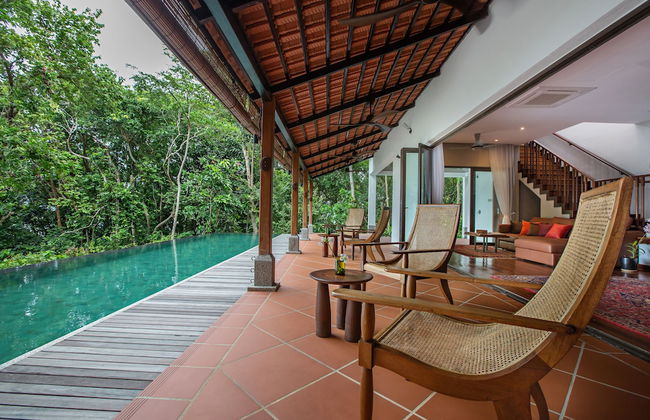
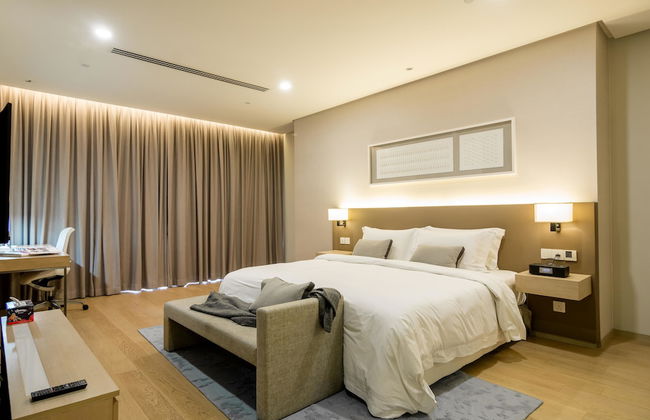
2 Bedrooms Apartment By The Sea
Batu Feringgi - Batu Feringgi
- 6 pessoas
- Kitchenette
- Ar-condicionado
- Terraço
- Piscina
- Estacionamento
- Elevador
- Jardim
- Tv
- Máquina de lavar roupa
- Toalhas
- Lençóis


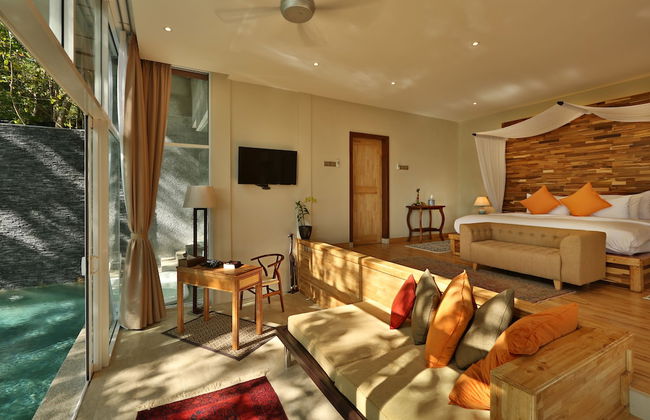
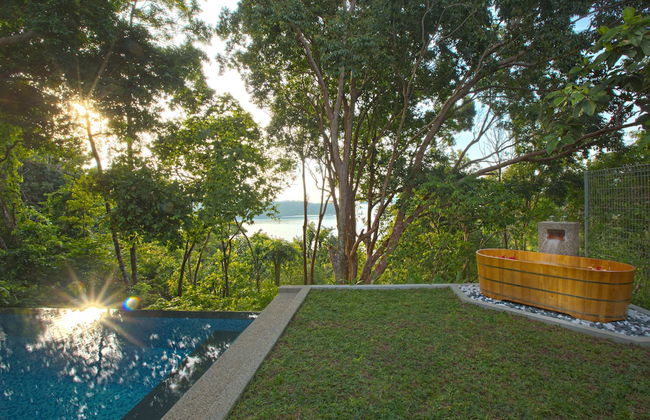
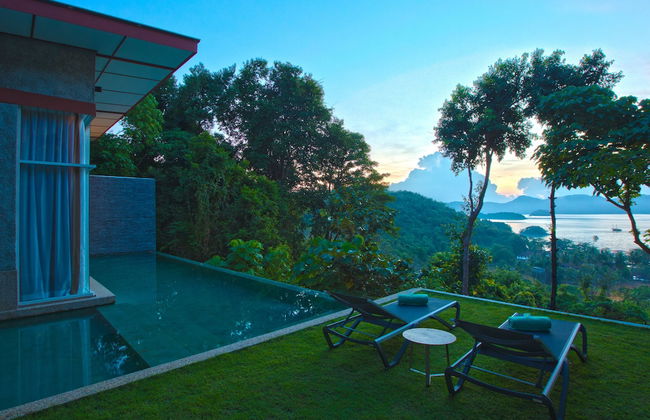
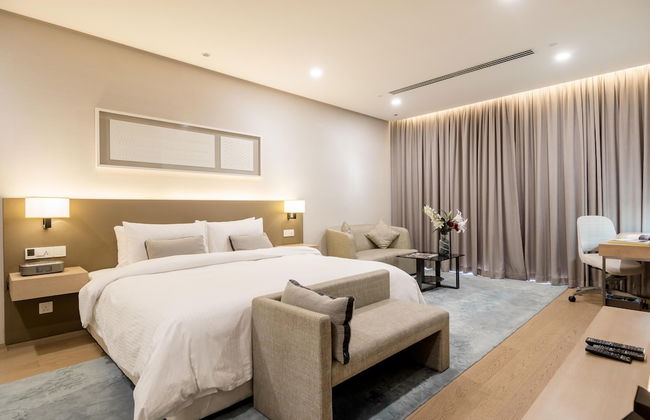
Teega Waterfront - Hello Kitty
Iskandar Puteri - Puteri Harbour - 8.9 km do centro
- 149 M2
- 6 pessoas
- Ar-condicionado
- Terraço
- Piscina
- Estacionamento
- Elevador
- Varanda
- Jardim
- Tv
- Máquina de lavar roupa
- Toalhas


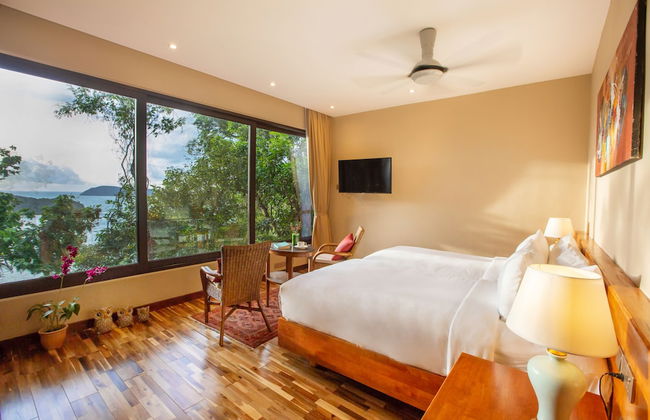
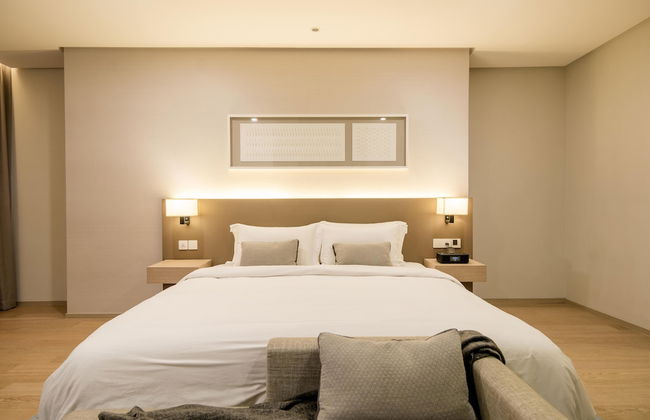
Millerz Square Suite By Mana-Mana
Petaling - 3 km do centro
- 65 M2
- 4 pessoas
- Kitchenette
- Ar-condicionado
- Terraço
- Piscina
- Estacionamento
- Elevador
- Jardim
- Tv
- Máquina de lavar roupa
- Chaminé
- Toalhas
- Lençóis


Codrington House - Boutique Apartments
George Town - Pulau Tikus
- 139 M2
- 8 pessoas
- Ar-condicionado
- Estacionamento
- Elevador
- Tv
- Máquina de lavar roupa
- Toalhas
- Lençóis
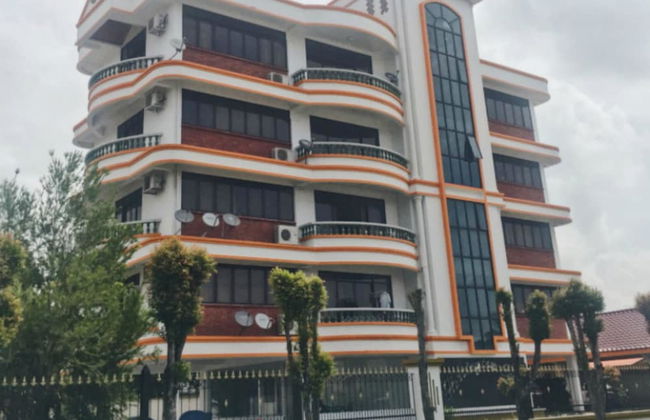


Harrington Court
Kota Kinabalu - Harrington Court - 1.7 km do centro
- 186 M2
- 9 pessoas
- Ar-condicionado
- Terraço
- Estacionamento
- Elevador
- Varanda
- Tv
- Máquina de lavar roupa
- Toalhas
- Lençóis


Penang Straits Garden Georgetown
Jelutong - Jelutong
- 57 M2
- 5 pessoas
- Kitchenette
- Ar-condicionado
- Terraço
- Piscina
- Estacionamento
- Elevador
- Jardim
- Tv
- Máquina de lavar roupa
- Toalhas
- Lençóis


Taiping Lakeview Homestay
Tupai - Taman Lembah Tupai - 1.3 km do centro
- 8 pessoas
- Kitchenette
- Ar-condicionado
- Estacionamento
- Elevador
- Jardim
- Tv
- Máquina de lavar roupa


Dorsett Residences Bukit Bintang - Sweet Home KL
Kuala Lumpur - Bukit Bintang - 1.9 km do centro
- 4 pessoas
- Kitchenette
- Ar-condicionado
- Piscina
- Estacionamento
- Elevador
- Tv


Borneo Coastal Residence - IMAGO Mall
Kota Kinabalu - Kota Kinabalu - 1.1 km do centro
- 111 M2
- 6 pessoas
- Kitchenette
- Ar-condicionado
- Terraço
- Piscina
- Estacionamento
- Varanda
- Jardim
- Tv
- Máquina de lavar roupa
- Toalhas
- Lençóis


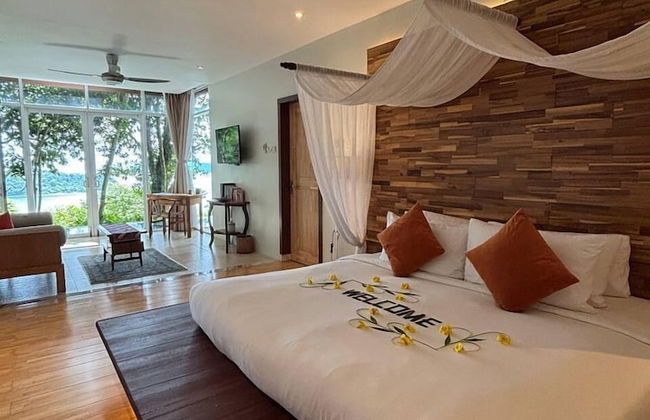
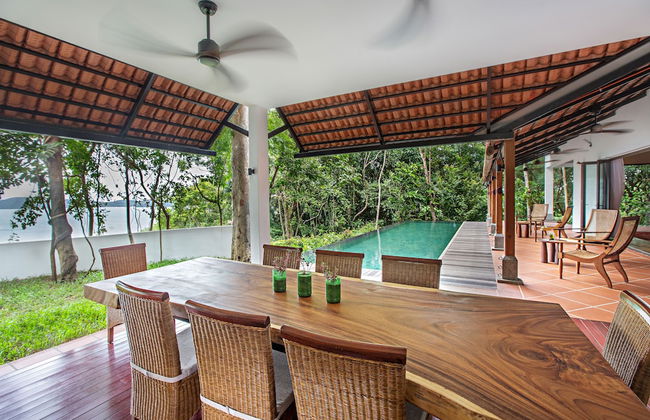


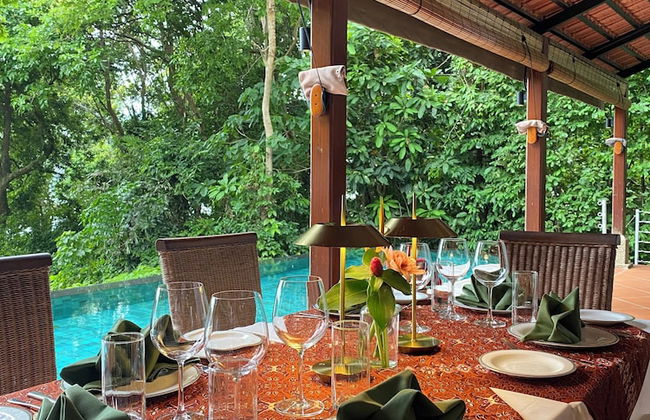


Ambong Pool Villas
Langkawi - Langkawi
- 380 M2
- 8 pessoas
- Kitchenette
- Ar-condicionado
- Terraço
- Piscina
- Estacionamento
- Jardim
- Tv
- Máquina de lavar roupa
- Toalhas
- Lençóis


Meru Suites at Meru Valley Resort
Ipoh - Puncak Meru - 8.5 km do centro
- 6 pessoas
- Kitchenette
- Ar-condicionado
- Terraço
- Estacionamento
- Elevador
- Varanda
- Jardim
- Tv
- Churrasco
- Toalhas


Sunway GRID by SR Home
Iskandar Puteri - Bandar Medini Iskandar Malaysia - 11.2 km do centro
- 73 M2
- 8 pessoas
- Kitchenette
- Ar-condicionado
- Piscina
- Estacionamento
- Elevador
- Tv
- Toalhas
- Lençóis


Lumi Tropicana
Petaling Jaya - PJU 3, Tropicana Golf and Resort - 6.1 km do centro
- 91 M2
- 6 pessoas
- Ar-condicionado
- Piscina
- Estacionamento
- Elevador
- Jardim
- Máquina de lavar roupa
- Churrasco
- Toalhas
- Lençóis


Star Suites KLCC
Kuala Lumpur - KLCC - 2.1 km do centro
- 66 M2
- 4 pessoas
- Ar-condicionado
- Terraço
- Piscina
- Estacionamento
- Elevador
- Jardim
- Tv
- Máquina de lavar roupa
- Churrasco
- Toalhas
- Lençóis


Yemala Suites at Platinum KLCC
Kuala Lumpur - Kampung Baru - 1.2 km do centro
- 120 M2
- 7 pessoas
- Kitchenette
- Ar-condicionado
- Terraço
- Piscina
- Estacionamento
- Elevador
- Tv
- Máquina de lavar roupa
- Toalhas
- Lençóis


188 Suites by Namastay
Kuala Lumpur - KLCC - 1.2 km do centro
- 6 pessoas
- Kitchenette
- Ar-condicionado
- Terraço
- Piscina
- Estacionamento
- Elevador
- Varanda
- Jardim
- Tv
- Máquina de lavar roupa
- Toalhas


Opus Residences by EUcation Home
Kuala Lumpur - Kampung Attap - 910 m do centro
- 98 M2
- 8 pessoas
- Ar-condicionado
- Piscina
- Estacionamento
- Tv
- Máquina de lavar roupa
- Toalhas
- Lençóis


Ginger8 @ Pinnacle PJ
Petaling Jaya - Seksyen 52 - 390 m do centro
- 46 M2
- 4 pessoas
- Kitchenette
- Ar-condicionado
- Estacionamento
- Elevador
- Tv
- Toalhas
- Lençóis


The Horizon Ipoh Dual L12 by Grab A Stay
Ipoh - Taman Fair Baharu - 2.6 km do centro
- 6 pessoas
- Kitchenette
- Ar-condicionado
- Piscina
- Estacionamento
- Elevador
- Tv
- Toalhas
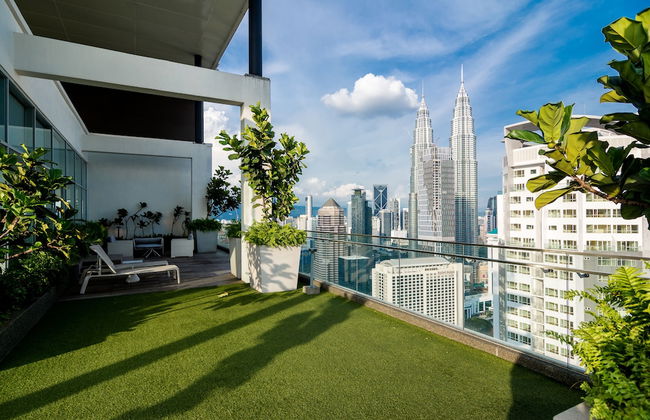
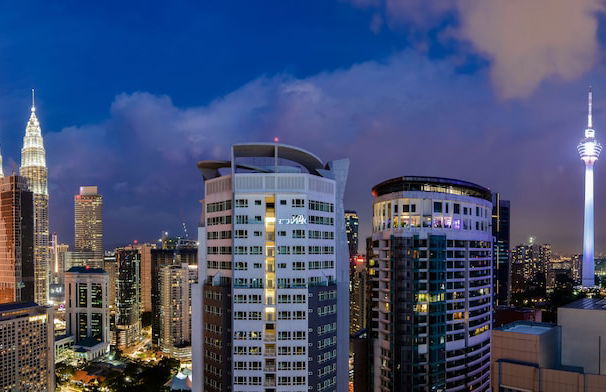
Desfrutar duma magnífica obra de teatro e gozar no mesmo tempo duma agradável noitada já não é coisa estranha em Malásia graças ao desenvolvimento ao qual se viu submetido durante os últimos anos. No entanto, se há algo que destacar no país serão os seus Parques Nacionais: três quartas partes da Malásia estão compostas por espaços verdes, dos quais dois terços são virgens. O mais conhecido é o Parque Nacional Taman Negara, considerado um verdadeiro jardim do Edem. Para os amantes do frio, as estações de montanha de Fraser são um destino muito concorrido. Kuala Lumpur, a sua capital, destaca-se pelas majestosas Torres Petronas.