
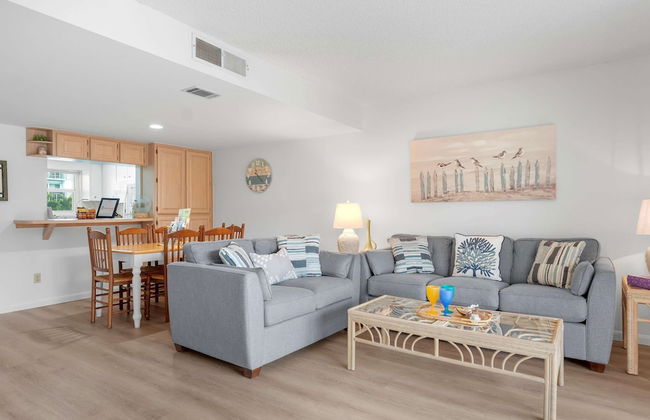
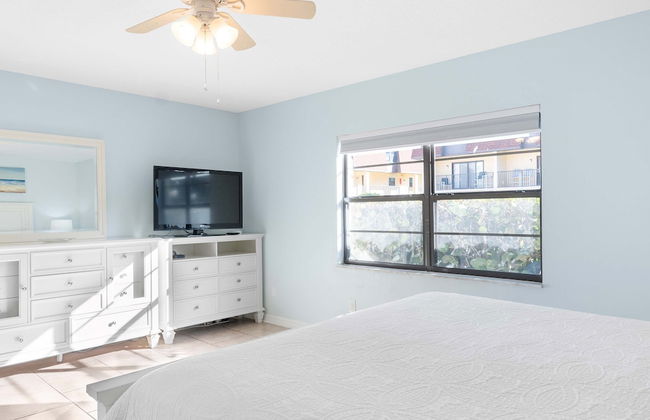
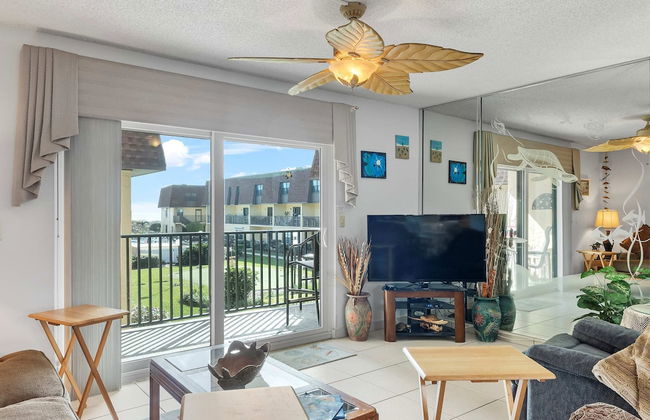
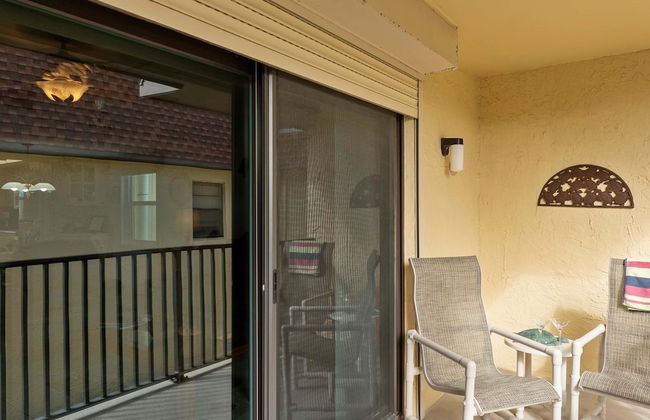
6 Apartamentos em Avon by the Sea

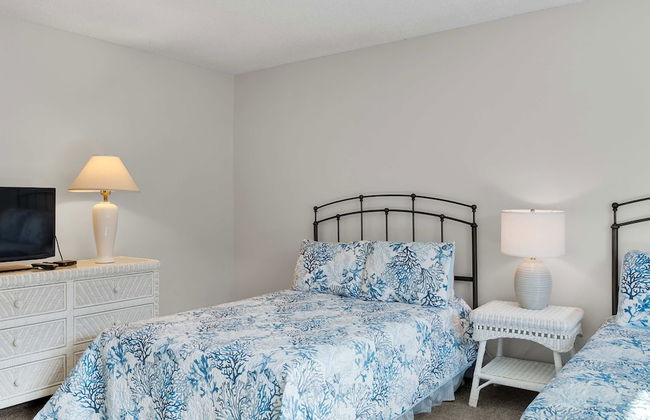


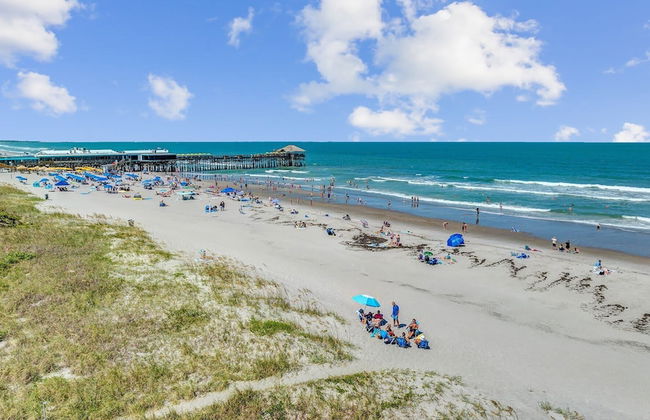


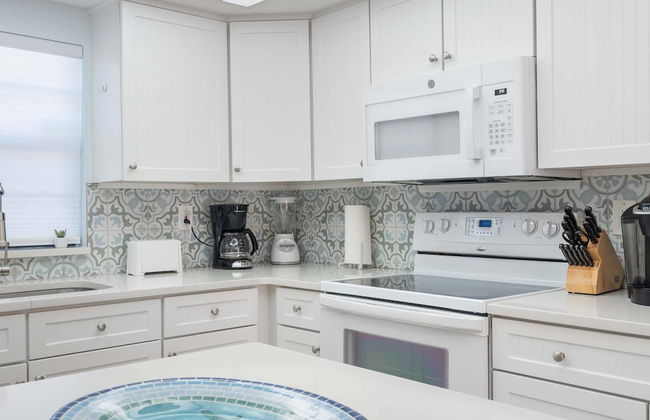
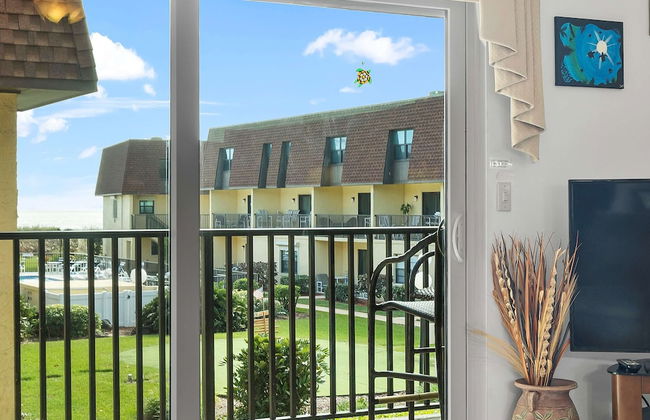
Wave Watcher at Cocoa Beach
Cocoa Beach - Avon by the Sea - 4.8 km do centro
- 111 M2
- 6 pessoas
- Estacionamento
3 avaliações


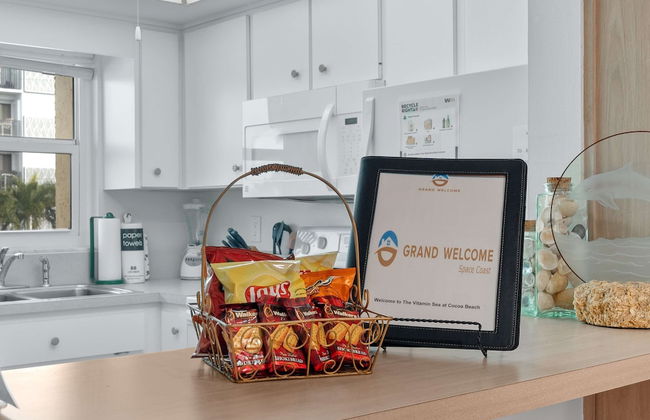


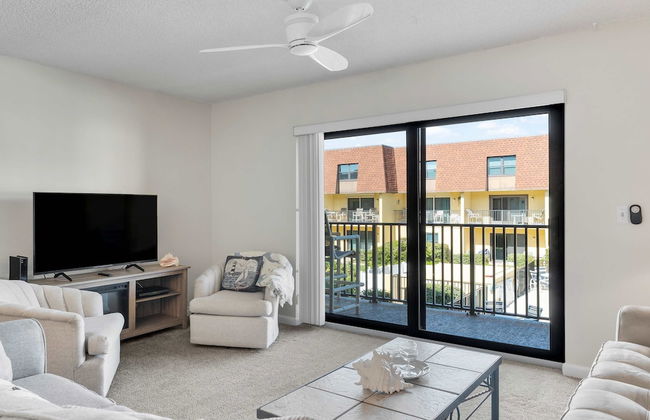
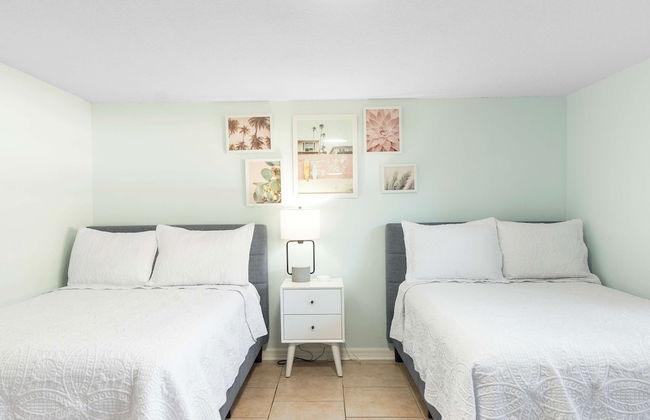
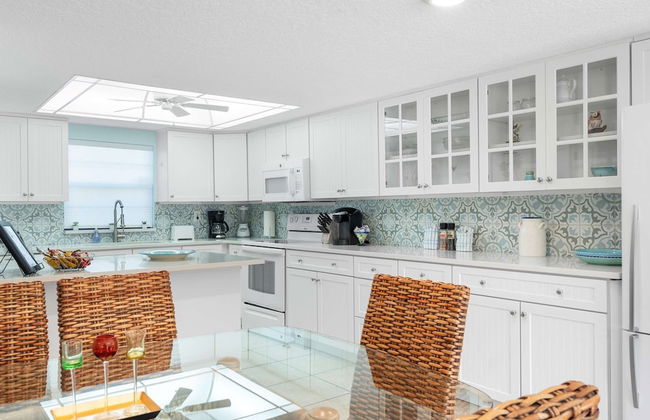
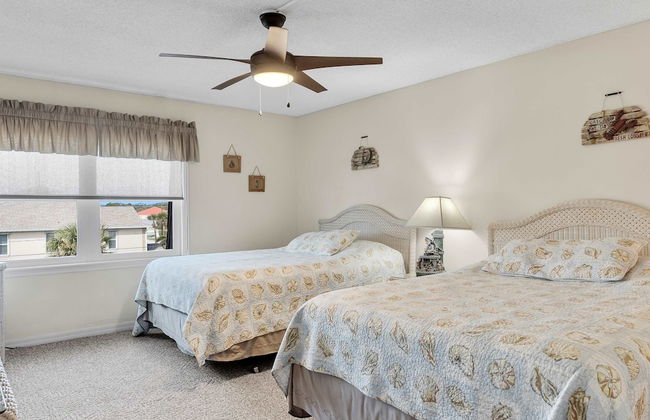
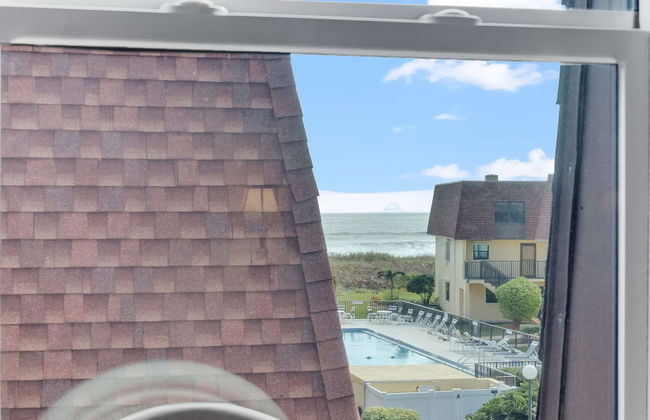
Sea You Soon at Cocoa Beach
Cocoa Beach - Avon by the Sea - 4.8 km do centro
- 102 M2
- 6 pessoas
- Estacionamento
2 avaliações


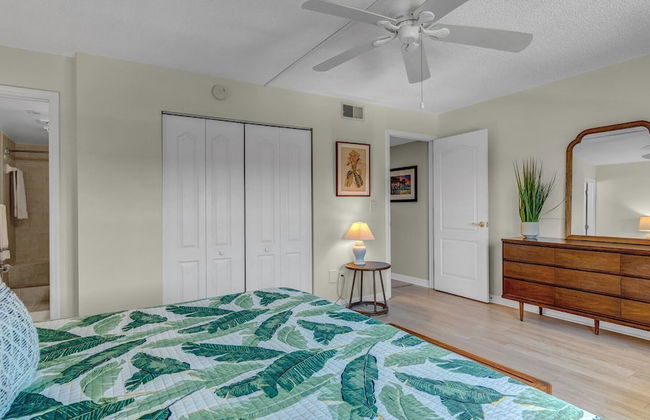


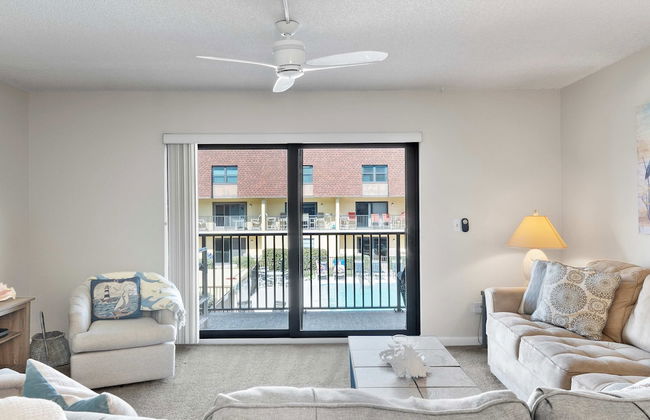
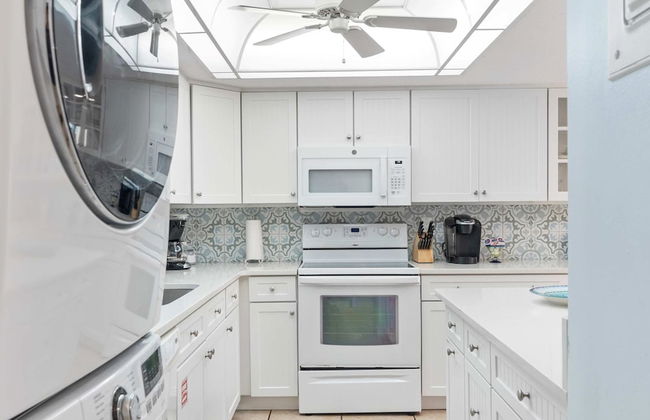
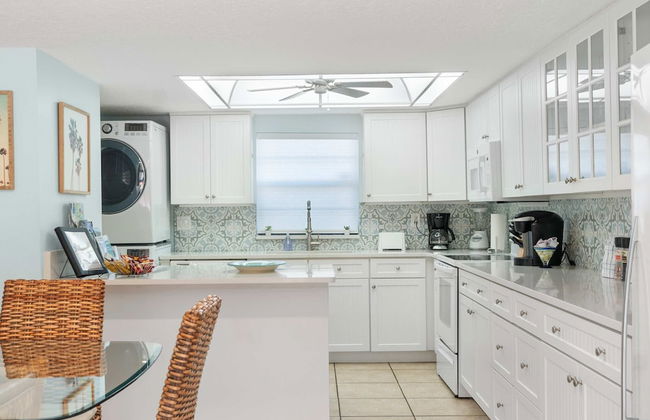
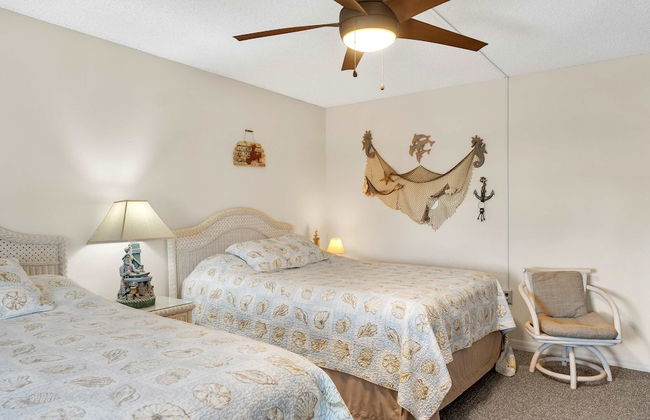
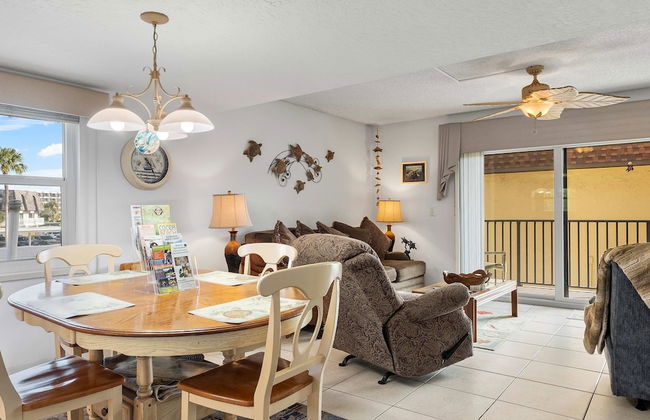
Sea La Vie at Cocoa Beach
Cocoa Beach - Avon by the Sea - 4.8 km do centro
- 102 M2
- 6 pessoas
- Estacionamento
8 avaliações


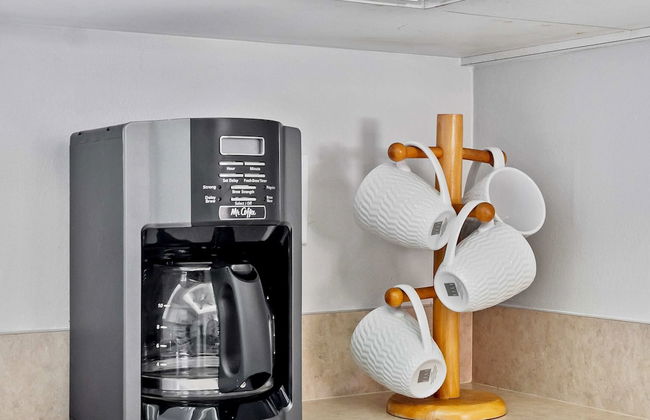
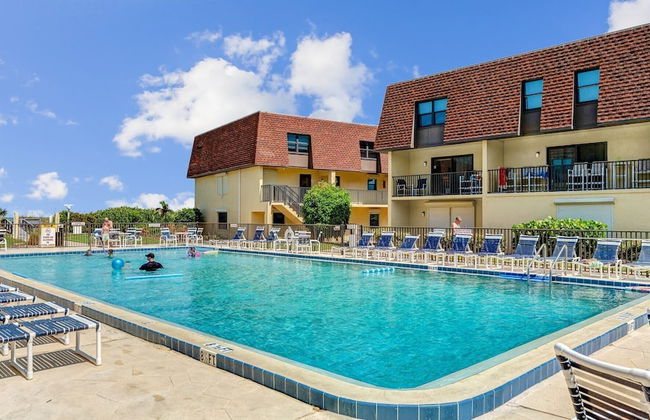
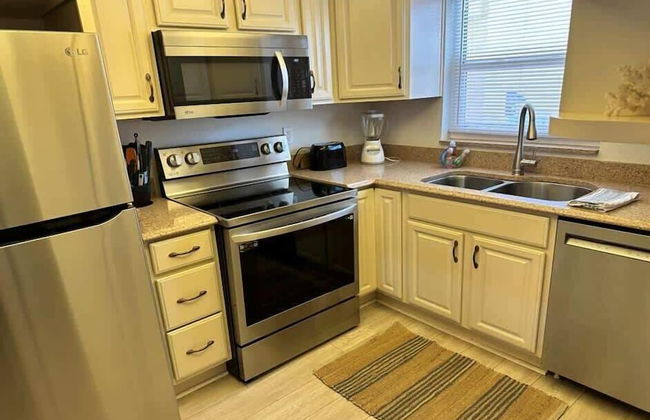
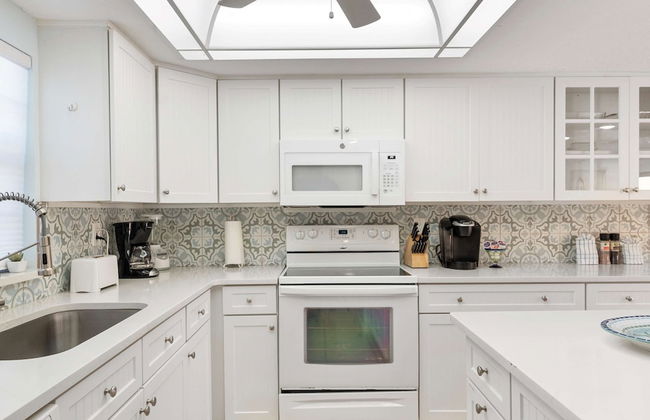
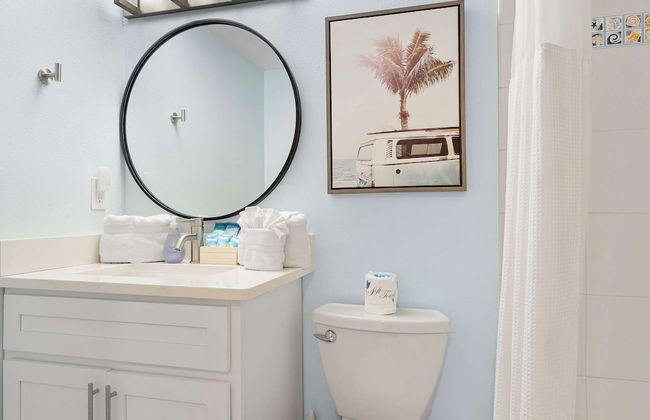
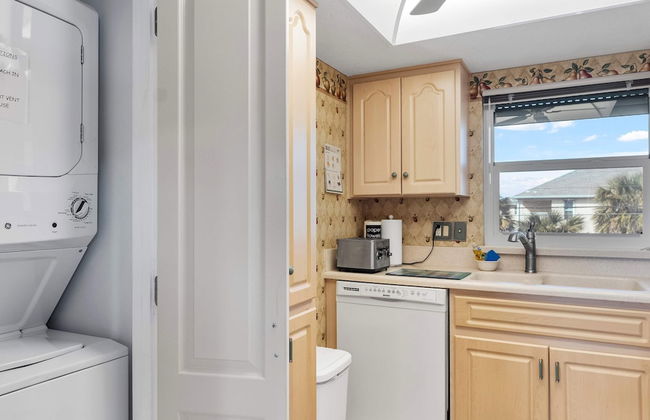
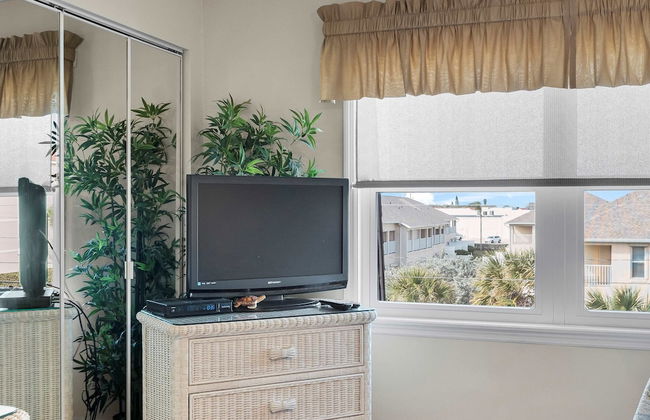
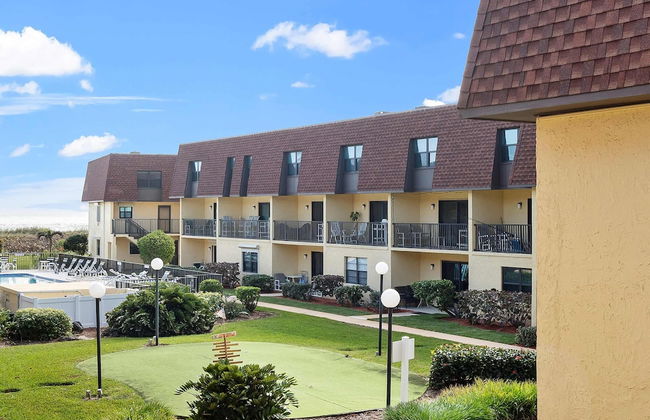
Pier Pressure Beachfront w Pool
Cocoa Beach - Avon by the Sea - 4.8 km do centro
- 109 M2
- 6 pessoas
- Ar-condicionado
- Aquecimento
- Piscina
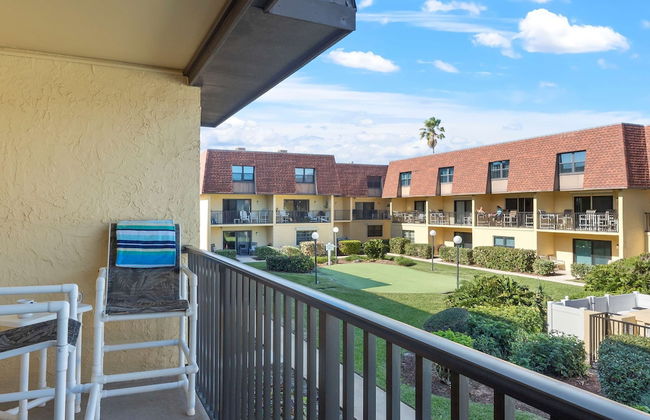
- Varanda
- Tv
- Máquina de lavar roupa
- Churrasco
- Toalhas
- Lençóis


Sea Turtle Cove at Cocoa Beach
Cocoa Beach - Avon by the Sea - 4.8 km do centro
- 111 M2
- 6 pessoas
- Estacionamento