

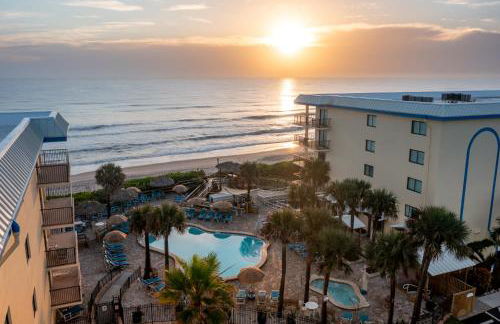

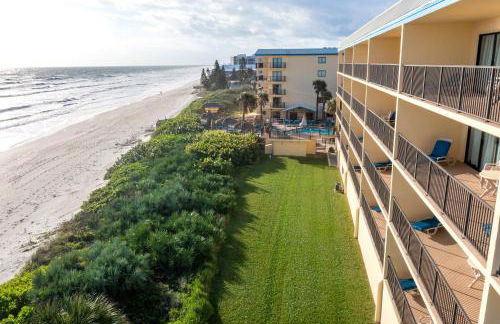

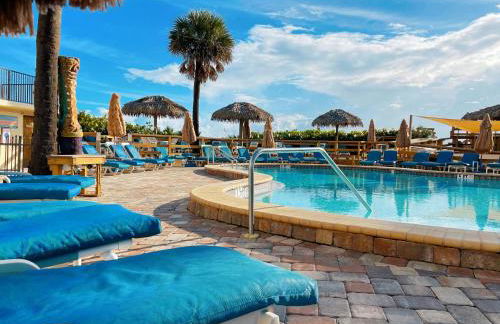

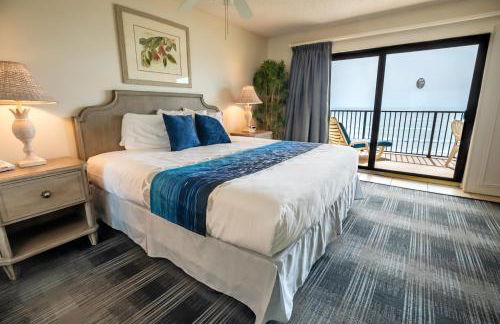

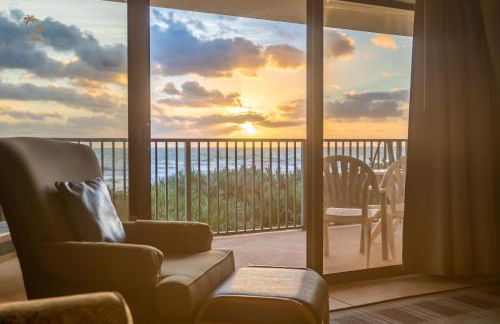


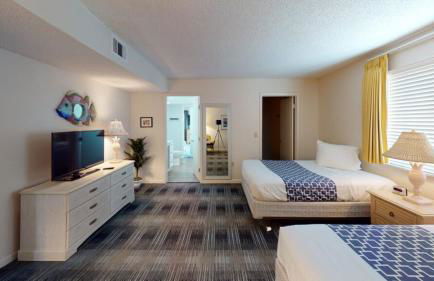

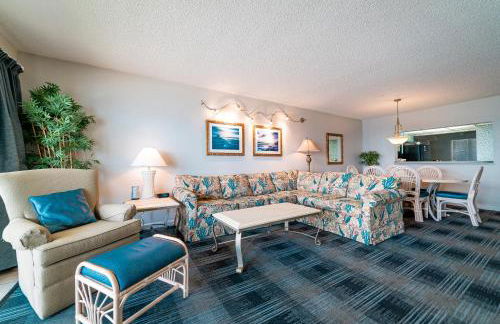

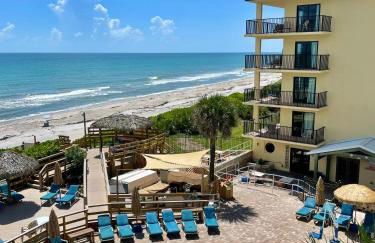


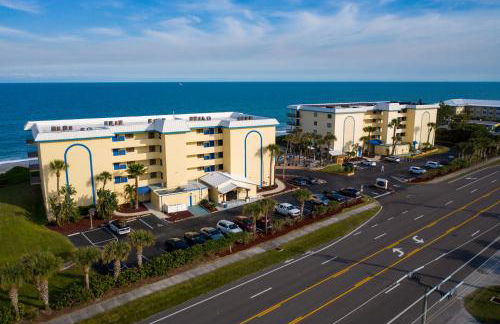


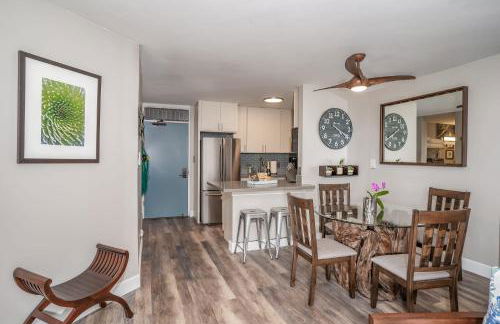
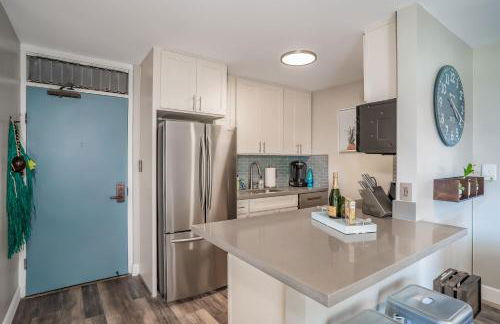
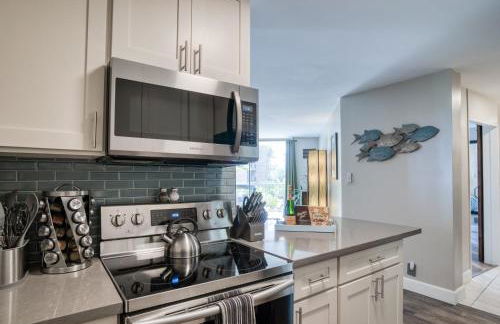
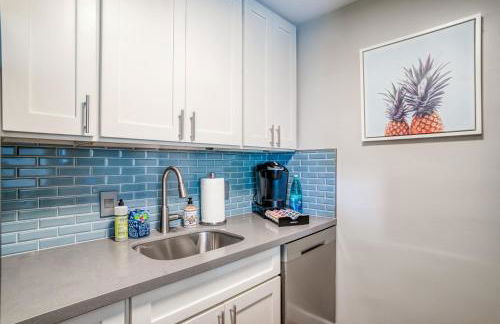
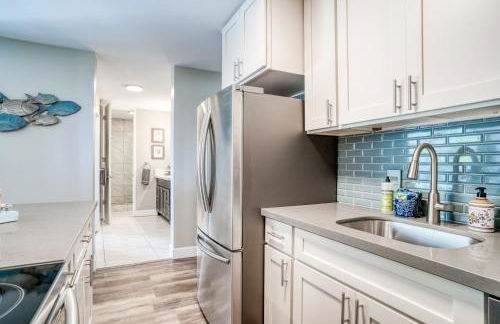
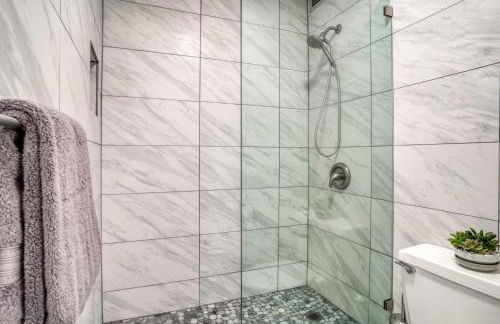
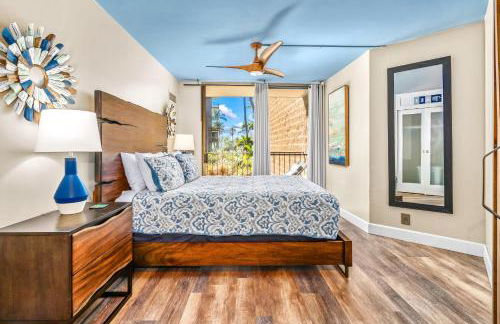
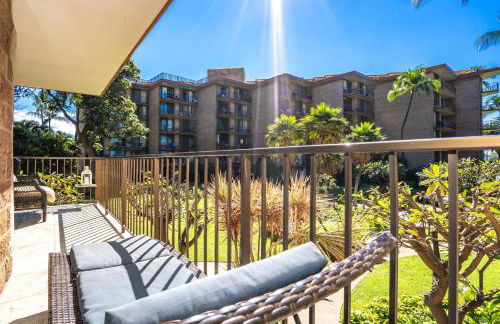
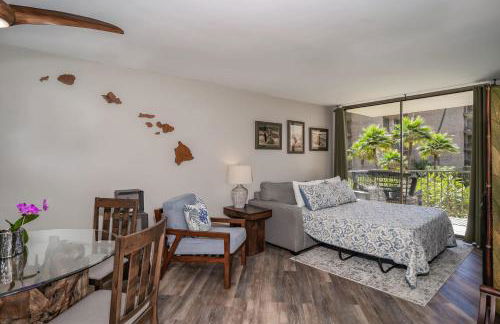
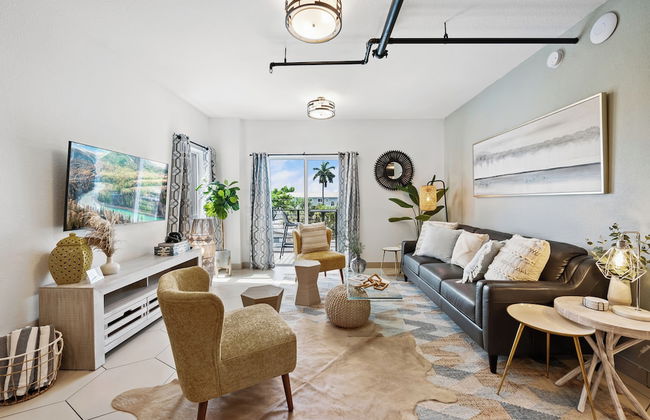
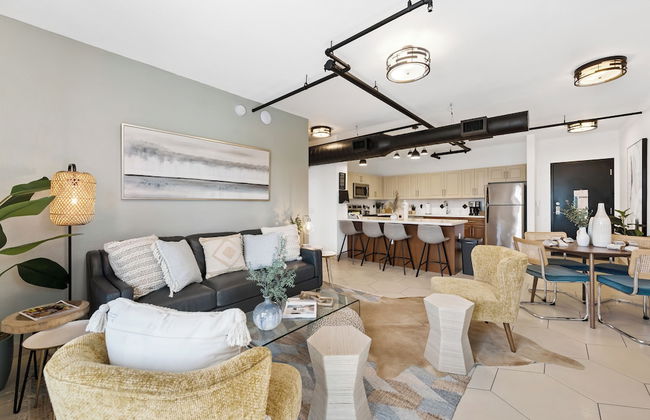
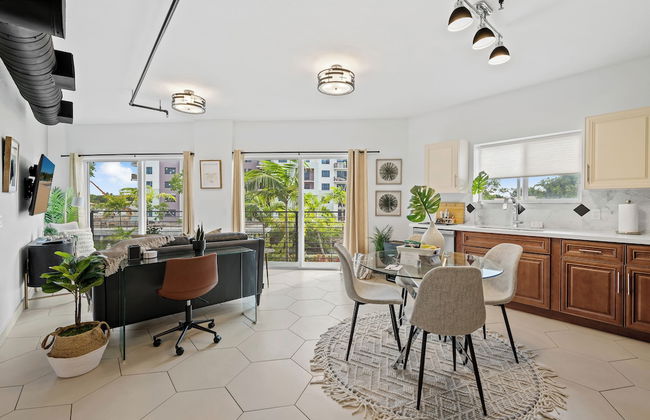
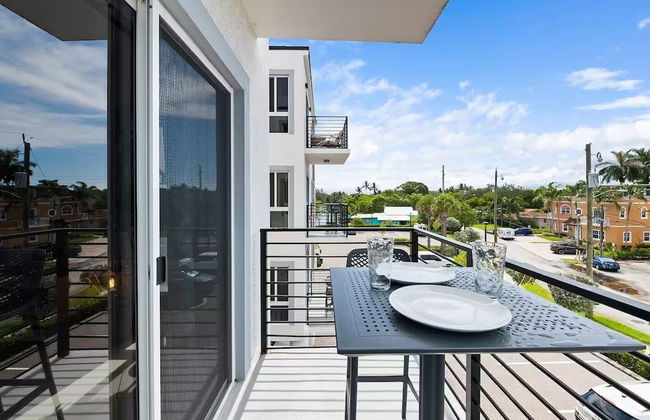
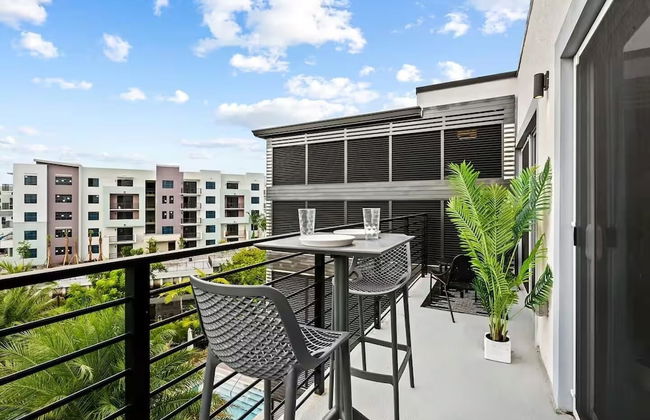
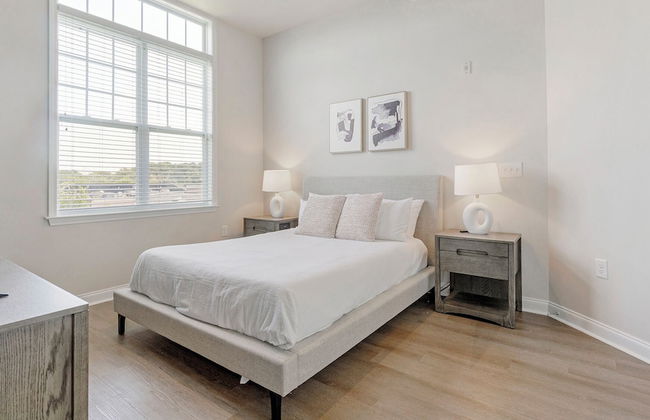
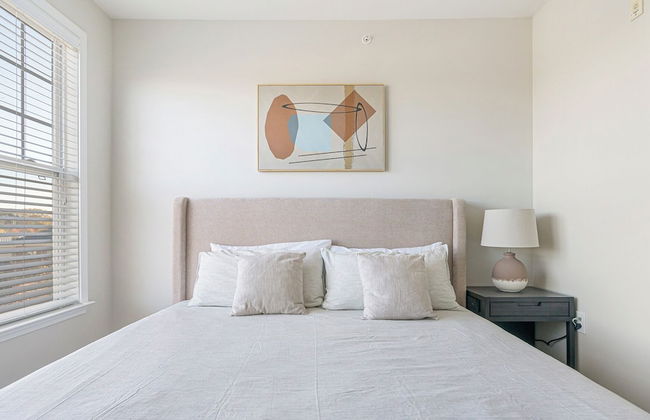
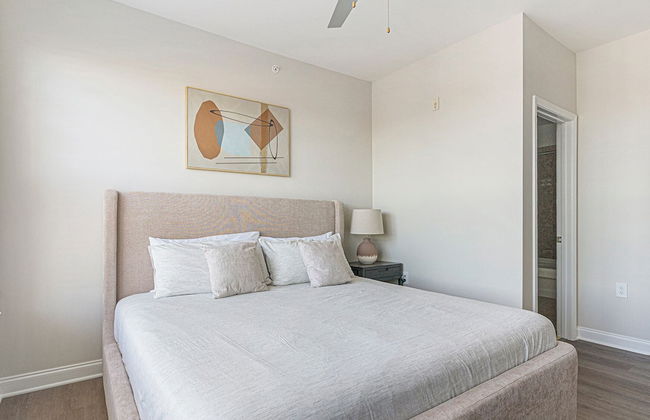
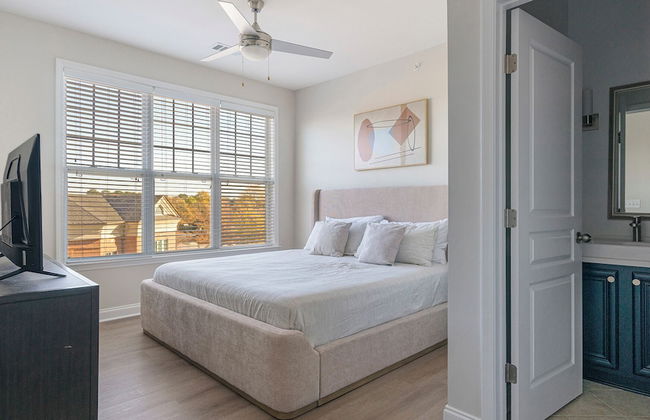
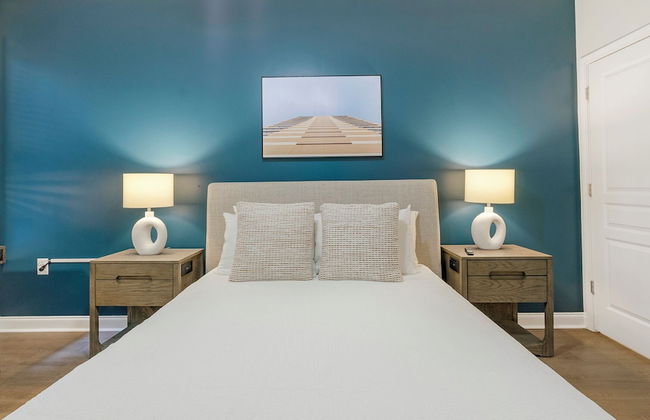
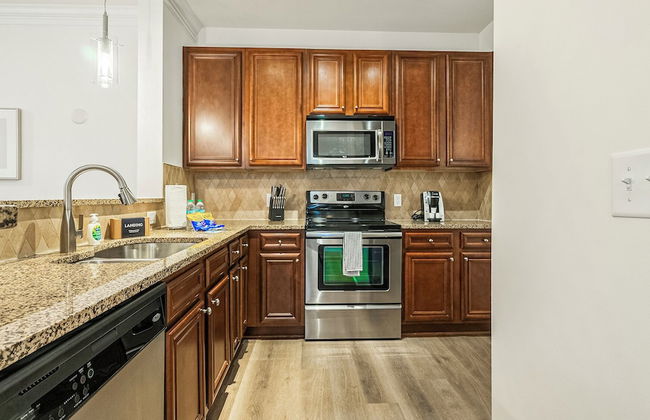
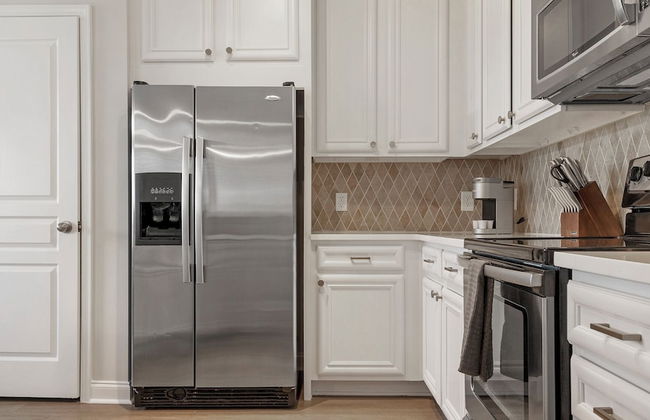
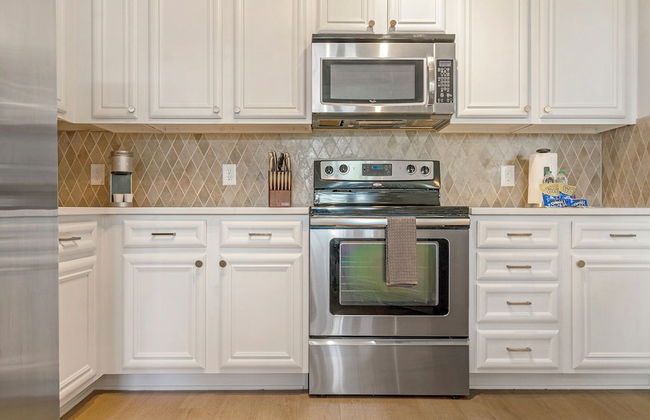
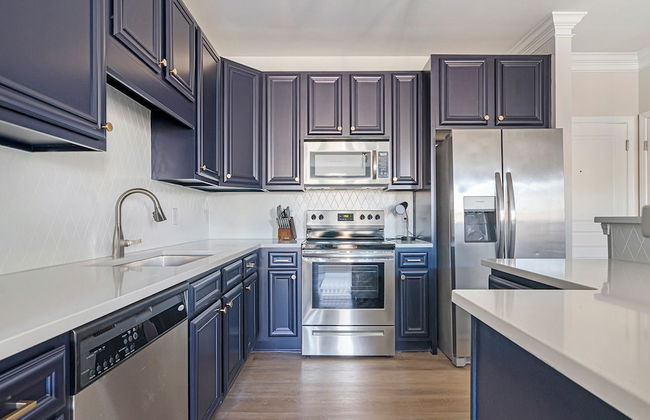
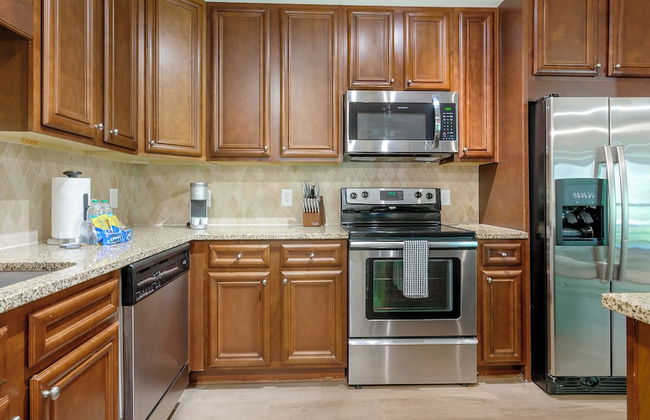
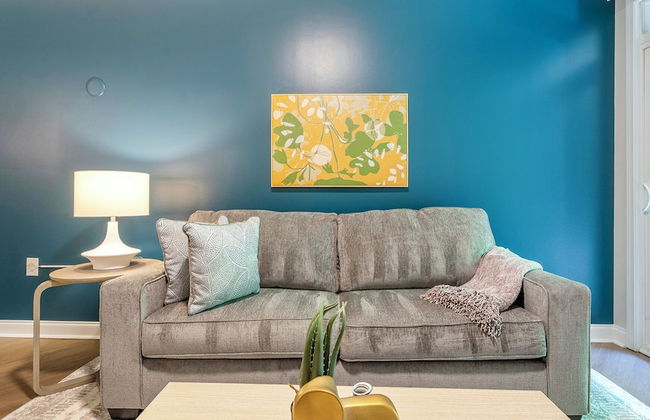
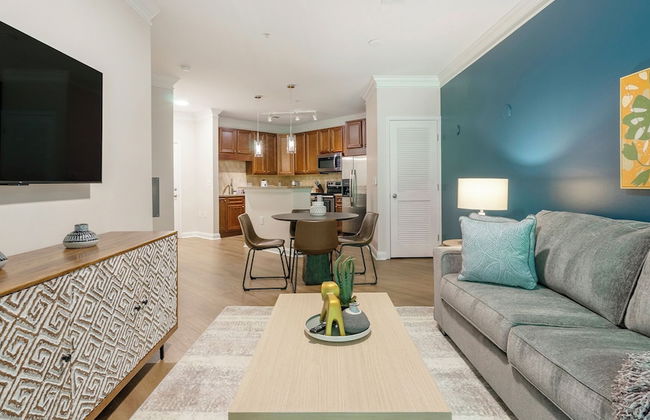
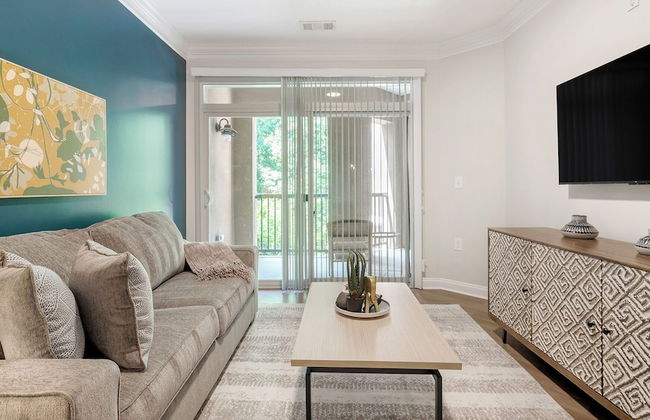
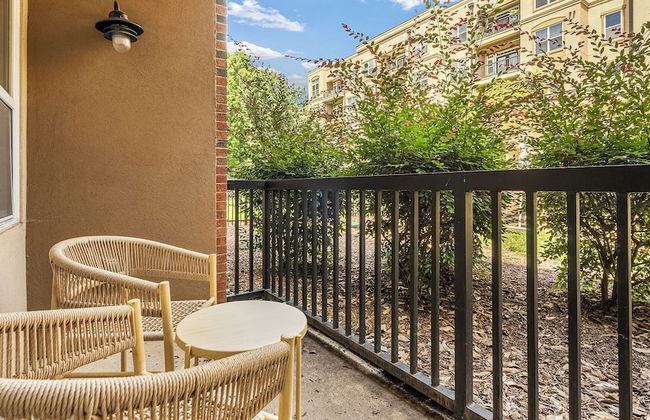
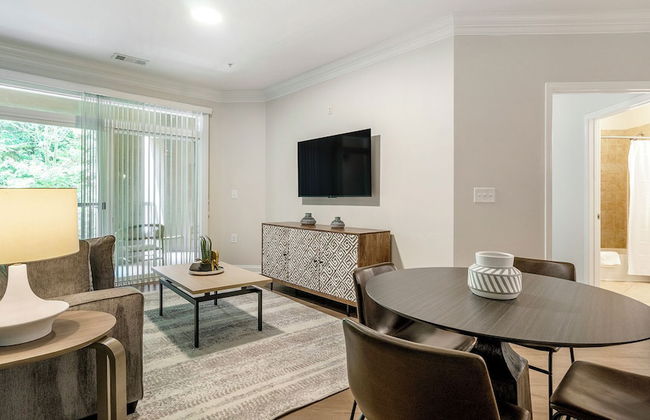
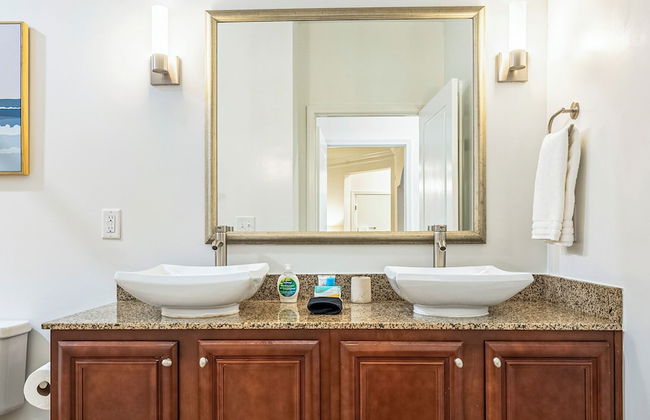
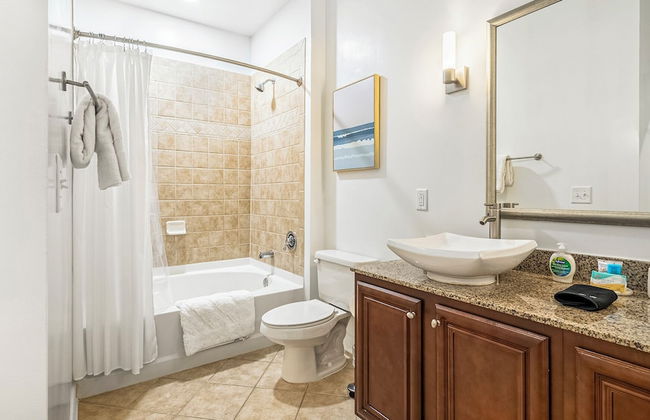
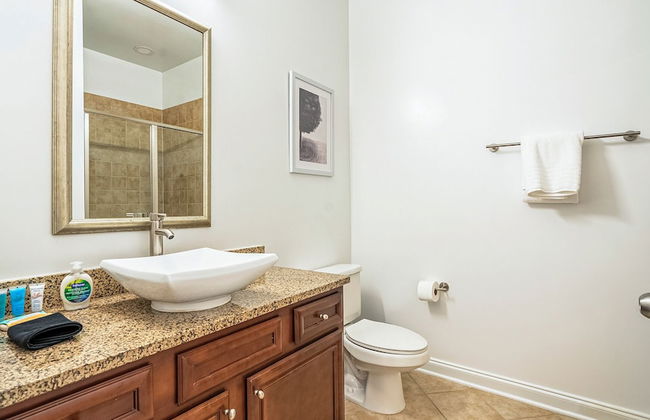
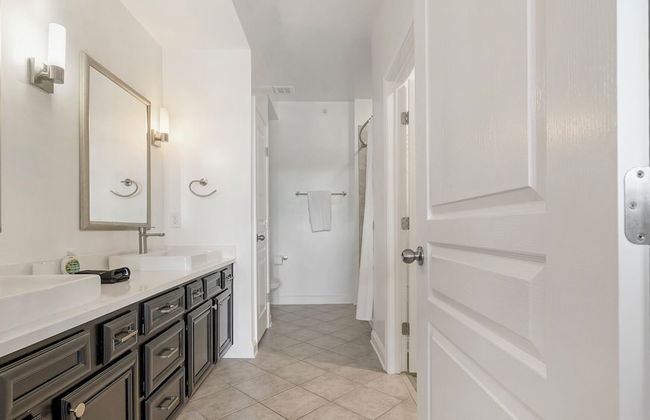
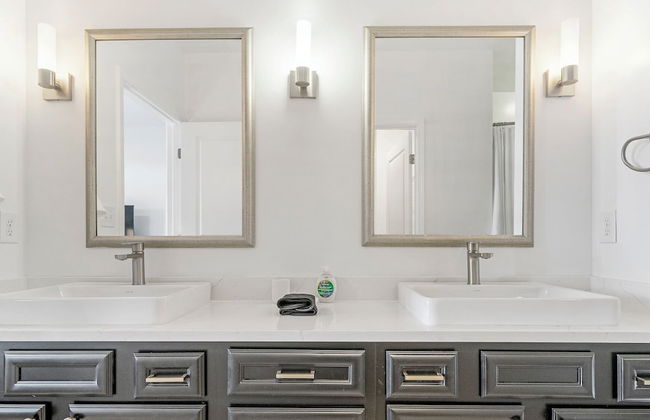
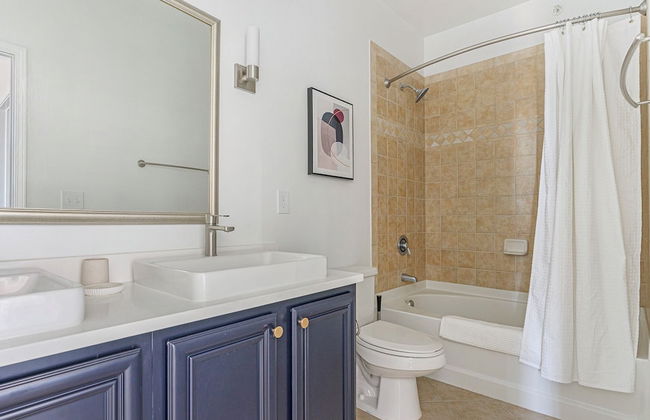
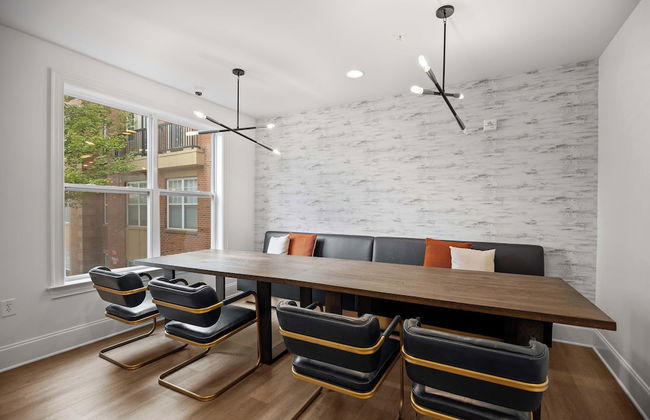
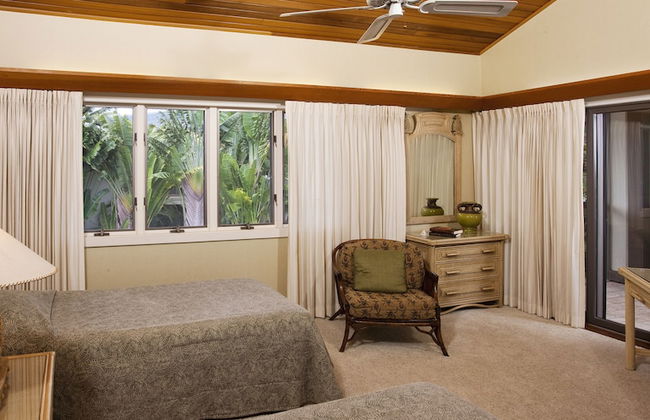
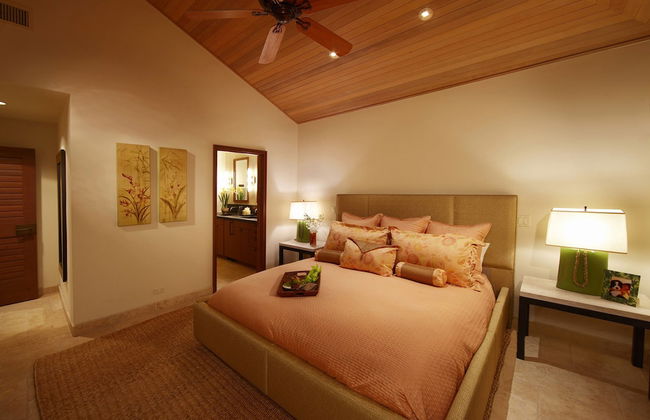
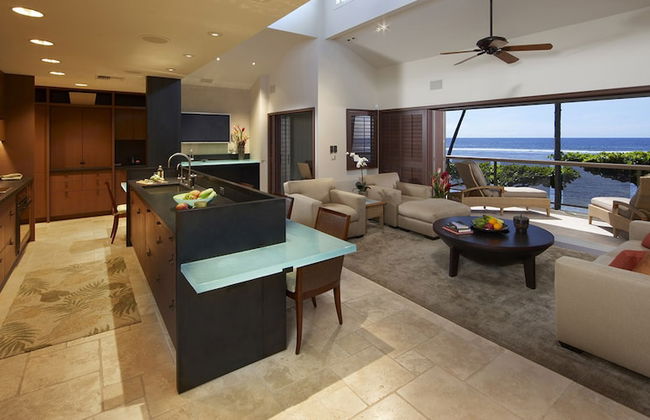
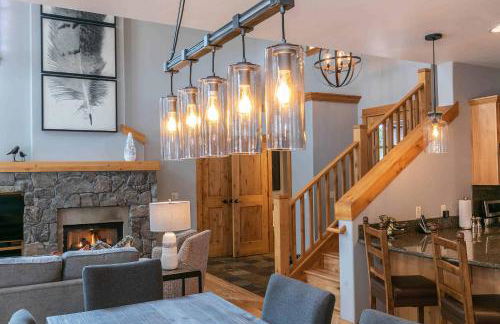
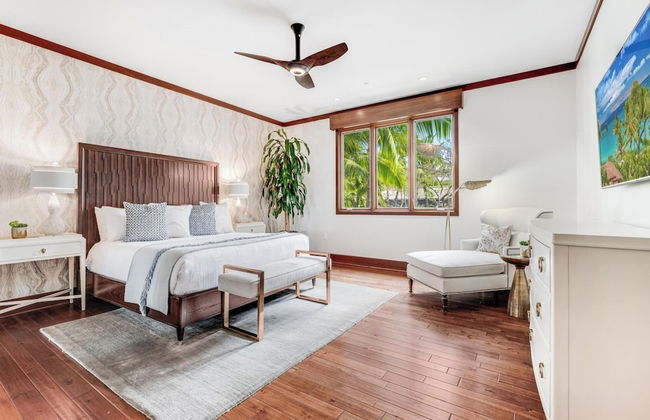
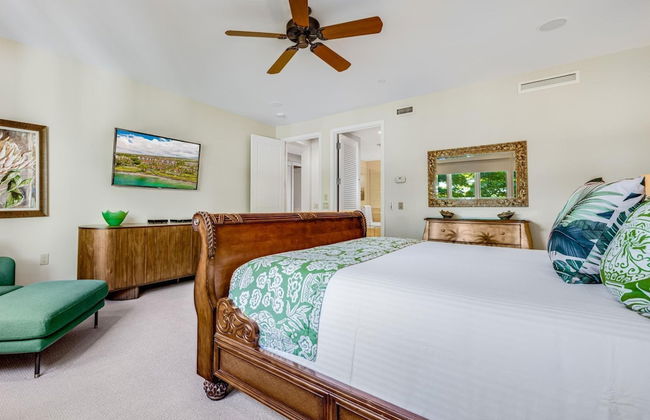
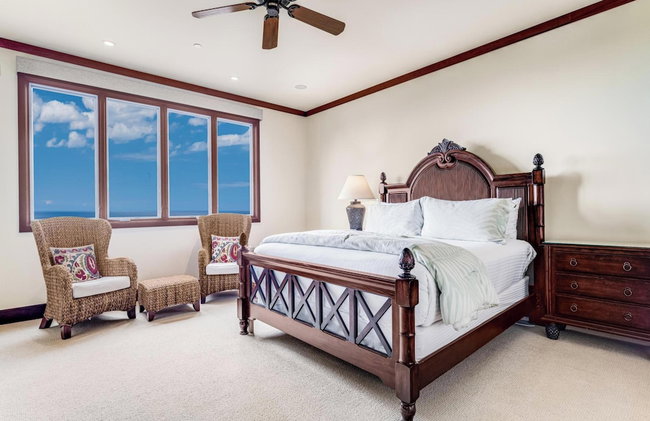
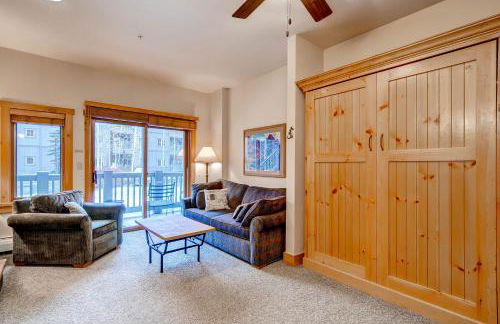
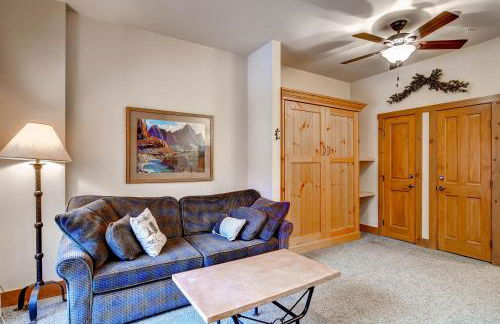
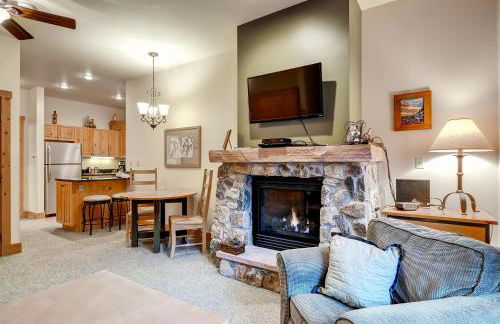
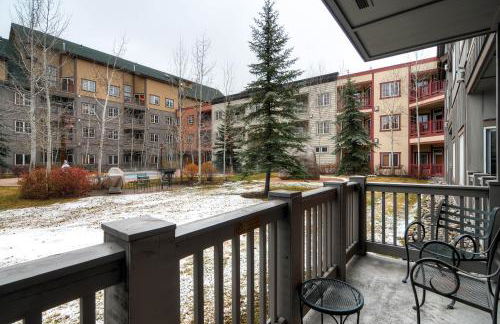
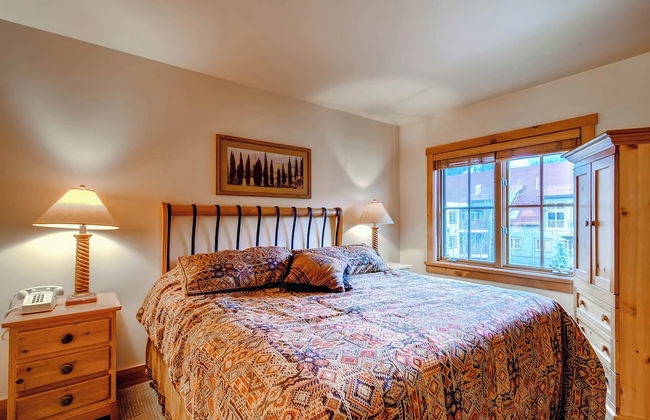
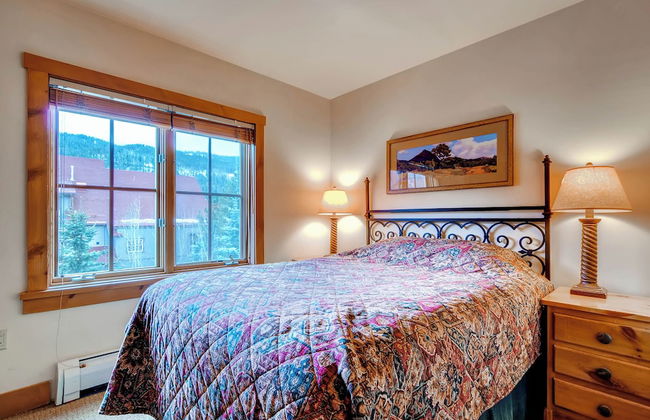
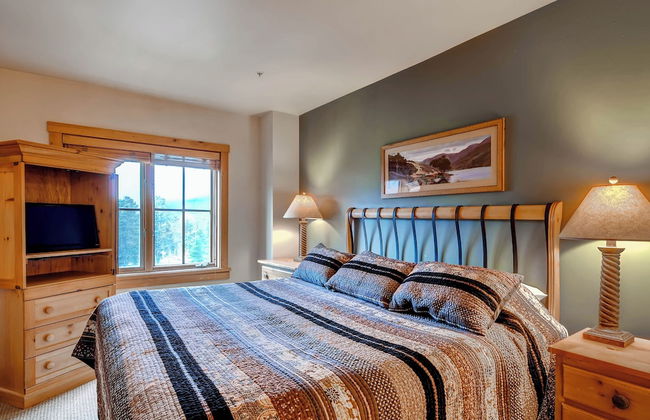
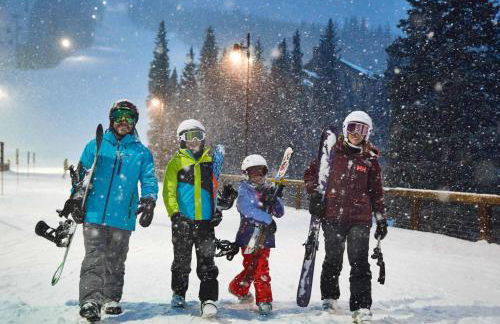
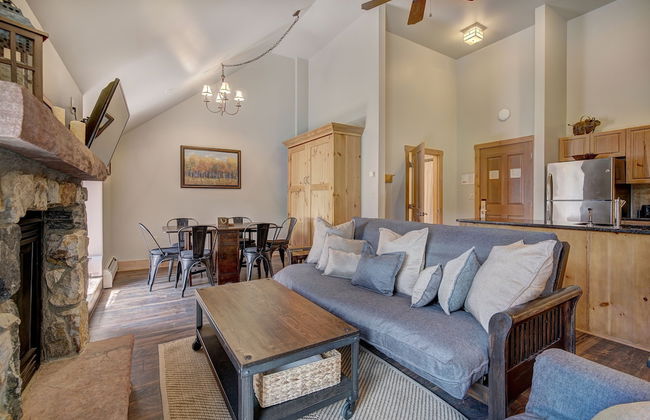
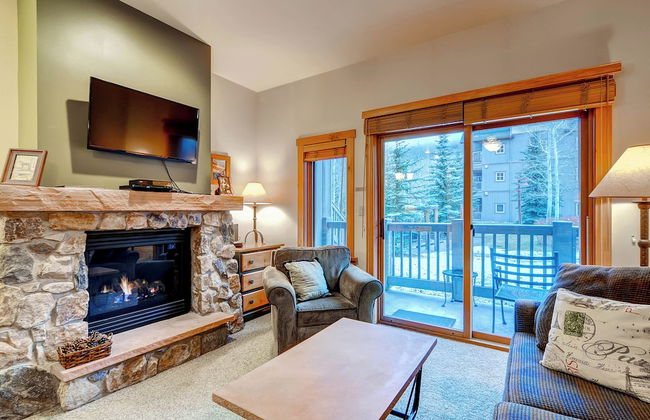
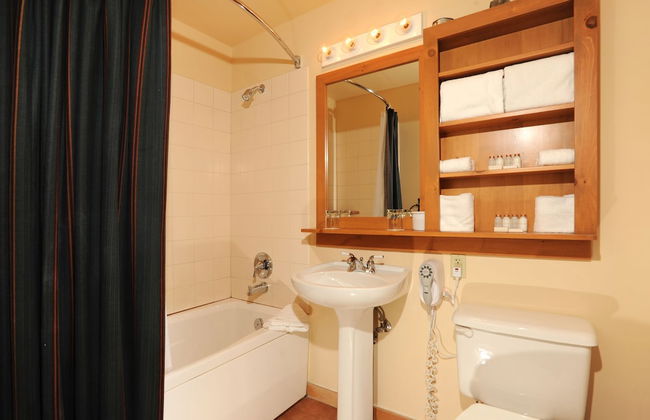
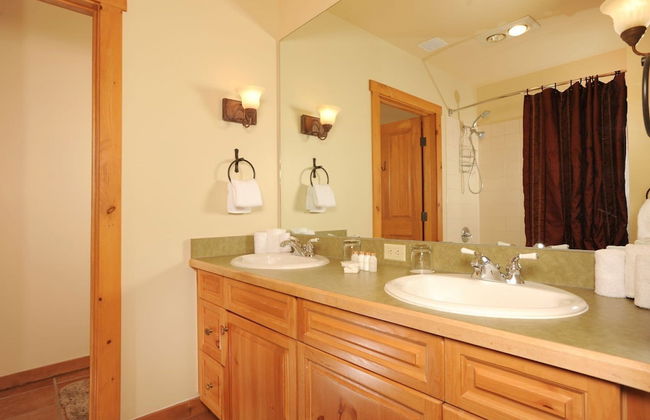
Las Olas Beach Club of Satellite Beach
Satellite Beach
- 130 M2
- 2 quartos
- 6 pessoas
- Ar-condicionado
- Aquecimento
- Terraço
- Piscina
- Estacionamento
- Elevador
- Varanda
- Jardim
- Tv
- Máquina de lavar roupa
- Churrasco
- Toalhas
- Lençóis


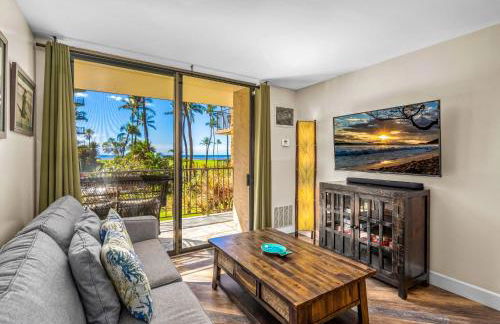
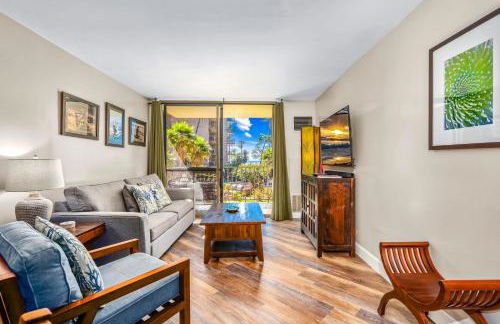
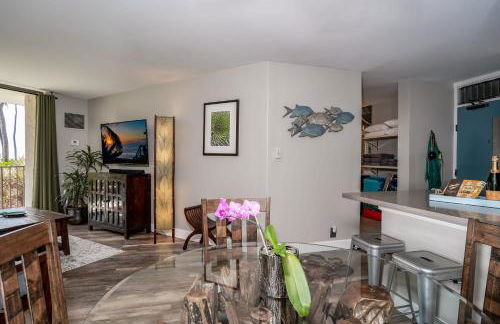
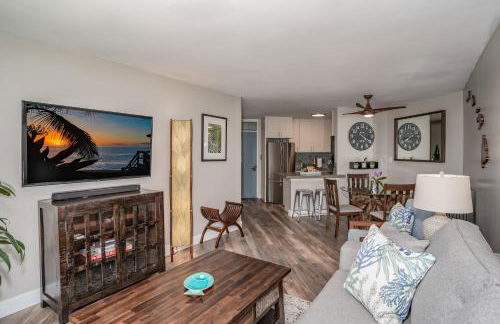
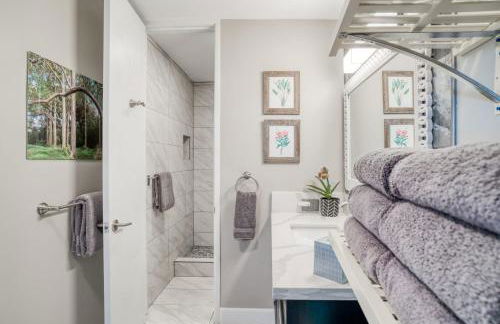
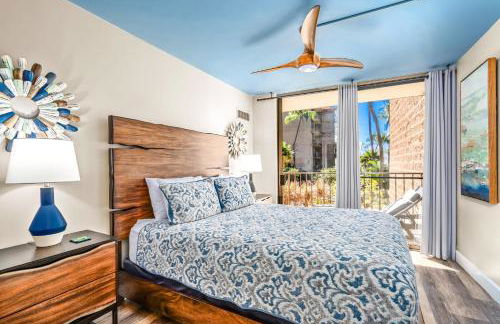
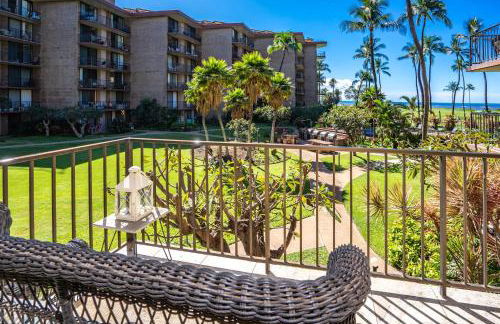
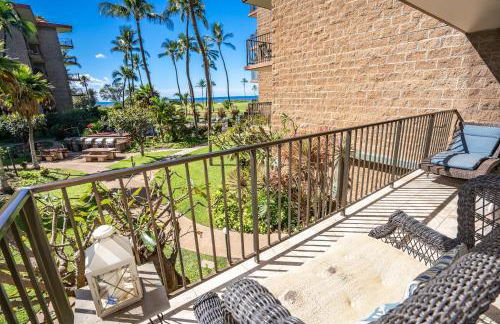
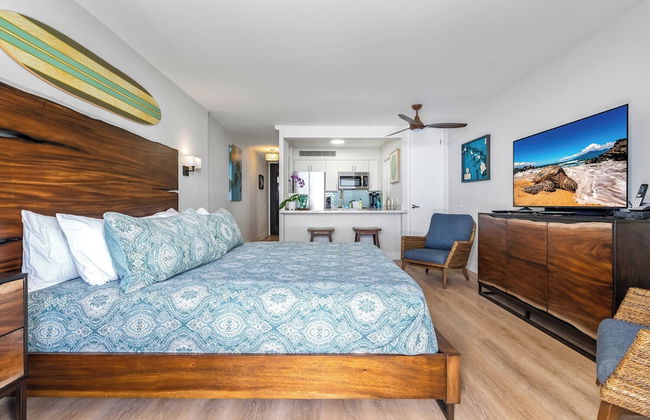
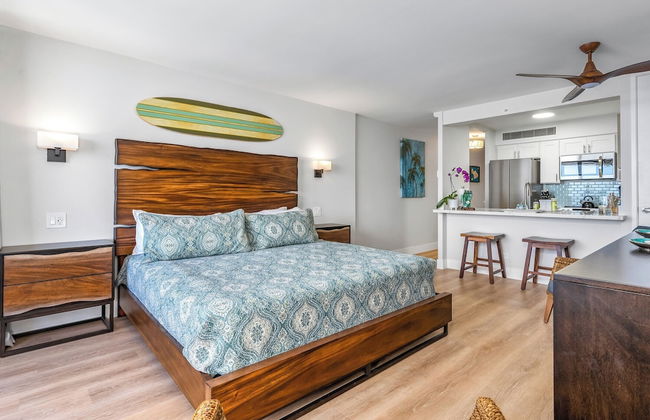
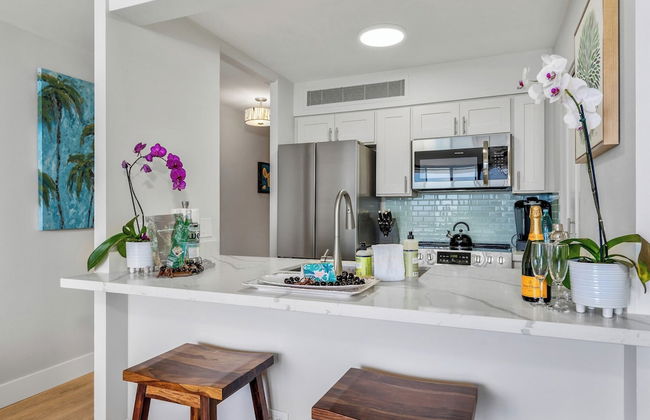
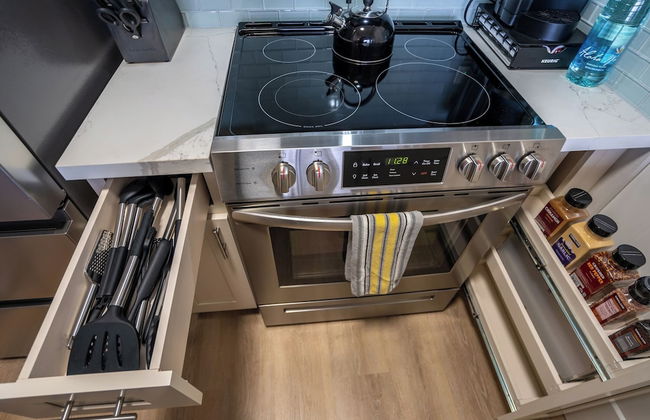
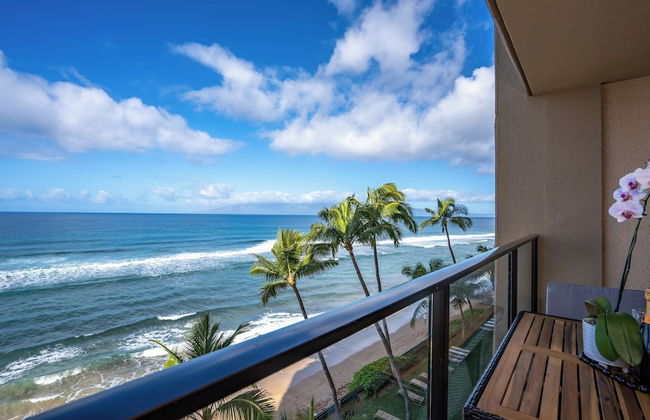
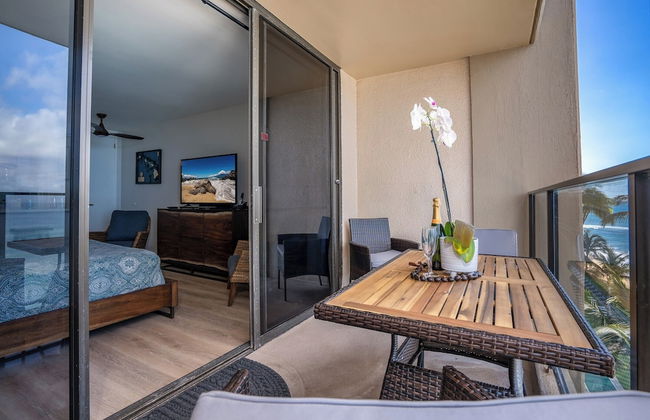
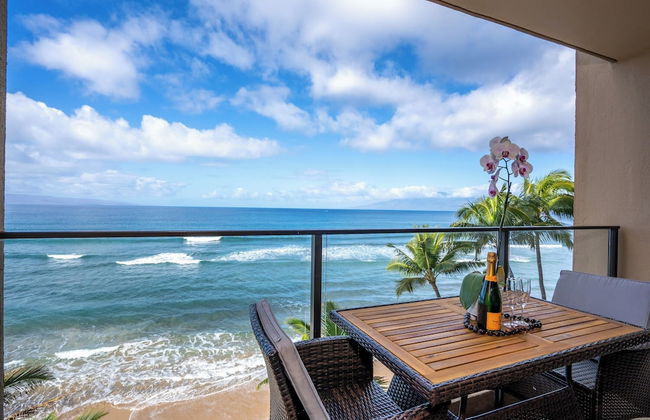
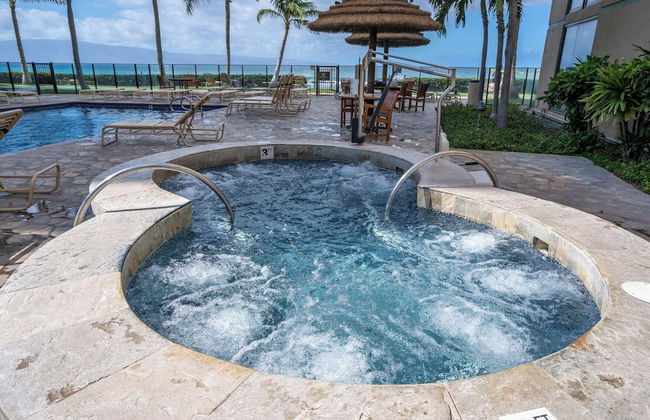
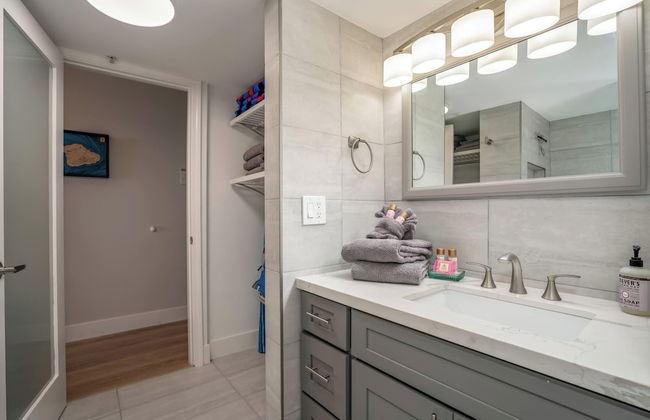
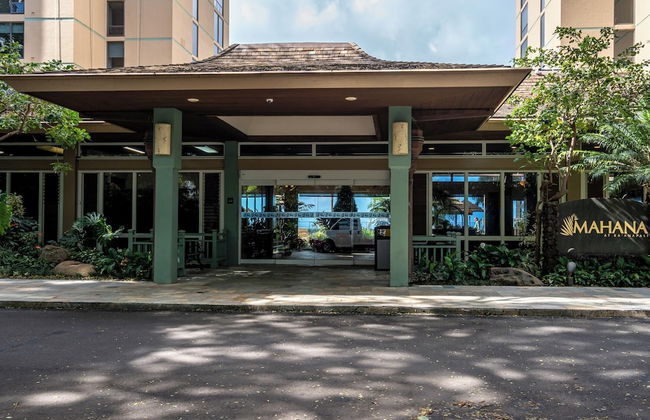
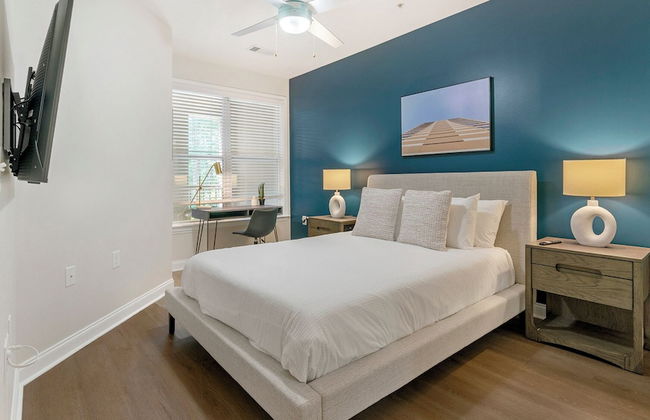
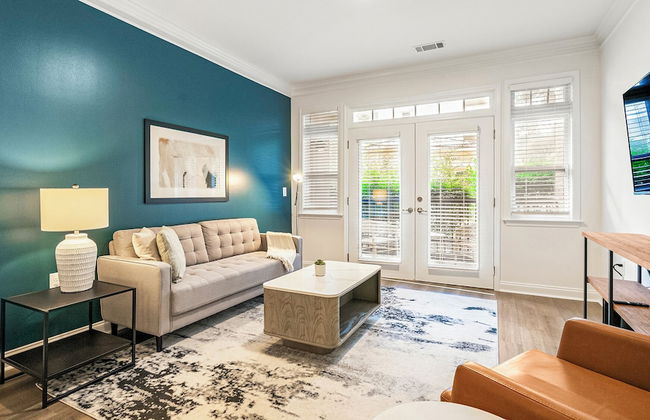
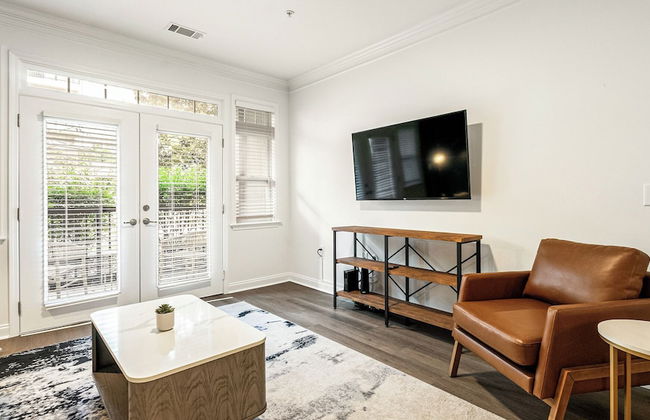
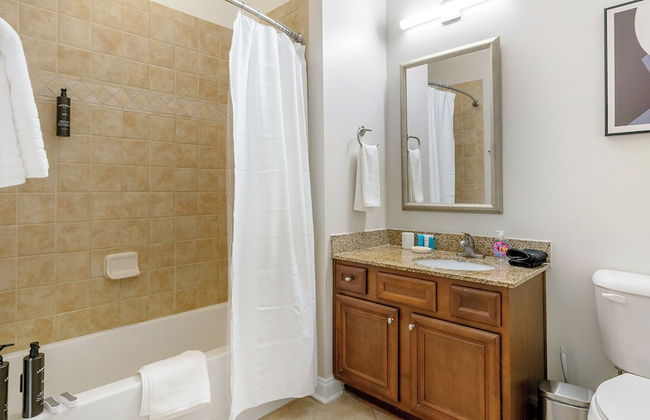
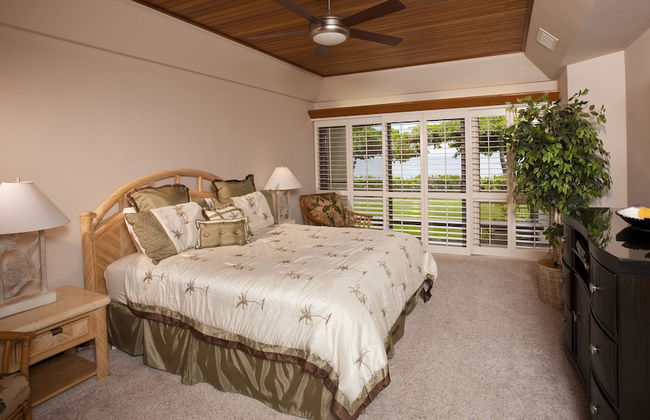
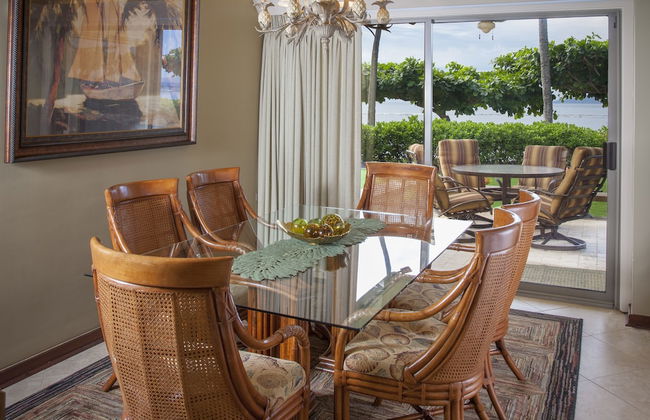
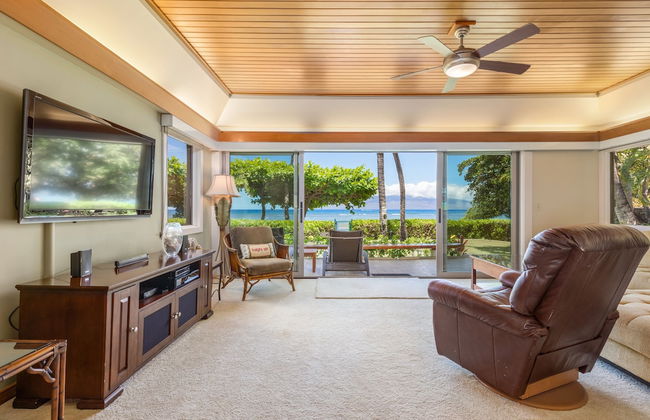
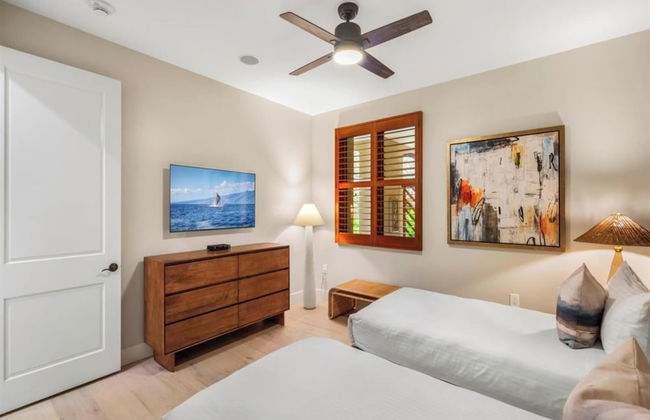
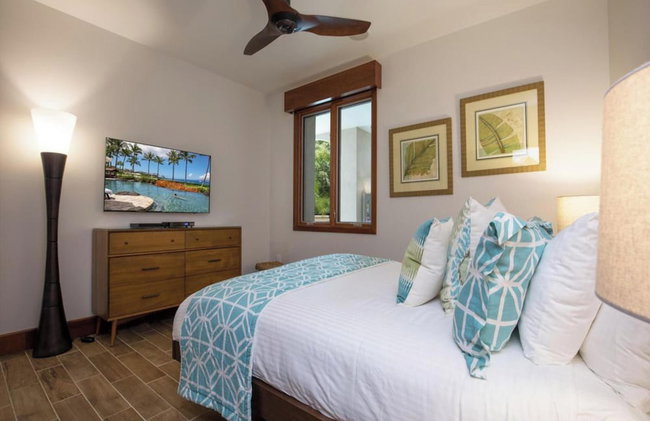
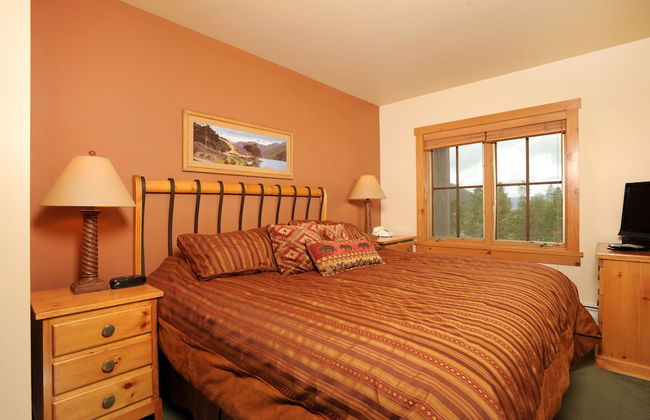
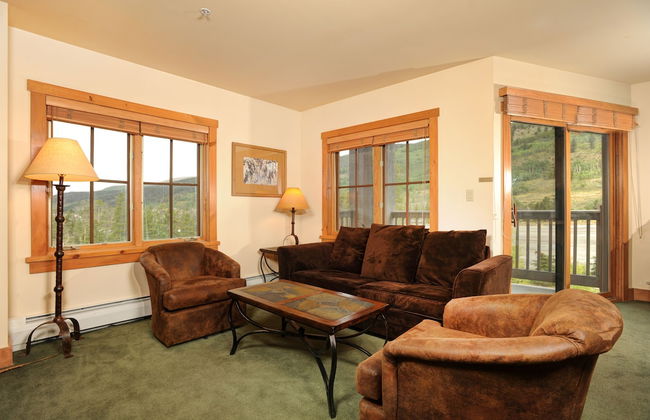
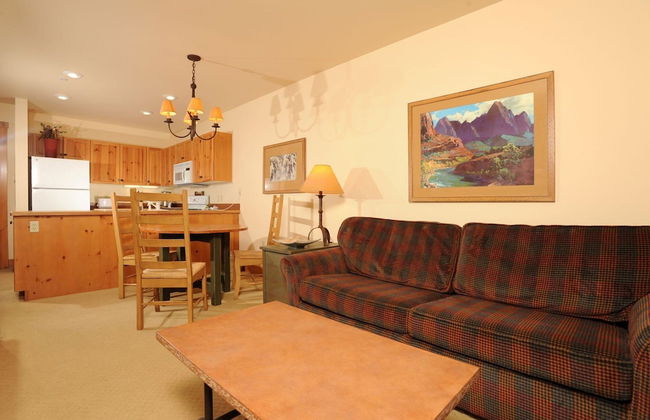
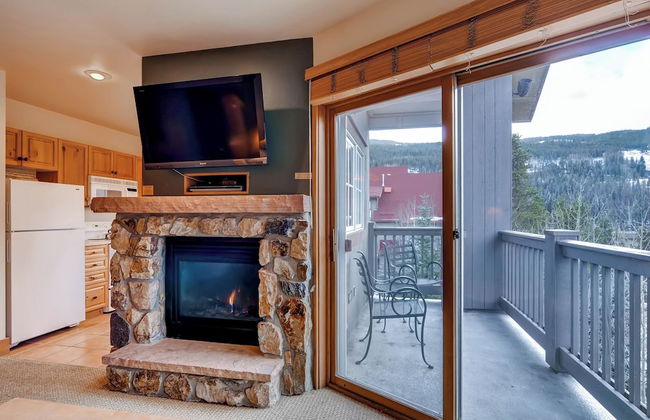
Modern & Polished Oceanfront Vistas
Kihei - Kihei - 2.1 km do centro
- 56 M2
- 1 quarto
- 4 pessoas
- Ar-condicionado
- Aquecimento
- Terraço
- Piscina
- Estacionamento
- Elevador
- Varanda
- Jardim
- Tv
- Máquina de lavar roupa
- Churrasco
- Toalhas
- Lençóis


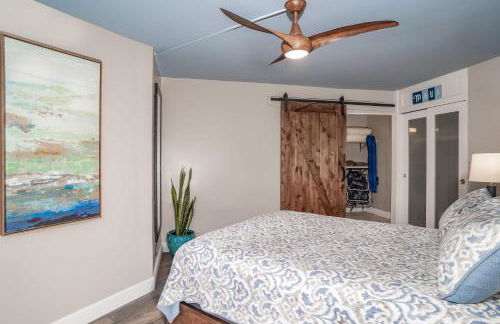

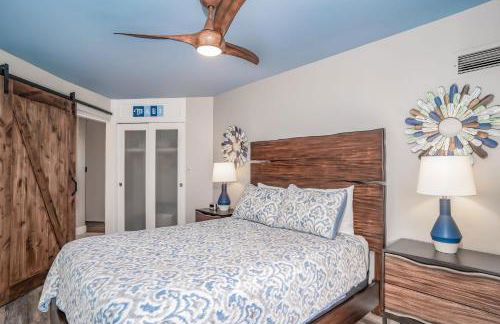

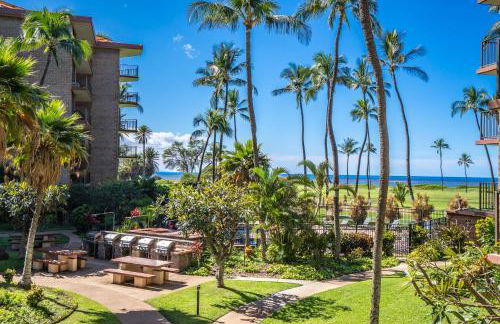


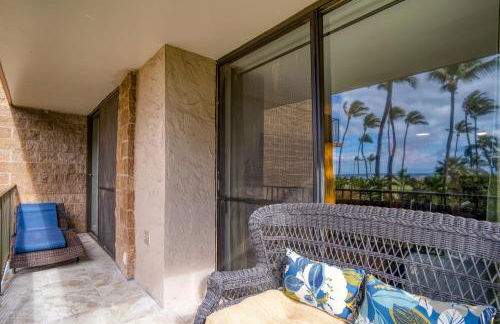


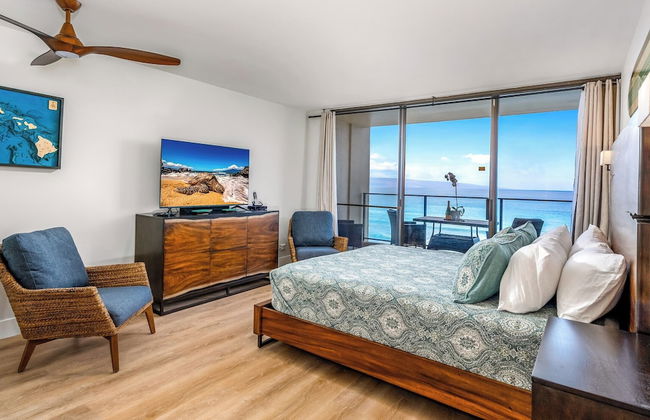
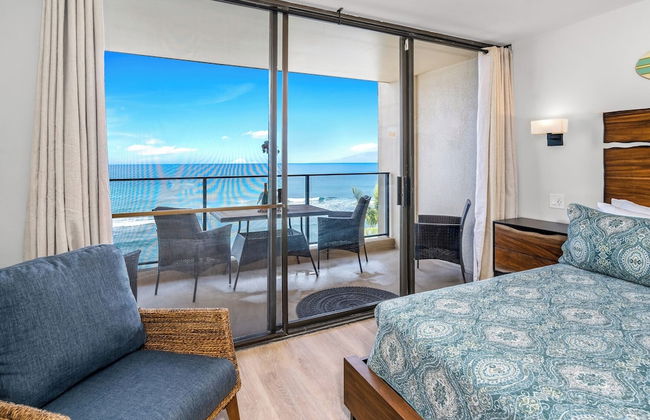
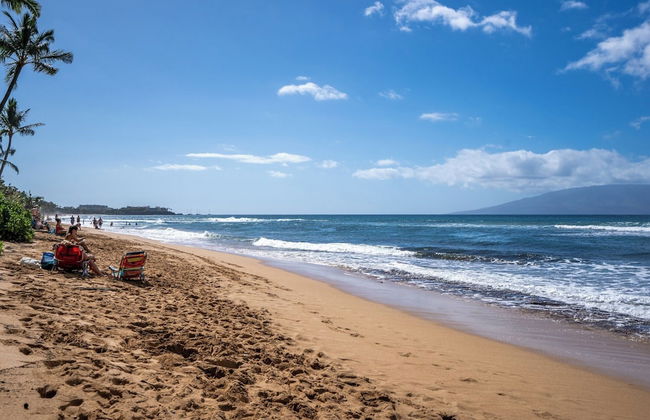
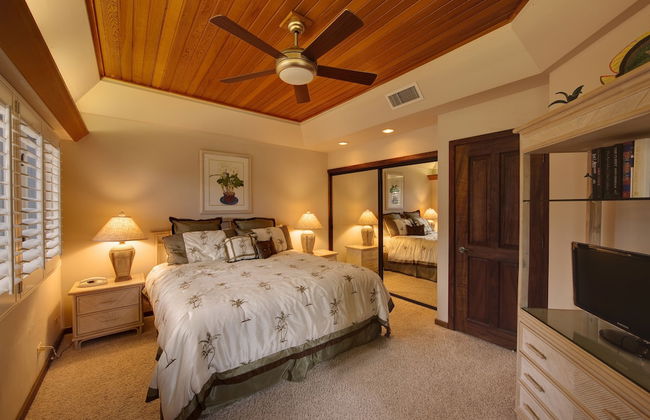
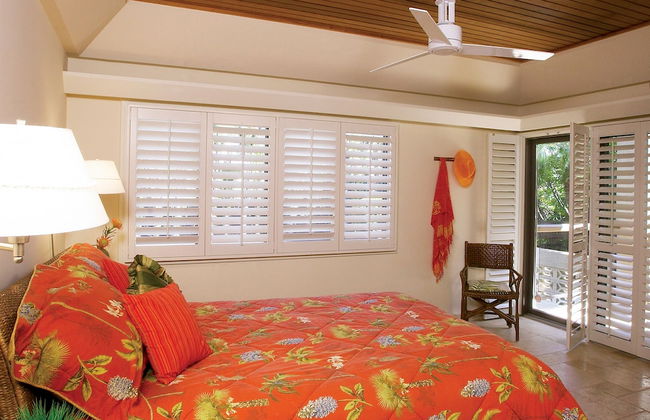
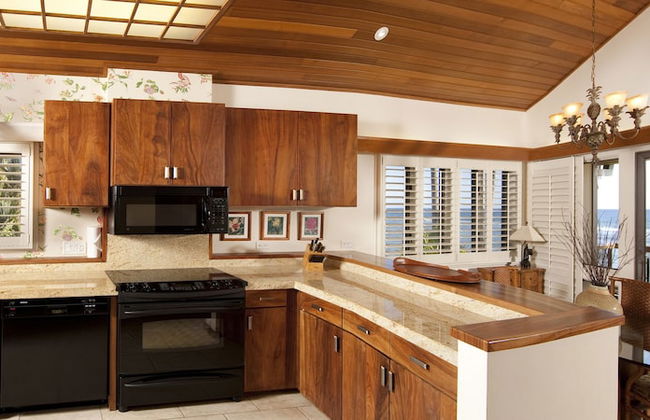
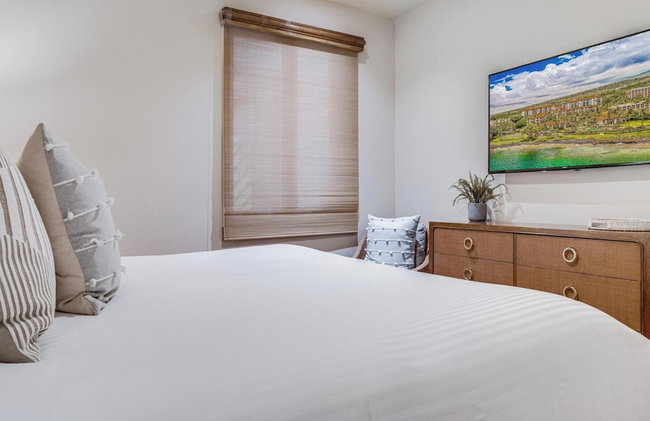
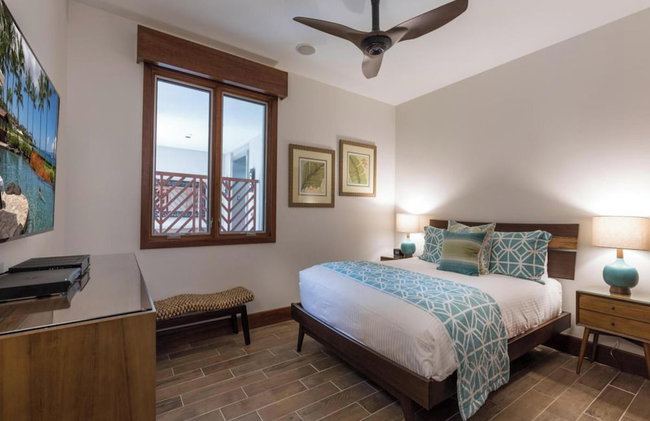
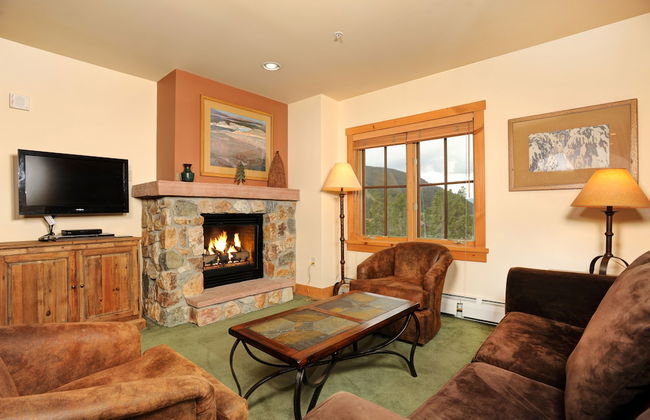
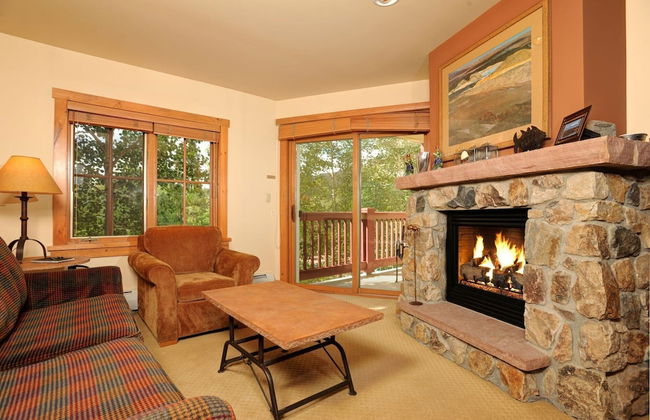
Sea-rene & Tropical Vistas
Kihei - Kihei - 2.1 km do centro
- 59 M2
- 6 pessoas
- Ar-condicionado
- Aquecimento
- Terraço
- Piscina
- Estacionamento
- Elevador
- Varanda
- Jardim
- Tv
- Churrasco
- Toalhas
- Lençóis


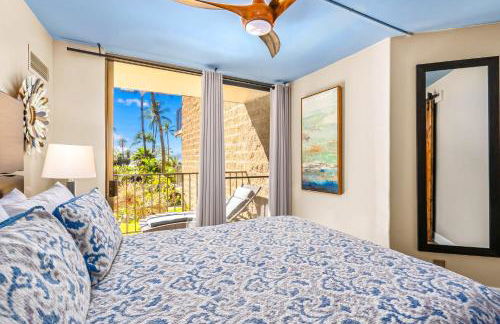
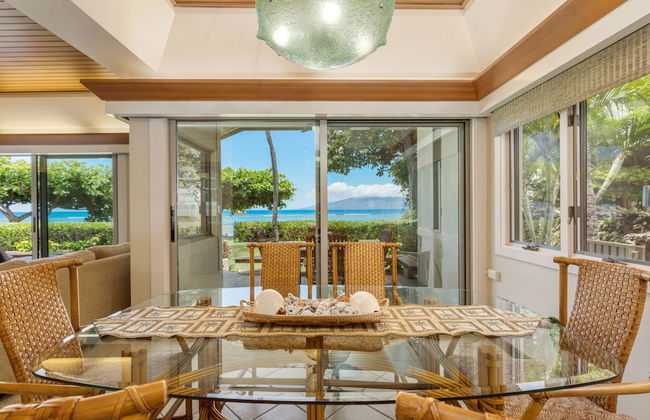
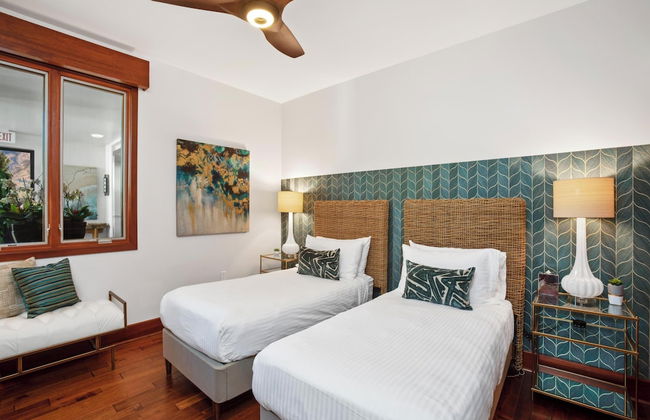
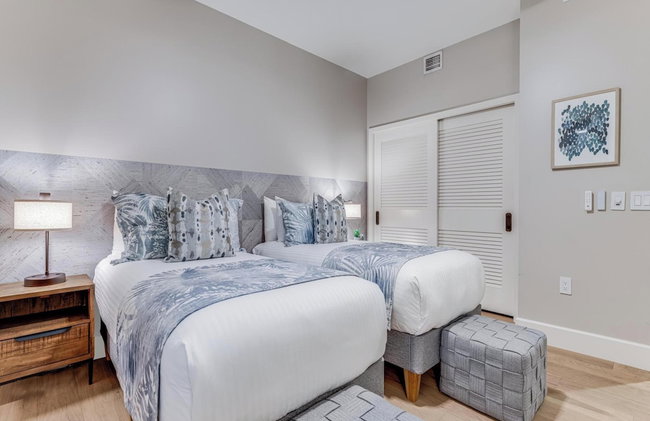
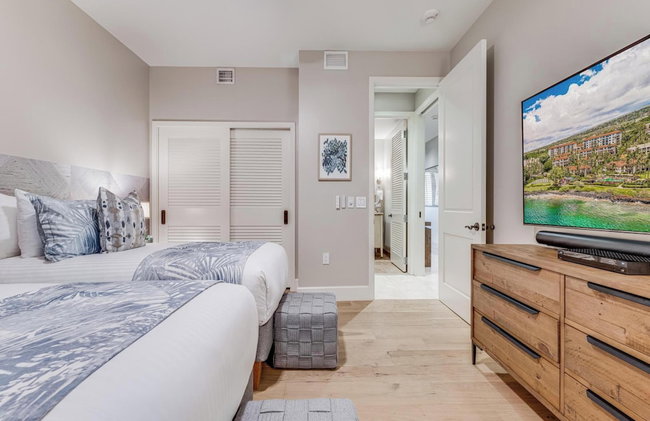
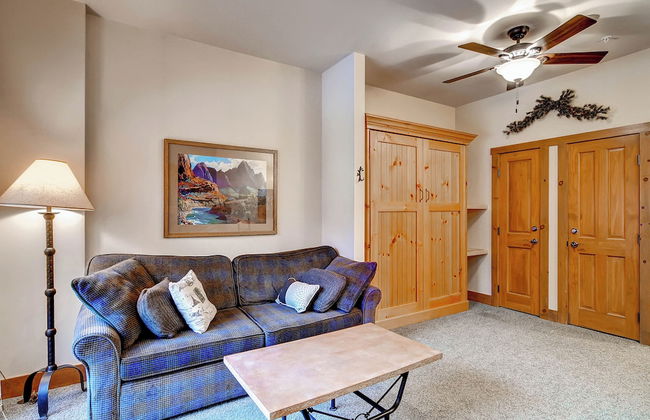
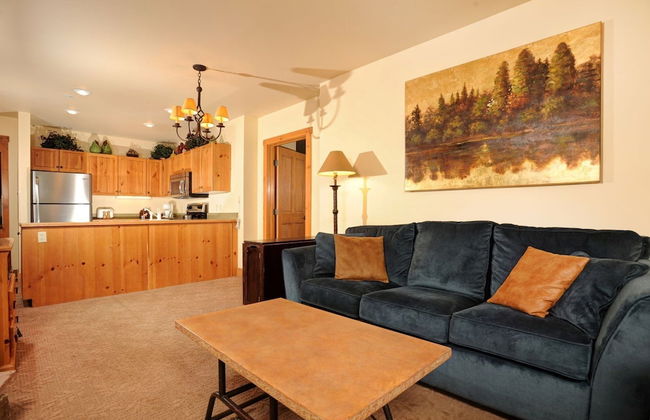
Hotel Perle
NO LA - Central Business District - 510 m do centro
- 185 M2
- 7 quartos
- 14 pessoas
- Ar-condicionado
- Aquecimento
- Terraço
- Piscina
- Estacionamento
- Elevador
- Jardim
- Tv
- Máquina de lavar roupa
- Toalhas
- Lençóis


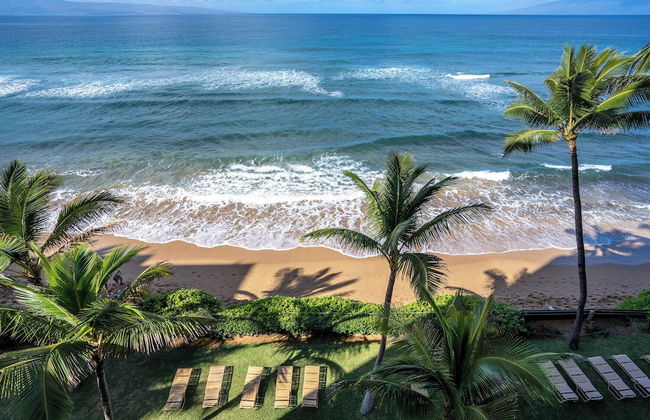
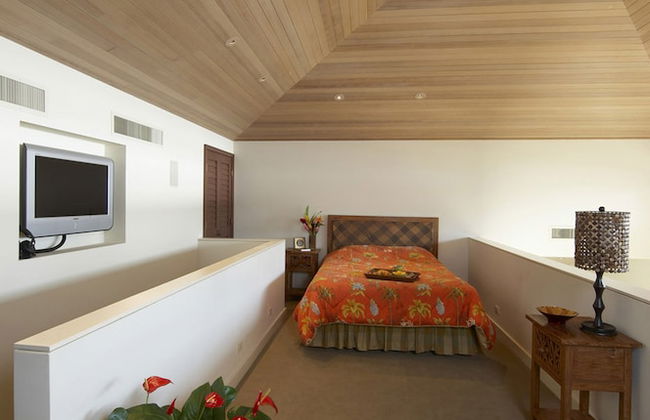
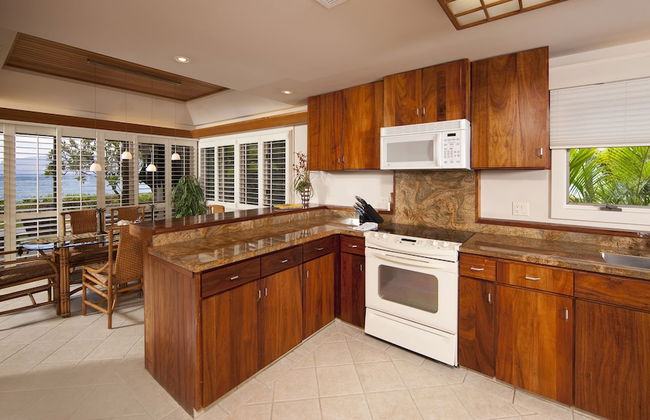
Boutique Oceanfront Kaanapali Vistas
Lahaina - Napili-Honokowai - 7.2 km do centro
- 37 M2
- 2 pessoas
- Ar-condicionado
- Aquecimento
- Terraço
- Piscina
- Estacionamento
- Elevador
- Jardim
- Tv
- Máquina de lavar roupa
- Churrasco
- Toalhas
- Lençóis


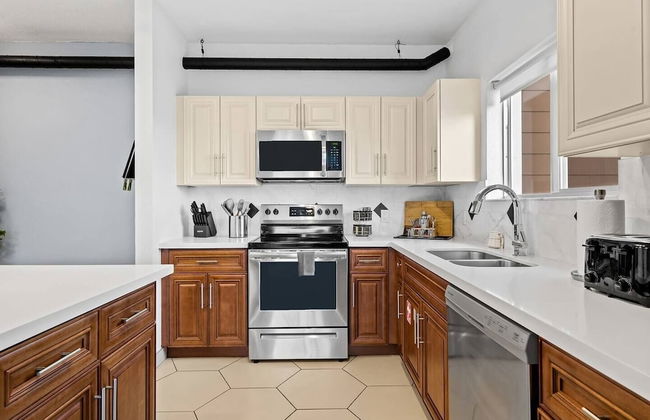
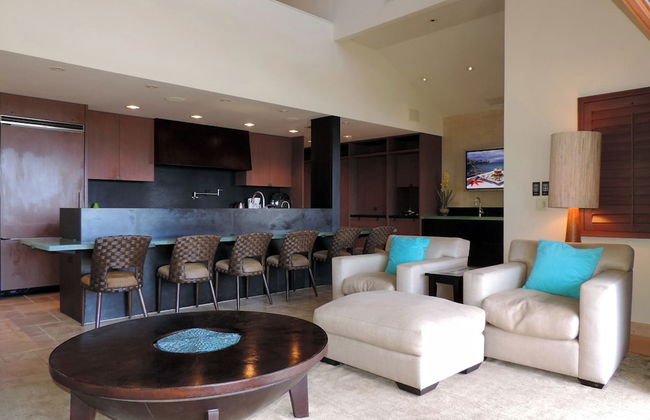
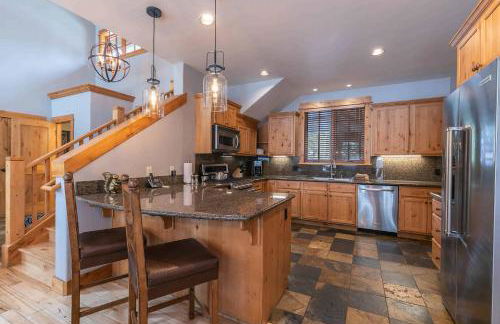
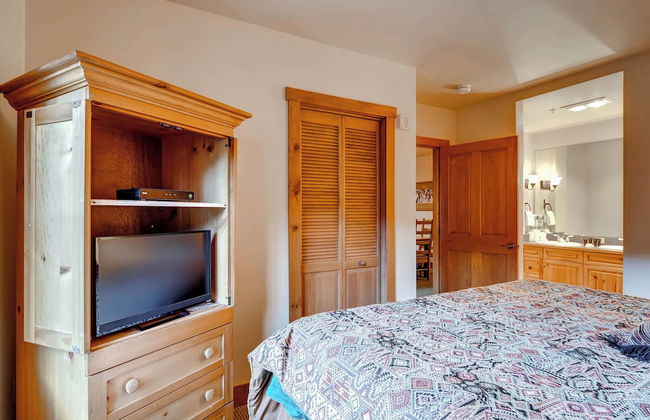
Hyatus Luxury Residences Stamford
Stamford - Downtown Stamford - No centro
- 72 M2
- 1 quarto
- 5 pessoas
- Kitchenette
- Ar-condicionado
- Aquecimento
- Terraço
- Piscina
- Estacionamento
- Elevador
- Jardim
- Tv
- Máquina de lavar roupa
- Chaminé
- Churrasco
- Toalhas
- Lençóis


Hill Country Casitas
Dripping Springs
- 539 M2
- 2 quartos
- 44 pessoas
- Kitchenette
- Ar-condicionado
- Aquecimento
- Terraço
- Piscina
- Estacionamento
- Varanda
- Jardim
- Tv
- Máquina de lavar roupa
- Churrasco
- Toalhas
- Lençóis


Vista Cay Commons by OVH360
Orlando - 13.5 km do centro
- 130 M2
- 6 pessoas
- Ar-condicionado
- Aquecimento
- Piscina
- Estacionamento
- Elevador
- Varanda
- Tv
- Máquina de lavar roupa
- Toalhas
- Lençóis


Wilton River Suites (Adults Only)
Fort Lauderdale - 4 km do centro
- 107 M2
- 4 pessoas
- Ar-condicionado
- Aquecimento
- Piscina
- Estacionamento
- Elevador
- Varanda
- Jardim
- Tv
- Máquina de lavar roupa
- Churrasco
- Toalhas
- Lençóis


The Inn On Siesta Key
Sarasota - Sarasota Beach - 7.3 km do centro
- 102 M2
- 8 pessoas
- Ar-condicionado
- Aquecimento
- Terraço
- Piscina
- Estacionamento
- Varanda
- Jardim
- Tv
- Churrasco
- Toalhas
- Lençóis


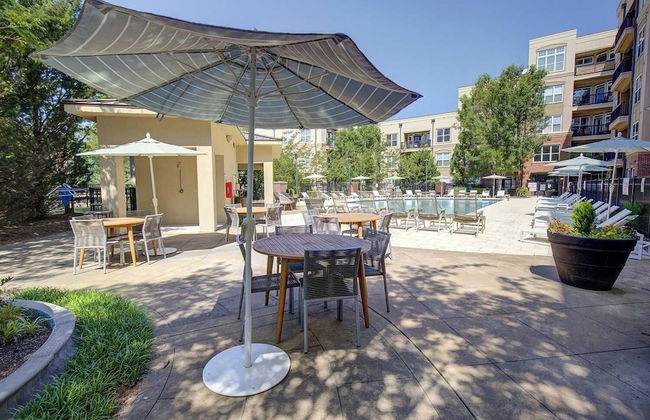
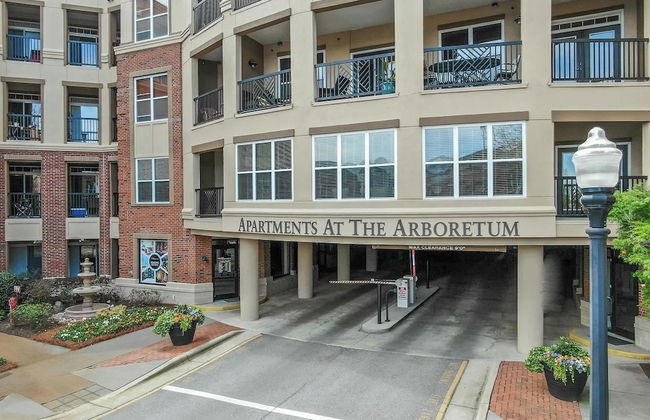

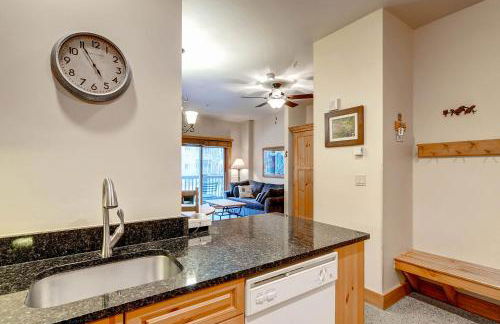
Cary Apartments by Landing
Cary - The Arboretum - 3.7 km do centro
- 108 M2
- 4 pessoas
- Ar-condicionado
- Aquecimento
- Piscina
- Estacionamento
- Elevador
- Tv
- Máquina de lavar roupa
- Chaminé
- Churrasco
- Toalhas
- Lençóis


Puunoa - CoralTree Residence Collection
Lahaina - Lahaina - 330 m do centro
- 8 pessoas
- Ar-condicionado
- Aquecimento
- Terraço
- Piscina
- Estacionamento
- Tv
- Máquina de lavar roupa
- Churrasco
- Toalhas
- Lençóis


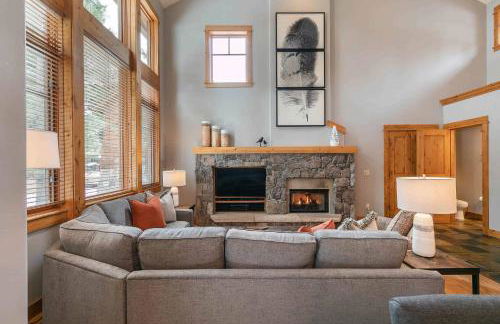


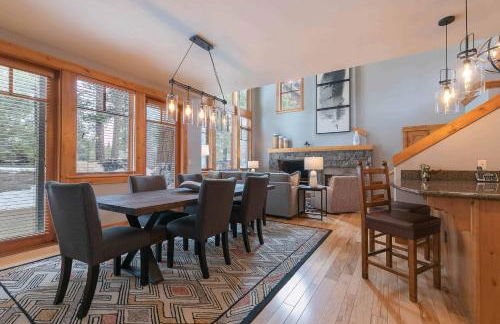


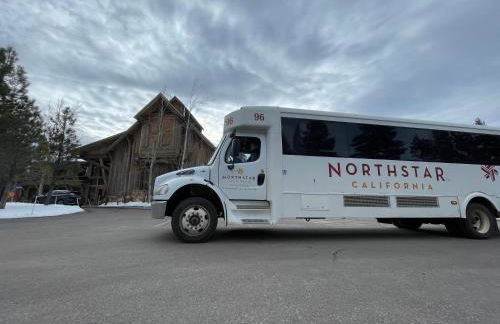


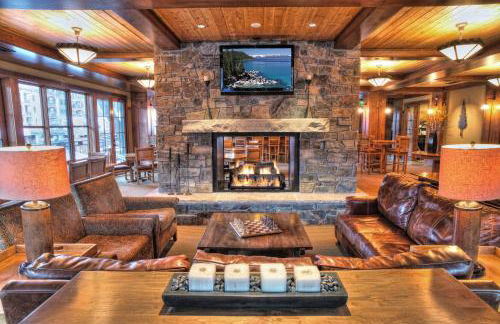


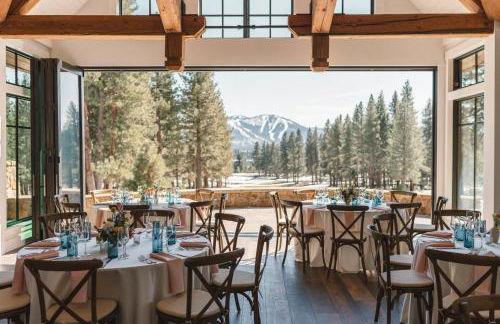


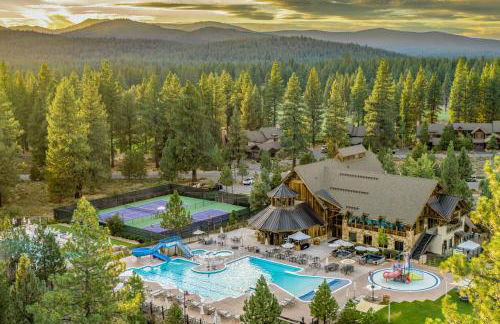


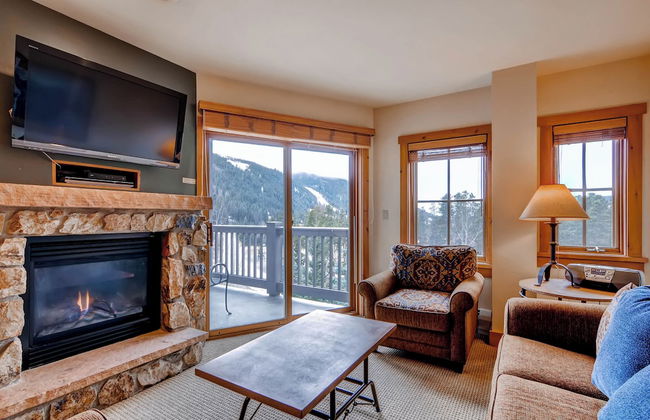
The Cottages, Summer Escape - Golf, Pool & Family Fun - 3-Bedroom
Truckee - 5.7 km do centro
- 171 M2
- 3 quartos
- 8 pessoas
- Ar-condicionado
- Aquecimento
- Terraço
- Piscina
- Estacionamento
- Varanda
- Jardim
- Tv
- Máquina de lavar roupa
- Chaminé
- Churrasco
- Toalhas
- Lençóis


Sea Spray Condo
Hampton
- 557 M2
- 4 pessoas
- Ar-condicionado
- Aquecimento
- Terraço
- Estacionamento
- Elevador
- Varanda
- Tv
- Máquina de lavar roupa
- Toalhas
- Lençóis


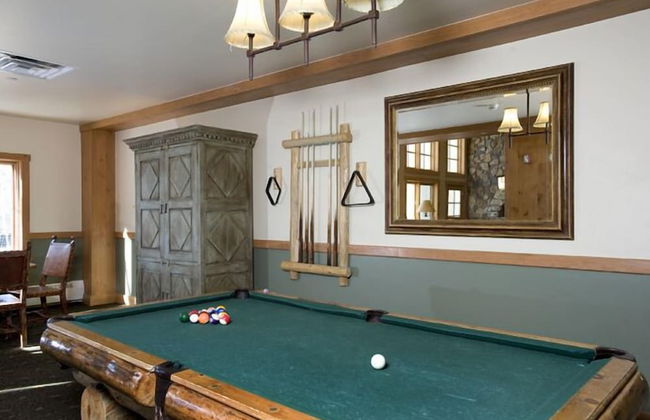
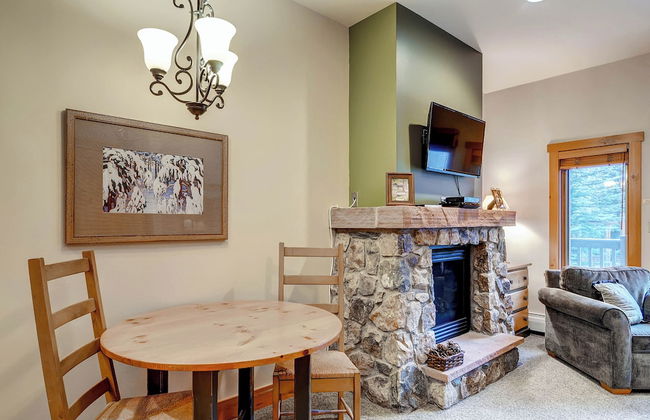
McGregor and Main Luxury Lofts
Hill City
- 242 M2
- 4 quartos
- 12 pessoas
- Kitchenette
- Ar-condicionado
- Aquecimento
- Terraço
- Estacionamento
- Elevador
- Jardim
- Tv
- Chaminé
- Toalhas


Y.O. Ranch Headquarters
Mountain Home
- 204 M2
- 8 pessoas
- Ar-condicionado
- Aquecimento
- Terraço
- Piscina
- Estacionamento
- Jardim
- Tv
- Chaminé
- Churrasco
- Toalhas
- Lençóis


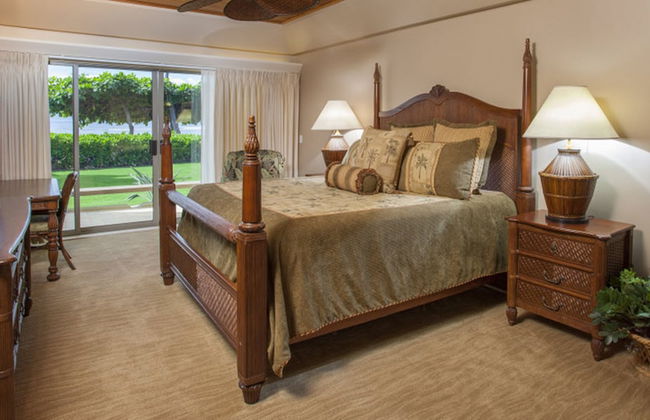
Wailea Beach Villas
Kihei - Wailea - 10.5 km do centro
- 8 pessoas
- Ar-condicionado
- Terraço
- Piscina
- Estacionamento
- Elevador
- Jardim
- Tv
- Máquina de lavar roupa
- Churrasco
- Toalhas
- Lençóis
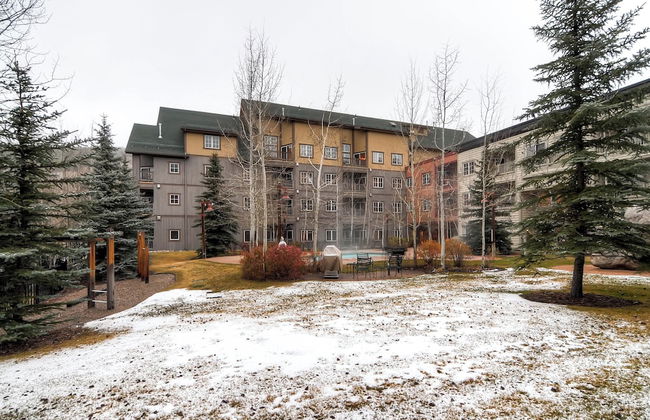
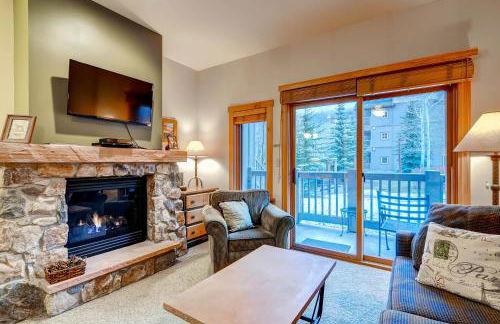


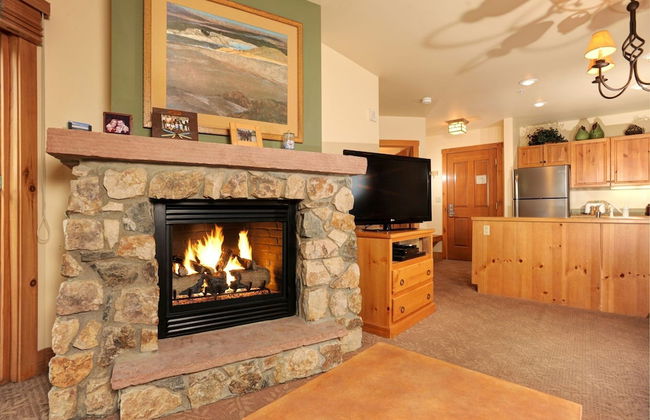


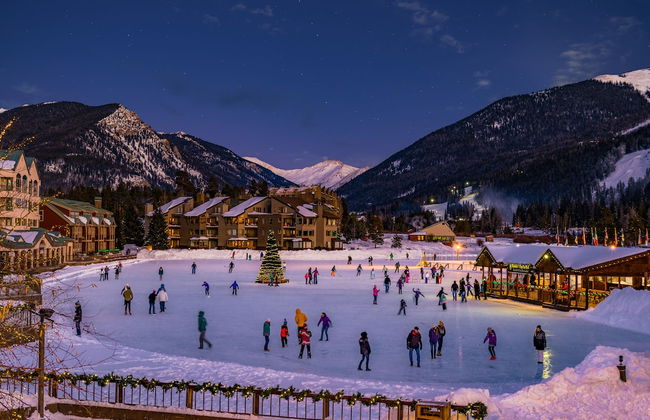
Expedition Station Condos by Vail Resorts
Dillon - 3.9 km de Keystone
- 41 M2
- 1 quarto
- 8 pessoas
- Aquecimento
- Terraço
- Piscina
- Estacionamento
- Elevador
- Tv
- Chaminé
- Churrasco
- Toalhas
- Lençóis


White Sands Village Oceanfront
Kailua-Kona - Holualoa
- 96 M2
- 2 quartos
- 4 pessoas
- Ar-condicionado
- Terraço
- Piscina
- Estacionamento
- Elevador
- Tv
- Máquina de lavar roupa
- Churrasco
- Toalhas


Saltwater Resort
Surf City
- 16 pessoas
- Ar-condicionado
- Aquecimento
- Terraço
- Piscina
- Estacionamento
- Elevador
- Tv
- Máquina de lavar roupa
- Toalhas
- Lençóis
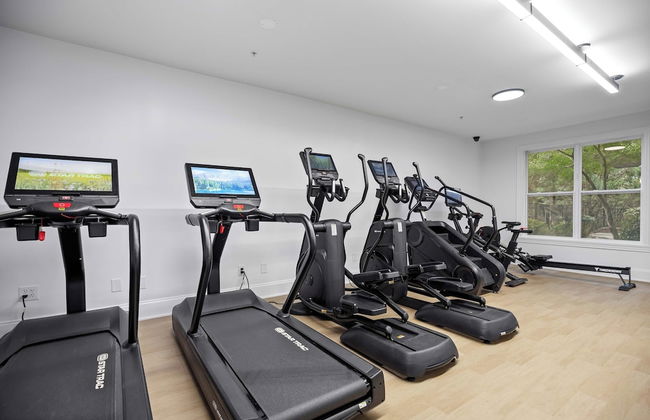
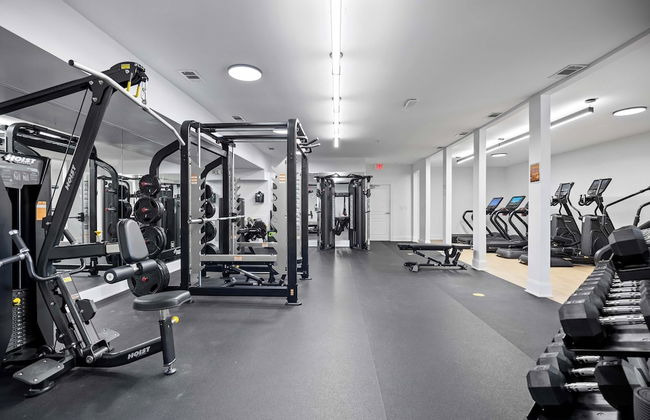
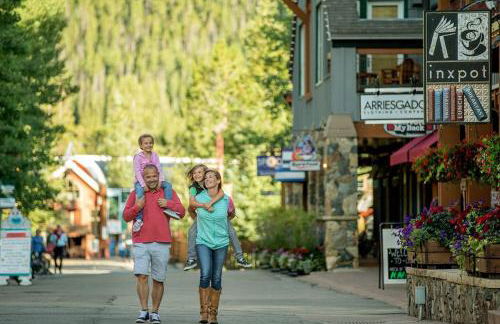
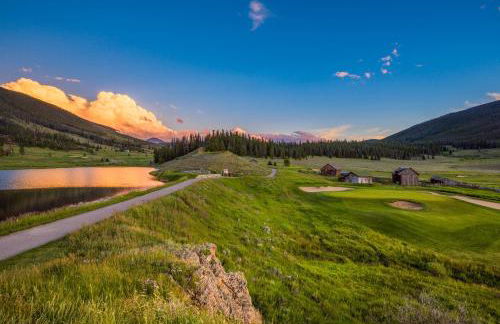
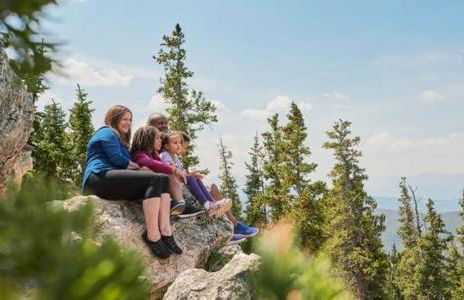
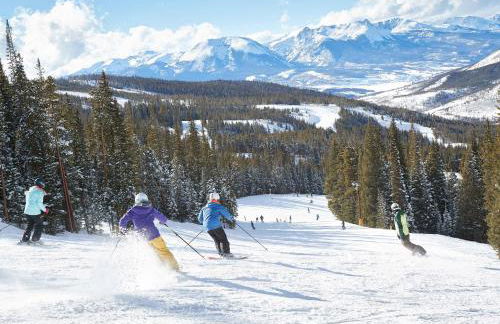
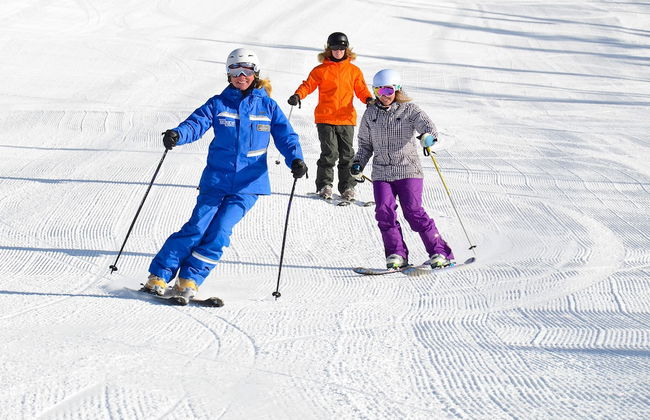
Deixe-se levar pelos estilos de vida Norte-americano e desfrute de costa a costa das grandes cidades e pequenos povos que formam os Estados Unidos. Este enorme território está cheio de maravilhas que assombrarão o turista, tanto como os altos edifícios de Nova Iorque, os monumentos da capital, a urbe cinematográfica de Los Angeles, o Golden Gate de São Francisco e no interior, os picos mais altos das montanhas rochosas do Colorado. Isto tudo e muito mais oferece este país sempre disposto a surpreender os visitantes.