
3 Apartamentos em Ganse Vallei


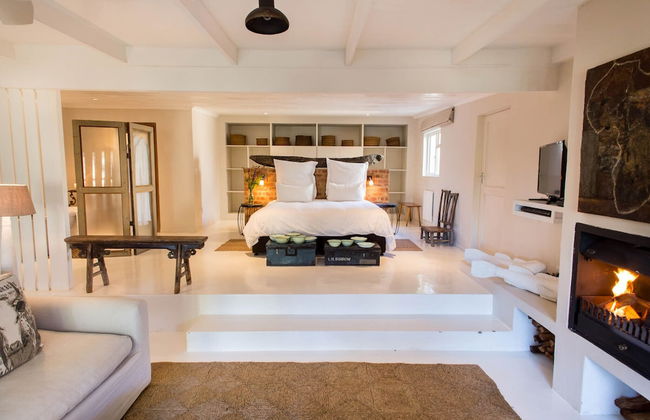
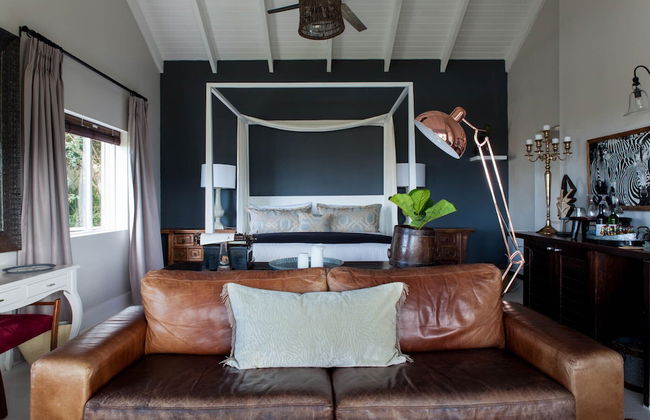


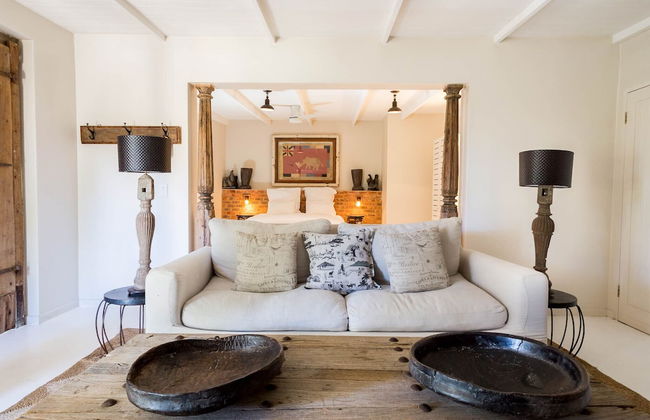
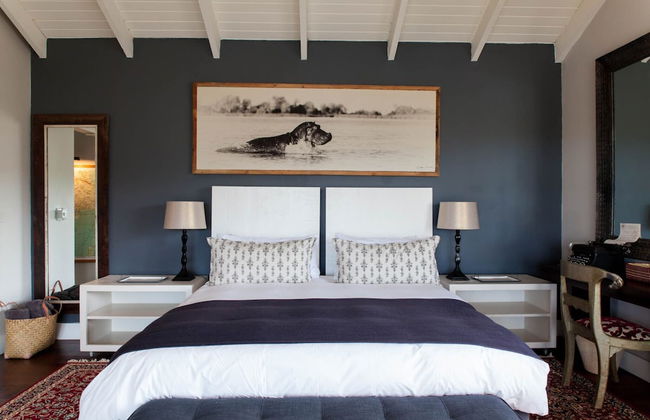


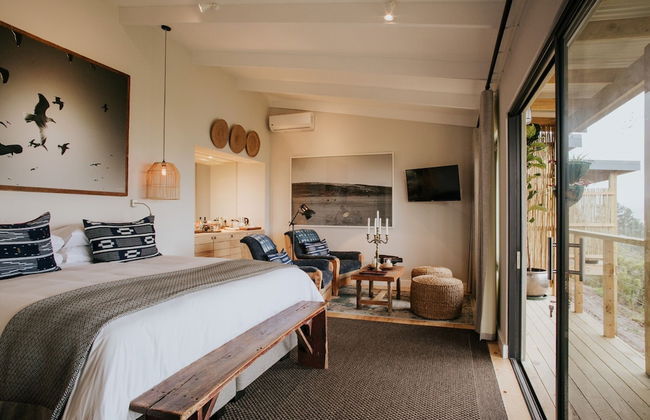


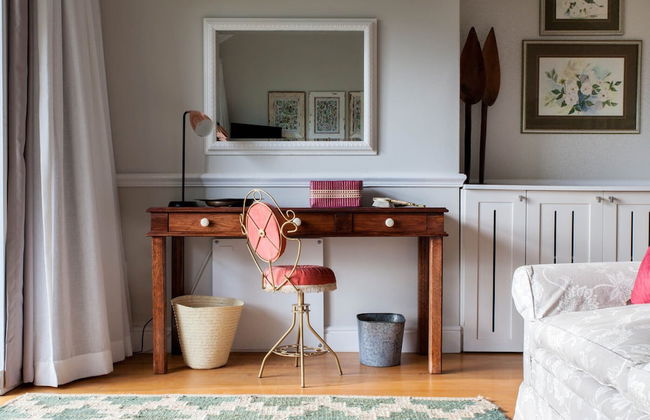
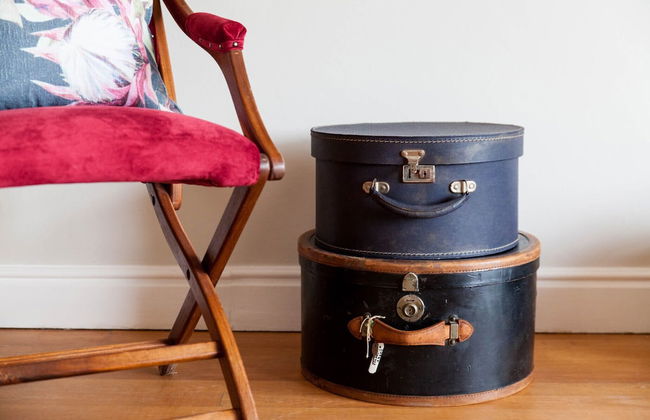


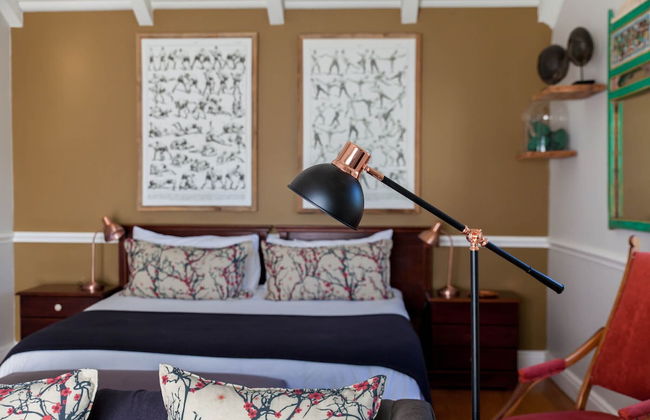


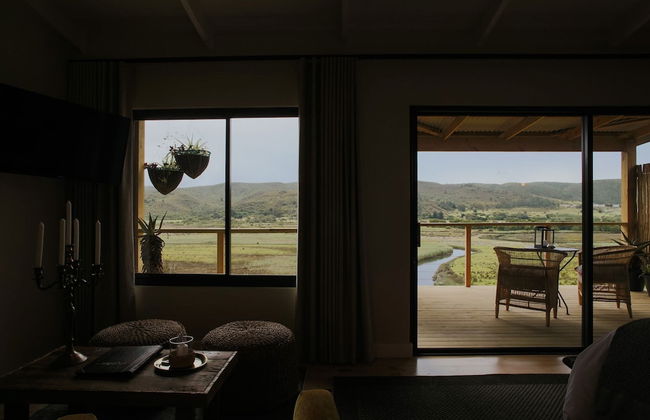


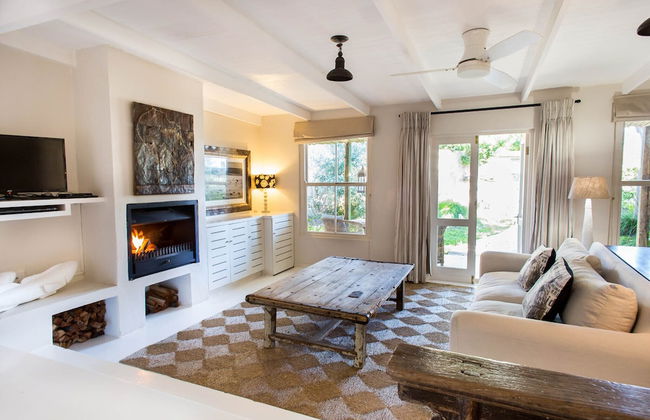
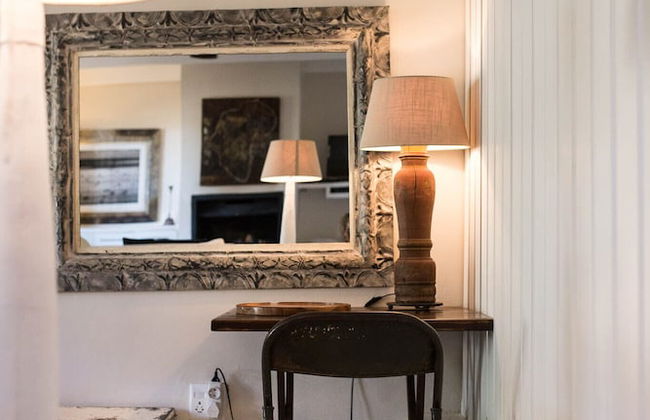


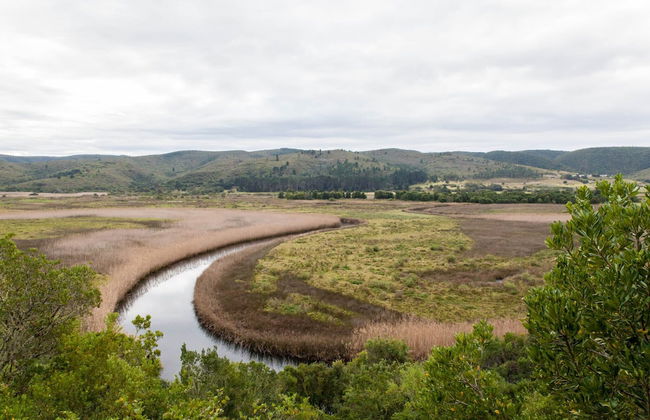


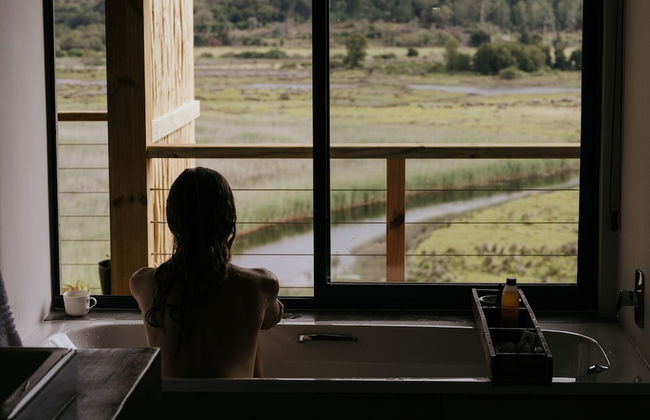
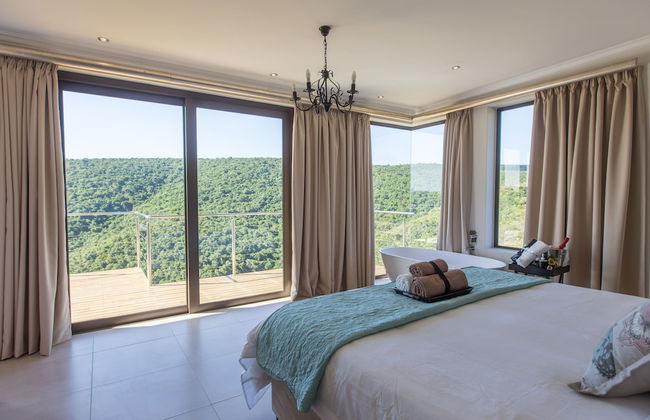
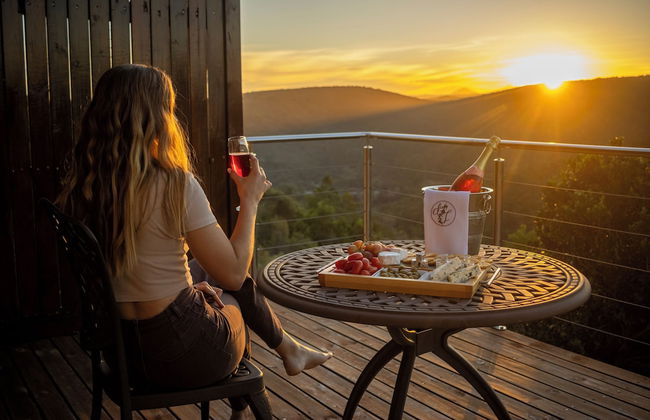
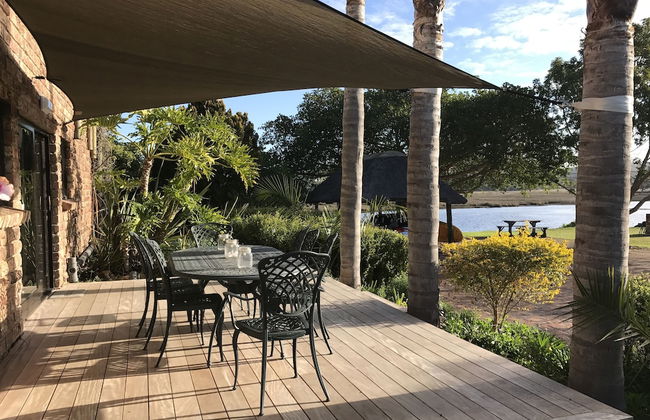
Emily Moon River Lodge
Ganse Vallei - 1.3 km do centro
- 2 pessoas
- Ar-condicionado
- Terraço
- Piscina
- Estacionamento
- Varanda
- Jardim
- Tv
- Chaminé
- Toalhas
29 avaliações


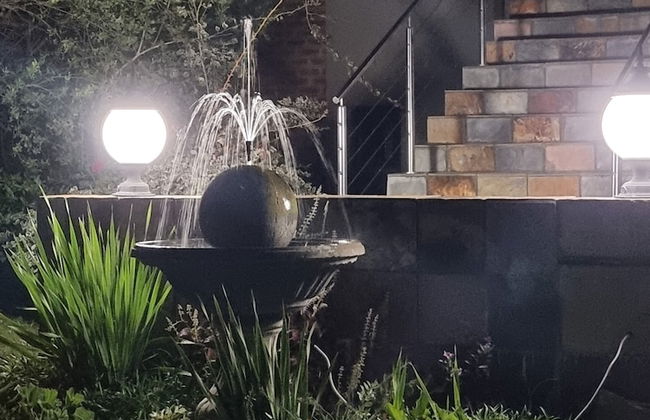


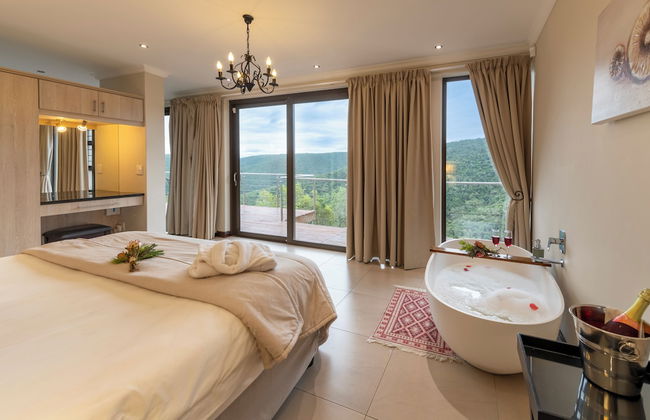

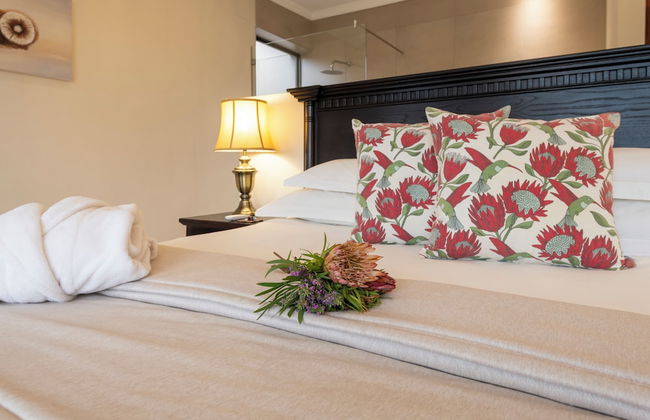


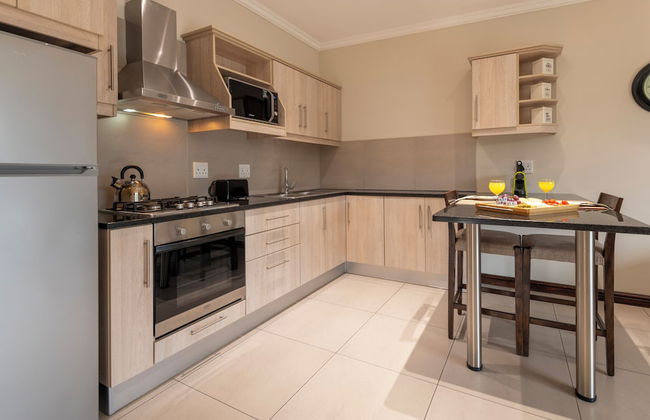


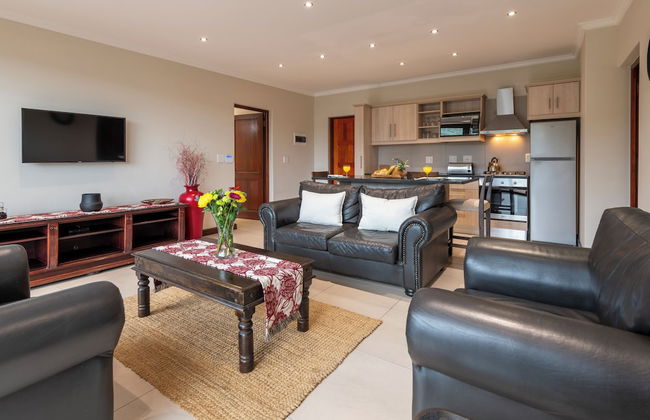


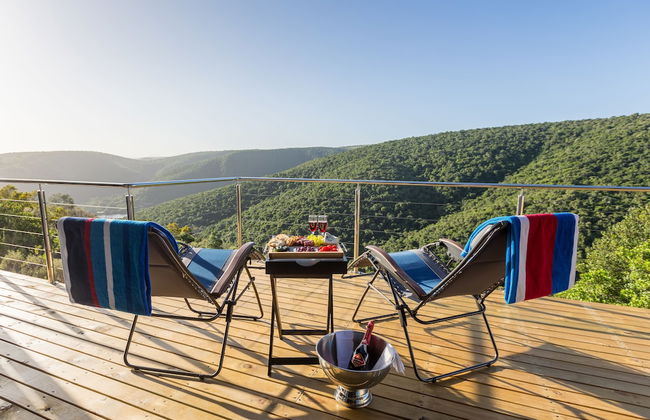


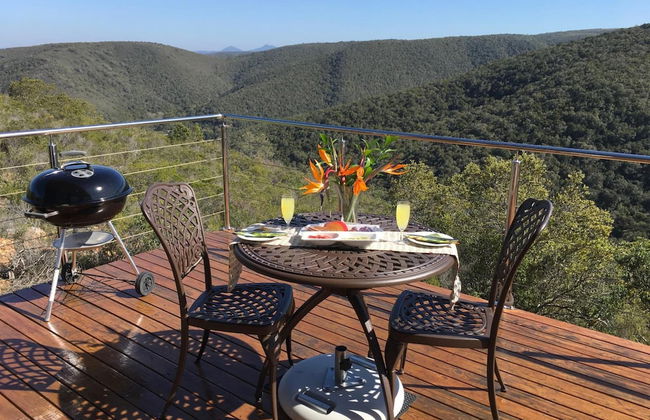
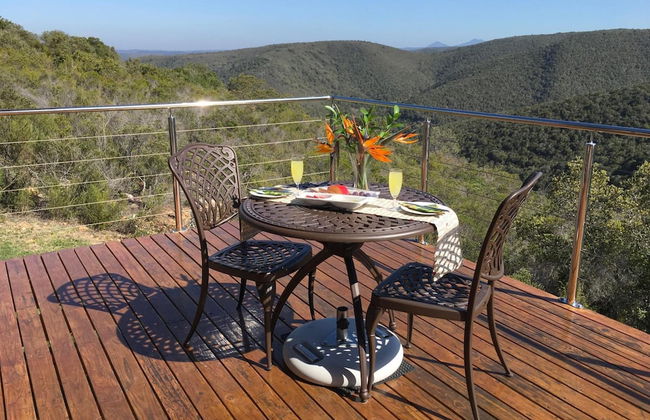
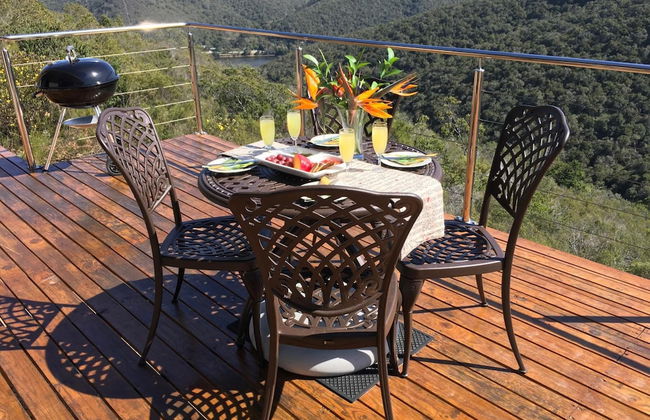
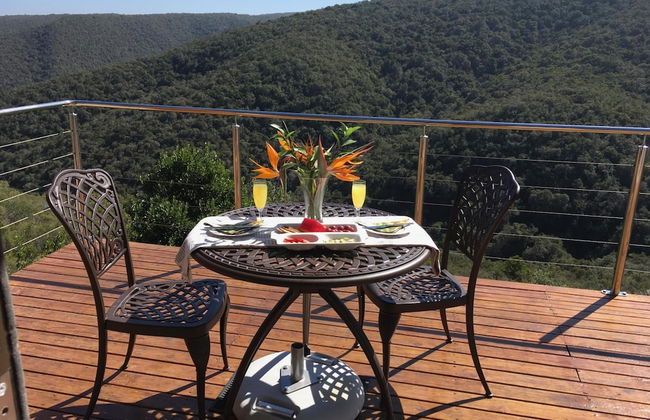


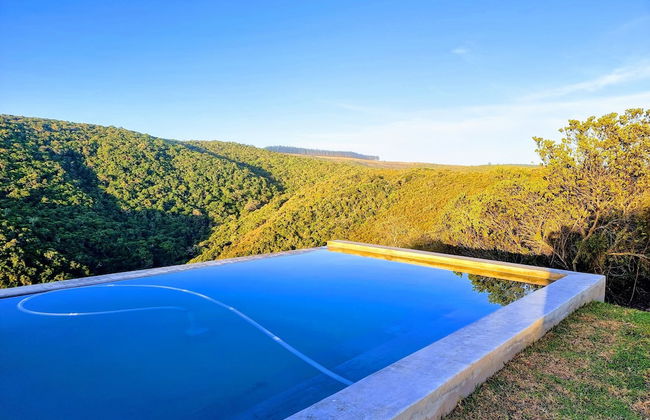
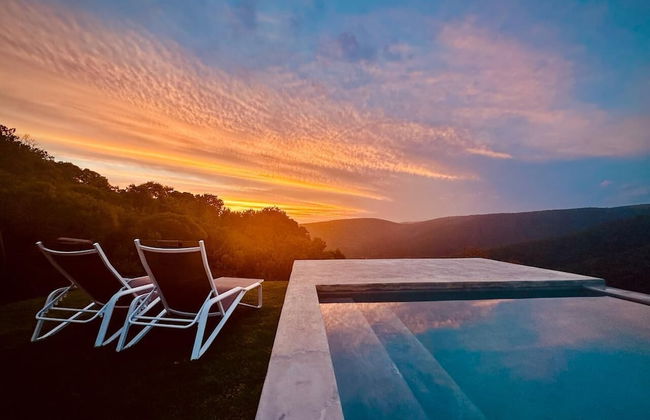


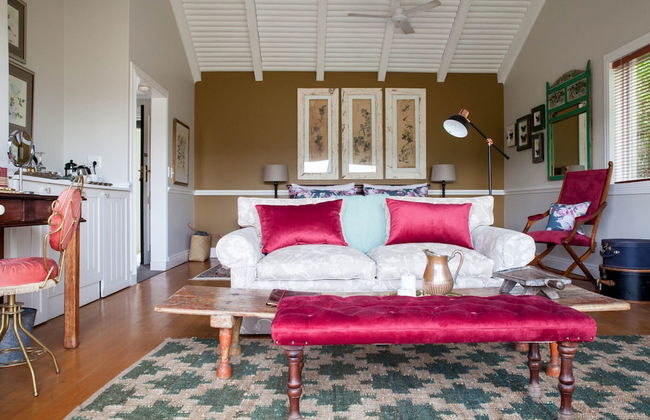
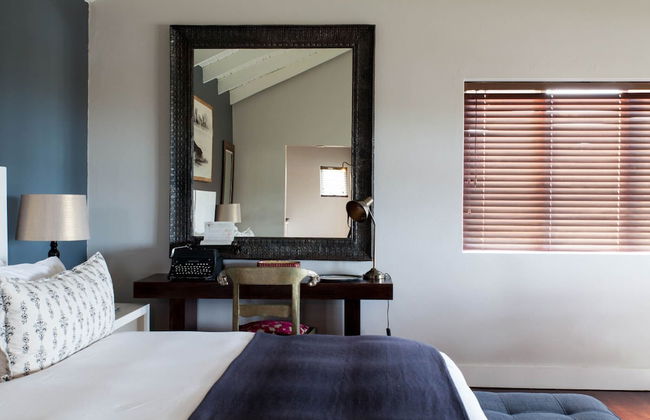
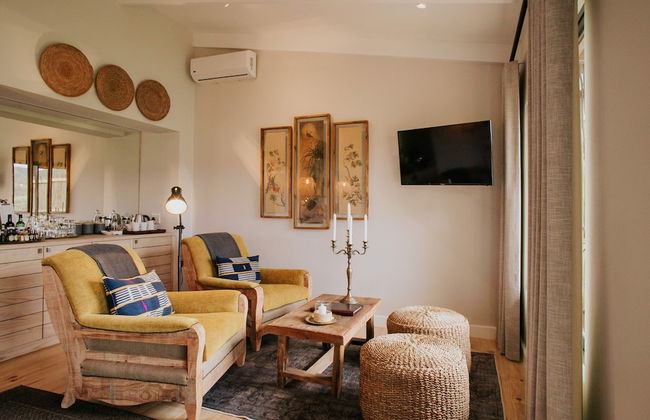
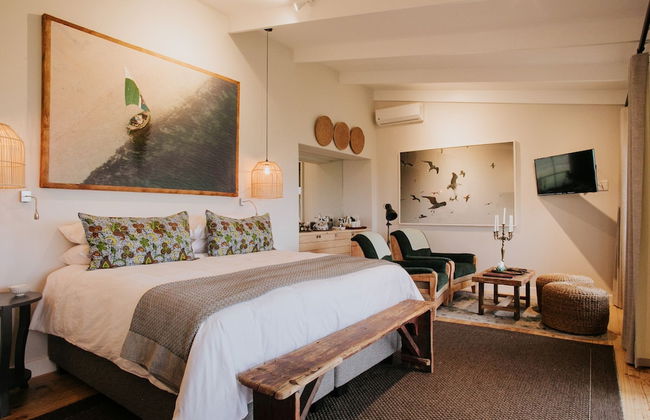
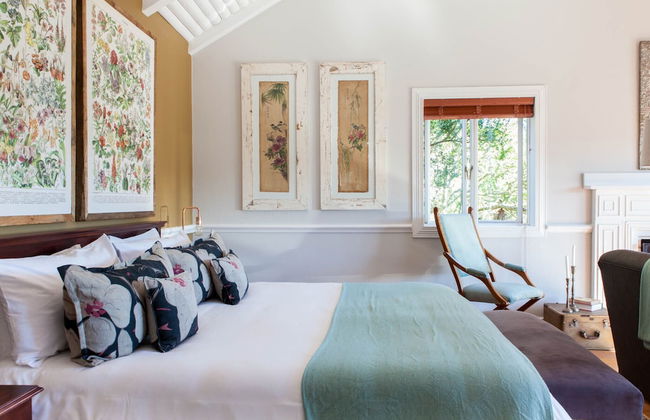
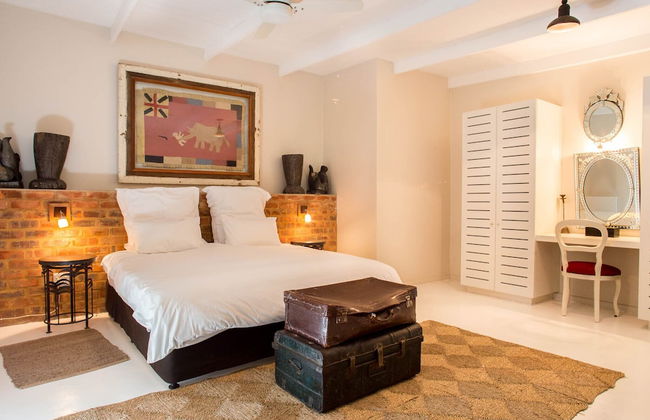
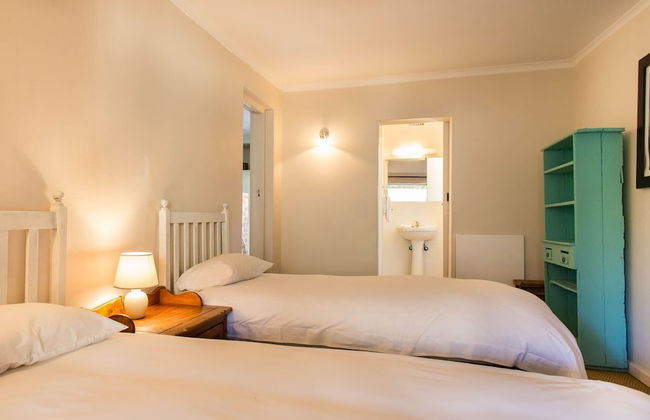
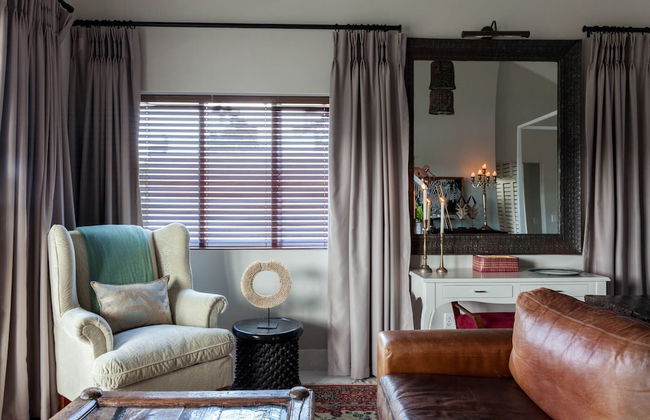
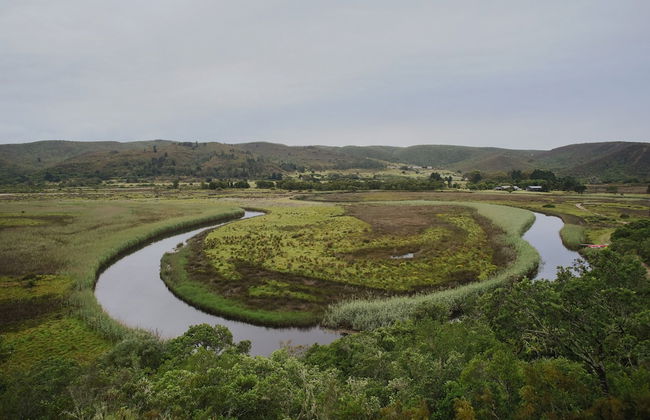
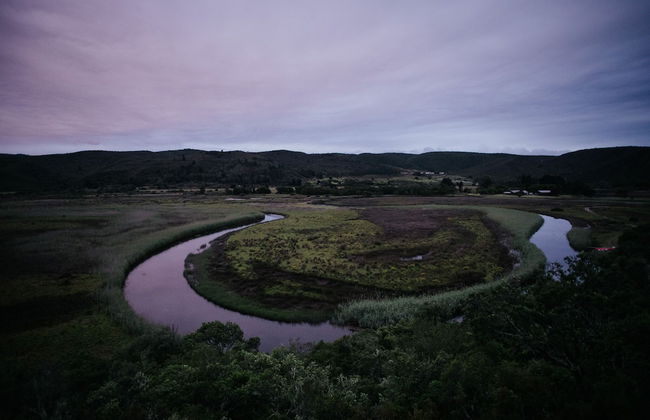
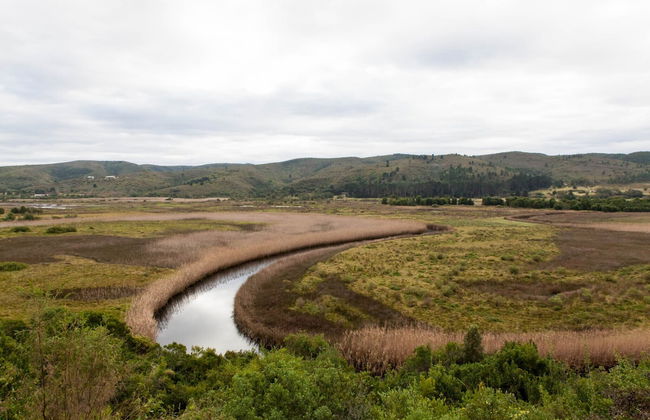
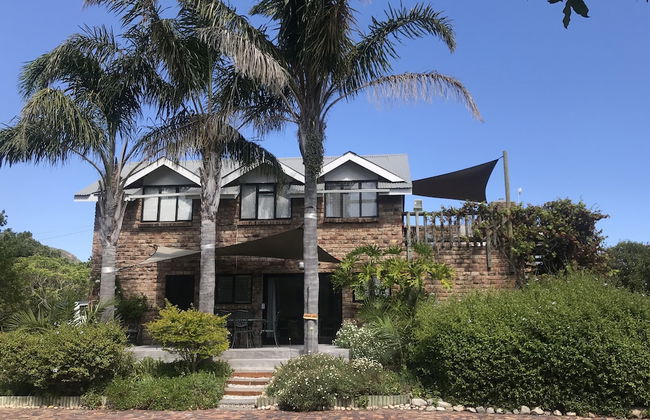
Alkantmooi Nature Reserve Keurkloof Units
Ganse Vallei - 2.8 km do centro
- 4 pessoas
- Ar-condicionado
- Aquecimento
- Terraço
- Piscina
- Estacionamento
- Varanda
- Jardim
- Tv
- Churrasco
- Toalhas
11 avaliações


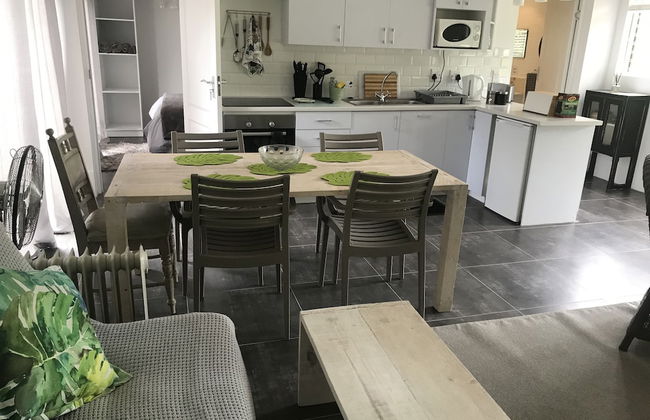
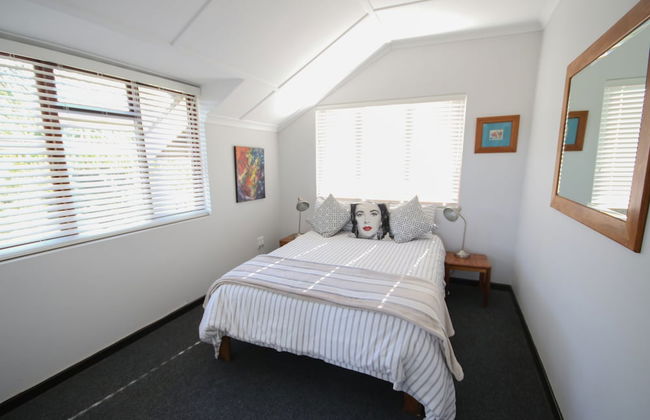
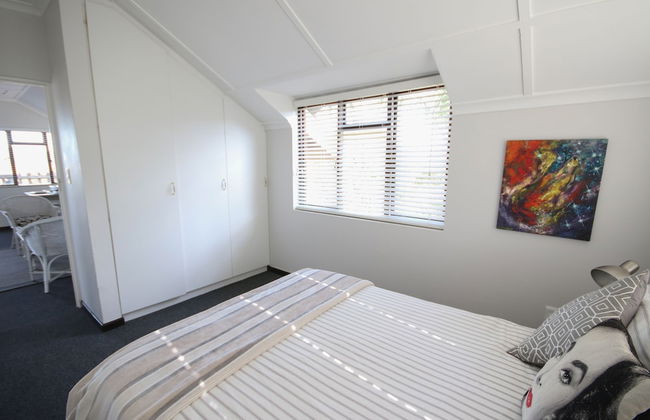

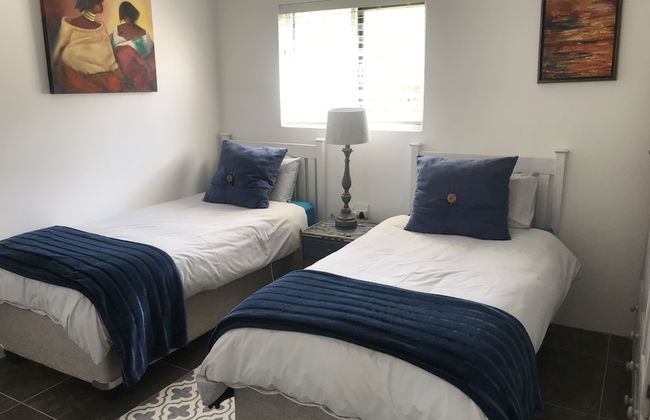
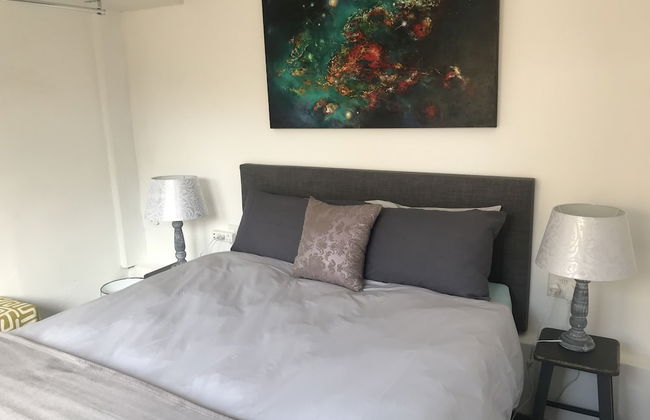

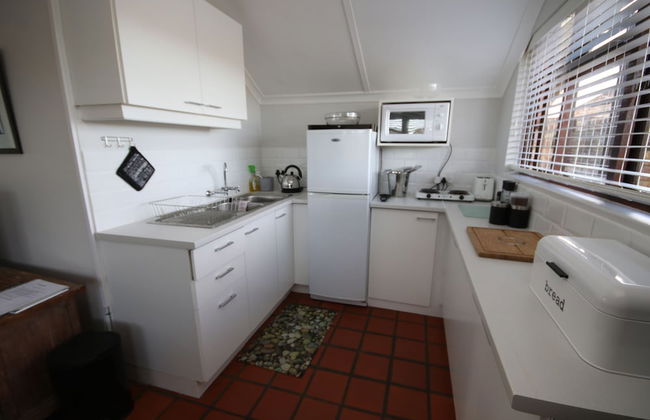
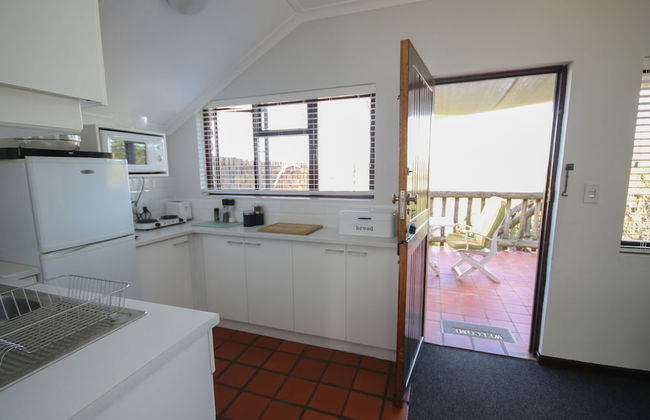

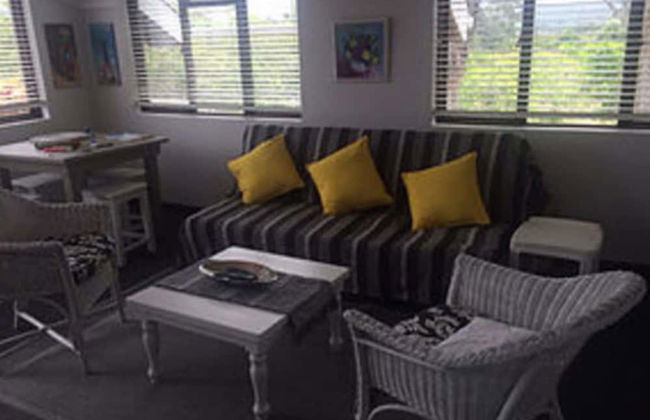

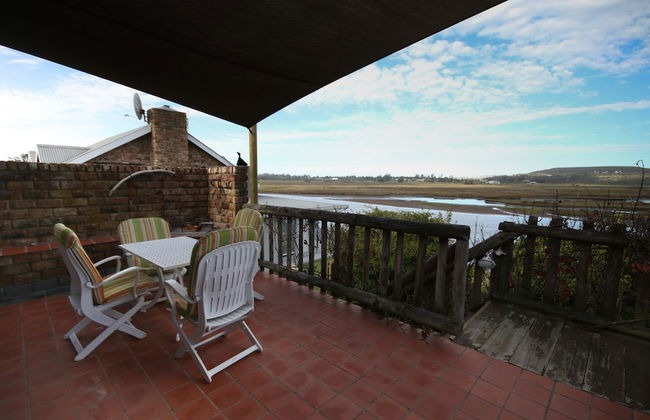
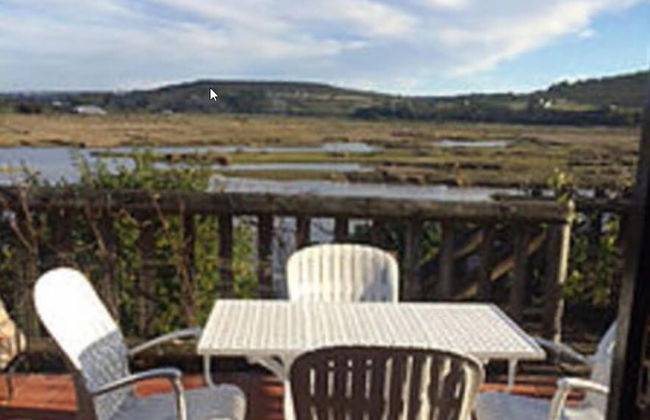


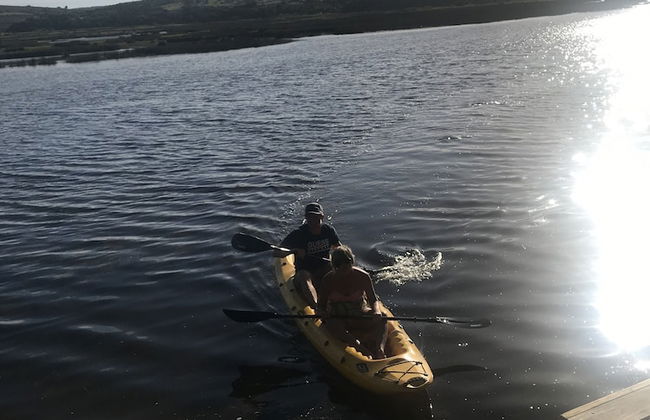


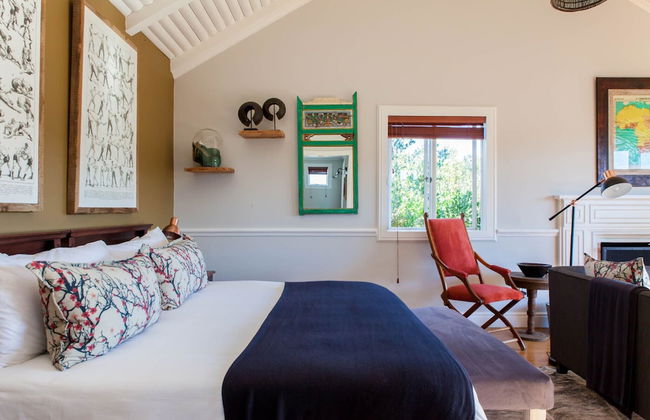
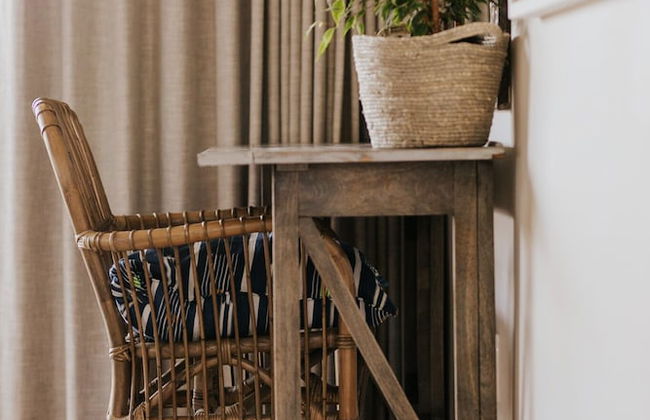
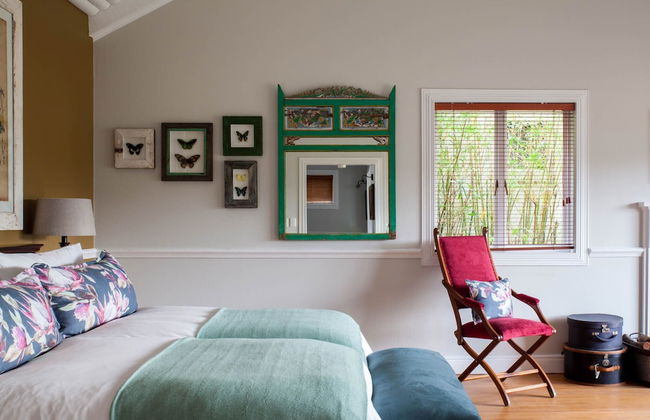
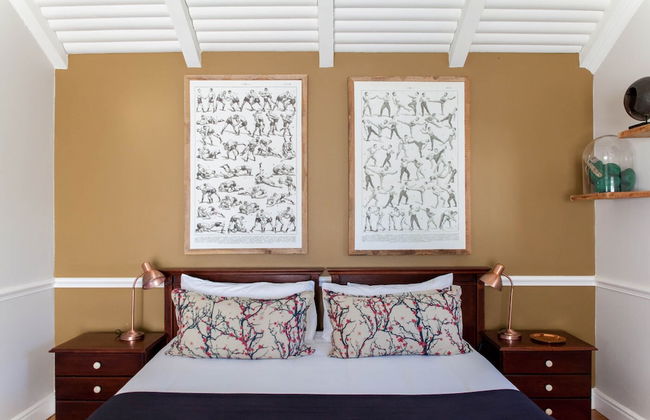
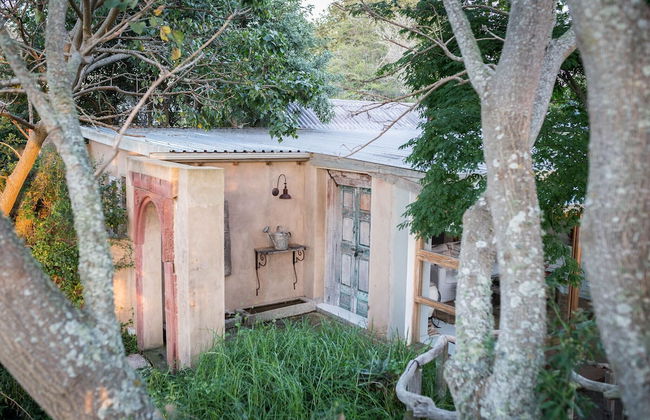
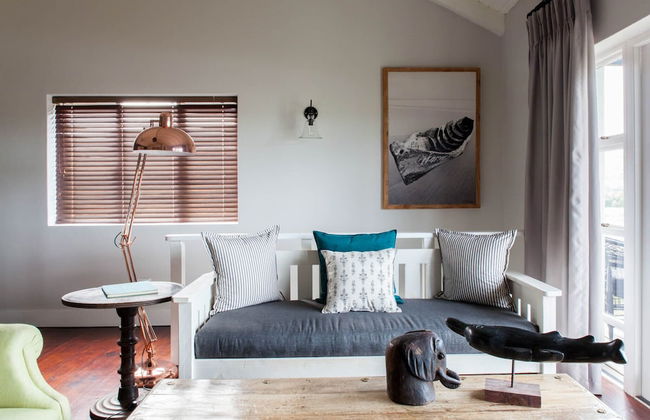
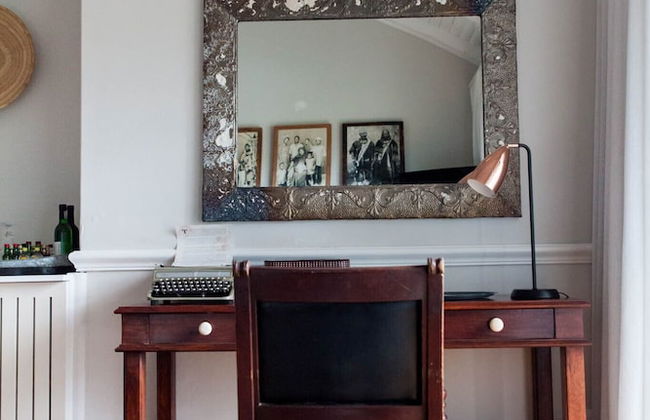
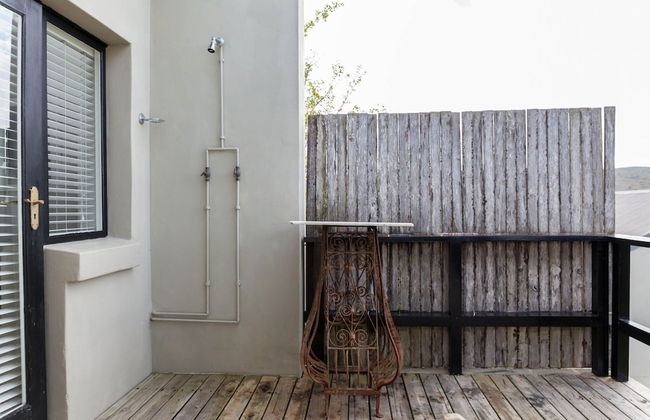
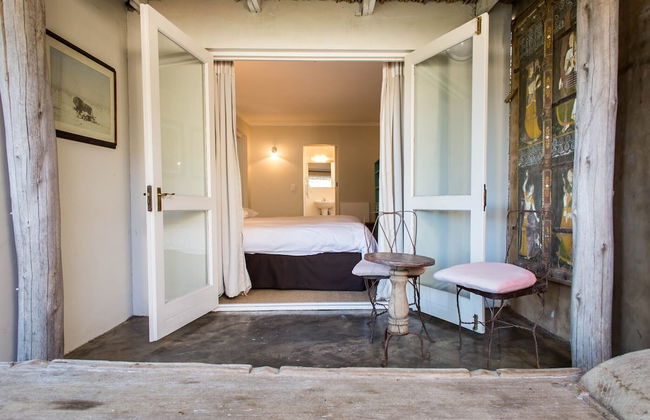
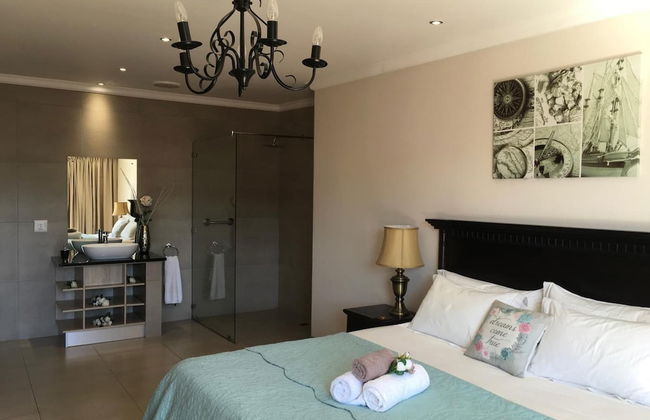
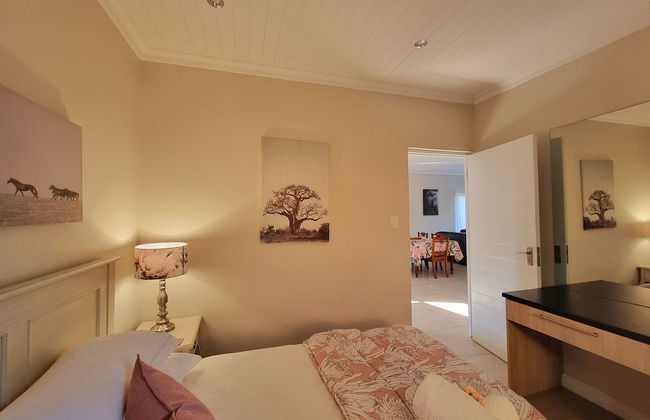
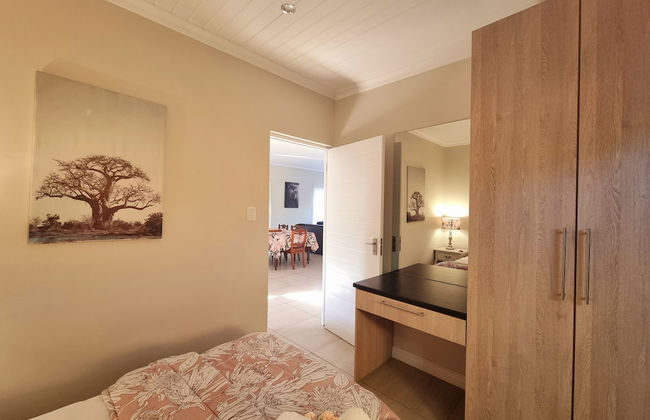
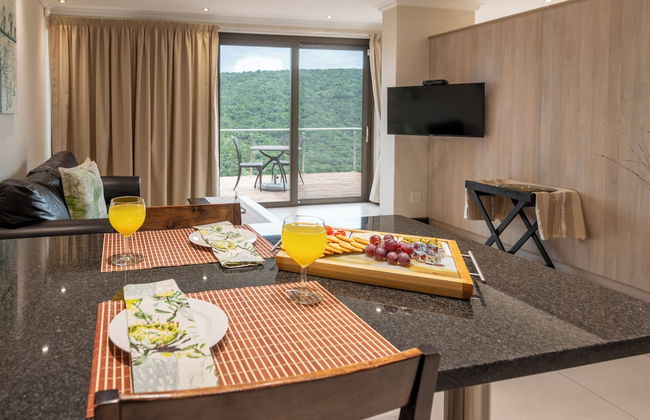
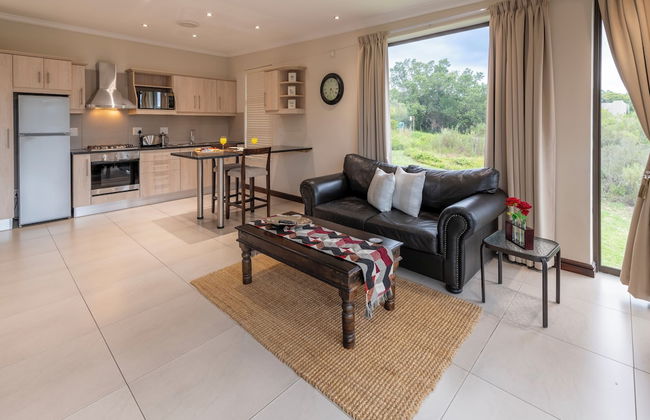
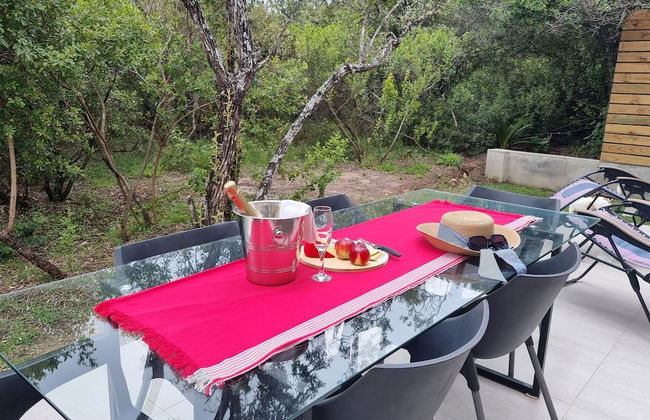
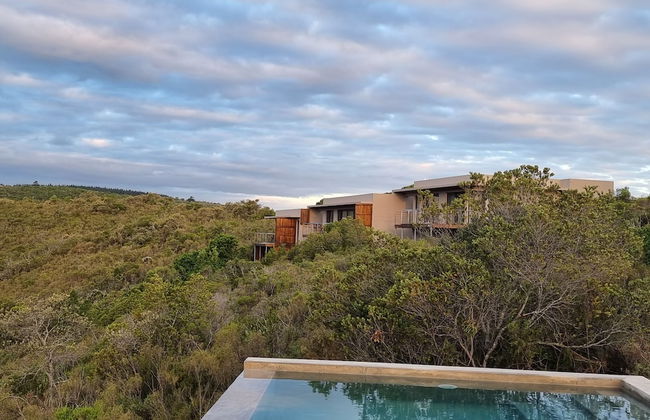
Moonriver Self-catering
Ganse Vallei - 1.7 km do centro
- 6 pessoas
- Kitchenette
- Aquecimento
- Estacionamento
- Varanda
- Tv
- Churrasco
- Toalhas
- Lençóis
1 avaliação