
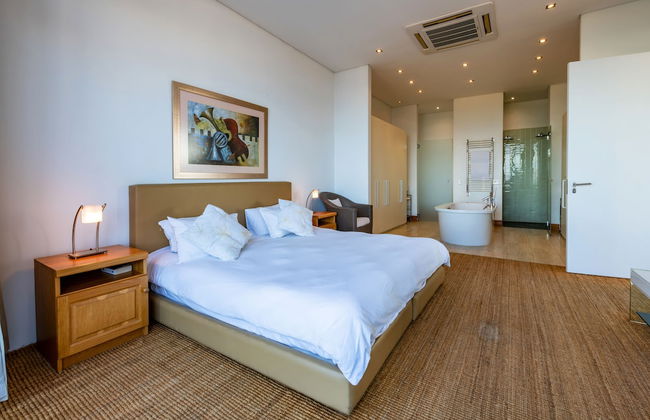
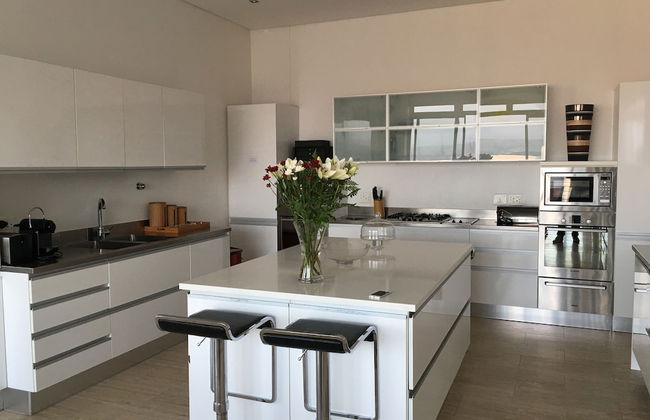
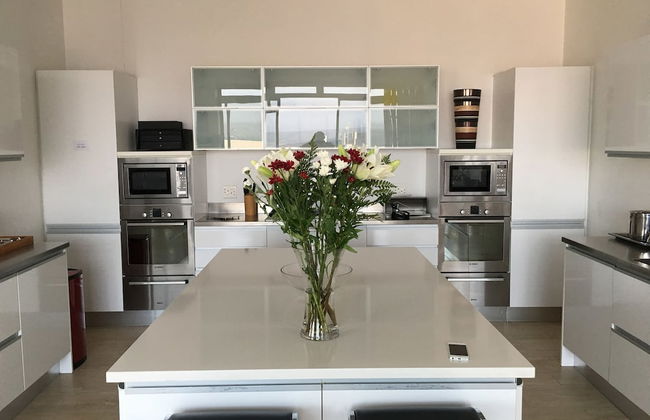
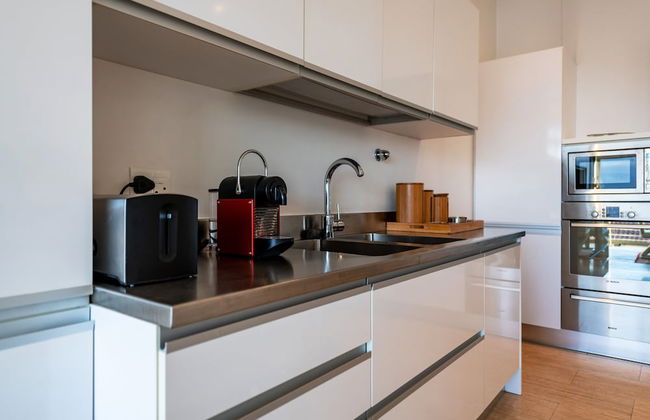
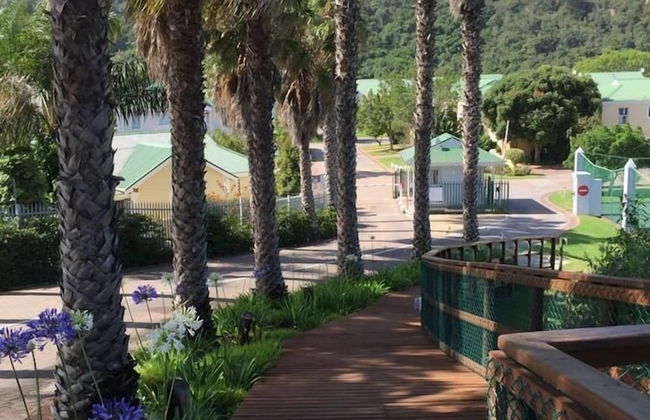
48 Apartamentos em Bitou


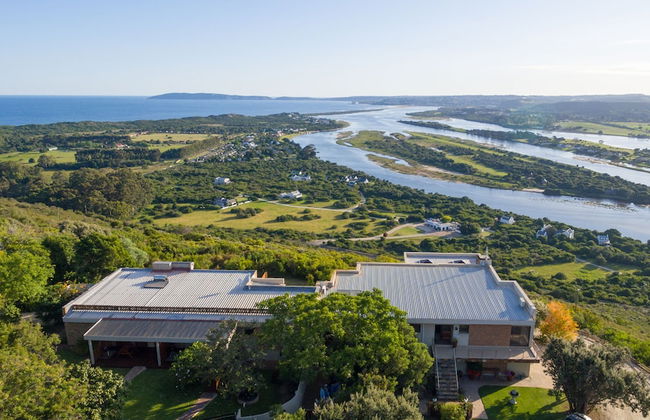


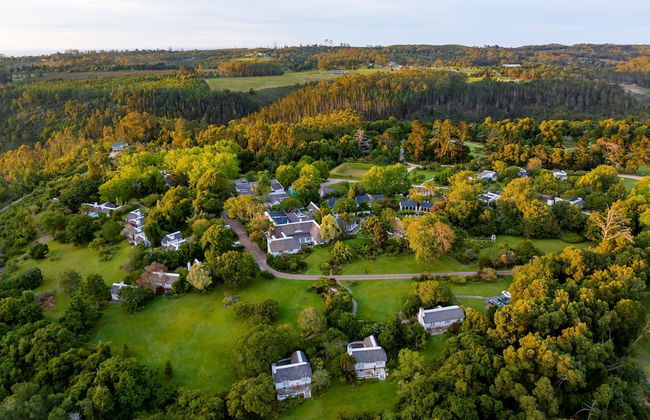
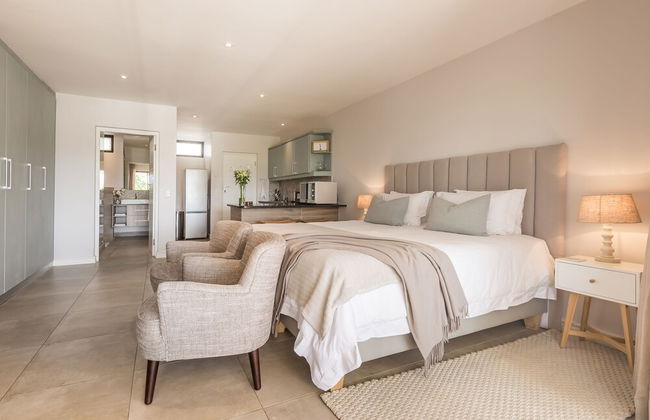
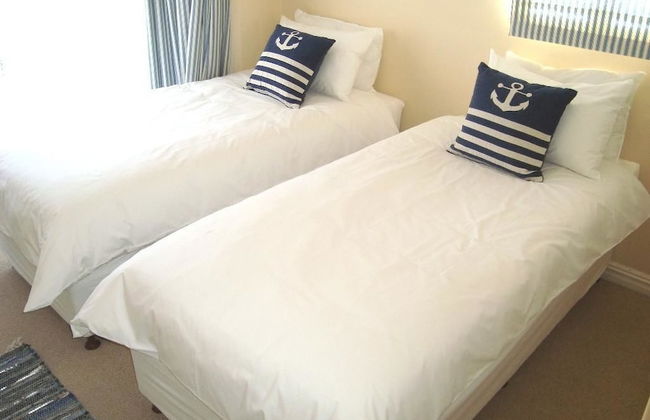
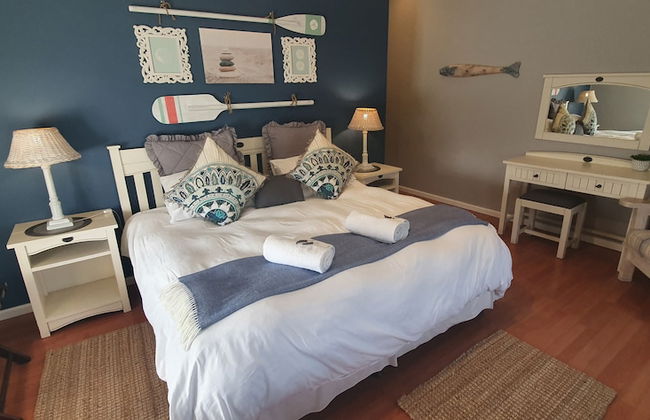
Alkantmooi Private Nature Reserve Keursee Units
Keurboomstrand
- 87 M2
- 4 pessoas
- Kitchenette
- Aquecimento
- Terraço
- Piscina
- Estacionamento
- Varanda
- Jardim
- Tv
- Churrasco
- Toalhas
- Lençóis
34 avaliações
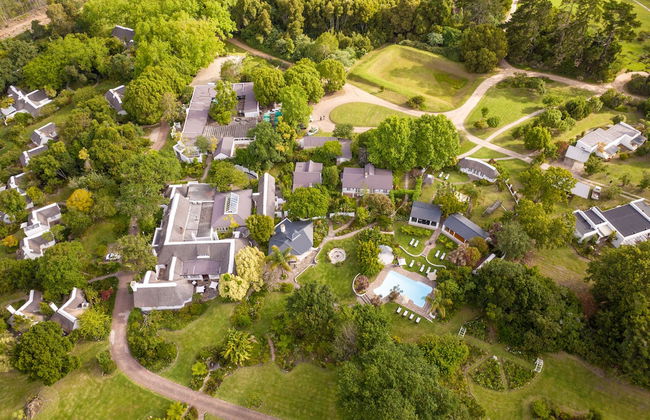
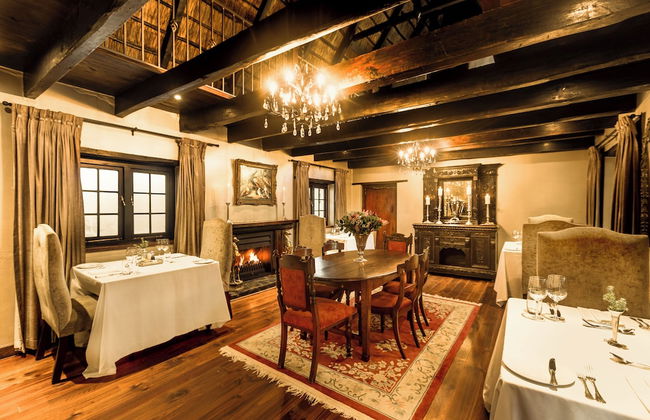
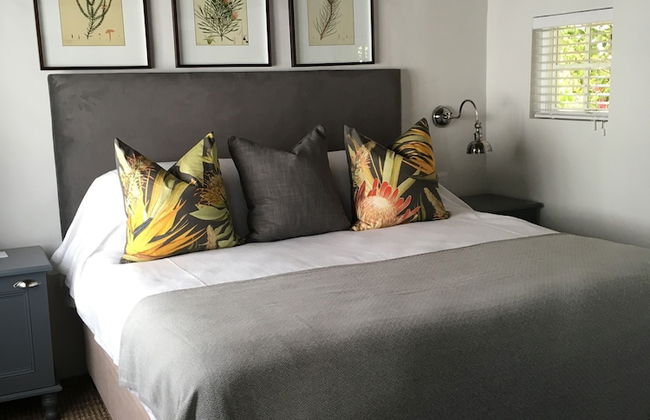
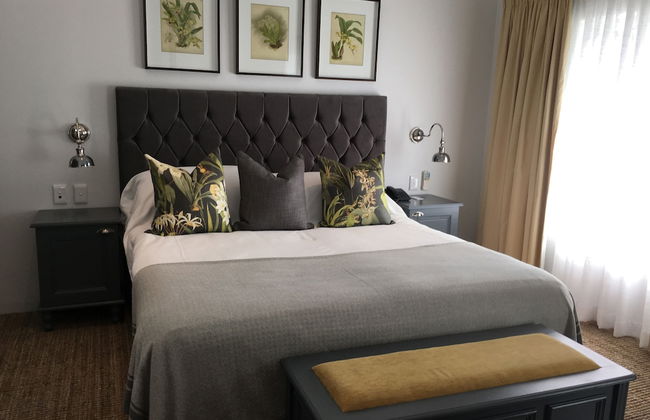
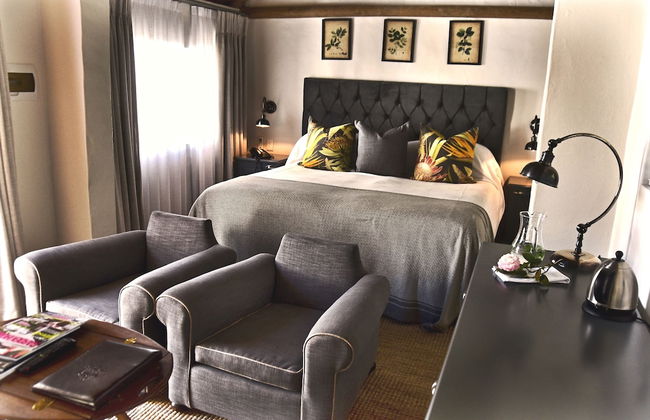
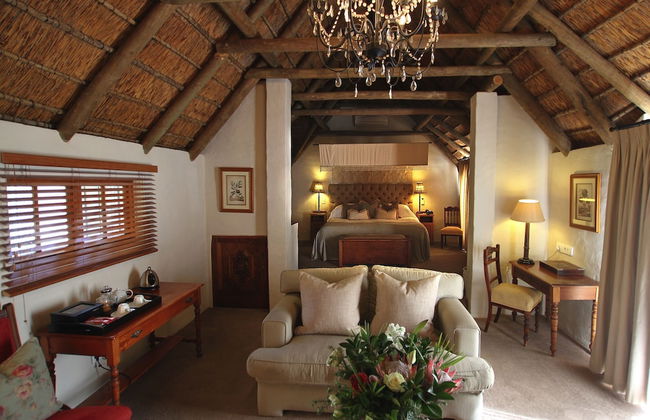

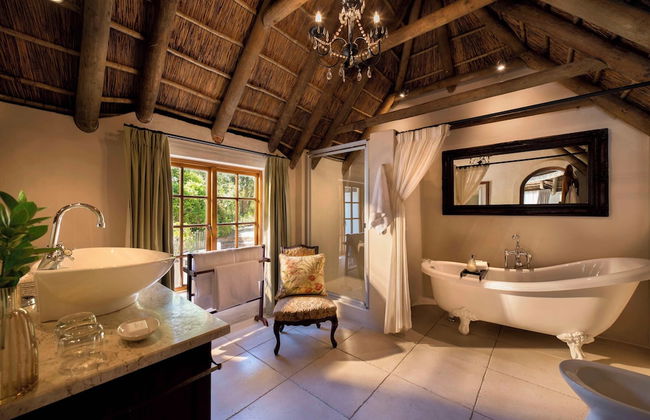


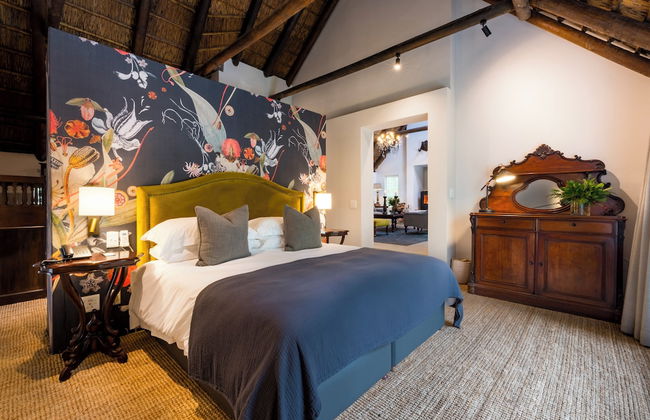

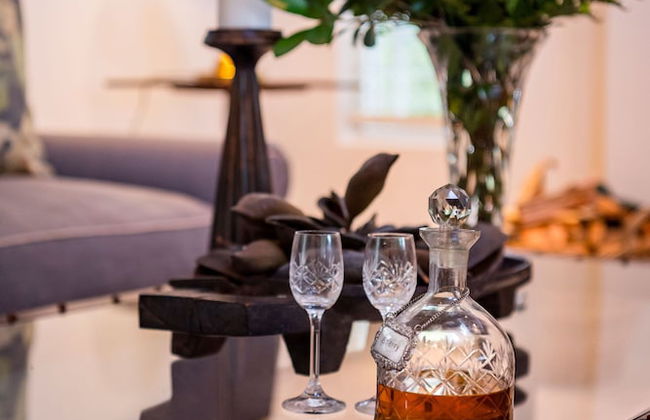
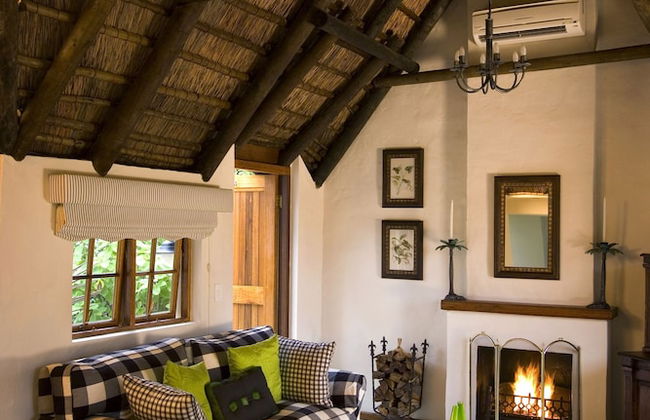

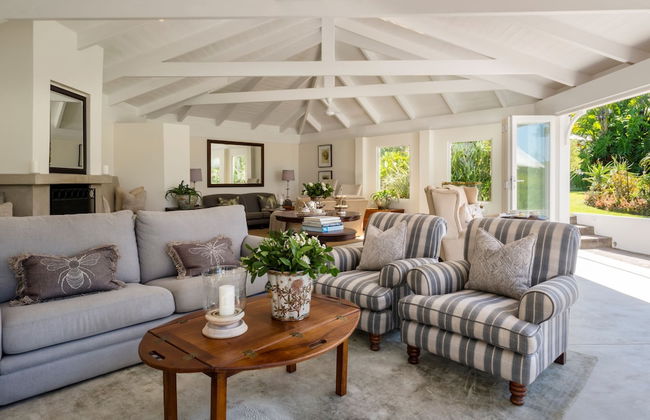


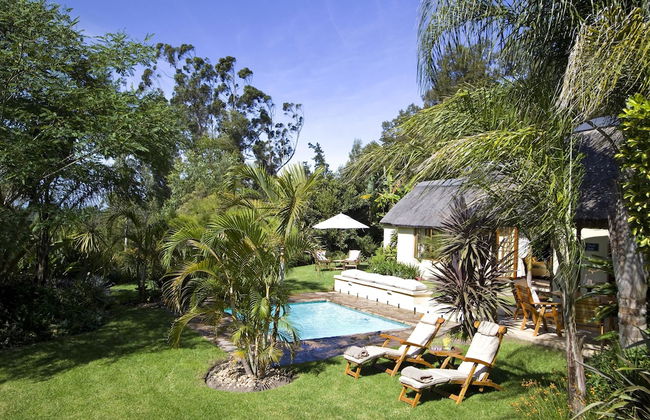
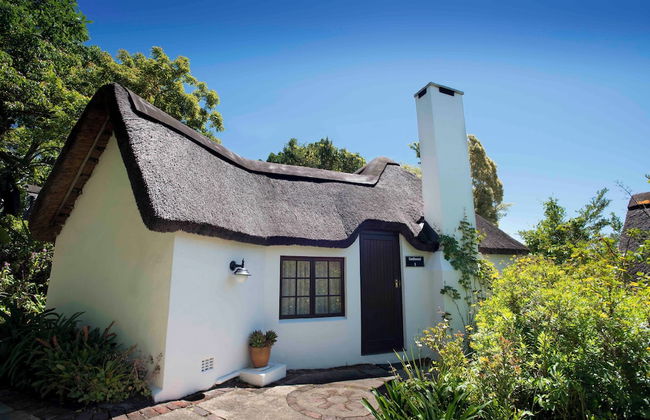
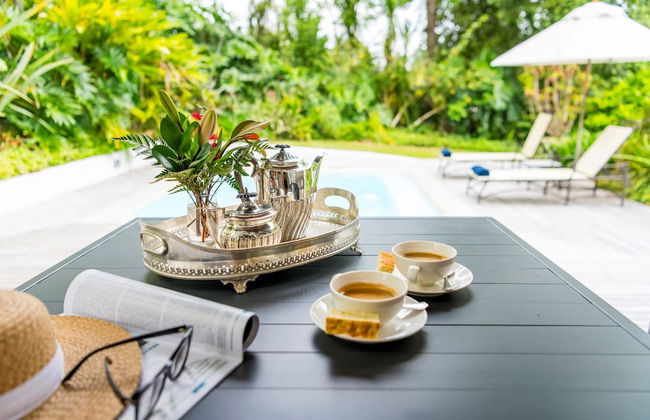


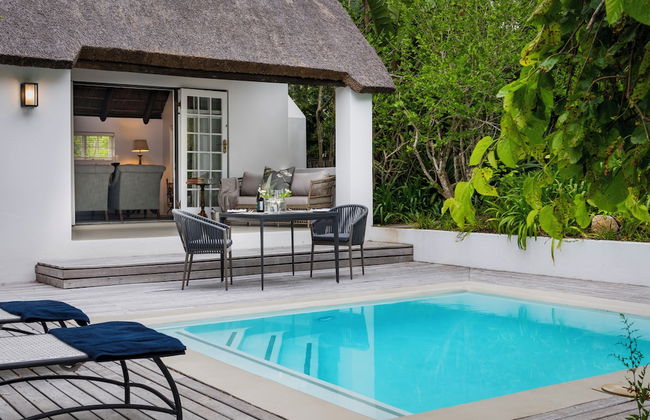


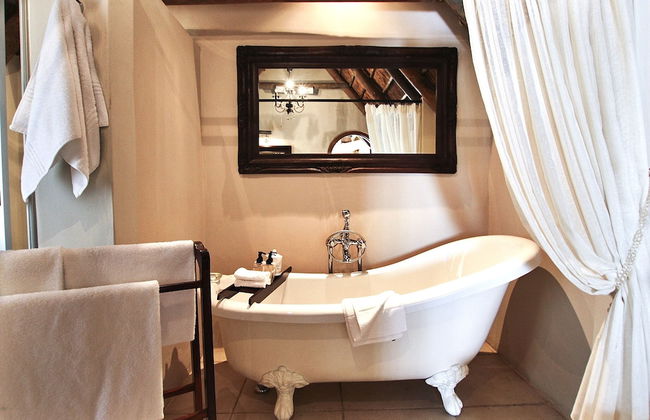


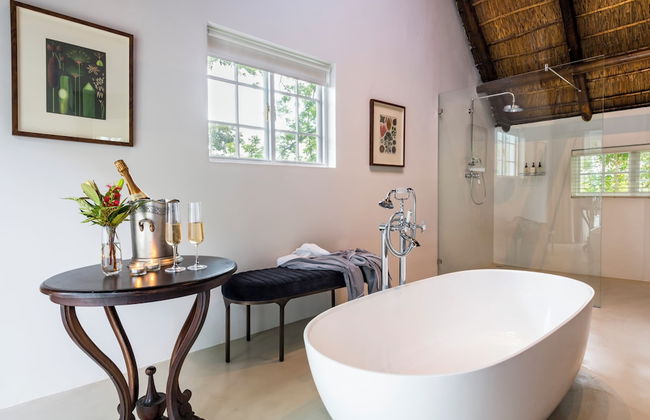


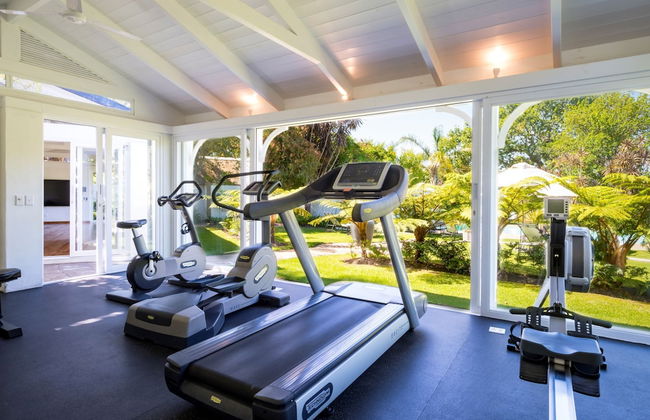


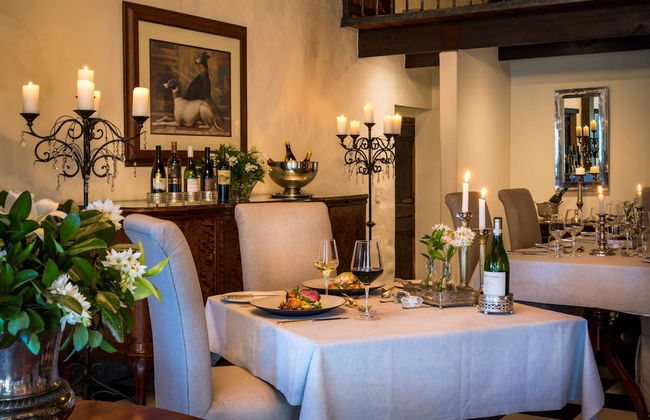


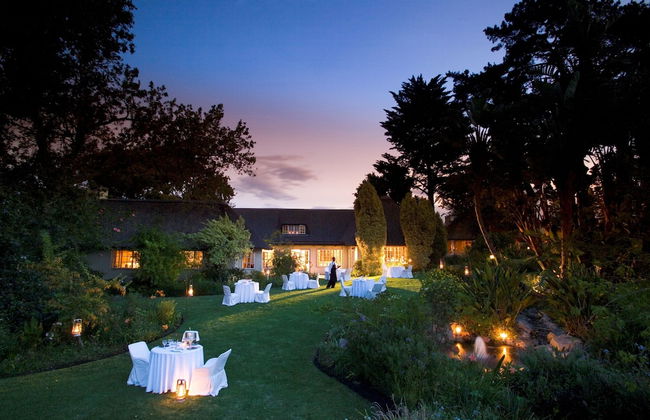


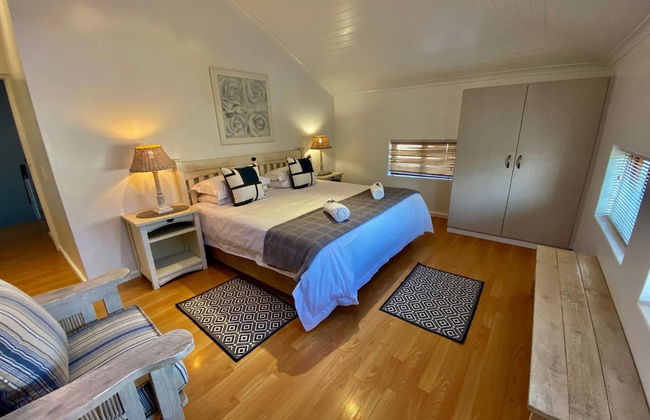
Hunter's Country House
Bitou - 10.3 km do centro
- 125 M2
- 4 pessoas
- Ar-condicionado
- Terraço
- Piscina
- Estacionamento
- Jardim
- Tv
- Chaminé
- Toalhas
- Lençóis
106 avaliações


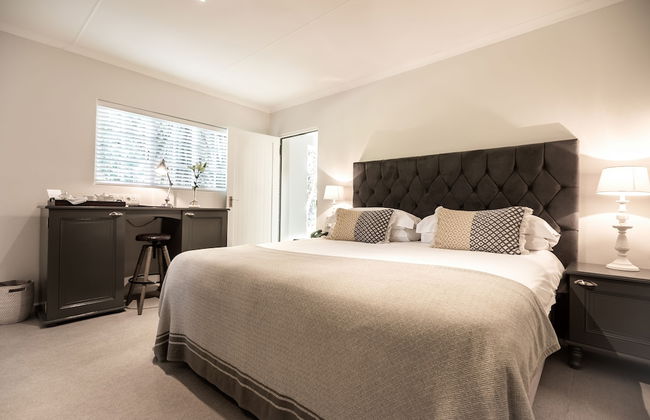
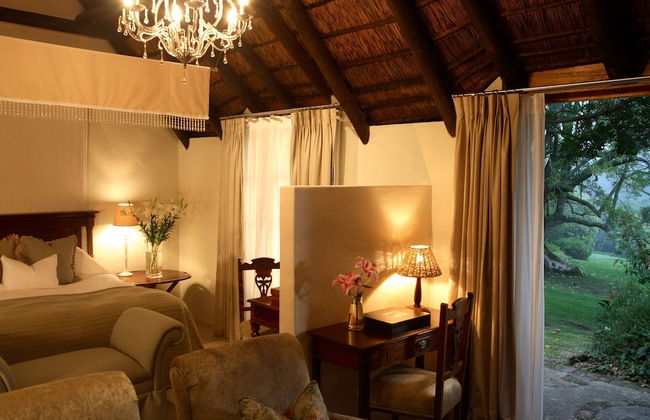
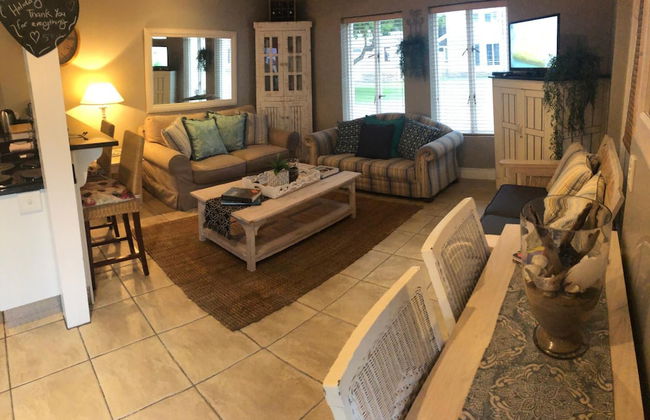
Lairds Lodge
Bitou - 12 km do centro
- 7 M2
- 2 pessoas
- Ar-condicionado
- Terraço
- Piscina
- Estacionamento
- Jardim
- Tv
- Toalhas
- Lençóis
34 avaliações


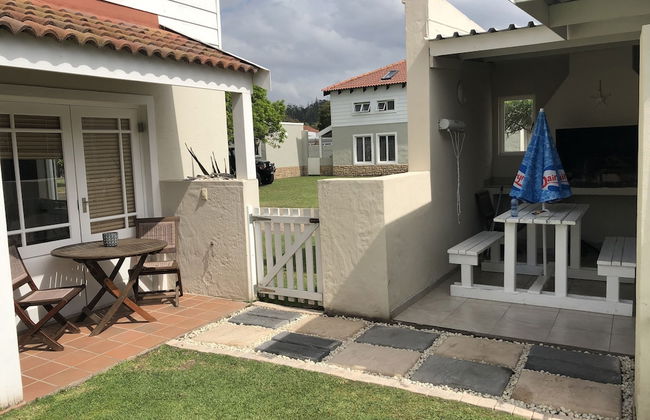
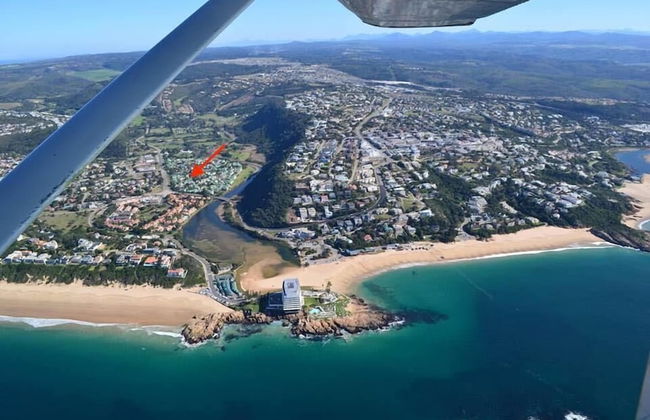
Sunrise Bay Self-Catering Accommodation
Greater Plettenberg Bay
- 4 pessoas
- Aquecimento
- Terraço
- Piscina
- Estacionamento
- Jardim
- Tv
- Churrasco
- Toalhas
- Lençóis
12 avaliações


Emily Moon River Lodge
Ganse Vallei - 1.3 km do centro
- 2 pessoas
- Ar-condicionado
- Terraço
- Piscina
- Estacionamento
- Varanda
- Jardim
- Tv
- Chaminé
- Toalhas
31 avaliações


Moon Shine on Whiskey Creek
Greater Plettenberg Bay
- 400 M2
- 10 pessoas
- Aquecimento
- Terraço
- Piscina
- Estacionamento
- Varanda
- Jardim
- Tv
- Chaminé
- Churrasco
- Toalhas
14 avaliações


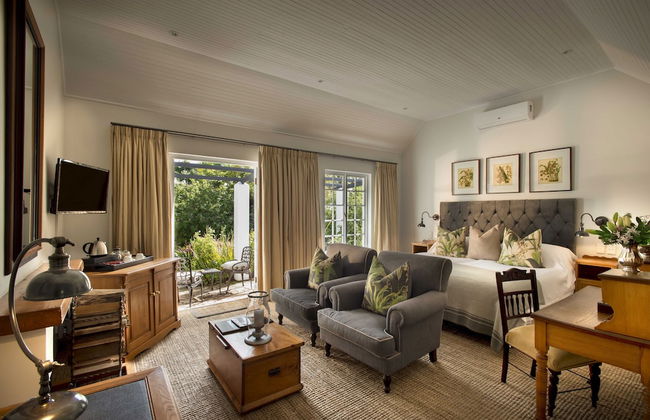
Lily Pond Country Lodge
Greater Plettenberg Bay - Heldehof
- 50 M2
- 3 pessoas
- Ar-condicionado
- Aquecimento
- Terraço
- Piscina
- Estacionamento
- Jardim
- Chaminé
- Toalhas
- Lençóis
22 avaliações


Alkantmooi Nature Reserve Keurkloof Units
Bitou - Keurboomstrand - 10.8 km do centro
- 4 pessoas
- Ar-condicionado
- Aquecimento
- Terraço
- Piscina
- Estacionamento
- Varanda
- Jardim
- Tv
- Churrasco
- Toalhas
11 avaliações
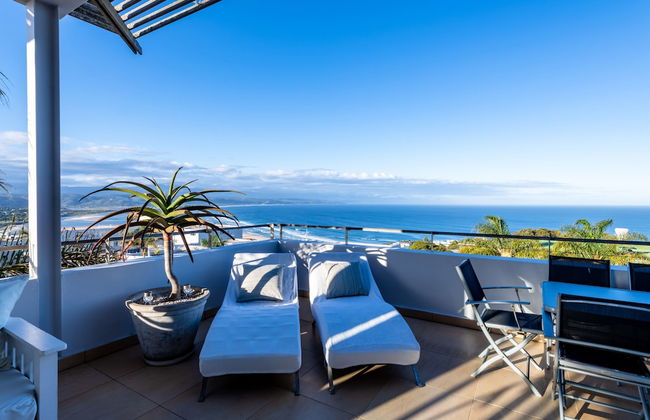
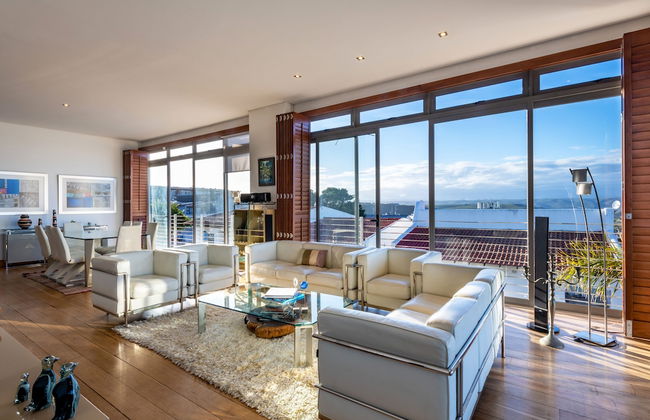


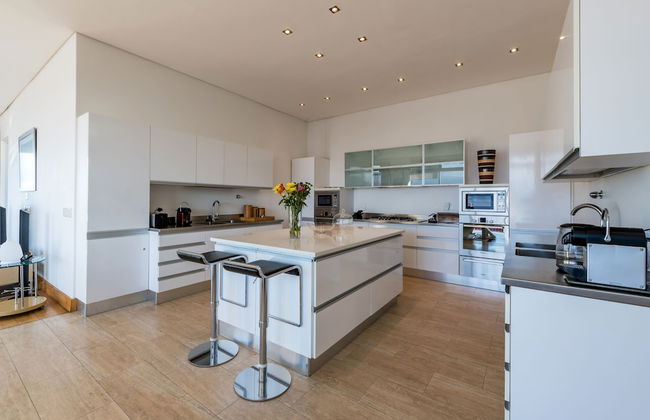


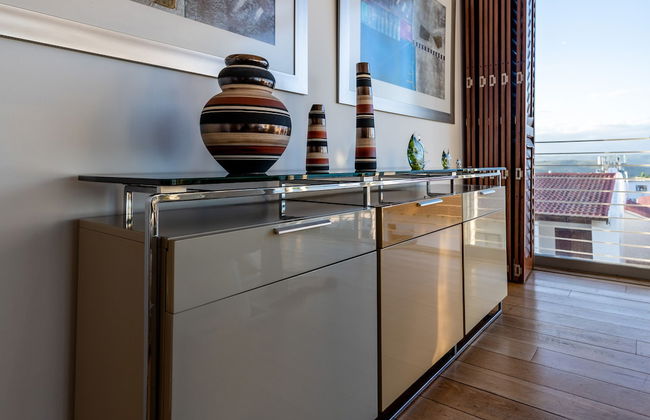
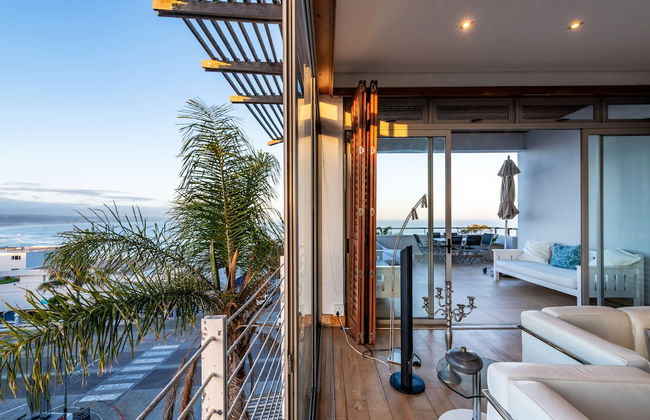


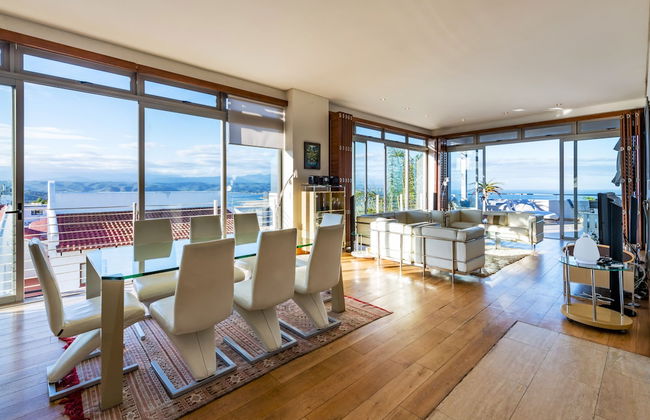
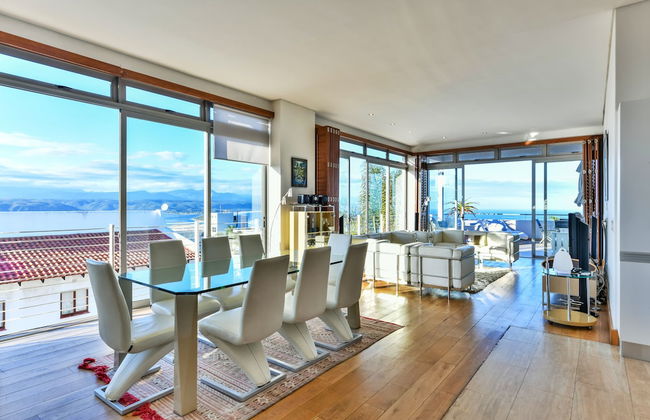


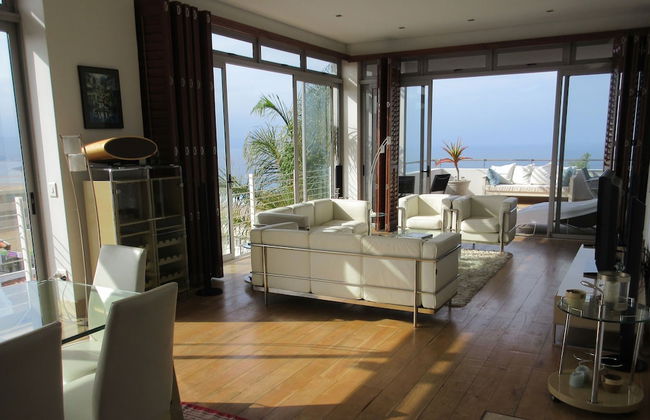
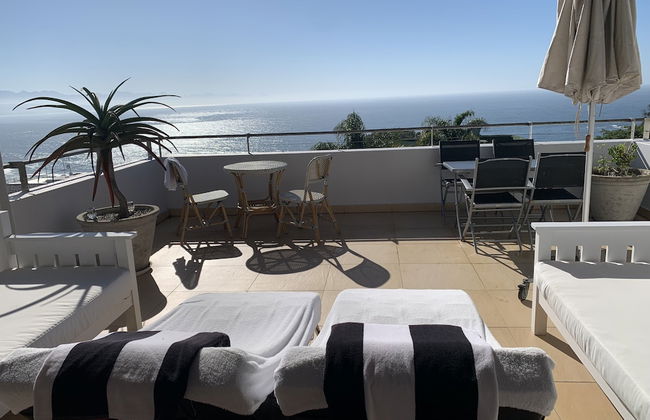

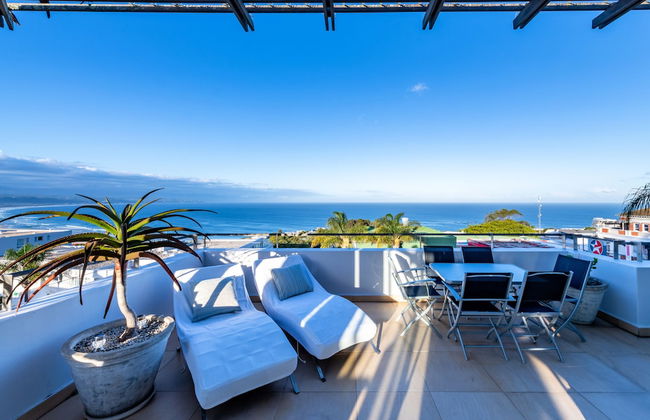
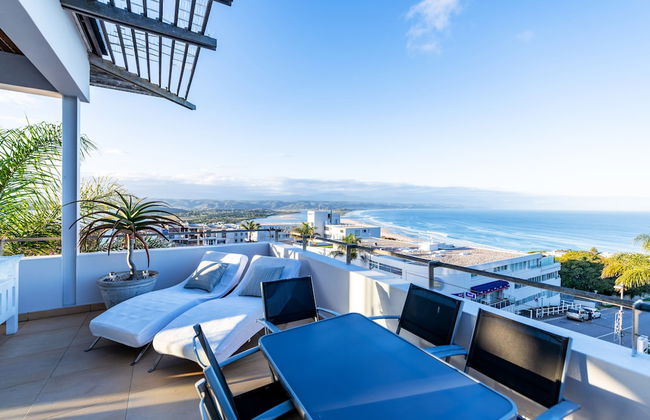
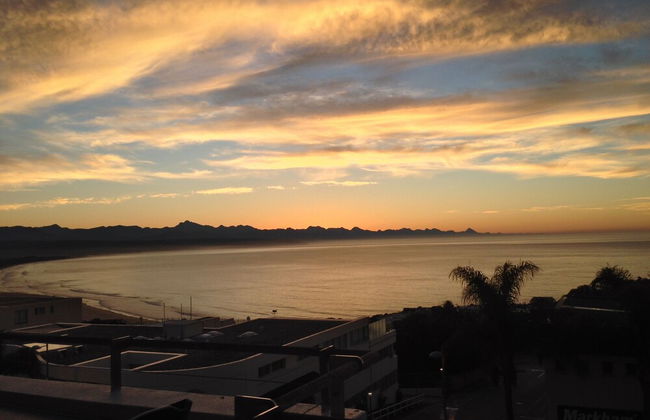
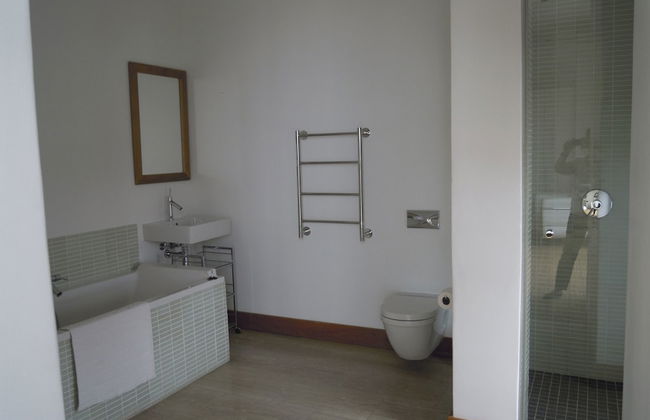

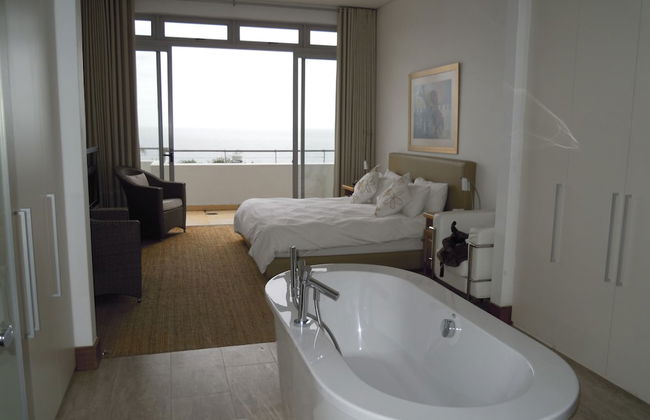


PENTHOUSE 230m2 ON THE SEA
Greater Plettenberg Bay
- 230 M2
- 6 pessoas
- Ar-condicionado
- Aquecimento
- Terraço
- Piscina
- Estacionamento
- Elevador
- Tv
- Máquina de lavar roupa
- Churrasco
- Toalhas
- Lençóis
4 avaliações


Summer Sea
Greater Plettenberg Bay
- 2 pessoas
- Aquecimento
- Estacionamento
- Elevador
- Tv
- Máquina de lavar roupa
- Toalhas
- Lençóis
3 avaliações


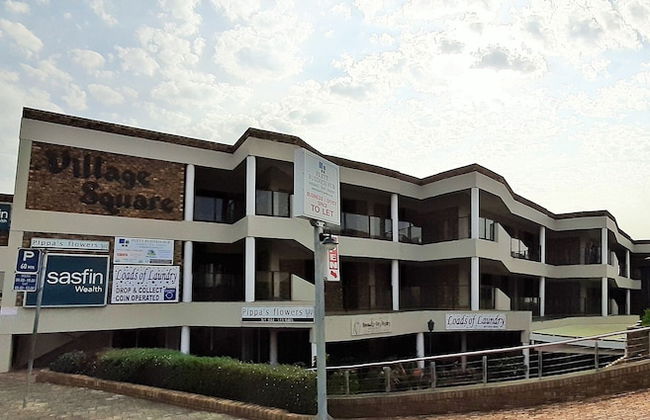
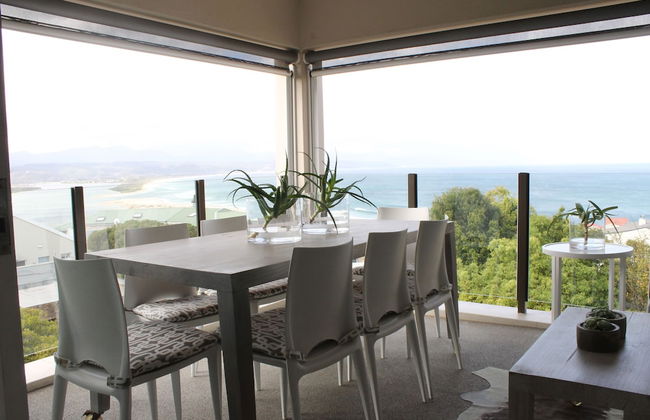
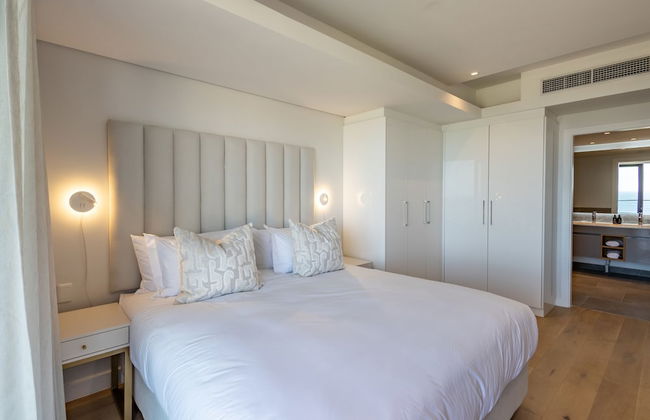
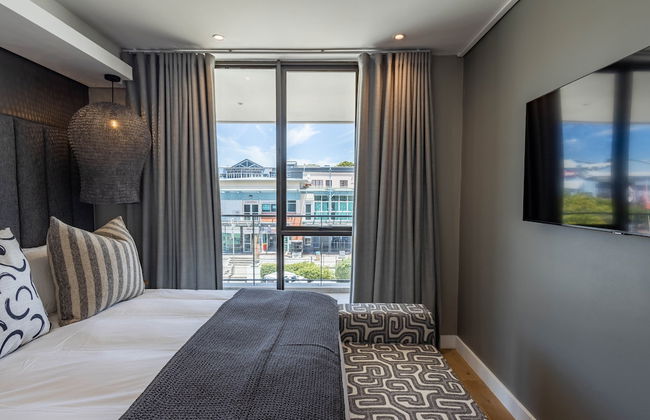
Village Square 10
Greater Plettenberg Bay
- 2 pessoas
- Aquecimento
- Terraço
- Estacionamento
- Varanda
- Tv
- Máquina de lavar roupa
- Chaminé
- Churrasco
- Toalhas
- Lençóis
2 avaliações


Plett Quarter Apartments
Greater Plettenberg Bay
- 8 pessoas
- Ar-condicionado
- Aquecimento
- Piscina
- Estacionamento
- Tv
- Máquina de lavar roupa
- Toalhas
- Lençóis
8 avaliações


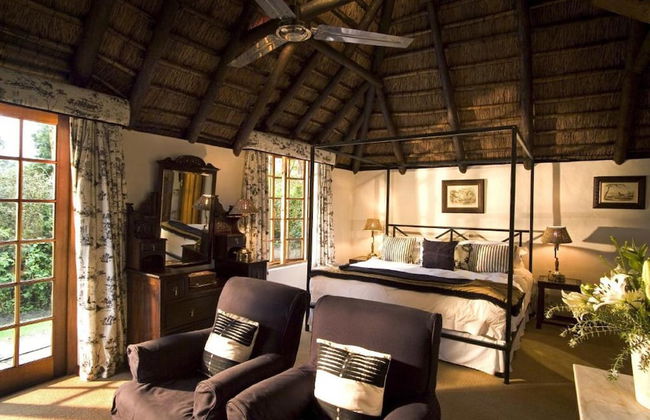
Treehouse Cottage
Greater Plettenberg Bay
- 12 M2
- 4 pessoas
- Aquecimento
- Terraço
- Estacionamento
- Varanda
- Jardim
- Tv
- Churrasco
- Toalhas
- Lençóis
4 avaliações


River Club 4216
Greater Plettenberg Bay
- 7 pessoas
- Aquecimento
- Terraço
- Piscina
- Estacionamento
- Jardim
- Tv
- Máquina de lavar roupa
- Chaminé
- Churrasco
- Toalhas
- Lençóis
2 avaliações


Coral Tree Cottages
Greater Plettenberg Bay
- 120 M2
- 6 pessoas
- Aquecimento
- Terraço
- Piscina
- Jardim
- Tv
- Churrasco
- Toalhas
- Lençóis
5 avaliações


The Dunes Resort 80
Keurboomstrand
- 6 pessoas
- Ar-condicionado
- Aquecimento
- Terraço
- Piscina
- Estacionamento
- Varanda
- Jardim
- Tv
- Máquina de lavar roupa
- Chaminé
- Churrasco
- Toalhas
- Lençóis
4 avaliações


Moonriver Self-catering
Ganse Vallei - 1.7 km do centro
- 6 pessoas
- Kitchenette
- Aquecimento
- Estacionamento
- Varanda
- Tv
- Churrasco
- Toalhas
- Lençóis
3 avaliações


Village Square 6
Greater Plettenberg Bay
- 2 pessoas
- Aquecimento
- Terraço
- Estacionamento
- Varanda
- Tv
- Máquina de lavar roupa
- Churrasco
- Toalhas
- Lençóis
2 avaliações


20 River Club Villas
Greater Plettenberg Bay
- 4 pessoas
- Aquecimento
- Terraço
- Piscina
- Estacionamento
- Tv
- Máquina de lavar roupa
- Churrasco
- Toalhas
- Lençóis
1 avaliação


