
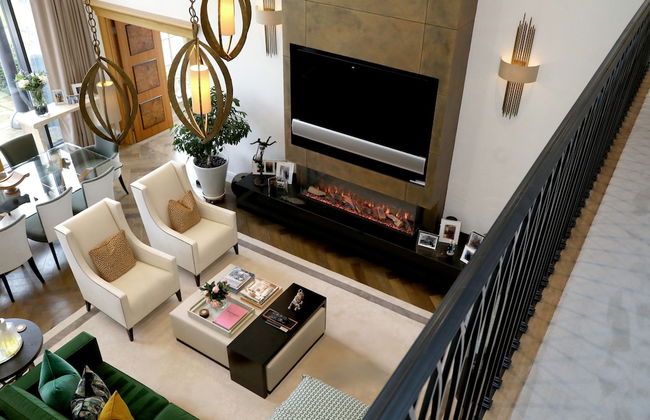
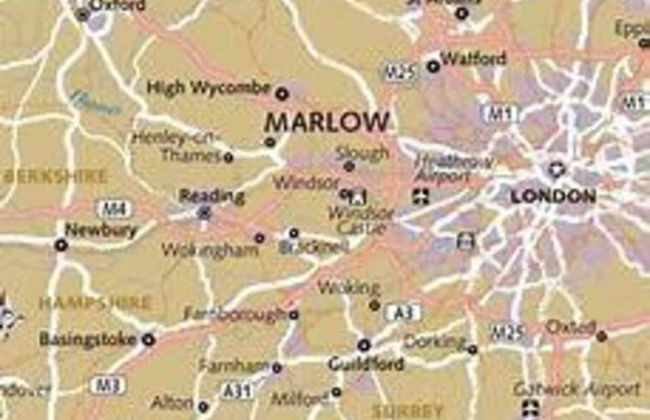
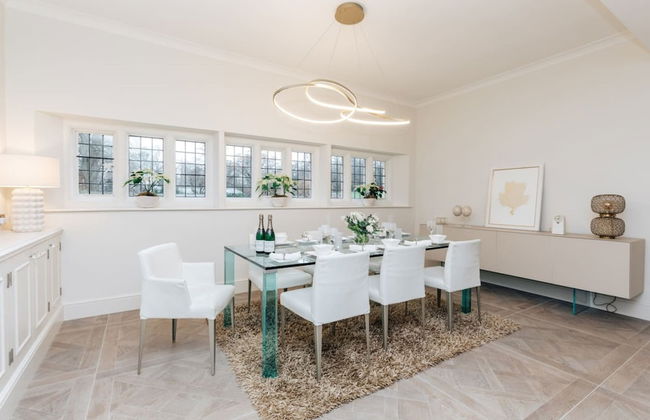
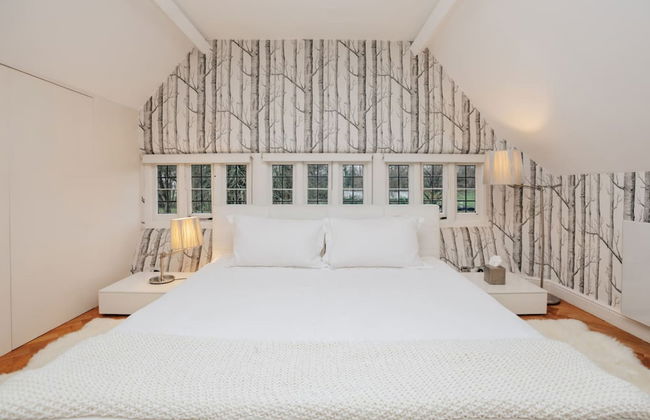
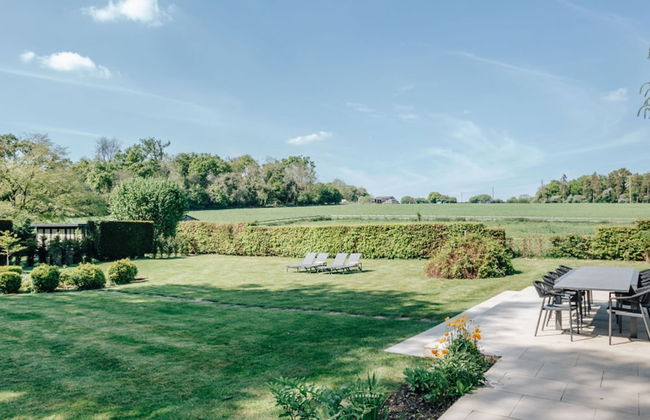
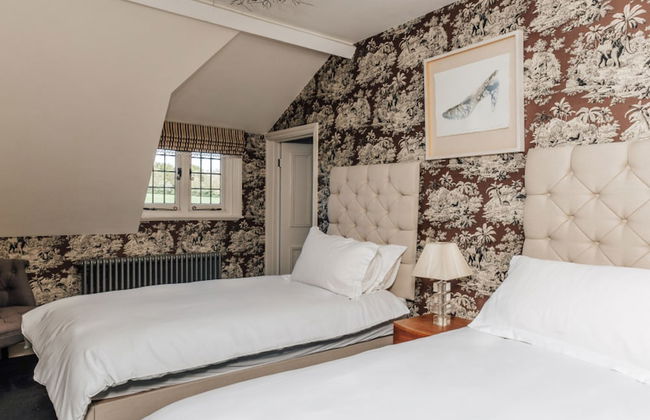
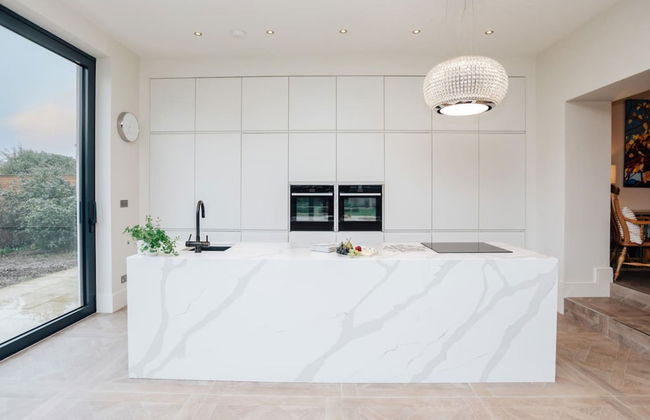
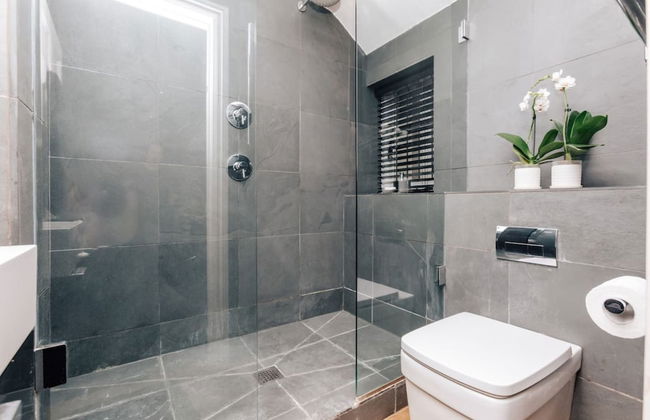
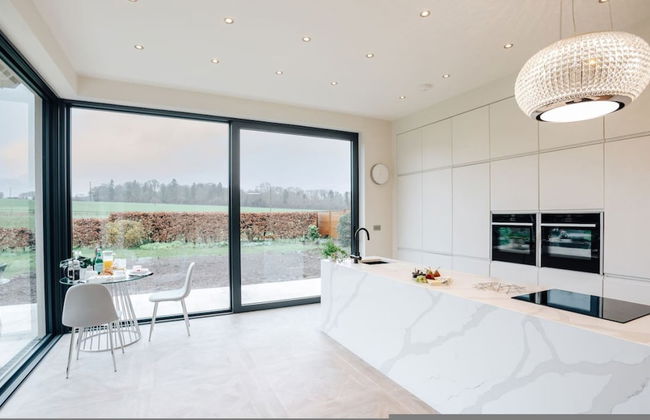
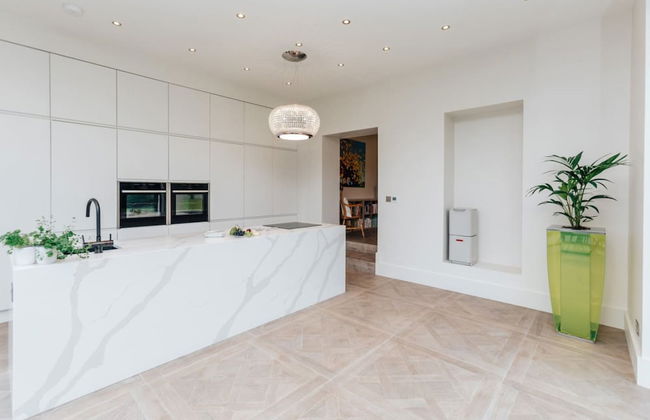
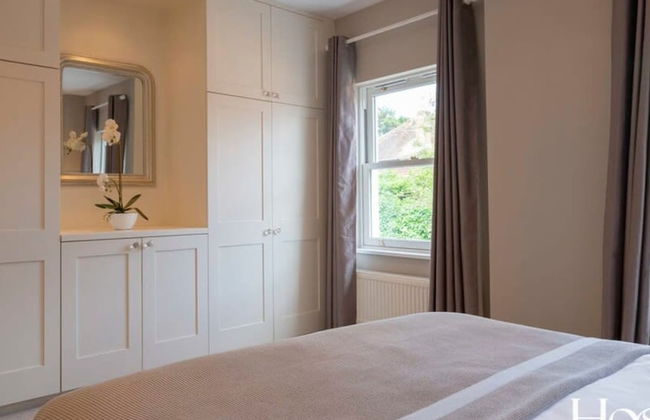
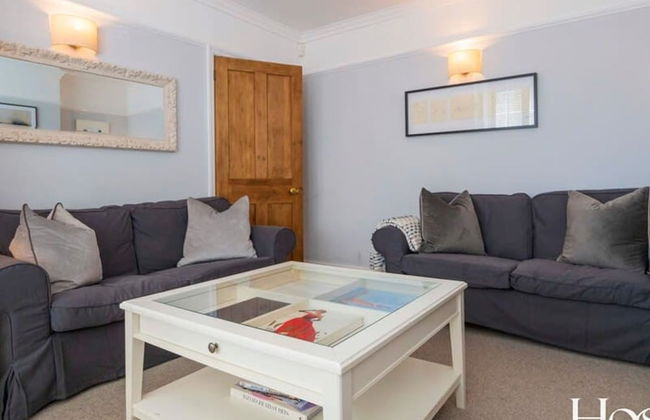
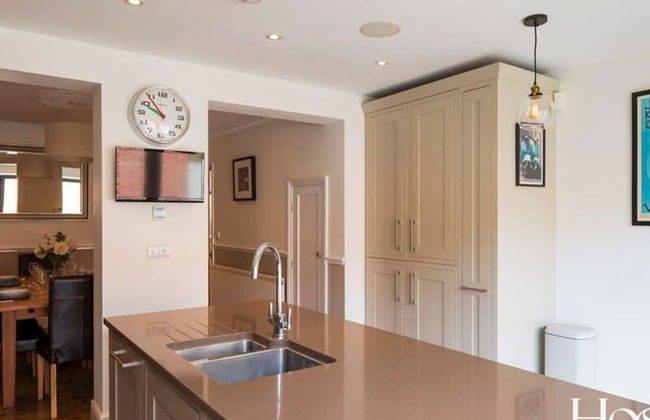
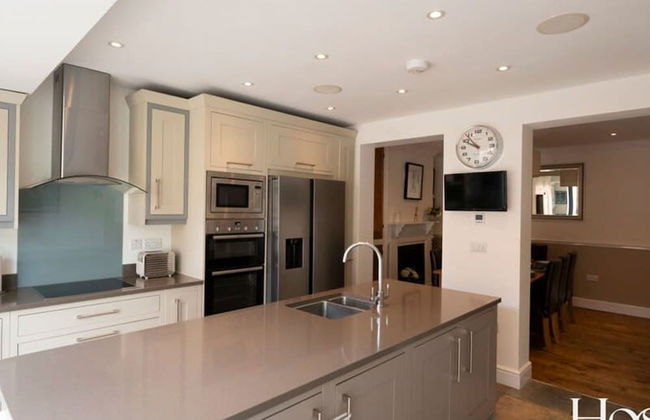
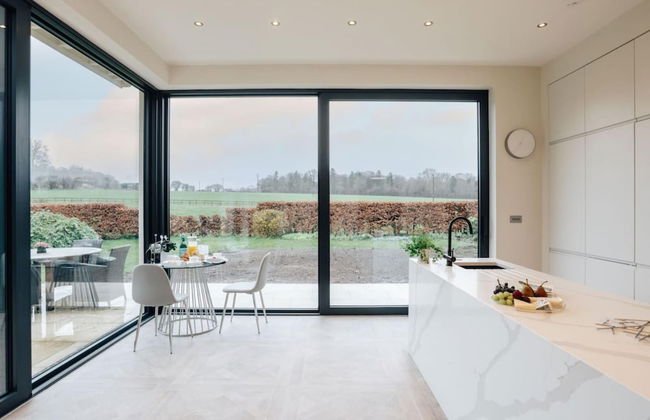
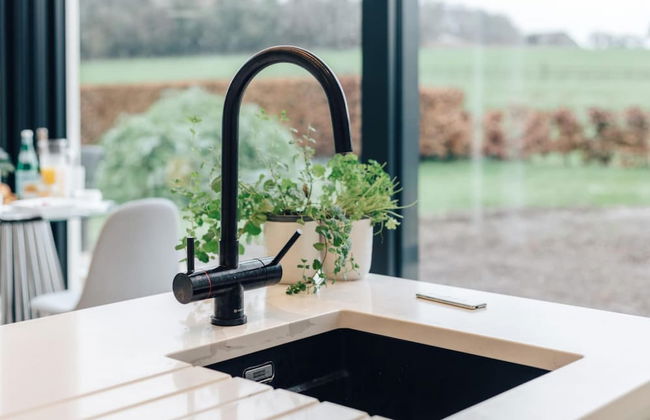
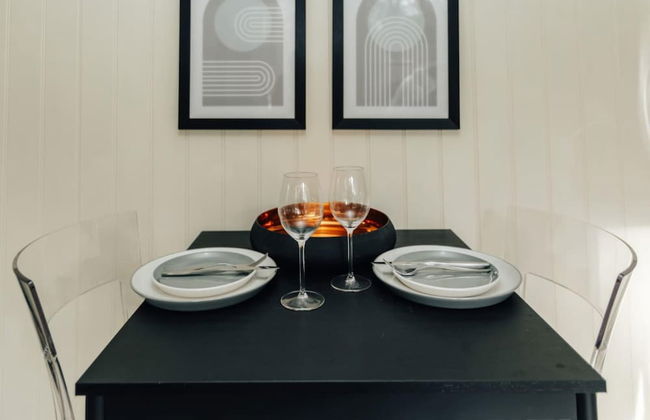
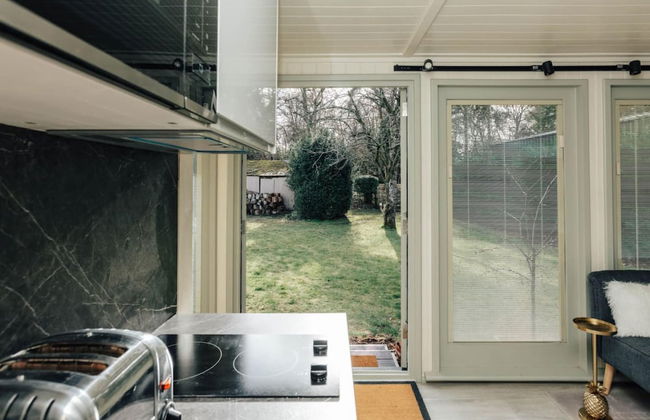
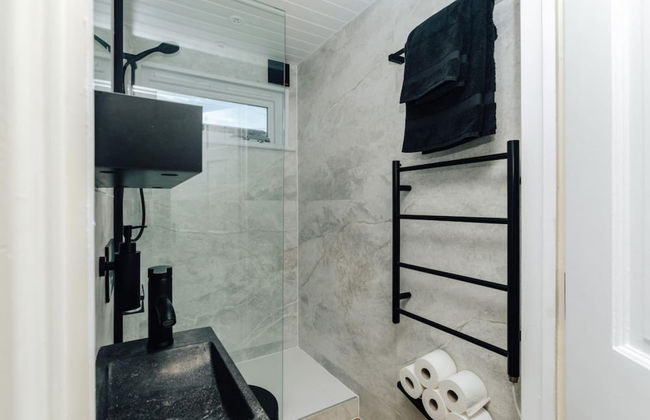
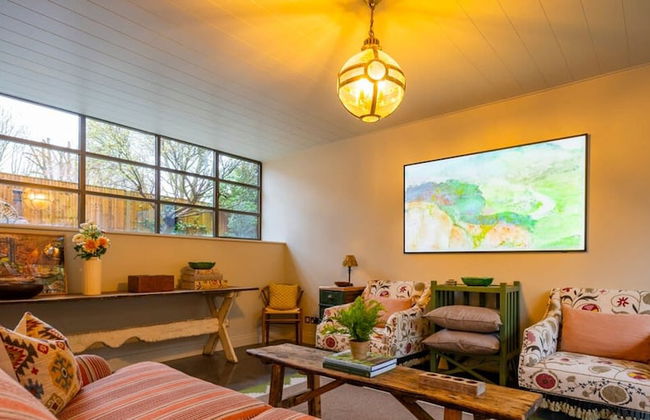
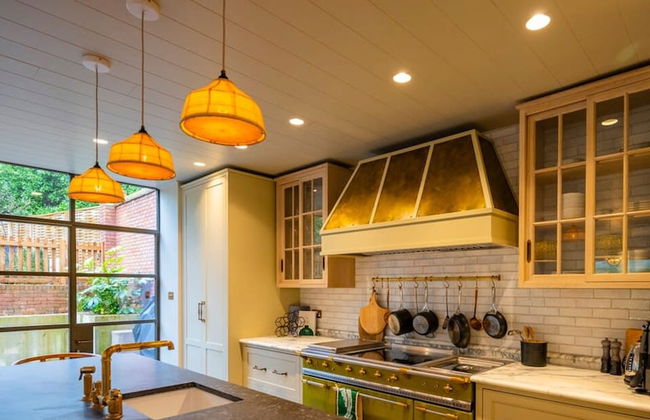
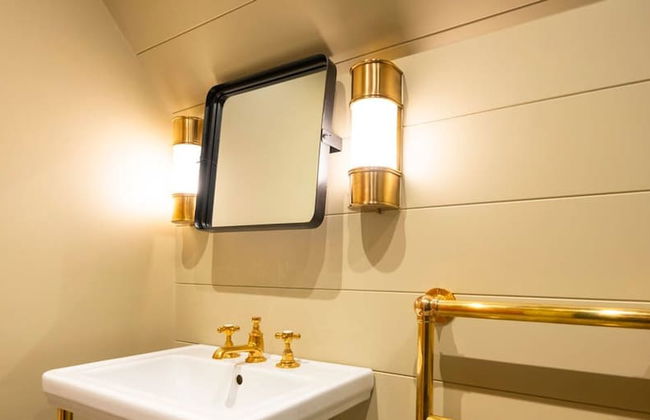
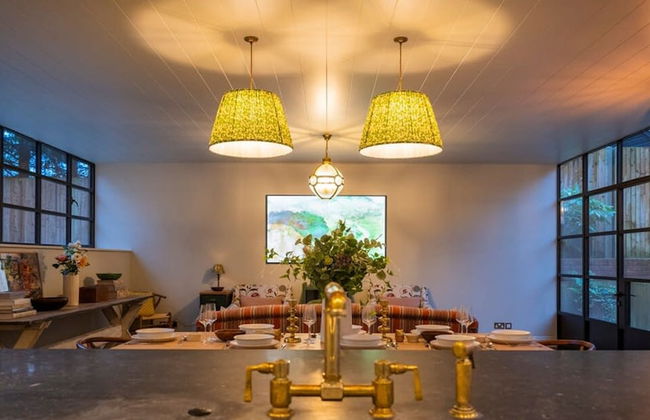
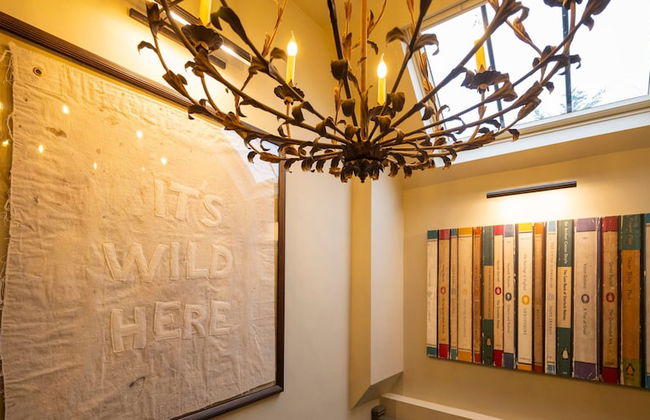
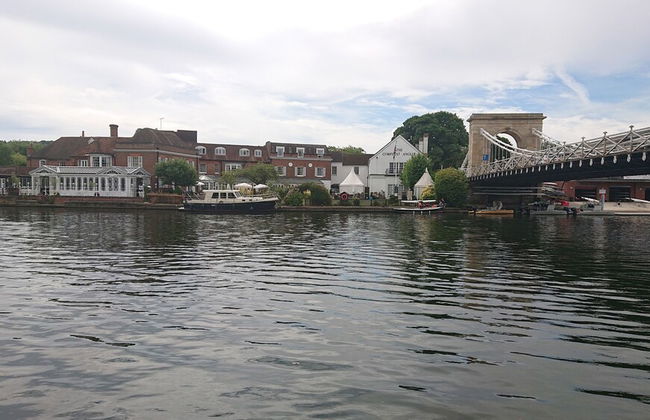
11 Apartamentos em Marlow


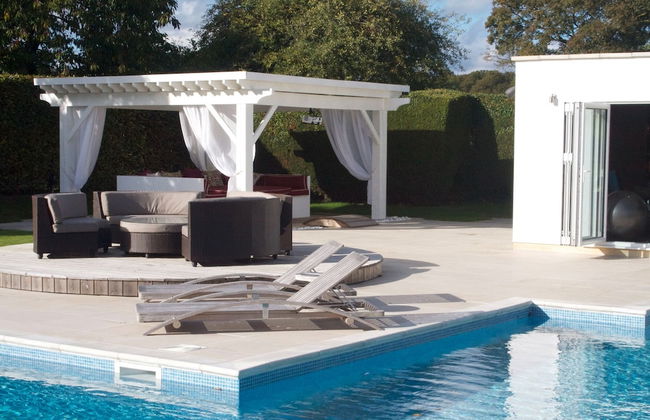


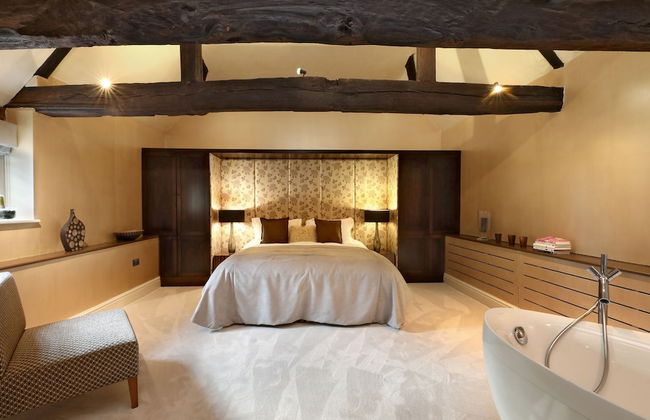

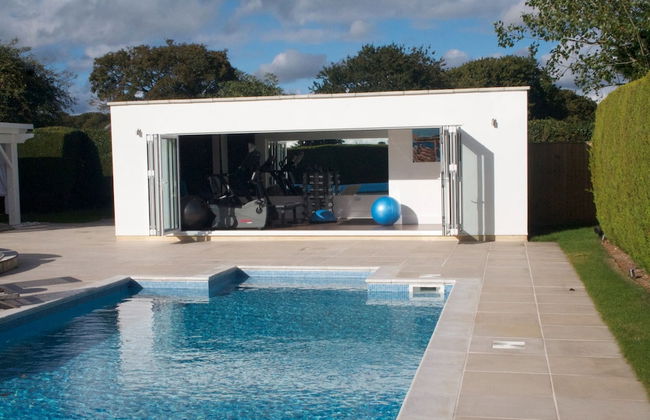


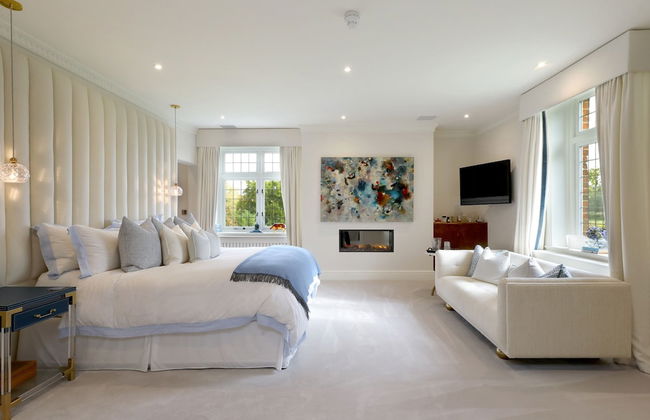
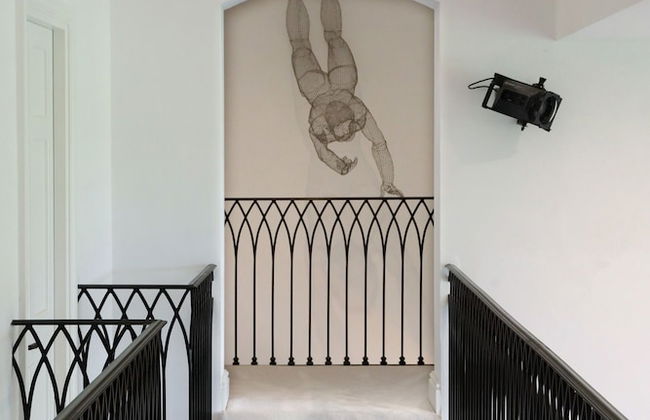
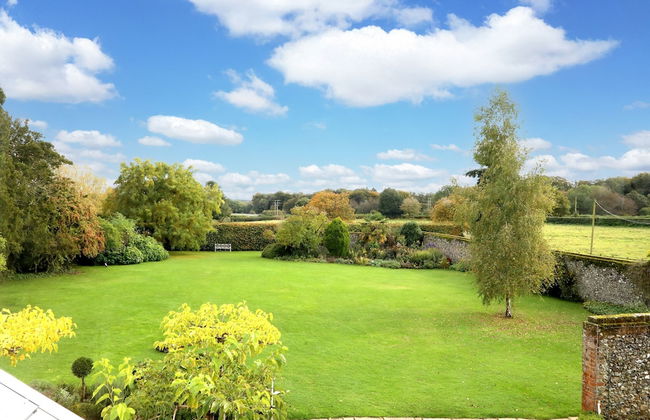


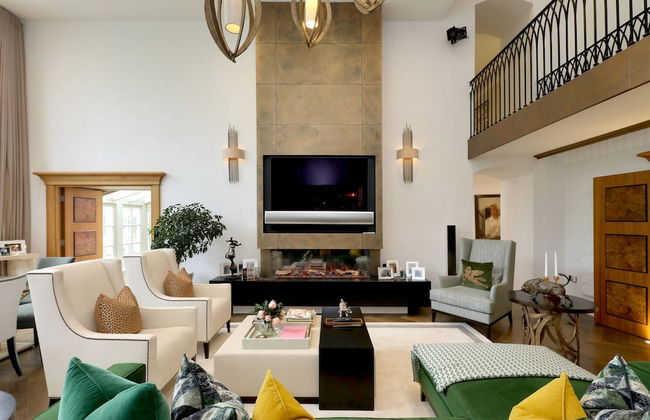


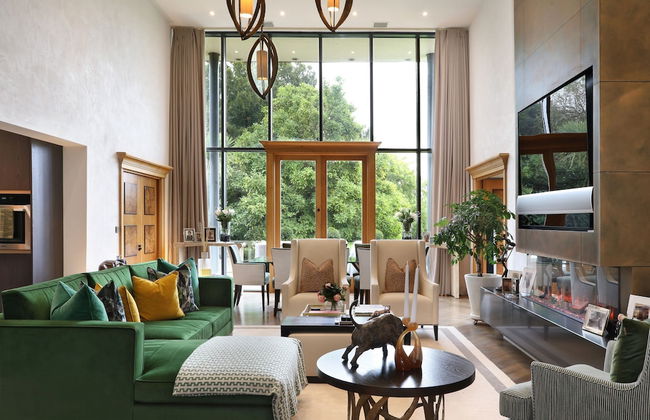

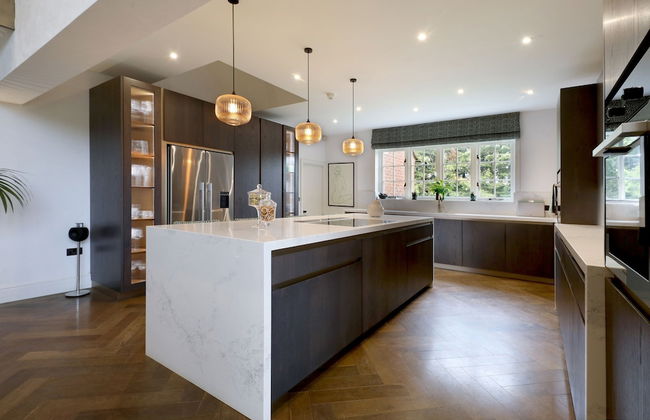


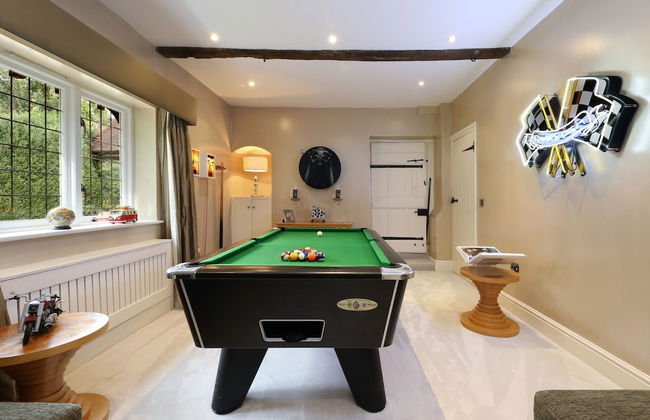
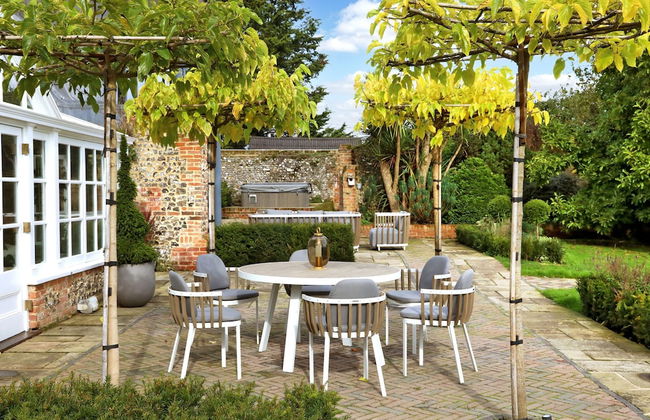

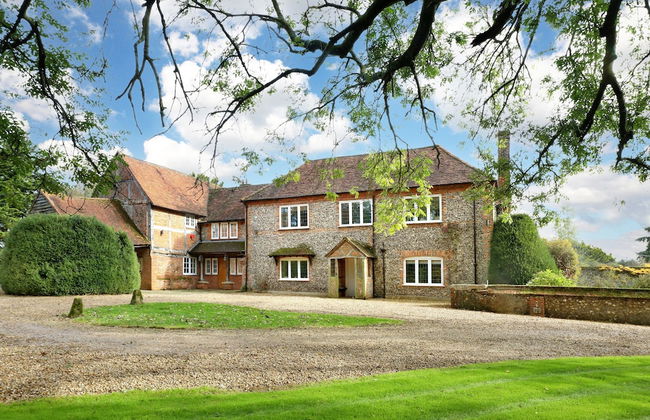
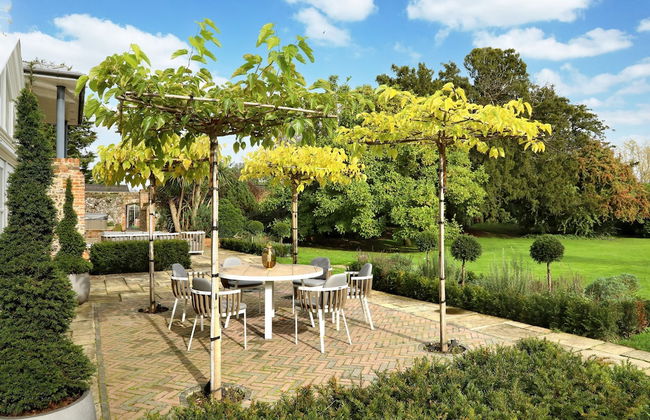

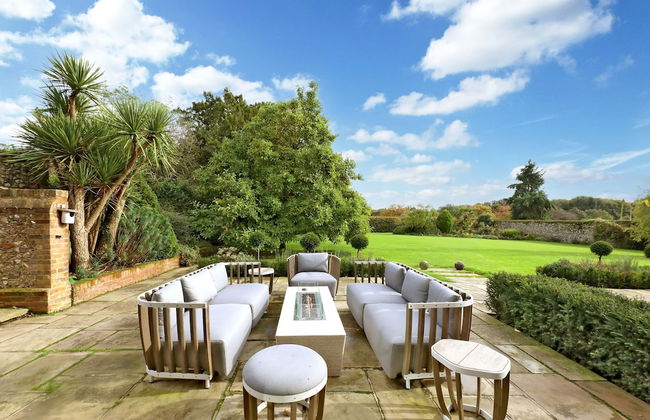
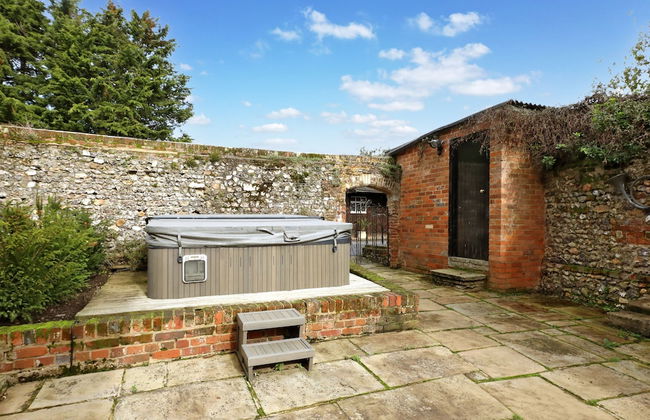


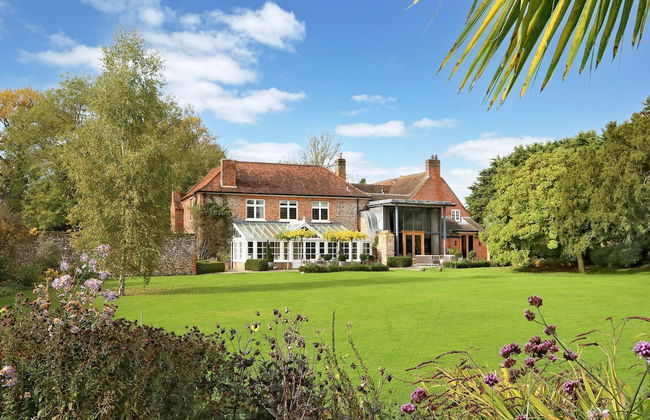
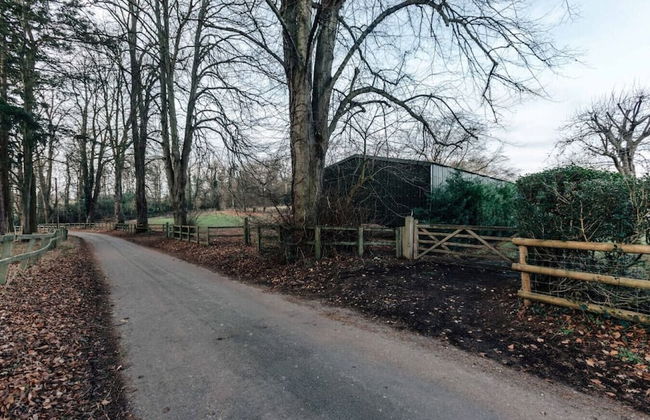
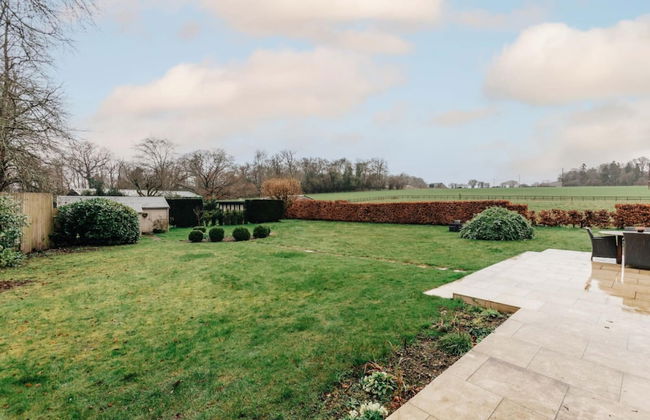
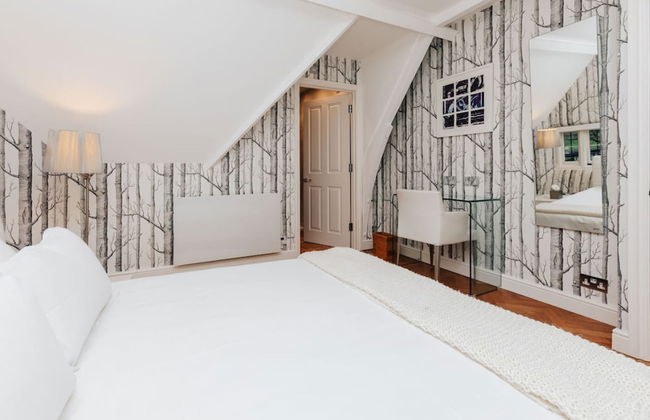
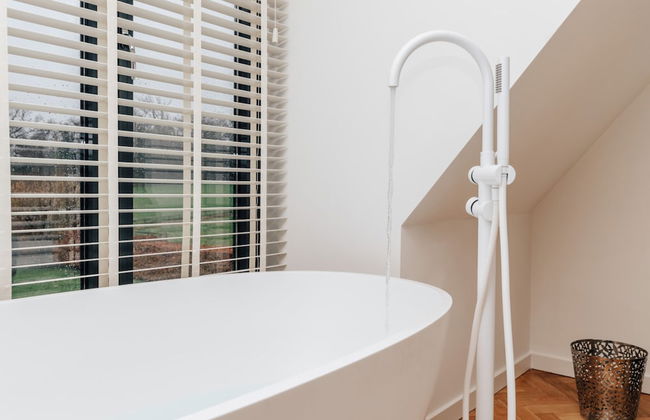
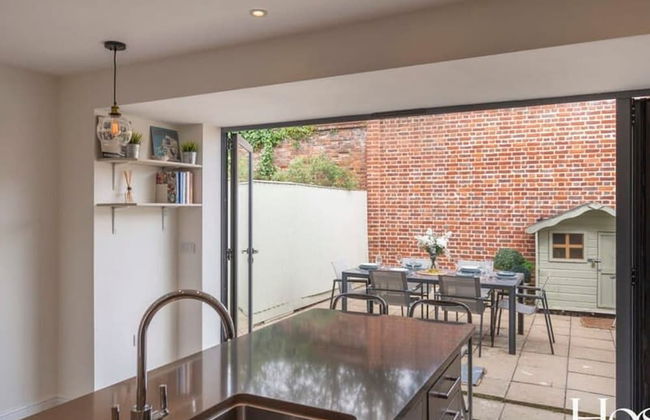
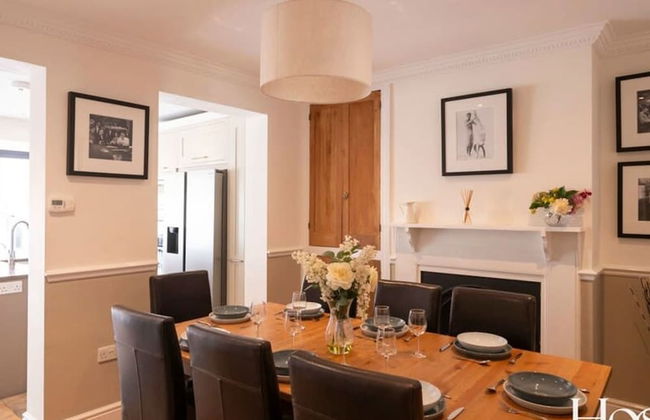
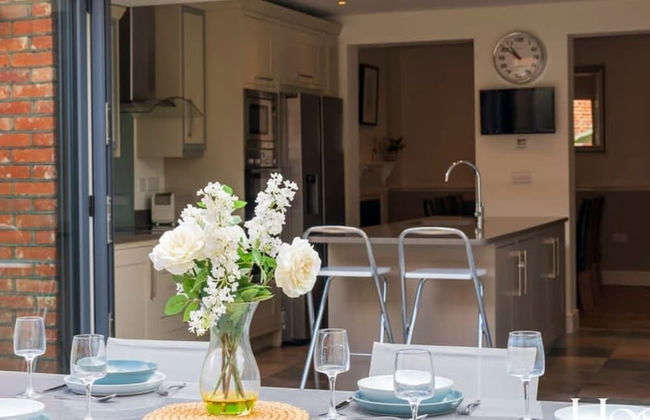
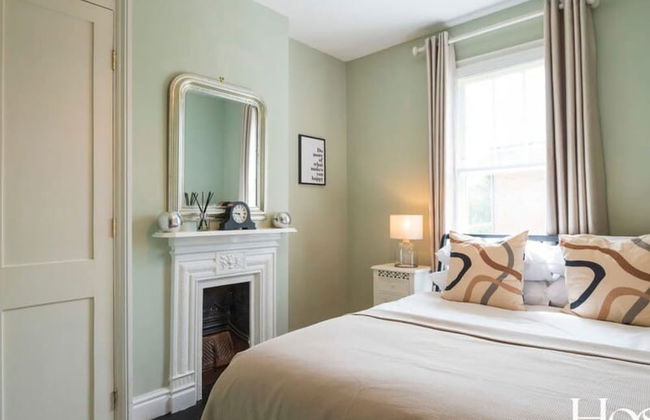
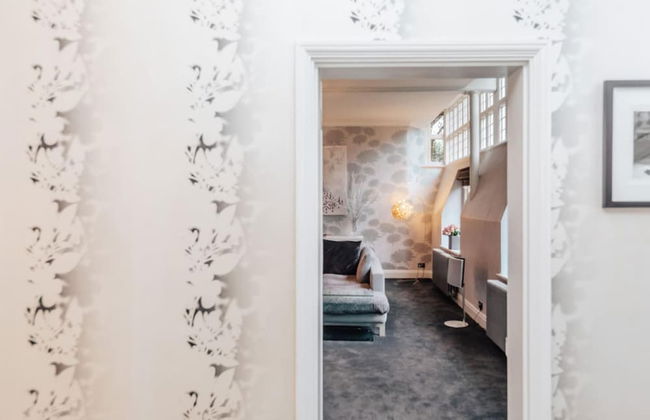
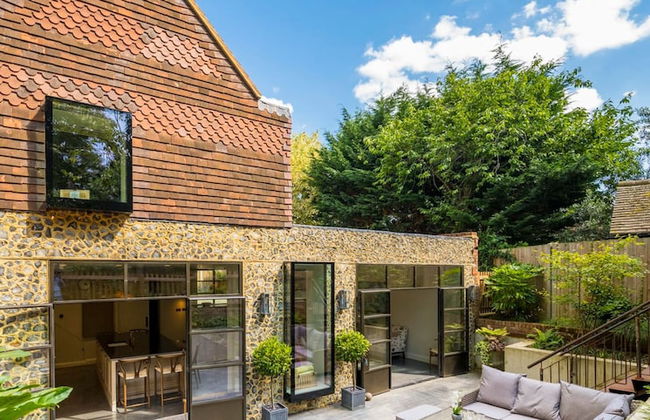
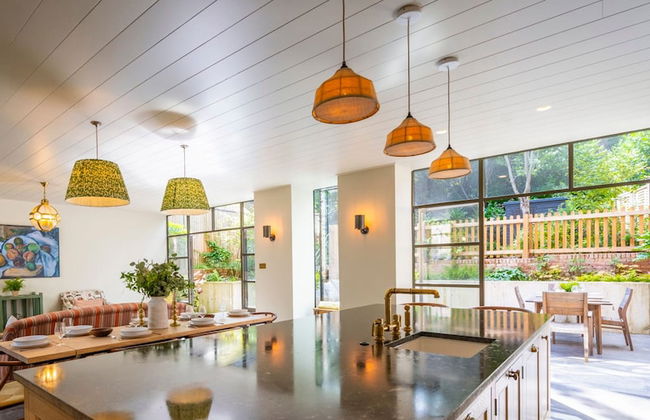
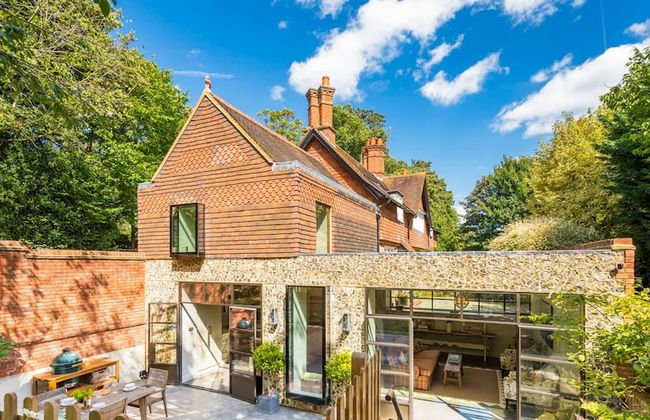
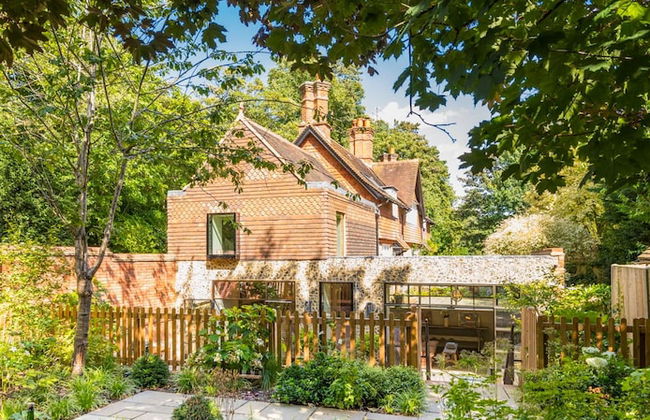
Bockmer House Buckinghamshire
Marlow - Medmenham
- 650 M2
- 10 pessoas
- Ar-condicionado
- Aquecimento
- Piscina
- Jardim
- Tv
- Máquina de lavar roupa
- Toalhas
- Lençóis


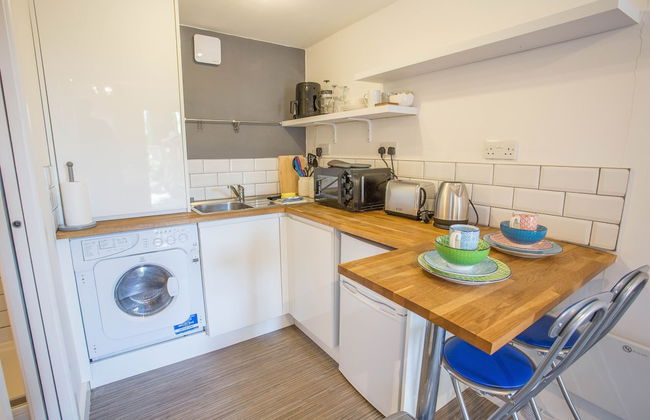

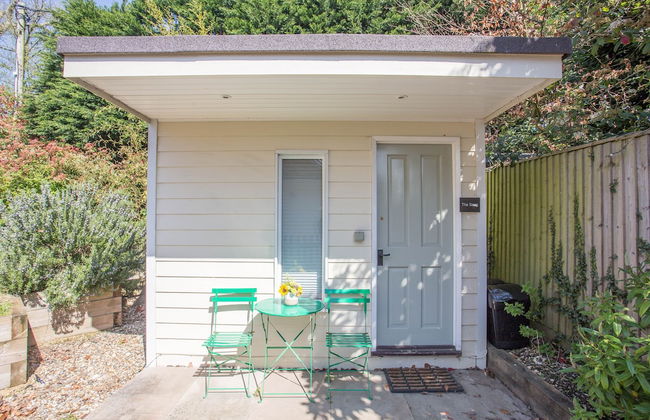


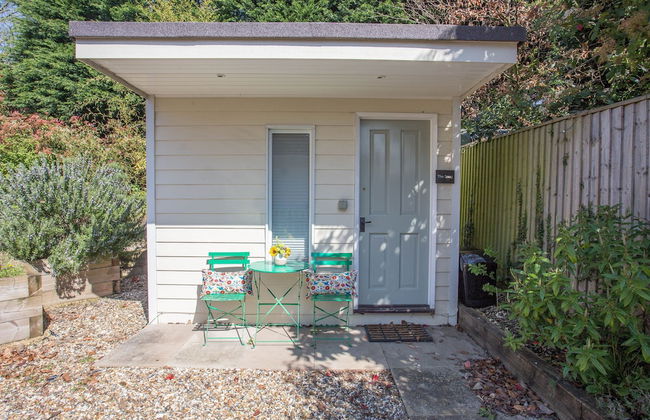
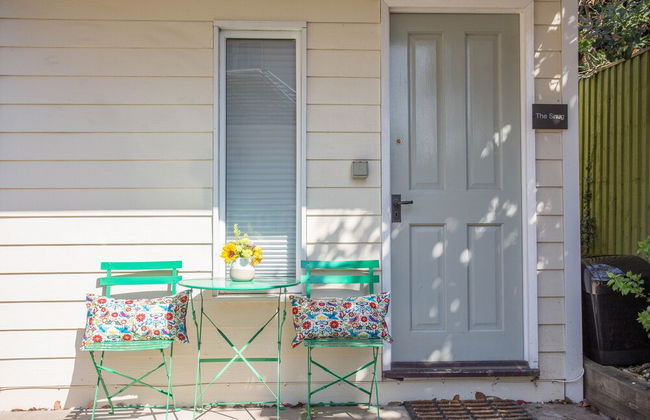

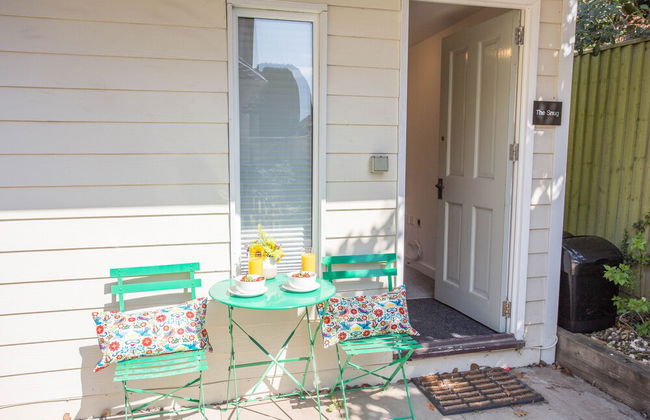


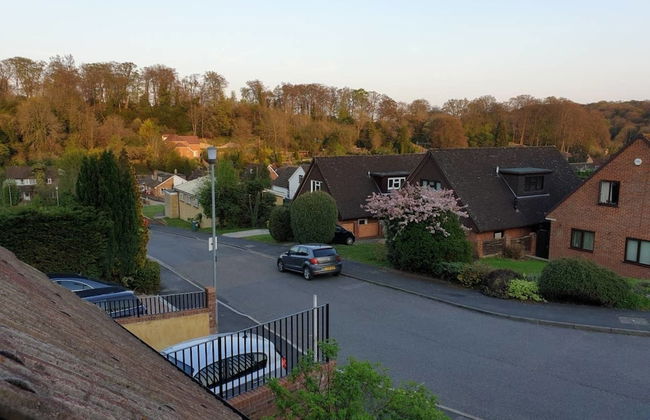
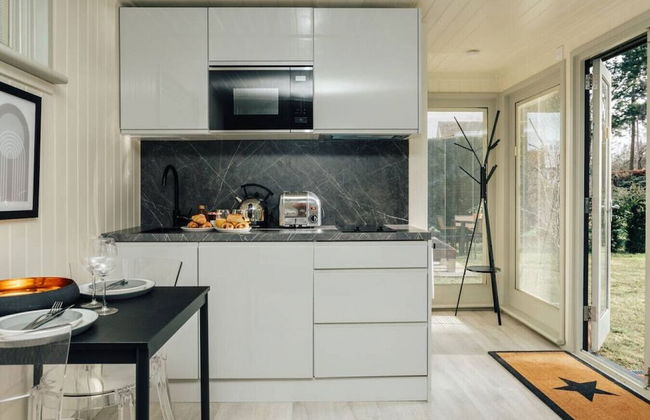
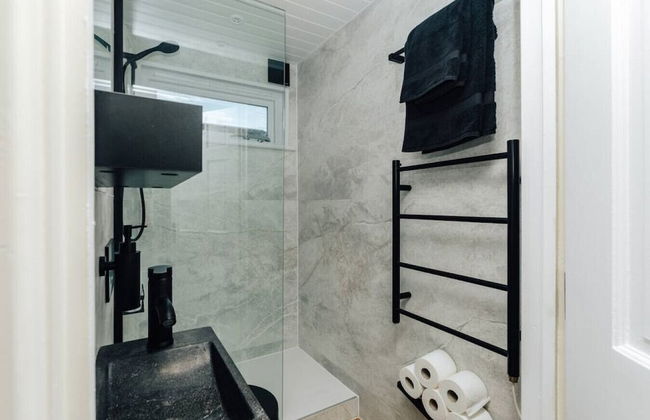
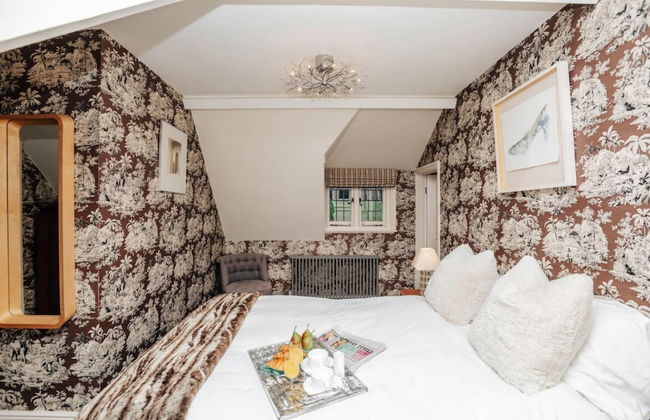
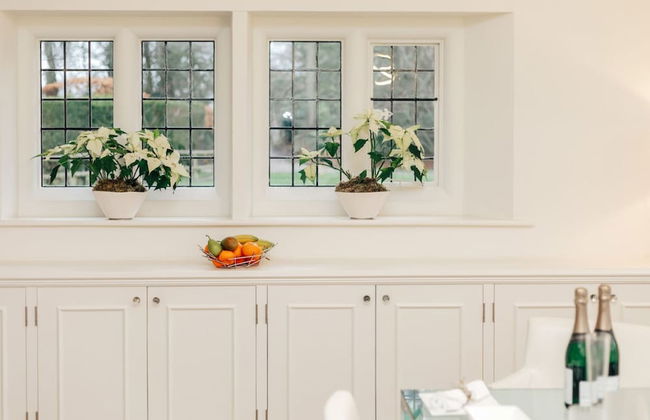
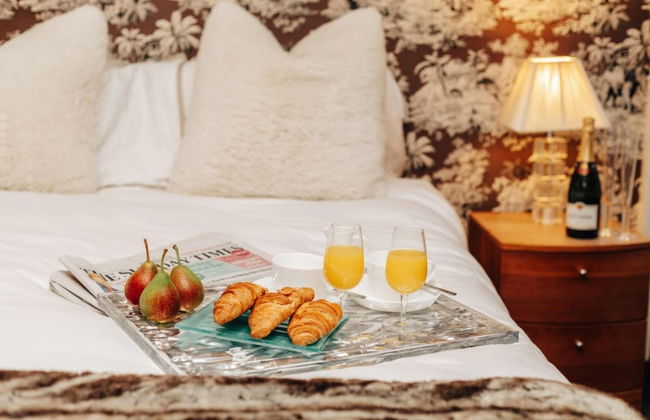
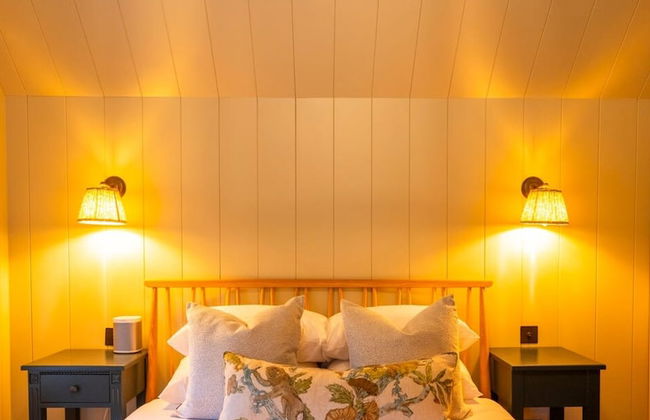
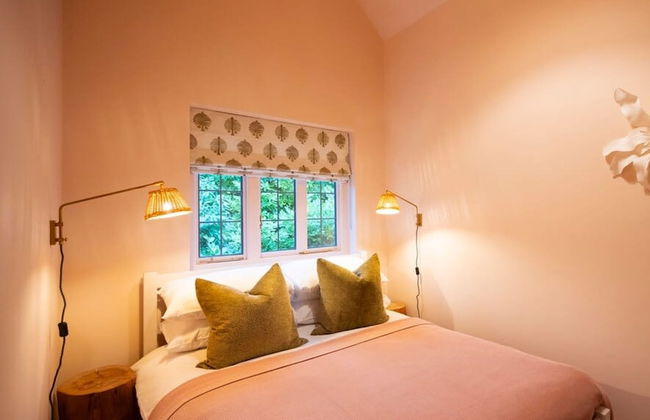
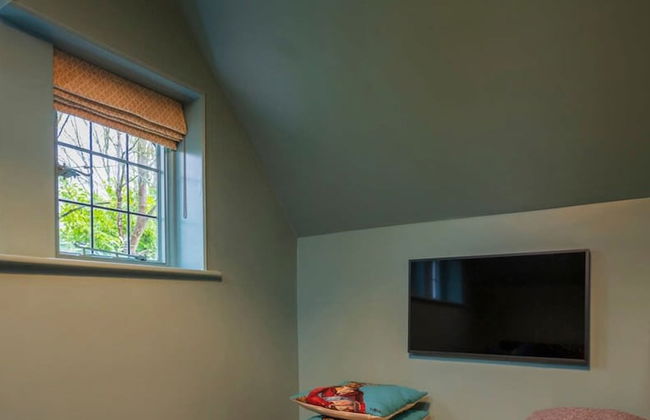
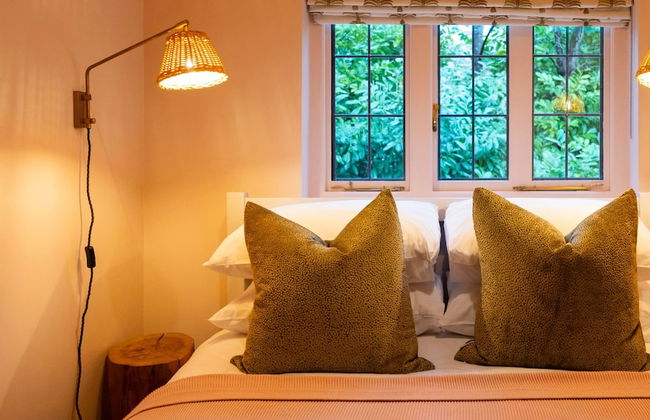
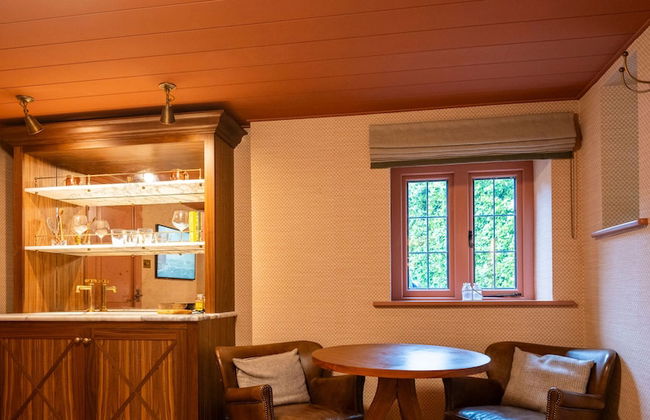
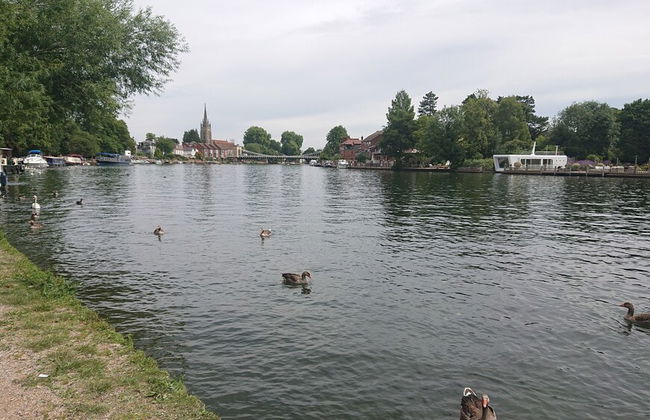
Snug with Views of the Chilterns
Marlow - Marlow
- 2 pessoas
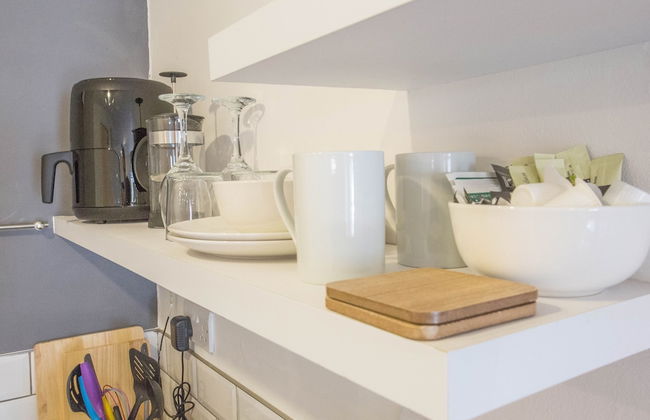
- Kitchenette
- Aquecimento
- Terraço
- Estacionamento
- Tv
- Máquina de lavar roupa
- Toalhas
- Lençóis


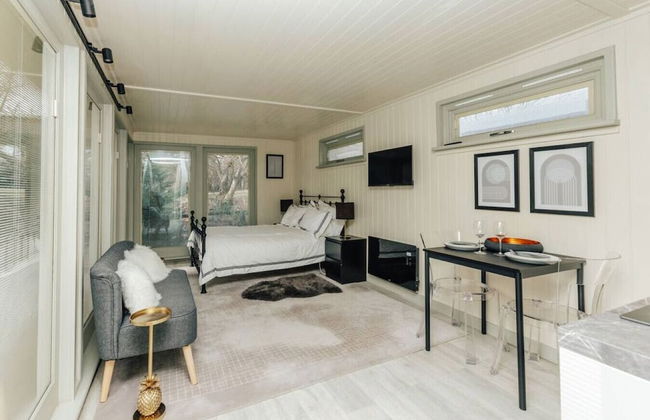


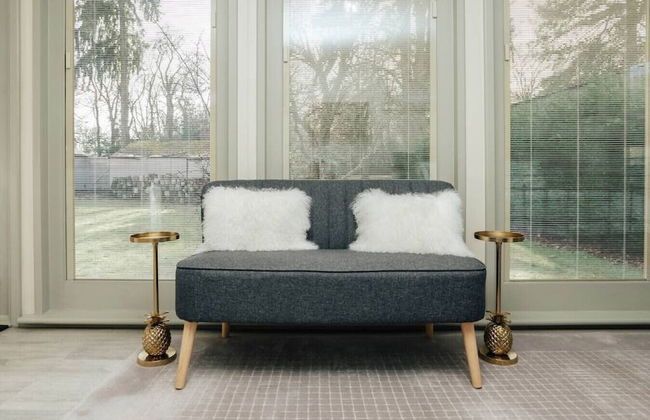
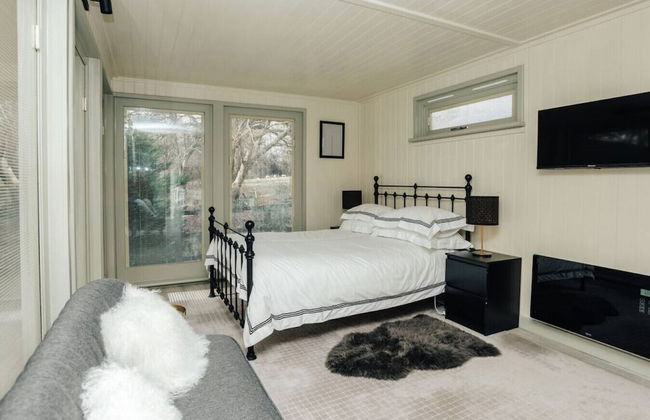
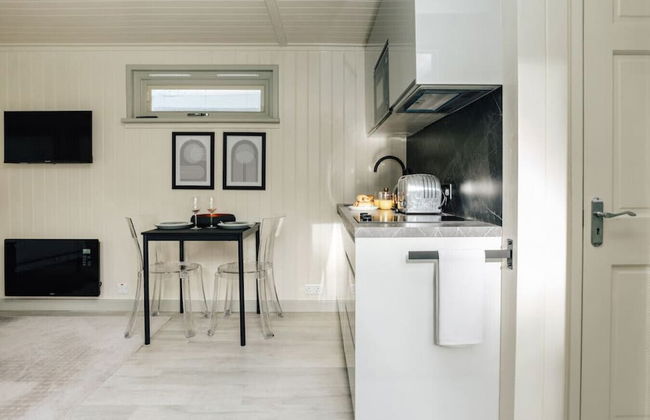


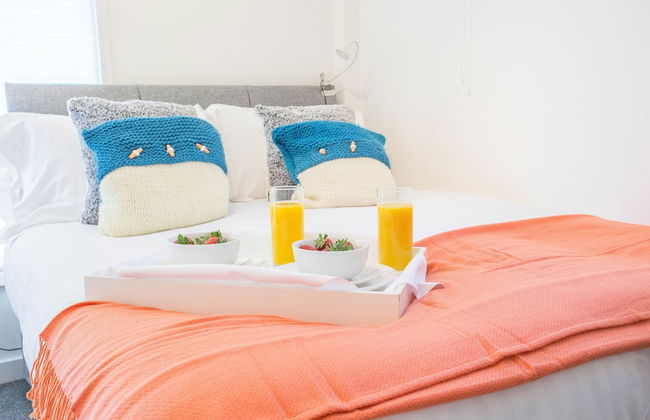
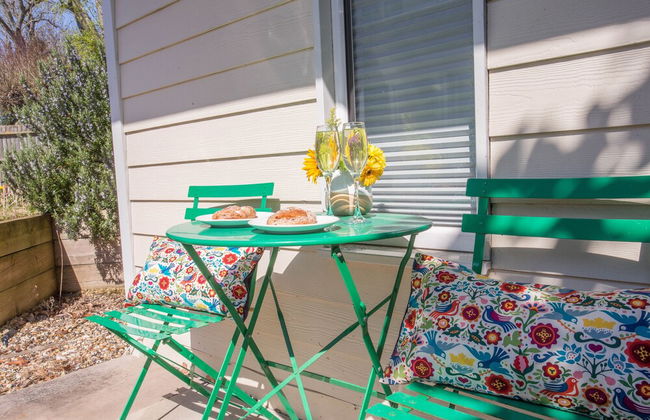
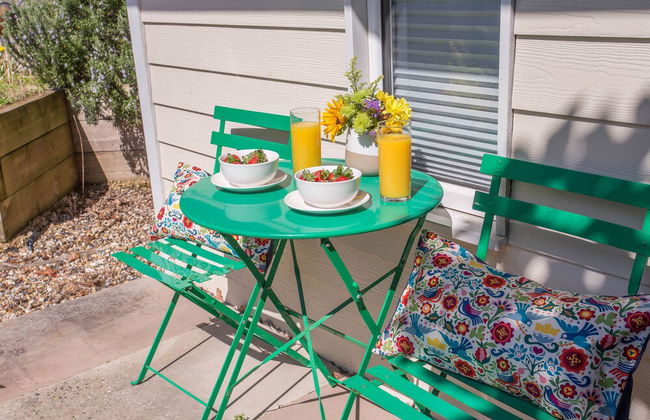
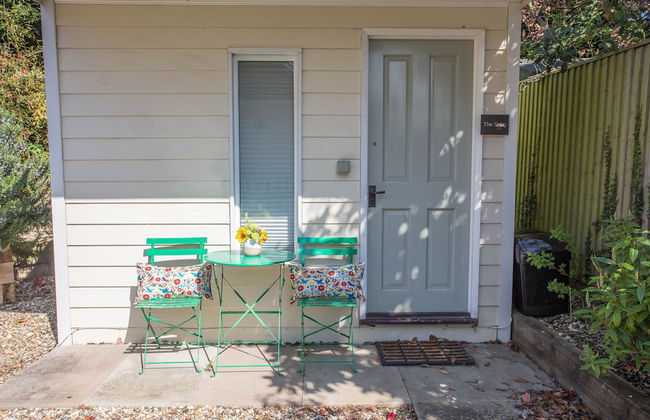
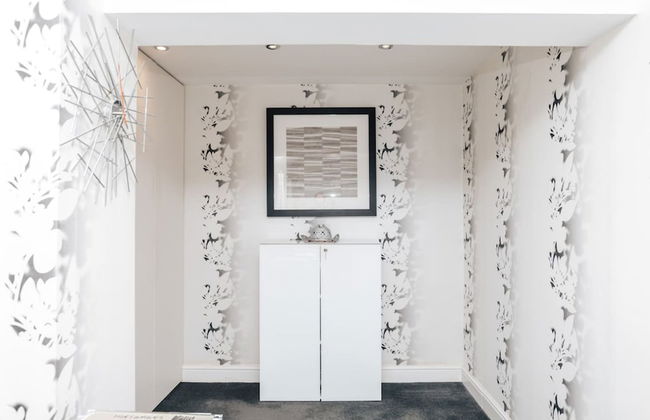
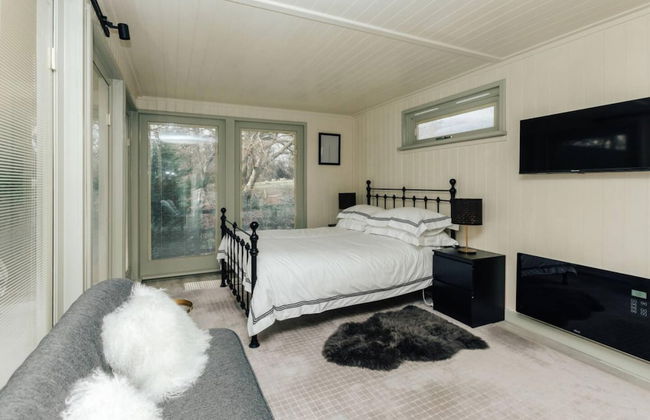
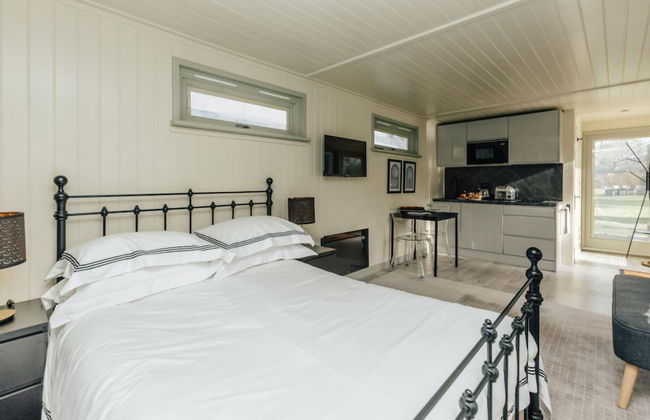
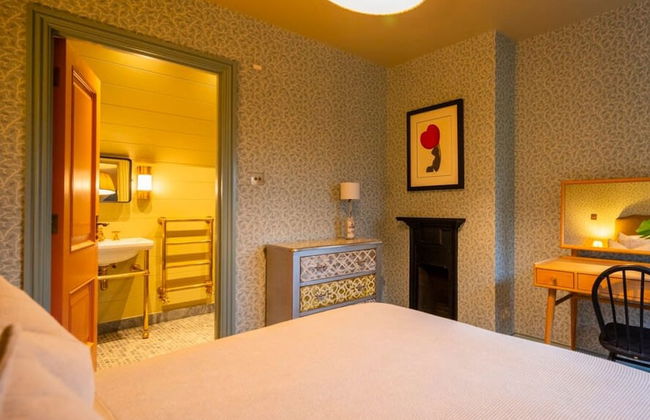
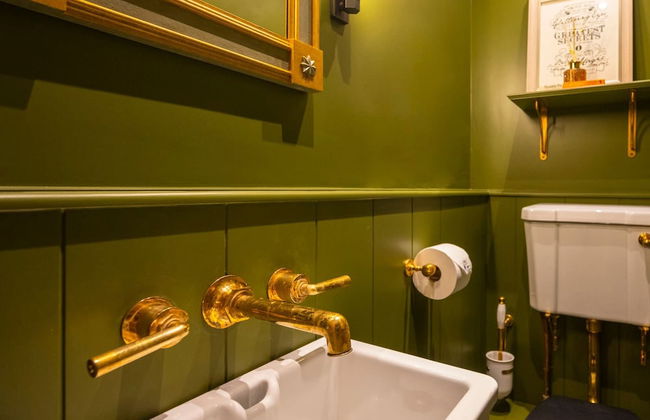
Cuckoo s Hideaway - From 75 Per Night
Marlow - Medmenham
- 2 pessoas
- Aquecimento
- Estacionamento
- Jardim
- Tv
- Toalhas
- Lençóis


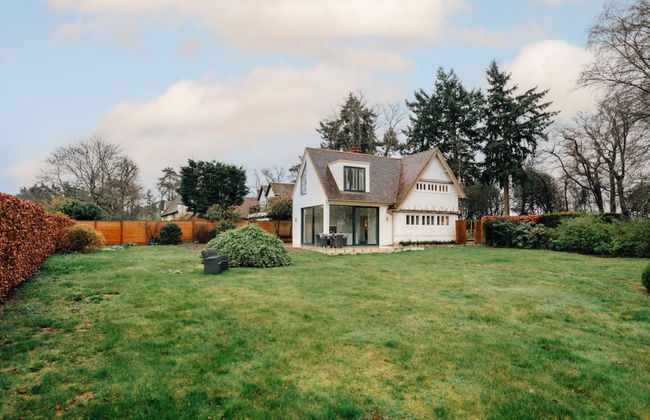
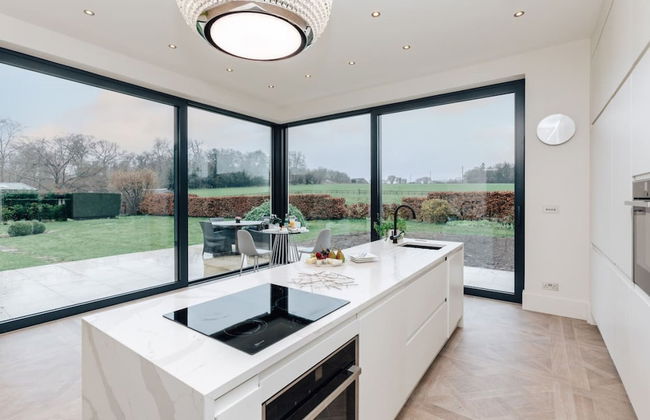


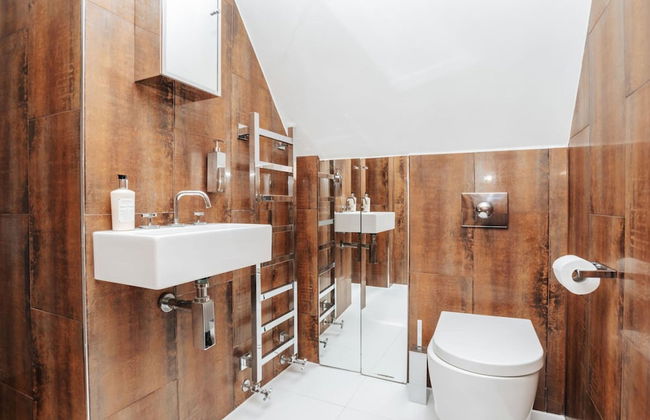


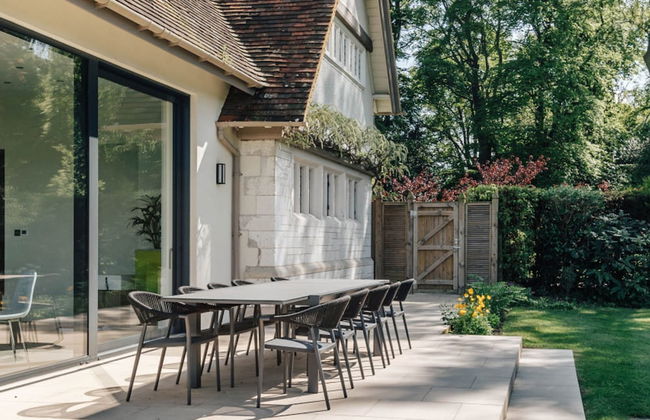
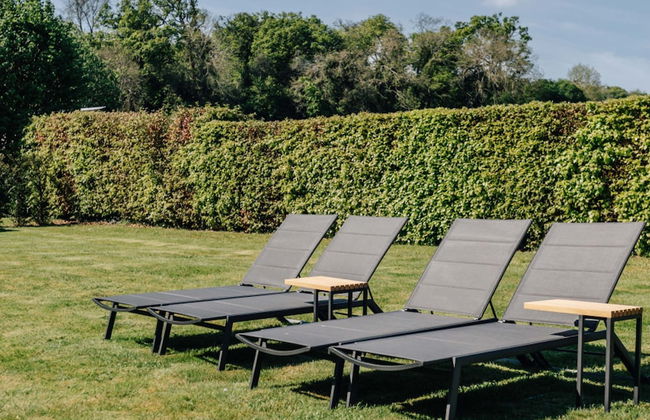


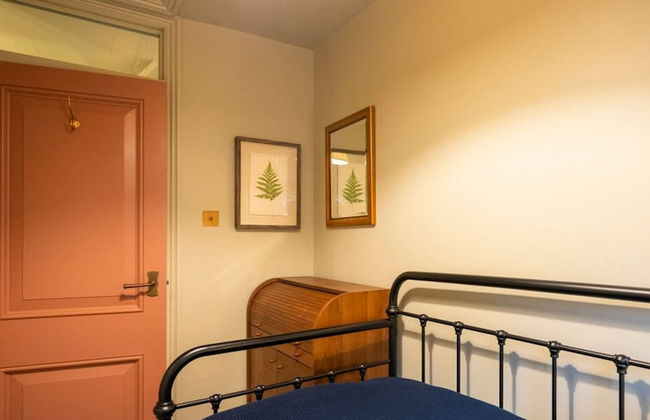
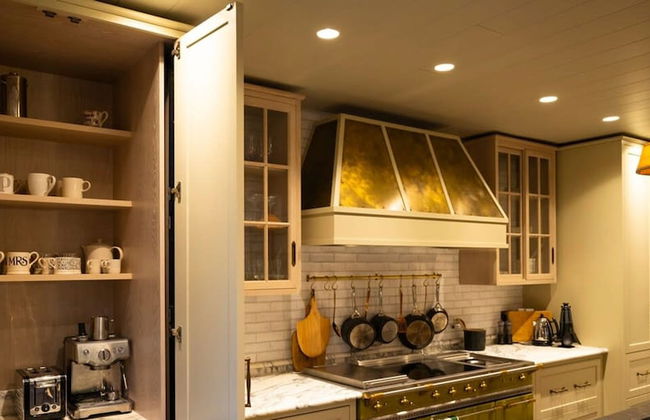
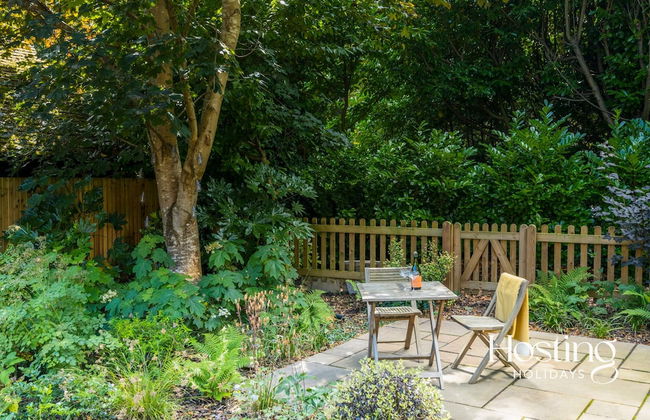
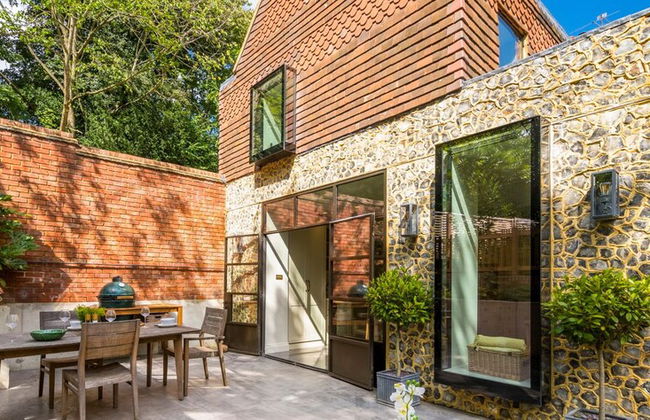
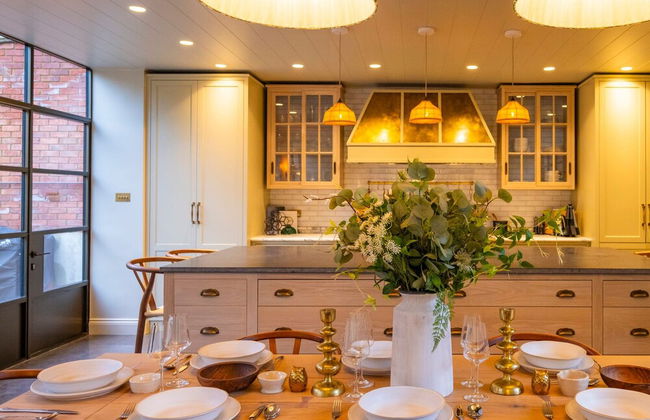
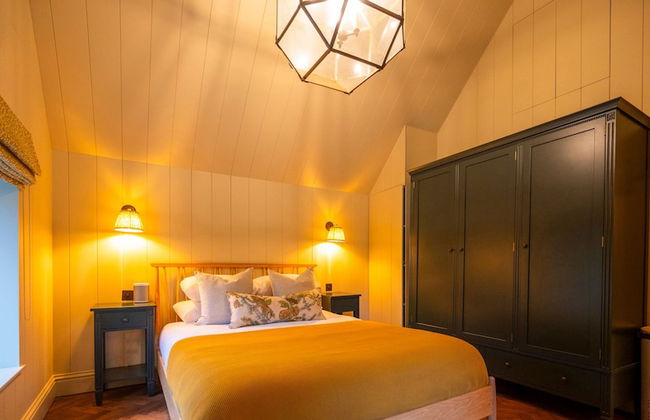
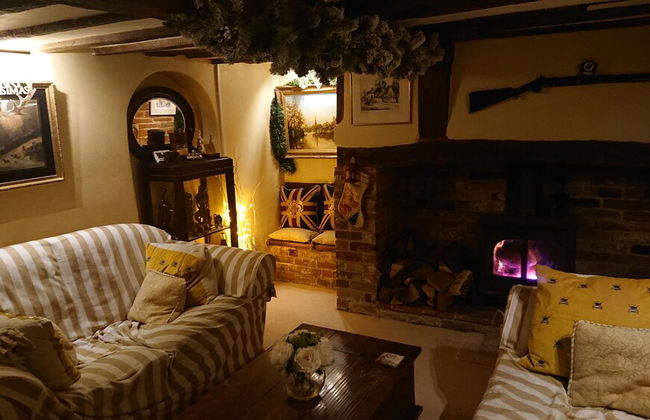
Wisteria House in Buckinghamshire
Marlow - Medmenham
- 8 pessoas
- Aquecimento
- Estacionamento
- Jardim
- Tv
- Máquina de lavar roupa
- Chaminé
- Churrasco
- Toalhas
- Lençóis


Marlow s Hidden Gem
Marlow - Marlow
- 8 pessoas
- Aquecimento
- Varanda
- Jardim
- Tv
- Máquina de lavar roupa
- Churrasco
- Toalhas
- Lençóis


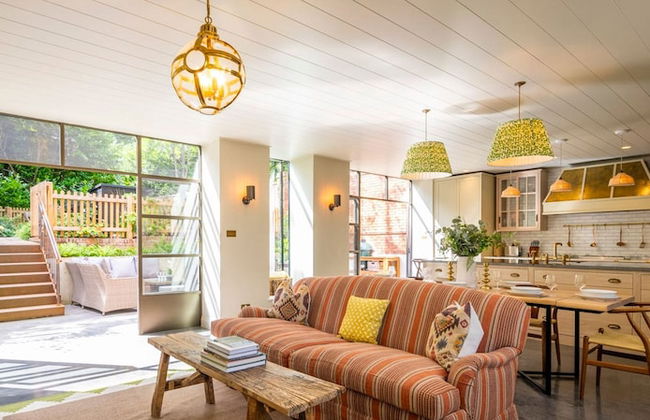
Wisteria House - Sleeps 11
Marlow - Medmenham
- 11 pessoas
- Aquecimento
- Estacionamento
- Jardim
- Tv
- Máquina de lavar roupa
- Chaminé
- Churrasco
- Toalhas
- Lençóis


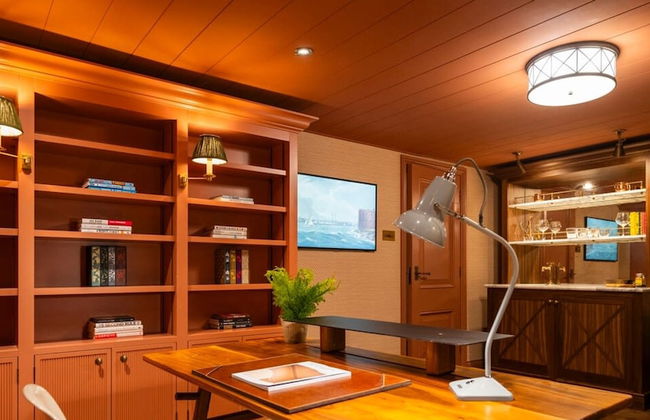


The Writers Retreat - 5 Beds Parking Much More
Marlow - Medmenham
- 8 pessoas
- Aquecimento
- Estacionamento
- Varanda
- Jardim
- Tv
- Máquina de lavar roupa
- Chaminé
- Churrasco
- Toalhas
- Lençóis

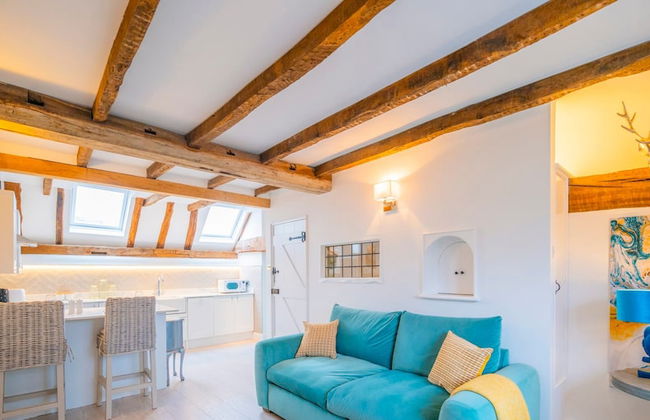
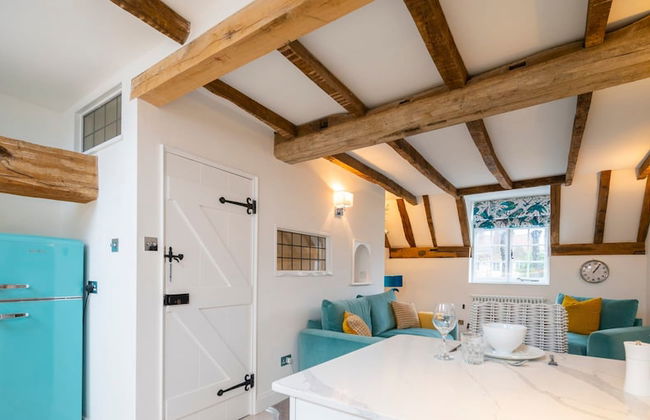

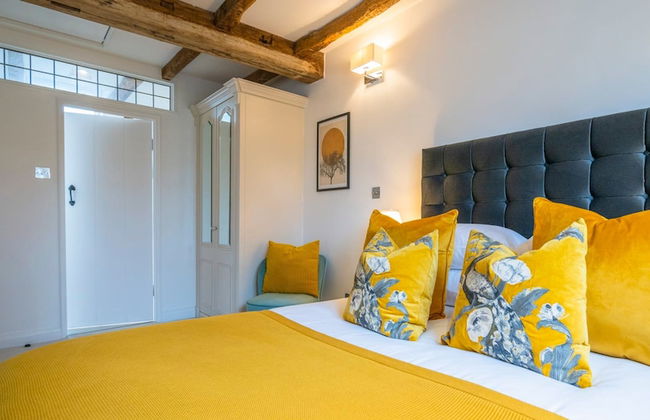

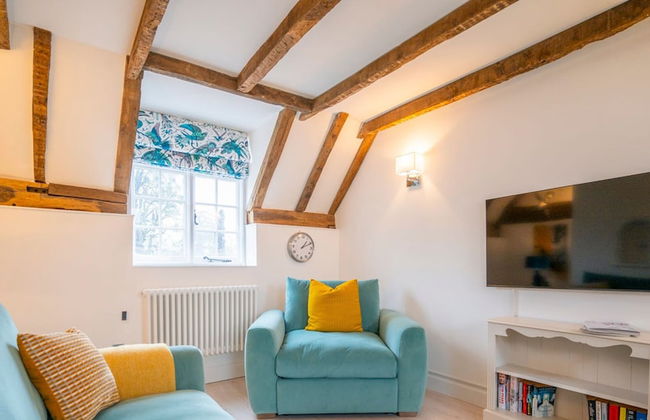


Stable Annex Bisham - Vibrant 1 Bed With Parking
Marlow - Bisham
- 2 pessoas
- Aquecimento
- Estacionamento
- Varanda
- Jardim
- Tv
- Máquina de lavar roupa
- Churrasco
- Toalhas
- Lençóis

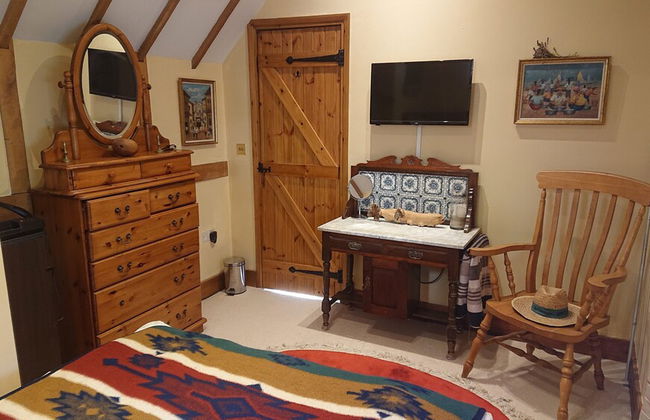
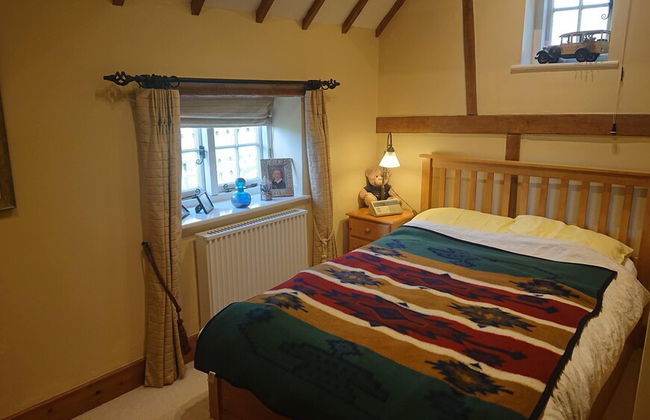


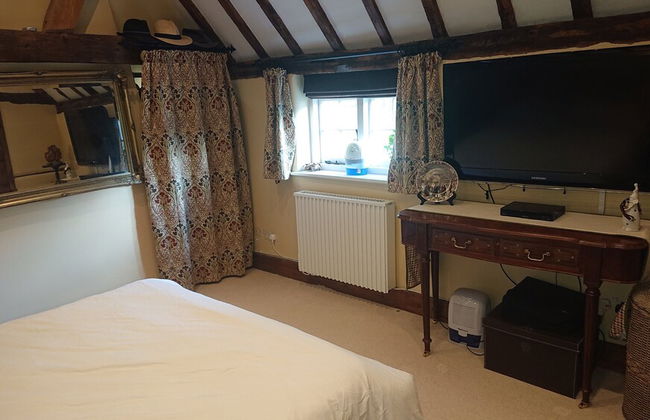
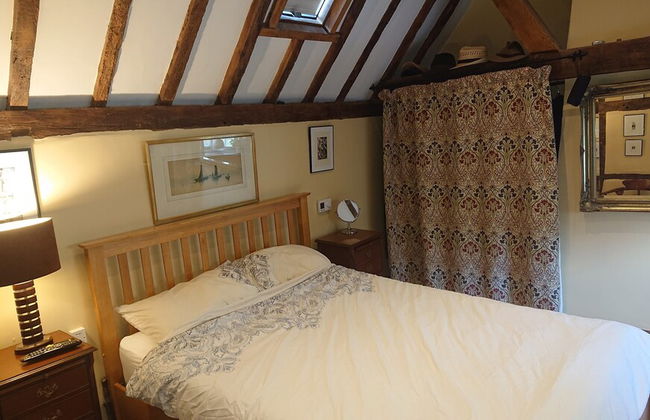


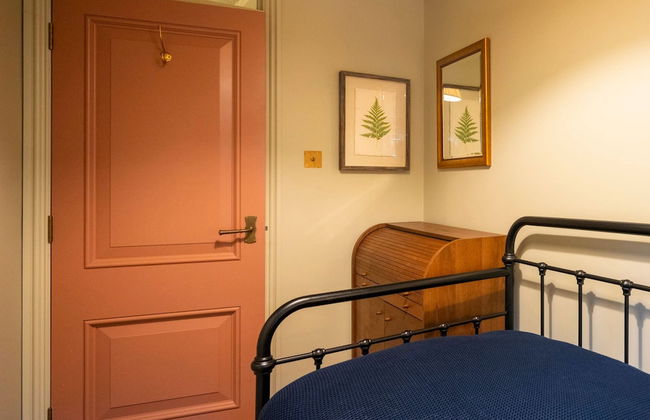
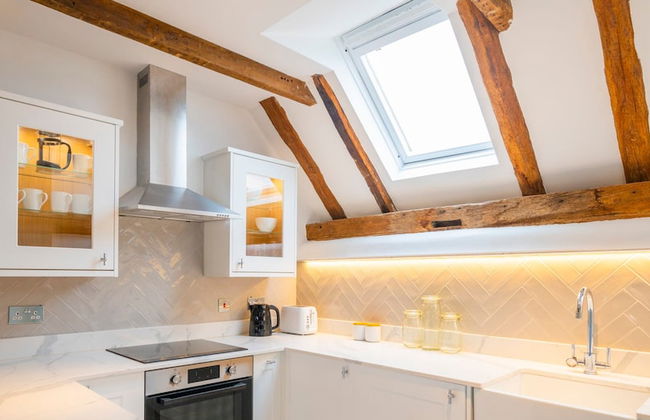
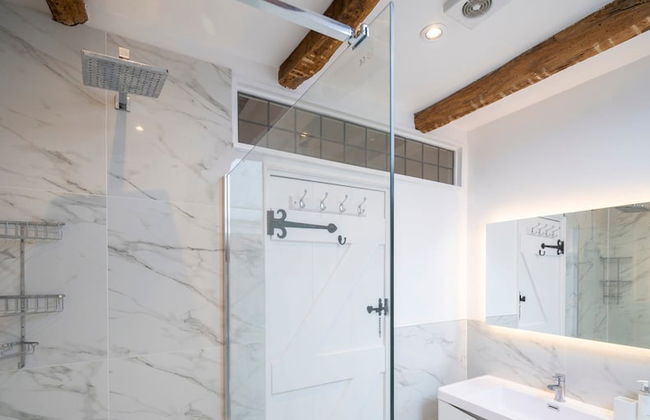
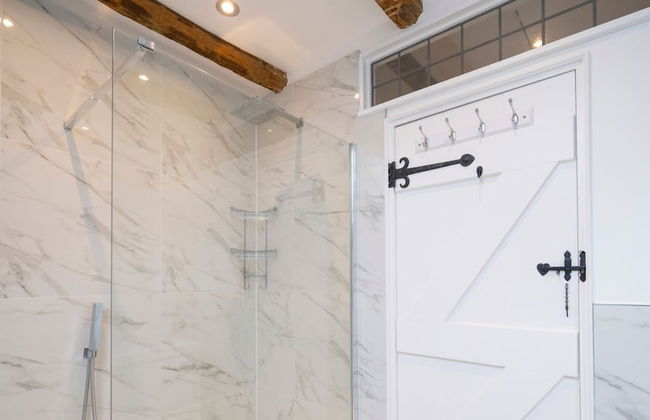
Charming 17th Century 2-bed Cottage in Medmenham
Marlow - Medmenham
- 4 pessoas
- Aquecimento
- Estacionamento
- Jardim
- Tv
- Máquina de lavar roupa
- Chaminé
- Toalhas
- Lençóis