
117281 Apartamentos em Inglaterra


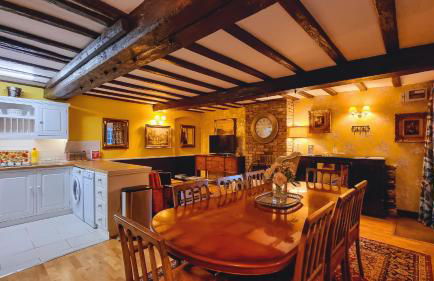

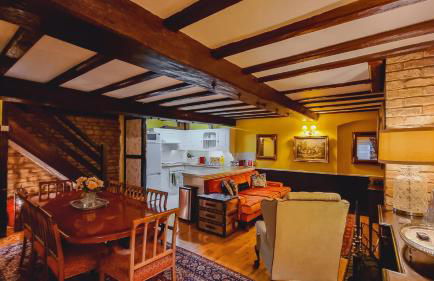


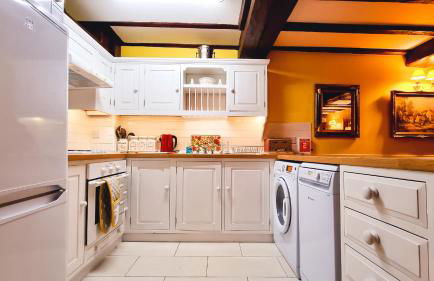


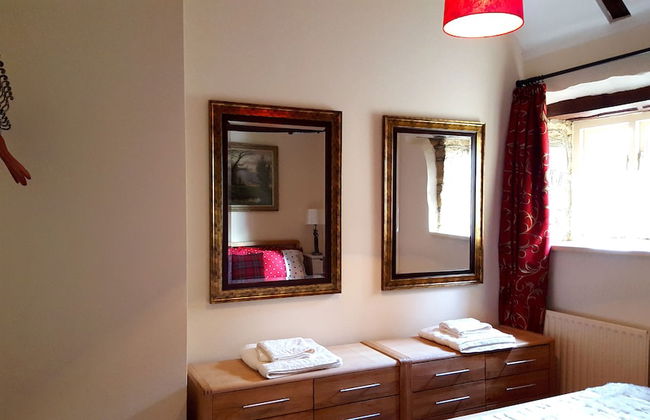
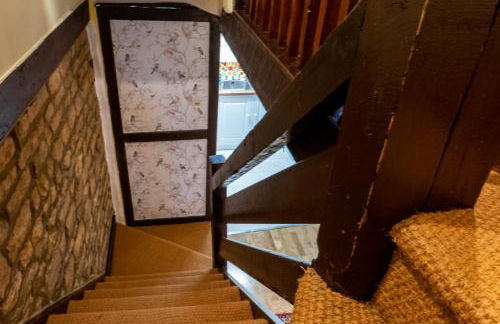

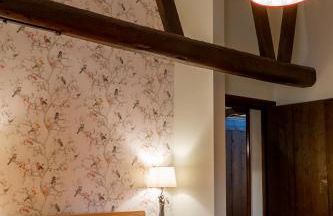


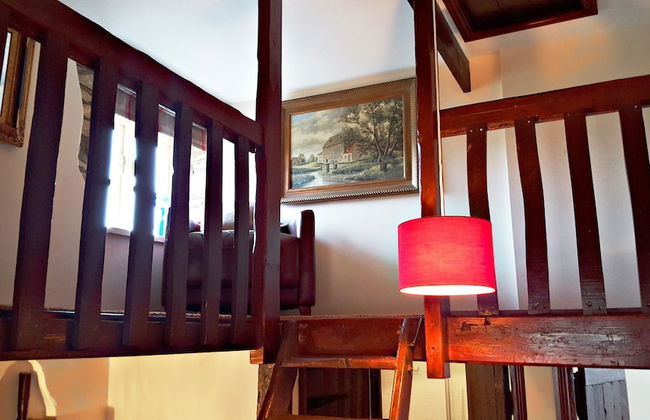
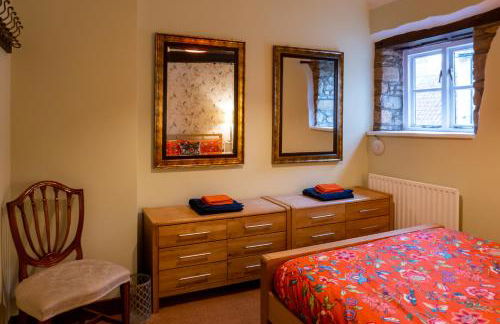


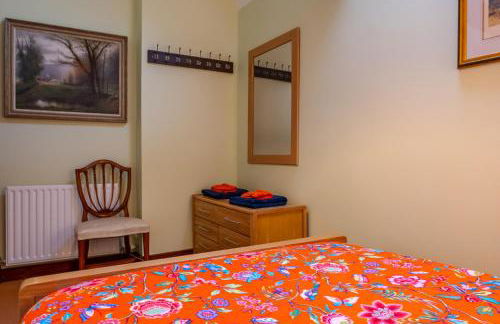

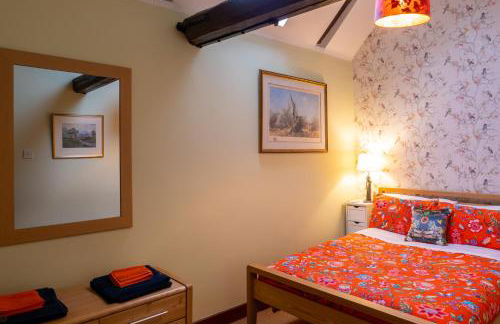

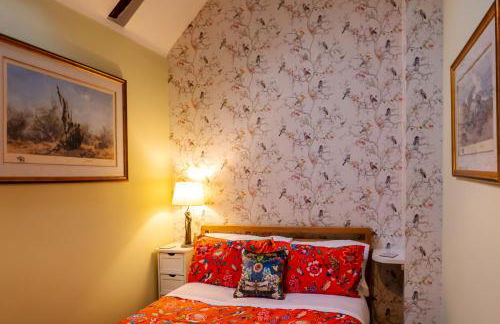

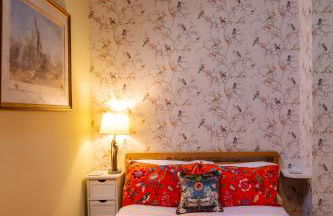
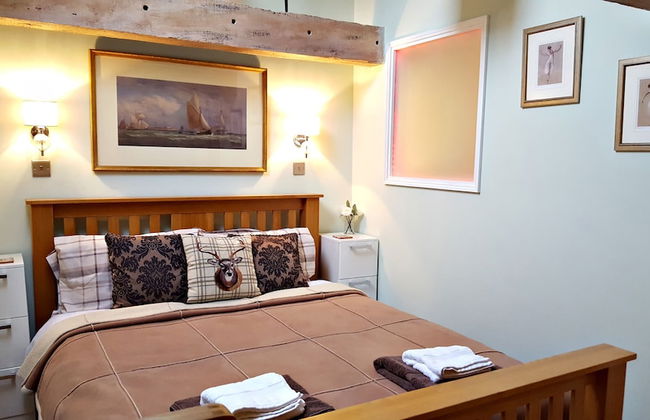
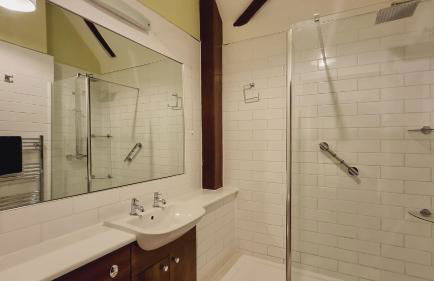

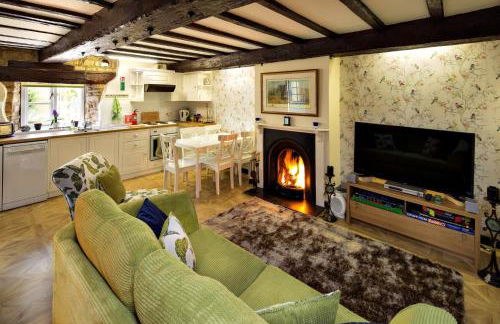


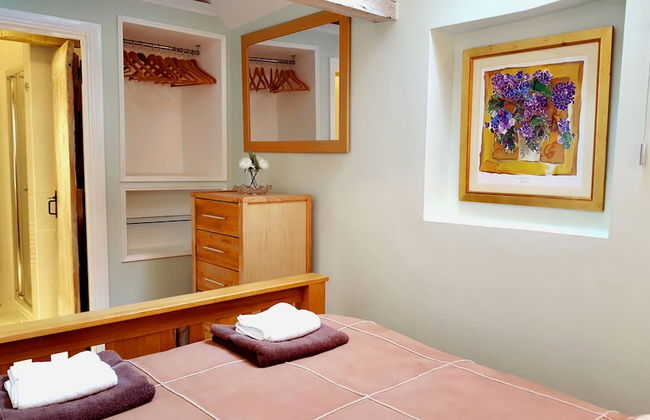
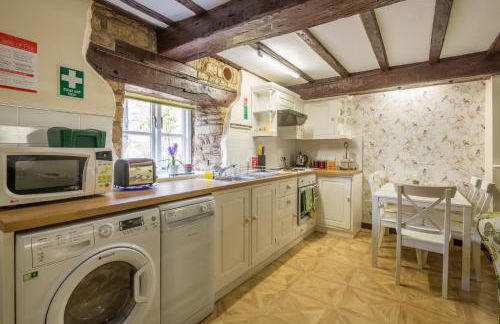

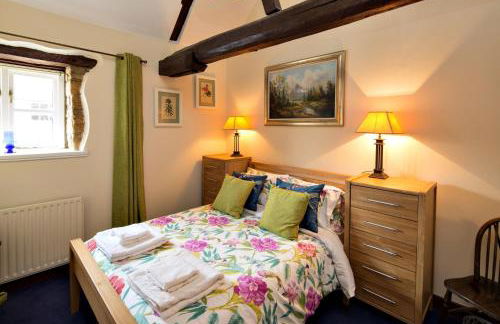


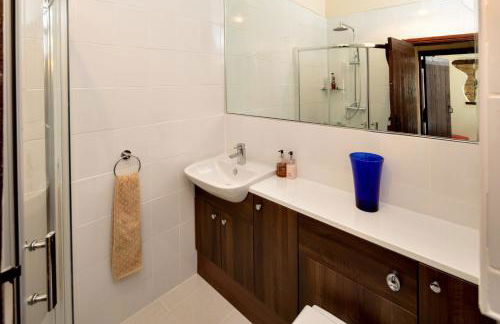

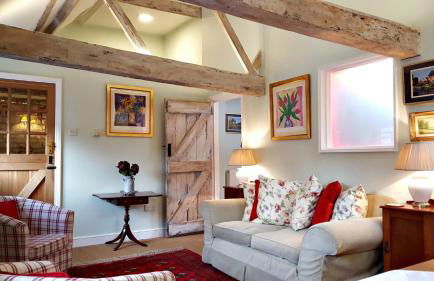


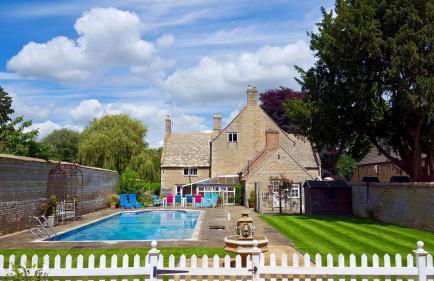

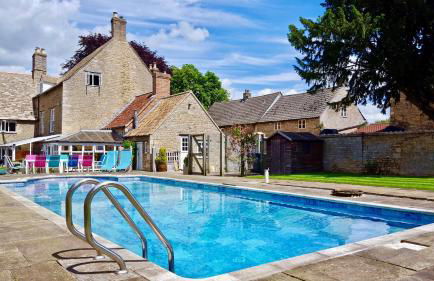
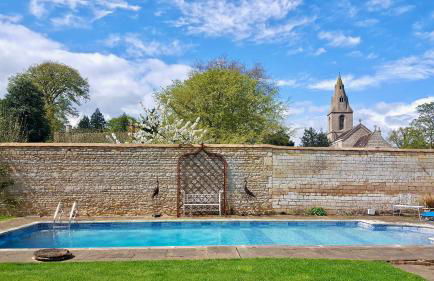

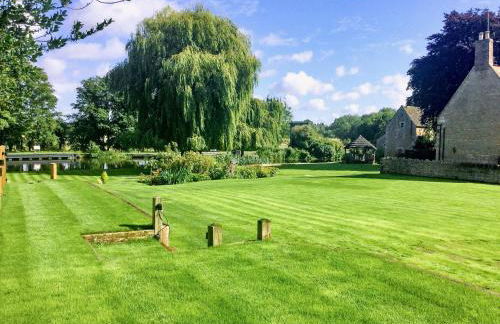

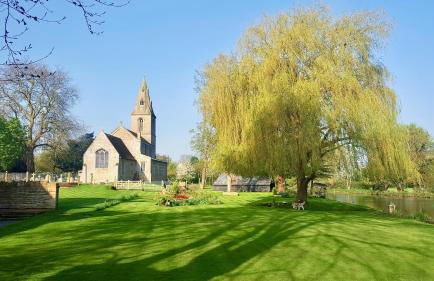


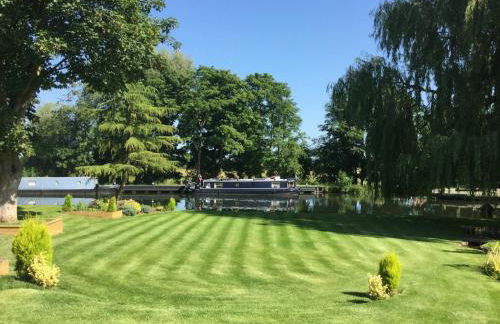

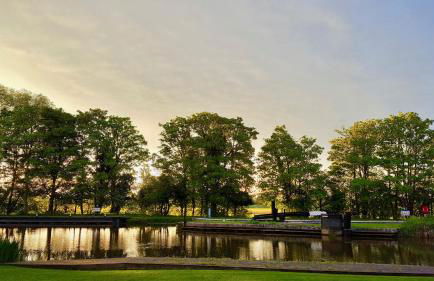
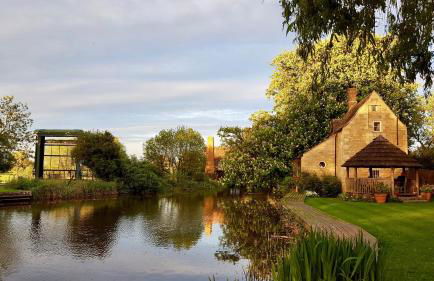
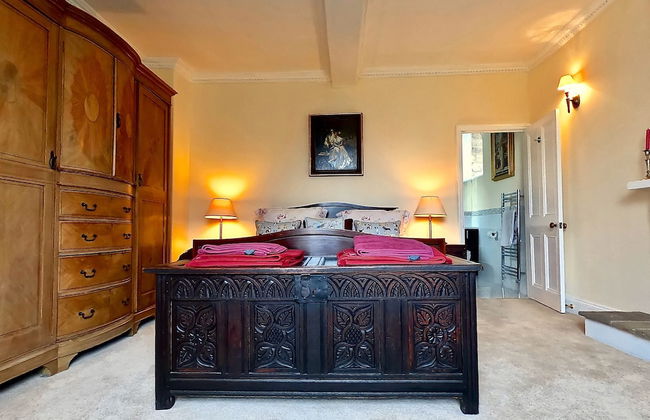
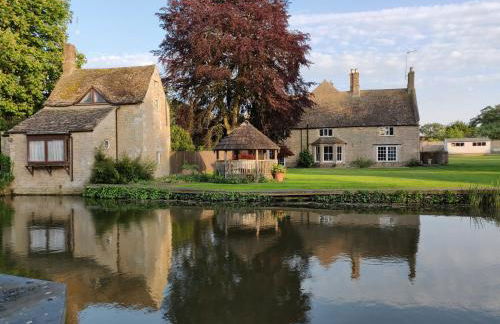
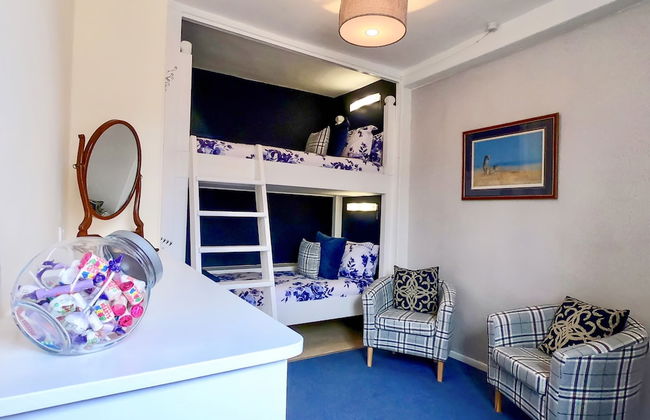
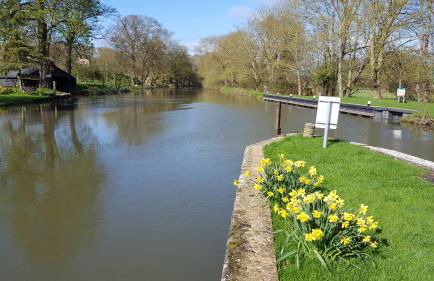


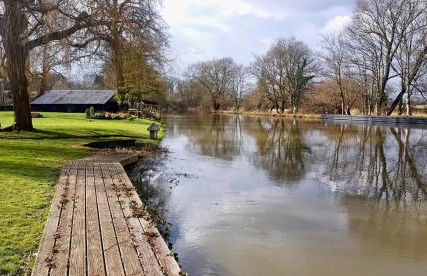
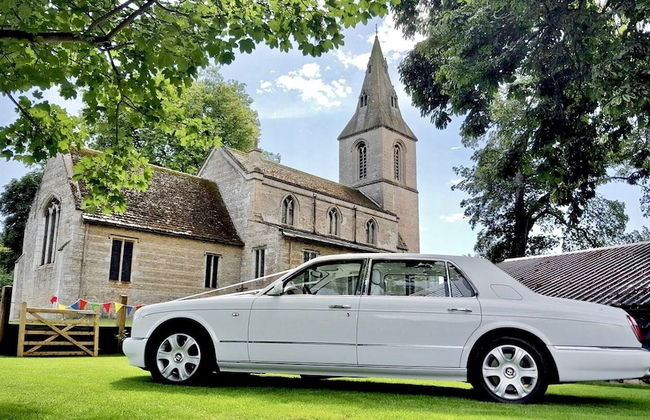
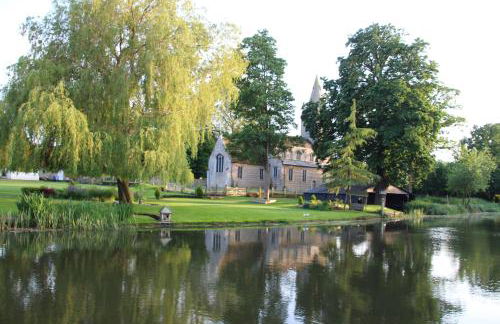


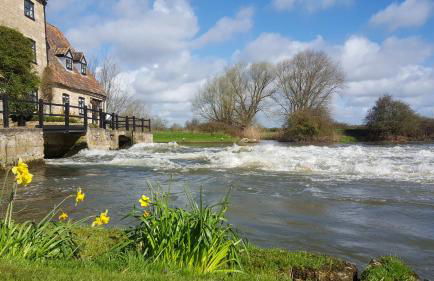
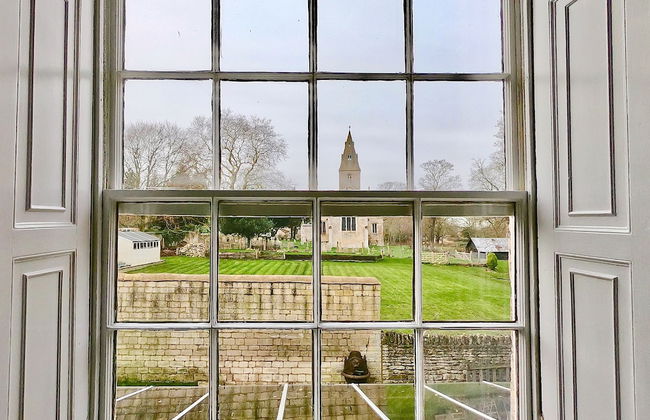


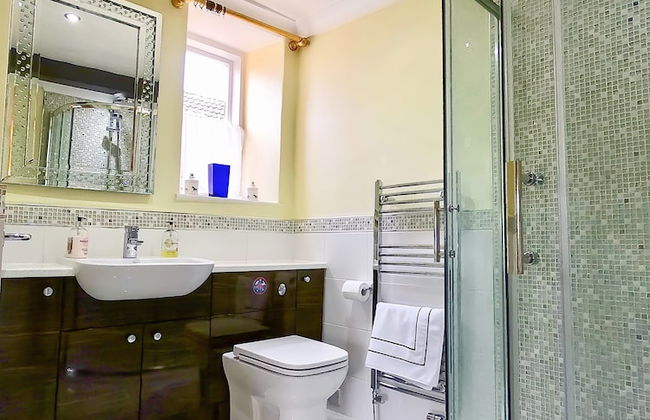


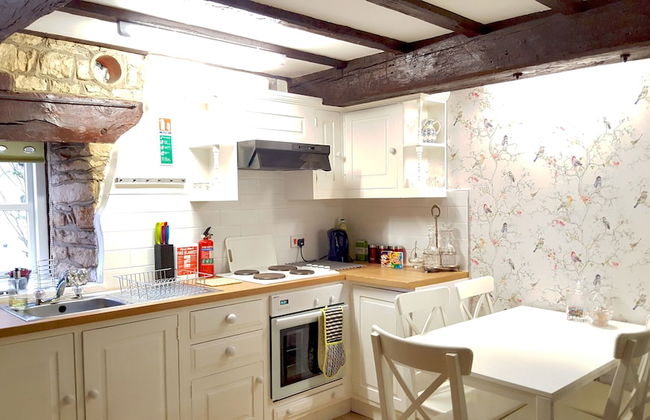


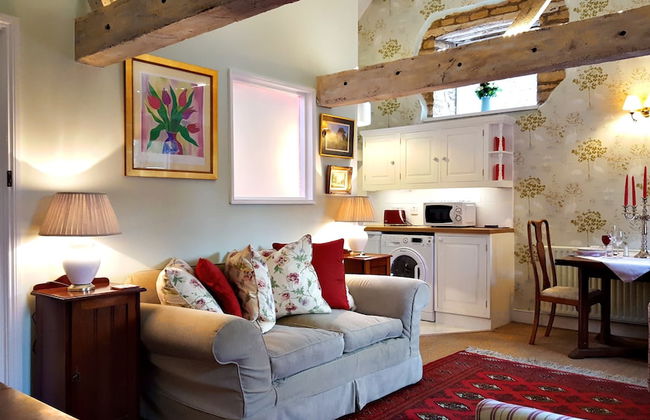


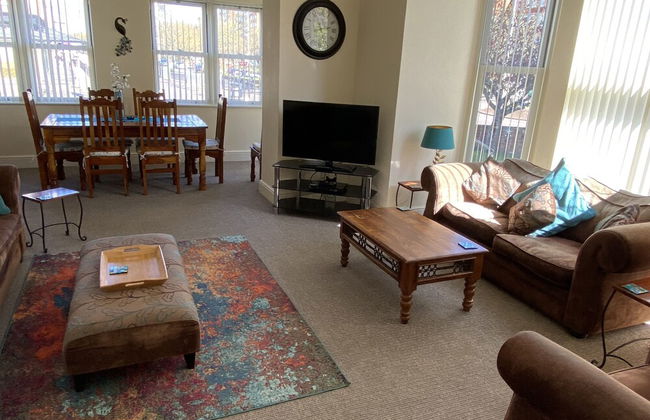
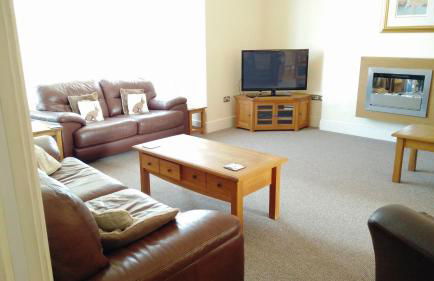
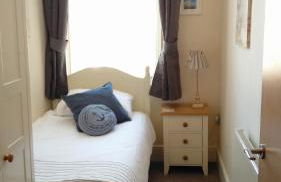
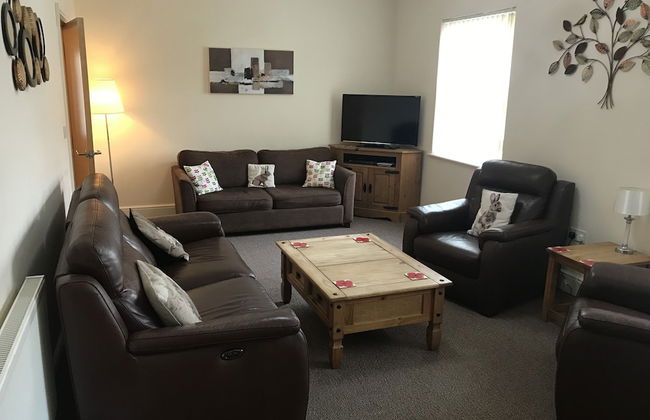
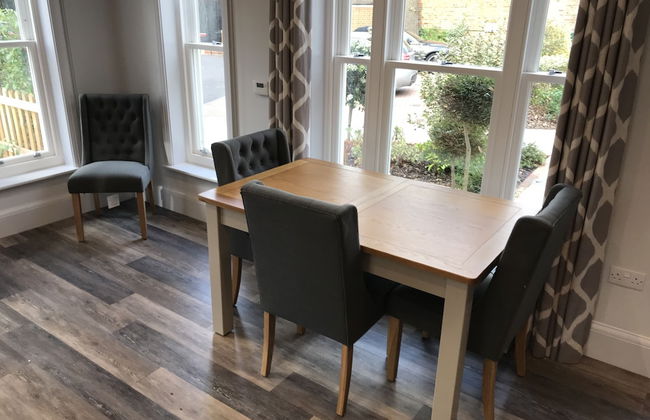
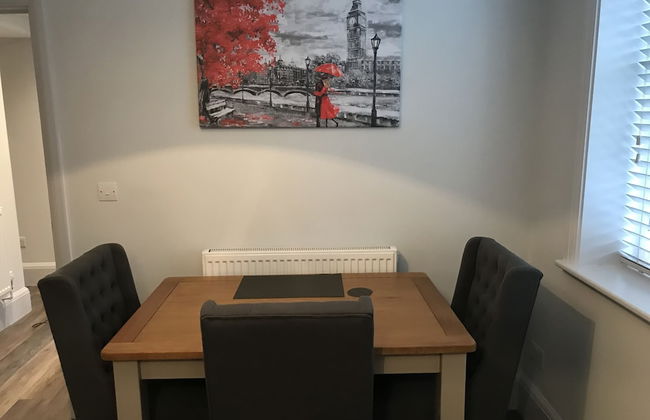
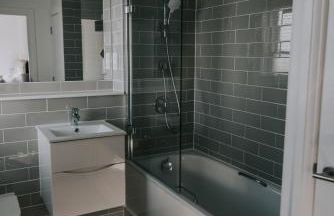
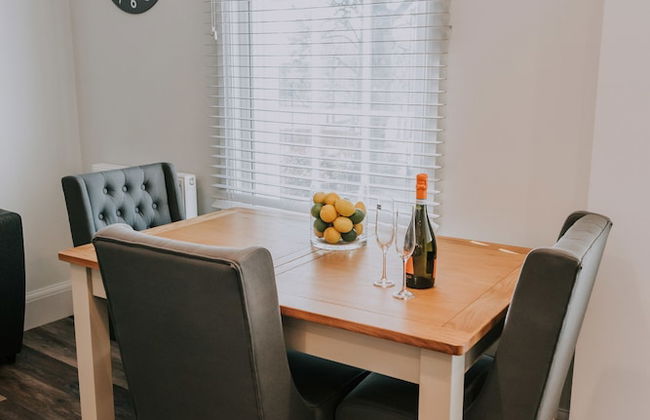
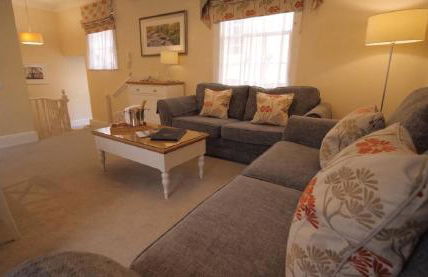
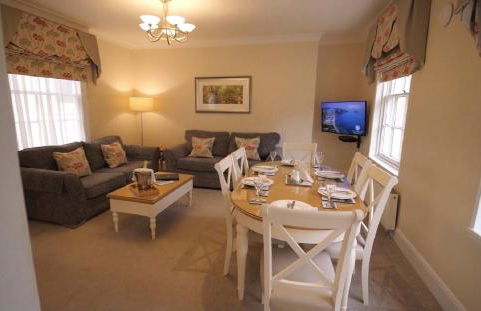
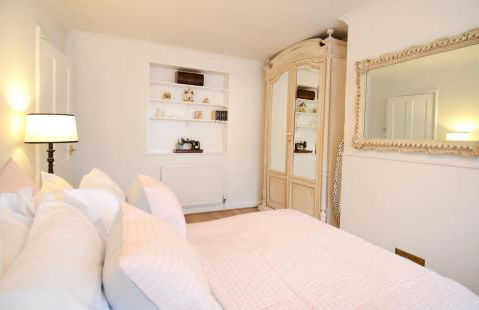
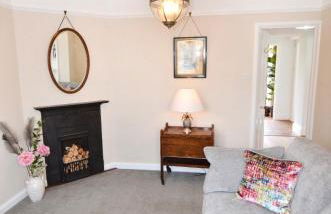
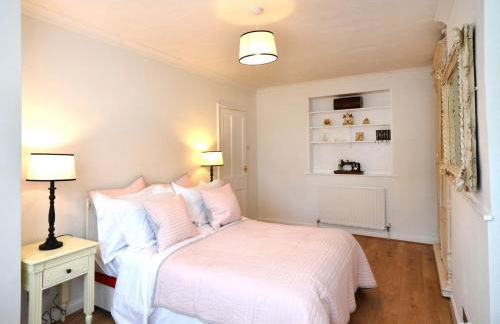
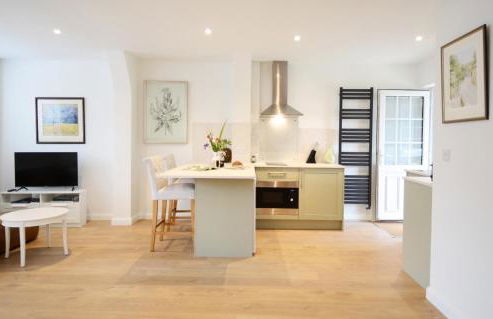
River Nene Cottages
Peterborough - Waternewton - 7.5 km do centro
- 60 M2
- 2 quartos
- 4 pessoas
- Aquecimento
- Terraço
- Piscina
- Estacionamento
- Jardim
- Tv
- Máquina de lavar roupa
- Chaminé
- Churrasco
- Toalhas
- Lençóis
11 avaliações


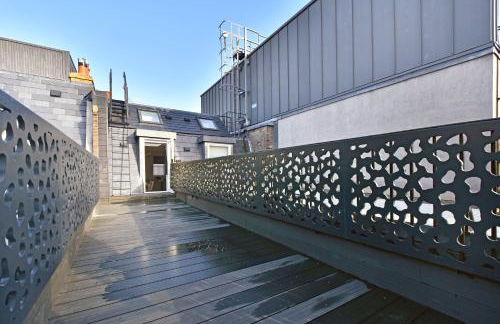
Tavistock Place Apartments
Londres - St Pancras - 1.5 km do centro
- 105 M2
- 7 pessoas
- Aquecimento
- Terraço
- Elevador
- Varanda
- Tv
- Máquina de lavar roupa
- Chaminé
- Toalhas
- Lençóis
12 avaliações
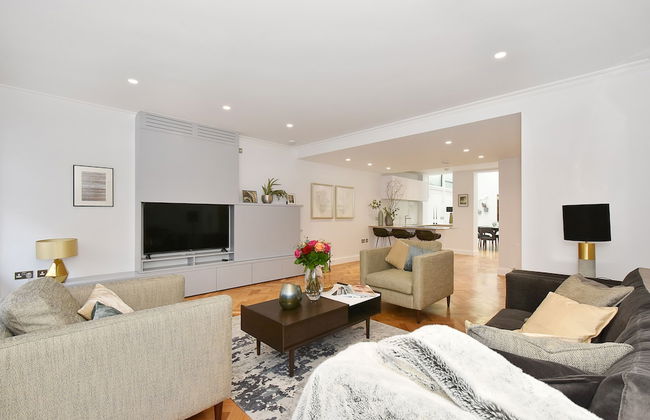
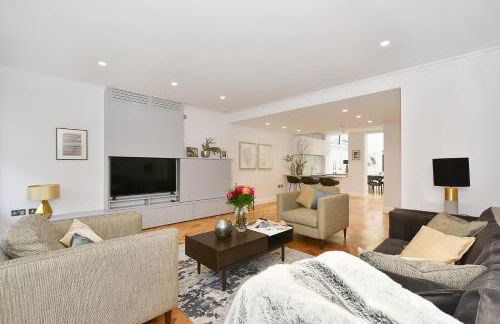
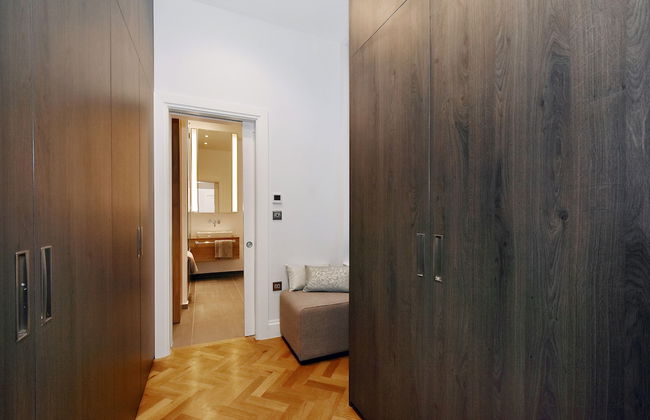


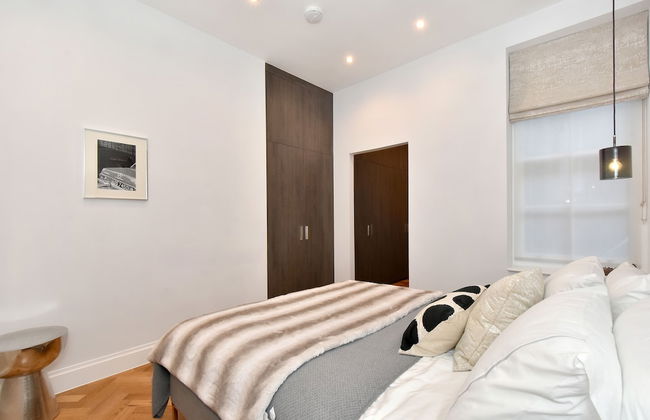


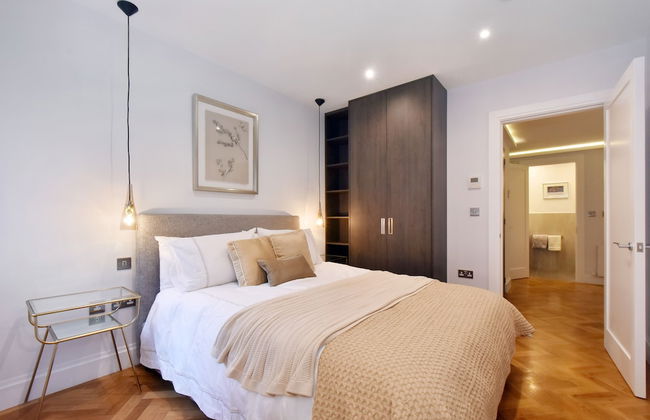
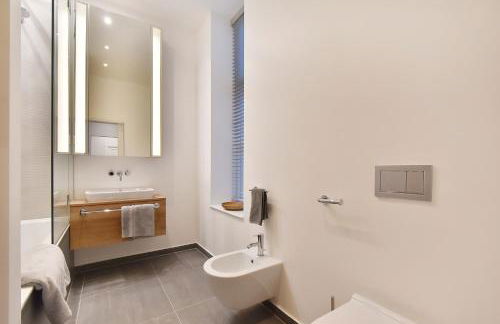
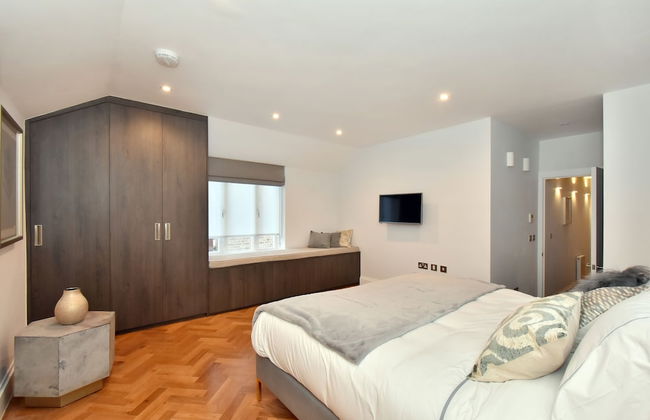

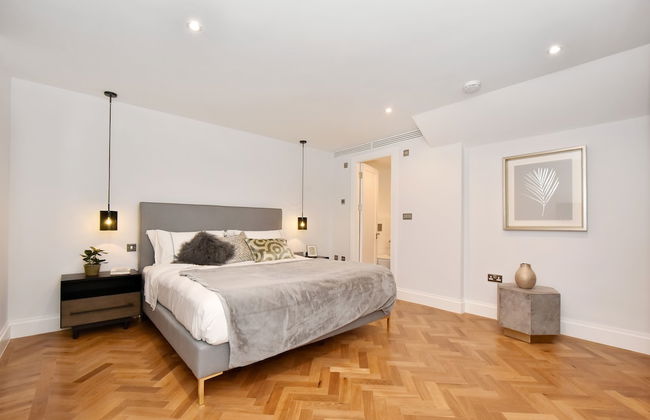

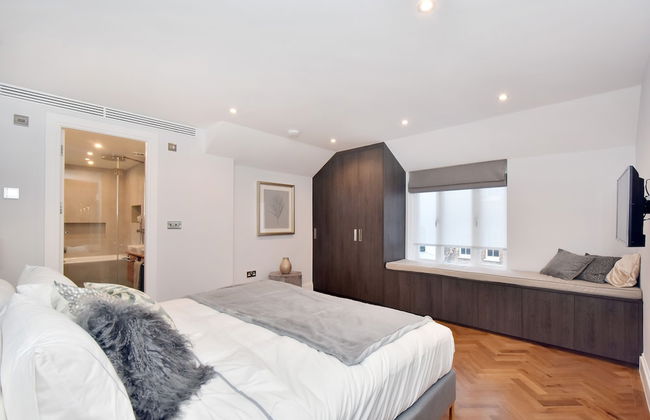
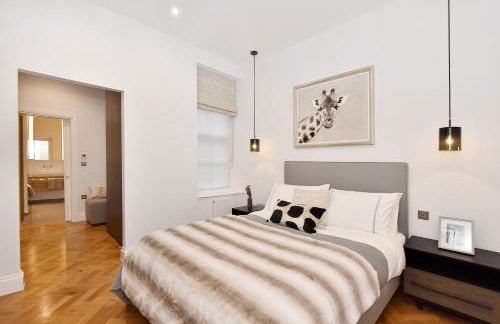
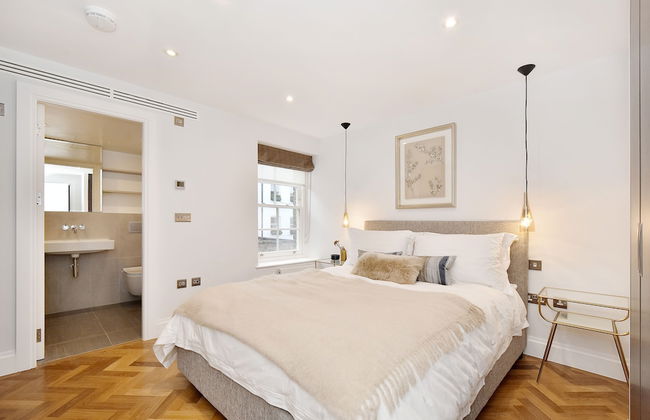

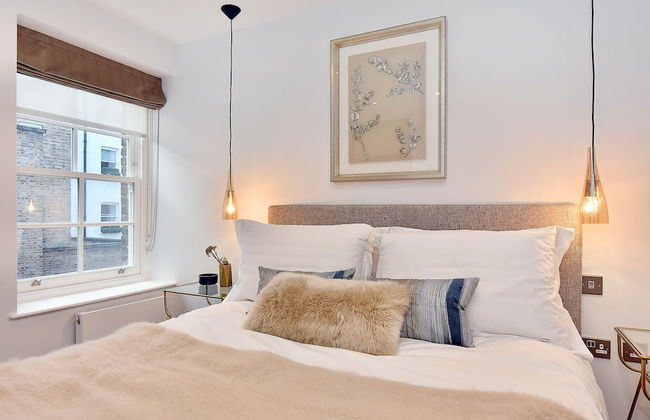
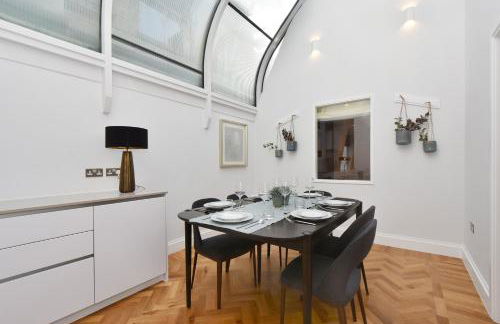
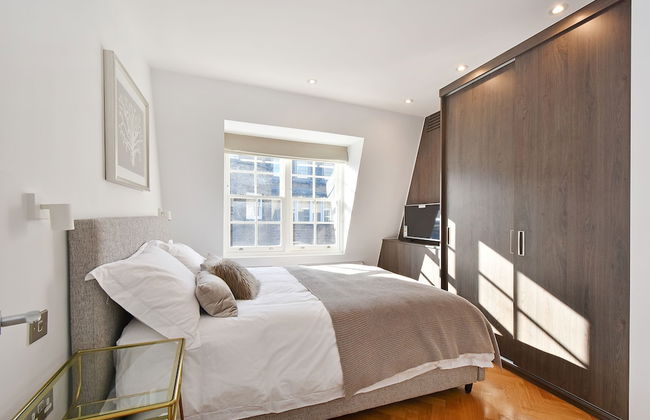
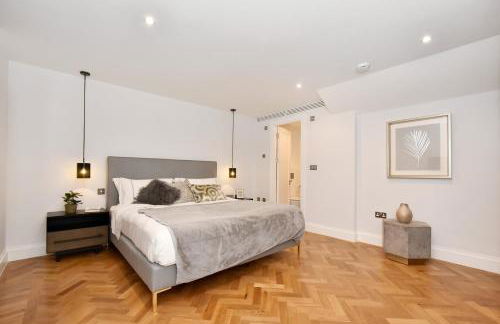
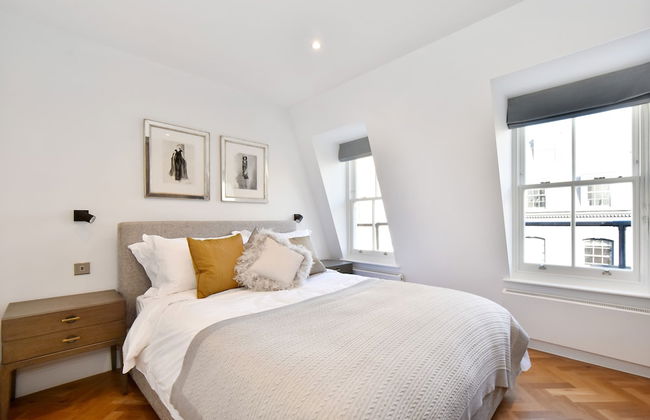

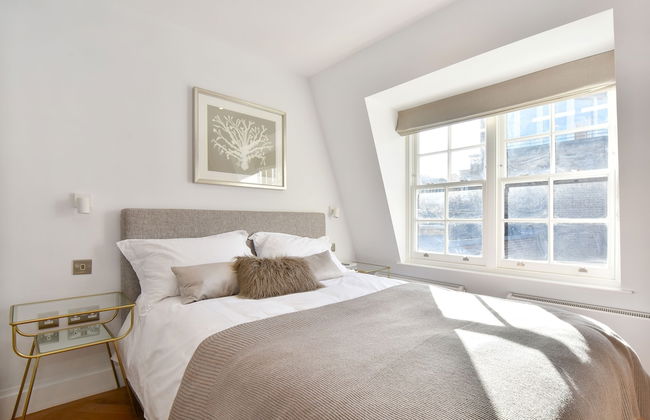
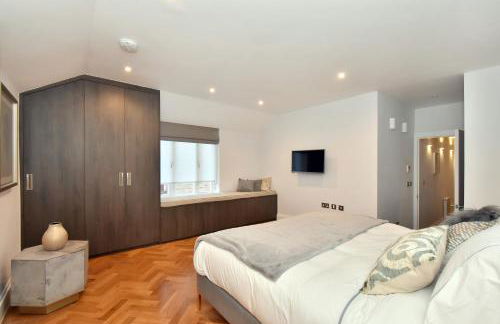
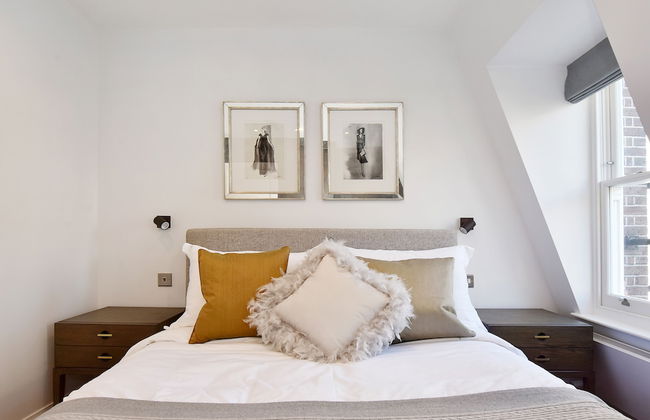

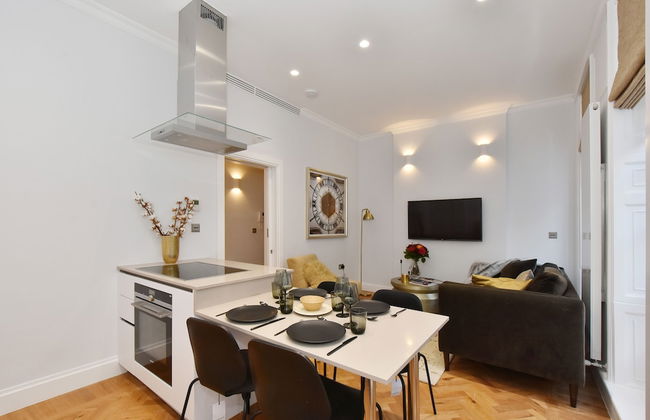


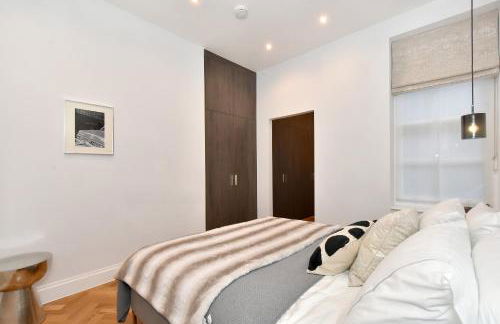
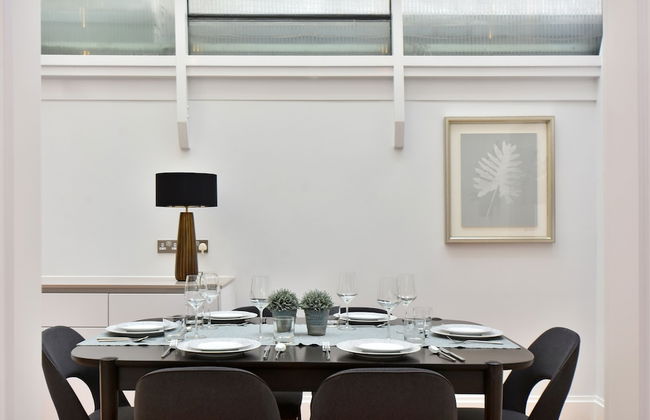
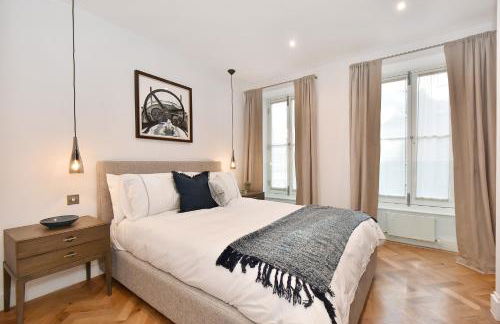
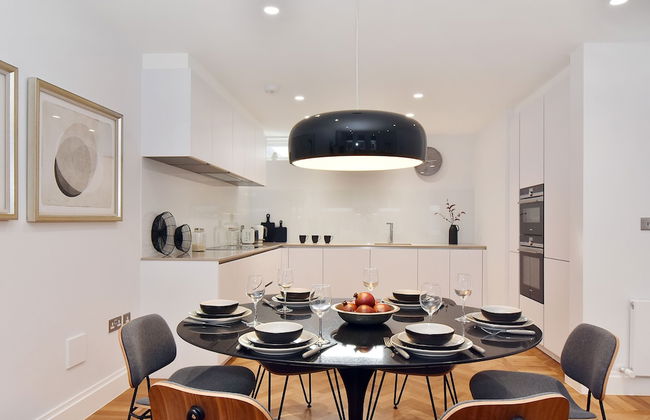
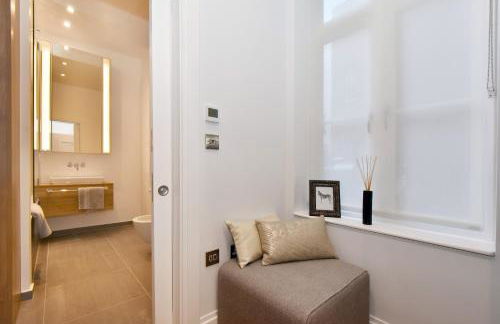
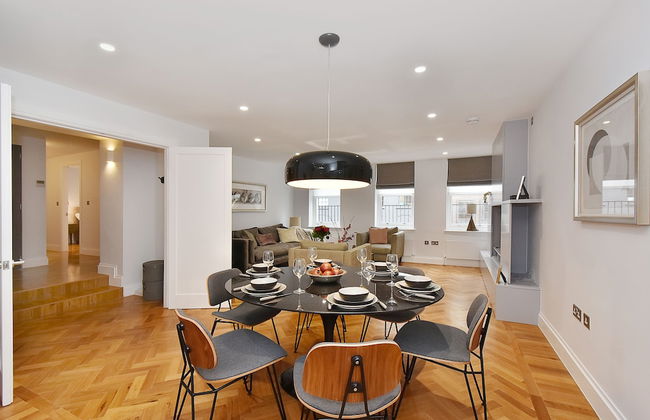

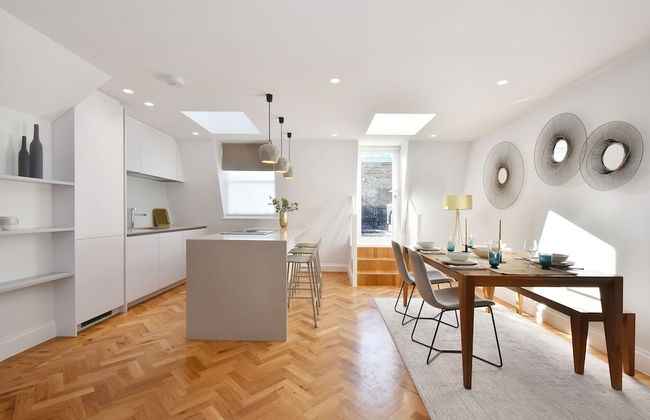
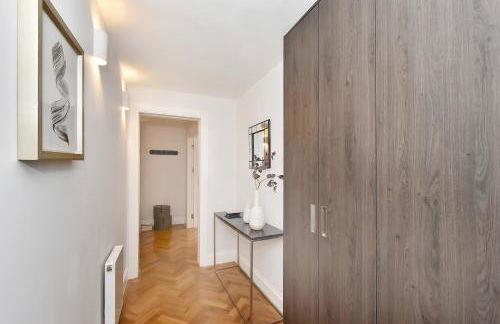


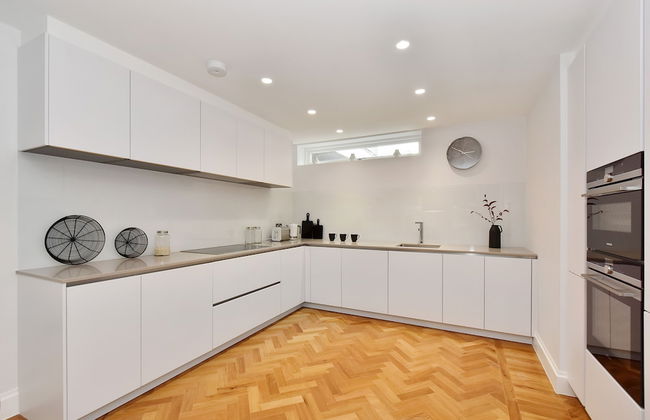
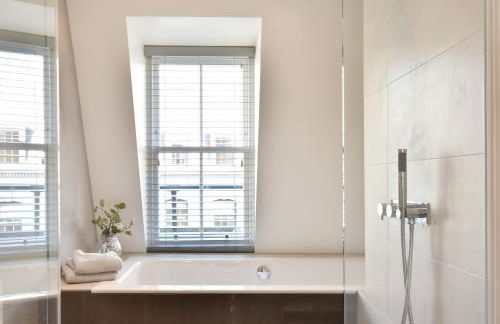
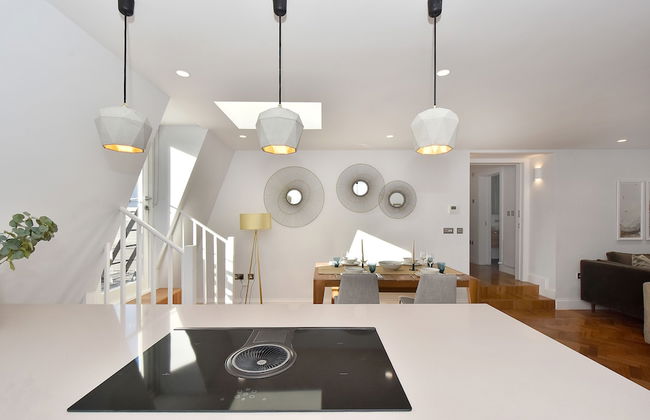

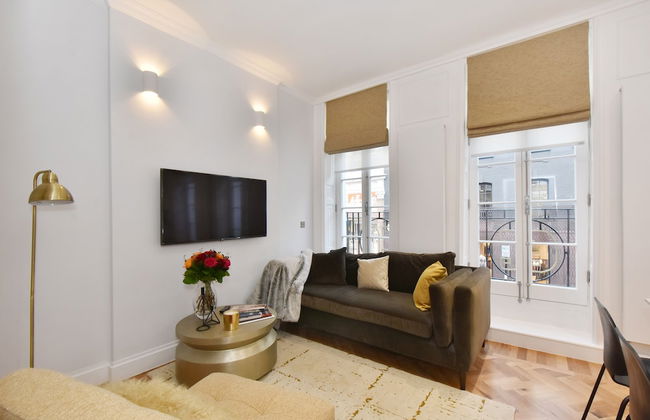
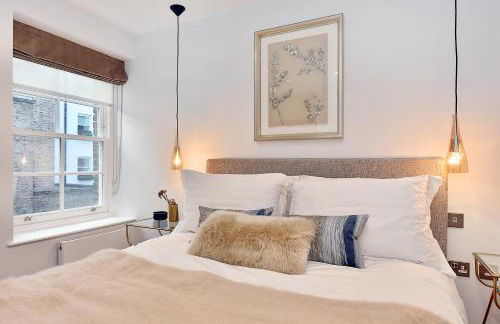
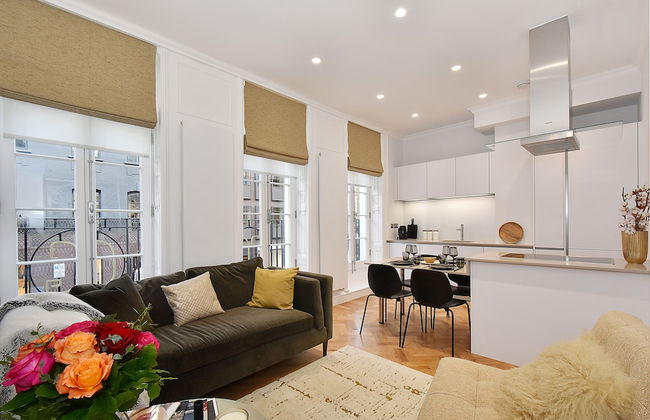
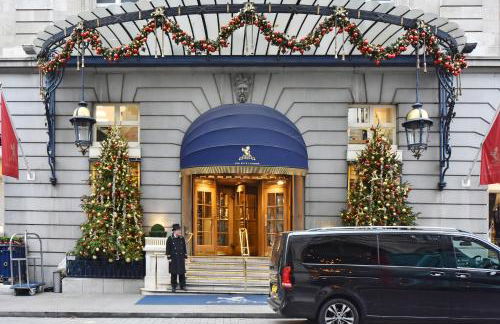
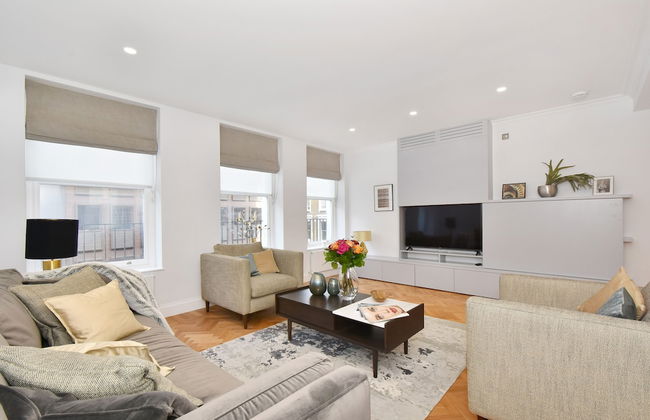
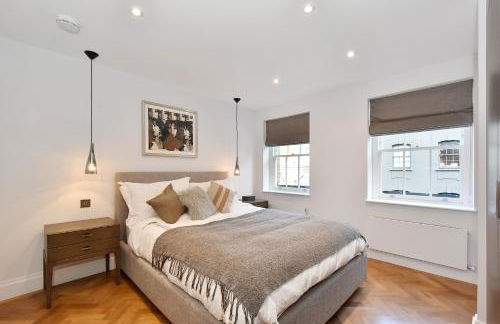
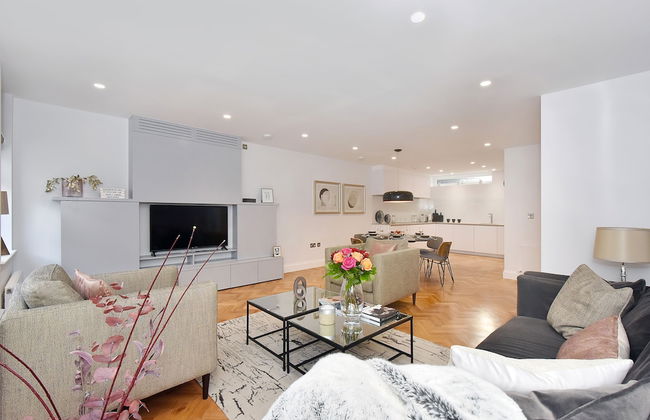

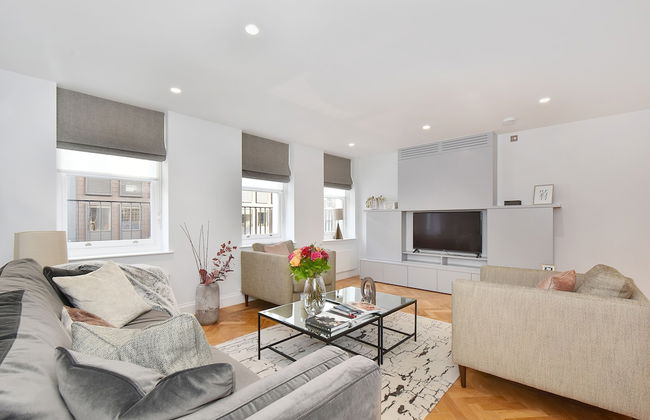
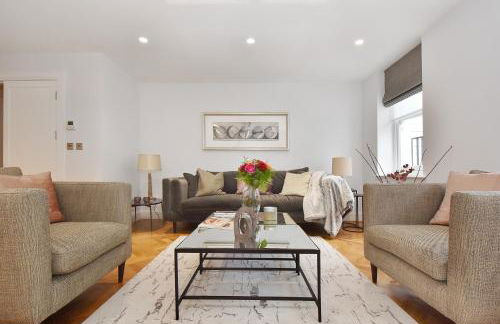
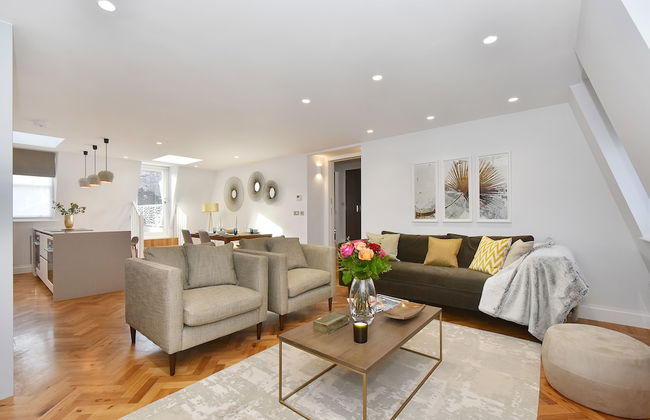

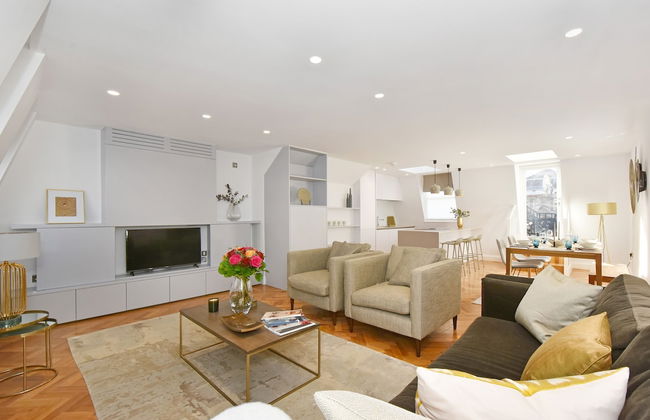
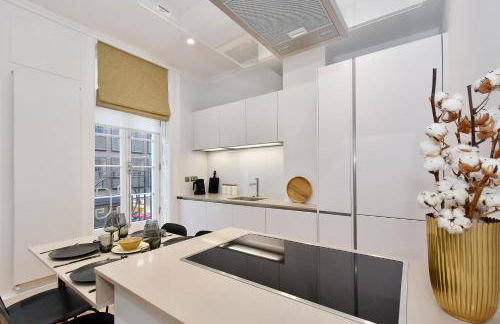
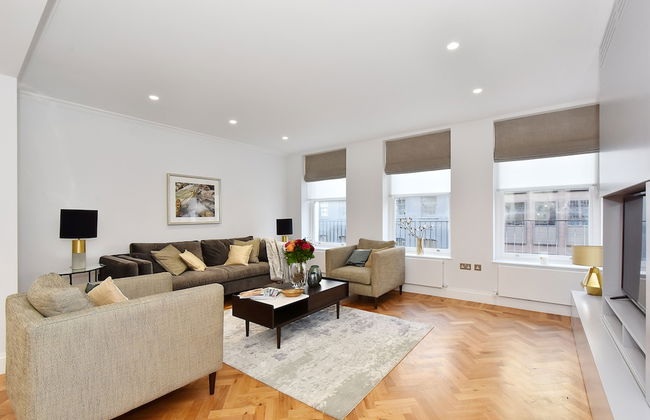

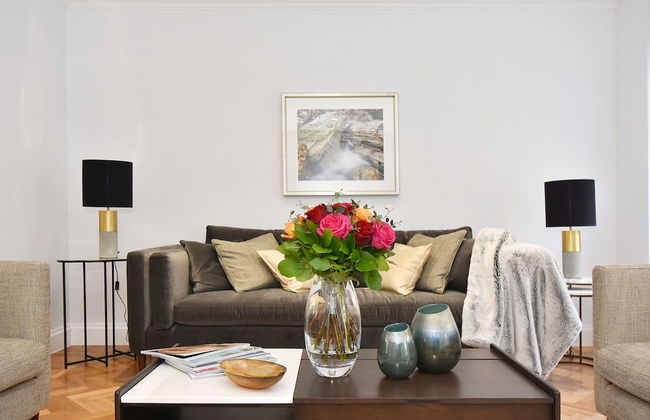
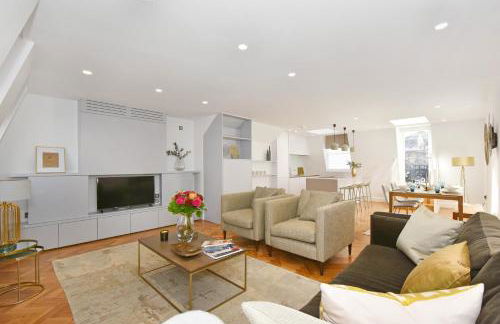
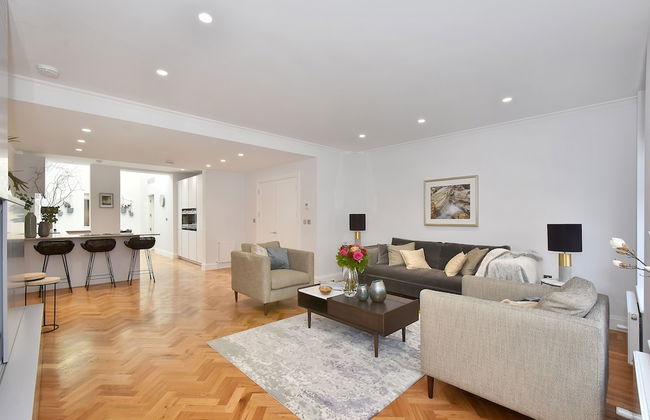

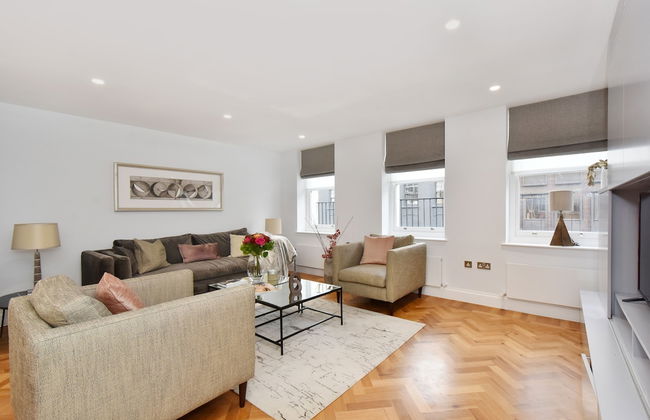
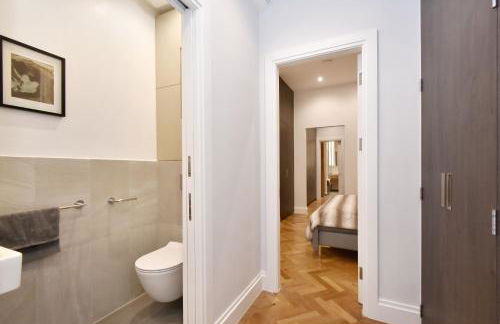
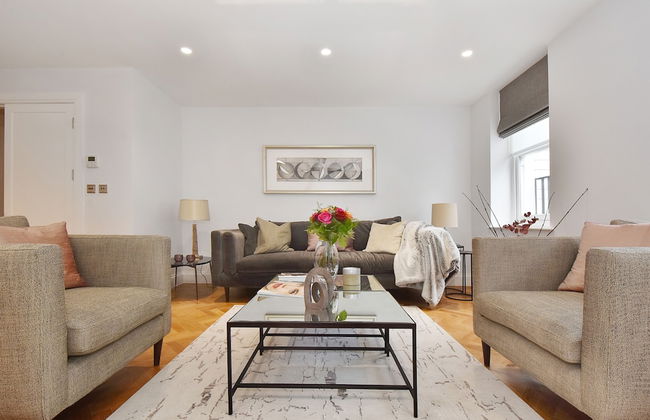

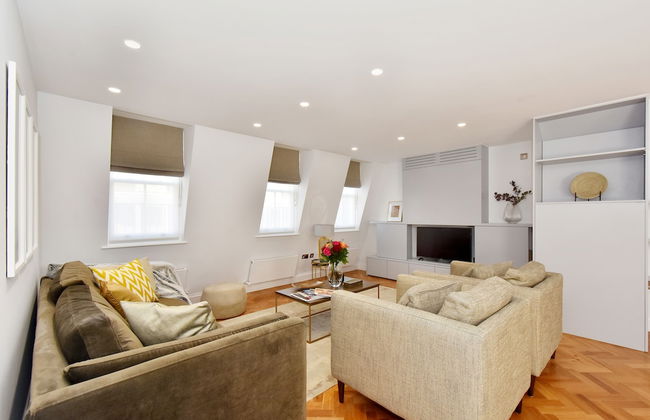
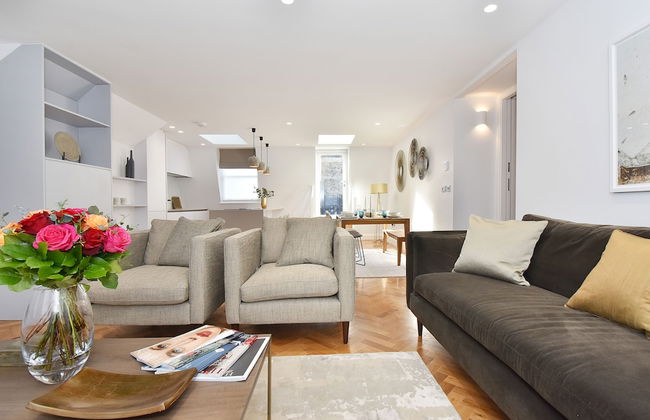
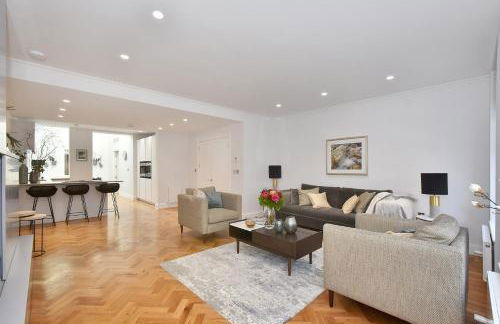


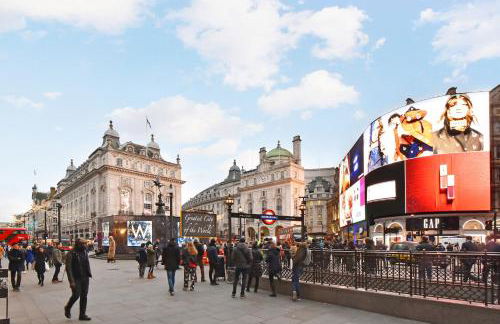
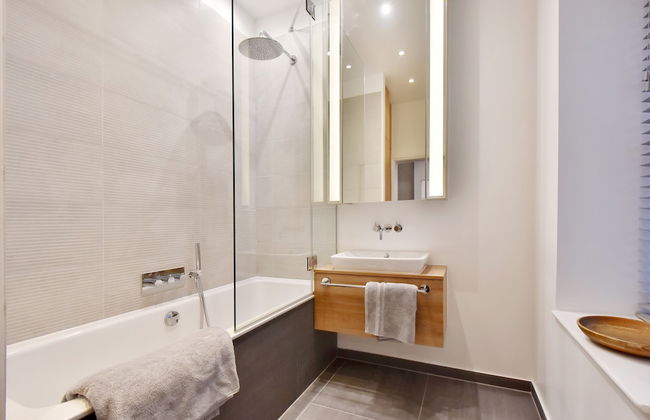
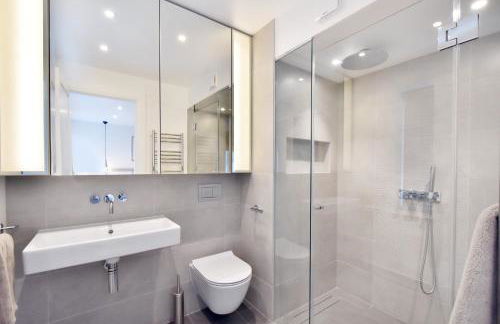


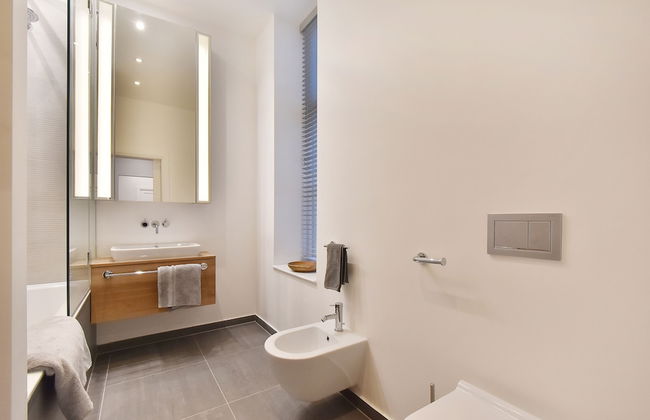
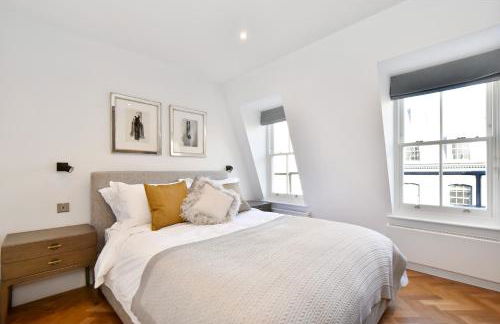
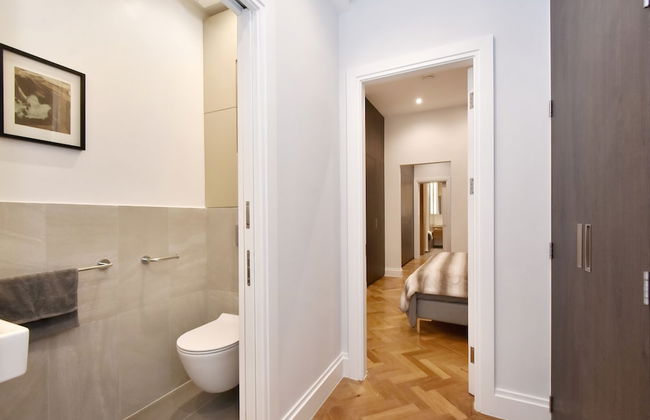
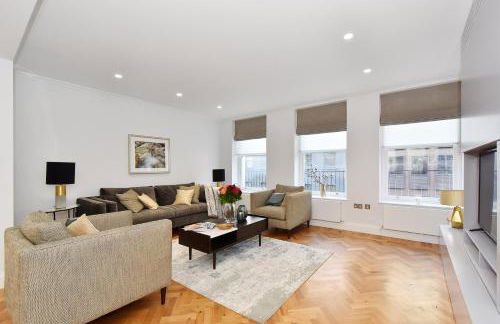
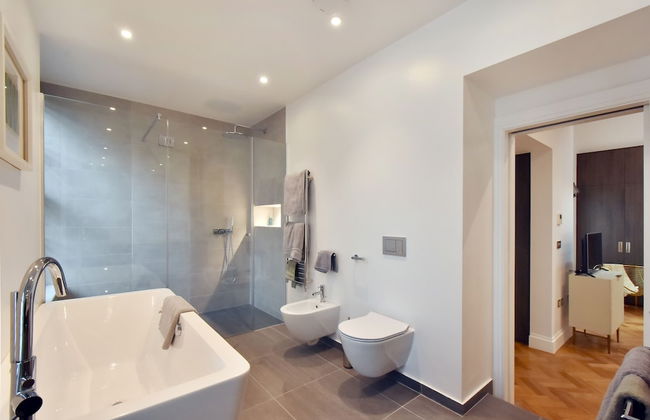


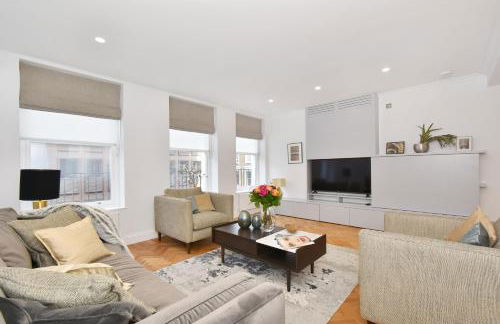
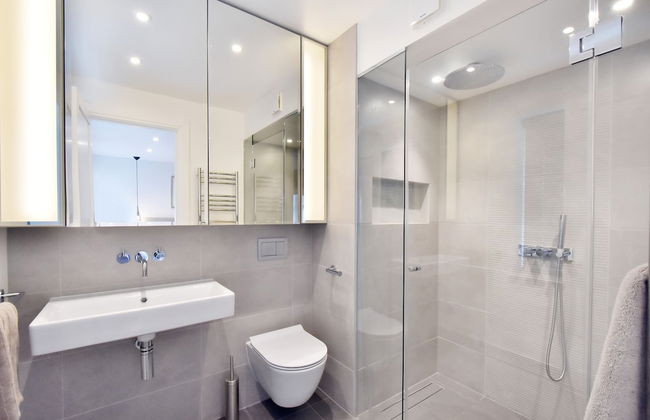


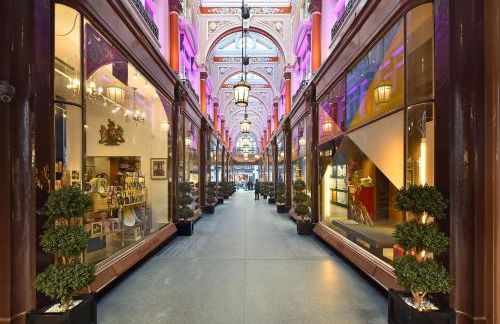
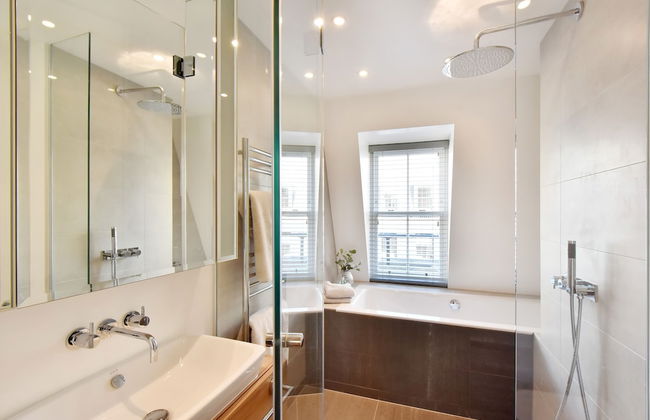


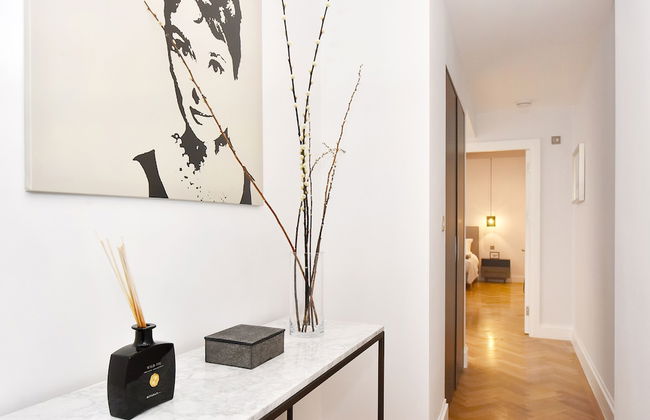
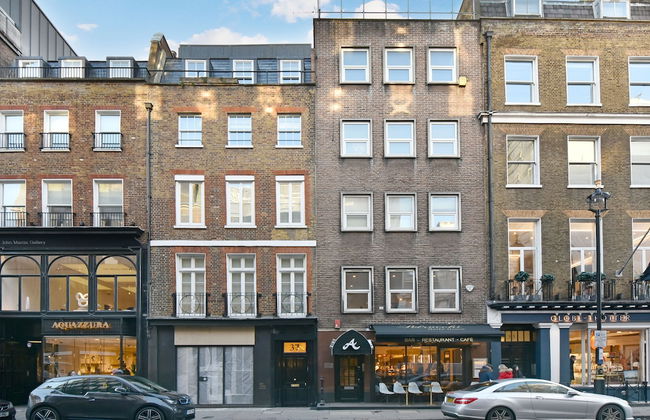


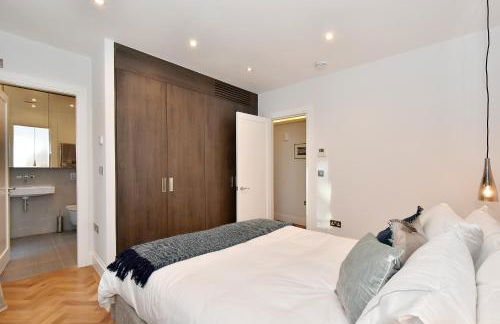
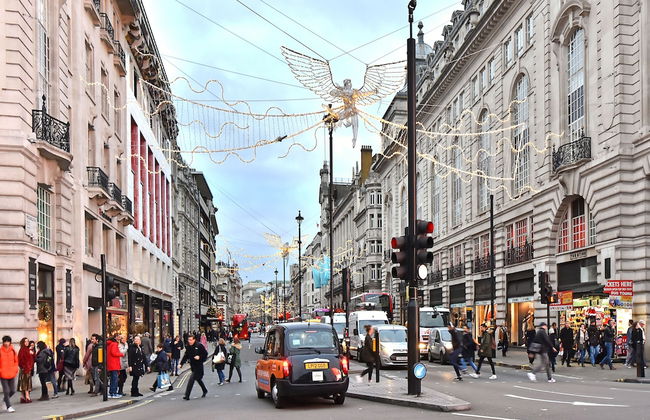
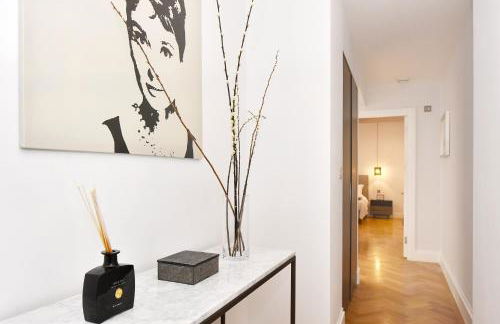


London Choice Apartments - Mayfair - Piccadilly
Londres - Mayfair - 540 m do centro
- 150 M2
- 3 quartos
- 7 pessoas
- Ar-condicionado
- Aquecimento
- Terraço
- Estacionamento
- Elevador
- Tv
- Máquina de lavar roupa
- Lençóis
18 avaliações
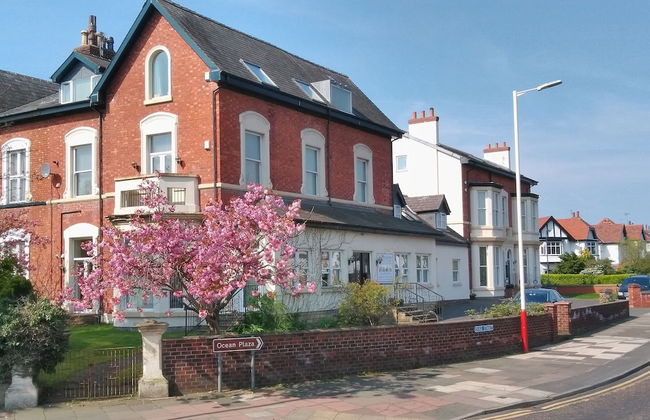


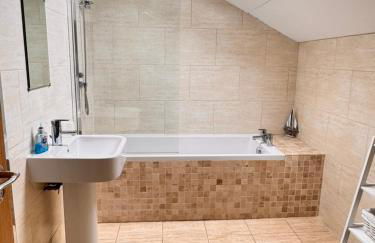
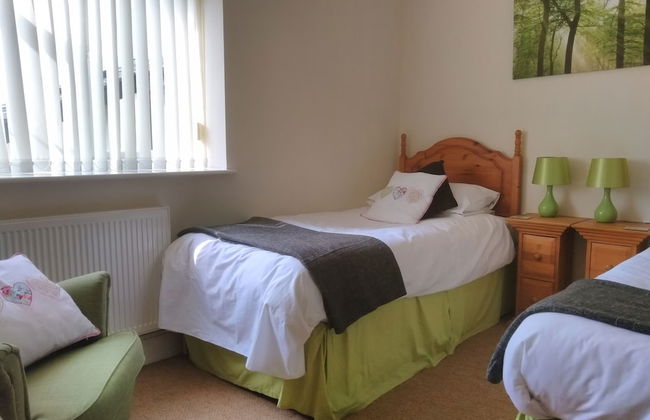
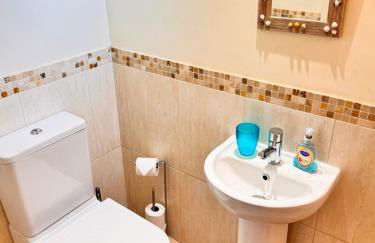


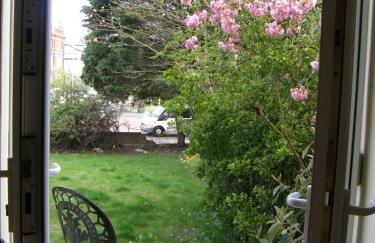
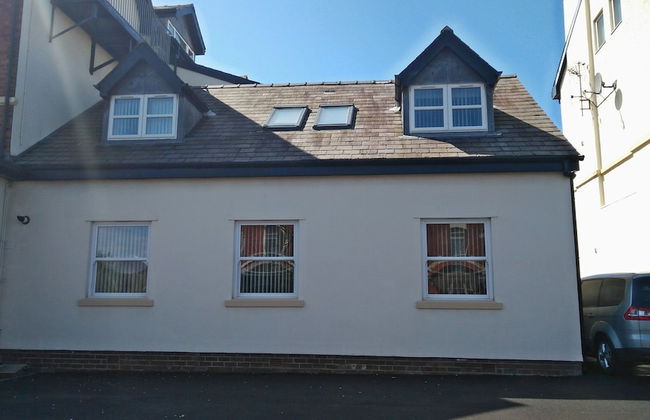


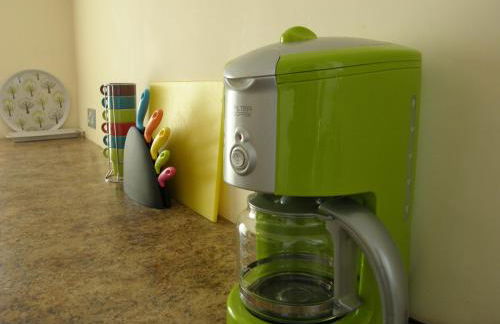
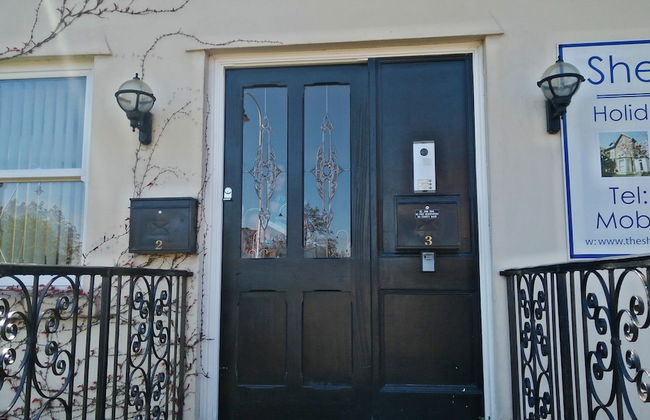


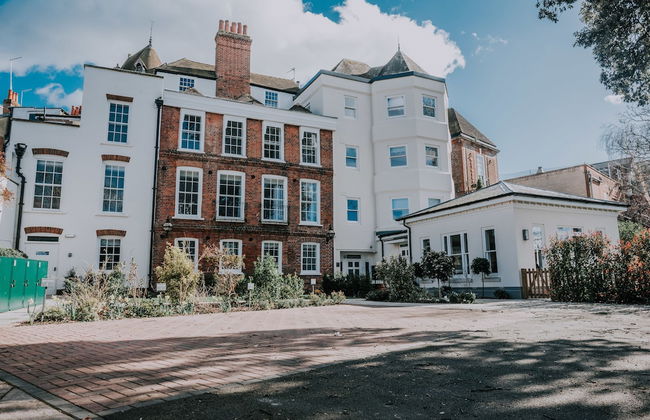
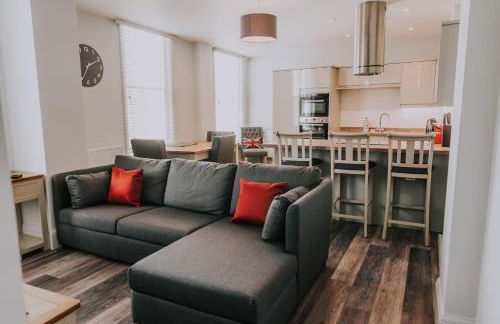
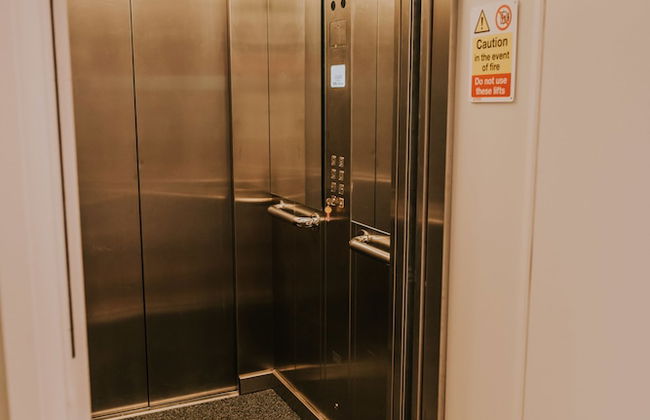
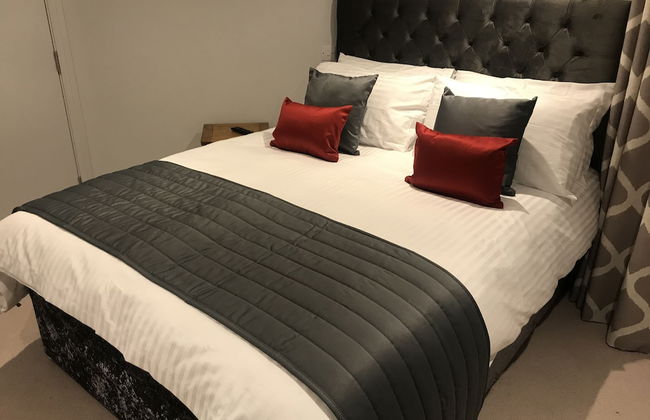
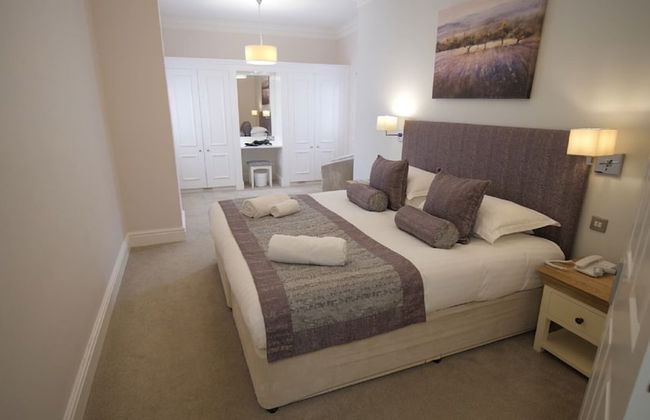
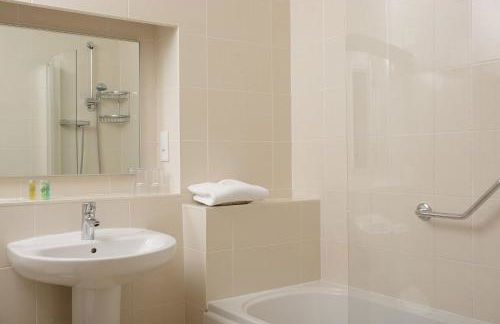
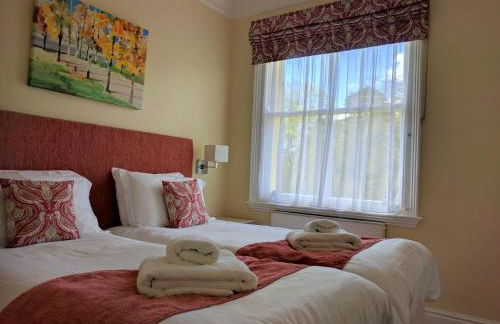
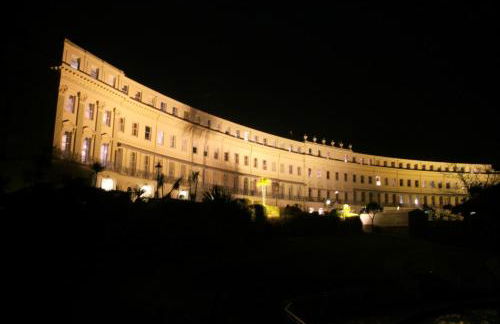
The Shelbourne Apartments
Southport - Southport
- 125 M2
- 2 quartos
- 10 pessoas
- Aquecimento
- Terraço
- Estacionamento
- Elevador
- Varanda
- Jardim
- Tv
- Máquina de lavar roupa
- Toalhas
- Lençóis
75 avaliações


St. Tinney Farm
Camelford - Otterham
- 74 M2
- 6 pessoas
- Aquecimento
- Terraço
- Piscina
- Estacionamento
- Varanda
- Jardim
- Tv
- Máquina de lavar roupa
- Chaminé
- Toalhas
- Lençóis
24 avaliações


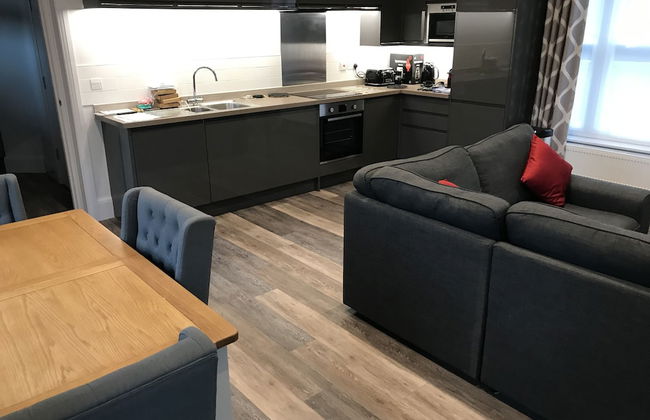
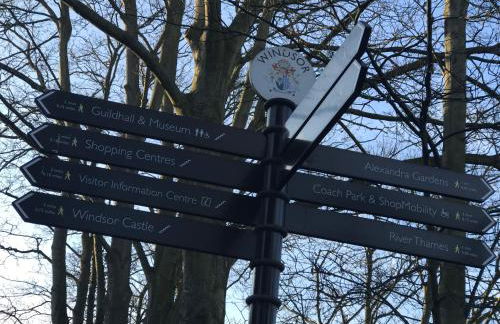
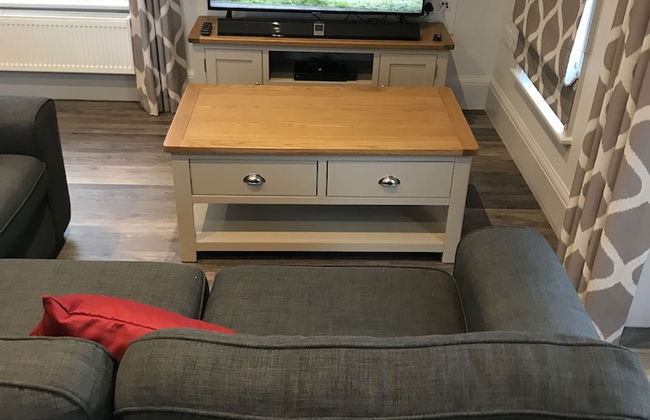
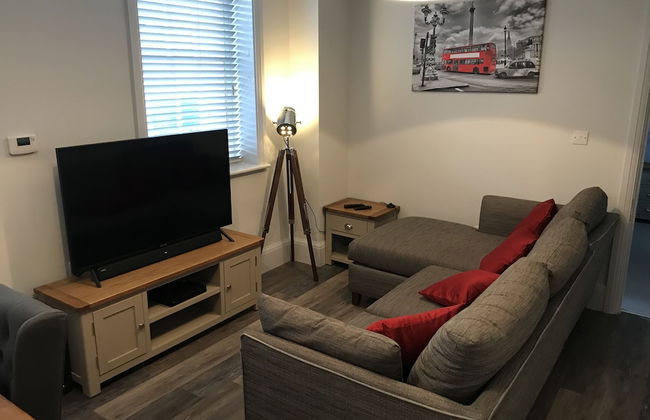
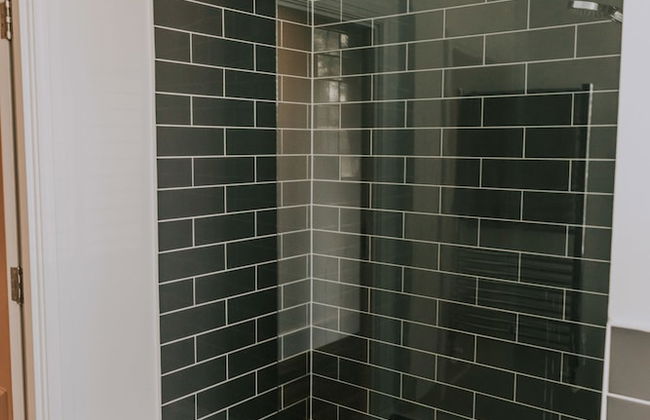
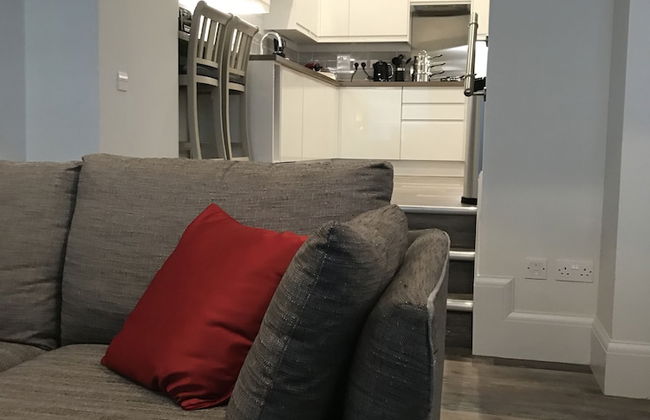
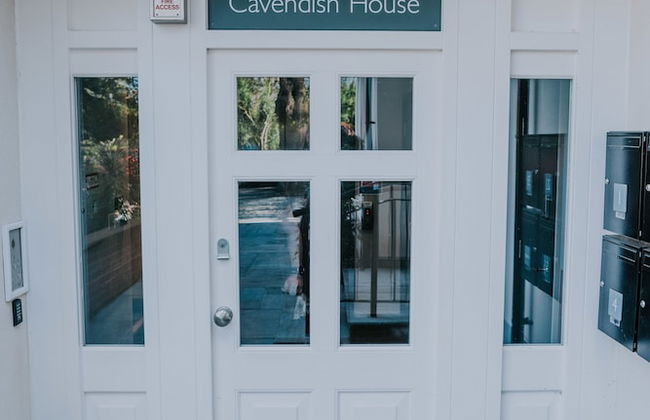
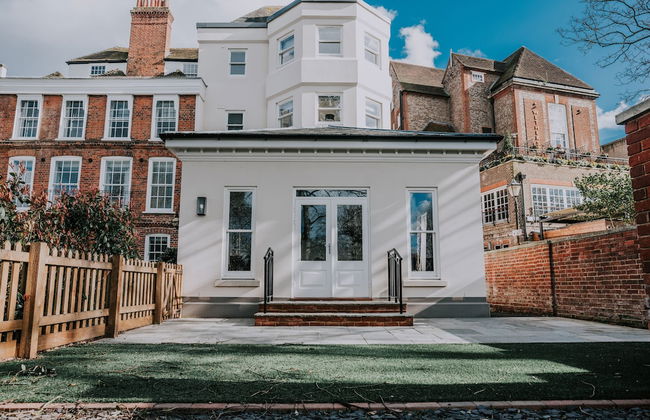
Cavendish House with Secure, Allocated Parking, 2 mins walk from Windsor Castle
Windsor - Windsor
- 92 M2
- 2 quartos
- 6 pessoas
- Aquecimento
- Terraço
- Estacionamento
- Elevador
- Varanda
- Jardim
- Tv
- Máquina de lavar roupa
- Toalhas
- Lençóis
61 avaliações


Monarch House - Serviced Apartments - Kensington
Londres - Kensington - 4.5 km do centro
- 178 M2
- 3 quartos
- 9 pessoas
- Ar-condicionado
- Aquecimento
- Terraço
- Estacionamento
- Elevador
- Varanda
- Jardim
- Tv
- Toalhas
- Lençóis
29 avaliações

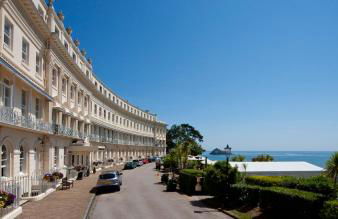


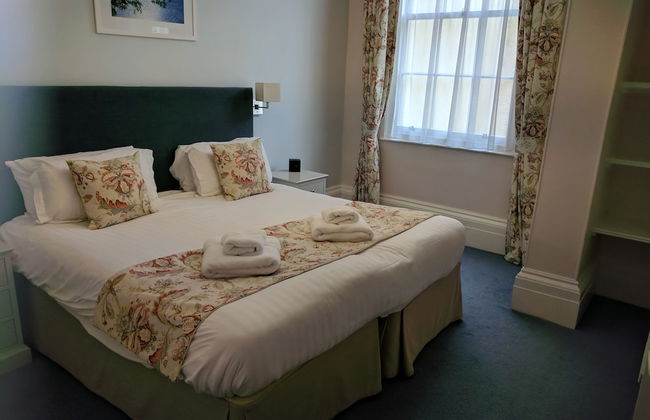
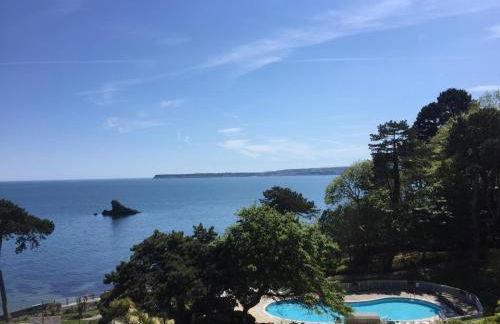

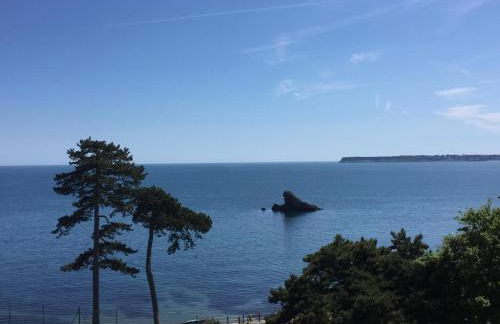

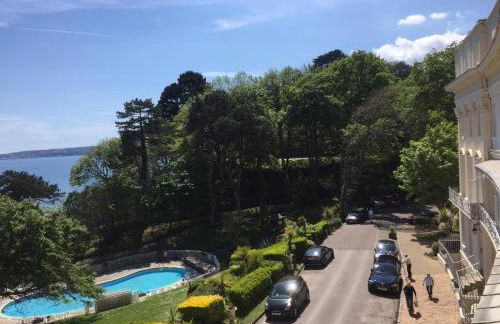


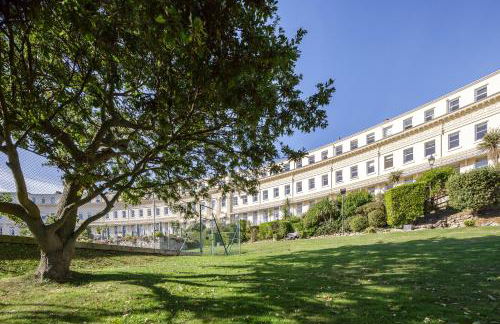

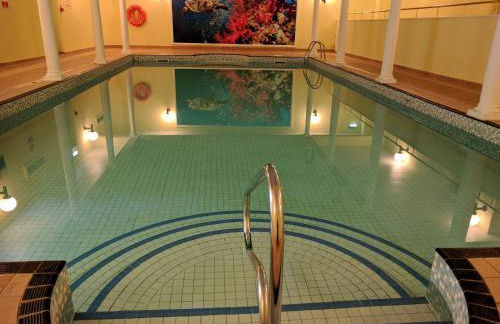


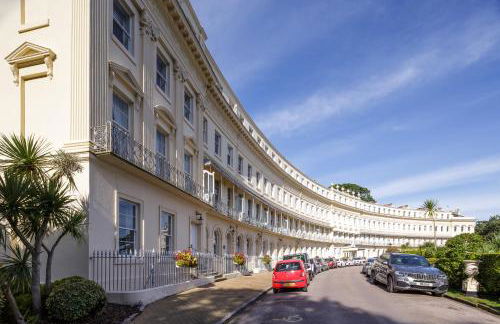


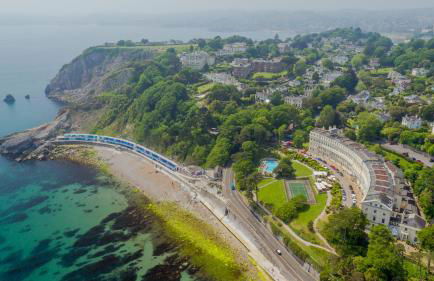

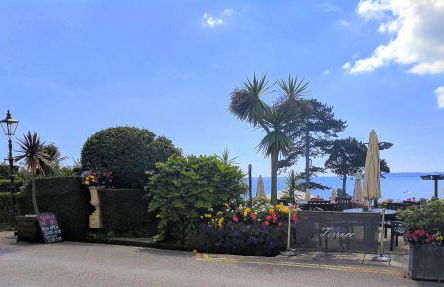


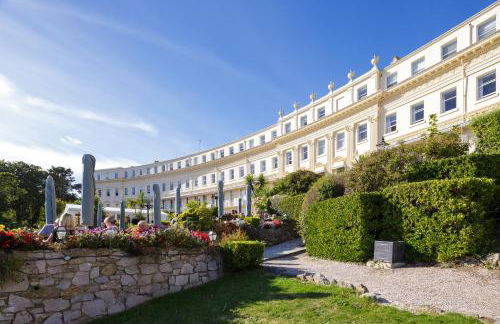


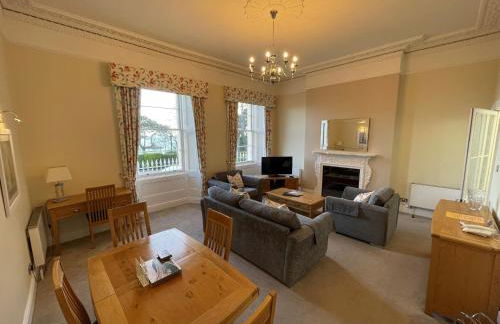

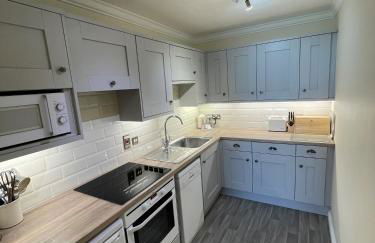


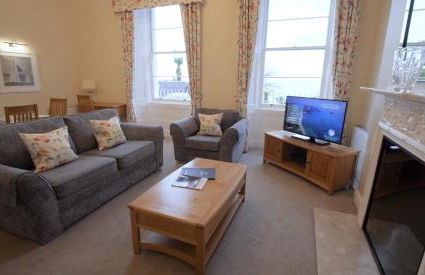

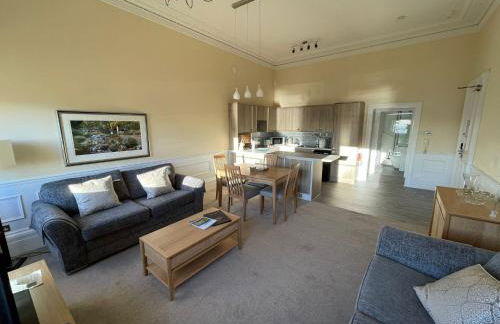

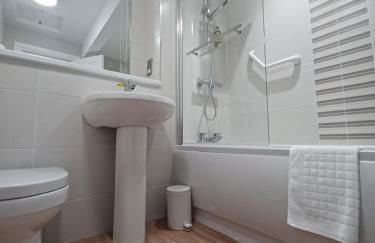


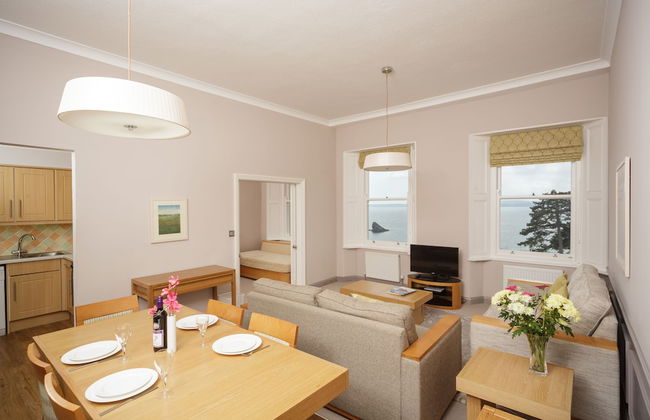


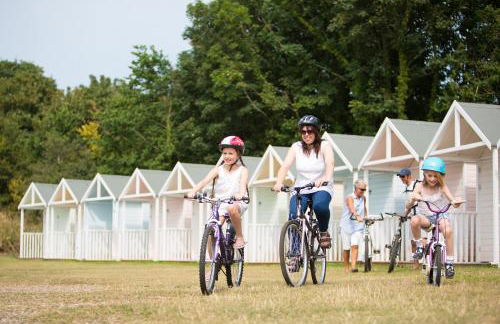


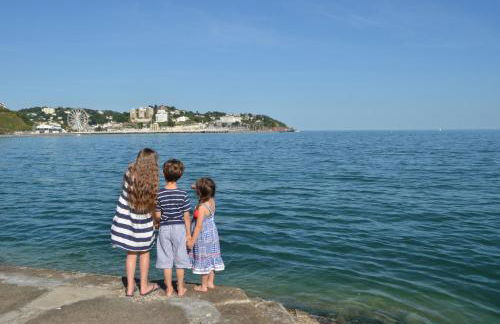


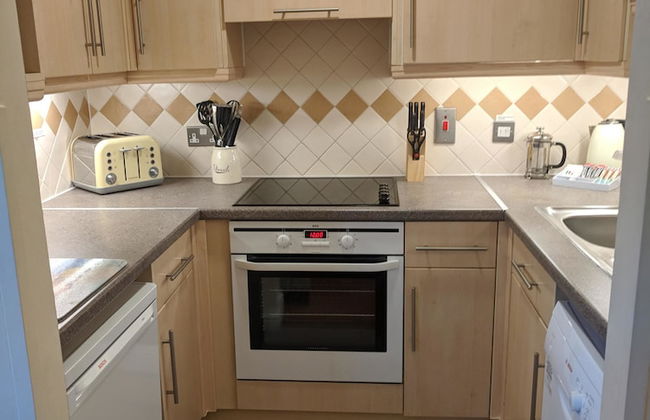


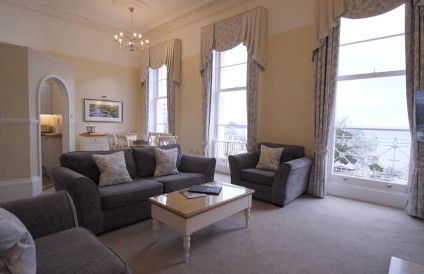

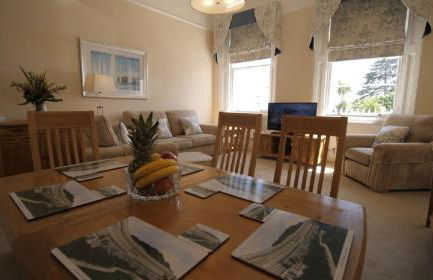


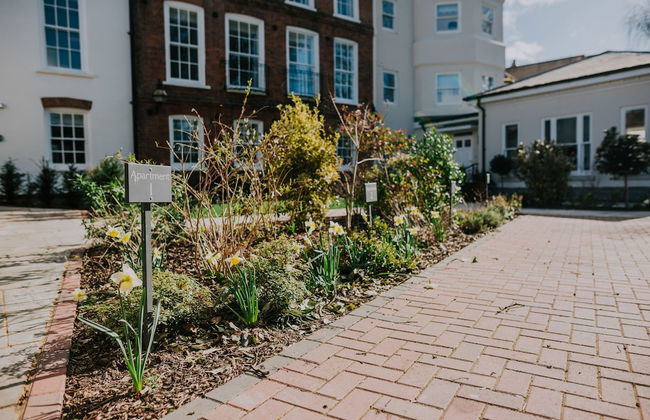
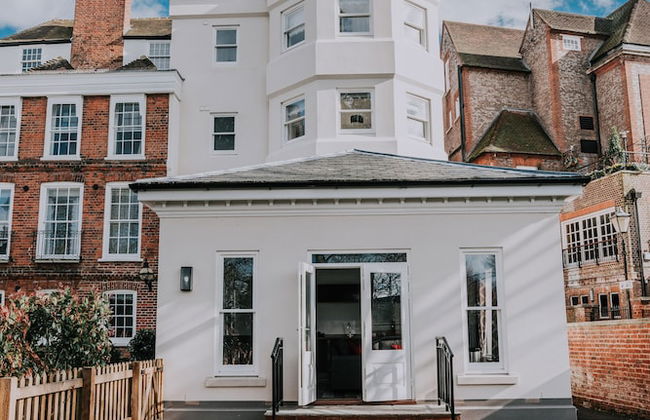
The Osborne Apartments
Torquay - Torquay
- 139 M2
- 3 quartos
- 8 pessoas
- Aquecimento
- Terraço
- Piscina
- Estacionamento
- Elevador
- Jardim
- Tv
- Toalhas
- Lençóis
89 avaliações


Malvern Holiday Garden Flat
Malvern - Malvern
- 2 pessoas
- Aquecimento
- Terraço
- Estacionamento
- Jardim
- Tv
- Máquina de lavar roupa
- Toalhas
- Lençóis
19 avaliações


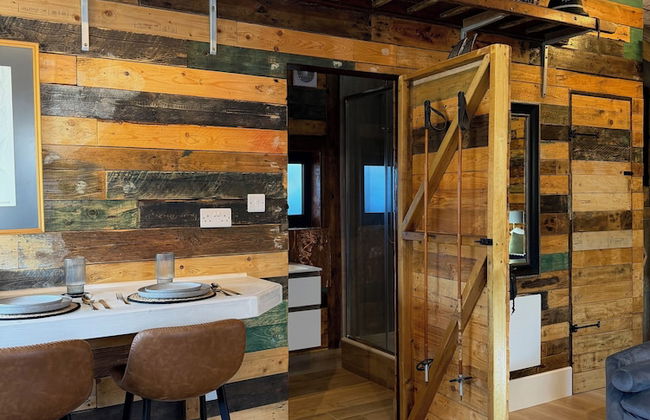
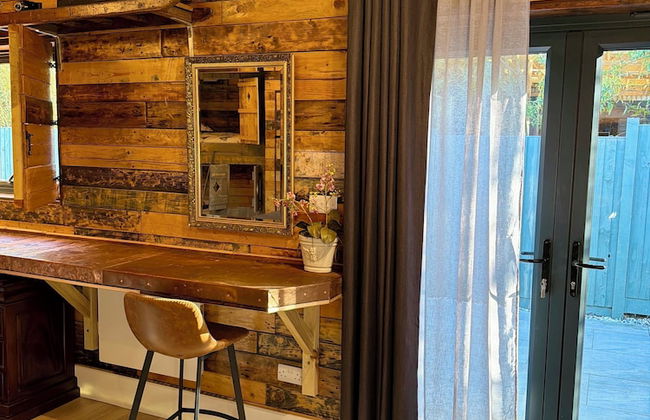
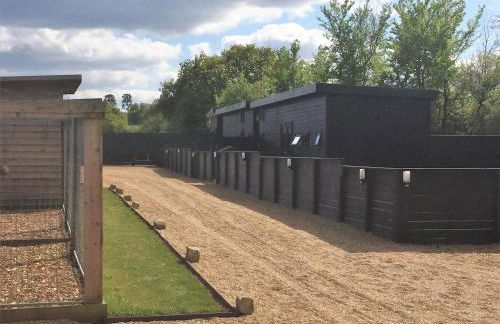
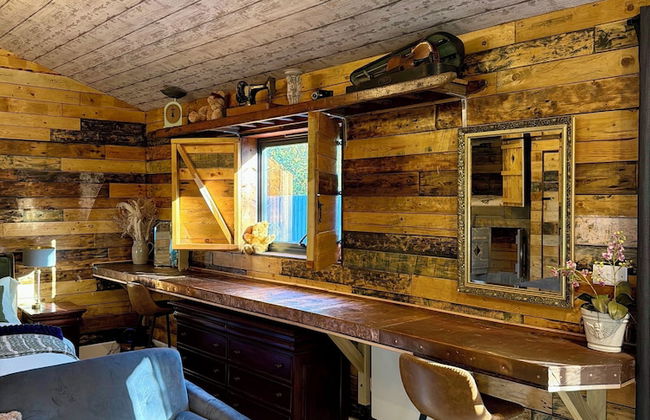
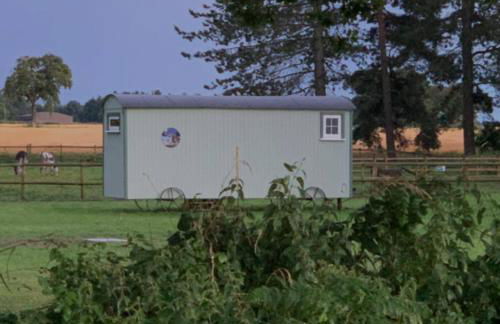
Wensleydale Glamping Pods
Leyburn - Redmire
- 4 pessoas
- Kitchenette
- Aquecimento
- Terraço
- Estacionamento
- Tv
- Churrasco
- Toalhas
- Lençóis
14 avaliações


Middlehead Cottages at Cropton Forest
Pickering - Stape
- 68 M2
- 5 pessoas
- Aquecimento
- Terraço
- Estacionamento
- Jardim
- Tv
- Chaminé
- Toalhas
- Lençóis
35 avaliações


Hayeswood Lodge Luxury Accommodation
Ilkeston - Stanley Common
- 2 pessoas
- Kitchenette
- Aquecimento
- Terraço
- Estacionamento
- Jardim
- Tv
- Toalhas
- Lençóis
32 avaliações


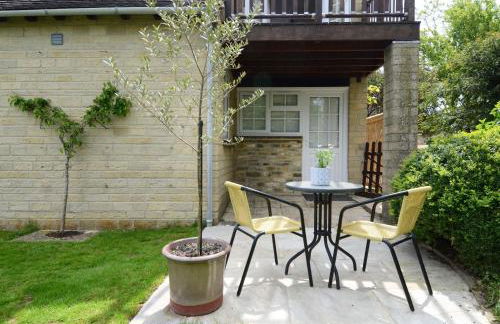


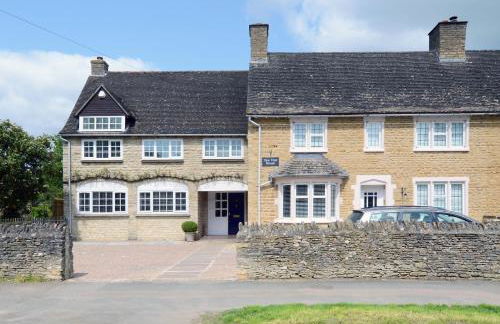

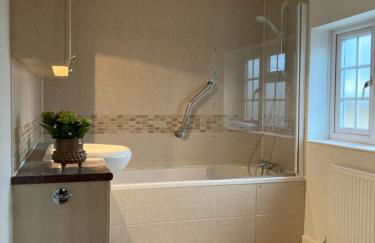


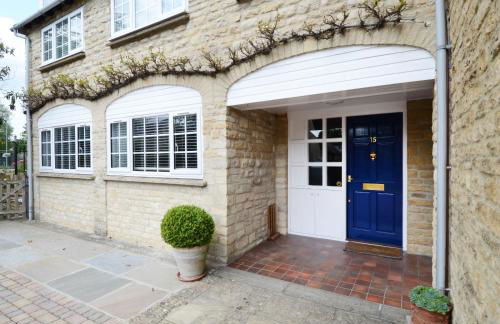


Yew Tree House
Woodstock - Woodstock
- 58 M2
- 2 pessoas
- Aquecimento
- Terraço
- Estacionamento
- Varanda
- Jardim
- Tv
- Toalhas
- Lençóis
21 avaliações


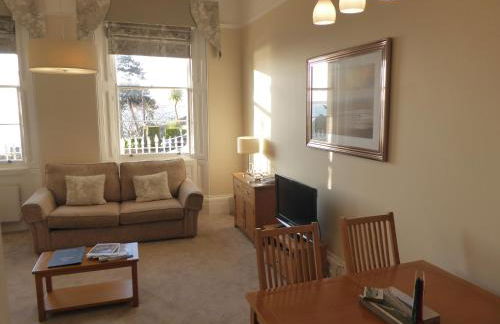
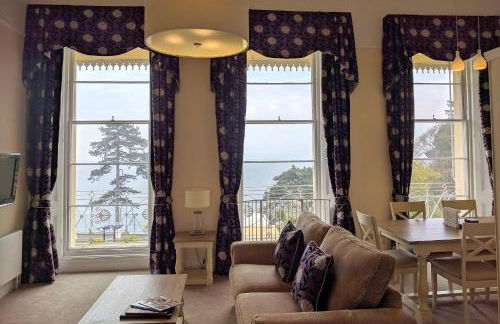
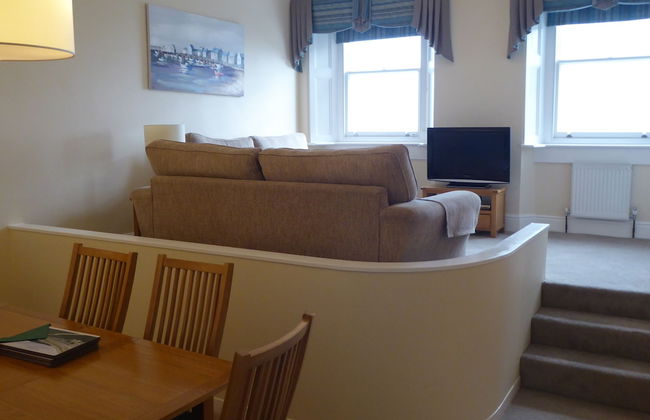
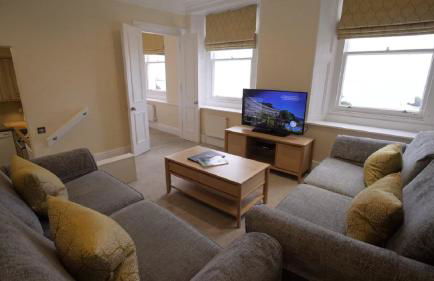
Muntham Holiday Apartments & Town House
Torquay - Ellacombe
- 117 M2
- 1 quarto
- 5 pessoas
- Aquecimento
- Terraço
- Estacionamento
- Jardim
- Tv
- Máquina de lavar roupa
- Chaminé
- Churrasco
- Toalhas
- Lençóis
21 avaliações


New Luxury 1-bed House nr Bicester Village
Bicester - Piddington
- 75 M2
- 2 pessoas
- Aquecimento
- Terraço
- Estacionamento
- Jardim
17 avaliações
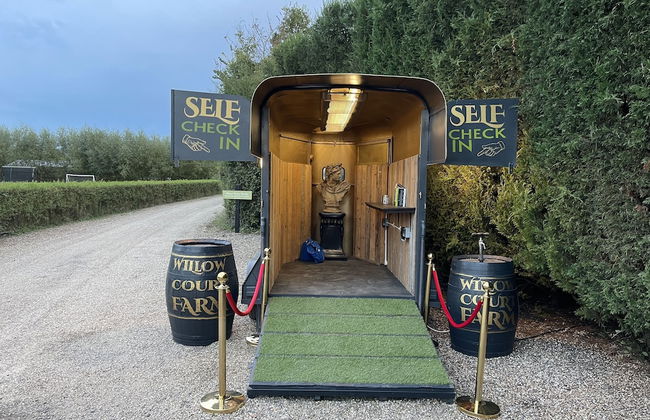

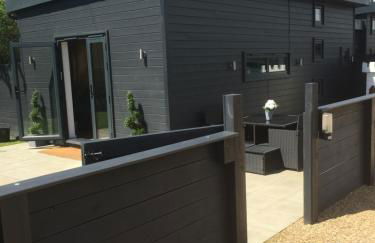
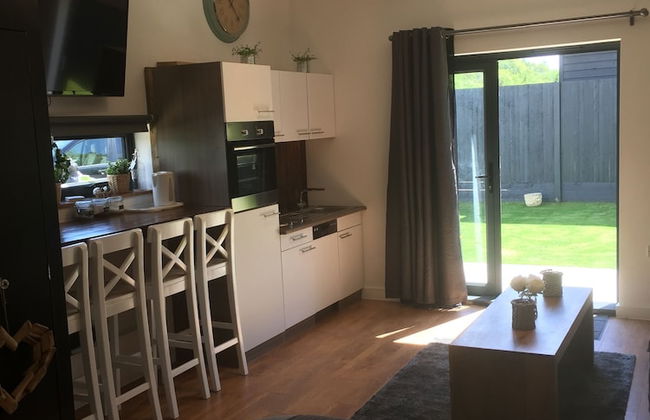
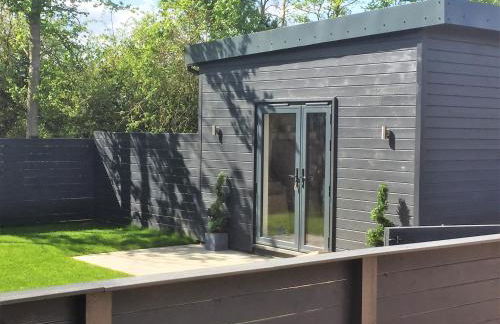
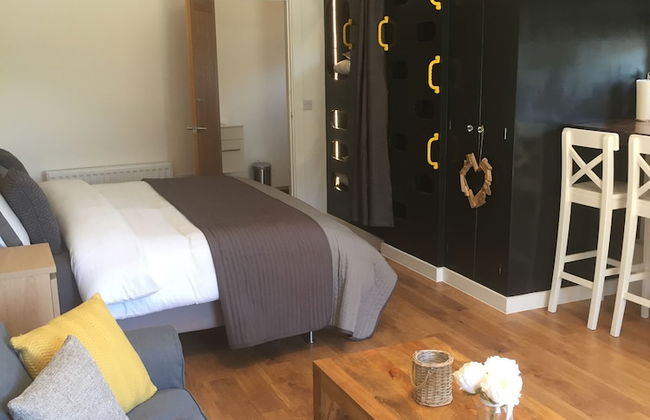


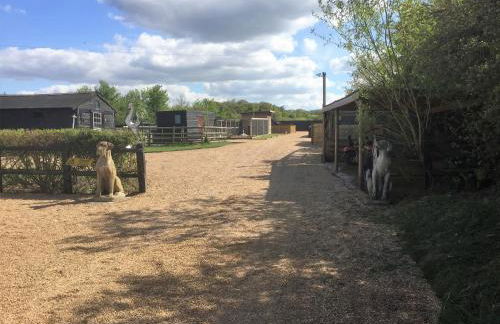
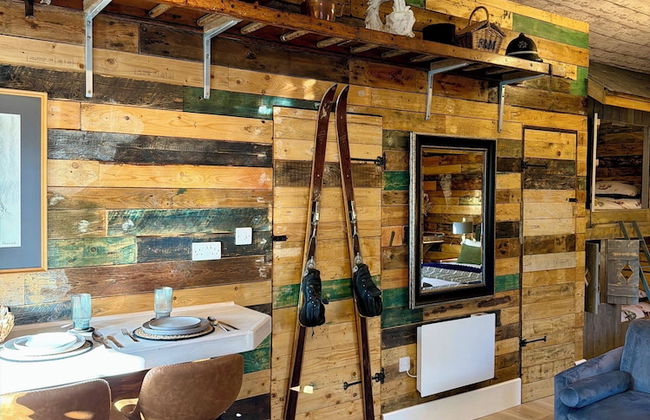
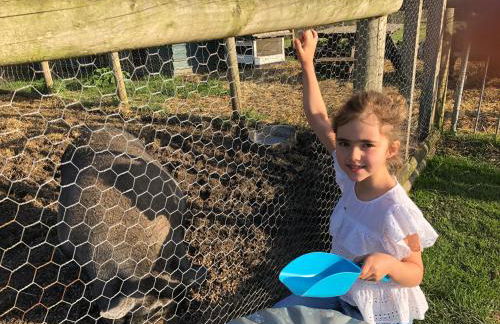
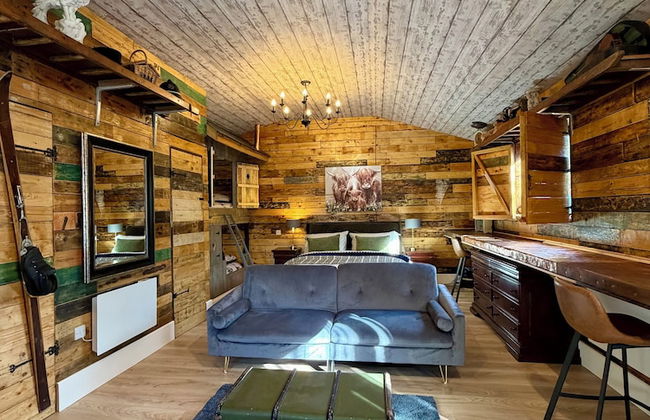


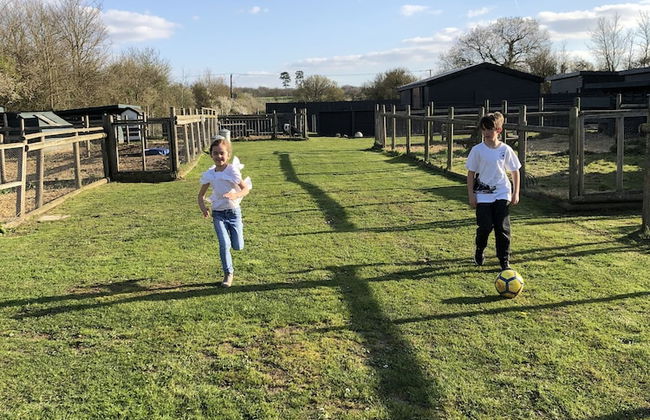

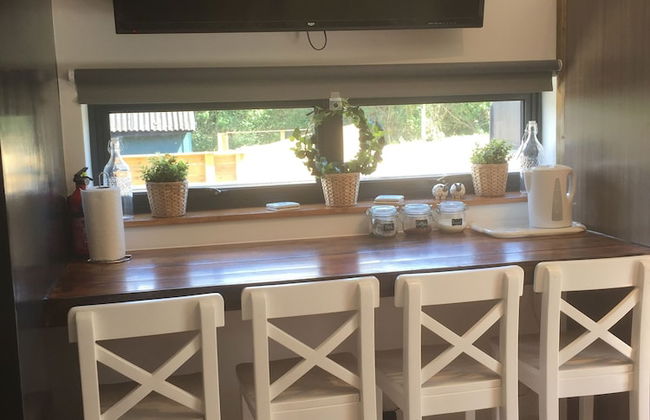

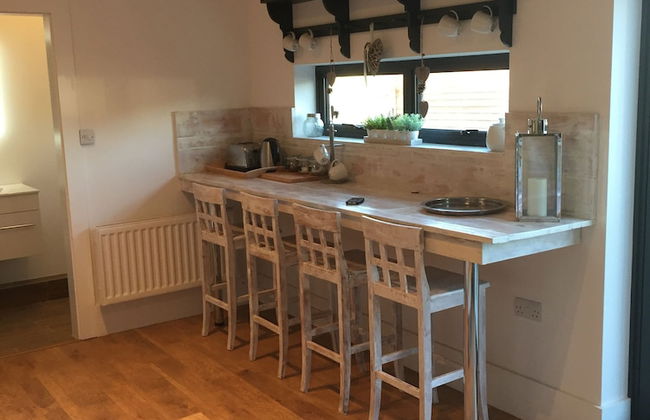

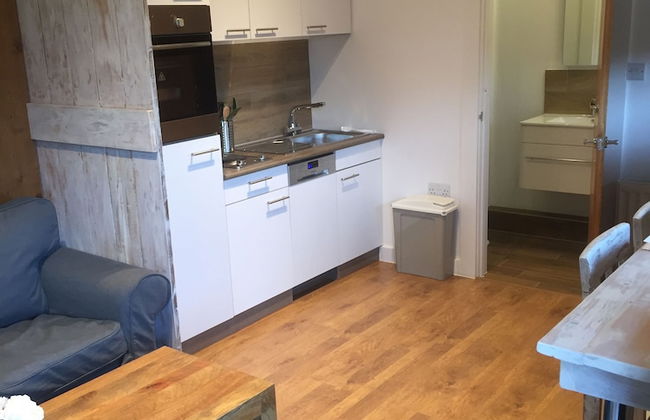


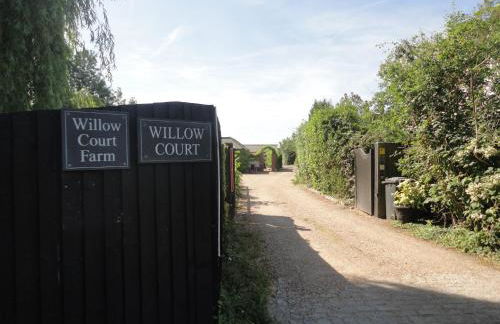
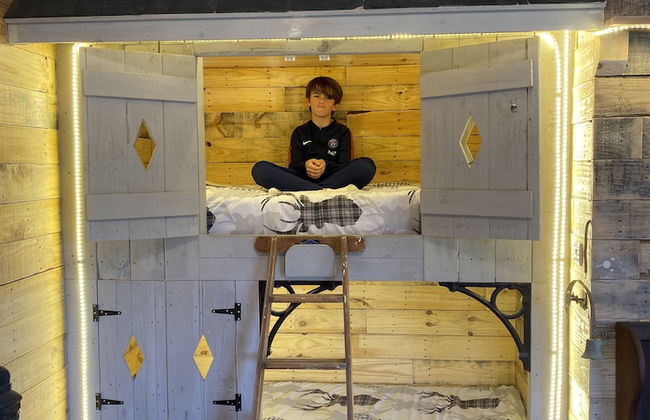
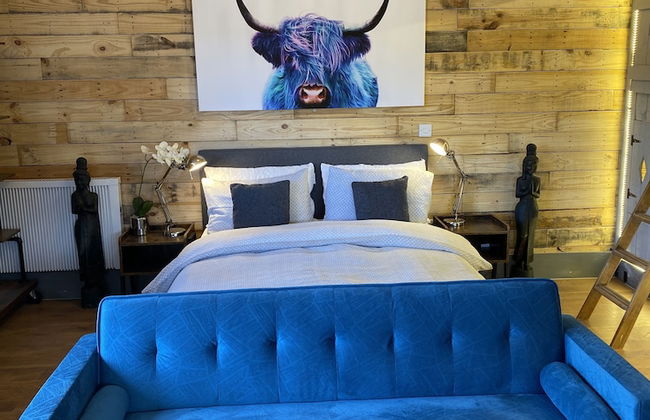
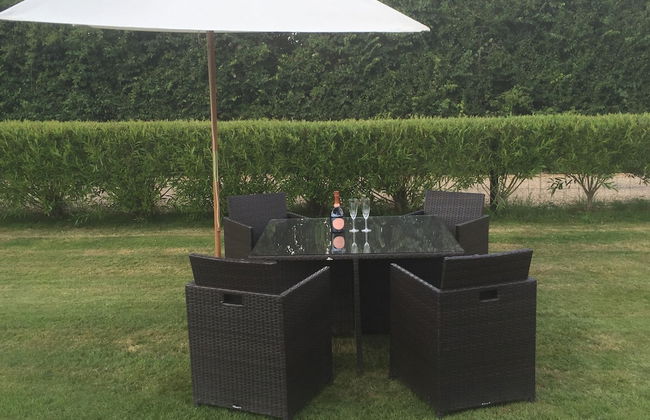


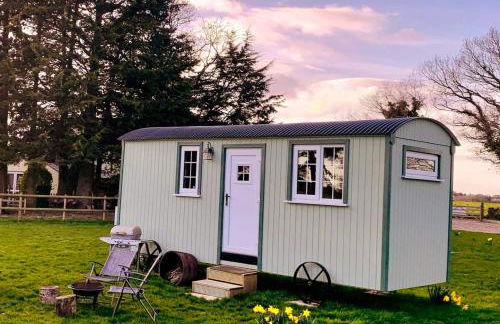
Willow Court Farm Studio South & Petting Farm, 8 mins from Legoland & Windsor, 15 mins from Lapland UK
Windsor - Oakley
- 46 M2
- 1 quarto
- 5 pessoas
- Kitchenette
- Aquecimento
- Terraço
- Estacionamento
- Jardim
- Tv
- Churrasco
- Toalhas
- Lençóis
178 avaliações


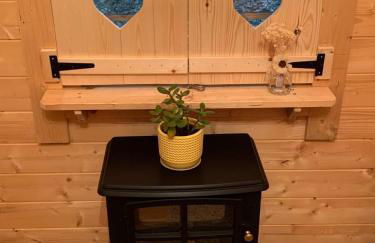


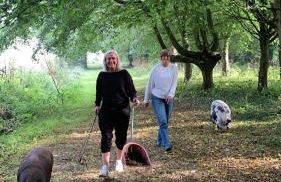

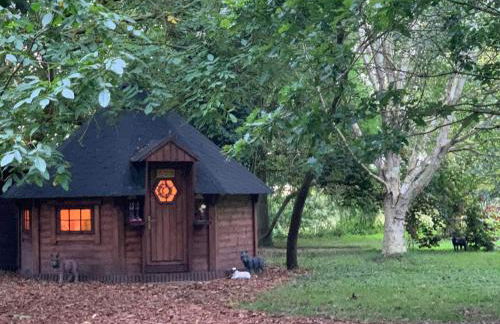


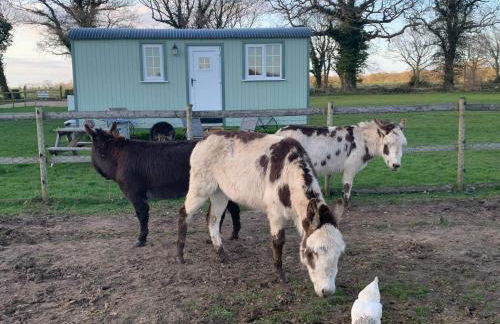


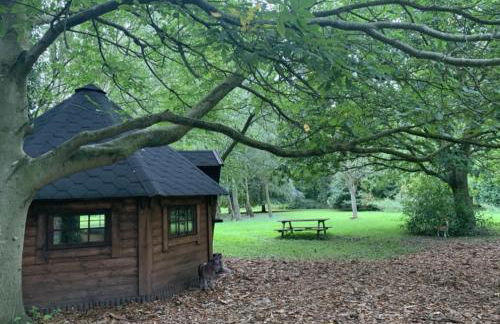


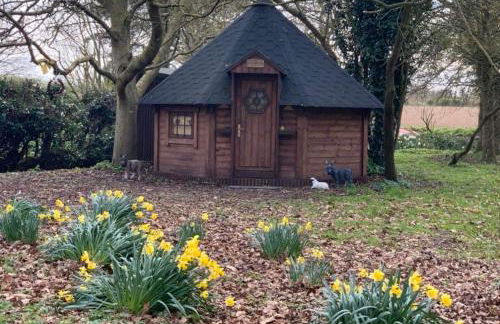

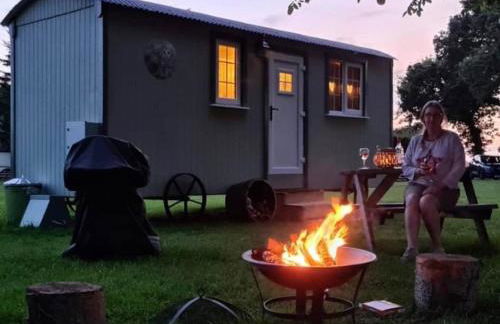


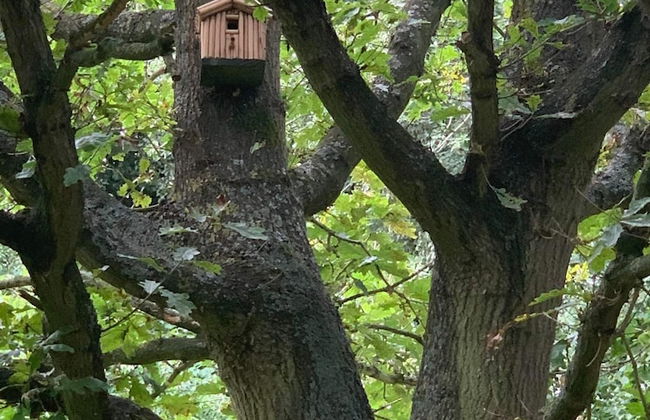


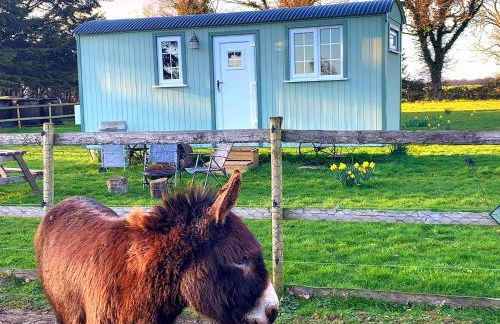

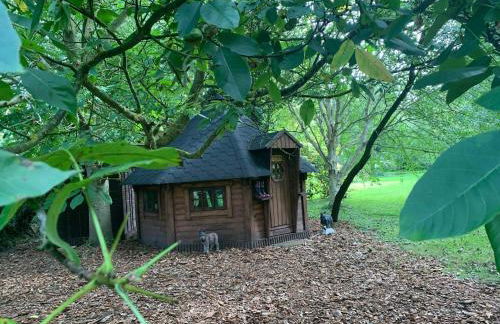
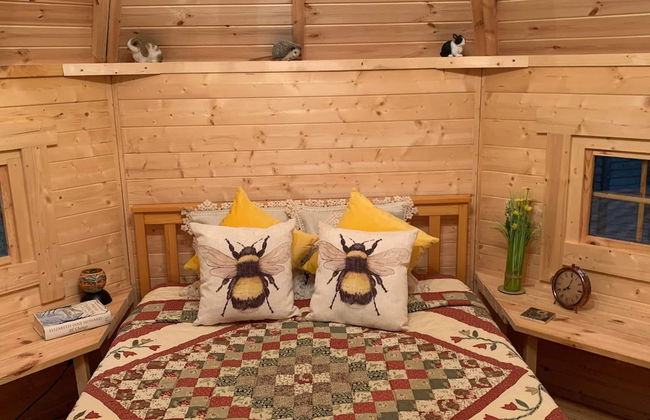


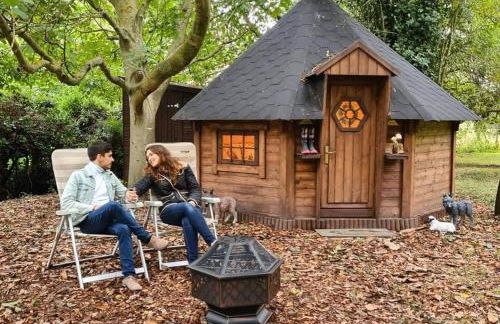


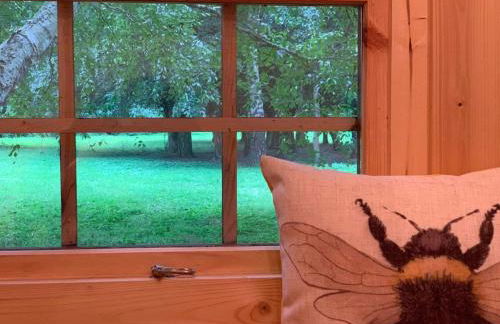

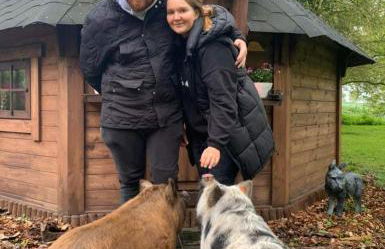


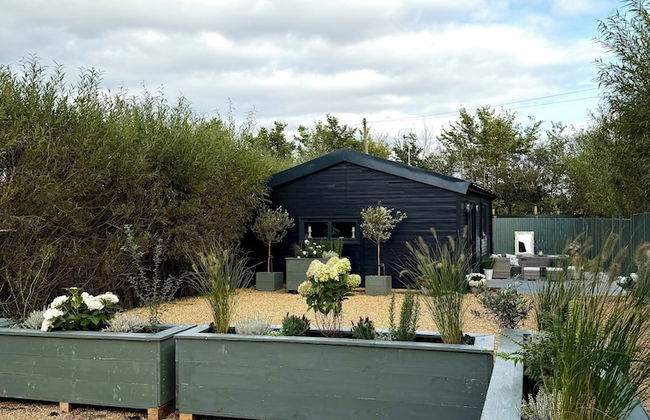
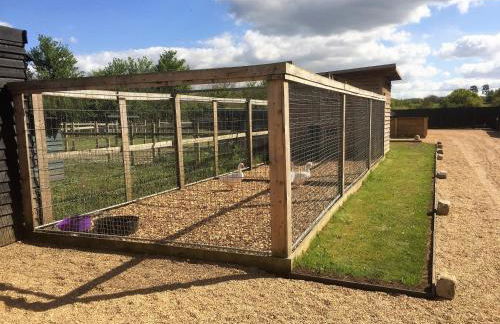
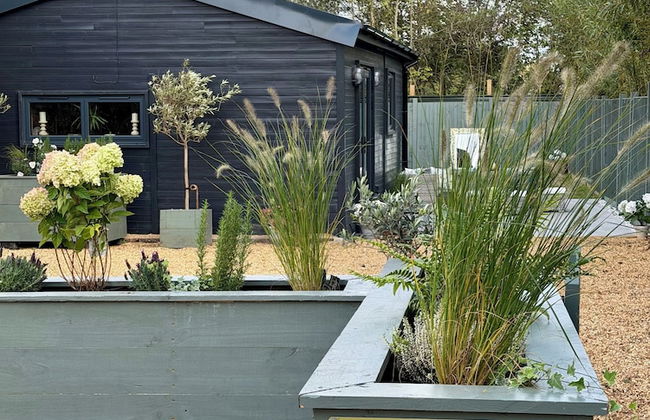
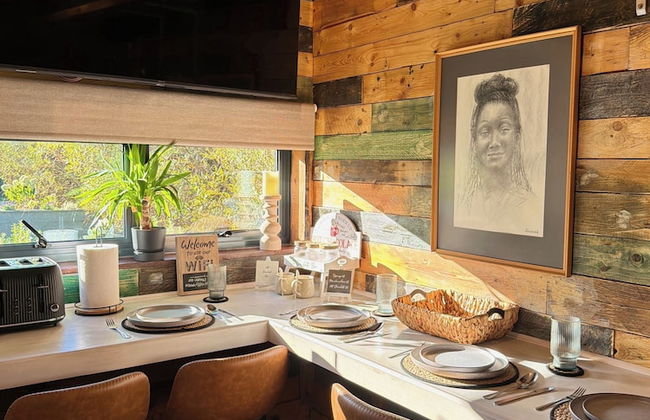
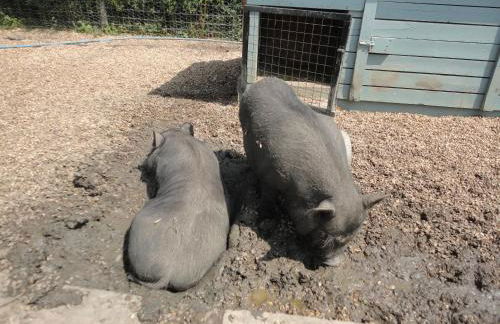
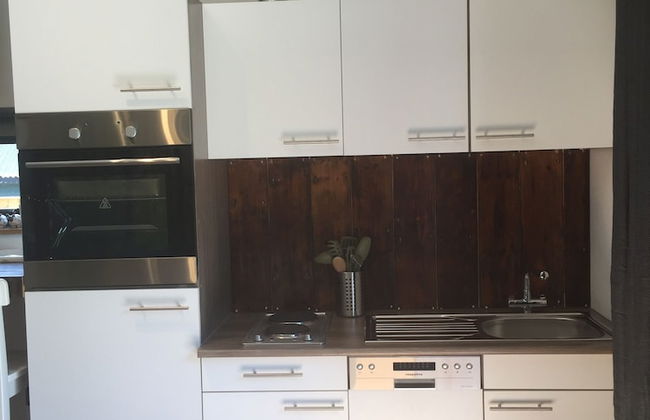
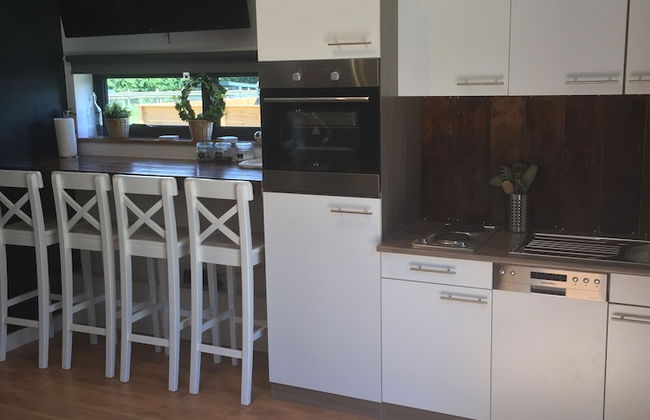
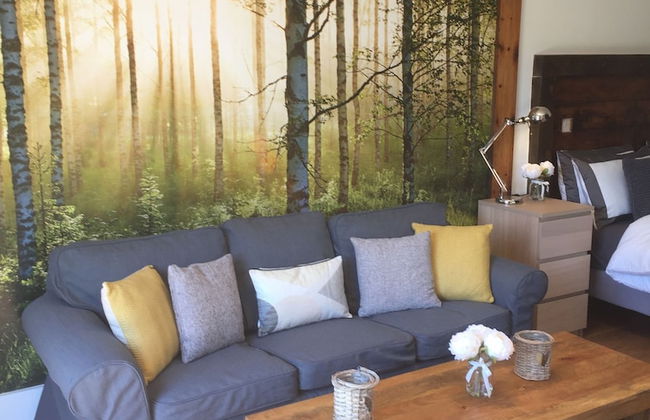
Starry Meadow & Rescued Animal Experiences
Great Yarmouth - Catfield - 19.5 km do centro
- 20 M2
- 2 pessoas
- Aquecimento
- Terraço
- Estacionamento
- Tv
- Toalhas
- Lençóis
11 avaliações


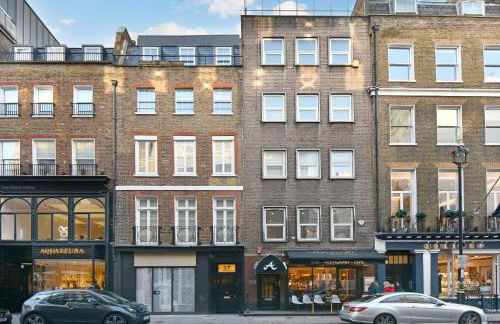
The Eight Apartments Shoreditch
Londres - Shoreditch - 3.4 km do centro
- 112 M2
- 3 quartos
- 6 pessoas
- Ar-condicionado
- Aquecimento
- Elevador
- Tv
- Máquina de lavar roupa
- Toalhas
21 avaliações


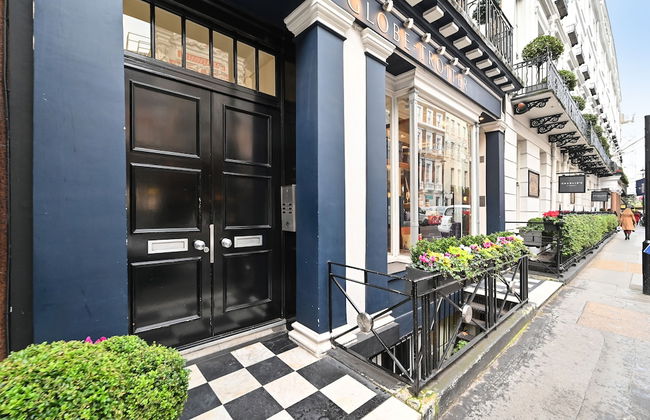
47 Park Street - Grand Residences by Marriott
Londres - Mayfair - 1.5 km do centro
- 89 M2
- 6 pessoas
- Kitchenette
- Ar-condicionado
- Aquecimento
- Estacionamento
- Elevador
- Tv
- Toalhas
- Lençóis
112 avaliações


Bude Holiday Resort
Bude - Northcott Mouth
- 29 M2
- 6 pessoas
- Aquecimento
- Terraço
- Piscina
- Estacionamento
- Tv
- Toalhas
- Lençóis
38 avaliações