
273 Apartamentos em Monroe
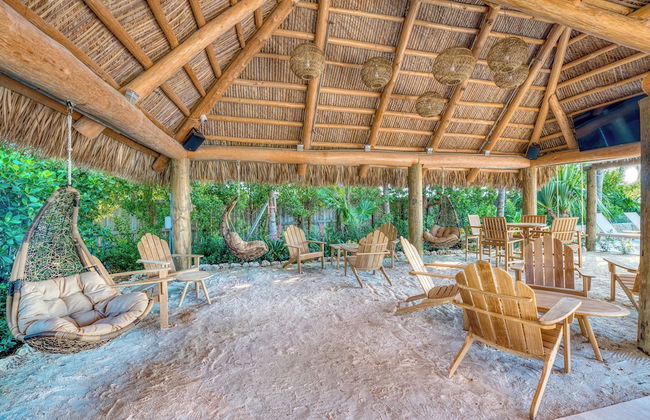
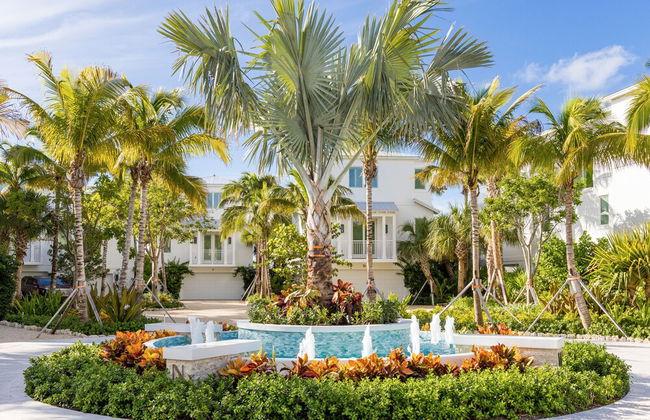
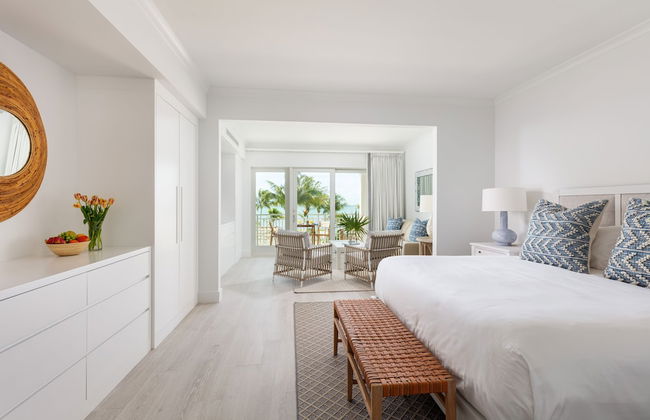


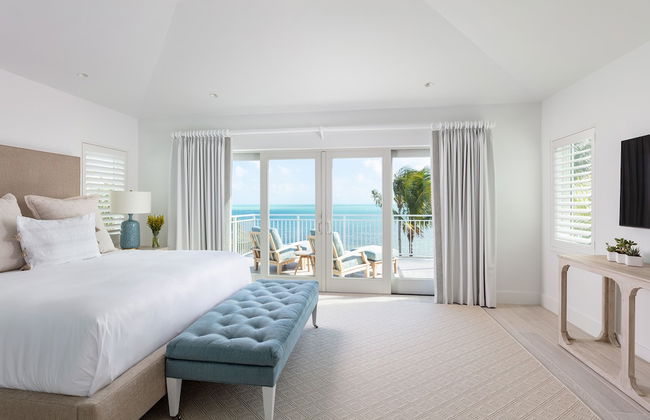


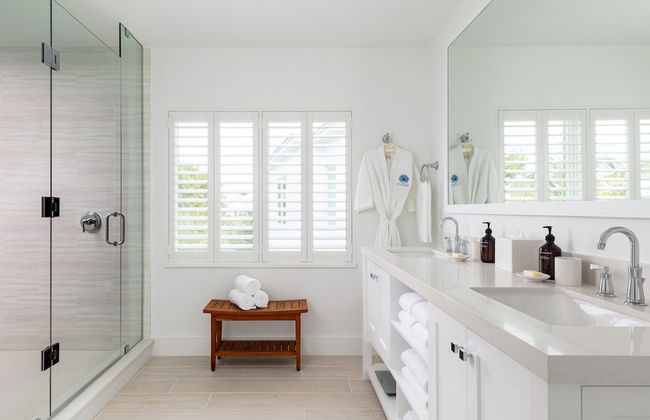
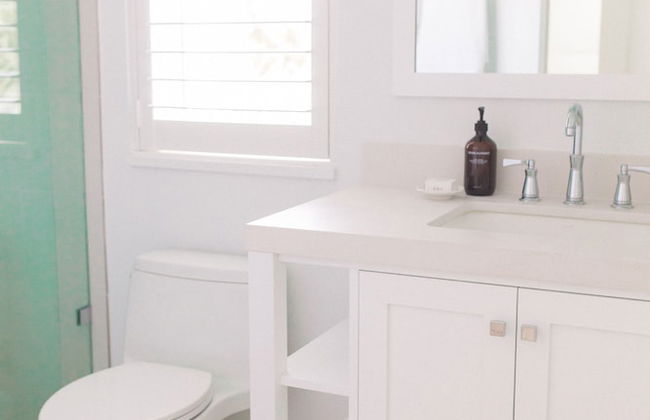


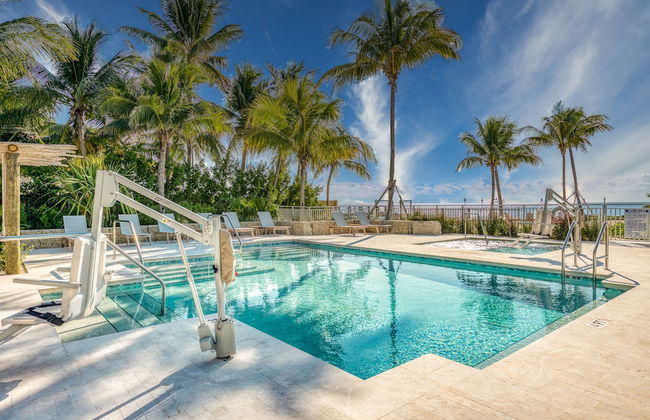


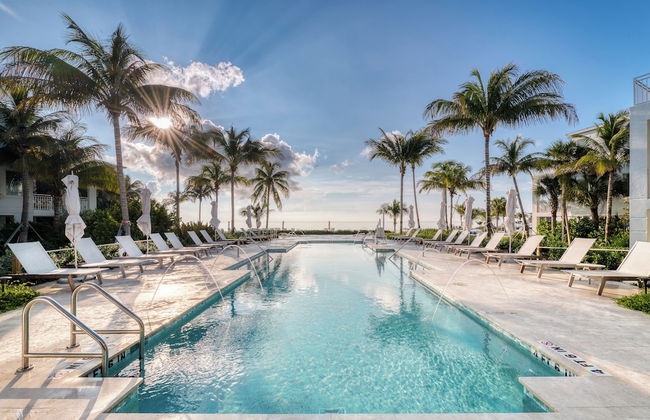


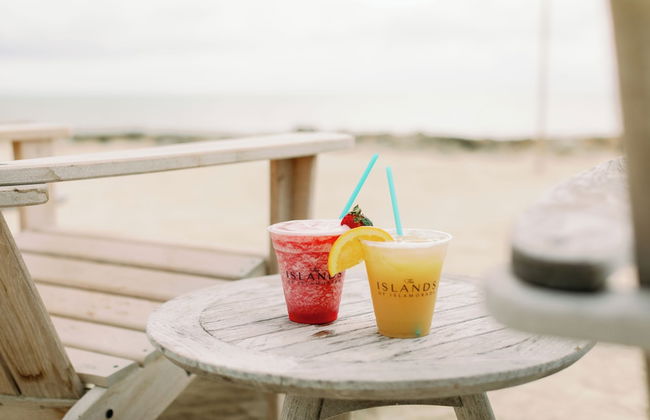


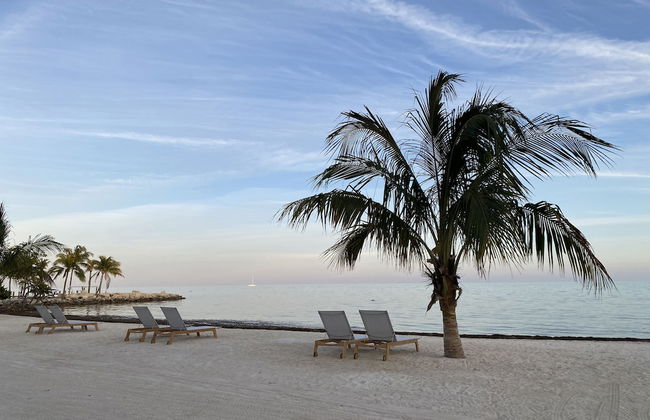
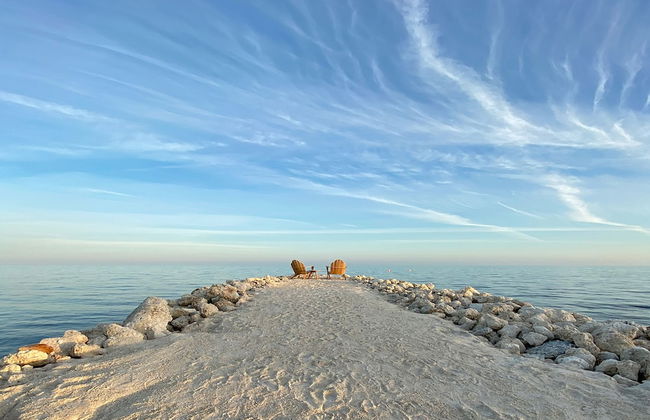
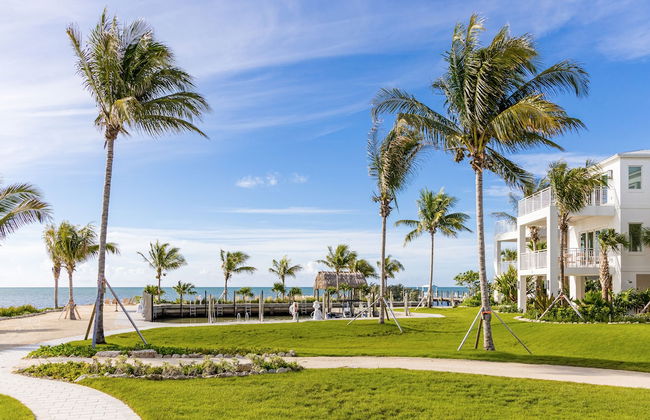

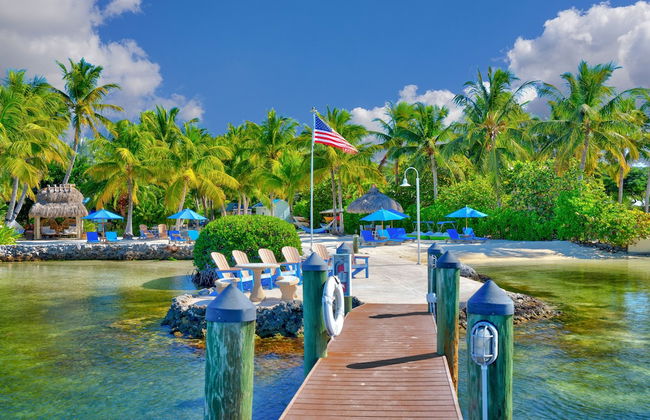
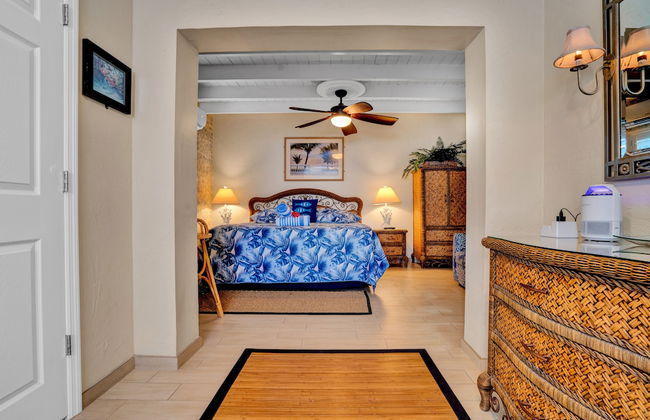
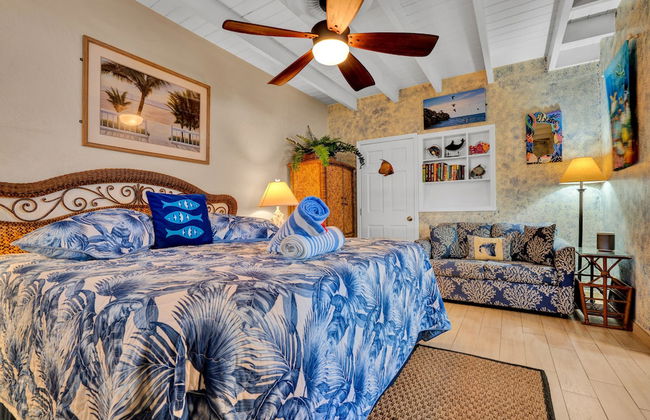
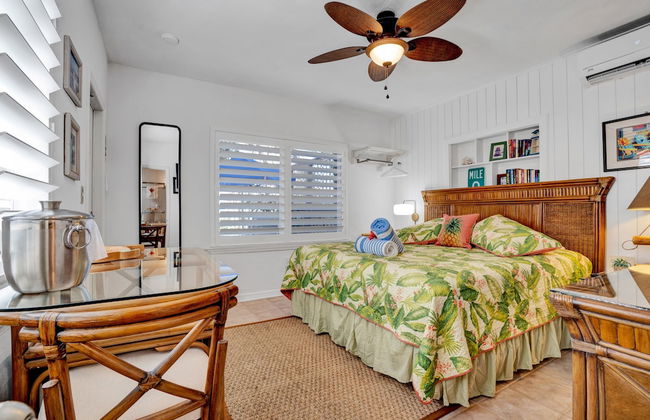
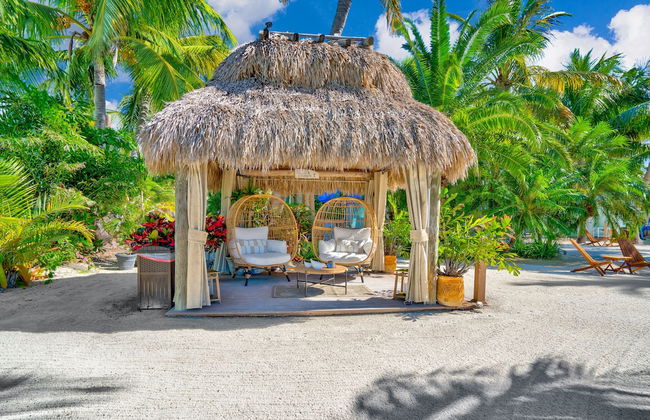
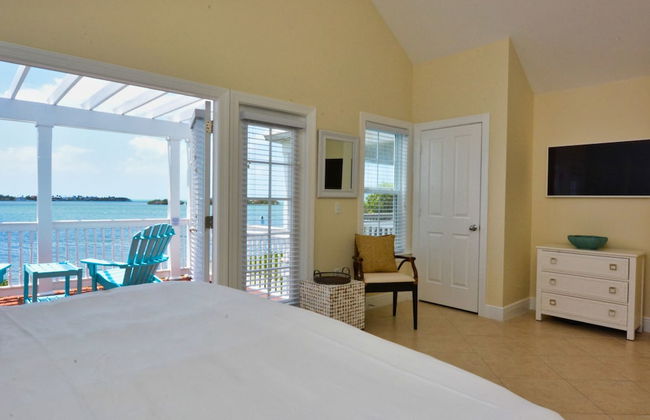
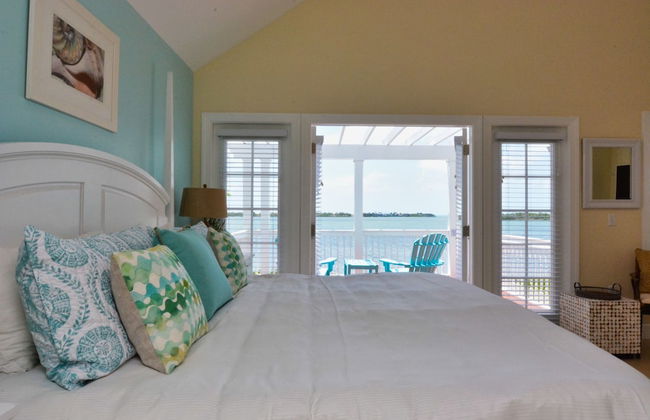
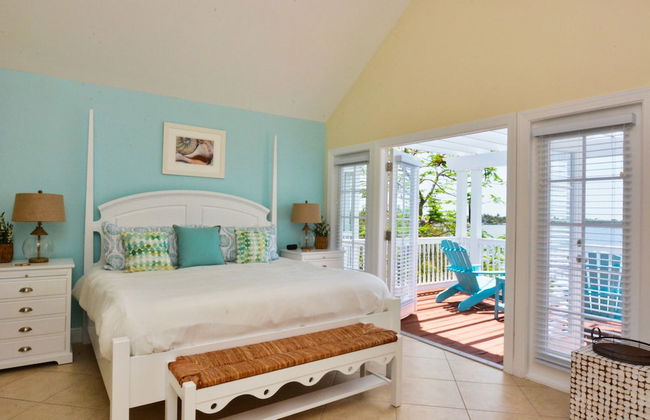
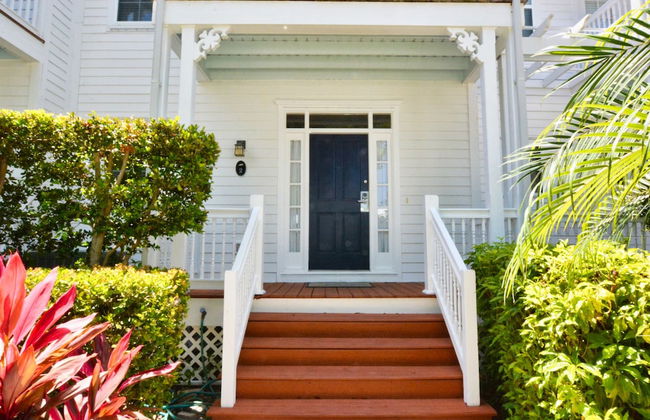
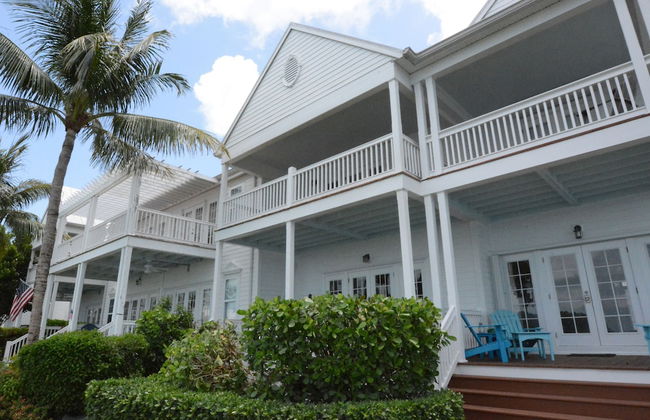
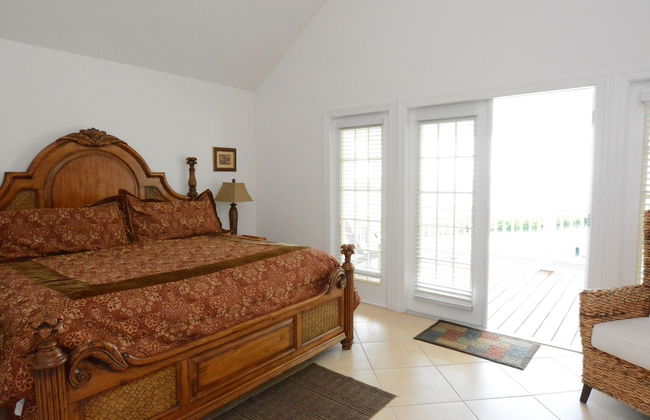
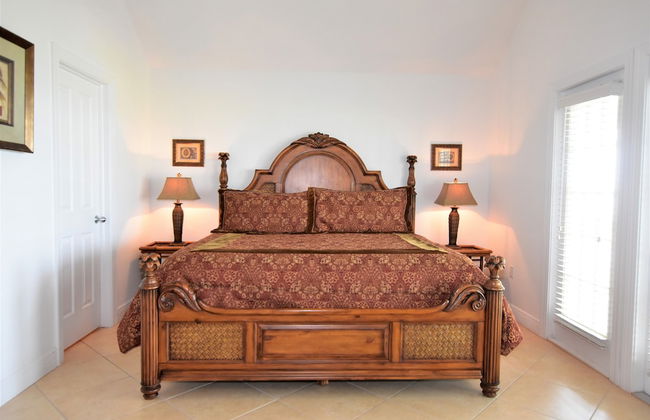
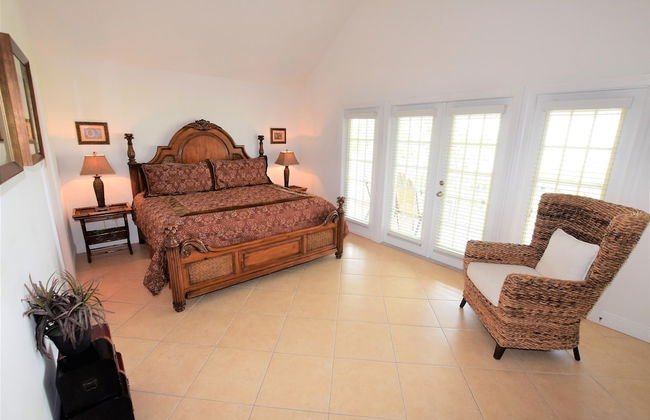
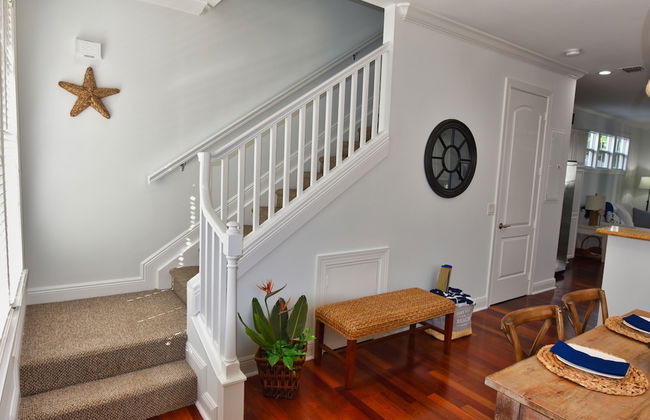
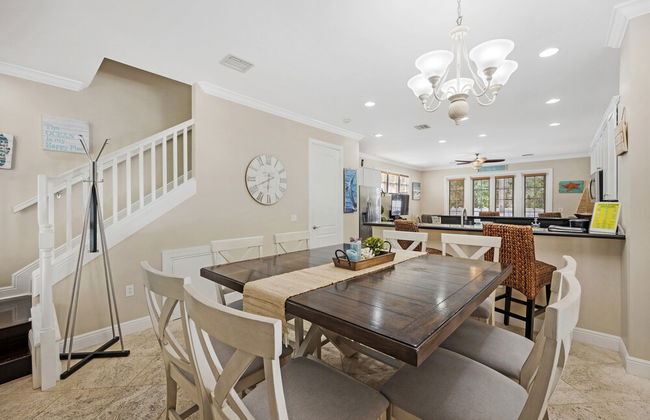
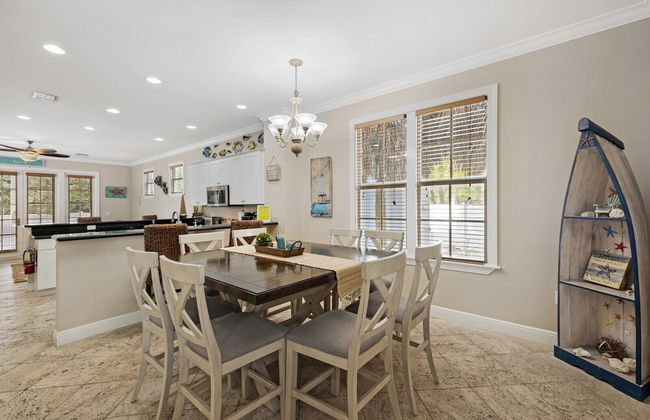
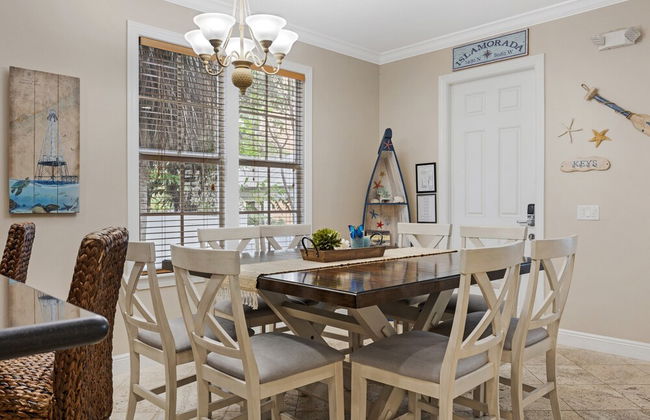
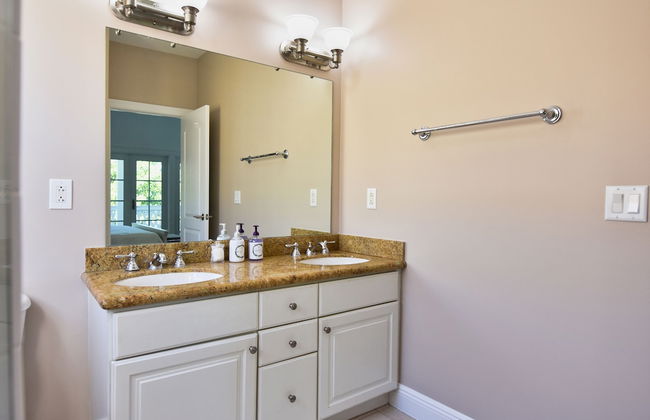
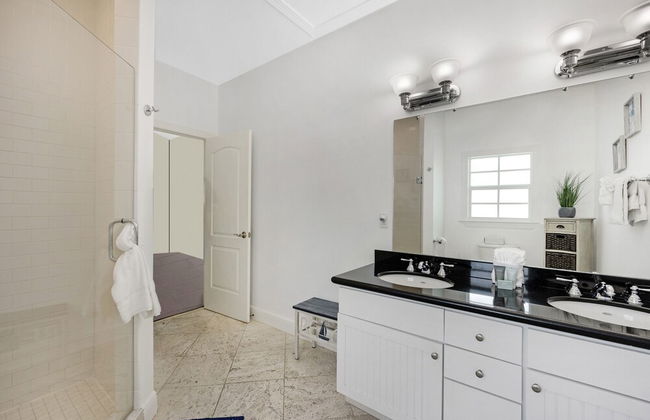
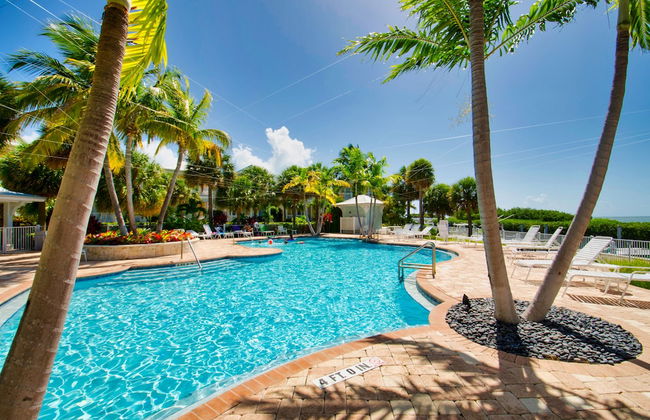
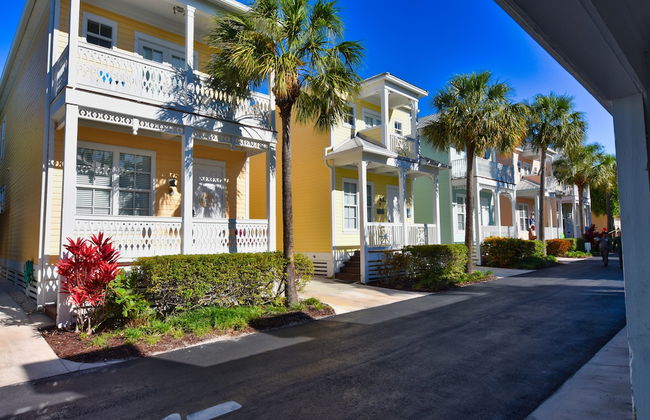
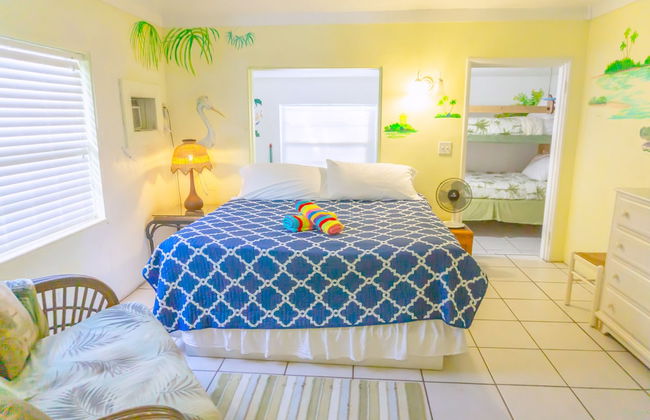
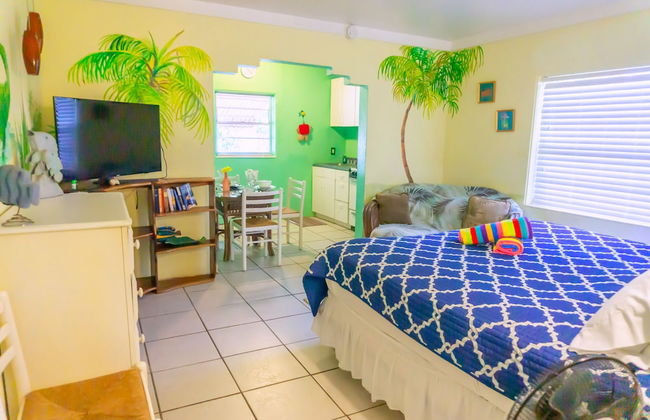
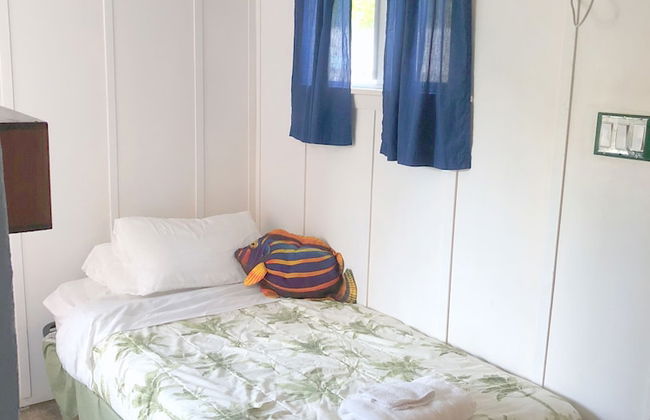
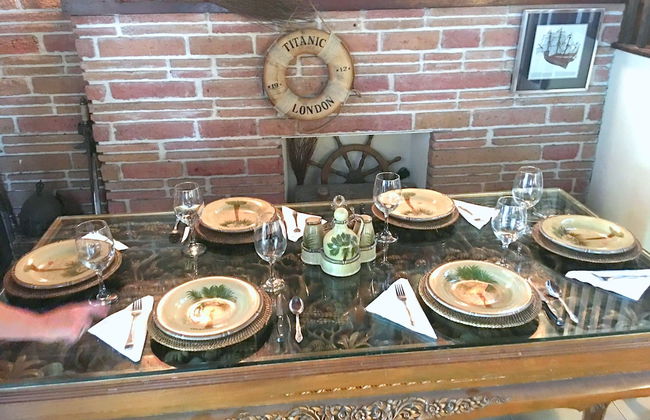
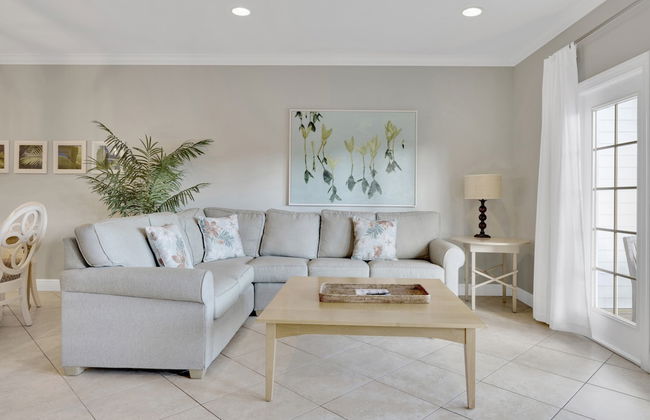
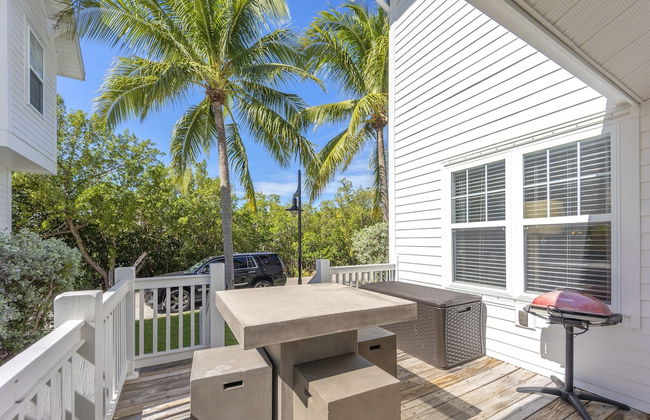
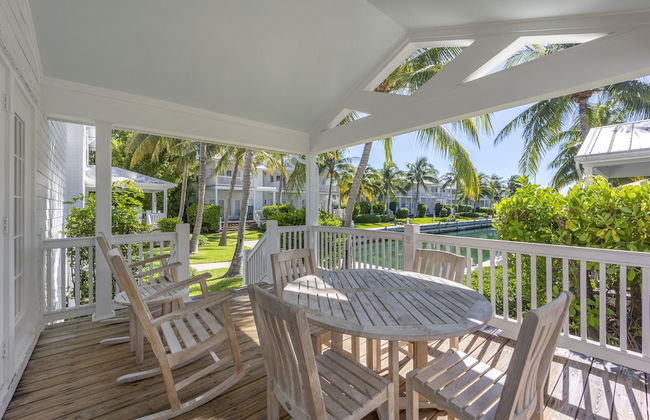
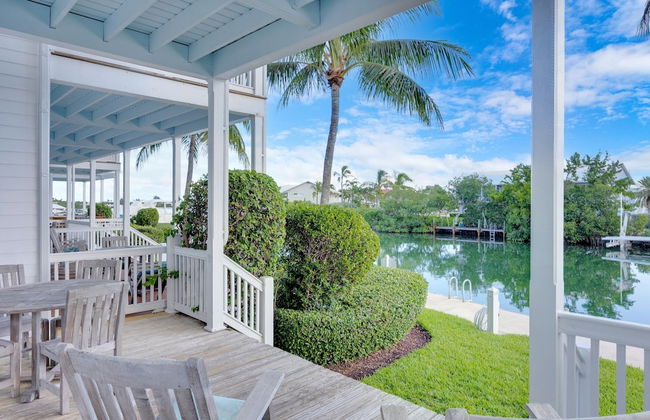
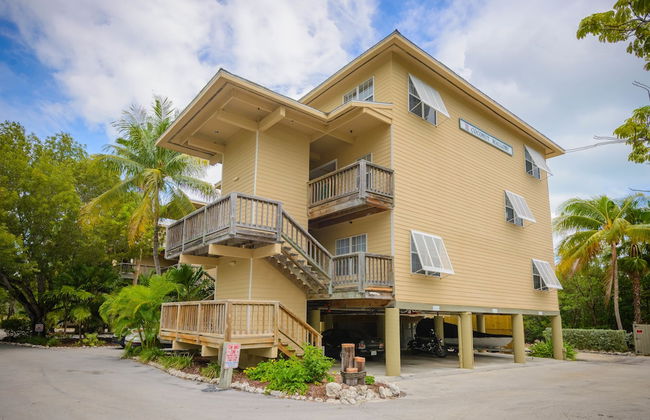
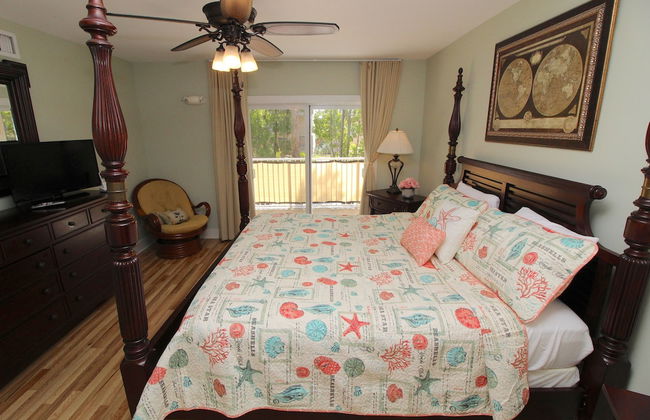
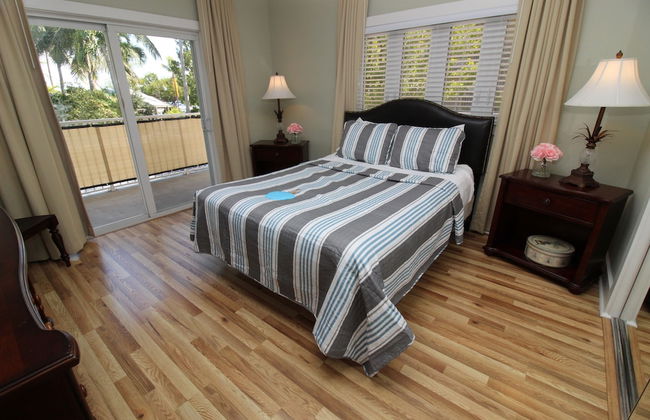
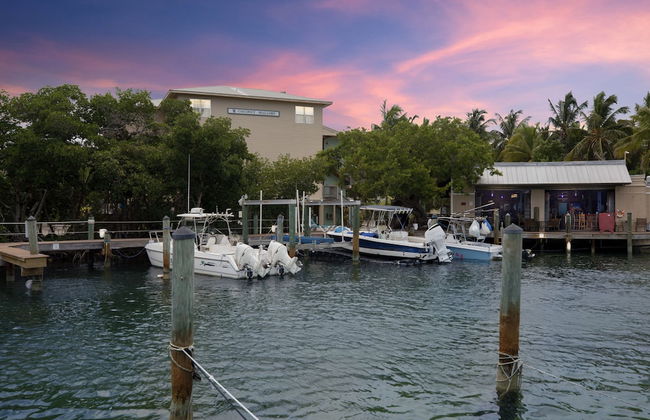
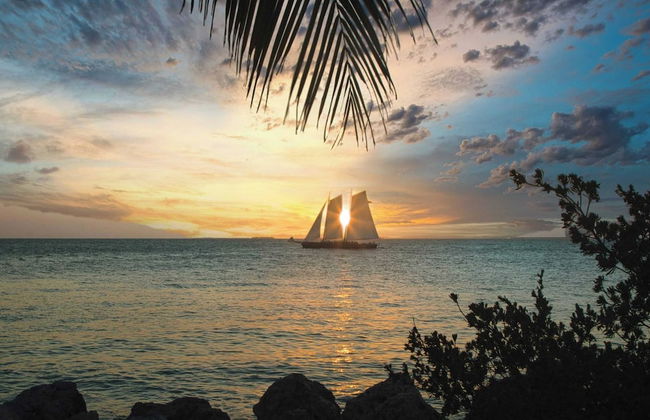
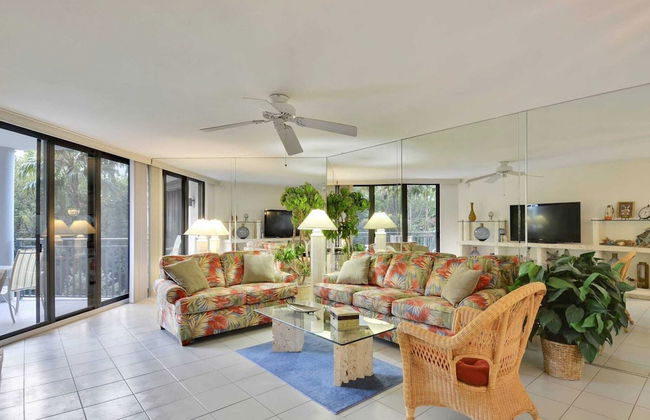
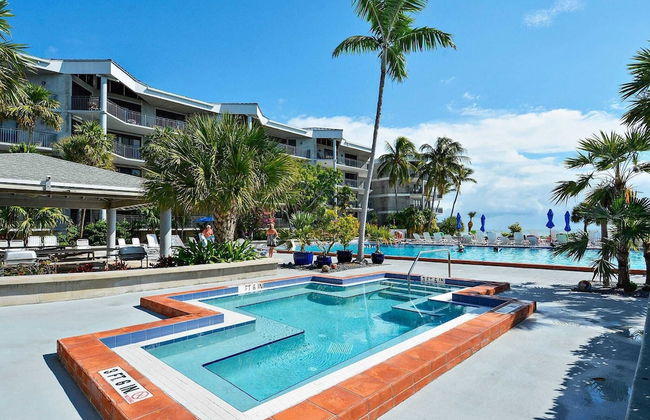
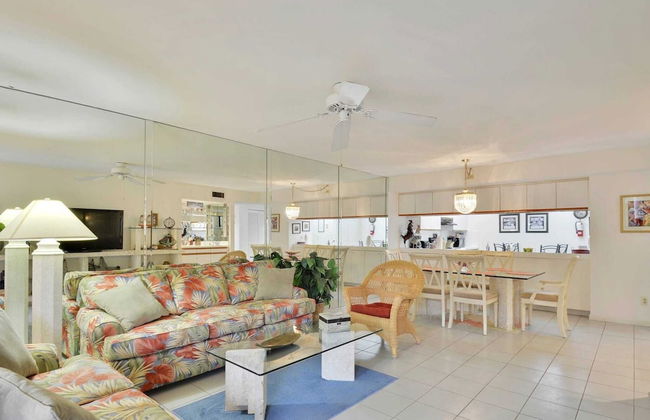
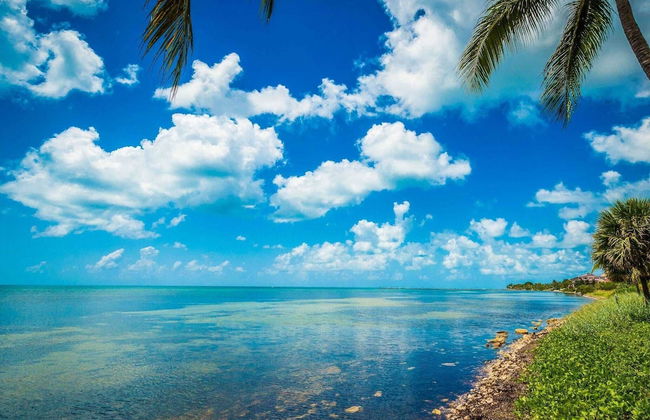
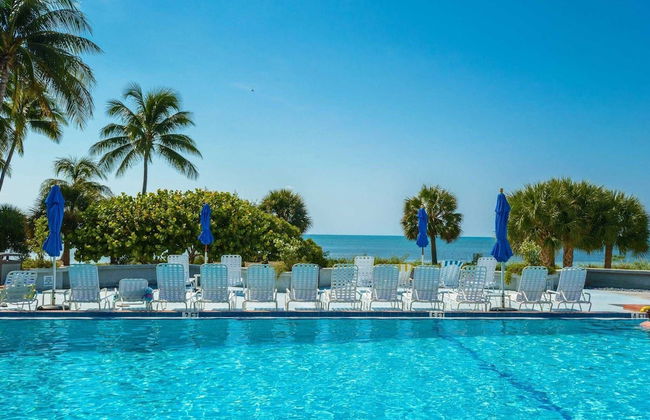
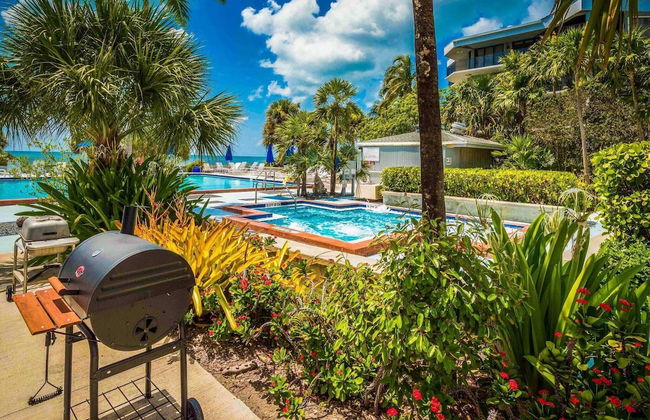
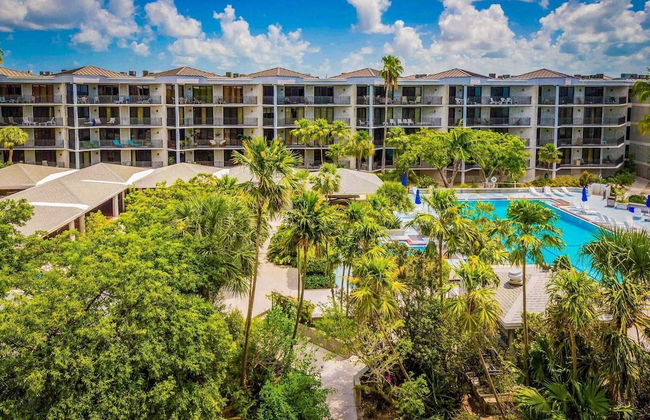
The Islands of Islamorada
Islamorada
- 10 pessoas
- Ar-condicionado
- Aquecimento
- Piscina
- Estacionamento
- Elevador
- Varanda
- Jardim
- Tv
- Chaminé
- Churrasco
- Toalhas
- Lençóis
49 avaliações
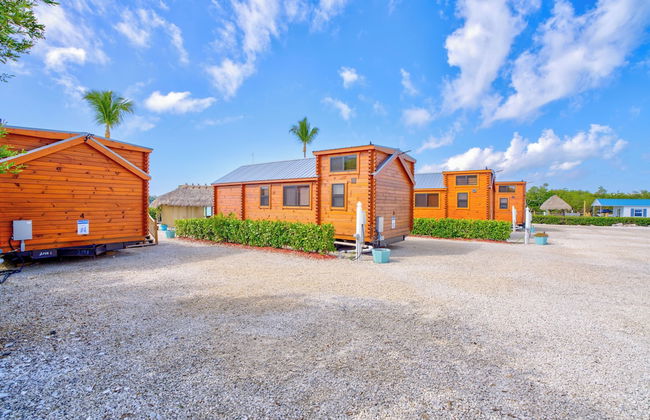
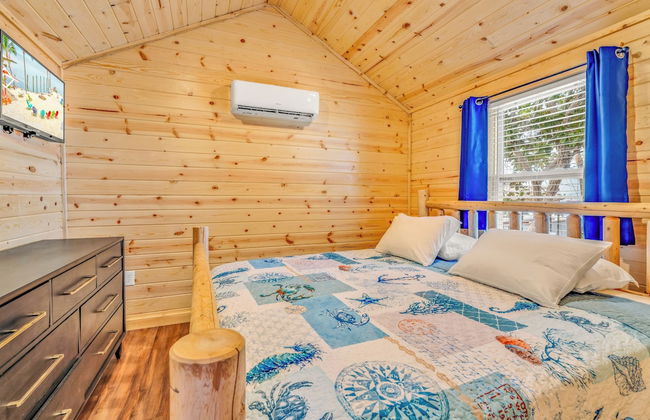
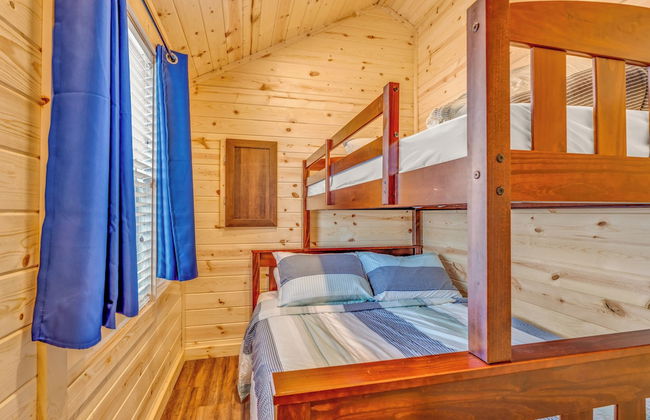
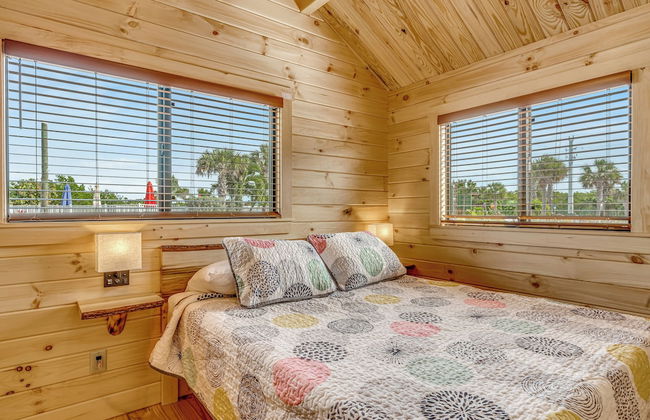


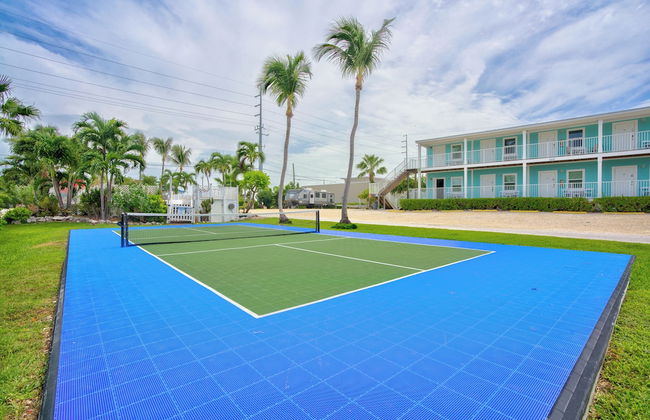


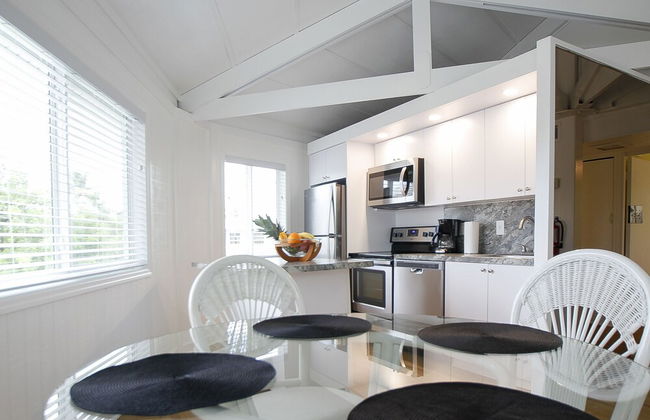
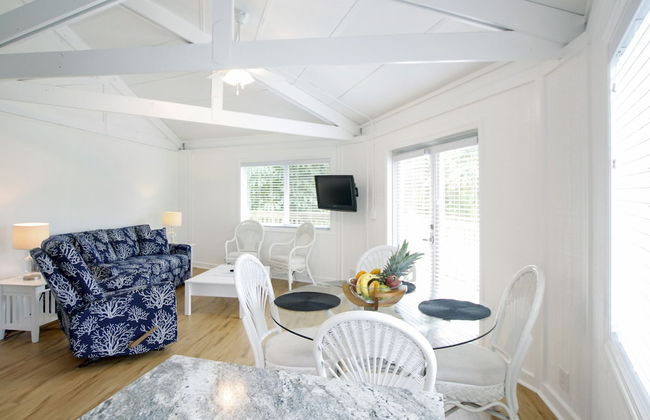
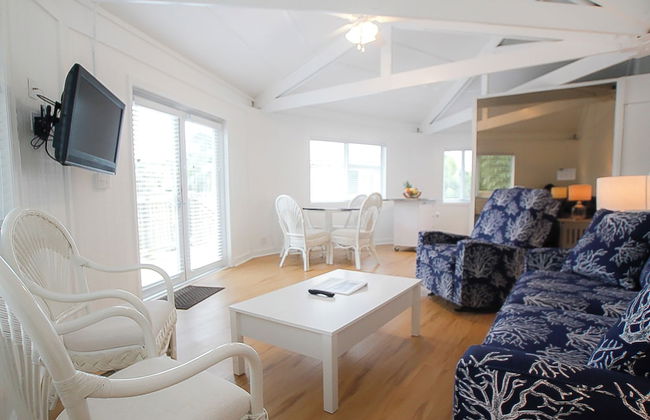
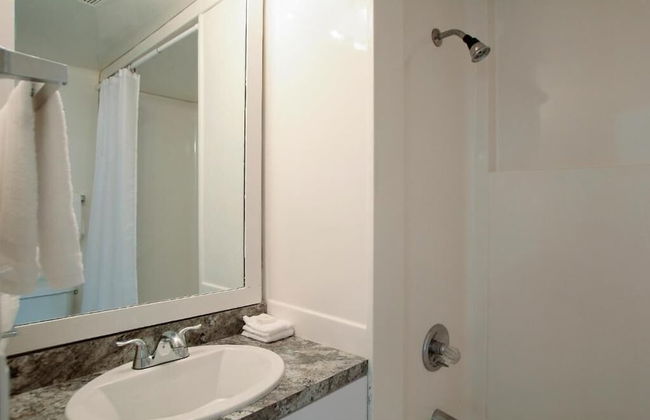
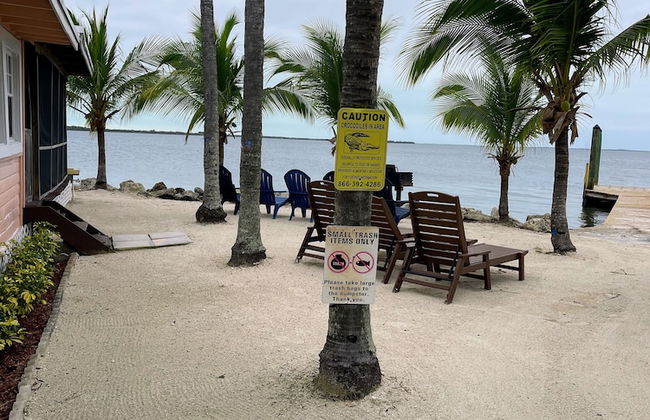
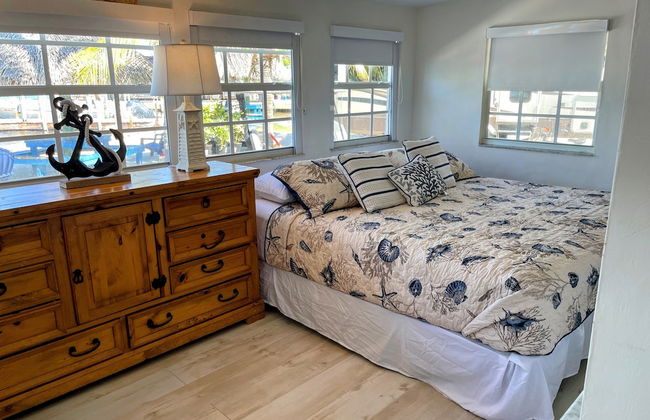
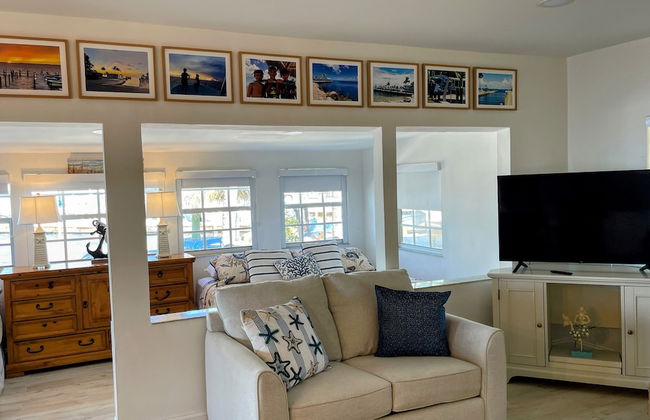
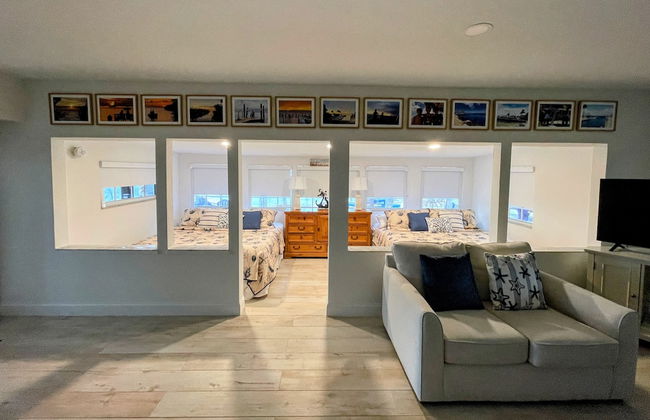
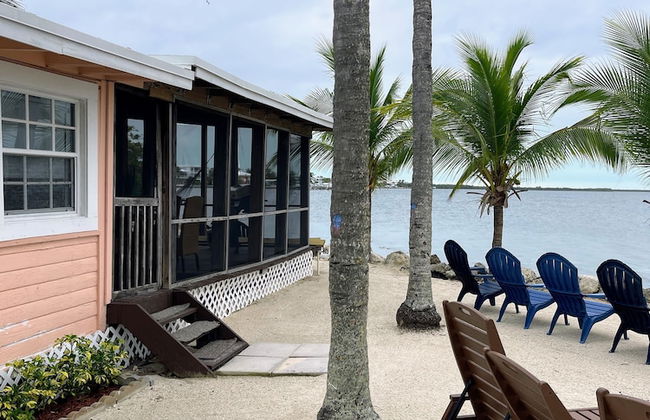
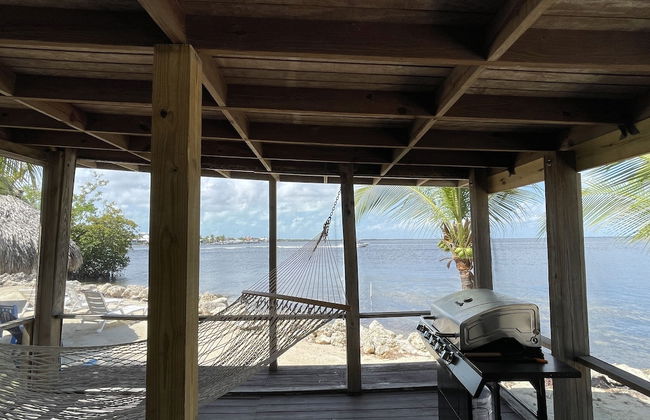
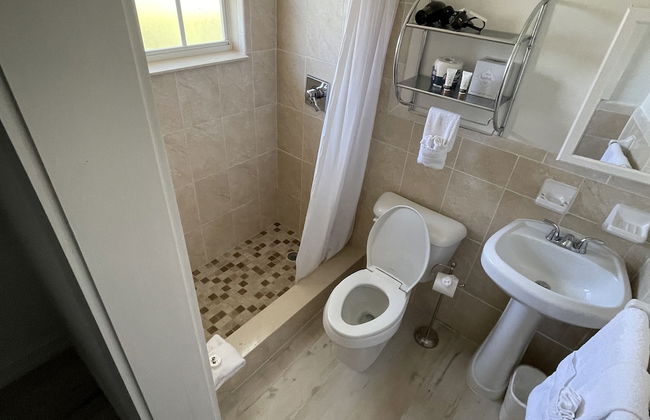
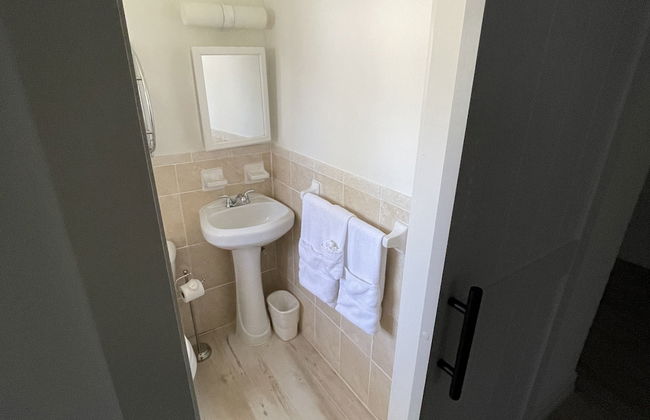
Cabins at Bonefish Bay
Marathon - 1.7 km do centro
- 37 M2
- 6 pessoas
- Ar-condicionado
- Piscina
- Estacionamento
- Tv
- Churrasco
- Toalhas
- Lençóis
29 avaliações


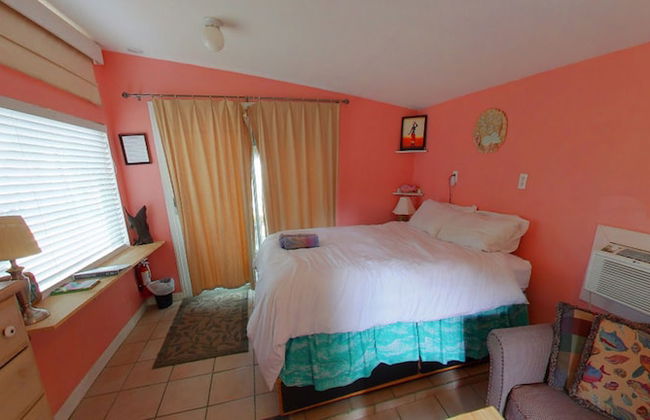
Island Bay Resort
Tavernier
- 2 pessoas
- Kitchenette
- Ar-condicionado
- Aquecimento
- Estacionamento
- Jardim
- Tv
- Churrasco
- Toalhas
98 avaliações


Indigo Reef Resort Villas & Marina by KeysCaribbean
Marathon - 860 m do centro
- 153 M2
- 8 pessoas
- Ar-condicionado
- Aquecimento
- Terraço
- Piscina
- Estacionamento
- Varanda
- Jardim
- Tv
- Máquina de lavar roupa
- Churrasco
- Toalhas
- Lençóis
49 avaliações


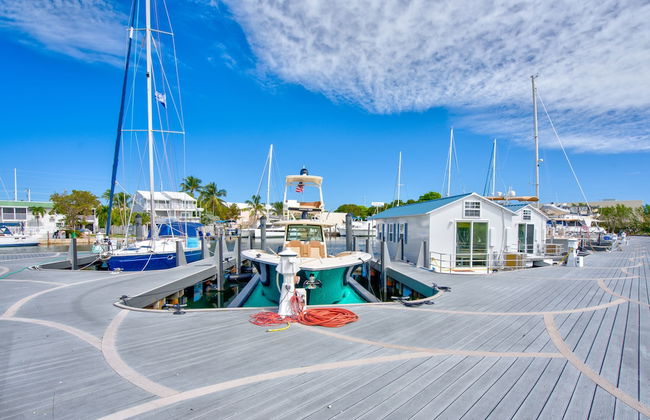
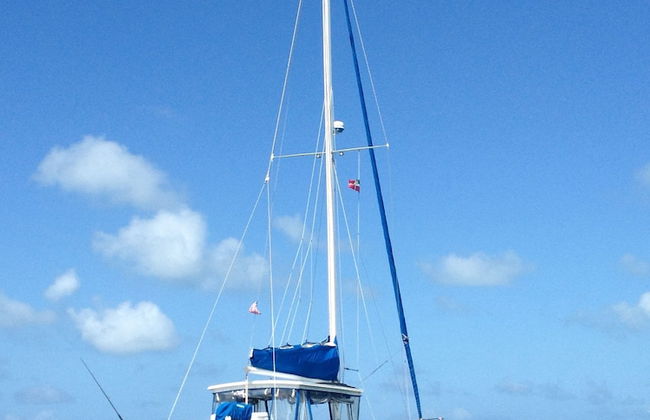
Yacht Haven Marina
Marathon - 3.2 km do centro
- 30 M2
- 6 pessoas
- Kitchenette
- Ar-condicionado
- Estacionamento
- Tv
- Churrasco
- Toalhas
- Lençóis
111 avaliações
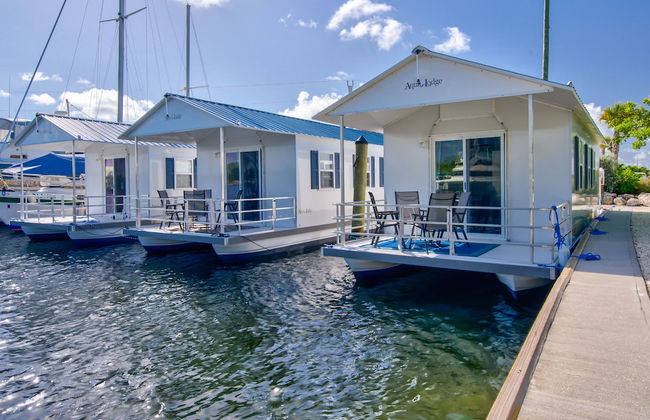

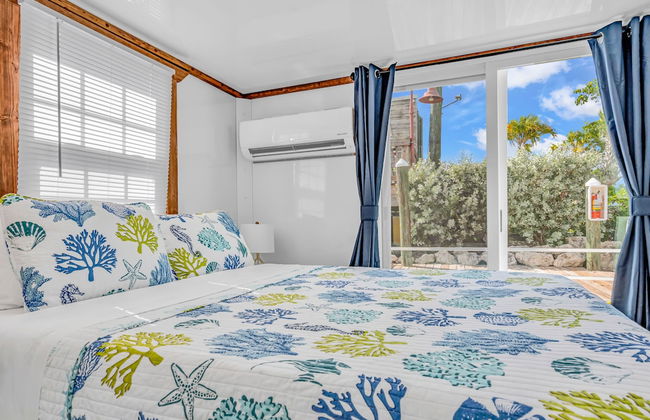


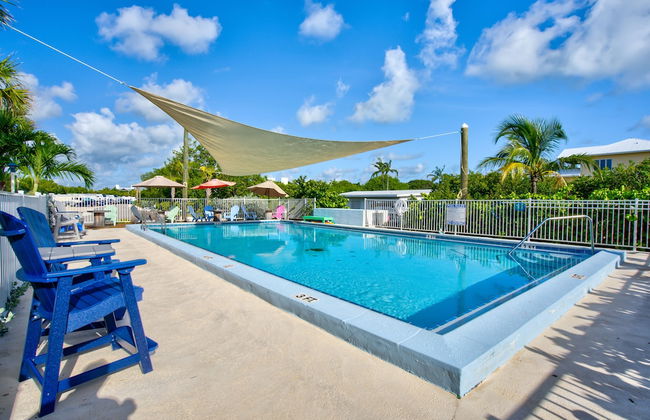
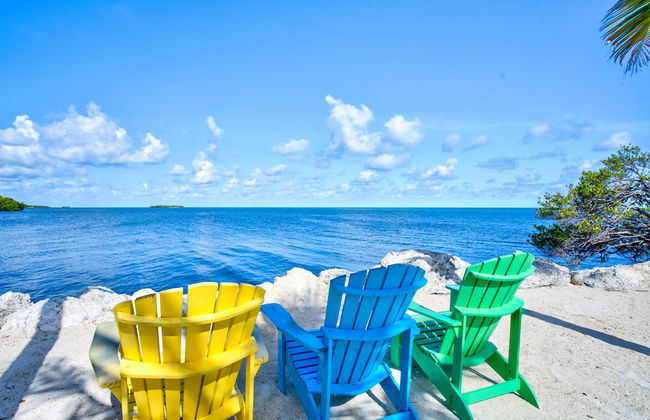
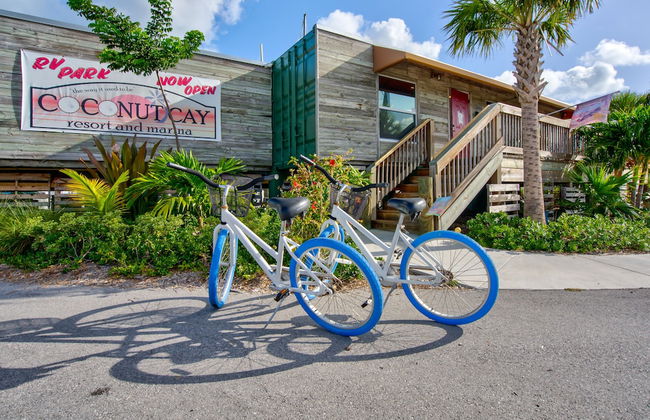
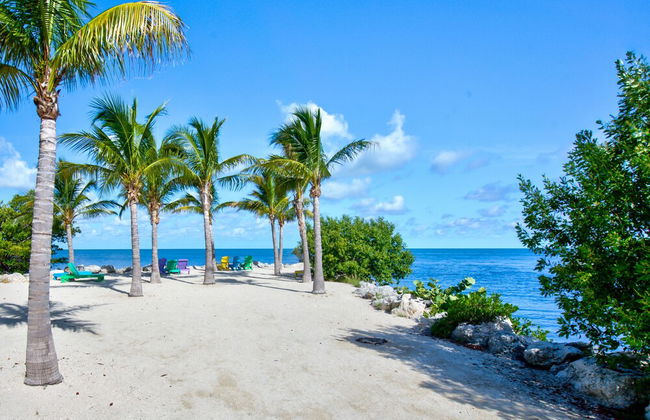
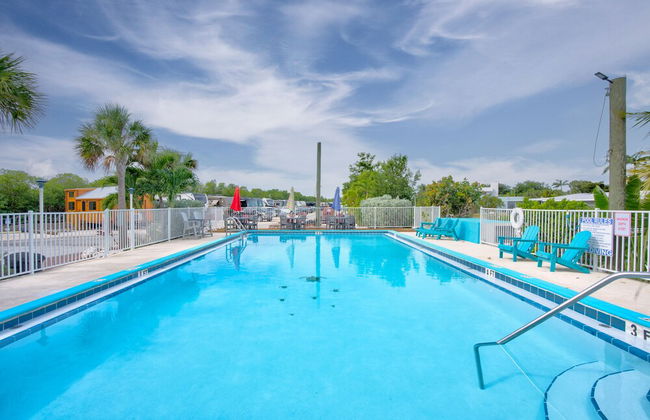
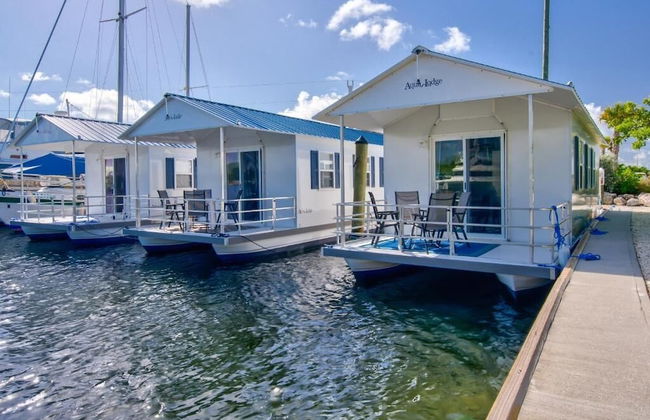
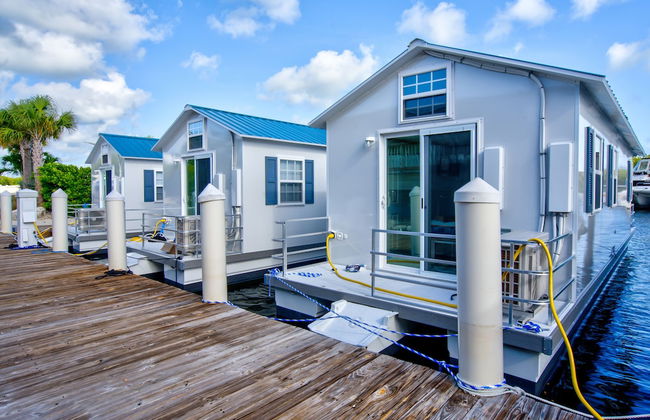
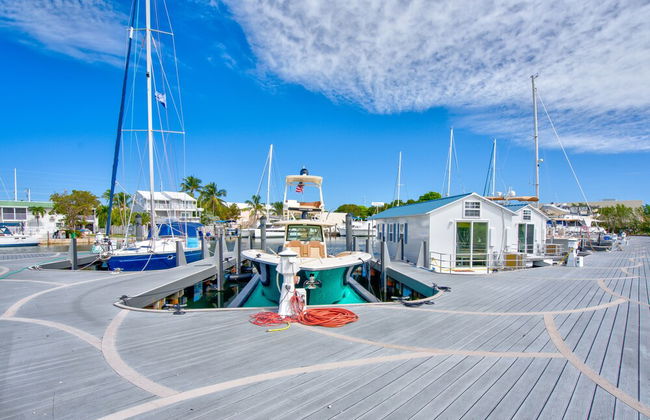
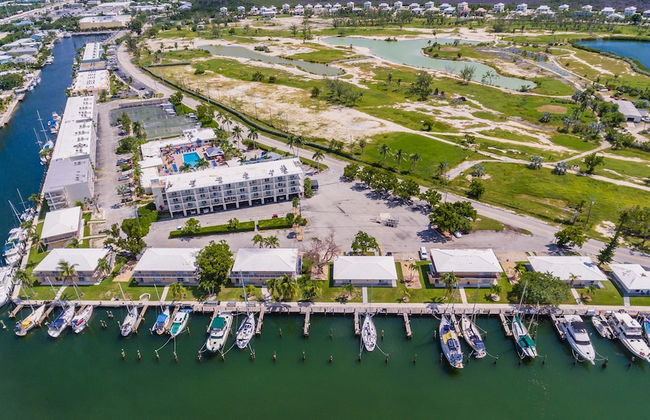
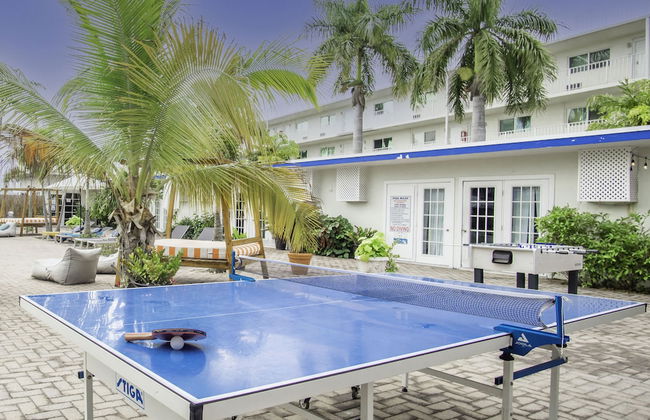
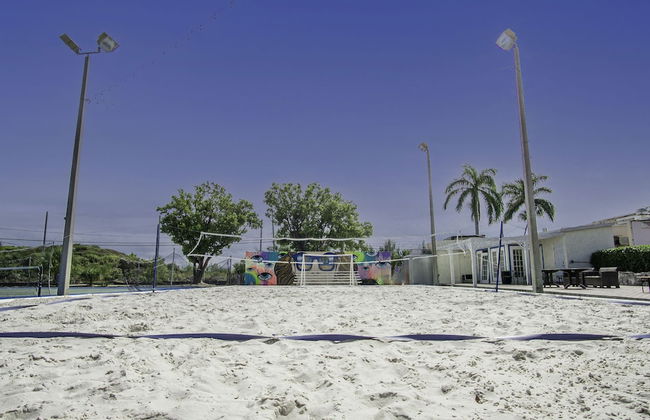
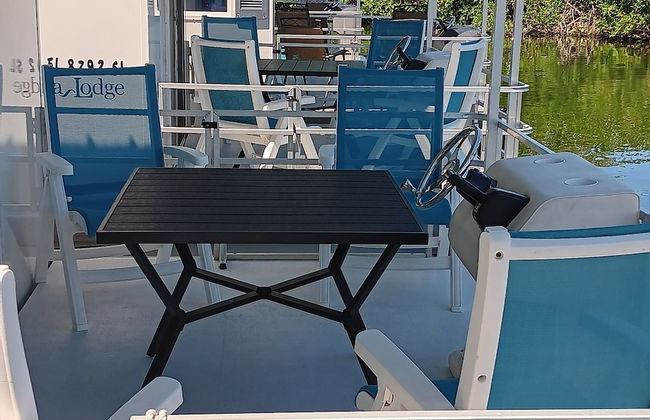
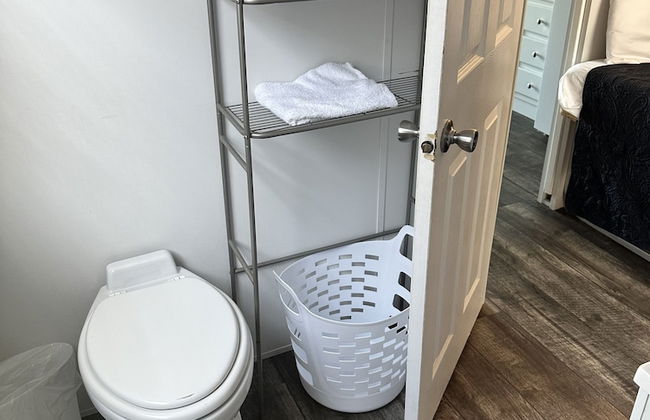
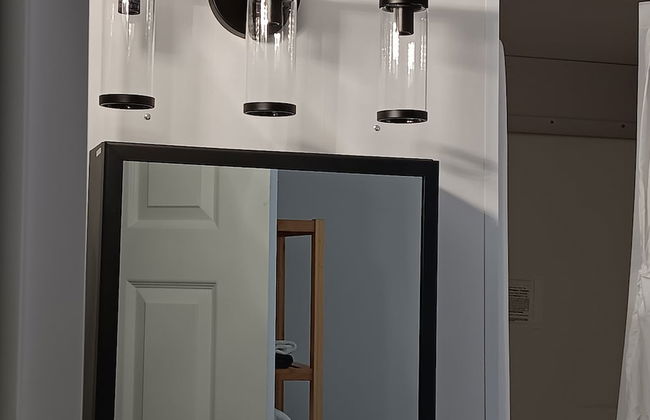
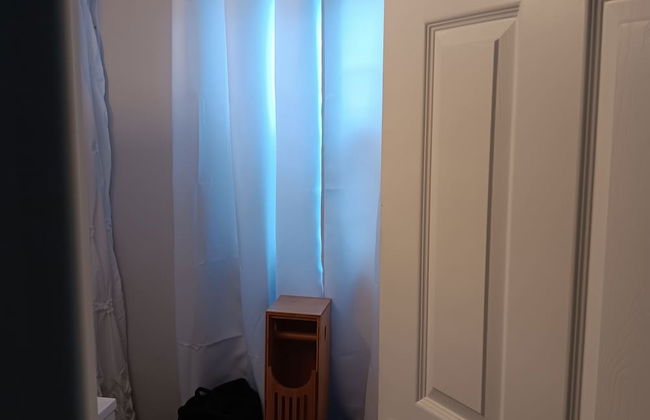
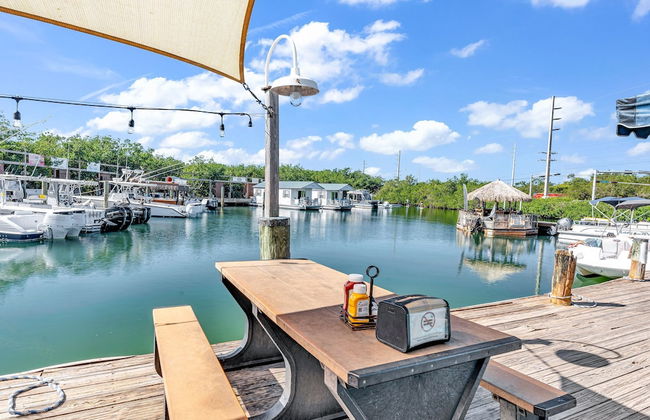
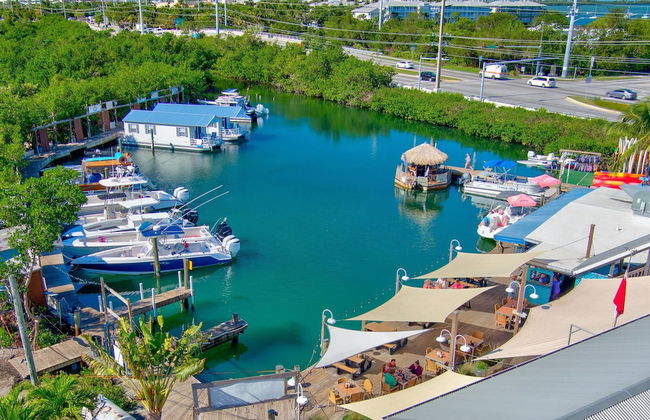
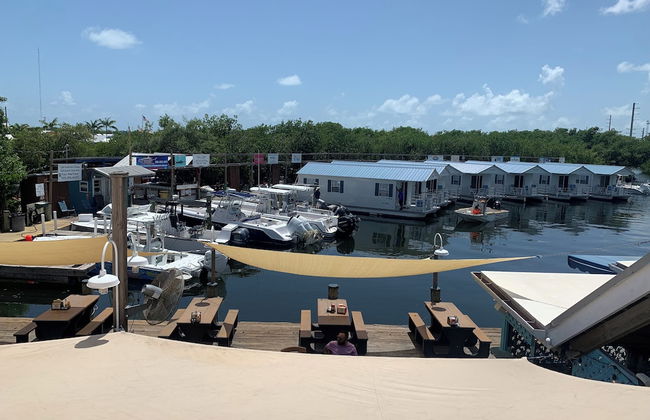
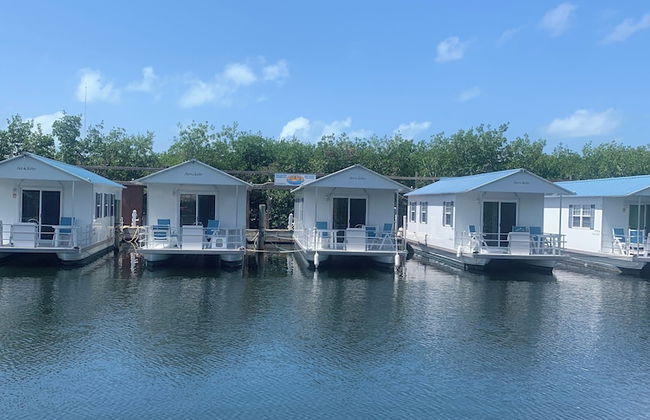
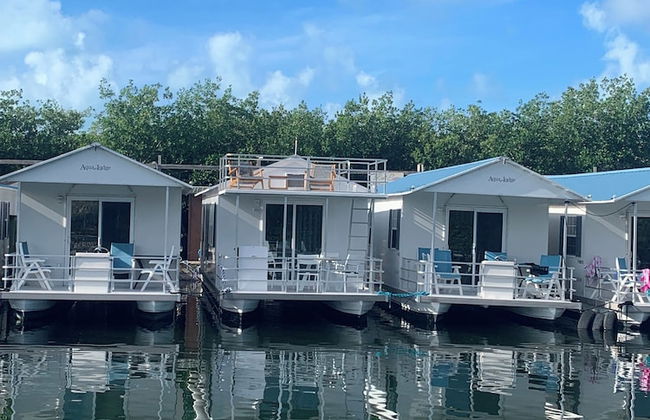
Aqua Lodge Rentals At Coconut Cay
Marathon - 1.6 km do centro
- 33 M2
- 4 pessoas
- Ar-condicionado
- Piscina
- Estacionamento
- Tv
- Toalhas
- Lençóis
135 avaliações


Angler's Reef Resort by KeysCaribbean
Islamorada
- 153 M2
- 4 pessoas
- Ar-condicionado
- Aquecimento
- Piscina
- Estacionamento
- Jardim
- Tv
- Máquina de lavar roupa
- Churrasco
- Toalhas
- Lençóis
14 avaliações


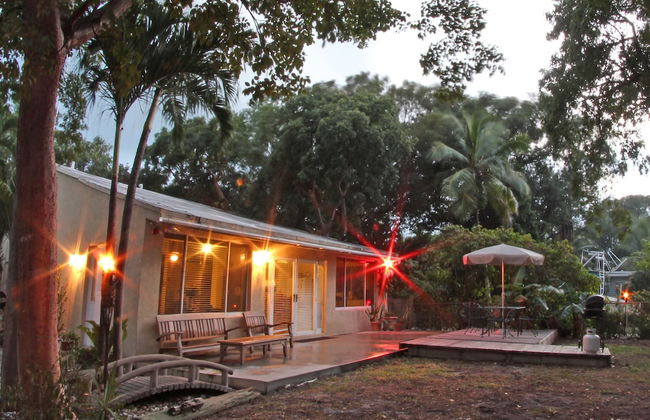


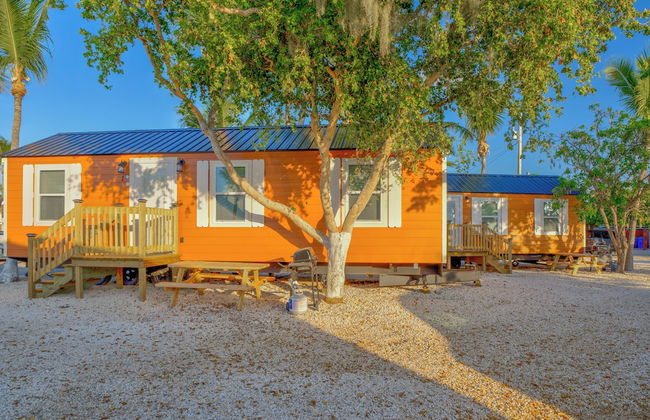
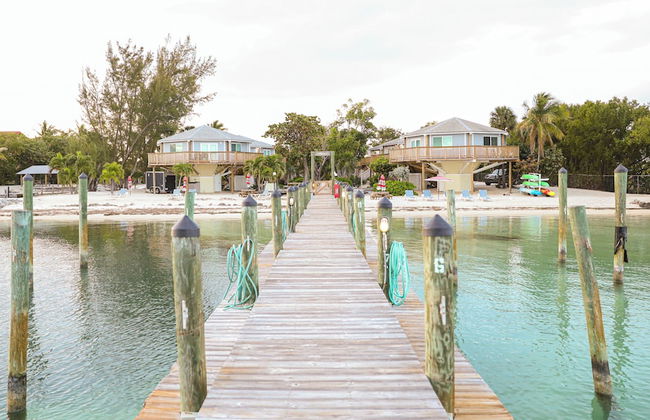
Key Largo Cottages
Key Largo
- 50 M2
- 8 pessoas
- Kitchenette
- Ar-condicionado
- Terraço
- Varanda
- Jardim
- Tv
- Churrasco
- Toalhas
20 avaliações


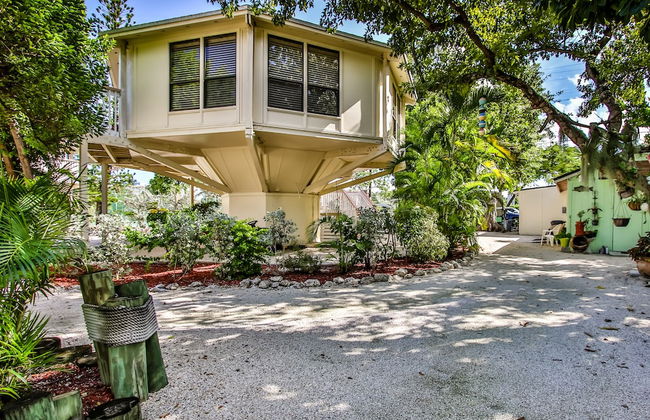
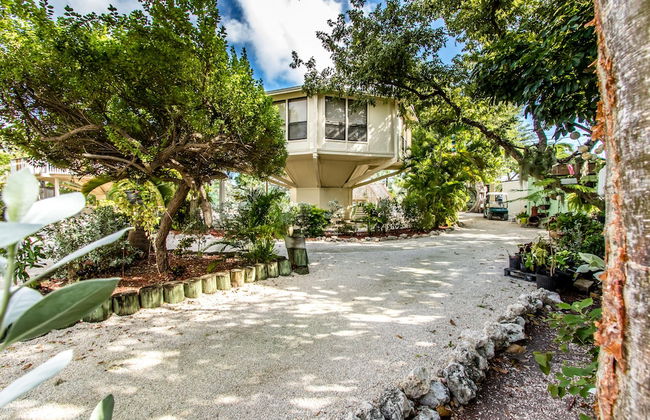

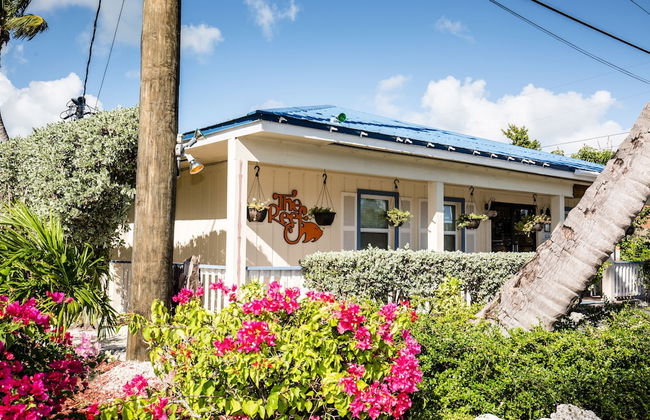


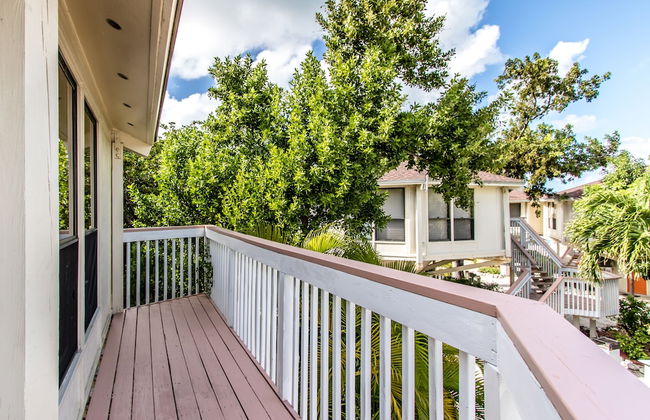

The Reef at Marathon
Marathon - 2 km do centro
- 6 pessoas
- Ar-condicionado
- Aquecimento
- Piscina
- Tv
- Máquina de lavar roupa
- Churrasco
- Toalhas
- Lençóis
129 avaliações

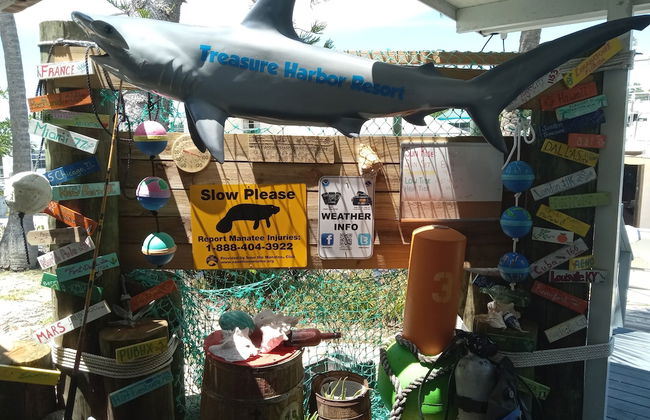
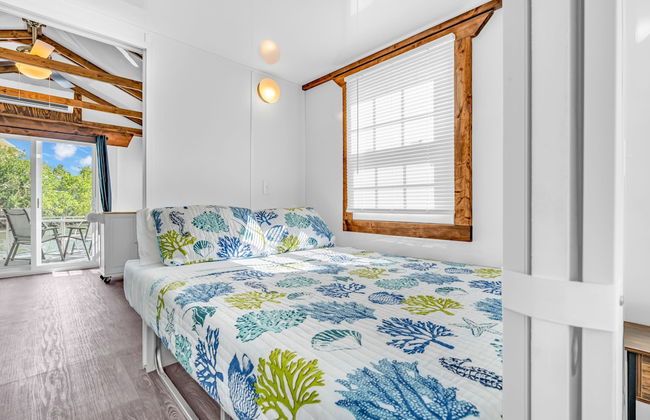
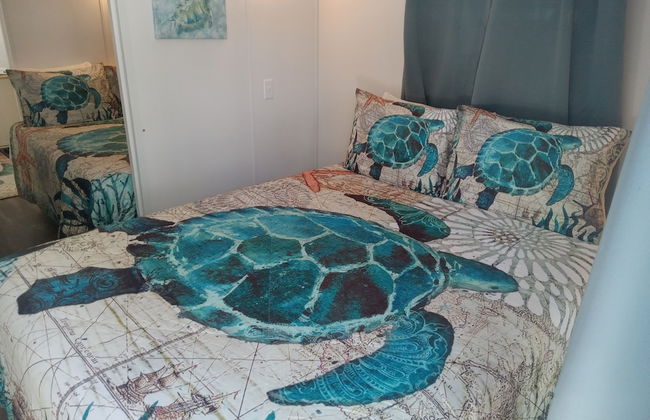
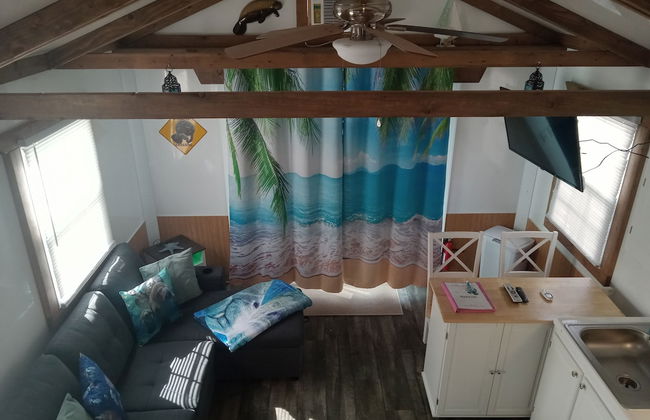


Treasure Harbor
Islamorada
- 24 M2
- 7 pessoas
- Ar-condicionado
- Piscina
- Estacionamento
- Tv
- Toalhas
- Lençóis
51 avaliações


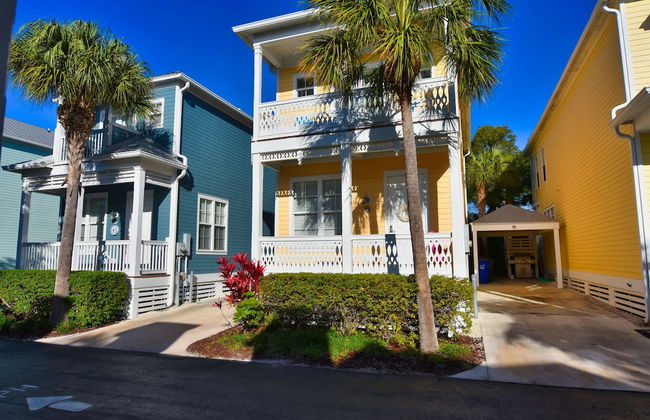
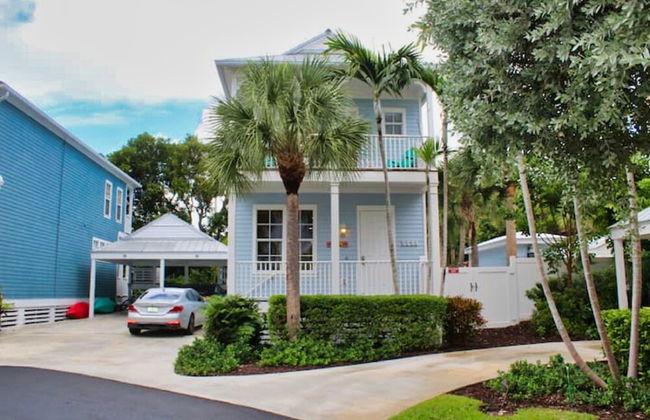
Amelia Home by Avantstay In Historic Old Town w/ Pool
Key West
- 127 M2
- 6 pessoas
- Ar-condicionado
- Aquecimento
- Terraço
- Piscina
- Tv
- Máquina de lavar roupa
- Churrasco
- Toalhas
- Lençóis
2 avaliações


Skipjack Resort & Marina
Marathon - 3.7 km do centro
- 8 pessoas
- Kitchenette
- Ar-condicionado
- Aquecimento
- Terraço
- Piscina
- Estacionamento
- Elevador
- Varanda
- Jardim
- Tv
- Máquina de lavar roupa
- Toalhas
- Lençóis
1151 avaliações


Coral Lagoon Resort Villas & Marina by KeysCaribbean
Marathon - 1.3 km do centro
- 125 M2
- 6 pessoas
- Ar-condicionado
- Aquecimento
- Piscina
- Estacionamento
- Varanda
- Tv
- Máquina de lavar roupa
- Toalhas
- Lençóis
60 avaliações


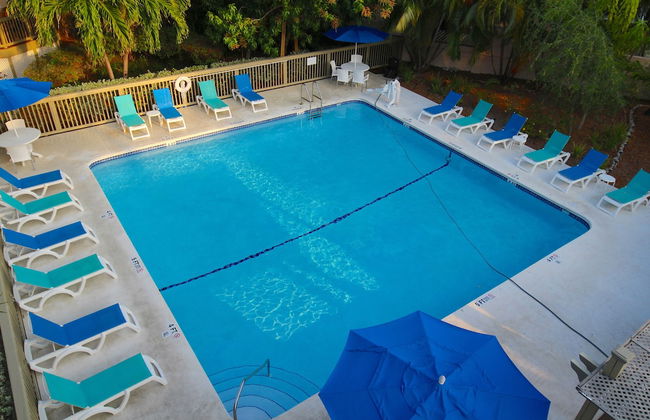

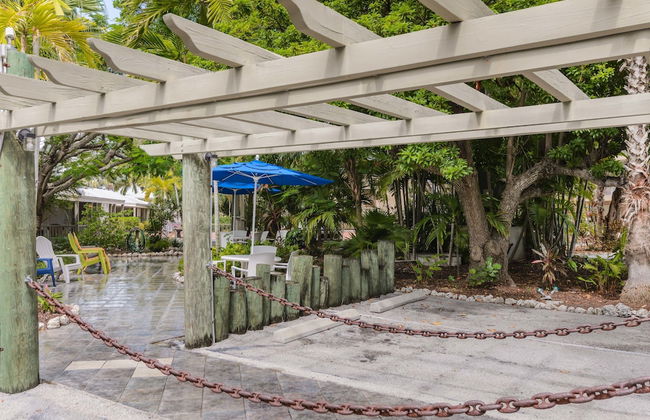
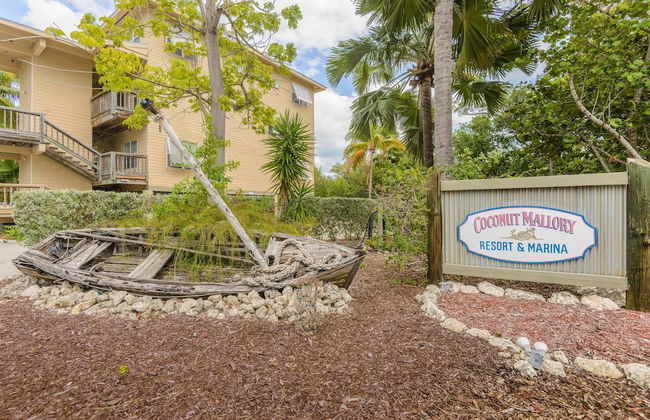
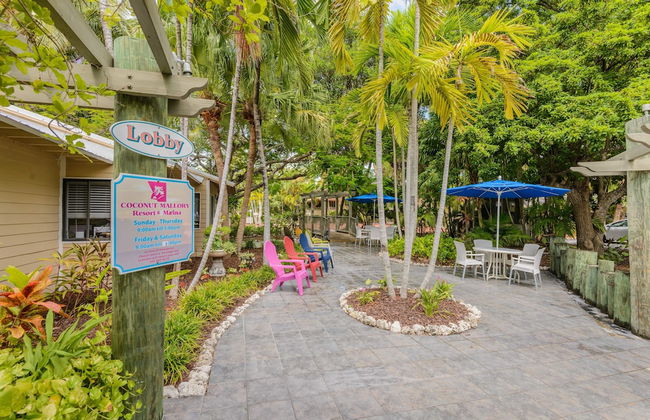


Coconut Mallory Resort And Marina By Kees Vacations
Key West
- 98 M2
- 6 pessoas
- Kitchenette
- Ar-condicionado
- Aquecimento
- Piscina
- Estacionamento
- Elevador
- Varanda
- Tv
- Churrasco
- Toalhas
- Lençóis
801 avaliações


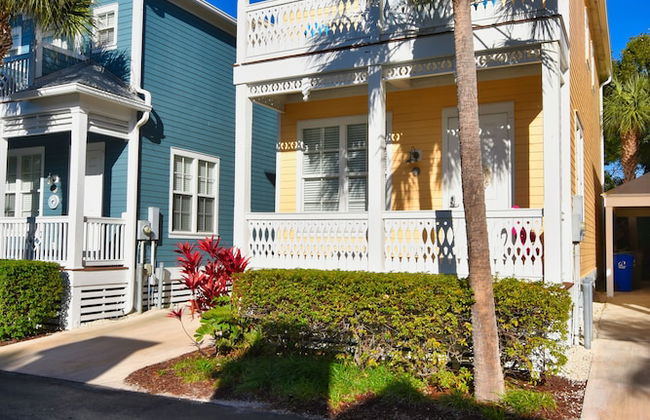
Parrot Perch by Avantstay Old Town Key West w/ Shared Pool Week Long Stays Only
Key West
- 53 M2
- 5 pessoas
- Ar-condicionado
- Aquecimento
- Piscina
- Estacionamento
- Varanda
- Tv
- Máquina de lavar roupa
- Toalhas
- Lençóis
2 avaliações


Atlantic Paradise by Avantstay Great Location w/ Balcony, Outdoor Dining & Shared Pool & Hot Tub!
Key West
- 122 M2
- 6 pessoas
- Ar-condicionado
- Aquecimento
- Piscina
- Estacionamento
- Varanda
- Tv
- Máquina de lavar roupa
- Toalhas
- Lençóis
4 avaliações


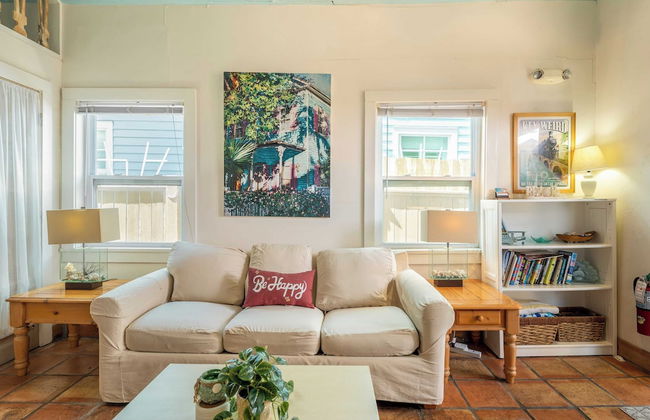

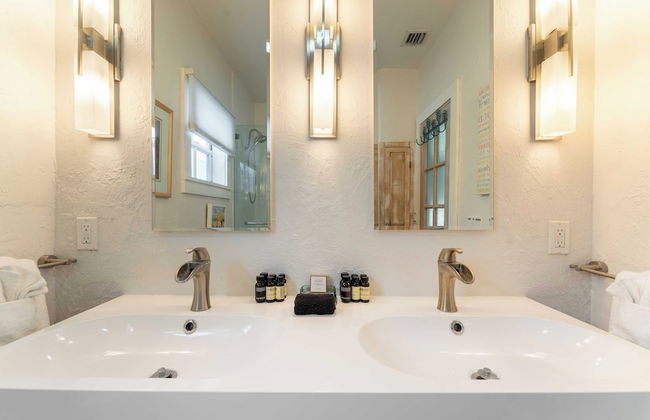
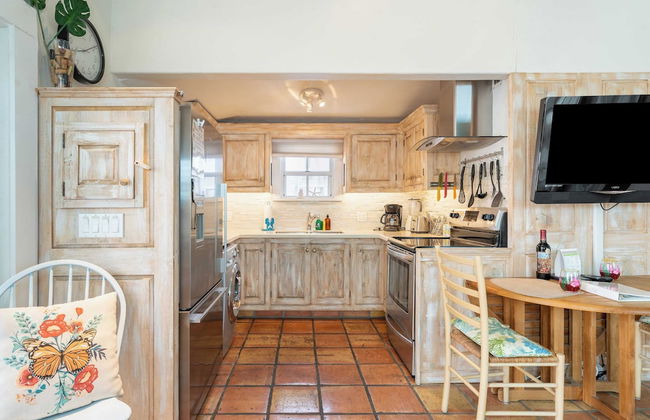

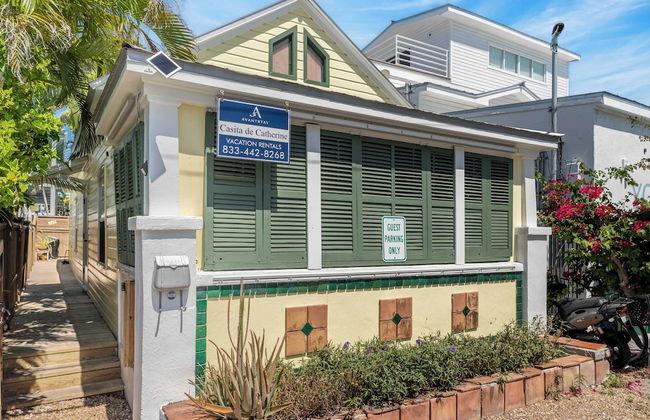


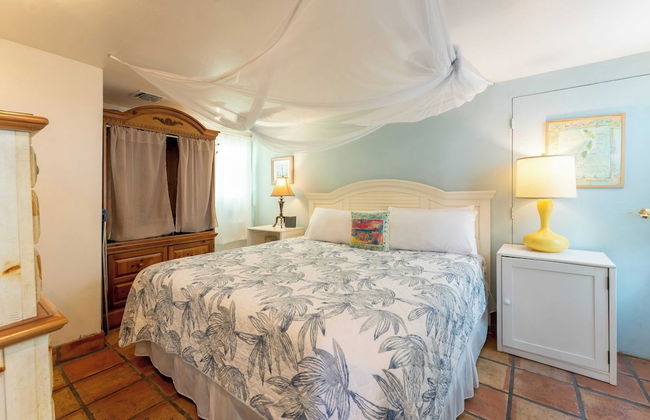
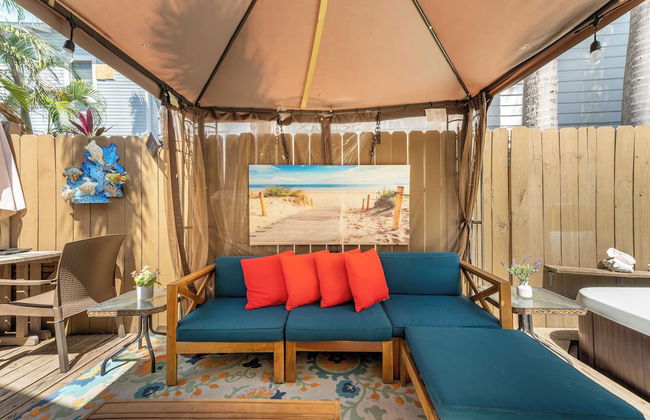

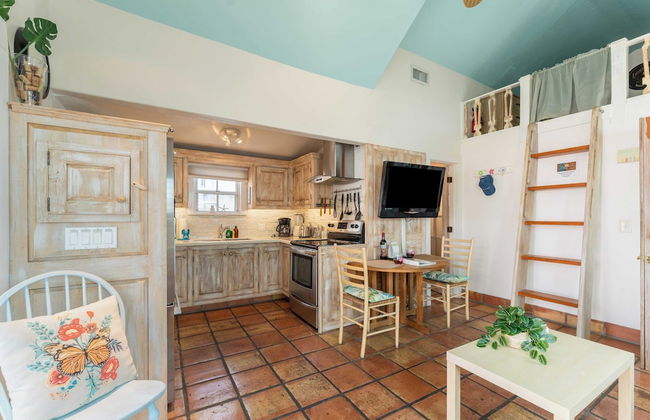


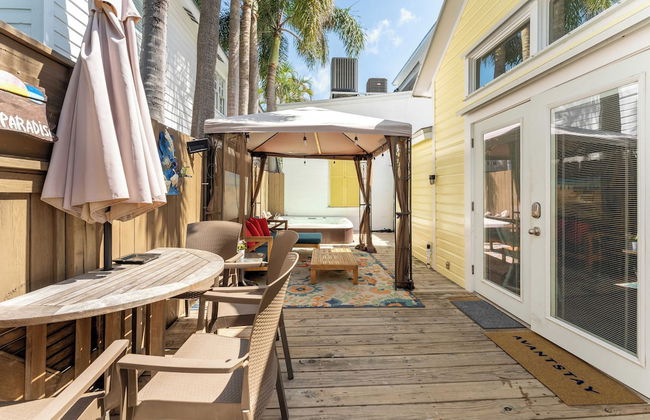

Casita de Catherine by Avantstay 1 Block to Duval St w/ Hot Tub!
Key West
- 37 M2
- 3 pessoas
- Ar-condicionado
- Aquecimento
- Terraço
- Estacionamento
- Tv
- Máquina de lavar roupa
- Toalhas
2 avaliações
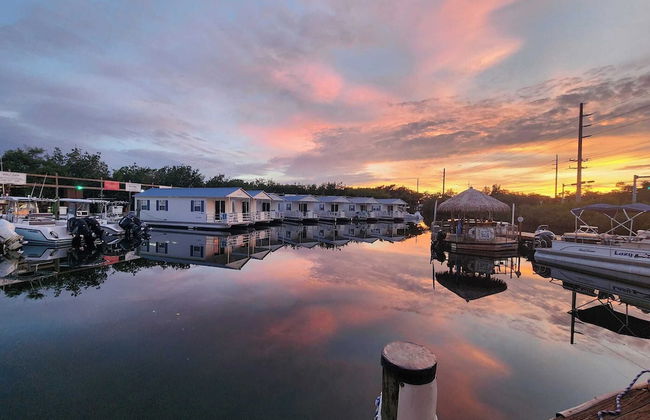
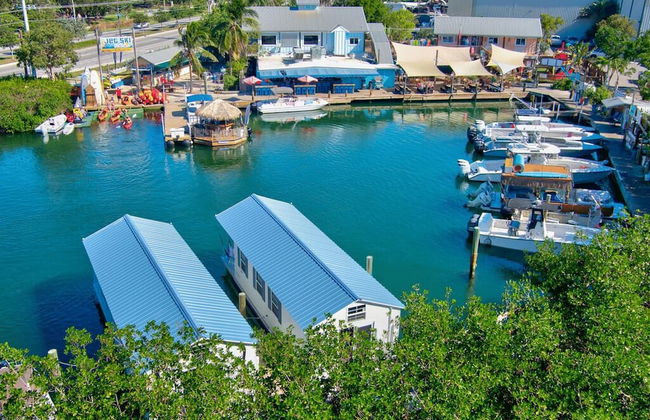
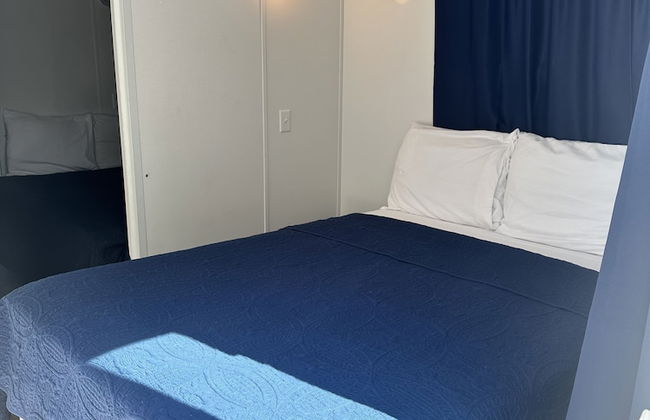

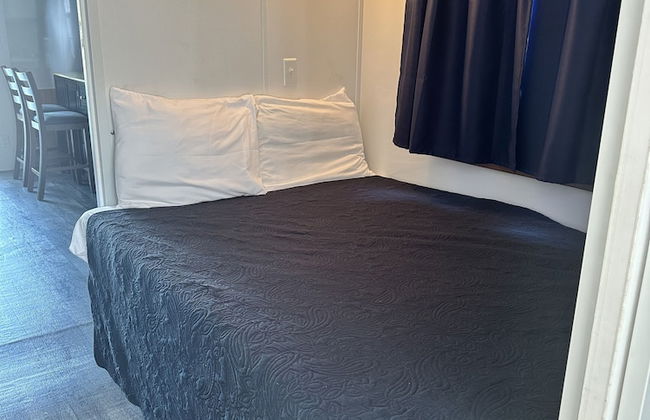


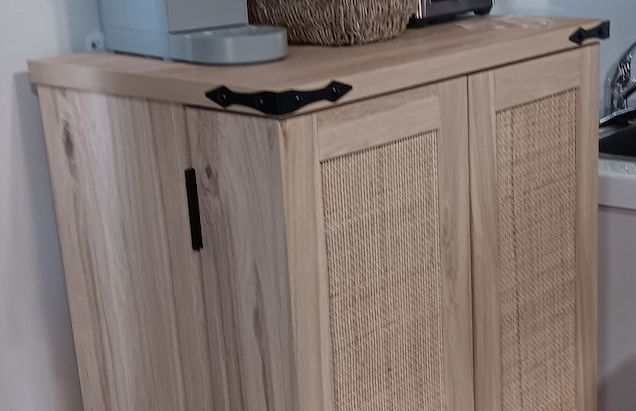


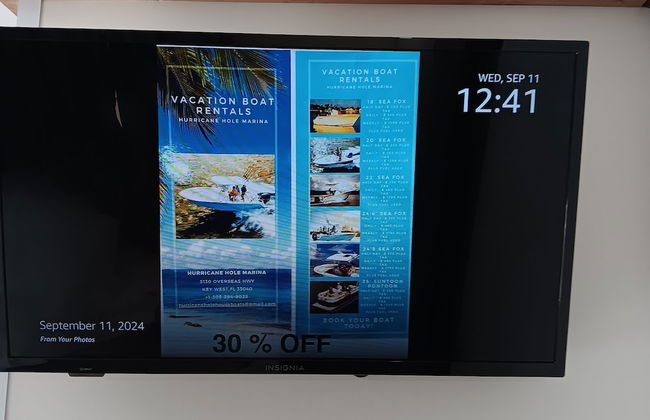
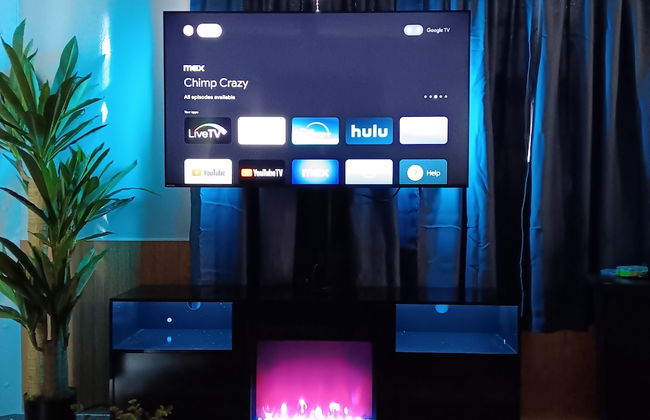


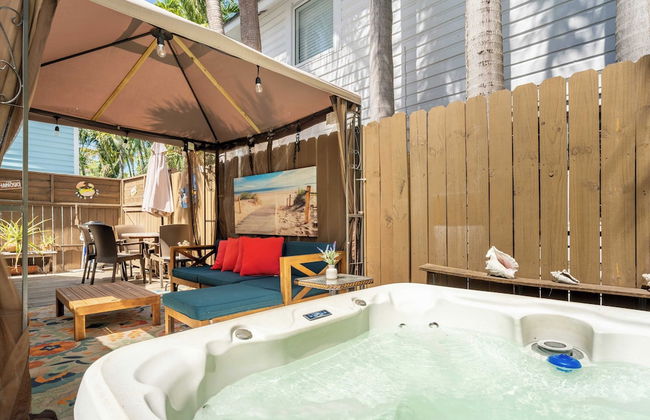
Aqua Lodges at Hurricane Hole Marina
Key West
- 4 pessoas
- Ar-condicionado
- Estacionamento
- Tv
- Toalhas
- Lençóis
114 avaliações


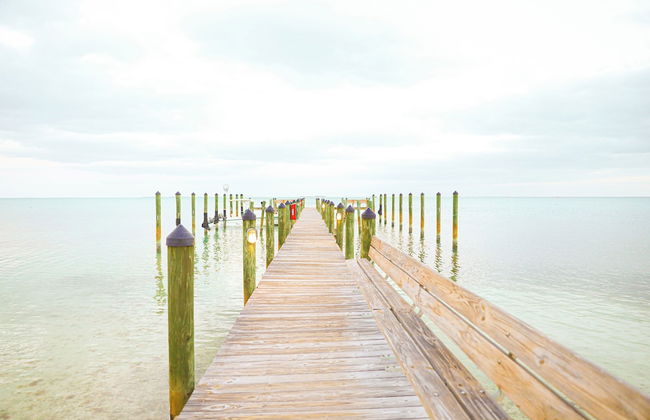
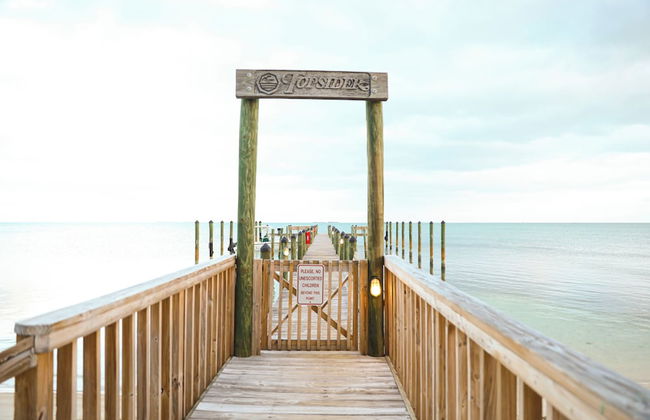


Topsider Resort
Islamorada
- 6 pessoas
- Ar-condicionado
- Aquecimento
- Terraço
- Piscina
- Estacionamento
- Jardim
- Tv
- Máquina de lavar roupa
- Churrasco
- Toalhas
- Lençóis
60 avaliações


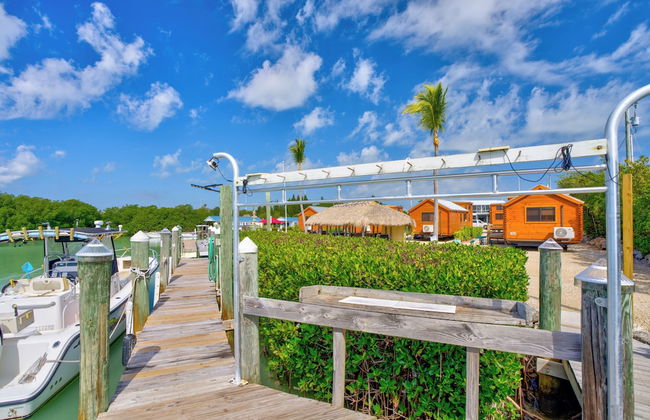
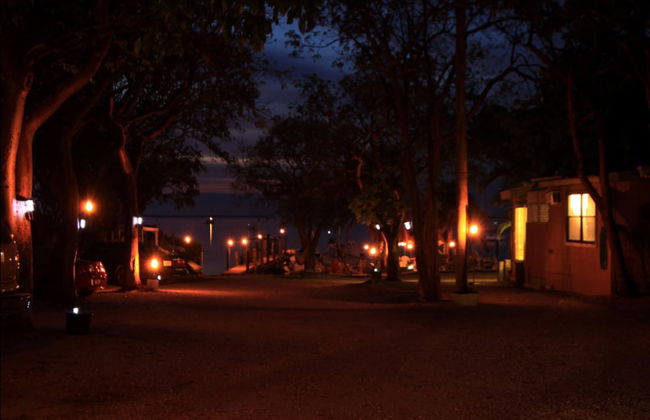
Kings Kamp
Key Largo
- 5 pessoas
- Ar-condicionado
- Aquecimento
- Estacionamento
- Tv
- Chaminé
- Churrasco
- Toalhas
- Lençóis
18 avaliações