125 Apartamentos em Ohio
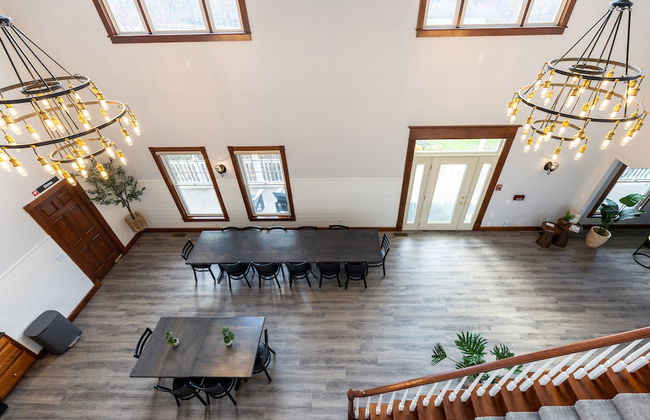
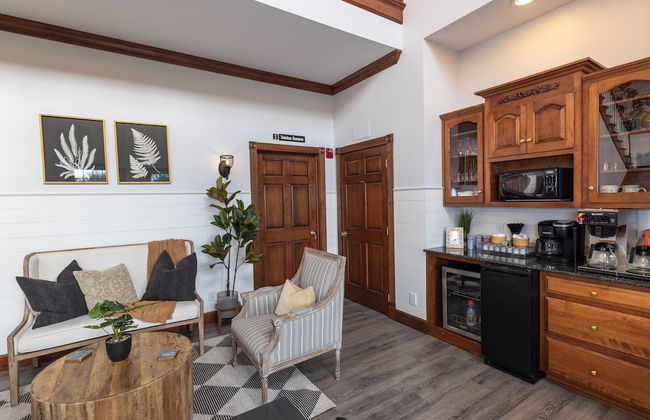


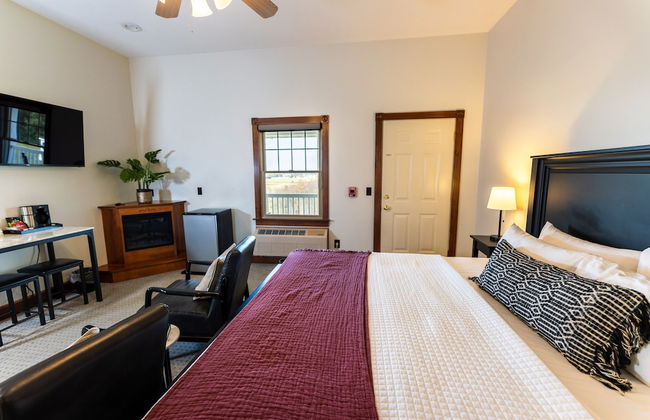

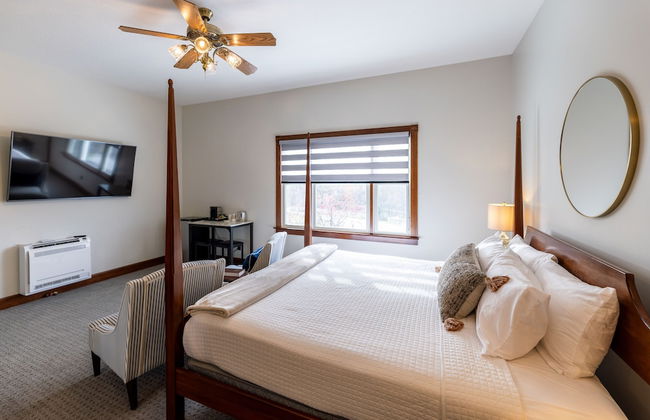


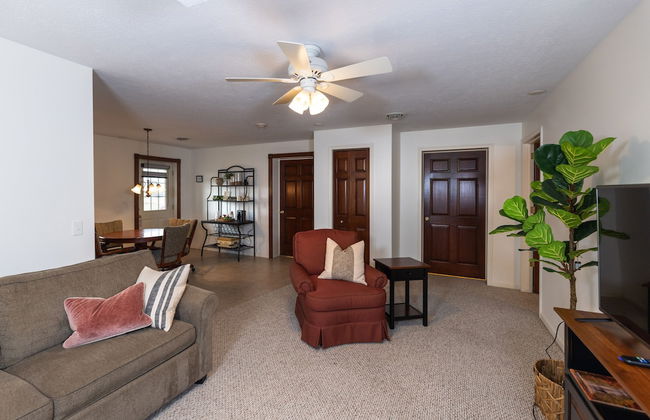

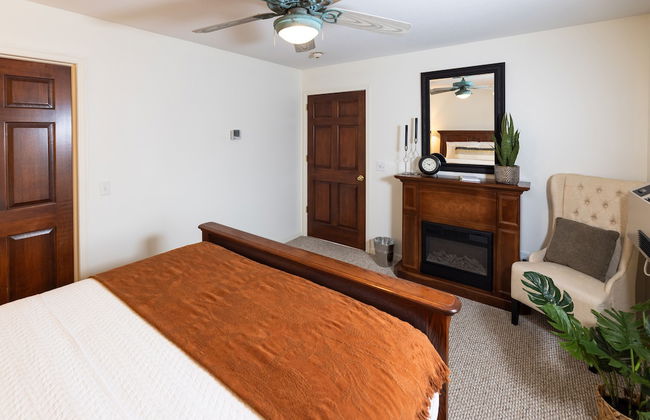


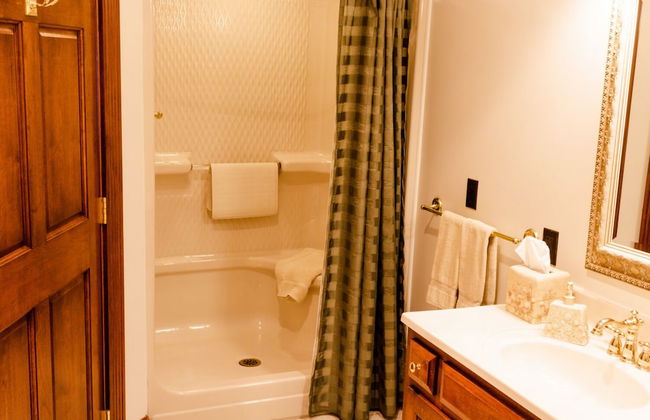


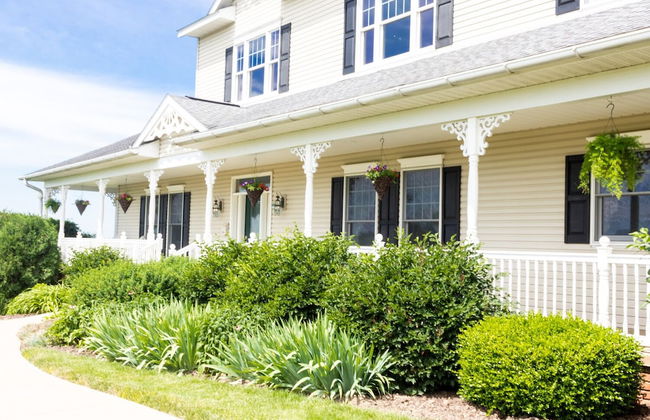

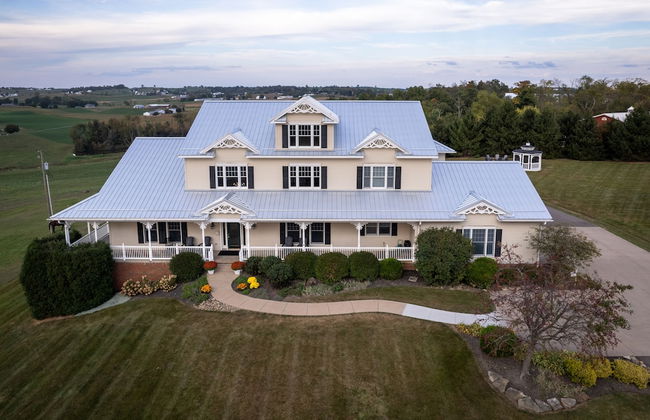

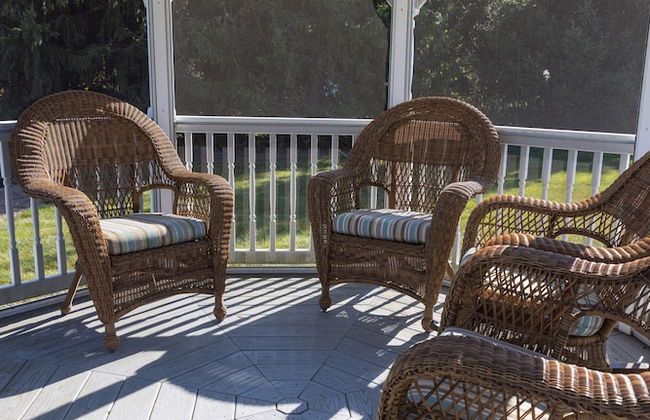
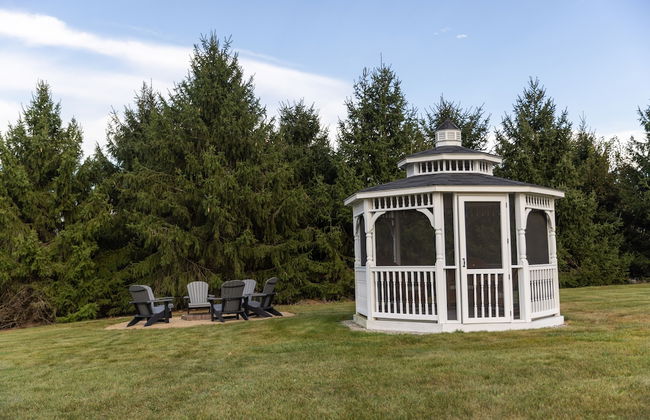


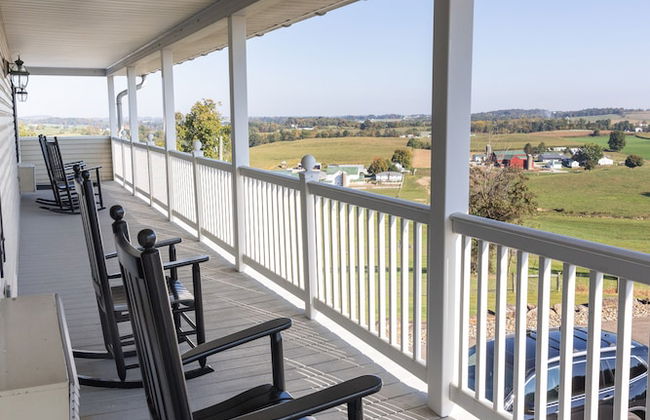

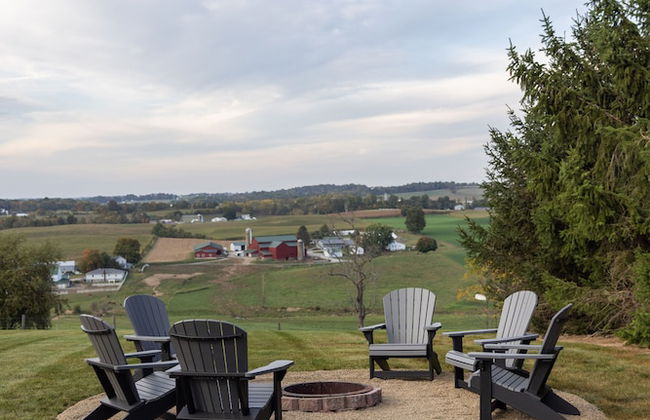


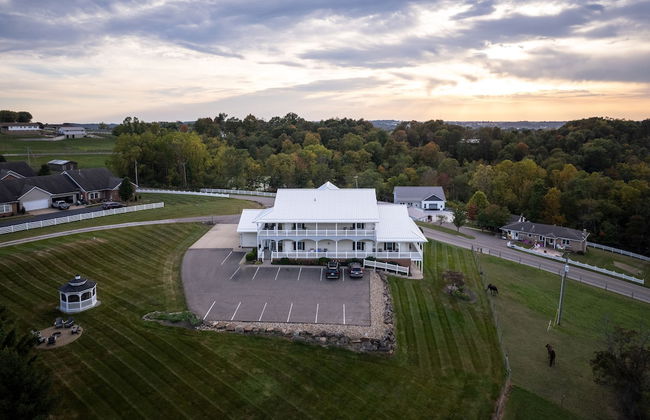
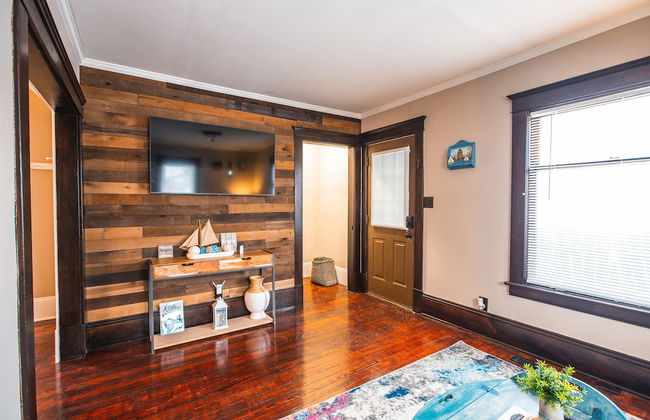
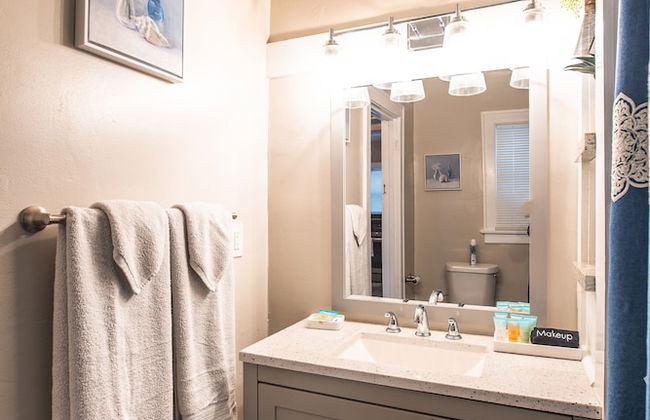
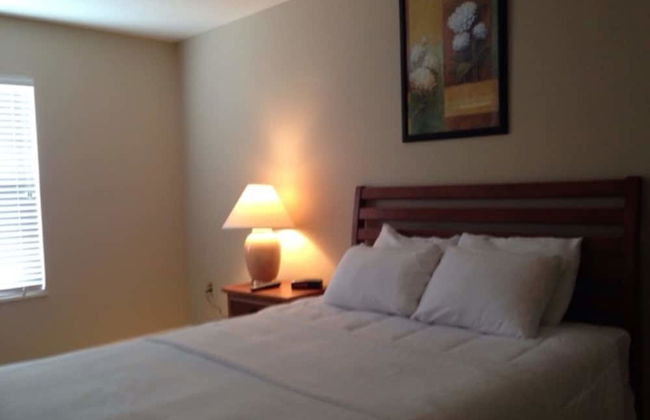
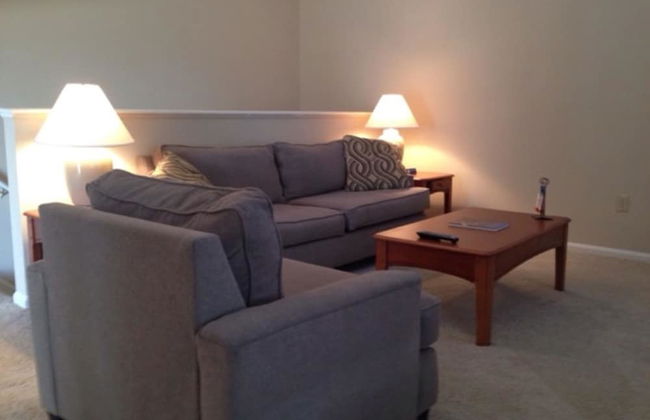
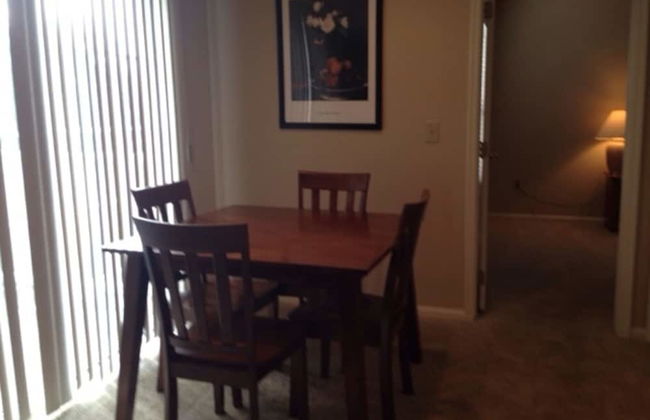
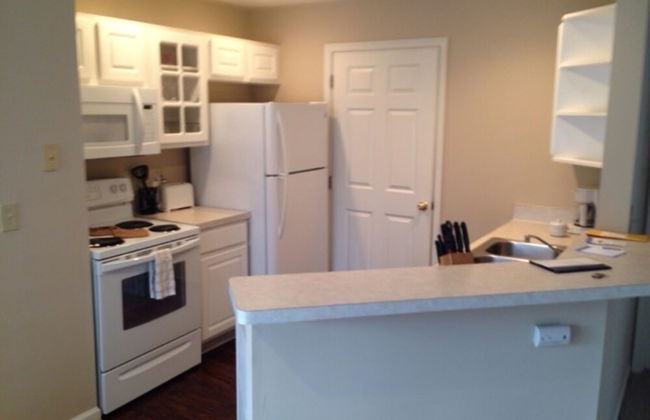
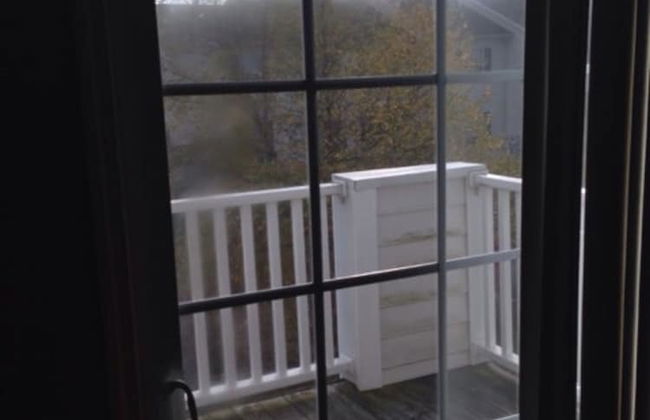
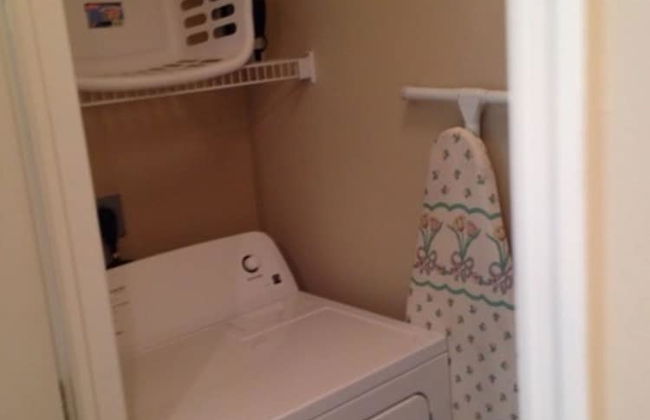
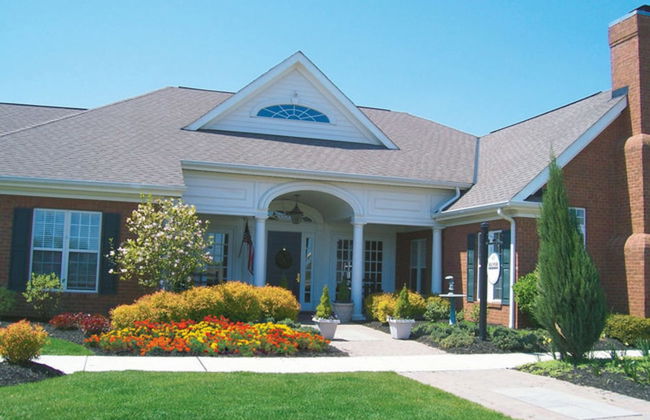
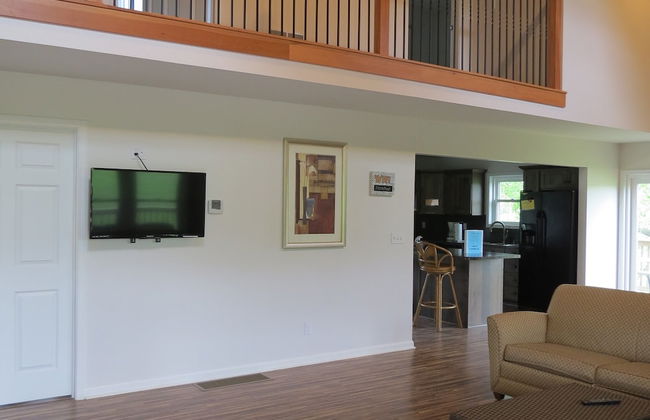
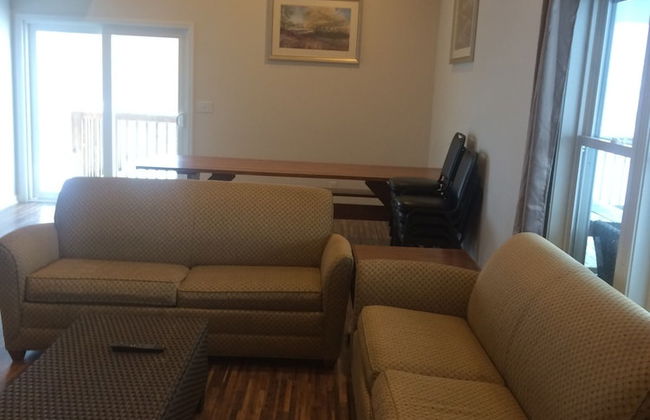
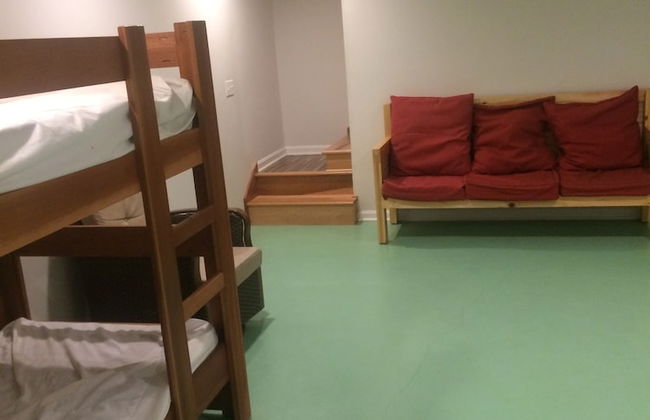
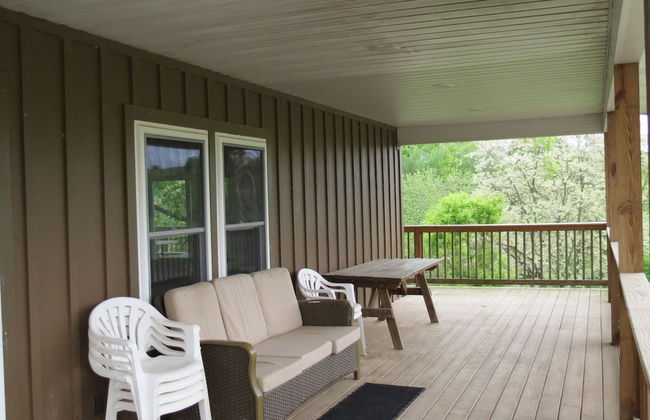
Hillside Villa Ohio
Millersburg
- 24 pessoas
- Ar-condicionado
- Aquecimento
- Terraço
- Estacionamento
- Varanda
- Jardim
- Tv
- Chaminé
- Toalhas
- Lençóis
263 avaliações
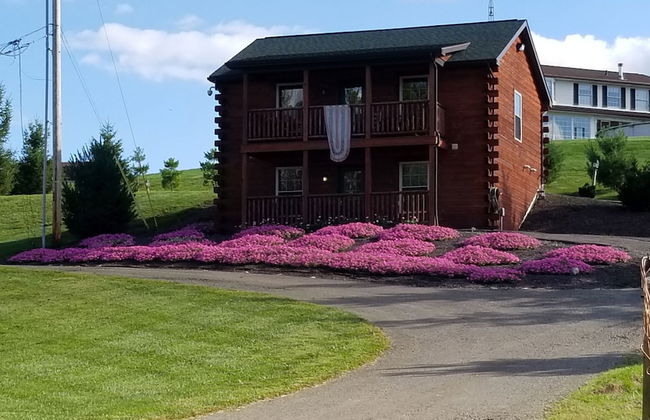
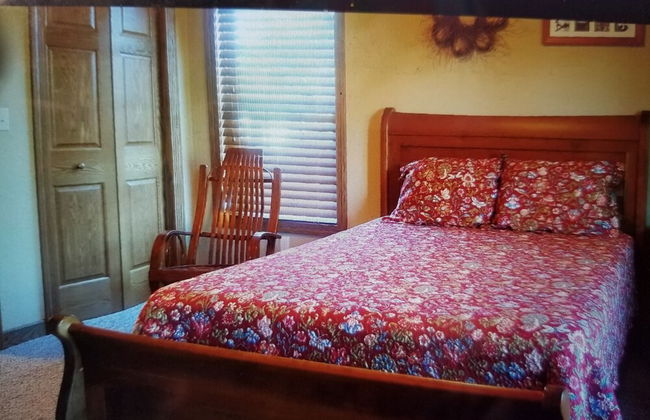
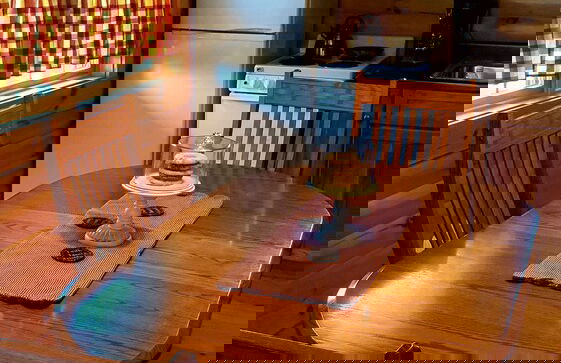
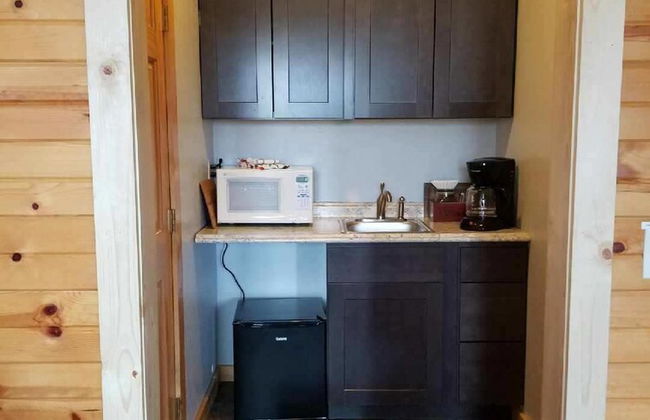


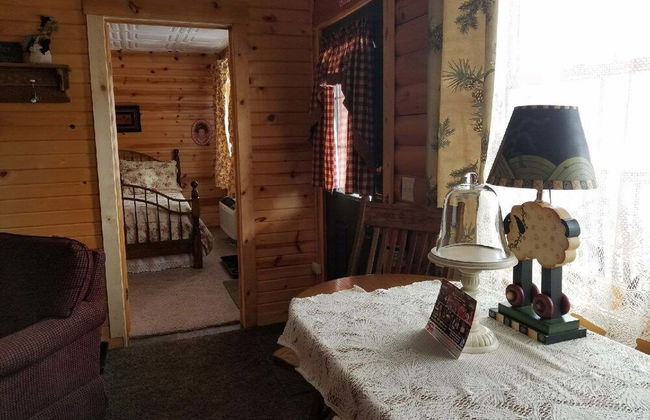
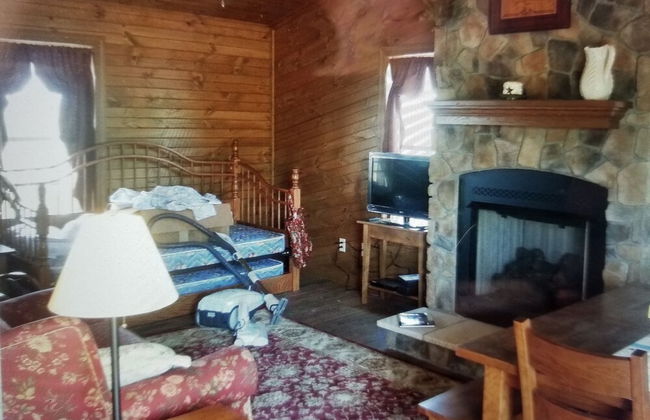
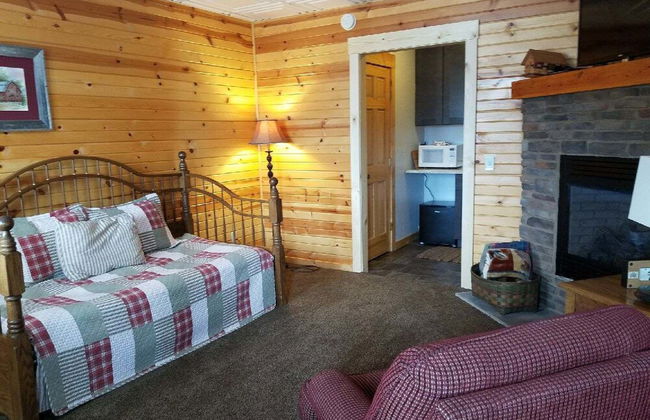


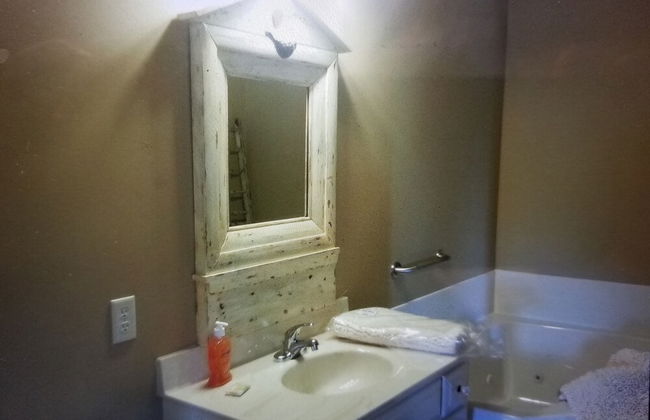
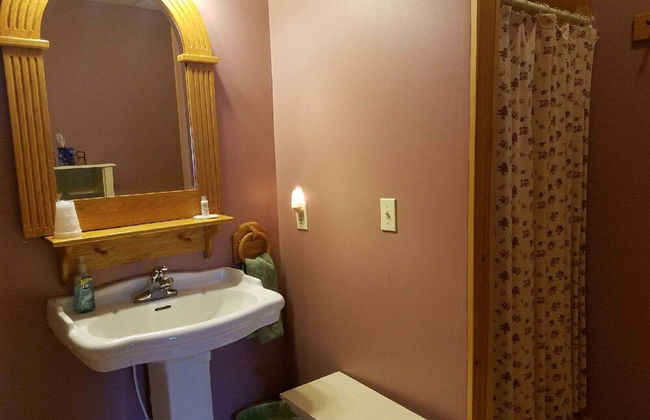


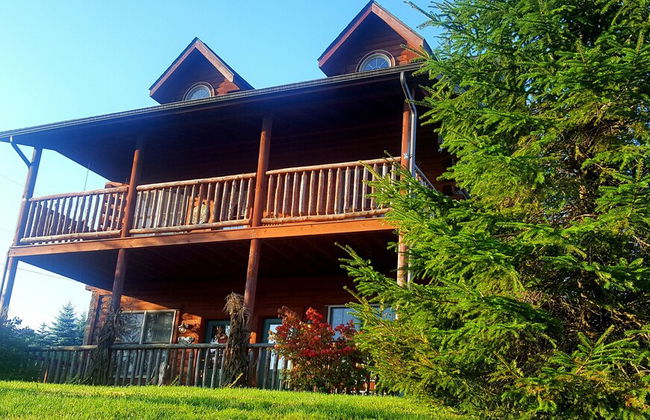

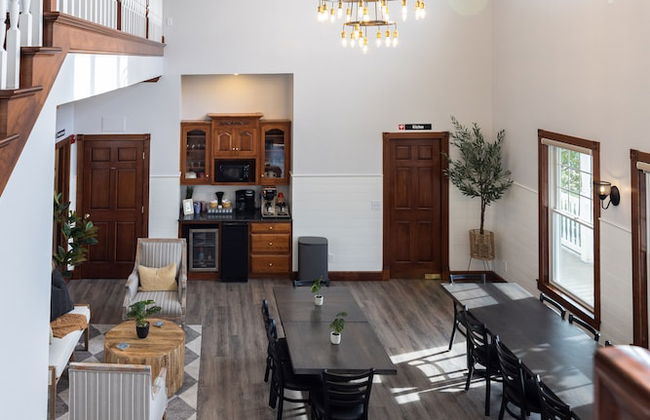
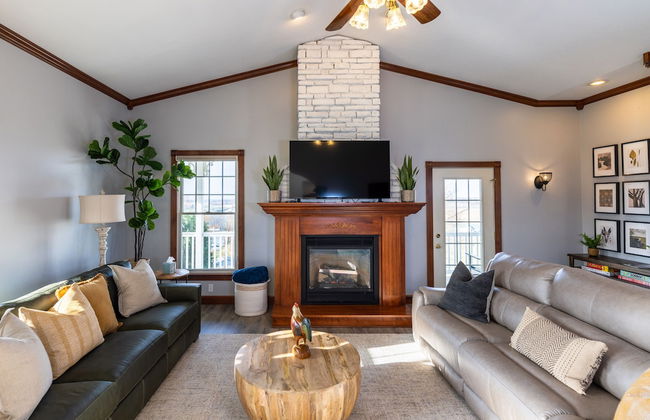
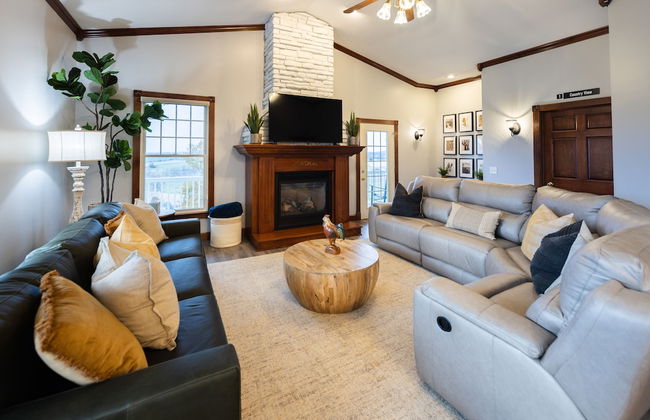
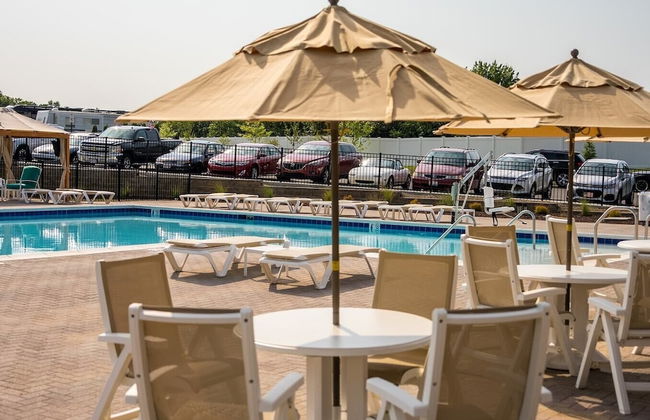
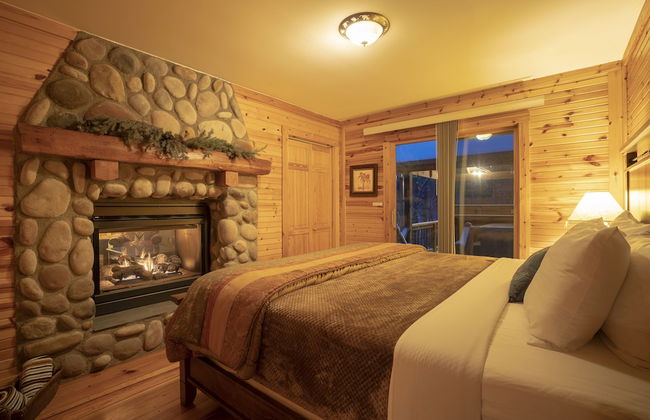
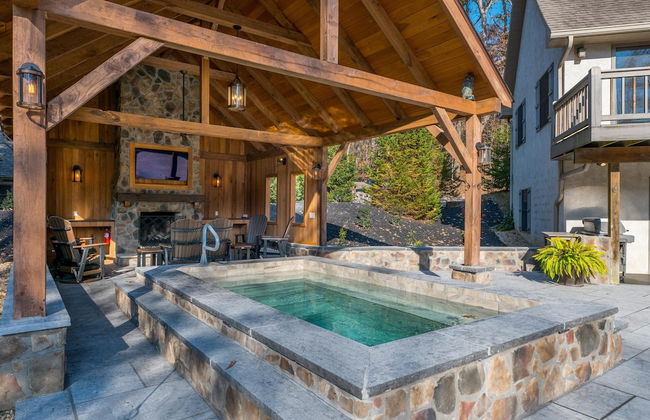
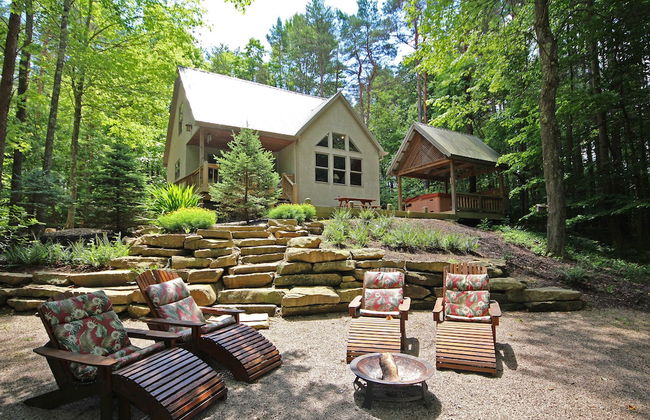
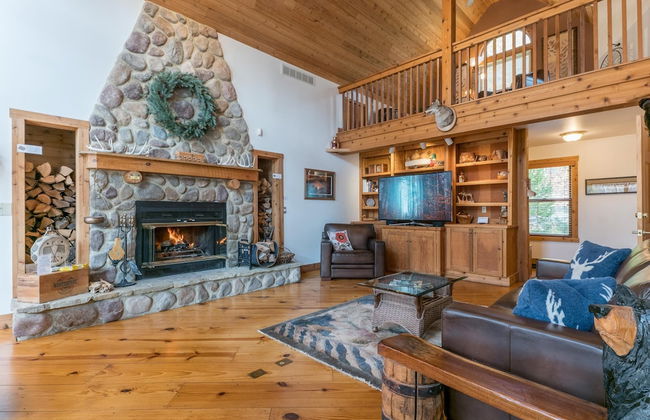
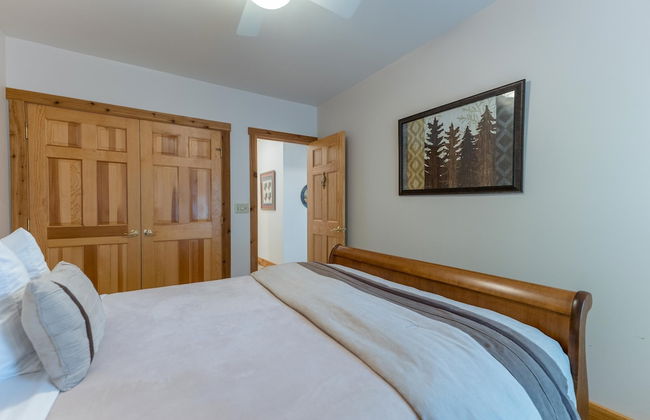
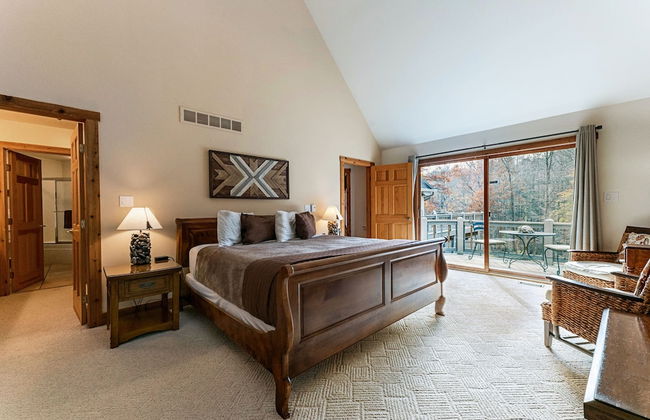
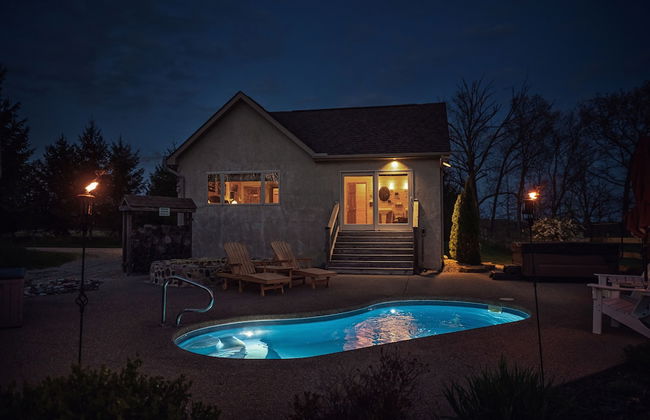
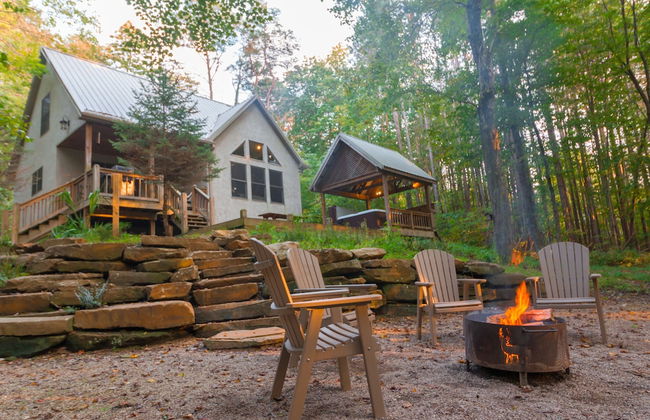
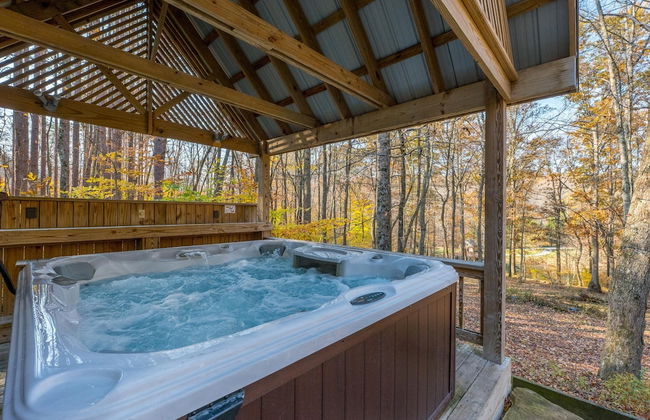
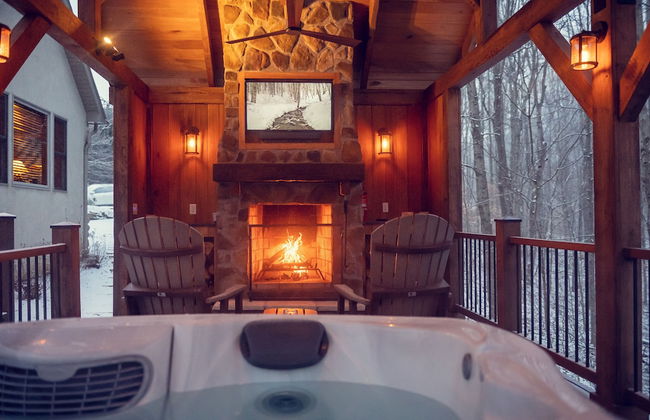
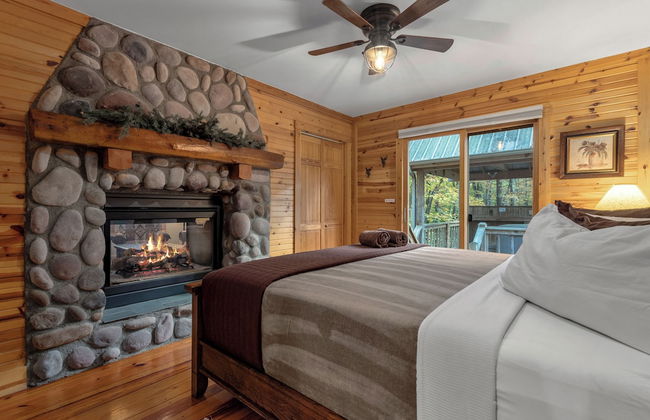
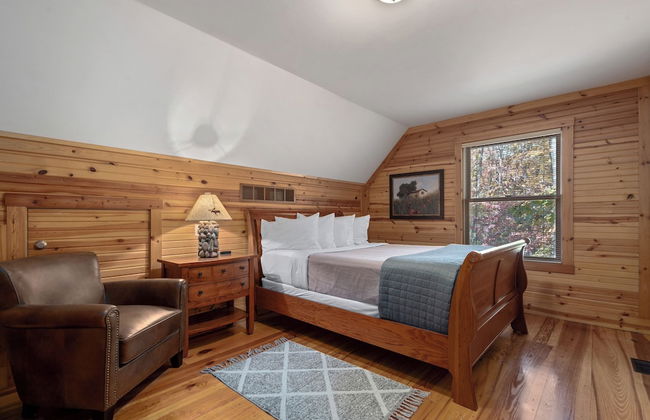
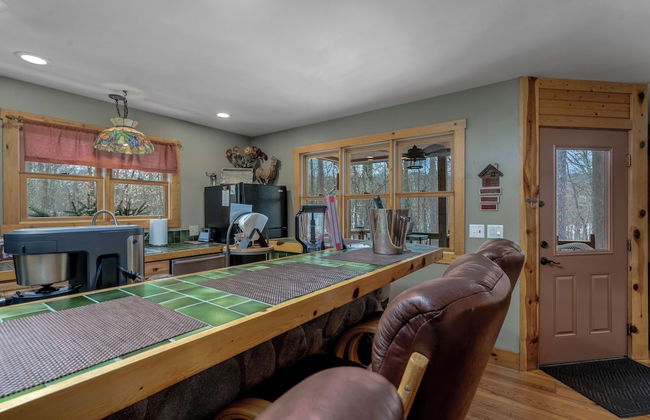
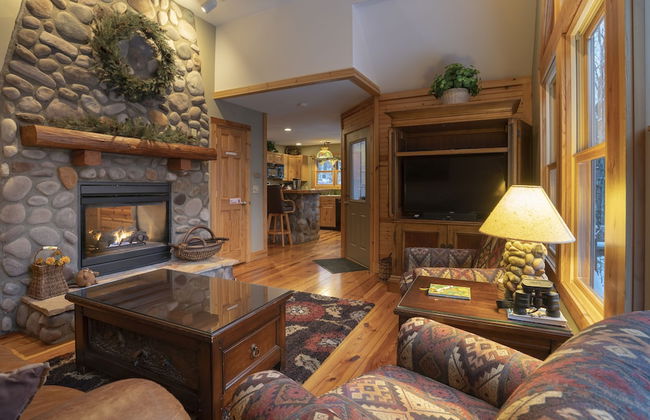
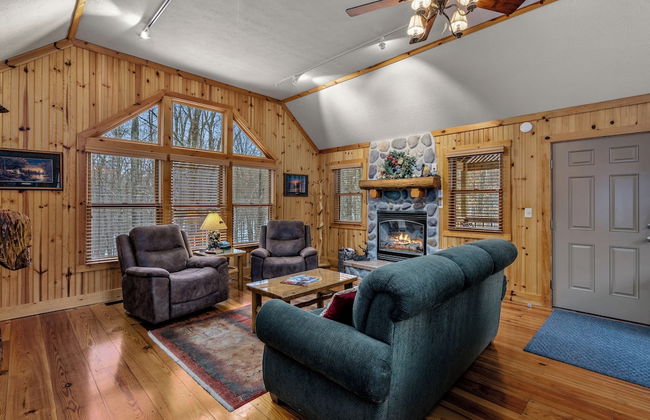
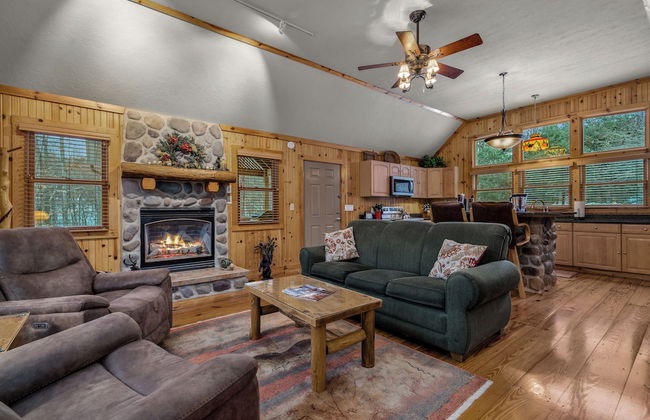
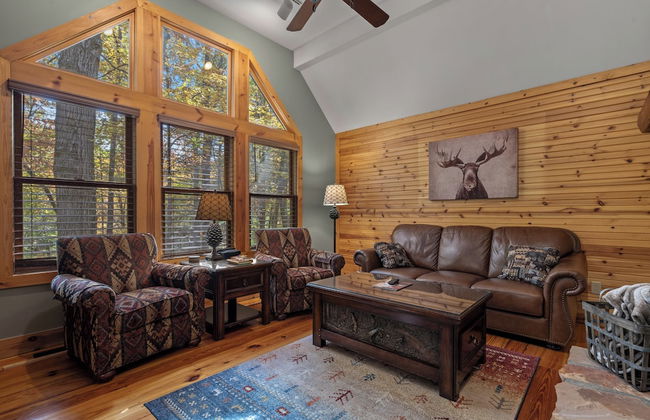
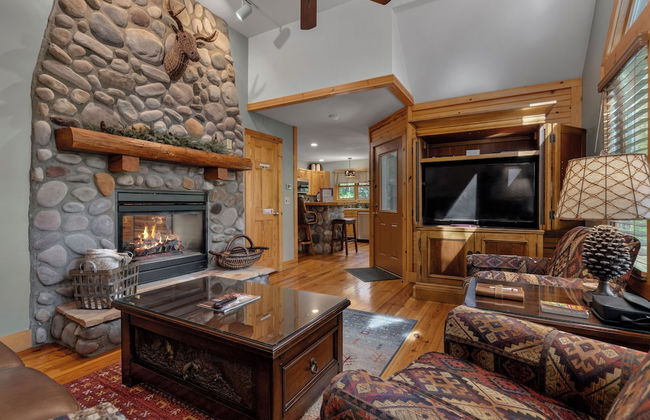
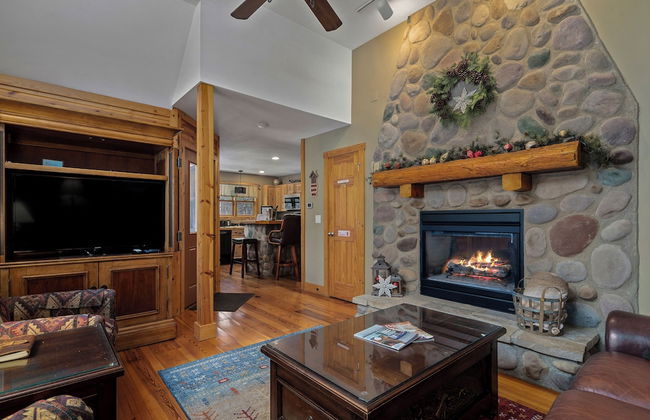
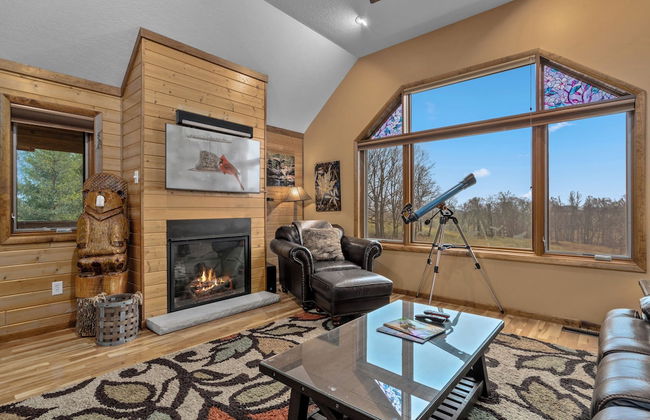
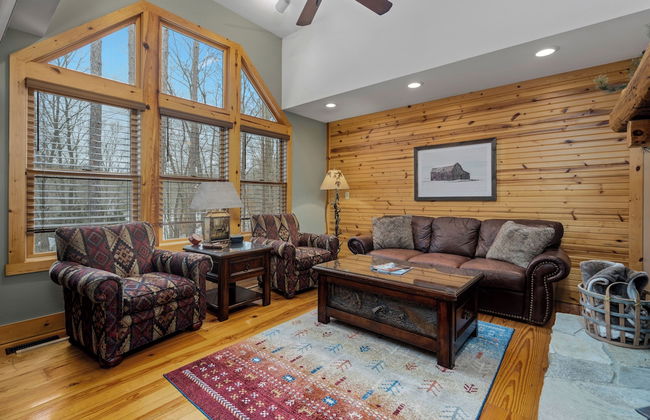
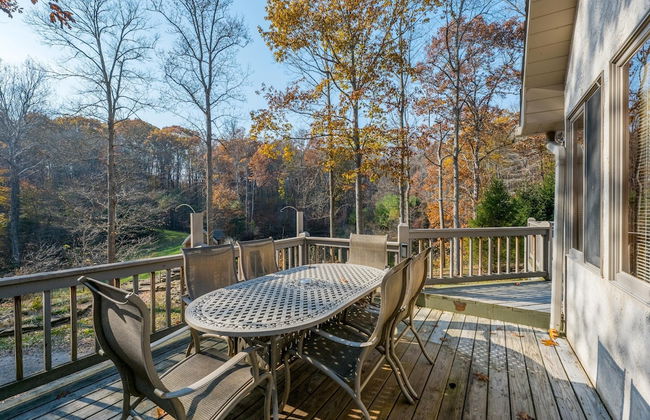
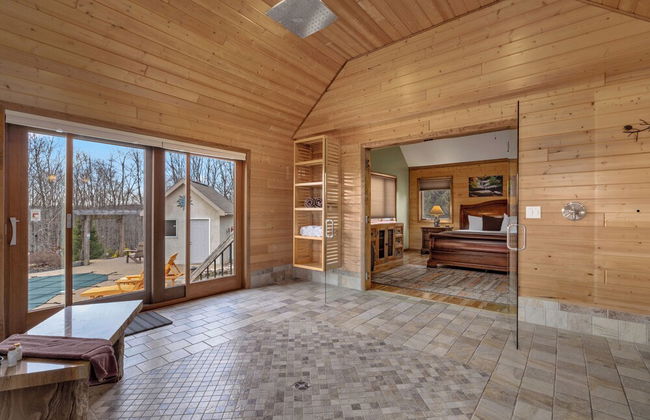
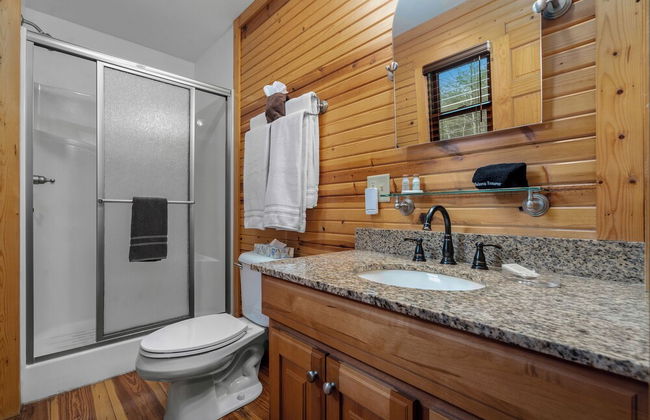
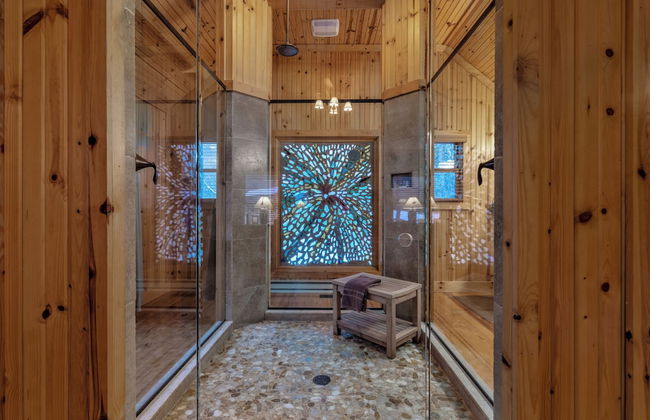
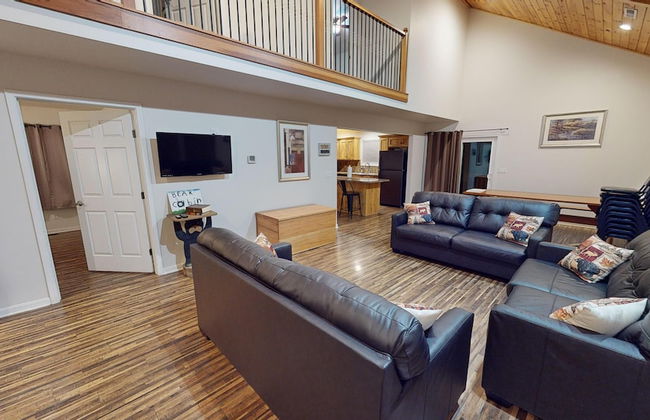
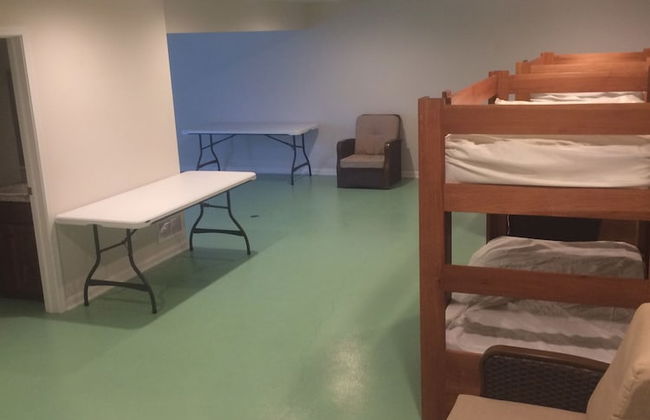
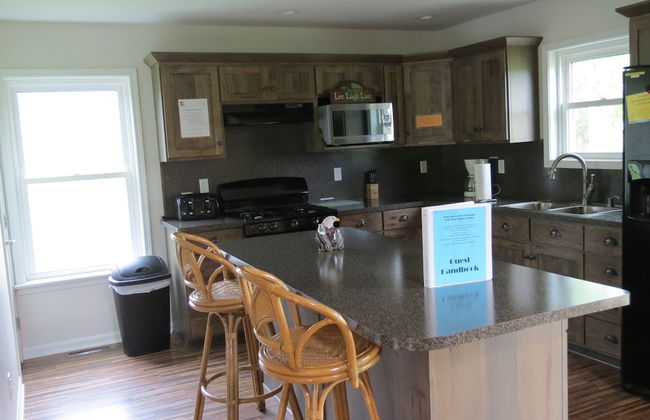
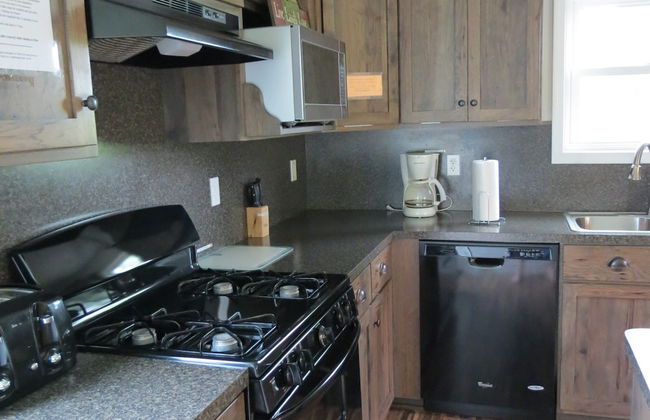
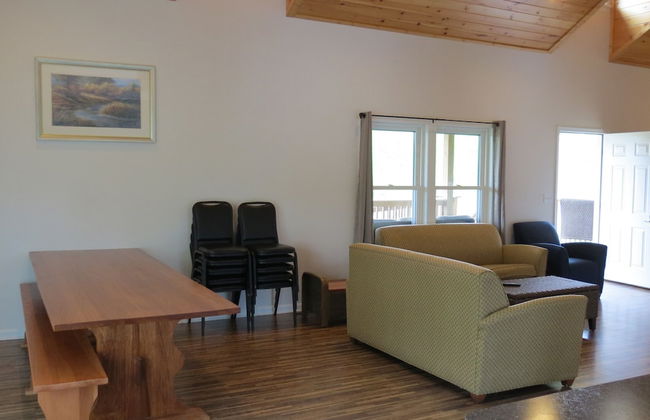
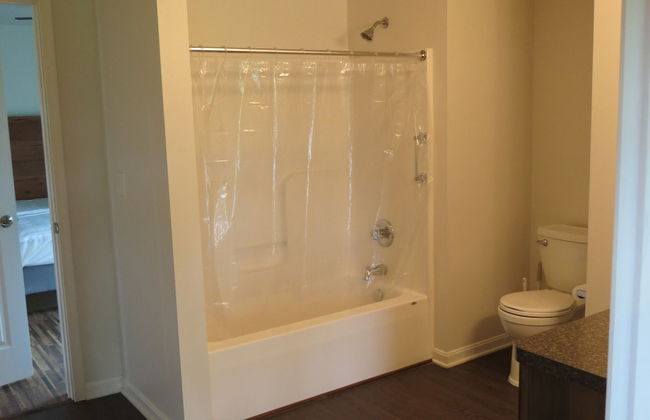
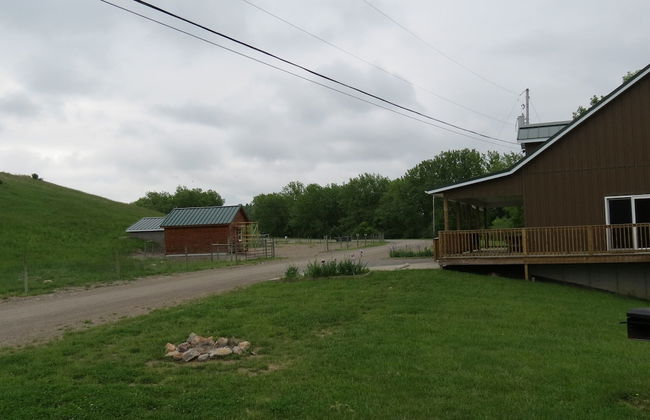
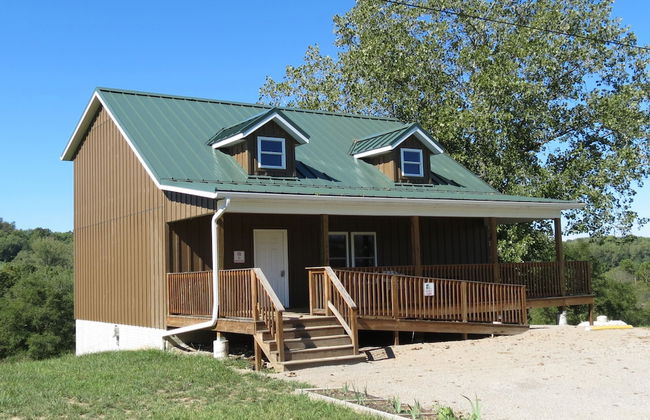
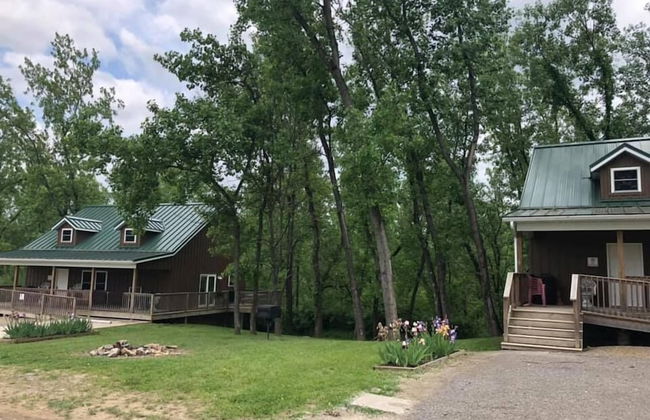
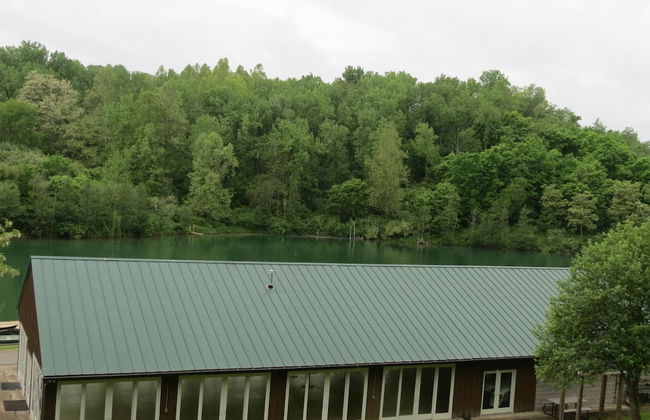
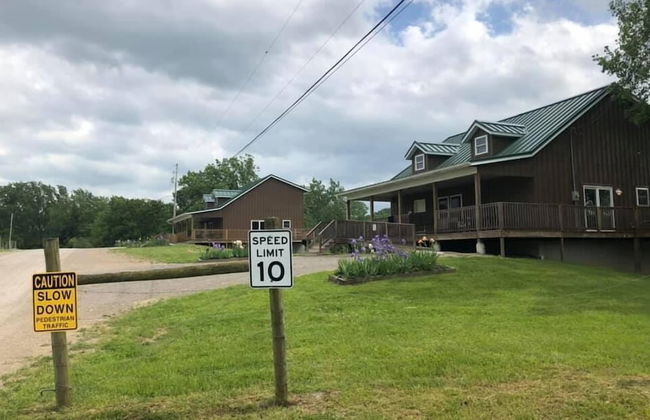
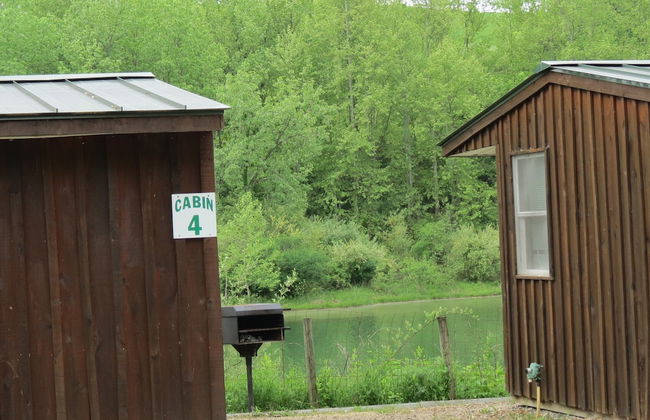
Amish Blessings Cabins
Millersburg
- 204 M2
- 8 pessoas
- Kitchenette
- Ar-condicionado
- Aquecimento
- Terraço
- Estacionamento
- Tv
- Chaminé
- Churrasco
- Toalhas
- Lençóis
205 avaliações
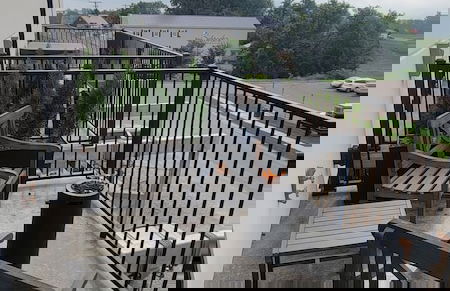


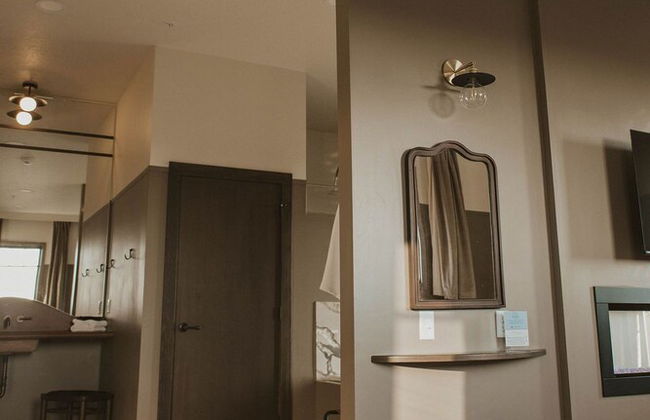


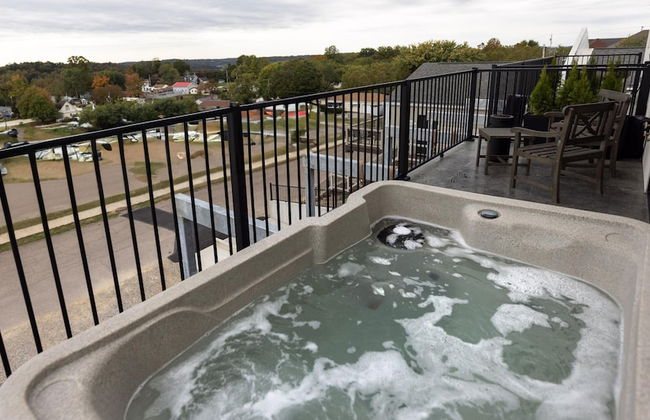
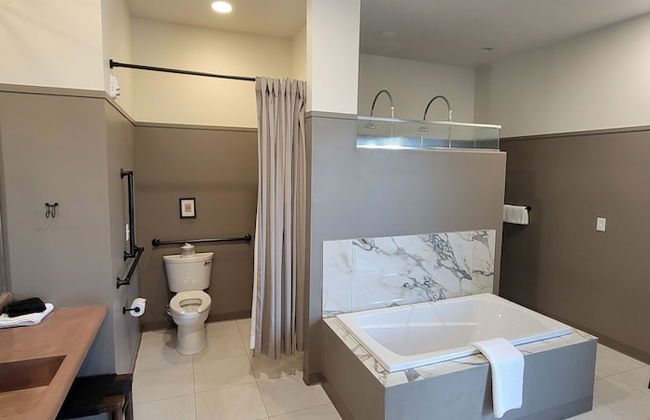


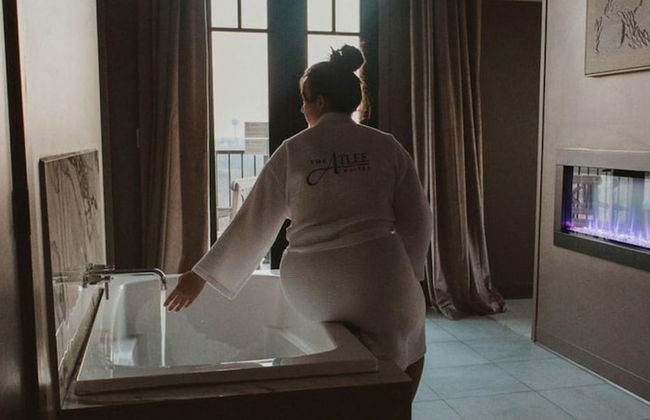


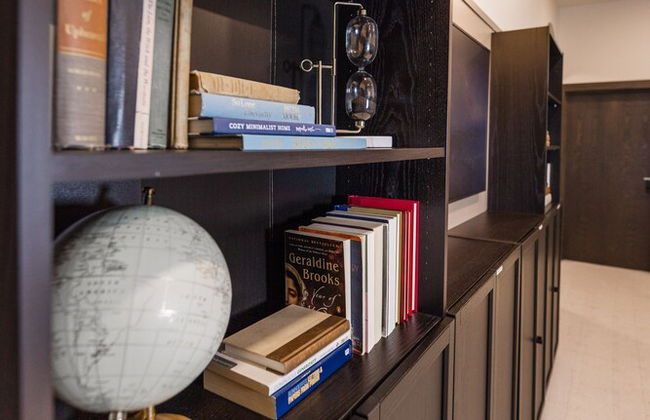


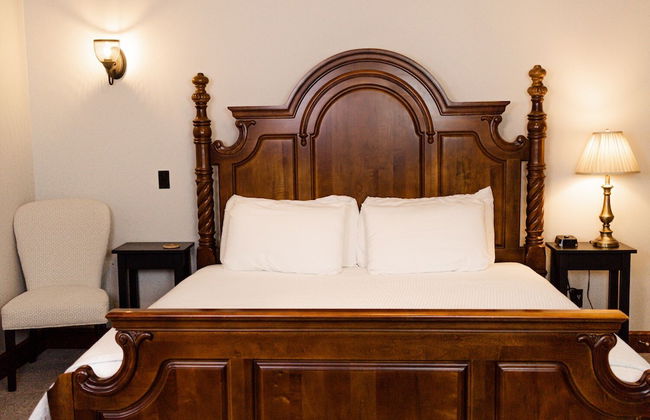
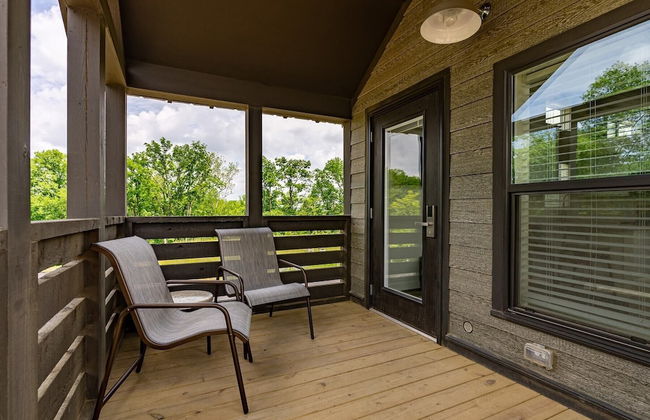
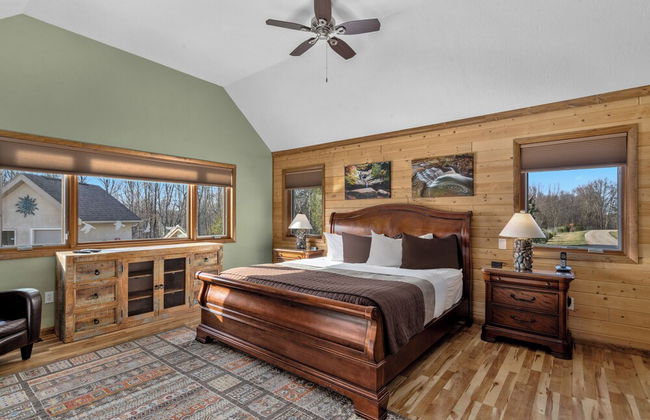
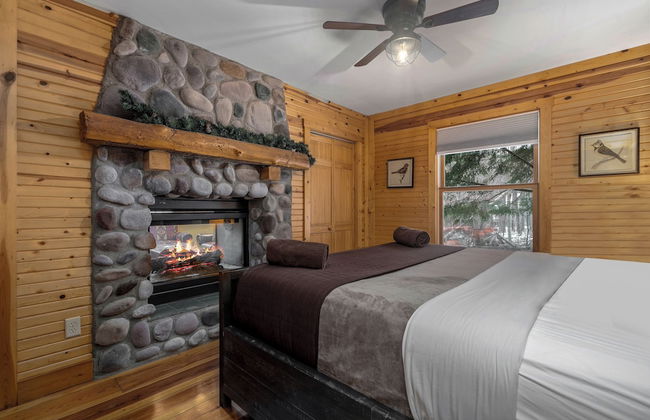
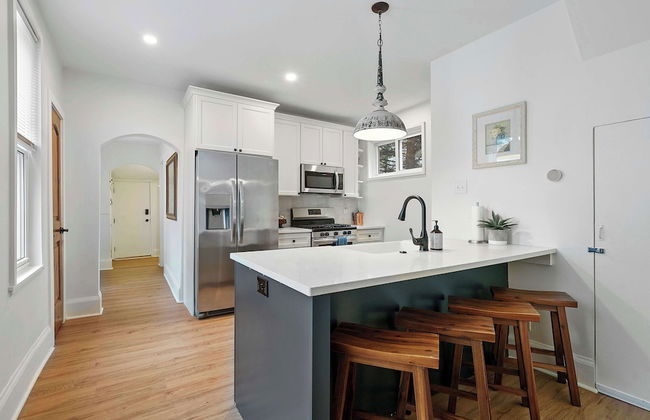
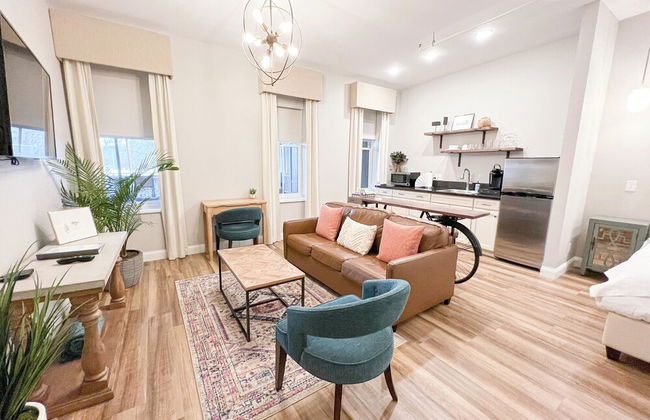
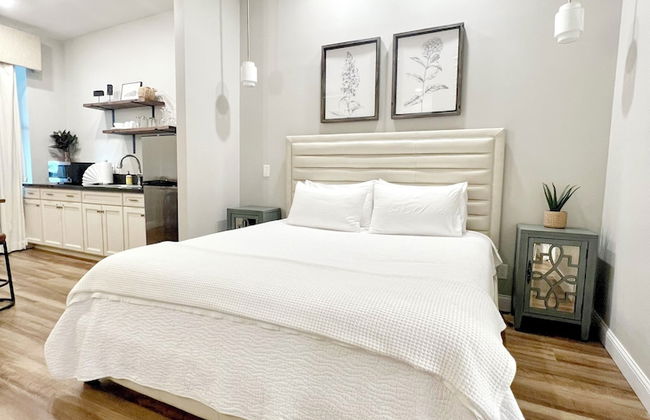
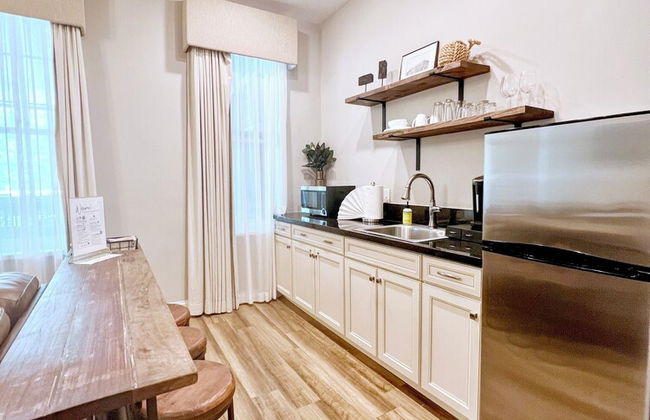
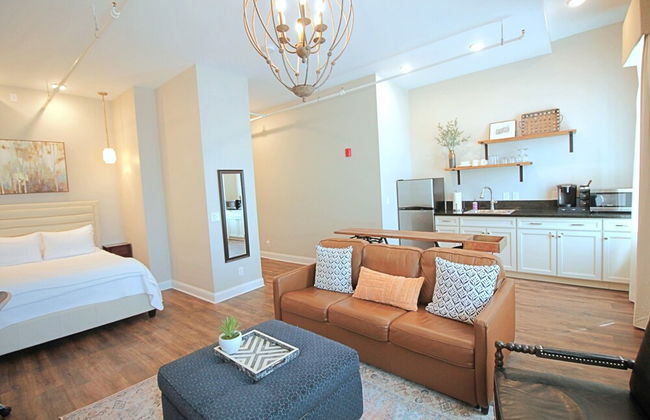
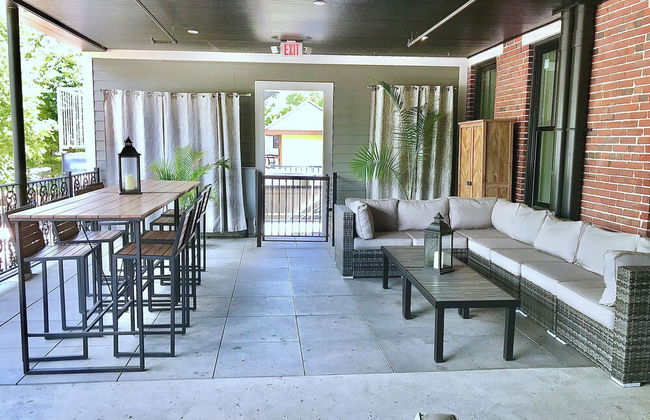
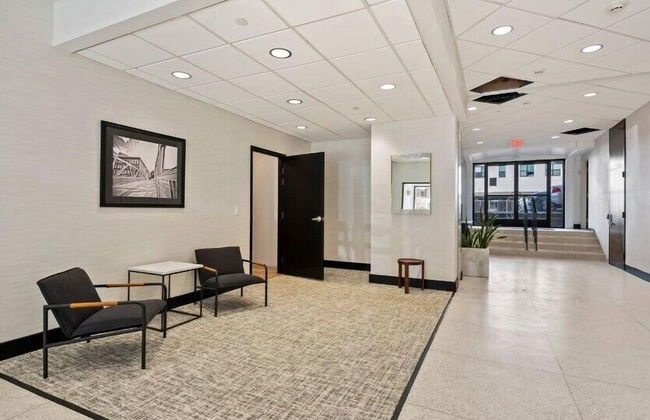
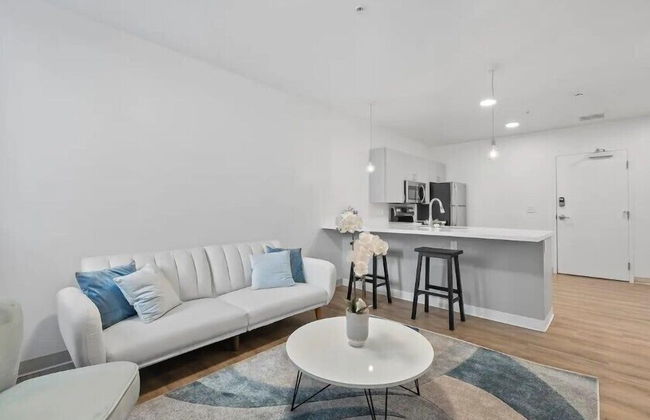
The Atlee Suites
Millersburg
- 56 M2
- 3 pessoas
- Kitchenette
- Ar-condicionado
- Aquecimento
- Estacionamento
- Varanda
- Tv
- Chaminé
- Toalhas
- Lençóis
33 avaliações


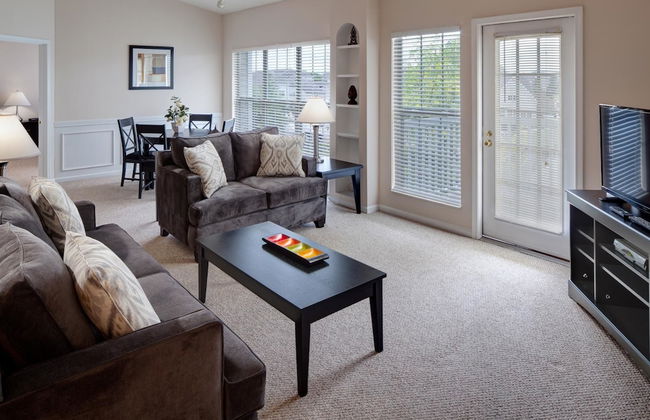


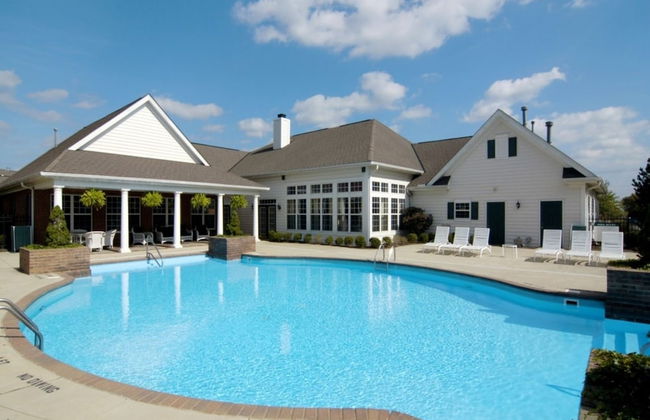
BridgeStreet at Hilliard Grand
Dublin - Tuttle West - 4.3 km do centro
- 93 M2
- 4 pessoas
- Ar-condicionado
- Aquecimento
- Piscina
- Estacionamento
- Tv
- Máquina de lavar roupa
- Churrasco
- Toalhas
- Lençóis
13 avaliações
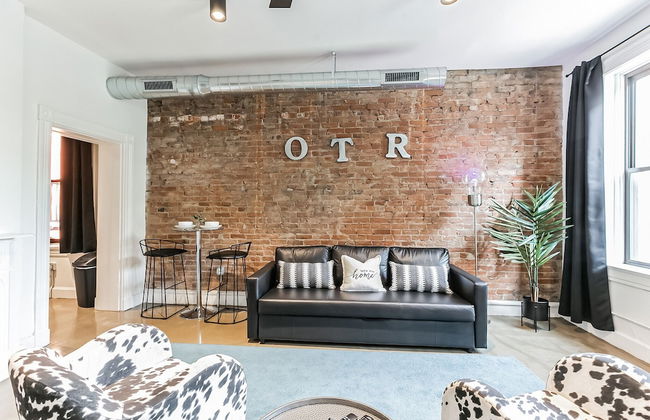


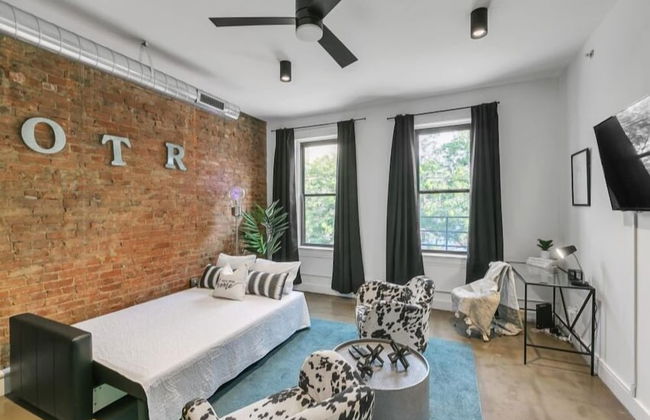

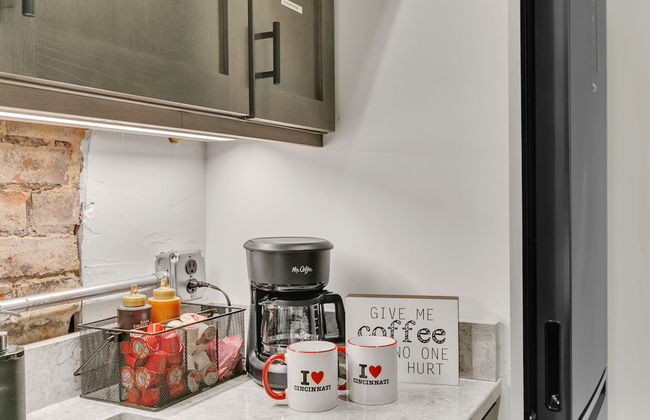
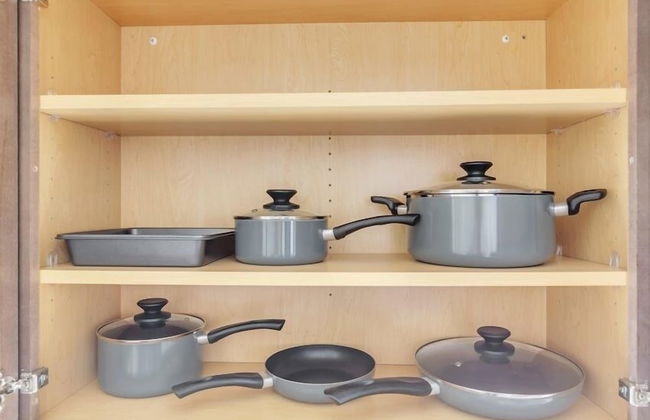

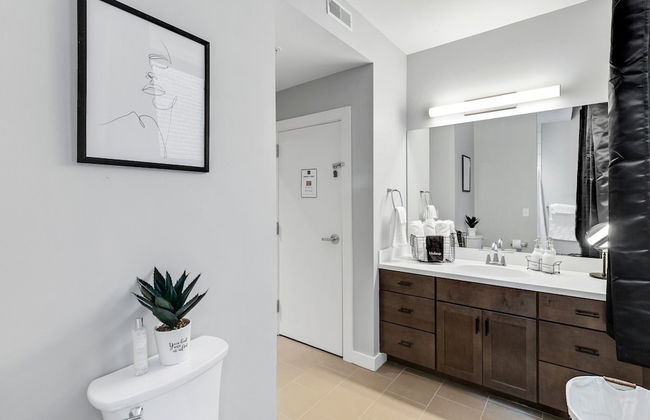

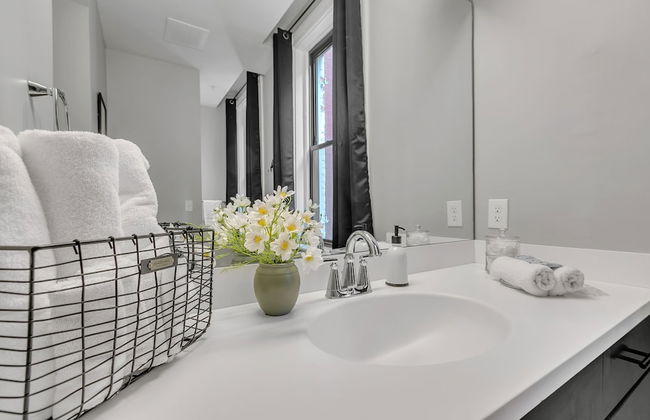
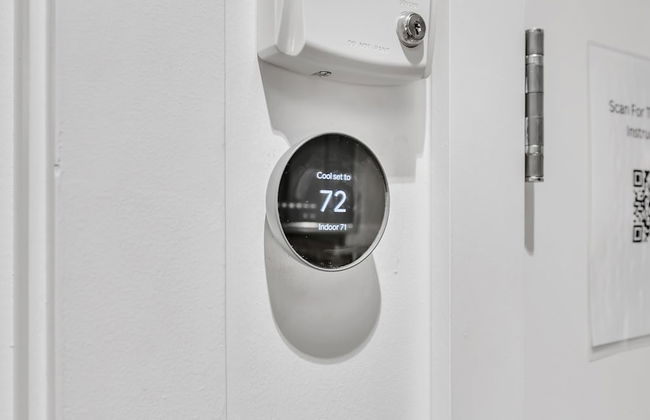
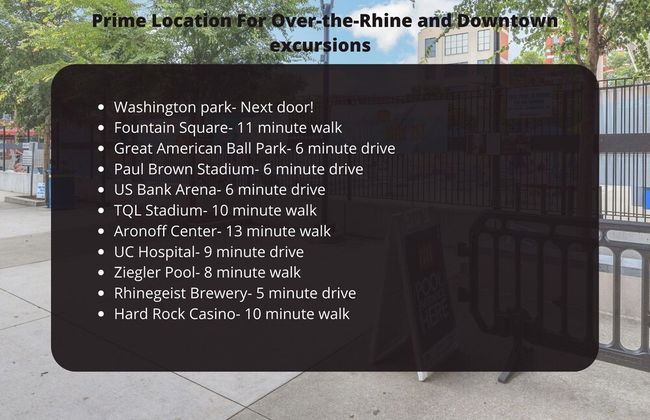


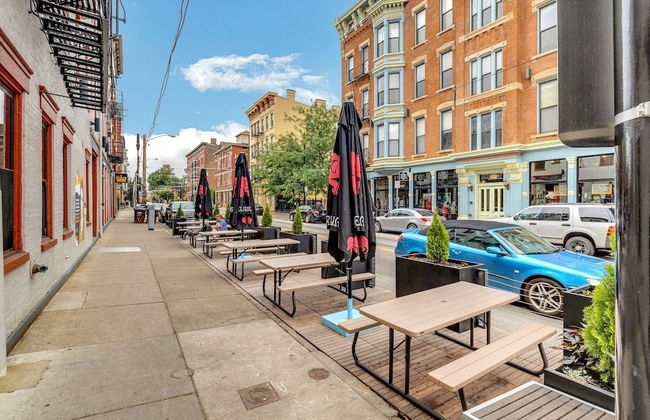


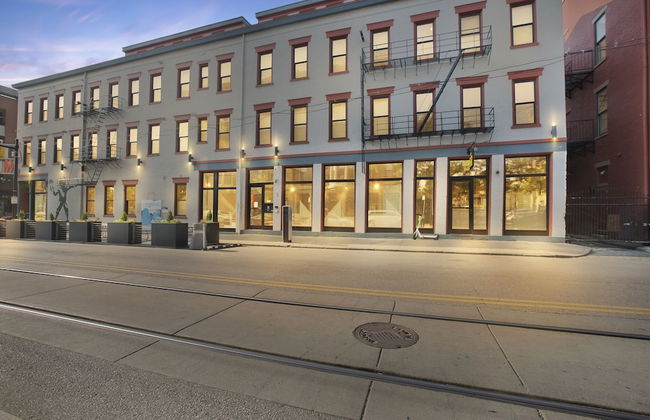
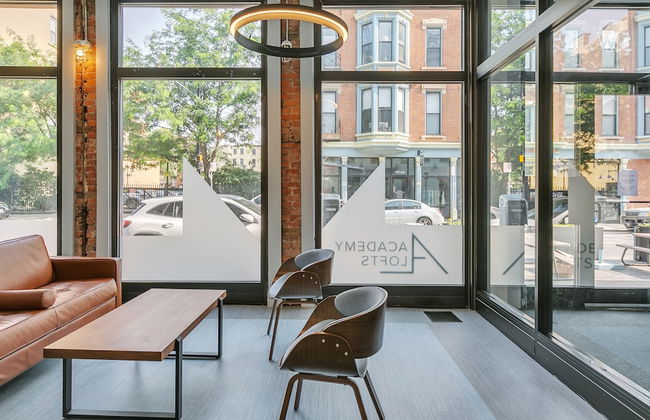
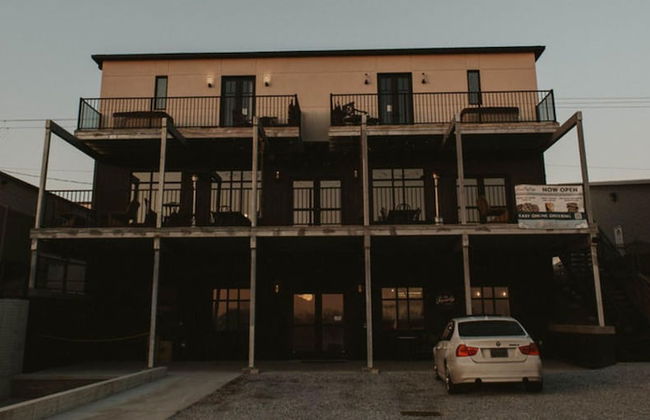
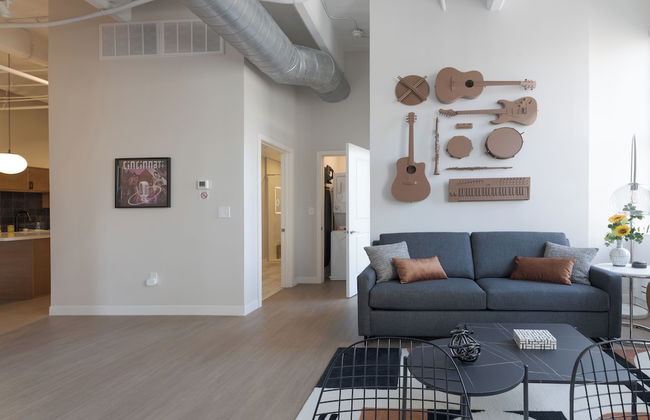
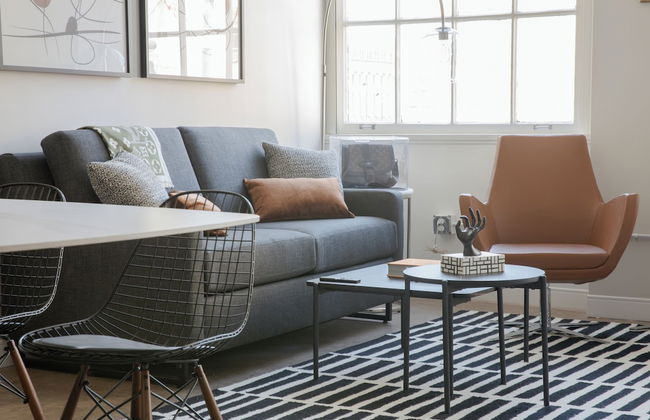
RESTAURANT on site. Walk to everything by RedAwning
Cincinnati - Over-the-Rhine - 460 m do centro
- 4 pessoas
- Ar-condicionado
- Aquecimento
- Piscina
- Estacionamento
- Tv
- Máquina de lavar roupa
- Toalhas
- Lençóis
13 avaliações
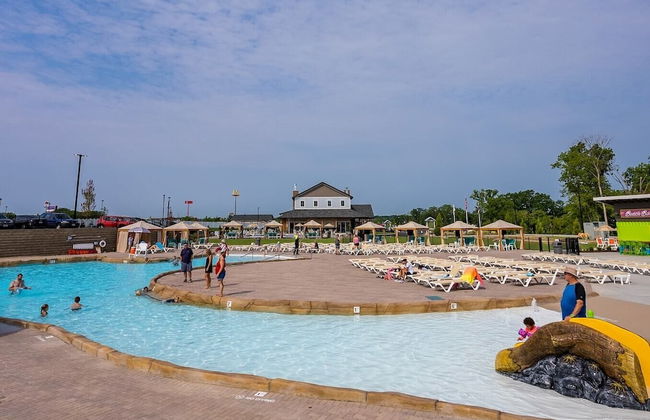


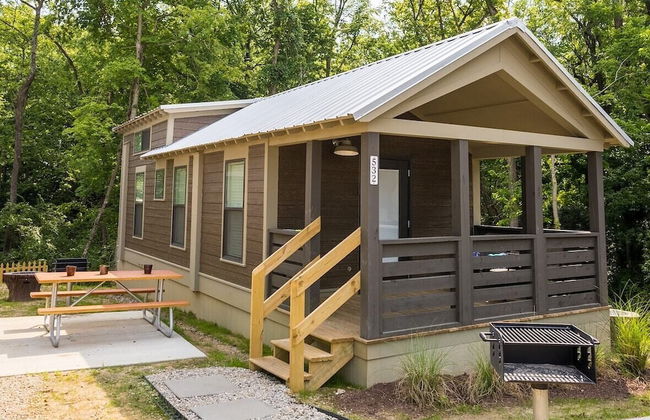

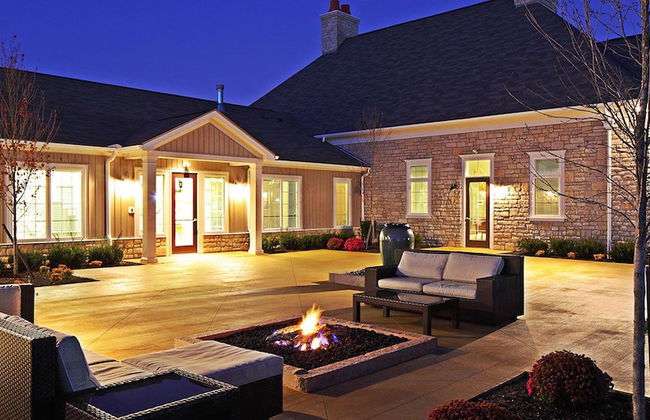
Cincinnati Camp Cedar
Mason - 3 km do centro
- 8 pessoas
- Ar-condicionado
- Aquecimento
- Piscina
- Estacionamento
- Varanda
- Tv
- Chaminé
- Churrasco
- Toalhas
120 avaliações


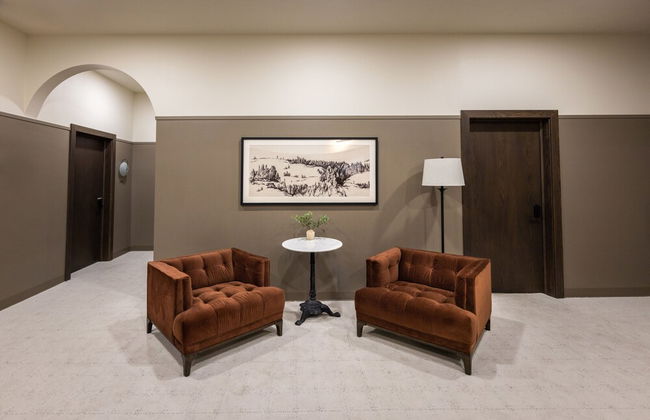
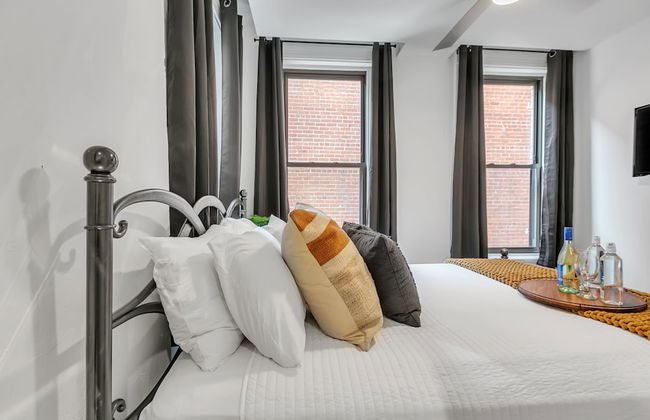
Unique Historic Experience Conveniently Located in the Heart of Cincinnati
Cincinnati - Central Business District - No centro
- Elevador
15 avaliações


Wine Valley Bungalow
Ashtabula - 970 m do centro
- 6 pessoas
- Ar-condicionado
- Aquecimento
- Estacionamento
- Tv
- Toalhas
- Lençóis
9 avaliações


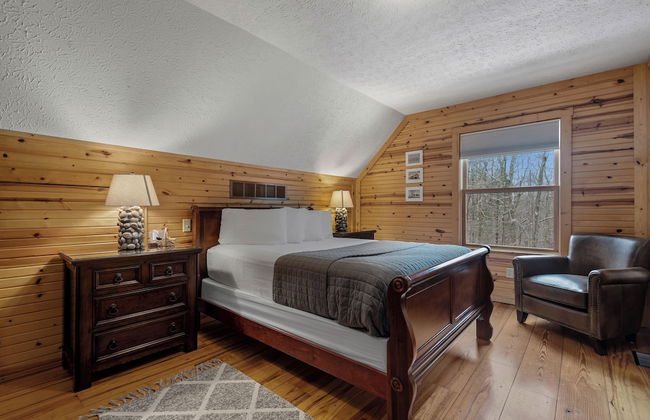
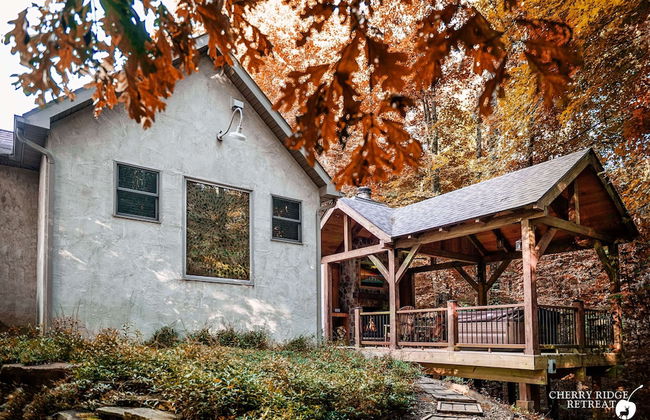


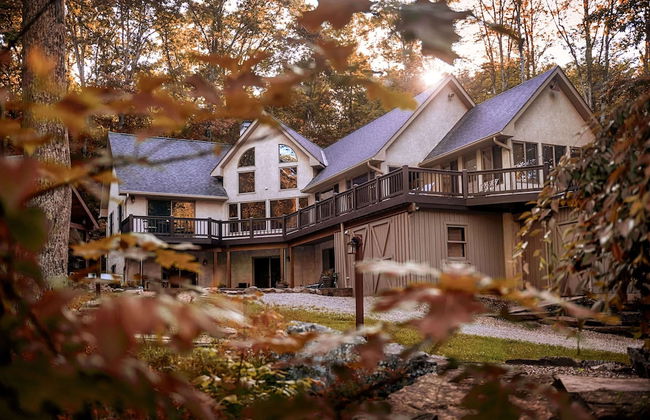


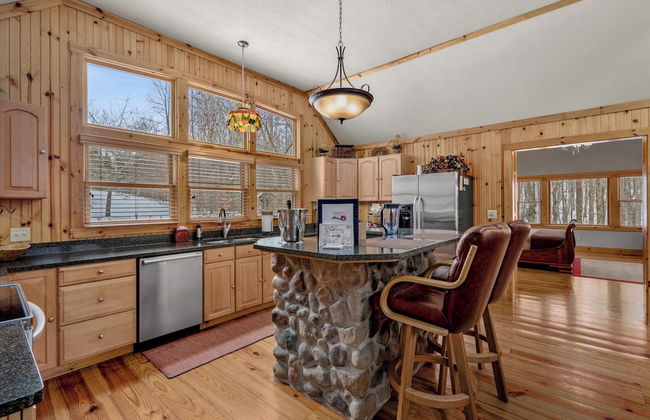


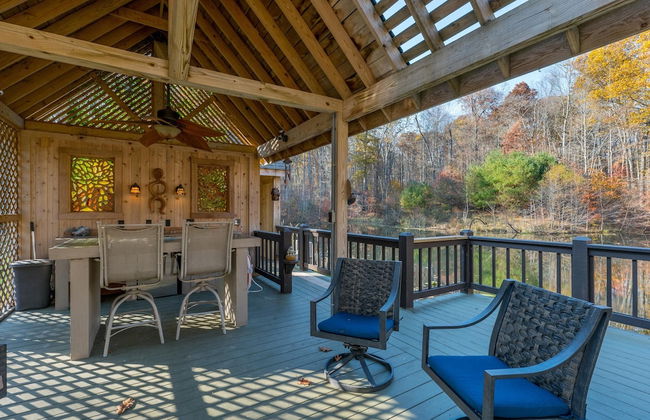
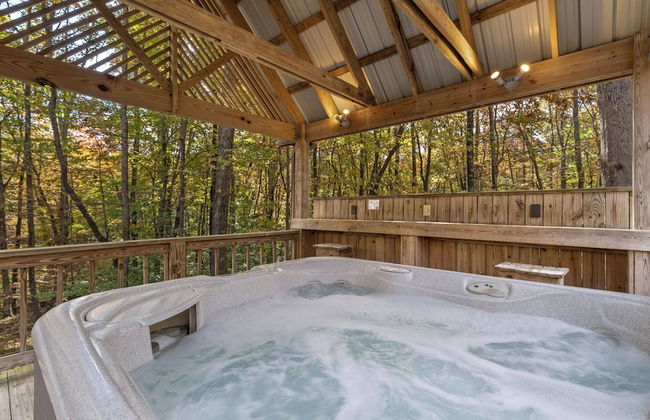
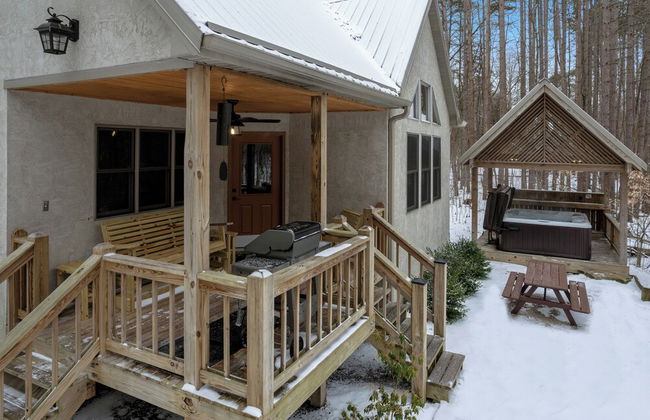
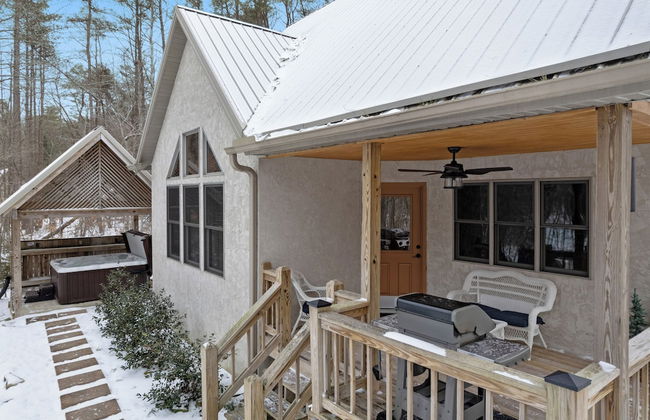


Cherry Ridge Retreat
New Plymouth
- 8 pessoas
- Ar-condicionado
- Aquecimento
- Piscina
- Estacionamento
- Varanda
- Tv
- Chaminé
- Churrasco
- Toalhas
- Lençóis
2 avaliações


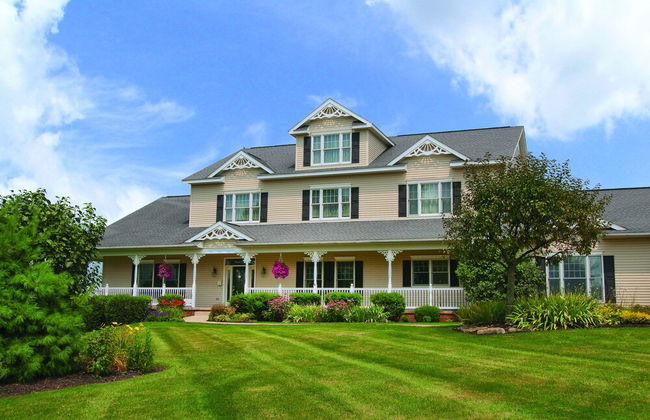
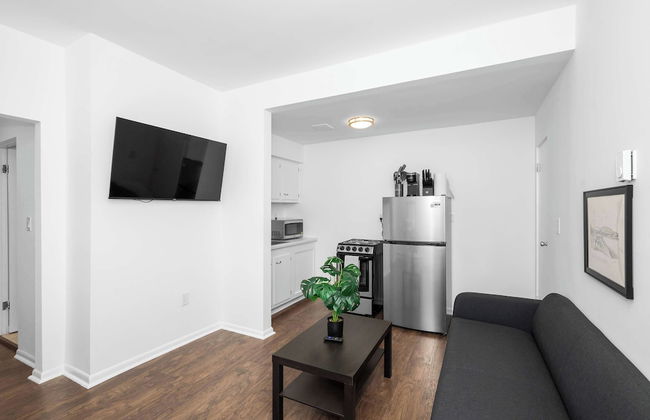
Morrill Modern Retreat Desirable Marion Village!
Columbus - Hungarian Village - 3.3 km do centro
- 72 M2
- 6 pessoas
- Ar-condicionado
- Aquecimento
- Terraço
- Estacionamento
- Tv
- Máquina de lavar roupa
- Toalhas
- Lençóis
2 avaliações


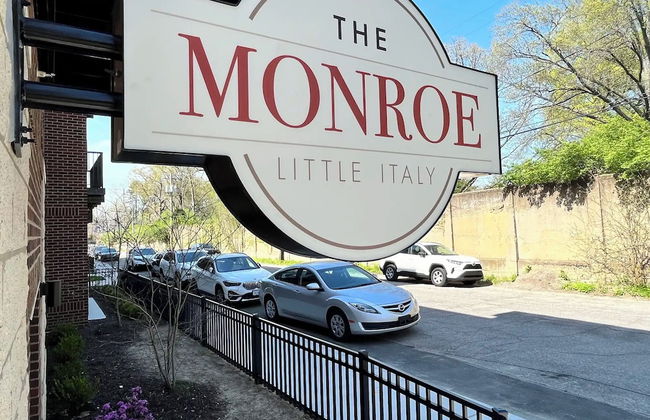
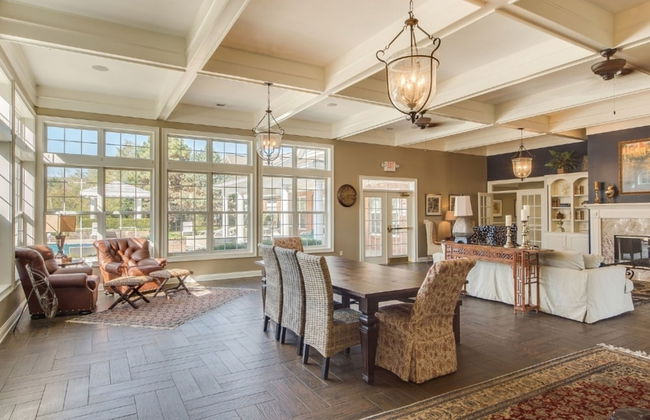
Barsala At The Monroe Apartments
Cleveland - University - 7.2 km do centro
- 109 M2
- 4 pessoas
- Ar-condicionado
- Aquecimento
- Tv
- Máquina de lavar roupa
- Toalhas
- Lençóis
18 avaliações


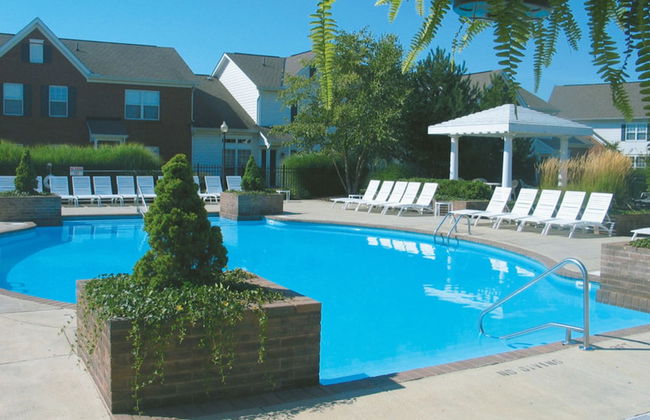


BridgeStreet at Pines at Tuttle Crossing
Dublin - Tuttle West - 3.7 km do centro
- 98 M2
- 4 pessoas
- Ar-condicionado
- Piscina
- Estacionamento
- Varanda
- Tv
- Toalhas
26 avaliações


The Loveland Lofts
Loveland - Downtown Loveland
- 4 pessoas
- Kitchenette
- Ar-condicionado
- Aquecimento
- Estacionamento
- Elevador
- Varanda
- Tv
- Toalhas
- Lençóis
14 avaliações


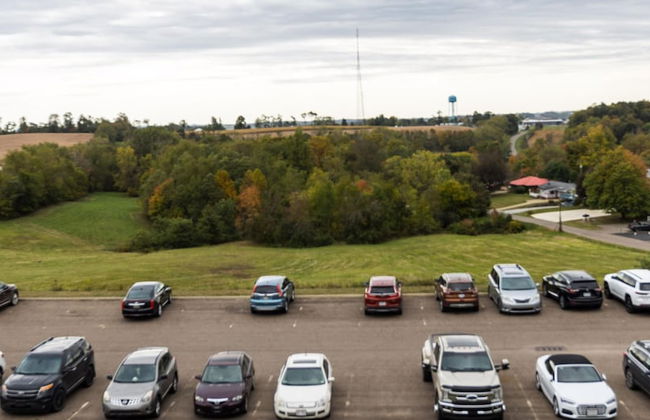
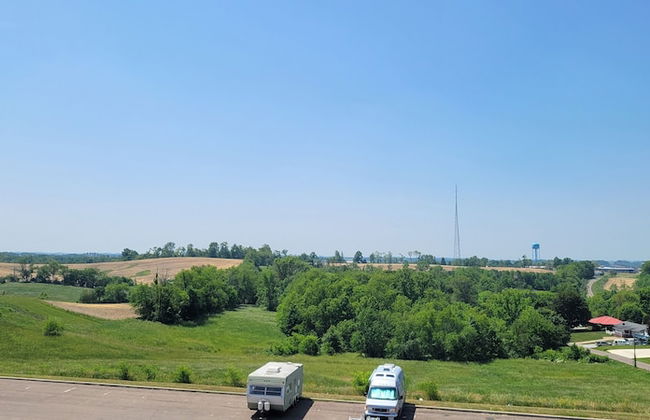
Zion Retreat & RV Park
Flushing
- 26 pessoas
- Ar-condicionado
- Aquecimento
- Estacionamento
- Chaminé
- Churrasco
- Lençóis
3 avaliações


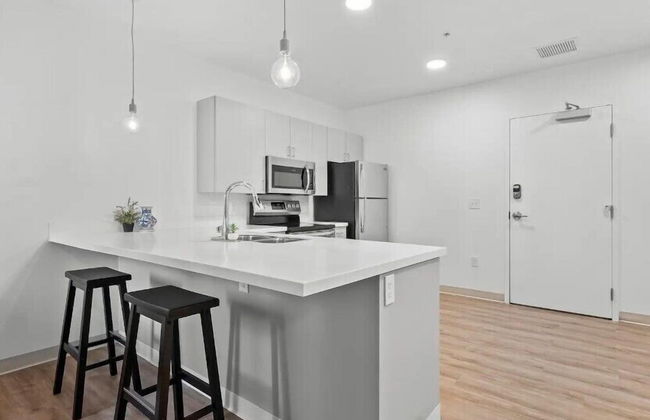
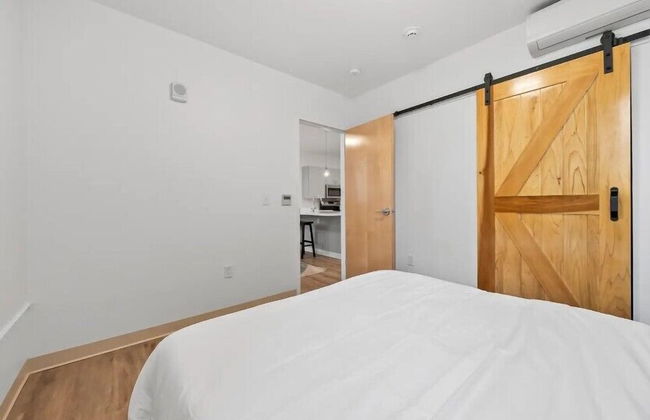

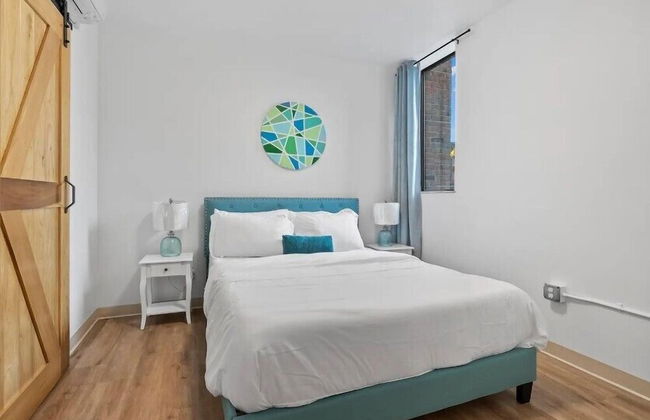
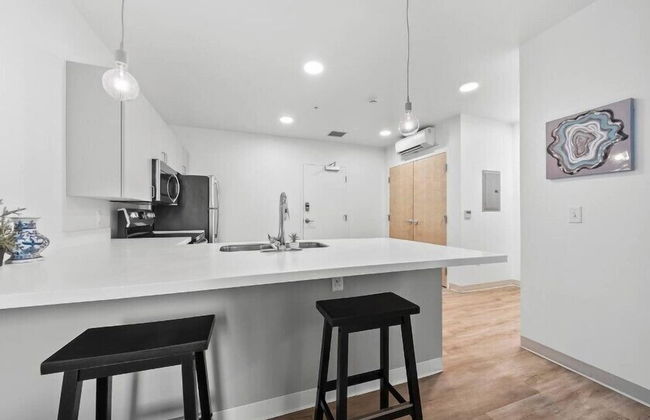

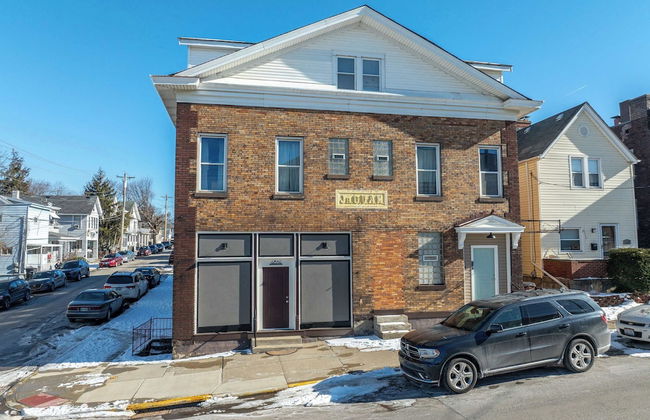
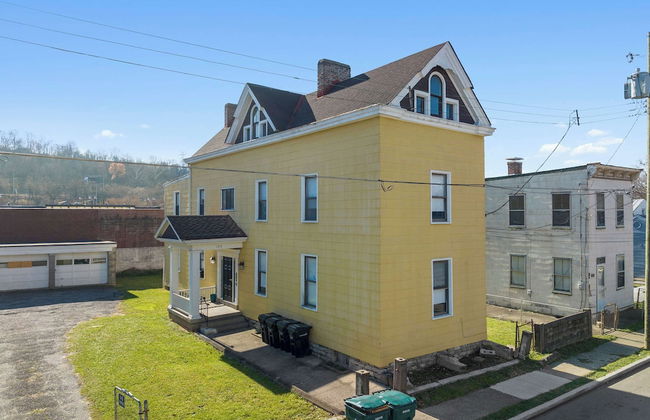
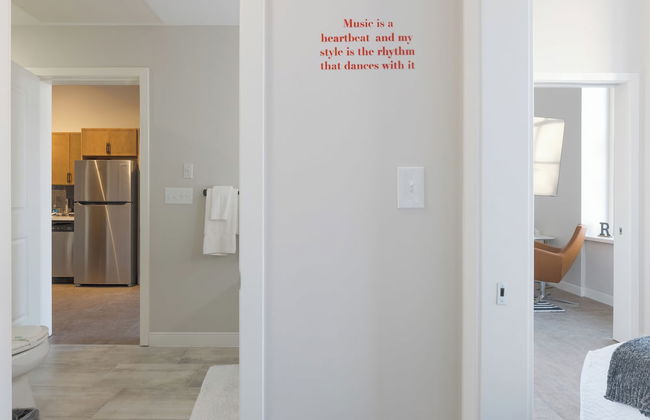
Town St Medical Lofts
Columbus - Downtown Columbus - 370 m do centro
- 2 pessoas
- Ar-condicionado
- Estacionamento
- Tv
- Toalhas
- Lençóis
9 avaliações


Cleveland Lofts
Cleveland - Campus District - 680 m do centro
- 4 pessoas
- Ar-condicionado
- Aquecimento
- Estacionamento
- Elevador
- Tv
- Chaminé
- Toalhas
- Lençóis
10 avaliações

Bridgestreet at the Bingham
Cleveland - Warehouse District - 610 m do centro
- 102 M2
- 4 pessoas
- Ar-condicionado
- Estacionamento
- Tv
- Toalhas
11 avaliações