
8 Apartamentos em Palm Desert

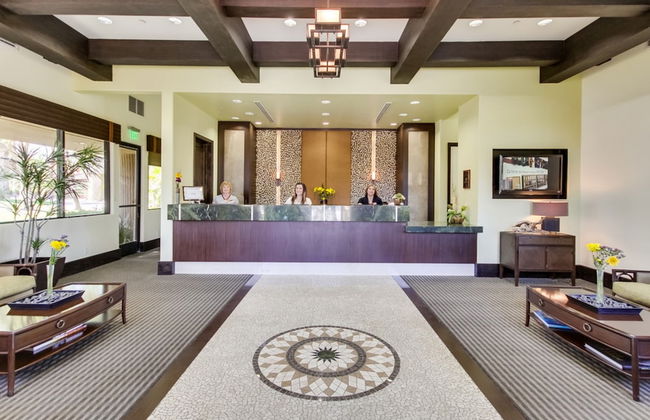

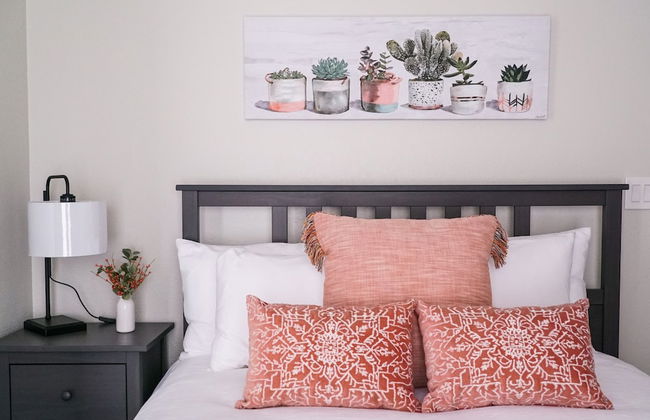

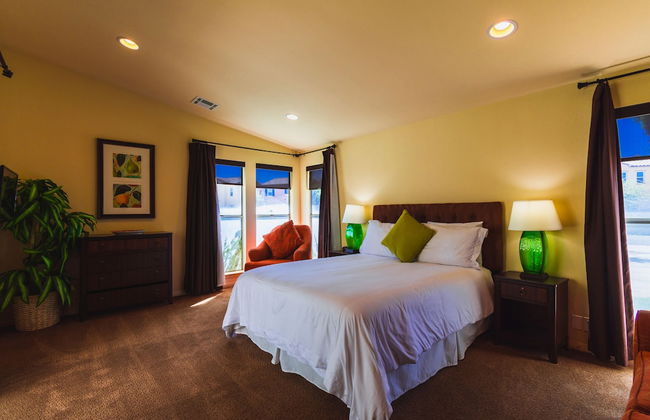

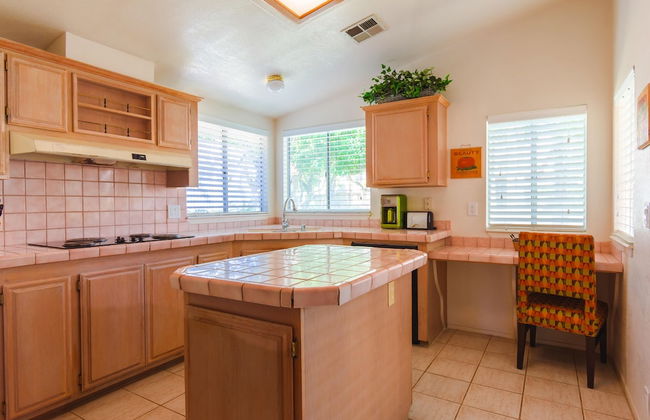


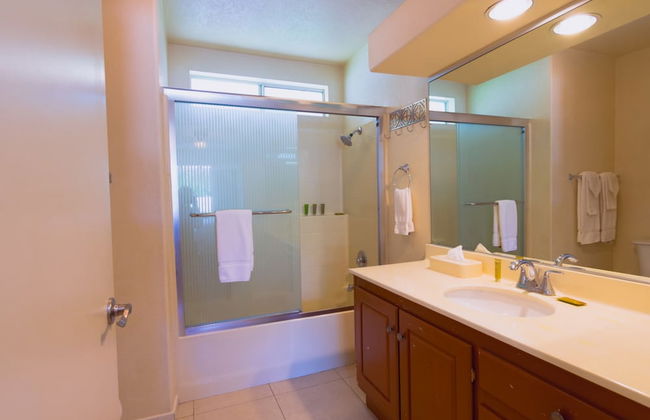
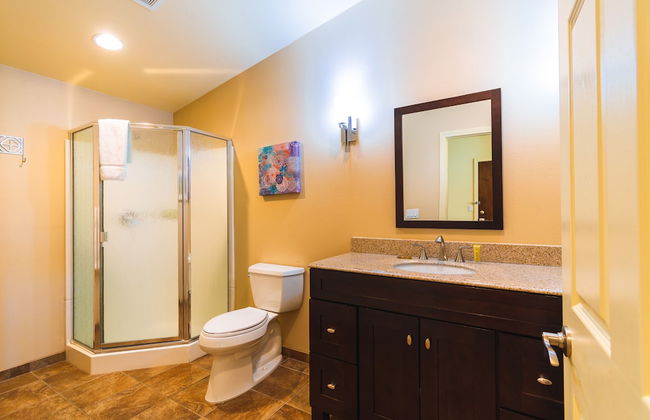


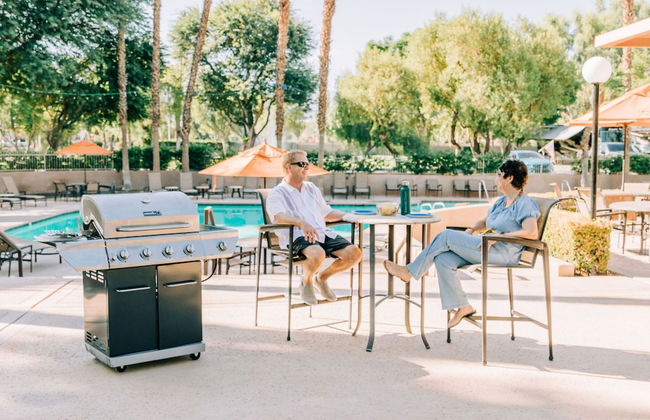
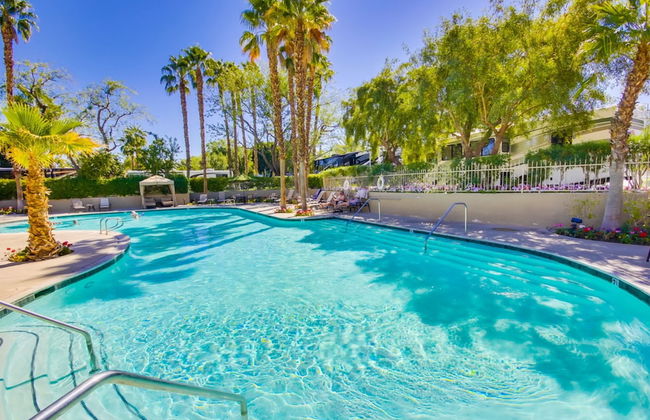
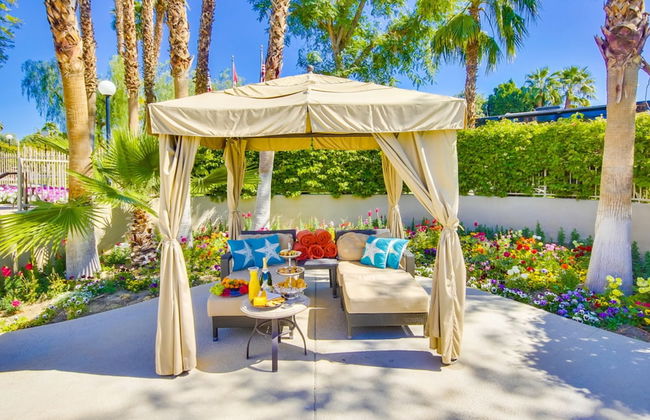


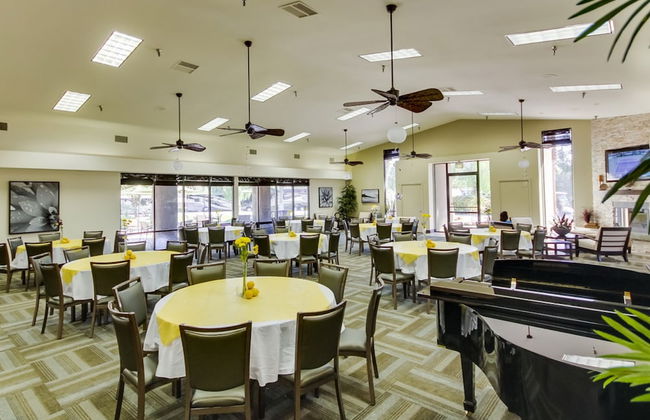
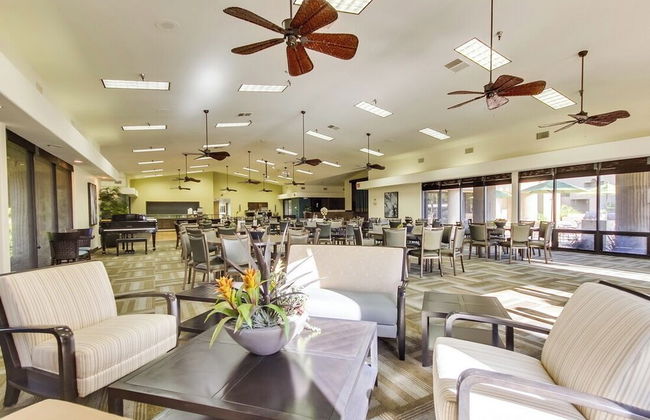

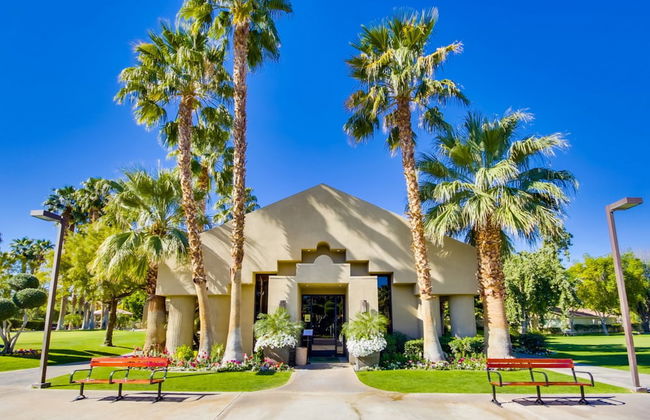
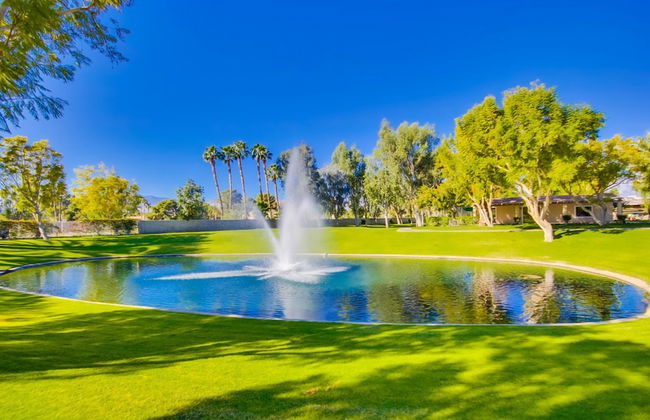

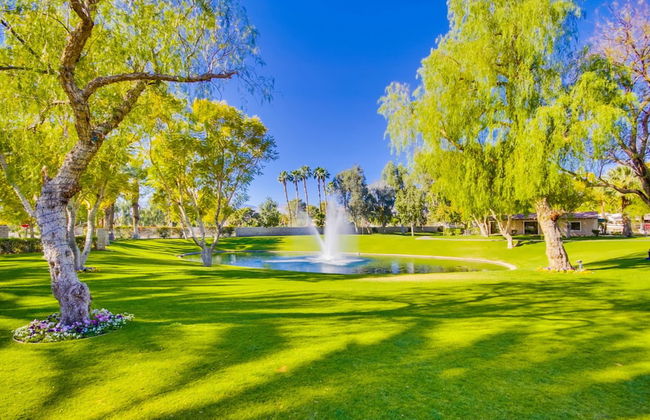
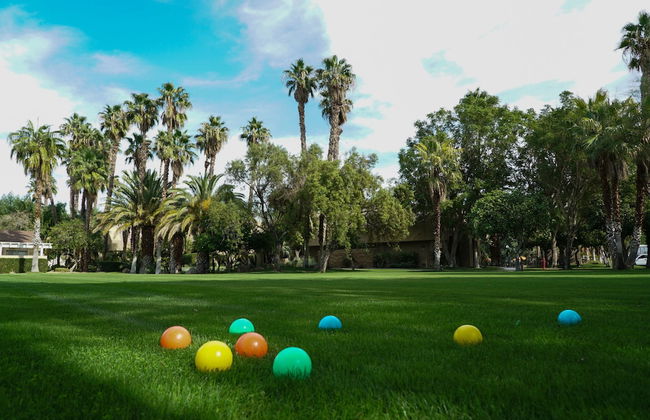

The Villas at Emerald Desert RV Resort
Palm Desert - 5.6 km do centro
- 8 pessoas
- Terraço
- Piscina
- Estacionamento
- Churrasco
- Toalhas
- Lençóis
159 avaliações

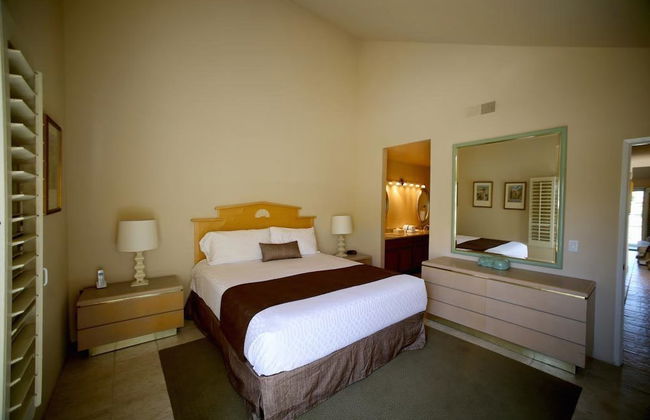
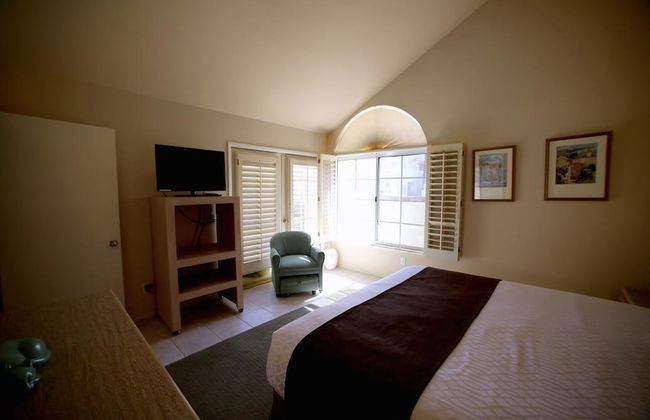
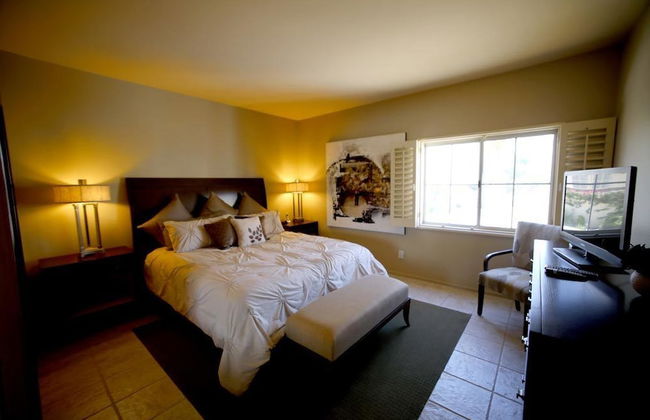

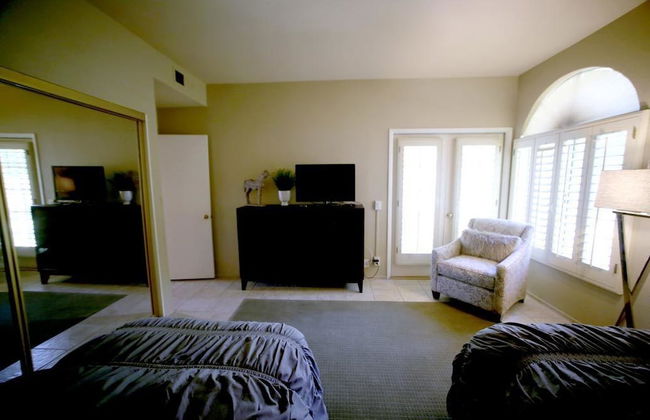
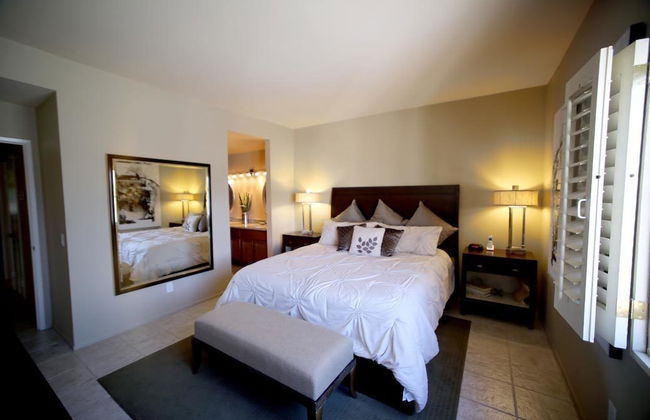
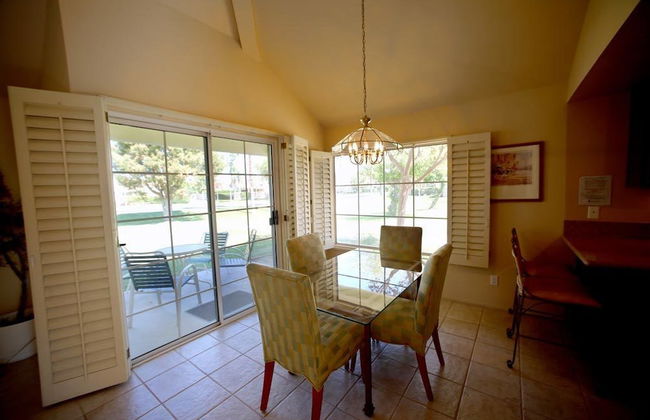


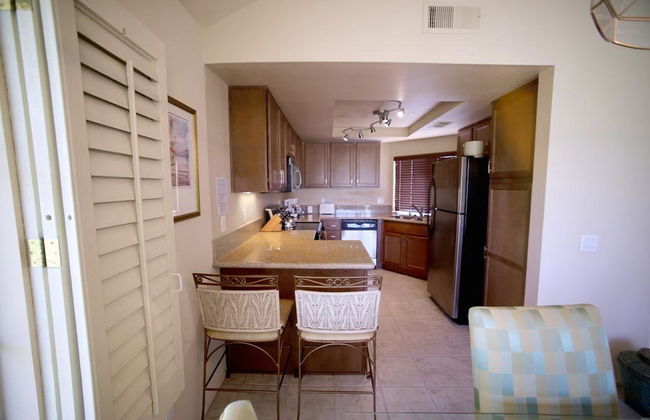
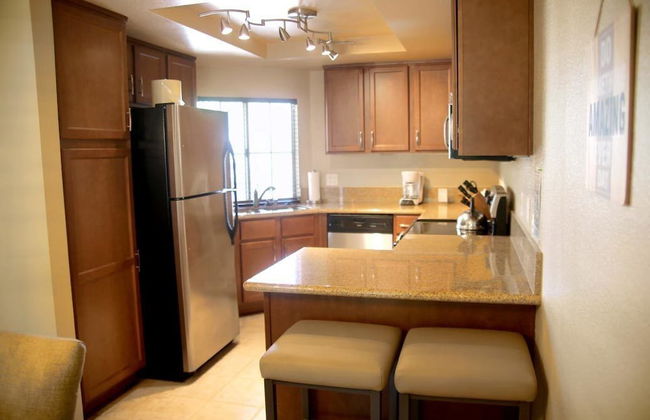

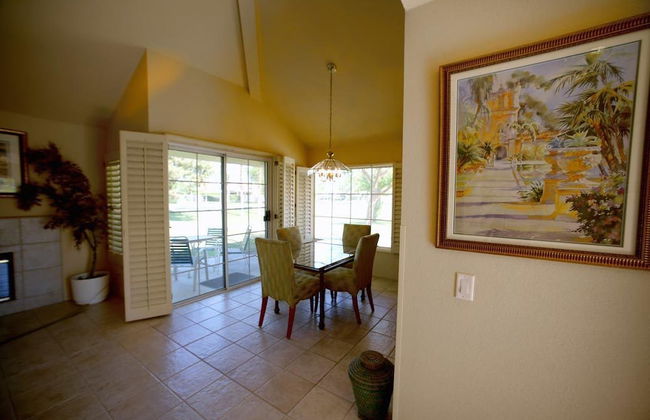
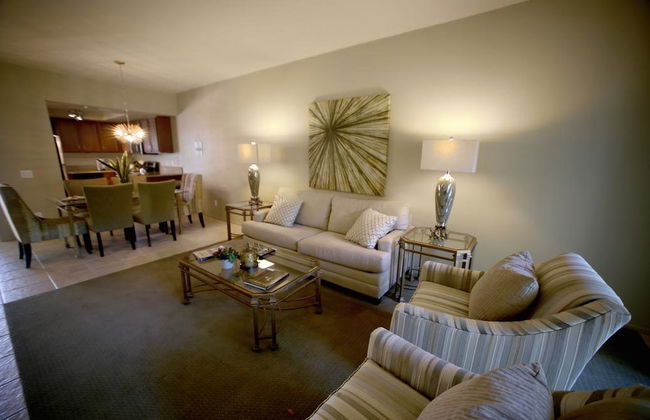
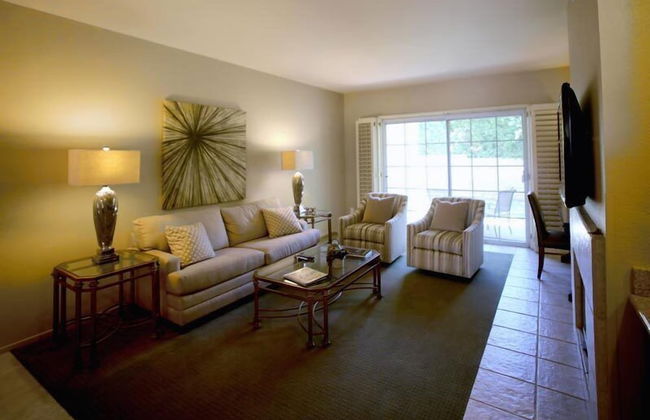

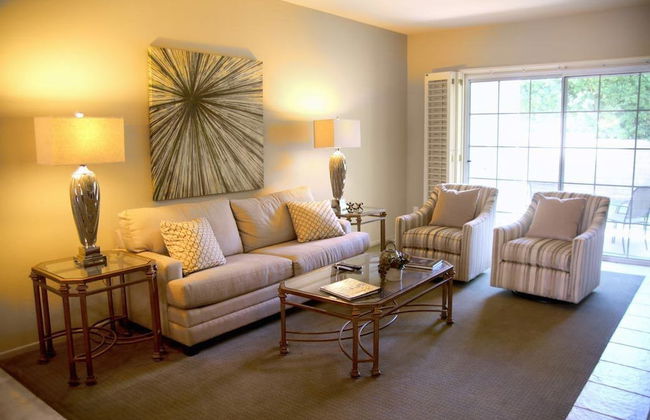
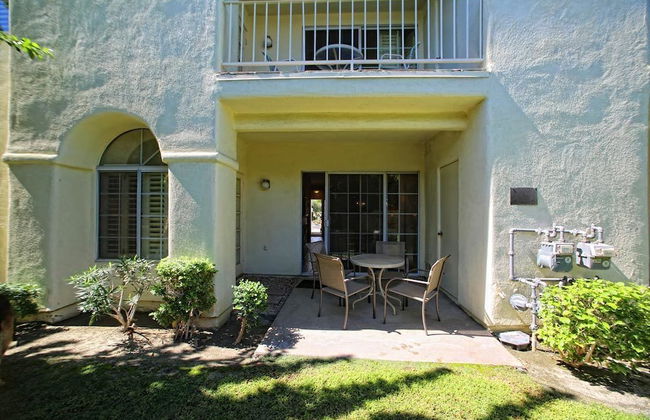


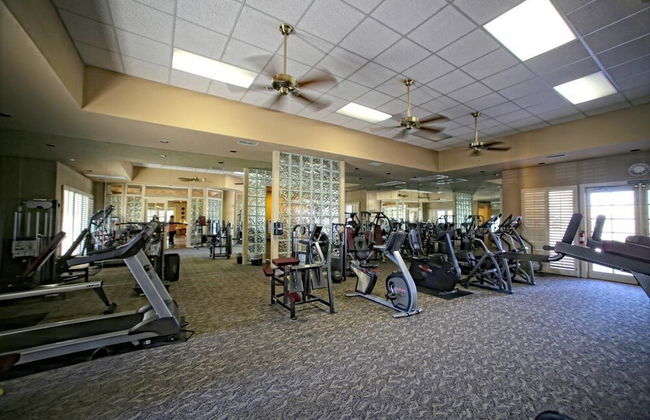

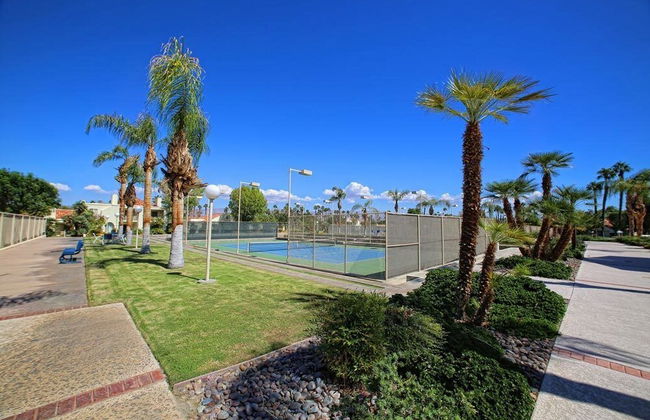


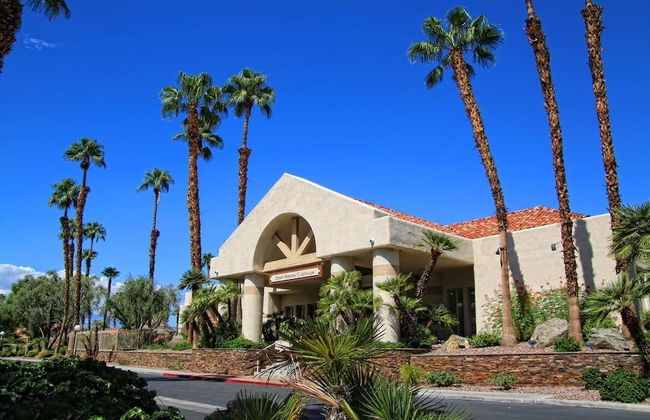
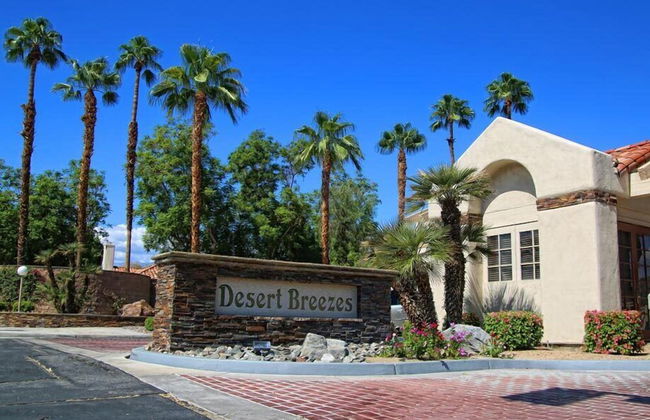


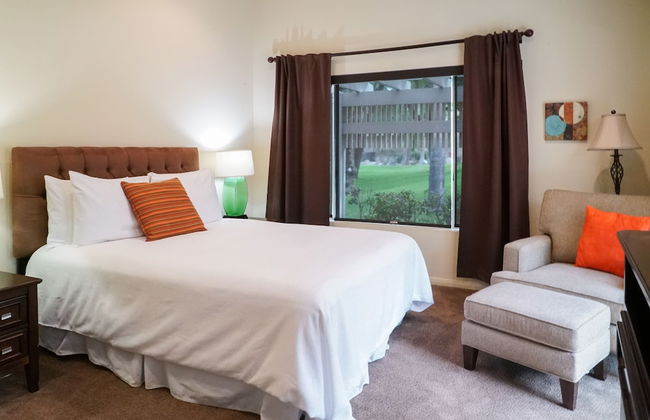
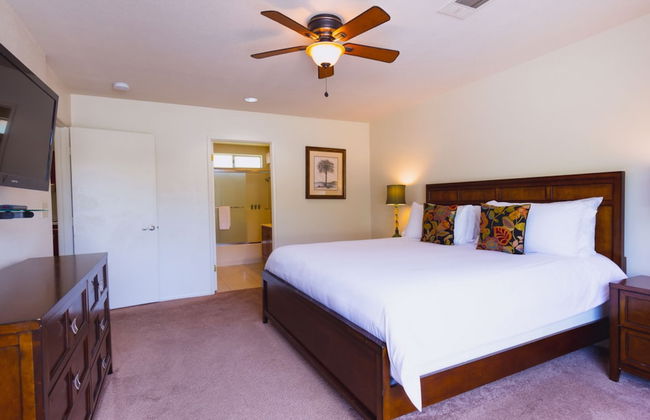
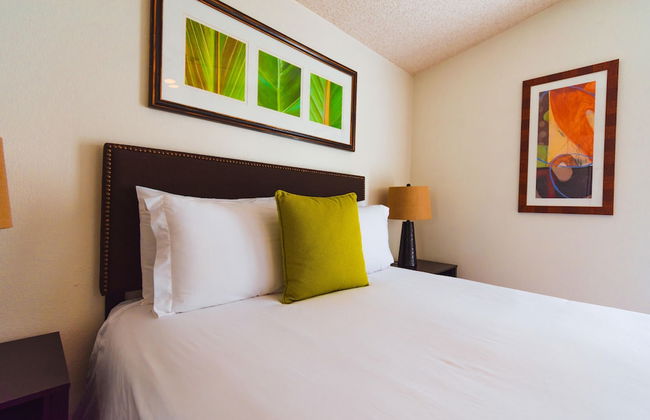
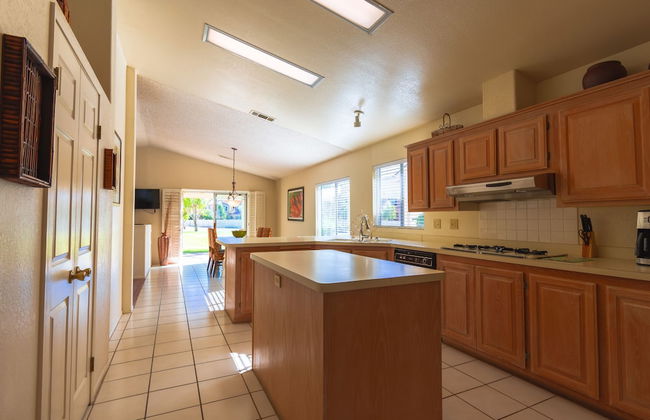
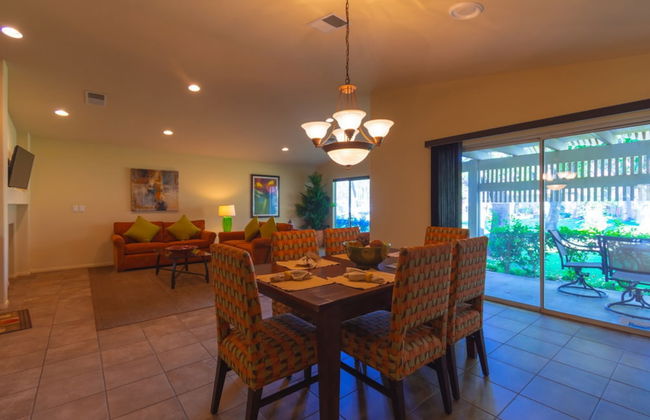
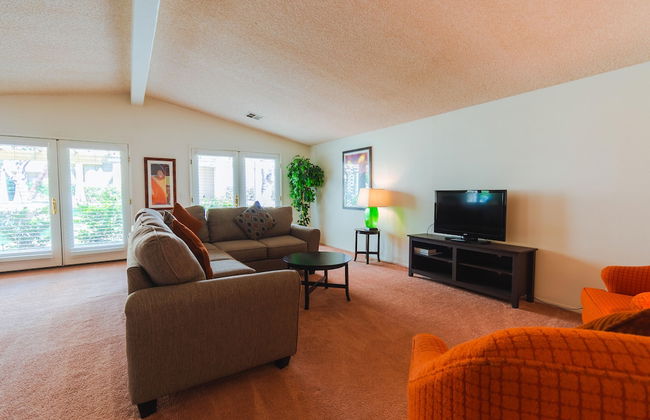
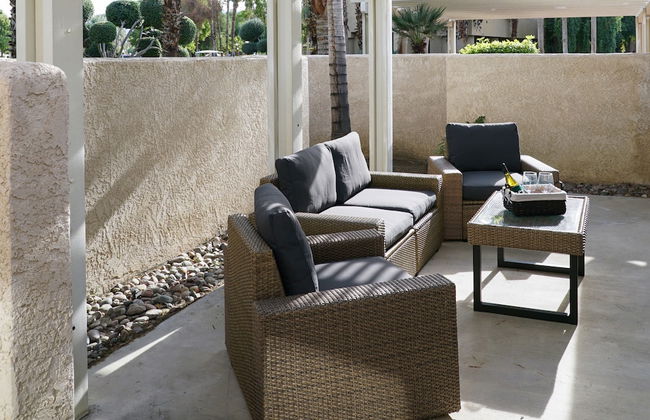
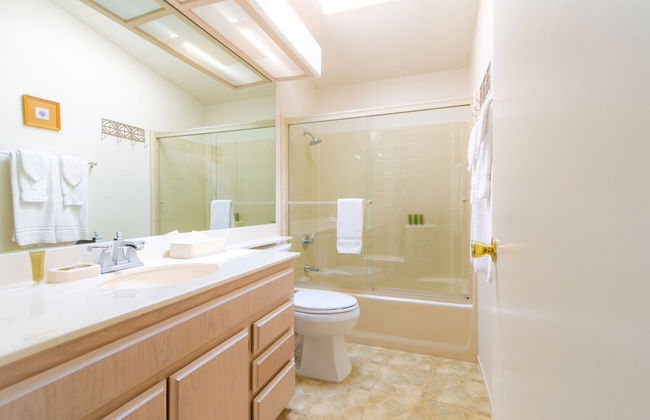
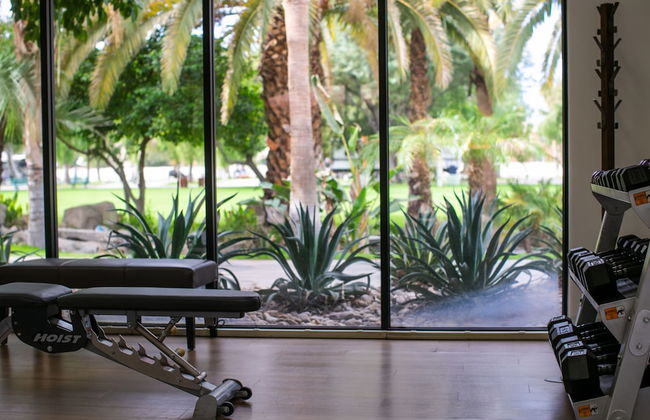
4 Seasons at Desert Breezes
Palm Desert - 6.3 km do centro
- 882 M2
- 6 pessoas
- Ar-condicionado
- Piscina
- Varanda
- Jardim
- Tv
- Churrasco
- Toalhas
79 avaliações


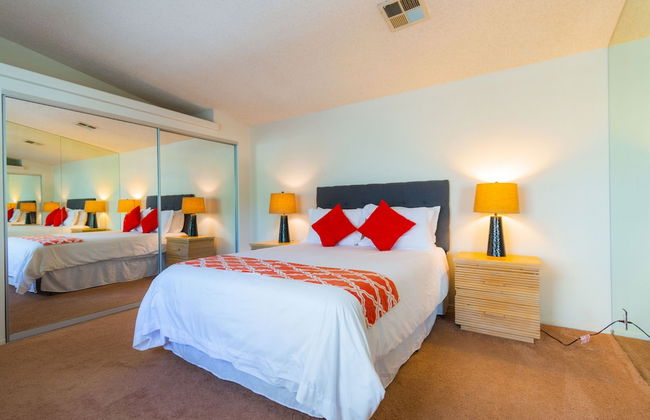
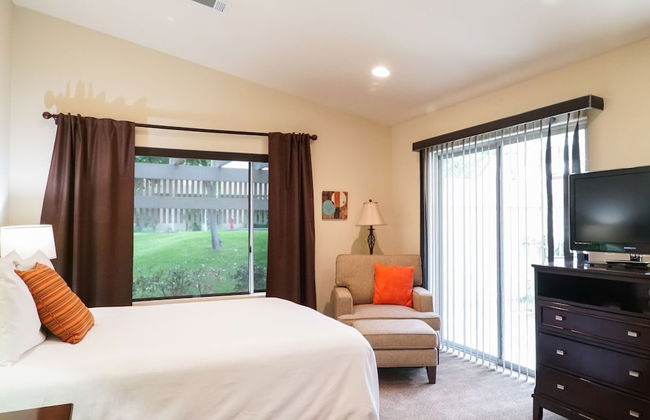
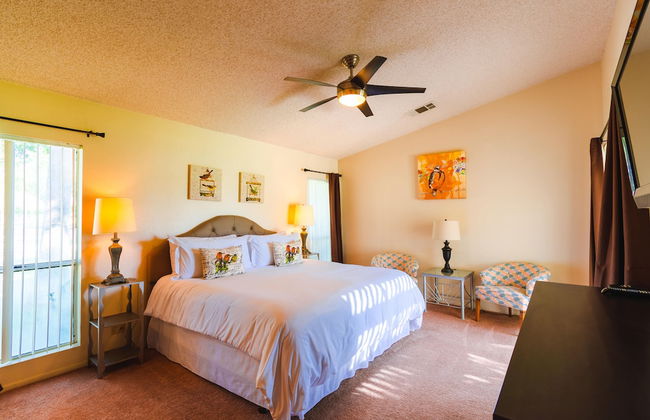
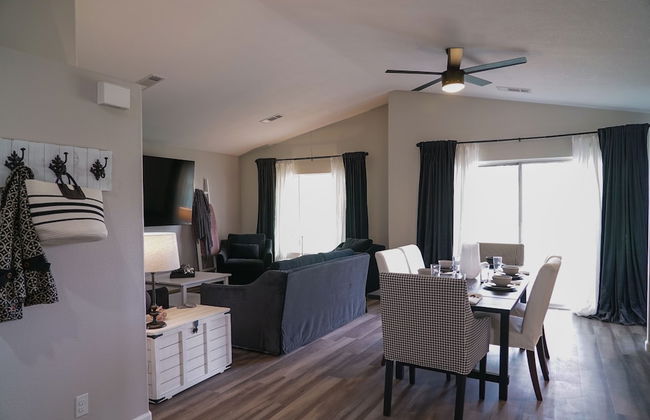
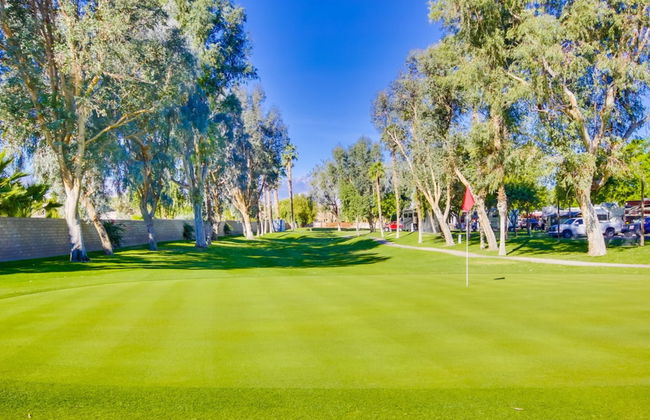
Bella Baranda
Palm Desert - 2.3 km do centro
- 6 pessoas
- Ar-condicionado
- Aquecimento
- Piscina
- Estacionamento
- Jardim
- Tv
- Churrasco
- Lençóis
2 avaliações


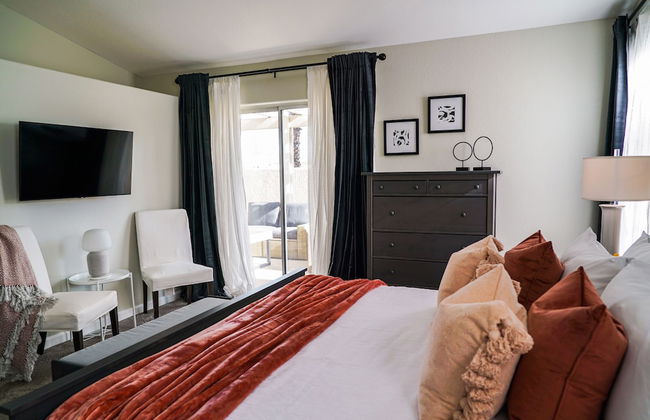
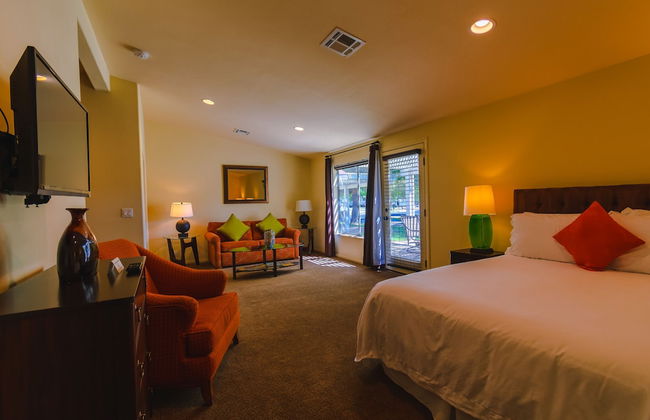
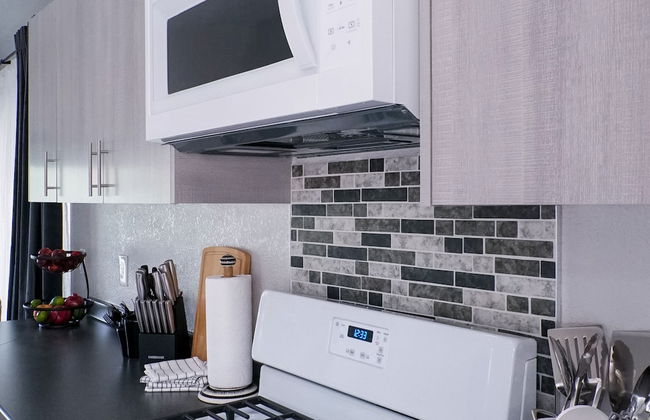
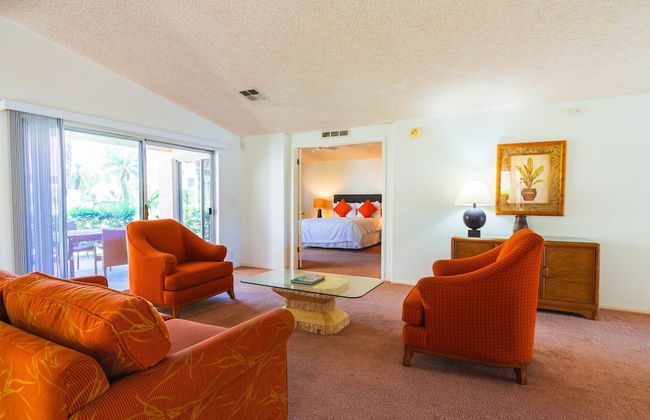
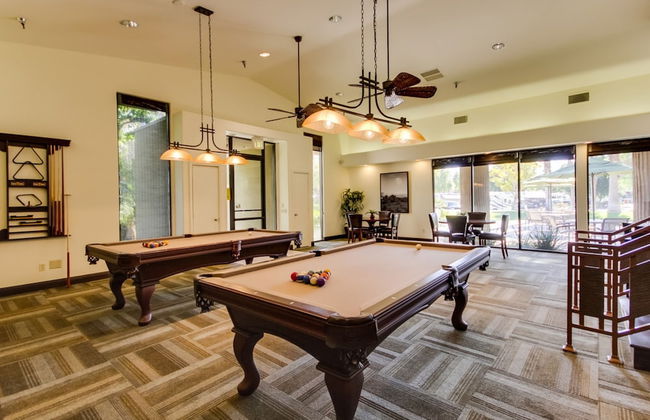
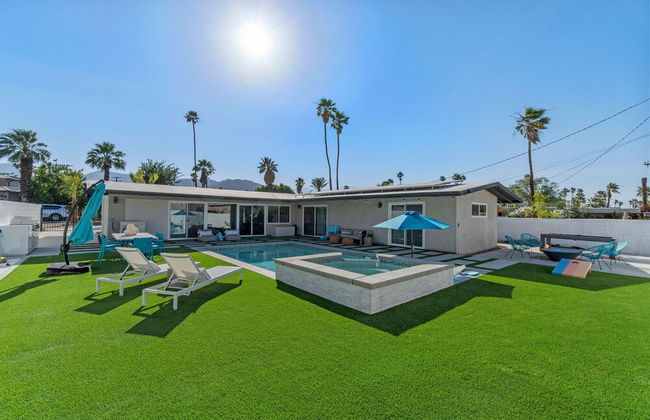
Pool, Sports Court, Game Garage, Fire Pit, & Casita Olivano Ranch by Avantstay
Palm Desert - 5.9 km do centro
- 239 M2
- 10 pessoas
- Ar-condicionado
- Aquecimento
- Terraço
- Piscina
- Estacionamento
- Tv
- Máquina de lavar roupa
- Chaminé
- Churrasco
- Lençóis


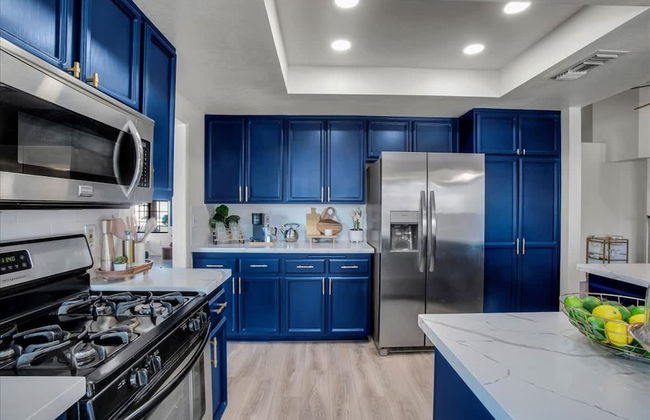


Paradise at Waring Place
Palm Desert - 1.6 km do centro
- 6 pessoas
- Ar-condicionado
- Aquecimento
- Estacionamento
- Varanda
- Jardim
- Tv
- Máquina de lavar roupa
- Chaminé
- Churrasco
- Toalhas
- Lençóis


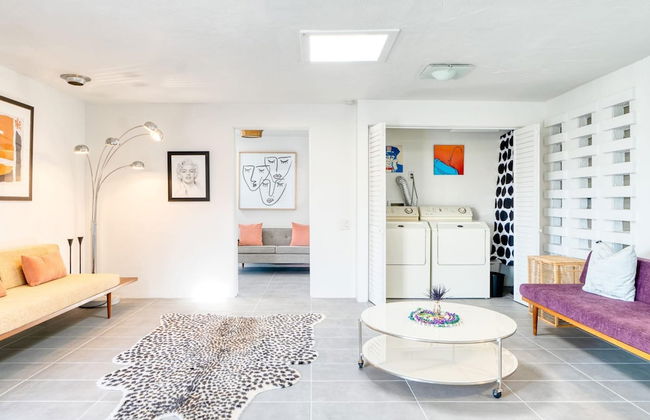


The Yellow Door on Shadow Mountain
Palm Desert - 1.7 km do centro
- 8 pessoas
- Ar-condicionado
- Aquecimento
- Estacionamento
- Varanda
- Jardim
- Tv
- Máquina de lavar roupa
- Chaminé
- Churrasco
- Toalhas
- Lençóis


A Luxurious Oasis Experience in Desert Palm
Palm Desert - 4 km do centro
- 6 pessoas
- Ar-condicionado
- Aquecimento
- Estacionamento
- Varanda
- Tv
- Máquina de lavar roupa
- Churrasco
- Toalhas
- Lençóis