11 Apartamentos em Parnell


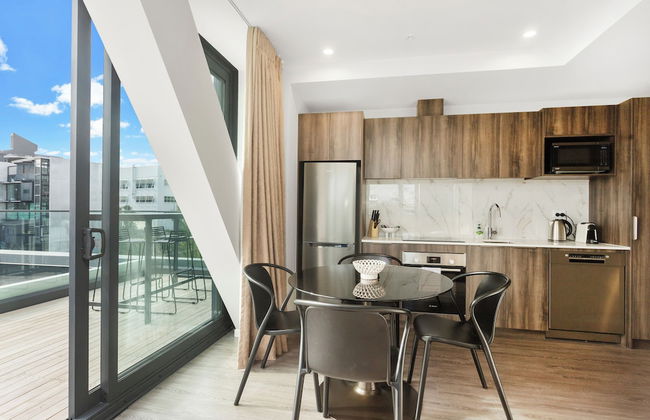
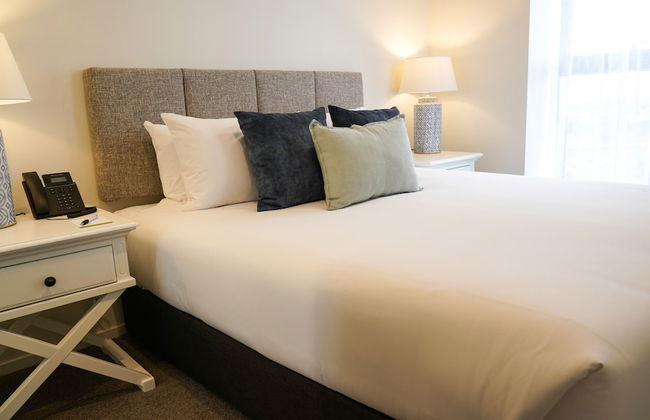
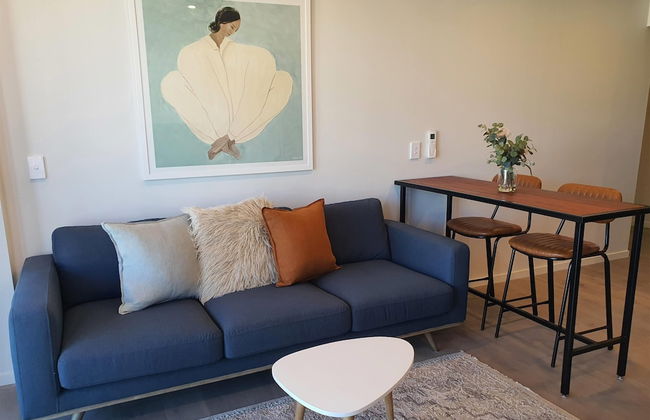
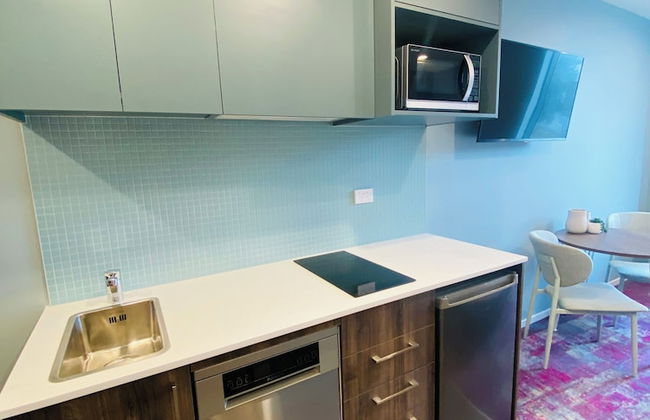
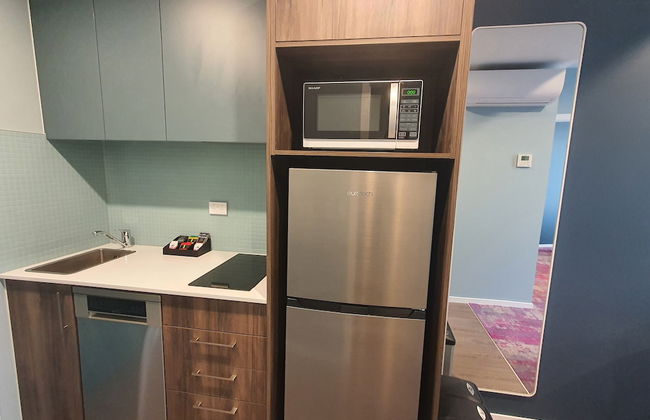
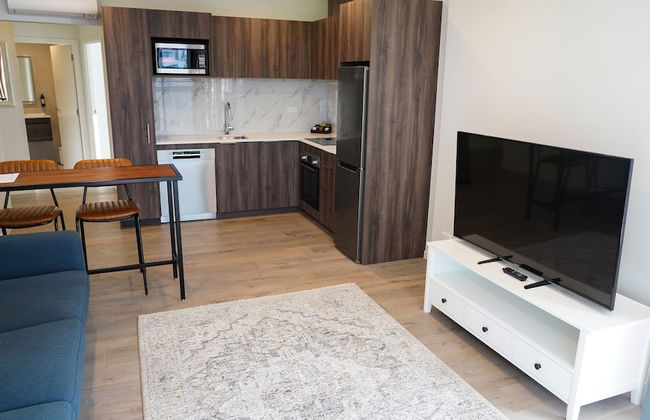
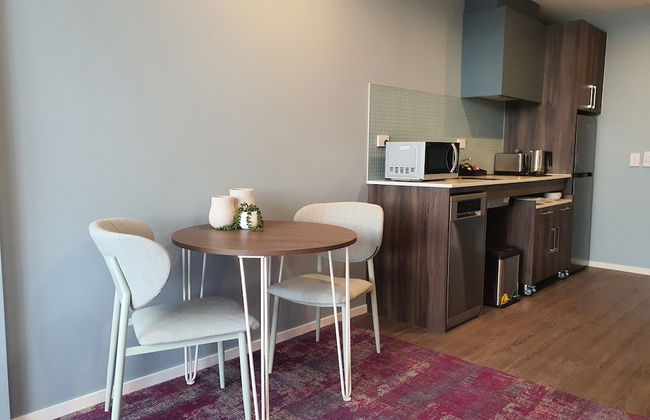
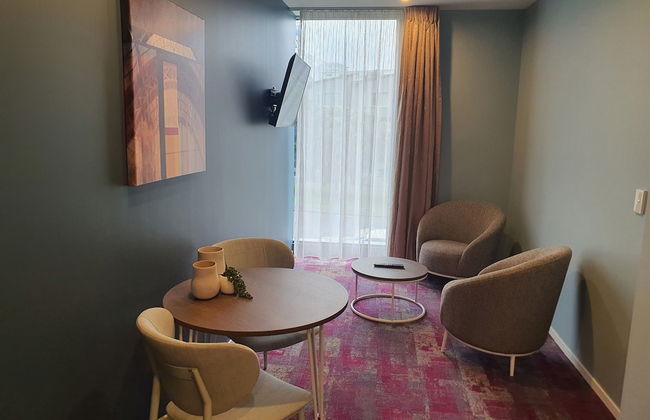
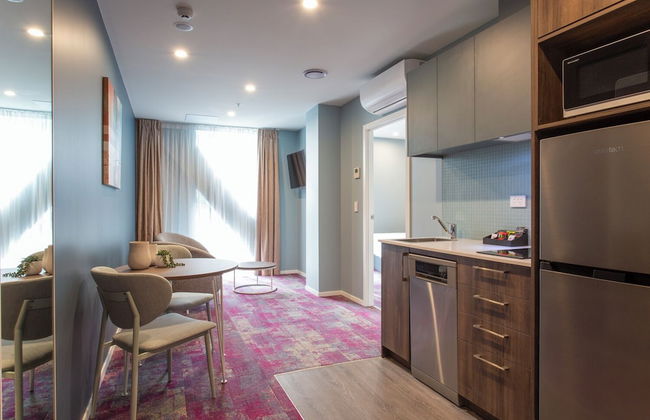
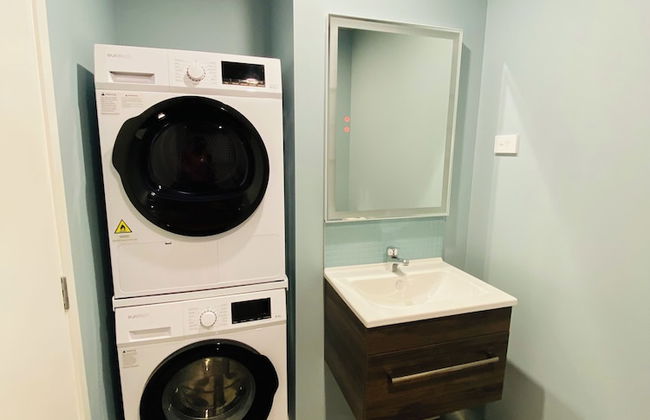
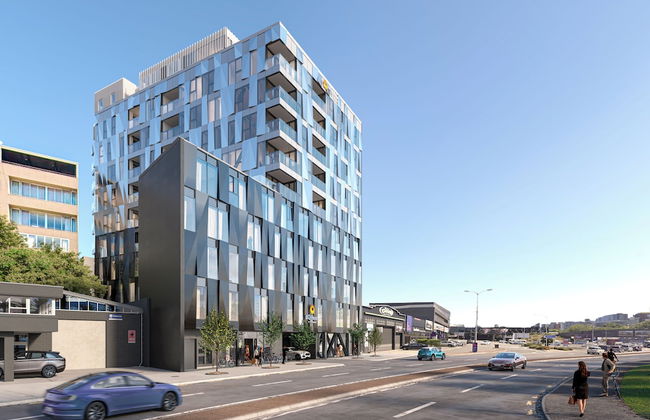
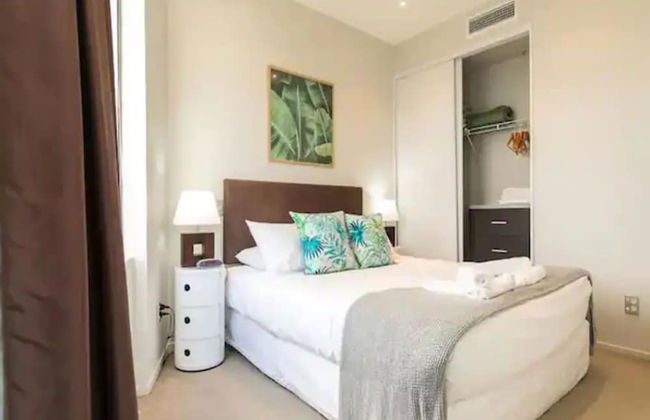
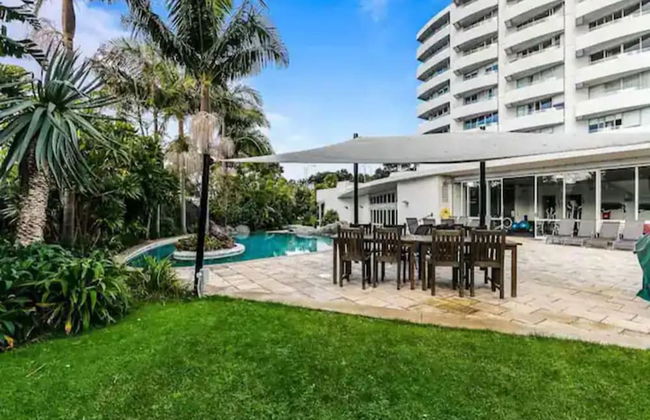
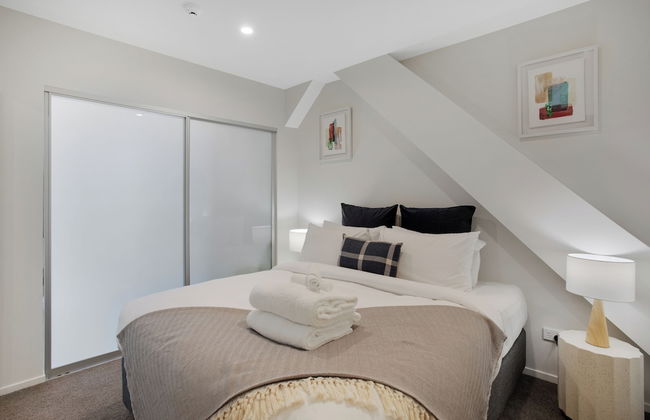
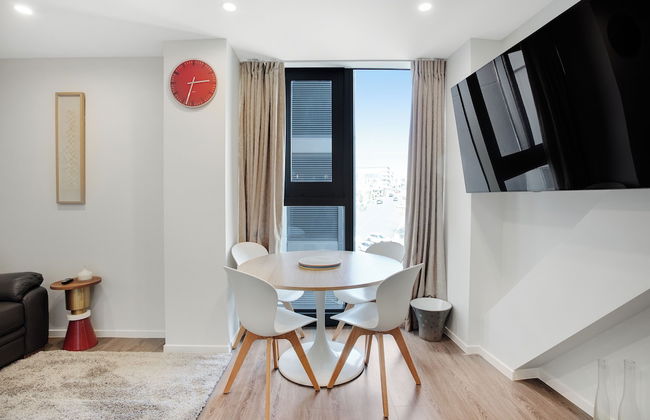
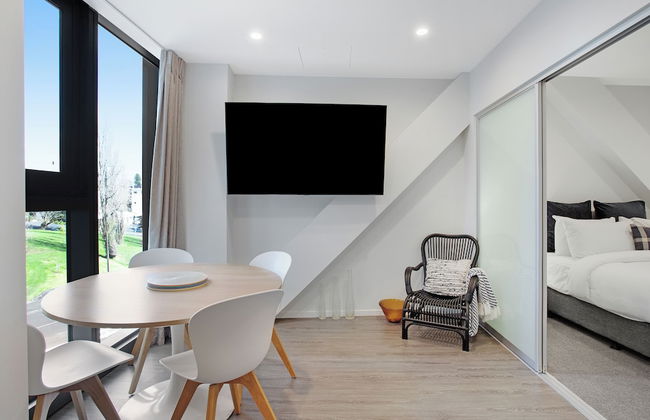
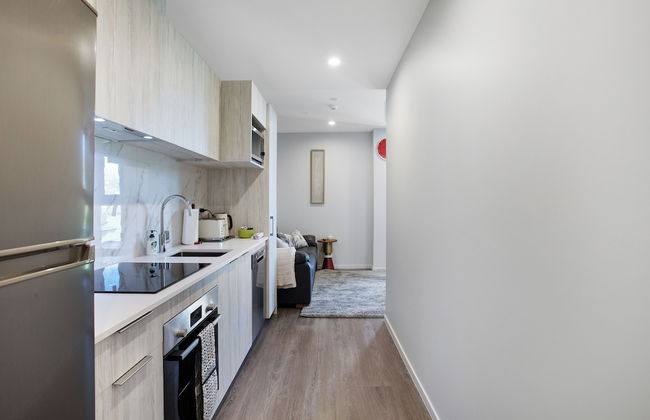
Quest Parnell
Auckland - Parnell - 770 m do centro
- 69 M2
- 5 pessoas
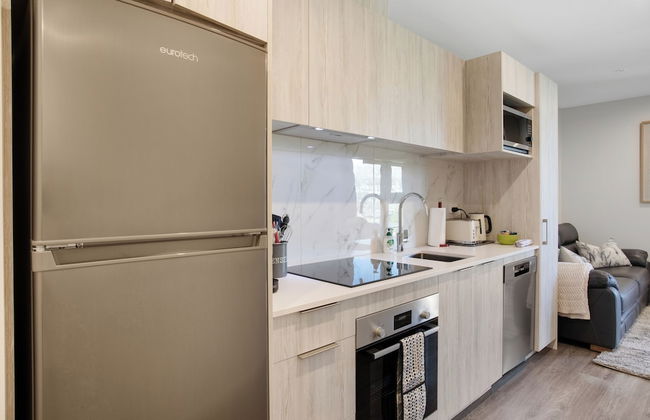
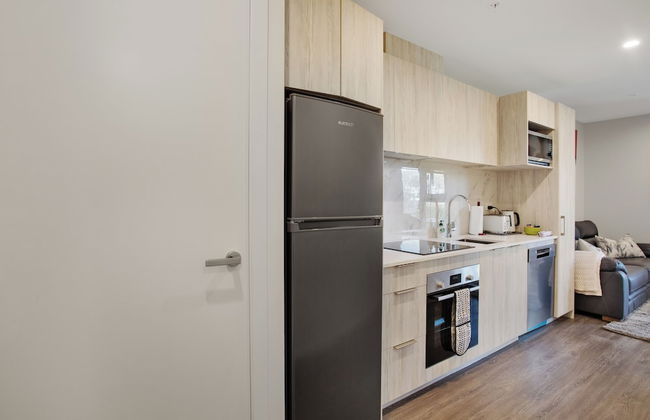
- Kitchenette
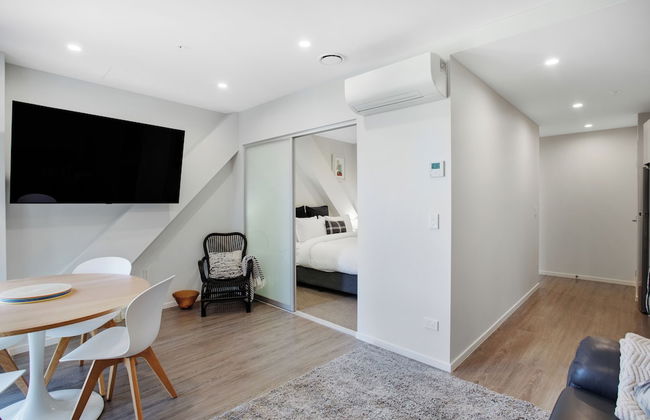
- Ar-condicionado
- Piscina
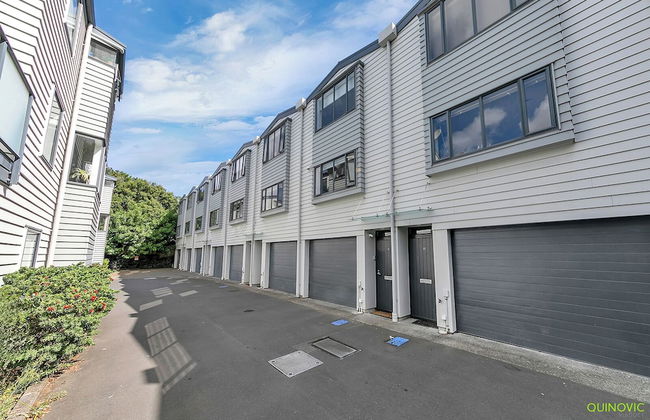
- Estacionamento
- Elevador
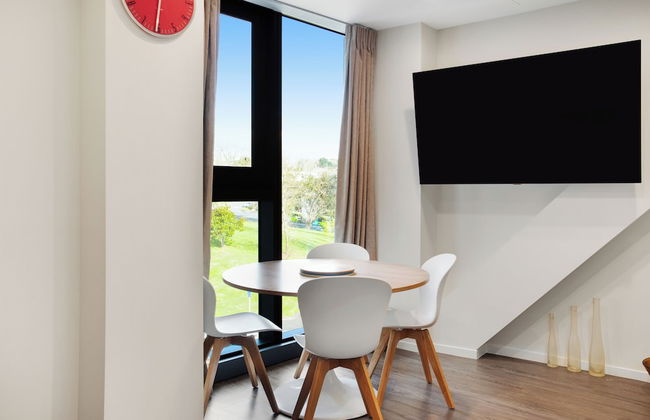
- Tv
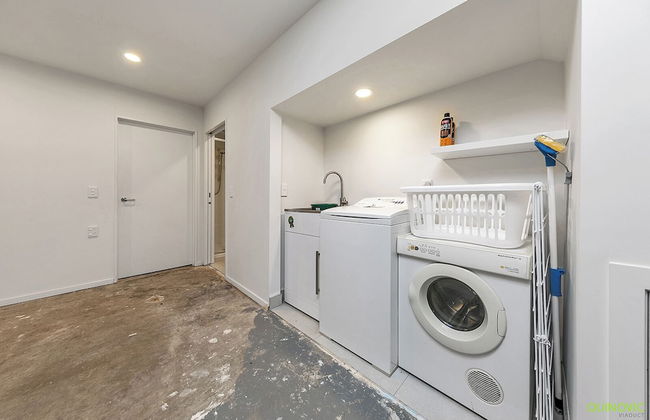
- Máquina de lavar roupa
- Toalhas
- Lençóis
570 avaliações
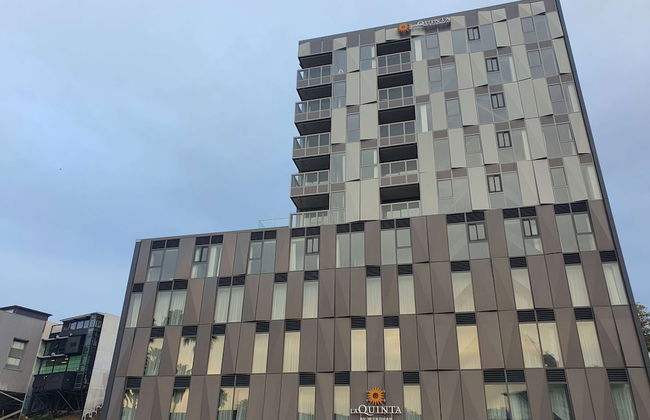

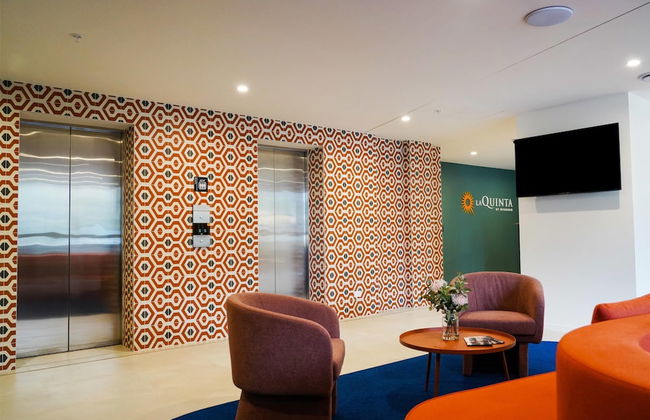


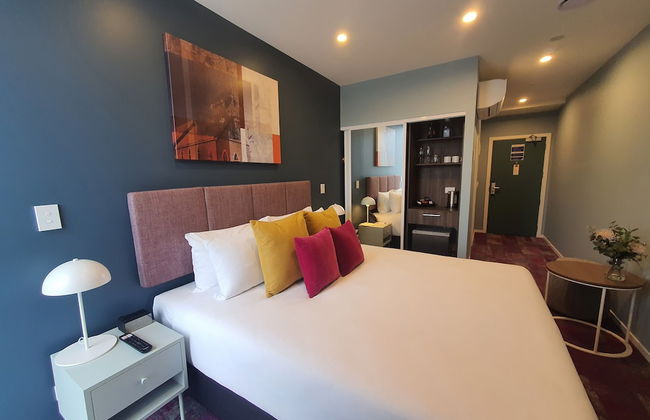

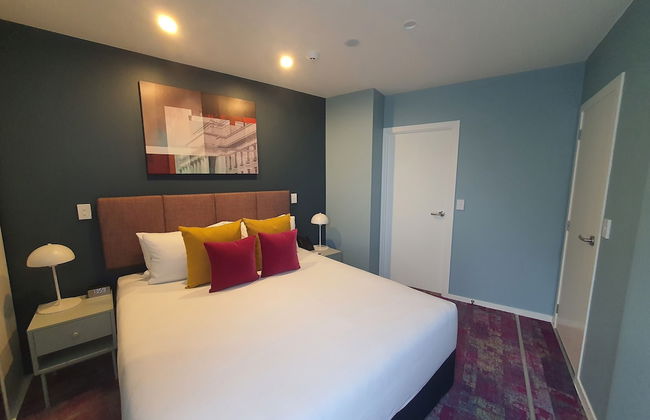

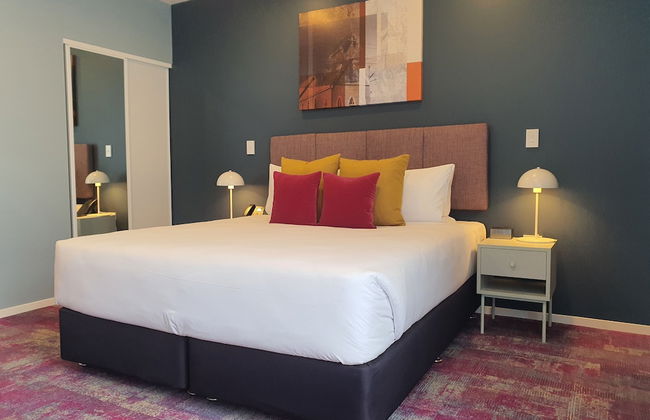


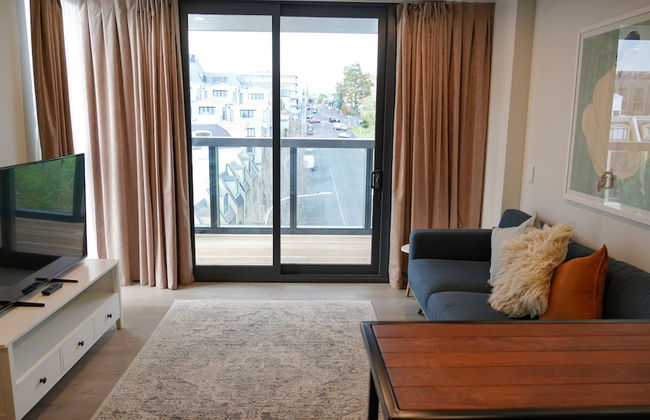


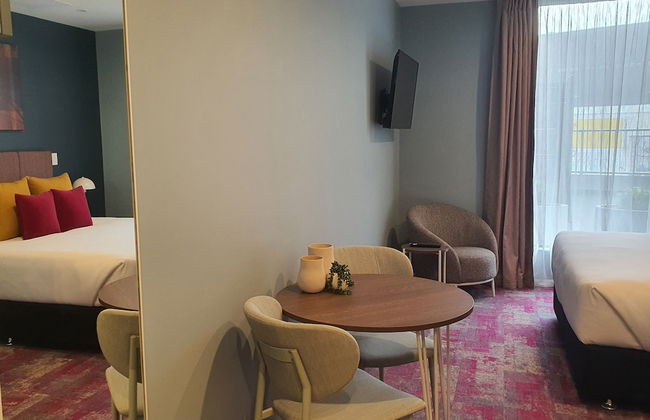


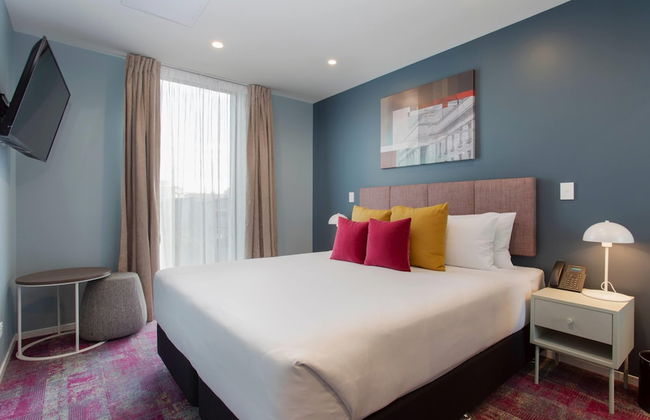
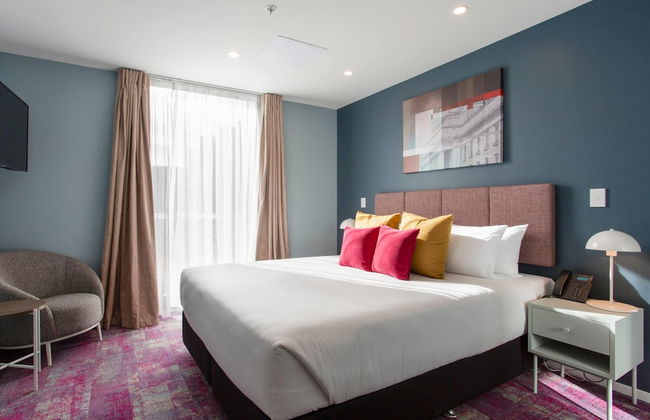
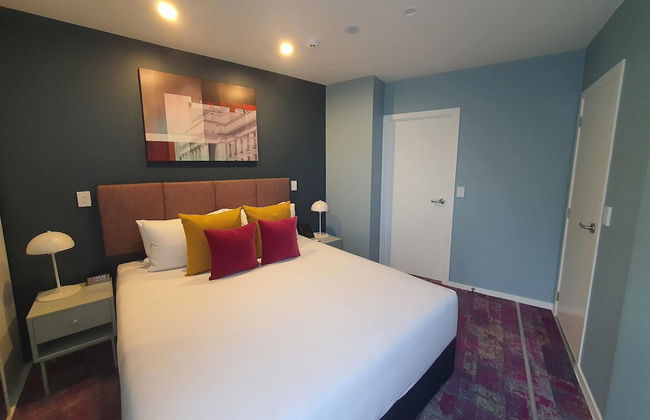


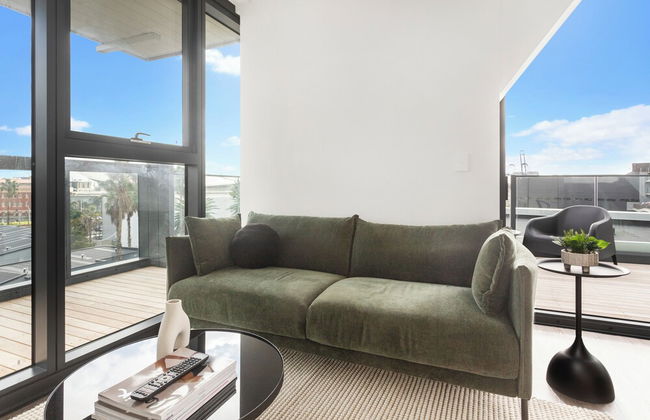
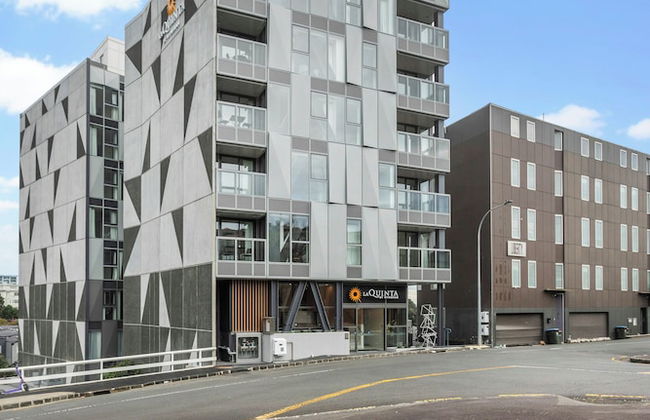
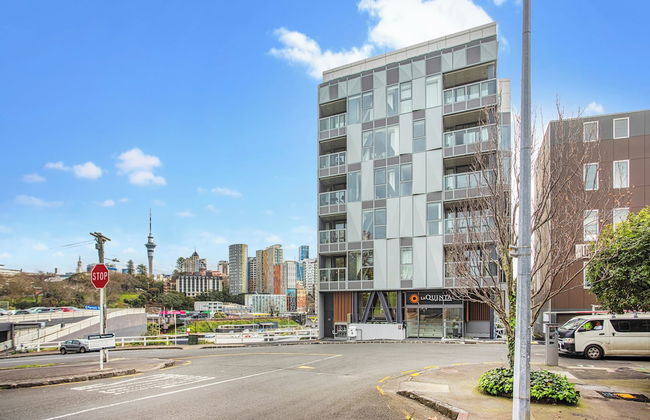
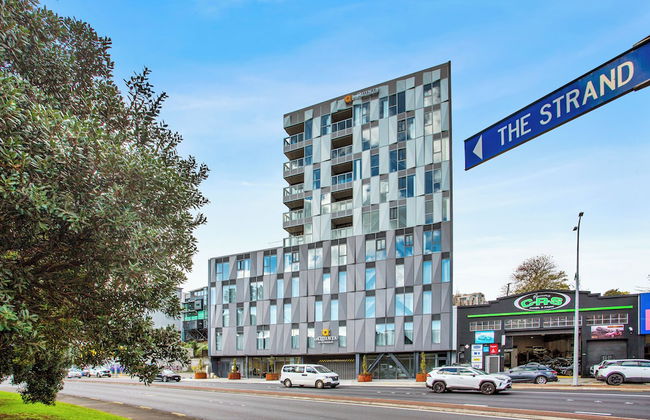
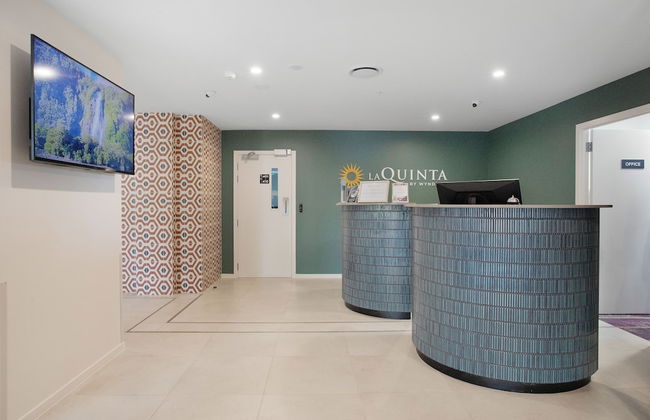
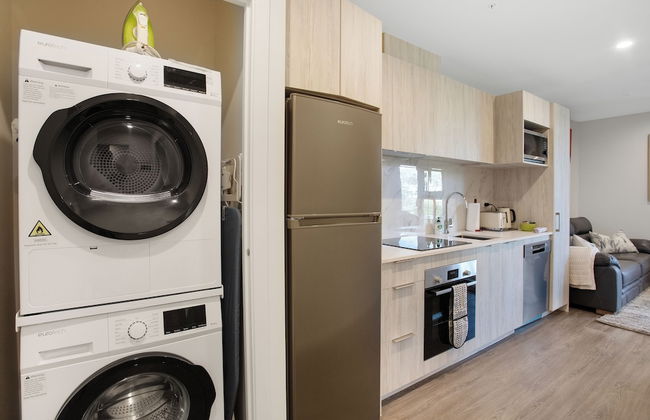
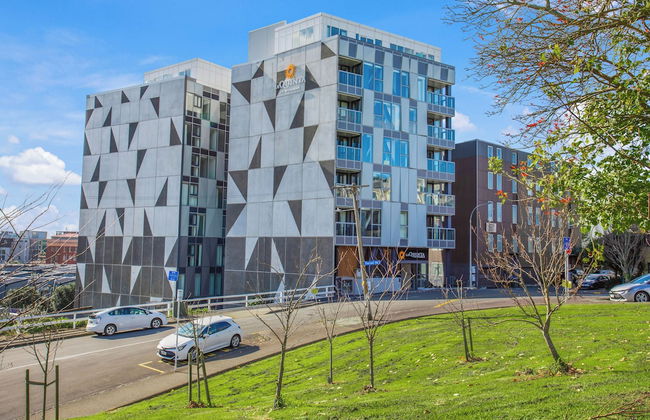
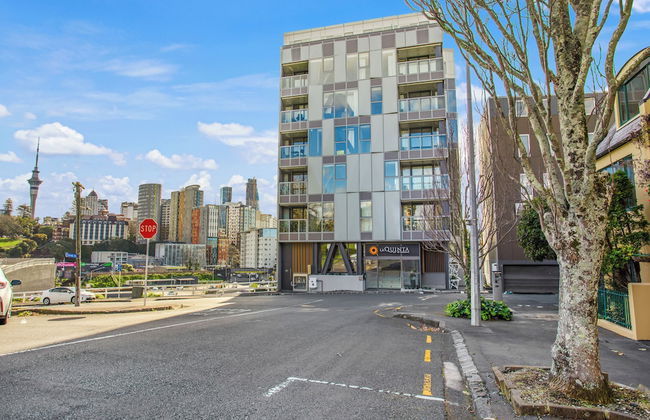
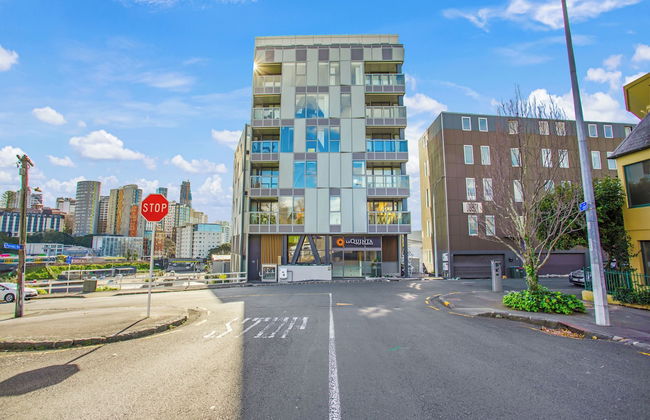
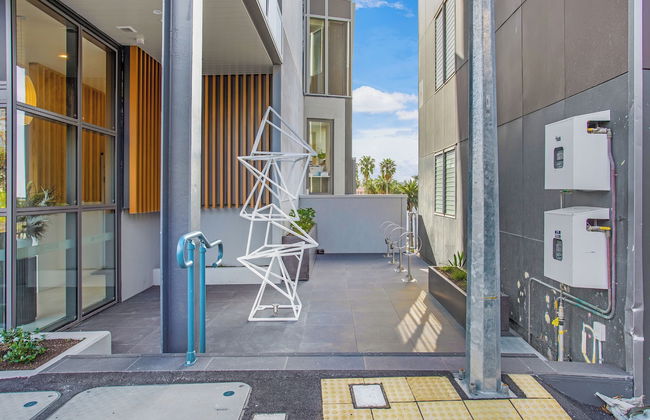
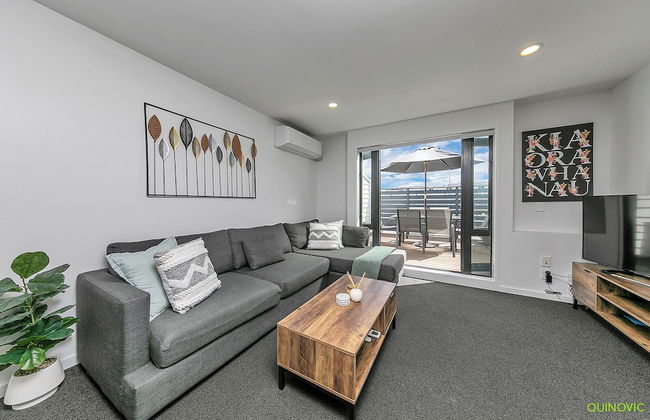
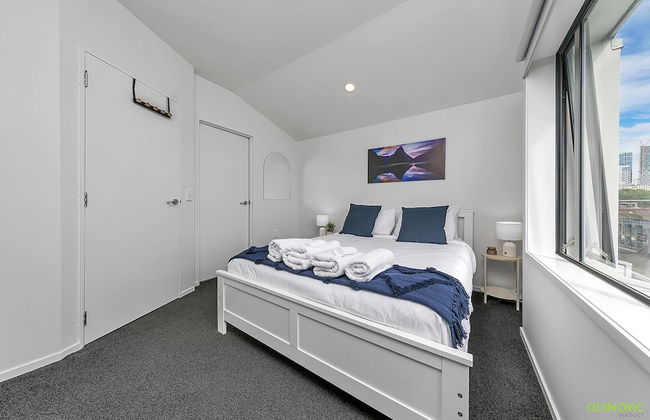
La Quinta by Wyndham Parnell Auckland
Auckland - Parnell - 730 m do centro
- 39 M2
- 3 pessoas
- Kitchenette
- Ar-condicionado
- Estacionamento
- Elevador
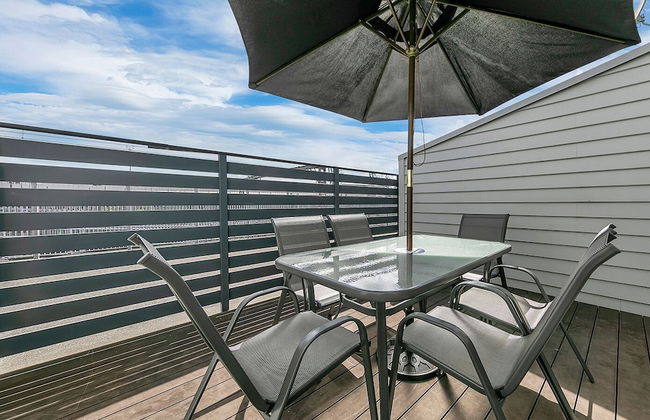
- Varanda
- Tv
- Máquina de lavar roupa
- Toalhas
- Lençóis
18 avaliações


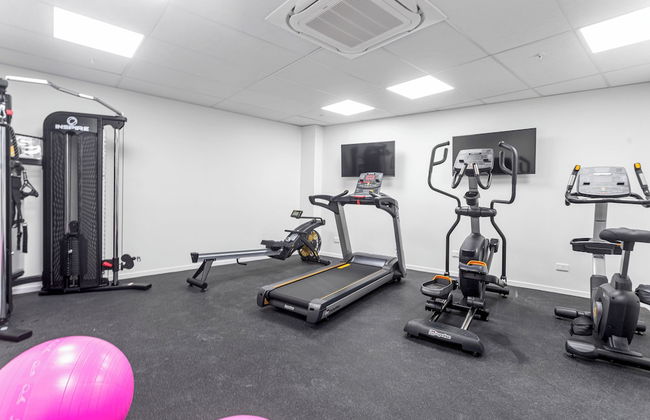
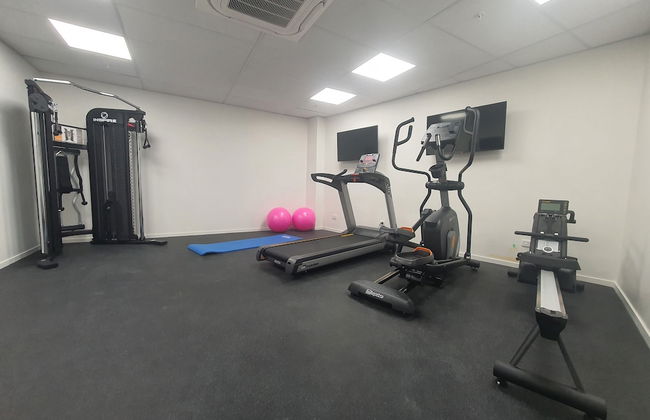
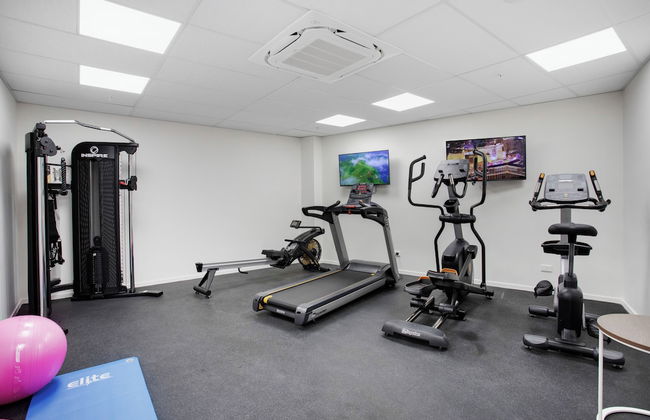
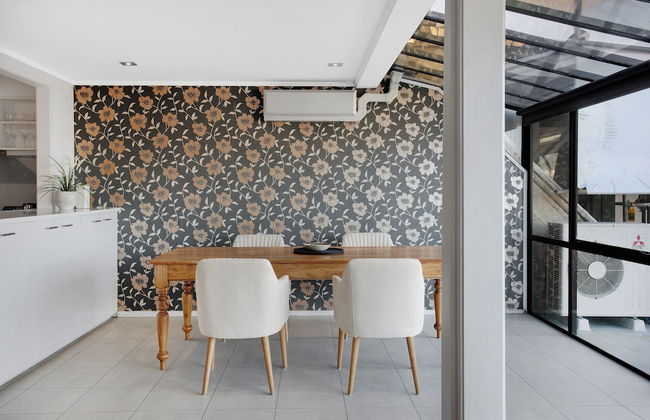
Lovely Apartment - Gym & Parking by Zodiak Stays
Auckland - Parnell - 1.2 km do centro
- 2 pessoas
- Ar-condicionado
- Piscina
- Estacionamento
- Máquina de lavar roupa
- Toalhas
- Lençóis


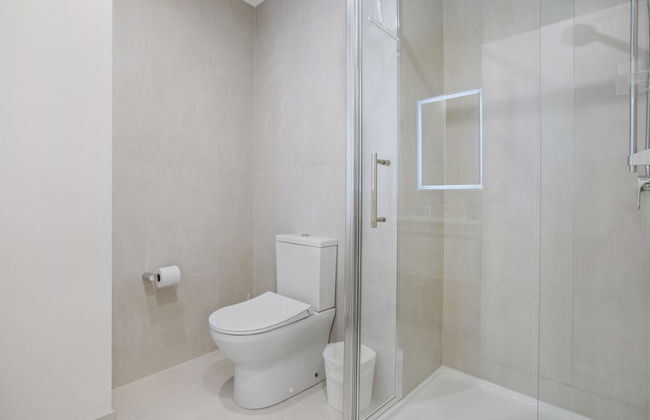


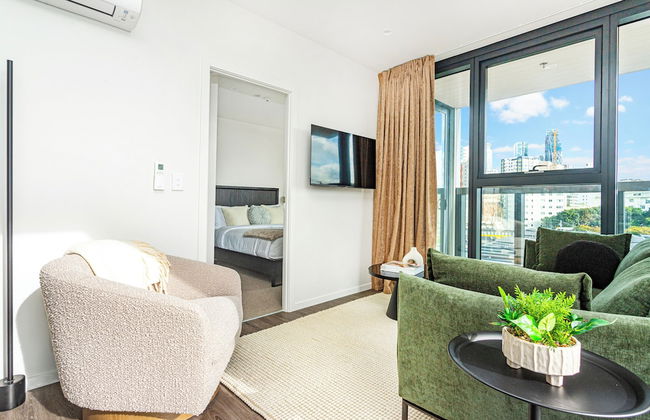
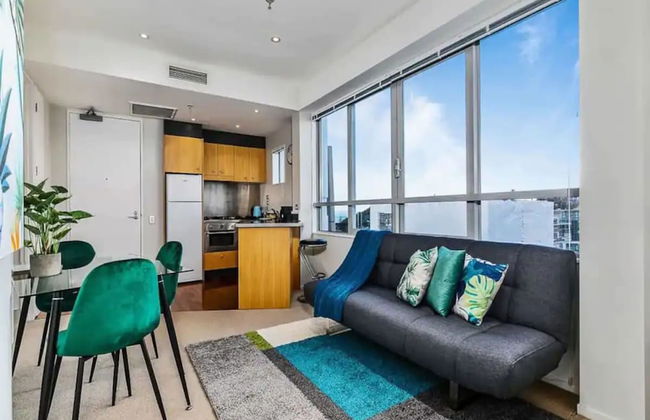
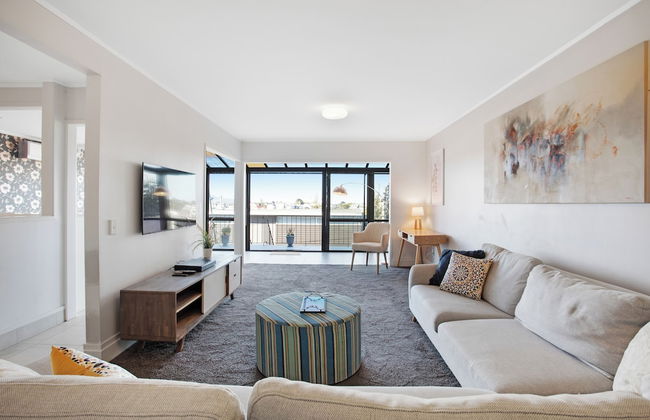
Augustus Harmony Apartment with Parking
Auckland - Parnell - 730 m do centro
- 45 M2
- 2 pessoas
- Ar-condicionado
- Aquecimento
- Estacionamento
- Tv
- Máquina de lavar roupa
- Toalhas
- Lençóis


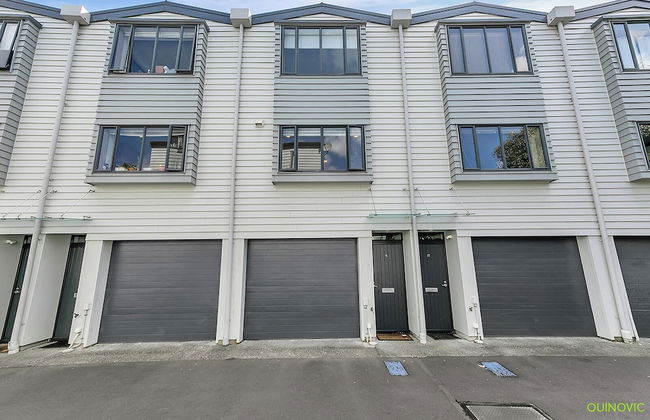
Balcony+Parking 3BR Gem Near Arena | Zodiak Stays
Auckland - Parnell - 1 km do centro
- 80 M2
- 6 pessoas
- Ar-condicionado
- Aquecimento
- Estacionamento
- Máquina de lavar roupa
- Toalhas

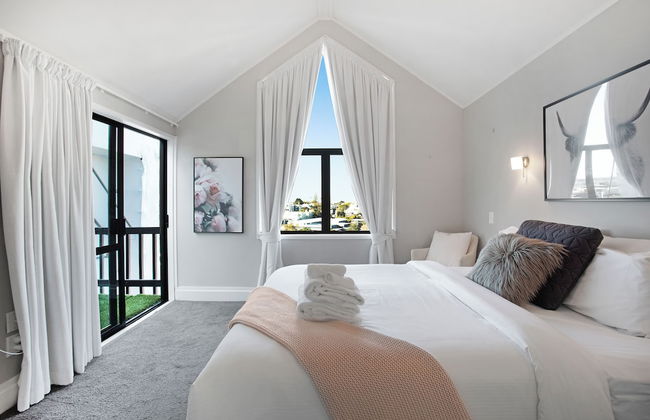


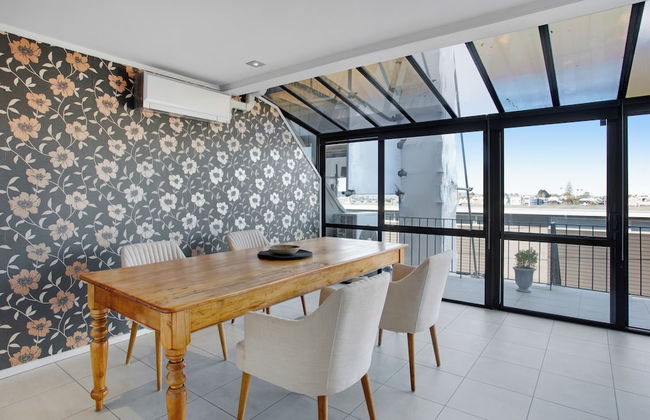


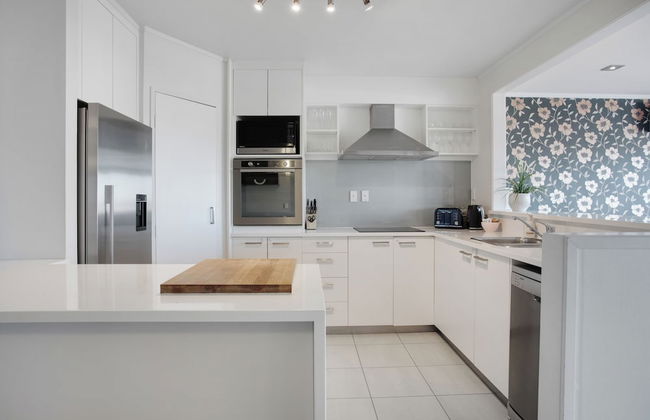
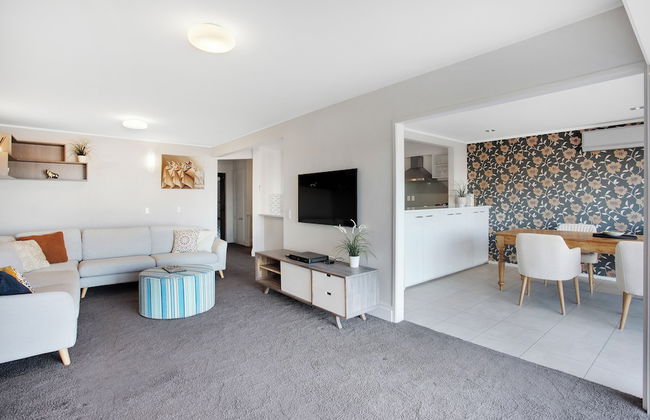
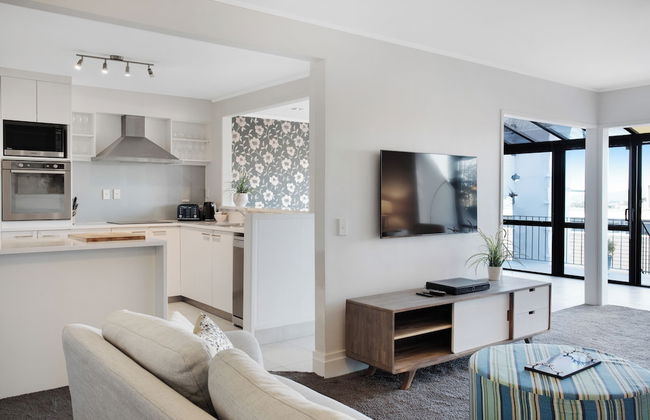
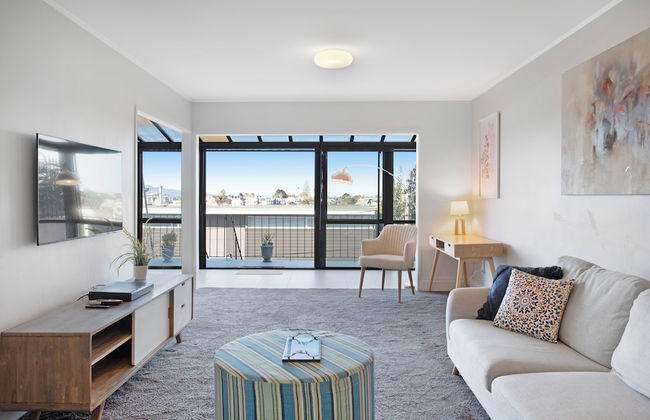
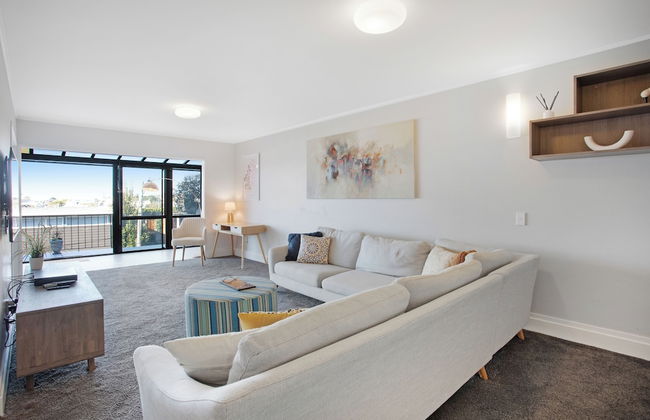

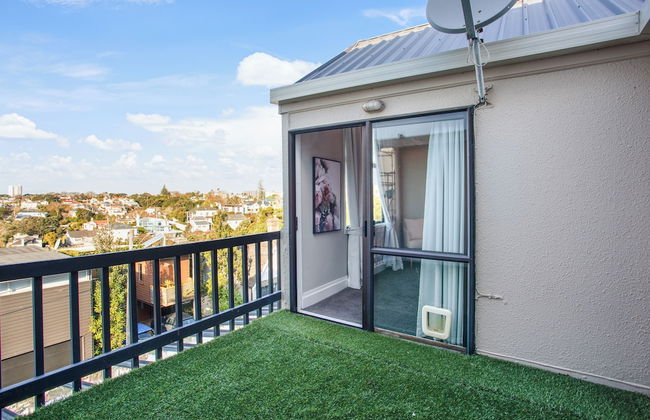
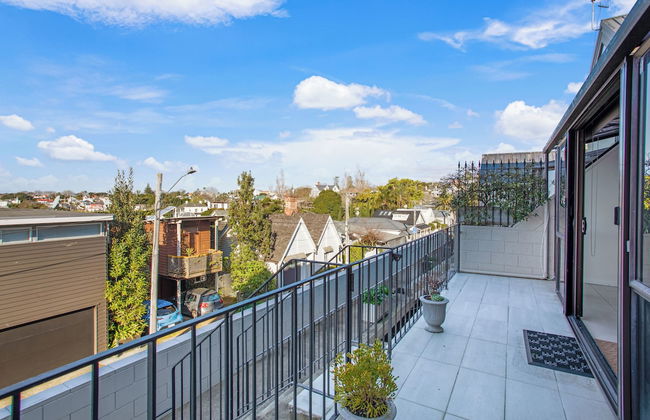


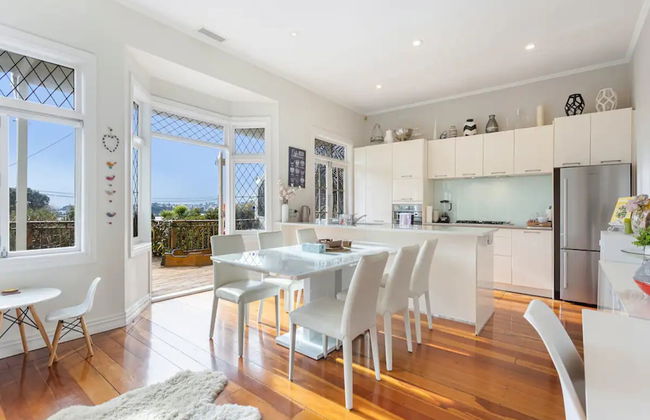
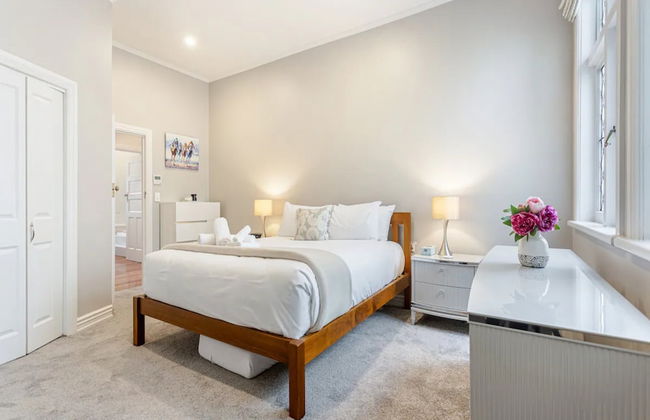
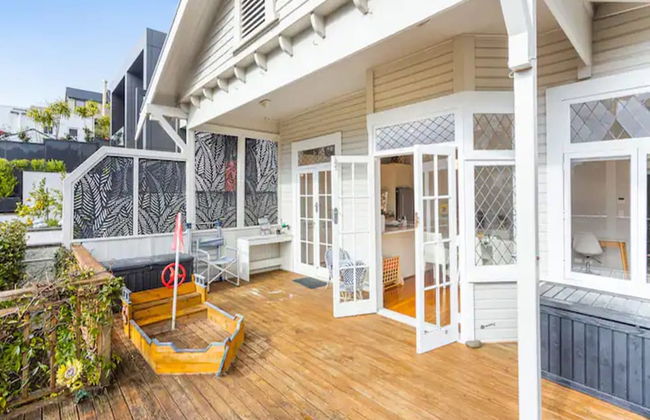
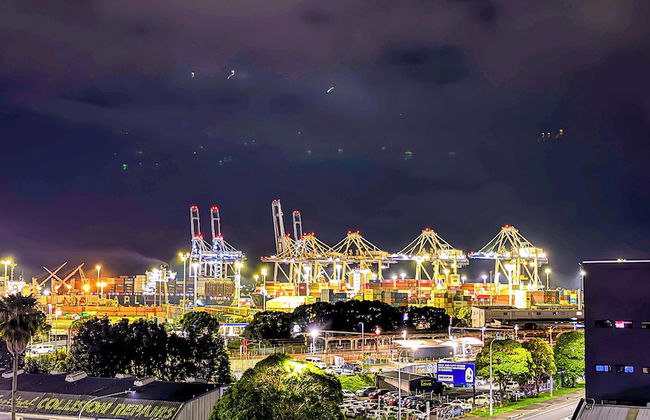
Parnell Vista 2BR Apartment with Seaview
Auckland - Parnell - 990 m do centro
- 108 M2
- 4 pessoas
- Ar-condicionado
- Aquecimento
- Varanda
- Tv
- Máquina de lavar roupa
- Toalhas
- Lençóis