1170 Apartamentos em Nova Zelândia
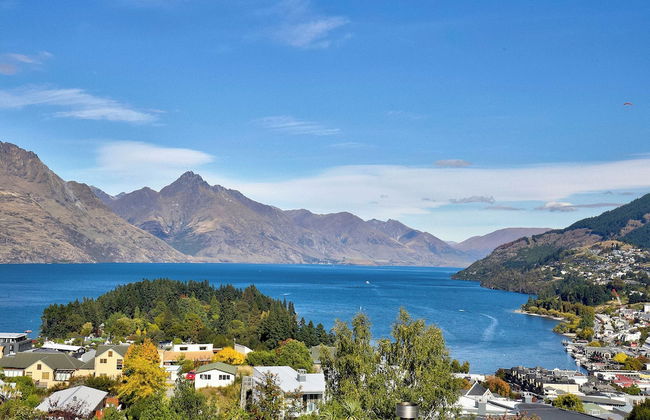
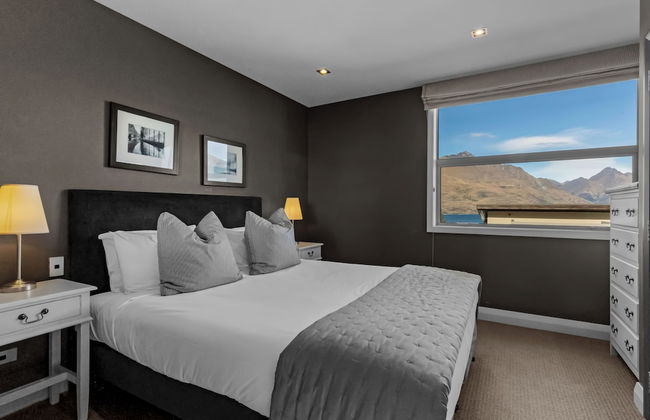
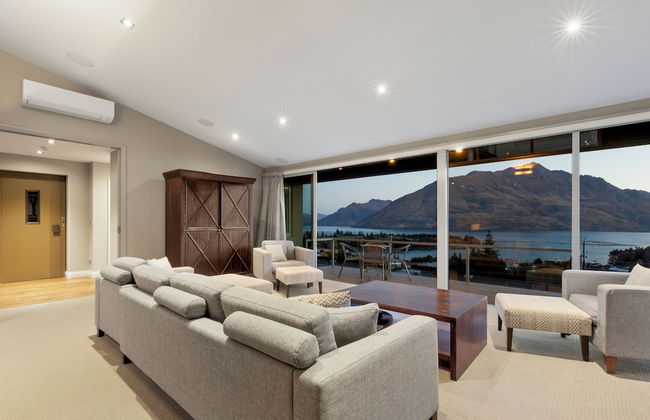
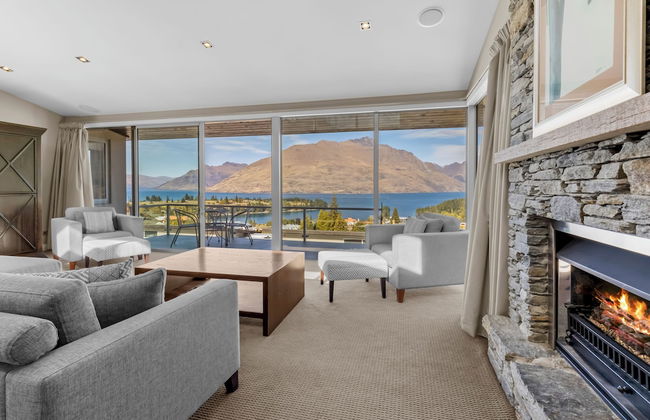
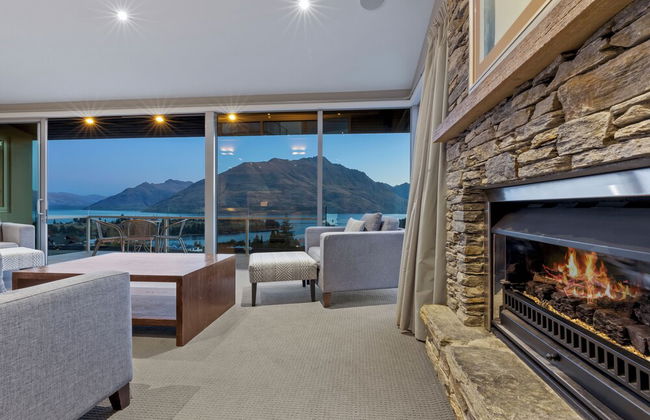
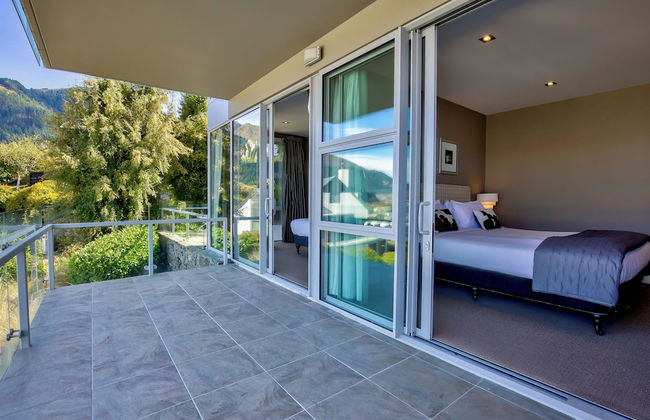
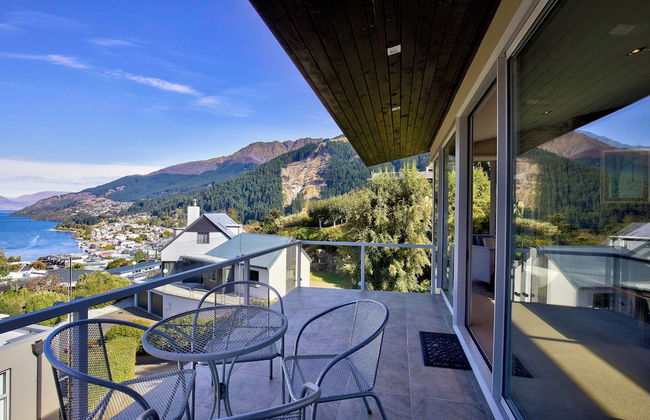
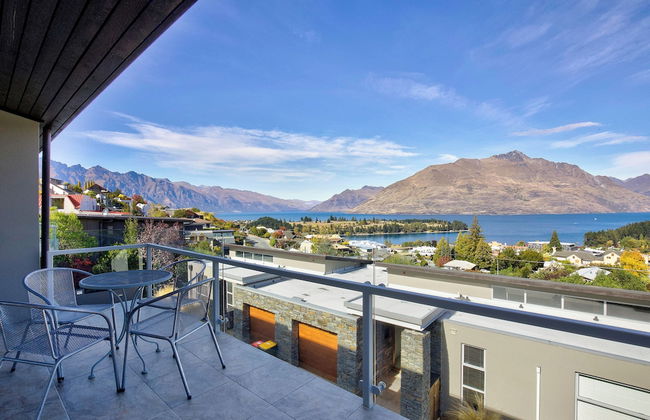
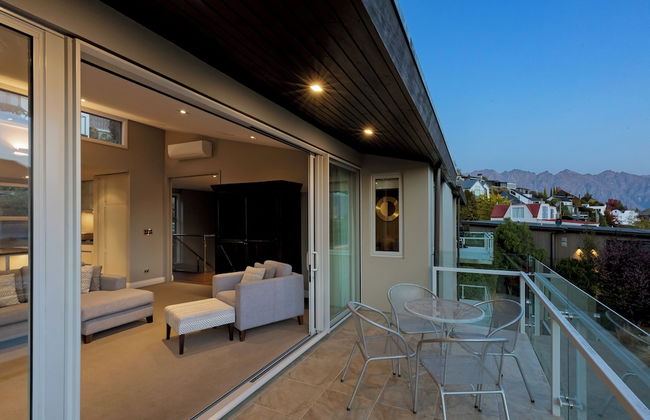
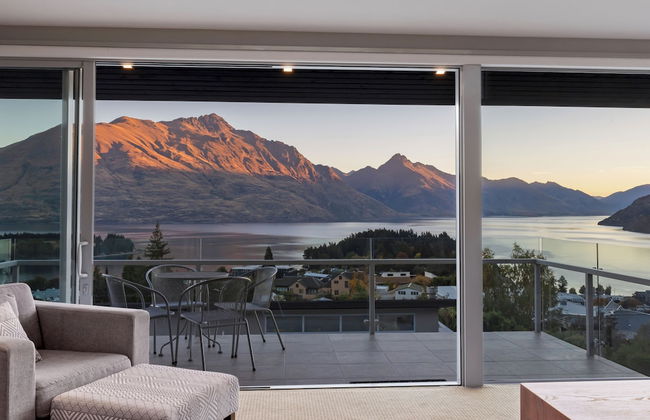
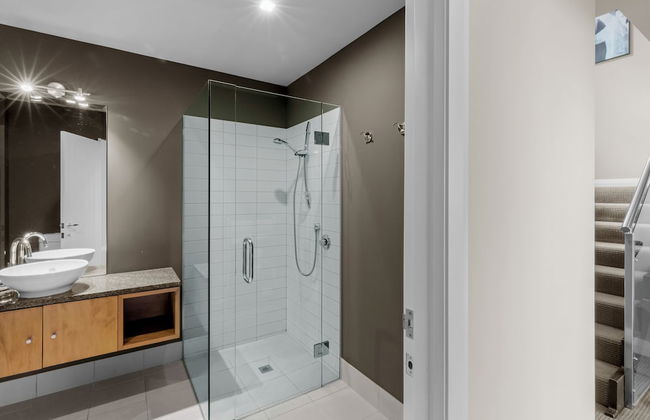
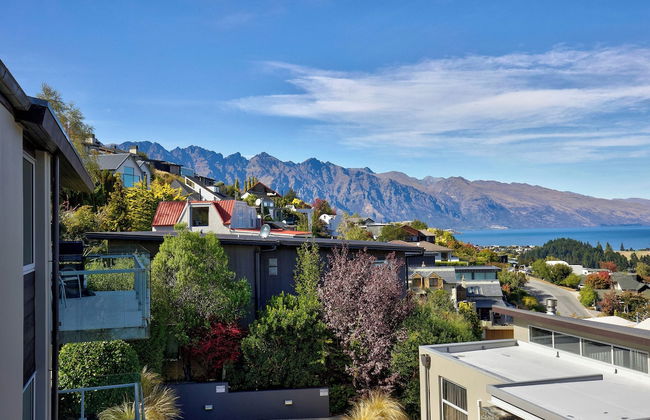
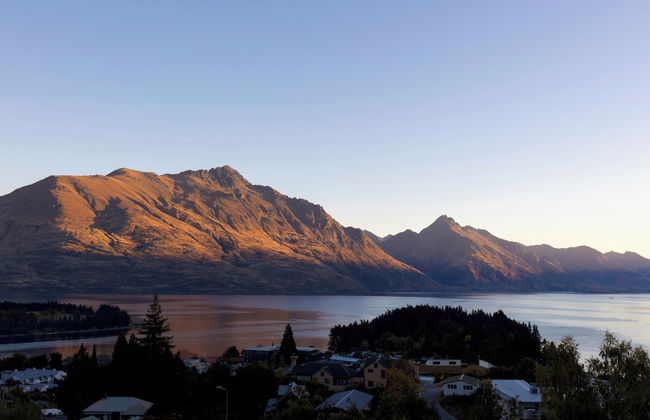
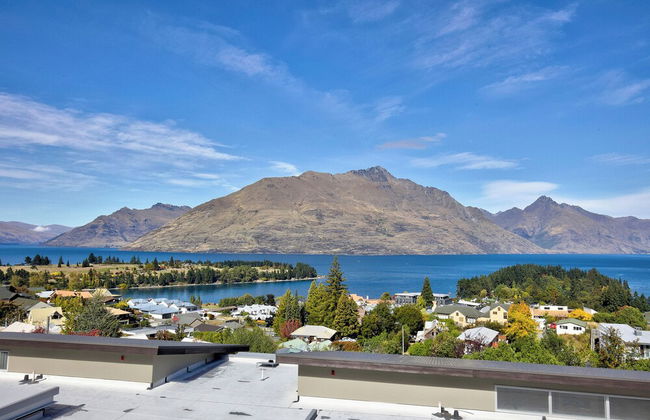
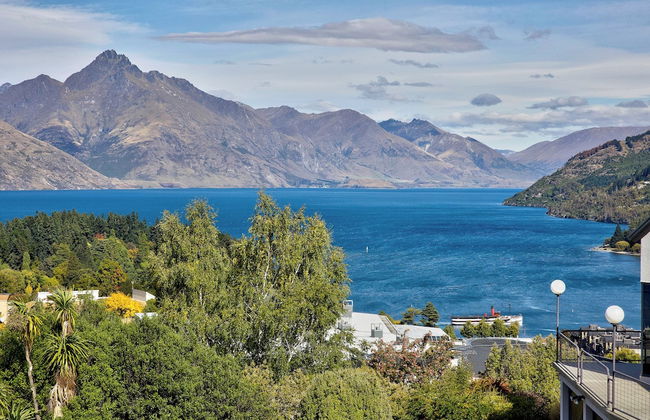
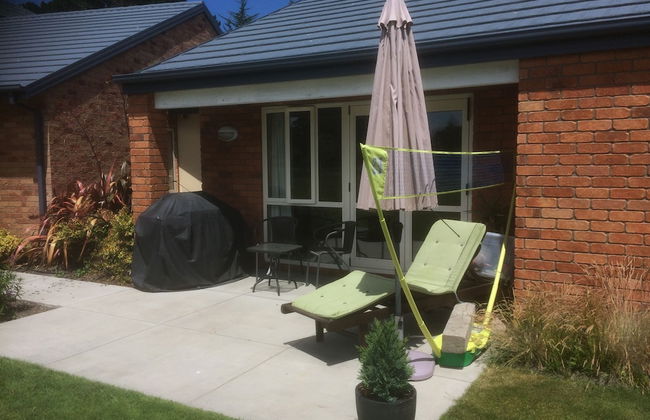
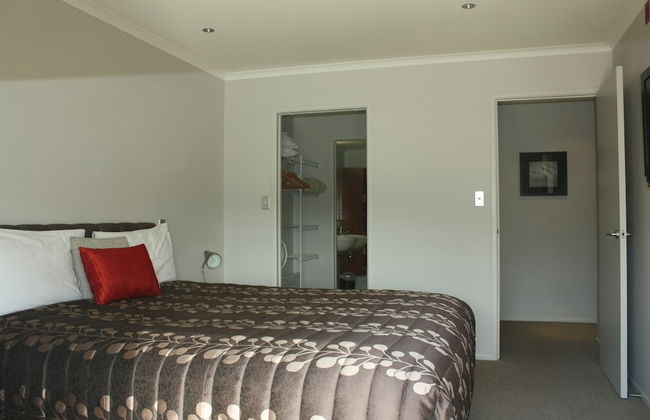
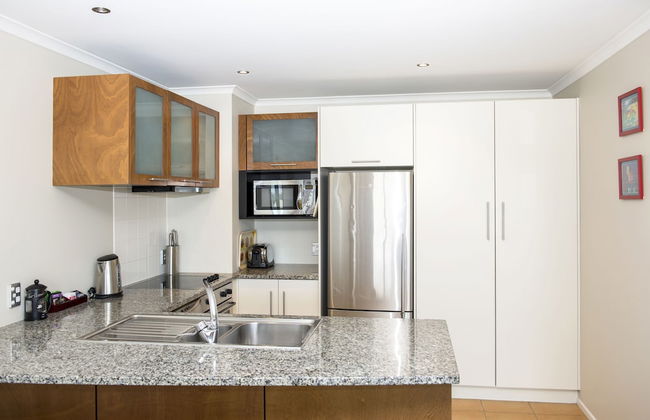
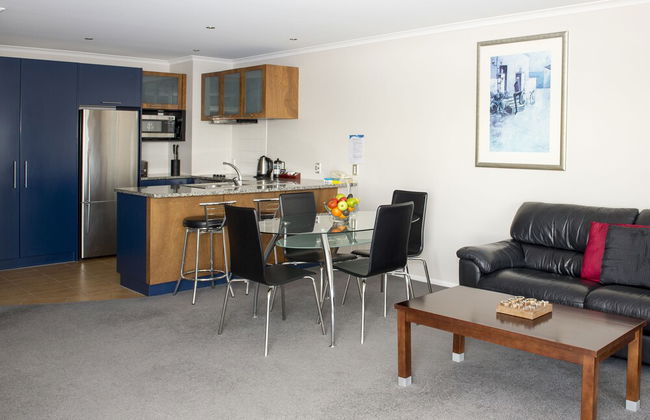
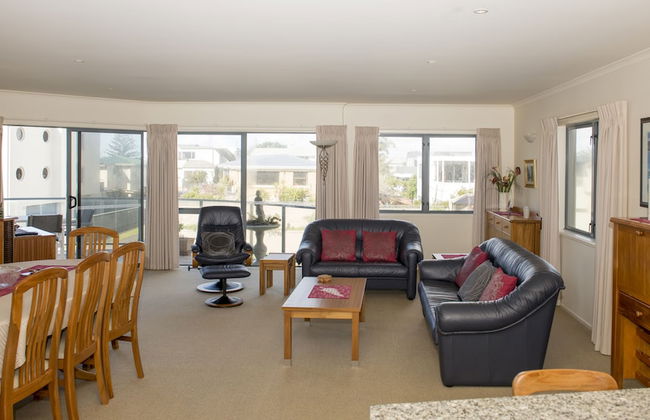
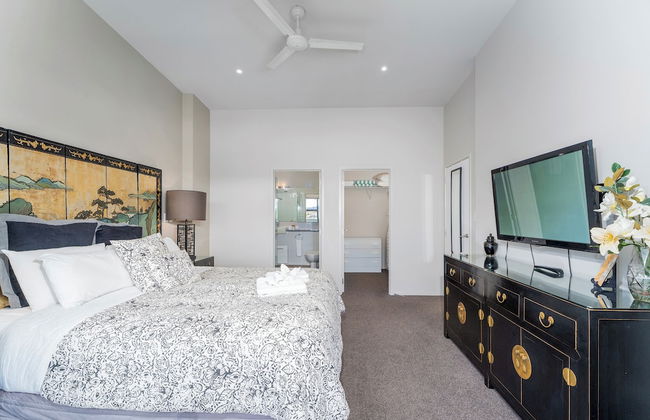
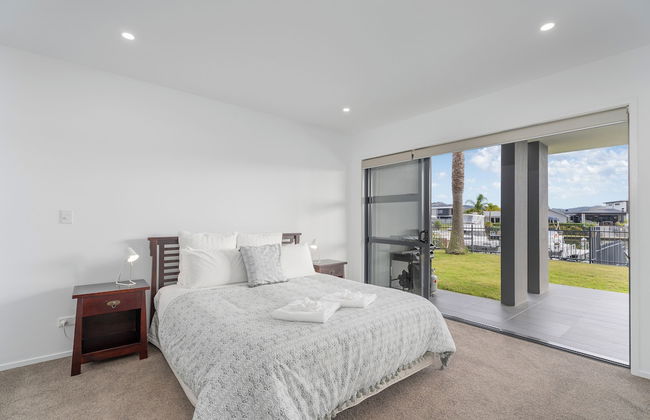
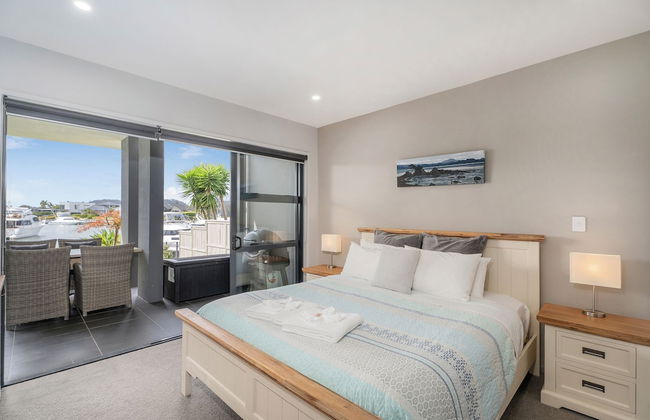
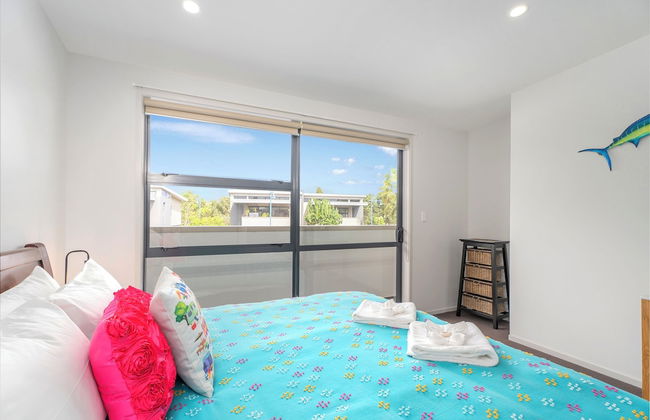
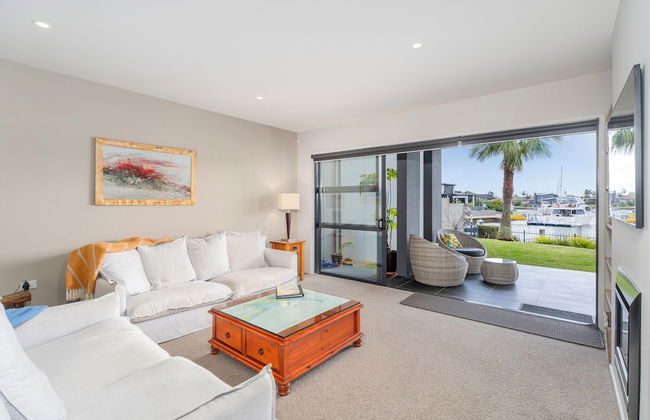
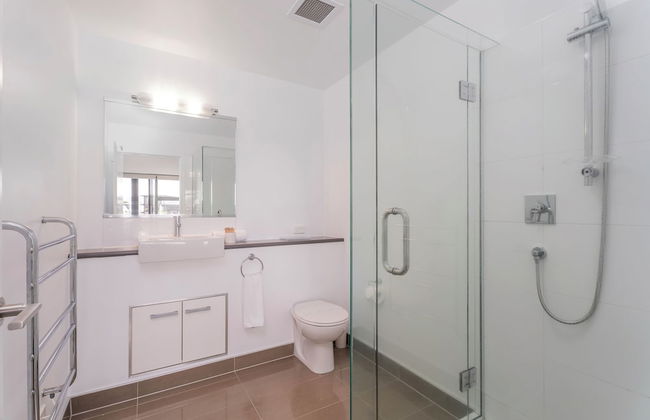
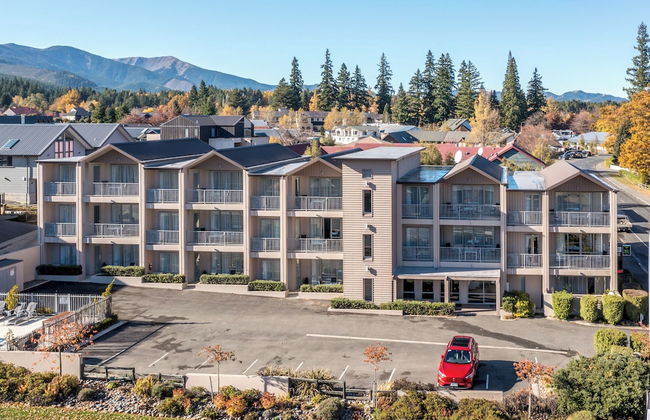
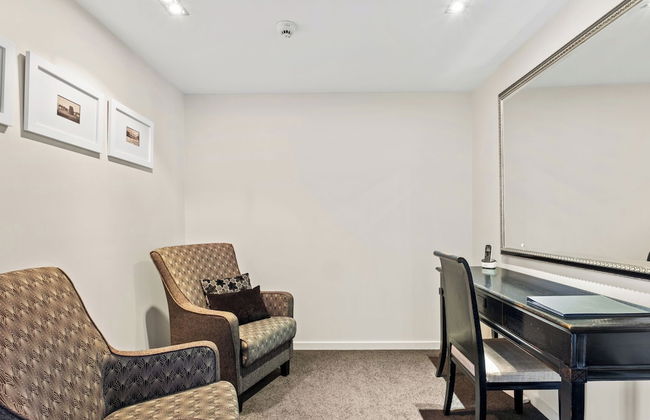
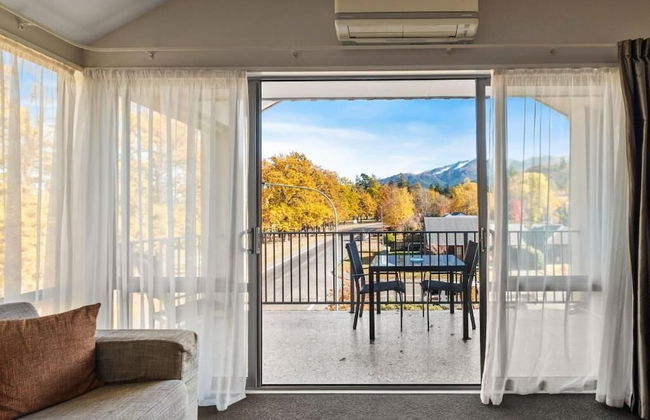
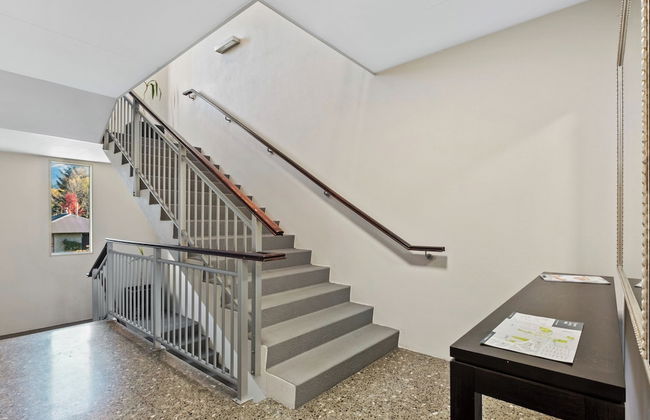
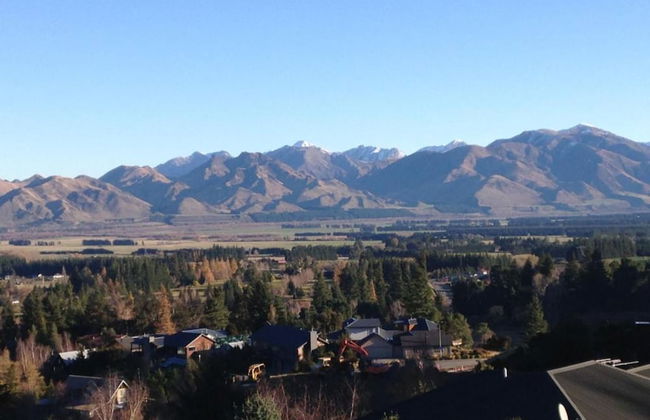
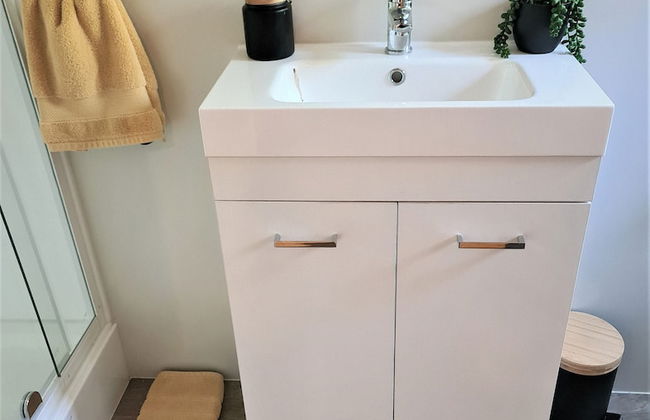
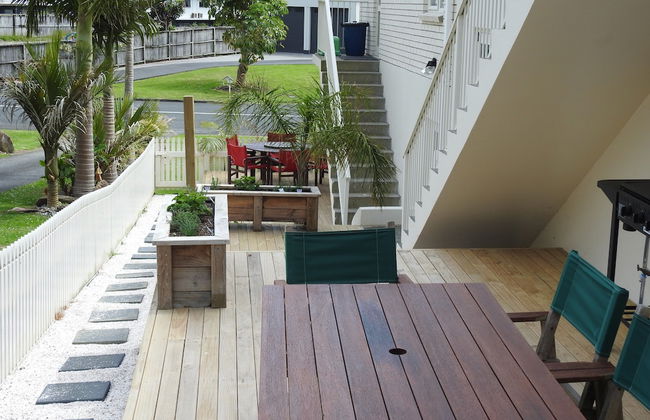
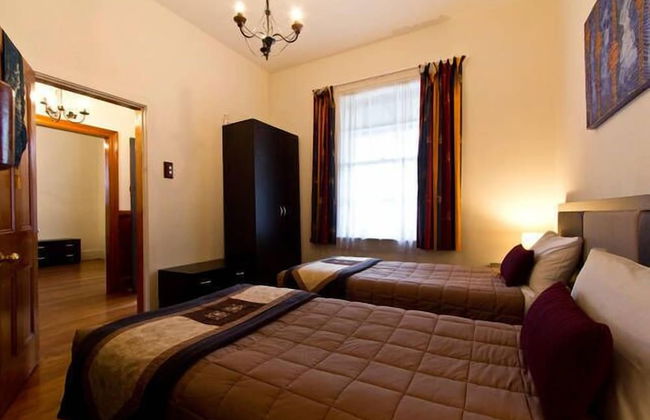
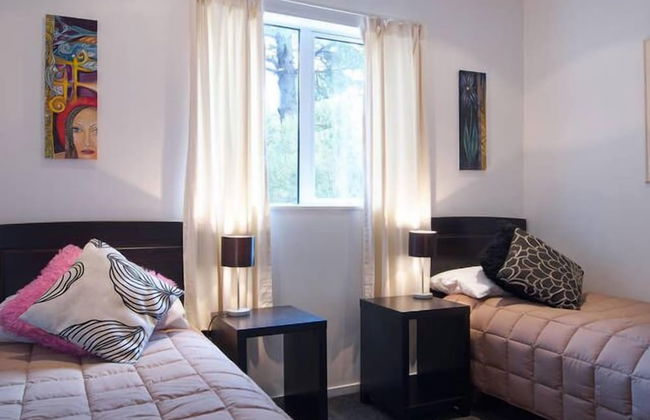
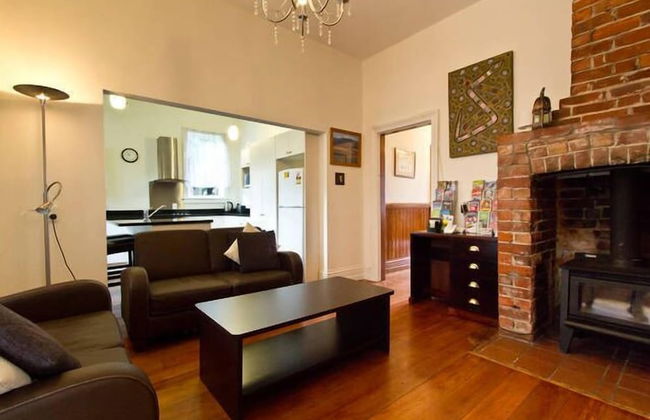
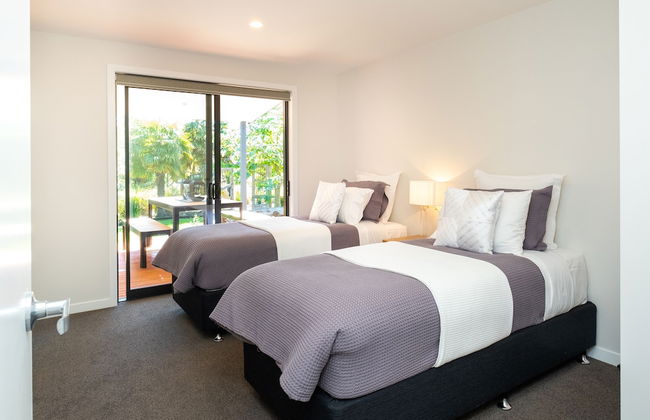
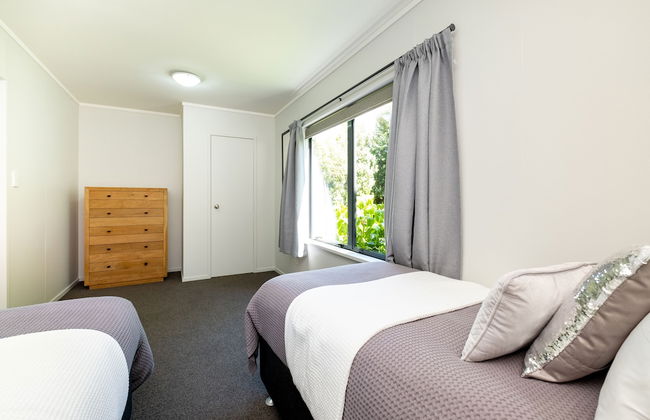
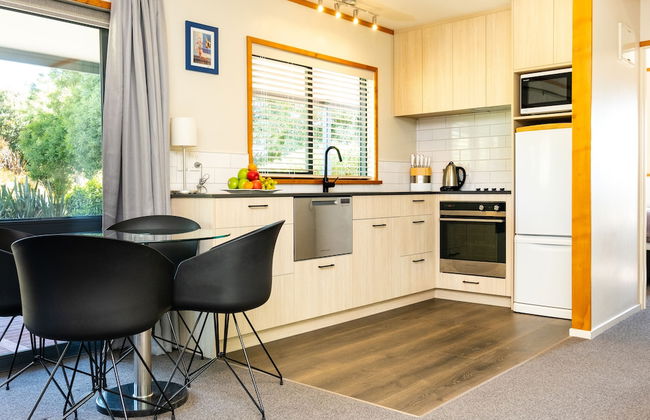
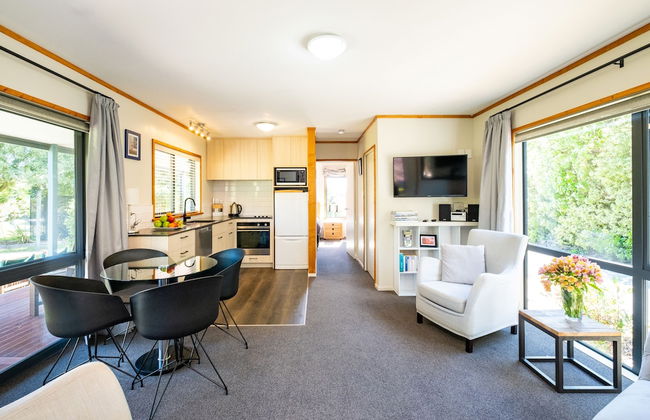
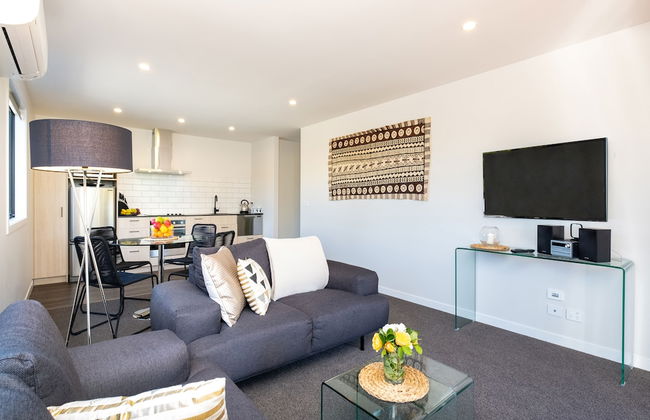
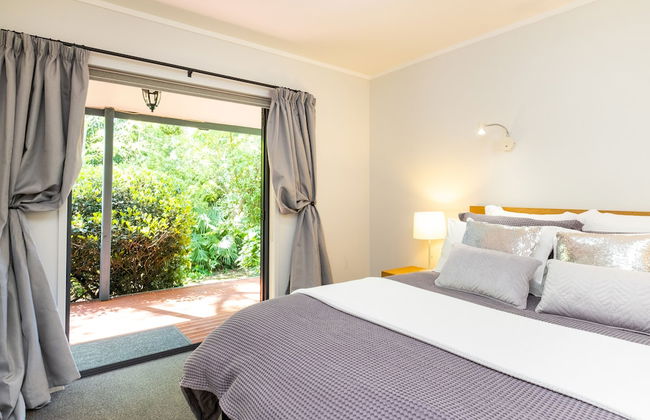
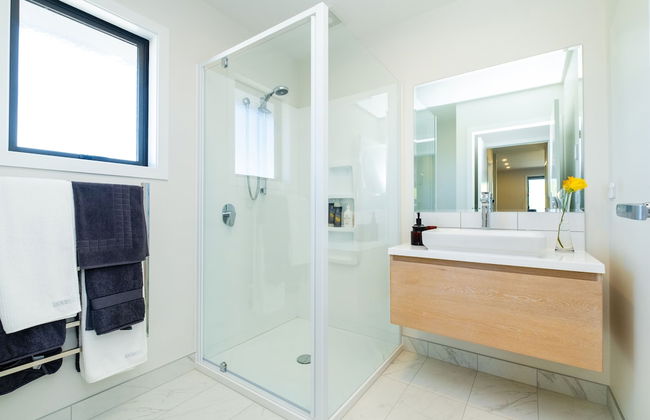
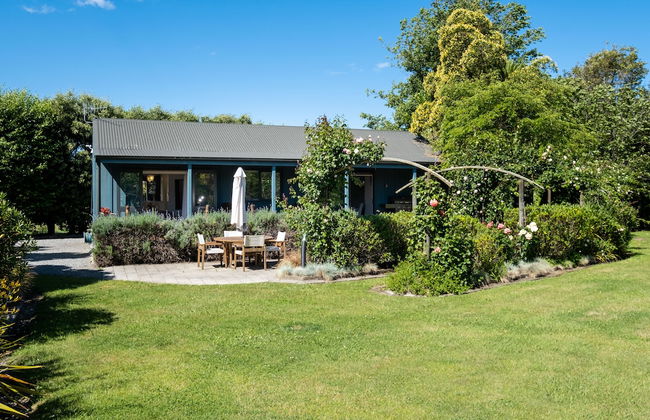
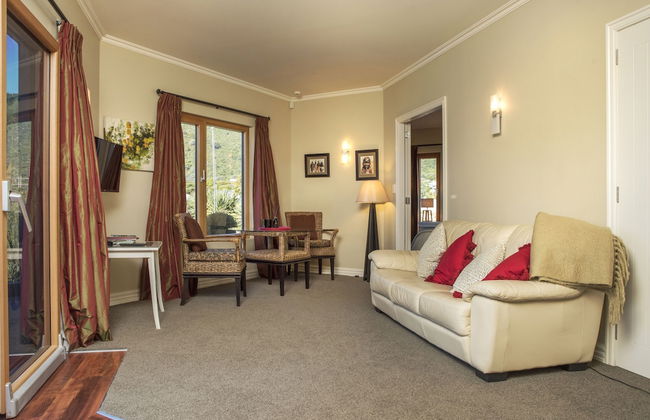
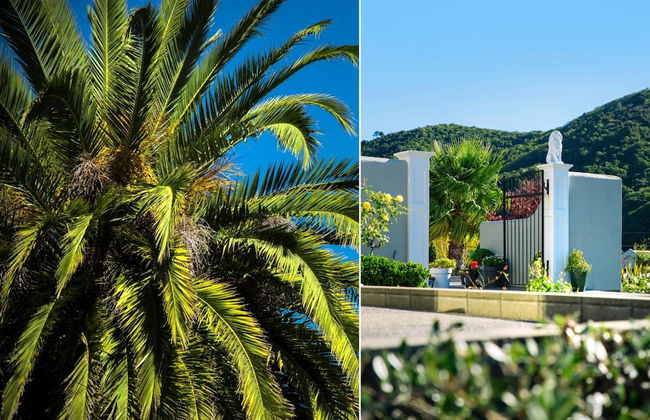
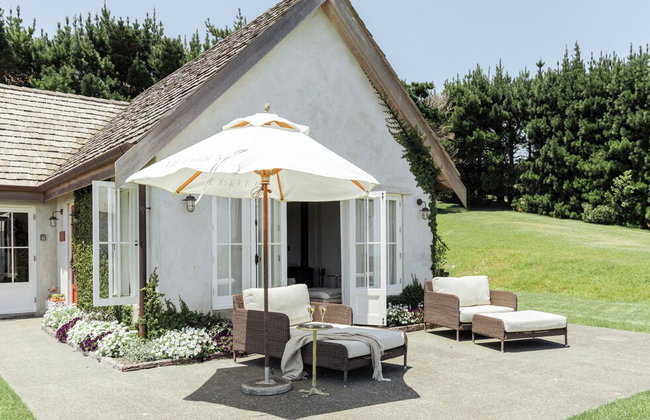
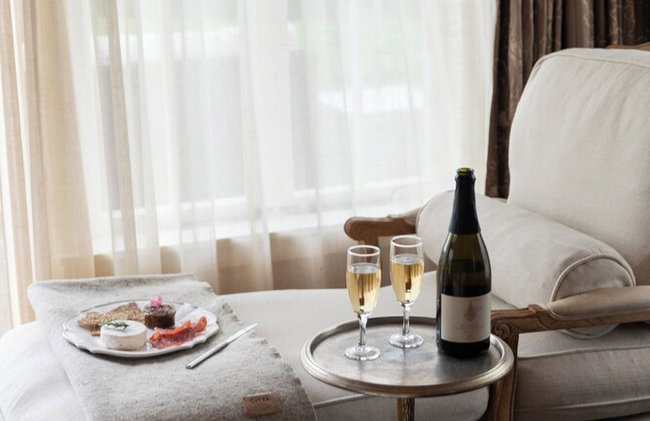
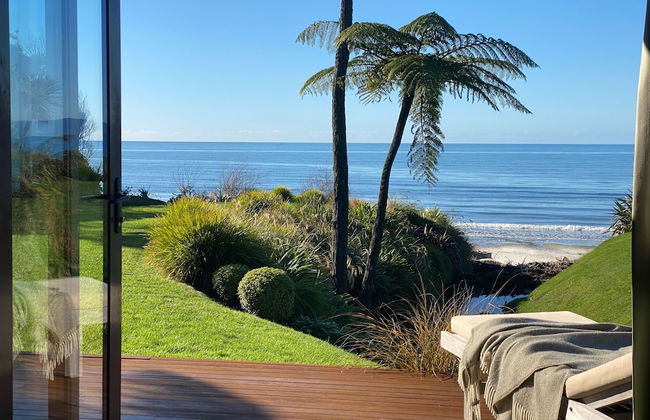
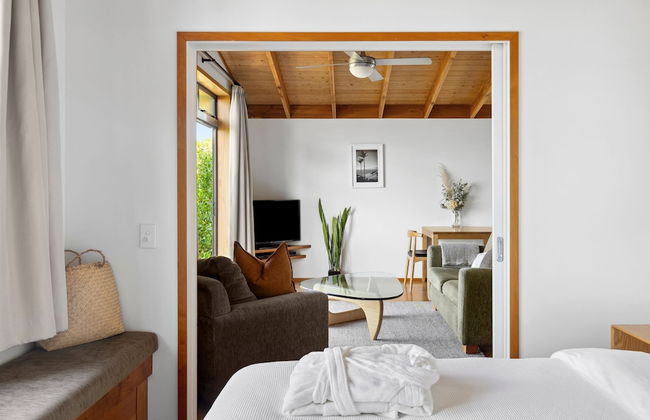
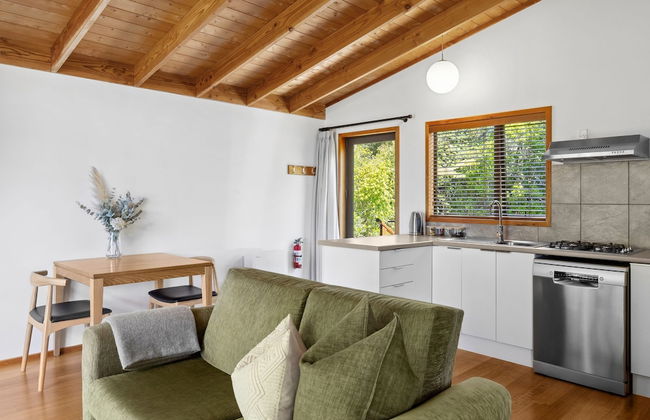
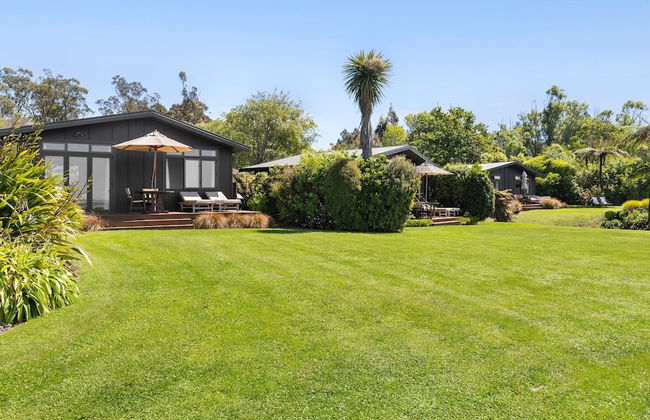
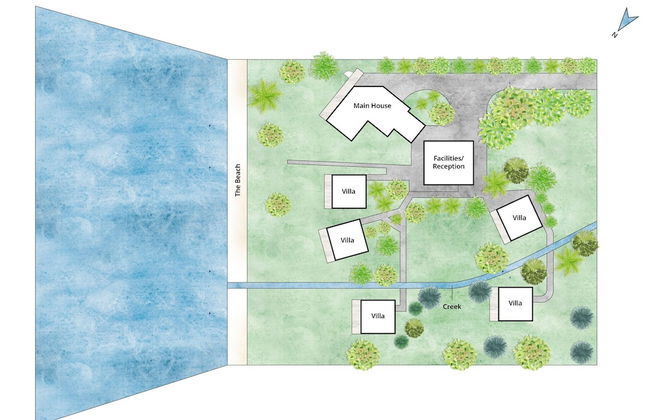
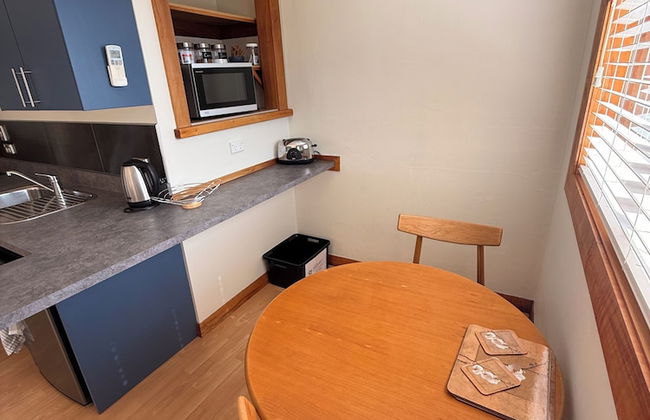
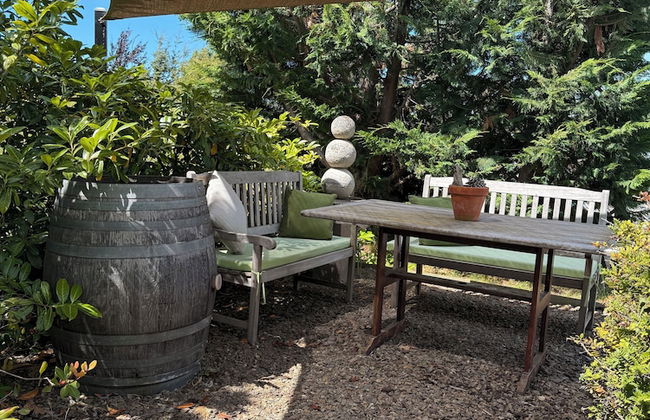
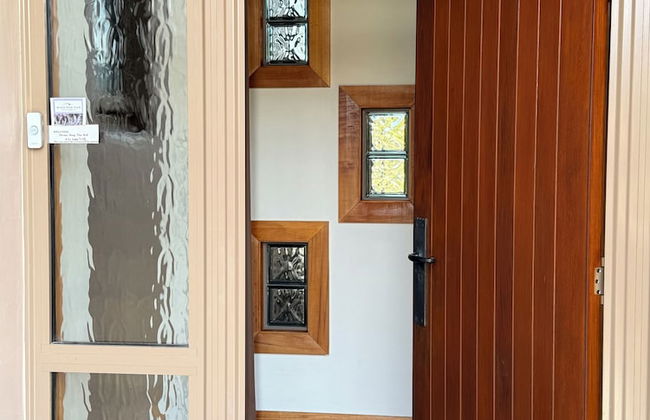
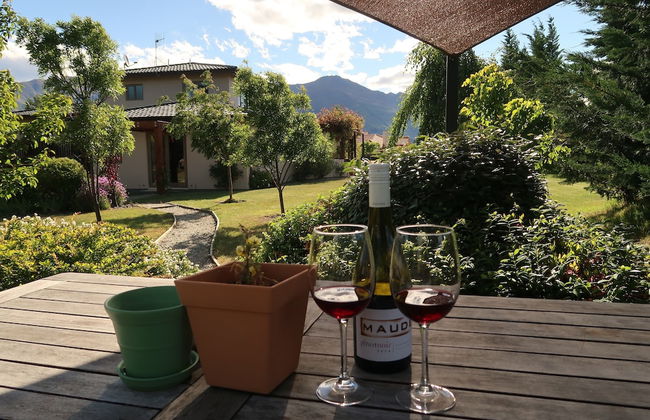
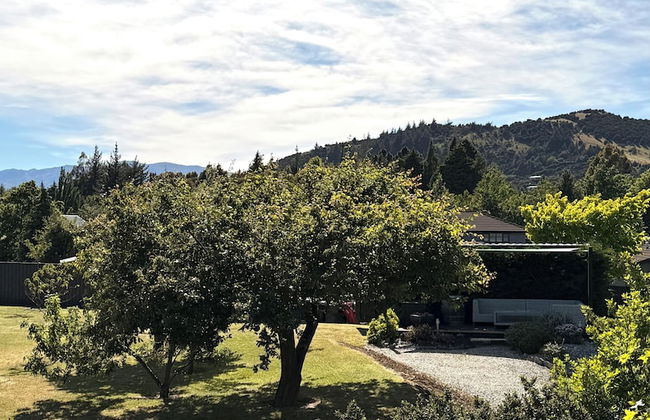
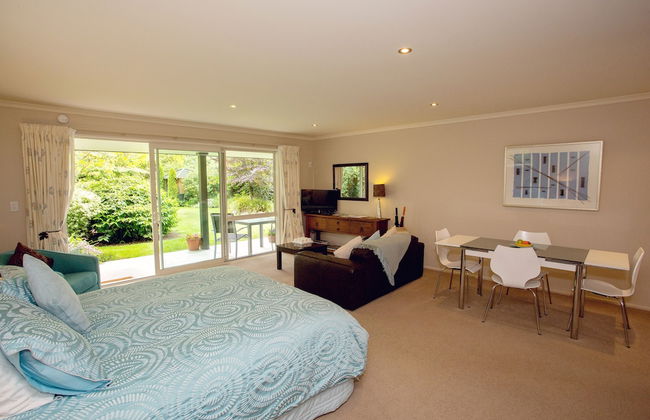
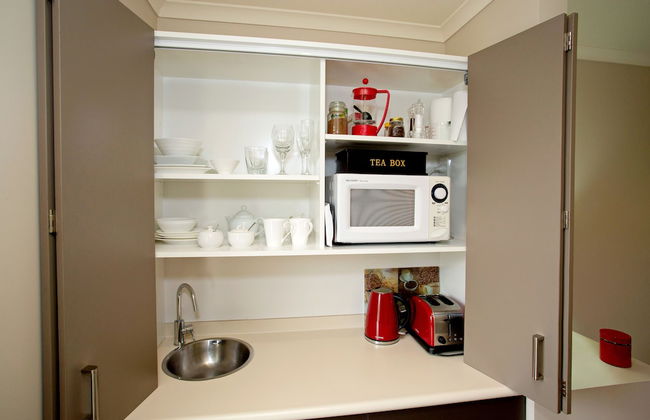
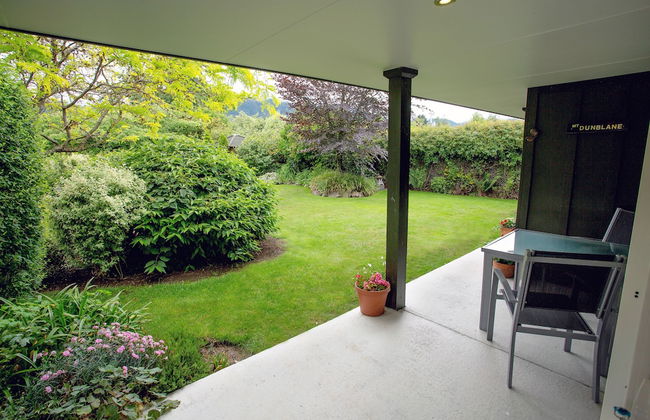
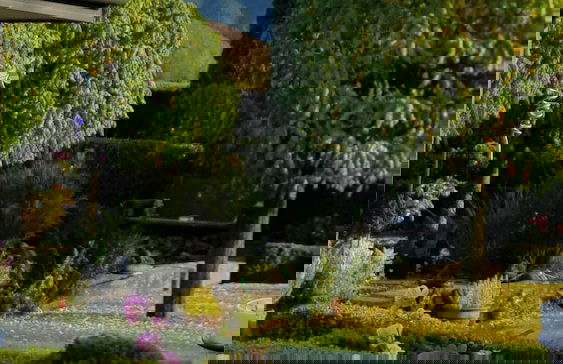
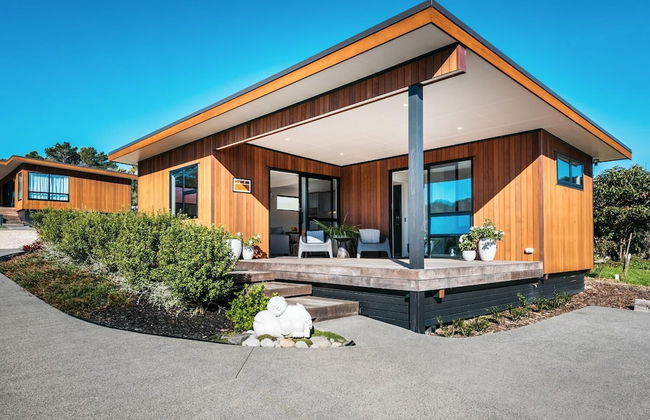
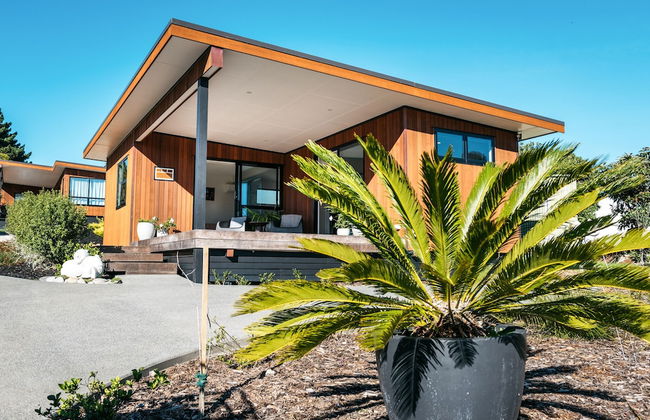
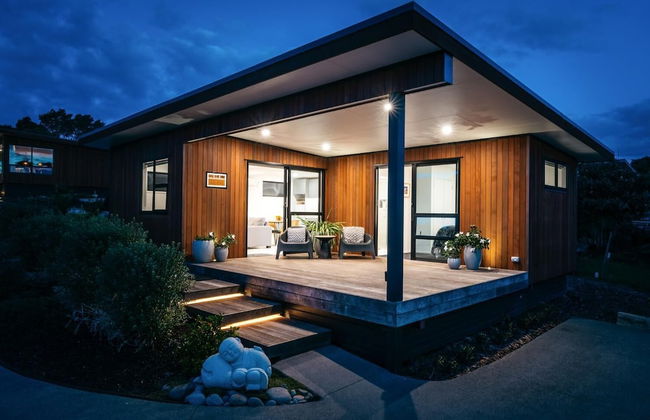
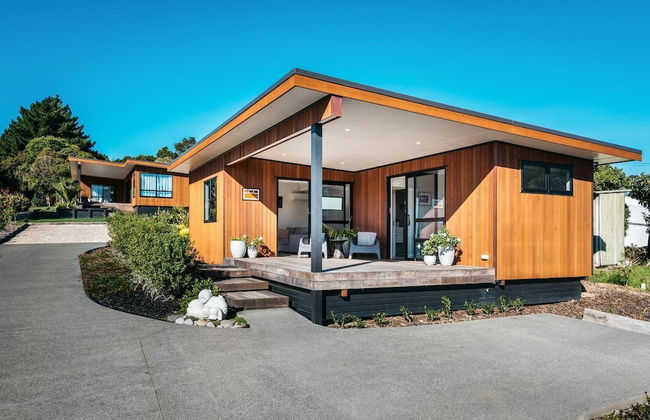
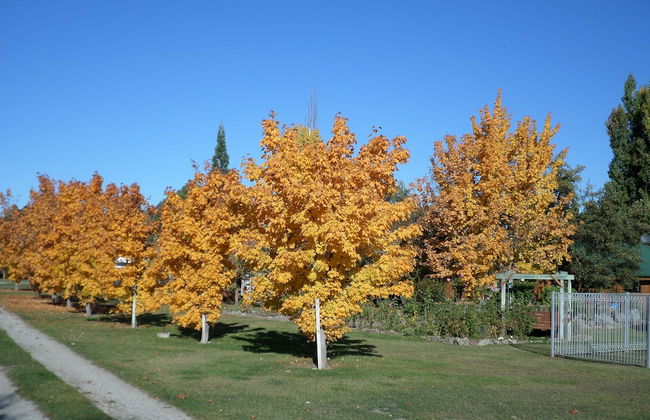
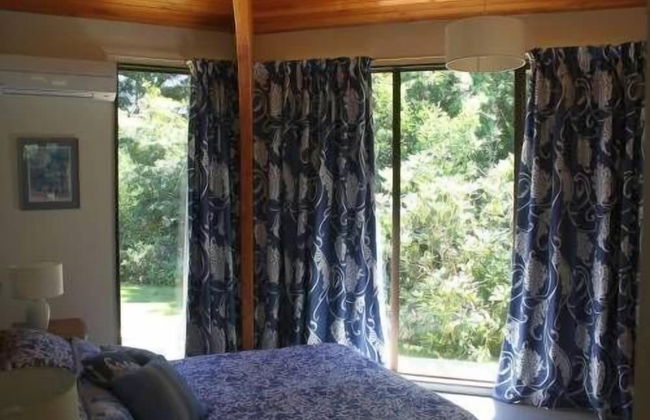
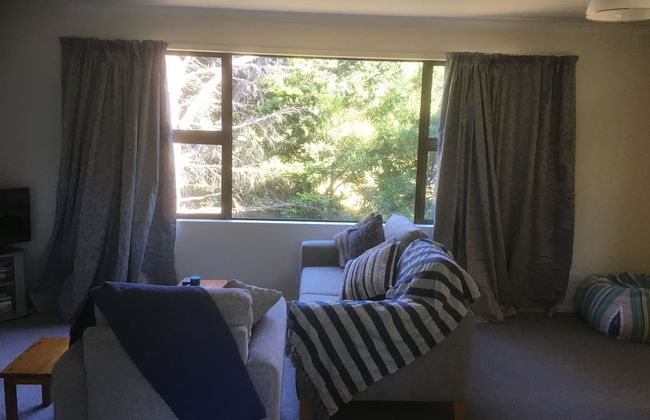
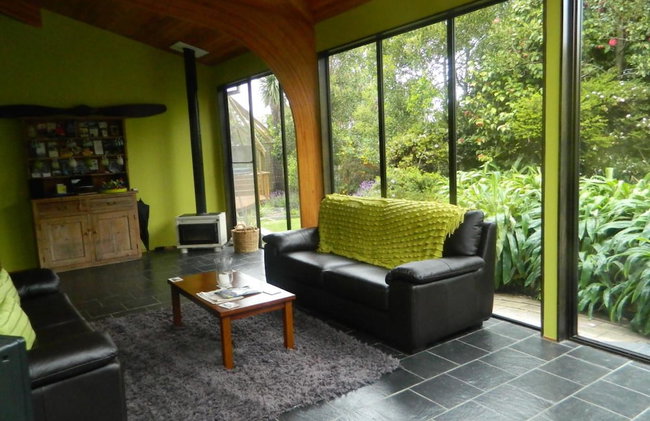
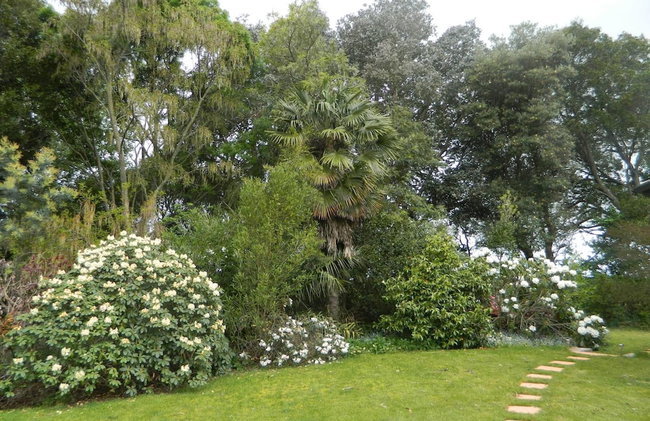
Remarkable Location – Queenstown - Foto 1
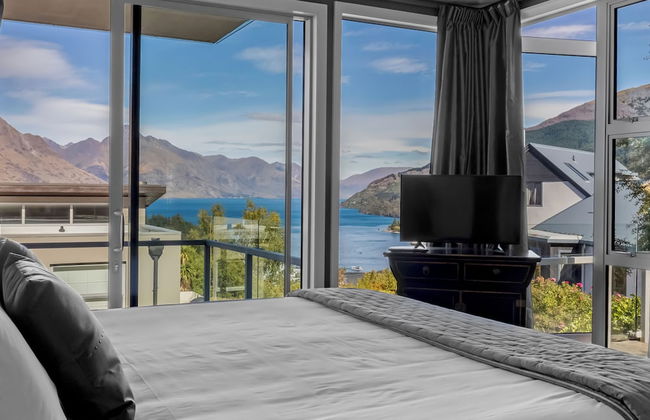
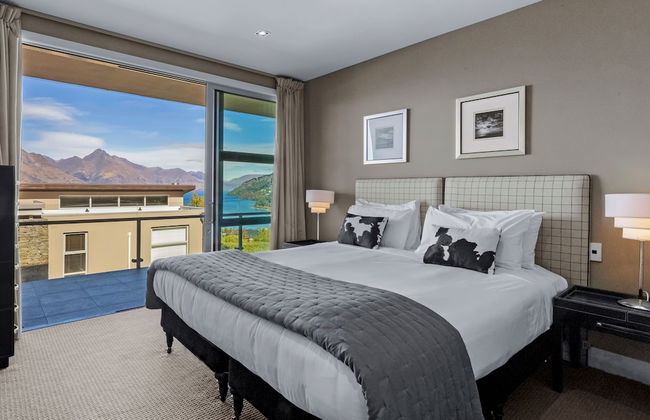
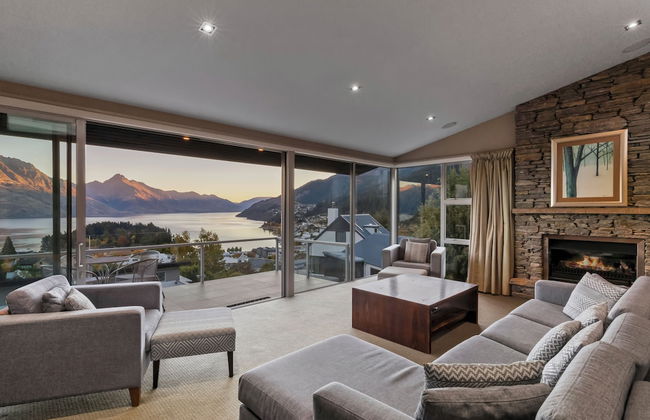
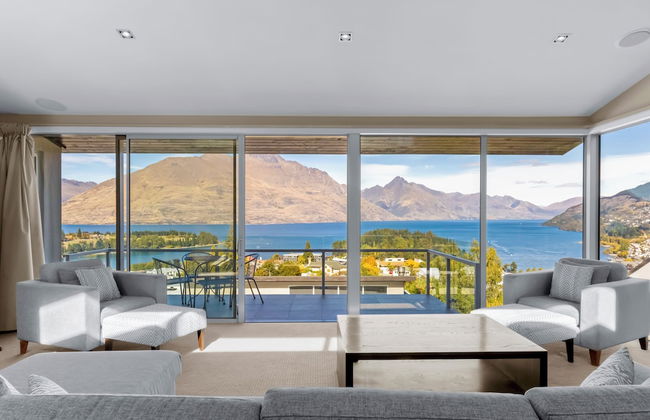
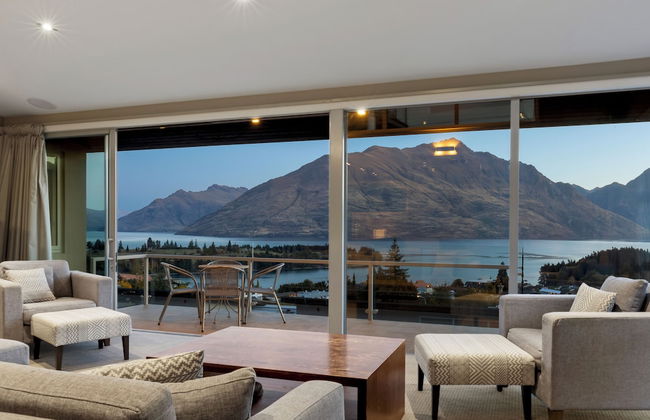
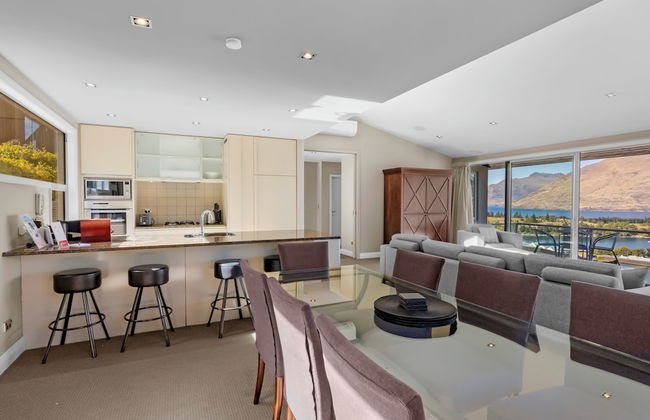
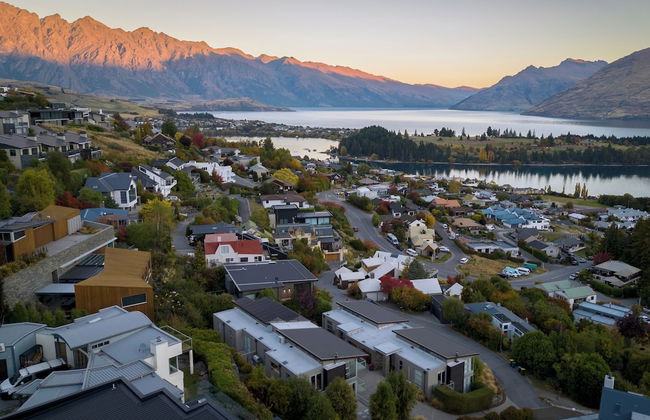
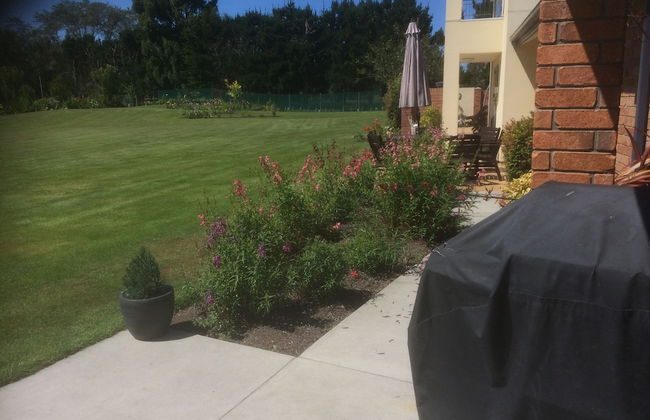
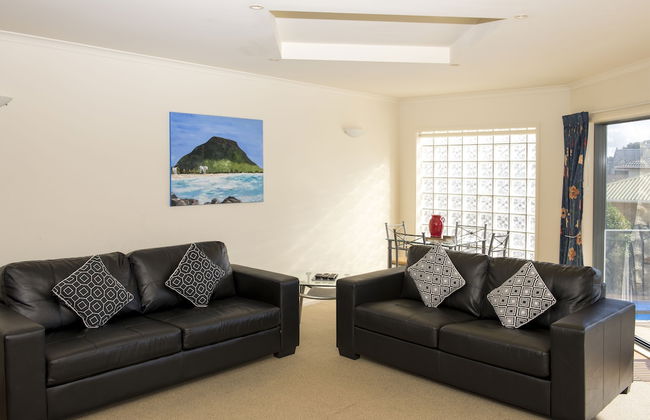
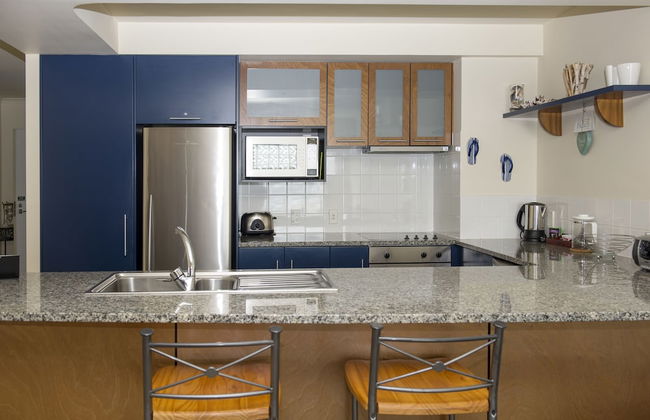
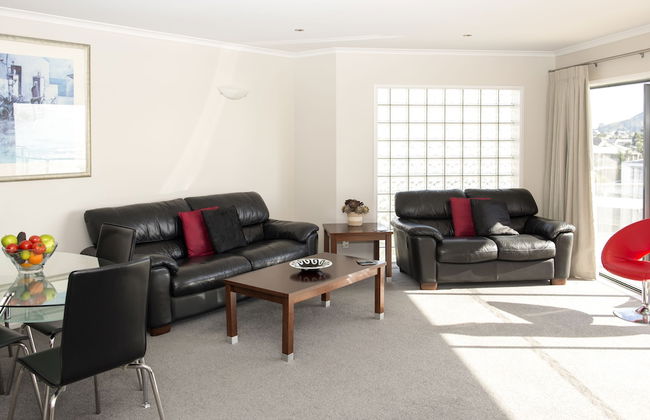
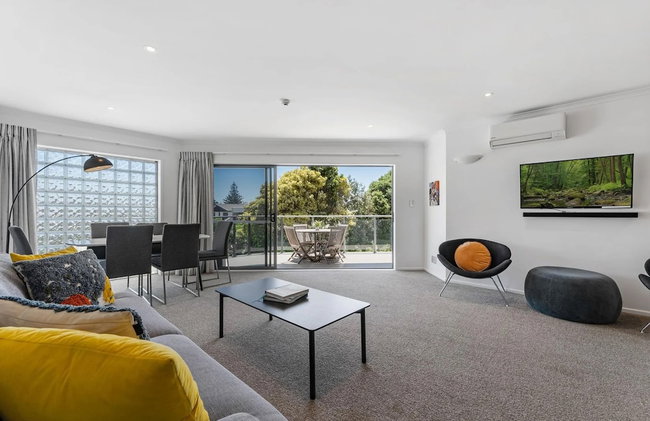
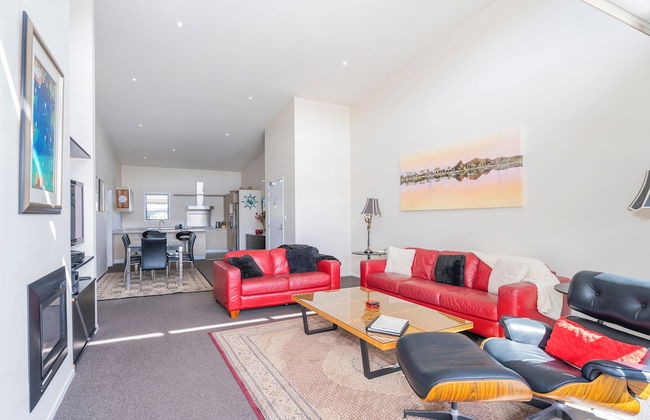
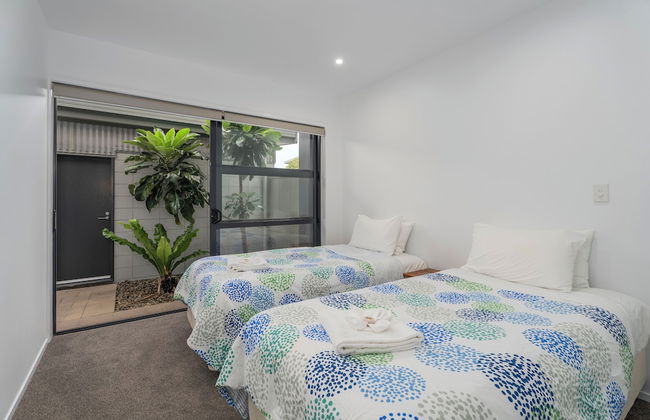
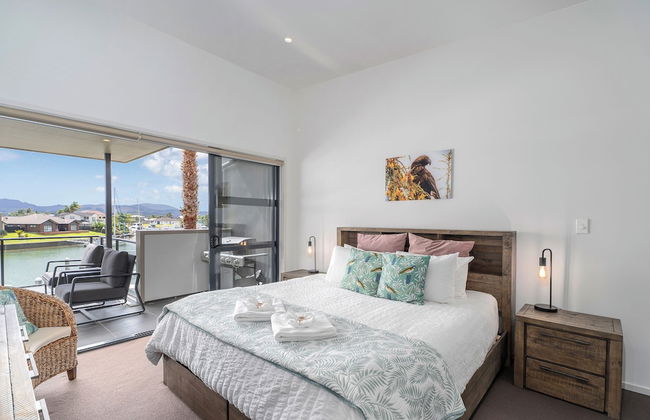
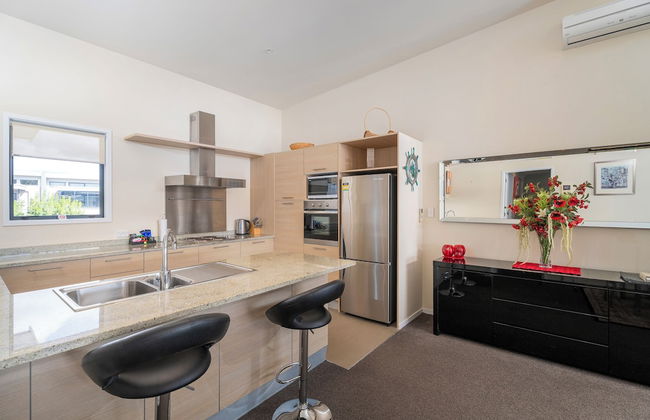
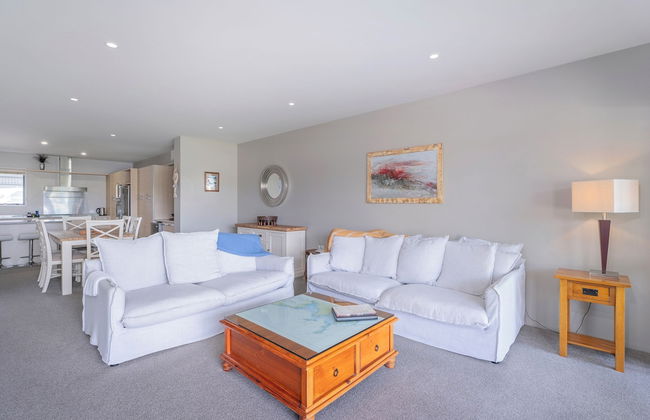
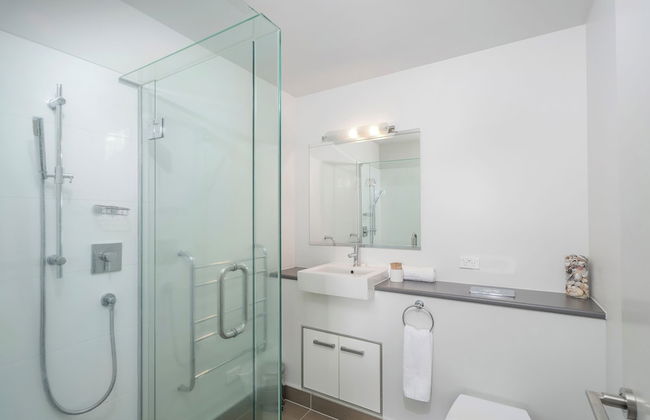
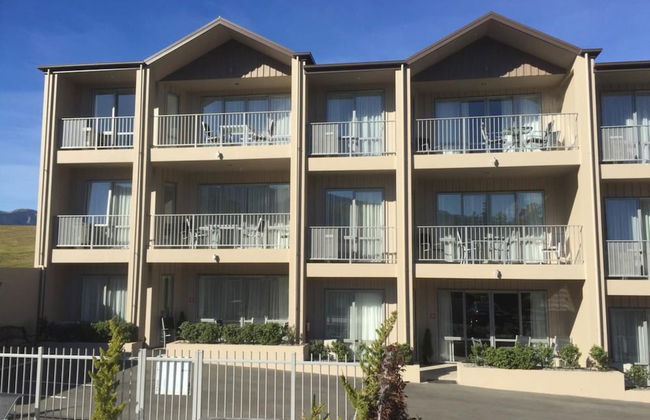
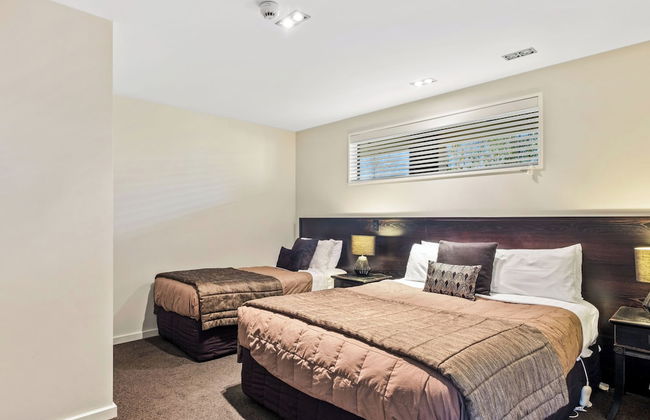
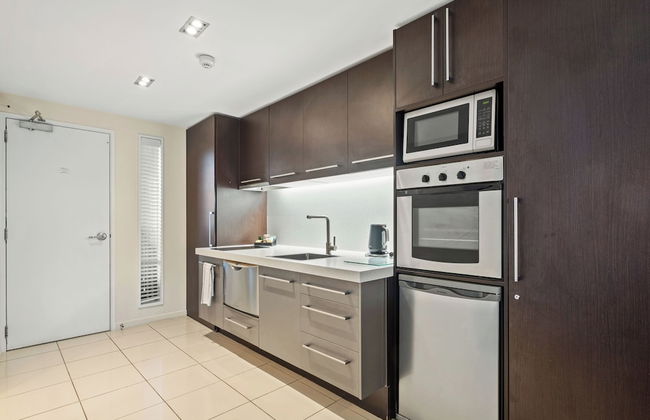
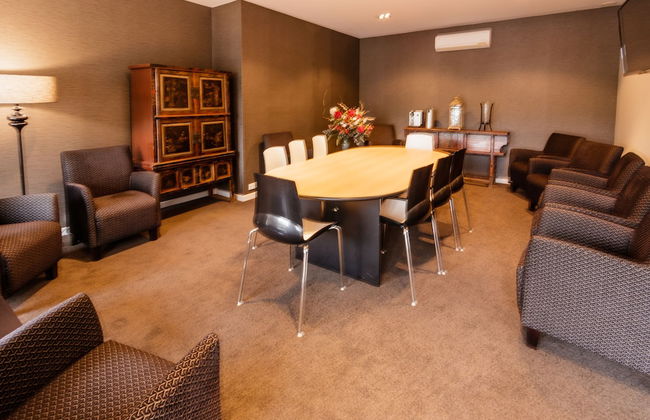
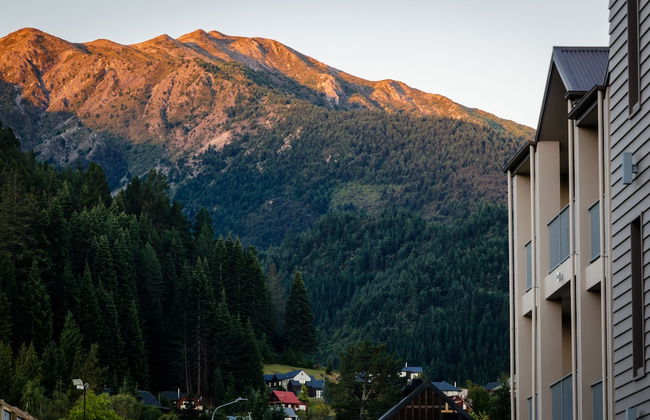
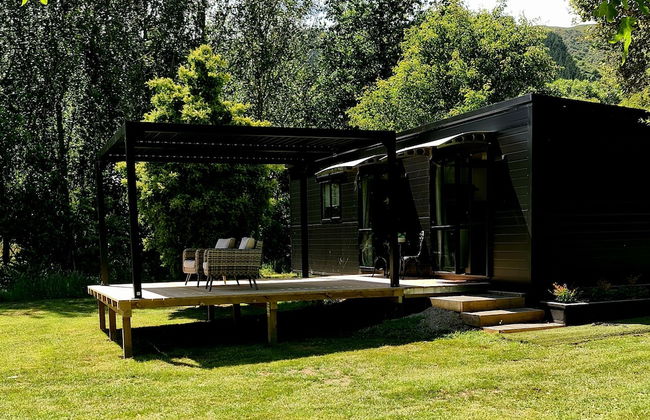
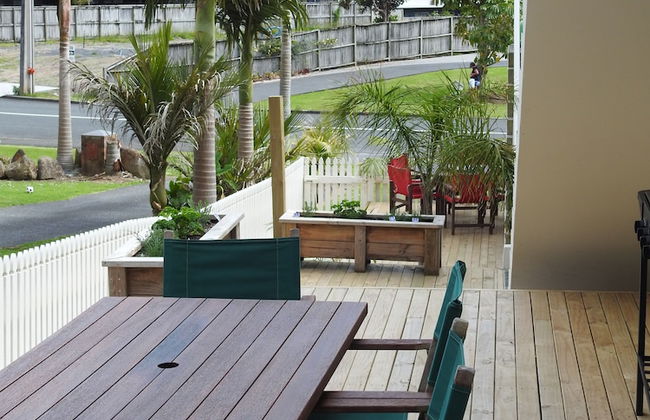
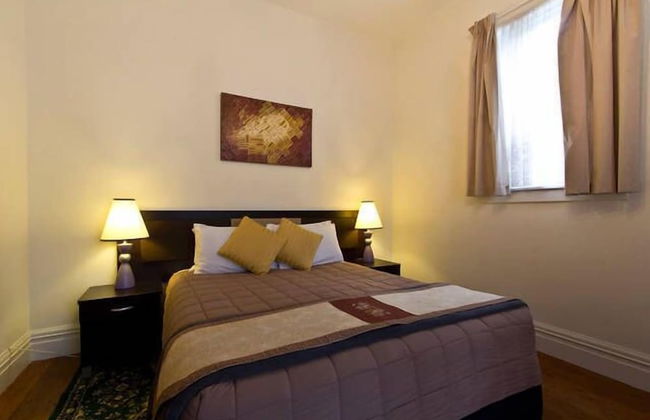
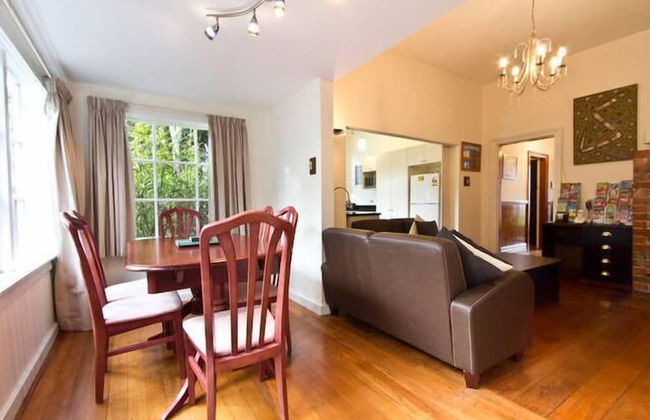
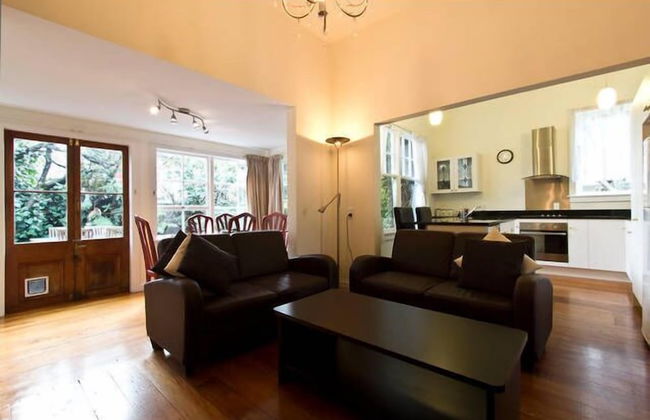
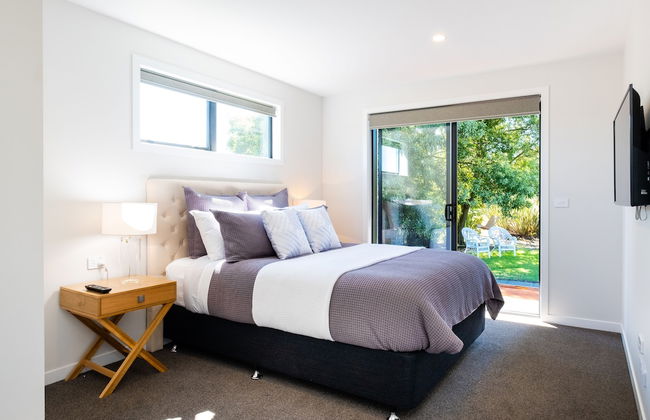
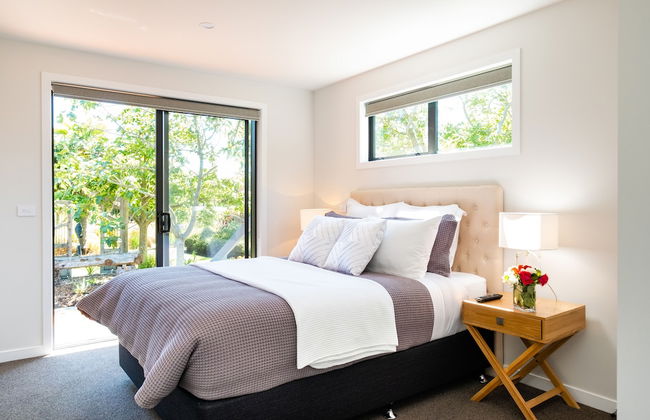
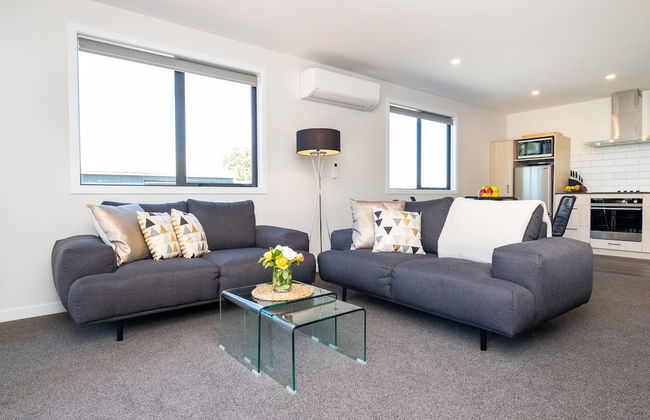
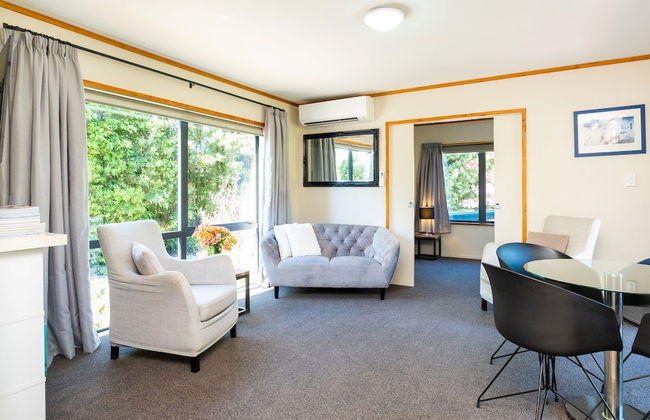
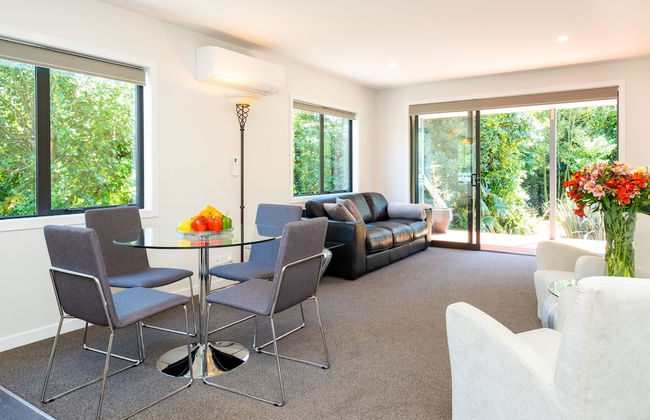
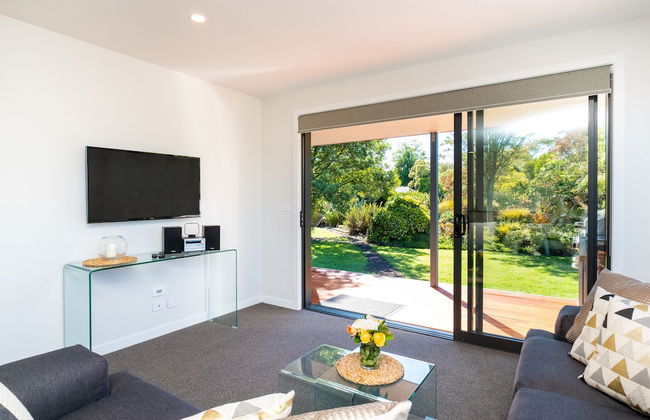
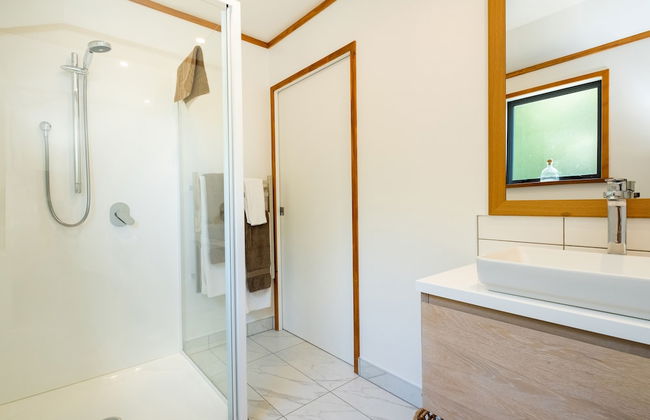
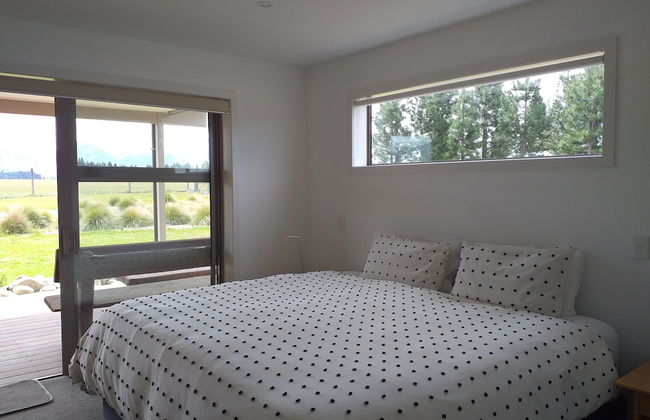
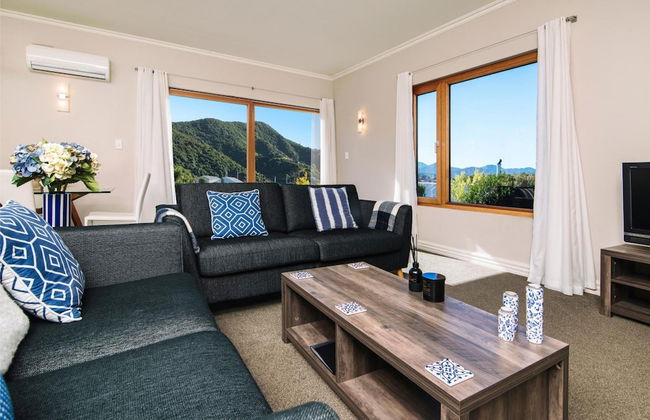
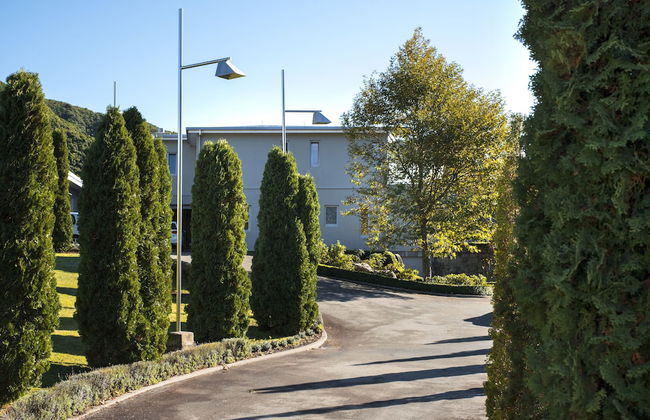
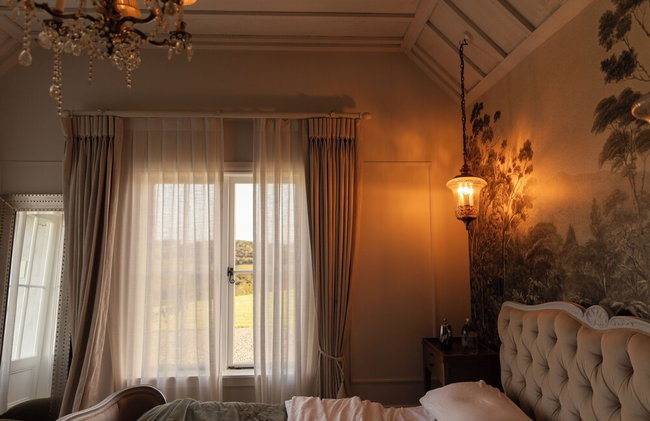
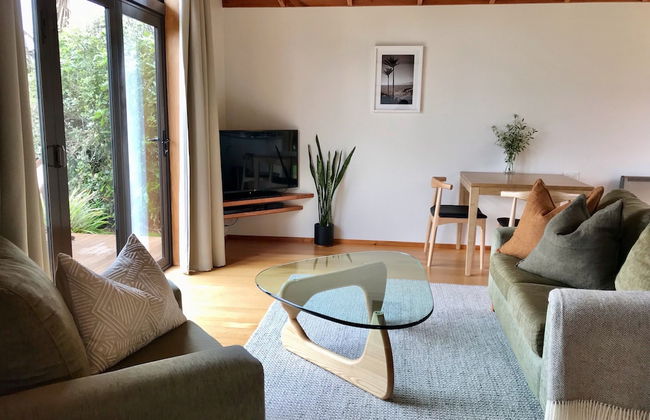
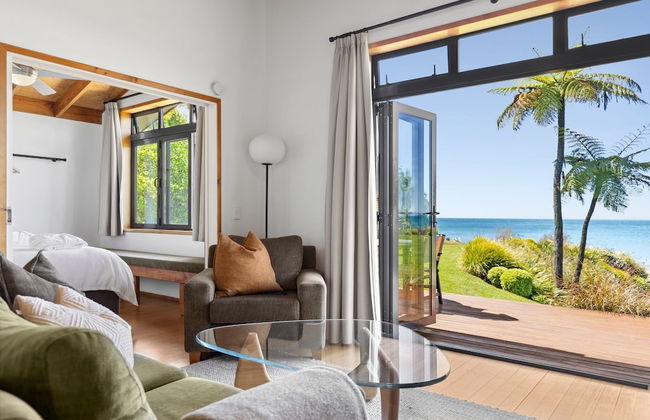
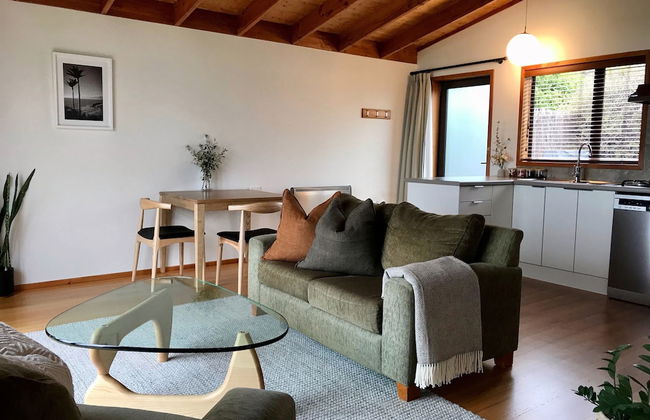
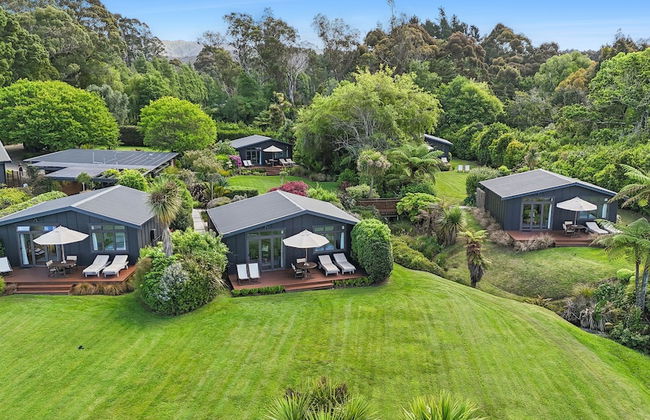
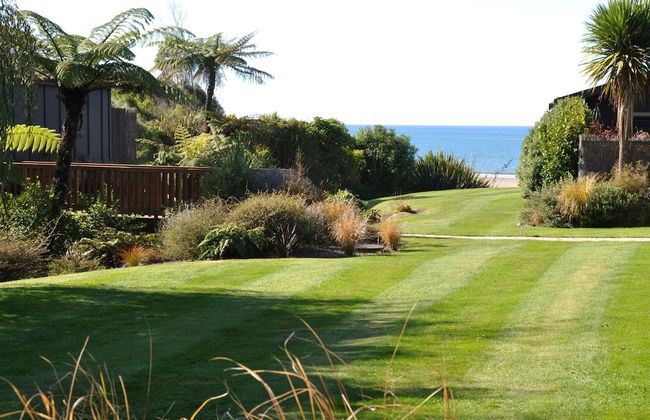
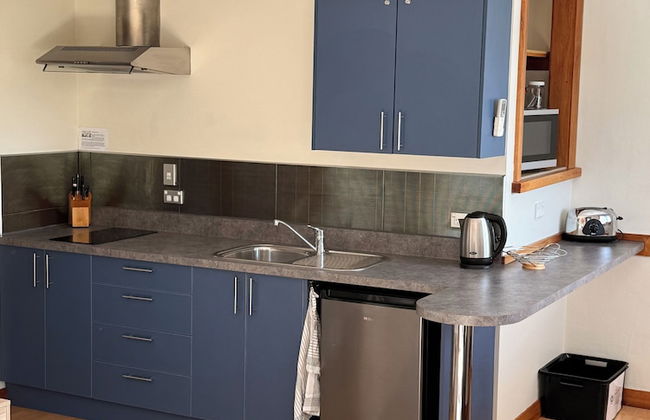
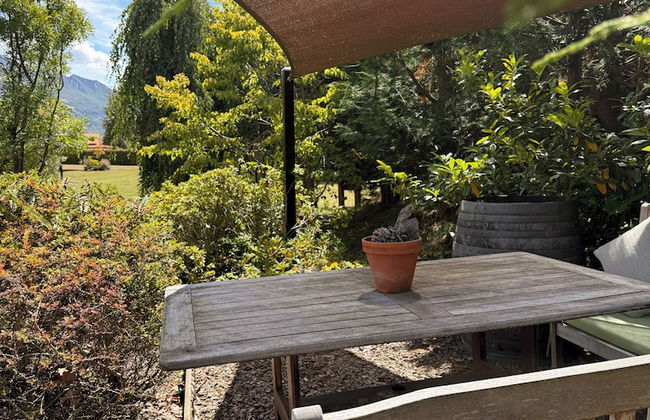
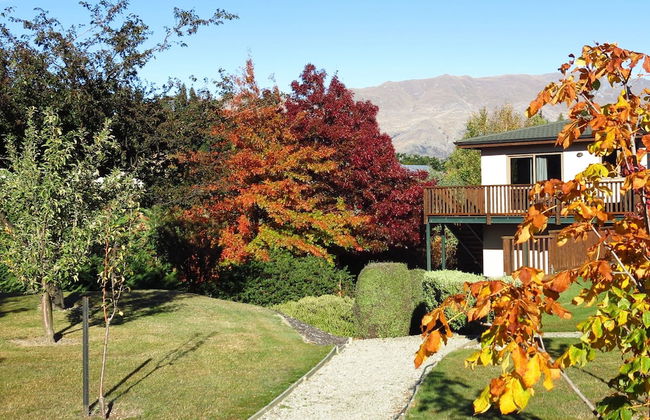
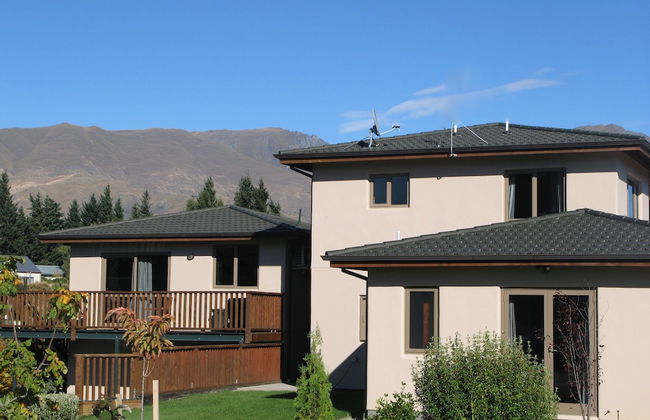
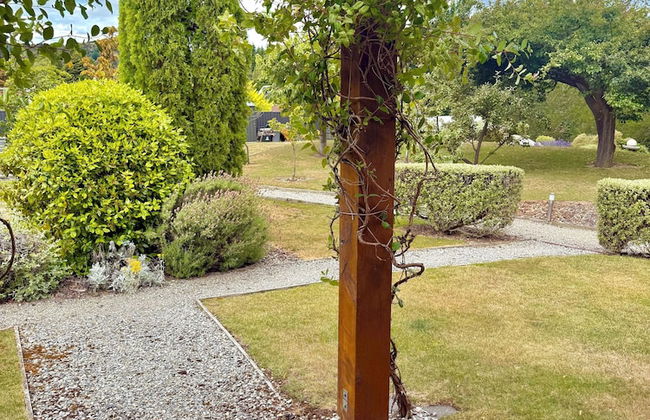
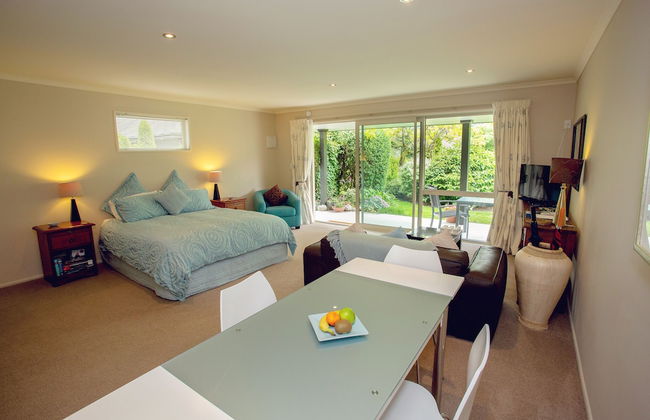
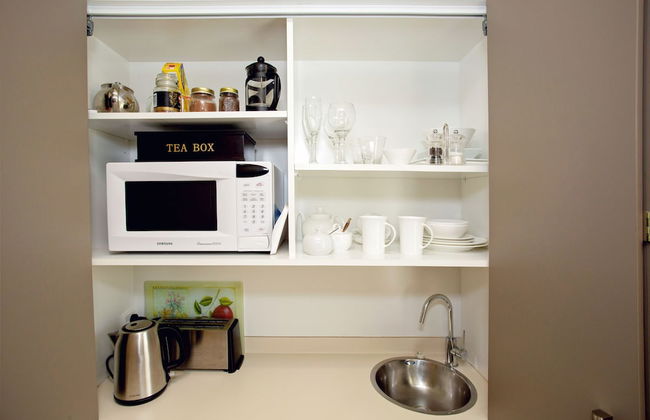
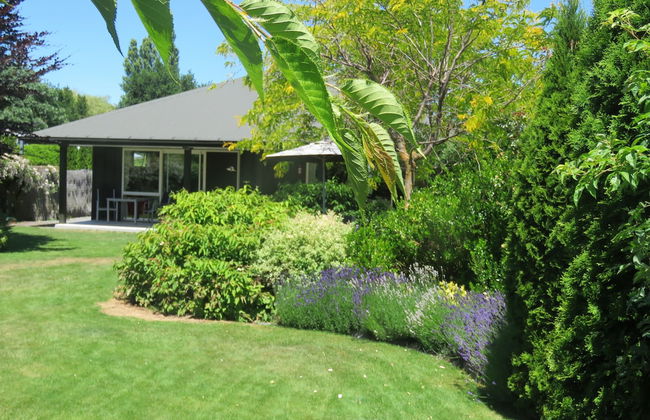
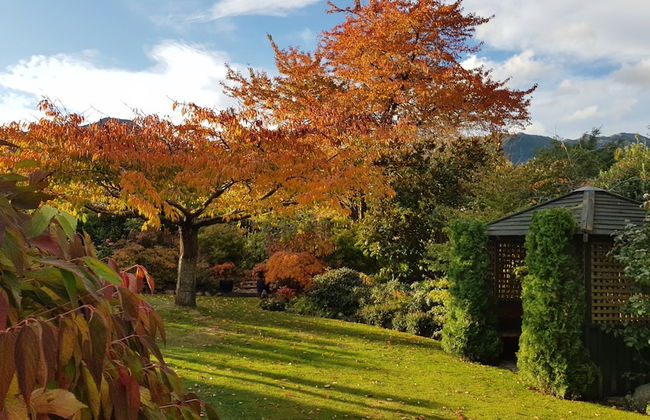
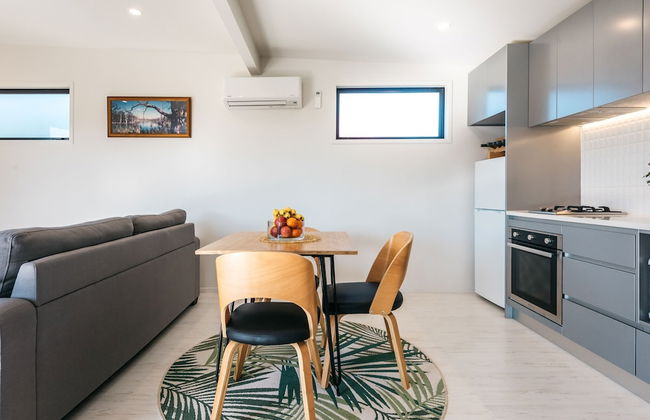
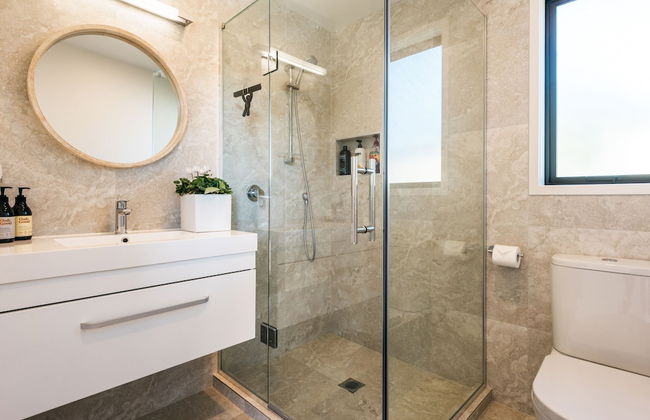
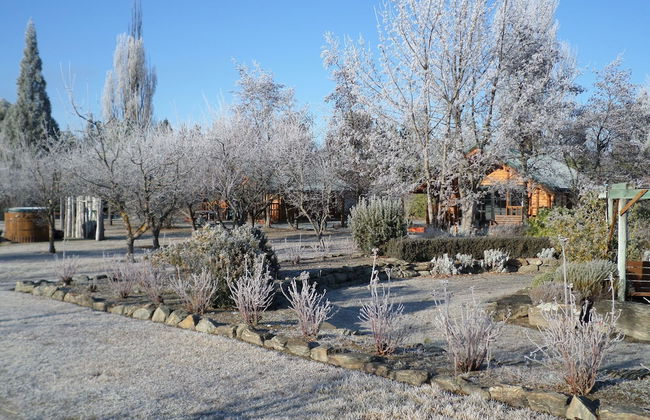
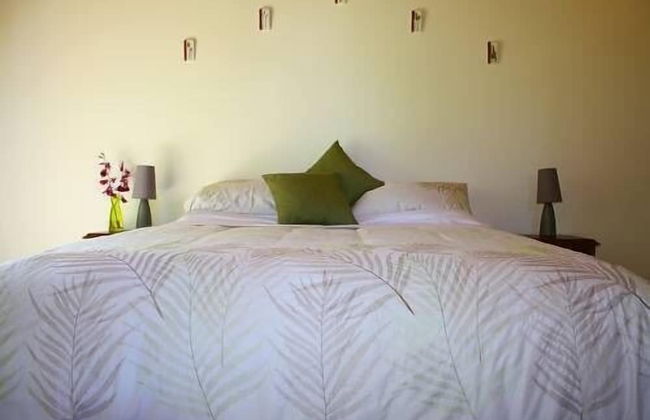
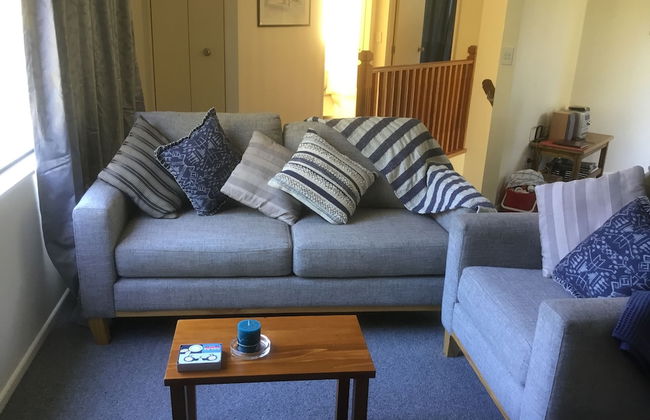
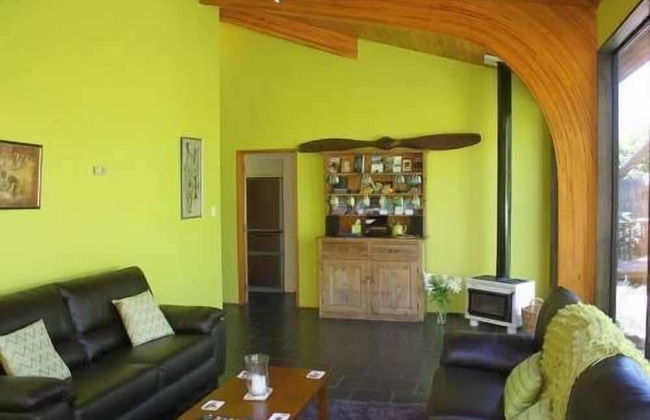
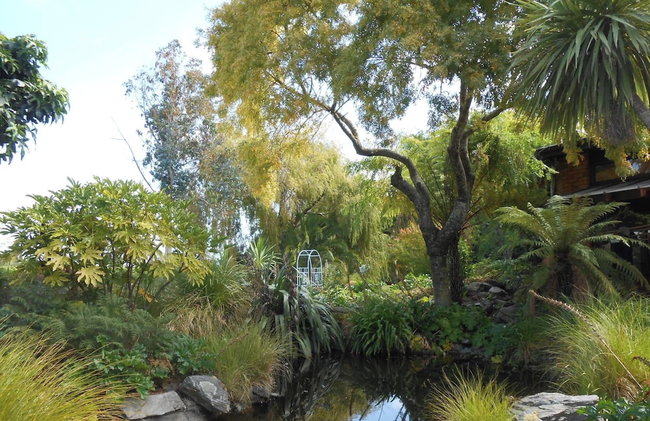
Remarkable Location – Queenstown - Foto 2
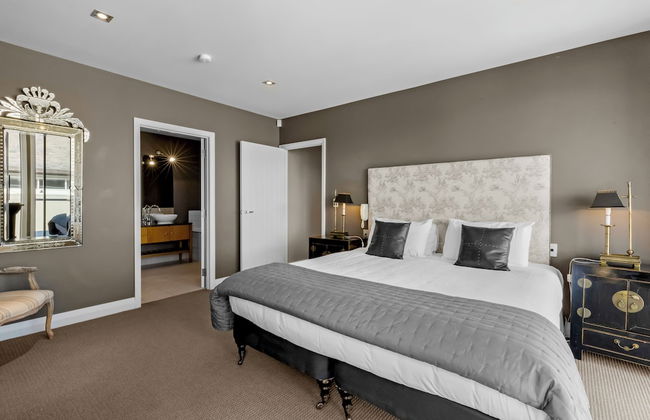
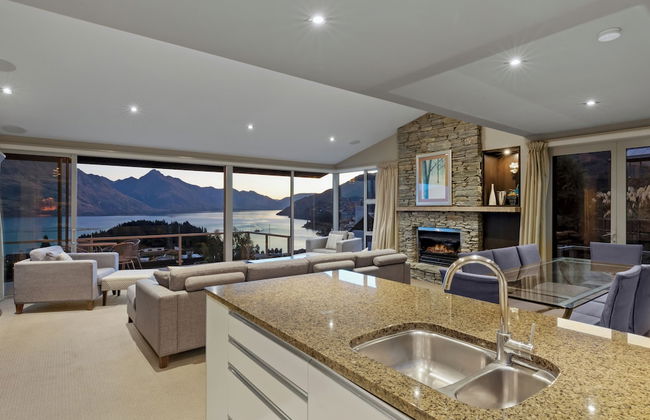
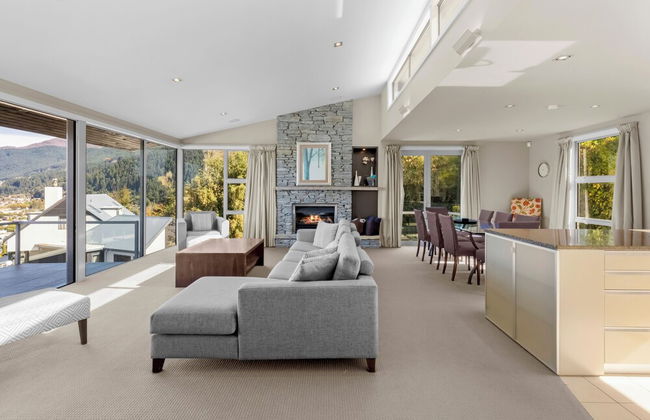
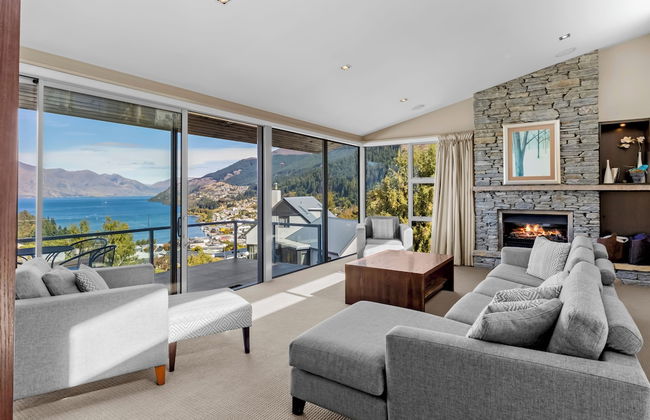
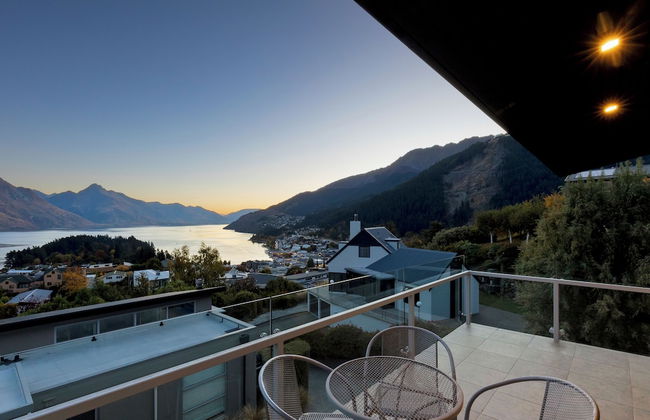
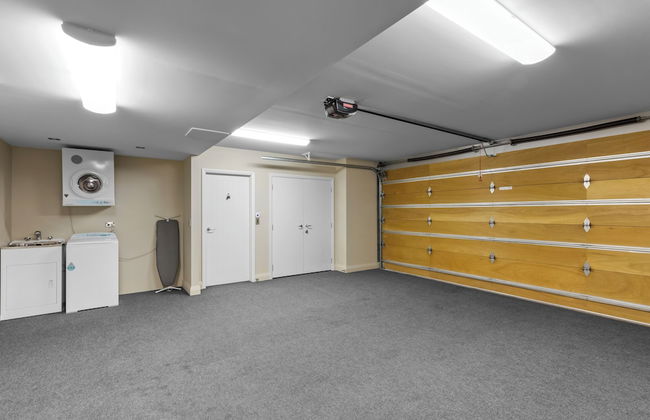
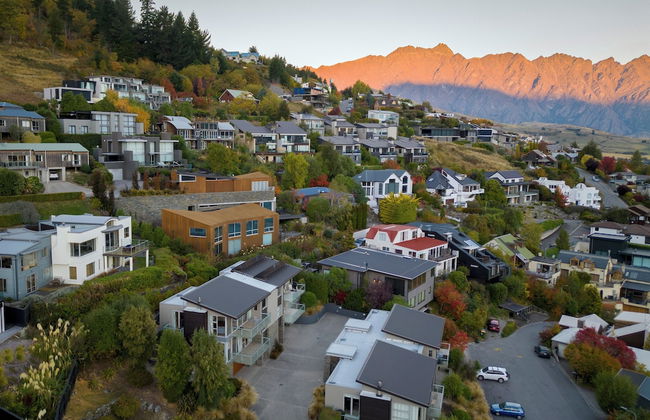
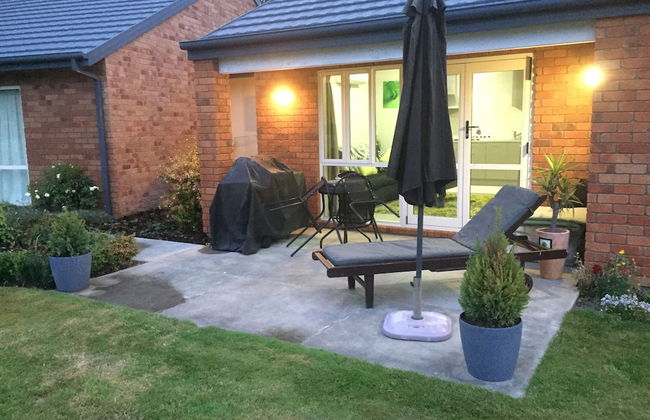
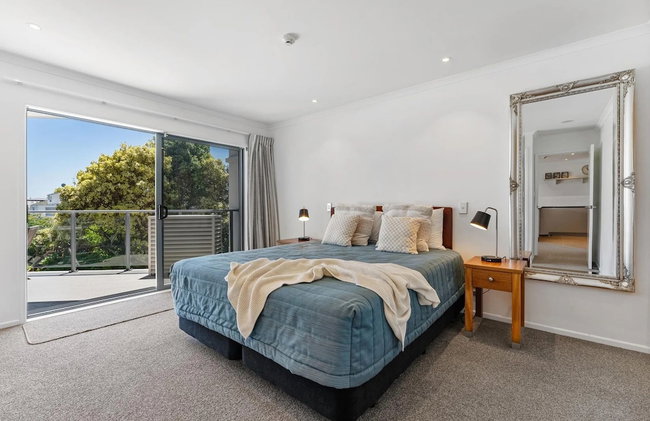
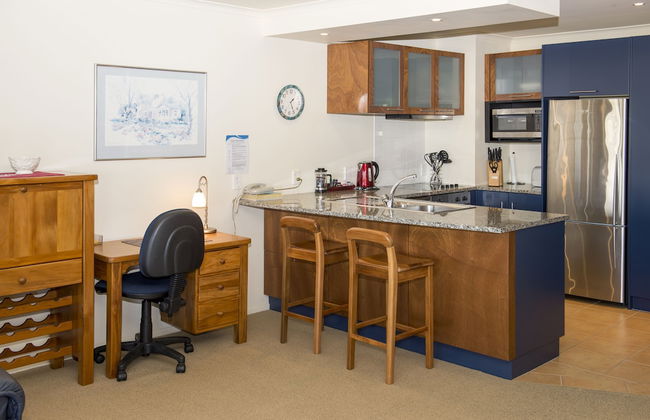
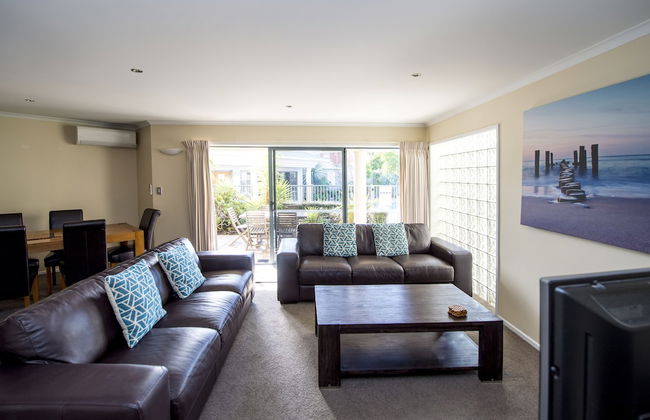
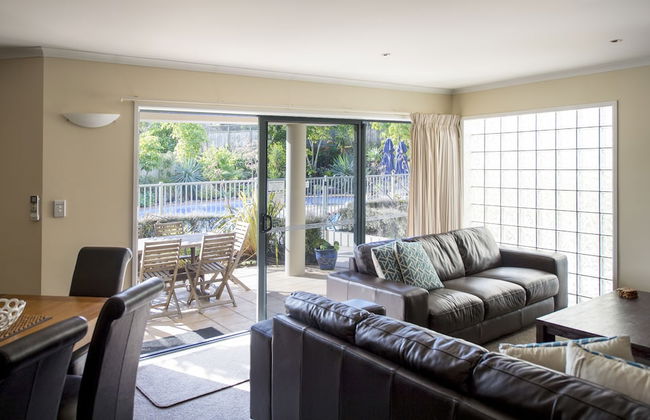
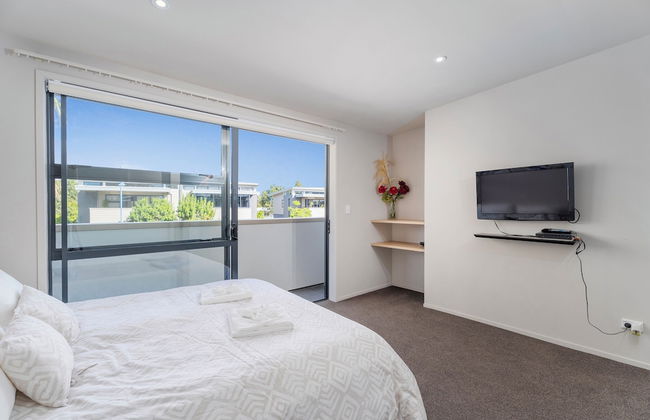
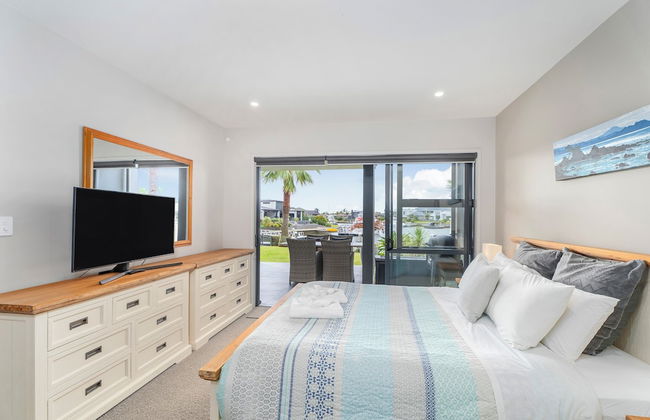
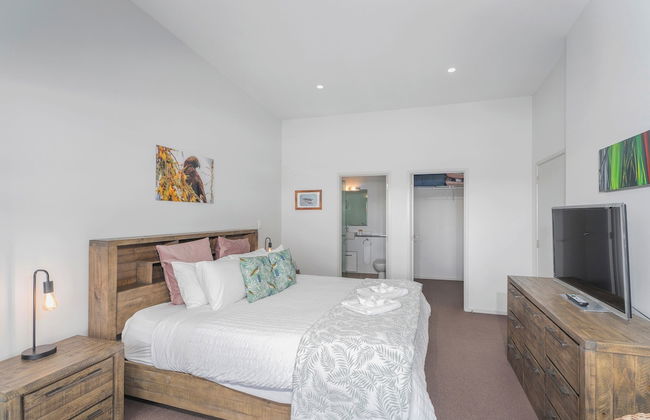
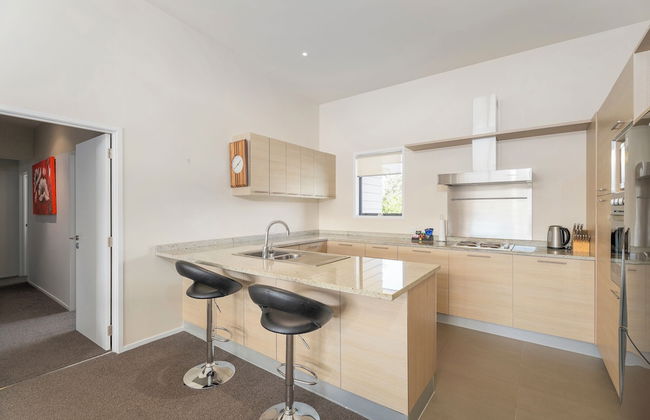
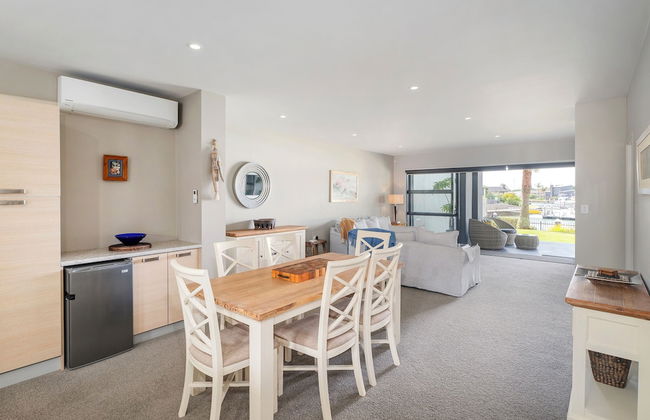
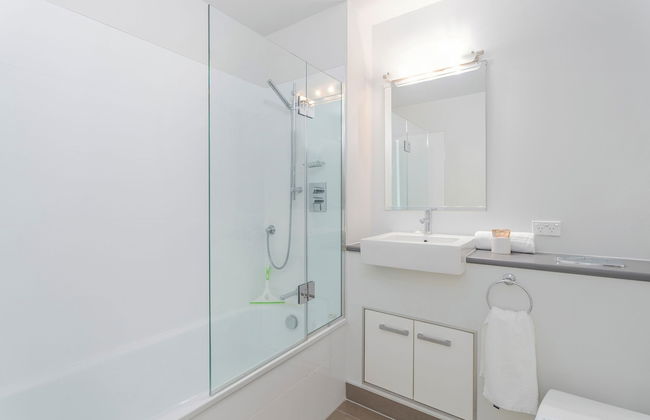
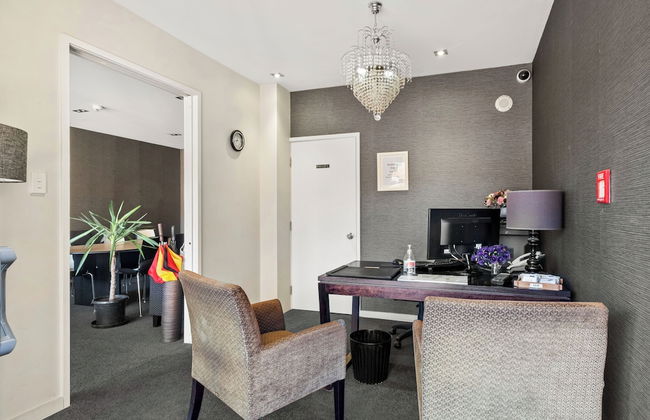
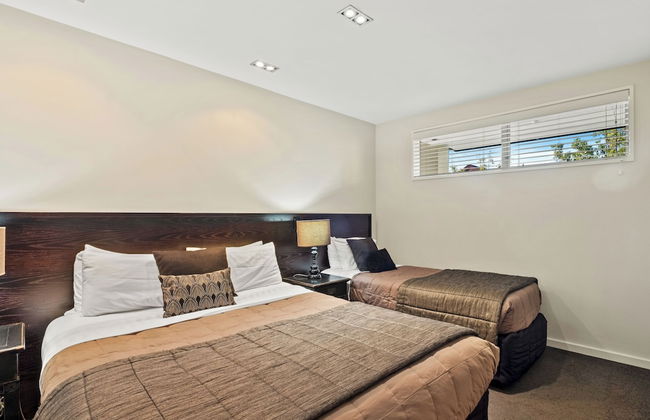
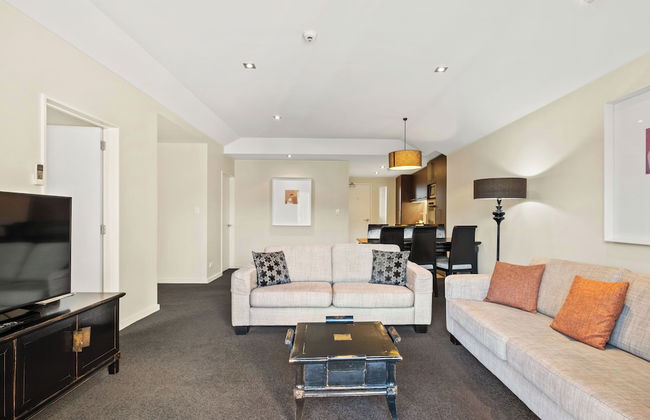
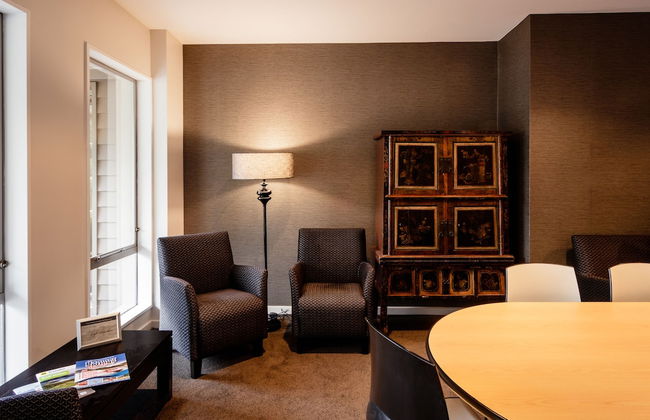
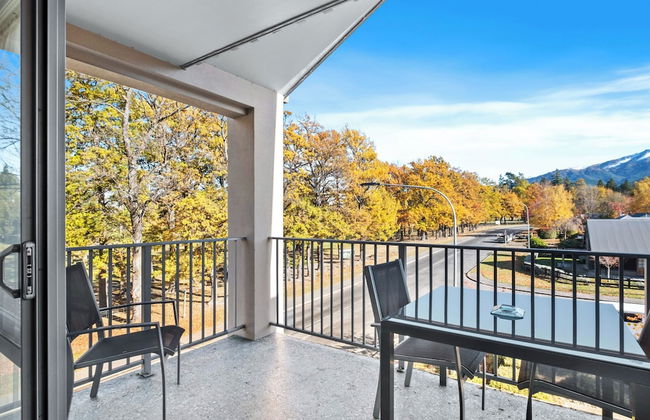
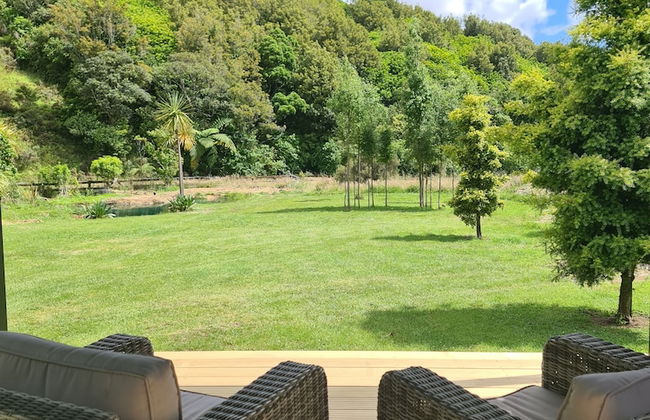
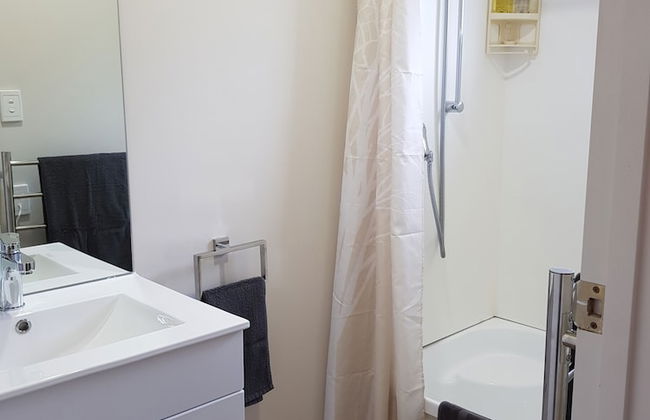
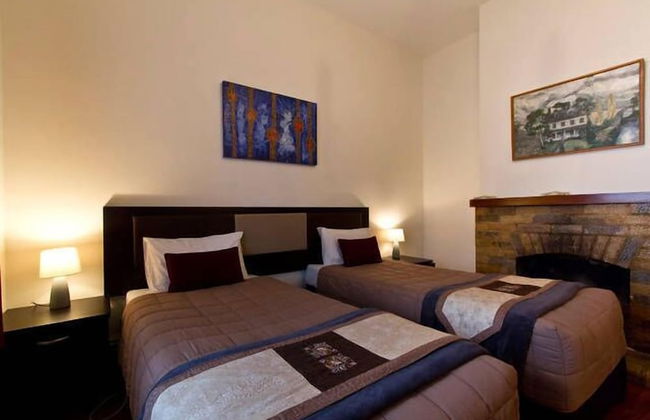
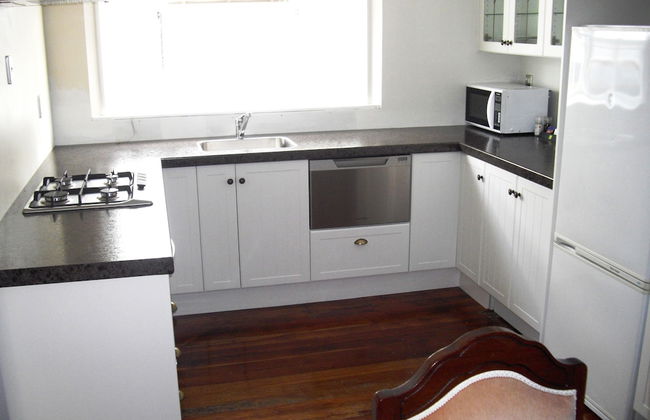
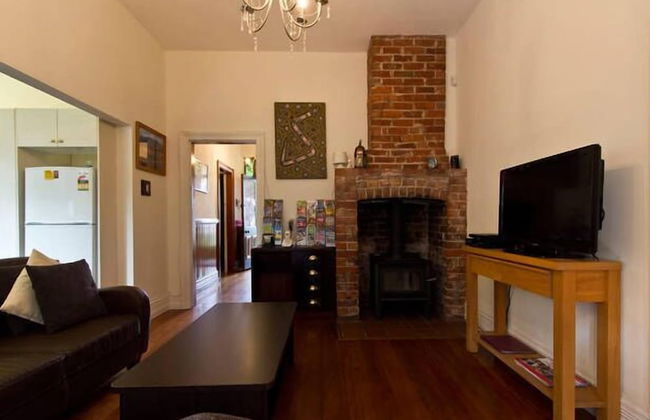
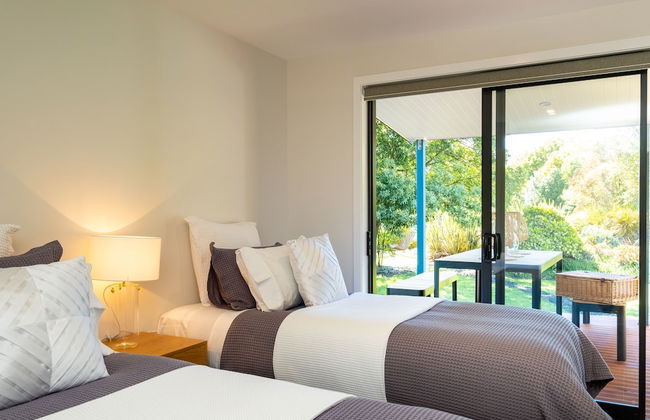
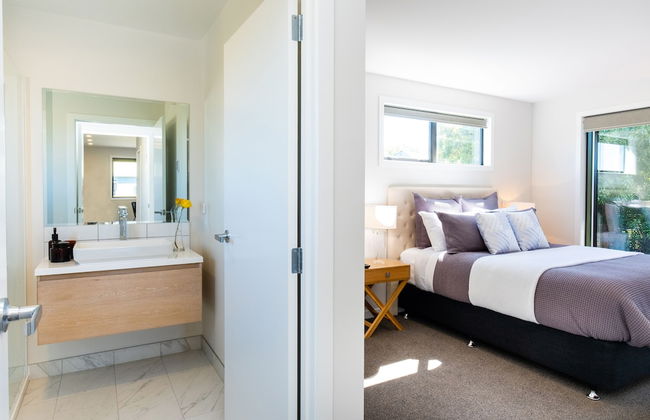
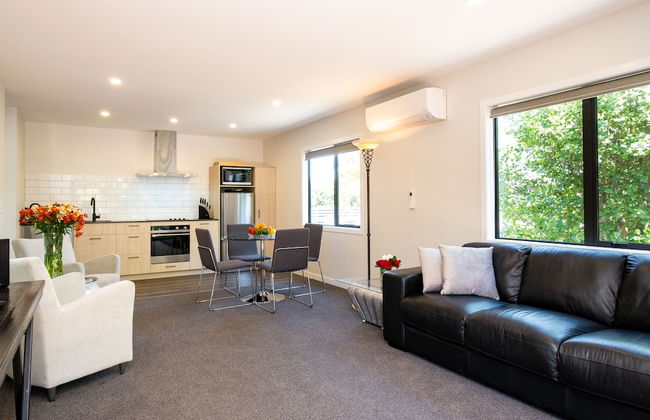
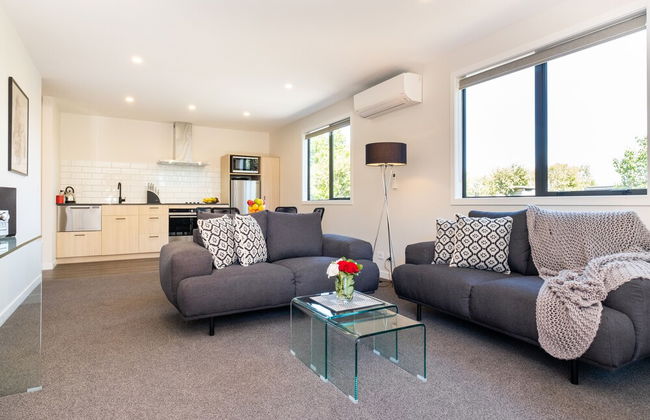
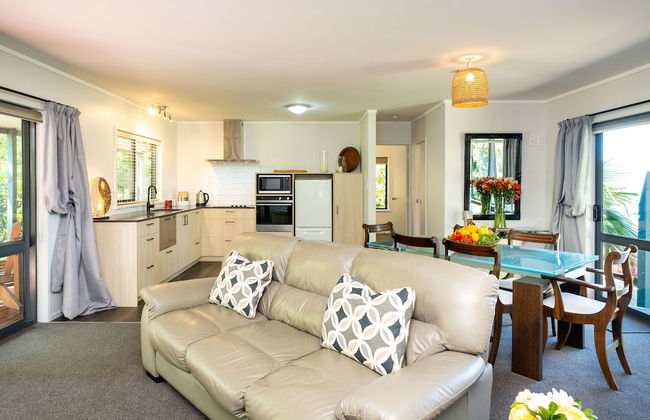
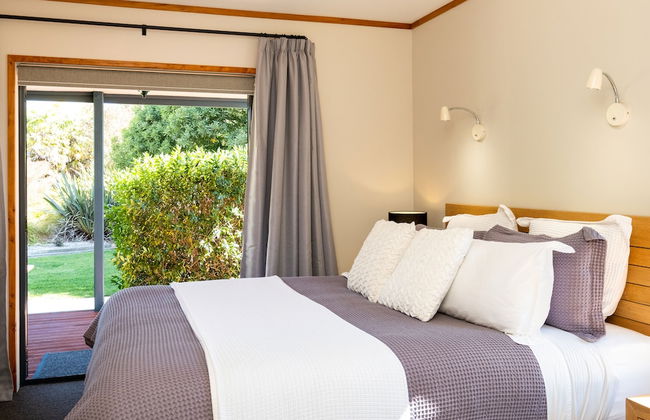
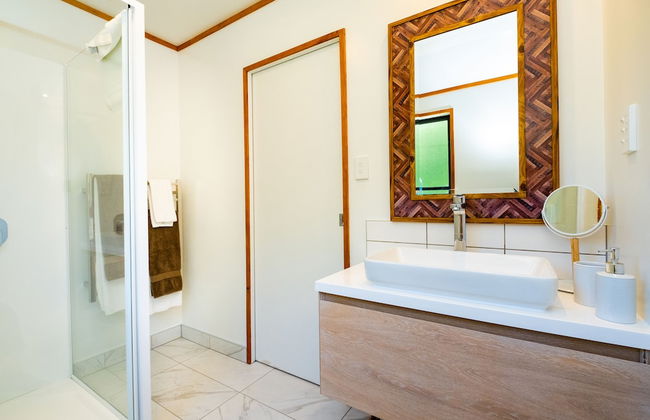
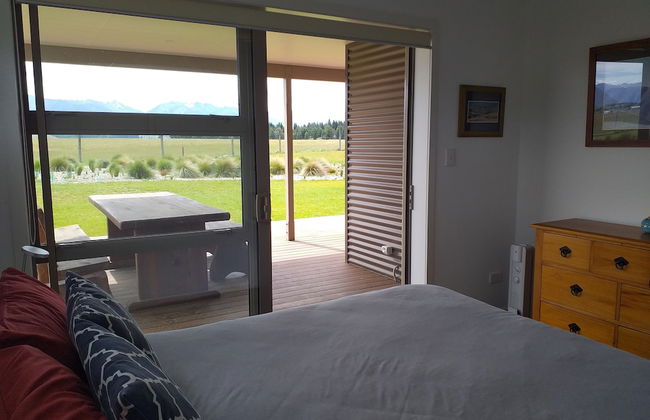
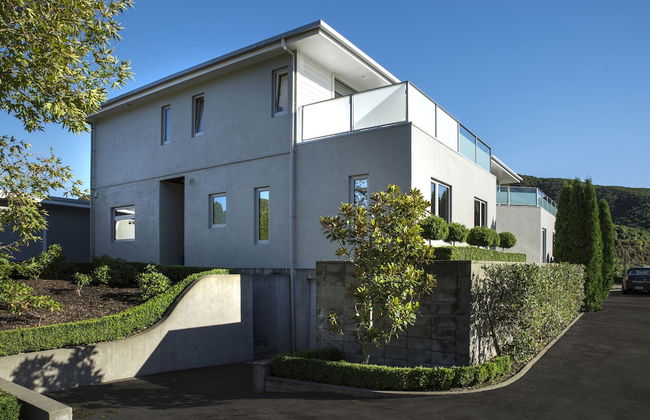
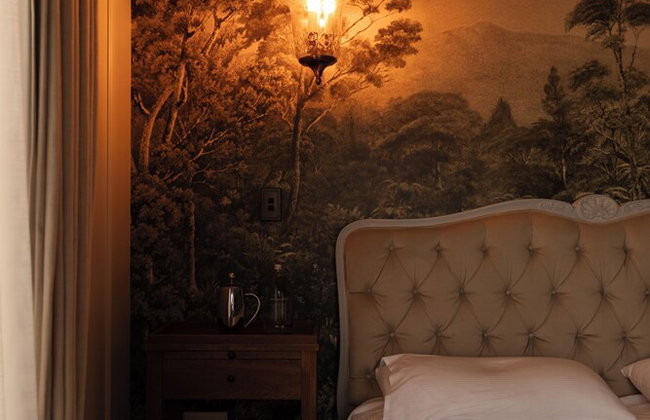
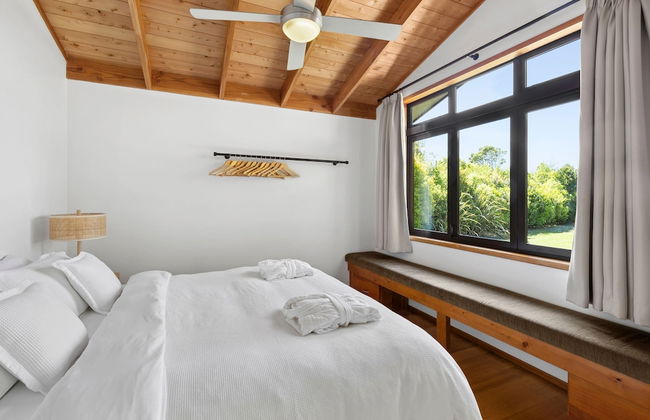
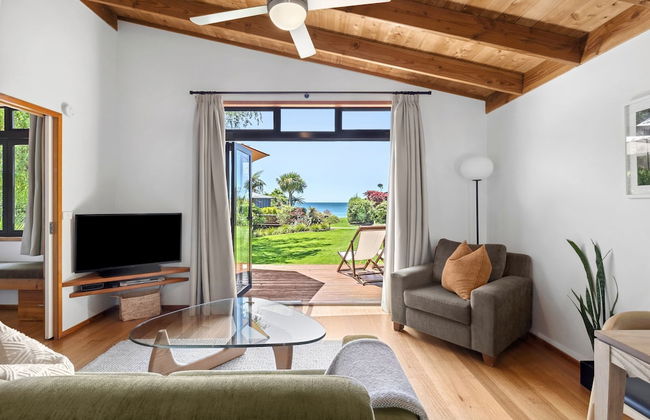
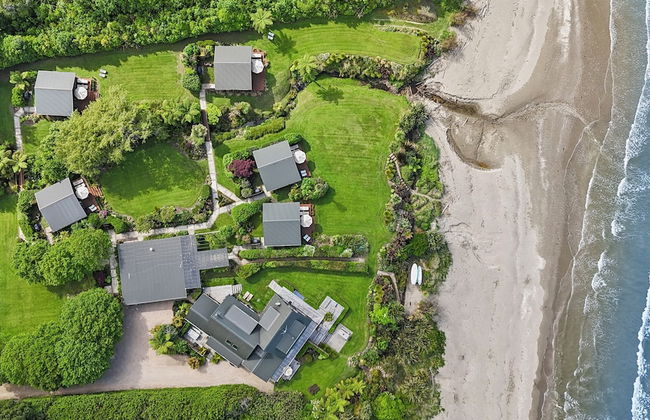
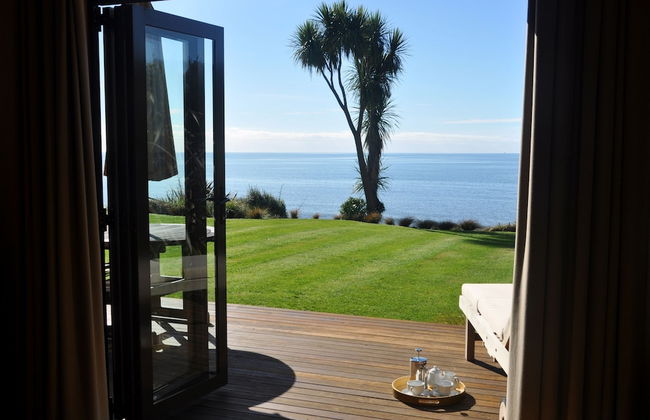
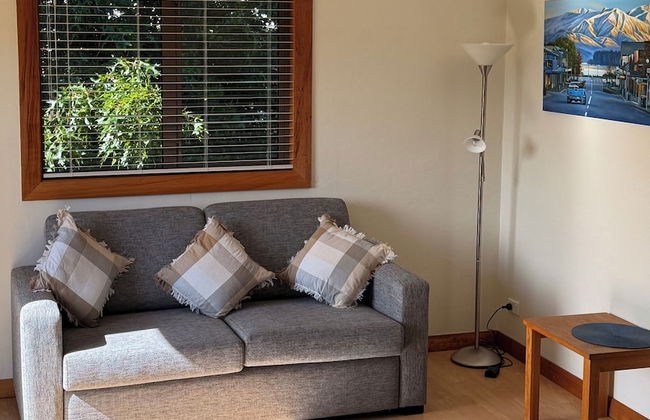
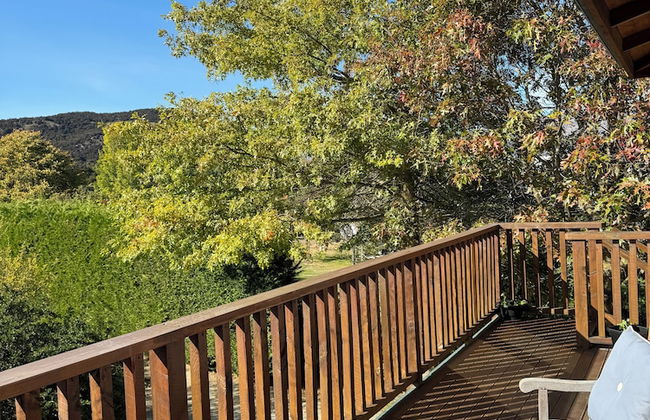
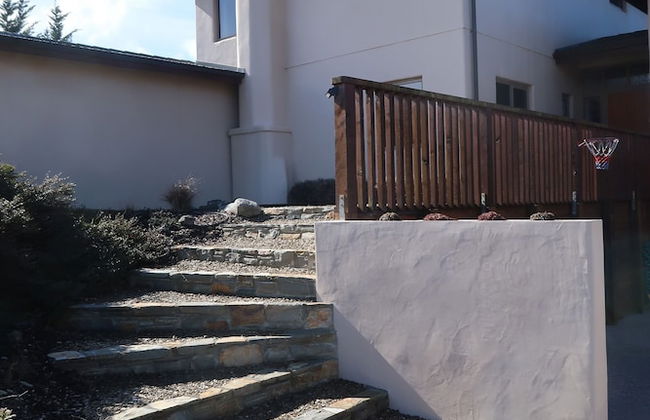
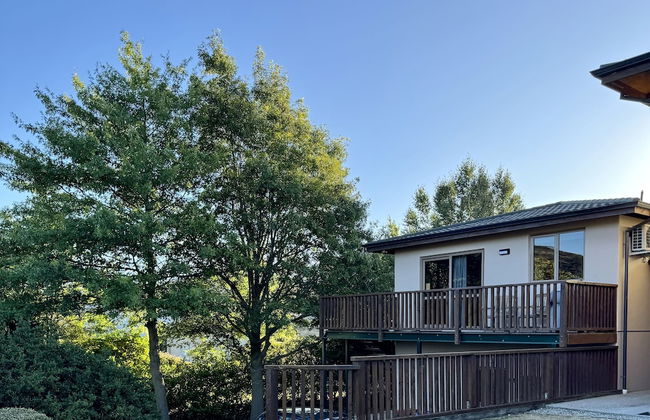
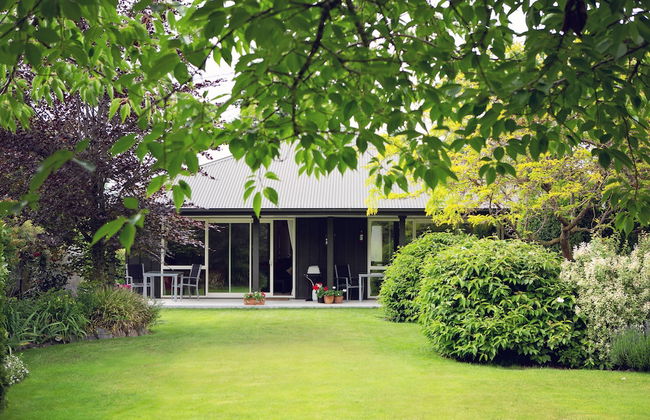
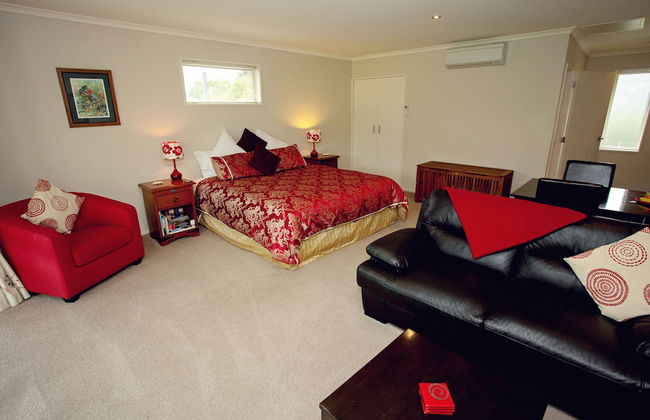
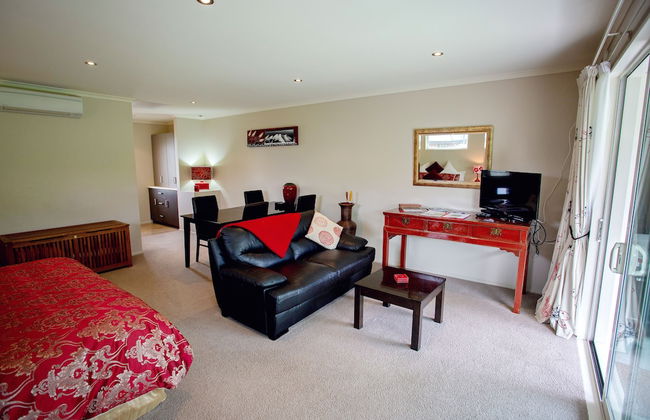
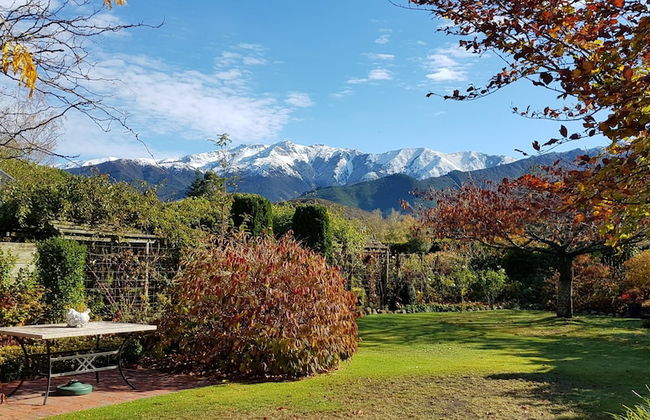
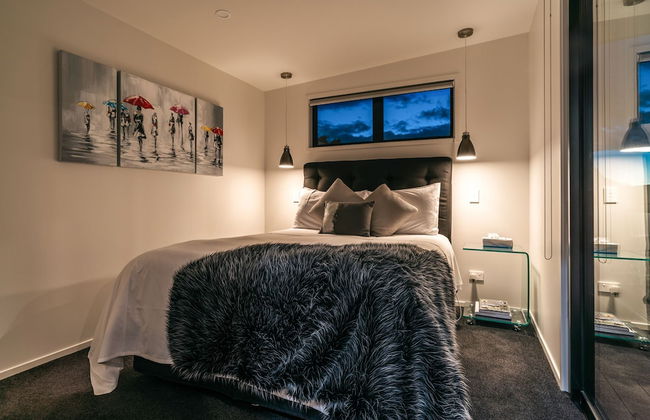
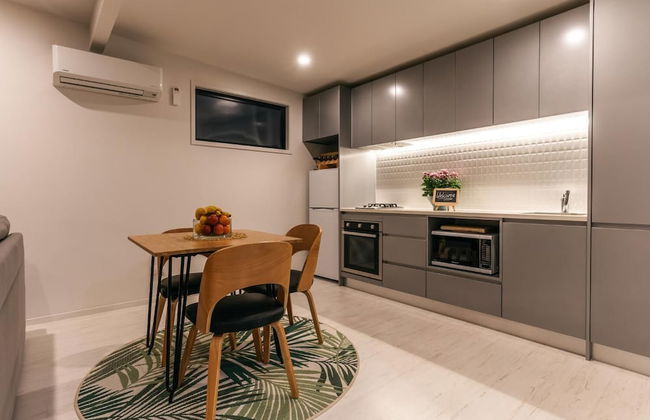
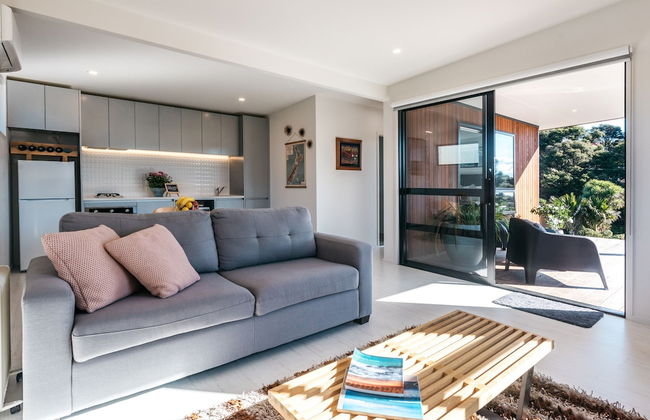
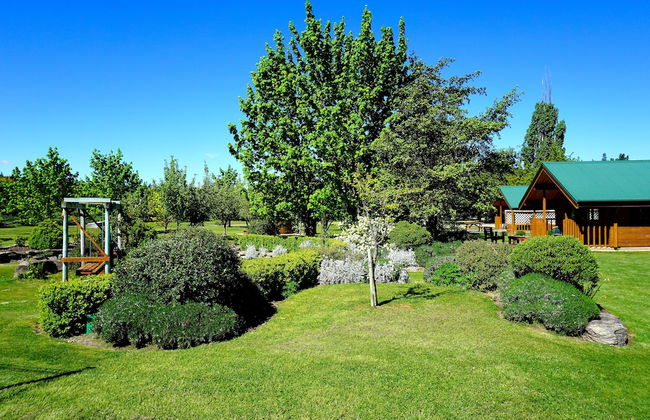
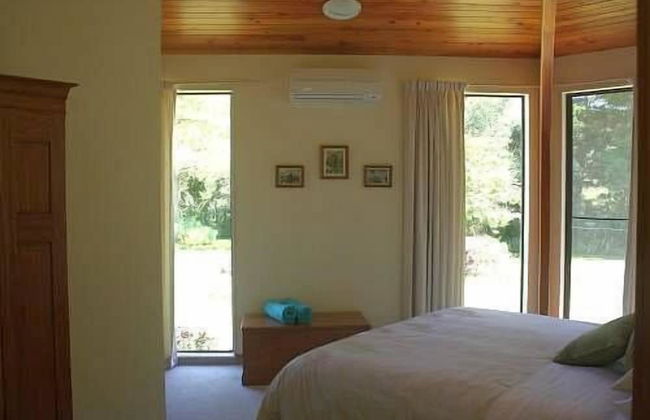
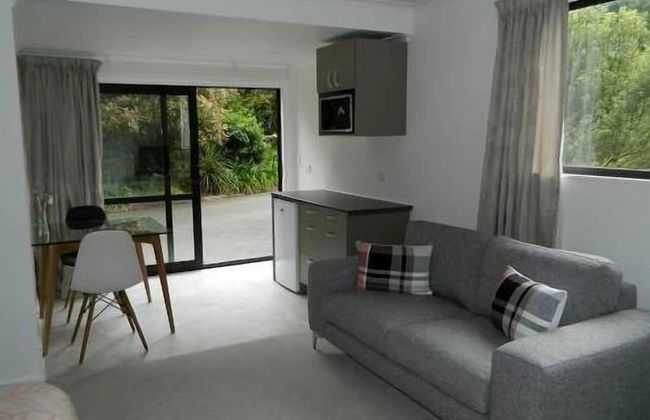
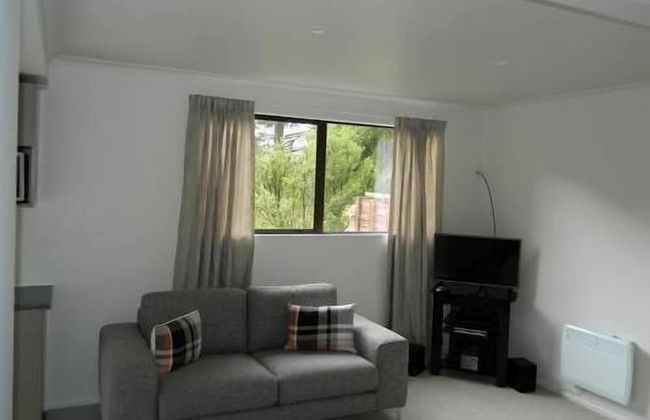
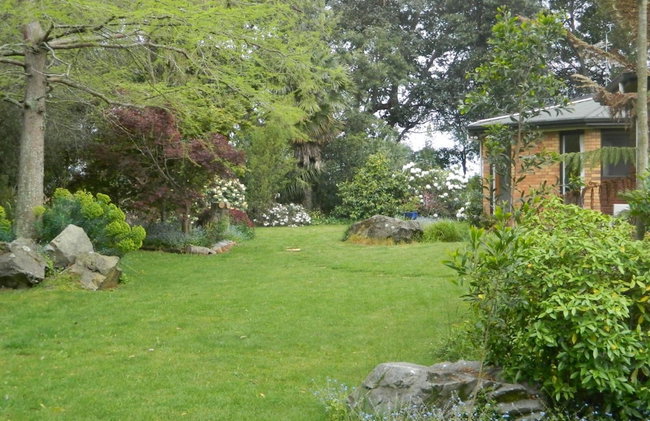
Remarkable Location – Queenstown - Foto 3
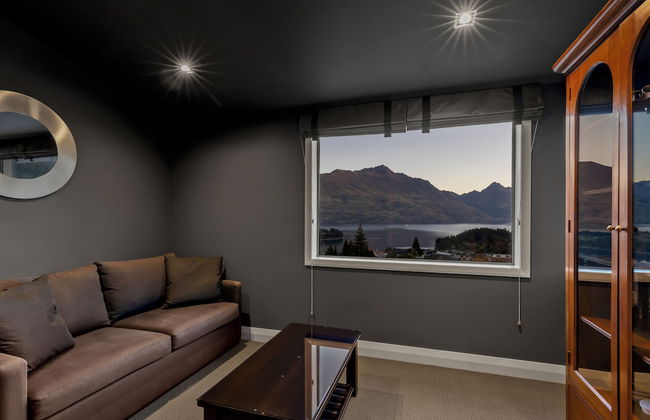
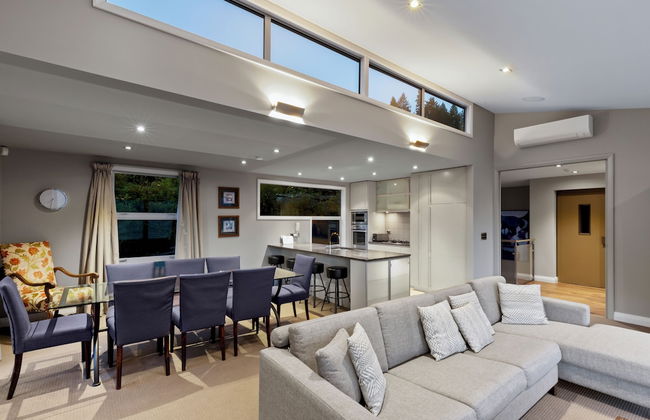
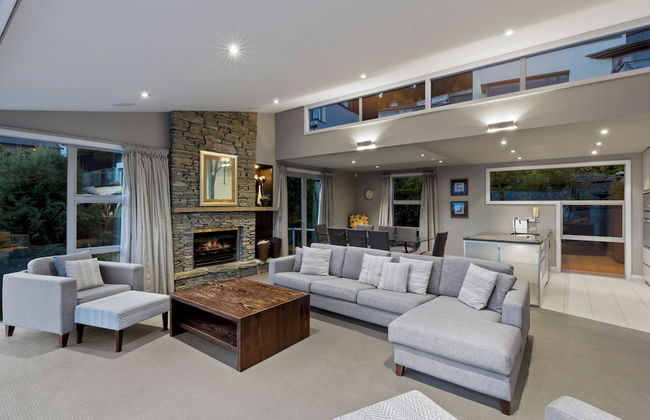
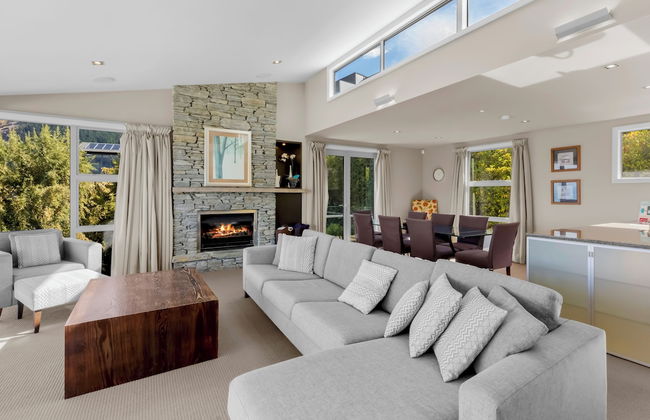
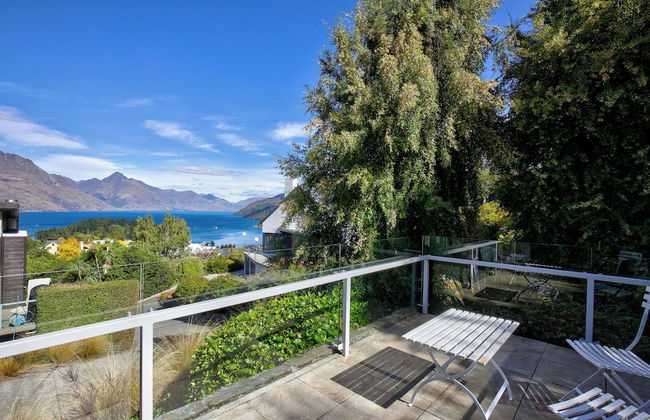
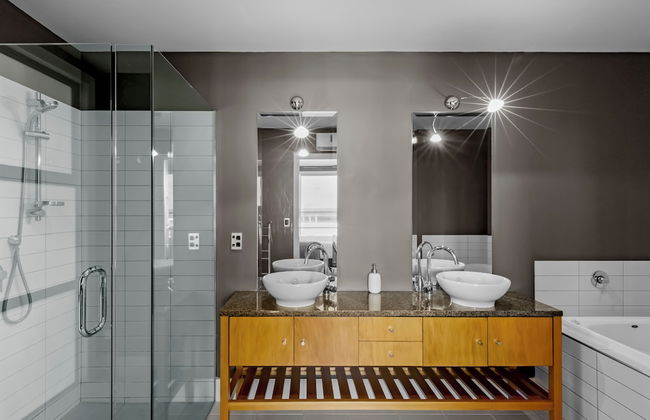
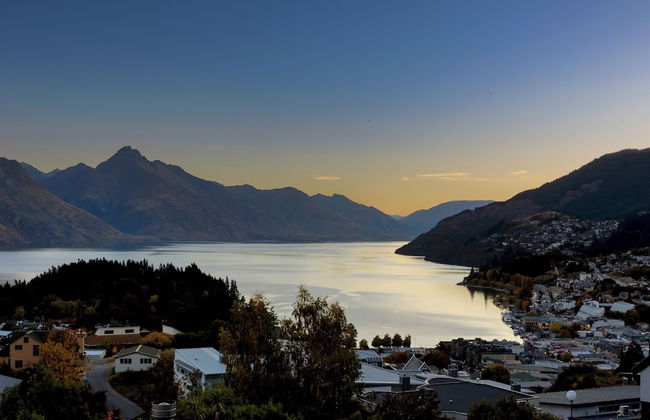
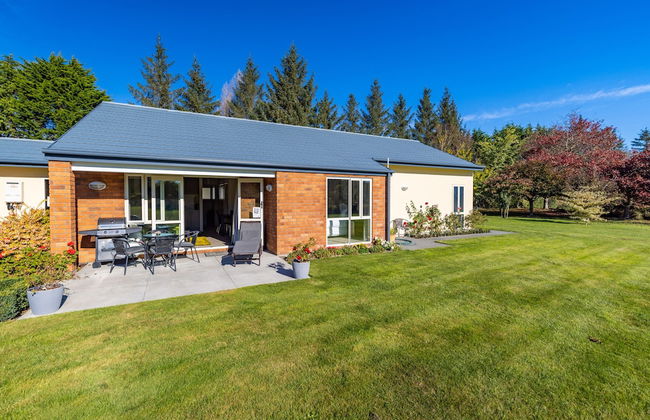
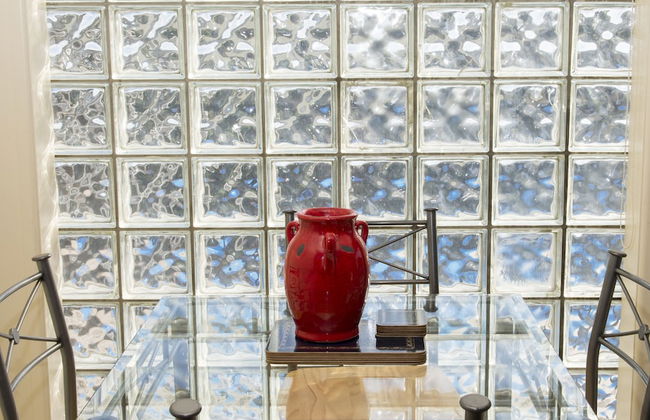
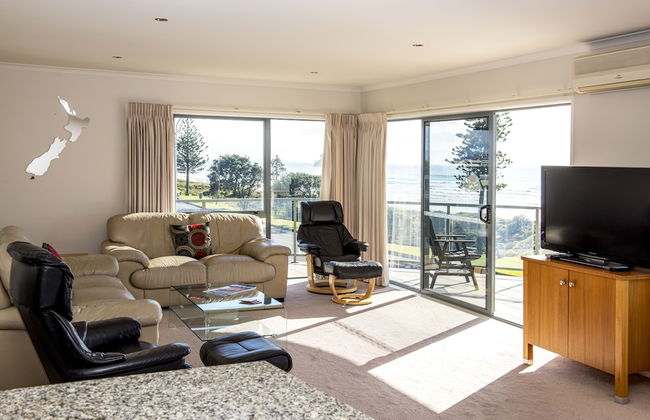
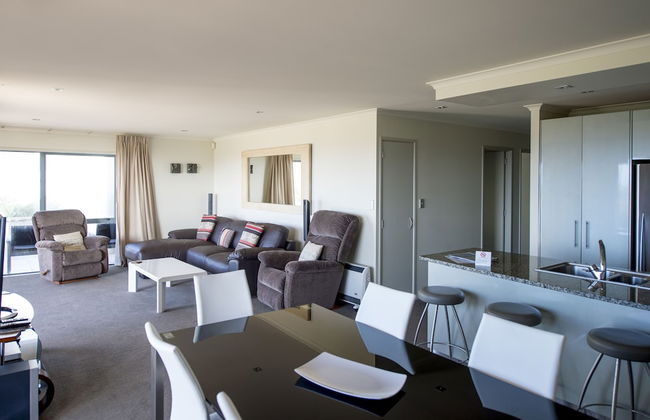
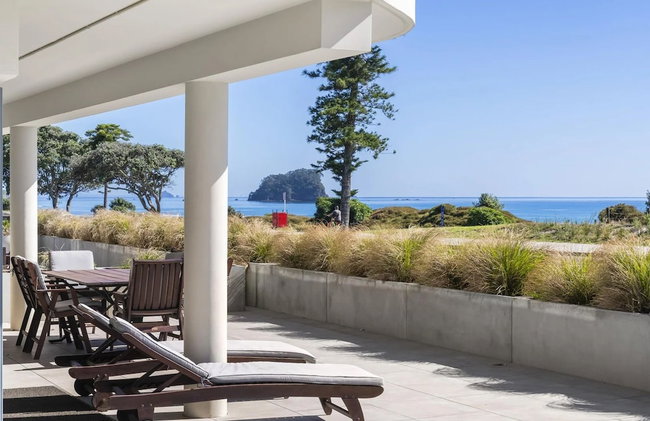
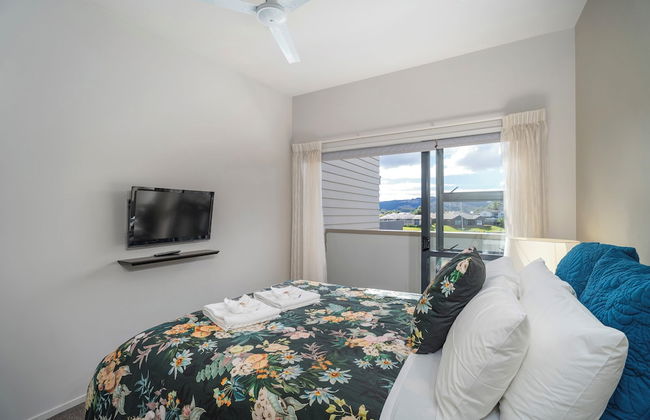
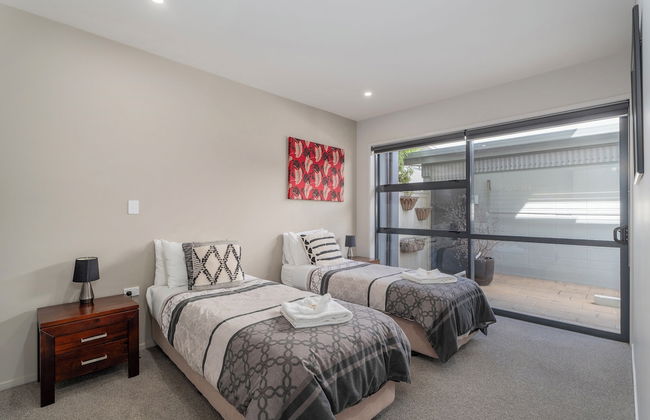
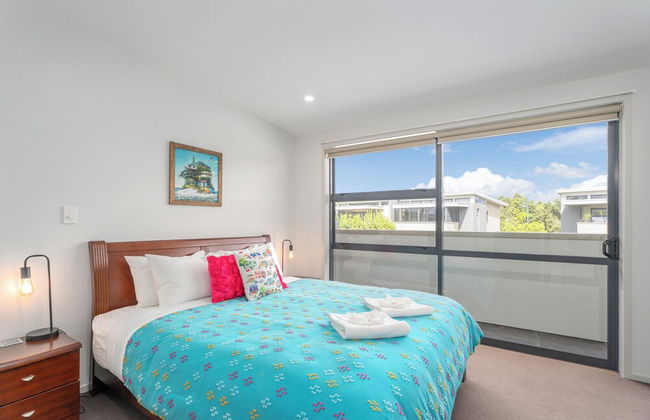
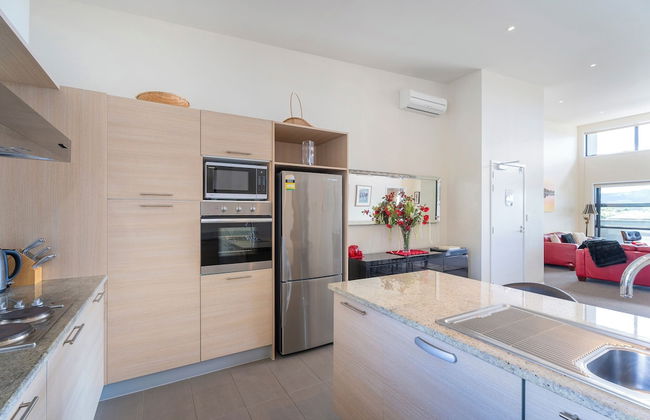
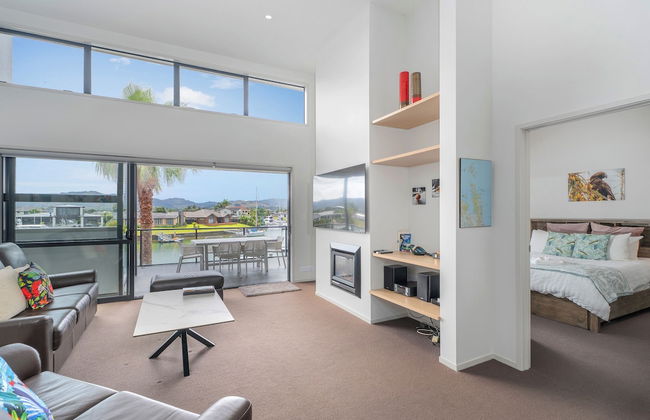
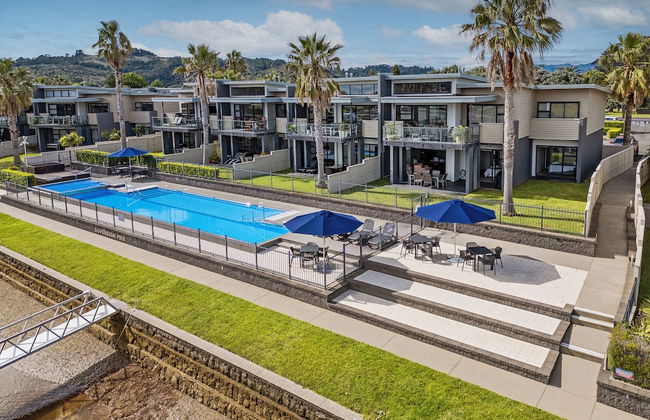
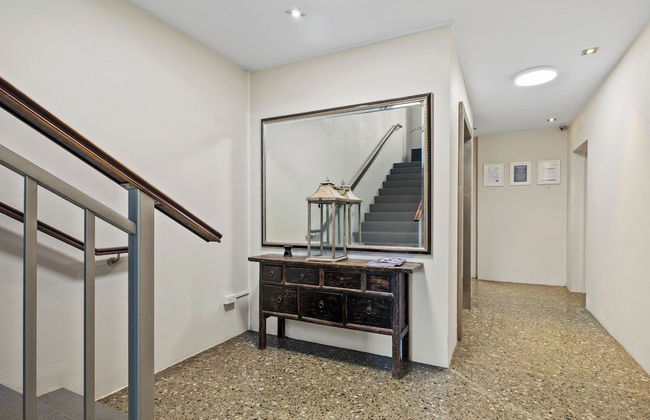
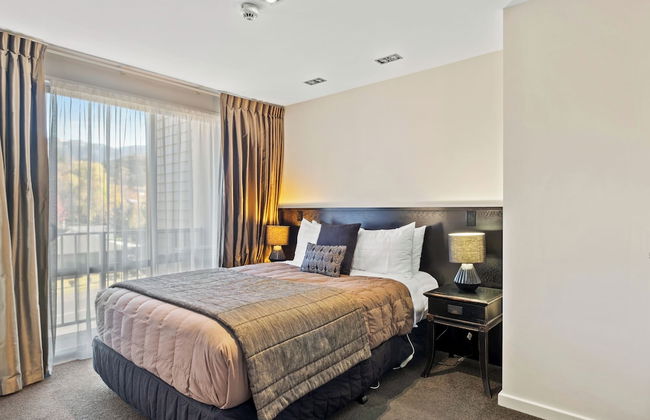
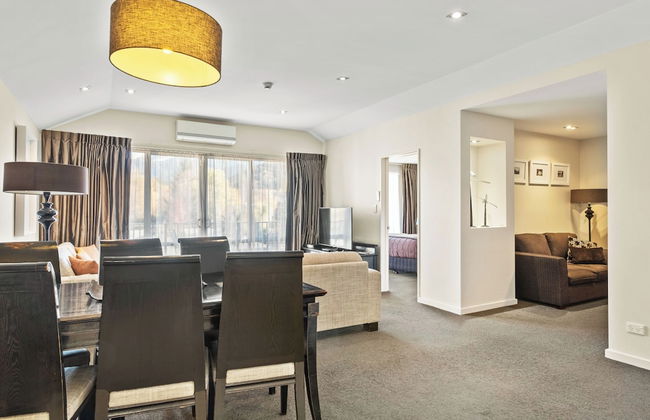
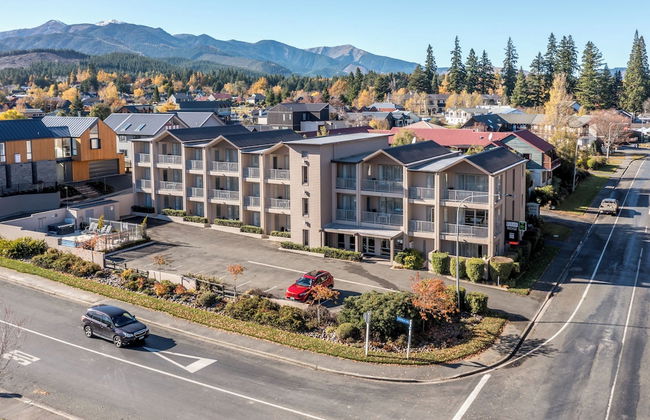
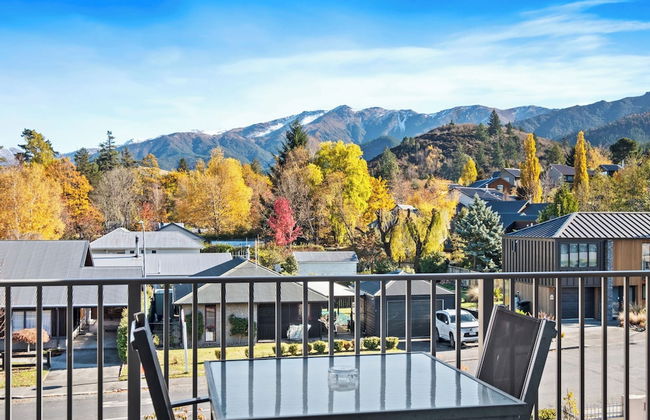
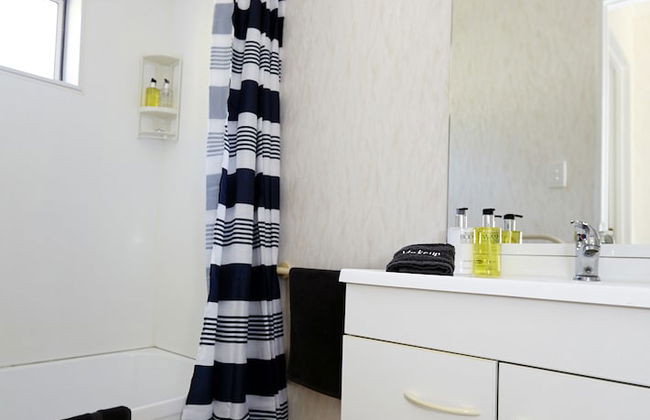
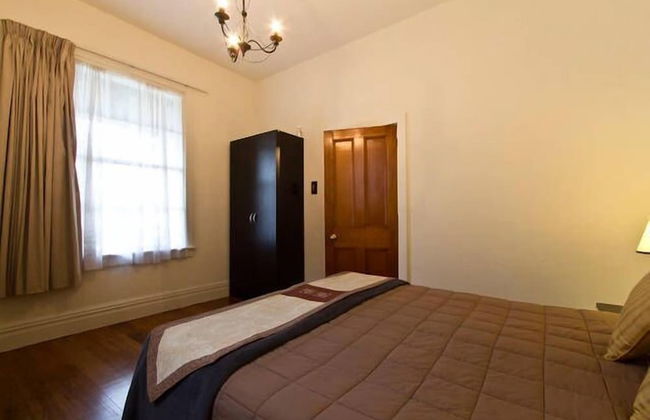
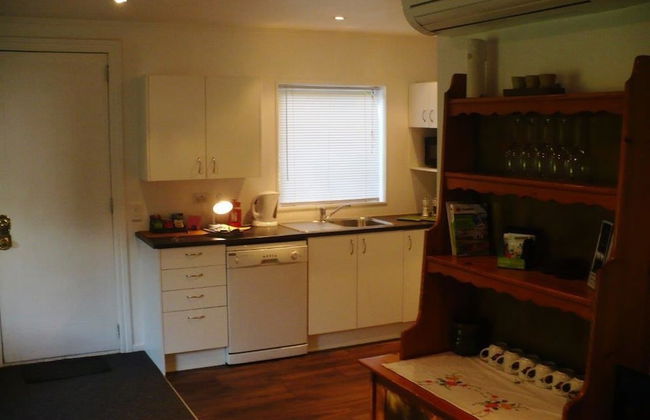
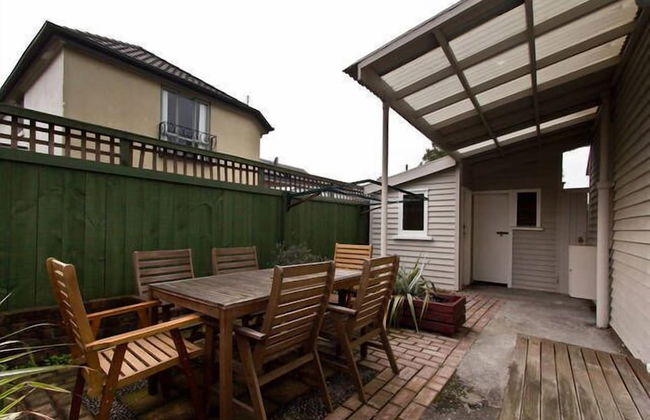
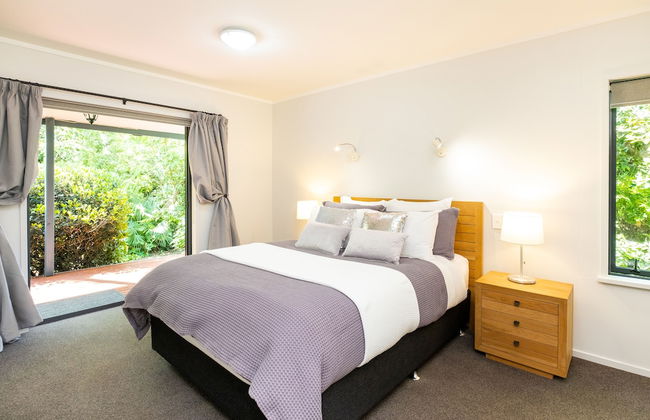
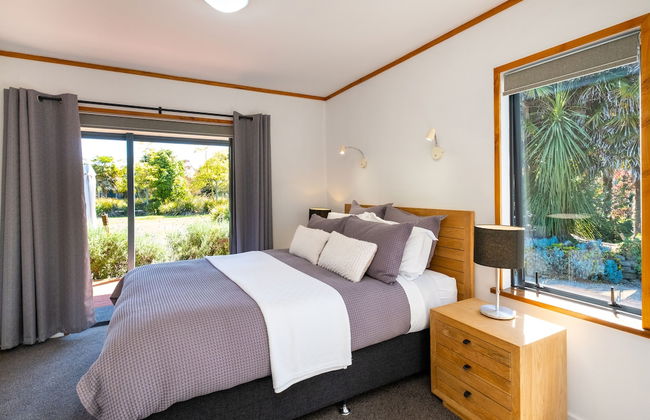
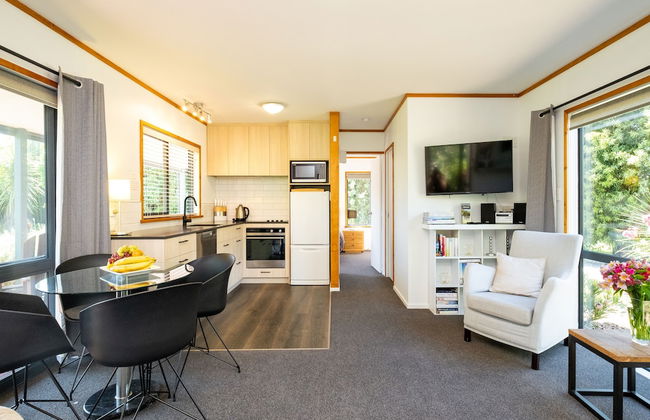
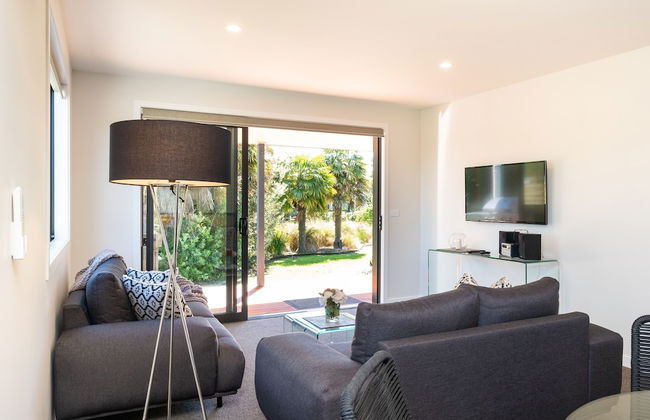
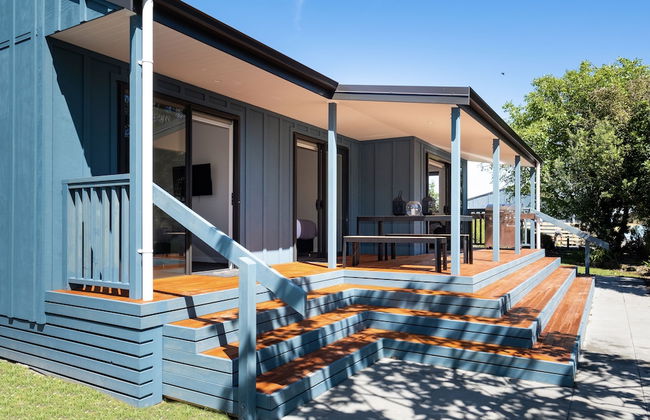
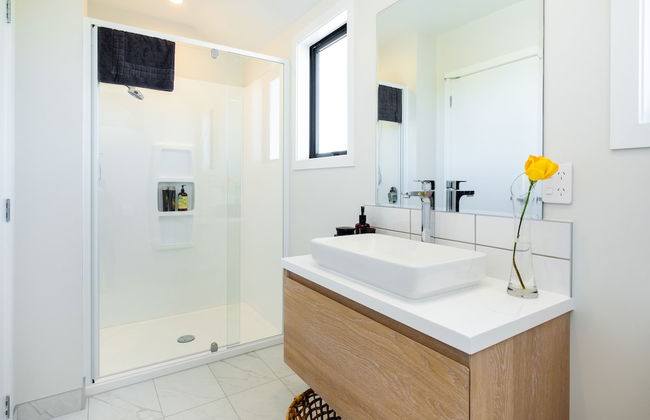
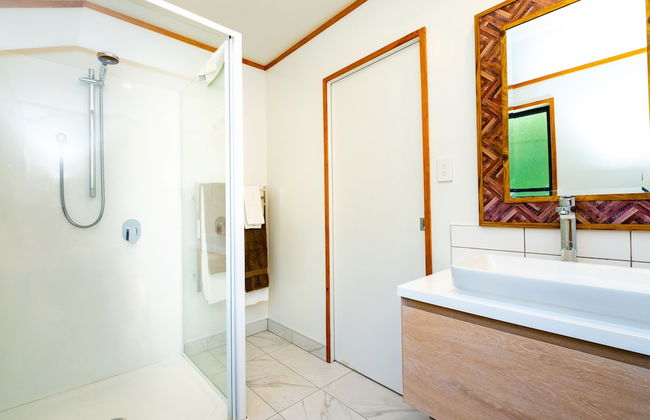
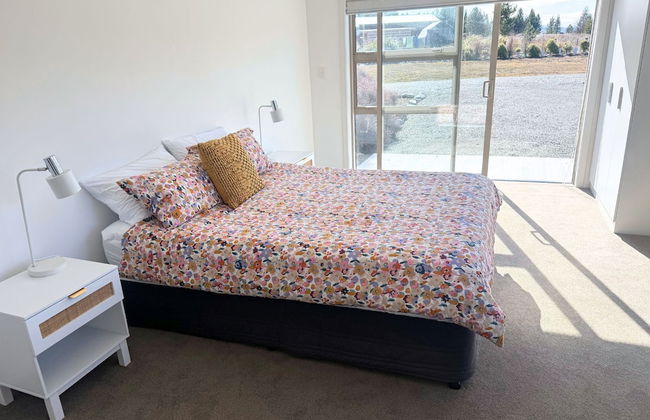
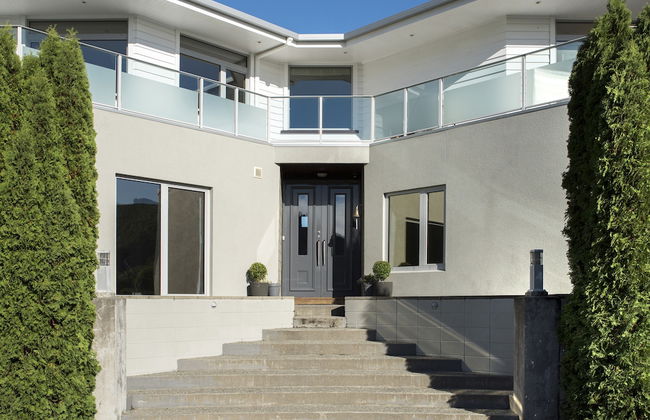
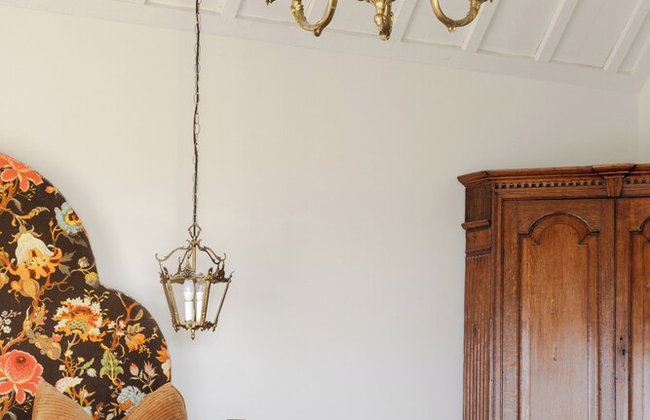
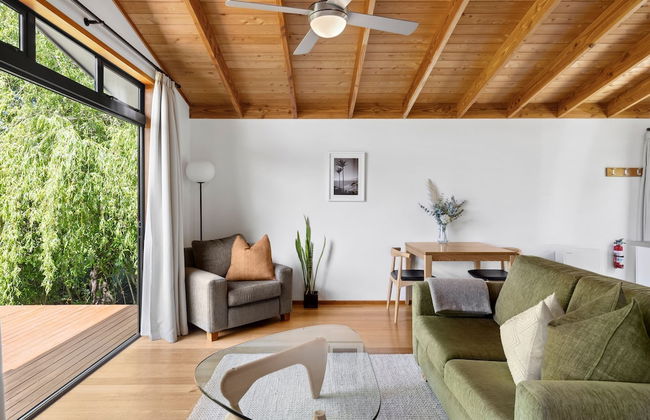
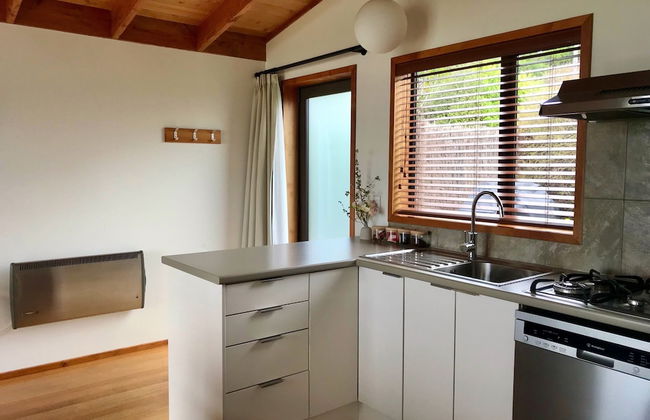
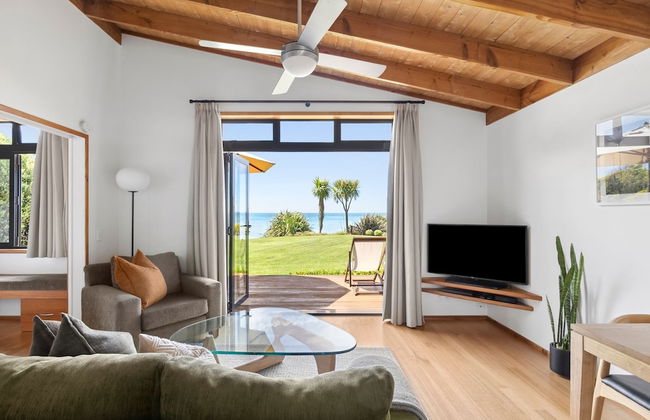
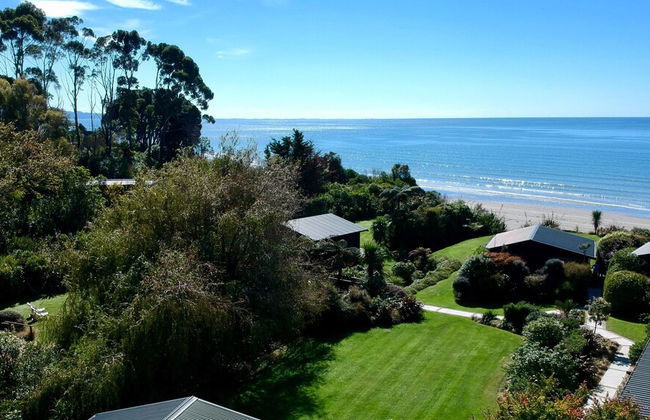
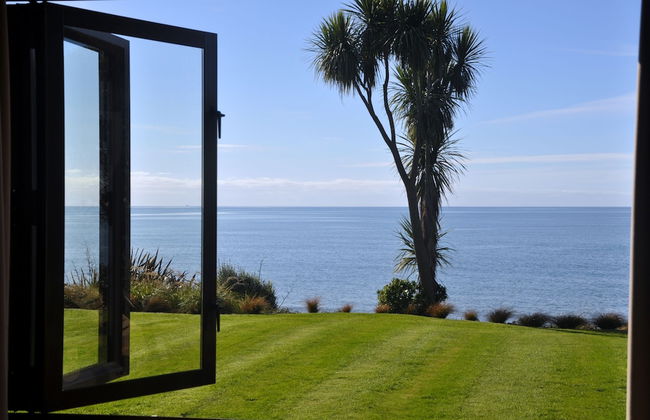
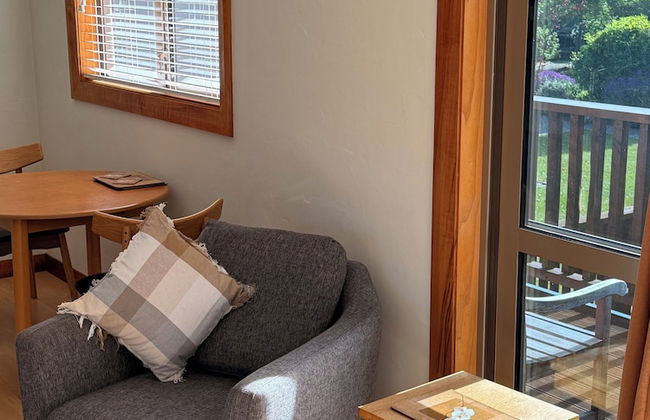
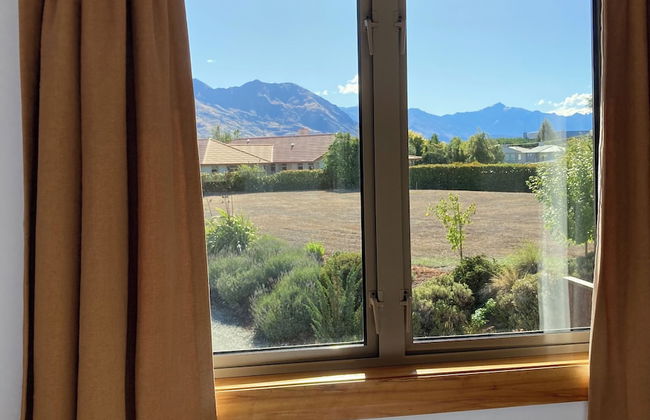
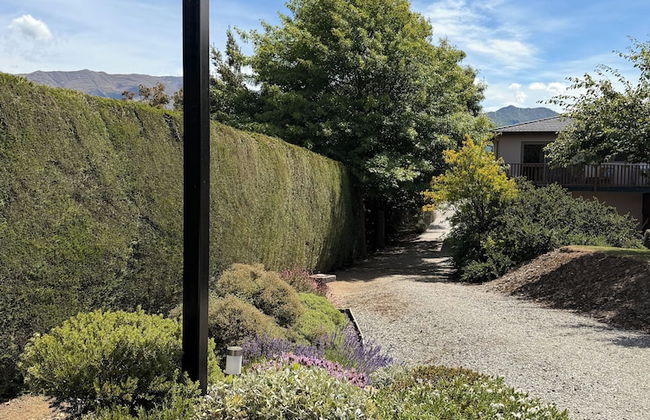
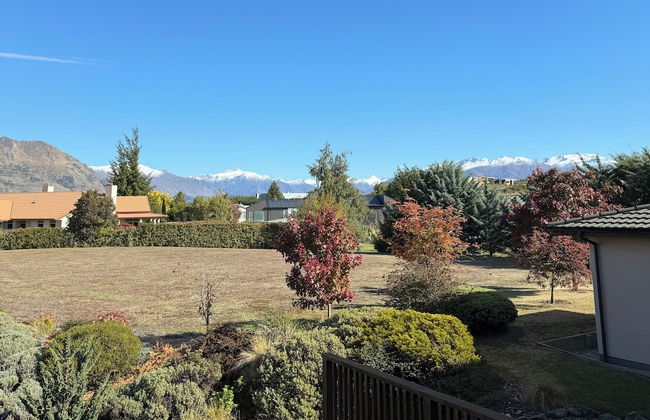
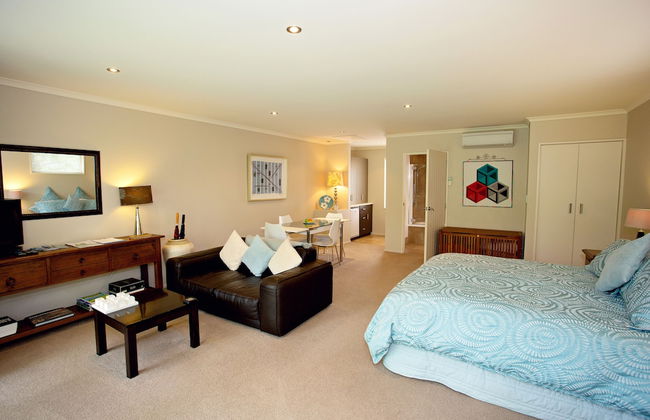
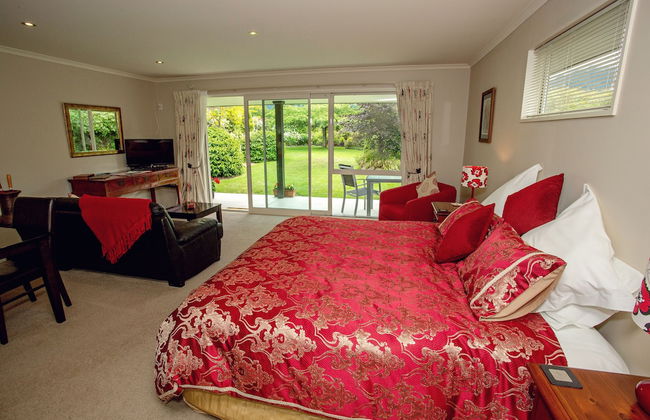
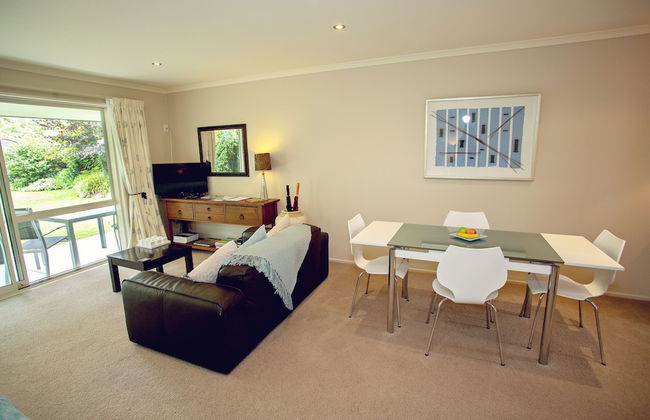
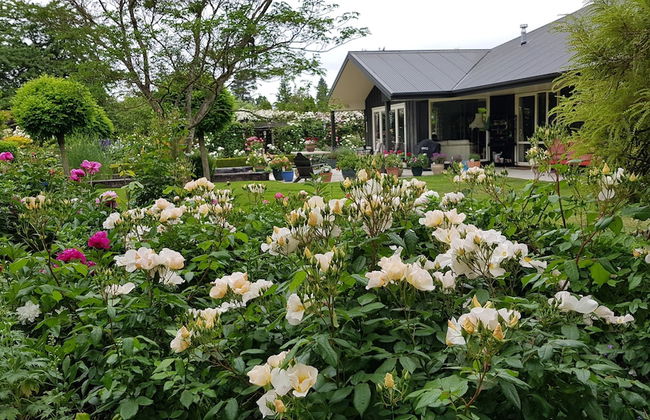
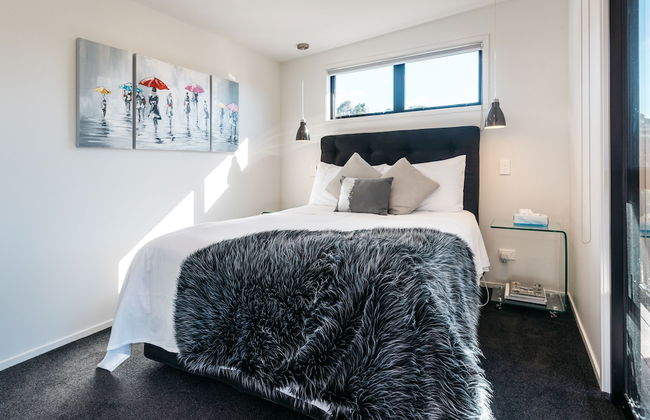
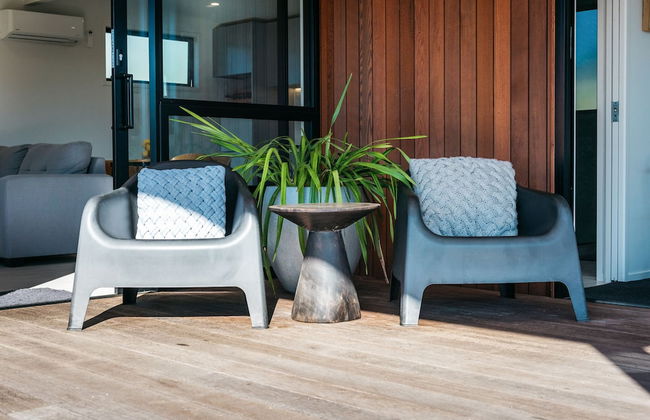
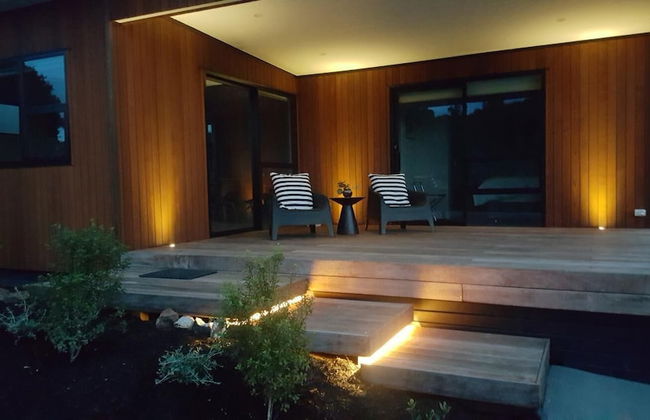
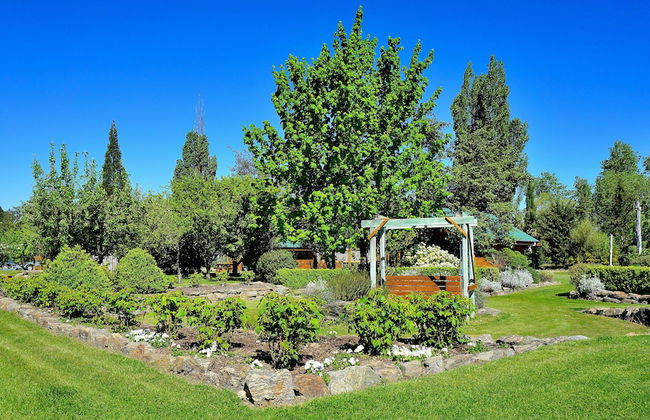
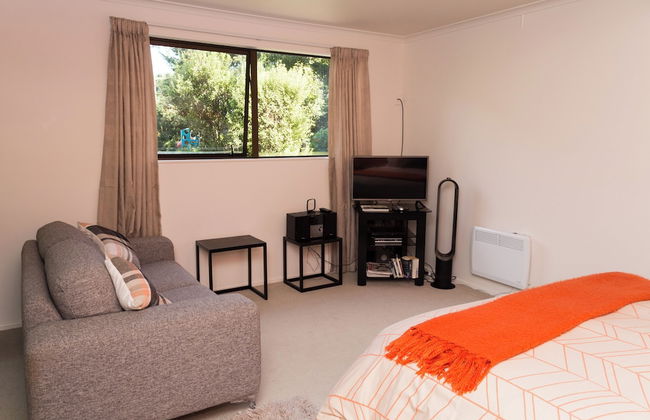
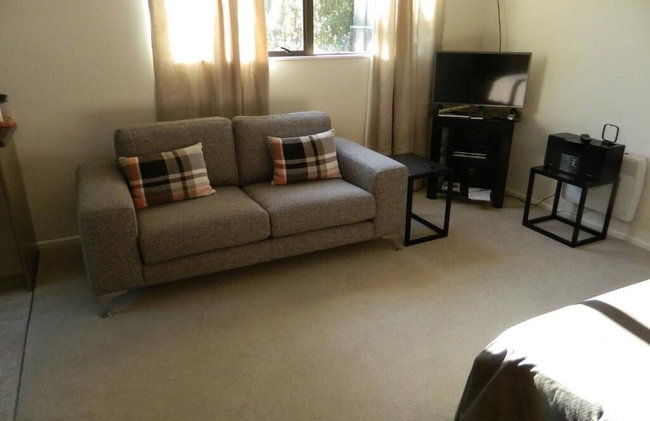
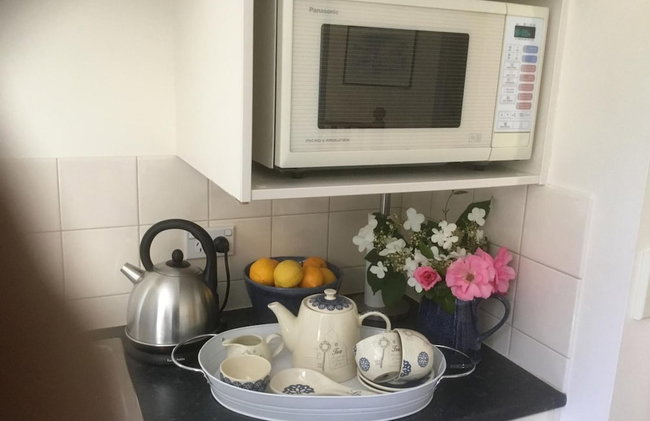
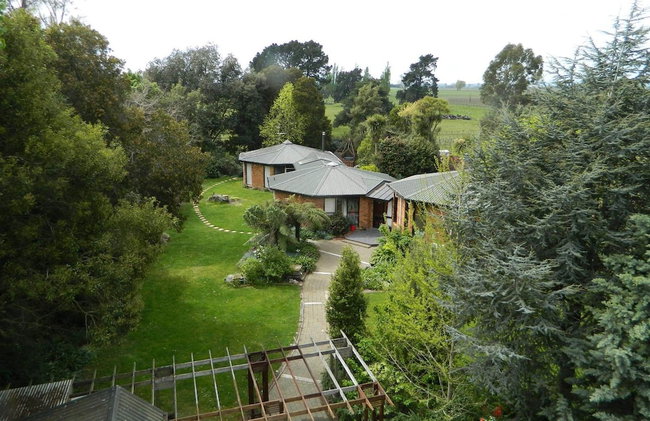
Remarkable Location – Queenstown - Foto 4
Remarkable Location – Queenstown - Foto 5
Remarkable Location – Queenstown - Foto 6
Remarkable Location – Queenstown - Foto 7
Remarkable Location – Queenstown - Foto 8
Remarkable Location – Queenstown - Foto 9
Remarkable Location – Queenstown - Foto 10
Remarkable Location – Queenstown - Foto 11
Remarkable Location – Queenstown - Foto 12
Remarkable Location – Queenstown - Foto 13
Remarkable Location – Queenstown - Foto 14
Remarkable Location – Queenstown - Foto 15
Remarkable Location – Queenstown - Foto 16
Remarkable Location – Queenstown - Foto 17
Remarkable Location – Queenstown - Foto 18
Remarkable Location – Queenstown - Foto 19
Remarkable Location – Queenstown - Foto 20
Remarkable Location – Queenstown - Foto 21
Remarkable Location – Queenstown - Foto 22
Remarkable Location – Queenstown - Foto 23
Remarkable Location – Queenstown - Foto 24
Remarkable Location – Queenstown - Foto 25
Remarkable Location – Queenstown - Foto 26
Remarkable Location – Queenstown - Foto 27
Remarkable Location – Queenstown - Foto 28
Remarkable Location – Queenstown - Foto 29
Remarkable Location – Queenstown - Foto 30
Remarkable Location – Queenstown - Foto 31
Remarkable Location – Queenstown - Foto 32
Remarkable Location – Queenstown - Foto 33
Remarkable Location – Queenstown - Foto 34
Remarkable Location – Queenstown - Foto 35
Remarkable Location – Queenstown - Foto 36
Remarkable Location – Queenstown - Foto 37
Remarkable Location – Queenstown - Foto 38
Remarkable Location – Queenstown - Foto 39
Remarkable Location – Queenstown - Foto 40
Remarkable Location – Queenstown - Foto 41
Remarkable Location – Queenstown - Foto 42
Remarkable Location – Queenstown - Foto 43
Remarkable Location – Queenstown - Foto 44
Remarkable Location – Queenstown - Foto 45
Remarkable Location – Queenstown - Foto 46
Remarkable Location – Queenstown - Foto 47
Remarkable Location – Queenstown - Foto 48

Remarkable Location – Queenstown

Queenstown - Queenstown - No centro

  • 243 M2
  • 7 pessoas
  • Ar-condicionado
  • Aquecimento
  • Terraço
  • Estacionamento
  • Elevador
  • Varanda
  • Tv
  • Máquina de lavar roupa
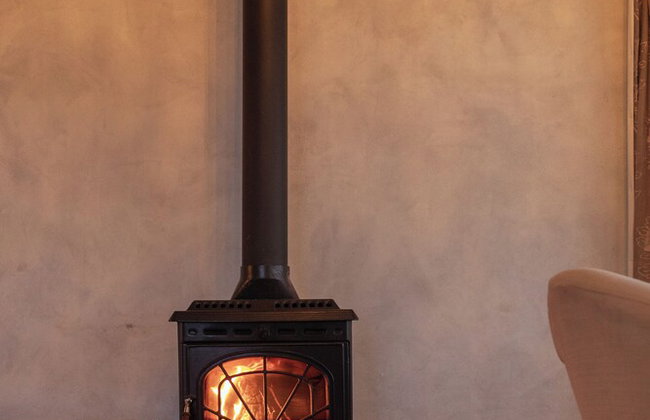
  • Chaminé
  • Toalhas
  • Lençóis
10Magnífico | 10 avaliações
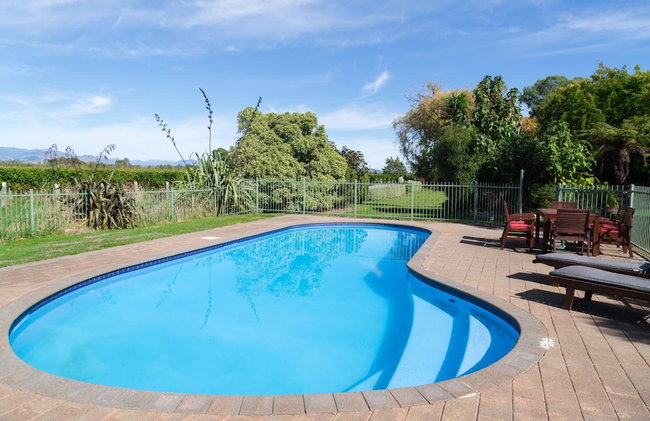
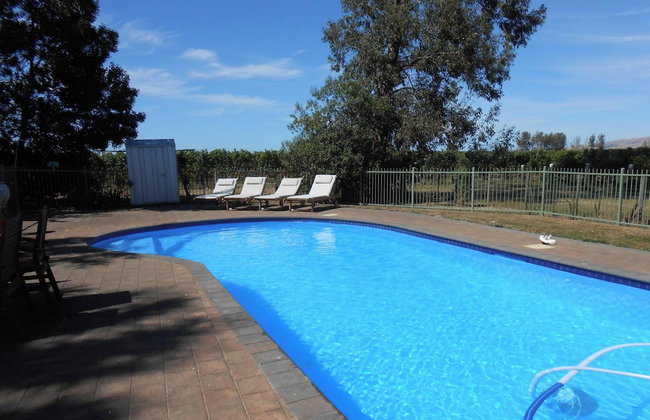
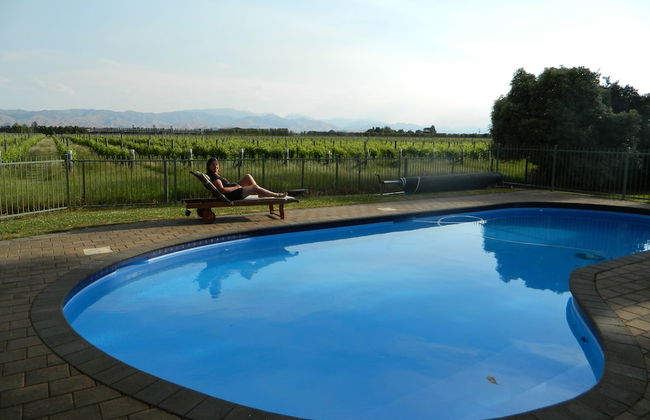
Antares Homestay - Foto 1
Antares Homestay - Foto 2
Antares Homestay - Foto 3
Antares Homestay - Foto 4
Antares Homestay - Foto 5
Antares Homestay - Foto 6
Antares Homestay - Foto 7
Antares Homestay - Foto 8
Antares Homestay - Foto 9
Antares Homestay - Foto 10
Antares Homestay - Foto 11
Antares Homestay - Foto 12
Antares Homestay - Foto 13
Antares Homestay - Foto 14
Antares Homestay - Foto 15
Antares Homestay - Foto 16
Antares Homestay - Foto 17
Antares Homestay - Foto 18
Antares Homestay - Foto 19
Antares Homestay - Foto 20
Antares Homestay - Foto 21
Antares Homestay - Foto 22
Antares Homestay - Foto 23
Antares Homestay - Foto 24
Antares Homestay - Foto 25
Antares Homestay - Foto 26
Antares Homestay - Foto 27

Antares Homestay

Blenheim - Rapaura - 9.7 km do centro

  • 10 M2
  • 5 pessoas
  • Ar-condicionado
  • Aquecimento
  • Terraço
  • Piscina
  • Estacionamento
  • Varanda
  • Jardim
  • Tv
  • Chaminé
  • Churrasco
  • Toalhas
  • Lençóis
10Magnífico | 23 avaliações
Glenburn Coastal Retreat - Foto 1
Glenburn Coastal Retreat - Foto 2
Glenburn Coastal Retreat - Foto 3
Glenburn Coastal Retreat - Foto 4
Glenburn Coastal Retreat - Foto 5
Glenburn Coastal Retreat - Foto 6
Glenburn Coastal Retreat - Foto 7
Glenburn Coastal Retreat - Foto 8
Glenburn Coastal Retreat - Foto 9
Glenburn Coastal Retreat - Foto 10
Glenburn Coastal Retreat - Foto 11
Glenburn Coastal Retreat - Foto 12
Glenburn Coastal Retreat - Foto 13
Glenburn Coastal Retreat - Foto 14
Glenburn Coastal Retreat - Foto 15
Glenburn Coastal Retreat - Foto 16
Glenburn Coastal Retreat - Foto 17
Glenburn Coastal Retreat - Foto 18
Glenburn Coastal Retreat - Foto 19
Glenburn Coastal Retreat - Foto 20
Glenburn Coastal Retreat - Foto 21
Glenburn Coastal Retreat - Foto 22
Glenburn Coastal Retreat - Foto 23
Glenburn Coastal Retreat - Foto 24
Glenburn Coastal Retreat - Foto 25
Glenburn Coastal Retreat - Foto 26
Glenburn Coastal Retreat - Foto 27
Glenburn Coastal Retreat - Foto 28
Glenburn Coastal Retreat - Foto 29
Glenburn Coastal Retreat - Foto 30
Glenburn Coastal Retreat - Foto 31
Glenburn Coastal Retreat - Foto 32
Glenburn Coastal Retreat - Foto 33
Glenburn Coastal Retreat - Foto 34
Glenburn Coastal Retreat - Foto 35
Glenburn Coastal Retreat - Foto 36
Glenburn Coastal Retreat - Foto 37
Glenburn Coastal Retreat - Foto 38
Glenburn Coastal Retreat - Foto 39
Glenburn Coastal Retreat - Foto 40
Glenburn Coastal Retreat - Foto 41
Glenburn Coastal Retreat - Foto 42
Glenburn Coastal Retreat - Foto 43
Glenburn Coastal Retreat - Foto 44
Glenburn Coastal Retreat - Foto 45
Glenburn Coastal Retreat - Foto 46
Glenburn Coastal Retreat - Foto 47
Glenburn Coastal Retreat - Foto 48

Glenburn Coastal Retreat

Kaikoura - Hapuku - 6.9 km do centro

  • 80 M2
  • 2 pessoas
  • Ar-condicionado
  • Aquecimento
  • Terraço
  • Estacionamento
  • Elevador
  • Jardim
  • Tv
  • Máquina de lavar roupa
  • Chaminé
  • Churrasco
  • Toalhas
  • Lençóis
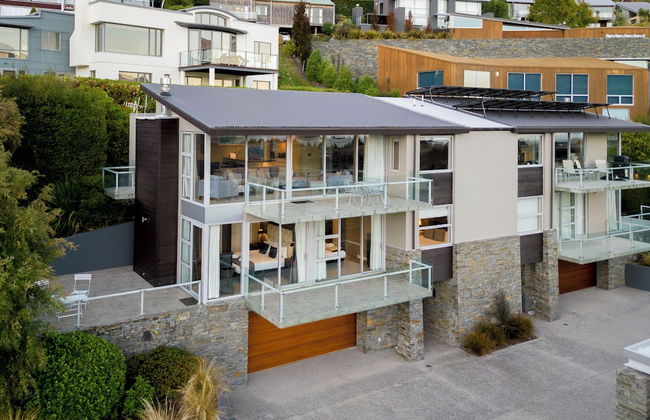
10Magnífico | 54 avaliações
The Meadows Villa - Foto 1
The Meadows Villa - Foto 2
The Meadows Villa - Foto 3
The Meadows Villa - Foto 4
The Meadows Villa - Foto 5
The Meadows Villa - Foto 6
The Meadows Villa - Foto 7
The Meadows Villa - Foto 8
The Meadows Villa - Foto 9
The Meadows Villa - Foto 10
The Meadows Villa - Foto 11
The Meadows Villa - Foto 12
The Meadows Villa - Foto 13
The Meadows Villa - Foto 14
The Meadows Villa - Foto 15
The Meadows Villa - Foto 16
The Meadows Villa - Foto 17
The Meadows Villa - Foto 18
The Meadows Villa - Foto 19
The Meadows Villa - Foto 20
The Meadows Villa - Foto 21
The Meadows Villa - Foto 22
The Meadows Villa - Foto 23
The Meadows Villa - Foto 24
The Meadows Villa - Foto 25
The Meadows Villa - Foto 26
The Meadows Villa - Foto 27
The Meadows Villa - Foto 28
The Meadows Villa - Foto 29
The Meadows Villa - Foto 30
The Meadows Villa - Foto 31
The Meadows Villa - Foto 32
The Meadows Villa - Foto 33
The Meadows Villa - Foto 34
The Meadows Villa - Foto 35
The Meadows Villa - Foto 36
The Meadows Villa - Foto 37
The Meadows Villa - Foto 38
The Meadows Villa - Foto 39
The Meadows Villa - Foto 40
The Meadows Villa - Foto 41

The Meadows Villa

Christchurch - Ouruhia - 10.2 km do centro

  • 180 M2
  • 4 pessoas
  • Kitchenette
  • Ar-condicionado
  • Aquecimento
  • Terraço
  • Piscina
  • Estacionamento
  • Jardim
  • Tv
  • Máquina de lavar roupa
  • Churrasco
  • Toalhas
  • Lençóis
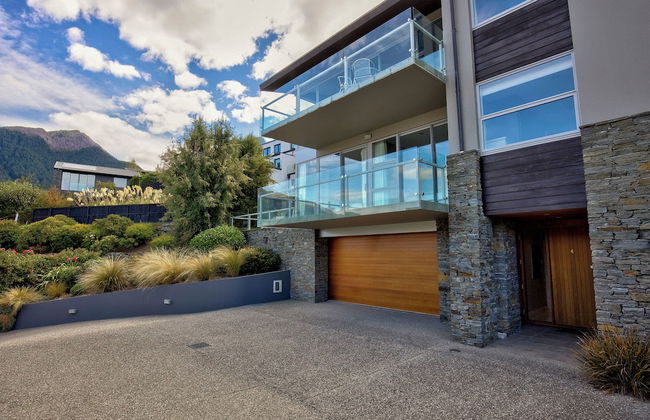
10Magnífico | 14 avaliações
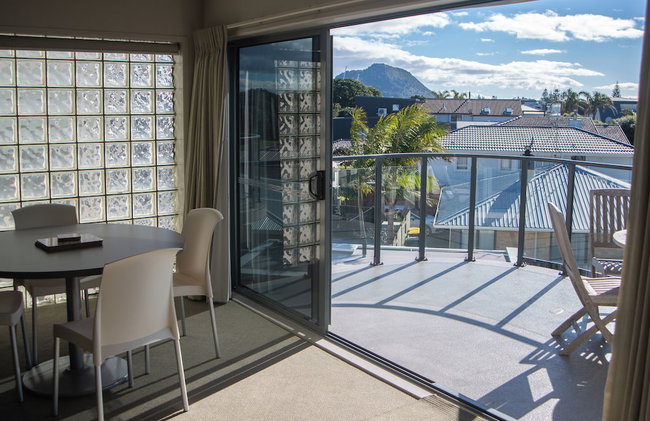
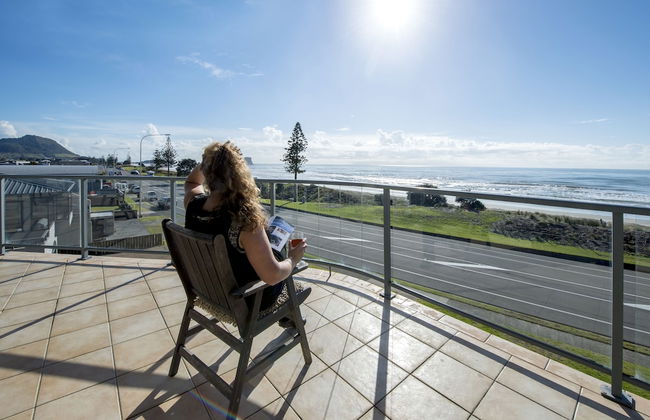
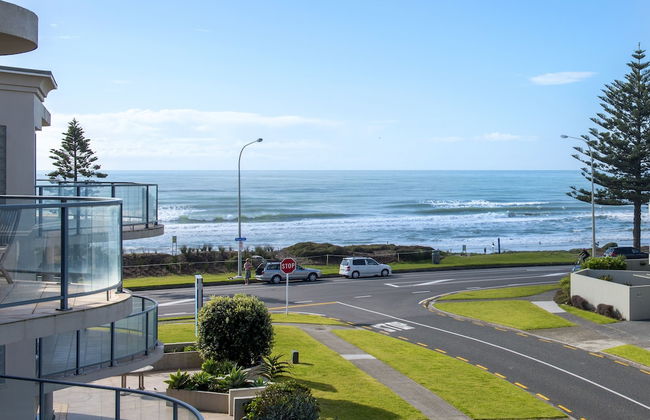
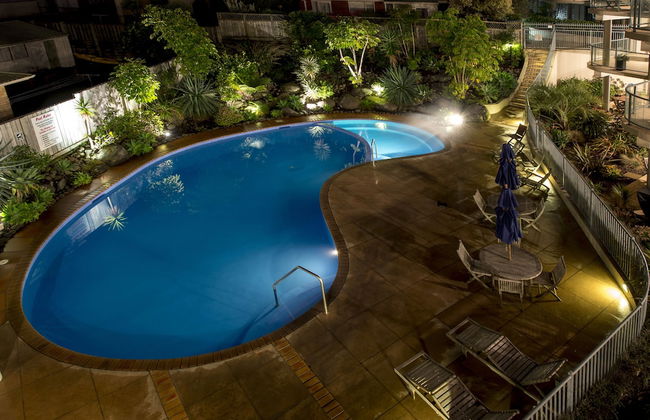
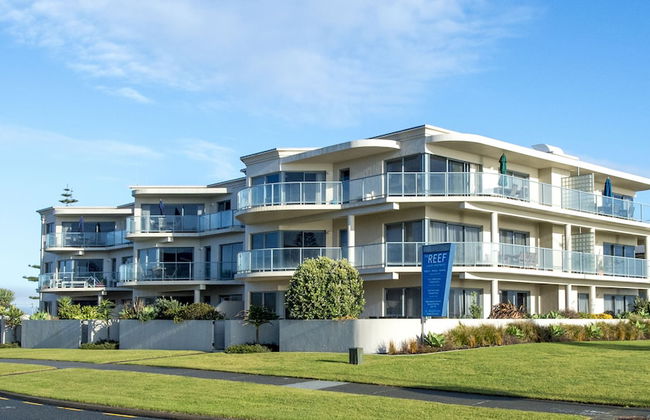
The Reef Beachfront Apartments - Foto 1
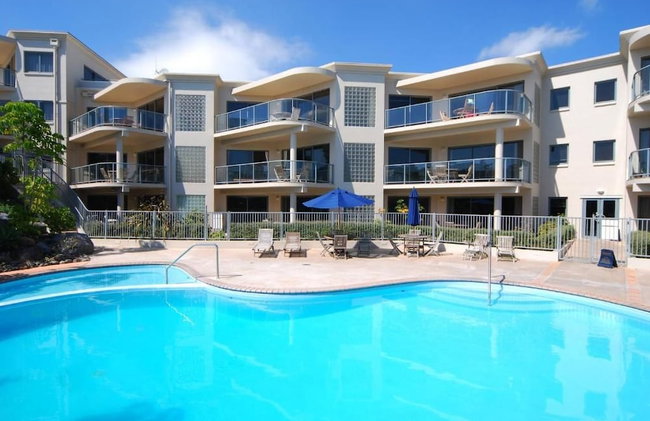
The Reef Beachfront Apartments - Foto 2
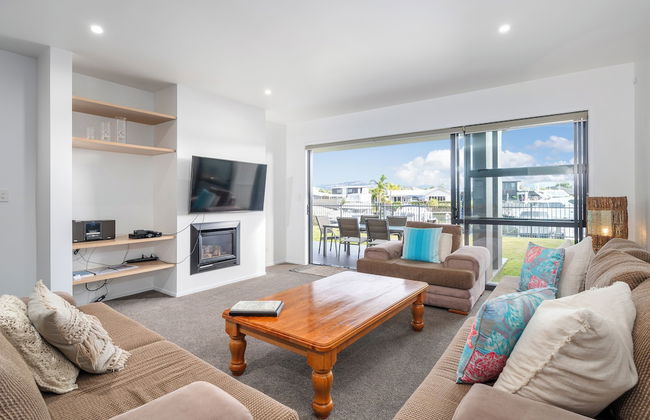
The Reef Beachfront Apartments - Foto 3
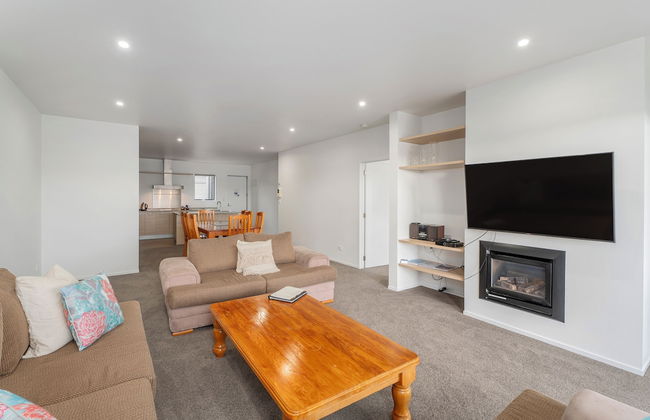
The Reef Beachfront Apartments - Foto 4
The Reef Beachfront Apartments - Foto 5
The Reef Beachfront Apartments - Foto 6
The Reef Beachfront Apartments - Foto 7
The Reef Beachfront Apartments - Foto 8
The Reef Beachfront Apartments - Foto 9
The Reef Beachfront Apartments - Foto 10
The Reef Beachfront Apartments - Foto 11
The Reef Beachfront Apartments - Foto 12
The Reef Beachfront Apartments - Foto 13
The Reef Beachfront Apartments - Foto 14
The Reef Beachfront Apartments - Foto 15
The Reef Beachfront Apartments - Foto 16
The Reef Beachfront Apartments - Foto 17
The Reef Beachfront Apartments - Foto 18
The Reef Beachfront Apartments - Foto 19
The Reef Beachfront Apartments - Foto 20
The Reef Beachfront Apartments - Foto 21
The Reef Beachfront Apartments - Foto 22
The Reef Beachfront Apartments - Foto 23
The Reef Beachfront Apartments - Foto 24
The Reef Beachfront Apartments - Foto 25
The Reef Beachfront Apartments - Foto 26
The Reef Beachfront Apartments - Foto 27
The Reef Beachfront Apartments - Foto 28
The Reef Beachfront Apartments - Foto 29
The Reef Beachfront Apartments - Foto 30
The Reef Beachfront Apartments - Foto 31
The Reef Beachfront Apartments - Foto 32
The Reef Beachfront Apartments - Foto 33

The Reef Beachfront Apartments

Mount Maunganui - 1.6 km do centro

  • 140 M2
  • 7 pessoas
  • Ar-condicionado
  • Aquecimento
  • Terraço
  • Piscina
  • Estacionamento
  • Elevador
  • Varanda
  • Jardim
  • Tv
  • Máquina de lavar roupa
  • Toalhas
  • Lençóis
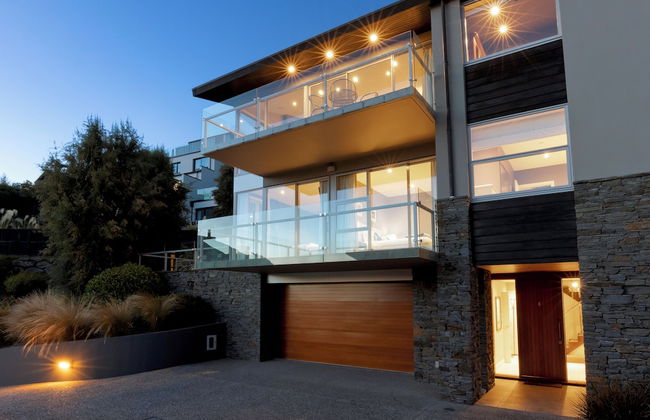
9.6Excepcional | 207 avaliações
Millar Road - Foto 1
Millar Road - Foto 2
Millar Road - Foto 3
Millar Road - Foto 4
Millar Road - Foto 5
Millar Road - Foto 6
Millar Road - Foto 7
Millar Road - Foto 8
Millar Road - Foto 9
Millar Road - Foto 10
Millar Road - Foto 11
Millar Road - Foto 12
Millar Road - Foto 13
Millar Road - Foto 14
Millar Road - Foto 15
Millar Road - Foto 16
Millar Road - Foto 17
Millar Road - Foto 18
Millar Road - Foto 19
Millar Road - Foto 20
Millar Road - Foto 21
Millar Road - Foto 22
Millar Road - Foto 23
Millar Road - Foto 24
Millar Road - Foto 25
Millar Road - Foto 26
Millar Road - Foto 27
Millar Road - Foto 28
Millar Road - Foto 29
Millar Road - Foto 30
Millar Road - Foto 31
Millar Road - Foto 32
Millar Road - Foto 33
Millar Road - Foto 34
Millar Road - Foto 35
Millar Road - Foto 36
Millar Road - Foto 37
Millar Road - Foto 38
Millar Road - Foto 39
Millar Road - Foto 40

Millar Road

Haumoana - 4 km do centro

  • 93 M2
  • 5 pessoas
  • Ar-condicionado
  • Aquecimento
  • Terraço
  • Piscina
  • Estacionamento
  • Varanda
  • Jardim
  • Tv
  • Máquina de lavar roupa
  • Chaminé
  • Churrasco
  • Toalhas
  • Lençóis
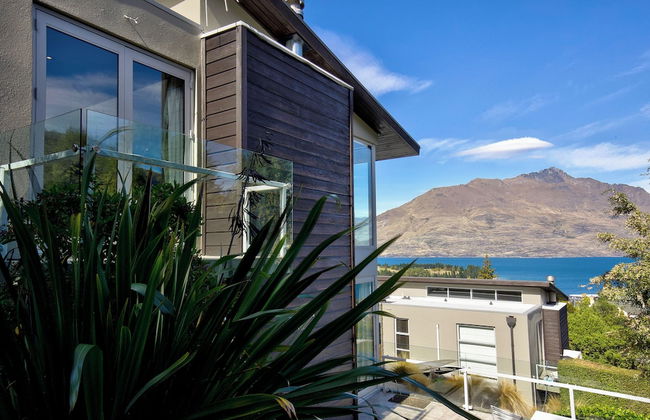
9.8Excepcional | 44 avaliações
Sovereign Pier on the Waterways - Foto 1
Sovereign Pier on the Waterways - Foto 2
Sovereign Pier on the Waterways - Foto 3
Sovereign Pier on the Waterways - Foto 4
Sovereign Pier on the Waterways - Foto 5
Sovereign Pier on the Waterways - Foto 6
Sovereign Pier on the Waterways - Foto 7
Sovereign Pier on the Waterways - Foto 8
Sovereign Pier on the Waterways - Foto 9
Sovereign Pier on the Waterways - Foto 10
Sovereign Pier on the Waterways - Foto 11
Sovereign Pier on the Waterways - Foto 12
Sovereign Pier on the Waterways - Foto 13
Sovereign Pier on the Waterways - Foto 14
Sovereign Pier on the Waterways - Foto 15
Sovereign Pier on the Waterways - Foto 16
Sovereign Pier on the Waterways - Foto 17
Sovereign Pier on the Waterways - Foto 18
Sovereign Pier on the Waterways - Foto 19
Sovereign Pier on the Waterways - Foto 20
Sovereign Pier on the Waterways - Foto 21
Sovereign Pier on the Waterways - Foto 22
Sovereign Pier on the Waterways - Foto 23
Sovereign Pier on the Waterways - Foto 24
Sovereign Pier on the Waterways - Foto 25
Sovereign Pier on the Waterways - Foto 26
Sovereign Pier on the Waterways - Foto 27
Sovereign Pier on the Waterways - Foto 28
Sovereign Pier on the Waterways - Foto 29
Sovereign Pier on the Waterways - Foto 30
Sovereign Pier on the Waterways - Foto 31
Sovereign Pier on the Waterways - Foto 32
Sovereign Pier on the Waterways - Foto 33
Sovereign Pier on the Waterways - Foto 34
Sovereign Pier on the Waterways - Foto 35
Sovereign Pier on the Waterways - Foto 36
Sovereign Pier on the Waterways - Foto 37
Sovereign Pier on the Waterways - Foto 38
Sovereign Pier on the Waterways - Foto 39
Sovereign Pier on the Waterways - Foto 40
Sovereign Pier on the Waterways - Foto 41
Sovereign Pier on the Waterways - Foto 42
Sovereign Pier on the Waterways - Foto 43
Sovereign Pier on the Waterways - Foto 44
Sovereign Pier on the Waterways - Foto 45
Sovereign Pier on the Waterways - Foto 46
Sovereign Pier on the Waterways - Foto 47
Sovereign Pier on the Waterways - Foto 48
Sovereign Pier on the Waterways - Foto 49
Sovereign Pier on the Waterways - Foto 50
Sovereign Pier on the Waterways - Foto 51
Sovereign Pier on the Waterways - Foto 52
Sovereign Pier on the Waterways - Foto 53
Sovereign Pier on the Waterways - Foto 54
Sovereign Pier on the Waterways - Foto 55
Sovereign Pier on the Waterways - Foto 56
Sovereign Pier on the Waterways - Foto 57
Sovereign Pier on the Waterways - Foto 58
Sovereign Pier on the Waterways - Foto 59
Sovereign Pier on the Waterways - Foto 60
Sovereign Pier on the Waterways - Foto 61
Sovereign Pier on the Waterways - Foto 62
Sovereign Pier on the Waterways - Foto 63
Sovereign Pier on the Waterways - Foto 64
Sovereign Pier on the Waterways - Foto 65
Sovereign Pier on the Waterways - Foto 66
Sovereign Pier on the Waterways - Foto 67
Sovereign Pier on the Waterways - Foto 68
Sovereign Pier on the Waterways - Foto 69
Sovereign Pier on the Waterways - Foto 70
Sovereign Pier on the Waterways - Foto 71
Sovereign Pier on the Waterways - Foto 72
Sovereign Pier on the Waterways - Foto 73
Sovereign Pier on the Waterways - Foto 74
Sovereign Pier on the Waterways - Foto 75
Sovereign Pier on the Waterways - Foto 76
Sovereign Pier on the Waterways - Foto 77
Sovereign Pier on the Waterways - Foto 78
Sovereign Pier on the Waterways - Foto 79
Sovereign Pier on the Waterways - Foto 80

Sovereign Pier on the Waterways

Whitianga - Whitianga - 710 m do centro

  • 131 M2
  • 6 pessoas
  • Ar-condicionado
  • Aquecimento
  • Terraço
  • Piscina
  • Estacionamento
  • Varanda
  • Jardim
  • Tv
  • Máquina de lavar roupa
  • Churrasco
  • Toalhas
  • Lençóis
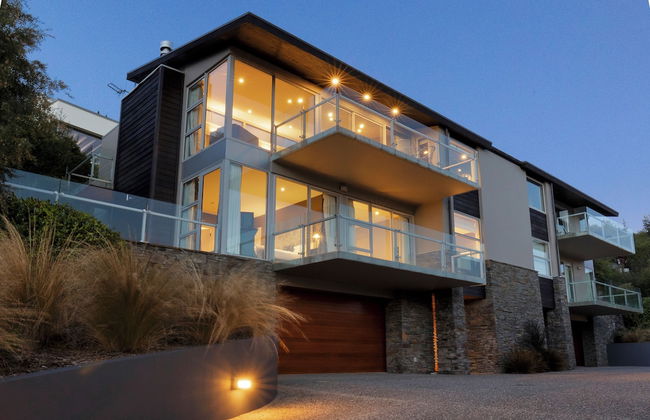
9.8Excepcional | 104 avaliações
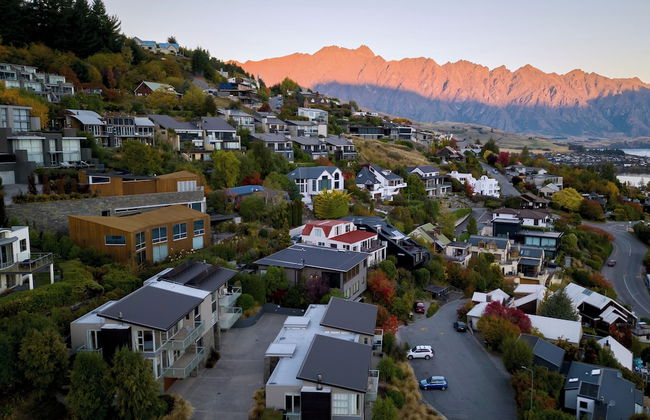
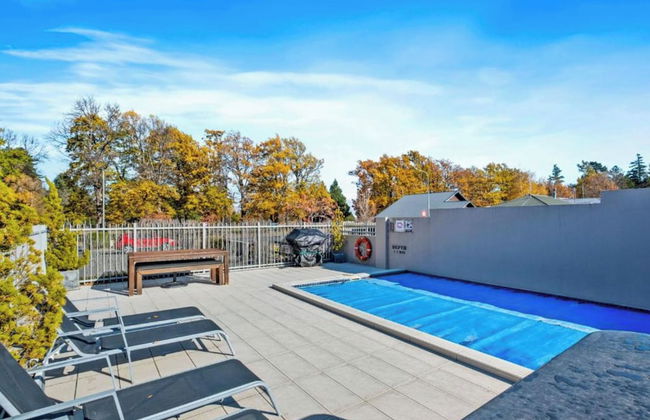
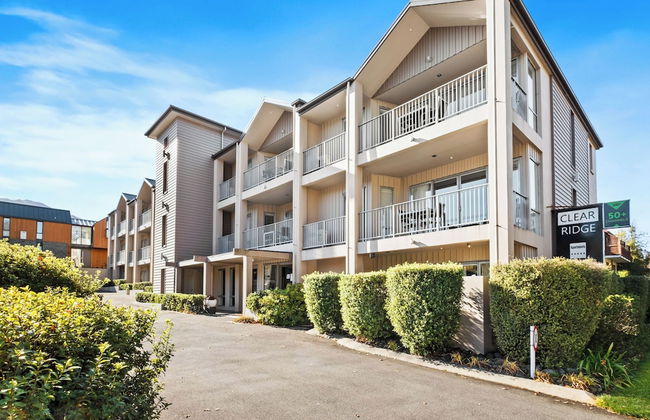
Clear Ridge Apartments - Foto 1
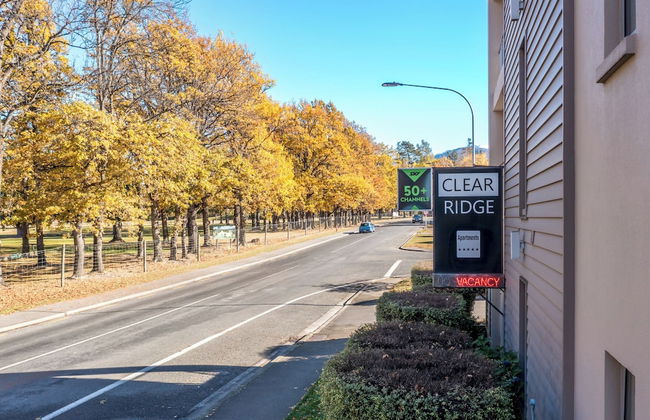
Clear Ridge Apartments - Foto 2
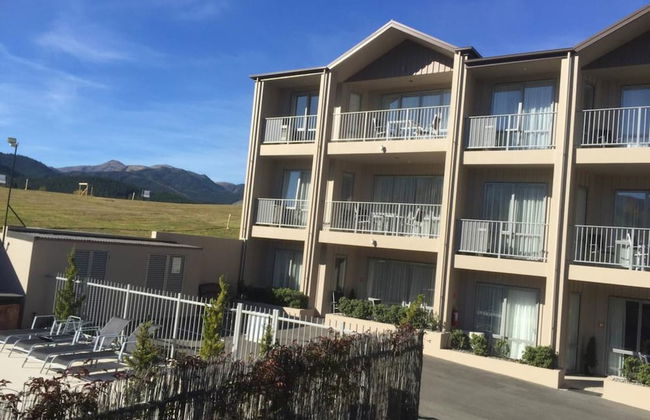
Clear Ridge Apartments - Foto 3
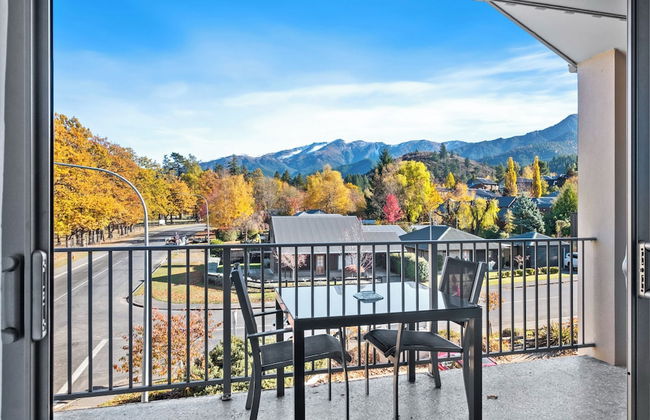
Clear Ridge Apartments - Foto 4
Clear Ridge Apartments - Foto 5
Clear Ridge Apartments - Foto 6
Clear Ridge Apartments - Foto 7
Clear Ridge Apartments - Foto 8
Clear Ridge Apartments - Foto 9
Clear Ridge Apartments - Foto 10
Clear Ridge Apartments - Foto 11
Clear Ridge Apartments - Foto 12
Clear Ridge Apartments - Foto 13
Clear Ridge Apartments - Foto 14
Clear Ridge Apartments - Foto 15
Clear Ridge Apartments - Foto 16
Clear Ridge Apartments - Foto 17
Clear Ridge Apartments - Foto 18
Clear Ridge Apartments - Foto 19
Clear Ridge Apartments - Foto 20
Clear Ridge Apartments - Foto 21
Clear Ridge Apartments - Foto 22
Clear Ridge Apartments - Foto 23
Clear Ridge Apartments - Foto 24
Clear Ridge Apartments - Foto 25
Clear Ridge Apartments - Foto 26
Clear Ridge Apartments - Foto 27
Clear Ridge Apartments - Foto 28
Clear Ridge Apartments - Foto 29

Clear Ridge Apartments

Hanmer Springs - Hanmer Springs - No centro

  • 90 M2
  • 6 pessoas
  • Ar-condicionado
  • Aquecimento
  • Terraço
  • Piscina
  • Estacionamento
  • Elevador
  • Varanda
  • Jardim
  • Tv
  • Máquina de lavar roupa
  • Churrasco
  • Toalhas
  • Lençóis
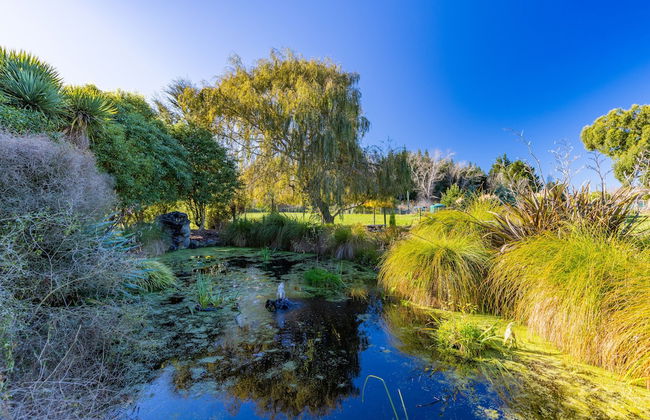
9.4Excepcional | 511 avaliações
Adrift In Golden Bay - Foto 1
Adrift In Golden Bay - Foto 2
Adrift In Golden Bay - Foto 3
Adrift In Golden Bay - Foto 4
Adrift In Golden Bay - Foto 5
Adrift In Golden Bay - Foto 6
Adrift In Golden Bay - Foto 7
Adrift In Golden Bay - Foto 8
Adrift In Golden Bay - Foto 9
Adrift In Golden Bay - Foto 10
Adrift In Golden Bay - Foto 11
Adrift In Golden Bay - Foto 12
Adrift In Golden Bay - Foto 13
Adrift In Golden Bay - Foto 14
Adrift In Golden Bay - Foto 15
Adrift In Golden Bay - Foto 16
Adrift In Golden Bay - Foto 17
Adrift In Golden Bay - Foto 18
Adrift In Golden Bay - Foto 19
Adrift In Golden Bay - Foto 20
Adrift In Golden Bay - Foto 21
Adrift In Golden Bay - Foto 22
Adrift In Golden Bay - Foto 23
Adrift In Golden Bay - Foto 24
Adrift In Golden Bay - Foto 25
Adrift In Golden Bay - Foto 26
Adrift In Golden Bay - Foto 27
Adrift In Golden Bay - Foto 28
Adrift In Golden Bay - Foto 29
Adrift In Golden Bay - Foto 30
Adrift In Golden Bay - Foto 31
Adrift In Golden Bay - Foto 32
Adrift In Golden Bay - Foto 33
Adrift In Golden Bay - Foto 34
Adrift In Golden Bay - Foto 35
Adrift In Golden Bay - Foto 36
Adrift In Golden Bay - Foto 37
Adrift In Golden Bay - Foto 38
Adrift In Golden Bay - Foto 39
Adrift In Golden Bay - Foto 40
Adrift In Golden Bay - Foto 41
Adrift In Golden Bay - Foto 42
Adrift In Golden Bay - Foto 43
Adrift In Golden Bay - Foto 44
Adrift In Golden Bay - Foto 45
Adrift In Golden Bay - Foto 46
Adrift In Golden Bay - Foto 47
Adrift In Golden Bay - Foto 48

Adrift In Golden Bay

Collingwood - Parapara - 6.5 km do centro

  • 45 M2
  • 2 pessoas
  • Ar-condicionado
  • Aquecimento
  • Terraço
  • Estacionamento
  • Jardim
  • Tv
  • Churrasco
  • Toalhas
  • Lençóis
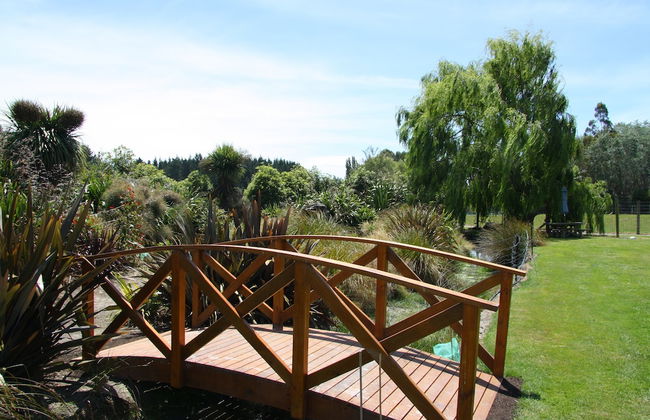
10Magnífico | 10 avaliações
Christchurch City & Country Cottages - Clarence Cottage - Foto 1
Christchurch City & Country Cottages - Clarence Cottage - Foto 2
Christchurch City & Country Cottages - Clarence Cottage - Foto 3
Christchurch City & Country Cottages - Clarence Cottage - Foto 4
Christchurch City & Country Cottages - Clarence Cottage - Foto 5
Christchurch City & Country Cottages - Clarence Cottage - Foto 6
Christchurch City & Country Cottages - Clarence Cottage - Foto 7
Christchurch City & Country Cottages - Clarence Cottage - Foto 8
Christchurch City & Country Cottages - Clarence Cottage - Foto 9
Christchurch City & Country Cottages - Clarence Cottage - Foto 10
Christchurch City & Country Cottages - Clarence Cottage - Foto 11
Christchurch City & Country Cottages - Clarence Cottage - Foto 12
Christchurch City & Country Cottages - Clarence Cottage - Foto 13
Christchurch City & Country Cottages - Clarence Cottage - Foto 14
Christchurch City & Country Cottages - Clarence Cottage - Foto 15
Christchurch City & Country Cottages - Clarence Cottage - Foto 16
Christchurch City & Country Cottages - Clarence Cottage - Foto 17
Christchurch City & Country Cottages - Clarence Cottage - Foto 18
Christchurch City & Country Cottages - Clarence Cottage - Foto 19
Christchurch City & Country Cottages - Clarence Cottage - Foto 20
Christchurch City & Country Cottages - Clarence Cottage - Foto 21
Christchurch City & Country Cottages - Clarence Cottage - Foto 22
Christchurch City & Country Cottages - Clarence Cottage - Foto 23
Christchurch City & Country Cottages - Clarence Cottage - Foto 24
Christchurch City & Country Cottages - Clarence Cottage - Foto 25
Christchurch City & Country Cottages - Clarence Cottage - Foto 26
Christchurch City & Country Cottages - Clarence Cottage - Foto 27
Christchurch City & Country Cottages - Clarence Cottage - Foto 28
Christchurch City & Country Cottages - Clarence Cottage - Foto 29
Christchurch City & Country Cottages - Clarence Cottage - Foto 30
Christchurch City & Country Cottages - Clarence Cottage - Foto 31
Christchurch City & Country Cottages - Clarence Cottage - Foto 32
Christchurch City & Country Cottages - Clarence Cottage - Foto 33
Christchurch City & Country Cottages - Clarence Cottage - Foto 34
Christchurch City & Country Cottages - Clarence Cottage - Foto 35
Christchurch City & Country Cottages - Clarence Cottage - Foto 36
Christchurch City & Country Cottages - Clarence Cottage - Foto 37
Christchurch City & Country Cottages - Clarence Cottage - Foto 38
Christchurch City & Country Cottages - Clarence Cottage - Foto 39
Christchurch City & Country Cottages - Clarence Cottage - Foto 40
Christchurch City & Country Cottages - Clarence Cottage - Foto 41

Christchurch City & Country Cottages - Clarence Cottage

Christchurch - Addington - 2.2 km do centro

  • 25 M2
  • 6 pessoas
  • Ar-condicionado
  • Aquecimento
  • Terraço
  • Estacionamento
  • Varanda
  • Jardim
  • Tv
  • Máquina de lavar roupa
  • Toalhas
  • Lençóis
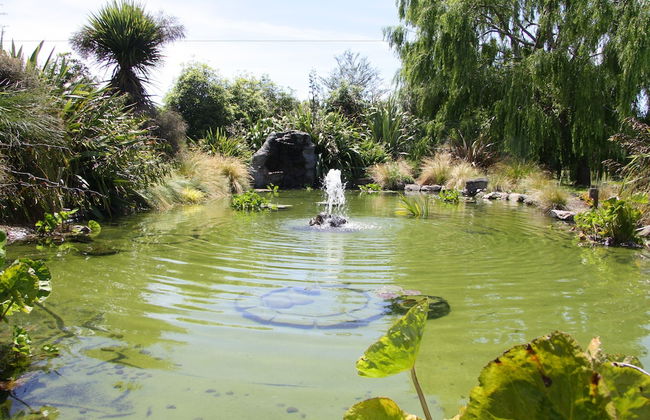
10Magnífico | 12 avaliações
Wilkes Way Villa - Foto 1
Wilkes Way Villa - Foto 2
Wilkes Way Villa - Foto 3
Wilkes Way Villa - Foto 4
Wilkes Way Villa - Foto 5
Wilkes Way Villa - Foto 6
Wilkes Way Villa - Foto 7
Wilkes Way Villa - Foto 8
Wilkes Way Villa - Foto 9
Wilkes Way Villa - Foto 10
Wilkes Way Villa - Foto 11
Wilkes Way Villa - Foto 12
Wilkes Way Villa - Foto 13
Wilkes Way Villa - Foto 14
Wilkes Way Villa - Foto 15
Wilkes Way Villa - Foto 16
Wilkes Way Villa - Foto 17
Wilkes Way Villa - Foto 18
Wilkes Way Villa - Foto 19
Wilkes Way Villa - Foto 20
Wilkes Way Villa - Foto 21
Wilkes Way Villa - Foto 22
Wilkes Way Villa - Foto 23
Wilkes Way Villa - Foto 24
Wilkes Way Villa - Foto 25
Wilkes Way Villa - Foto 26
Wilkes Way Villa - Foto 27
Wilkes Way Villa - Foto 28
Wilkes Way Villa - Foto 29
Wilkes Way Villa - Foto 30
Wilkes Way Villa - Foto 31
Wilkes Way Villa - Foto 32
Wilkes Way Villa - Foto 33

Wilkes Way Villa

Picton - Waikawa - 2.8 km do centro

  • 625 M2
  • 4 pessoas
  • Ar-condicionado
  • Aquecimento
  • Terraço
  • Estacionamento
  • Jardim
  • Tv
  • Máquina de lavar roupa
  • Churrasco
  • Toalhas
10Magnífico | 16 avaliações
Marchmont Gardens - Foto 1
Marchmont Gardens - Foto 2
Marchmont Gardens - Foto 3
Marchmont Gardens - Foto 4
Marchmont Gardens - Foto 5
Marchmont Gardens - Foto 6
Marchmont Gardens - Foto 7
Marchmont Gardens - Foto 8
Marchmont Gardens - Foto 9
Marchmont Gardens - Foto 10
Marchmont Gardens - Foto 11
Marchmont Gardens - Foto 12
Marchmont Gardens - Foto 13
Marchmont Gardens - Foto 14
Marchmont Gardens - Foto 15
Marchmont Gardens - Foto 16
Marchmont Gardens - Foto 17
Marchmont Gardens - Foto 18
Marchmont Gardens - Foto 19
Marchmont Gardens - Foto 20
Marchmont Gardens - Foto 21
Marchmont Gardens - Foto 22
Marchmont Gardens - Foto 23
Marchmont Gardens - Foto 24
Marchmont Gardens - Foto 25
Marchmont Gardens - Foto 26
Marchmont Gardens - Foto 27
Marchmont Gardens - Foto 28
Marchmont Gardens - Foto 29
Marchmont Gardens - Foto 30
Marchmont Gardens - Foto 31
Marchmont Gardens - Foto 32
Marchmont Gardens - Foto 33
Marchmont Gardens - Foto 34
Marchmont Gardens - Foto 35
Marchmont Gardens - Foto 36
Marchmont Gardens - Foto 37
Marchmont Gardens - Foto 38
Marchmont Gardens - Foto 39
Marchmont Gardens - Foto 40
Marchmont Gardens - Foto 41
Marchmont Gardens - Foto 42
Marchmont Gardens - Foto 43
Marchmont Gardens - Foto 44
Marchmont Gardens - Foto 45
Marchmont Gardens - Foto 46
Marchmont Gardens - Foto 47
Marchmont Gardens - Foto 48
Marchmont Gardens - Foto 49
Marchmont Gardens - Foto 50
Marchmont Gardens - Foto 51
Marchmont Gardens - Foto 52
Marchmont Gardens - Foto 53
Marchmont Gardens - Foto 54
Marchmont Gardens - Foto 55
Marchmont Gardens - Foto 56

Marchmont Gardens

Hanmer Springs - Hanmer Springs - No centro

  • 44 M2
  • 2 pessoas
  • Kitchenette
  • Ar-condicionado
  • Aquecimento
  • Terraço
  • Estacionamento
  • Jardim
  • Tv
  • Churrasco
  • Toalhas
  • Lençóis
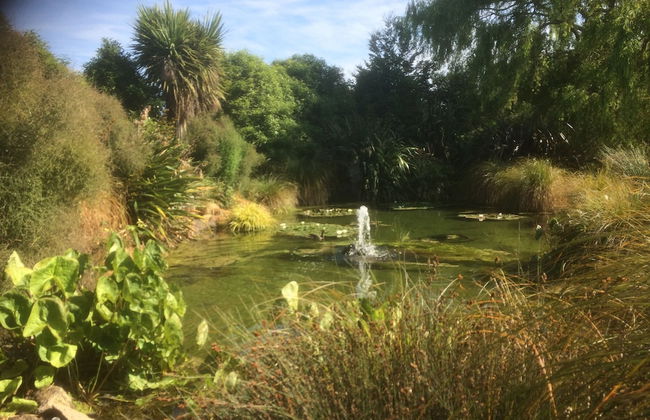
10Magnífico | 62 avaliações
Black Peak View - Foto 1
Black Peak View - Foto 2
Black Peak View - Foto 3
Black Peak View - Foto 4
Black Peak View - Foto 5
Black Peak View - Foto 6
Black Peak View - Foto 7
Black Peak View - Foto 8
Black Peak View - Foto 9
Black Peak View - Foto 10
Black Peak View - Foto 11
Black Peak View - Foto 12
Black Peak View - Foto 13
Black Peak View - Foto 14
Black Peak View - Foto 15
Black Peak View - Foto 16
Black Peak View - Foto 17
Black Peak View - Foto 18
Black Peak View - Foto 19
Black Peak View - Foto 20
Black Peak View - Foto 21
Black Peak View - Foto 22
Black Peak View - Foto 23
Black Peak View - Foto 24
Black Peak View - Foto 25
Black Peak View - Foto 26
Black Peak View - Foto 27
Black Peak View - Foto 28
Black Peak View - Foto 29

Black Peak View

Wanaka - Lake Wanaka - 1.2 km do centro

  • 30 M2
  • 2 pessoas
  • Kitchenette
  • Ar-condicionado
  • Aquecimento
  • Terraço
  • Estacionamento
  • Varanda
  • Jardim
  • Tv
  • Toalhas
  • Lençóis
10Magnífico | 27 avaliações
Mudbrick Cottages - Foto 1
Mudbrick Cottages - Foto 2
Mudbrick Cottages - Foto 3
Mudbrick Cottages - Foto 4
Mudbrick Cottages - Foto 5
Mudbrick Cottages - Foto 6
Mudbrick Cottages - Foto 7
Mudbrick Cottages - Foto 8
Mudbrick Cottages - Foto 9
Mudbrick Cottages - Foto 10
Mudbrick Cottages - Foto 11
Mudbrick Cottages - Foto 12
Mudbrick Cottages - Foto 13
Mudbrick Cottages - Foto 14
Mudbrick Cottages - Foto 15

Mudbrick Cottages

Waiheke Island - Waiheke Island - 8 km do centro

  • 3 pessoas
  • Kitchenette
  • Ar-condicionado
  • Aquecimento
  • Terraço
  • Estacionamento
  • Jardim
  • Tv
  • Máquina de lavar roupa
  • Chaminé
  • Churrasco
  • Toalhas
  • Lençóis
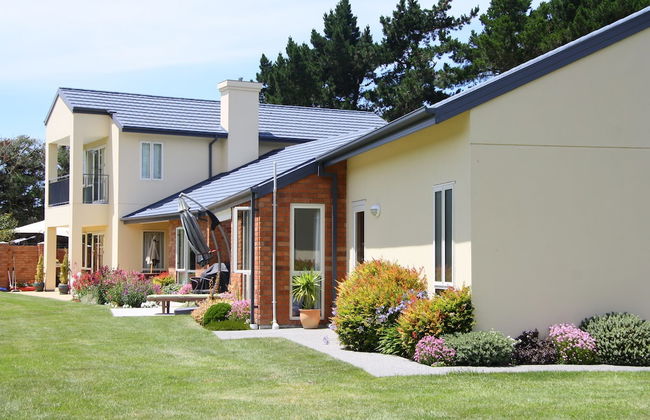
10Magnífico | 16 avaliações
Lawn Cottages - Foto 1
Lawn Cottages - Foto 2
Lawn Cottages - Foto 3
Lawn Cottages - Foto 4
Lawn Cottages - Foto 5
Lawn Cottages - Foto 6
Lawn Cottages - Foto 7
Lawn Cottages - Foto 8
Lawn Cottages - Foto 9
Lawn Cottages - Foto 10
Lawn Cottages - Foto 11
Lawn Cottages - Foto 12
Lawn Cottages - Foto 13
Lawn Cottages - Foto 14
Lawn Cottages - Foto 15
Lawn Cottages - Foto 16
Lawn Cottages - Foto 17
Lawn Cottages - Foto 18
Lawn Cottages - Foto 19
Lawn Cottages - Foto 20
Lawn Cottages - Foto 21
Lawn Cottages - Foto 22
Lawn Cottages - Foto 23
Lawn Cottages - Foto 24
Lawn Cottages - Foto 25
Lawn Cottages - Foto 26
Lawn Cottages - Foto 27
Lawn Cottages - Foto 28
Lawn Cottages - Foto 29
Lawn Cottages - Foto 30
Lawn Cottages - Foto 31
Lawn Cottages - Foto 32
Lawn Cottages - Foto 33
Lawn Cottages - Foto 34
Lawn Cottages - Foto 35
Lawn Cottages - Foto 36
Lawn Cottages - Foto 37
Lawn Cottages - Foto 38
Lawn Cottages - Foto 39
Lawn Cottages - Foto 40
Lawn Cottages - Foto 41
Lawn Cottages - Foto 42
Lawn Cottages - Foto 43
Lawn Cottages - Foto 44
Lawn Cottages - Foto 45
Lawn Cottages - Foto 46
Lawn Cottages - Foto 47
Lawn Cottages - Foto 48
Lawn Cottages - Foto 49
Lawn Cottages - Foto 50
Lawn Cottages - Foto 51
Lawn Cottages - Foto 52
Lawn Cottages - Foto 53
Lawn Cottages - Foto 54

Lawn Cottages

Clive - 1.5 km do centro

  • 52 M2
  • 4 pessoas
  • Ar-condicionado
  • Aquecimento
  • Terraço
  • Estacionamento
  • Jardim
  • Tv
  • Churrasco
  • Toalhas
  • Lençóis
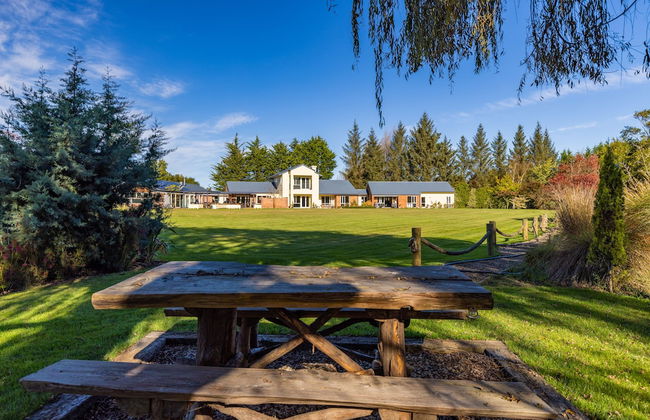
10Magnífico | 84 avaliações
Ben Ohau Vista - Foto 1
Ben Ohau Vista - Foto 2
Ben Ohau Vista - Foto 3
Ben Ohau Vista - Foto 4
Ben Ohau Vista - Foto 5
Ben Ohau Vista - Foto 6
Ben Ohau Vista - Foto 7
Ben Ohau Vista - Foto 8

Ben Ohau Vista

Twizel - Twizel - 1000 m do centro

  • 220 M2
  • 6 pessoas
  • Ar-condicionado
  • Aquecimento
  • Terraço
  • Estacionamento
  • Jardim
  • Tv
  • Máquina de lavar roupa
  • Chaminé
  • Churrasco
  • Toalhas
  • Lençóis
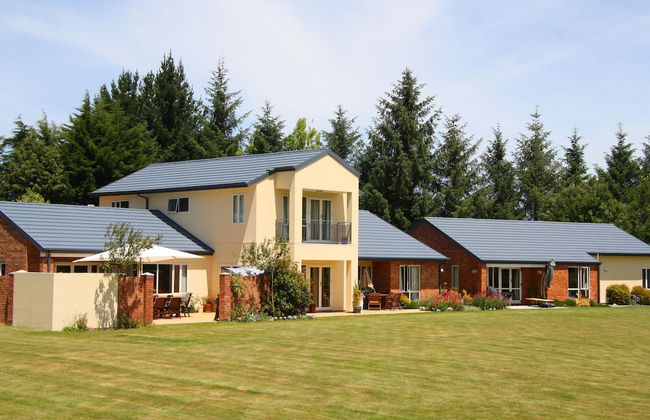
10Magnífico | 12 avaliações
Guest House on Queens - Foto 1
Guest House on Queens - Foto 2
Guest House on Queens - Foto 3
Guest House on Queens - Foto 4
Guest House on Queens - Foto 5
Guest House on Queens - Foto 6
Guest House on Queens - Foto 7
Guest House on Queens - Foto 8
Guest House on Queens - Foto 9
Guest House on Queens - Foto 10
Guest House on Queens - Foto 11
Guest House on Queens - Foto 12
Guest House on Queens - Foto 13

Guest House on Queens

Waiheke Island - 5.1 km do centro

  • 45 M2
  • 2 pessoas
  • Ar-condicionado
  • Aquecimento
  • Terraço
  • Estacionamento
  • Jardim
  • Tv
  • Toalhas
  • Lençóis
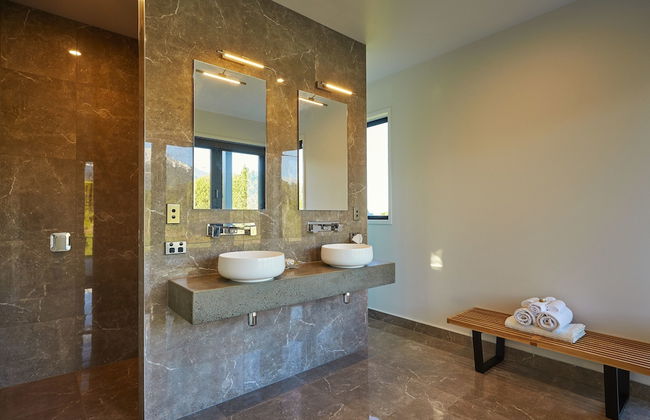
10Magnífico | 40 avaliações
Paihia Apartments - Foto 1
Paihia Apartments - Foto 2
Paihia Apartments - Foto 3
Paihia Apartments - Foto 4
Paihia Apartments - Foto 5
Paihia Apartments - Foto 6
Paihia Apartments - Foto 7
Paihia Apartments - Foto 8
Paihia Apartments - Foto 9
Paihia Apartments - Foto 10
Paihia Apartments - Foto 11
Paihia Apartments - Foto 12
Paihia Apartments - Foto 13
Paihia Apartments - Foto 14
Paihia Apartments - Foto 15
Paihia Apartments - Foto 16
Paihia Apartments - Foto 17
Paihia Apartments - Foto 18
Paihia Apartments - Foto 19
Paihia Apartments - Foto 20
Paihia Apartments - Foto 21
Paihia Apartments - Foto 22
Paihia Apartments - Foto 23

Paihia Apartments

Paihia - Paihia - No centro

  • 65 M2
  • 4 pessoas
  • Ar-condicionado
  • Aquecimento
  • Terraço
  • Estacionamento
  • Varanda
  • Jardim
  • Tv
  • Máquina de lavar roupa
  • Churrasco
  • Toalhas
  • Lençóis
10Magnífico | 24 avaliações
Private Country Cottage - Foto 1
Private Country Cottage - Foto 2
Private Country Cottage - Foto 3
Private Country Cottage - Foto 4
Private Country Cottage - Foto 5
Private Country Cottage - Foto 6
Private Country Cottage - Foto 7
Private Country Cottage - Foto 8
Private Country Cottage - Foto 9
Private Country Cottage - Foto 10
Private Country Cottage - Foto 11
Private Country Cottage - Foto 12
Private Country Cottage - Foto 13

Private Country Cottage

Paraparaumu - Paraparaumu - 2.8 km do centro

  • 2 pessoas
  • Ar-condicionado
  • Aquecimento
  • Terraço
  • Estacionamento
  • Jardim
  • Tv
  • Churrasco
  • Toalhas
  • Lençóis
10Magnífico | 17 avaliações
Paihia Beach 3 Bedroom Apartment - Foto 1
Paihia Beach 3 Bedroom Apartment - Foto 2
Paihia Beach 3 Bedroom Apartment - Foto 3
Paihia Beach 3 Bedroom Apartment - Foto 4
Paihia Beach 3 Bedroom Apartment - Foto 5
Paihia Beach 3 Bedroom Apartment - Foto 6
Paihia Beach 3 Bedroom Apartment - Foto 7
Paihia Beach 3 Bedroom Apartment - Foto 8
Paihia Beach 3 Bedroom Apartment - Foto 9
Paihia Beach 3 Bedroom Apartment - Foto 10
Paihia Beach 3 Bedroom Apartment - Foto 11
Paihia Beach 3 Bedroom Apartment - Foto 12
Paihia Beach 3 Bedroom Apartment - Foto 13
Paihia Beach 3 Bedroom Apartment - Foto 14
Paihia Beach 3 Bedroom Apartment - Foto 15

Paihia Beach 3 Bedroom Apartment

Paihia - Paihia - No centro

  • 75 M2
  • 6 pessoas
  • Ar-condicionado
  • Aquecimento
  • Estacionamento
  • Elevador
  • Varanda
  • Toalhas
10Magnífico | 21 avaliações

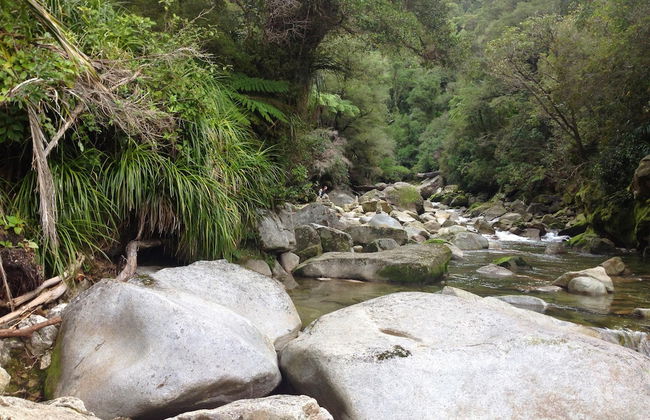
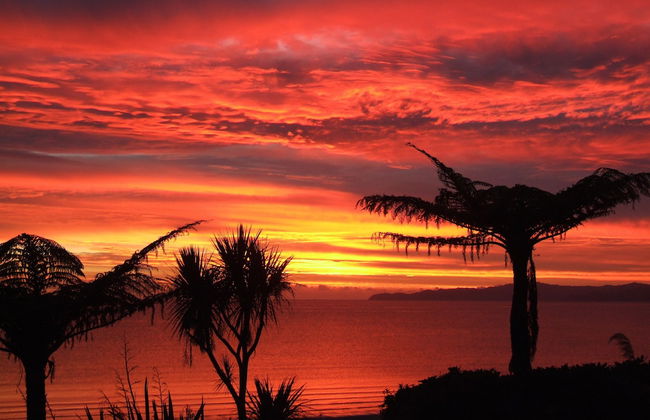
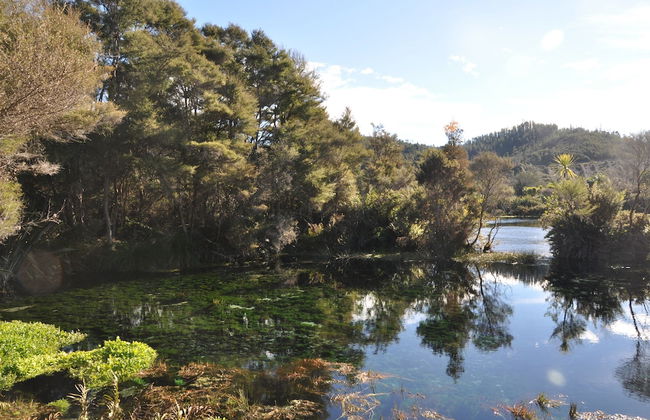
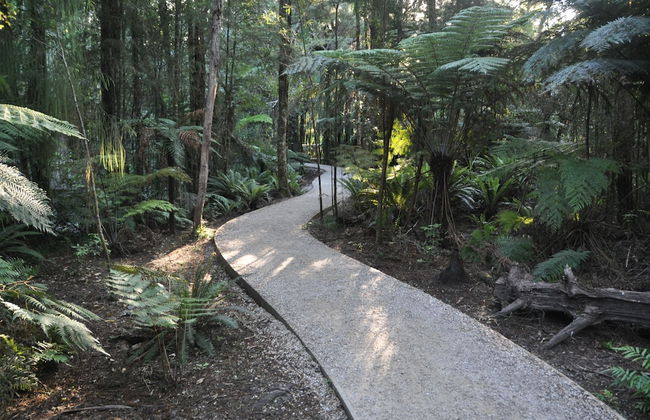
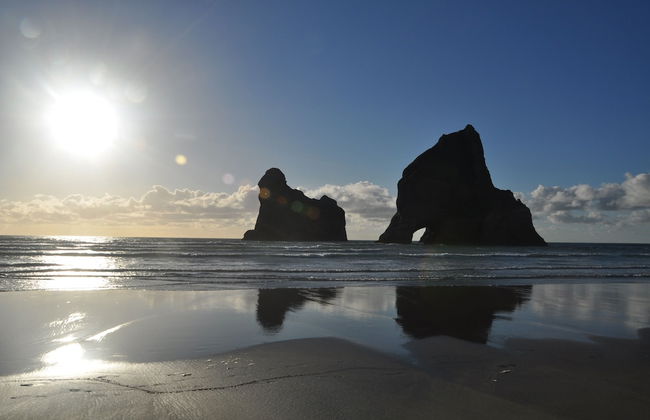
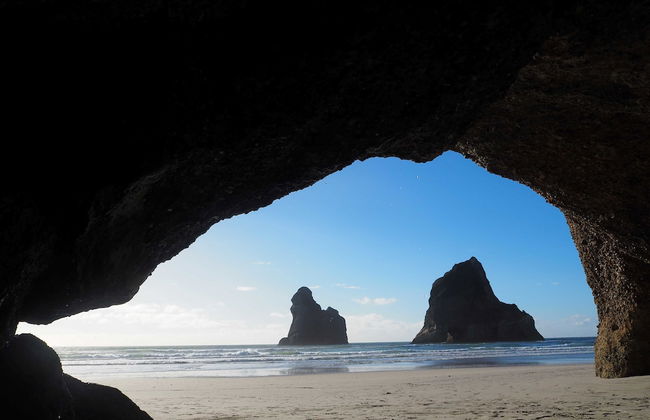
Nova Zelândia é um país insular no sudoeste da Austrália formado por duas grandes ilhas: a Ilha do Norte e a Ilha do Sul, além de outras ilhas mais pequenas que poderá visitar. A sua capital é Wellington e a pesar de existirem dois idiomas oficiales, é o inglês o mais falado. Este país lhe encantará se gosta de antripologia, história e natureza. Para além de sol e praia, claro! Absorva a cultura maori, a sua gastronomia rica em marisco e sua grande área de vegetação. Um país que sem dúvida não o deixará indiferente
Destinos relacionados