
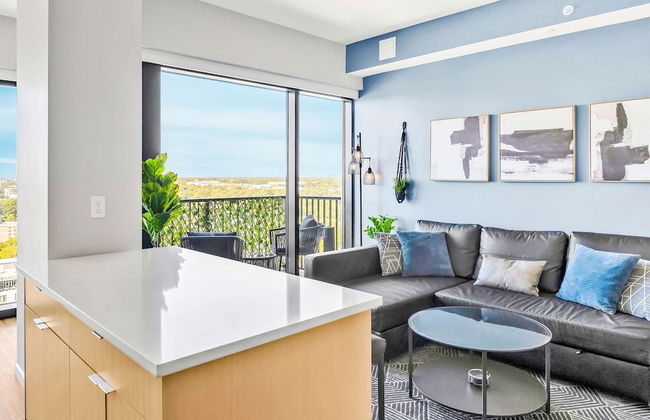
5 Apartamentos em Raleigh

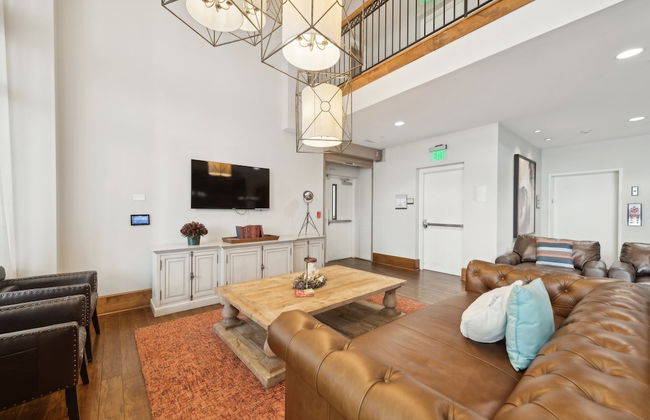

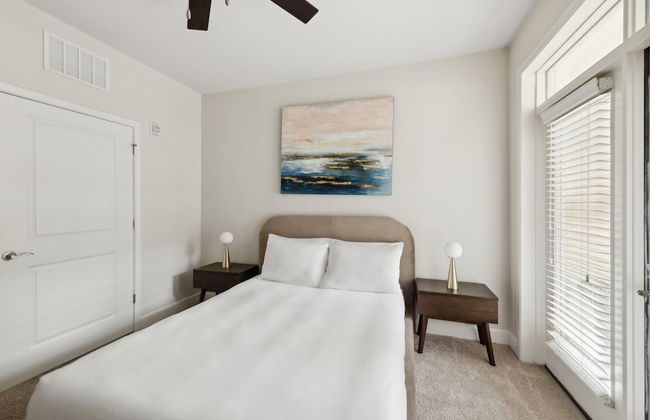

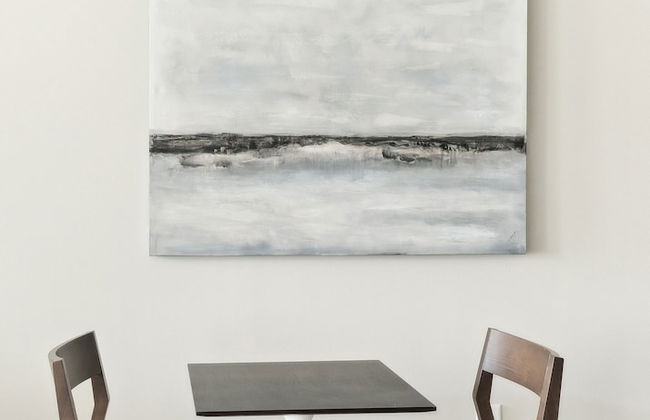
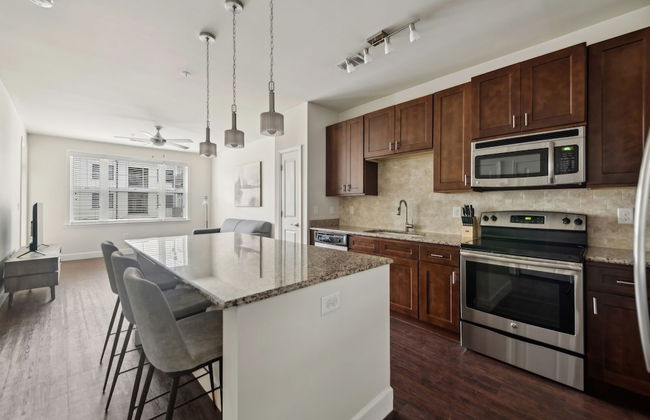
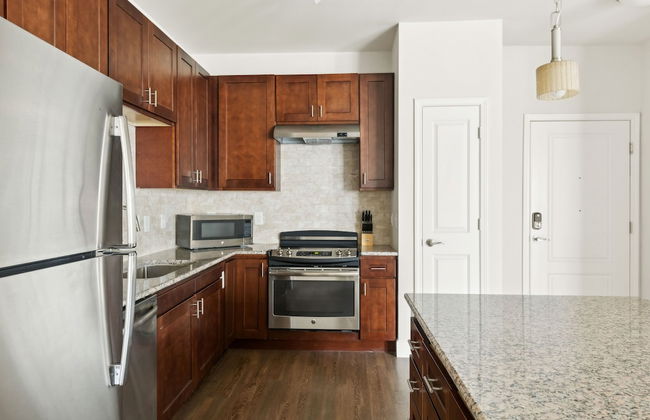
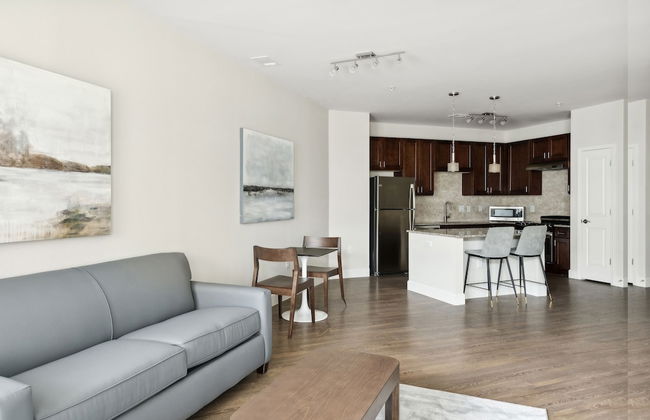
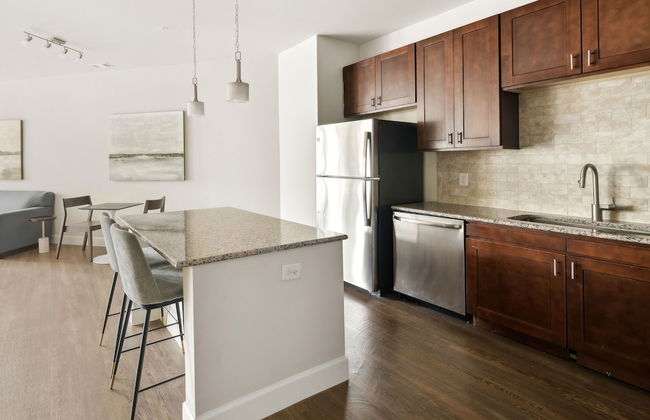
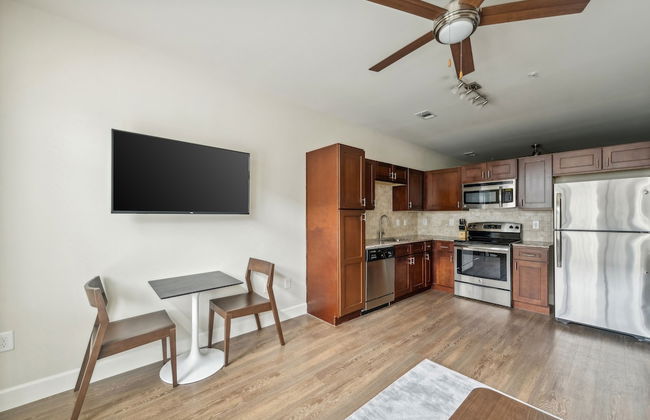
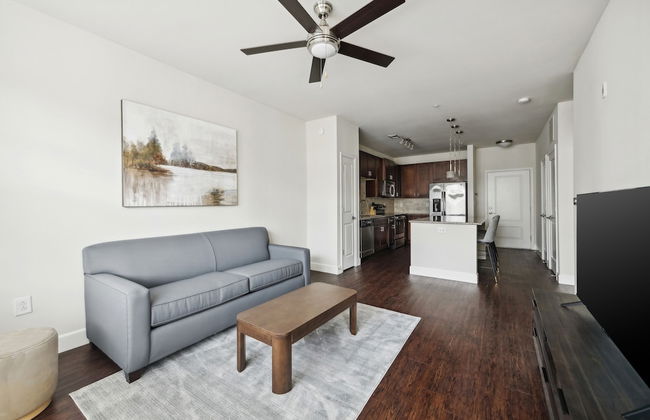
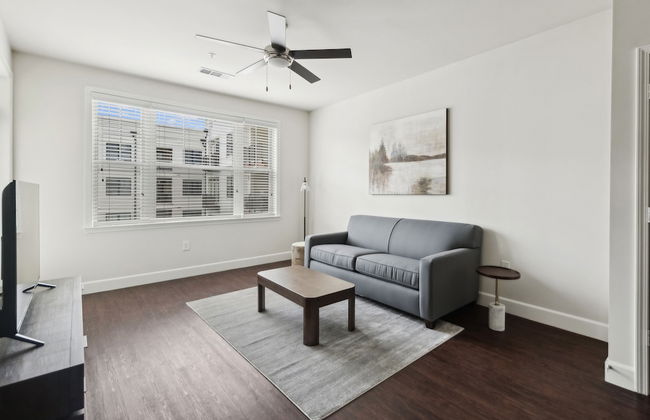
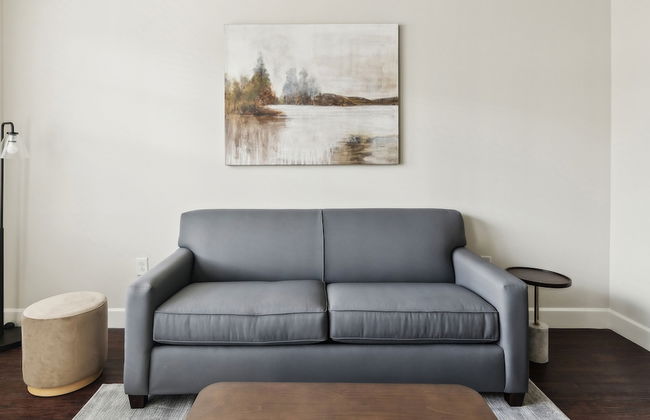
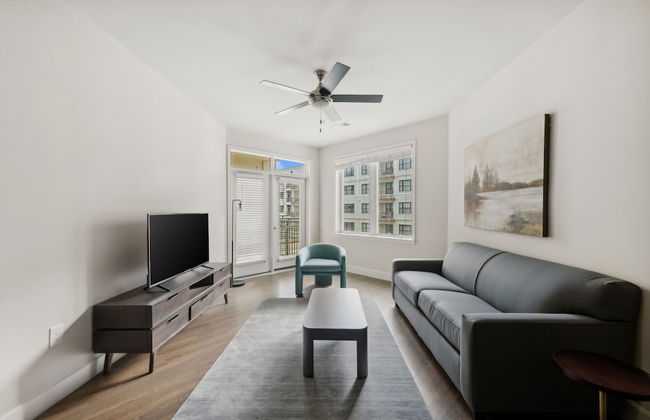

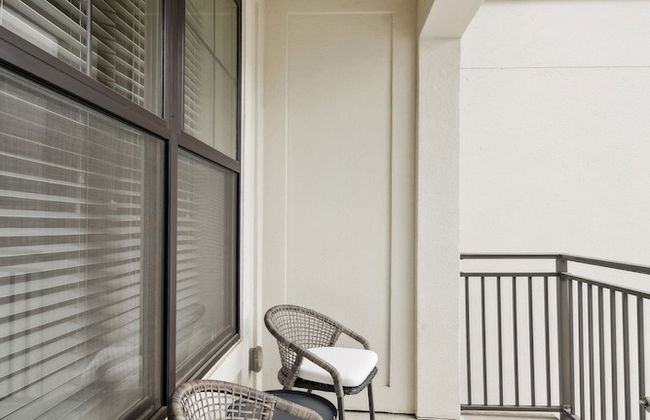
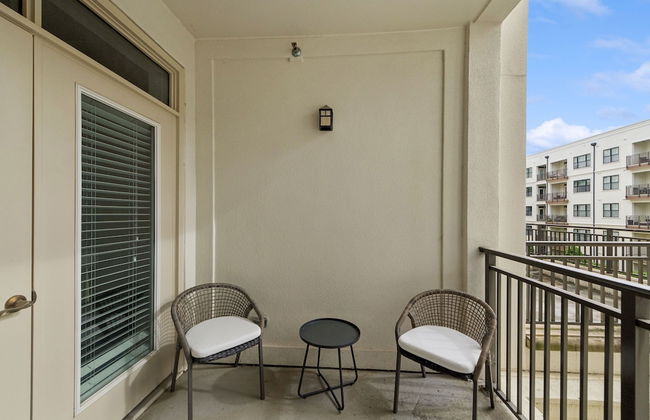
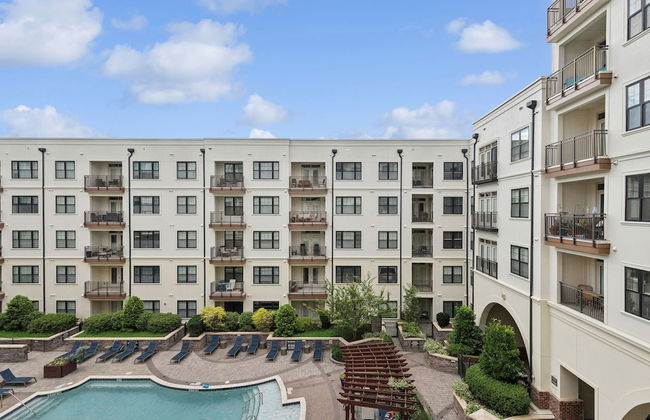

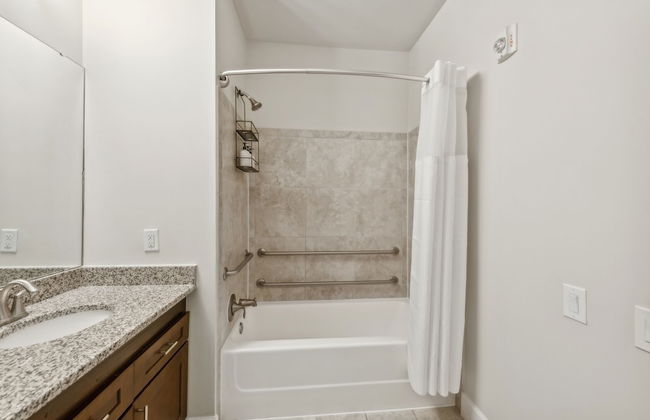

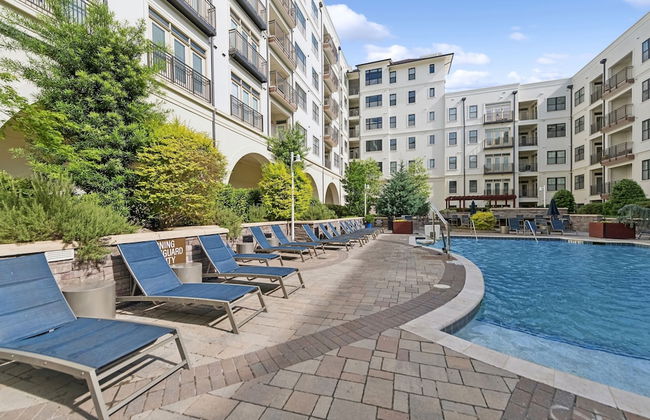
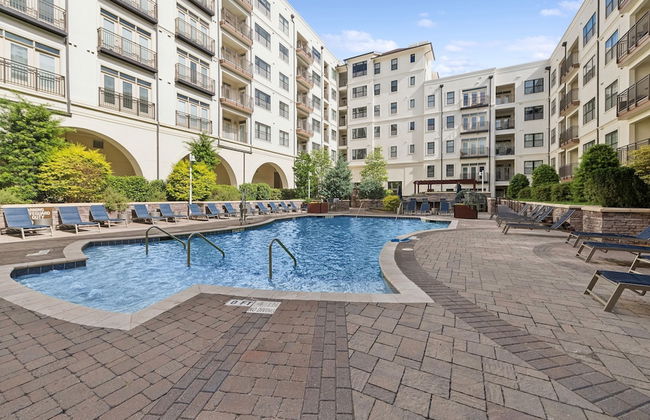
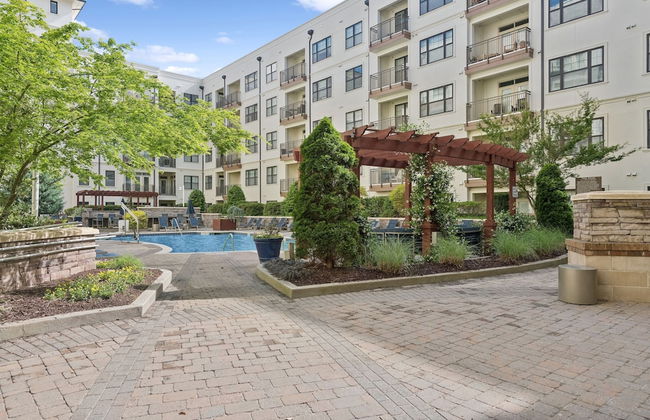

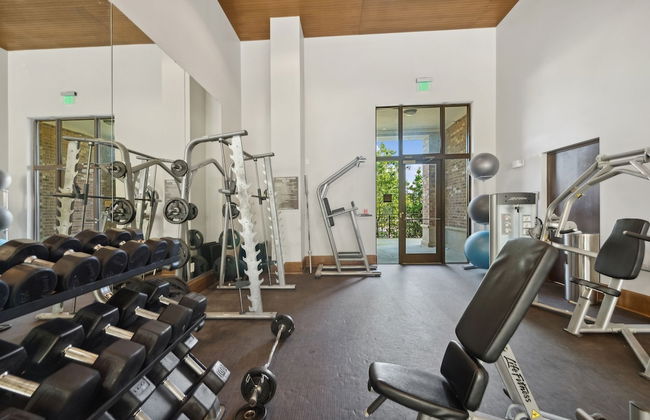
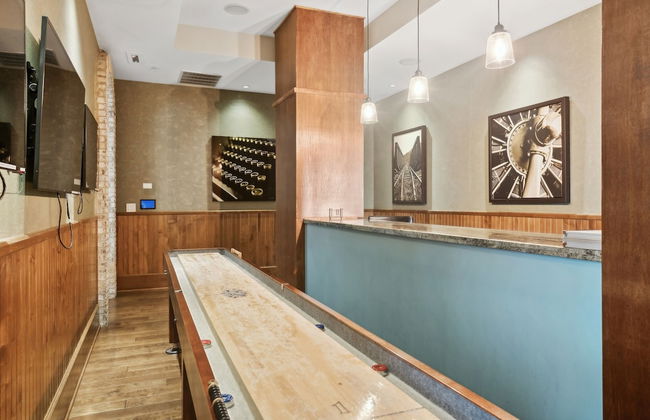
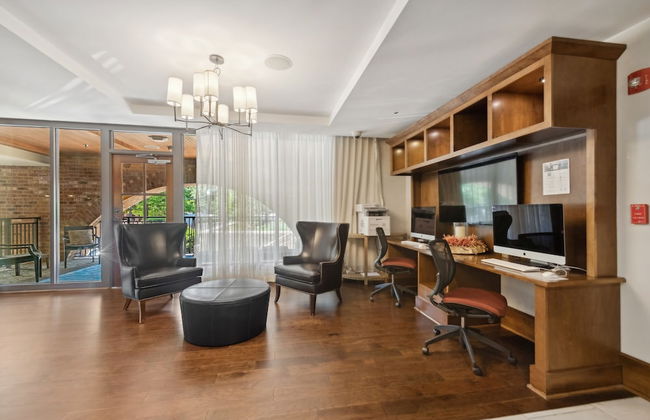

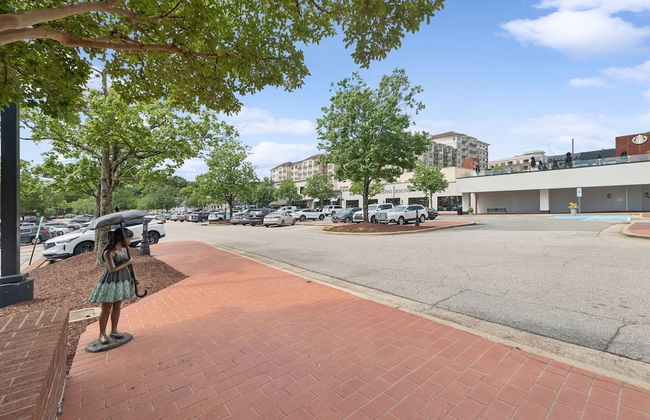

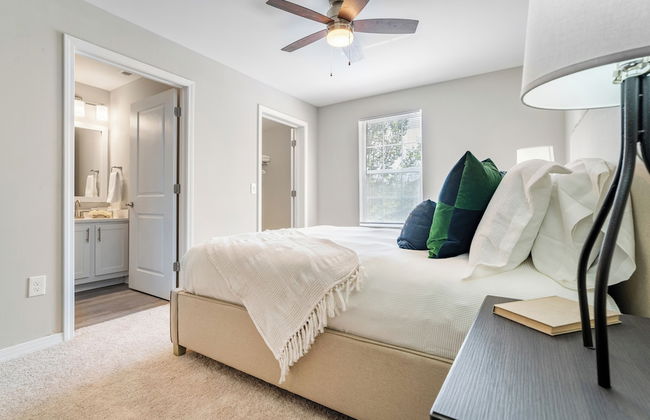
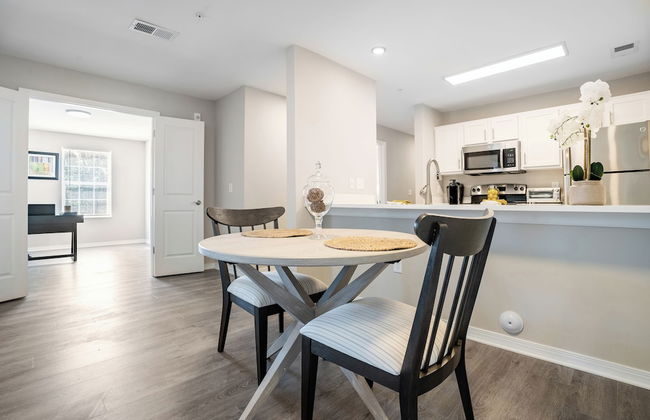
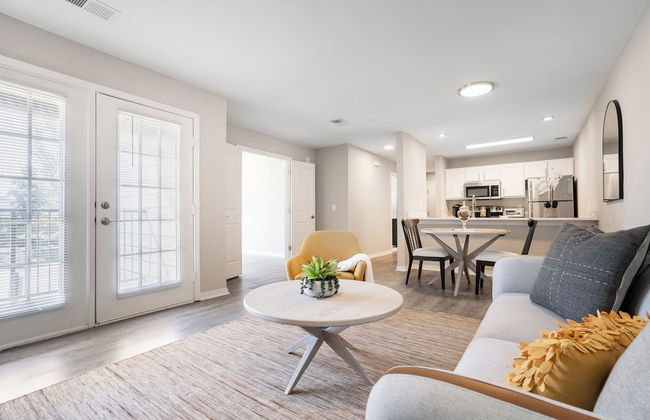
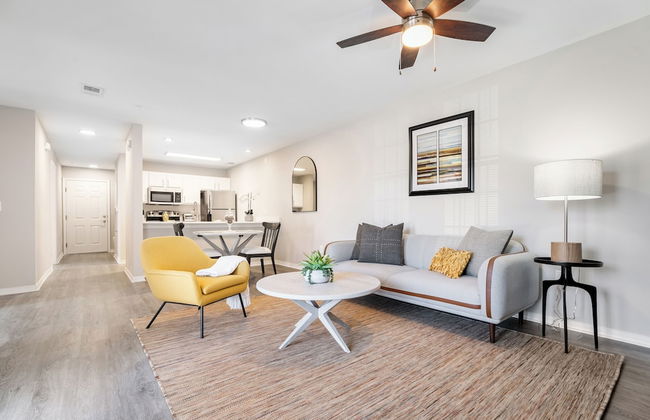
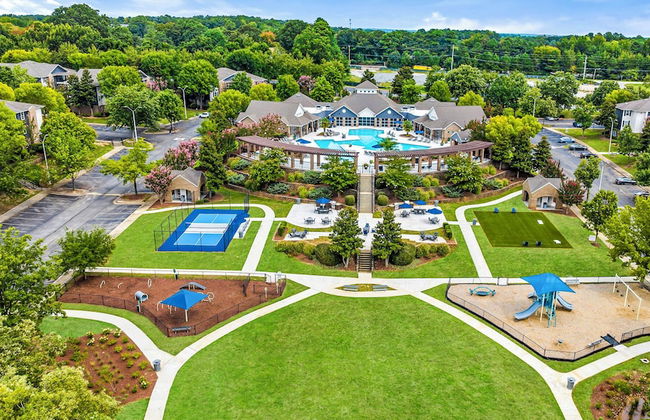
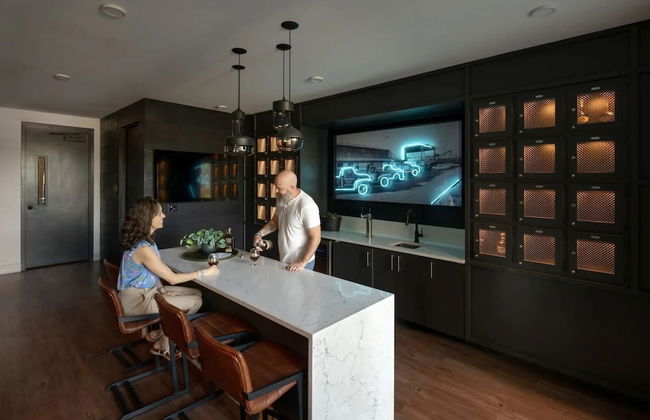
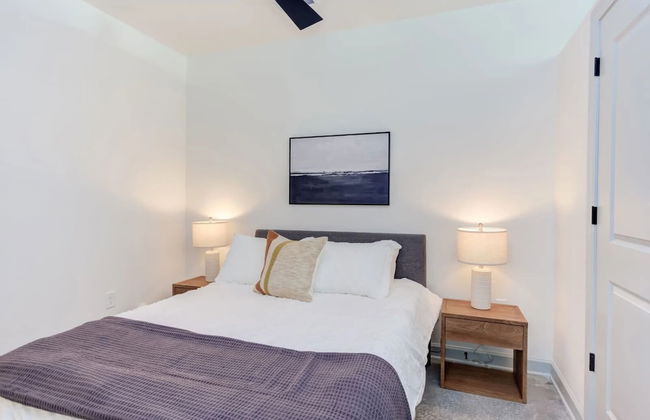
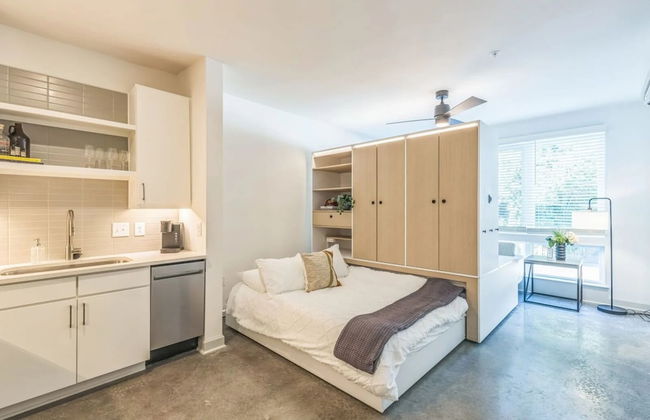
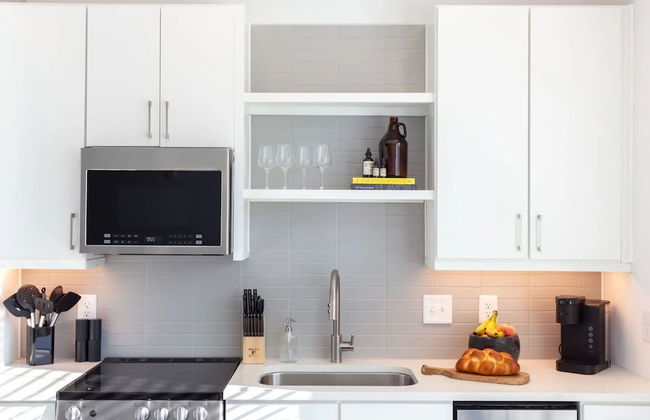
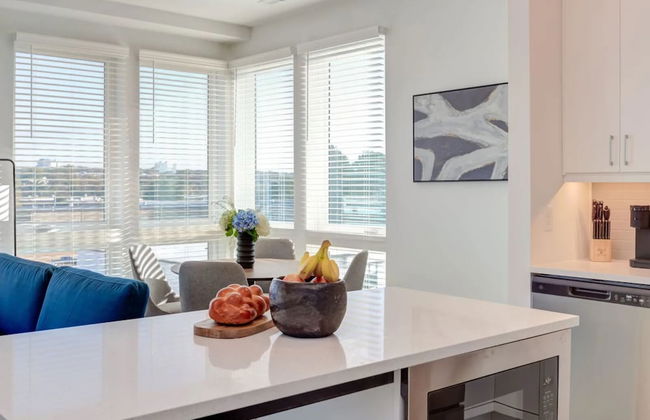
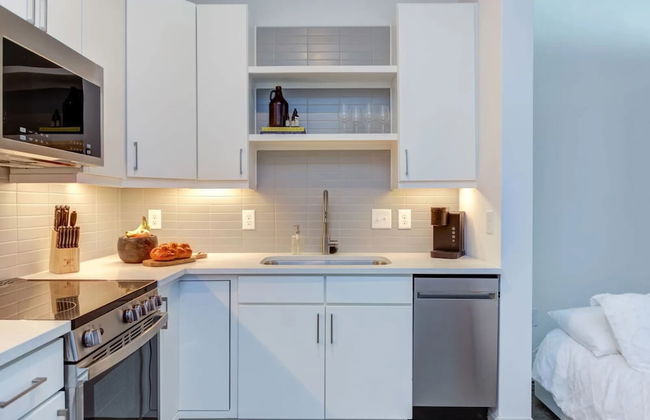
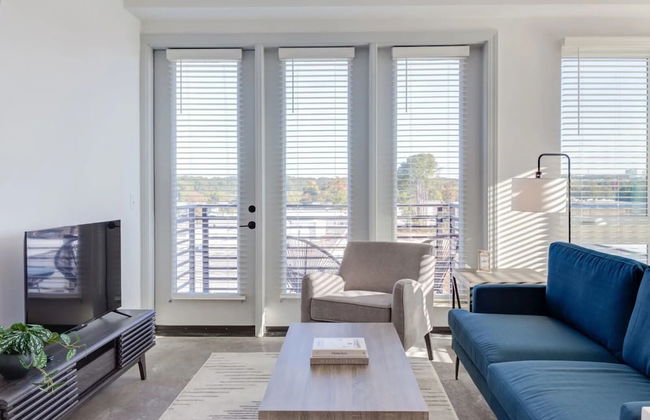
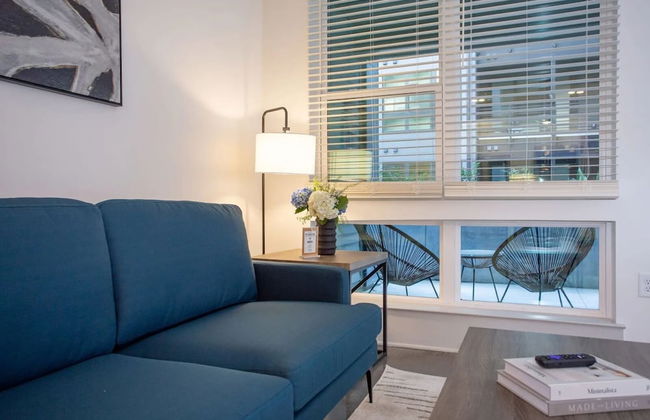
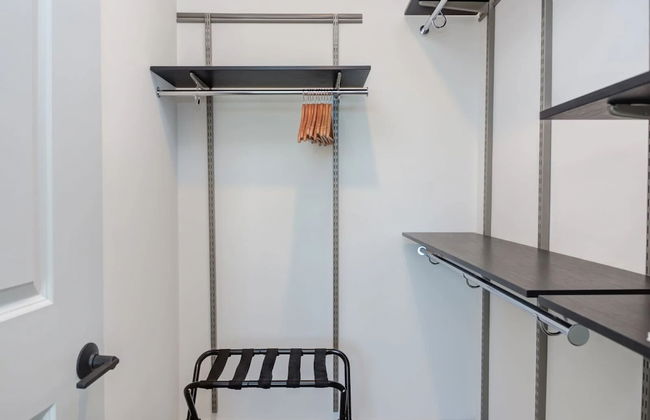
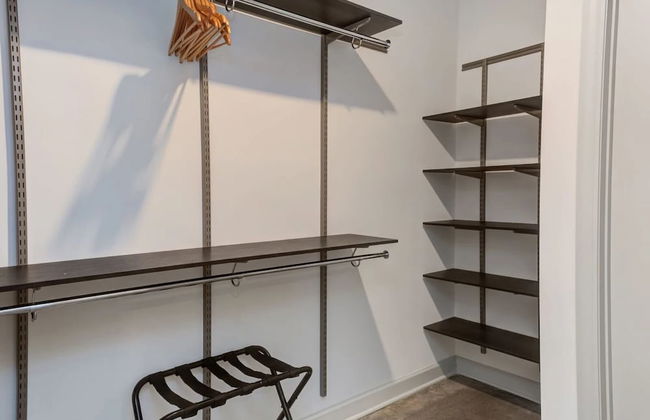
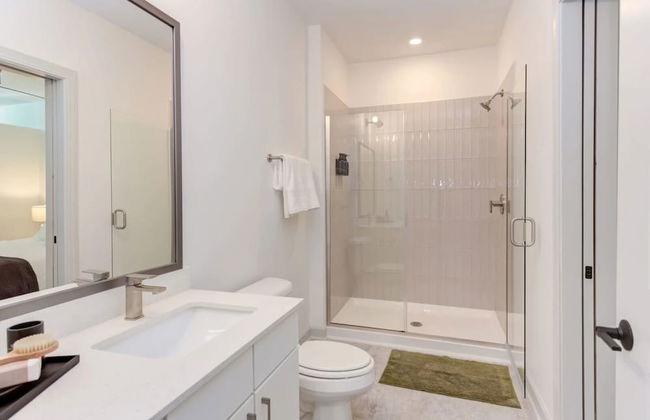
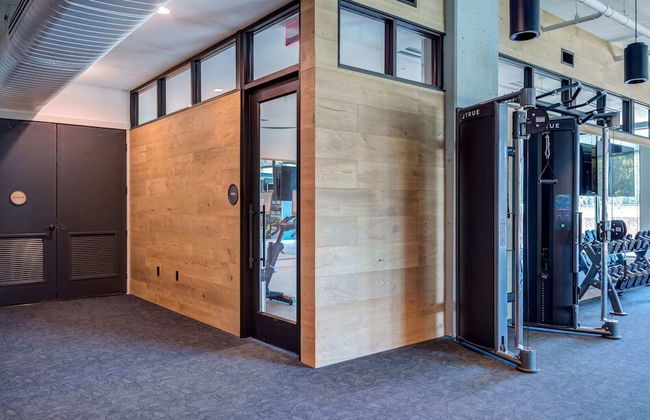
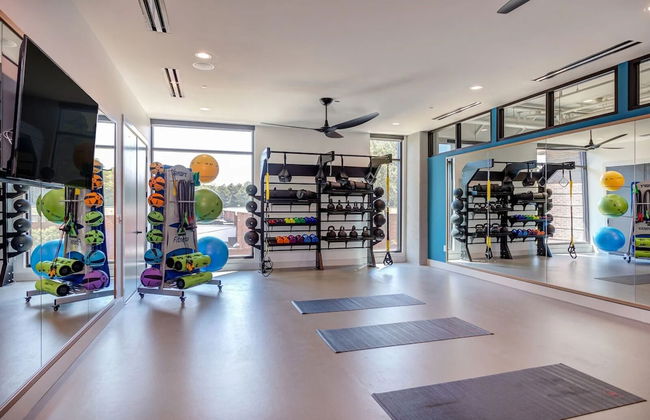
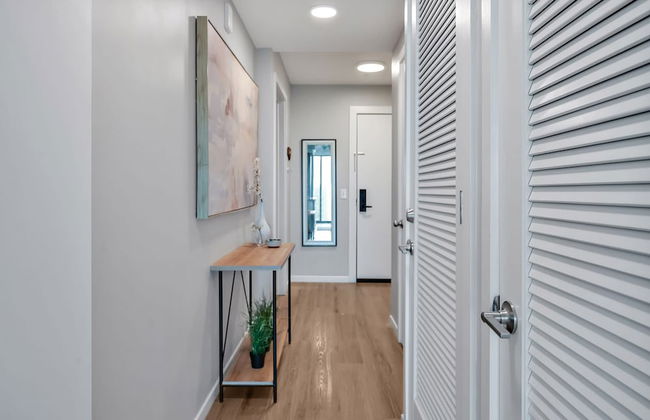
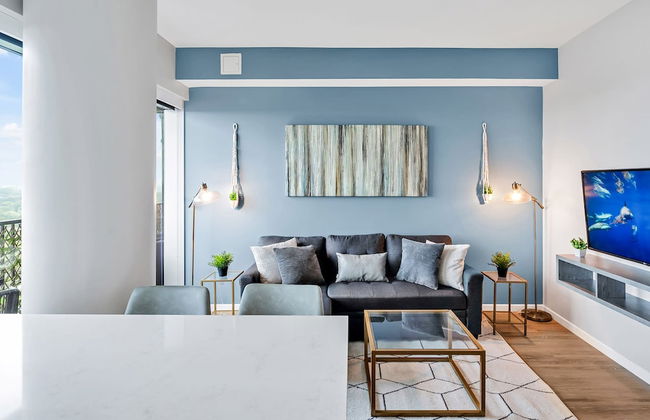
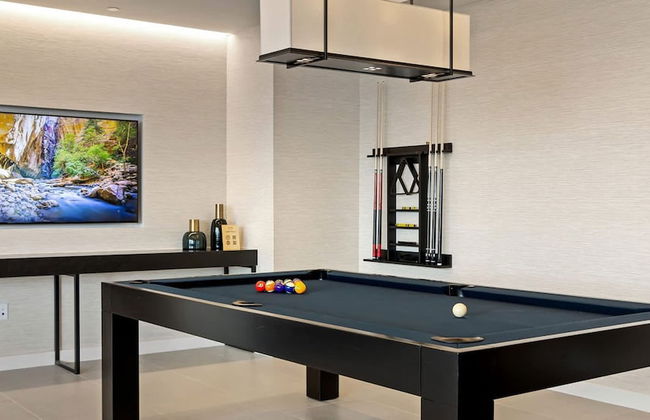
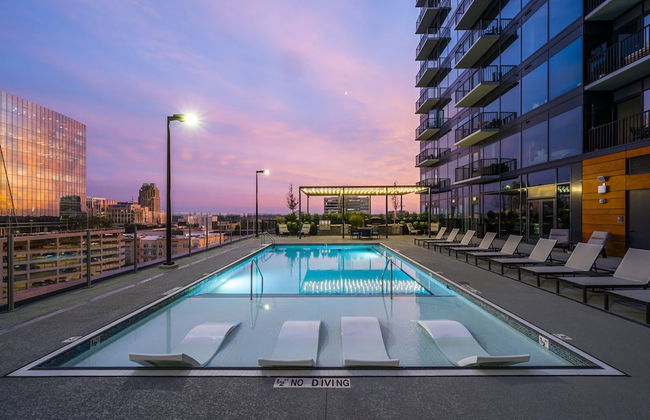
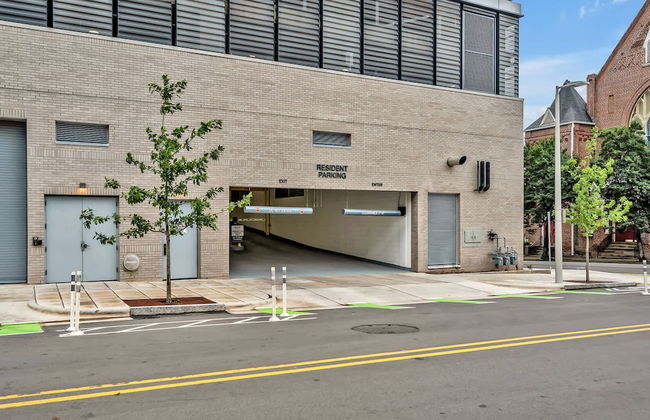
Kasa Village District Raleigh
Raleigh - University - 1.3 km do centro
- 68 M2
- 2 pessoas
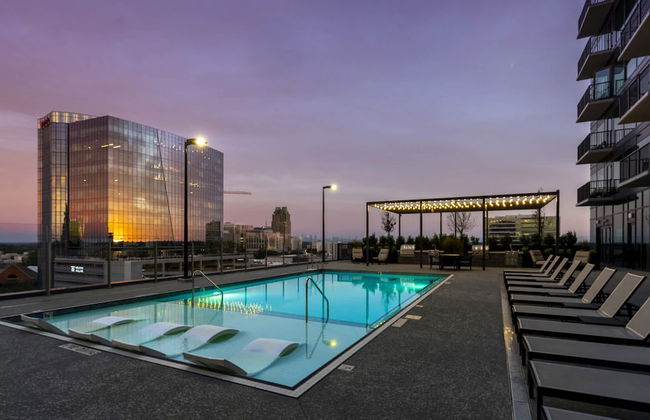
- Ar-condicionado
- Aquecimento
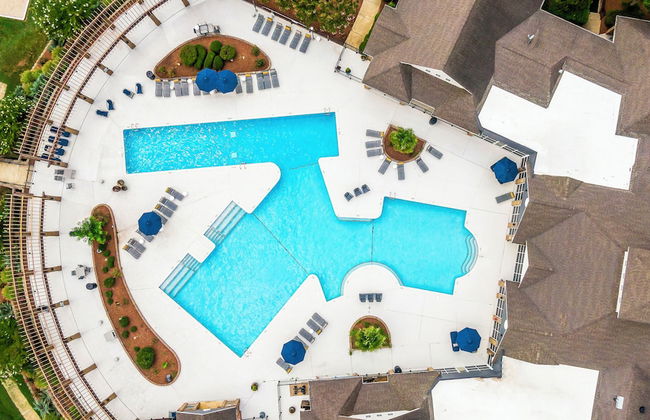
- Piscina
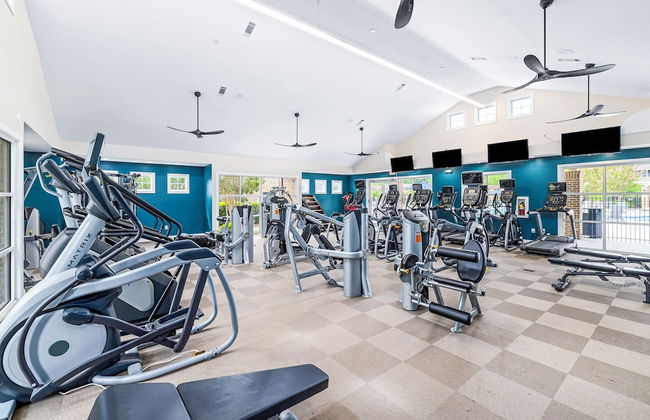
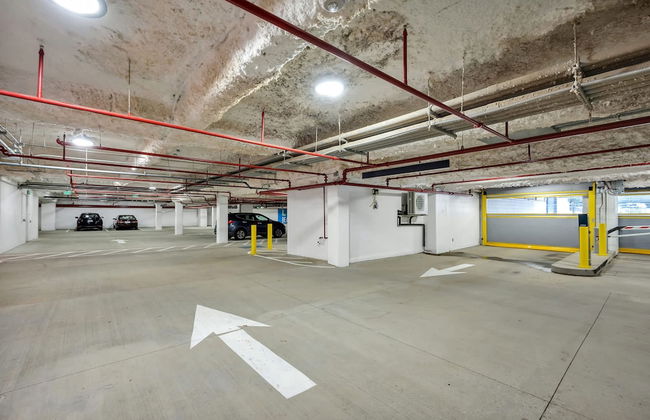
- Estacionamento
- Elevador
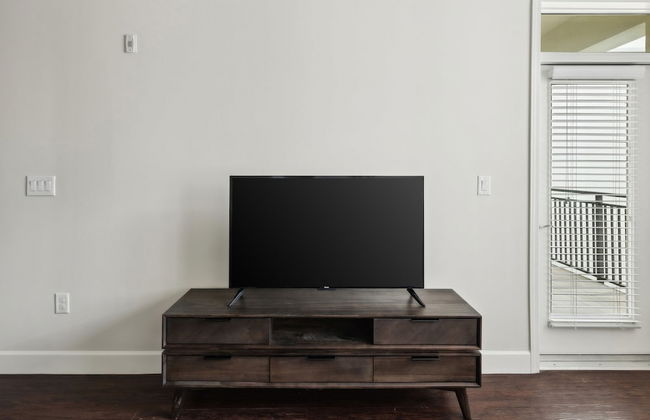
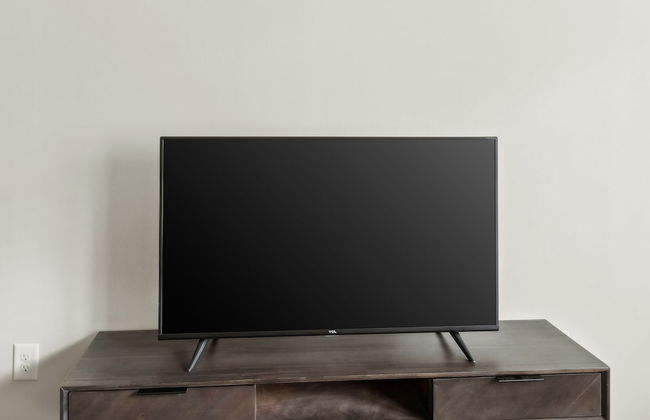
- Tv
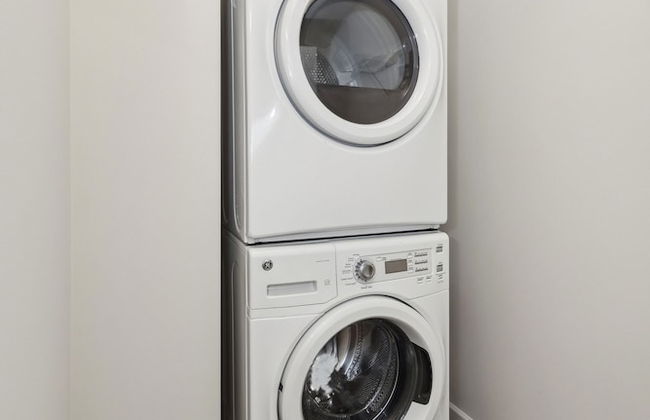
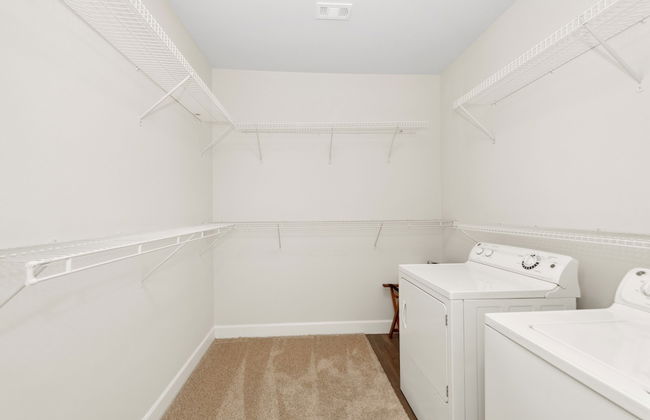
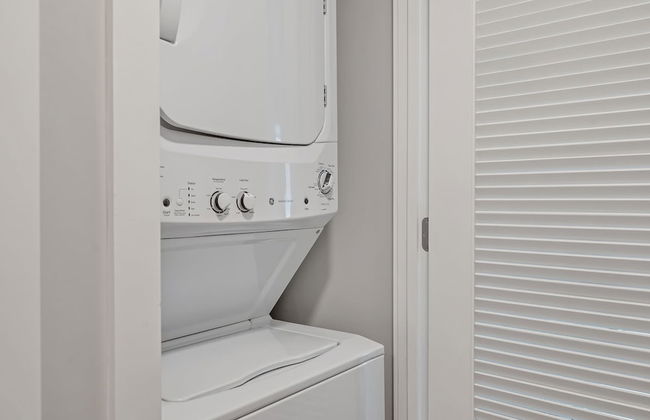
- Máquina de lavar roupa
- Churrasco
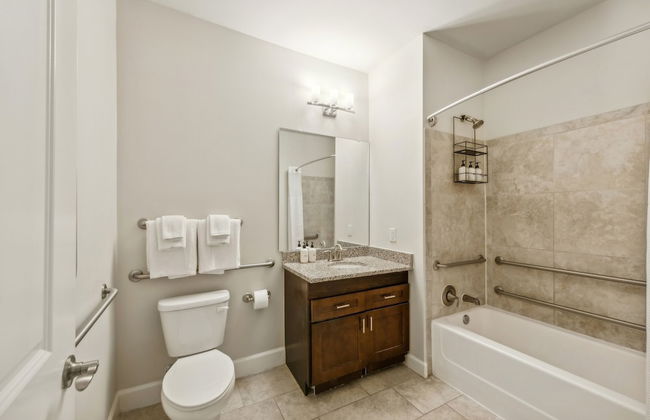
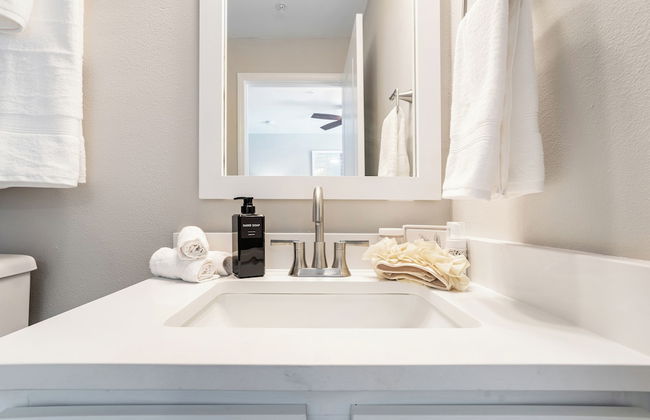
- Toalhas
- Lençóis
16 avaliações
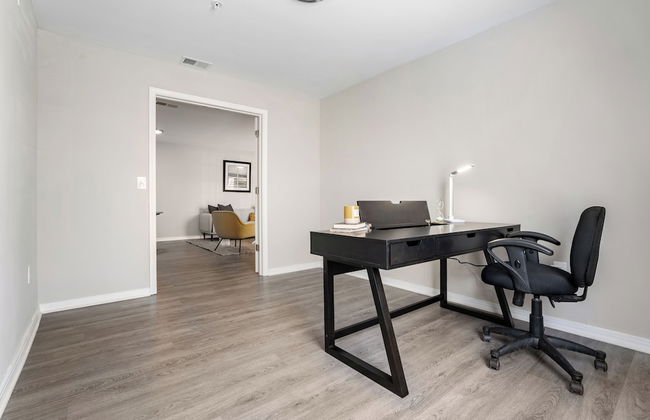

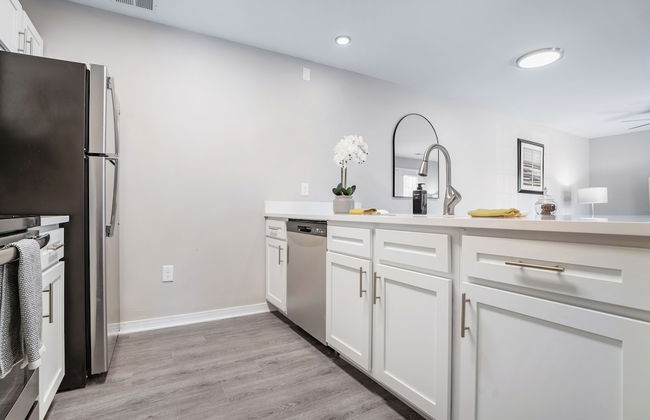
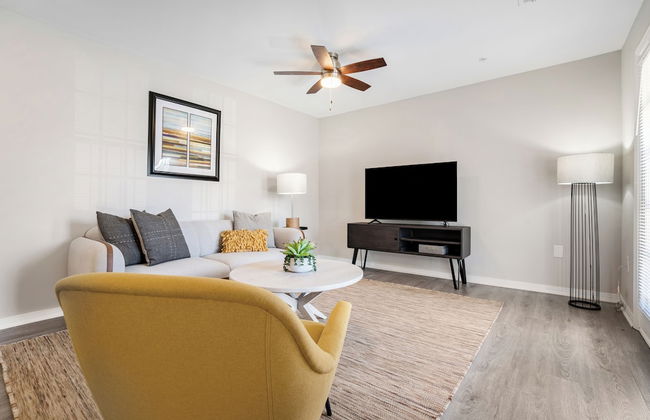


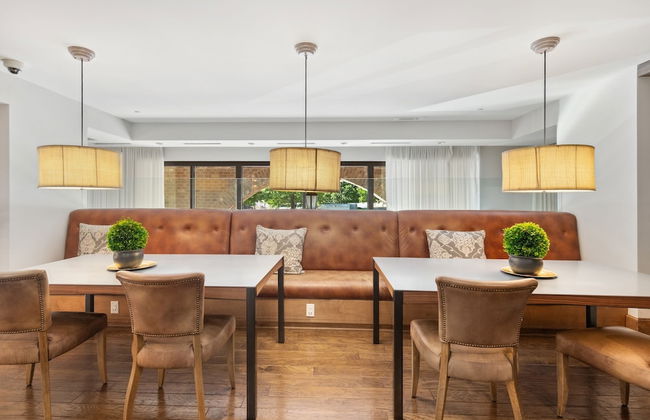
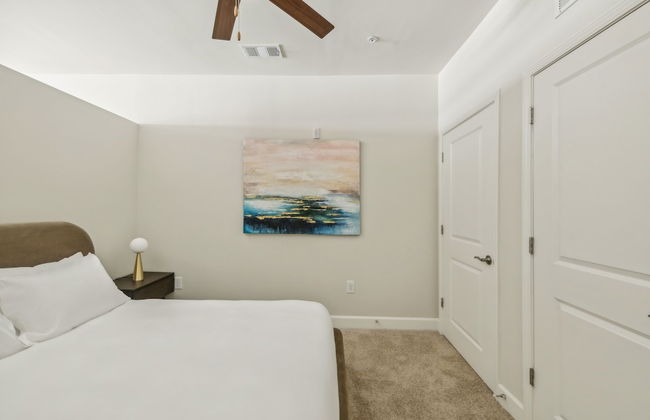
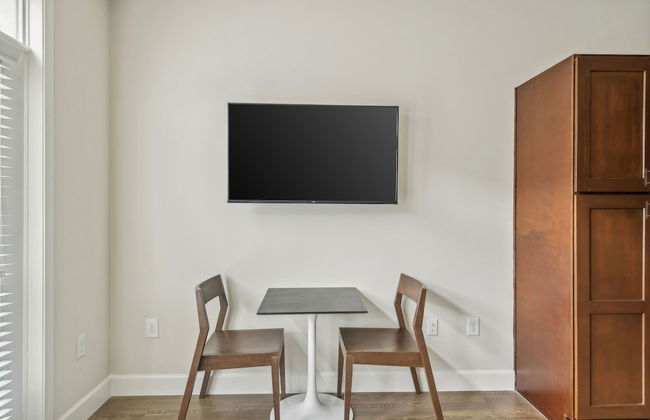
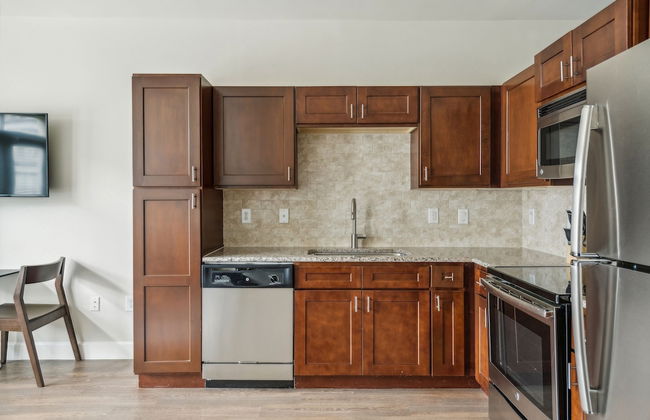
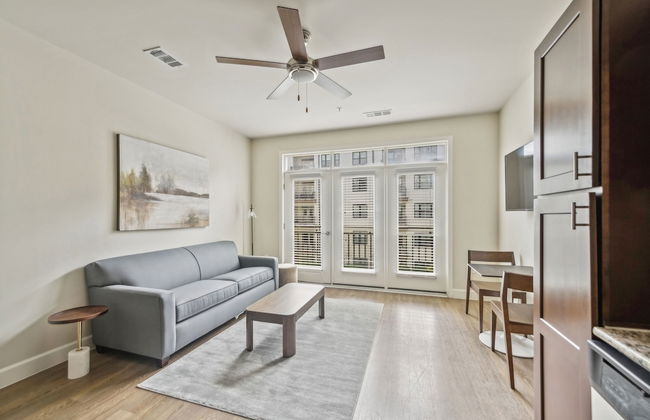
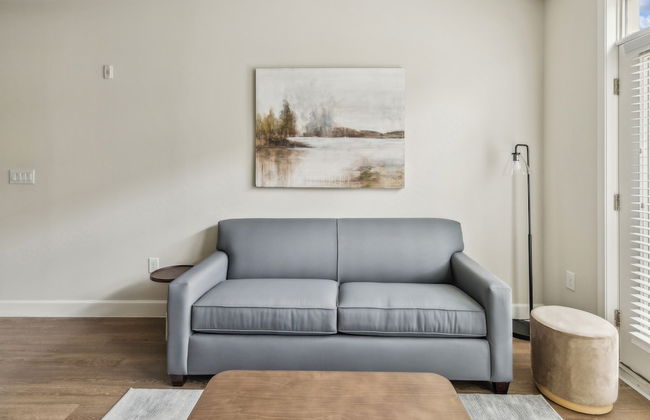
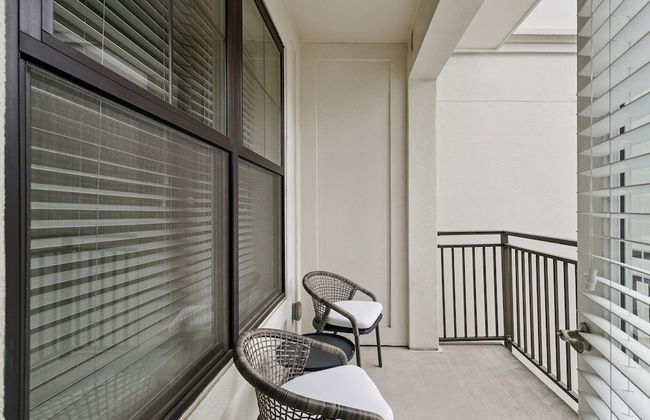
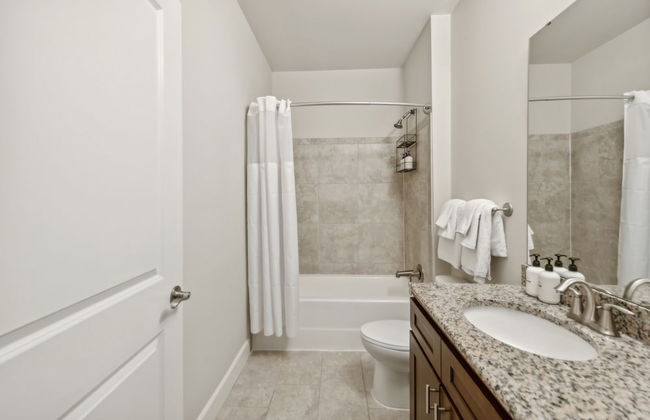
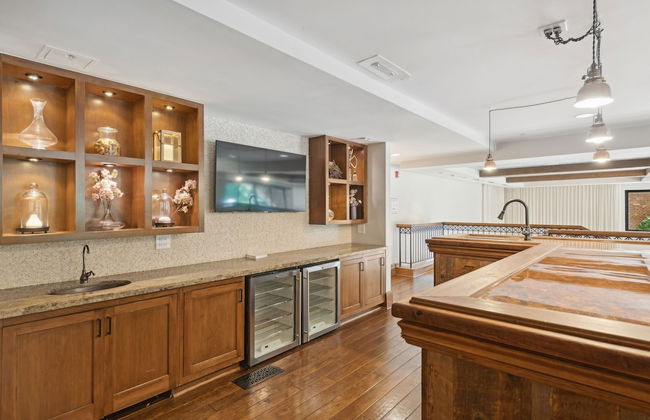
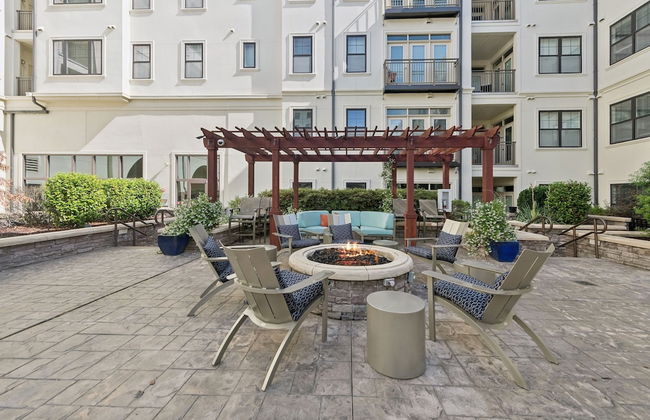
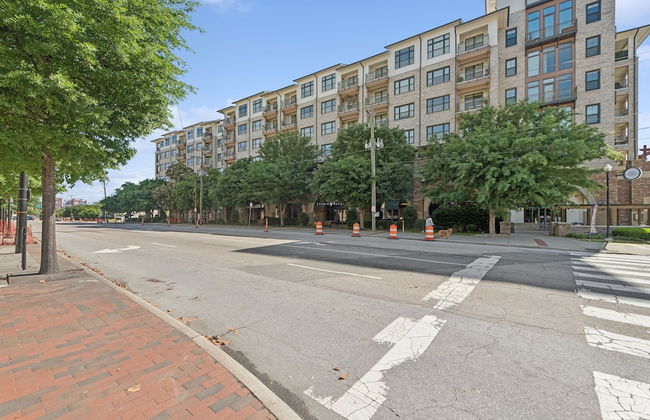
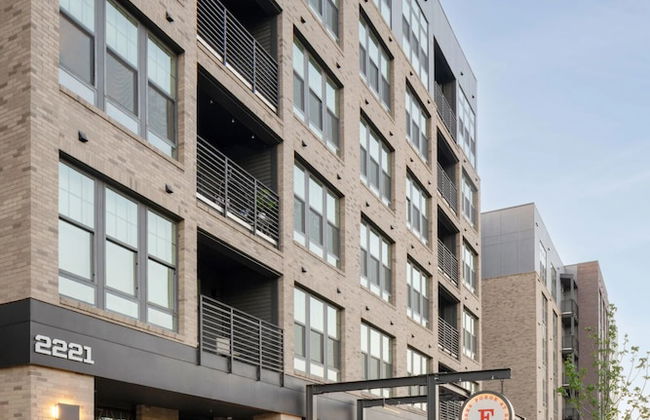
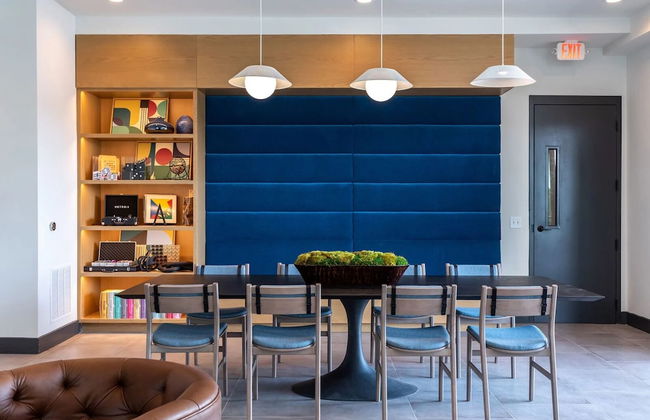
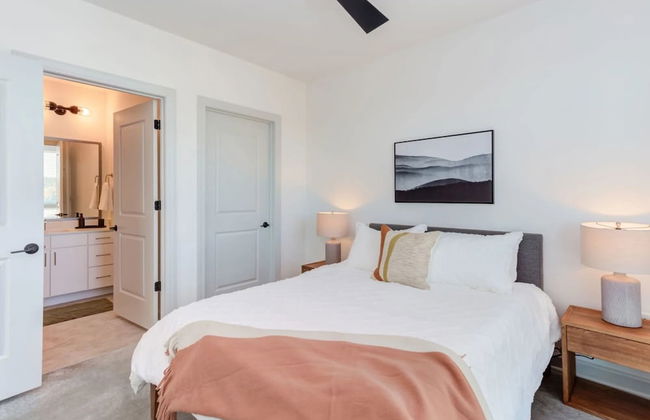
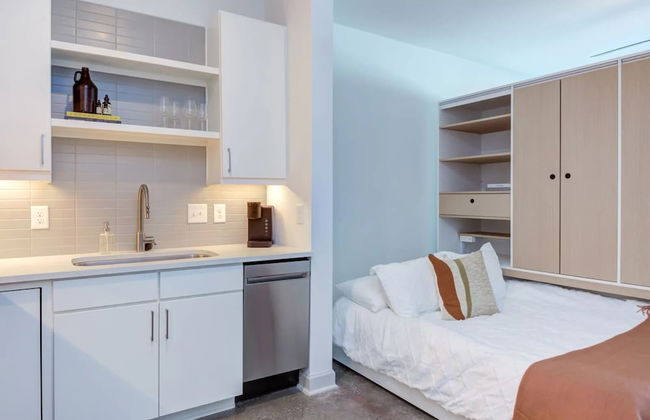
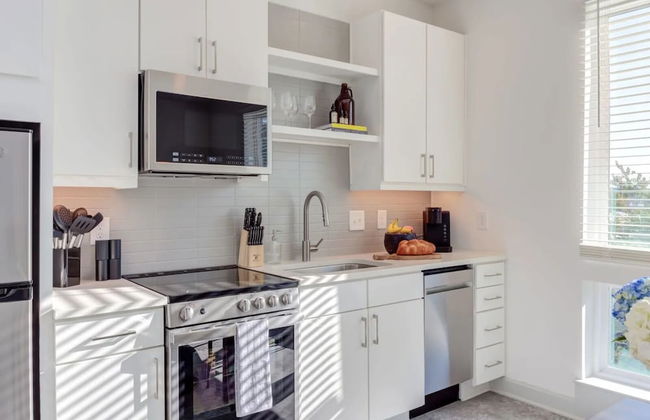
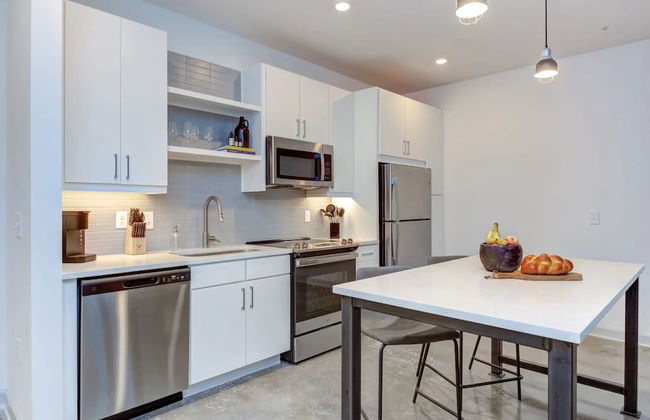
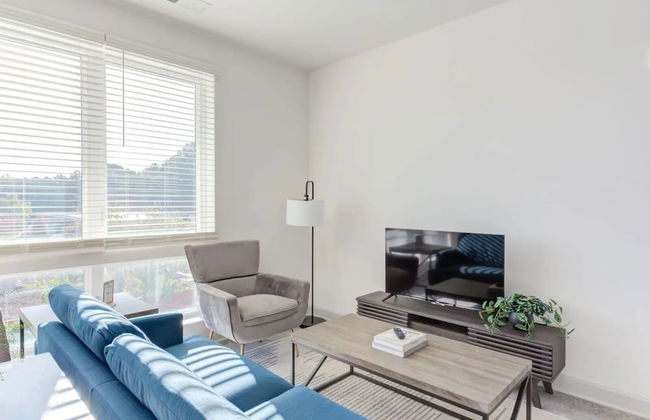
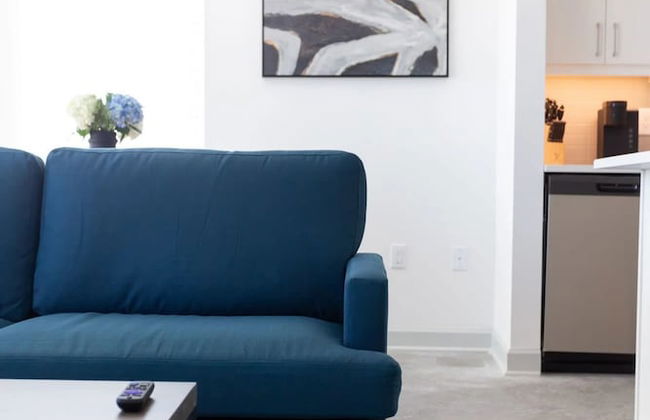
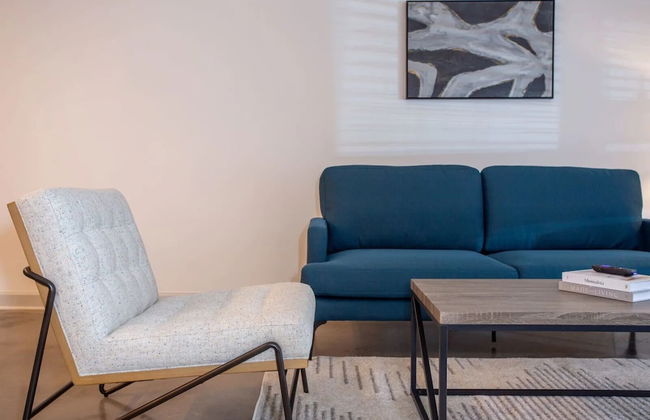
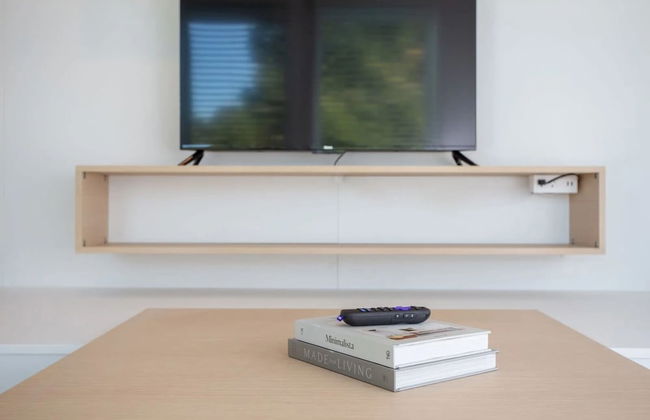
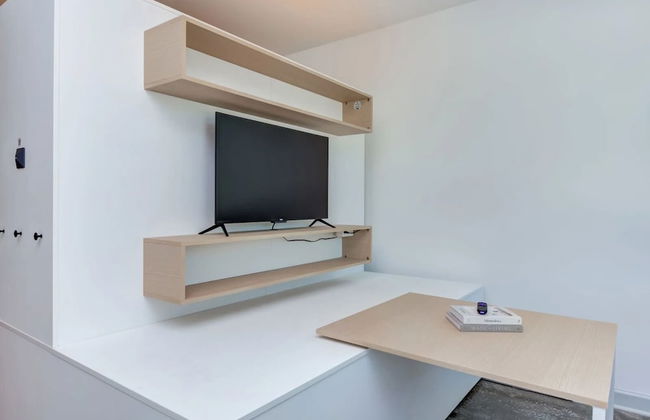
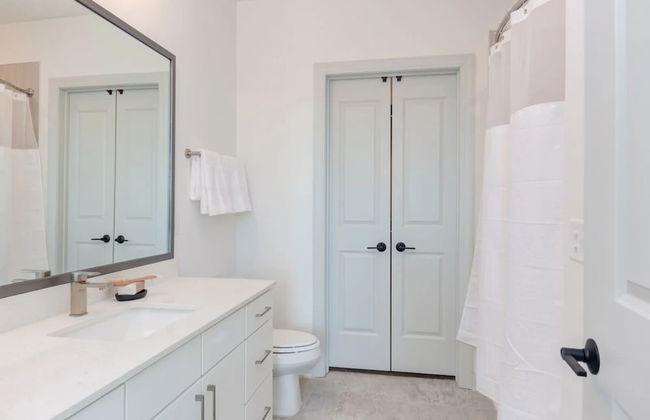
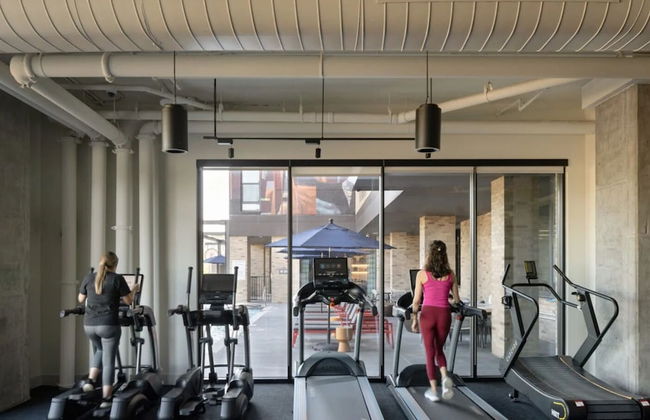
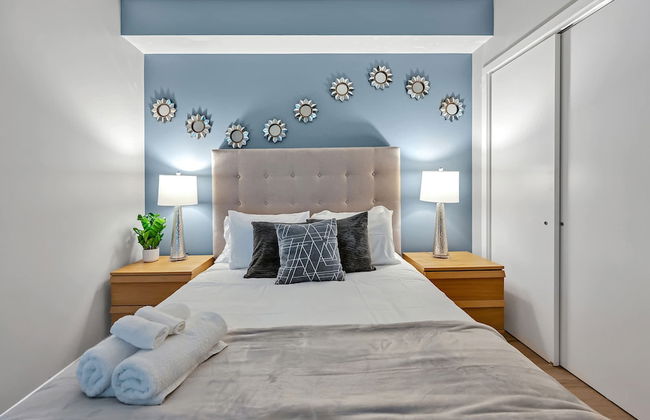
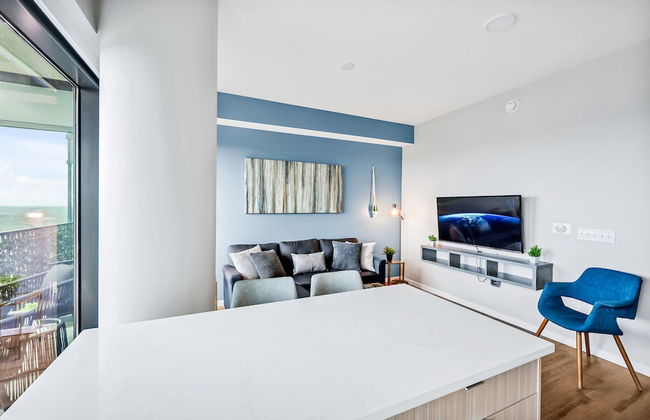
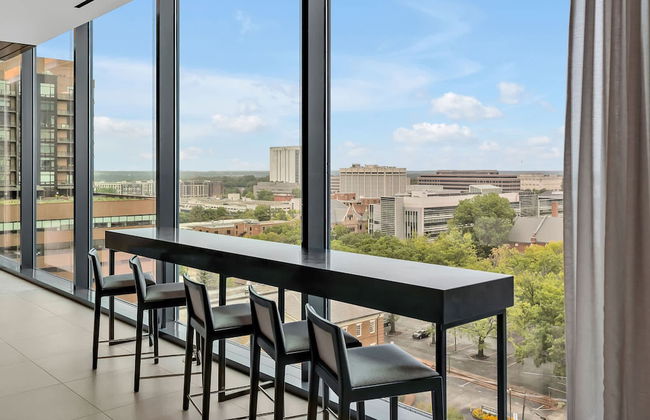
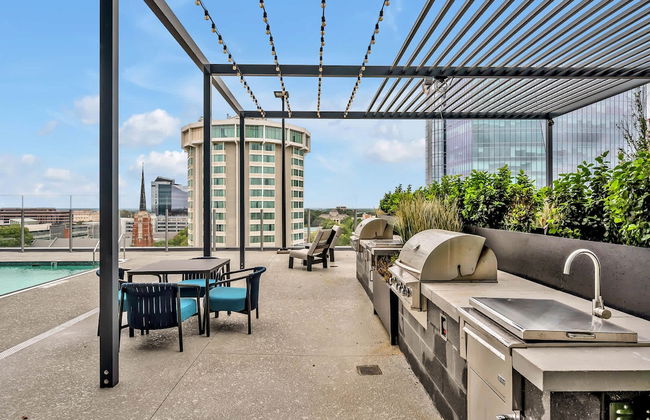
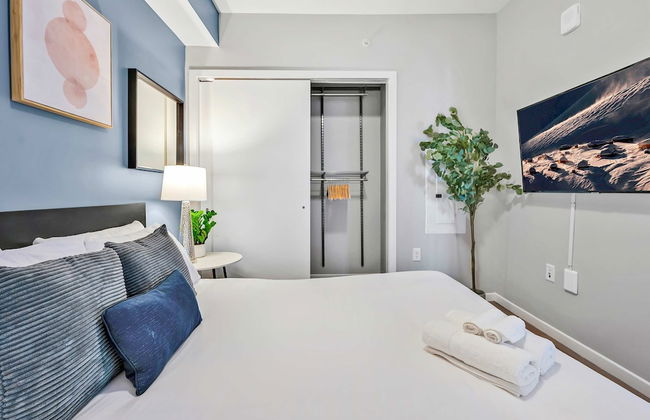
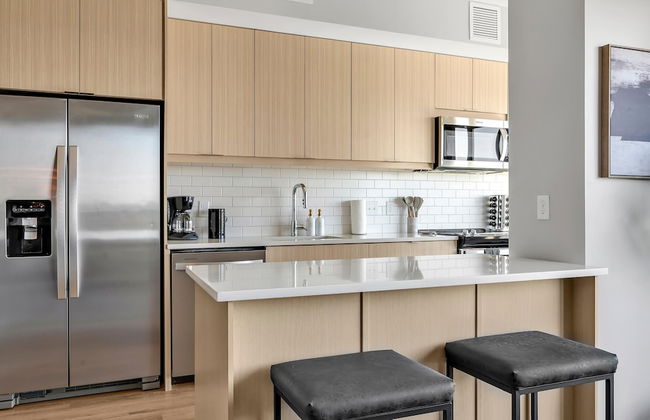
403 West
Raleigh - Southwest Raleigh - 7.6 km do centro
- 88 M2
- 3 pessoas
- Ar-condicionado
- Aquecimento
- Piscina
- Estacionamento
- Jardim
- Tv
- Máquina de lavar roupa
- Chaminé
- Toalhas
2 avaliações

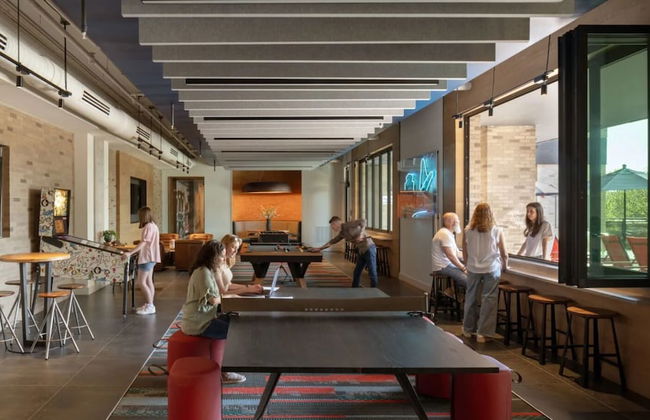


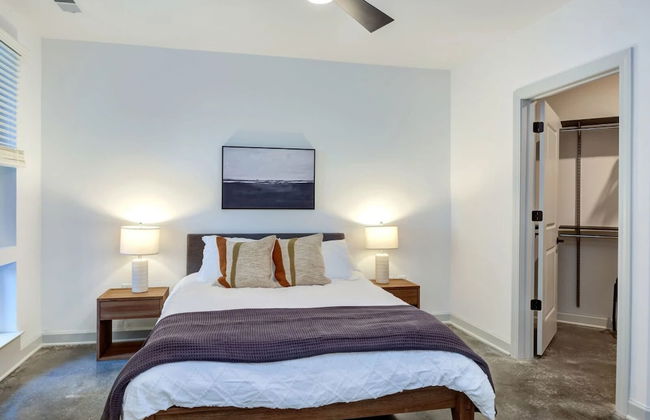
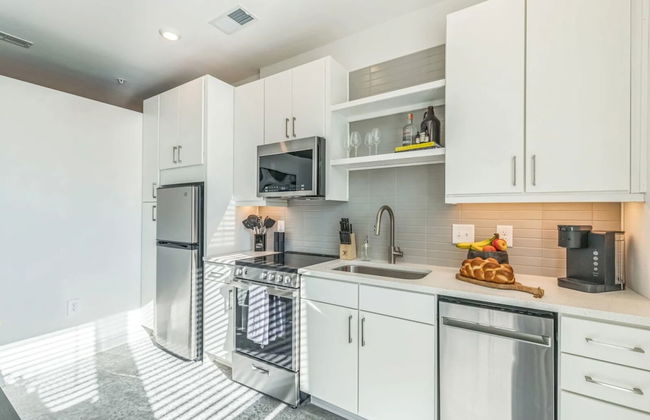
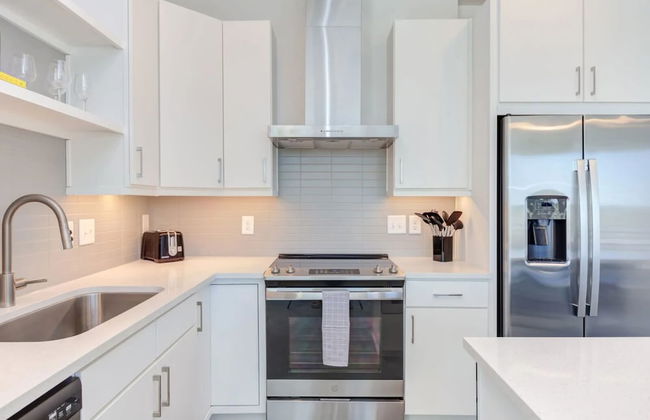
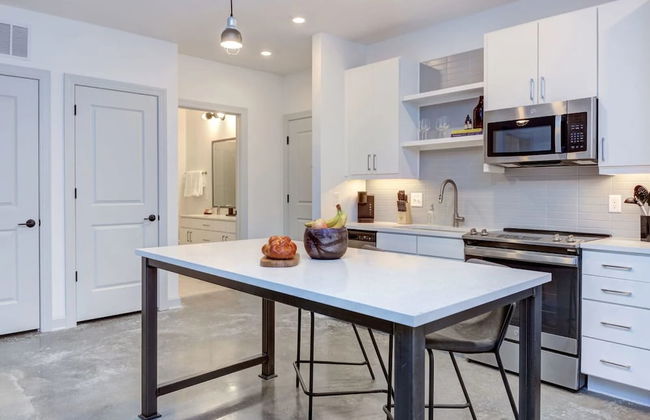

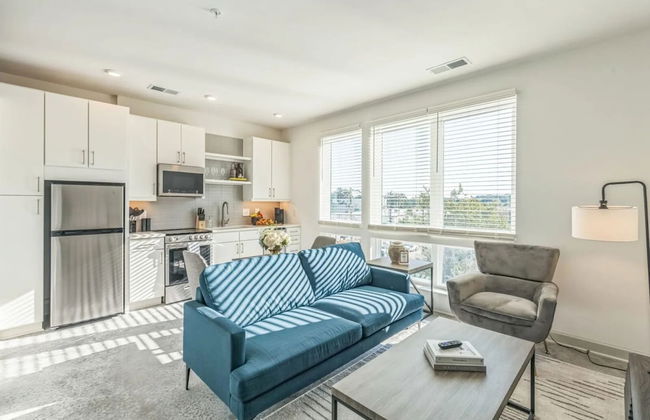

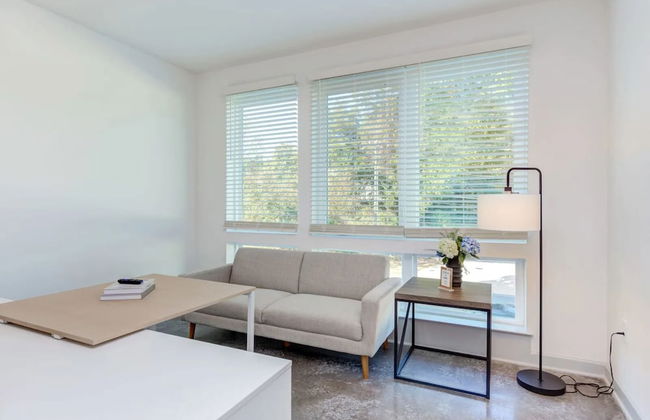
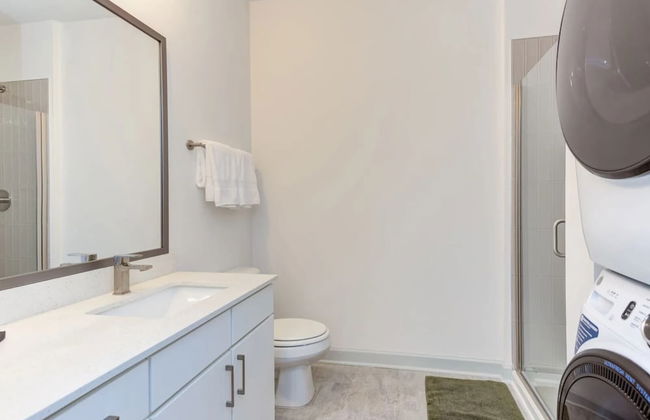


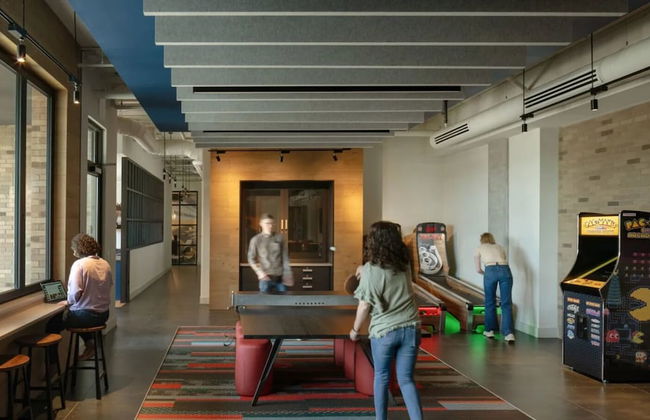
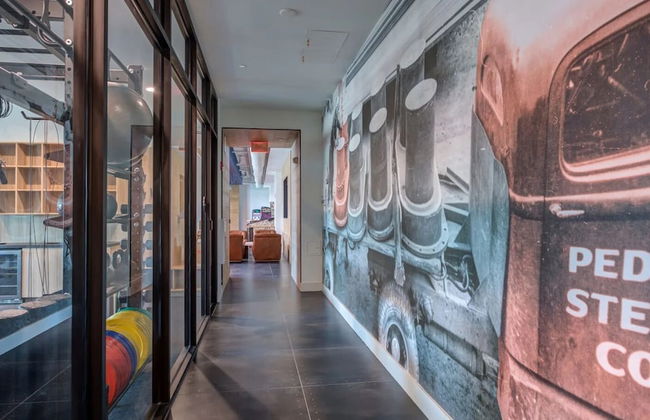
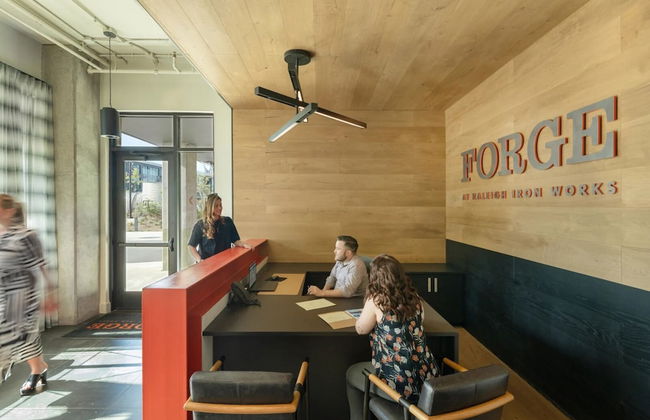

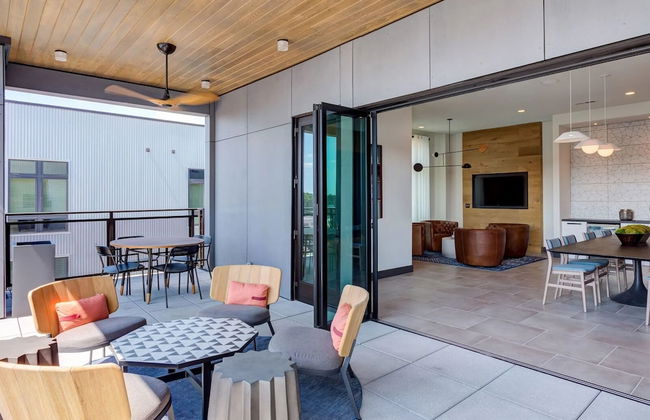
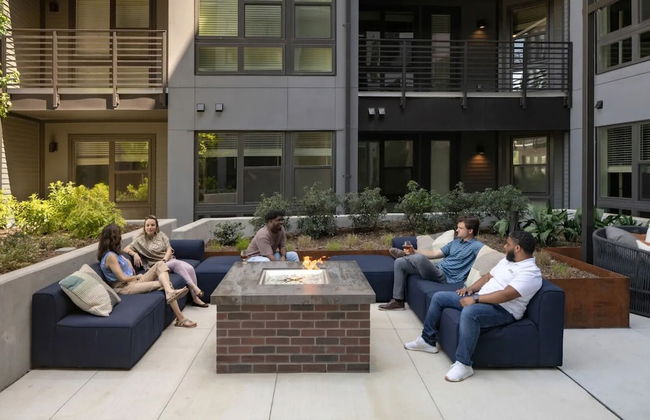
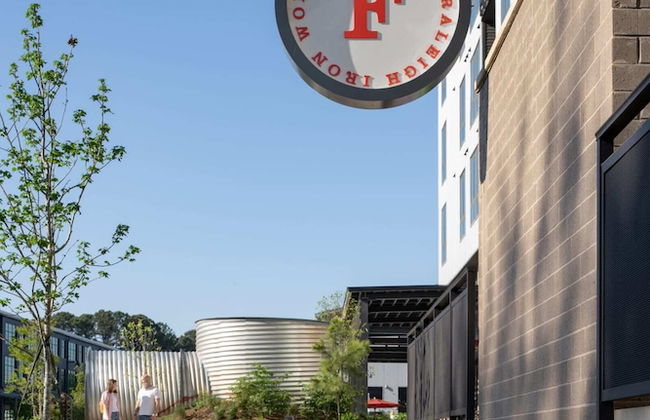

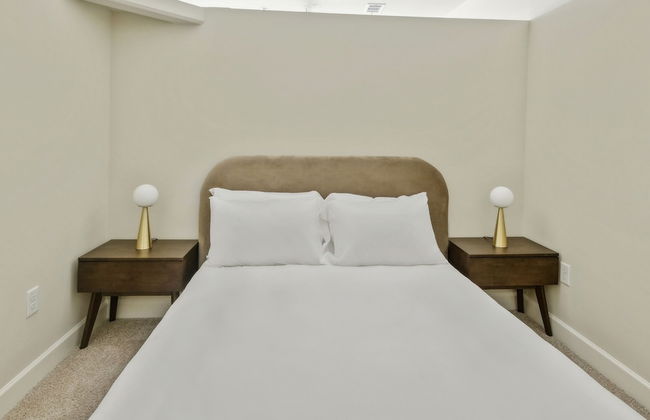
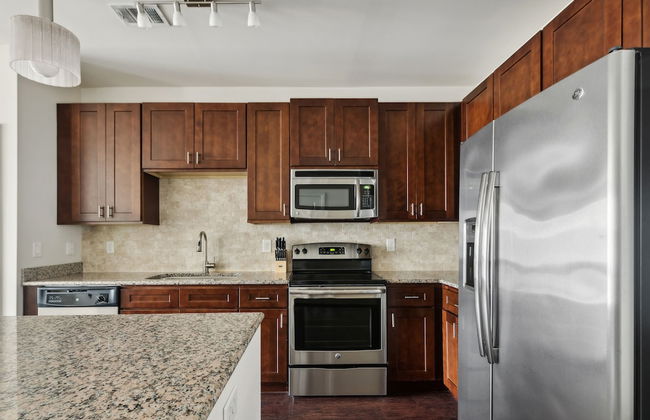
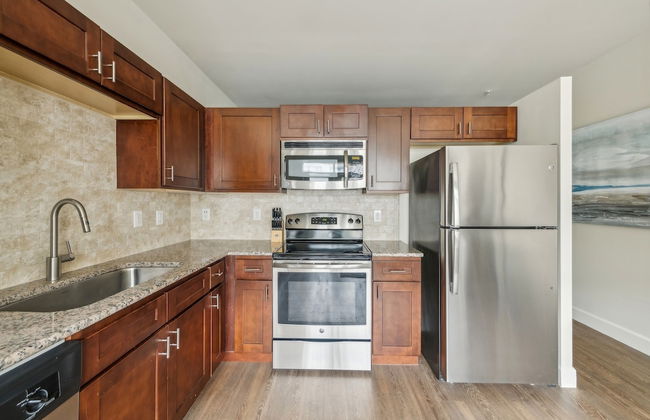
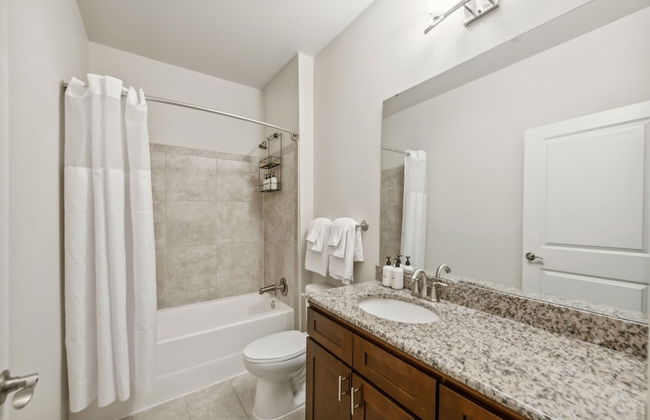
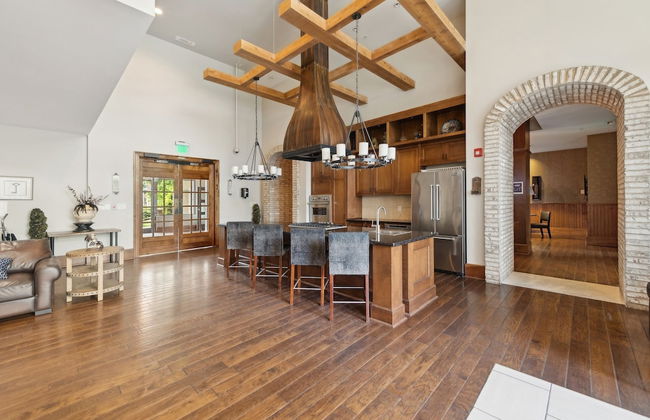
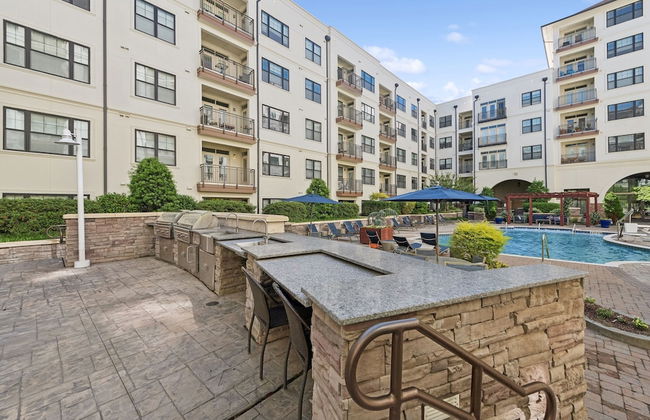
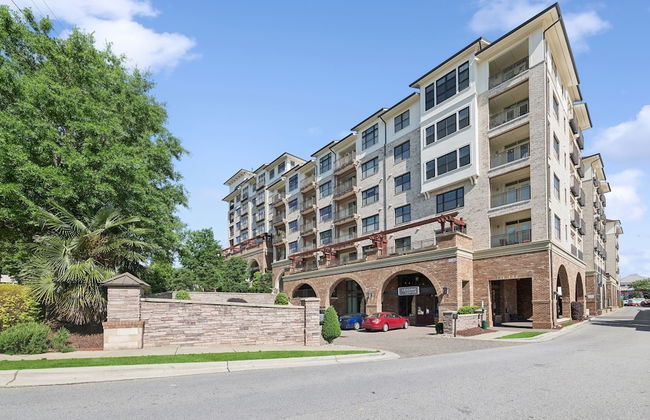
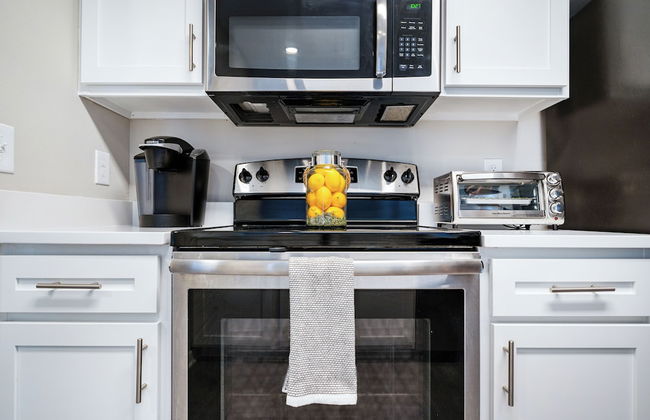
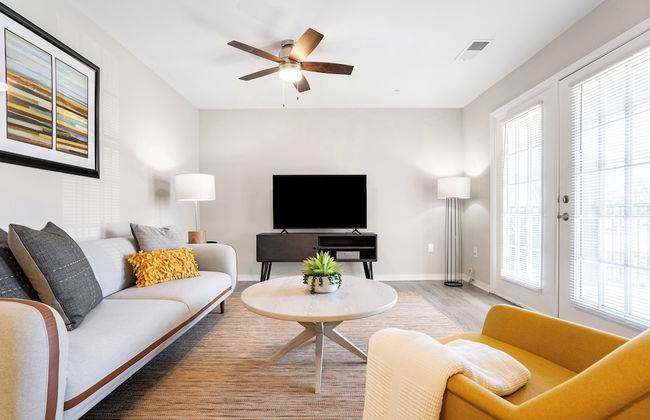
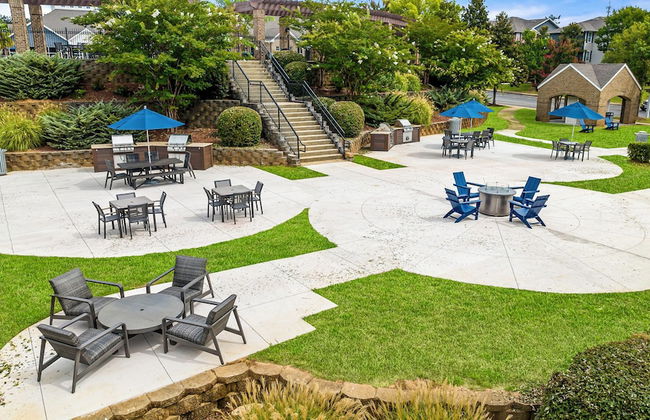
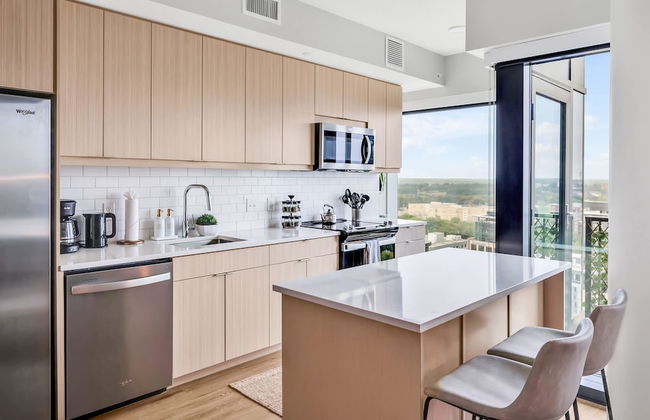
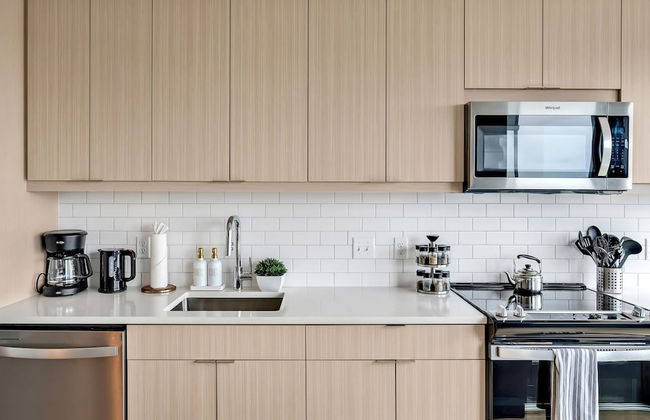
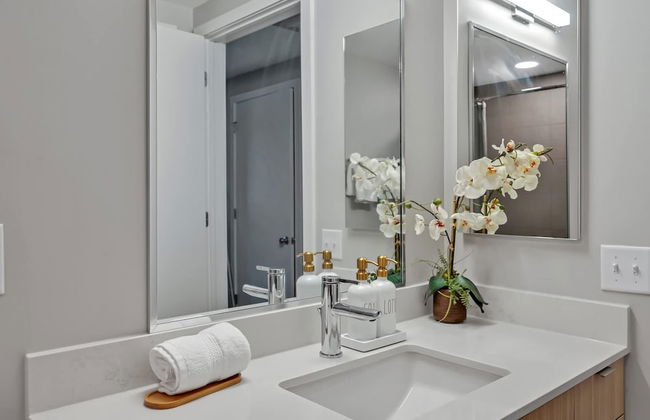
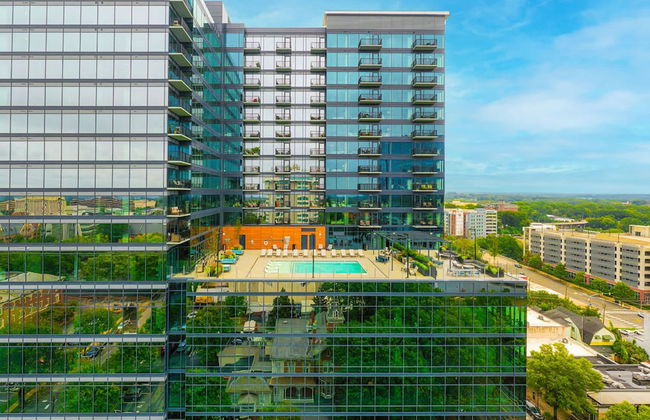
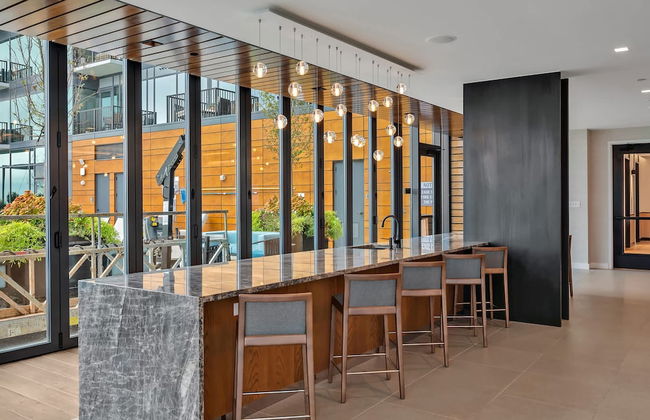
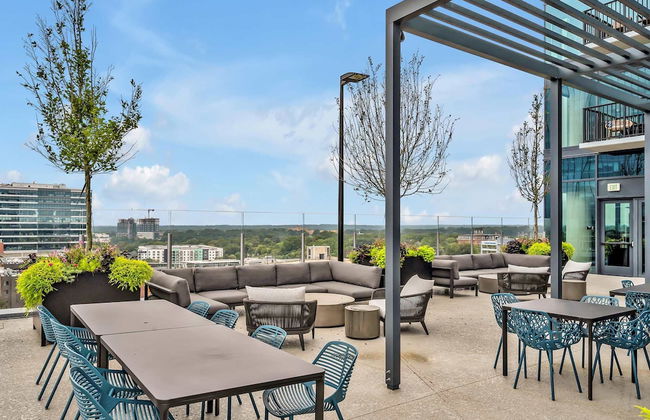
Forge at Raleigh Iron Works
Raleigh - East Raleigh - 2.9 km do centro
- 98 M2
- 4 pessoas
- Ar-condicionado
- Aquecimento
- Piscina
- Estacionamento
- Elevador
- Jardim
- Tv
- Máquina de lavar roupa
- Toalhas
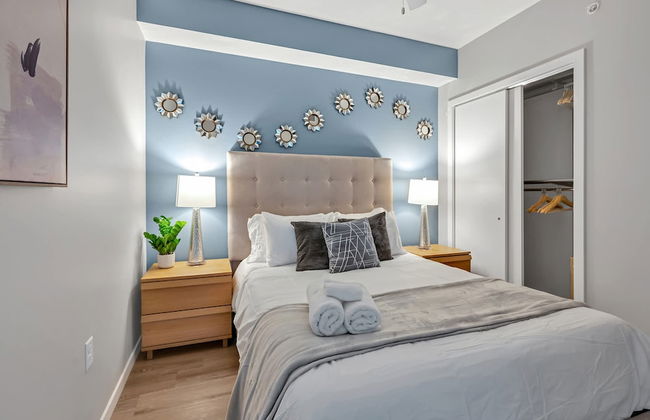

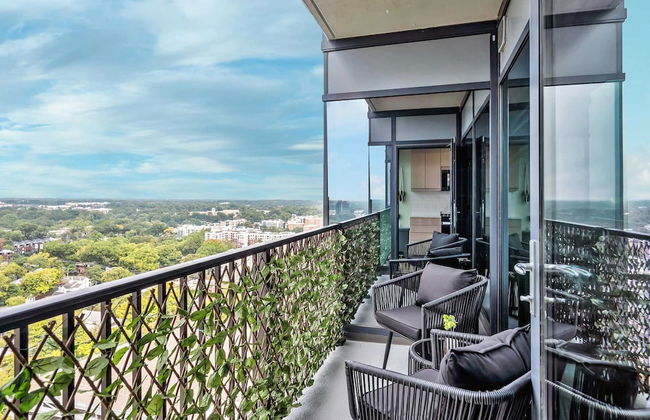
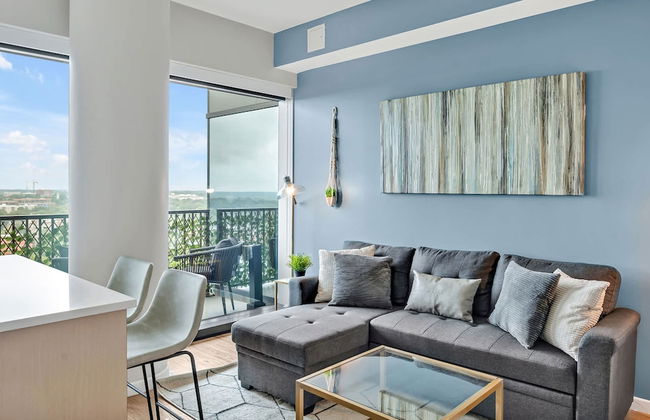


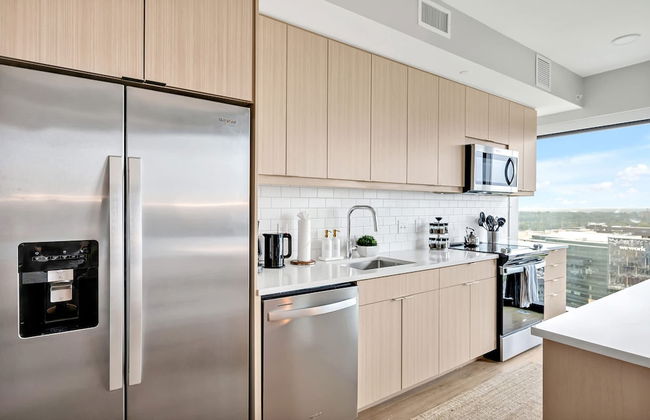
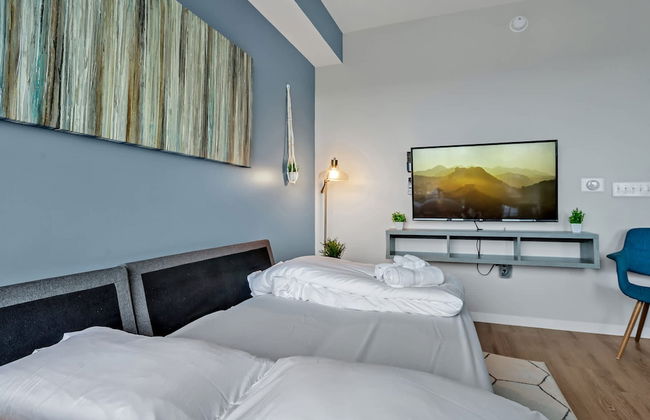

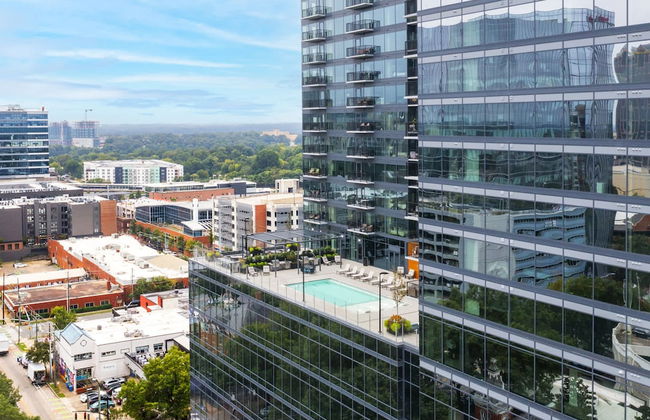

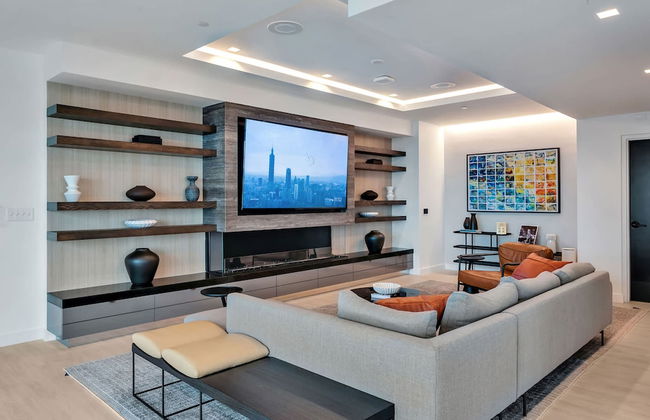


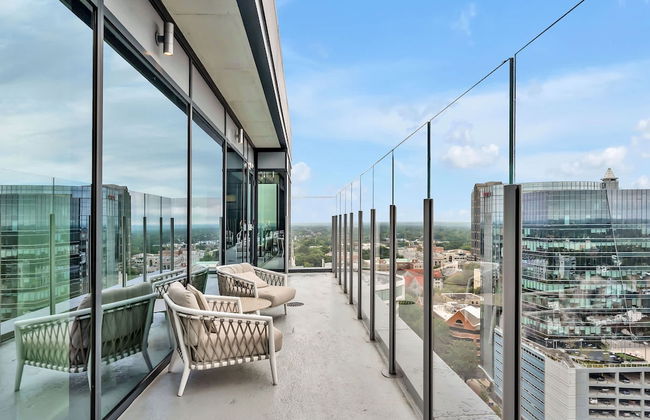
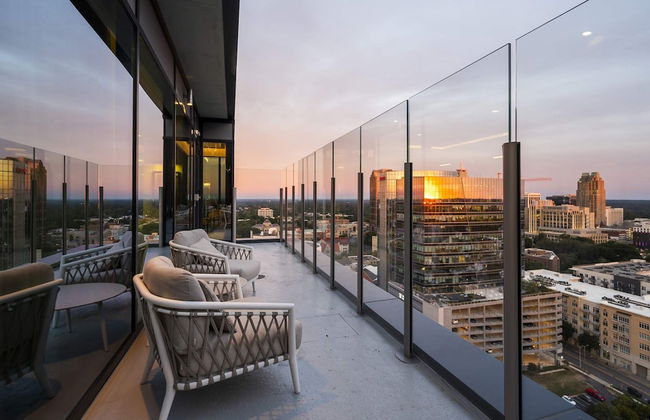
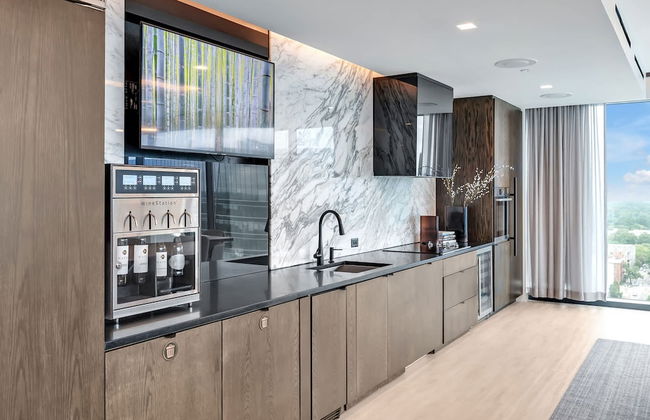


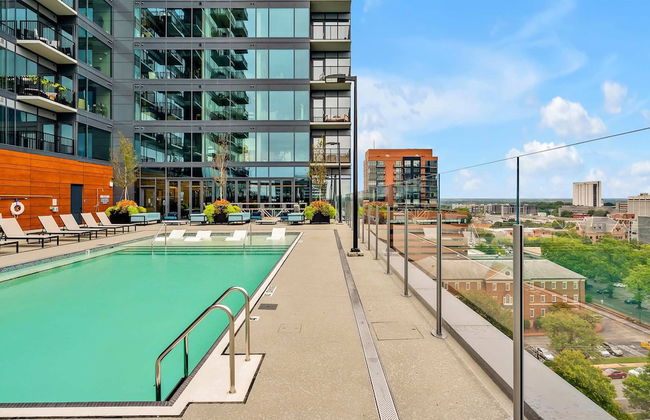

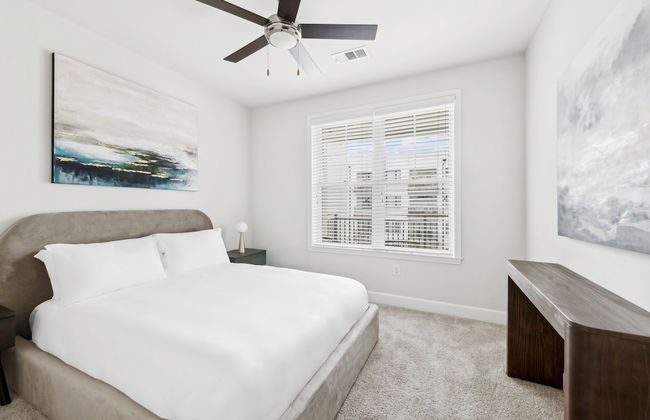
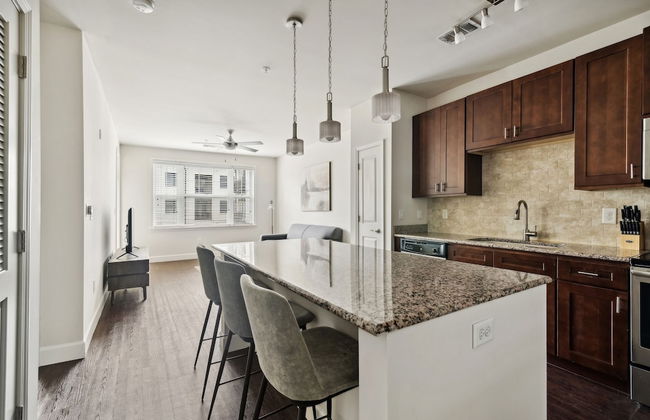
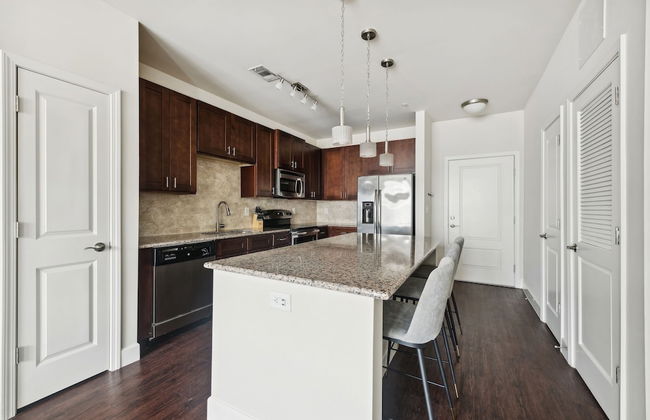
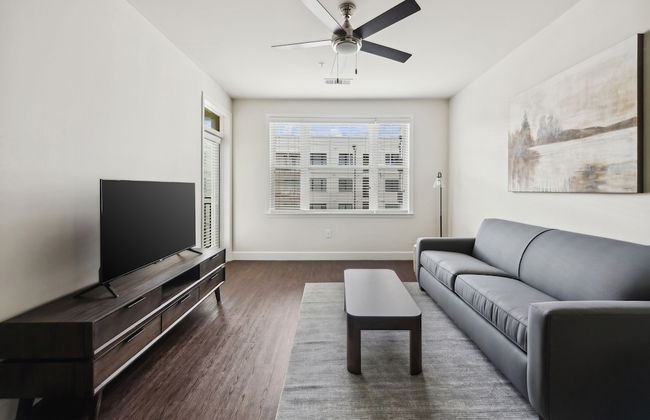
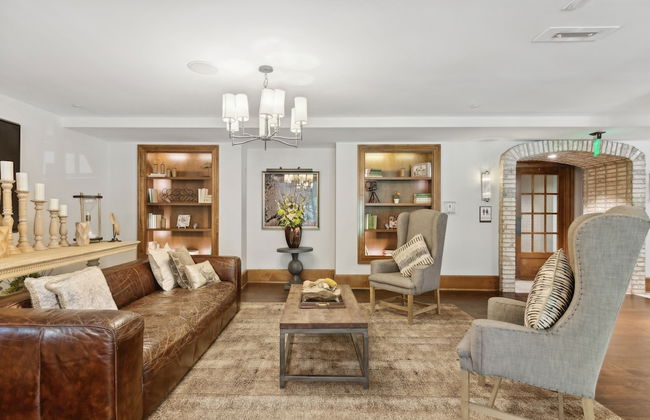
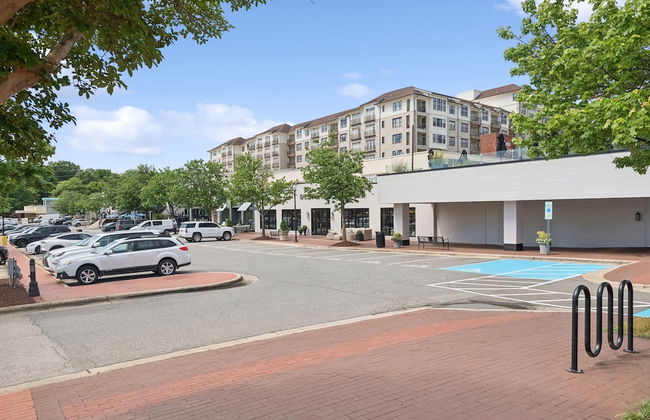
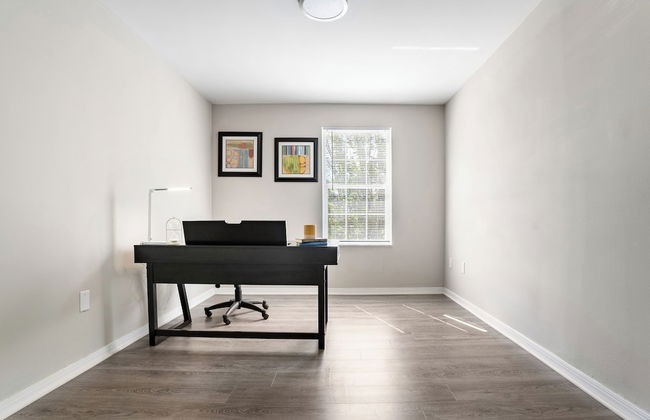
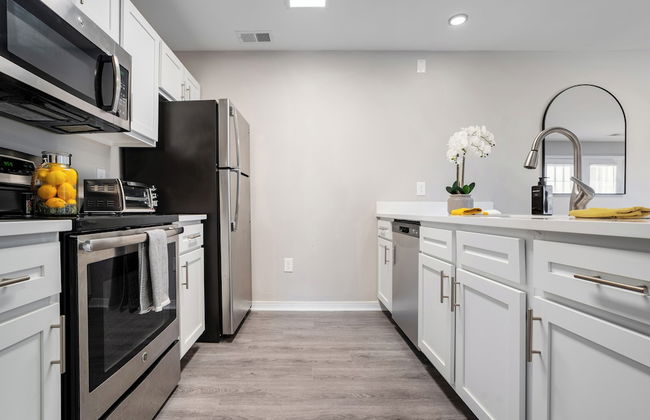
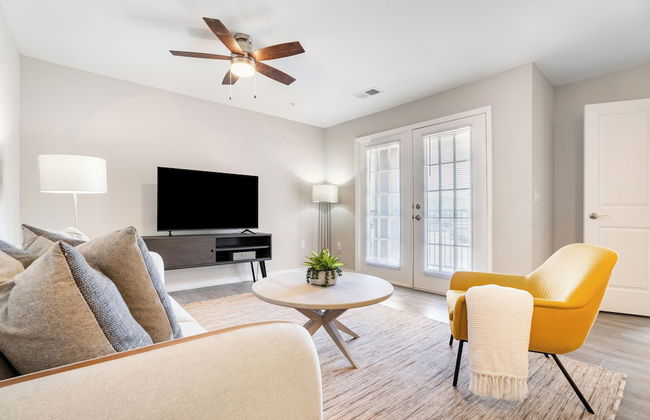
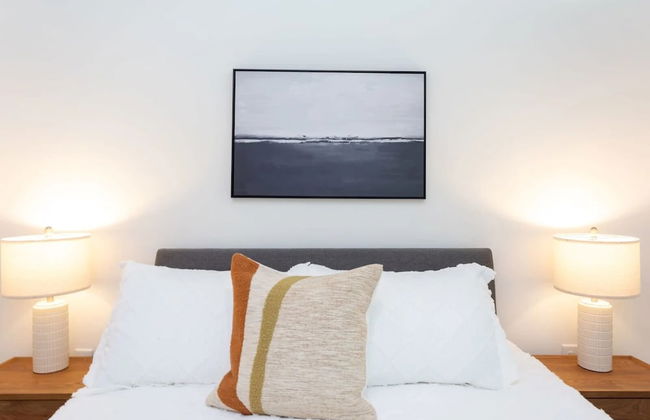
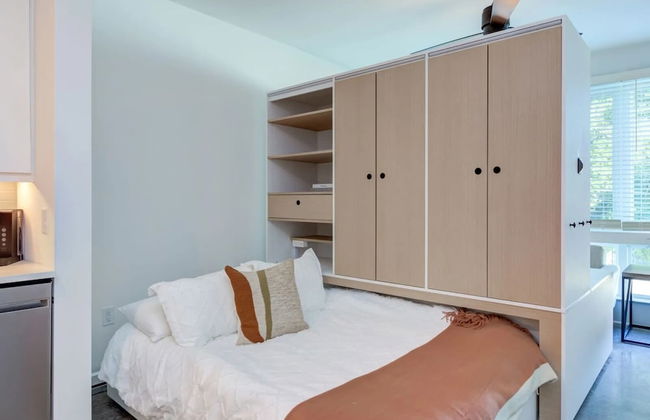
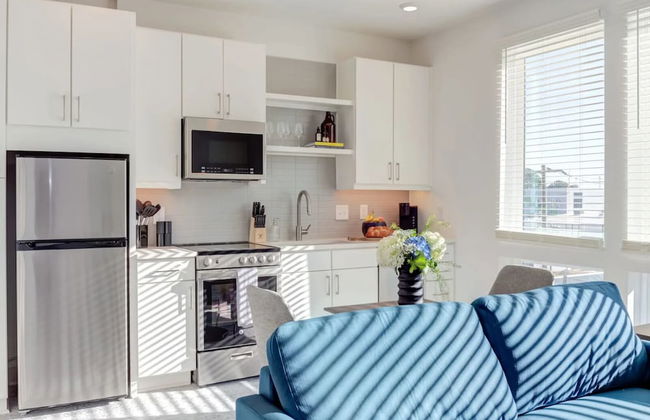
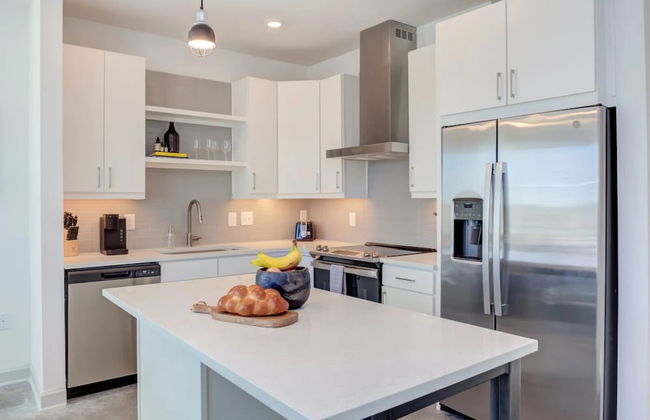
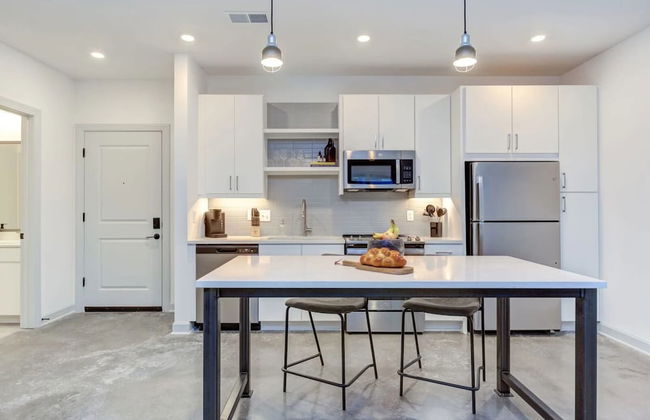
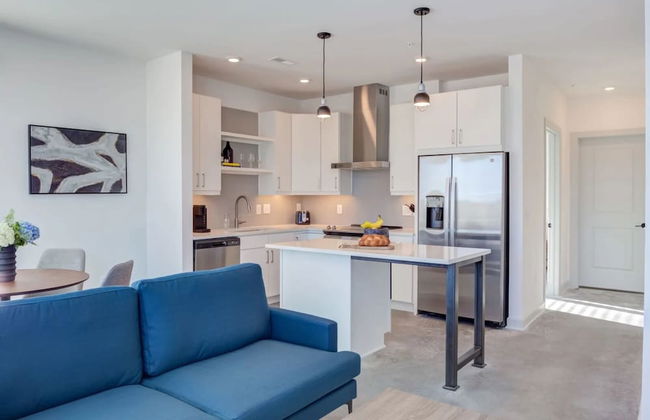
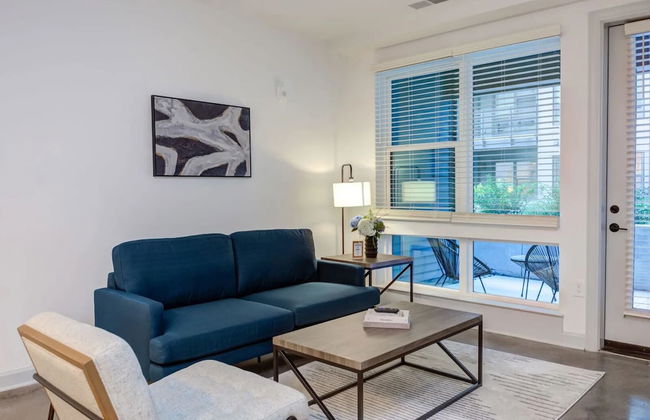
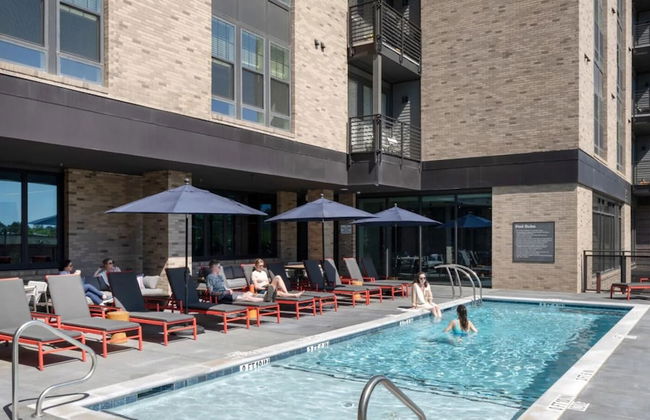
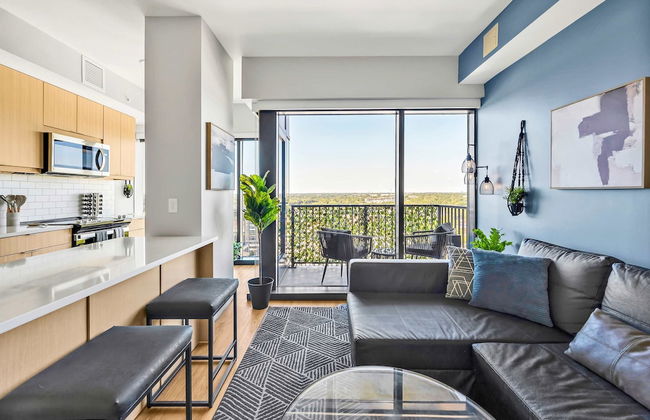
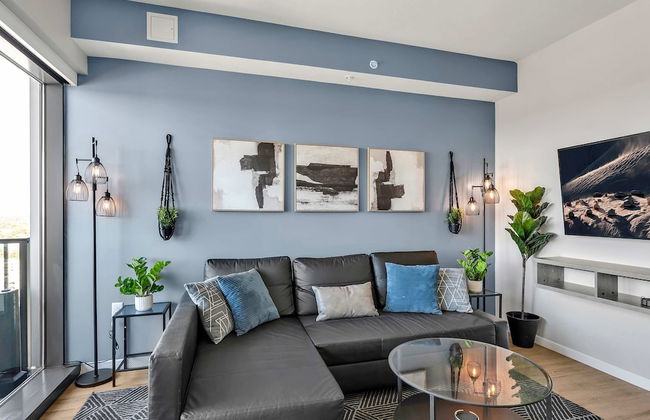
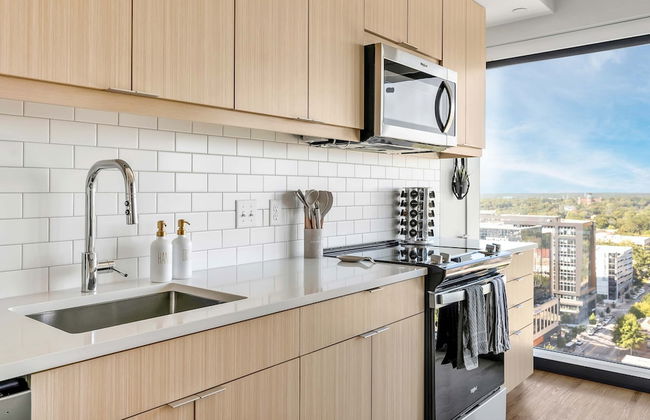
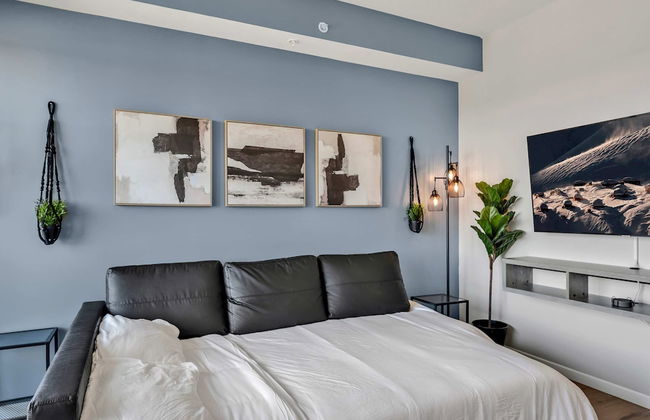
High-rise Apt Raleigh Free Parking Sunset View 1
Raleigh - Central Raleigh - No centro
- 66 M2
- 3 pessoas
- Ar-condicionado
- Aquecimento
- Piscina
- Jardim
- Tv
- Máquina de lavar roupa
- Chaminé
- Churrasco
- Toalhas
- Lençóis


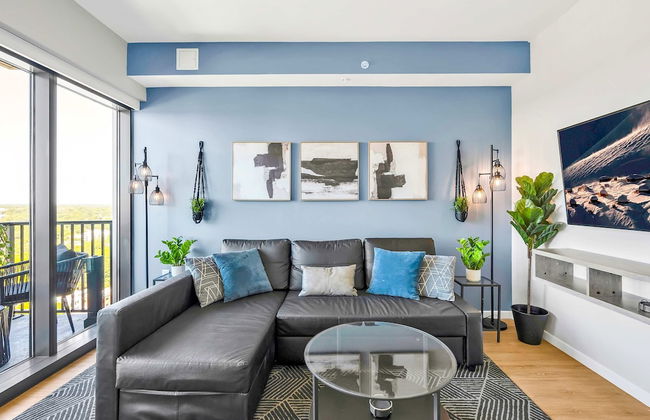
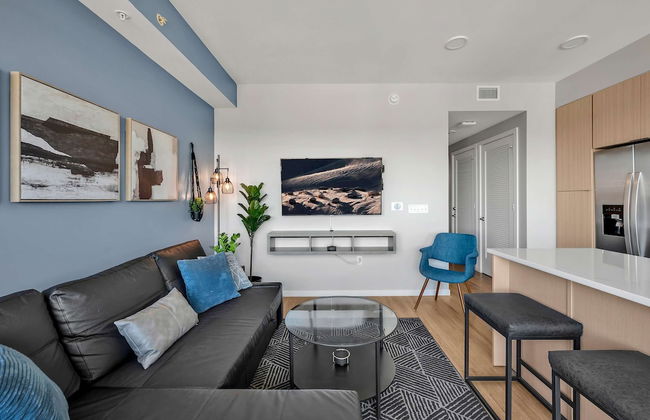


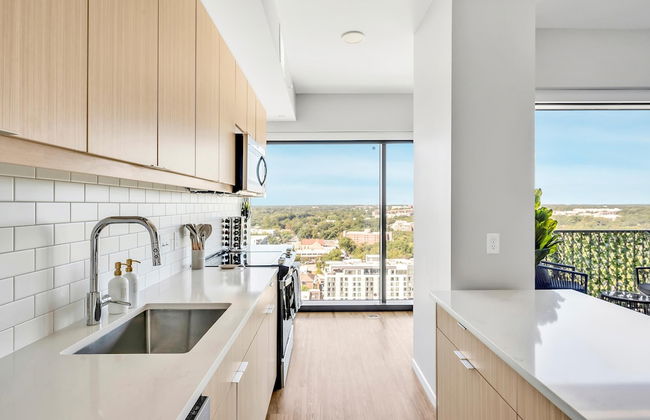
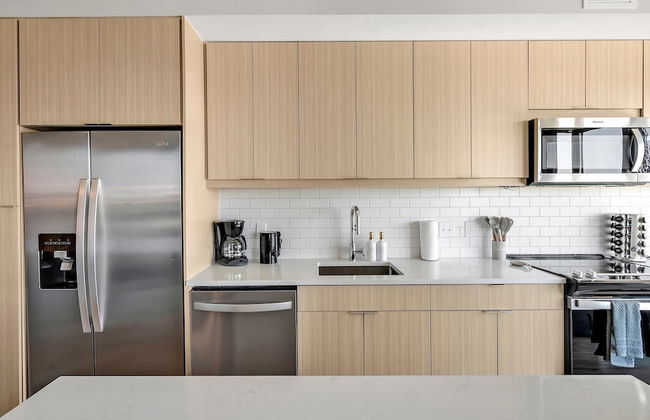
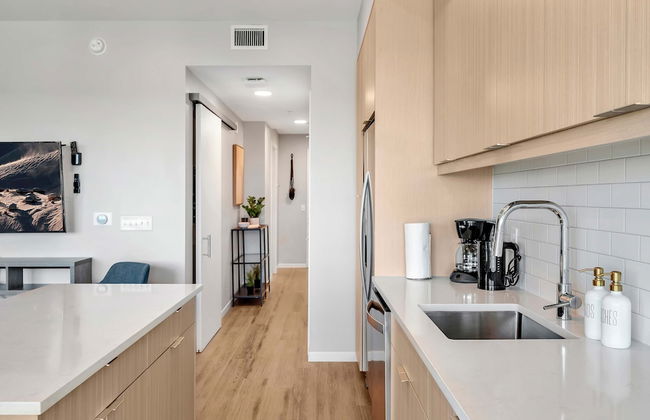


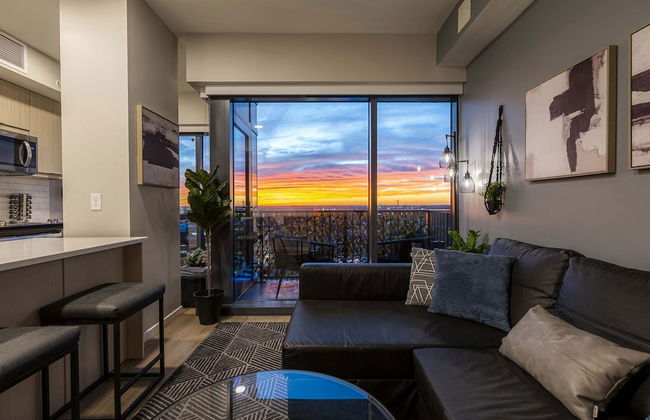
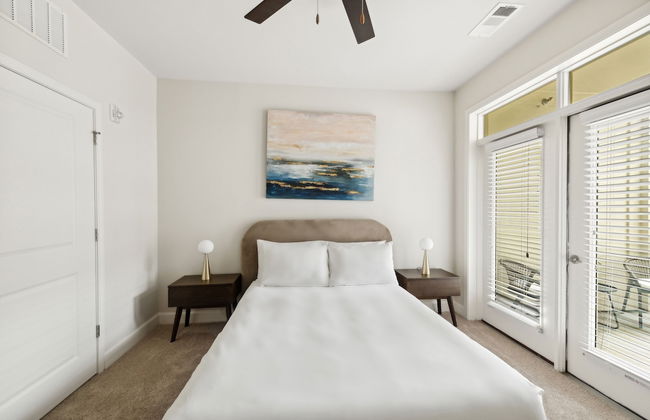
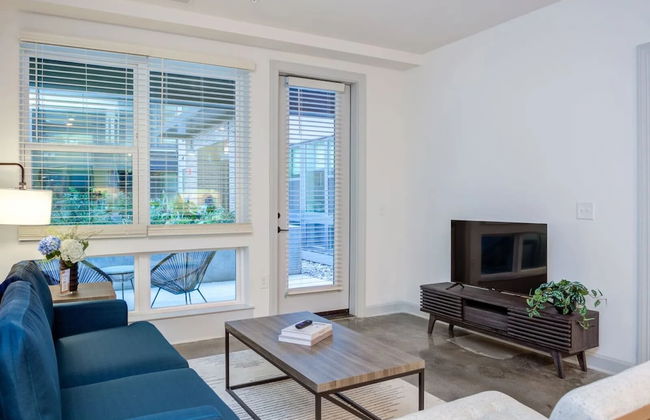
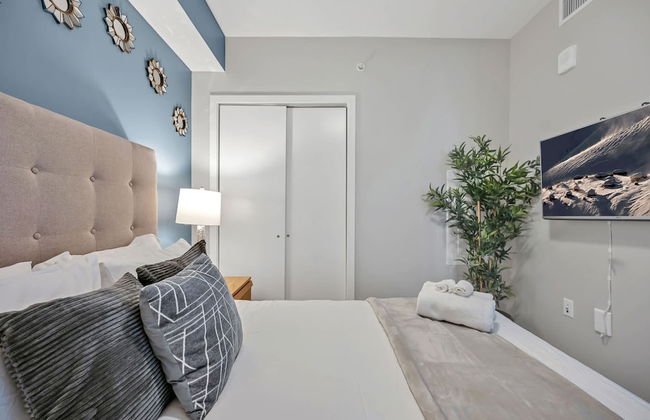
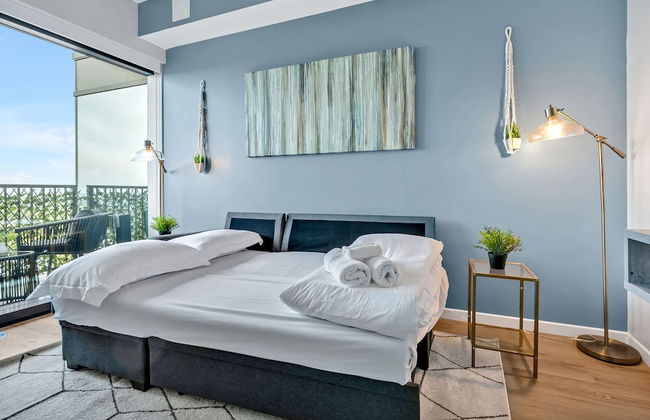
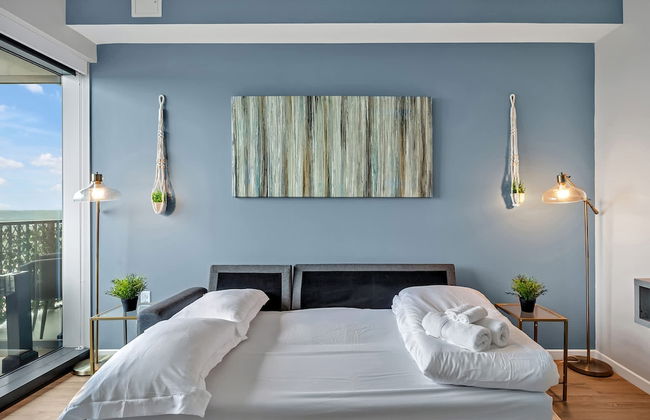
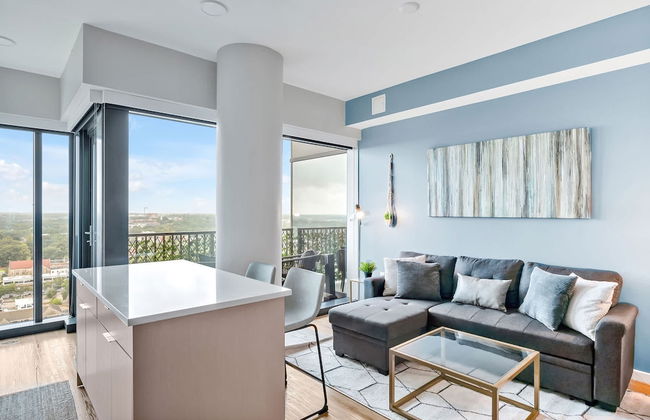
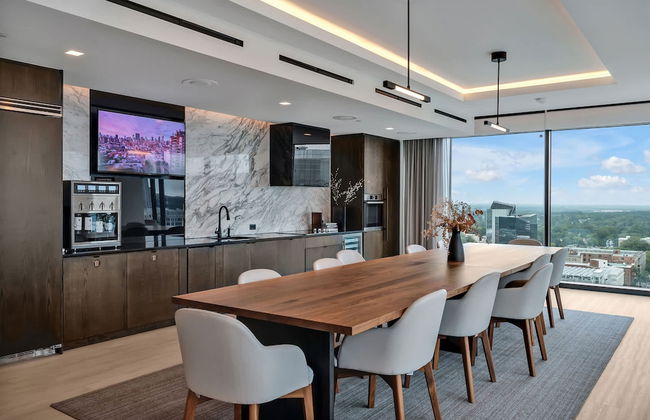
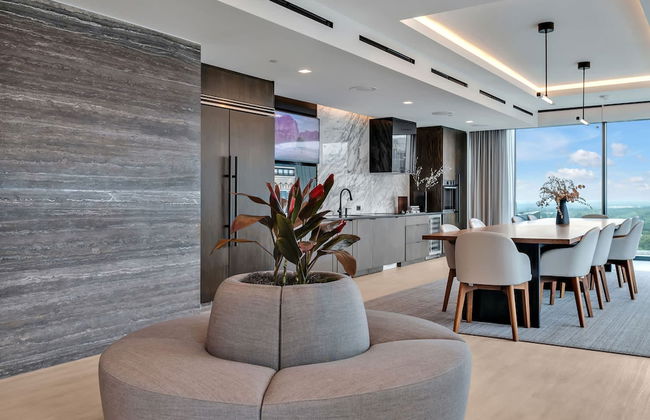
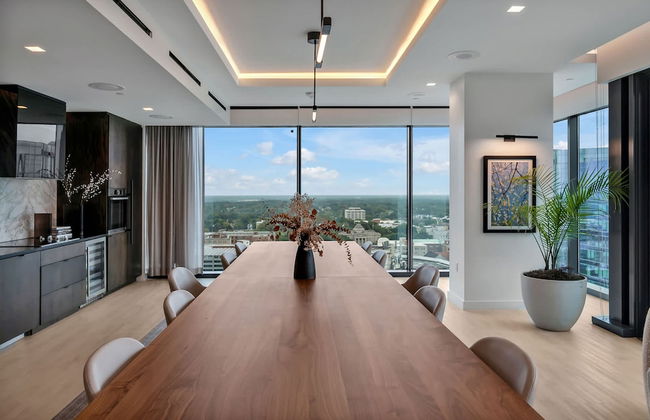
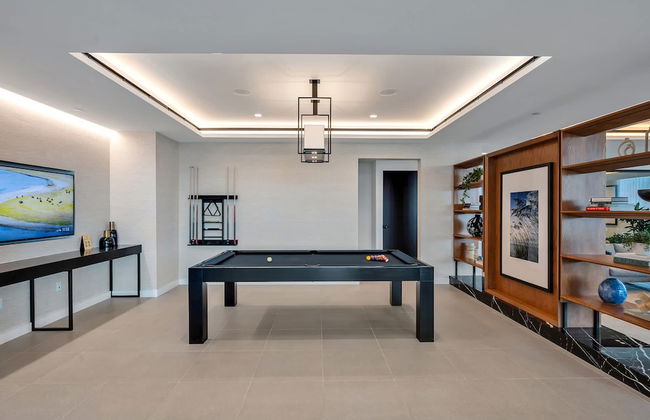
High-rise Apt Raleigh Free Parking Sunset View 2
Raleigh - Central Raleigh - No centro
- 66 M2
- 3 pessoas
- Ar-condicionado
- Aquecimento
- Piscina
- Jardim
- Tv
- Máquina de lavar roupa
- Chaminé
- Churrasco
- Toalhas
- Lençóis