
35 Apartamentos em Windermere
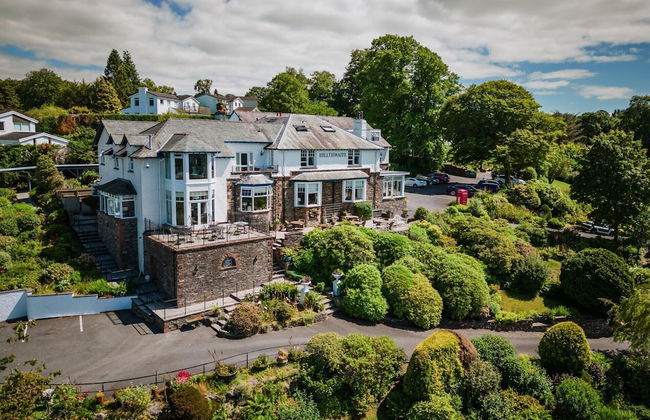
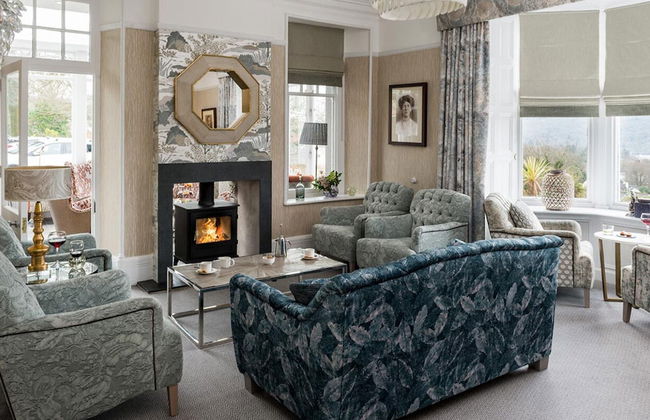


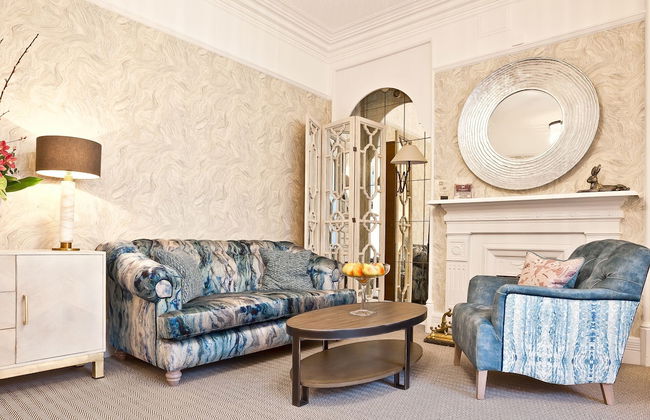
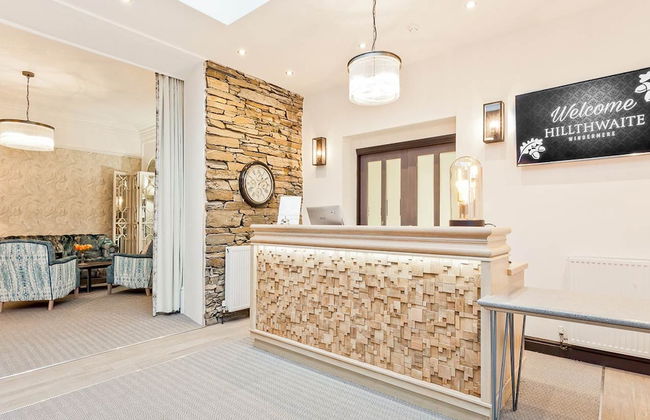


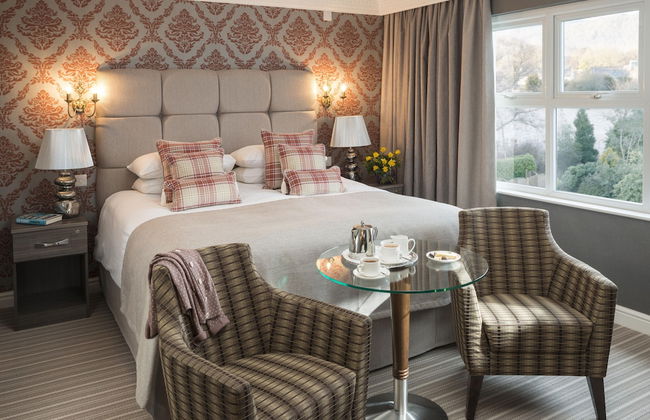

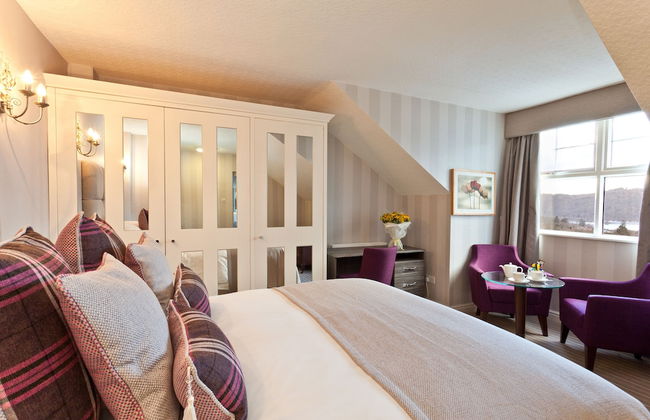


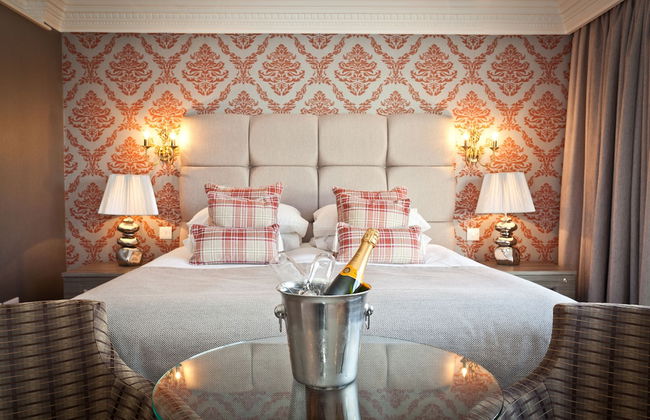

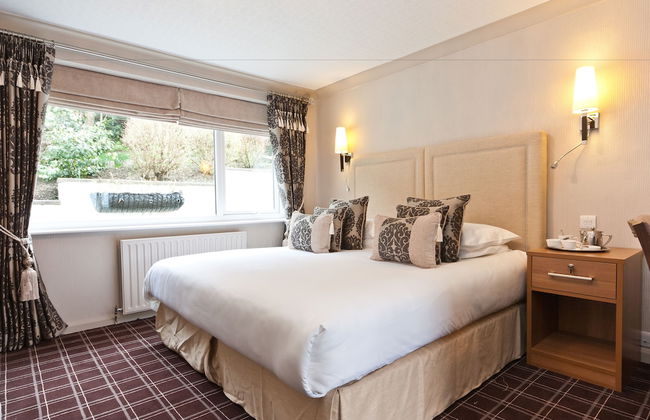


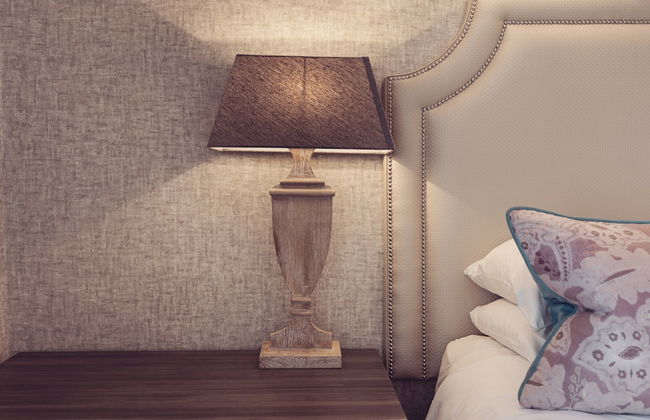


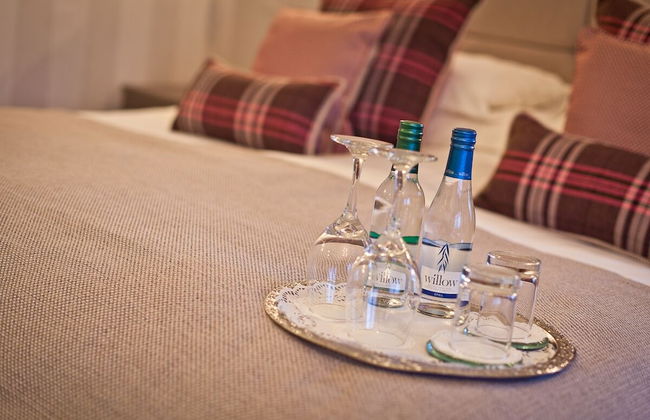
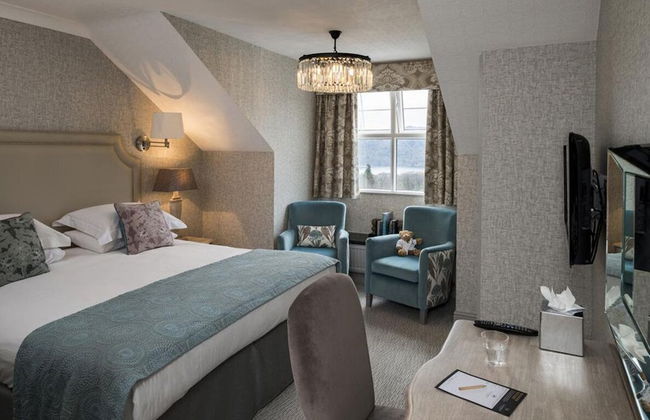


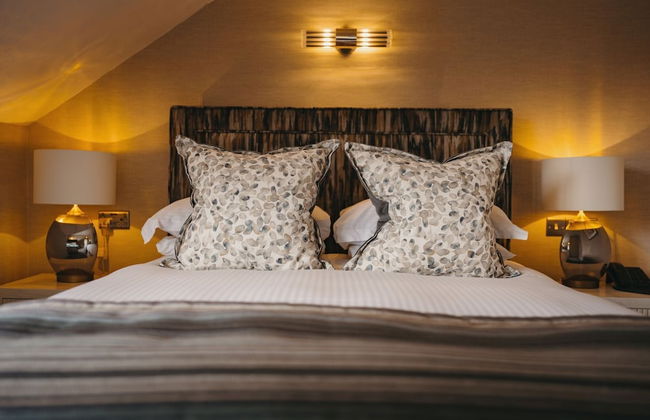


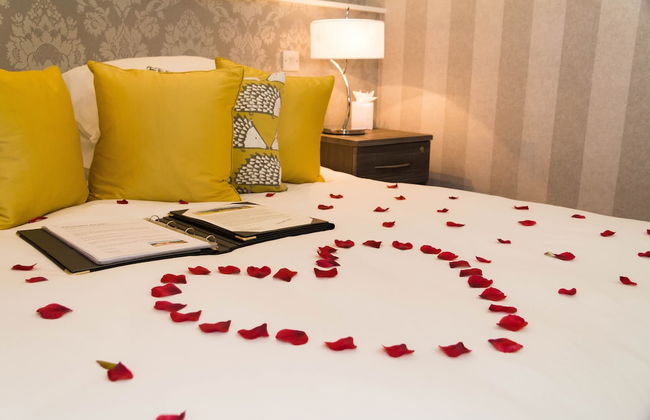


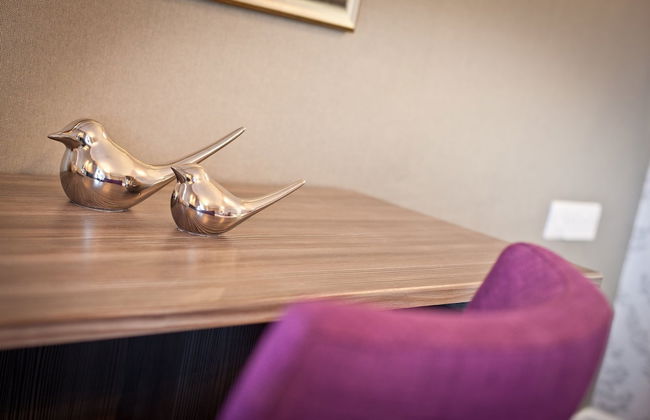
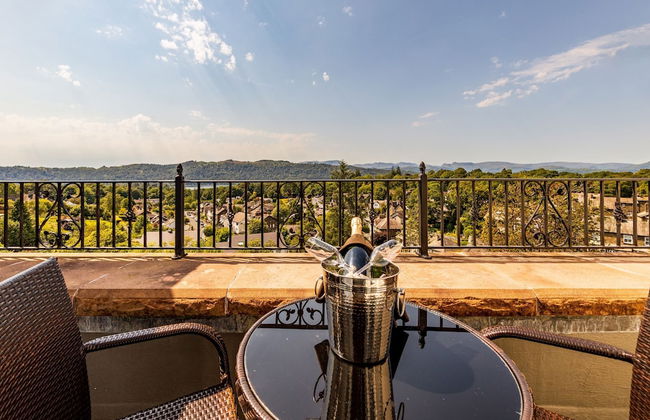

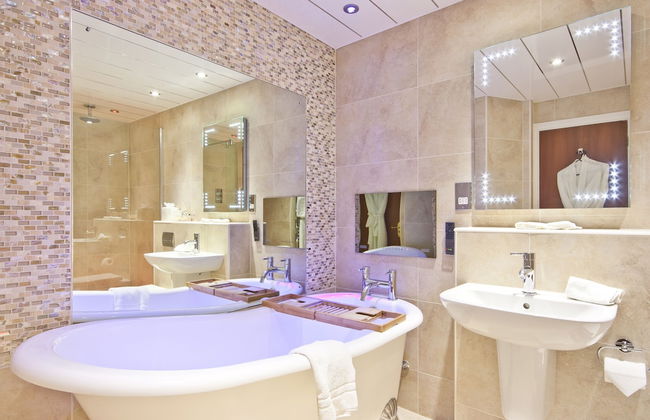


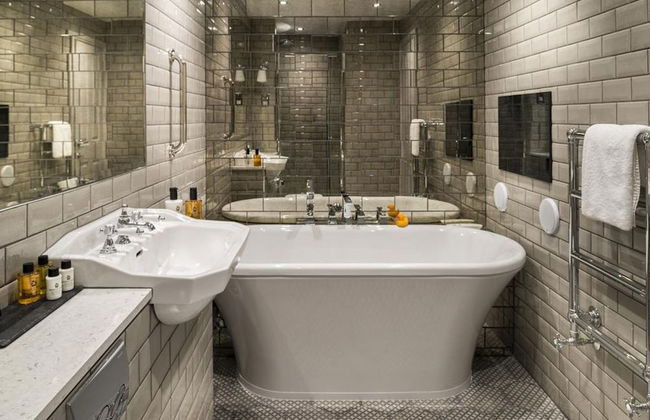

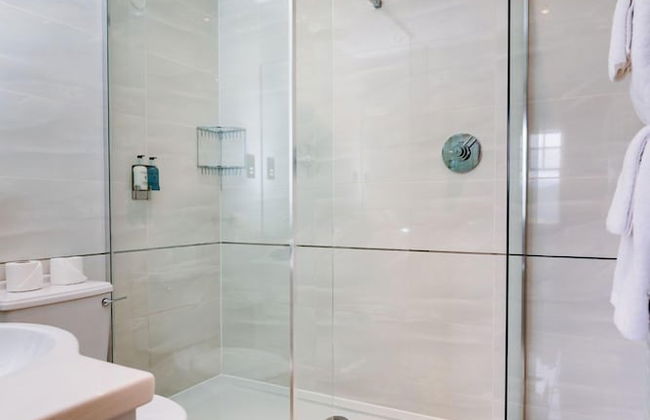
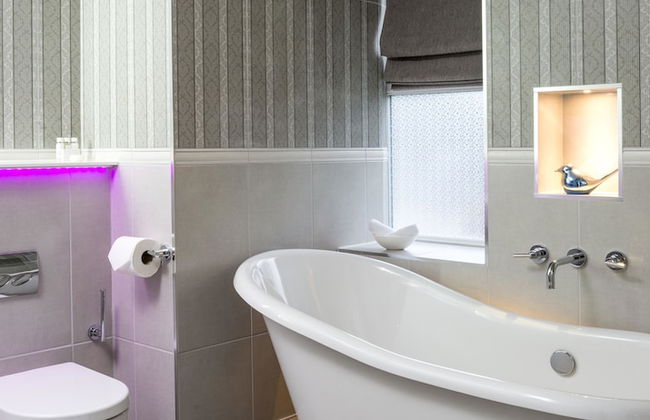


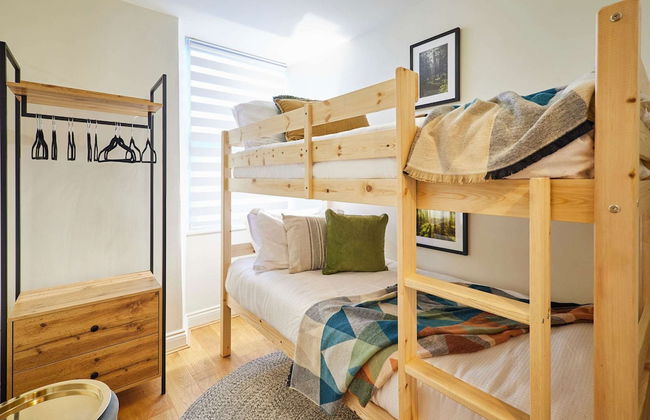
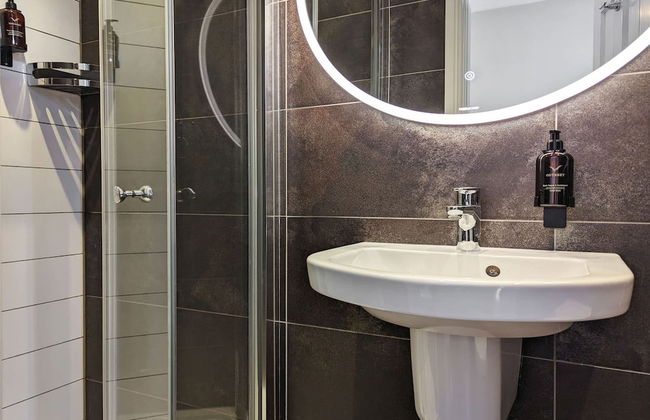
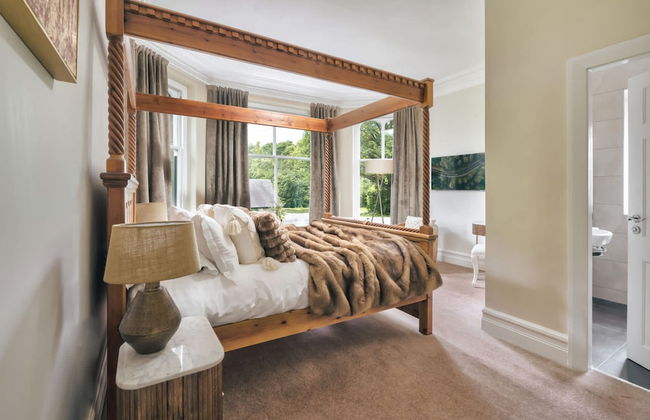
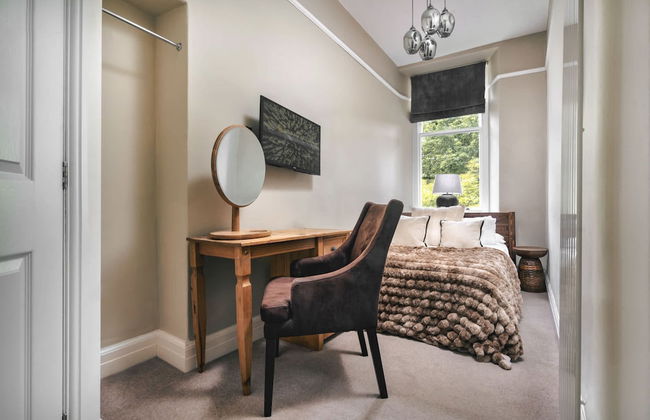
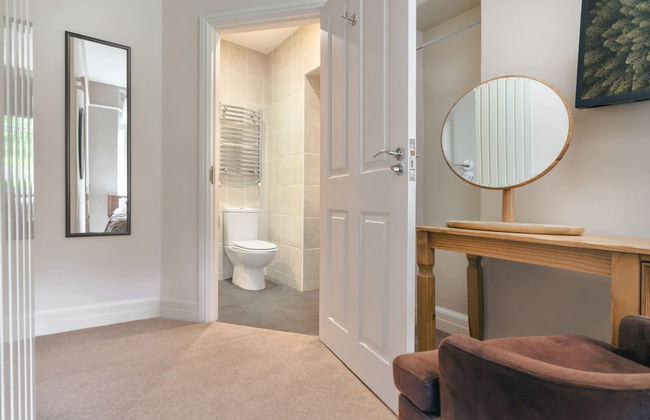
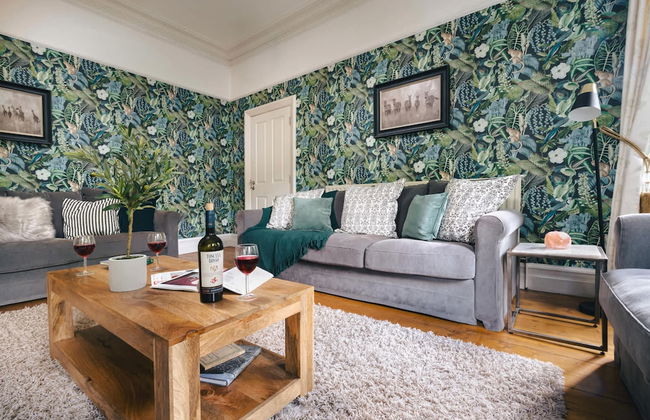
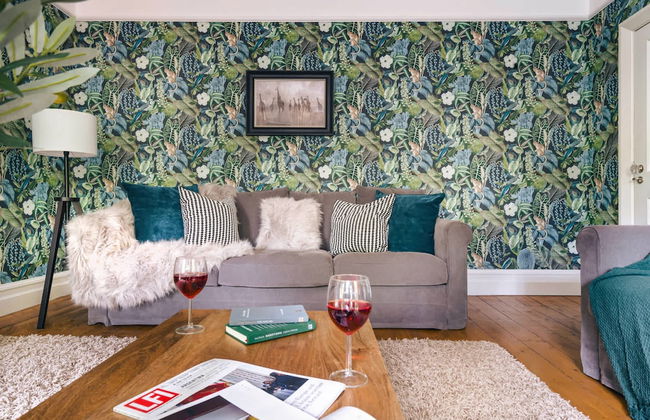
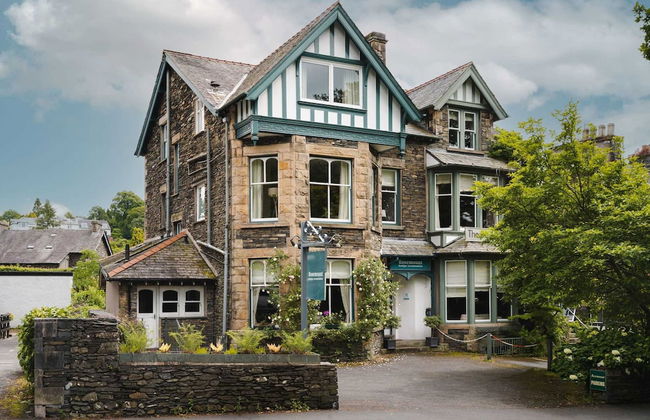
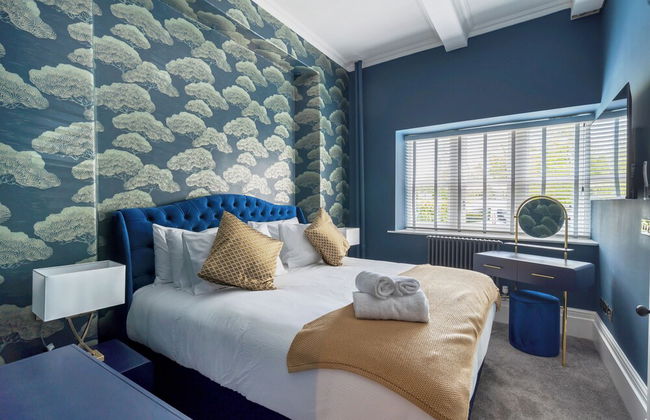
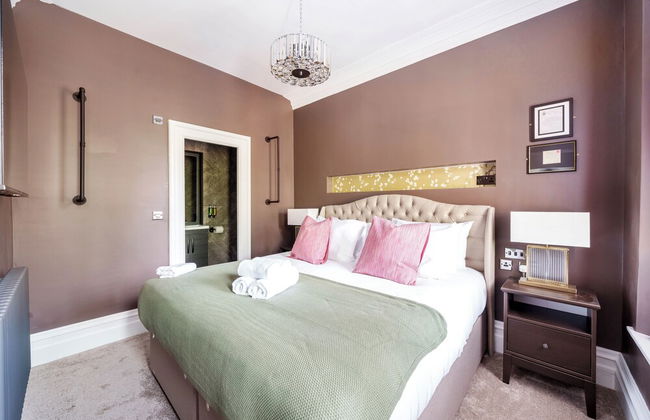
Windermere Hillthwaite Hotel
Windermere - Windermere
- 12 M2
- 2 pessoas
- Aquecimento
- Terraço
- Piscina
- Estacionamento
- Jardim
- Tv
- Toalhas
- Lençóis
294 avaliações


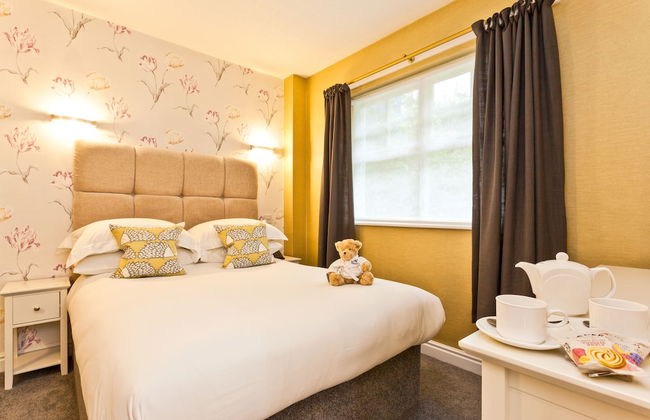
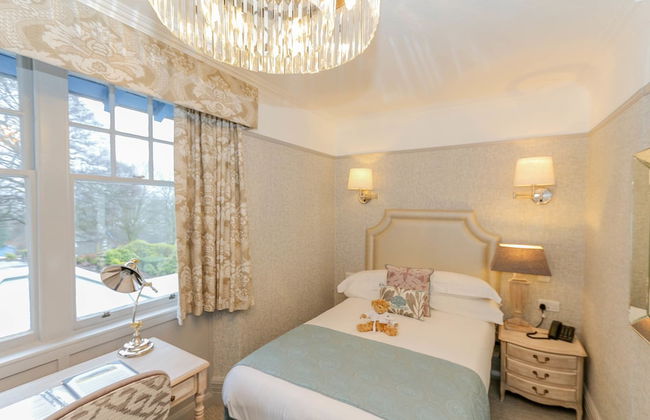
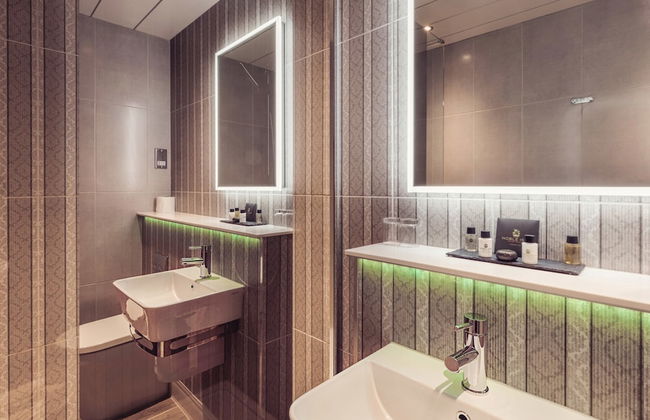
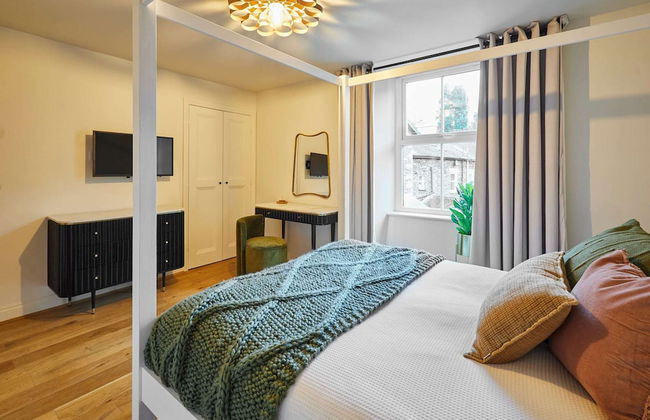
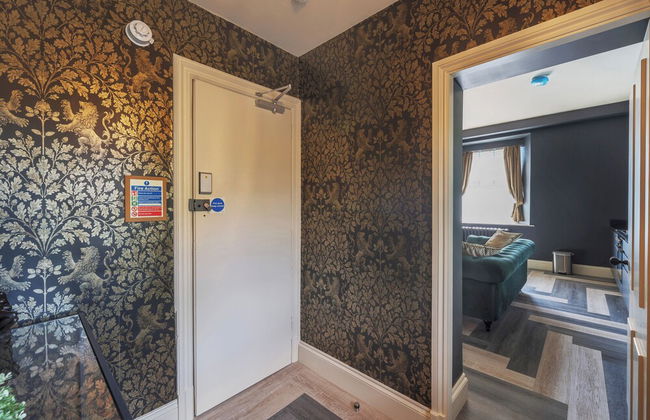
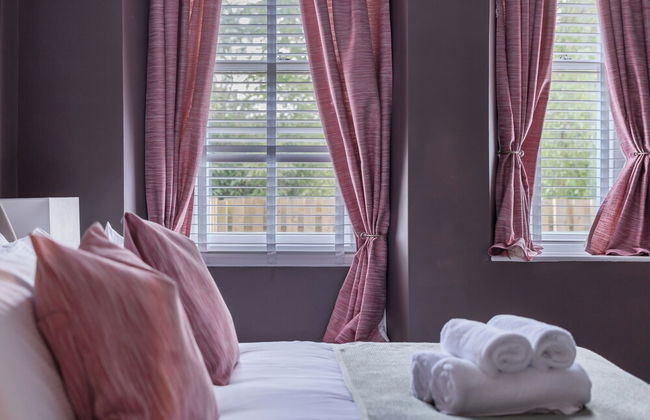
Windermere Central Hotel - Room 1
Windermere - Windermere
- 2 pessoas
- Aquecimento
- Tv
- Toalhas
- Lençóis
2 avaliações


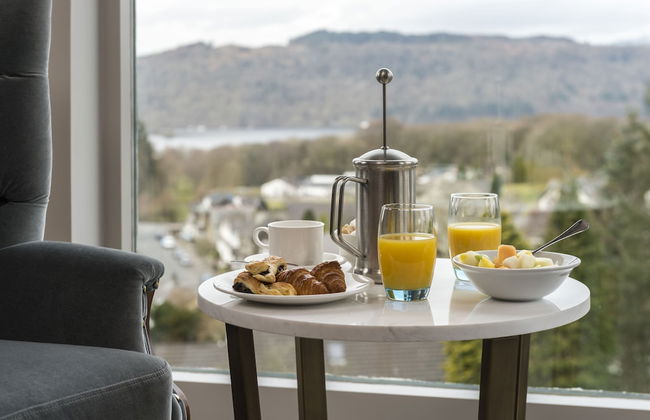
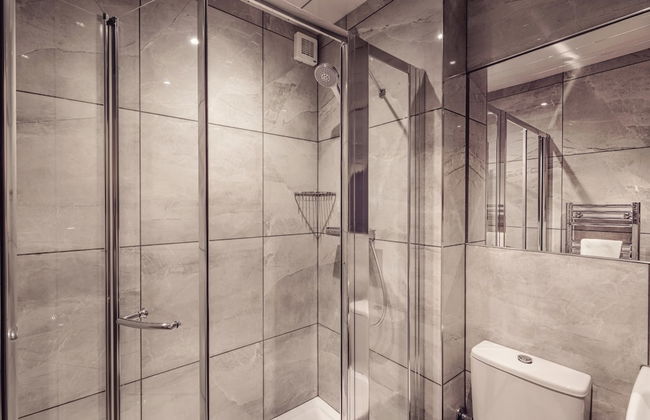
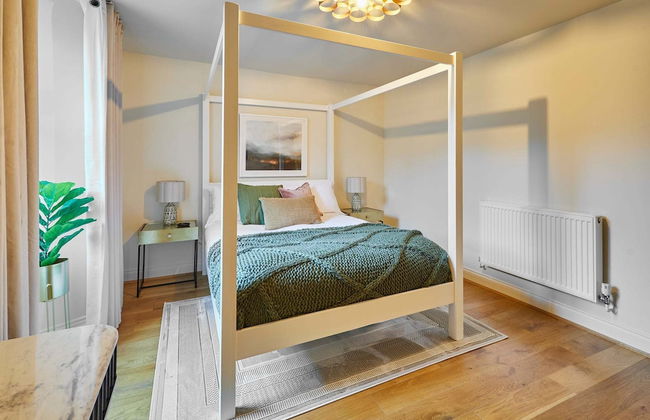
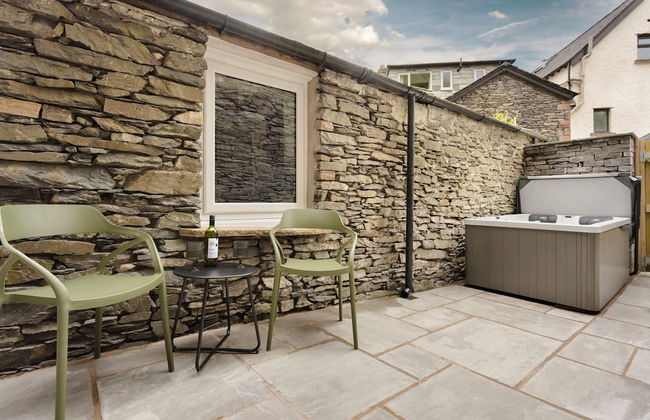
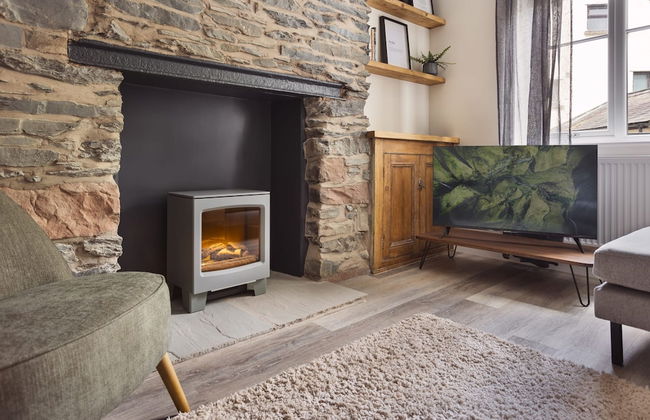
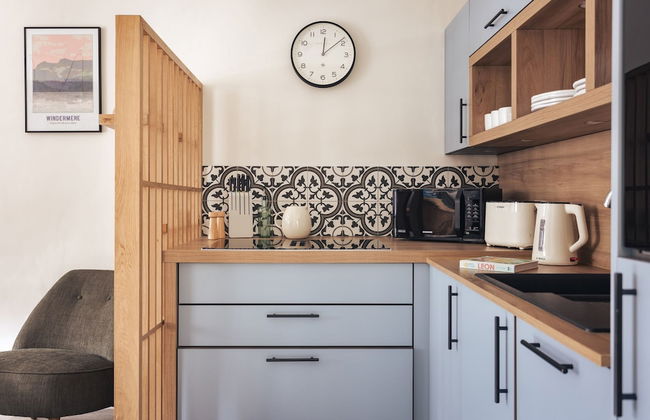
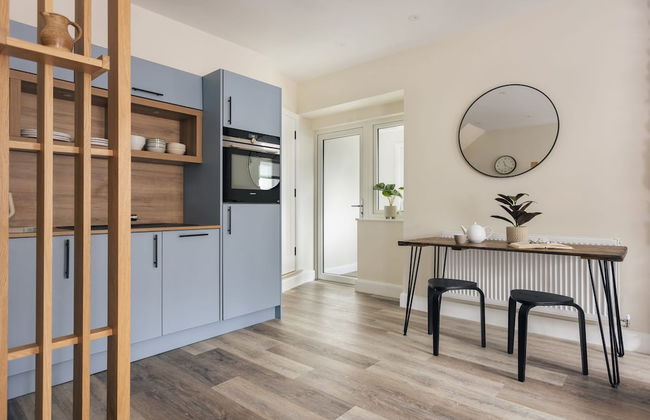
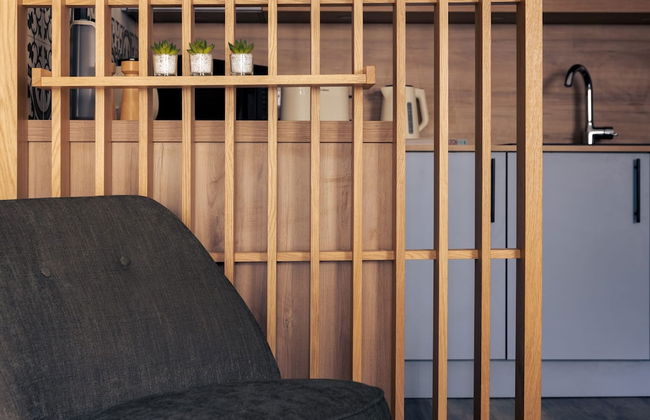
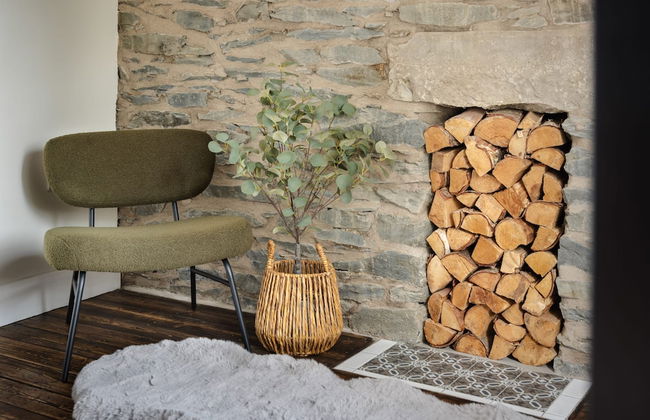
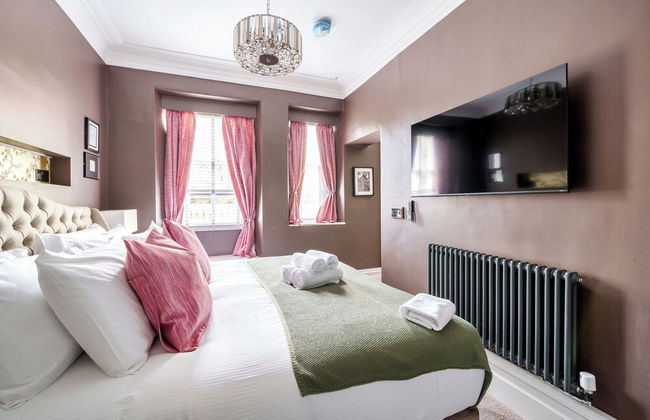
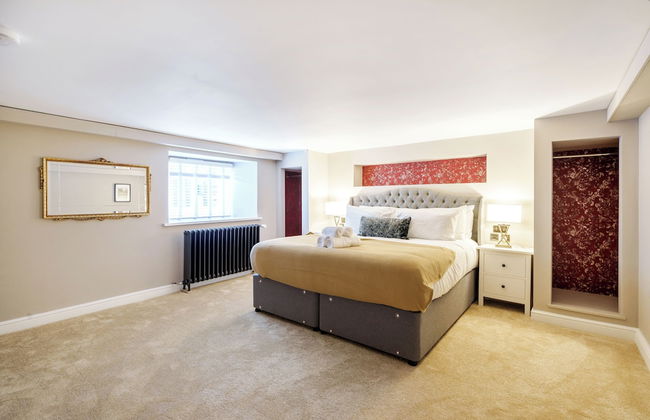
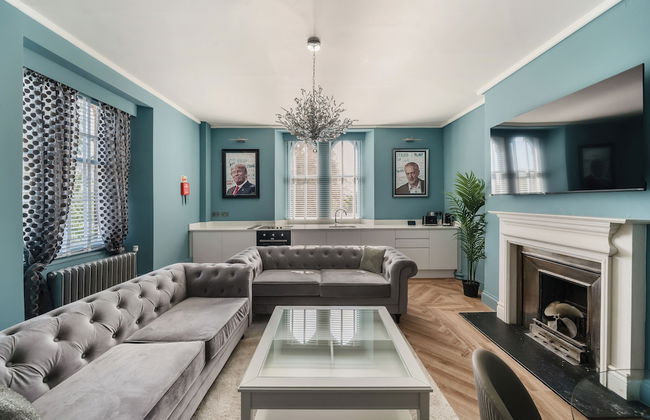
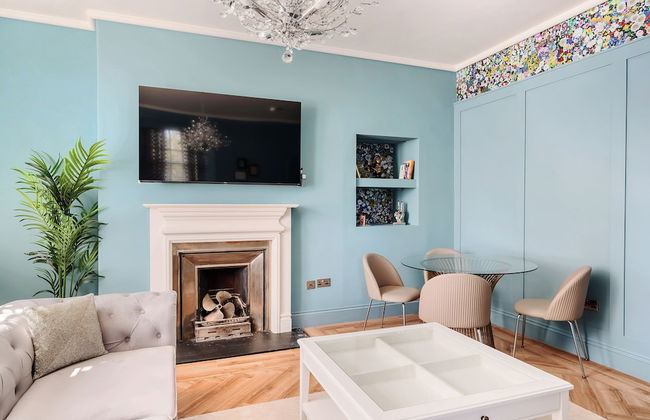
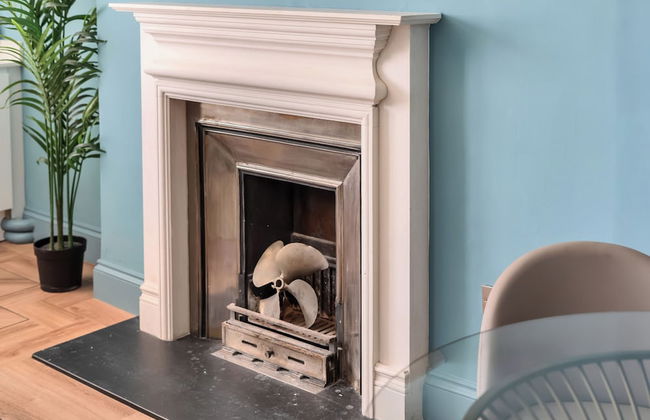
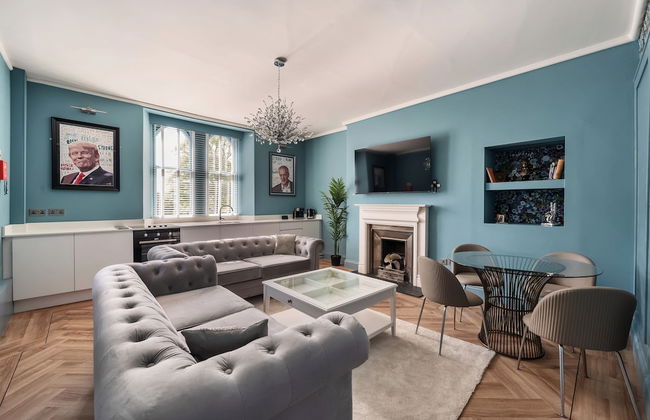
Kotel Windermere
Windermere - Windermere
- 26 M2
- 4 pessoas
- Kitchenette
- Aquecimento
- Estacionamento
- Jardim
- Tv
- Chaminé
- Toalhas
- Lençóis
195 avaliações


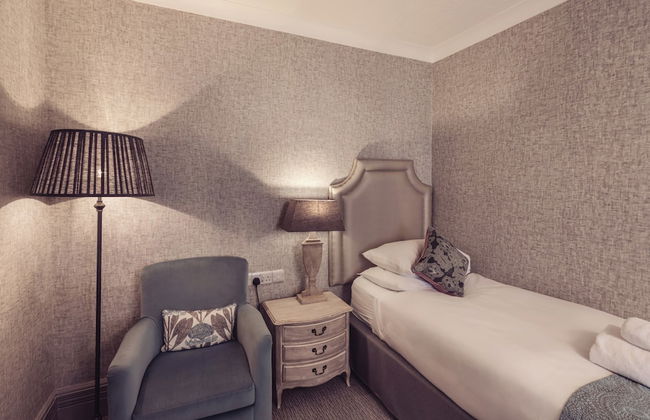
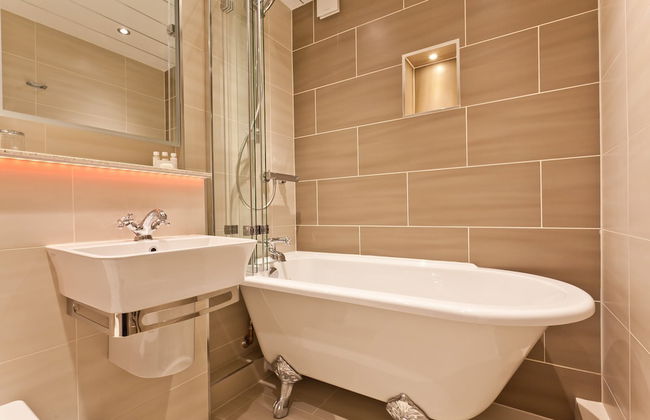
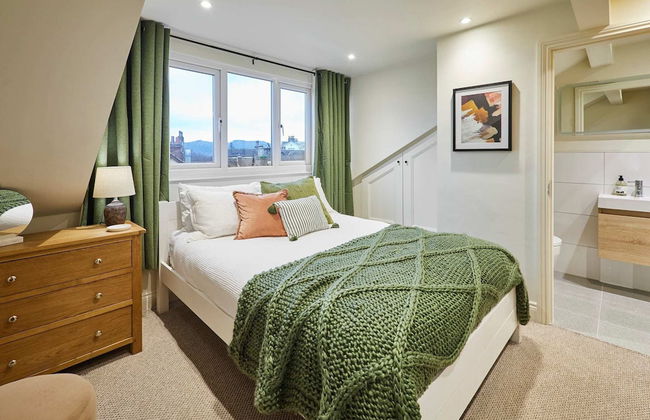
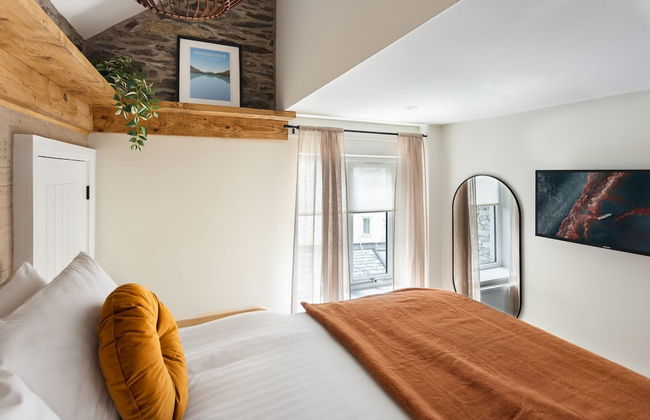
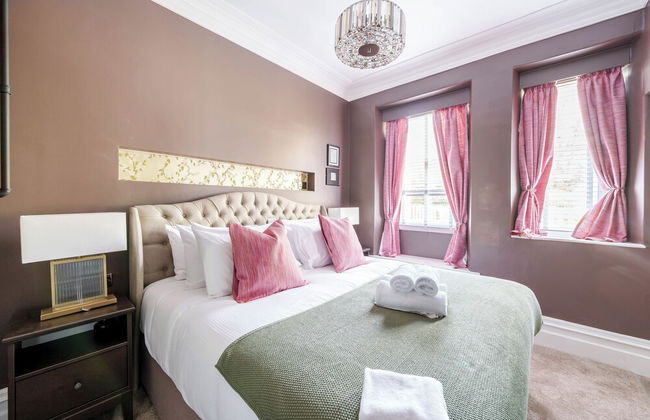
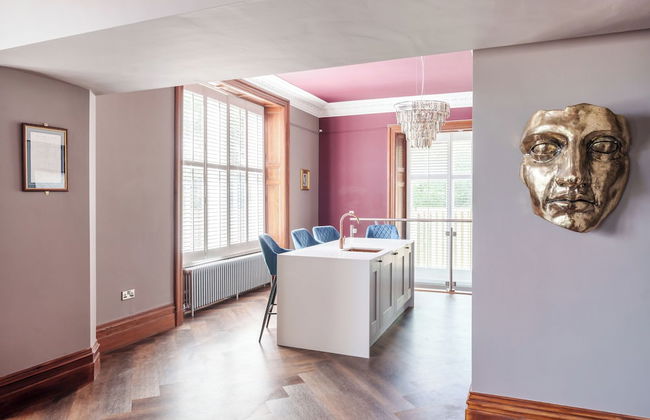
Rayrigg Villa Windermere
Windermere - Windermere
- 15 M2
- 4 pessoas
- Aquecimento
- Tv
- Máquina de lavar roupa
- Toalhas
- Lençóis
149 avaliações


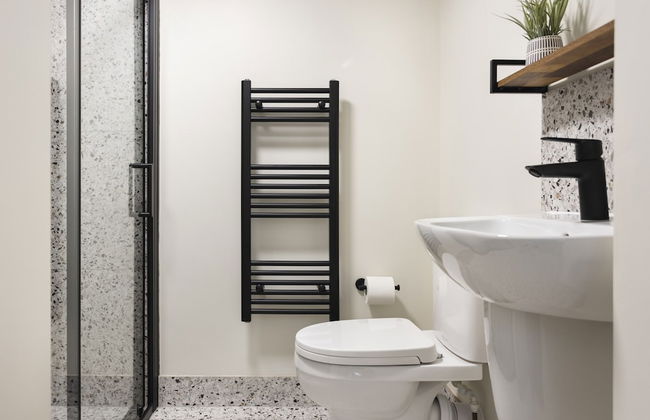
Brackencrag
Windermere - Windermere
- 6 pessoas
- Aquecimento
- Estacionamento
- Tv
- Máquina de lavar roupa
- Toalhas
- Lençóis
4 avaliações


Fair Rigg by Cradel Haus
Windermere - Windermere
- 93 M2
- 8 pessoas
- Kitchenette
- Aquecimento
- Estacionamento
- Varanda
- Tv
- Toalhas
- Lençóis
2 avaliações


Windermere Central Hotel - Room 2
Windermere - Windermere
- 2 pessoas
- Aquecimento
- Tv
- Toalhas
- Lençóis
1 avaliação


Windermere Central Hotel - Room 6
Windermere - Windermere
- 2 pessoas
- Aquecimento
- Tv
- Toalhas
- Lençóis
1 avaliação


Windermere Central Hotel - Room 5
Windermere - Windermere
- 2 pessoas
- Aquecimento
- Tv
- Toalhas
- Lençóis
1 avaliação


The Mews, With Free Private Parking, Windermere
Windermere - Windermere
- Estacionamento
- Jardim
1 avaliação


Lakes Apartments
Windermere - Windermere
- 3 pessoas
- Aquecimento
- Terraço
- Estacionamento
- Tv
- Chaminé
- Churrasco
- Toalhas
- Lençóis


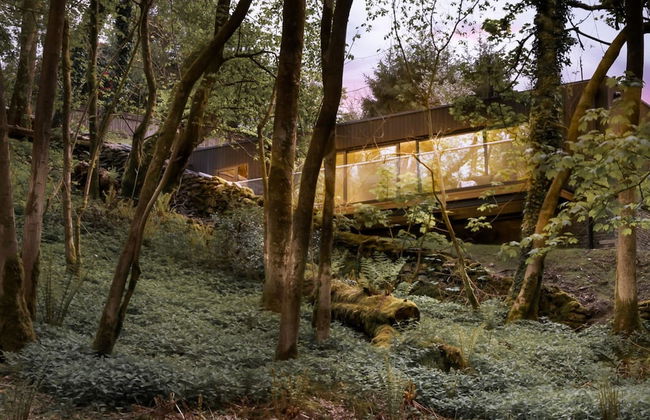
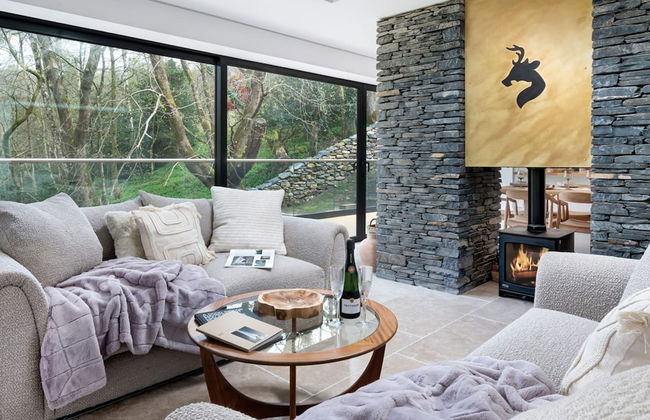
Woodlands Family Retreat - Windermere Lakedistrict
Windermere - Windermere
- 6 pessoas
- Aquecimento
- Terraço
- Estacionamento
- Varanda
- Jardim
- Tv
- Máquina de lavar roupa
- Chaminé
- Toalhas
- Lençóis


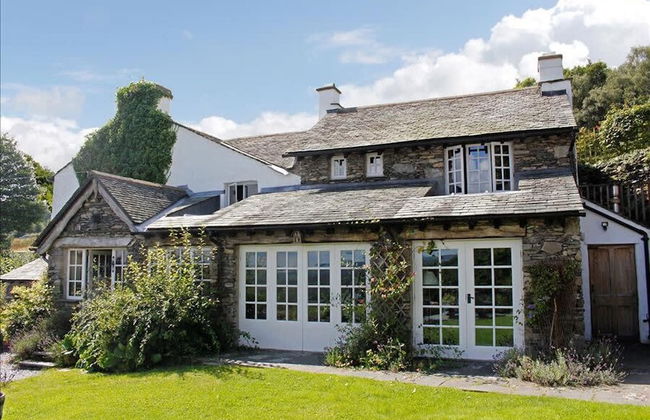

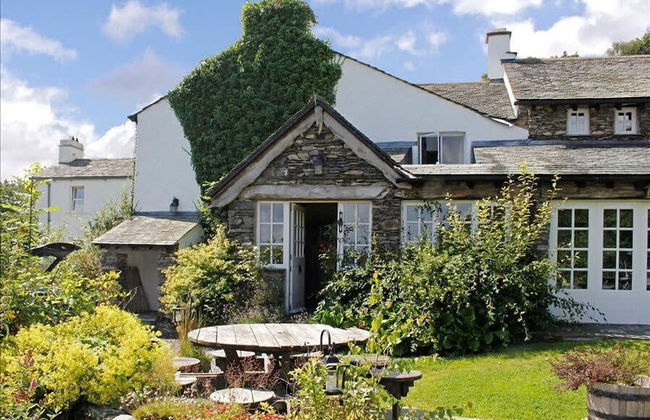

Summerhill Cottage Windermere The Lake District
Windermere - Windermere
- 7 pessoas
- Aquecimento
- Terraço
- Estacionamento
- Varanda
- Jardim
- Tv
- Máquina de lavar roupa
- Chaminé
- Toalhas
- Lençóis

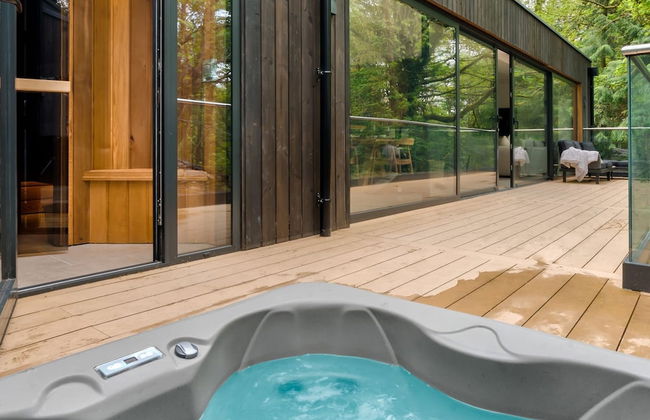


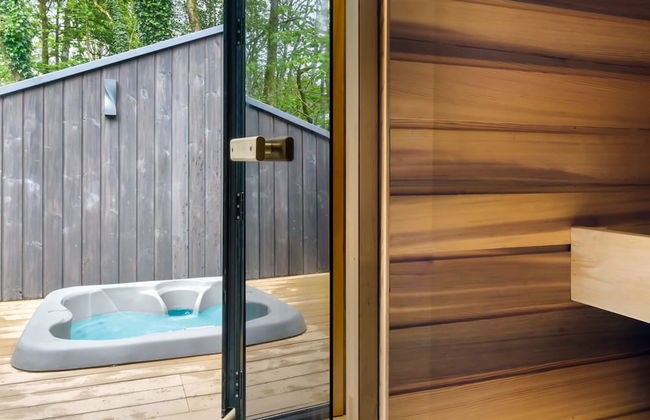


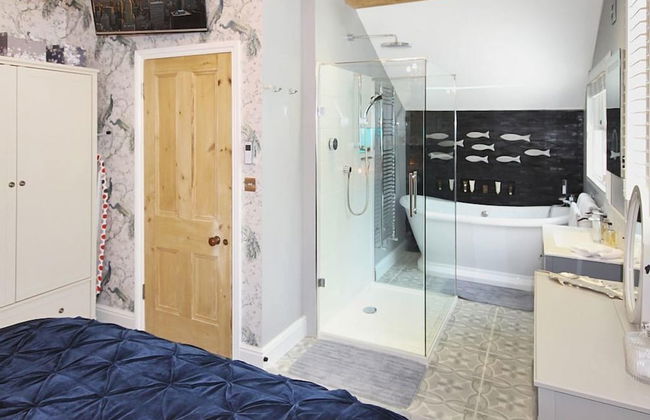
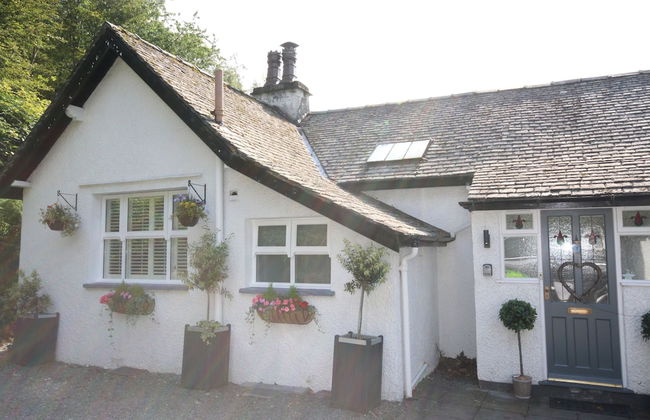
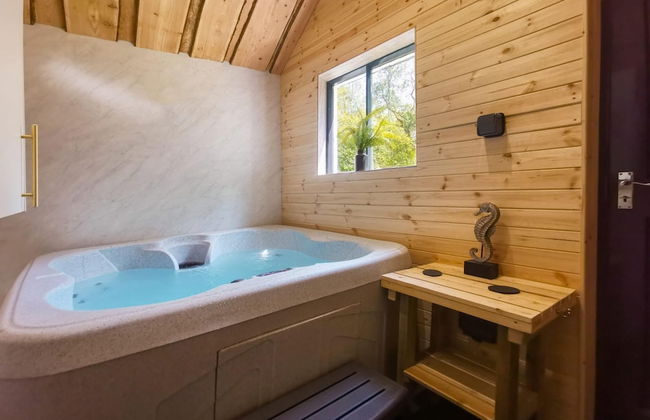
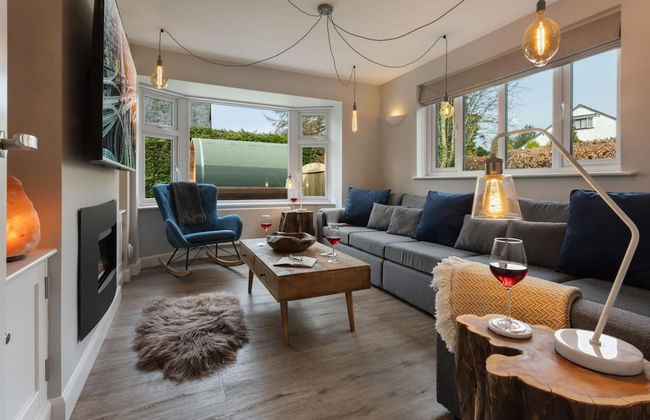
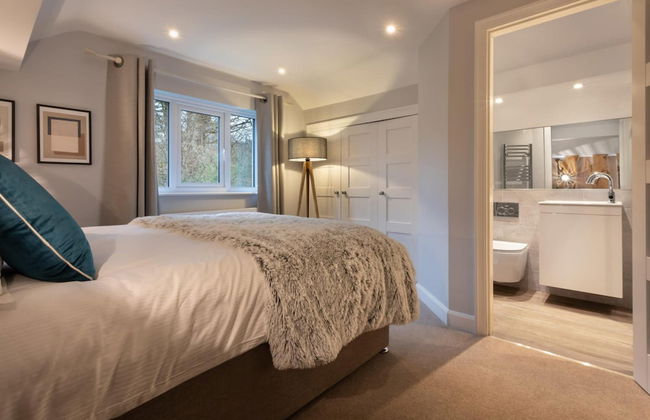
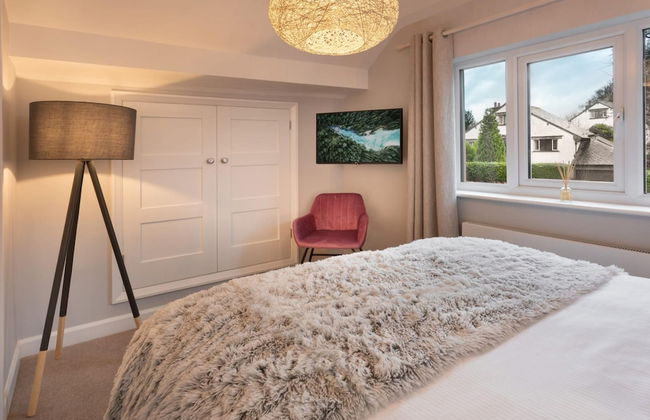
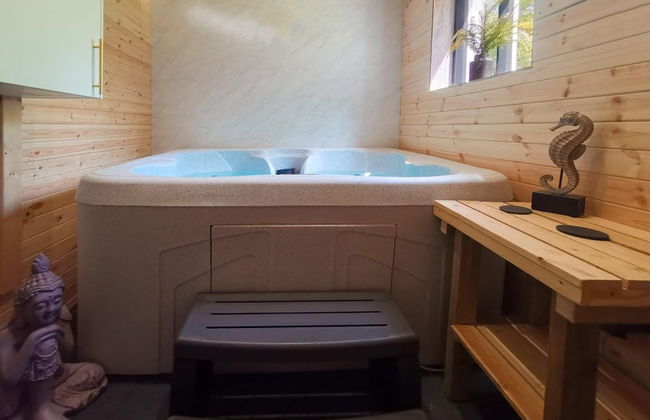
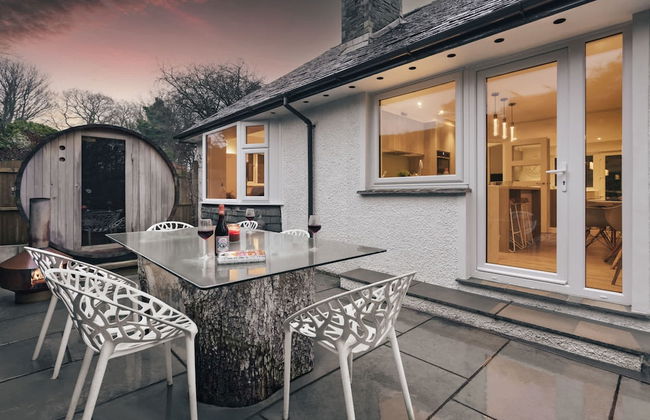
Fawns Keep - Hot Tub and Sauna Retreat
Windermere - Windermere
- 6 pessoas
- Aquecimento
- Terraço
- Estacionamento
- Varanda
- Tv
- Chaminé
- Toalhas
- Lençóis


Southview Spa Windermere
Windermere - Windermere
- 700 M2
- 20 pessoas
- Aquecimento
- Piscina
- Estacionamento
- Varanda
- Jardim
- Tv
- Máquina de lavar roupa
- Toalhas
- Lençóis

Queens Nest
Windermere - Windermere - 180 m de Windermere Railway Station (geolocation.placetype.train_station)
- 2 pessoas
- Aquecimento
- Tv
- Toalhas
- Lençóis


Host Stay Hovera Cottage
Windermere - Windermere - 180 m de Windermere Railway Station (geolocation.placetype.train_station)
- 8 pessoas
- Aquecimento
- Jardim
- Tv
- Máquina de lavar roupa
- Chaminé
- Toalhas
- Lençóis


Ferry View Studio in Bowness-on-windermere
Windermere - Windermere
- 8 pessoas
- Aquecimento
- Varanda
- Jardim
- Tv
- Toalhas
- Lençóis


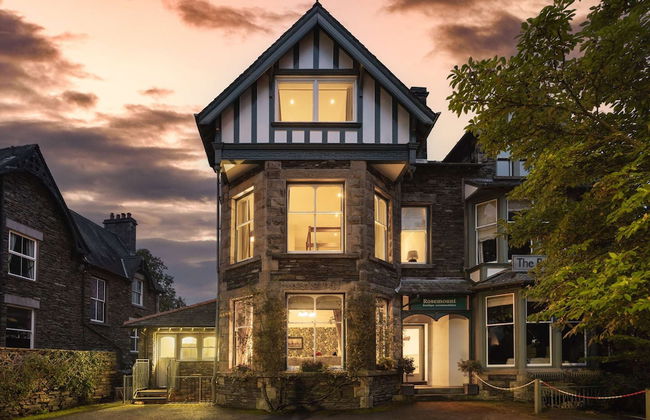

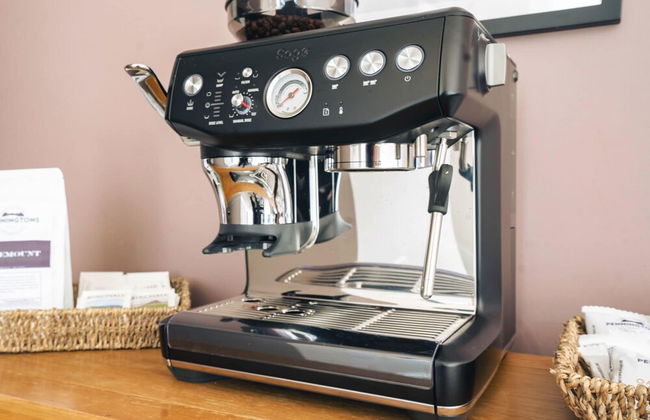

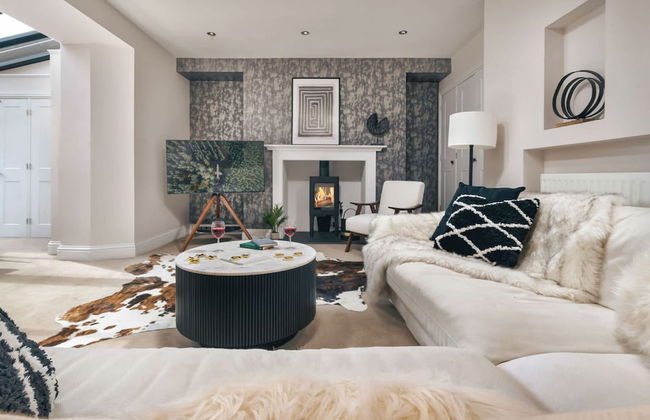

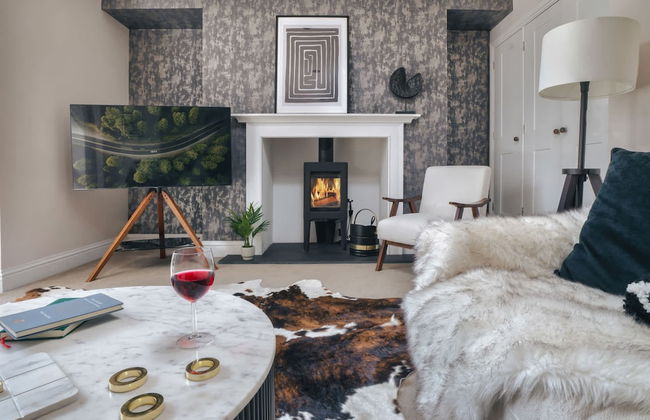


Rosemount Lake District Townhouse With Hot Tub
Windermere - Windermere
- 16 pessoas
- Aquecimento
- Estacionamento
- Jardim
- Tv
- Máquina de lavar roupa
- Toalhas
- Lençóis


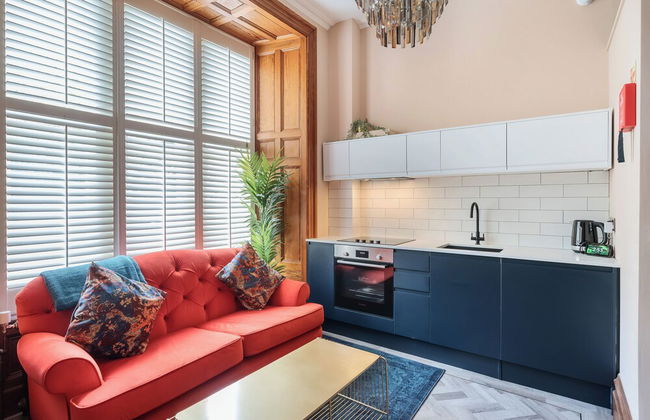

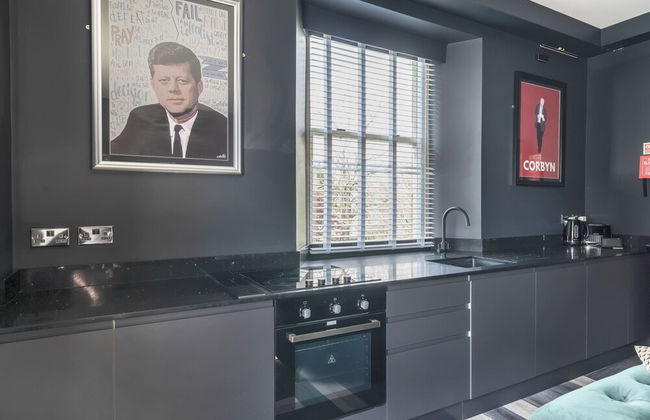
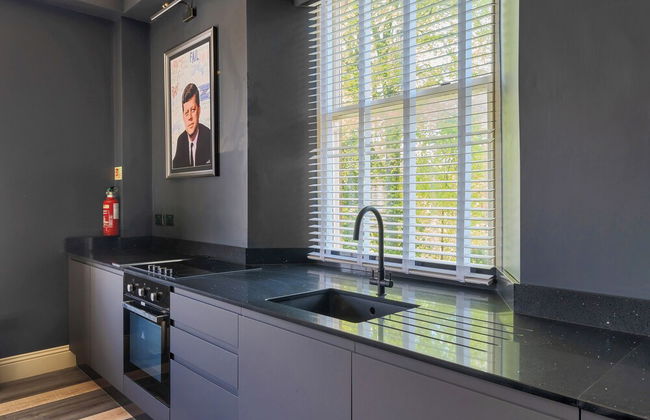


The Governance Apartments
Windermere - Windermere
- 6 pessoas
- Aquecimento
- Estacionamento
- Jardim
- Tv
- Toalhas
- Lençóis