
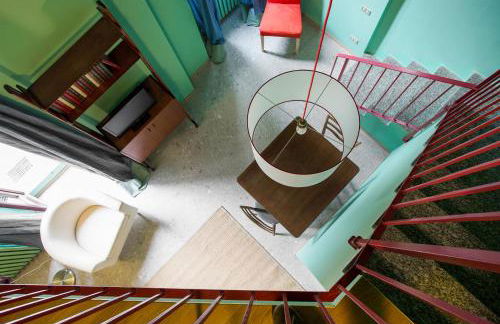
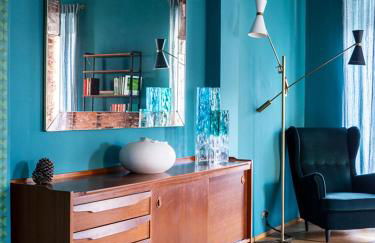
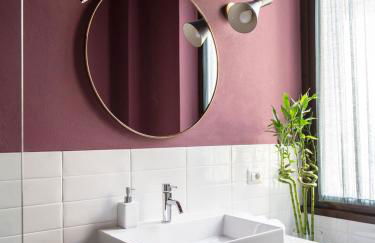
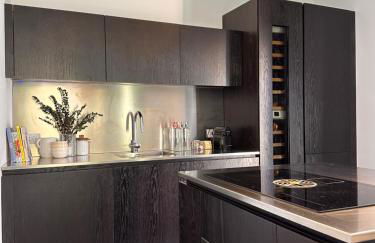
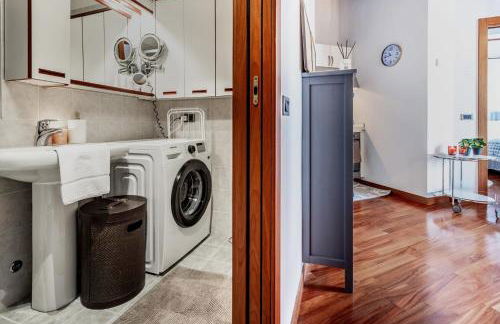
41 Apartamentos em Faggeto Lario


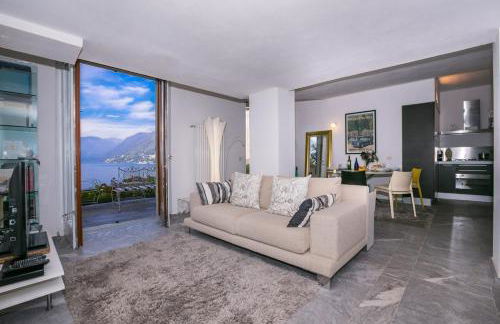
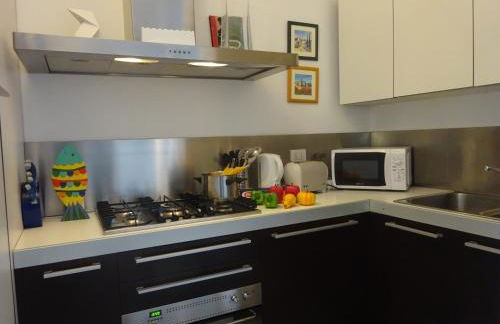
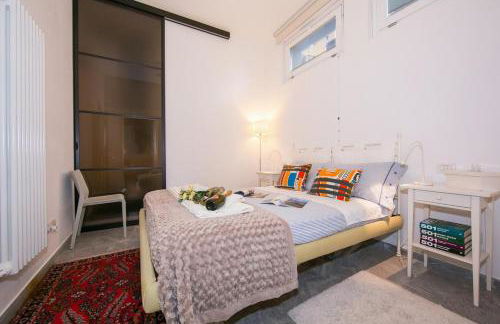
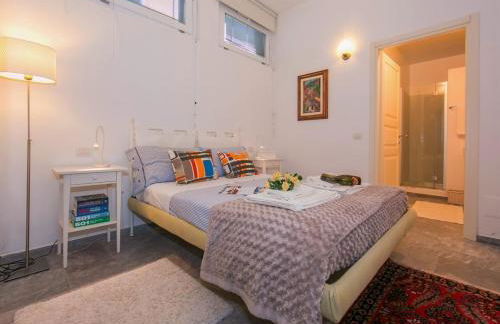
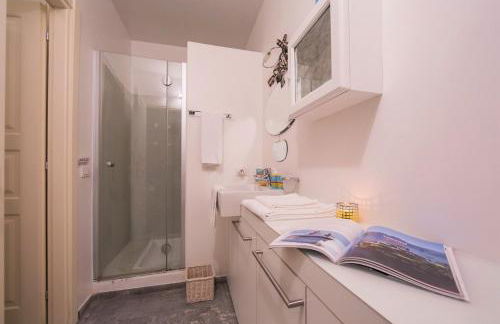
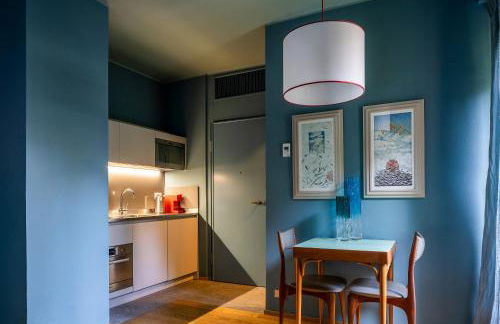
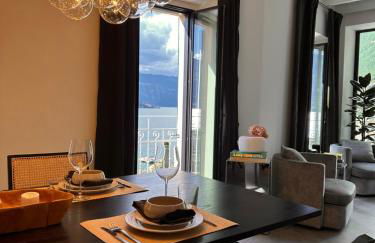
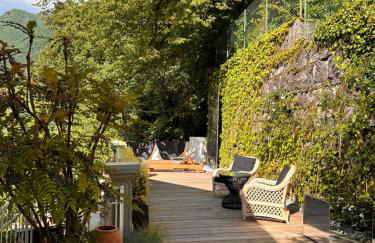
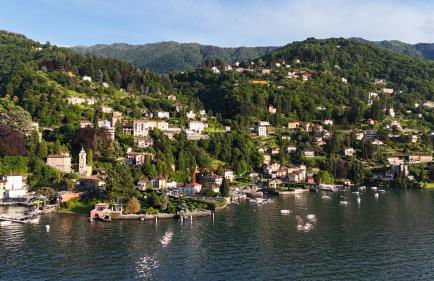
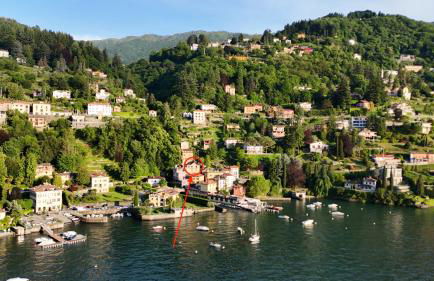
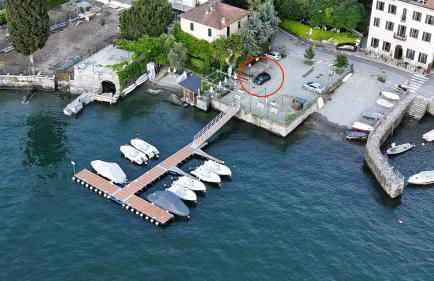
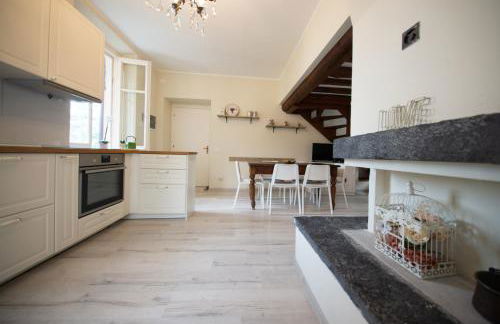
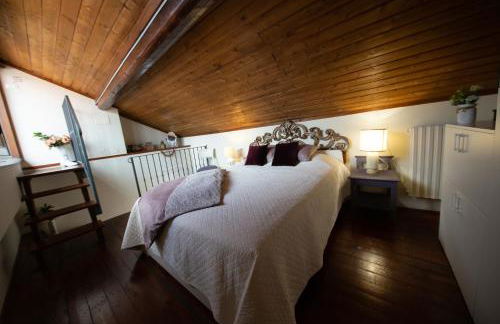
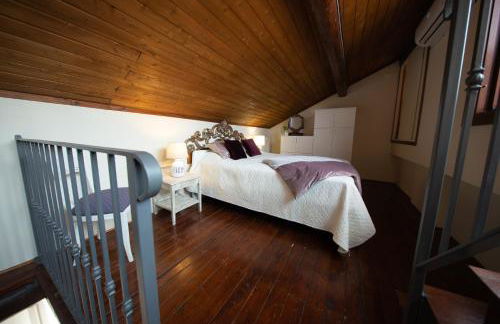
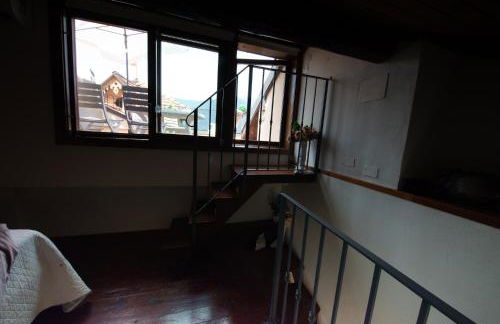
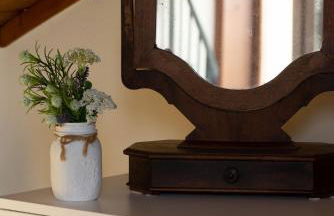
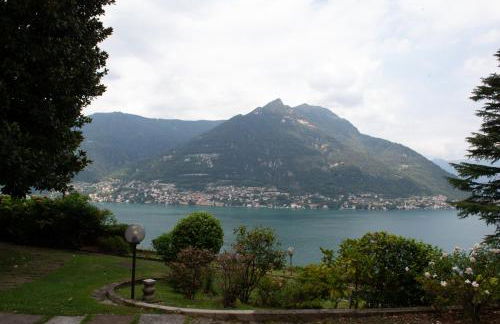
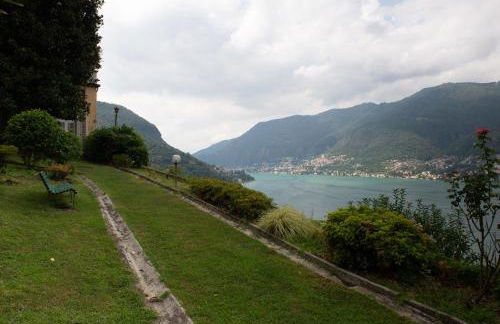
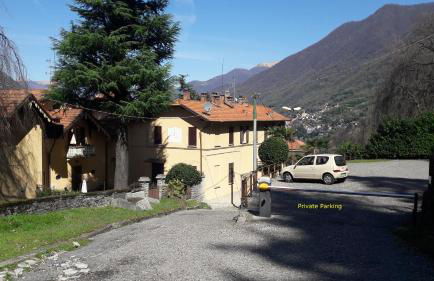
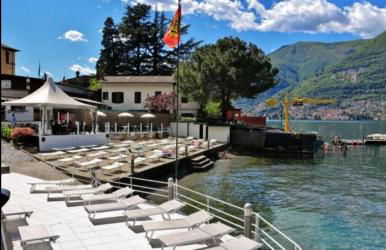
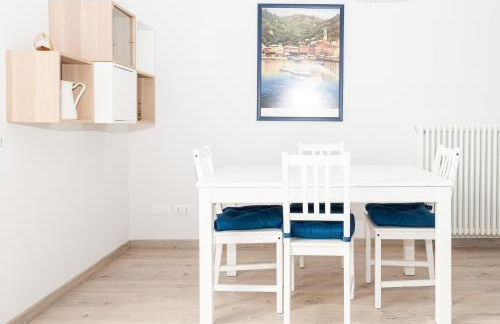
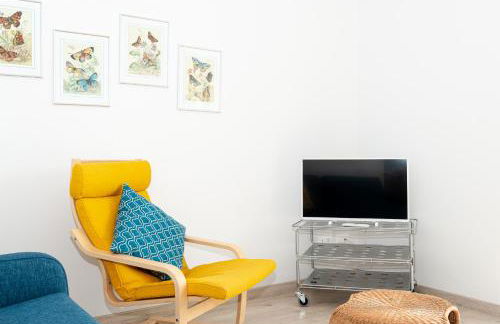
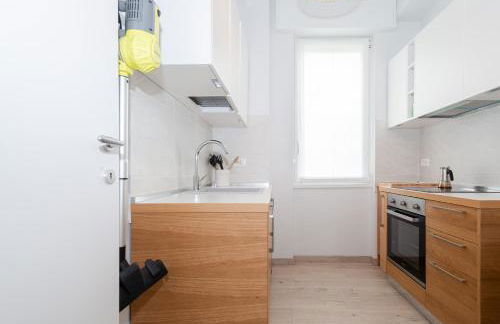
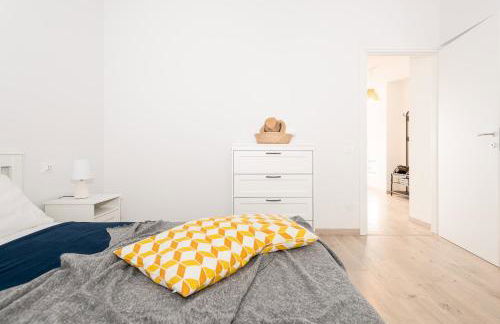
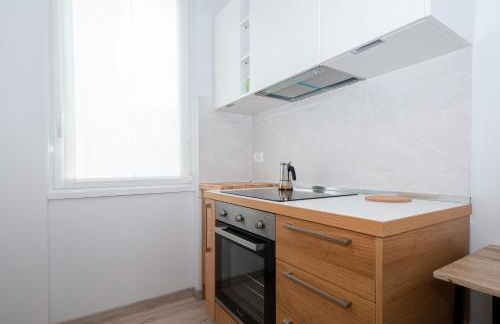
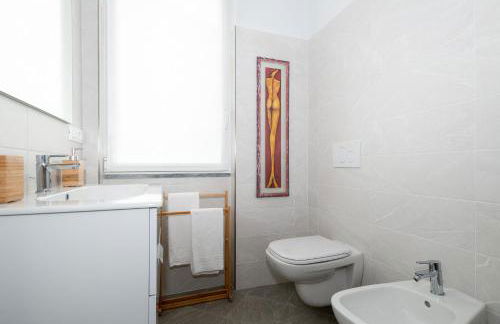
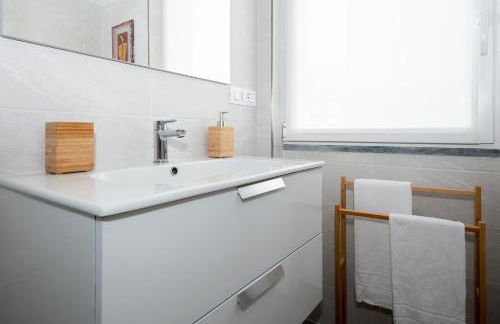
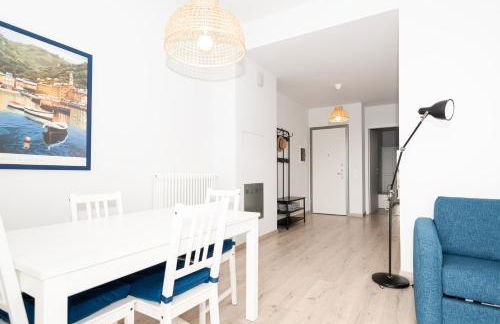
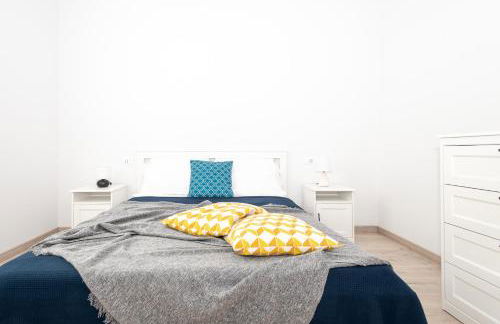
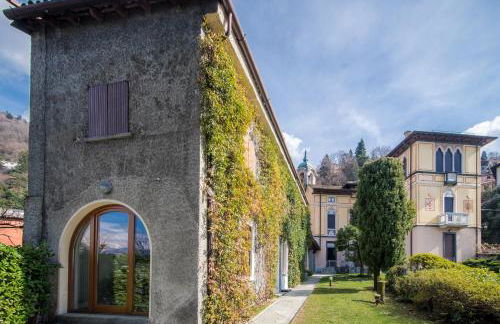
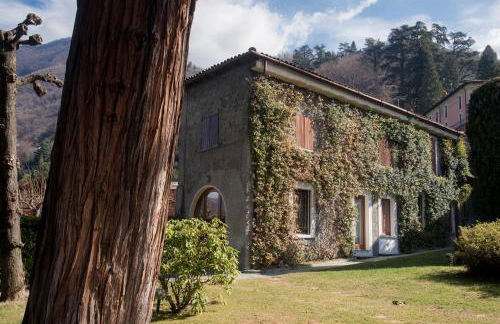
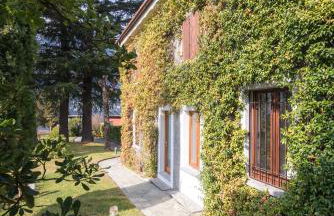
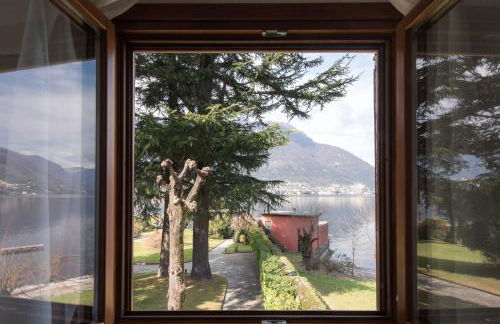
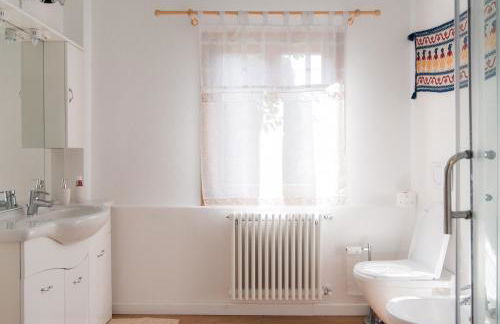
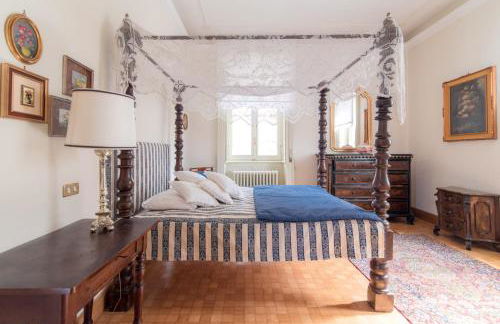
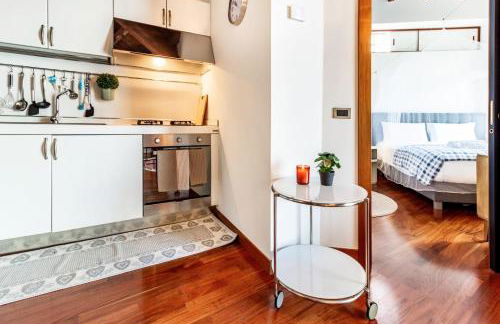
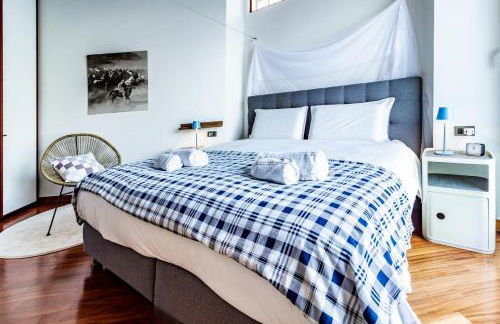
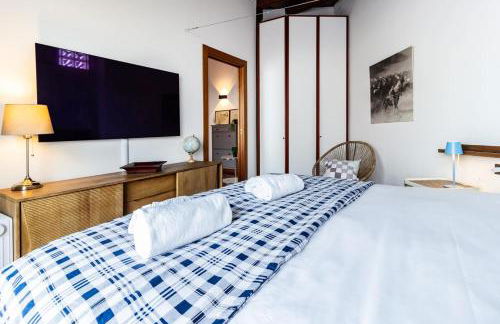
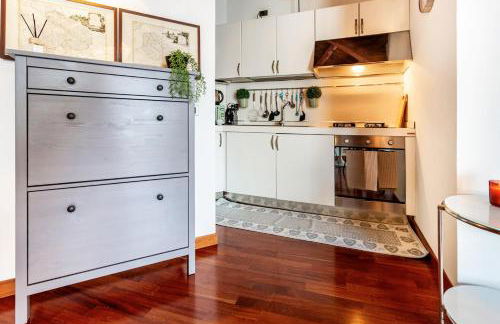
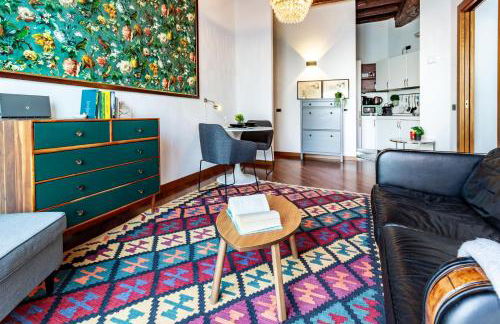
Antica Molina
Faggeto Lario - Molina - No centro
- 80 M2
- 2 quartos
- 8 pessoas
- Aquecimento
- Terraço
- Estacionamento
- Tv
- Máquina de lavar roupa
- Chaminé
- Toalhas
- Lençóis
17 avaliações


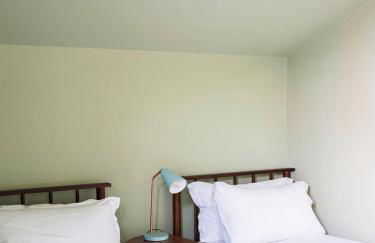
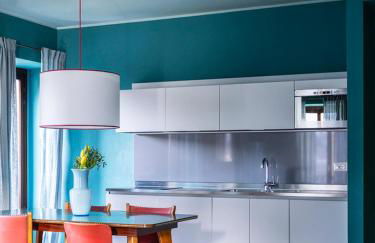
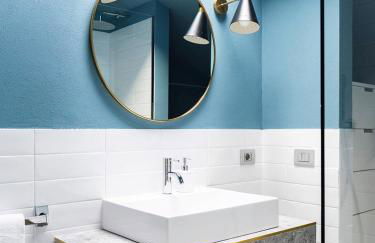
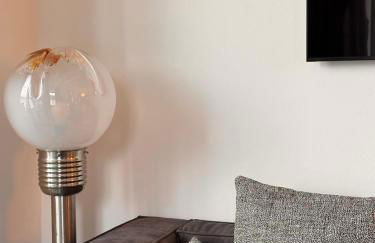
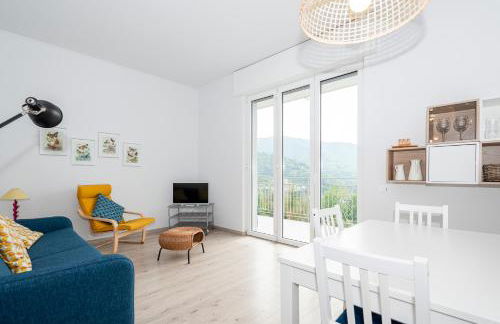
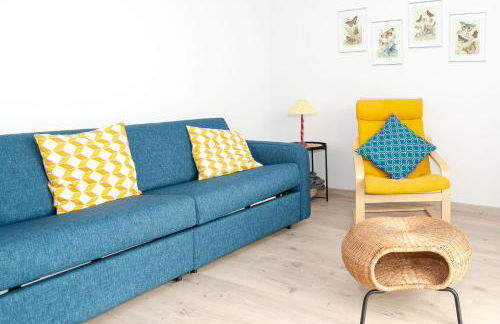
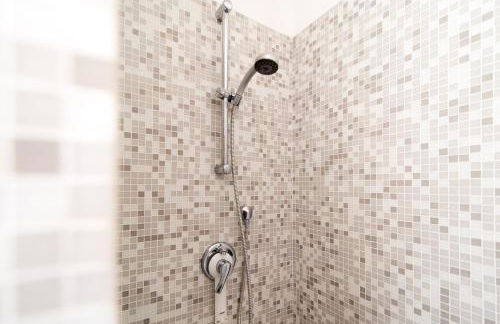
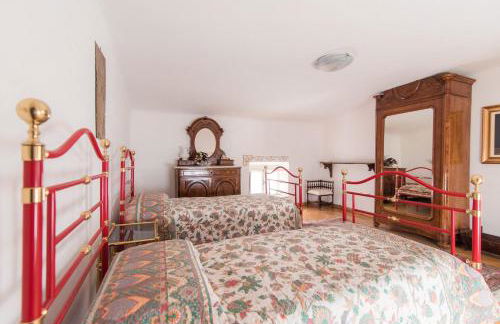
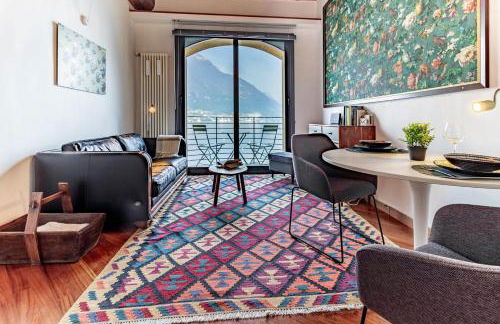
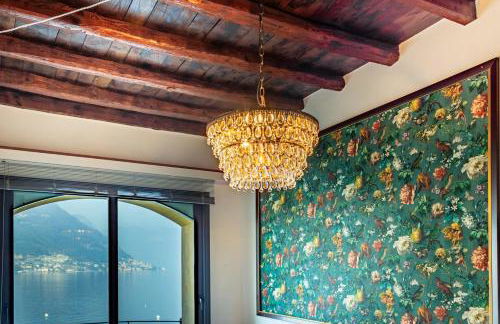
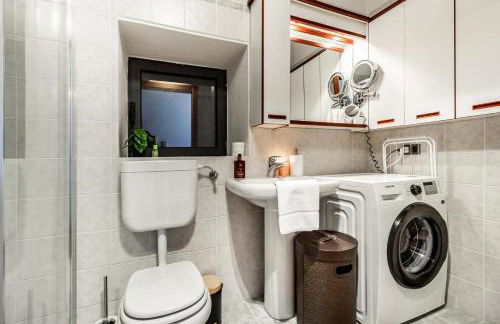
Sweet Home
Faggeto Lario - No centro
- 50 M2
- 1 quarto
- 4 pessoas
- Aquecimento
- Terraço
- Jardim
- Churrasco
39 avaliações


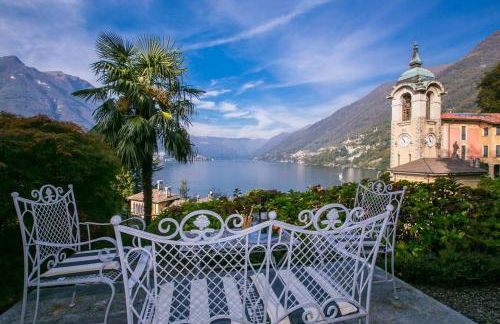
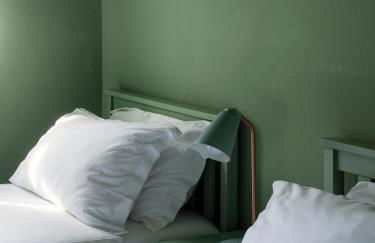
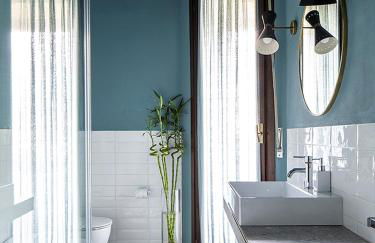
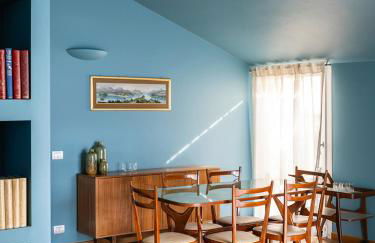
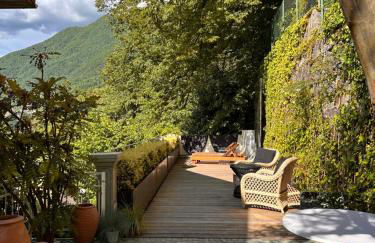
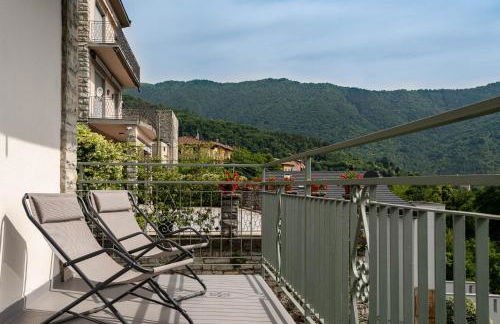
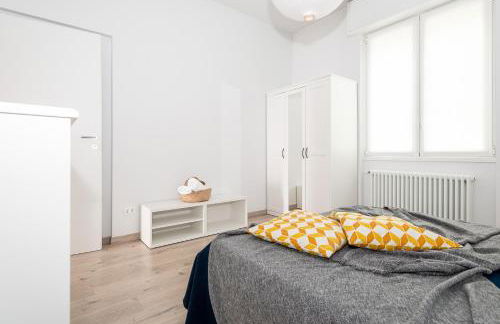
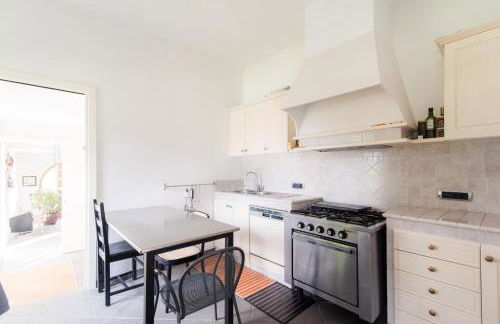
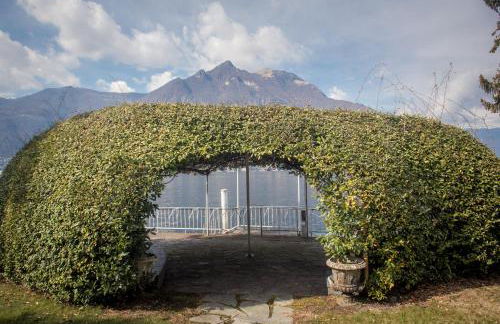
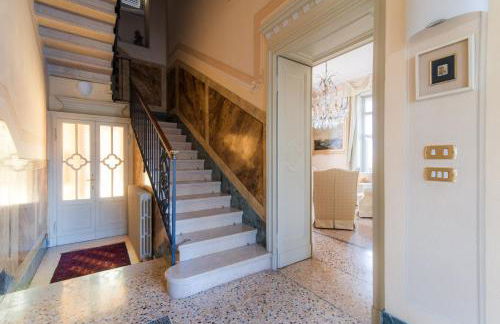
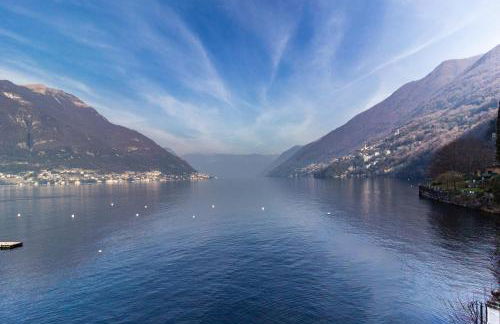
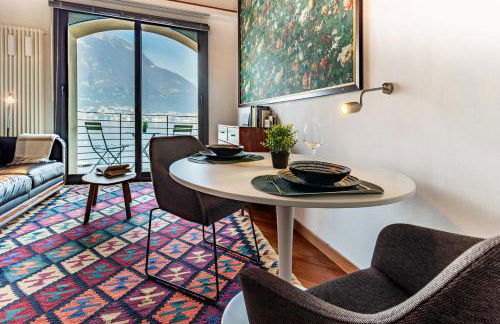
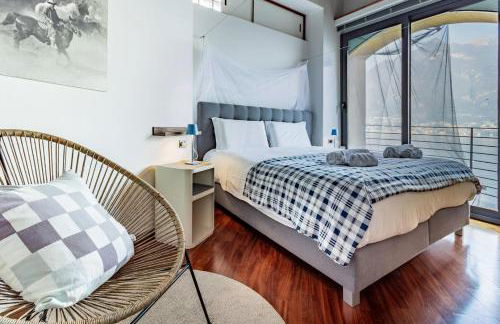
Lake Como Villa Ines Apartment
Faggeto Lario - 450 m do centro
- 200 M2
- 2 quartos
- 4 pessoas
- Ar-condicionado
- Aquecimento
- Terraço
- Estacionamento
- Jardim
40 avaliações


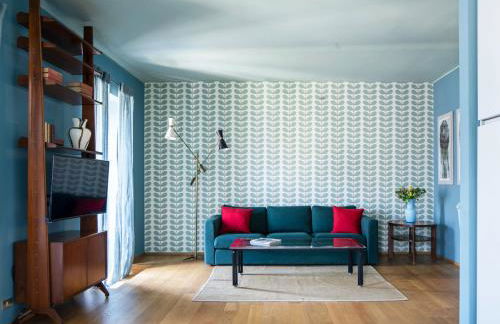
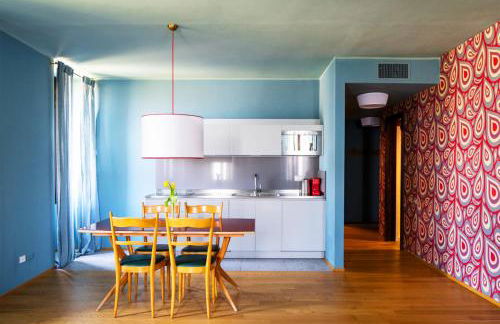
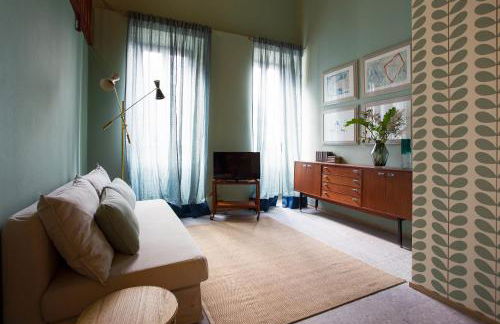
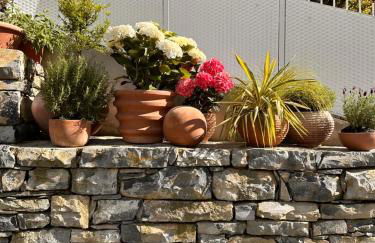
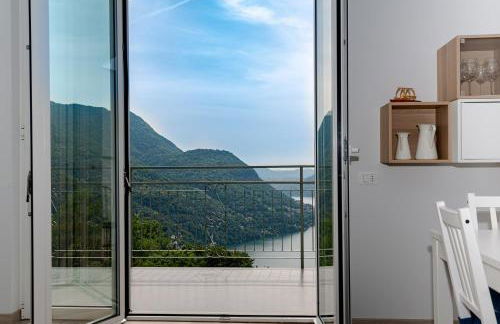
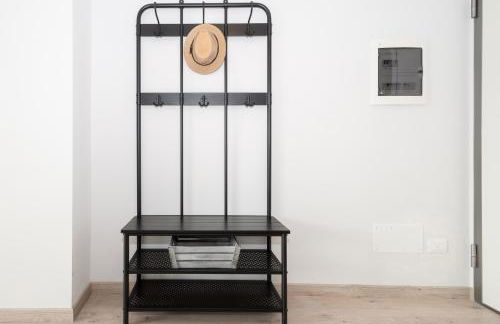
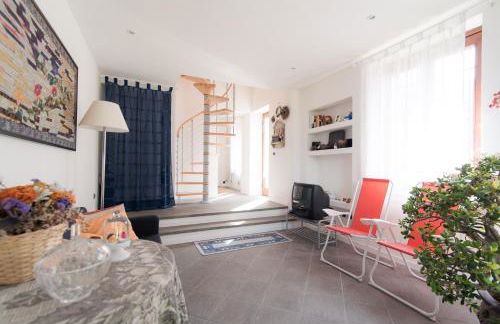
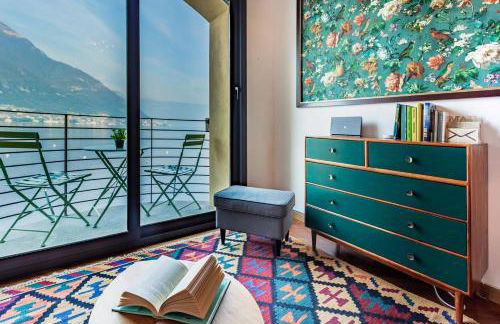
Il Giardino Segreto
Faggeto Lario - Molina - No centro
- 52 M2
- 1 quarto
- 4 pessoas
- Ar-condicionado
- Aquecimento
- Terraço
- Estacionamento
- Jardim
122 avaliações


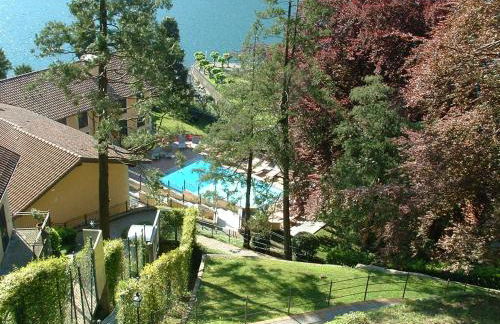


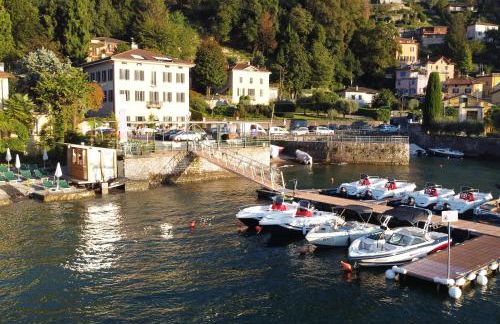
Riva di Faggeto Lario
Faggeto Lario - Riva - 470 m do centro
- 55 M2
- 1 quarto
- 4 pessoas
- Aquecimento
- Terraço
- Piscina
- Estacionamento
- Jardim
16 avaliações


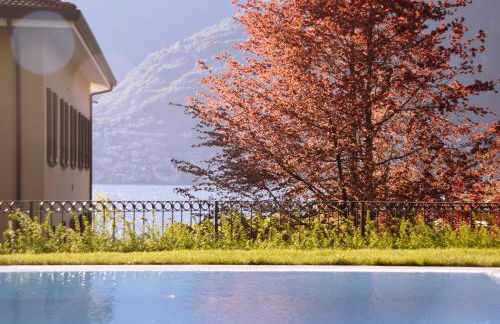
Casa alla Fontana
Faggeto Lario - Lemna - No centro
- 50 M2
- 2 quartos
- 6 pessoas
- Aquecimento
- Estacionamento
- Jardim
47 avaliações


Domus Plinii 1792 Suites
Faggeto Lario - Riva - 570 m do centro
- 75 M2
- 2 quartos
- 4 pessoas
- Ar-condicionado
- Aquecimento
- Terraço
- Piscina
- Estacionamento
- Elevador
- Jardim
427 avaliações


Holiday Home Liliana
Faggeto Lario - Molina - No centro
- 80 M2
- 2 quartos
- 5 pessoas
- Ar-condicionado
- Terraço
- Estacionamento
- Jardim
- Churrasco
506 avaliações


CasaB Lake Como
Faggeto Lario - Riva - 510 m do centro
- 130 M2
- 2 quartos
- 4 pessoas
- Ar-condicionado
- Aquecimento
- Terraço
- Estacionamento
- Jardim
6 avaliações


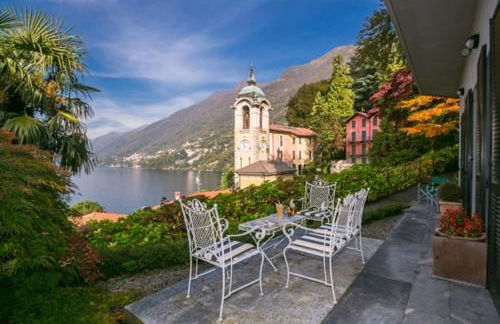
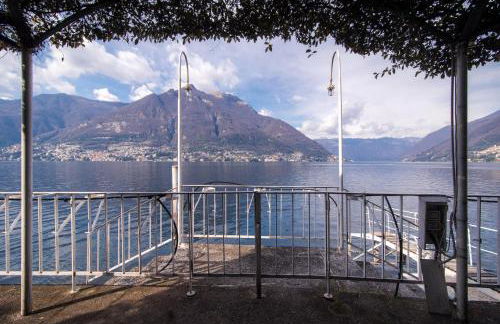
Lake Como Villa Ines Junior Apartment
Faggeto Lario - 460 m do centro
- 70 M2
- 1 quarto
- 3 pessoas
- Aquecimento
- Estacionamento
- Jardim
47 avaliações


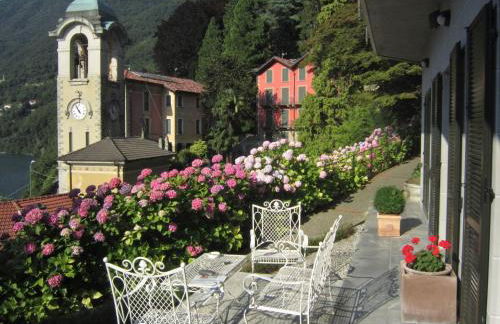
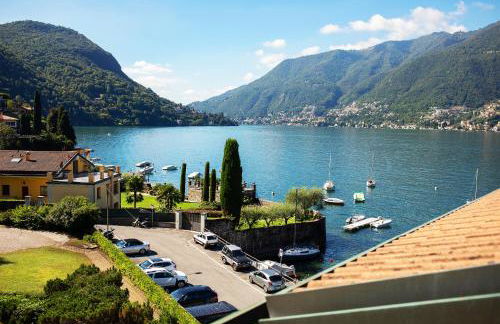
Appartamento "Bella vista" sul Lago di Como
Faggeto Lario - 490 m do centro
- 90 M2
- 2 quartos
- 4 pessoas
- Ar-condicionado
- Aquecimento
- Terraço
- Estacionamento
- Jardim
54 avaliações


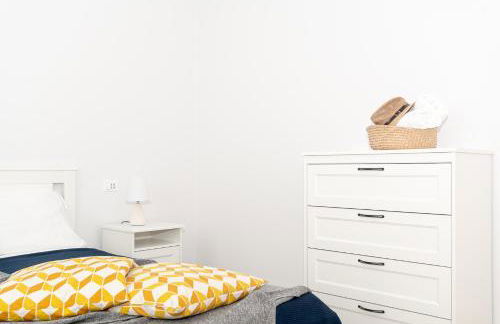
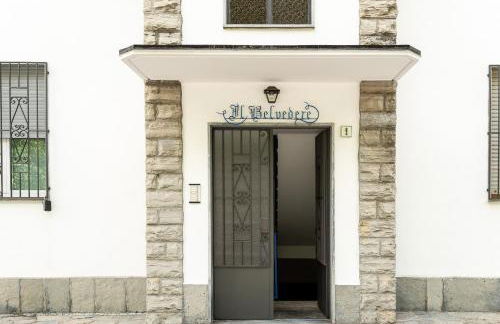


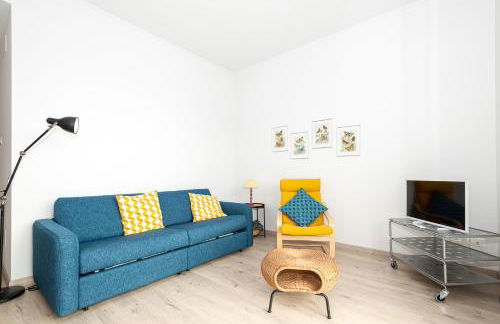
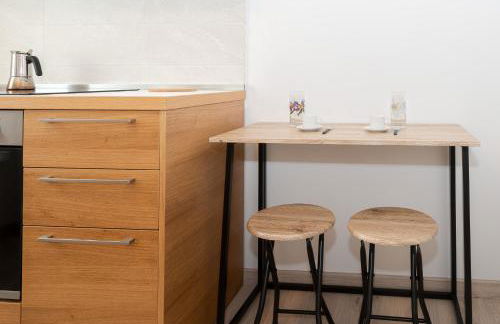


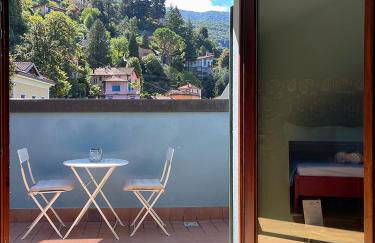
Mamo's Belvedere by Holiday Solutions
Faggeto Lario - 620 m do centro
- 62 M2
- 1 quarto
- 4 pessoas
- Aquecimento
- Terraço
- Jardim
47 avaliações


Villa Liberty Giù by "The House Of Travelers"
Faggeto Lario - Riva - 590 m do centro
- 600 M2
- 5 quartos
- 12 pessoas
- Aquecimento
- Terraço
- Piscina
- Estacionamento
- Jardim
- Churrasco
26 avaliações


Vecchio Faggeto - Terrazza Privata - Relax Lago di Como
Faggeto Lario - Lemna - No centro
- 55 M2
- 1 quarto
- 5 pessoas
- Aquecimento
- Terraço
- Estacionamento
48 avaliações


Casa Giulia
Faggeto Lario - Riva - 570 m do centro
- 50 M2
- 1 quarto
- 2 pessoas
- Aquecimento
- Estacionamento
- Elevador
- Jardim
12 avaliações


Casa sul lago di Como
Faggeto Lario - Riva - 530 m do centro
- 75 M2
- 1 quarto
- 4 pessoas
- Ar-condicionado
- Aquecimento
- Terraço
- Piscina
- Estacionamento
- Elevador
- Jardim
6 avaliações


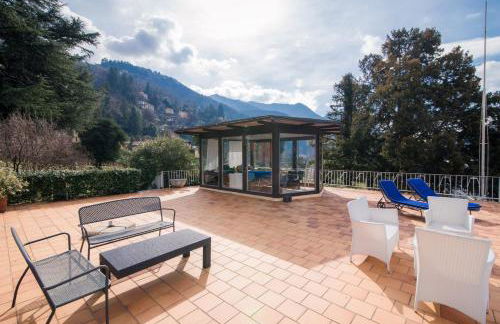
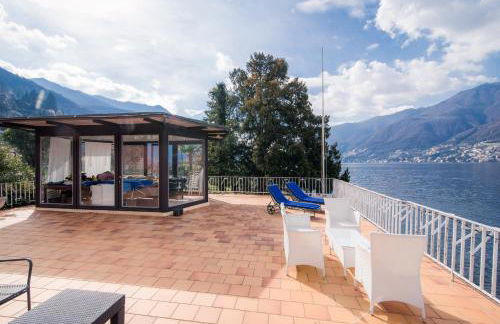
270 View - By My Home In Como
Faggeto Lario - 760 m do centro
- 189 M2
- 4 quartos
- 7 pessoas
- Ar-condicionado
- Aquecimento
- Terraço
- Estacionamento
- Tv
- Máquina de lavar roupa
- Toalhas
- Lençóis
2 avaliações


Ca Bossa Molina
Faggeto Lario - Molina - No centro
- 50 M2
- 2 pessoas
- Aquecimento
- Estacionamento
- Varanda
- Tv
- Toalhas
- Lençóis
1 avaliação


Rustico ed Elegante Molina 3 by Holiday Solutions
Faggeto Lario - Molina - No centro
- 180 M2
- 3 quartos
- 6 pessoas
- Aquecimento
6 avaliações