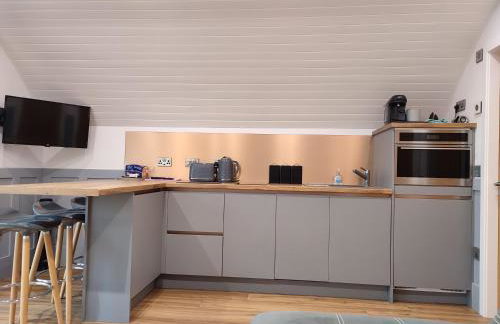
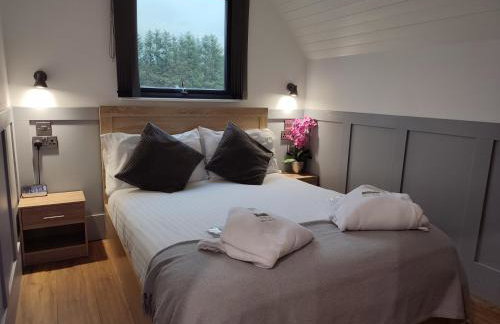
37 Apartamentos em Keith

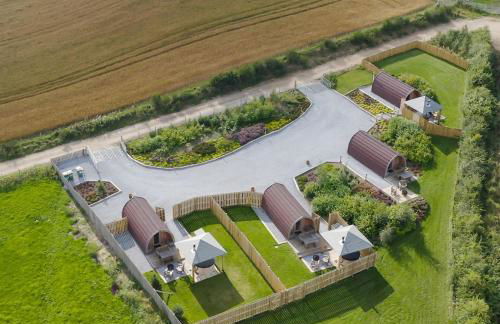


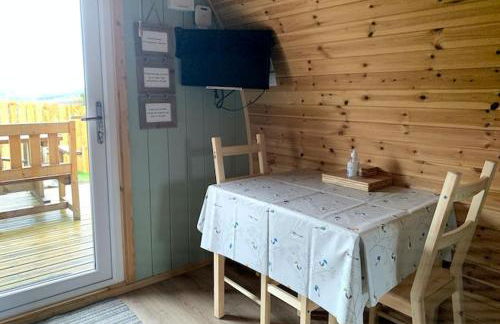

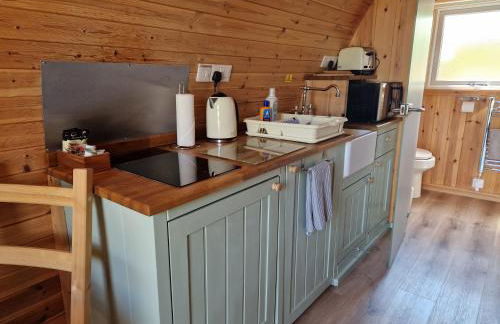


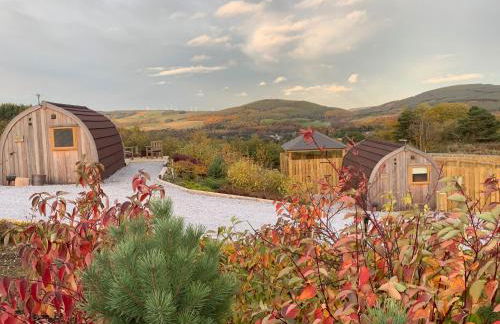


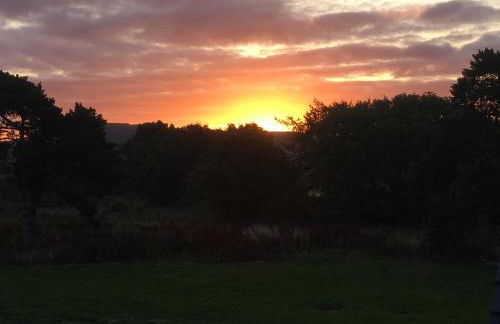


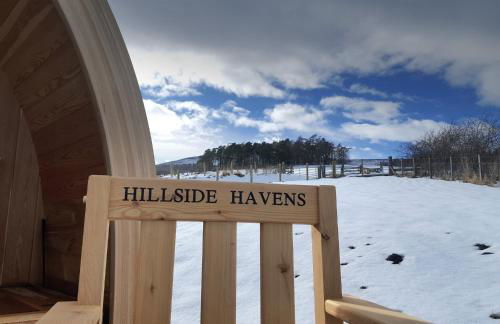

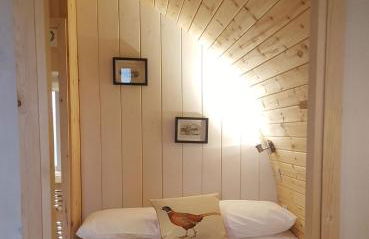

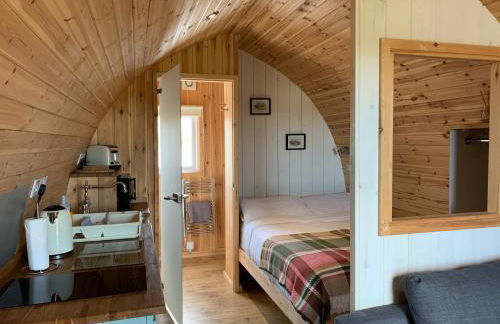


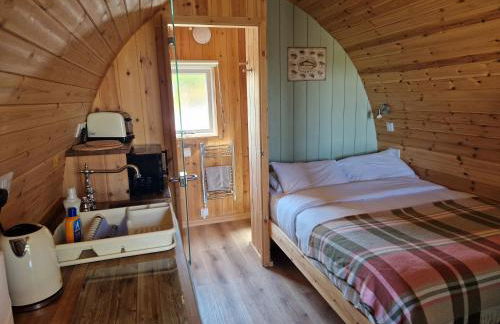


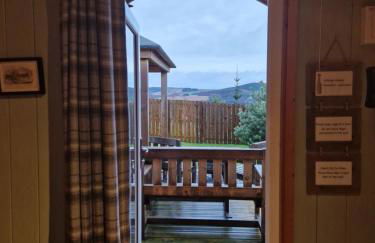


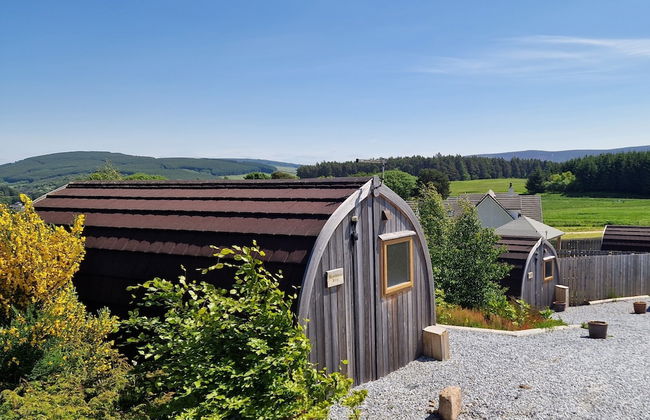

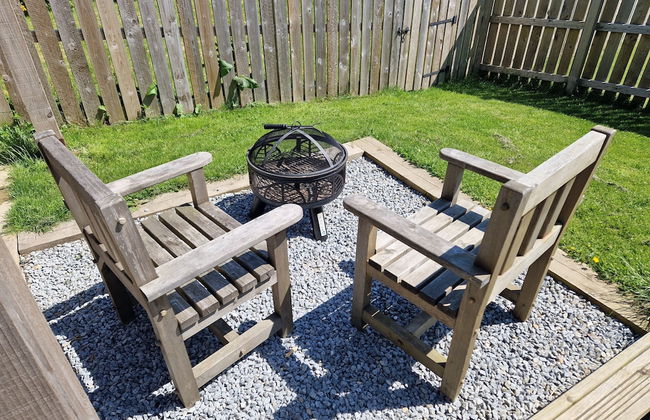


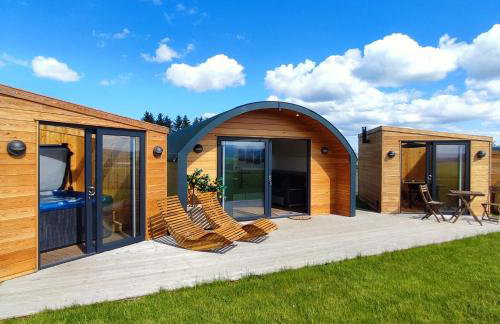
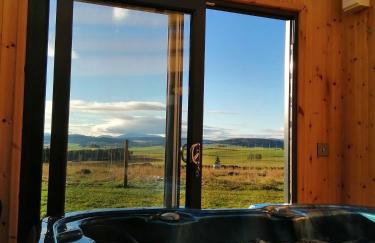
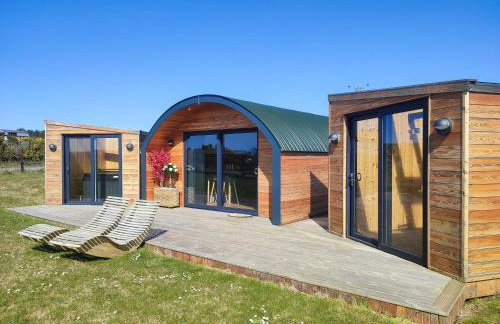
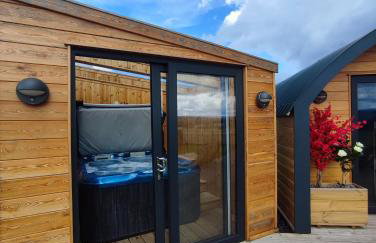
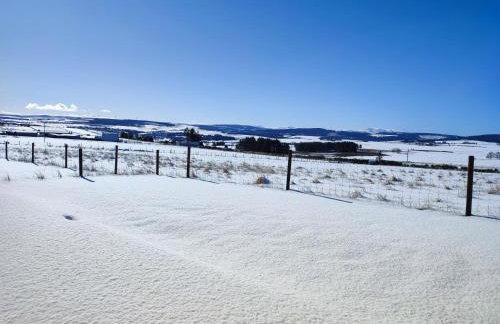
Hillside Havens
Keith - Dufftown
- 22 M2
- 1 quarto
- 4 pessoas
- Kitchenette
- Aquecimento
- Terraço
- Estacionamento
- Varanda
- Jardim
- Tv
- Churrasco
- Toalhas
- Lençóis
60 avaliações


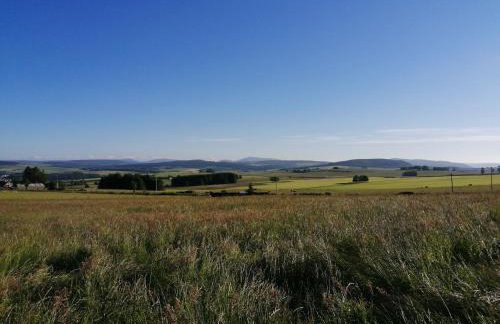
The Tannochbrae of Speyside
Keith - Dufftown
- 10 M2
- 12 pessoas
- Aquecimento
- Estacionamento
- Jardim
- Tv
- Máquina de lavar roupa
- Churrasco
- Toalhas
- Lençóis
17 avaliações


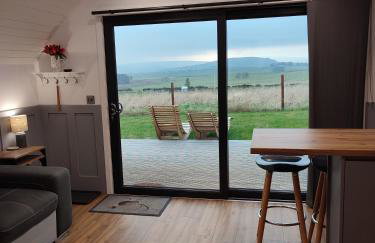
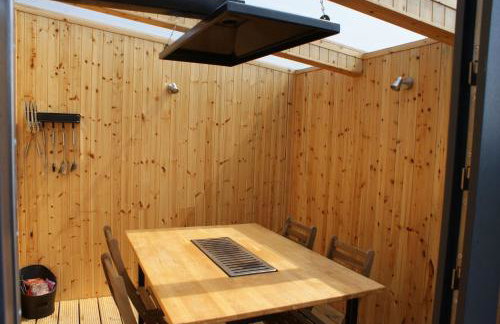
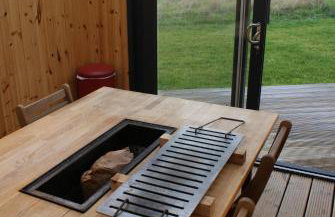
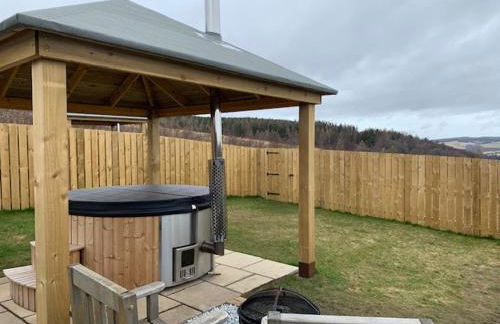
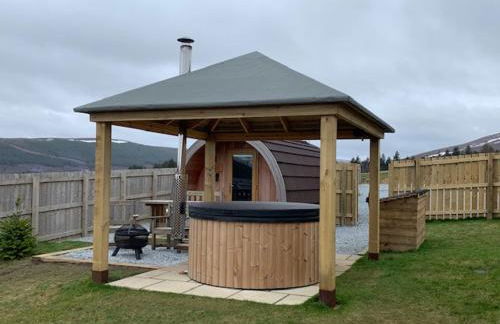
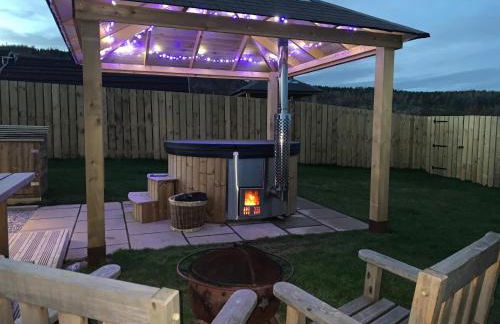
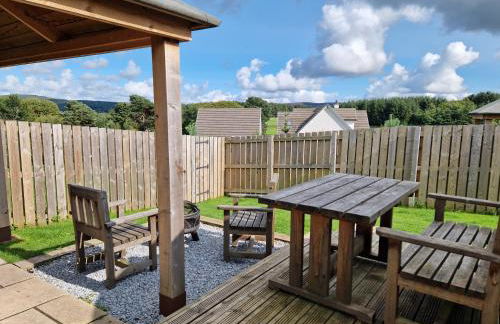
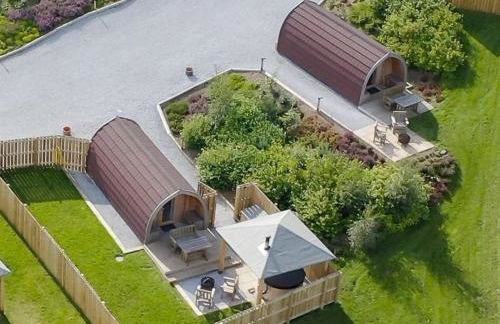
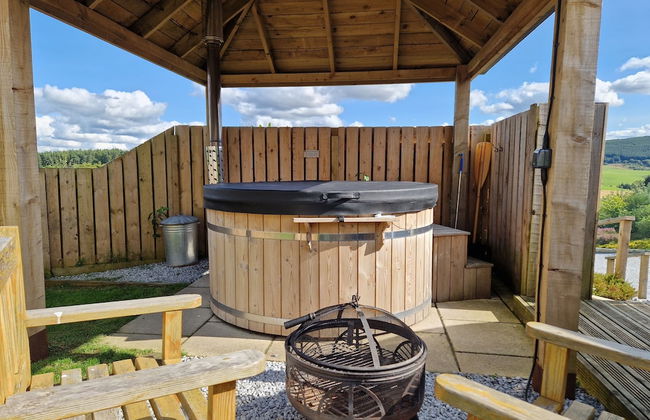
Norwegian Log Cabin The Roe Deer -sauna & hot tub
Keith - Mulben
- 2 quartos
- 4 pessoas
- Aquecimento
- Jardim
17 avaliações


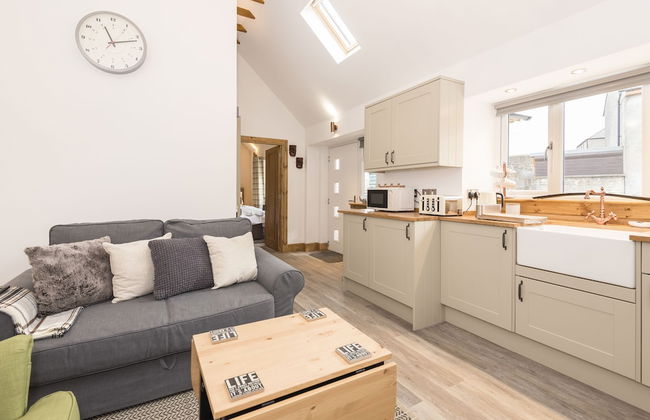

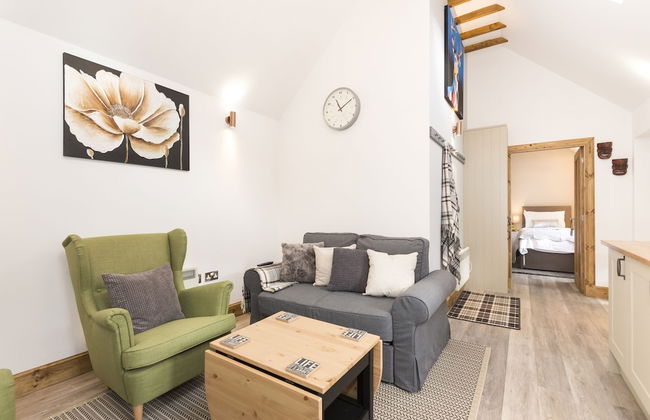


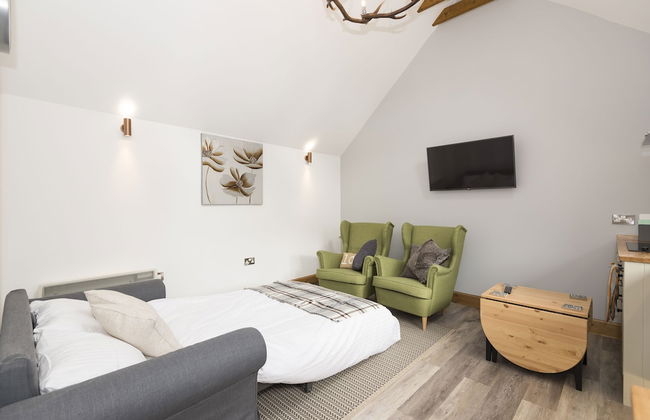


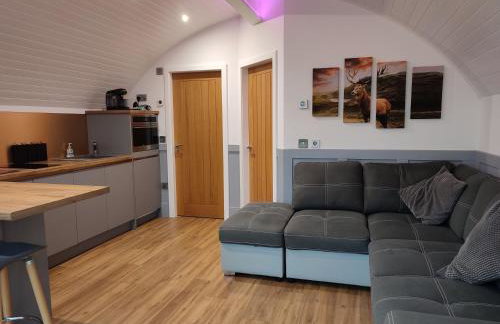
The Milking Sheds, Dufftown
Keith - Dufftown
- 35 M2
- 2 pessoas
- Aquecimento
- Piscina
- Estacionamento
- Jardim
- Tv
- Máquina de lavar roupa
- Churrasco
- Toalhas
- Lençóis
18 avaliações


Lettoch Farm Holiday Home
Keith - Glenrinnes
- 75 M2
- 2 quartos
- 4 pessoas
- Aquecimento
- Estacionamento
- Jardim
21 avaliações


Inveravon Holiday Home
Keith - Dufftown
- 74 M2
- 3 quartos
- 8 pessoas
- Aquecimento
- Terraço
- Estacionamento
- Jardim
119 avaliações


Red Squirrel log cabin with hot tub
Keith - Mulben
- 2 quartos
- 4 pessoas
- Aquecimento
- Terraço
- Estacionamento
- Jardim
19 avaliações


Islas Cottage, a home in the Heart of Speyside
Keith - Dufftown
- 93 M2
- 3 quartos
- 6 pessoas
- Estacionamento
- Jardim
30 avaliações


The Wee Heilan' Dram
Keith - Keith
- 99 M2
- 3 quartos
- 6 pessoas
- Aquecimento
- Estacionamento
- Jardim
22 avaliações


The Coffee Pot accommodation
Keith - Dufftown
- 125 M2
- 3 quartos
- 6 pessoas
- Aquecimento
- Estacionamento
75 avaliações


York Street Retreat, modern cosy 2 bed with garden
Keith - Dufftown
- 2 quartos
- 4 pessoas
- Estacionamento
- Jardim
18 avaliações