
1125 Apartamentos em Lanarkshire


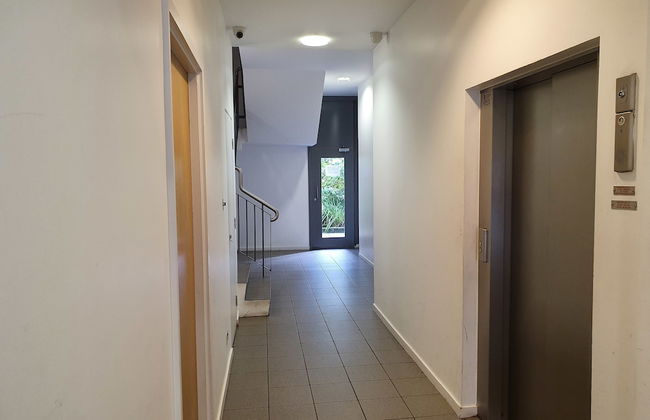

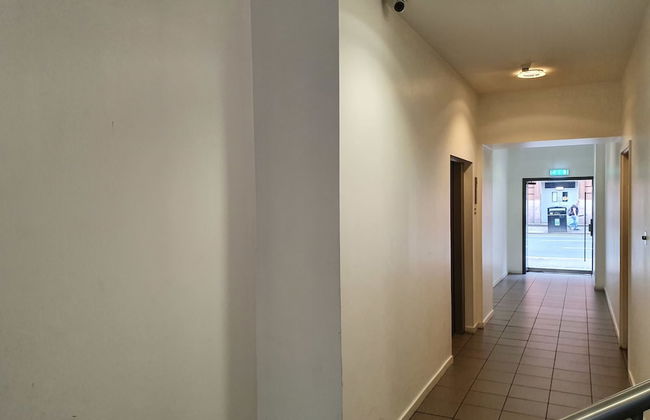

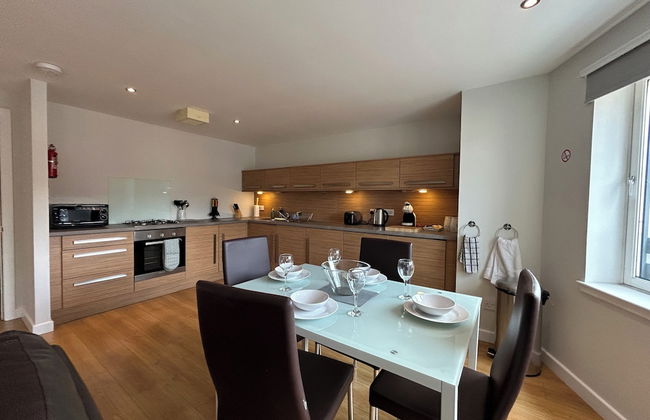
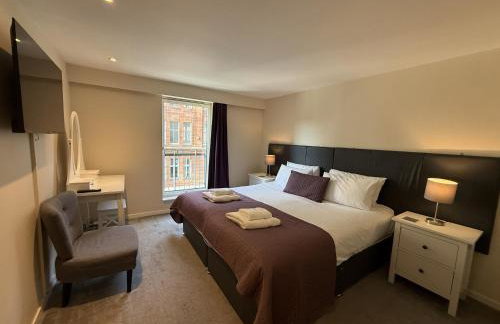


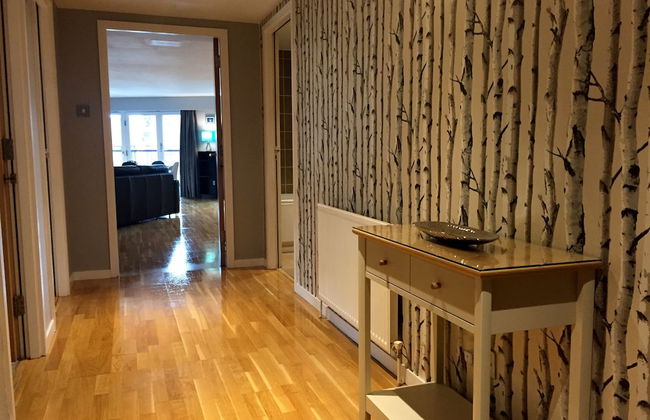

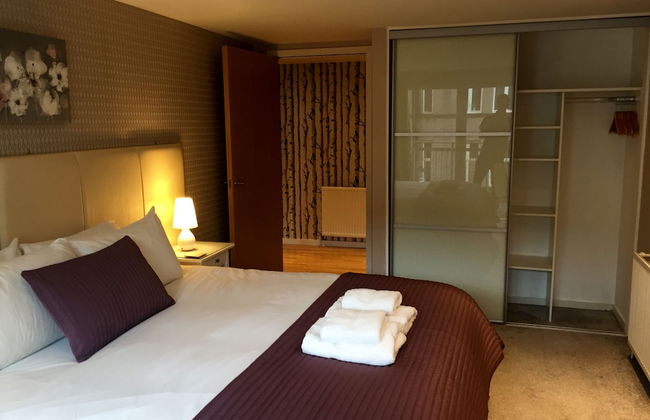

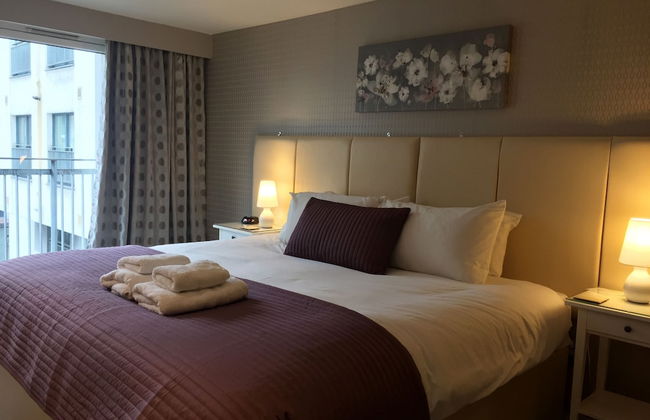


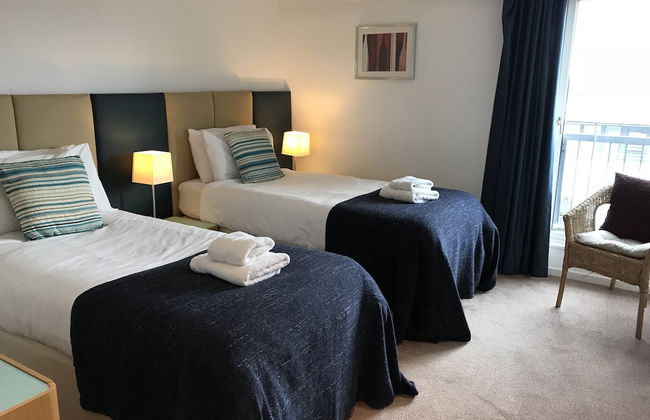


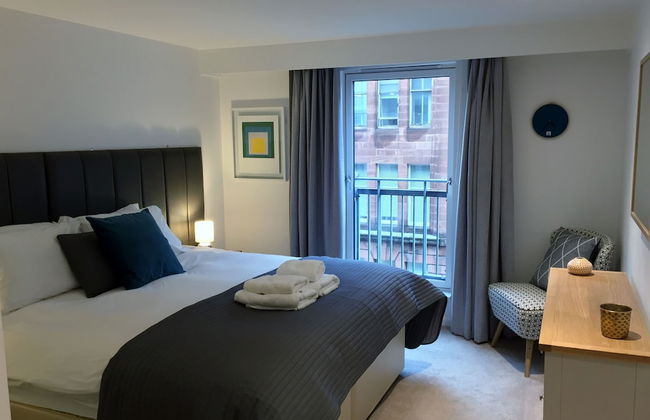

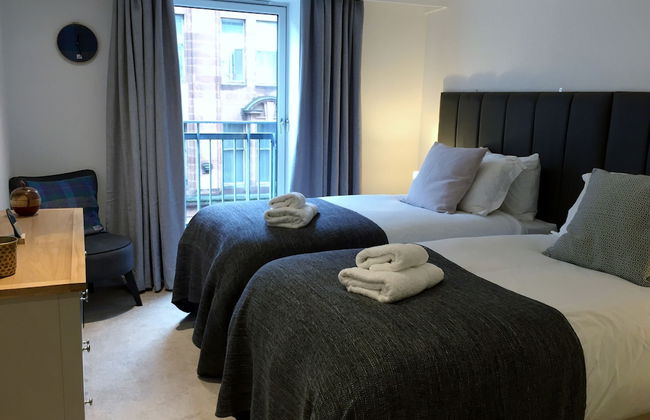

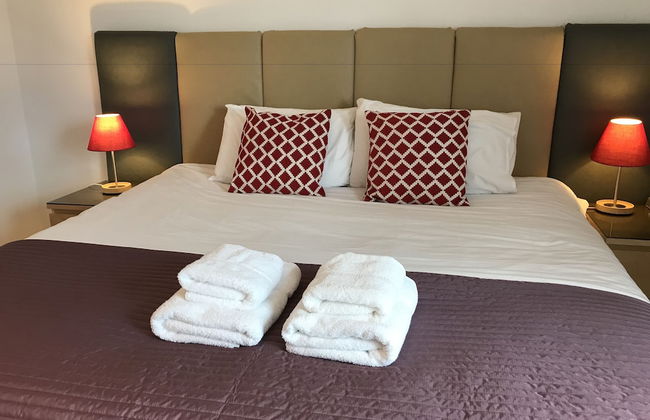
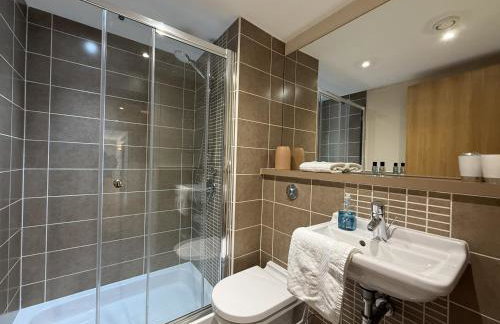
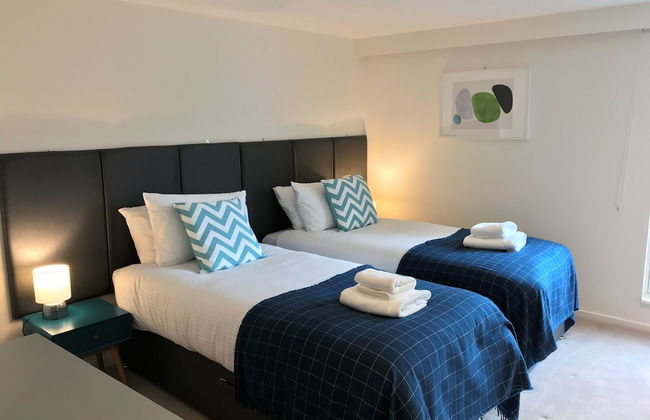


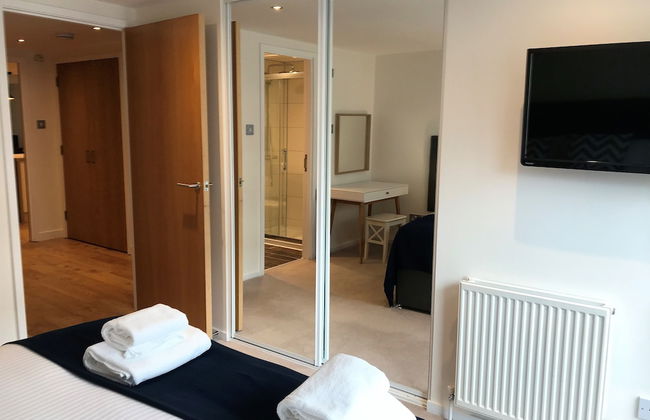

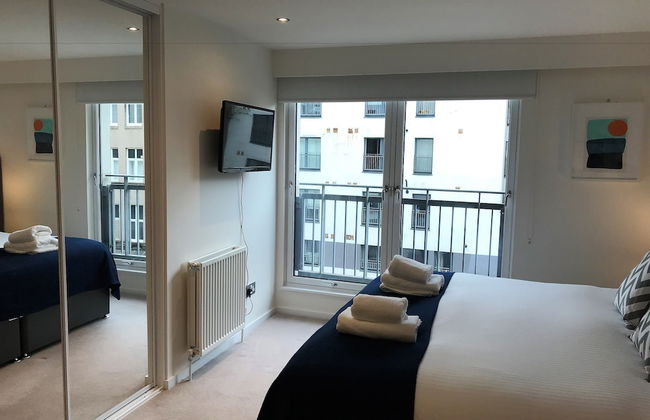


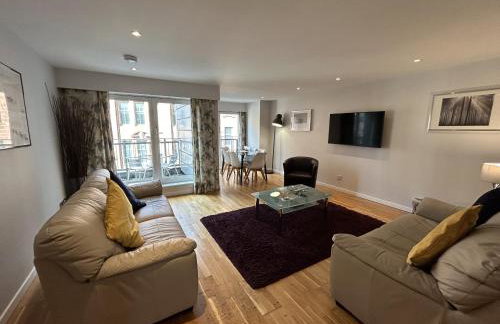


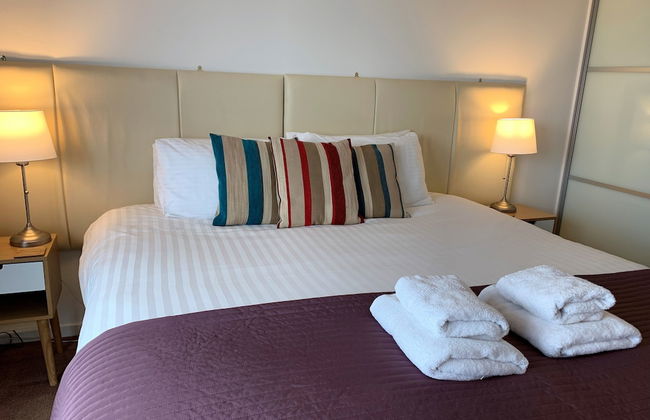

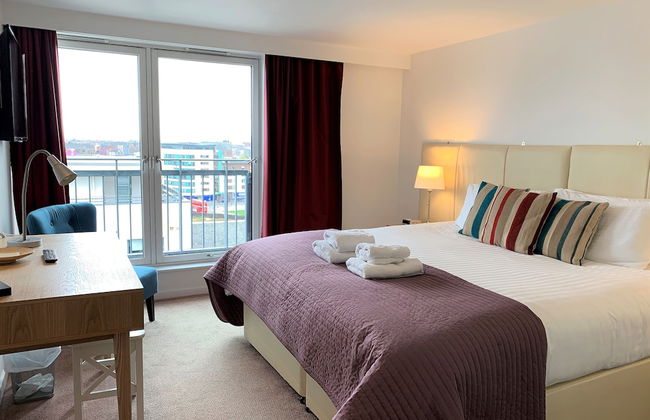
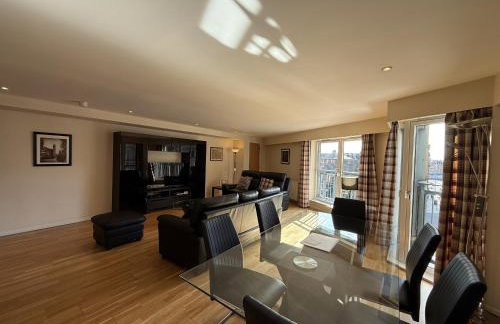
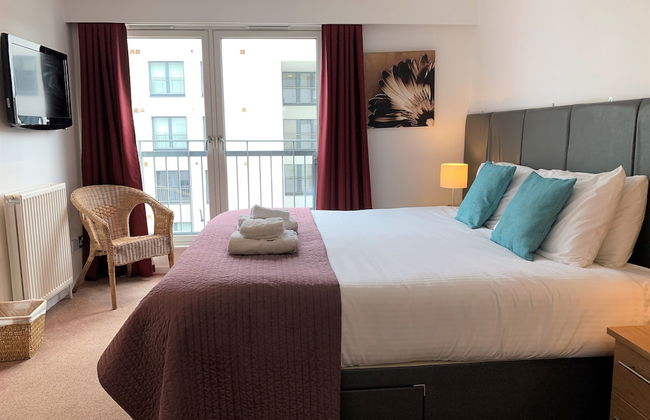


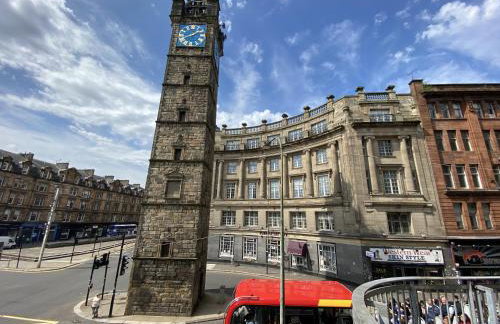
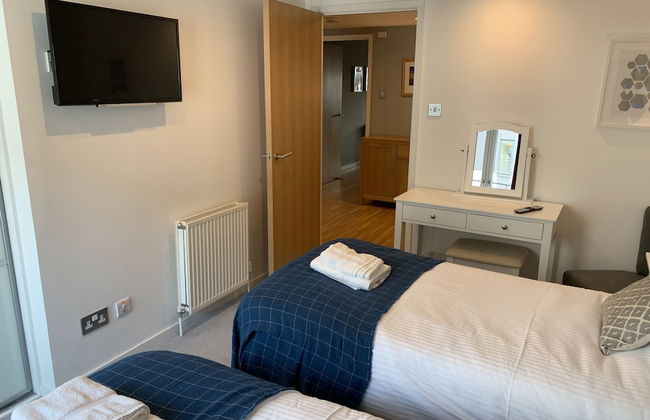
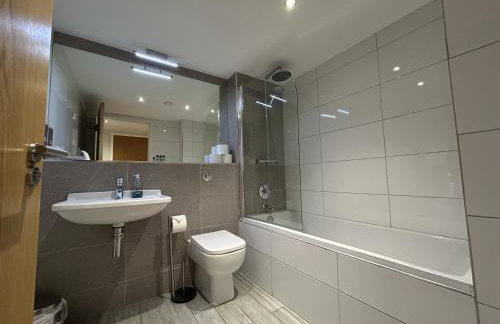


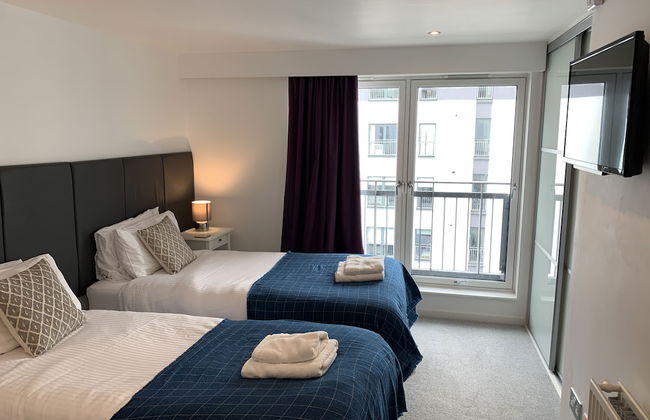


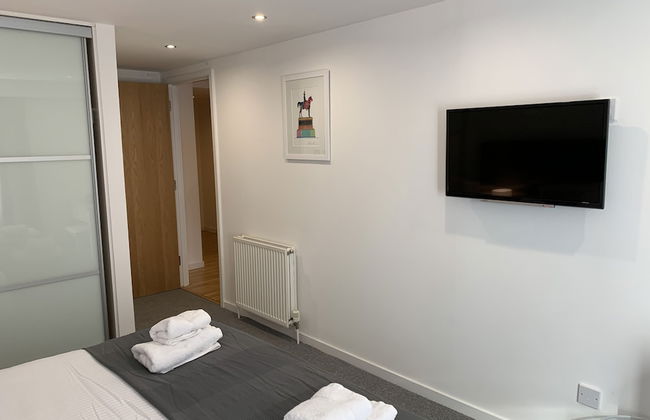


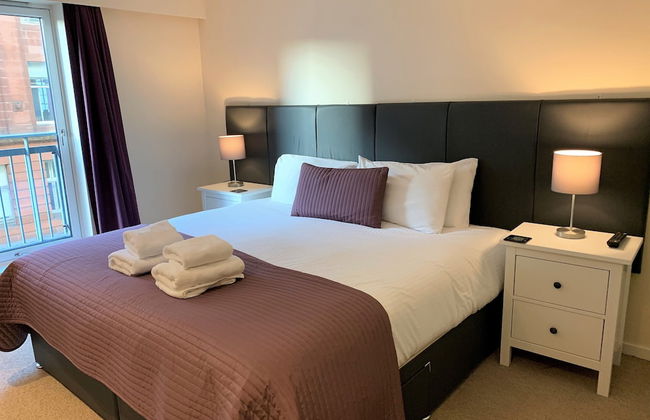

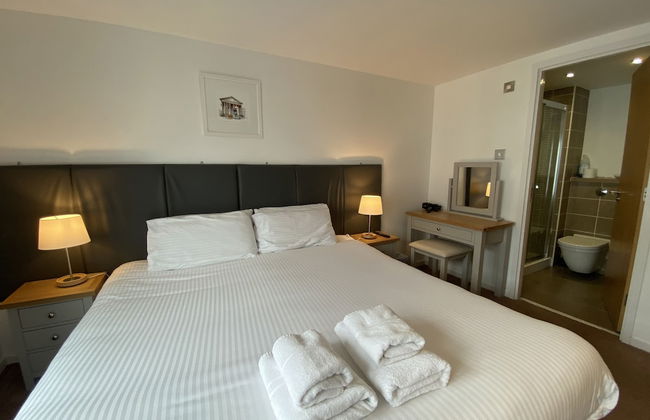

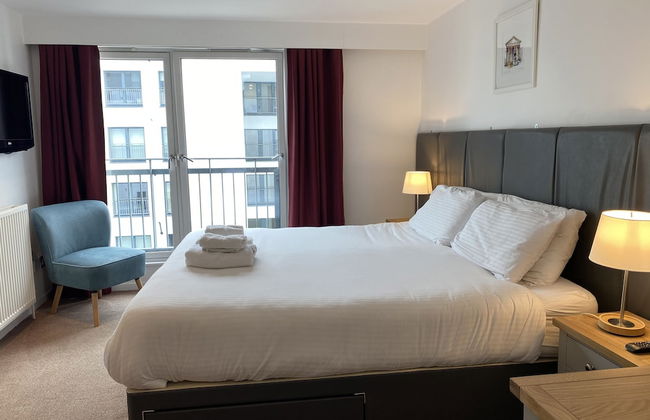
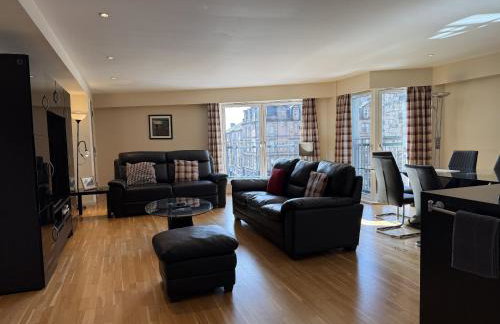


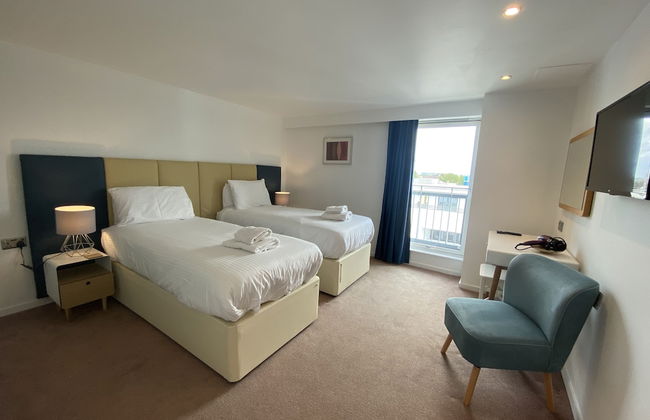
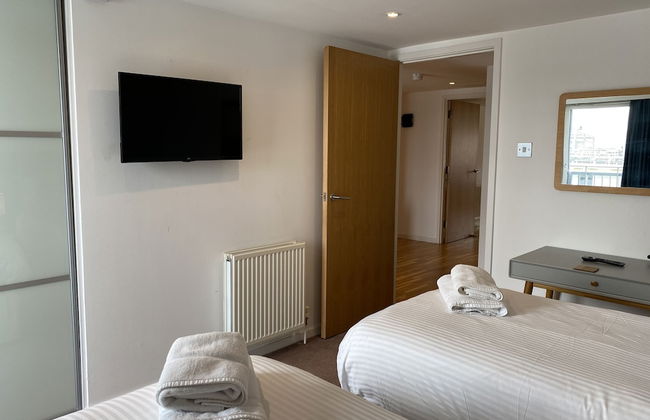


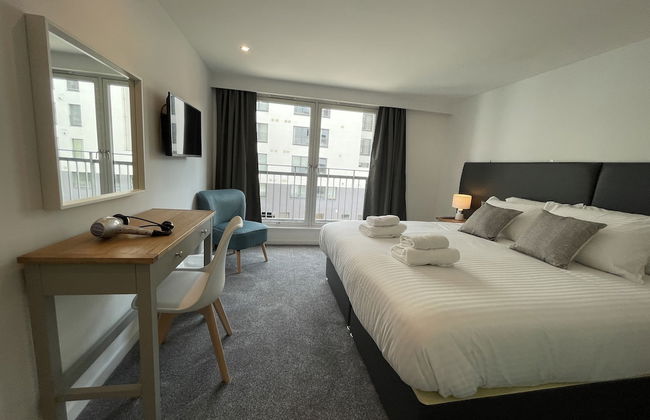

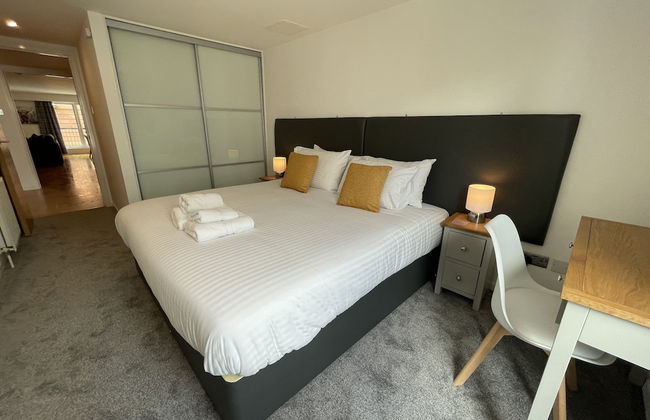

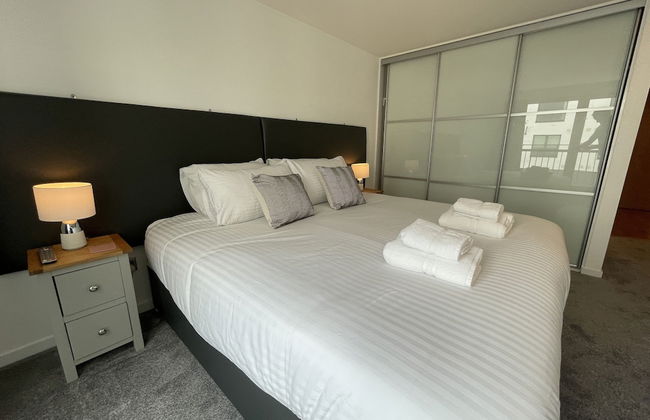
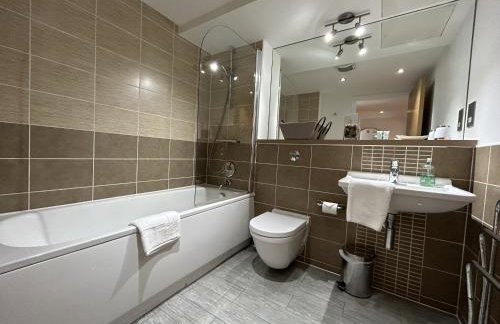
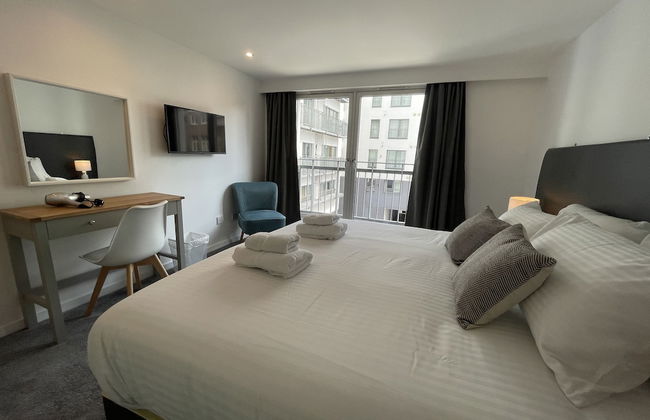

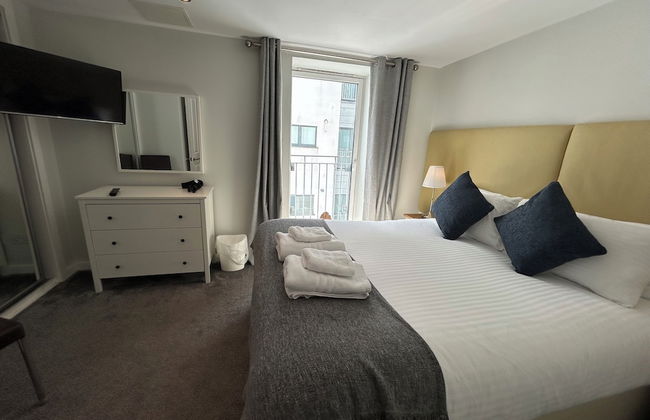


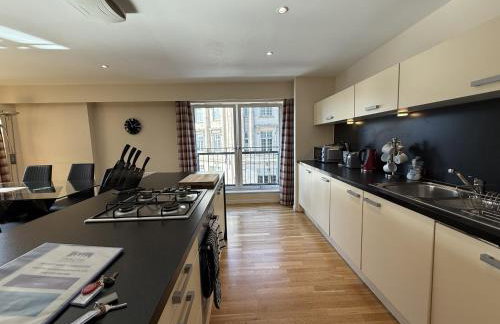
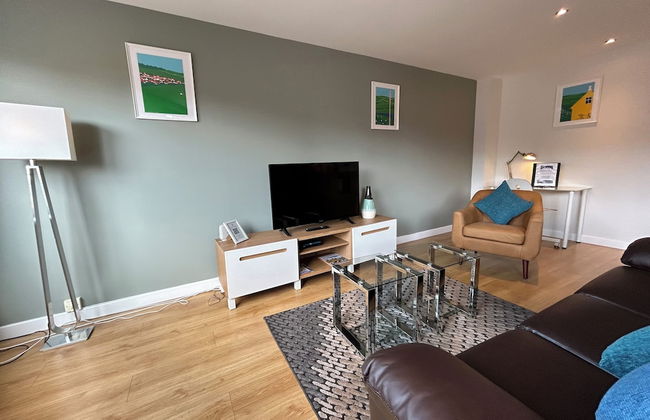

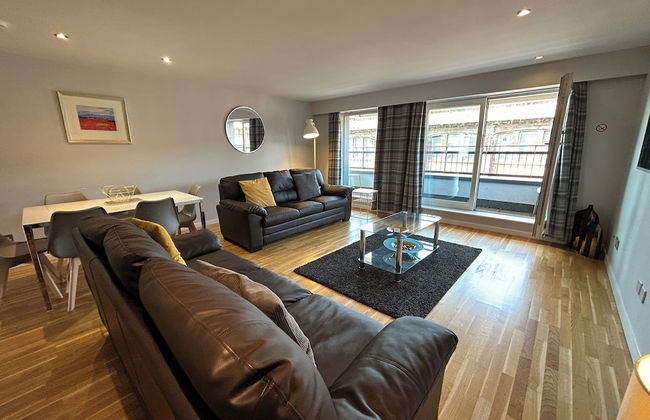
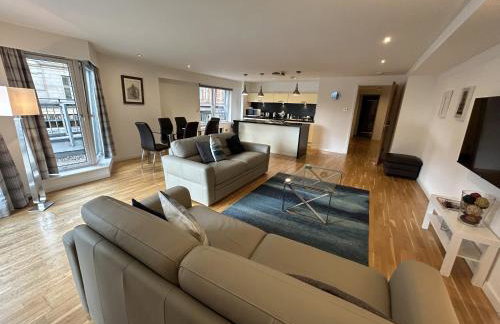
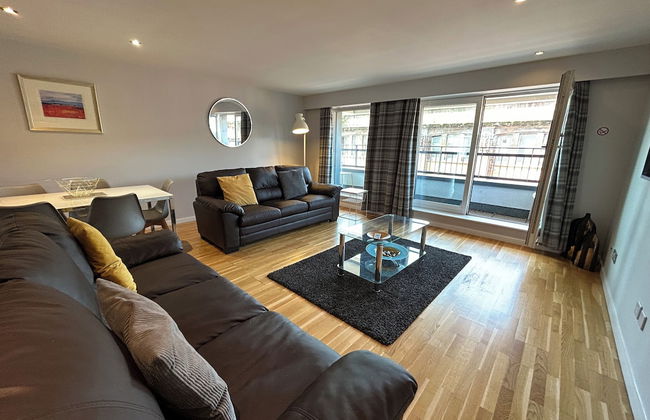
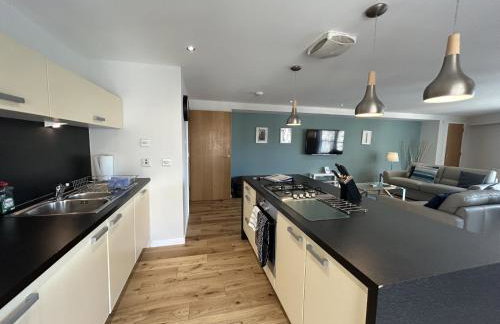
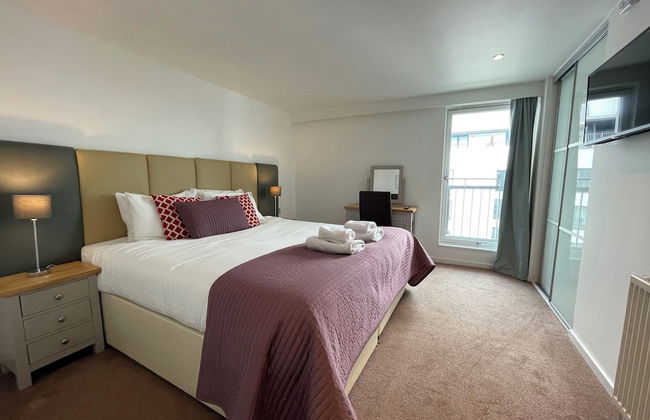


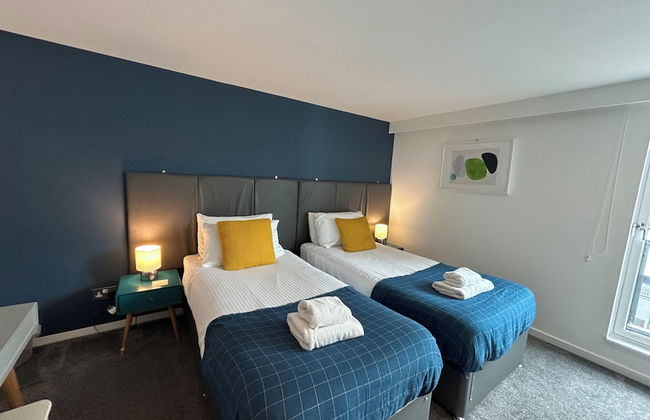

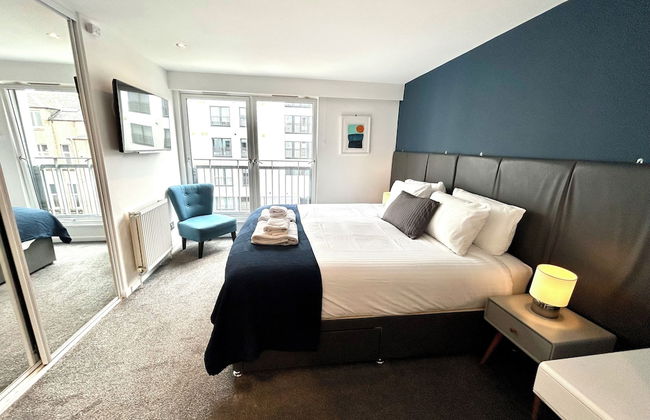

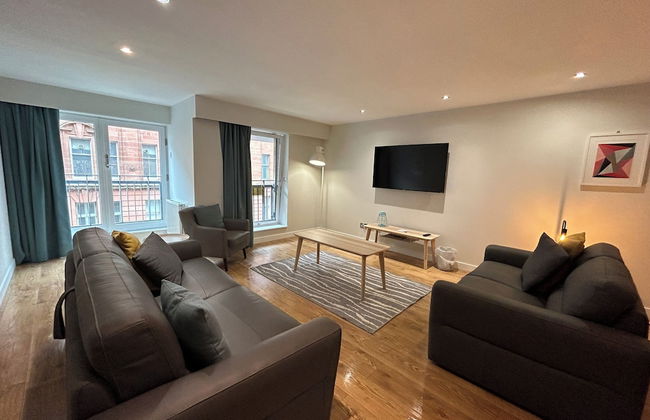
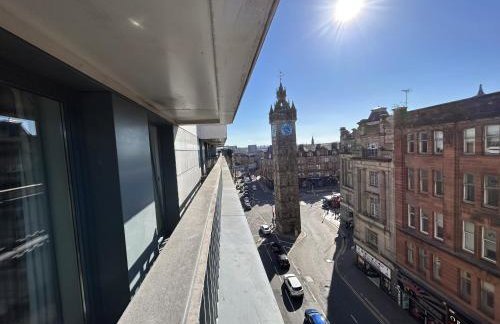
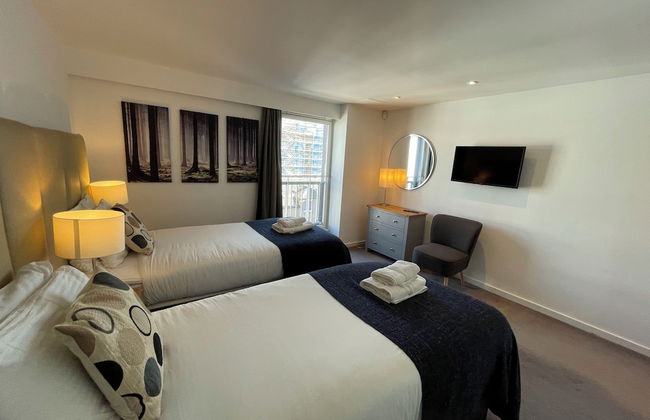

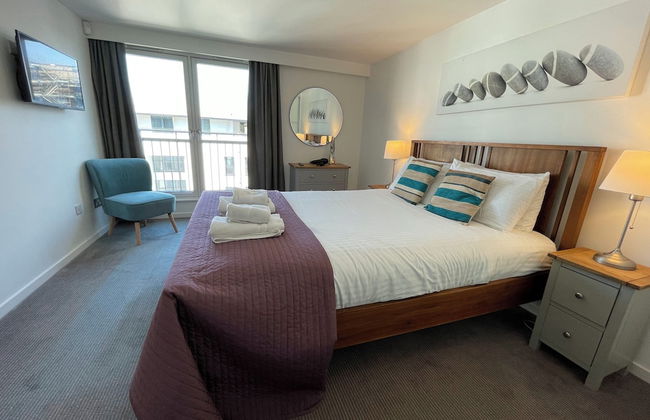

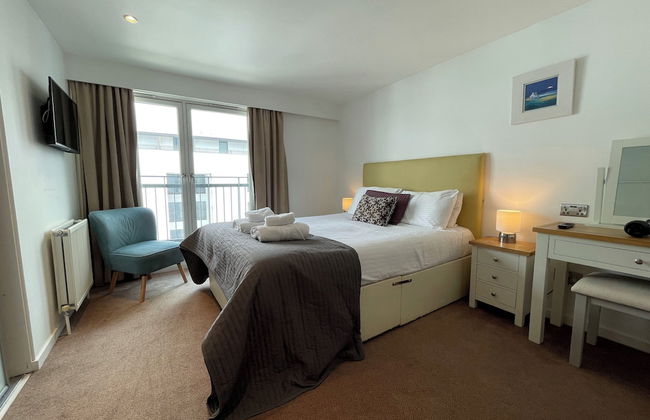
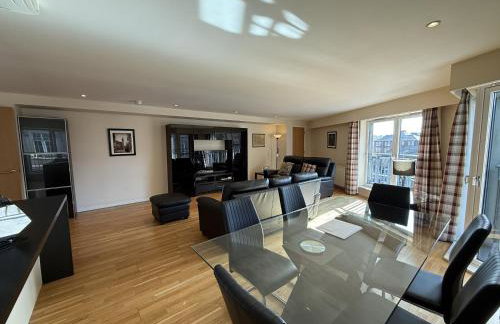
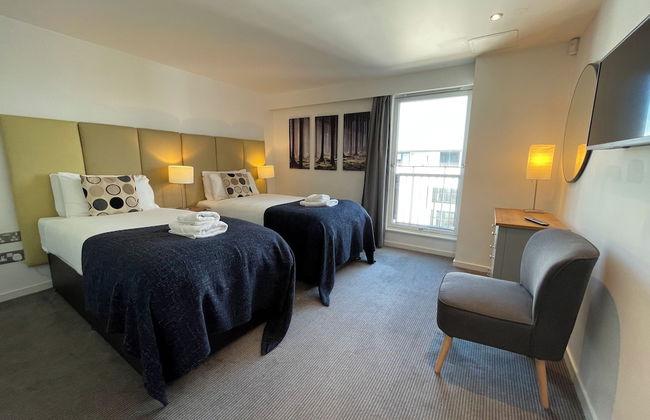

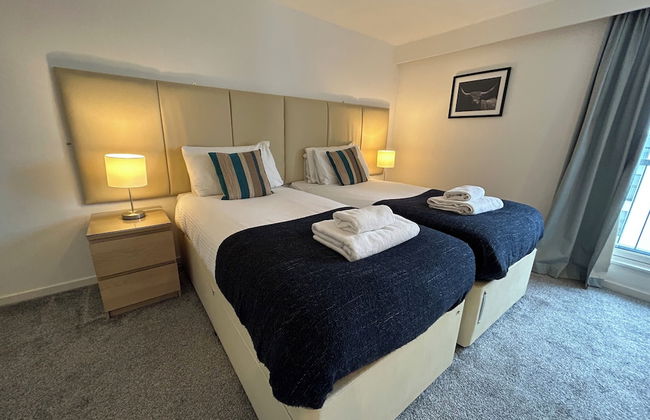


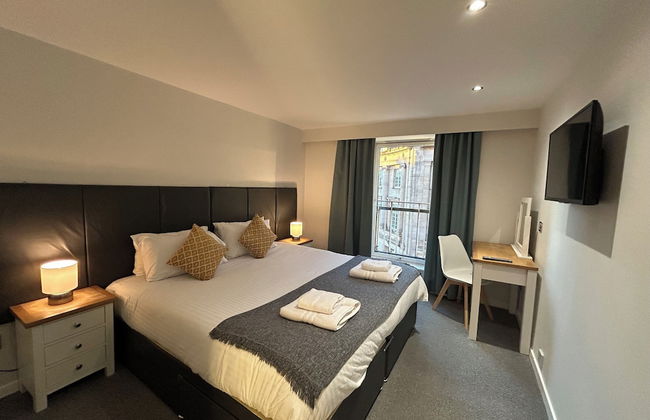

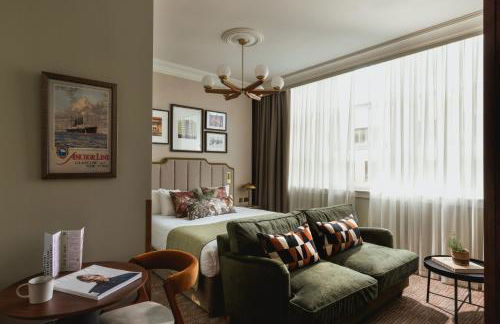
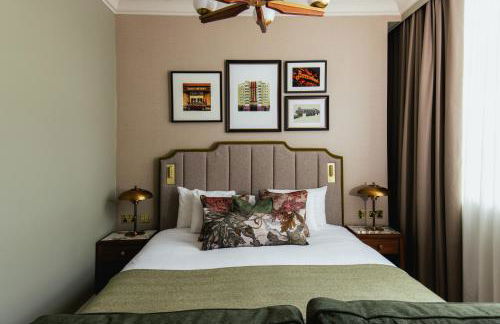
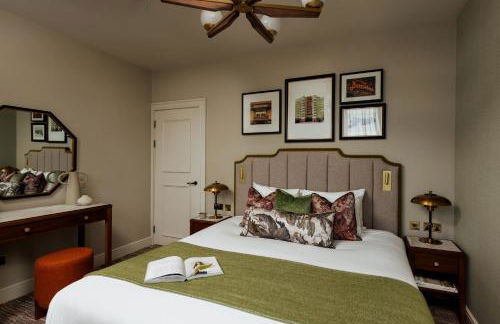
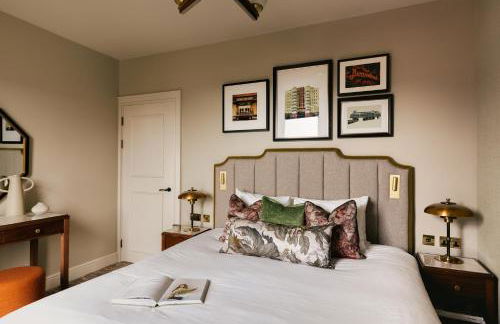
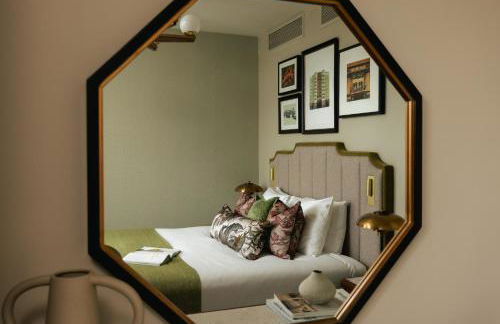
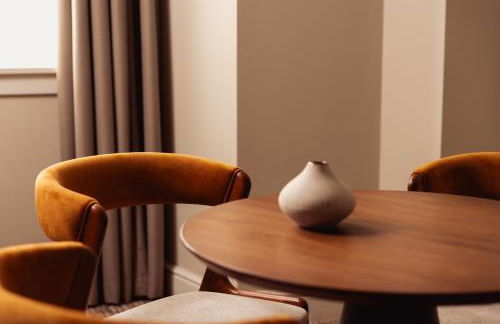
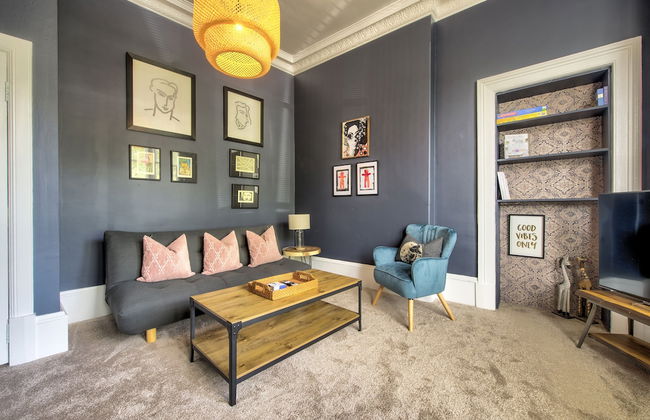
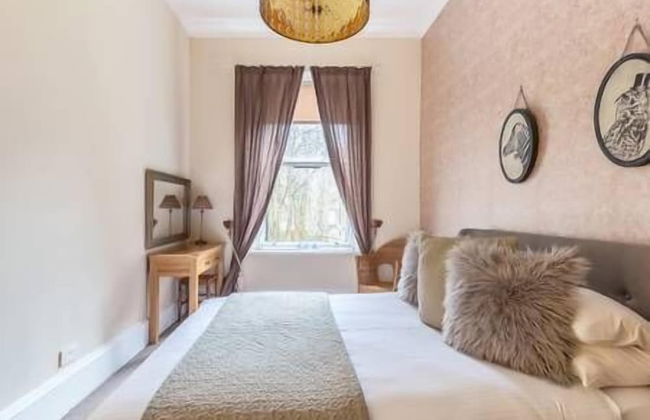
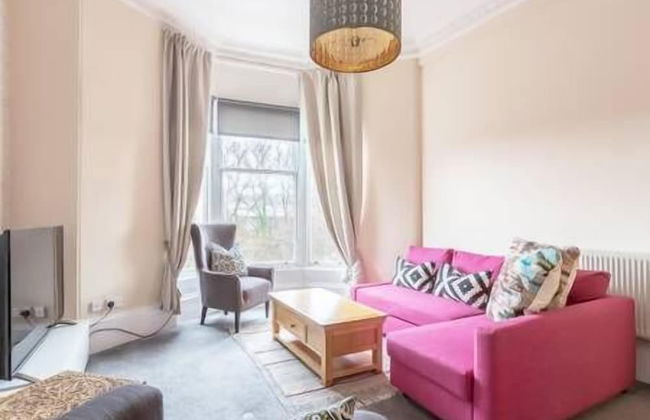
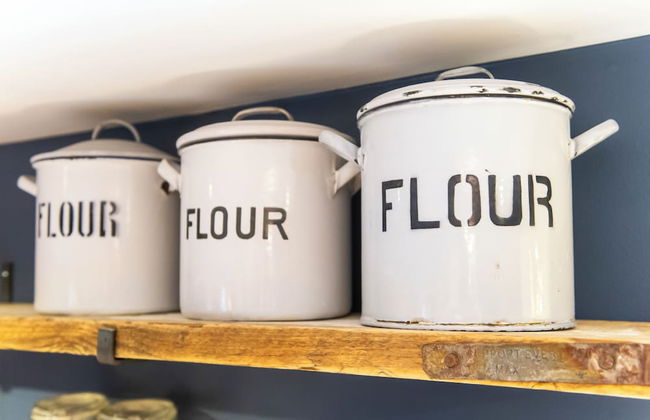
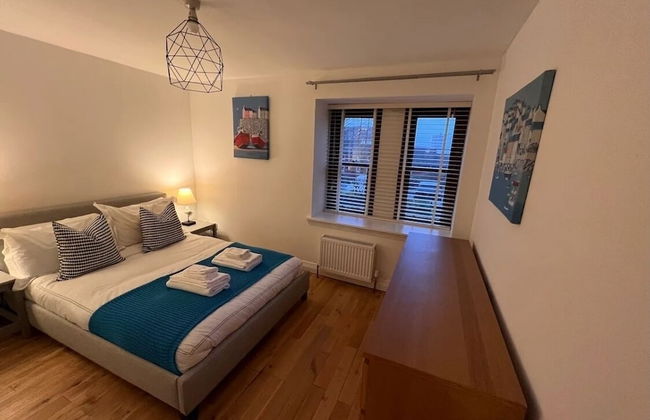
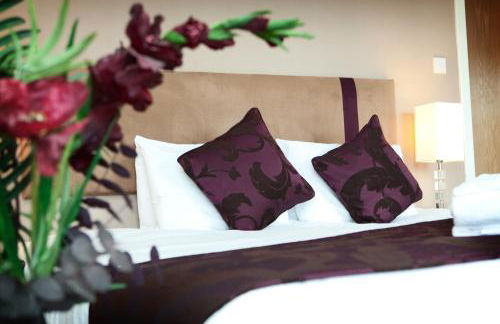
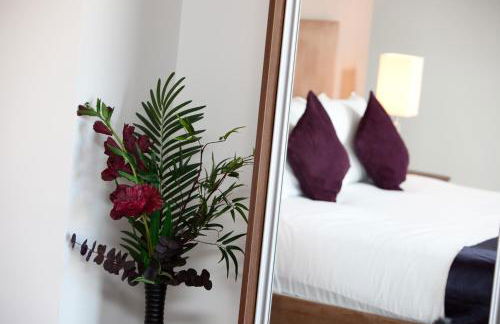
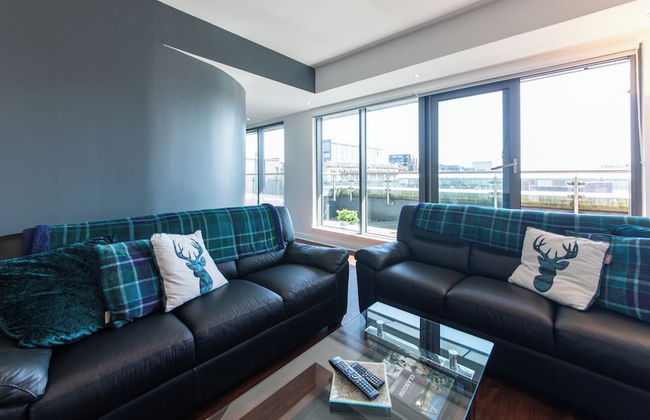
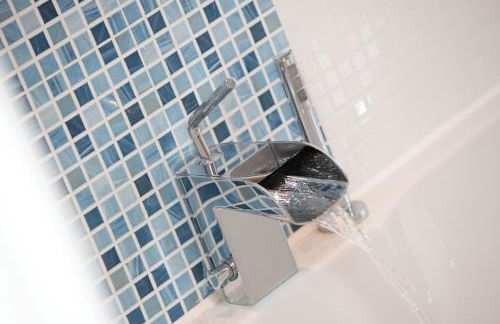
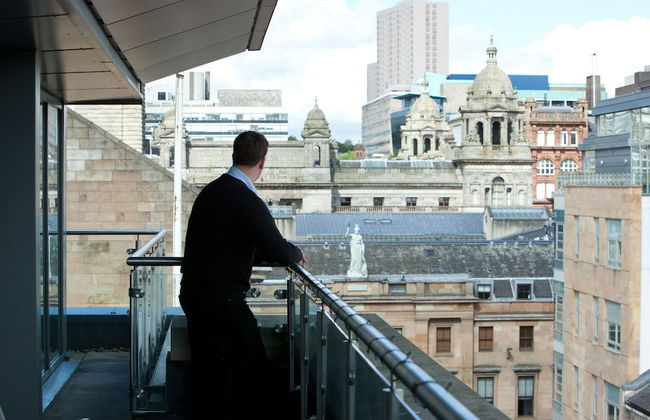
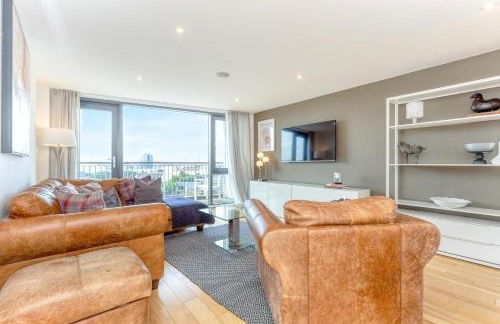
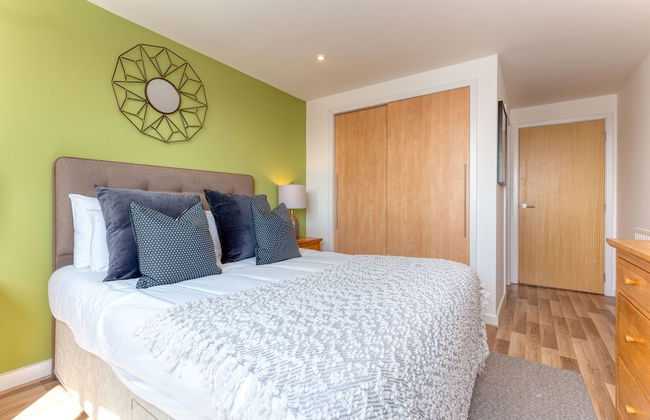
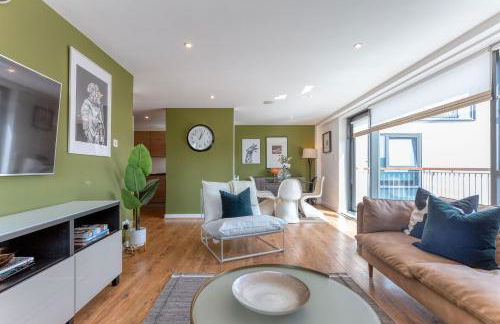
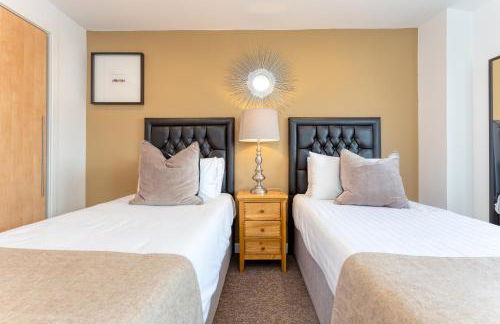
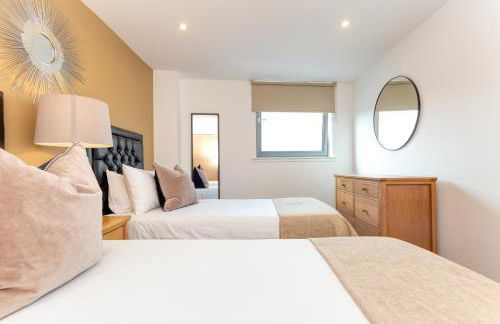
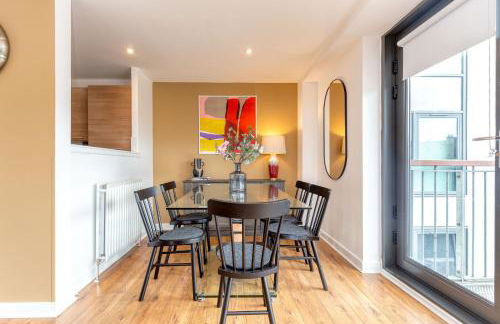
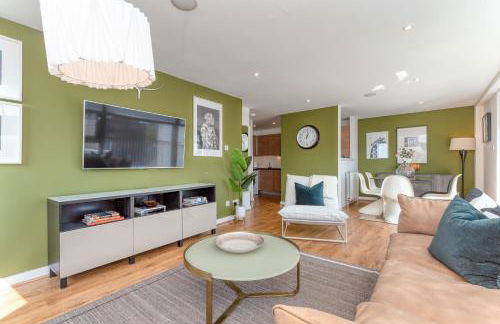
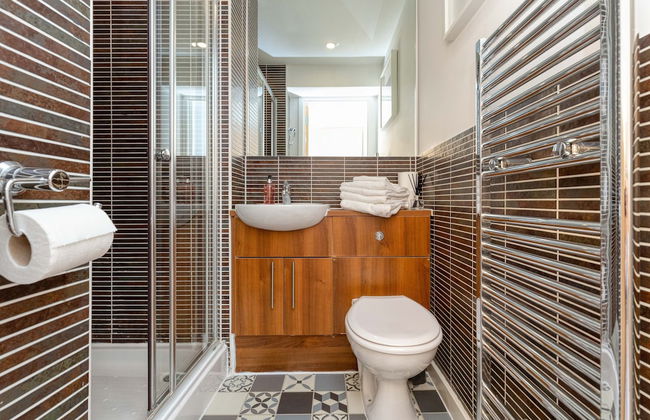
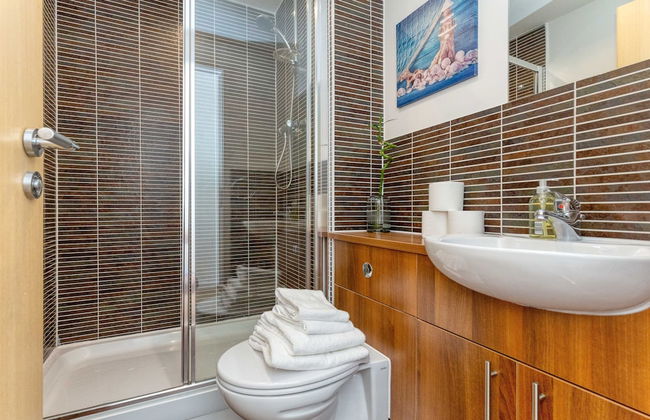
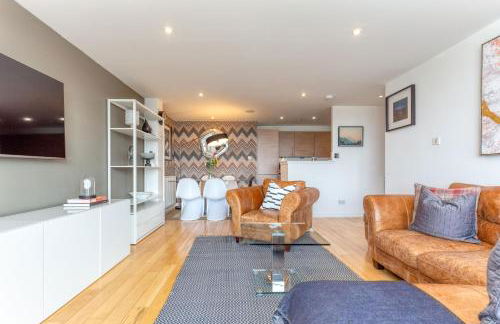
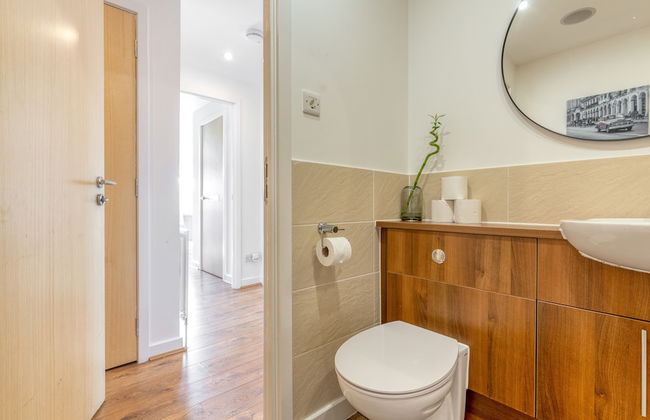
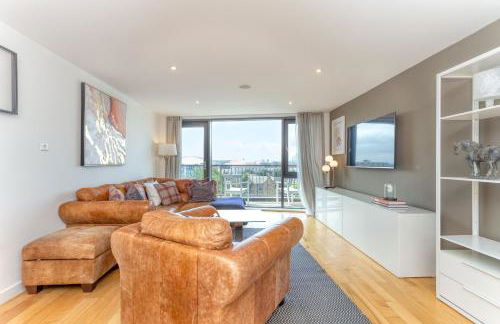
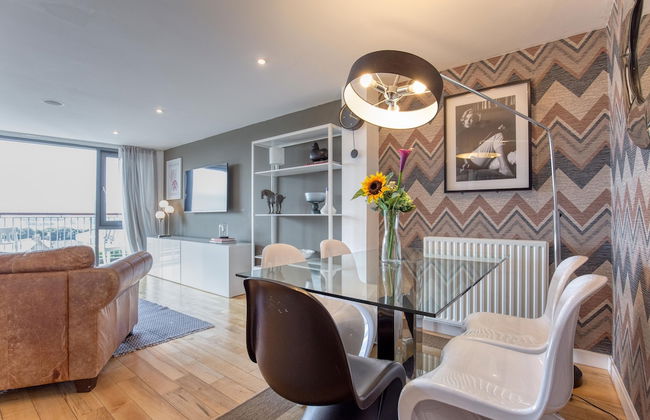
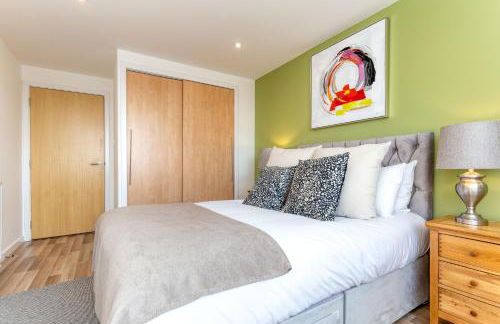
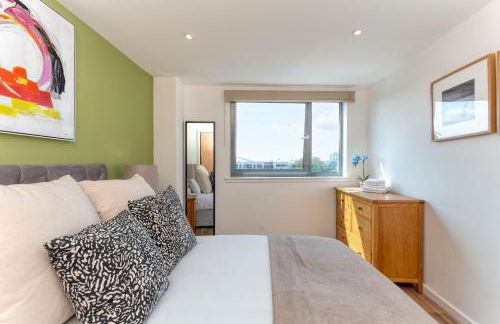
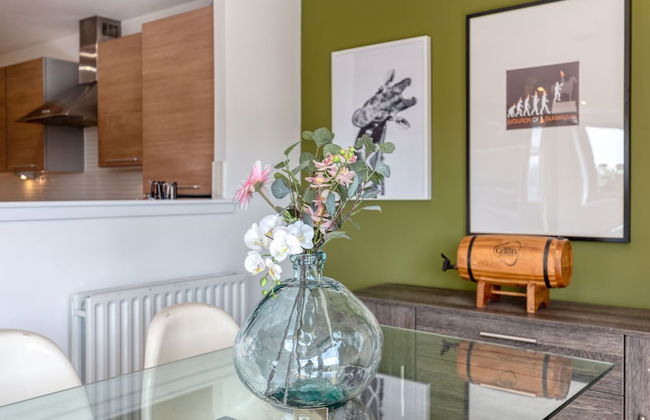
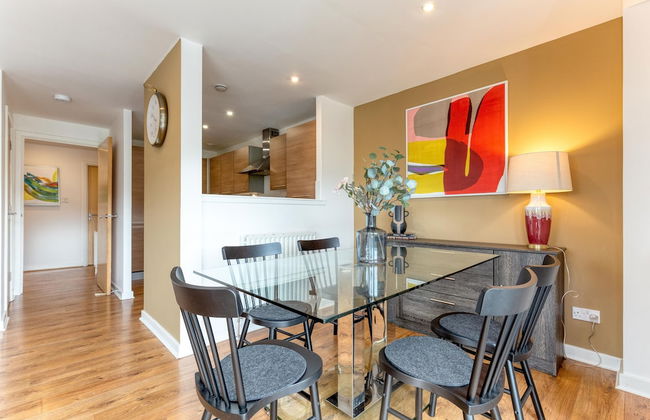
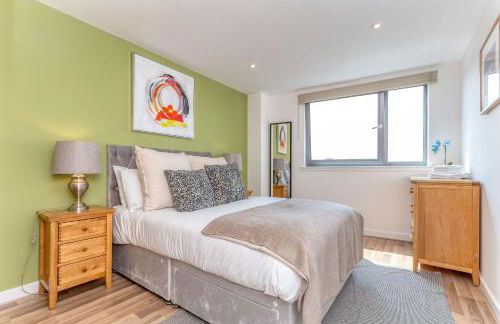
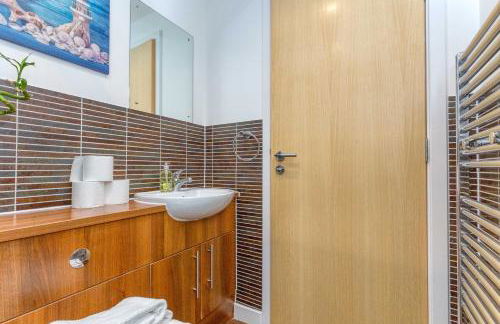
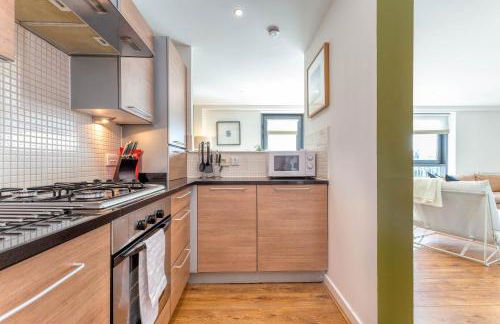
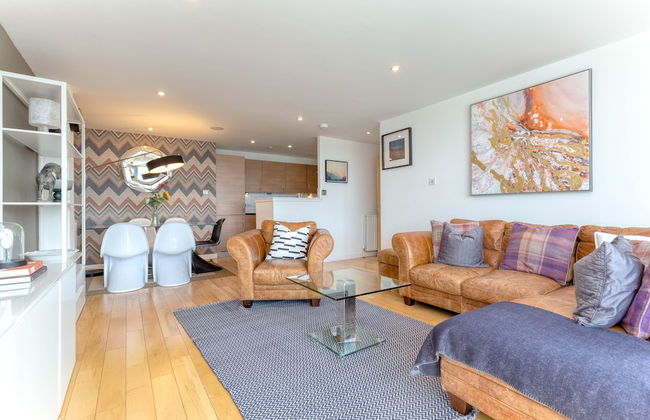
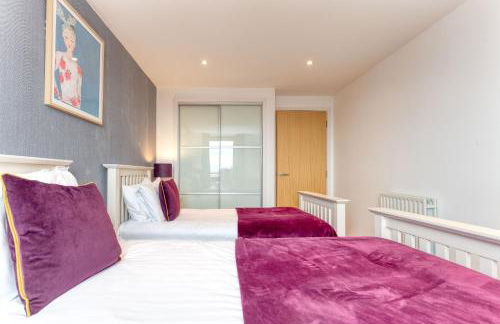
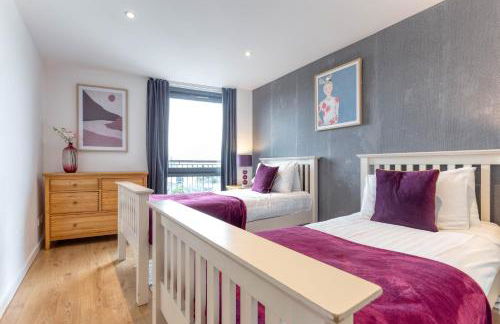
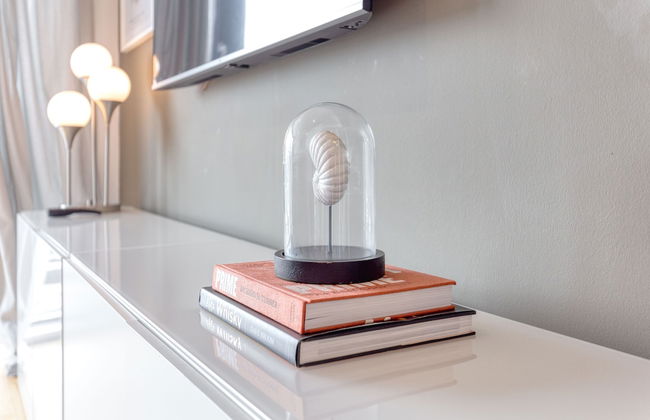
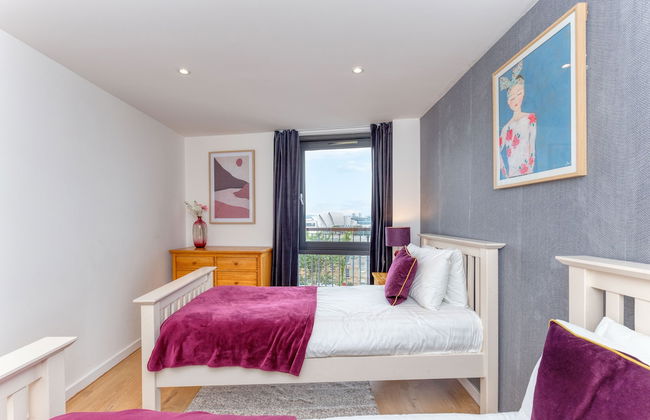
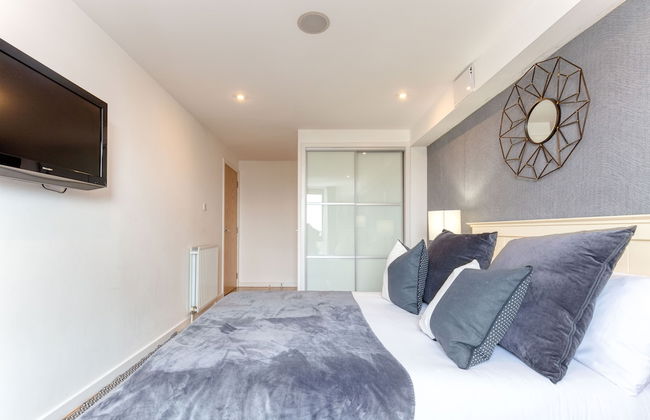
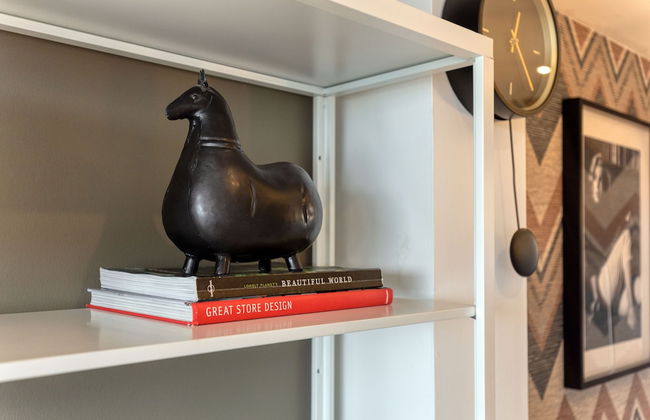
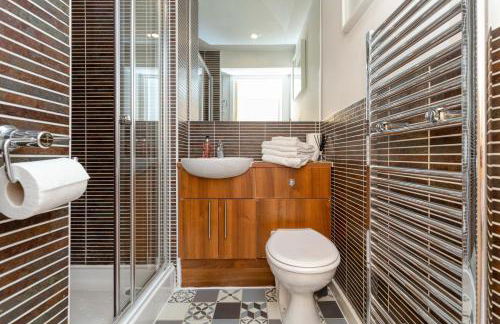
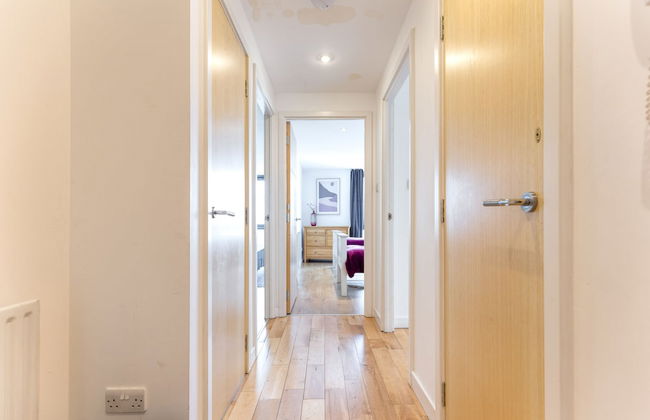
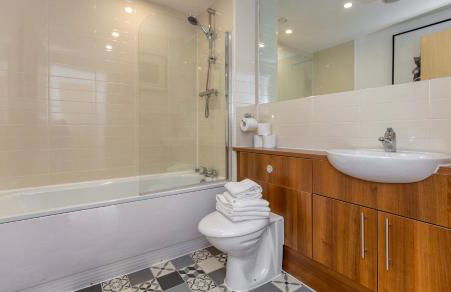
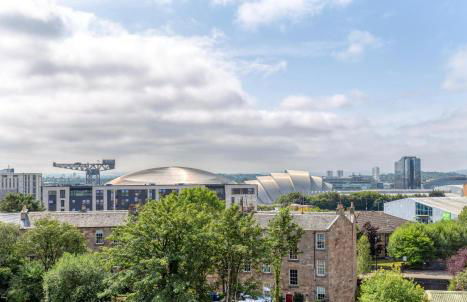
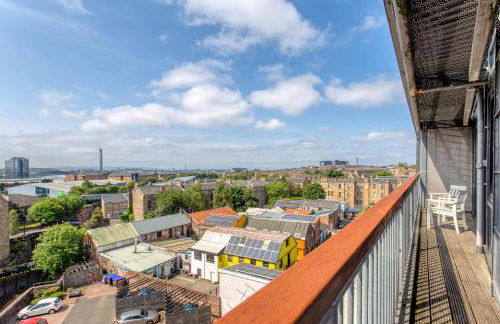
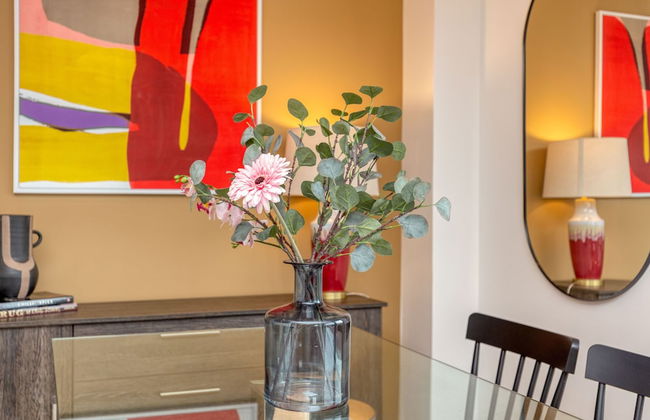
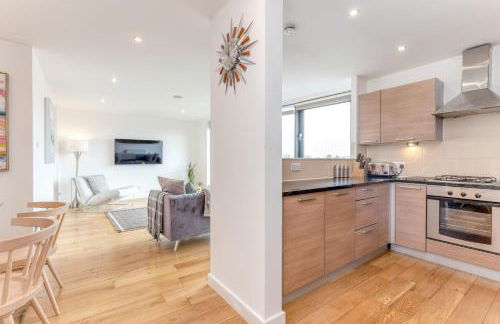
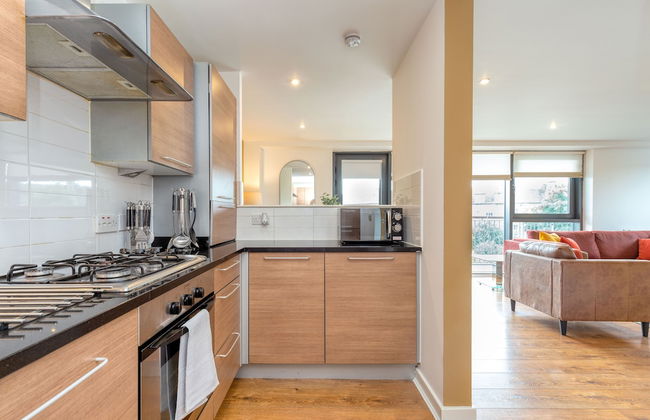
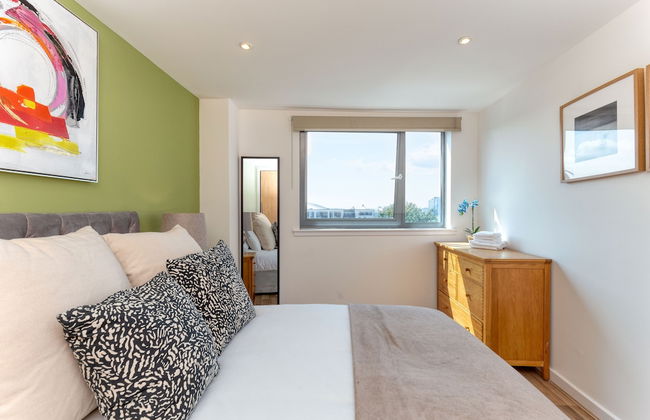
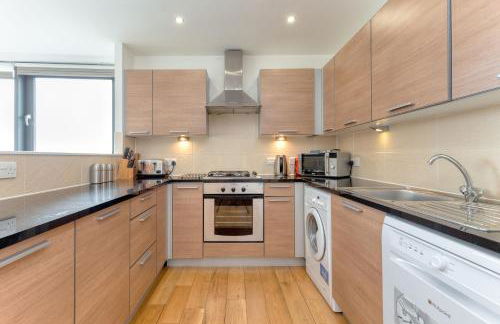
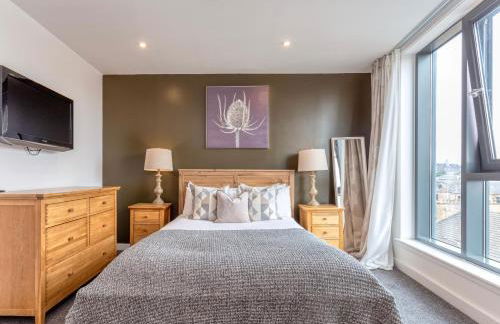
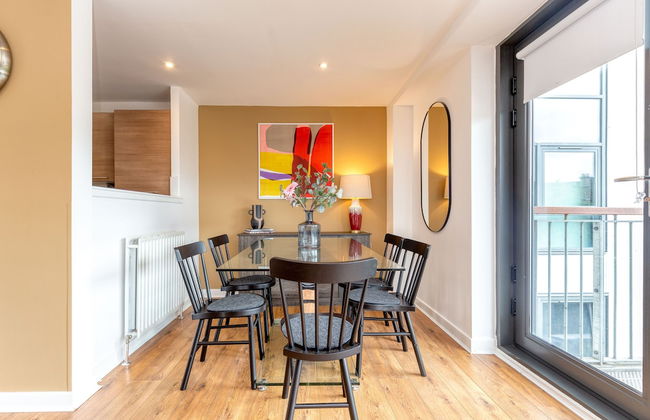
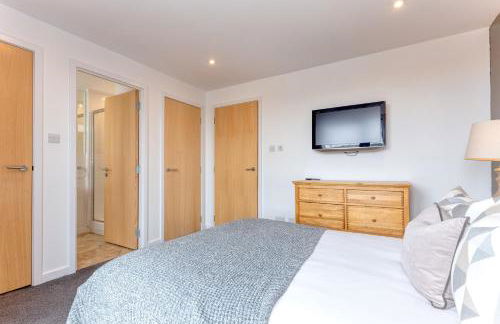
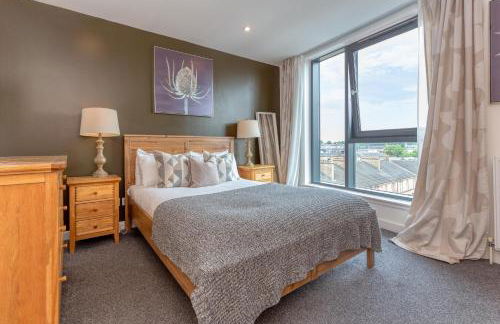
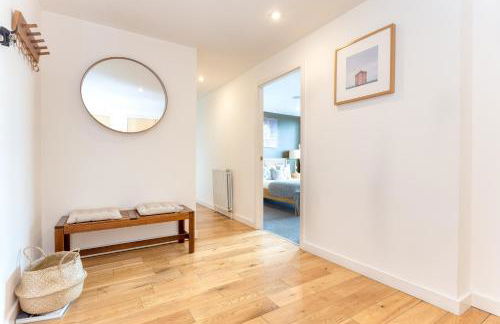
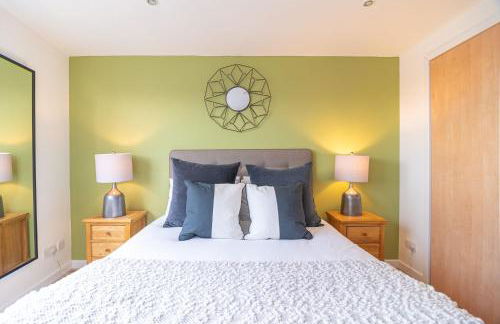
Tolbooth Apartments by Principal Apartments
Glasgow - Dennistoun
- 90 M2
- 2 quartos
- 5 pessoas
- Aquecimento
- Terraço
- Estacionamento
- Elevador
- Varanda
- Tv
- Máquina de lavar roupa
- Toalhas
- Lençóis
67 avaliações

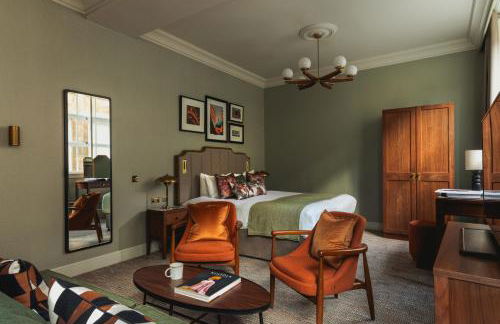


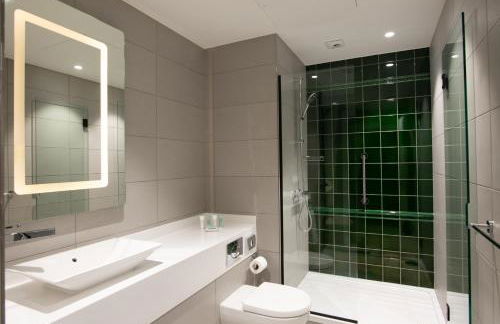

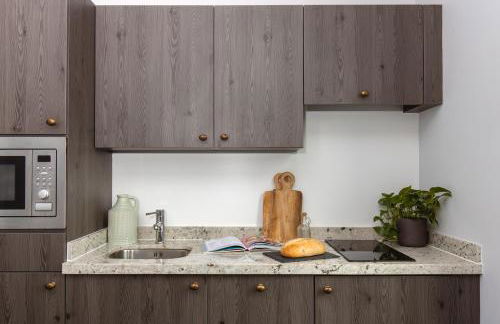


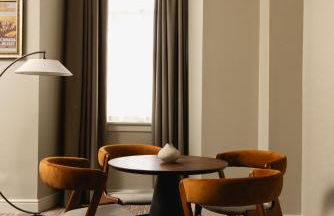

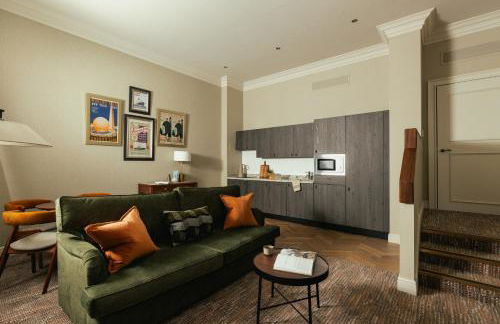

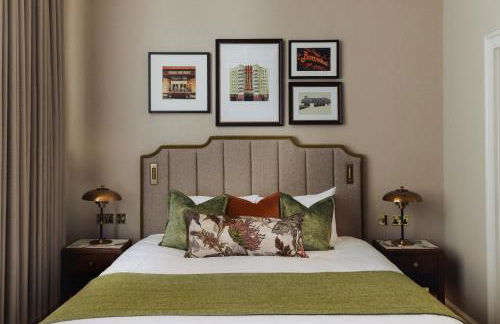

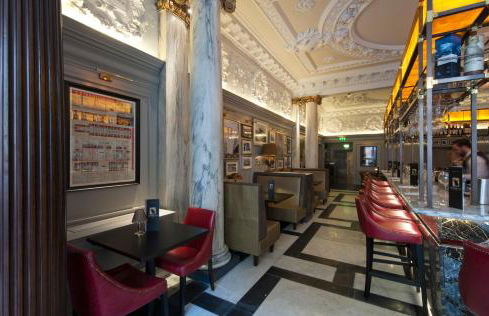


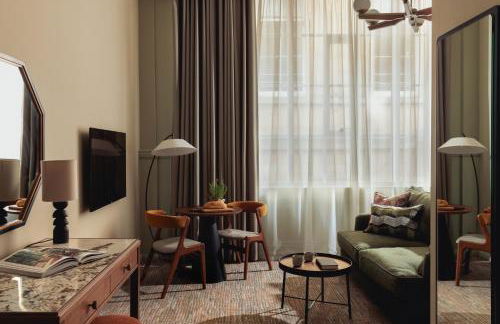


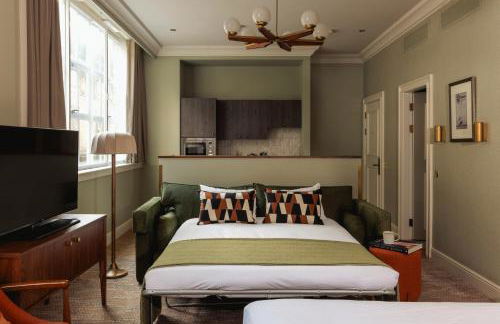

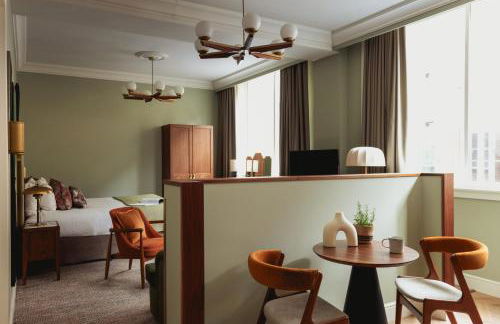

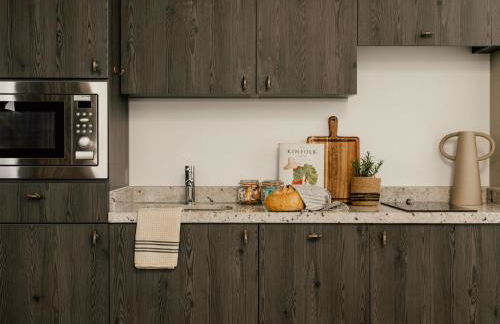

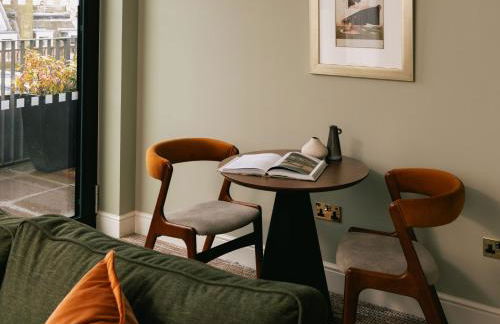

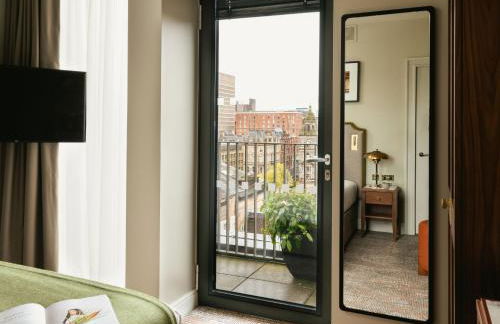

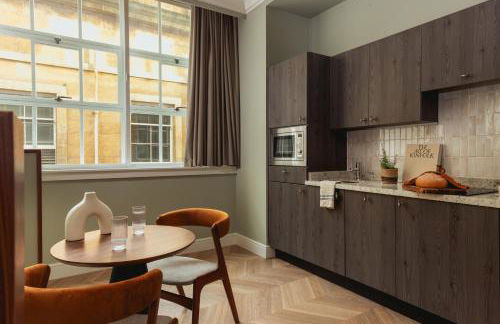

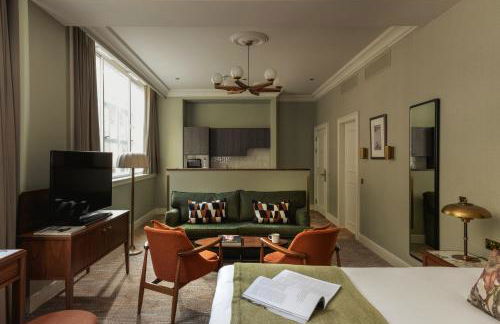

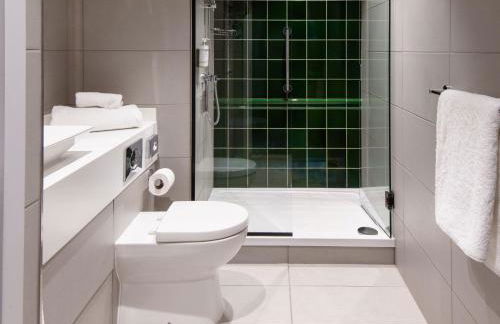

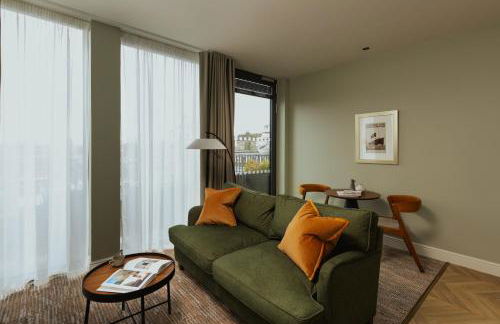

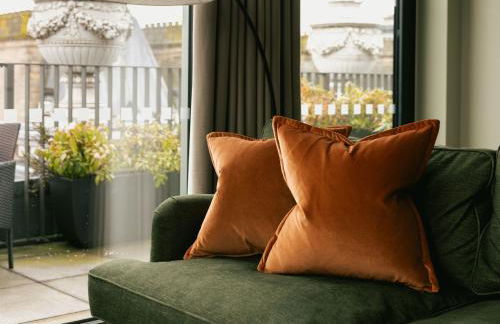


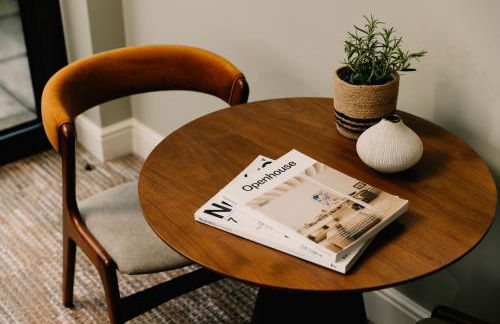

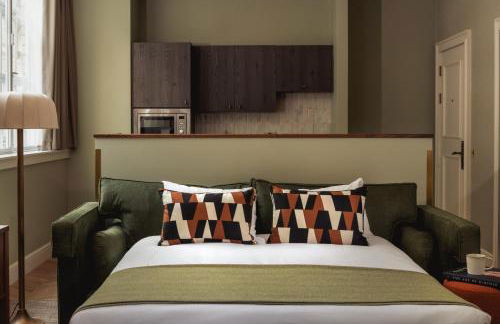


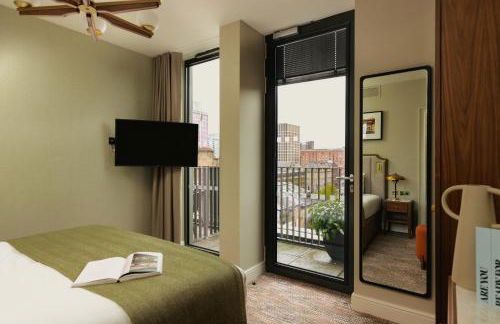

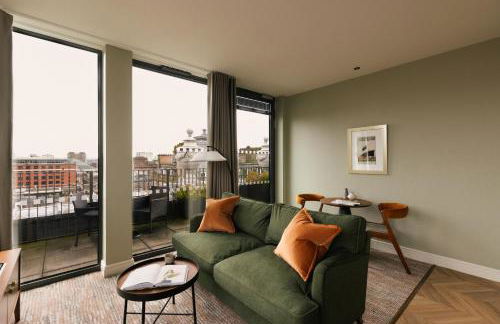


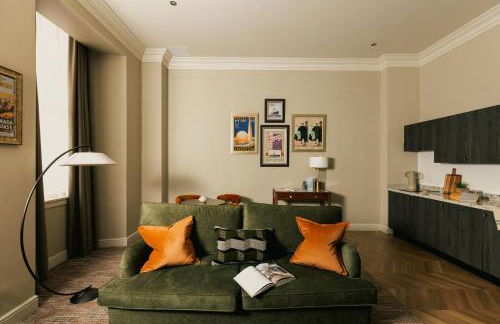

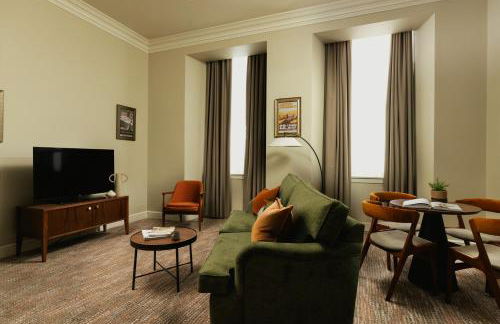

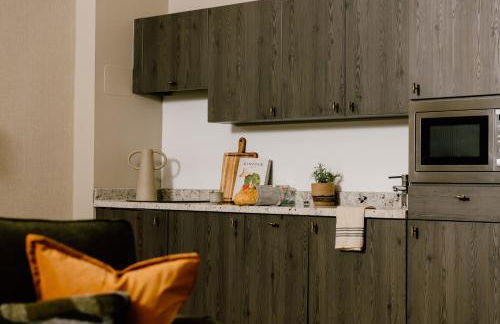

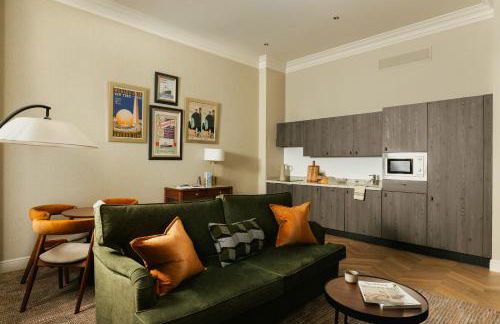

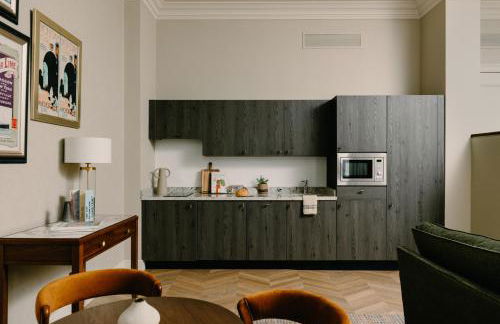

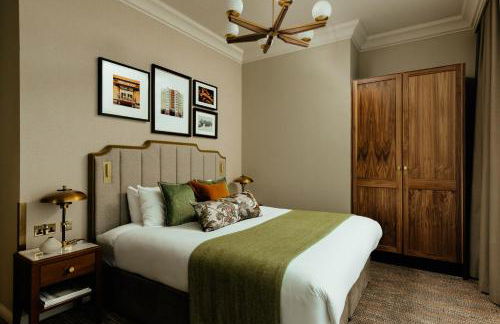


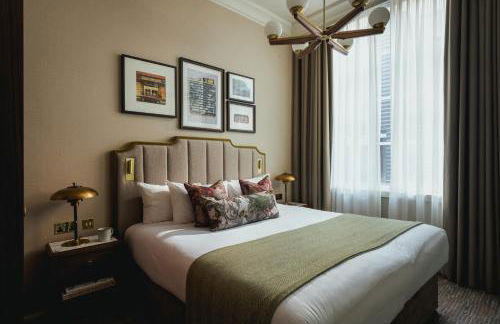

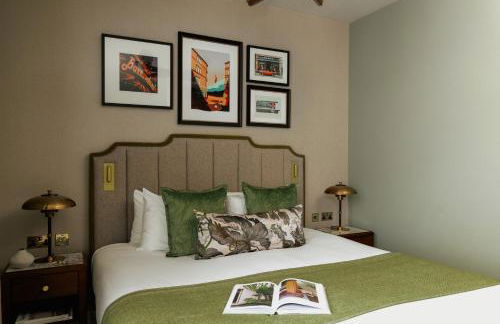

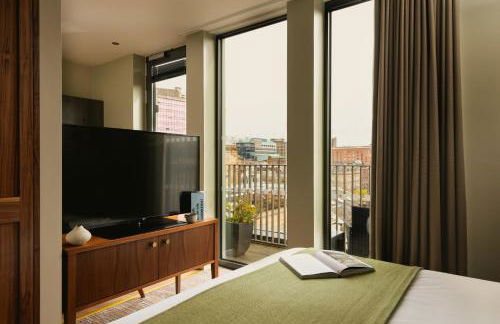

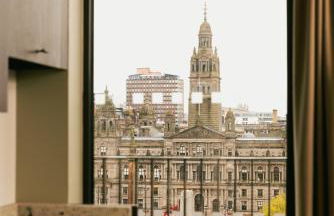


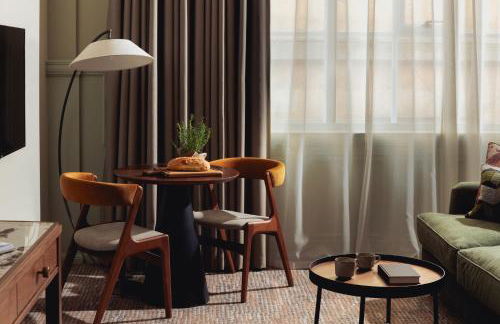

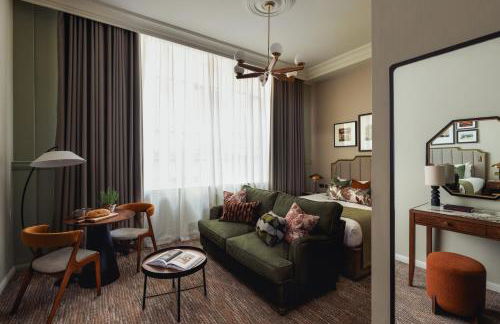

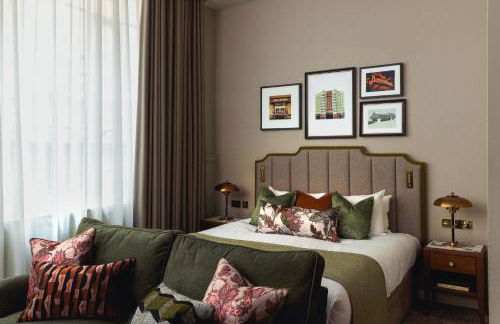


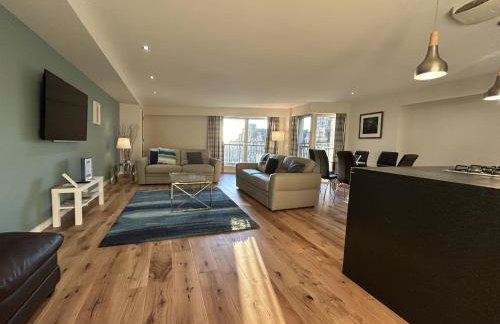
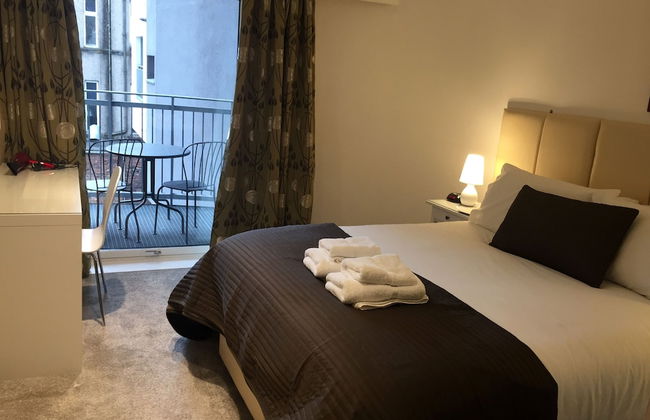
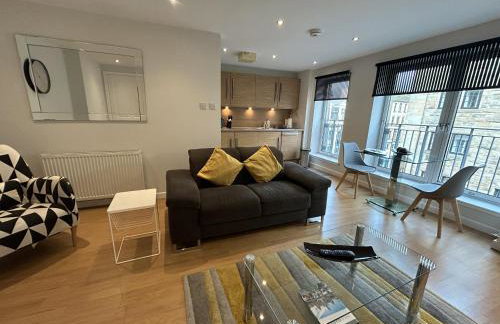
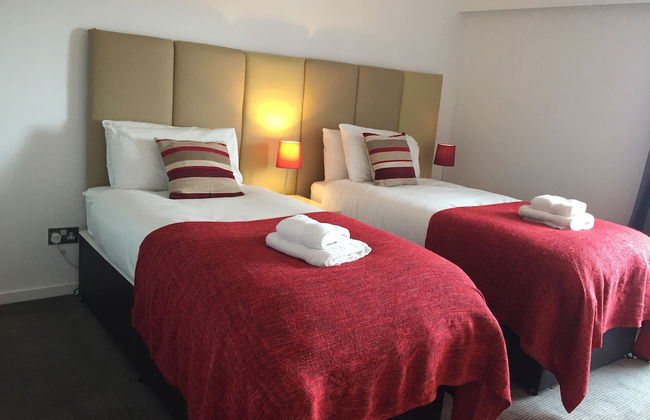
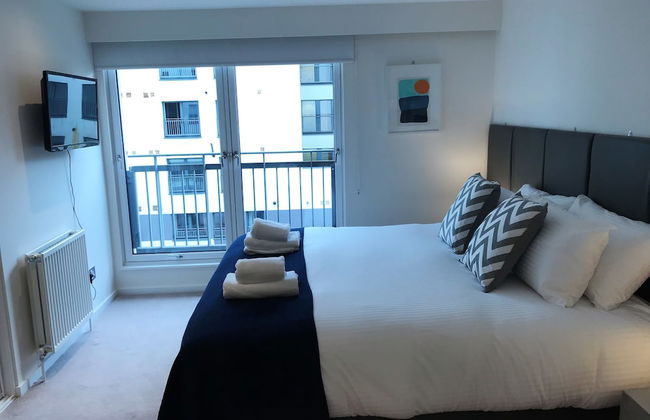
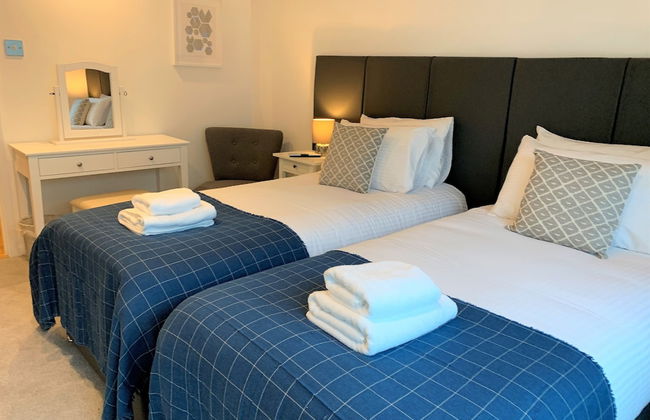
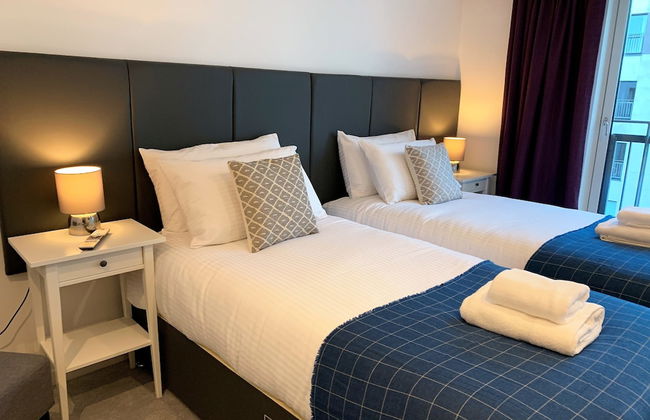
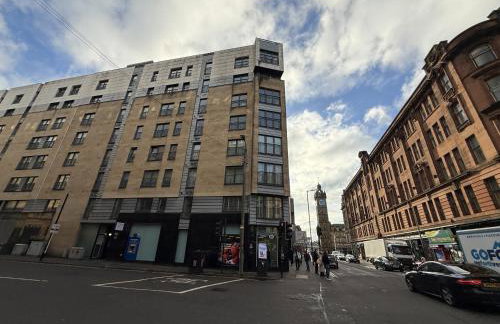
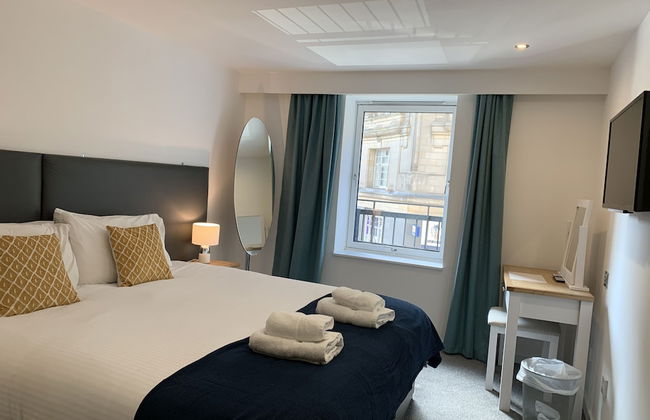
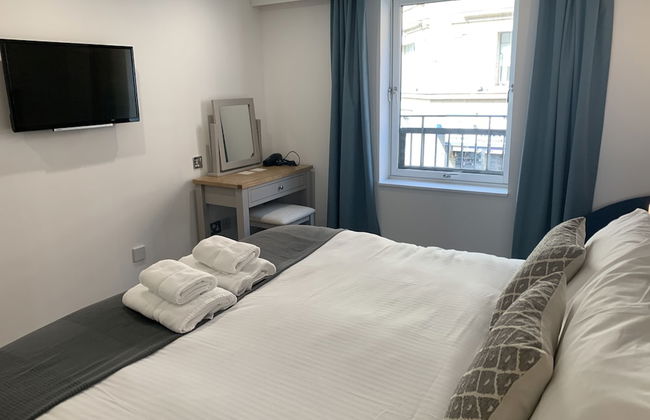
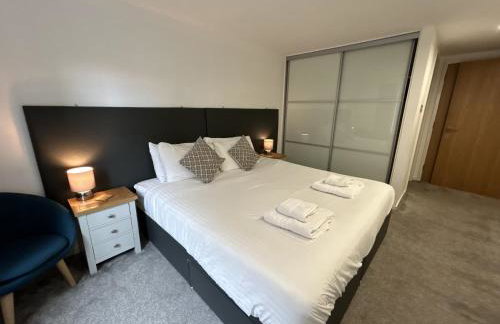
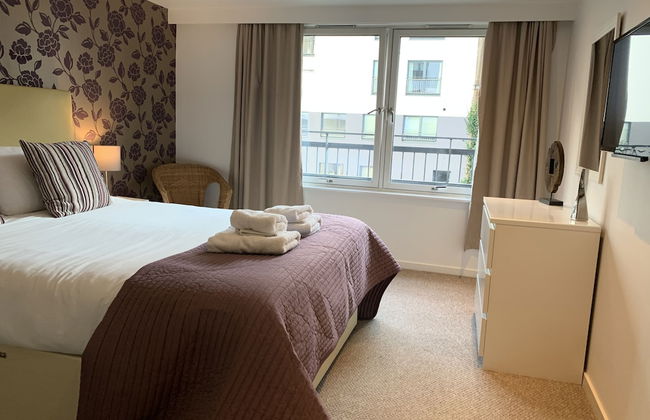
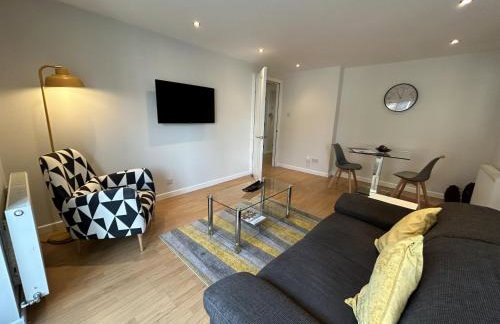
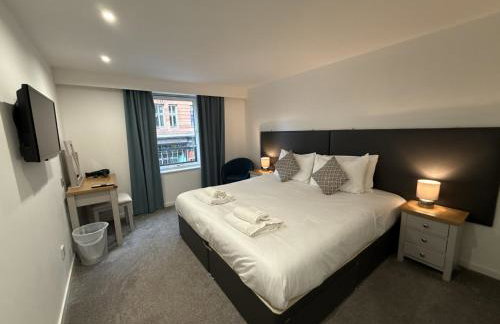
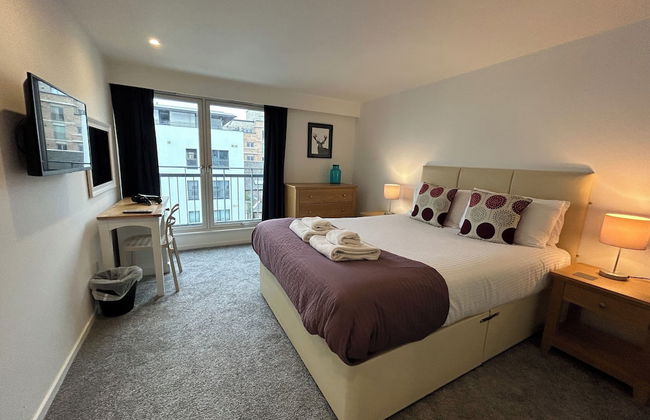
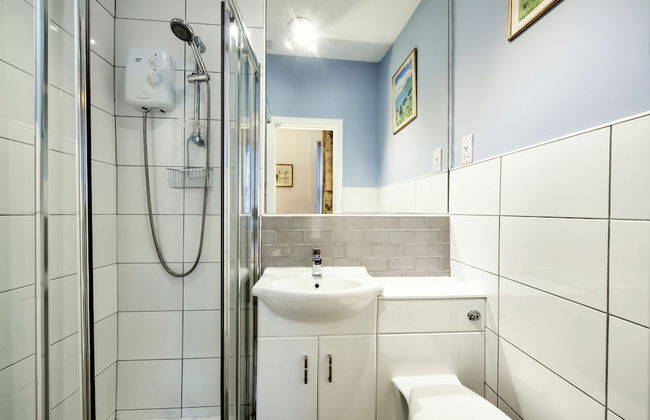
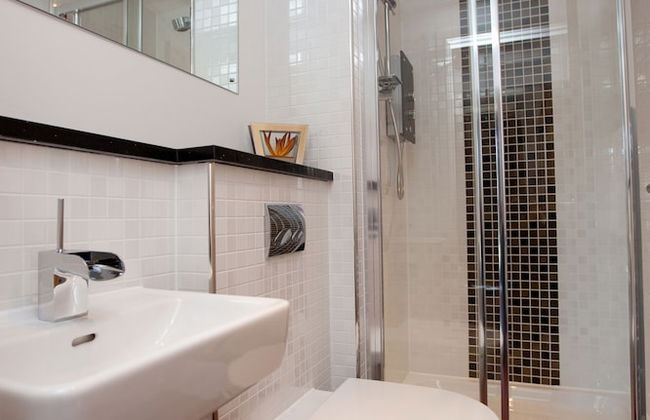
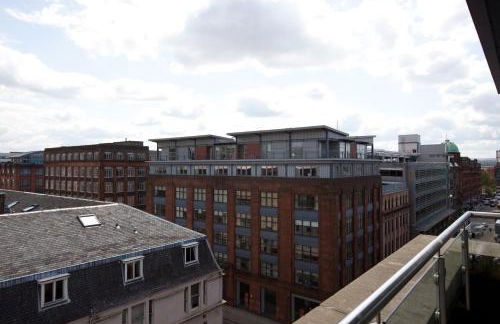
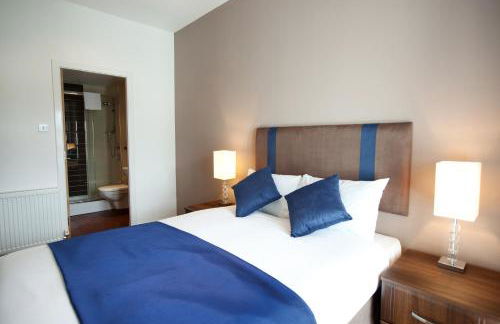
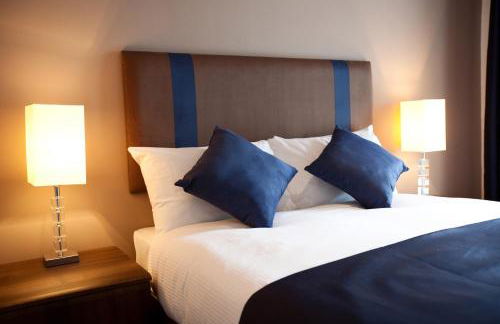
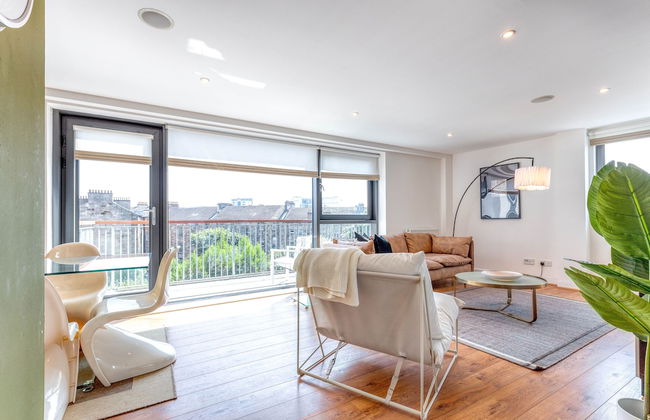
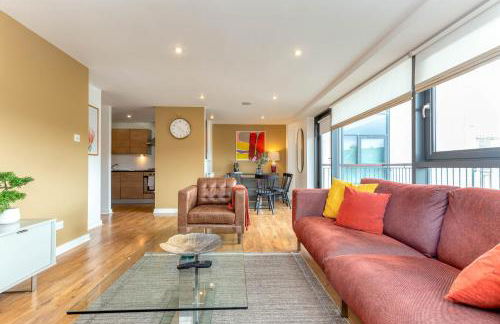
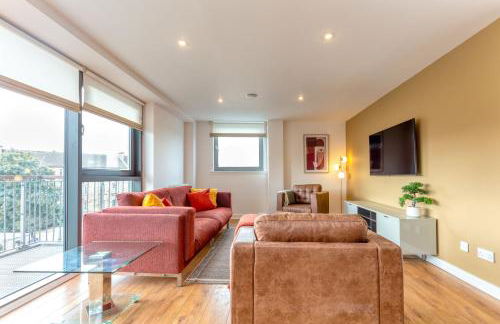
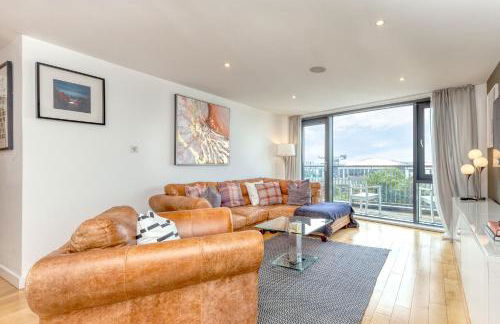
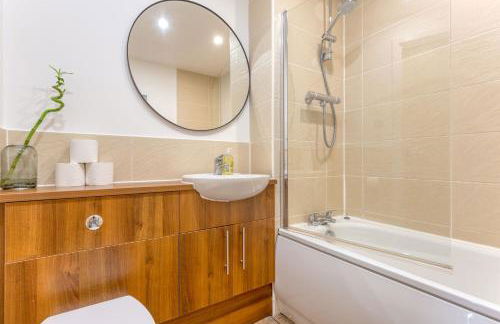
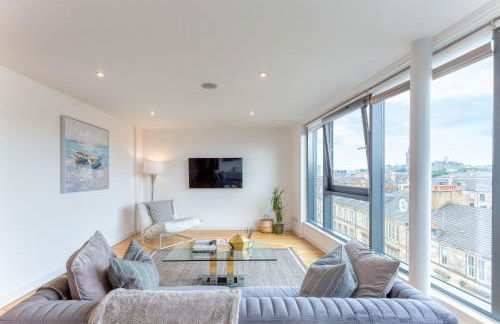
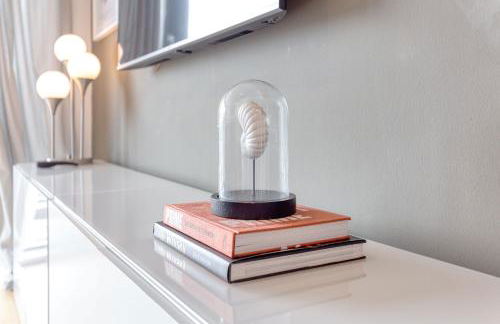
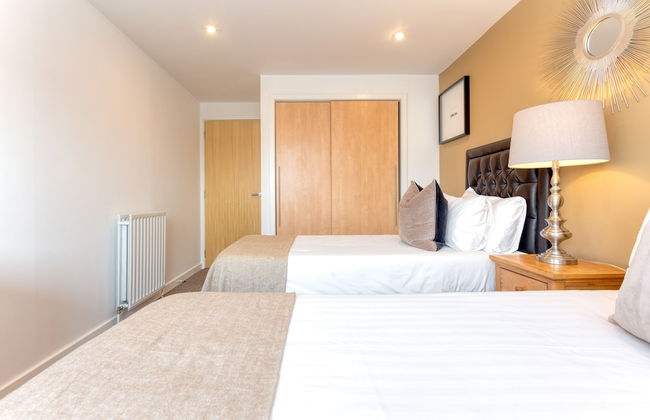
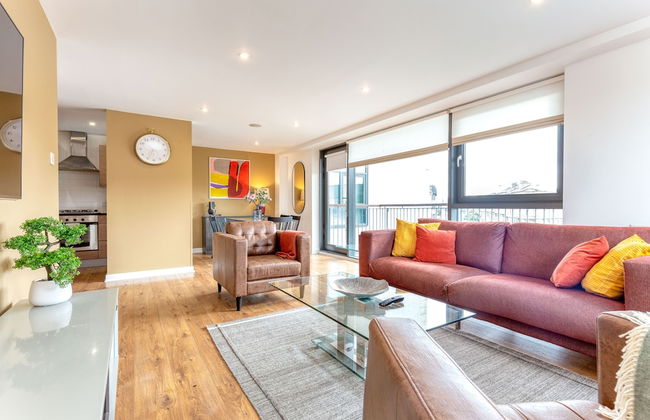
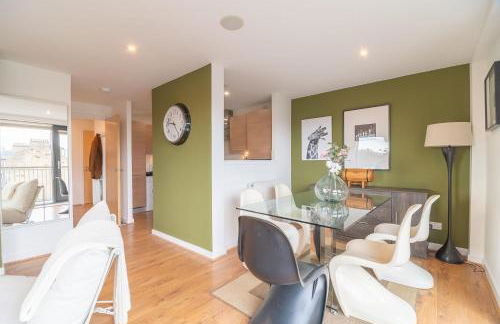
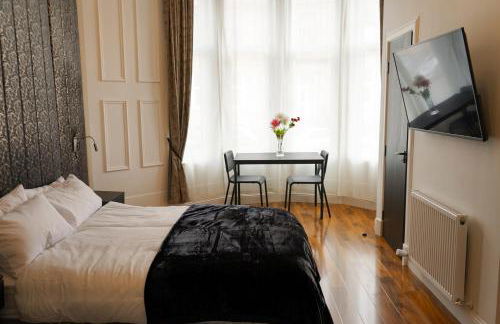
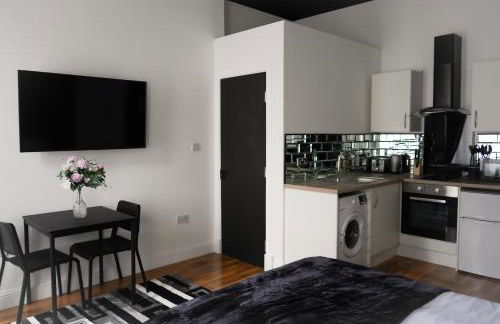
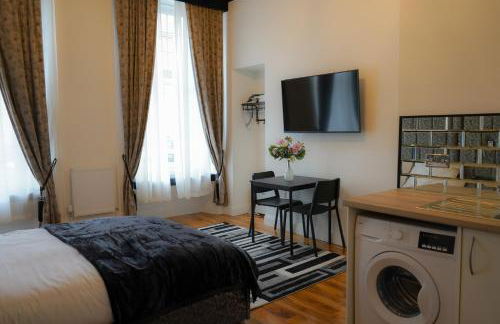
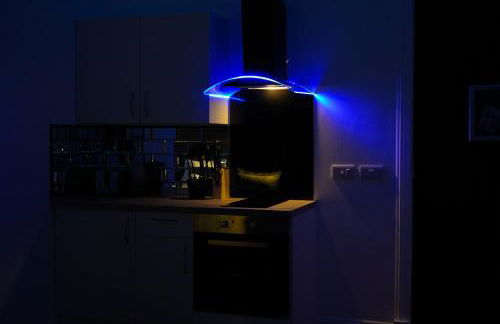
Native Glasgow
Glasgow - Merchant City
- 42 M2
- 1 quarto
- 4 pessoas
- Ar-condicionado
- Aquecimento
- Terraço
- Elevador
- Varanda
- Tv
- Máquina de lavar roupa
- Toalhas
- Lençóis
1176 avaliações


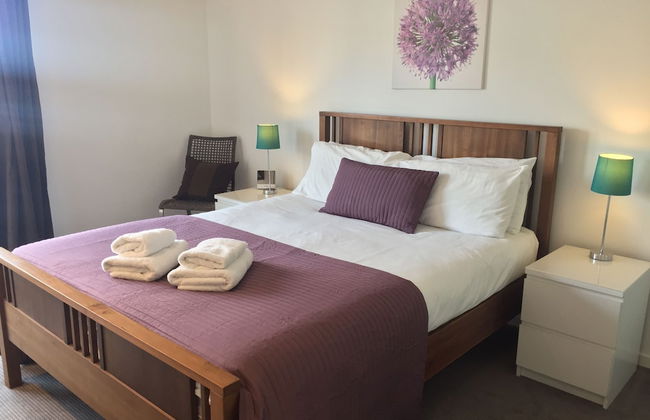
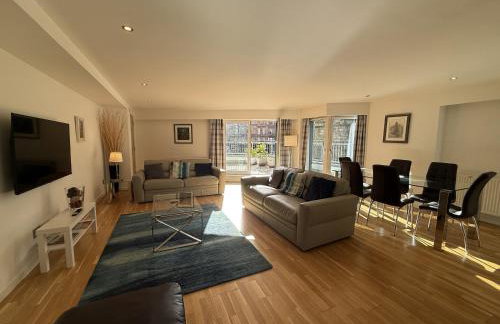
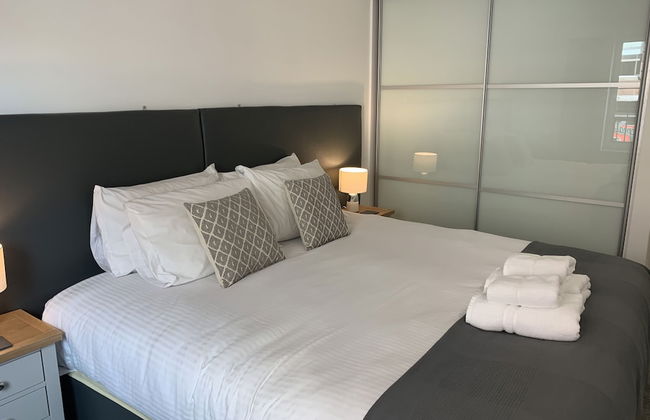
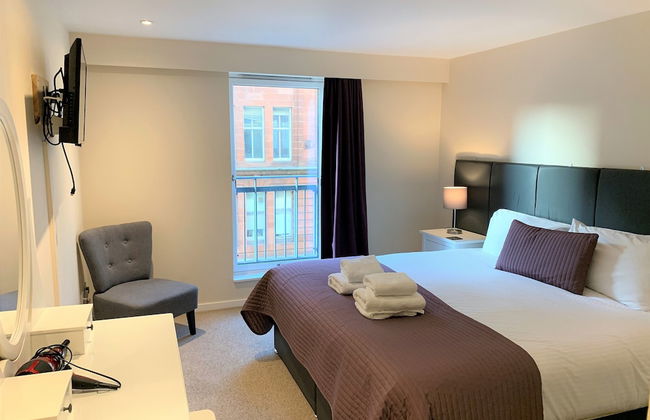
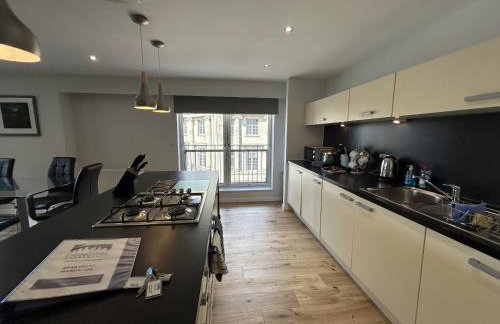
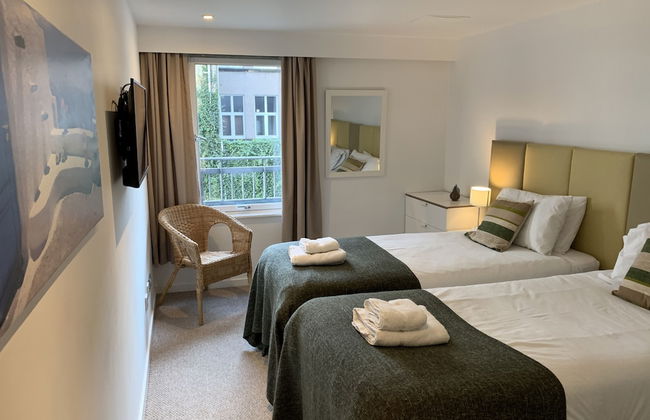
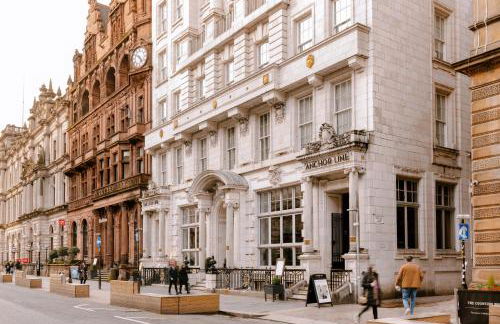
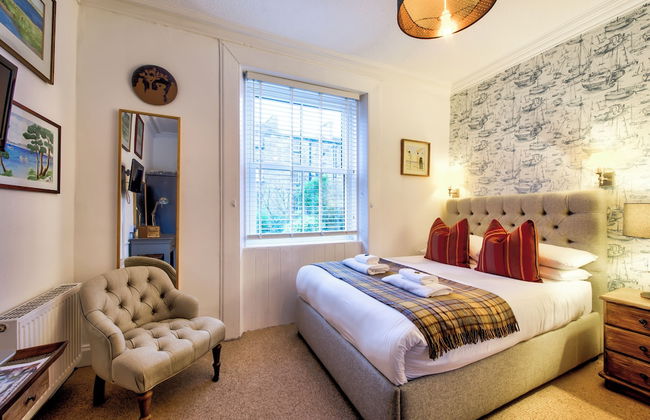
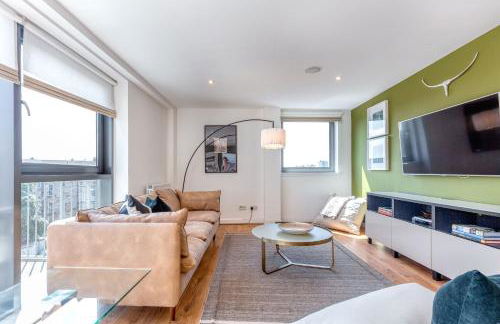
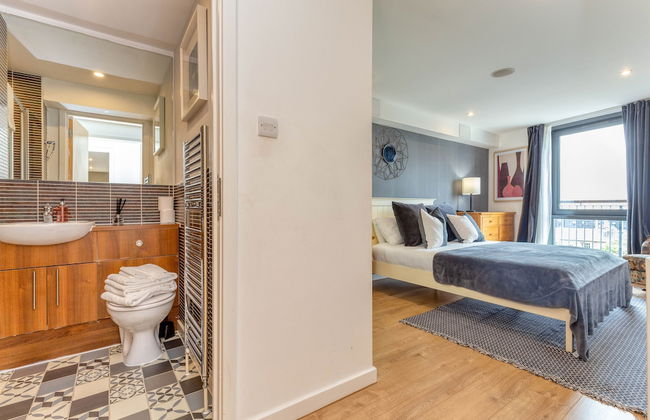
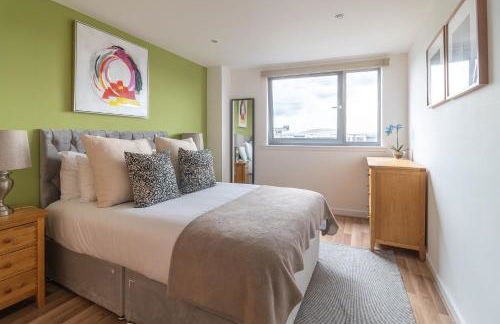
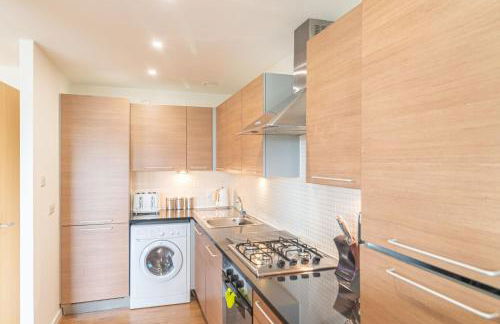
Loch Lomond Finnich Cottages
Glasgow - Glasgow
- 93 M2
- 2 quartos
- 4 pessoas
- Aquecimento
- Terraço
- Estacionamento
- Jardim
- Tv
- Máquina de lavar roupa
- Churrasco
- Toalhas
- Lençóis
19 avaliações


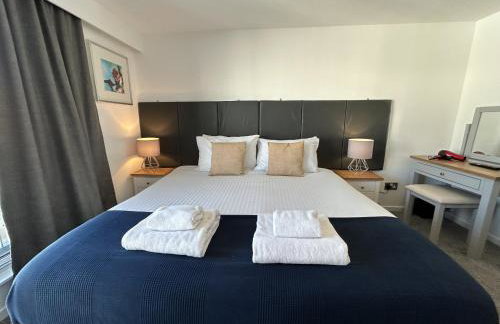
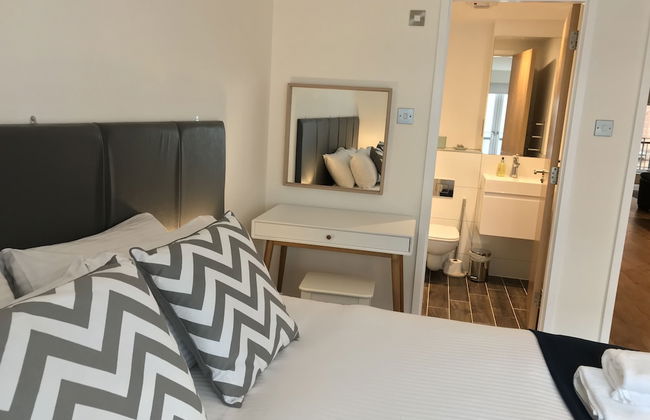
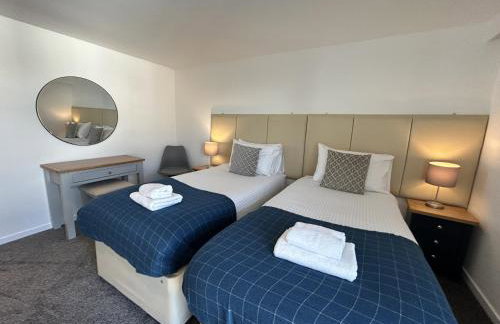
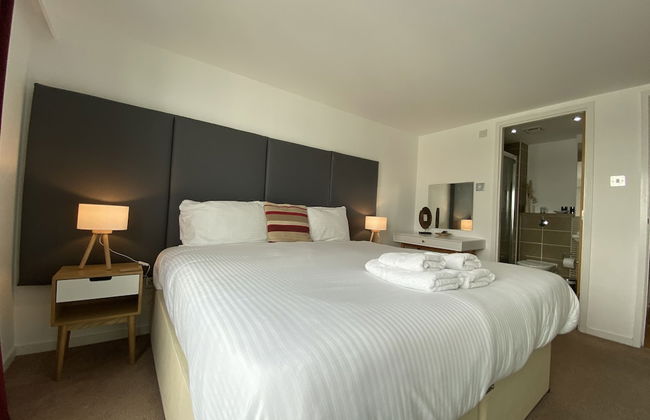
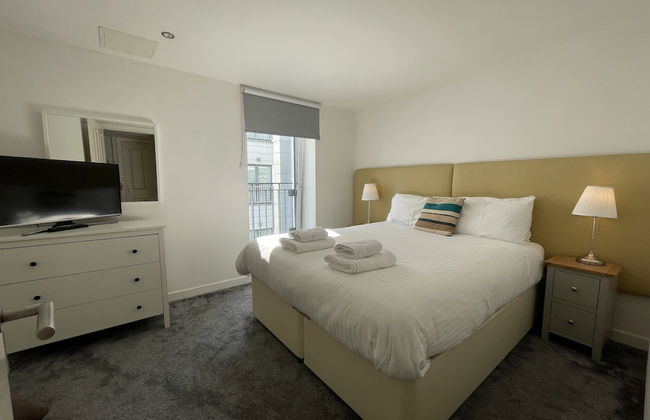
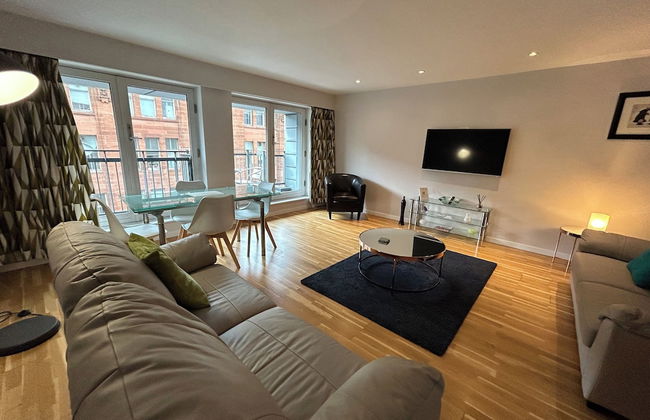
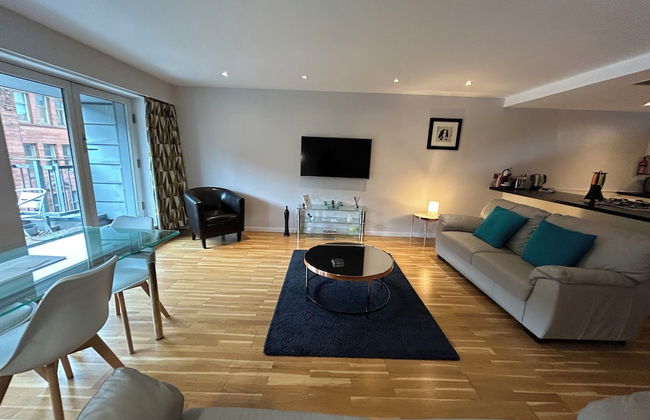
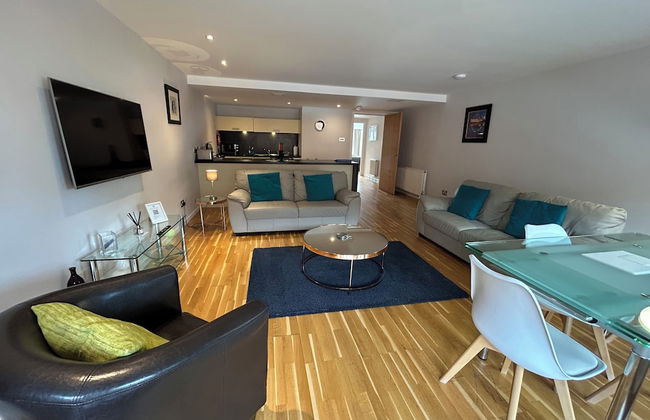
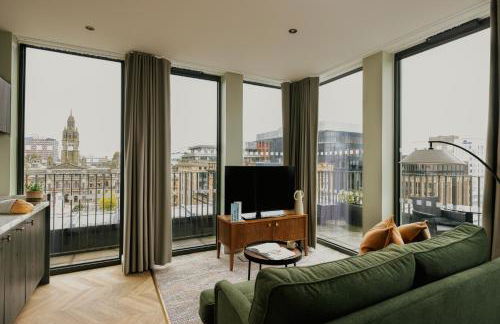
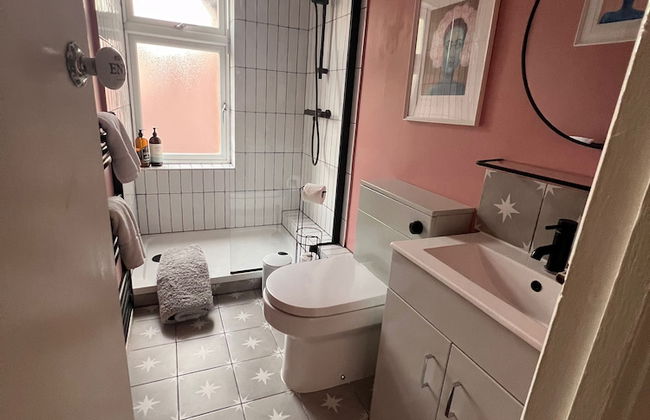
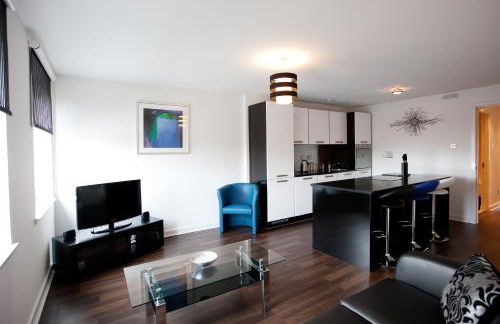
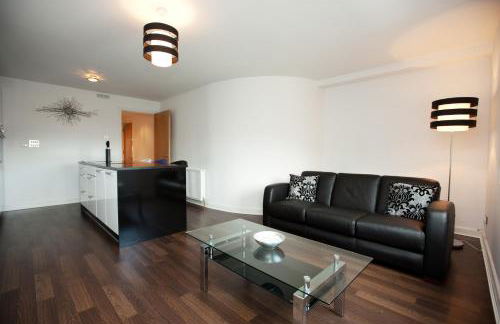
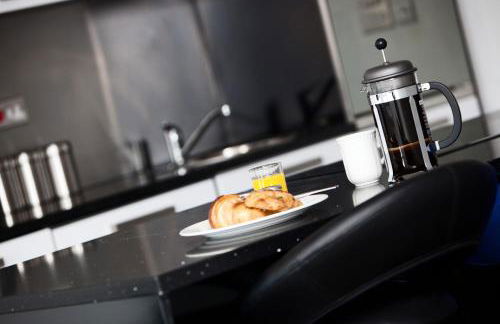
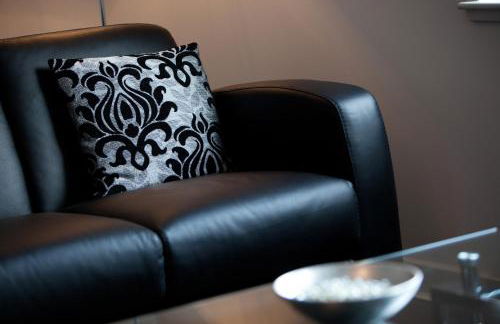
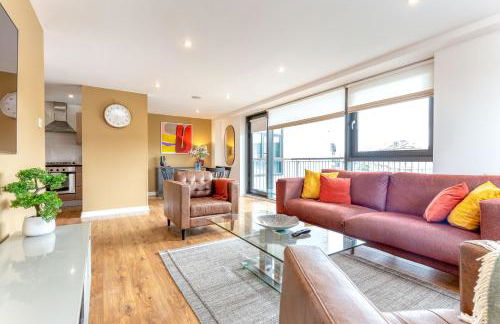
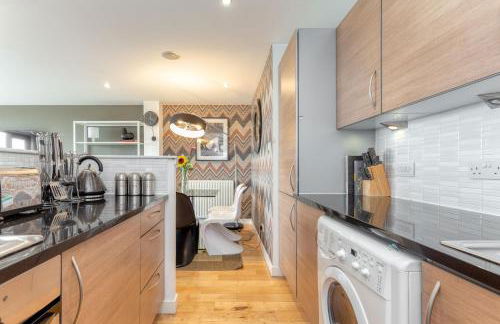
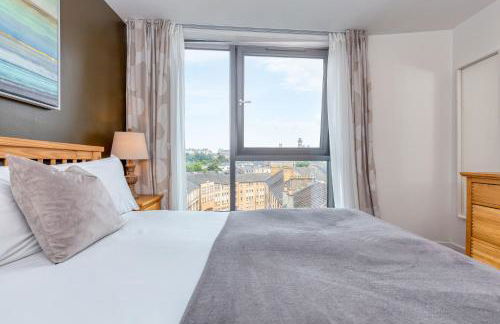
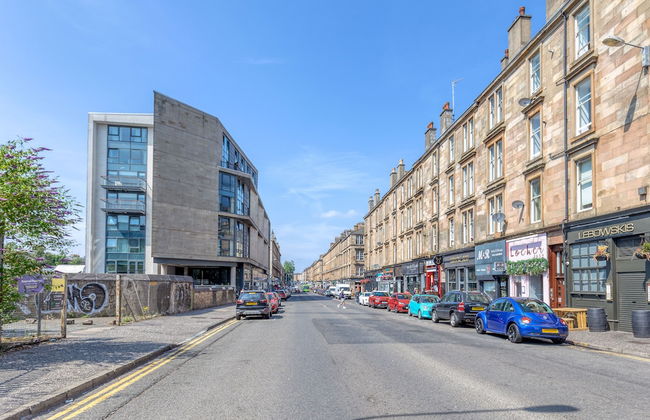
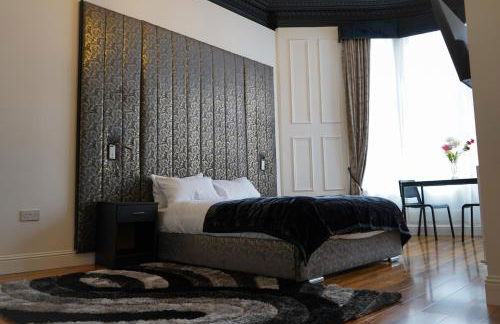
Principal Apartments - Clyde Waterfront Apartments
Glasgow - Merchant City
- 70 M2
- 2 quartos
- 4 pessoas
- Aquecimento
- Elevador
- Varanda
- Tv
- Máquina de lavar roupa
- Toalhas
- Lençóis
38 avaliações


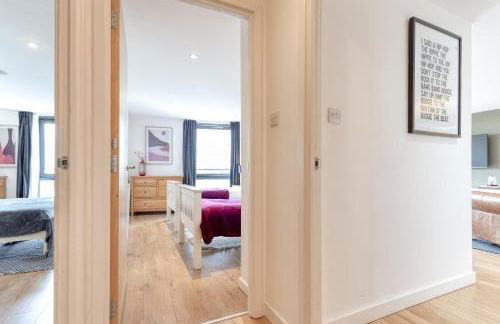
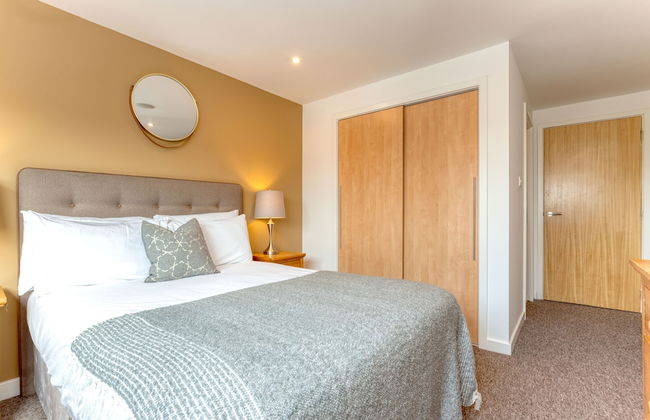
Maya's Glasgow Holiday Homes
Glasgow - Firhill
- 90 M2
- 2 quartos
- 4 pessoas
- Aquecimento
- Terraço
- Estacionamento
- Jardim
- Tv
- Máquina de lavar roupa
- Toalhas
8 avaliações


City Apartments Glasgow
Glasgow - Firhill
- 35 M2
- 3 pessoas
- Ar-condicionado
- Aquecimento
- Estacionamento
- Tv
- Toalhas
- Lençóis
53 avaliações


Cozy Loch Lomond Lodge 27, Rowardennan
Glasgow - Rowardennan
- 63 M2
- 2 quartos
- 4 pessoas
- Ar-condicionado
- Aquecimento
- Terraço
- Estacionamento
- Jardim
- Churrasco
89 avaliações


Craigmaddie Muir Roundhouse with Hot Tub Romantic, Luxury, Rural Stay for 2 Near Milngavie
Glasgow - Glasgow
- 35 M2
- 1 quarto
- 2 pessoas
- Terraço
- Estacionamento
- Jardim
- Churrasco
31 avaliações

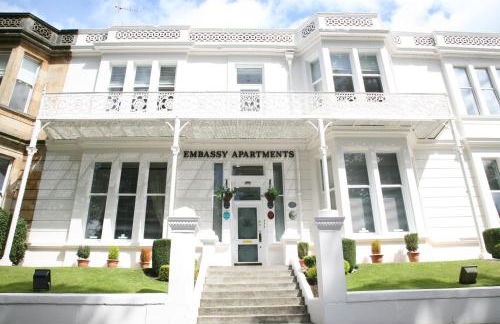


Embassy Apartments
Glasgow - Wyndford
- 33 M2
- 3 pessoas
- Kitchenette
- Aquecimento
- Terraço
- Estacionamento
- Jardim
- Tv
- Toalhas
- Lençóis
87 avaliações


101 Scotia Rooms
Shotts - Stane
- 200 M2
- 6 quartos
- 10 pessoas
- Aquecimento
- Terraço
- Estacionamento
- Jardim
14 avaliações


Glasgow Hampden Garden Apartment
Glasgow - Mount
- 30 M2
- 1 quarto
- 4 pessoas
- Ar-condicionado
- Aquecimento
- Terraço
- Estacionamento
- Jardim
- Tv
- Toalhas
- Lençóis
11 avaliações


Lovely house with back garden - PRIVATE driveway
Glasgow - Braidfauld
- 65 M2
- 2 quartos
- 6 pessoas
- Terraço
- Estacionamento
- Jardim
35 avaliações
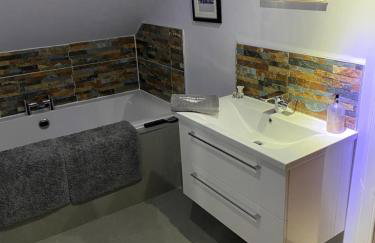
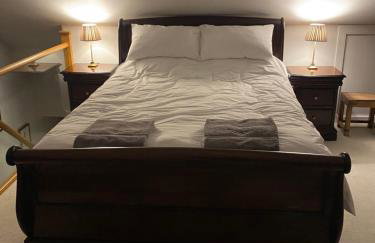
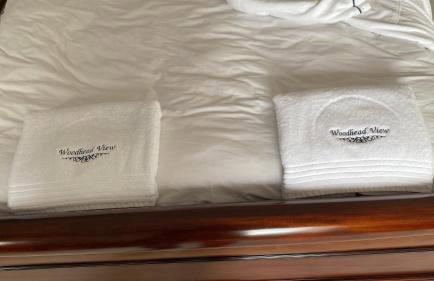
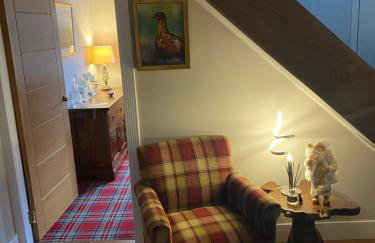


Woodhead view
Glasgow - Kirkintilloch
- 90 M2
- 2 quartos
- 4 pessoas
- Estacionamento
- Jardim
- Churrasco
42 avaliações


A cosy house near the city centre
Glasgow - Cowlairs
- 62 M2
- 2 quartos
- 5 pessoas
- Aquecimento
- Terraço
- Estacionamento
- Jardim
29 avaliações


The Spires Serviced Apartments Glasgow
Glasgow - Merchant City
- 60 M2
- 2 quartos
- 6 pessoas
- Estacionamento
- Elevador
- Tv
- Máquina de lavar roupa
- Toalhas
- Lençóis
274 avaliações


Spacious 5bed house, FREE parking, NO PARTY !
Glasgow - Braidfauld
- 120 M2
- 5 quartos
- 12 pessoas
- Terraço
- Estacionamento
- Jardim
49 avaliações


Spacious & Modern Garden Apartment
Glasgow - Bearsden
- 90 M2
- 2 pessoas
- Terraço
- Estacionamento
- Jardim
19 avaliações


SECC Hydro Executive 7 Apartment
Glasgow - Anderston
- 46 M2
- 2 quartos
- 4 pessoas
- Aquecimento
- Estacionamento
- Elevador
- Tv
- Toalhas
- Lençóis
27 avaliações


Novana ApartHotel
Glasgow - Hutchesontown
- 33 M2
- 2 pessoas
- Kitchenette
- Aquecimento
- Estacionamento
- Jardim
- Tv
- Máquina de lavar roupa
- Chaminé
- Toalhas
- Lençóis
591 avaliações


Drymen View
Glasgow - Drymen
- 55 M2
- 2 quartos
- 4 pessoas
- Aquecimento
- Estacionamento
- Jardim
- Churrasco
29 avaliações