
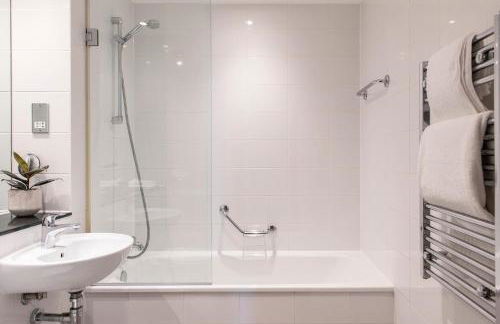
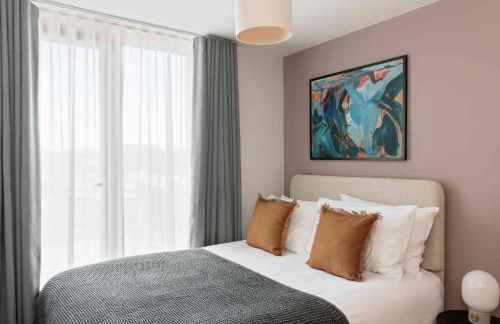
522 Apartamentos em Liverpool

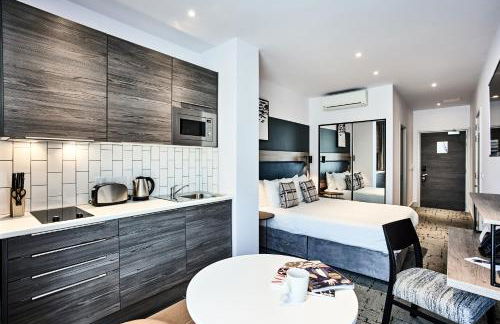

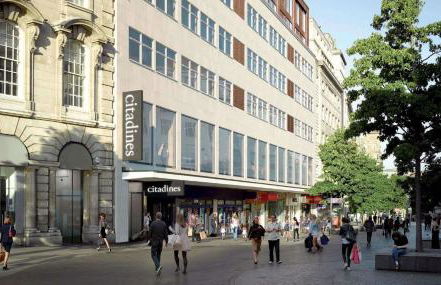


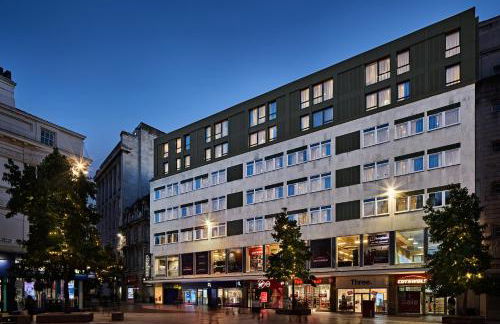

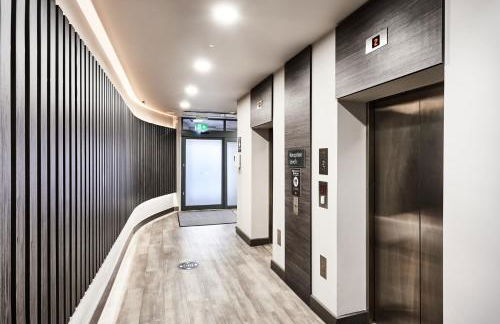

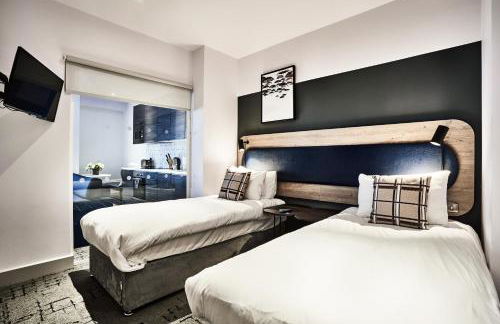


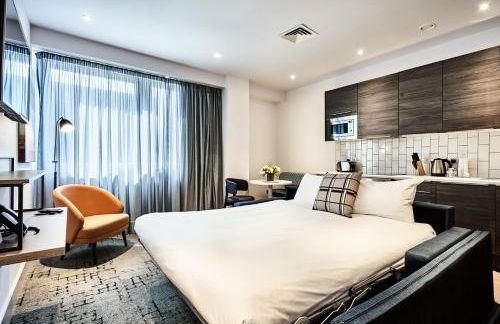


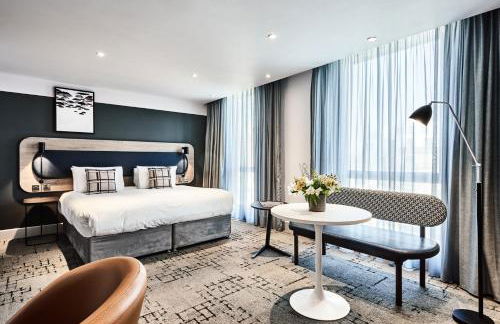


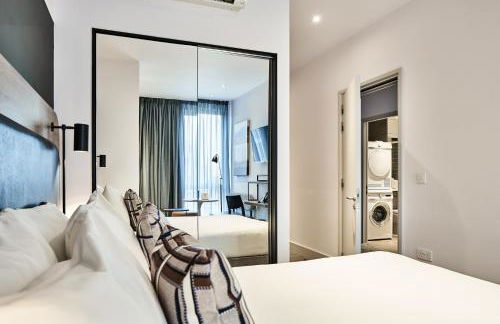


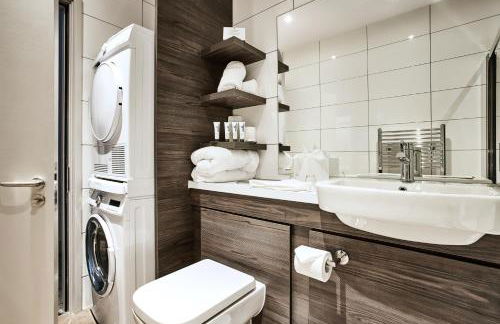

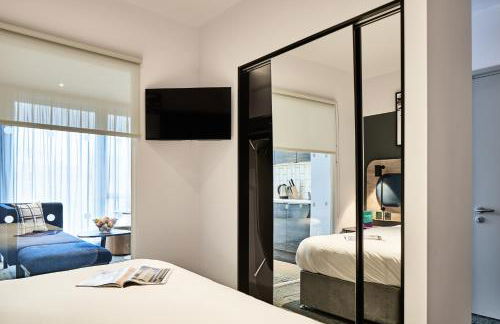

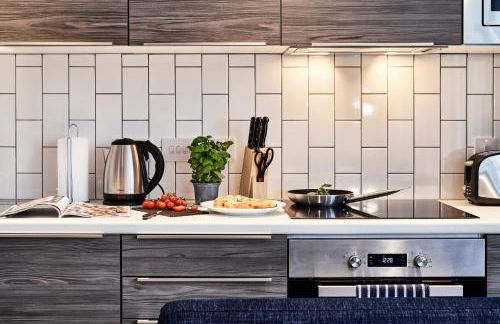


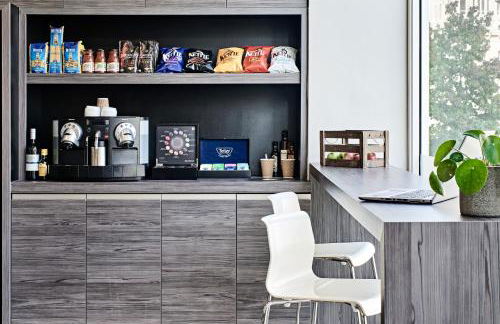

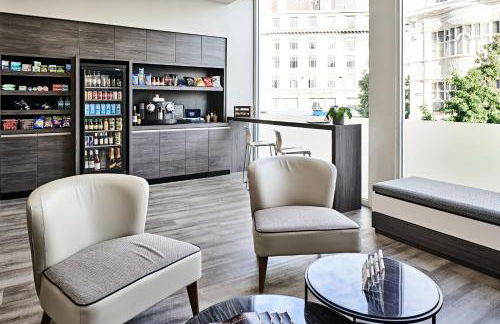

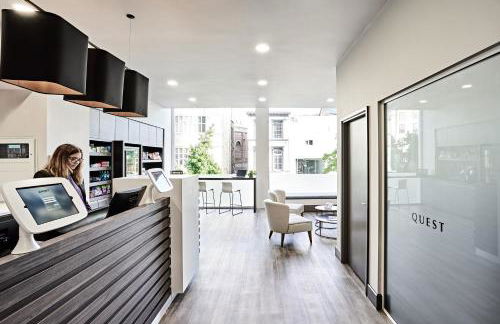


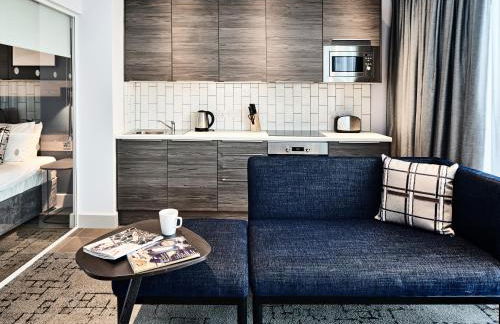

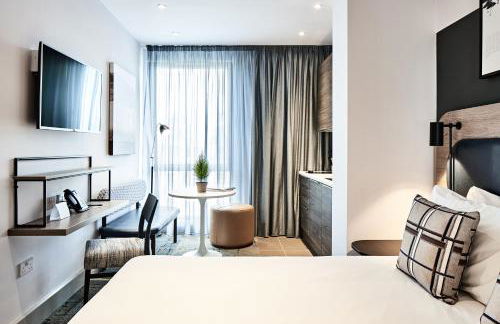

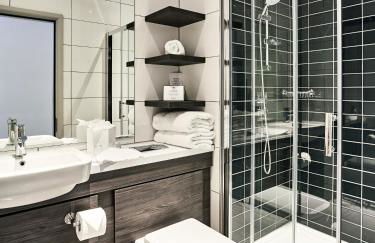


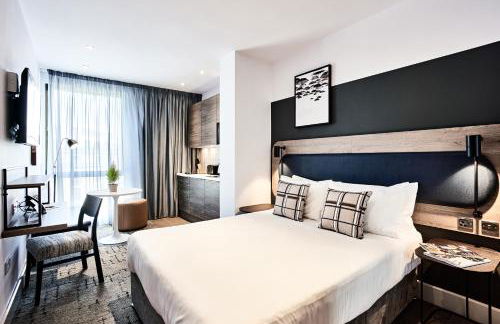


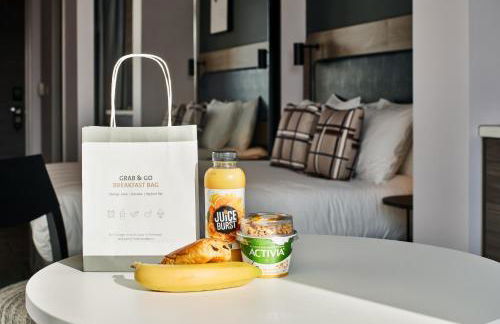


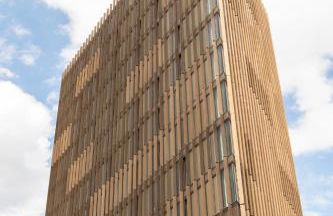
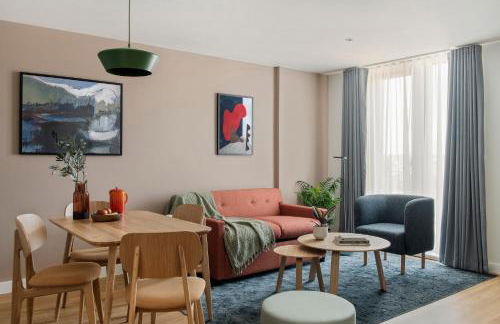
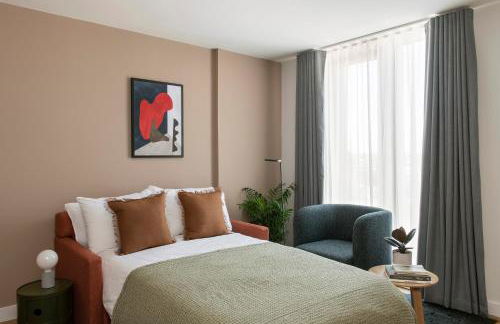
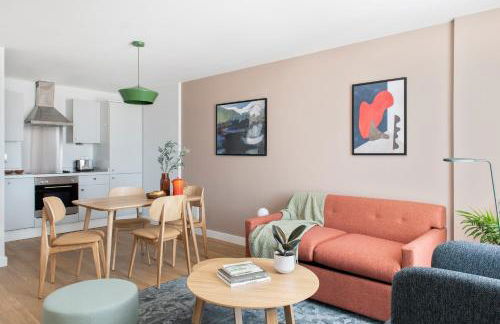
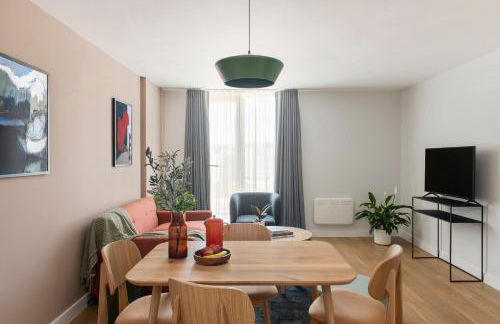
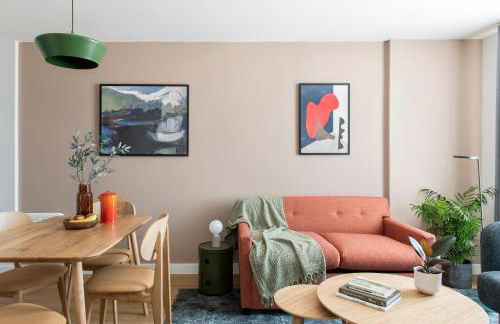
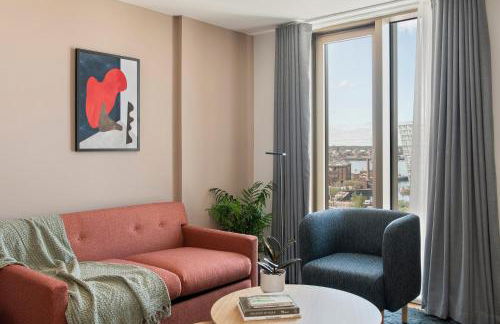
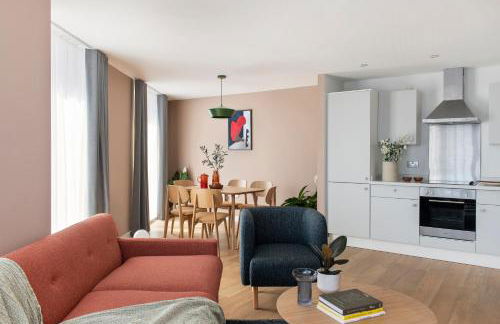
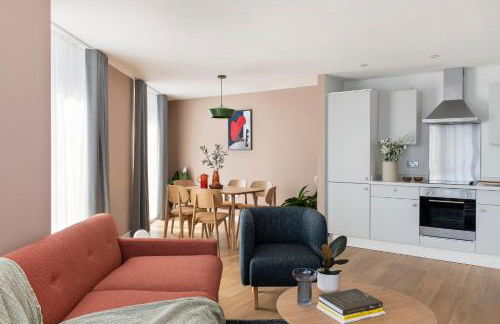
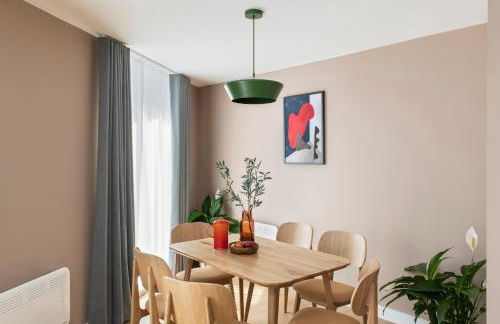
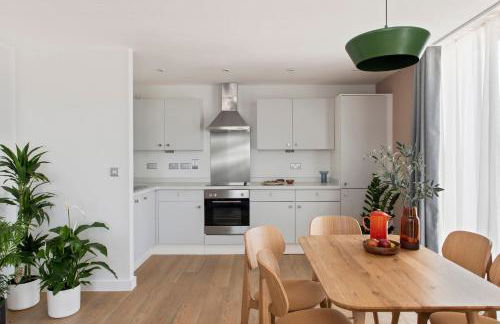
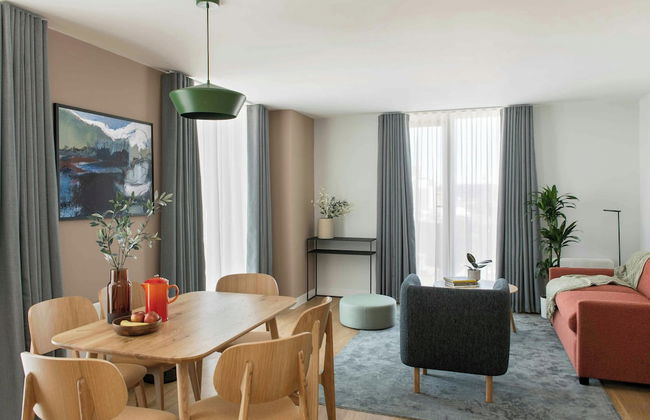
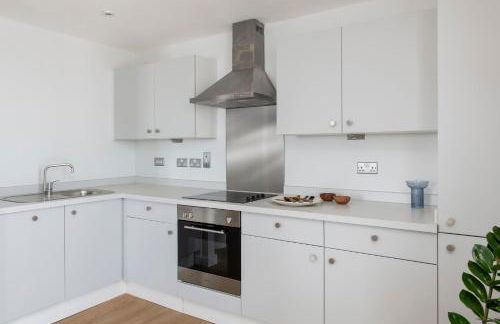
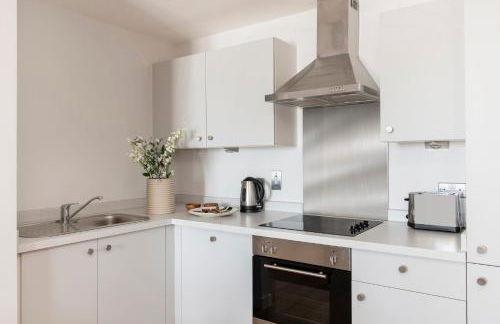
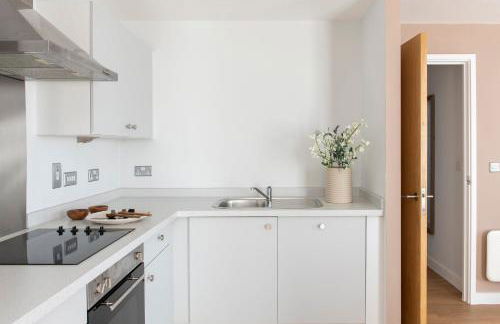
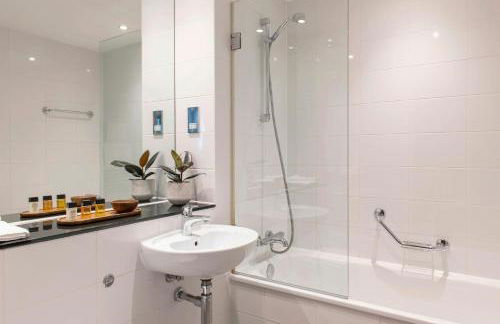
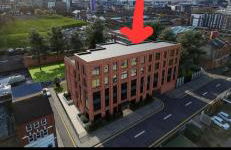
Citadines City Centre Liverpool
Liverpool - Liverpool - No centro
- 77 M2
- 2 quartos
- 6 pessoas
- Ar-condicionado
- Aquecimento
- Estacionamento
- Elevador
- Tv
- Toalhas
- Lençóis
949 avaliações


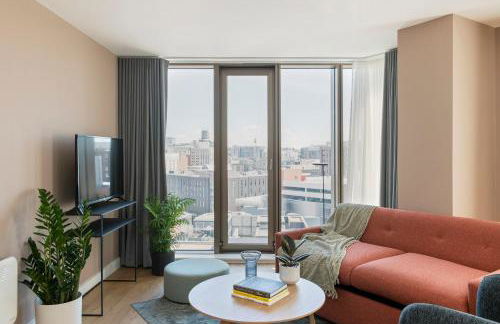


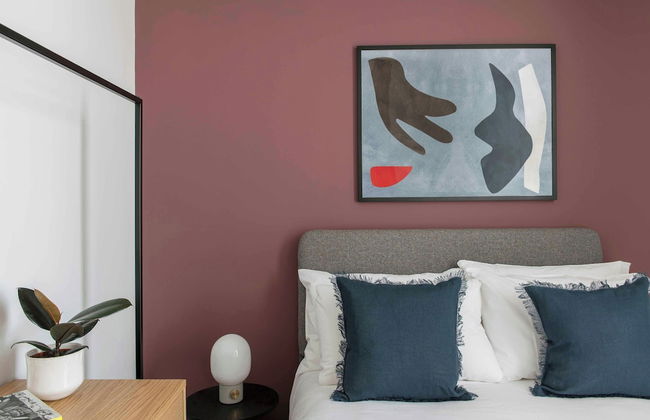


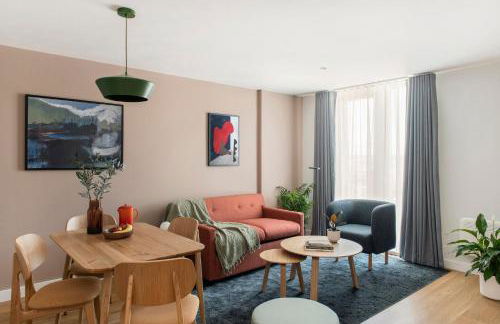


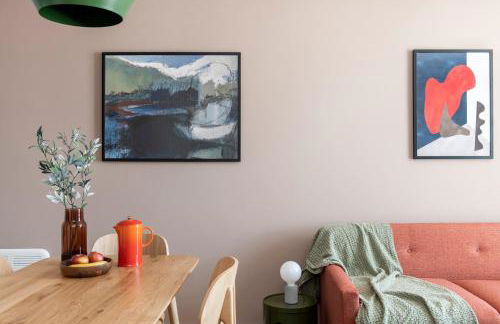

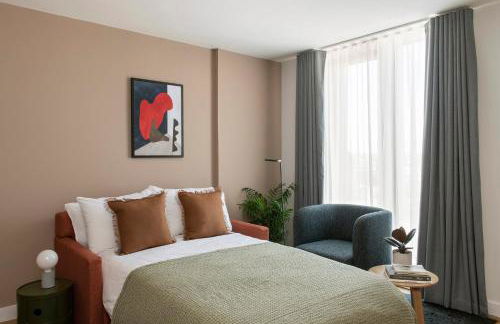


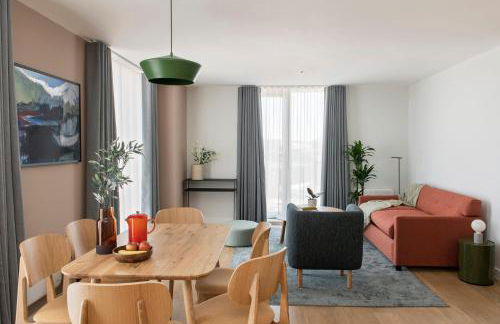


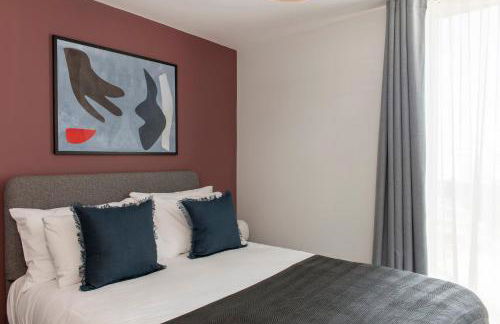


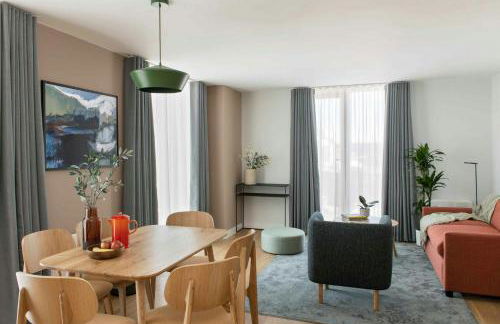
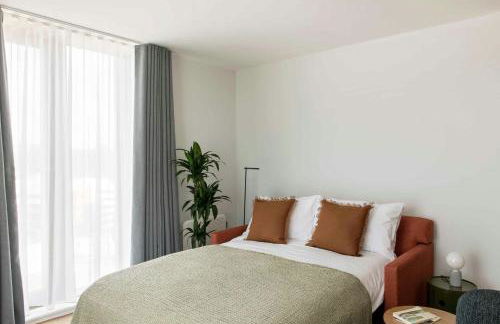
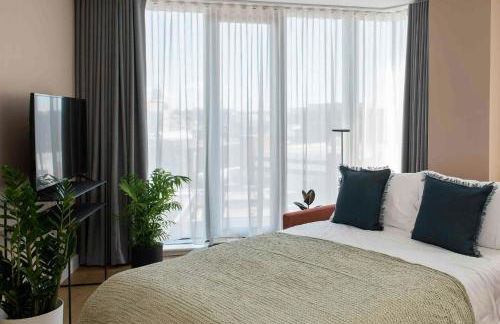
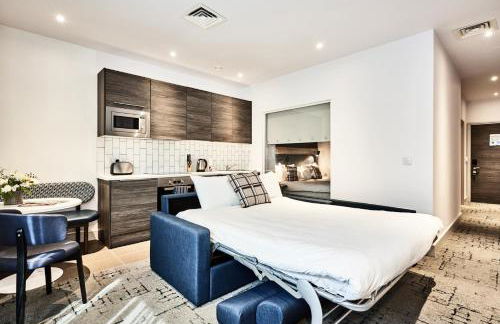
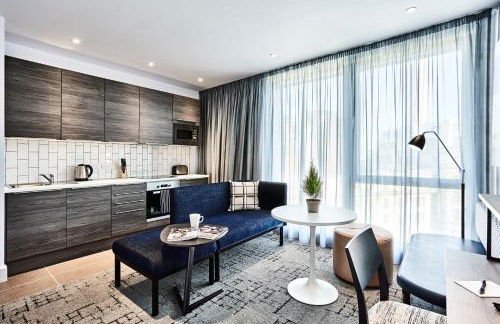
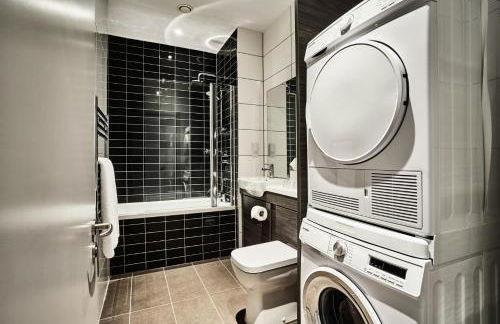
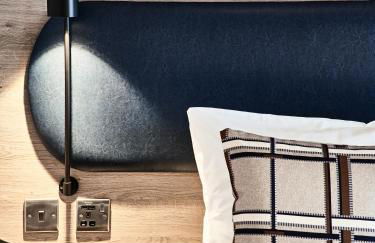
Cove Paradise Street
Liverpool - Liverpool - 370 m do centro
- 70 M2
- 3 quartos
- 6 pessoas
- Aquecimento
- Terraço
- Estacionamento
- Elevador
- Tv
- Máquina de lavar roupa
- Toalhas
- Lençóis
596 avaliações


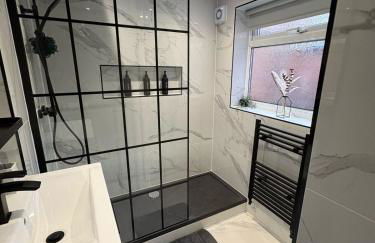


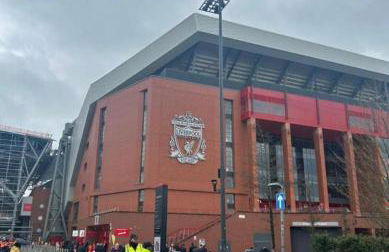
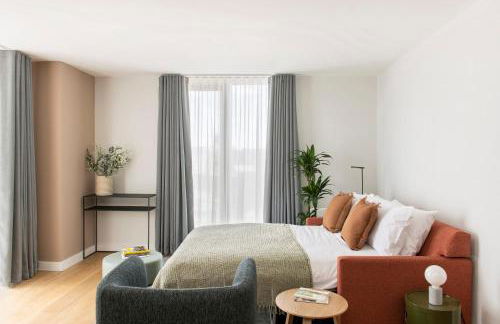
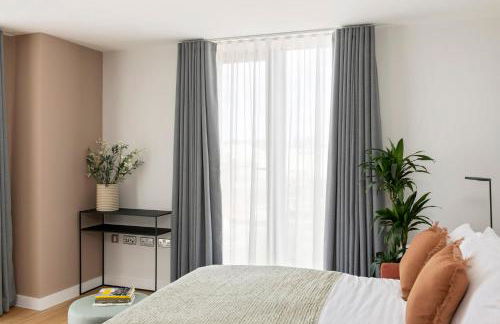
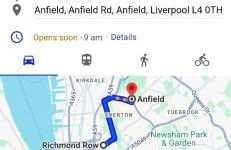
Anfield Home - Sleeps 7 - 1 min walk to Stadium!
Liverpool - Liverpool - 1.8 km do centro
- 102 M2
- 3 quartos
- 7 pessoas
- Aquecimento
- Terraço
- Estacionamento
- Jardim
12 avaliações


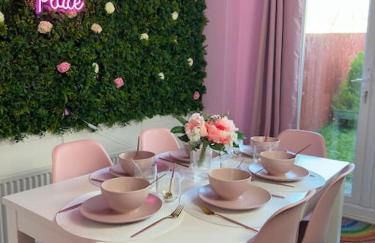


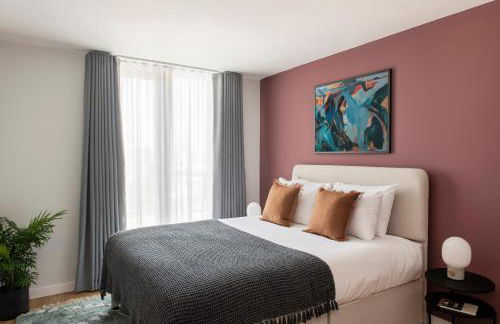
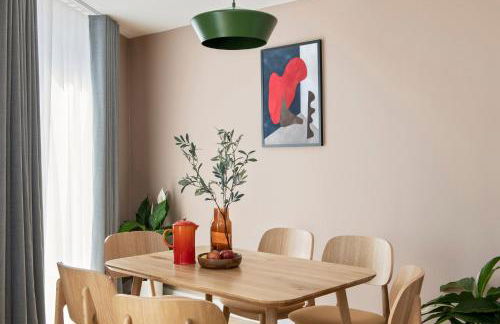
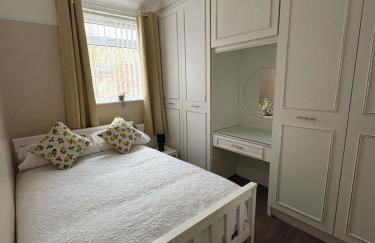
#1 Most Viral Pink House w Ball Pit
Liverpool - Liverpool - 620 m do centro
- 115 M2
- 3 quartos
- 5 pessoas
- Aquecimento
- Estacionamento
28 avaliações


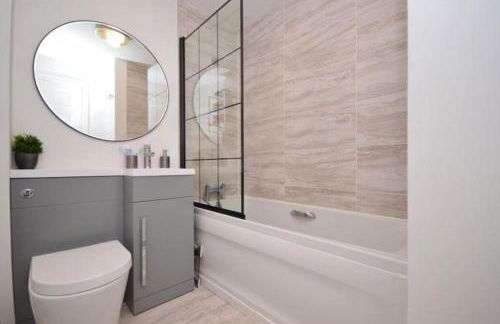
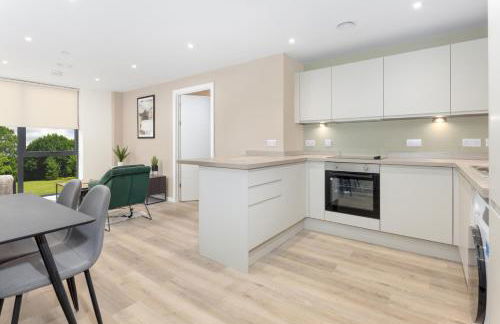
Modern Luxury apartment Liverpool
Liverpool - Liverpool - 1.4 km do centro
- 50 M2
- 1 quarto
- 4 pessoas
- Estacionamento
59 avaliações


Liverpool Coco House - 3 Bedrooms
Liverpool - Liverpool - 3.4 km do centro
- 81 M2
- 3 quartos
- 6 pessoas
- Aquecimento
- Estacionamento
- Jardim
25 avaliações


Gorgeous GF 2 Bed 2 bathroom Apartment Liverpool 3
Liverpool - Liverpool - No centro
- 62 M2
- 2 quartos
- 6 pessoas
- Ar-condicionado
- Aquecimento
- Estacionamento
- Jardim
17 avaliações


Sandringham House
Liverpool - Liverpool - 3.2 km do centro
- 120 M2
- 2 quartos
- 5 pessoas
- Aquecimento
- Estacionamento
38 avaliações


2 bed house sleeps 4-5
Liverpool - Liverpool - 490 m do centro
- 20 M2
- 2 quartos
- 5 pessoas
- Aquecimento
- Terraço
- Estacionamento
- Jardim
45 avaliações


Flatzy - Charming Garden Annexe in Aigburth with Kitchenette
Liverpool - Liverpool - 5.8 km do centro
- 15 M2
- 2 pessoas
- Aquecimento
- Estacionamento
- Jardim
39 avaliações


Flatzy - Sleeps 16 Near Football Ground & Ping Pong Table
Liverpool - Liverpool - 4.7 km do centro
- 200 M2
- 5 quartos
- 16 pessoas
- Terraço
- Estacionamento
- Jardim
16 avaliações


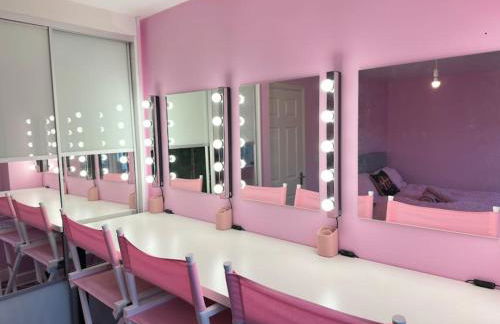
Luxury Mirror Party Pad with 4 Bedrooms!
Liverpool - Liverpool - 4 km do centro
- 120 M2
- 4 quartos
- 15 pessoas
- Aquecimento
- Terraço
- Estacionamento
22 avaliações

Orrell House
Liverpool - Liverpool - 5.7 km do centro
- 3 pessoas
- Aquecimento
- Terraço
- Estacionamento
- Tv
- Lençóis
16 avaliações


Anfield Abode
Liverpool - Liverpool - 2.1 km do centro
- 120 M2
- 3 quartos
- 7 pessoas
- Aquecimento
- Terraço
- Estacionamento
- Jardim
13 avaliações


Beautiful Entire House!
Liverpool - Liverpool - 5.5 km do centro
- 67 M2
- 3 quartos
- 4 pessoas
- Estacionamento
- Jardim
25 avaliações


Watford Road House Liverpool
Liverpool - Liverpool - 2.3 km do centro
- 3 quartos
- 6 pessoas
- Estacionamento
- Jardim
32 avaliações


In Our Liverpool Home Sleeps 5 in 2 Double & 1 Single Bedrooms
Liverpool - Liverpool - 4.9 km do centro
- 186 M2
- 3 quartos
- 5 pessoas
- Aquecimento
- Terraço
- Estacionamento
- Jardim
10 avaliações


2025 Award Winner Liverpool Strawberry House - 3 Bedrooms
Liverpool - Liverpool - 4.3 km do centro
- 6 M2
- 3 quartos
- 5 pessoas
- Aquecimento
- Estacionamento
- Jardim
98 avaliações


Large 6 Bed House, Long Term Stay Savings, Contractors, Professionals, Big Groups, Free Parking!
Liverpool - Liverpool - 2.6 km do centro
- 15 M2
- 6 quartos
- 8 pessoas
- Aquecimento
- Estacionamento
10 avaliações