
1371 Apartamentos em New South Wales


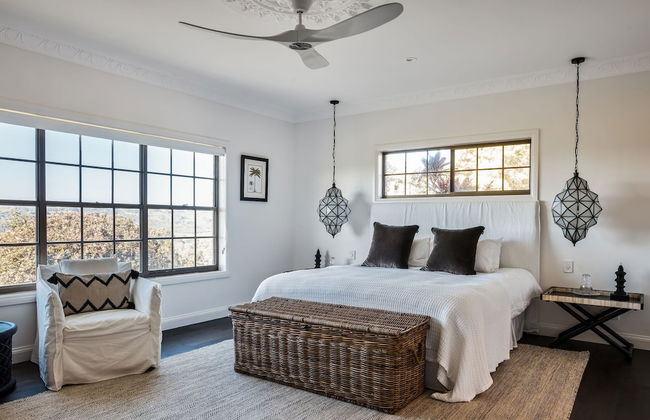
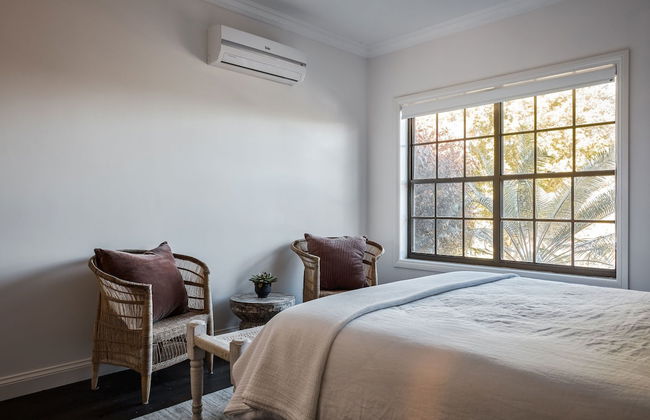
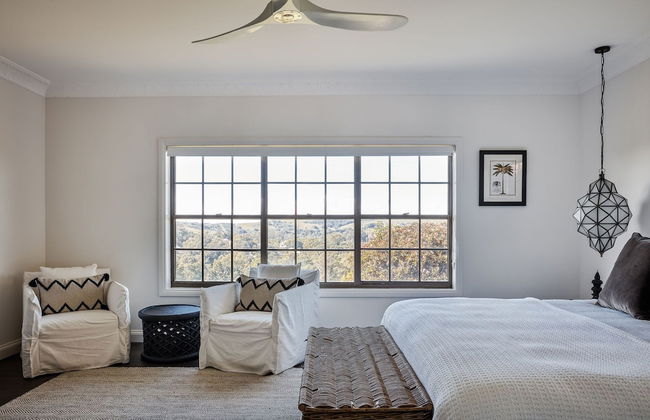
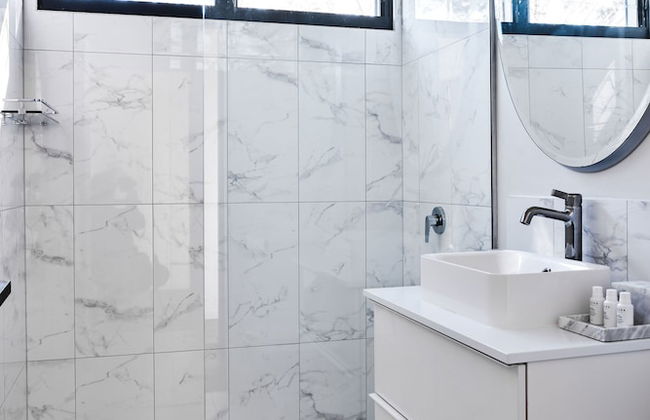
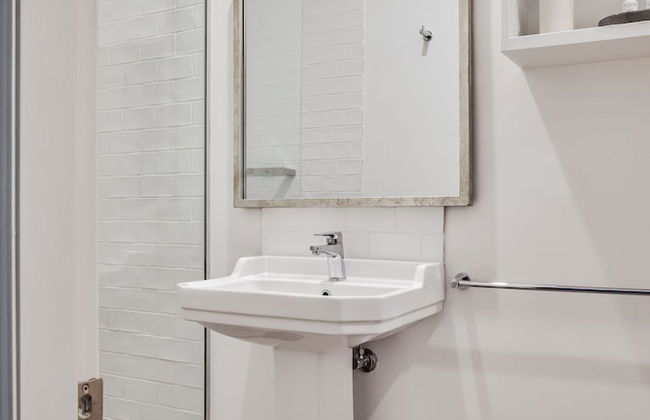
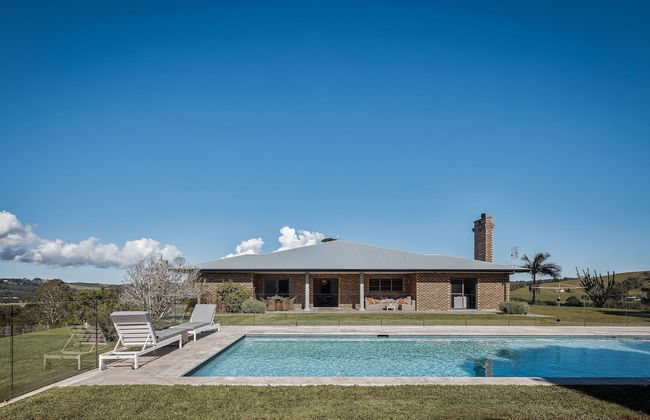
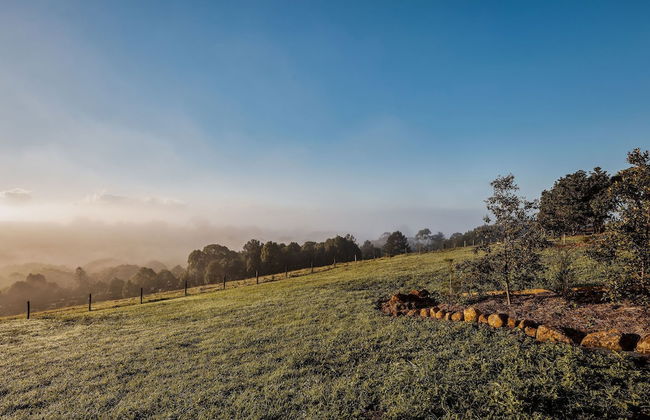
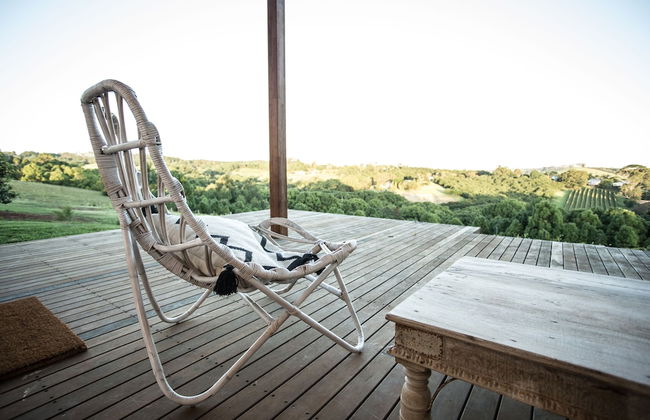
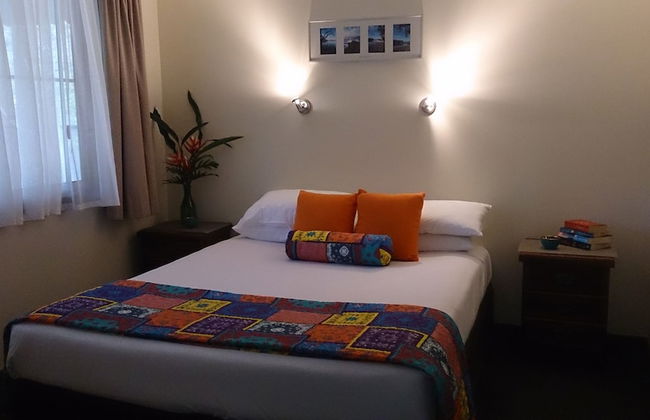
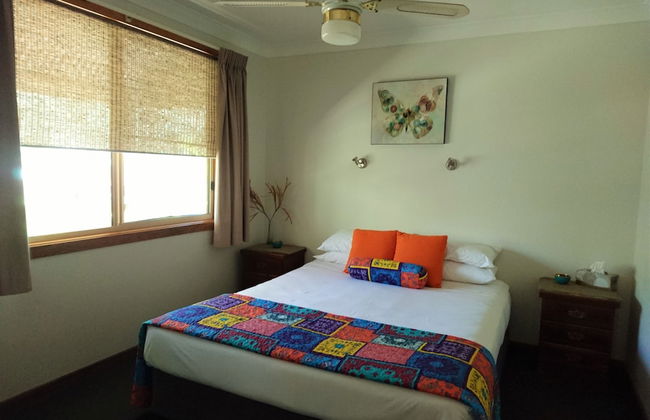
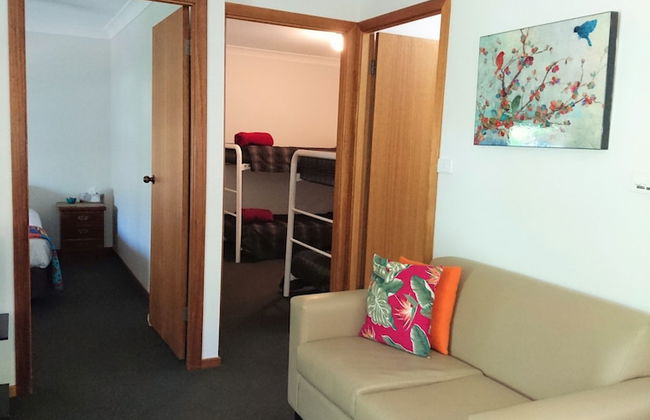
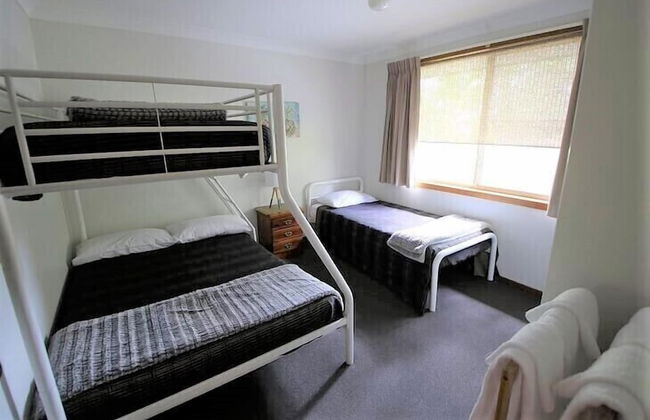
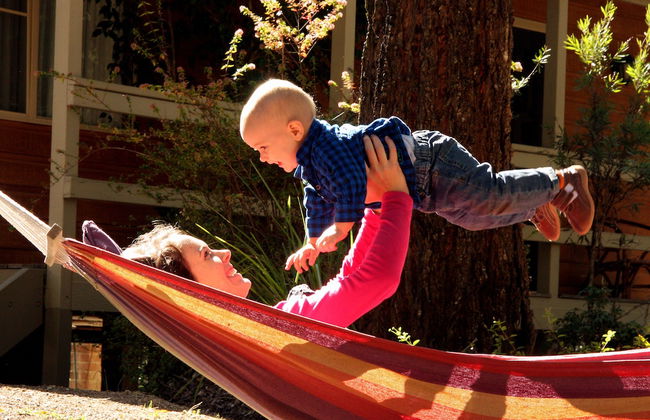
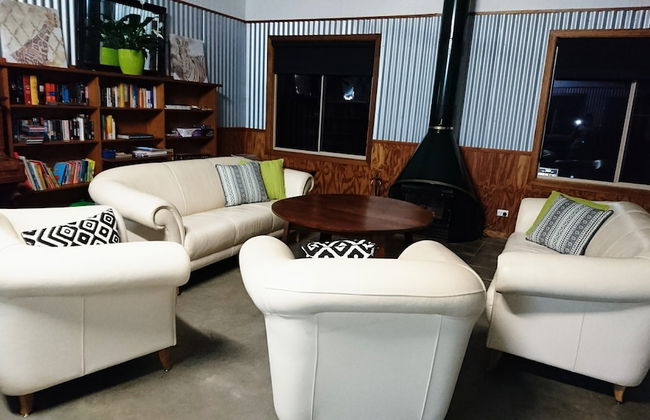
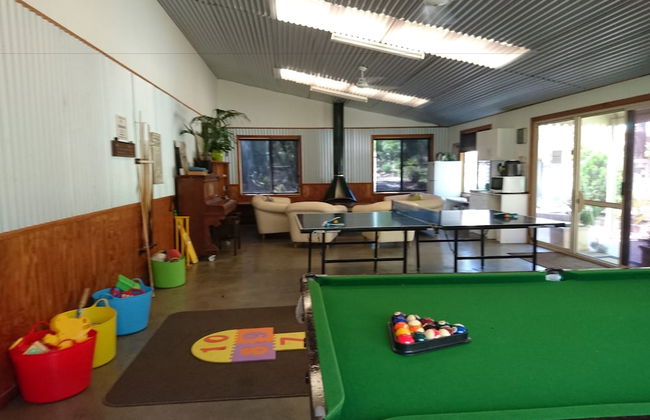
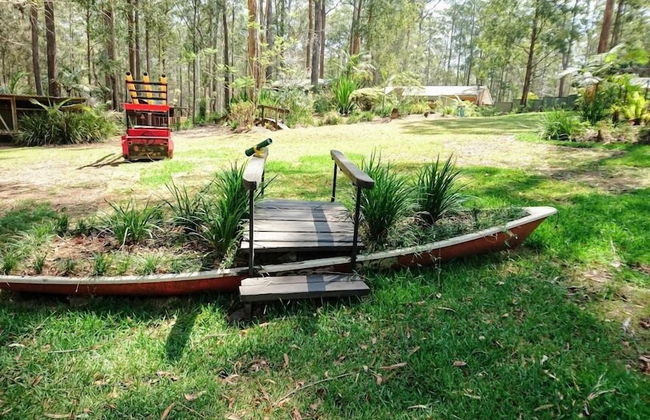
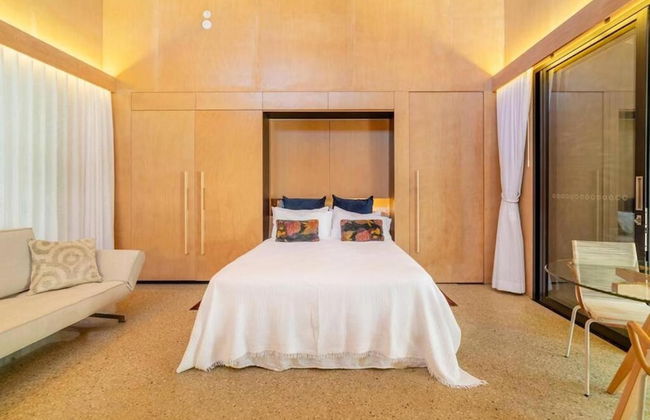
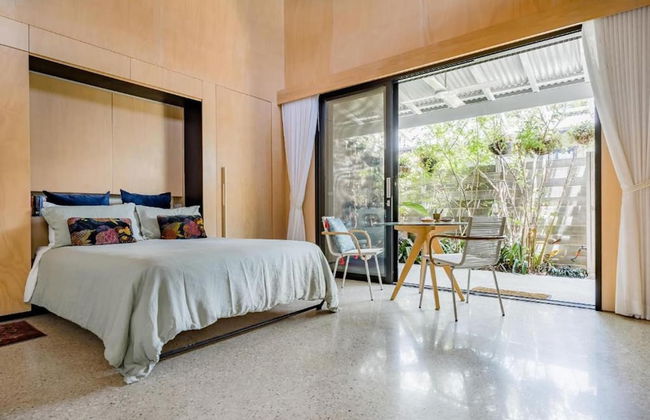
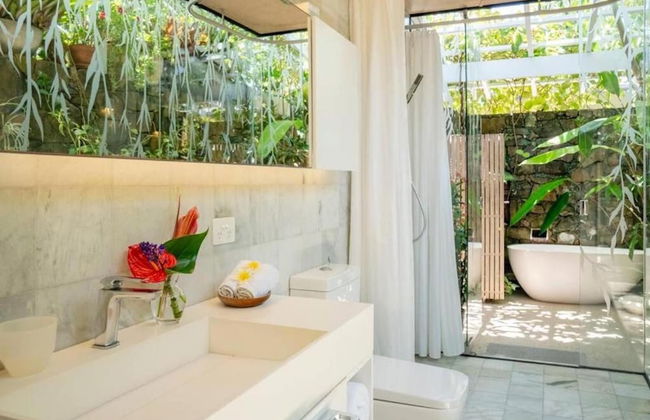
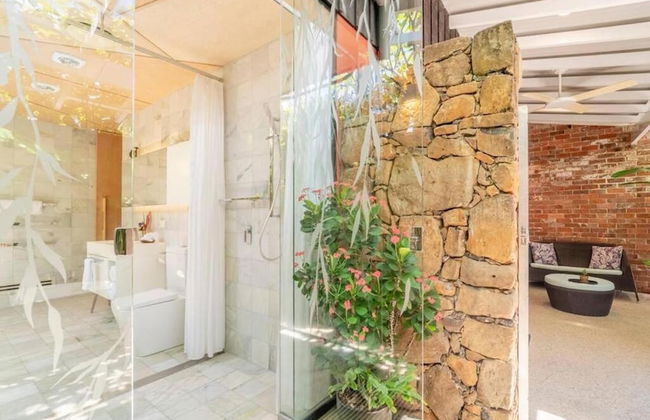
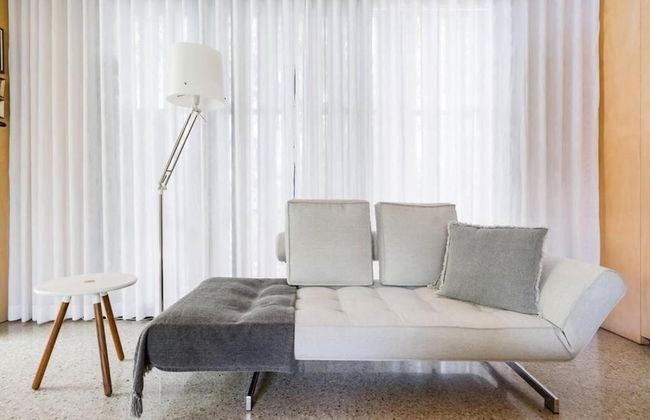
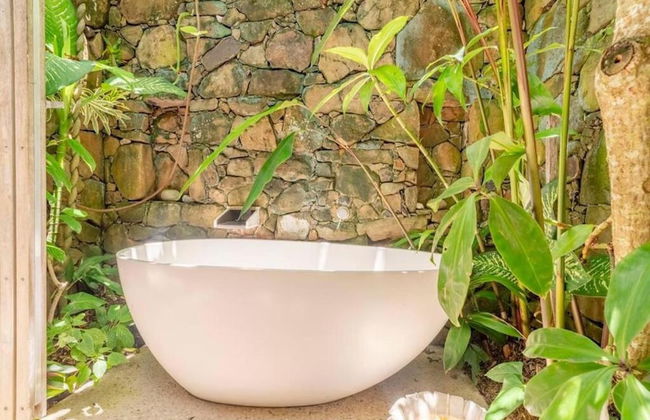
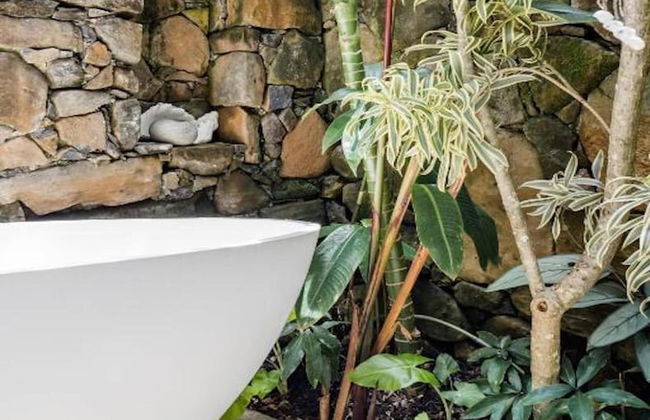
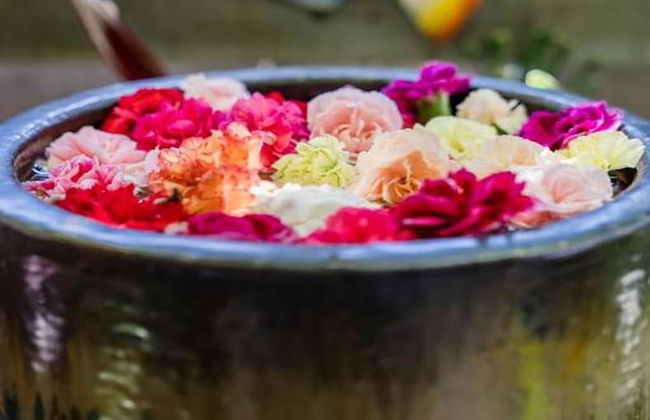
Werekataba
Mount Hutton
- 60 M2
- 4 pessoas
- Ar-condicionado
- Aquecimento
- Terraço
- Piscina
- Estacionamento
- Jardim
- Tv
- Máquina de lavar roupa
- Churrasco
- Lençóis
22 avaliações


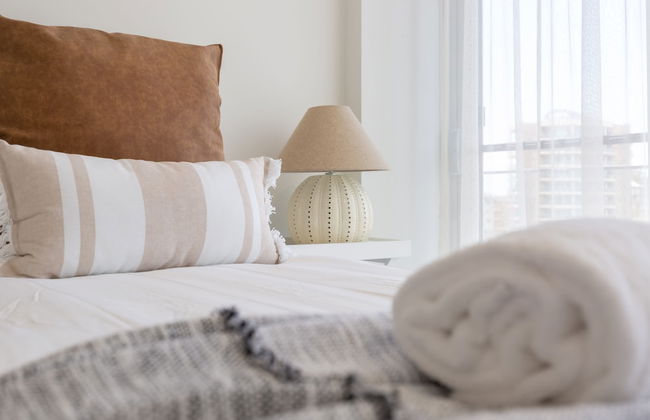


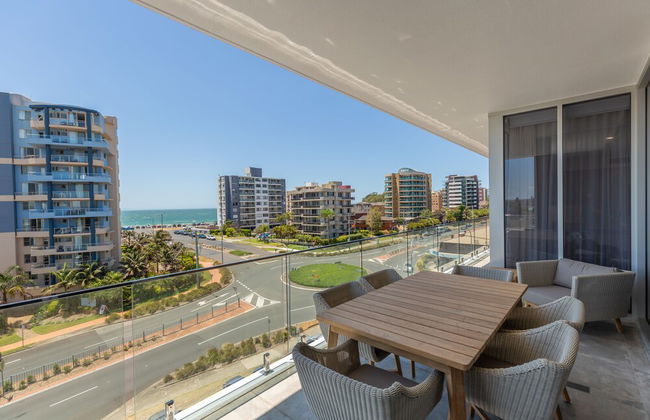
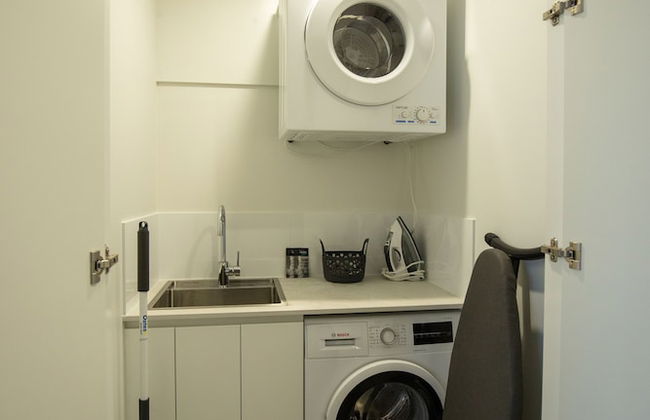
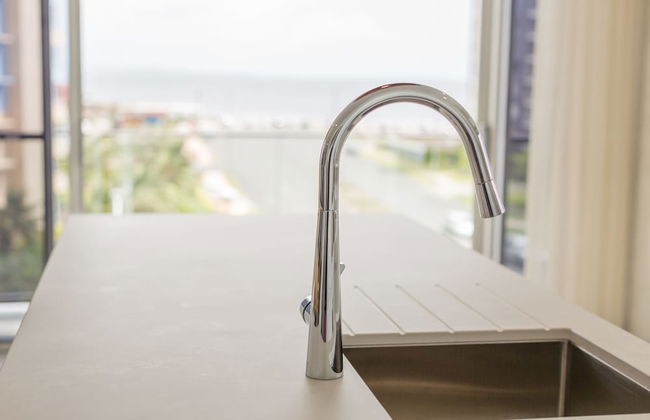


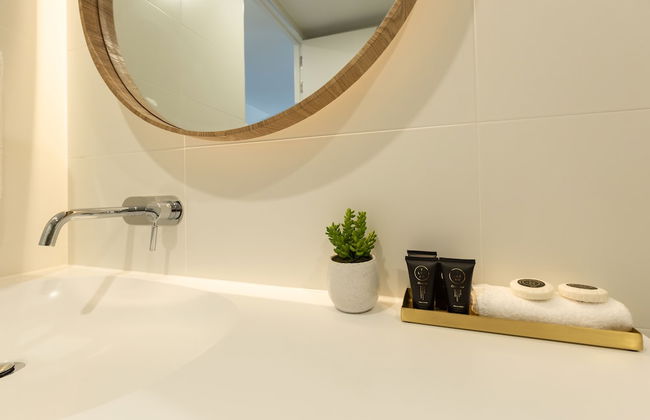


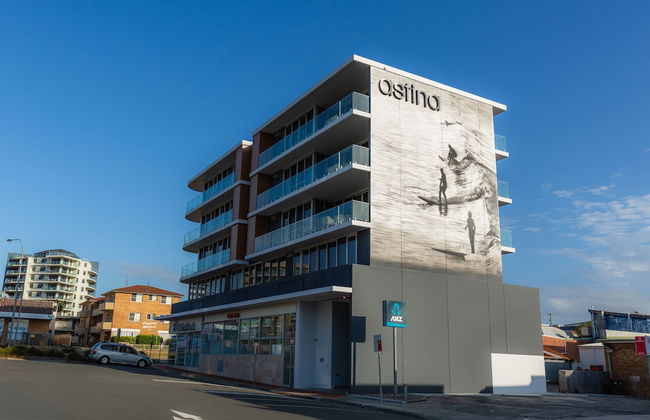


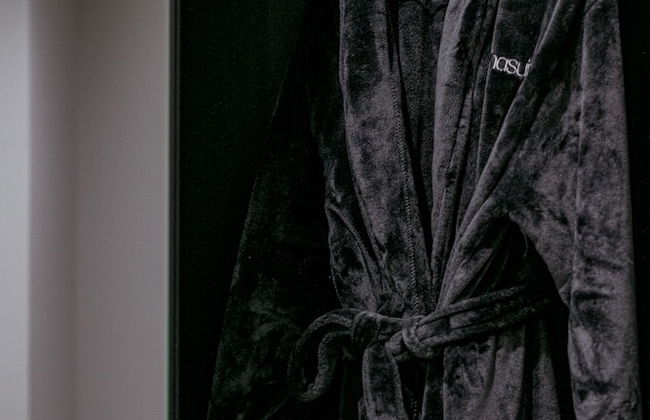
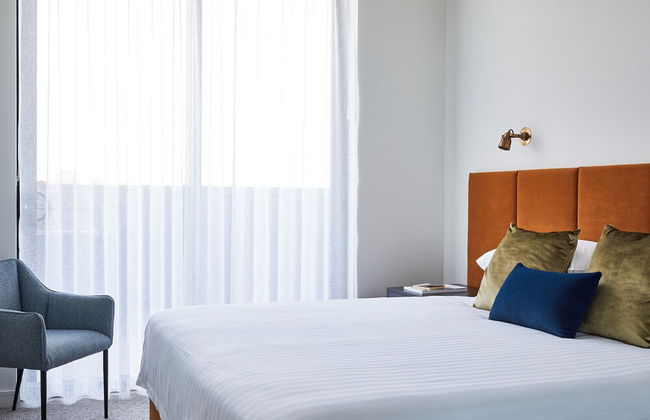
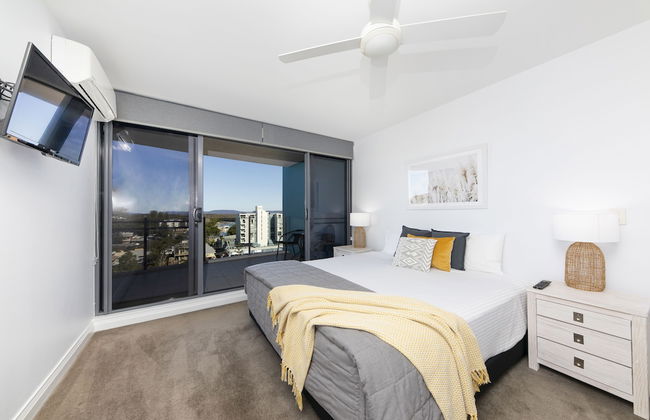
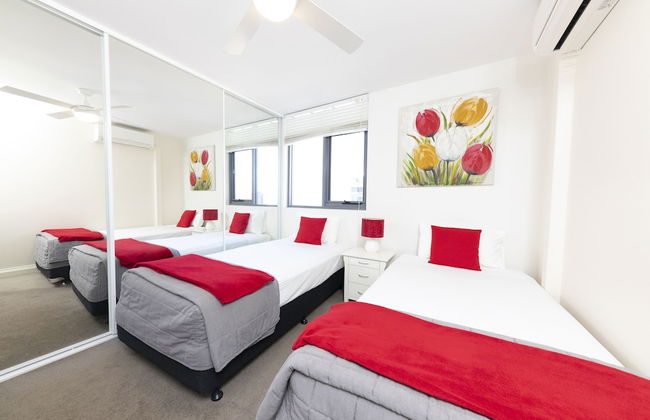
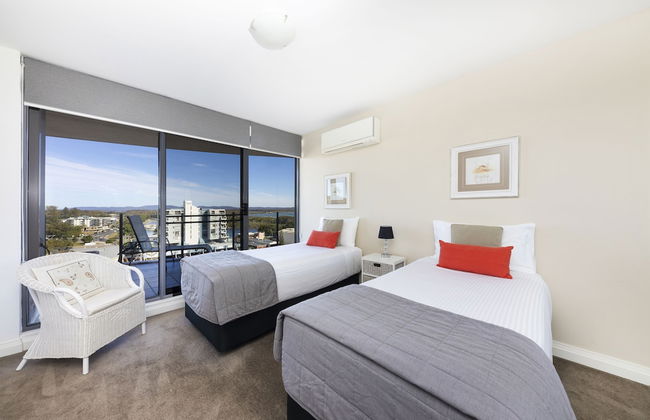
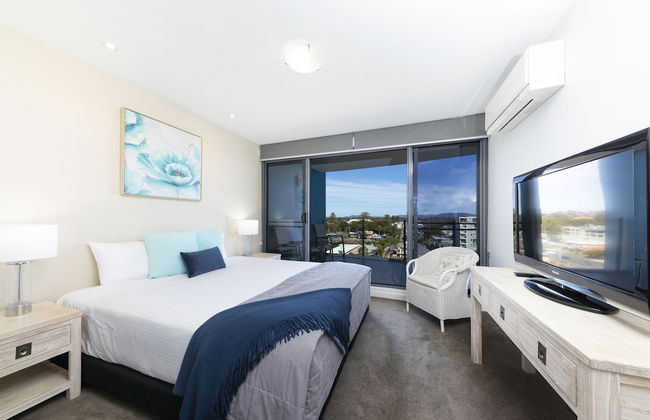
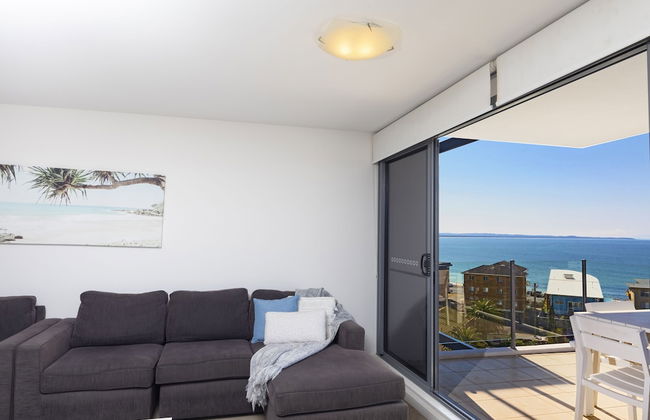
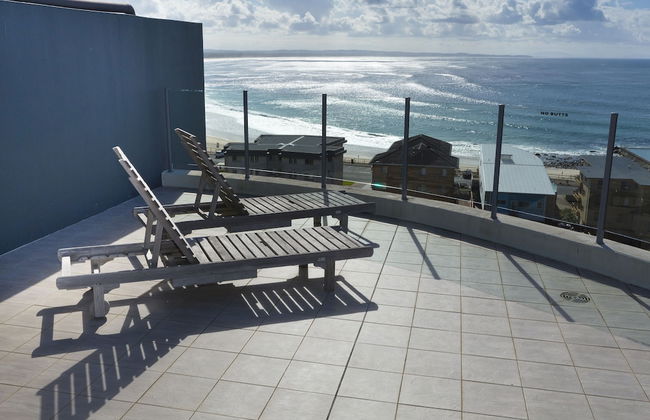
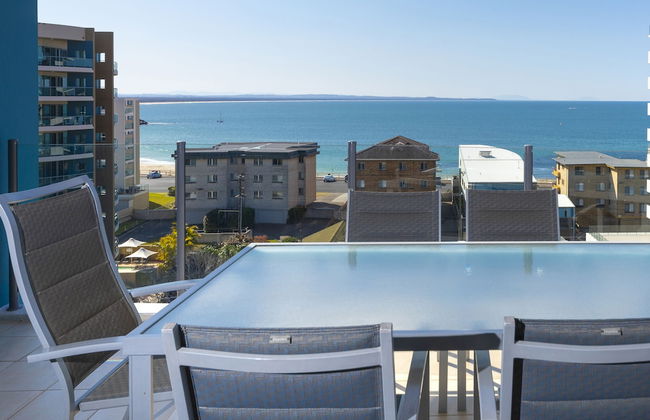
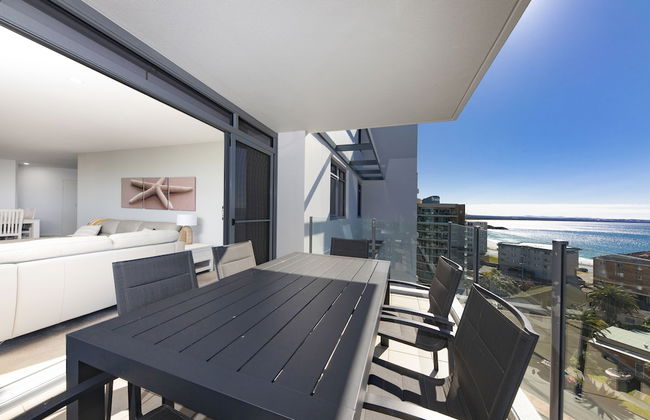
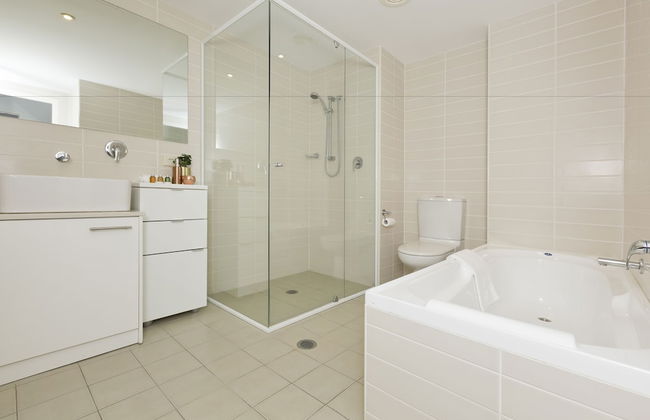
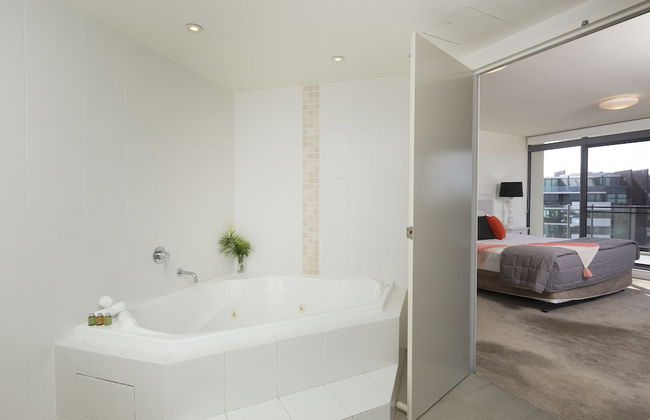
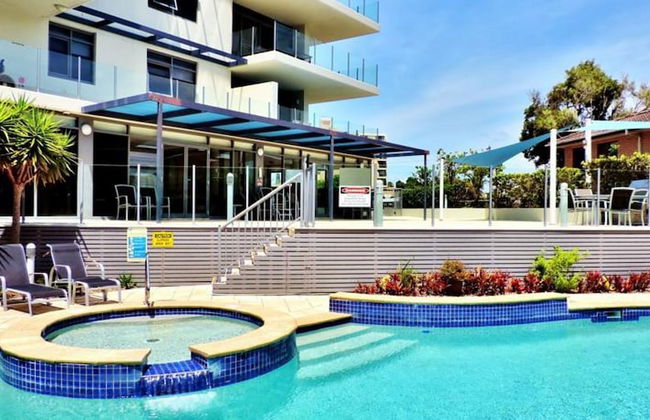
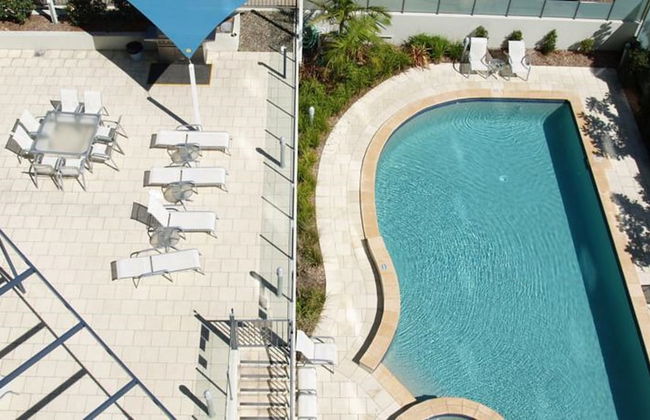
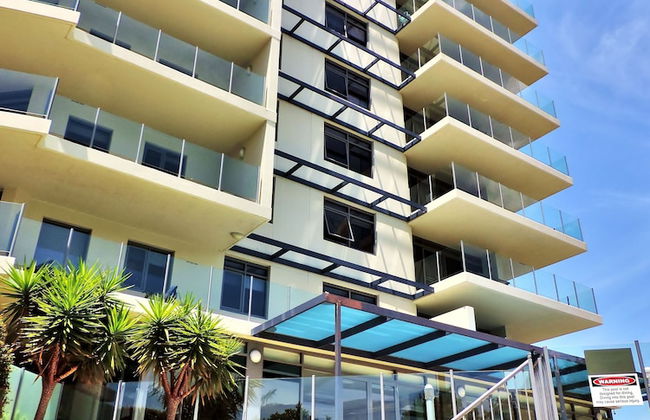
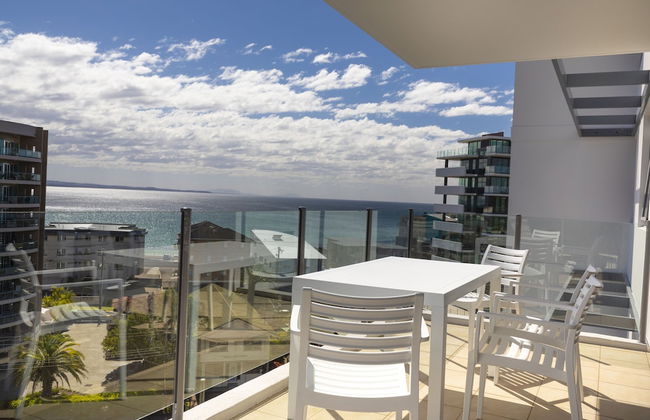
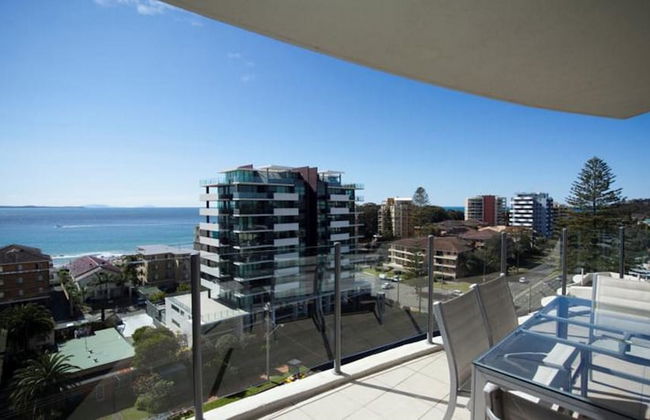
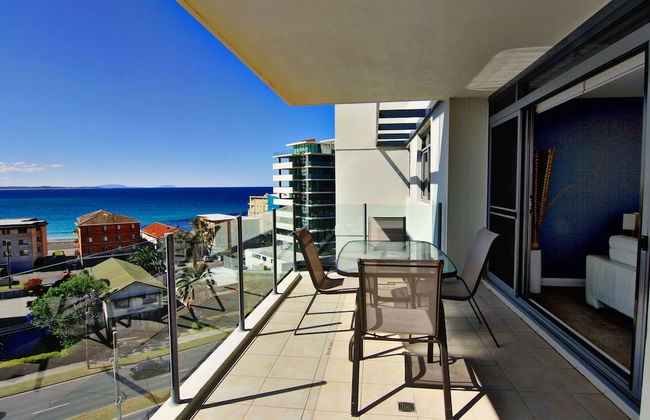
Astina Suites Forster
Forster - Forster - 230 m do centro
- 120 M2
- 6 pessoas
- Ar-condicionado
- Aquecimento
- Terraço
- Estacionamento
- Elevador
- Varanda
- Tv
- Máquina de lavar roupa
- Churrasco
- Toalhas
- Lençóis
71 avaliações


Cosy 2-Bedroom Apartment Homebush NSW
Sydney - North Strathfield - 10.4 km do centro
- 85 M2
- 6 pessoas
- Kitchenette
- Ar-condicionado
- Aquecimento
- Piscina
- Estacionamento
- Elevador
- Varanda
- Tv
- Máquina de lavar roupa
- Toalhas
- Lençóis
11 avaliações


Astina Suites
Sydney - Penrith - 48.4 km do centro
- 105 M2
- 6 pessoas
- Ar-condicionado
- Aquecimento
- Terraço
- Piscina
- Estacionamento
- Elevador
- Varanda
- Jardim
- Tv
- Máquina de lavar roupa
- Chaminé
- Toalhas
- Lençóis
258 avaliações


99 Acres Bangalow Retreat
Bangalow - Bangalow - 510 m do centro
- 4 pessoas
- Ar-condicionado
- Aquecimento
- Terraço
- Piscina
- Estacionamento
- Jardim
- Tv
- Toalhas
- Lençóis
162 avaliações


Peppertree at the Vintage
Pokolbin - Pokolbin - 4 km do centro
- 350 M2
- 8 pessoas
- Ar-condicionado
- Aquecimento
- Terraço
- Piscina
- Estacionamento
- Varanda
- Jardim
- Tv
- Máquina de lavar roupa
- Chaminé
- Churrasco
- Toalhas
- Lençóis
19 avaliações

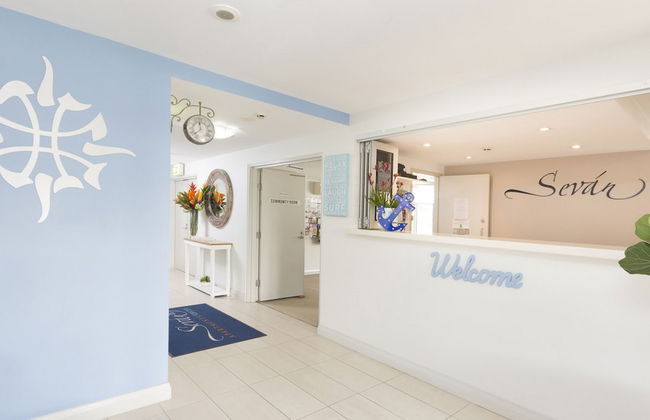
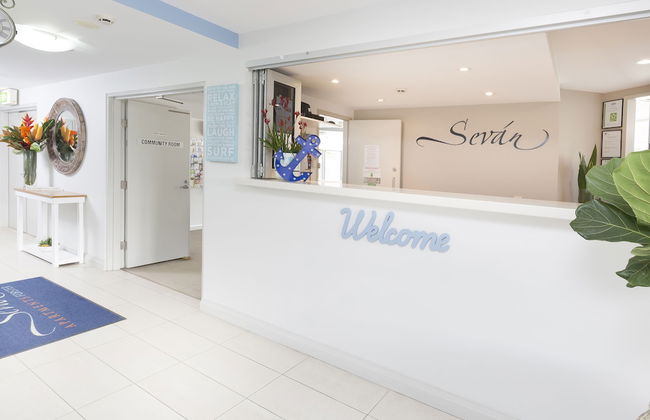


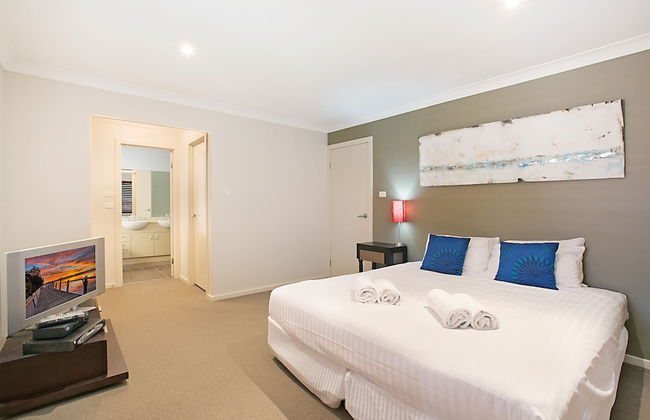
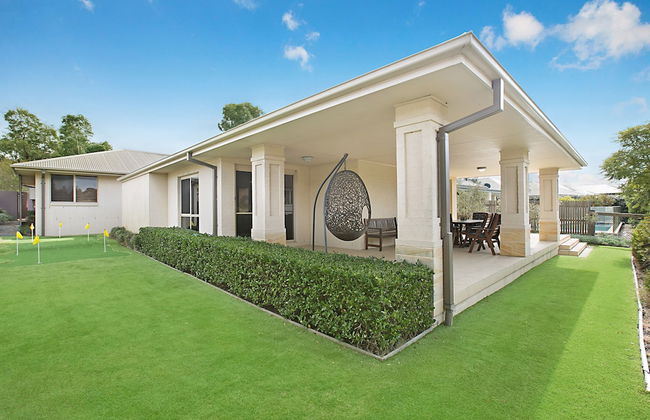
Sevan Apartments
Forster - Forster - No centro
- 528 M2
- 8 pessoas
- Ar-condicionado
- Terraço
- Piscina
- Estacionamento
- Elevador
- Varanda
- Jardim
- Tv
- Máquina de lavar roupa
- Churrasco
- Toalhas
- Lençóis
327 avaliações


The Beach Cabarita
Cabarita Beach
- 408 M2
- 8 pessoas
- Ar-condicionado
- Terraço
- Piscina
- Estacionamento
- Elevador
- Varanda
- Jardim
- Tv
- Máquina de lavar roupa
- Churrasco
- Toalhas
- Lençóis
323 avaliações


Albacore Apartments
Merimbula - Merimbula
- 5 pessoas
- Kitchenette
- Ar-condicionado
- Aquecimento
- Terraço
- Piscina
- Estacionamento
- Elevador
- Varanda
- Jardim
- Tv
- Máquina de lavar roupa
- Churrasco
- Toalhas
181 avaliações


Meriton Suites Mascot Central
Sydney - Mascot - 5.8 km do centro
- 53 M2
- 2 pessoas
- Ar-condicionado
- Aquecimento
- Terraço
- Piscina
- Estacionamento
- Elevador
- Jardim
- Tv
- Máquina de lavar roupa
- Toalhas
- Lençóis
2801 avaliações


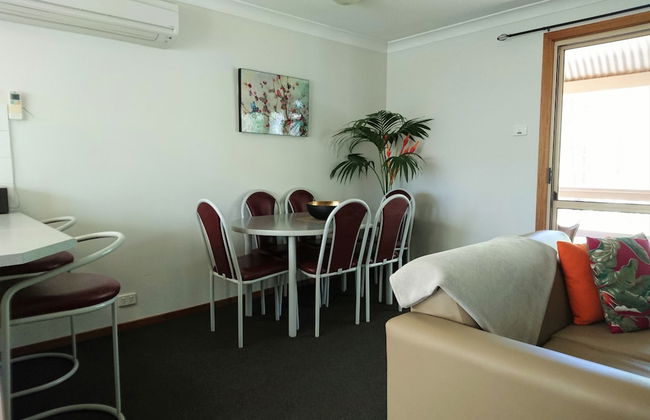
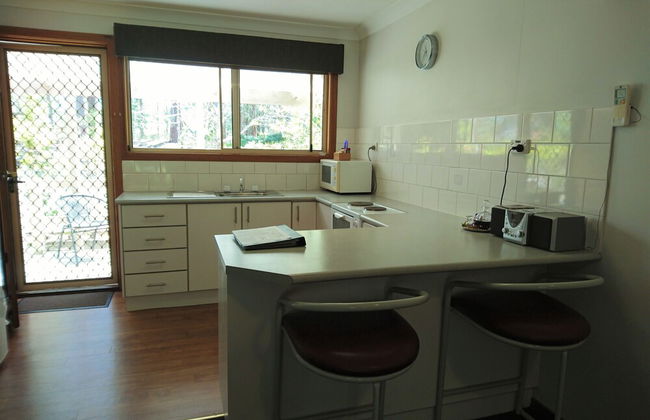


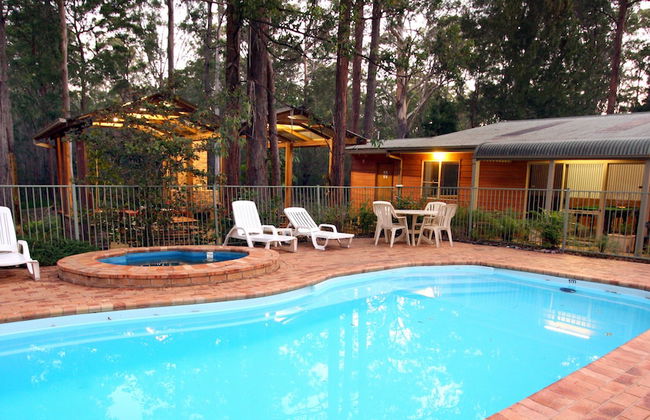
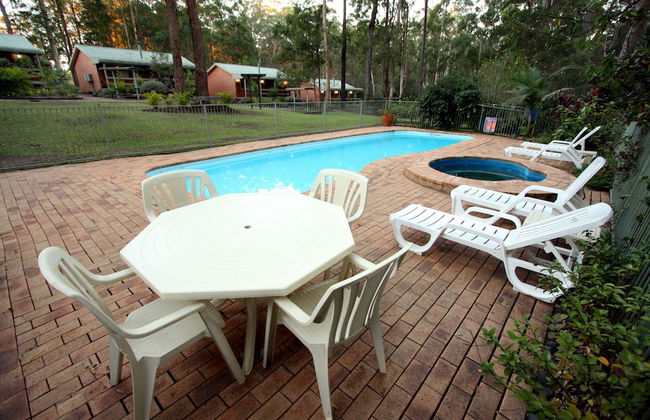


Chiltern Lodge
Koorainghat - 3 km do centro
- 6 pessoas
- Ar-condicionado
- Aquecimento
- Terraço
- Piscina
- Estacionamento
- Varanda
- Jardim
- Tv
- Máquina de lavar roupa
- Chaminé
- Churrasco
- Toalhas
- Lençóis
12 avaliações


The Sampson - Orange
Orange - Orange - No centro
- 100 M2
- 4 pessoas
- Ar-condicionado
- Aquecimento
- Terraço
- Estacionamento
- Jardim
- Tv
- Máquina de lavar roupa
- Churrasco
- Toalhas
- Lençóis
24 avaliações


Buhwi Bira Byron Bay Studio - Central
Byron Bay - Byron Bay
- 68 M2
- 2 pessoas
- Kitchenette
- Ar-condicionado
- Aquecimento
- Terraço
- Estacionamento
- Jardim
- Tv
- Máquina de lavar roupa
- Churrasco
- Toalhas
- Lençóis
11 avaliações
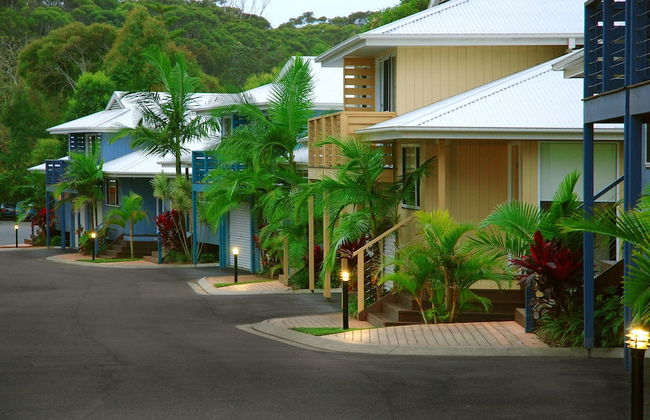
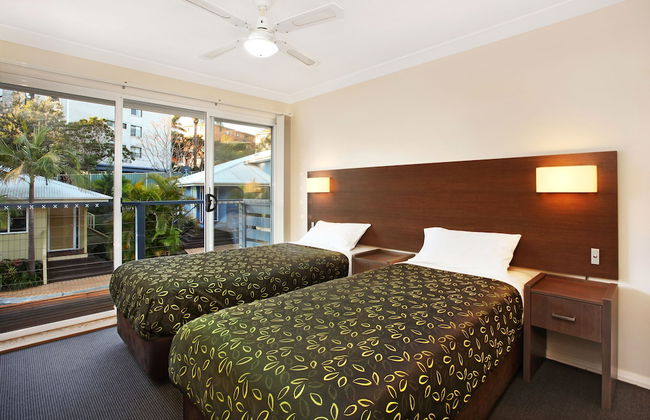


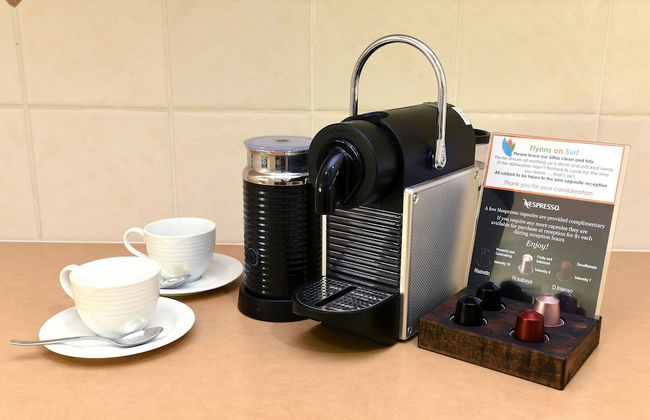


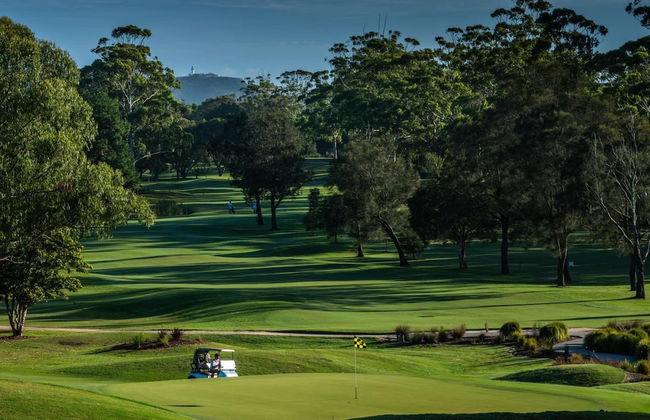
Flynns on Surf Beach Villas
Port Macquarie - Port Macquarie - 1.6 km do centro
- 140 M2
- 6 pessoas
- Ar-condicionado
- Aquecimento
- Terraço
- Piscina
- Estacionamento
- Varanda
- Jardim
- Tv
- Máquina de lavar roupa
- Churrasco
- Toalhas
- Lençóis
769 avaliações


Quest Woolooware Bay
Sydney - Woolooware - 19.3 km do centro
- 98 M2
- 6 pessoas
- Kitchenette
- Ar-condicionado
- Aquecimento
- Terraço
- Estacionamento
- Elevador
- Varanda
- Jardim
- Tv
- Máquina de lavar roupa
- Toalhas
- Lençóis
174 avaliações


Tindarra Resort
Moama - Moama - 700 m do centro
- 7 pessoas
- Kitchenette
- Ar-condicionado
- Aquecimento
- Terraço
- Piscina
- Estacionamento
- Varanda
- Jardim
- Tv
- Máquina de lavar roupa
- Churrasco
- Toalhas
- Lençóis
83 avaliações


Bangalay Luxury Villas
Shoalhaven Heads - Shoalhaven Heads
- 6 pessoas
- Ar-condicionado
- Aquecimento
- Terraço
- Piscina
- Estacionamento
- Jardim
- Tv
- Máquina de lavar roupa
- Chaminé
- Toalhas
- Lençóis
29 avaliações


Bayview Apartments Merimbula
Merimbula - Merimbula
- 60 M2
- 4 pessoas
- Ar-condicionado
- Aquecimento
- Terraço
- Piscina
- Estacionamento
- Varanda
- Jardim
- Tv
- Máquina de lavar roupa
- Churrasco
- Toalhas
- Lençóis
42 avaliações


Meriton Suites Liverpool
Sydney - Liverpool - 26.4 km do centro
- 113 M2
- 6 pessoas
- Ar-condicionado
- Aquecimento
- Piscina
- Estacionamento
- Elevador
- Varanda
- Tv
- Máquina de lavar roupa
- Toalhas
- Lençóis
290 avaliações


The Boathouse Luxury Apartments
Tea Gardens - Tea Gardens - No centro
- 6 pessoas
- Ar-condicionado
- Aquecimento
- Terraço
- Piscina
- Estacionamento
- Elevador
- Varanda
- Tv
- Máquina de lavar roupa
- Churrasco
- Toalhas
- Lençóis
8 avaliações