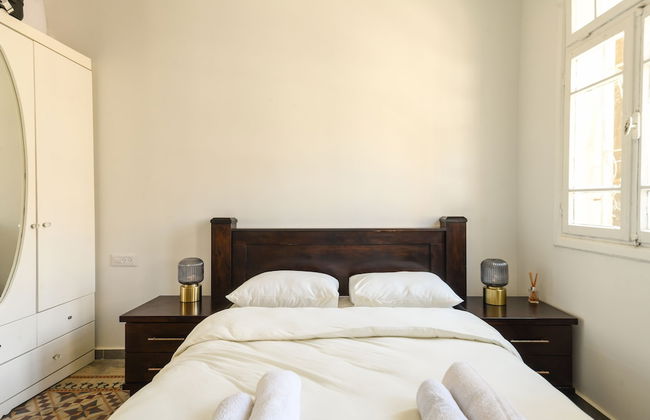
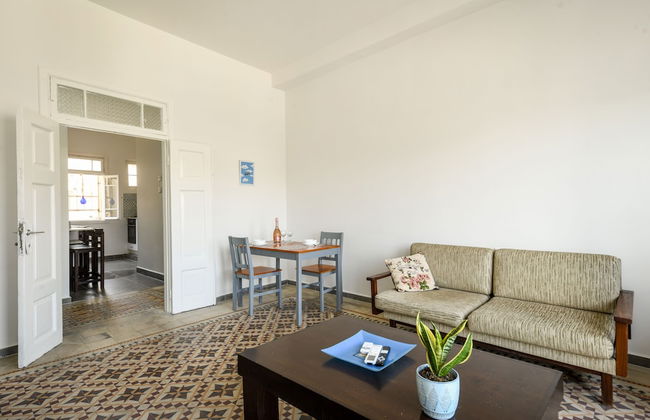
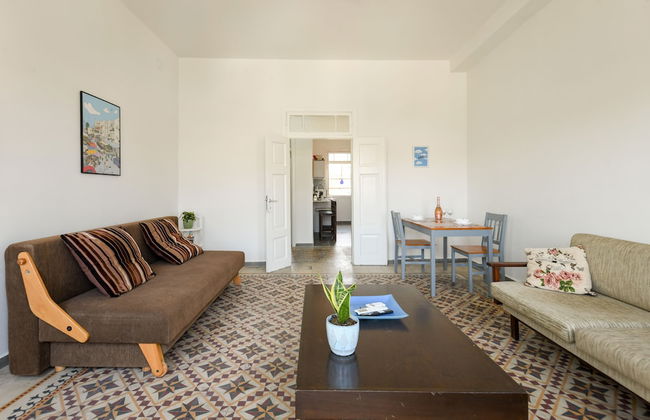
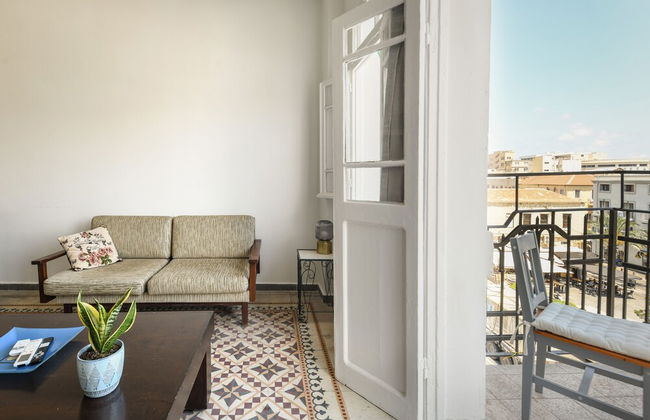
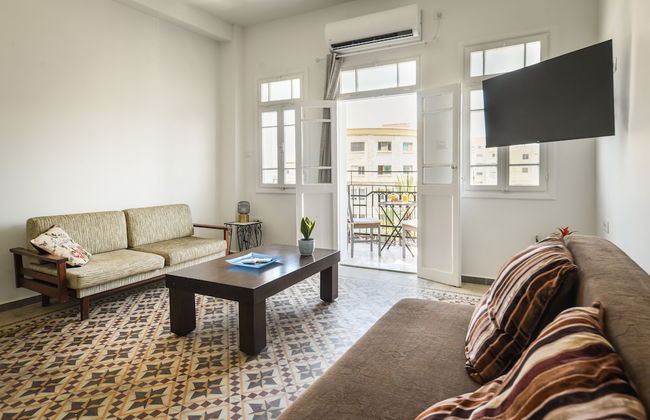
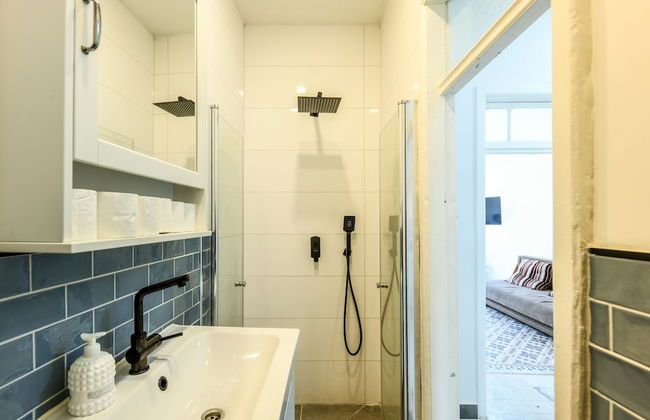
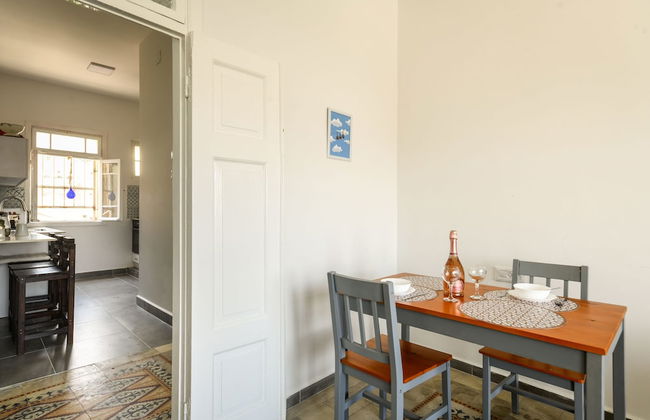
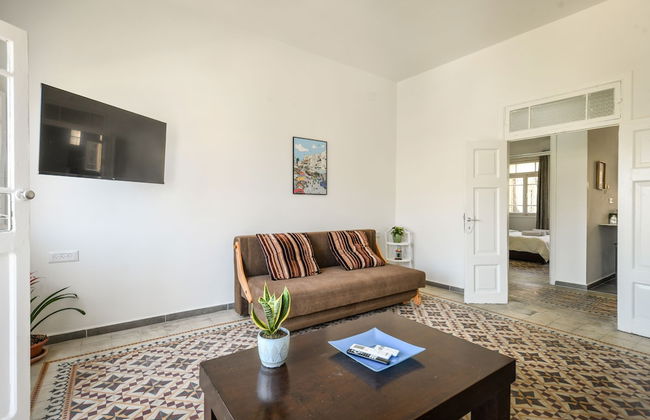
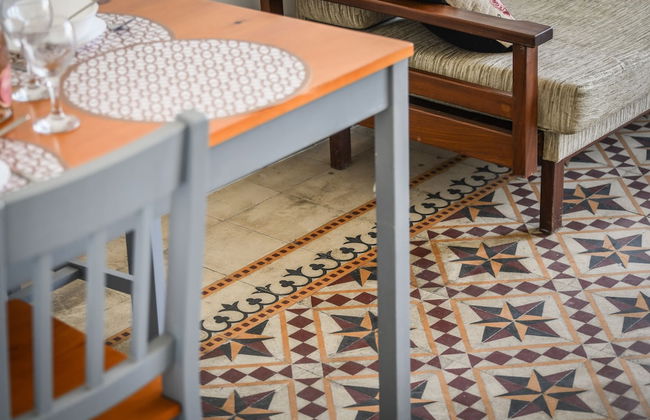
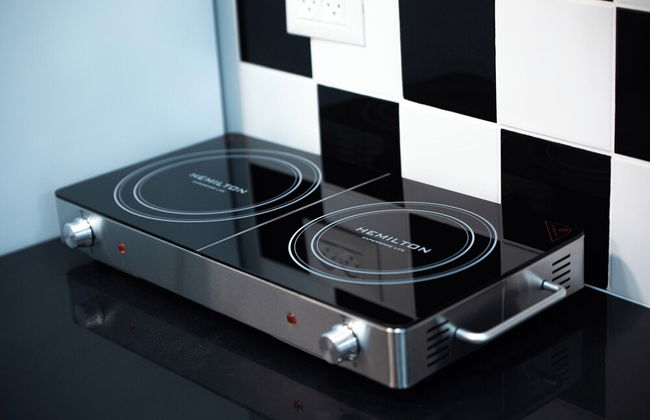
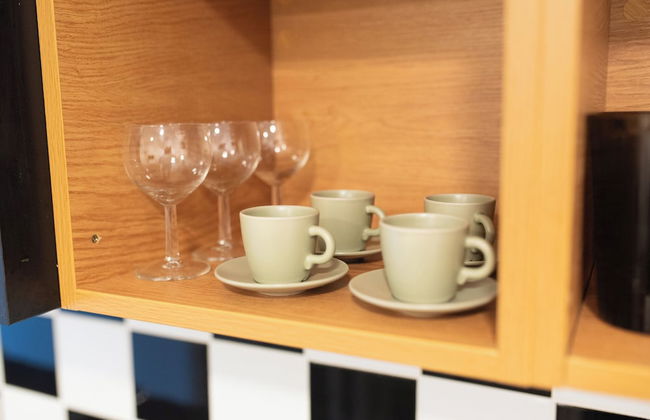
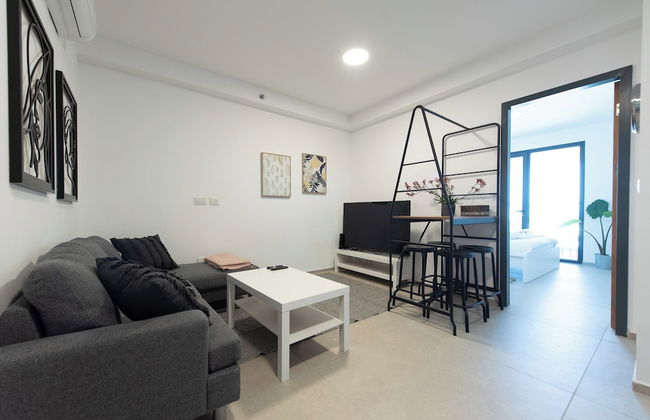
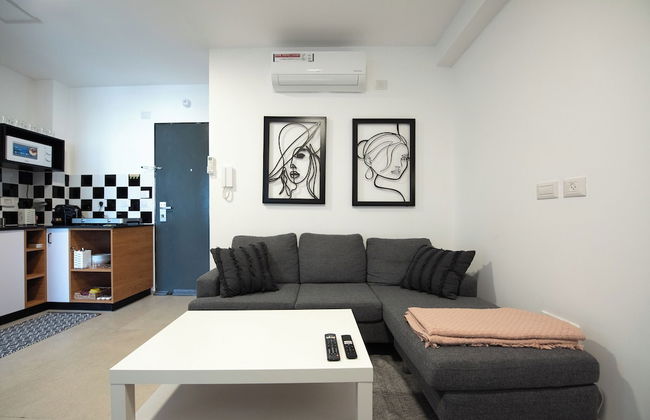
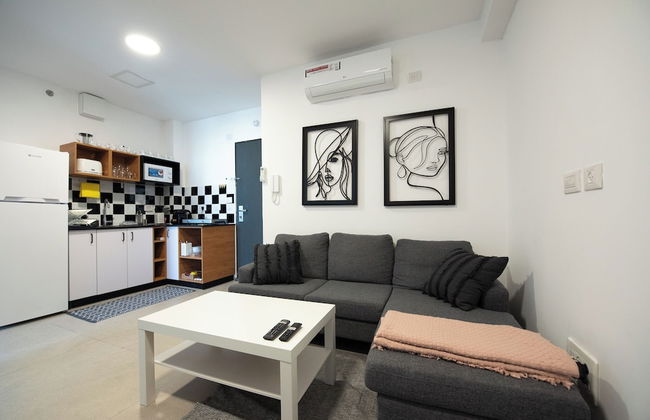
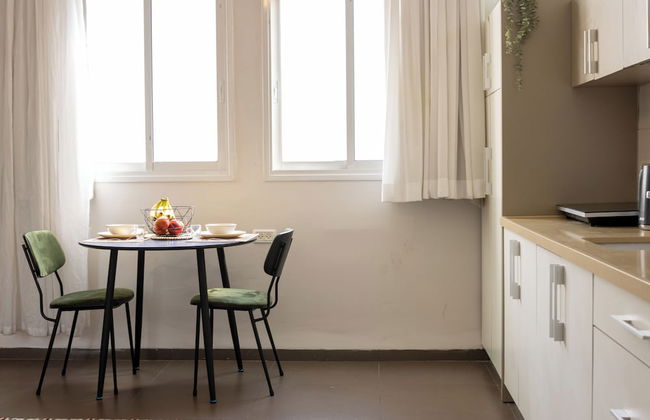
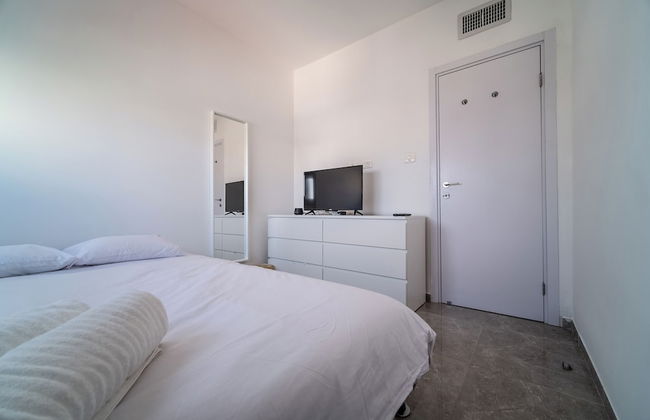
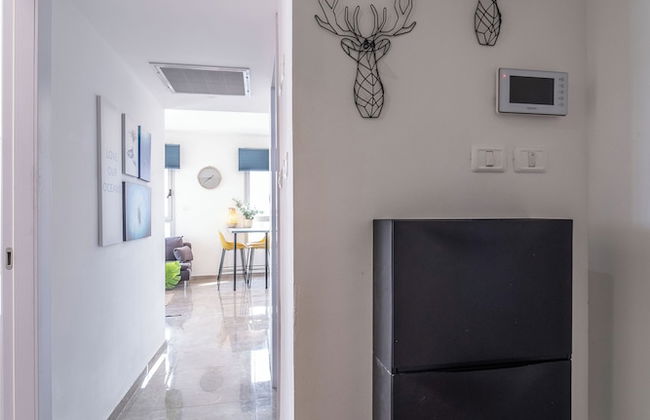
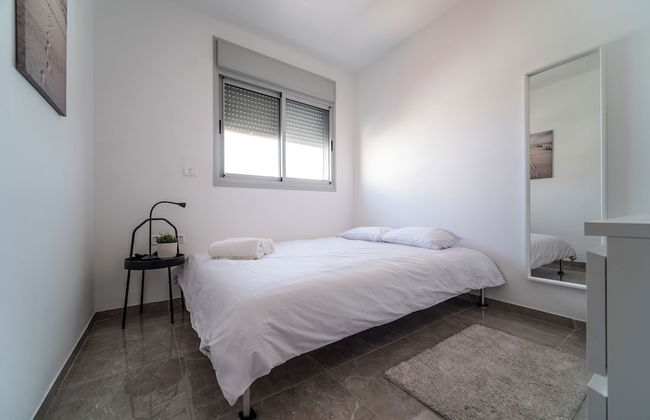
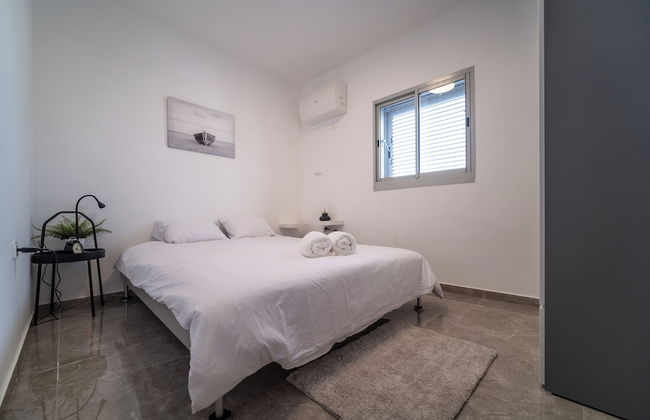
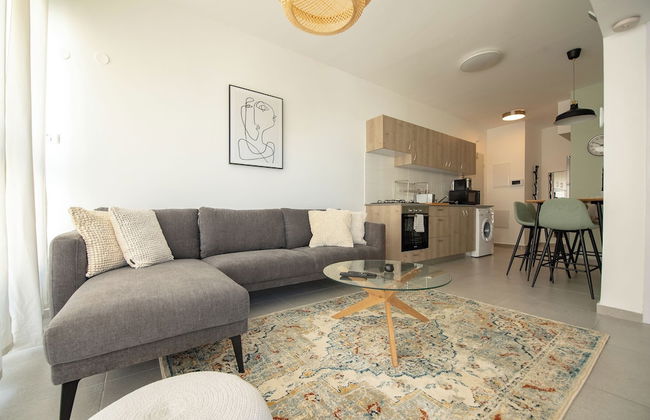
12 Apartamentos em Old City


Cape Dor Haifa
Haifa - Old City - 1.8 km do centro
- 8 pessoas
- Kitchenette
- Ar-condicionado
- Aquecimento
- Terraço
- Estacionamento
- Elevador
- Varanda
- Tv
2 avaliações


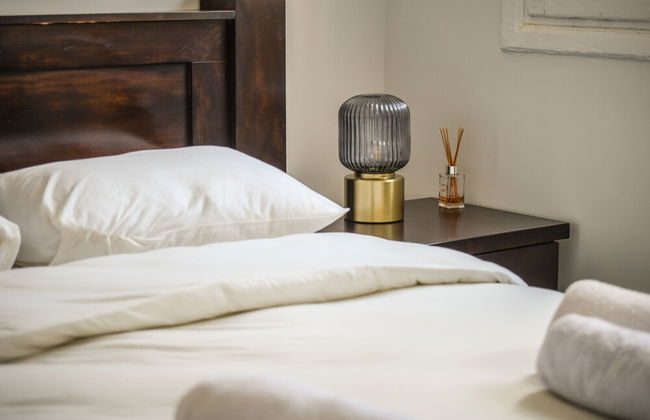
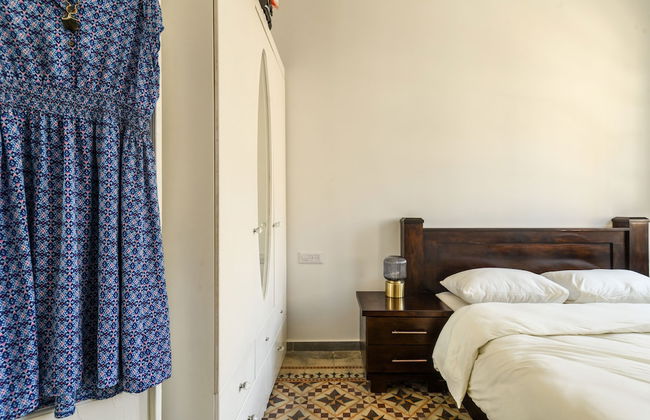
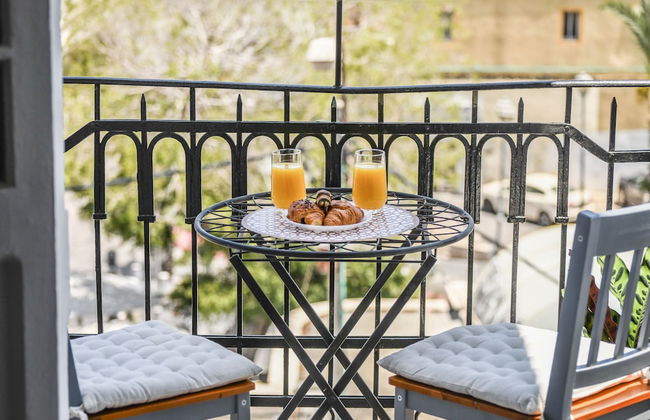
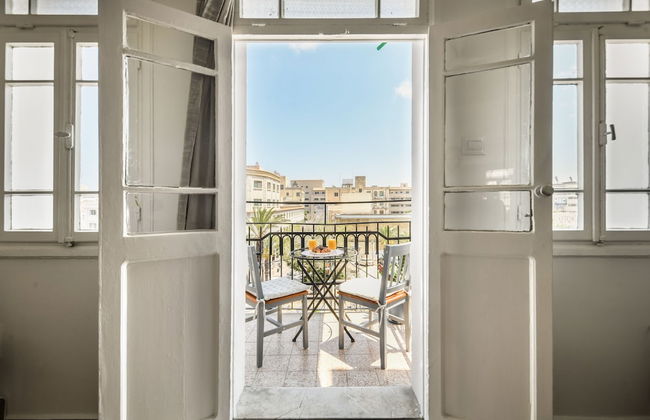
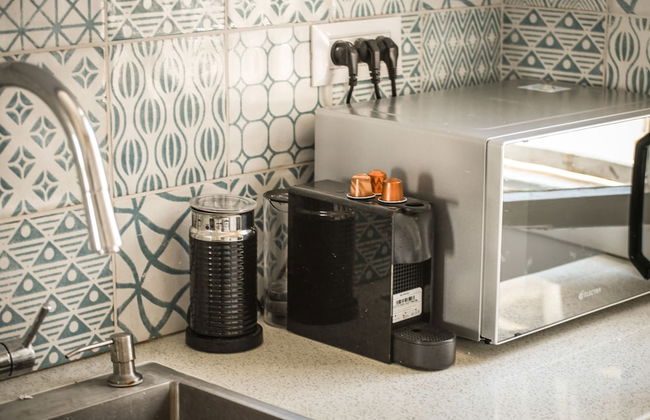
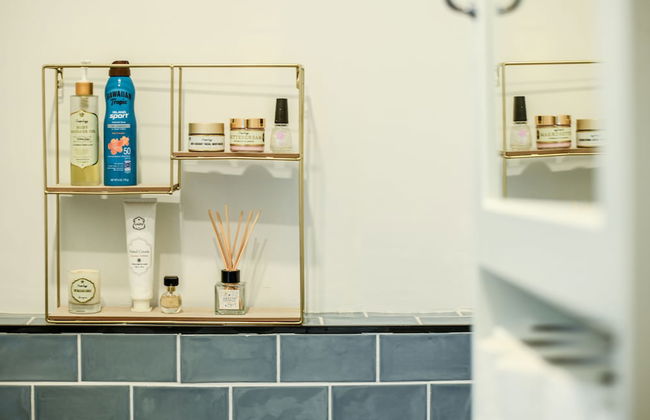
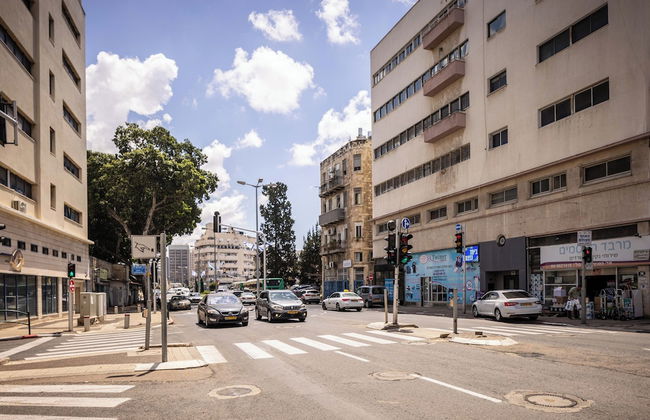
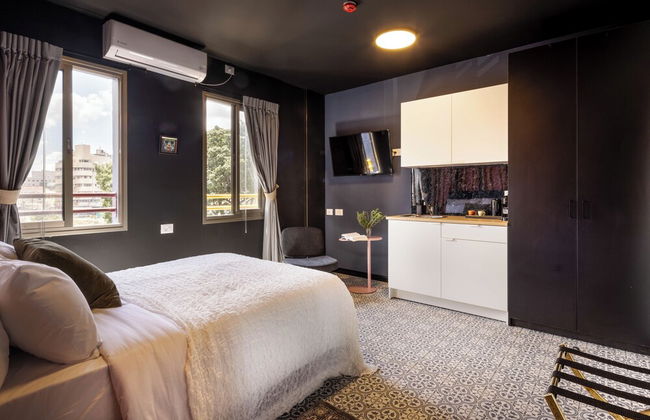
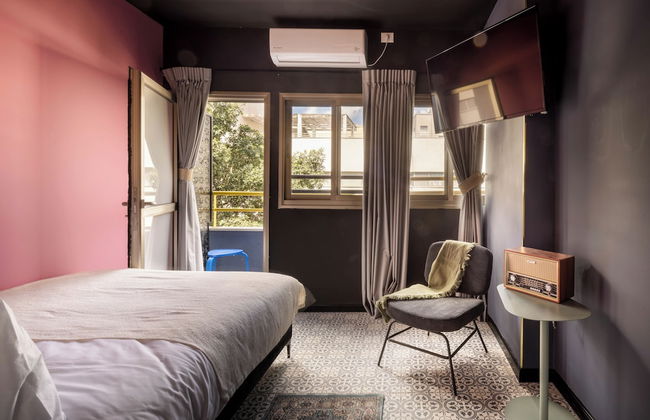
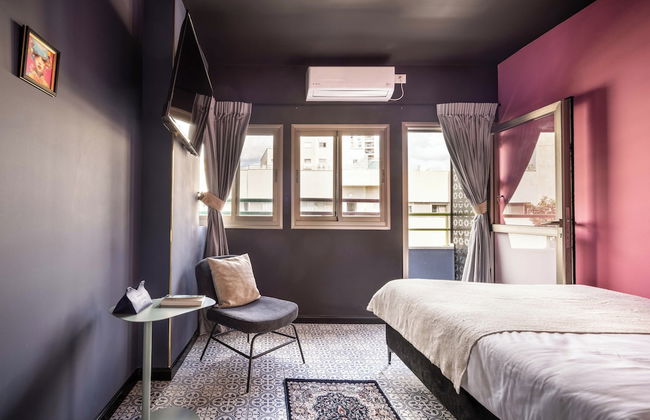
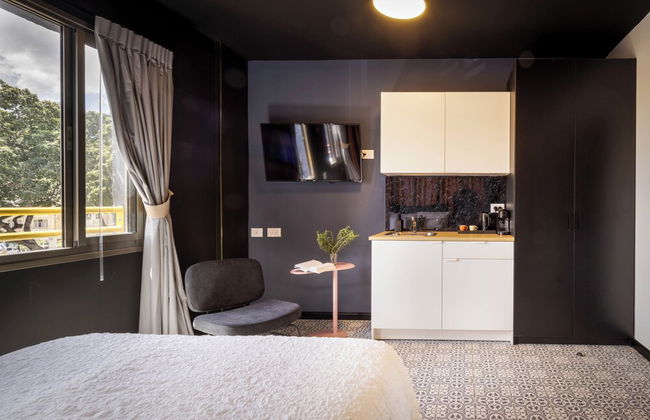
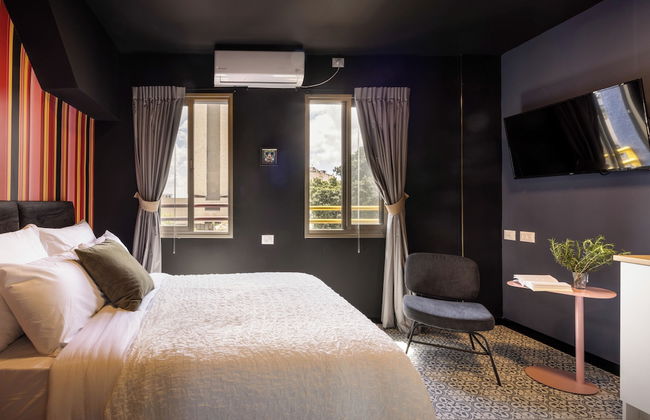
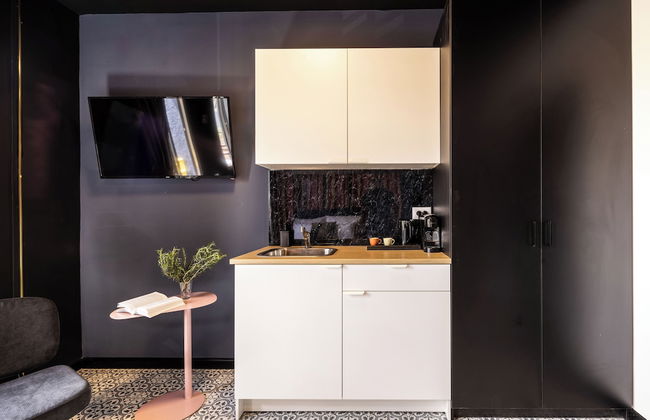
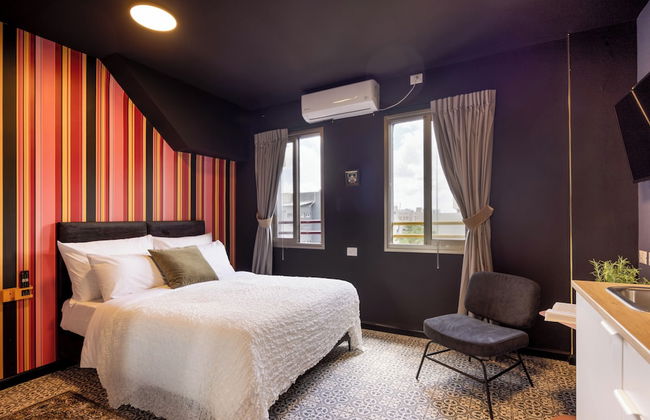
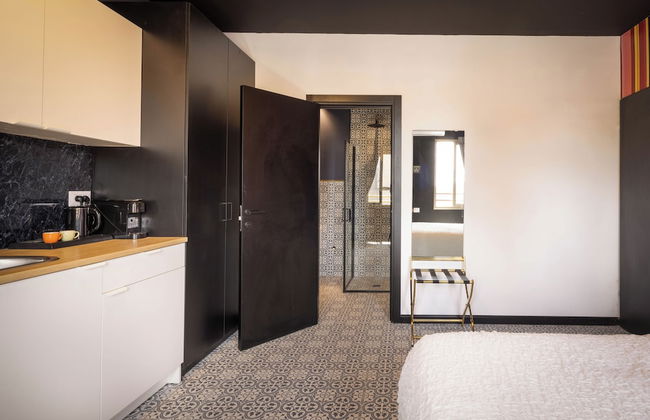
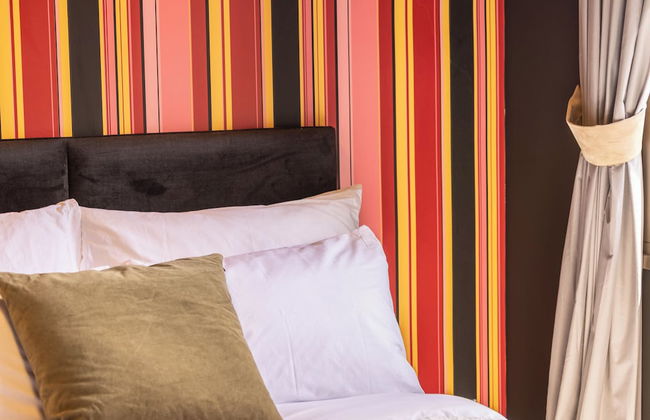
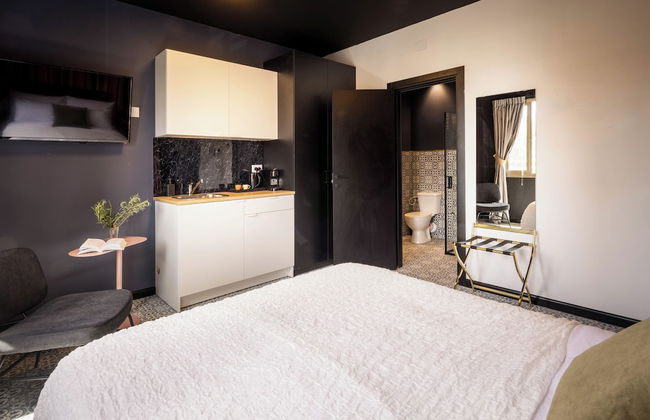
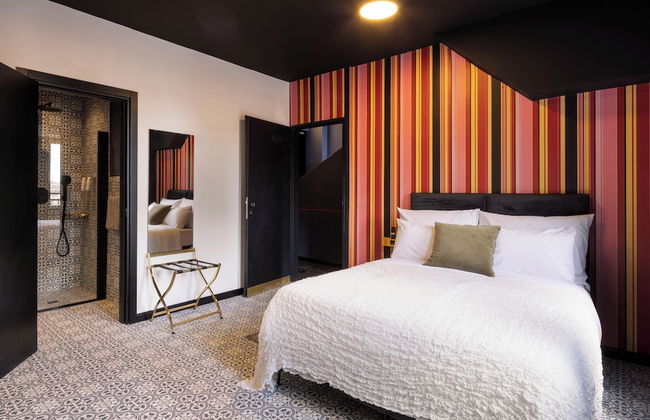
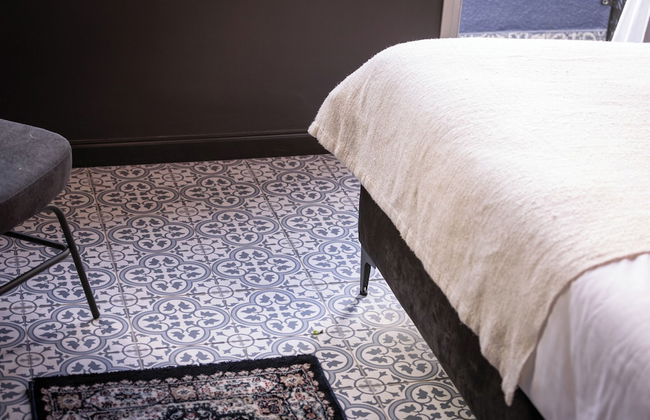
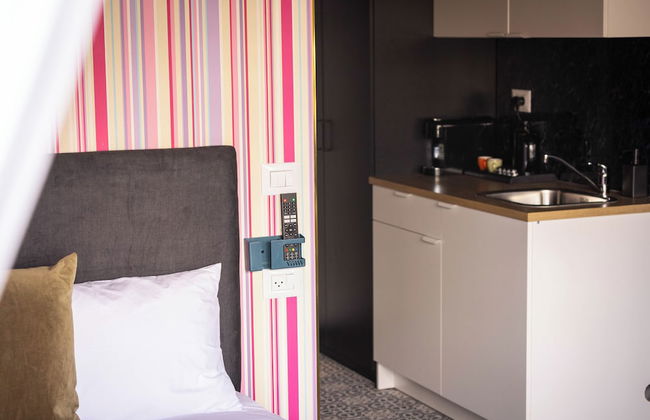
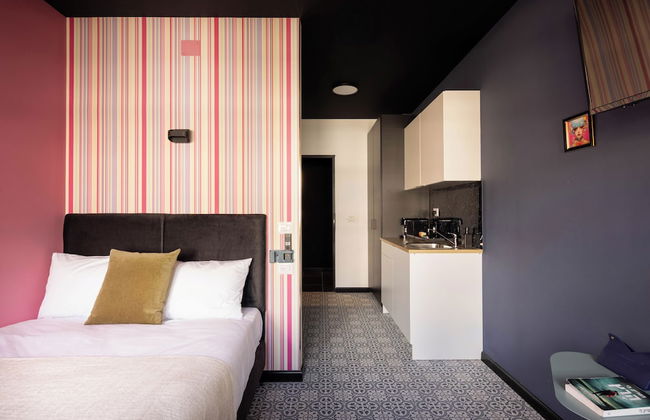
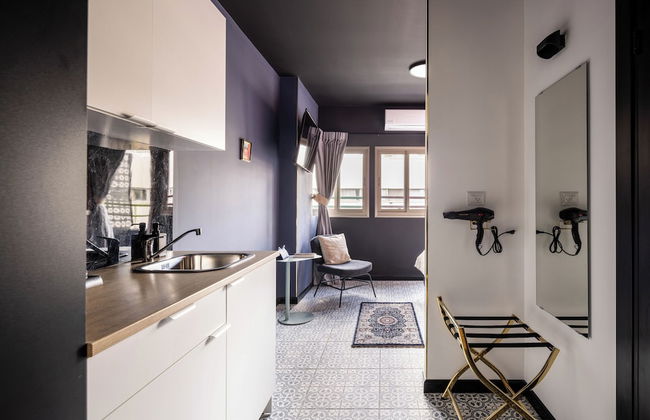
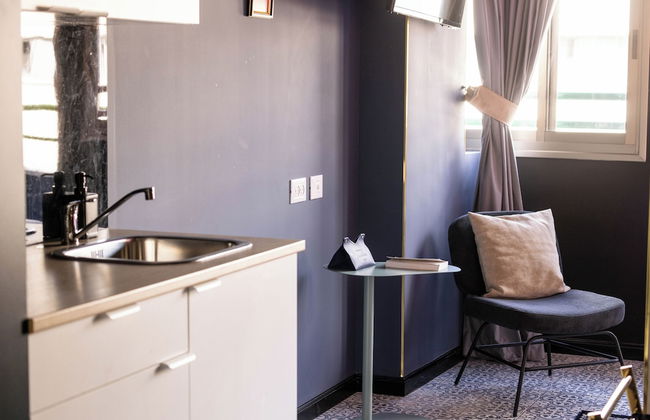
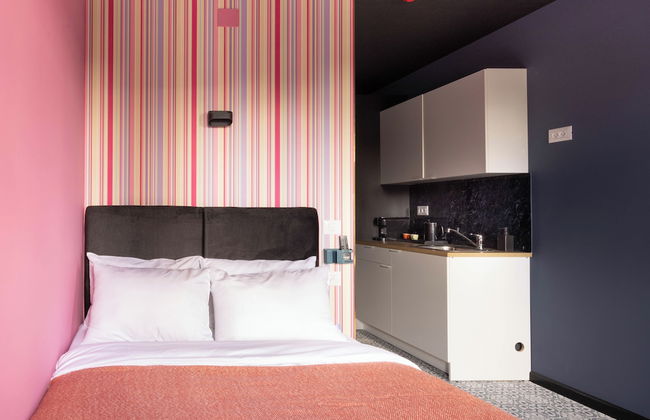
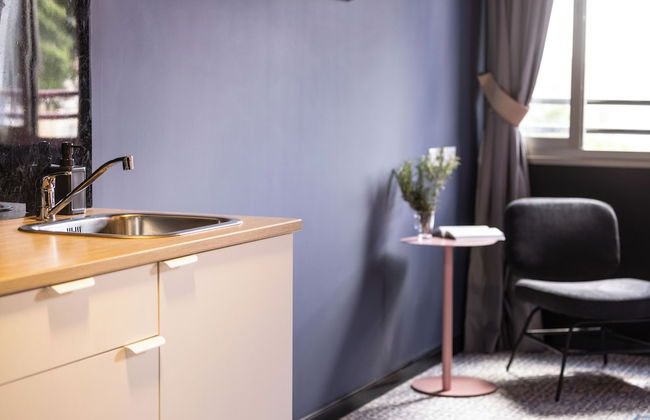
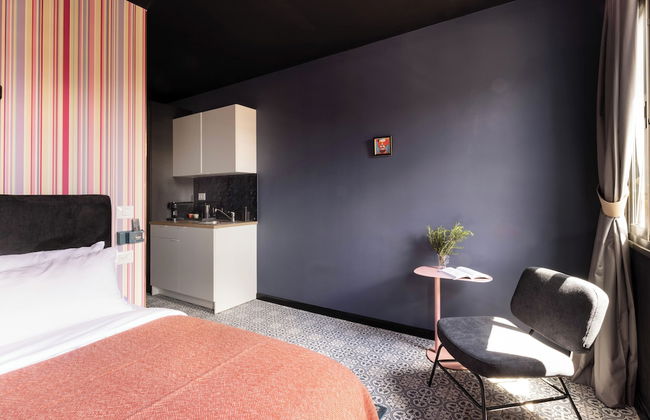
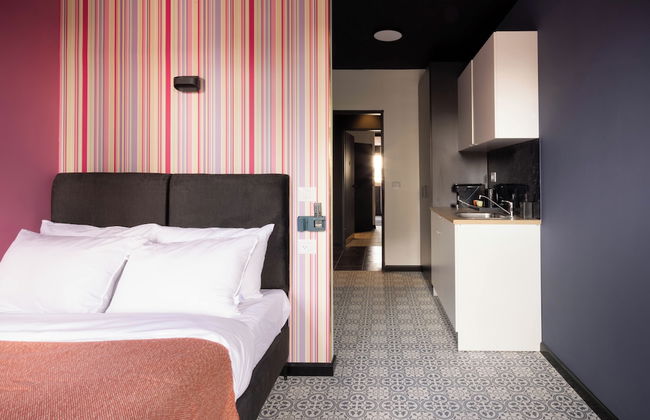
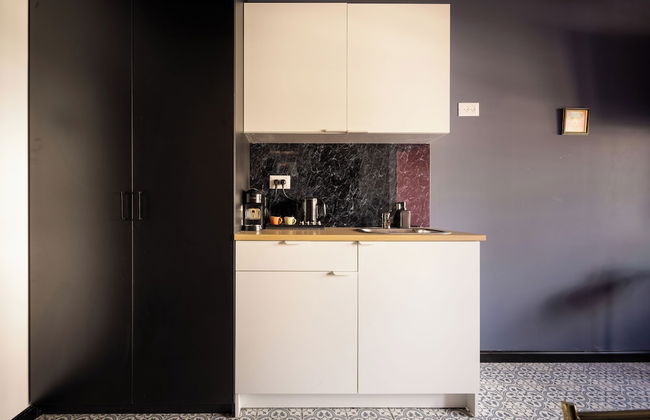
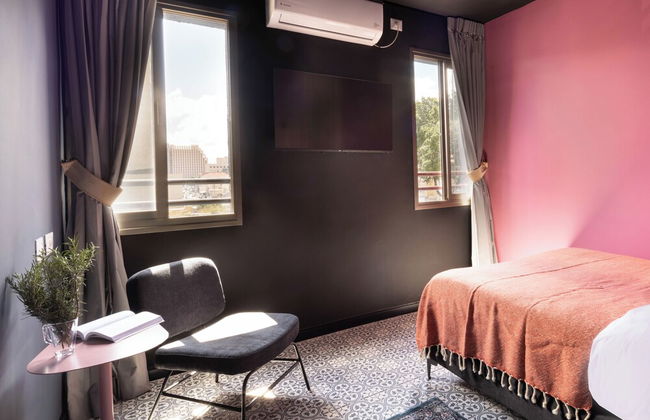
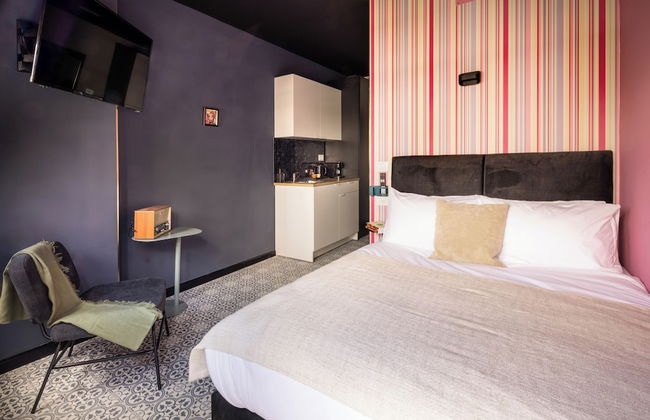
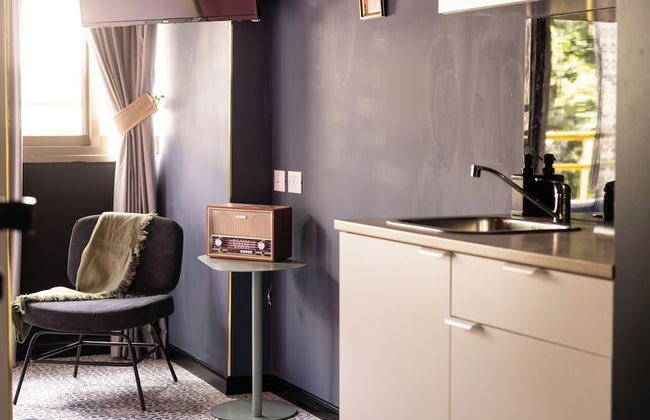
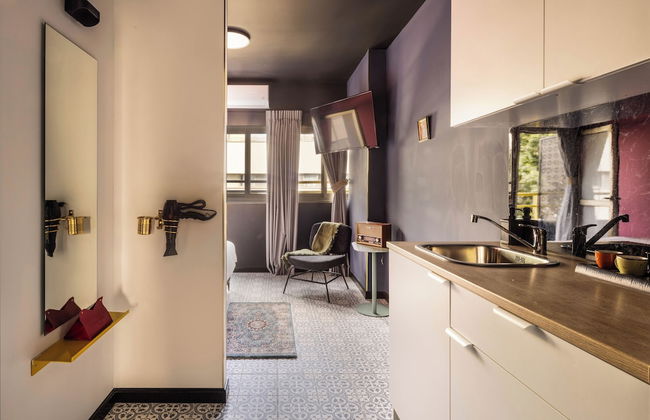
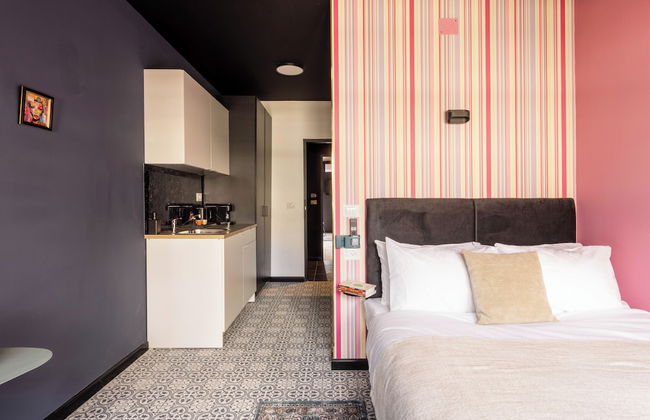
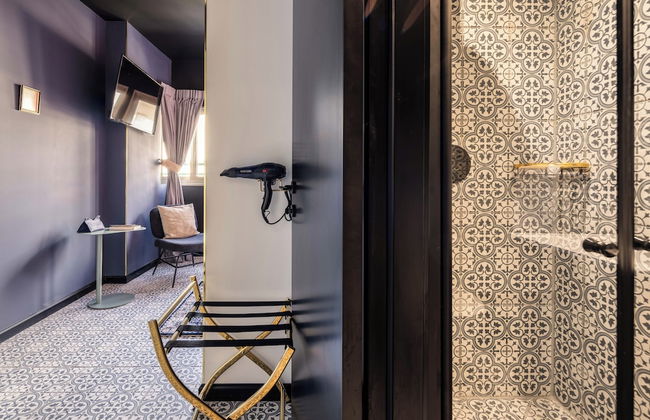
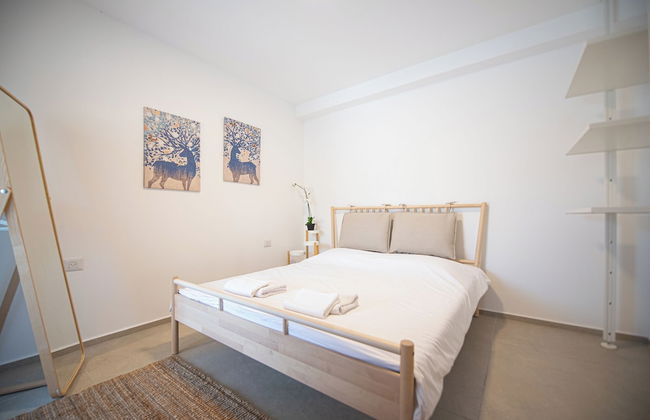
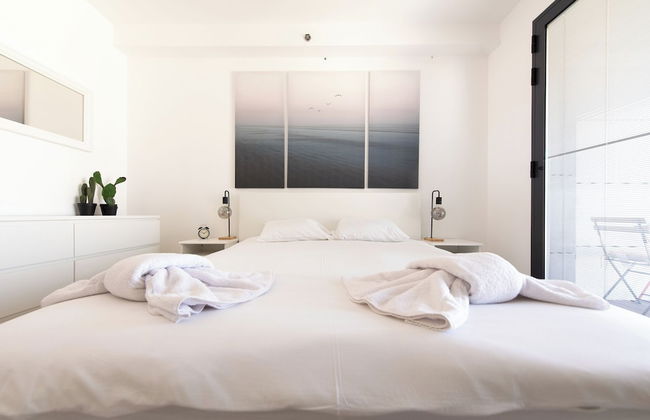
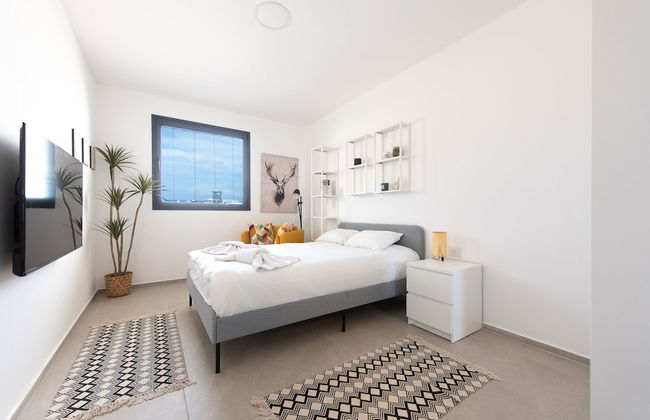
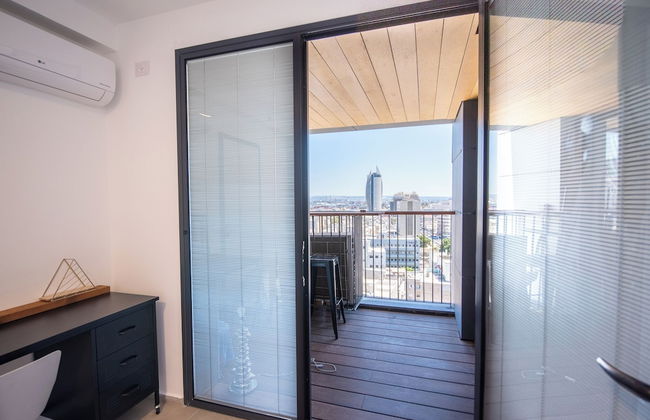
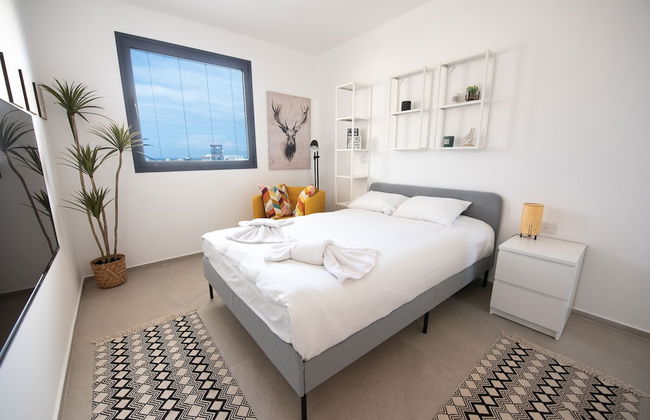
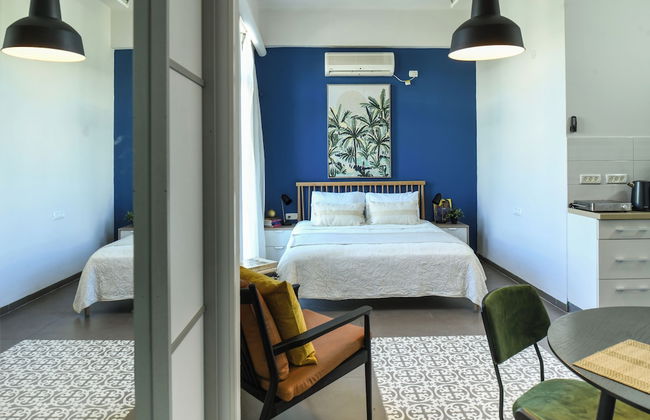
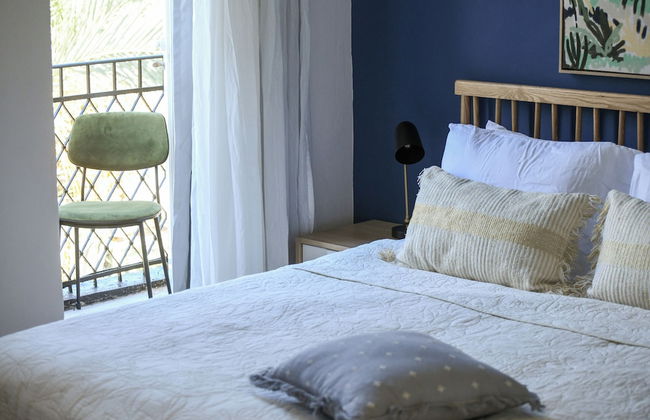
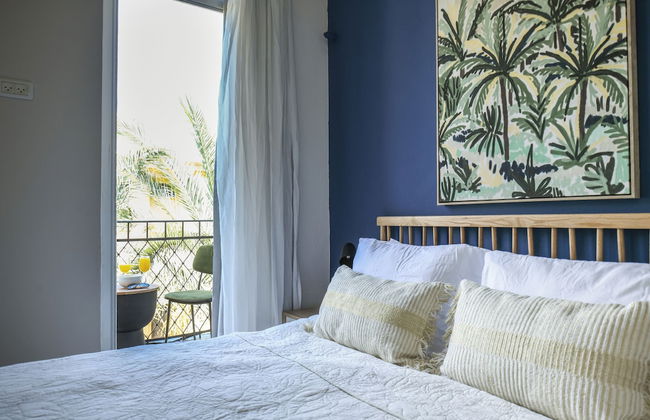
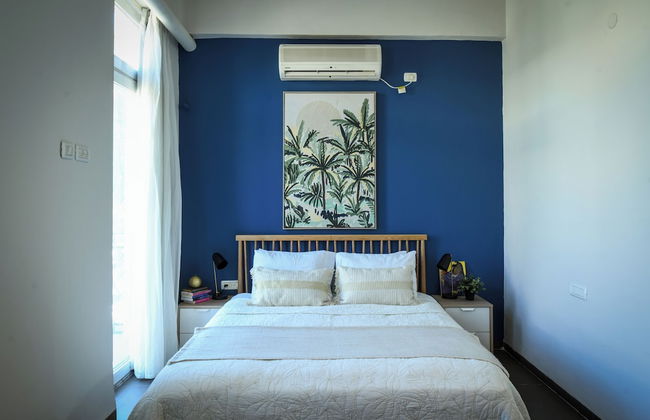
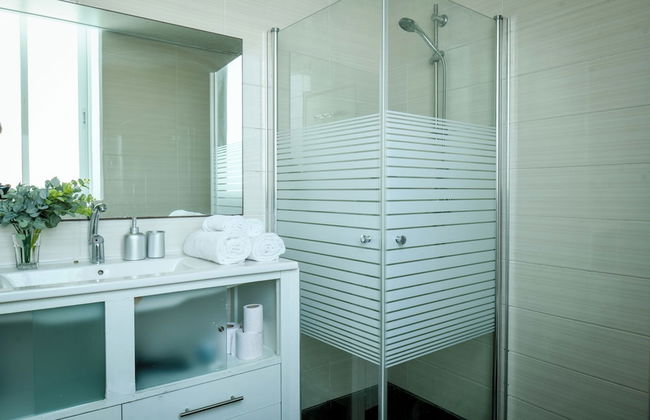
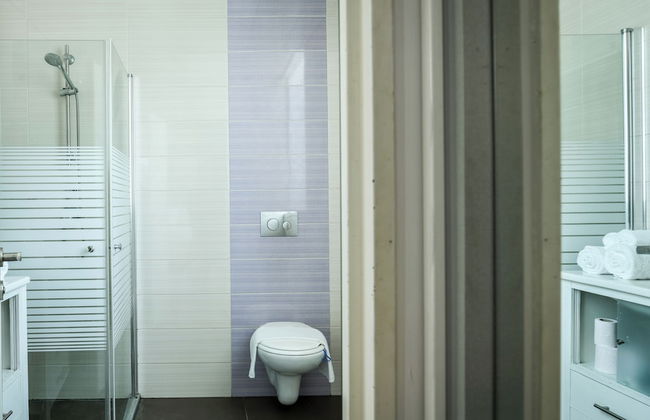
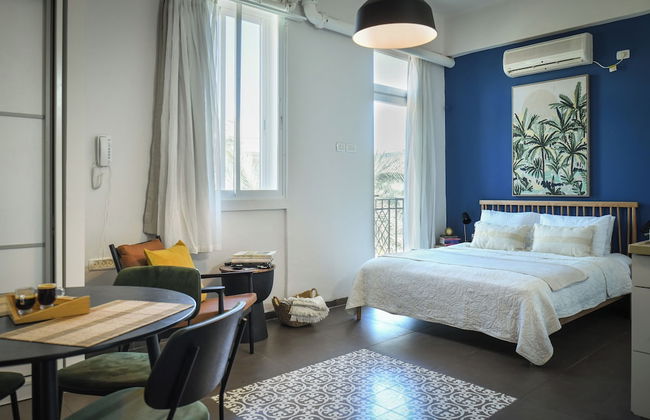
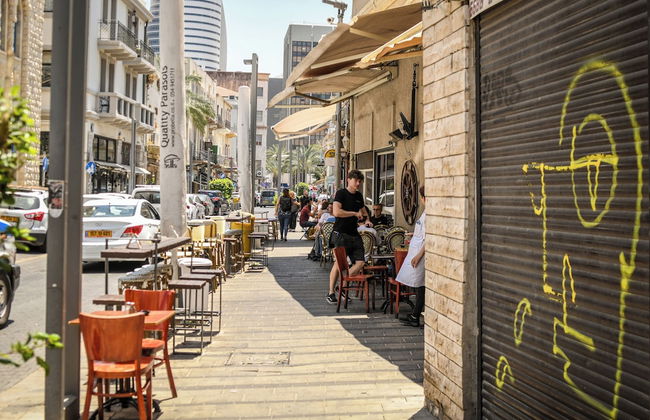
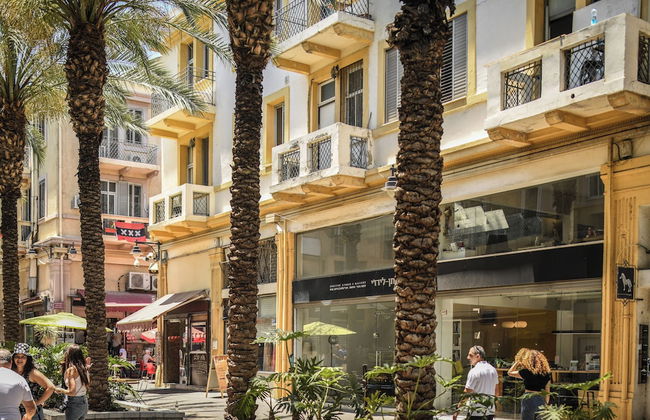
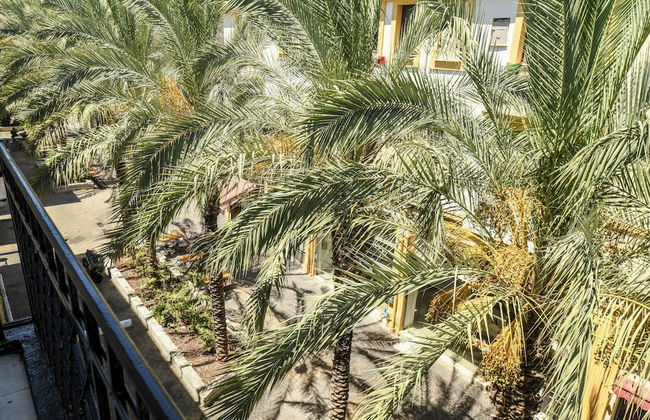
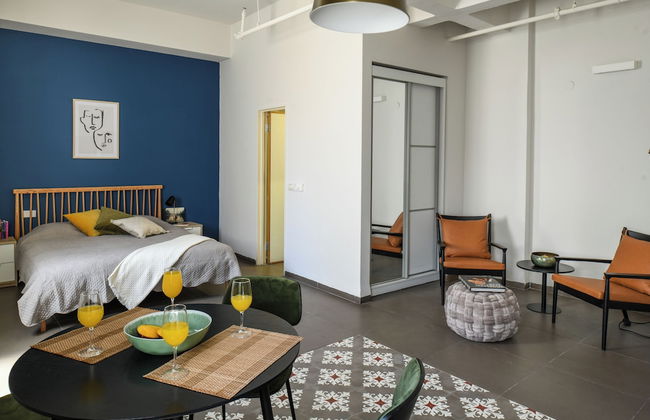
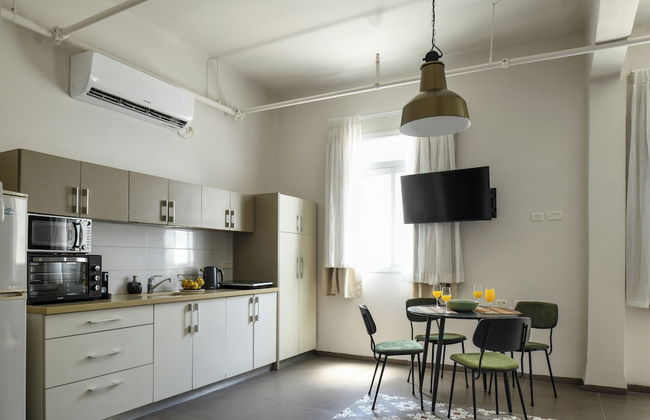
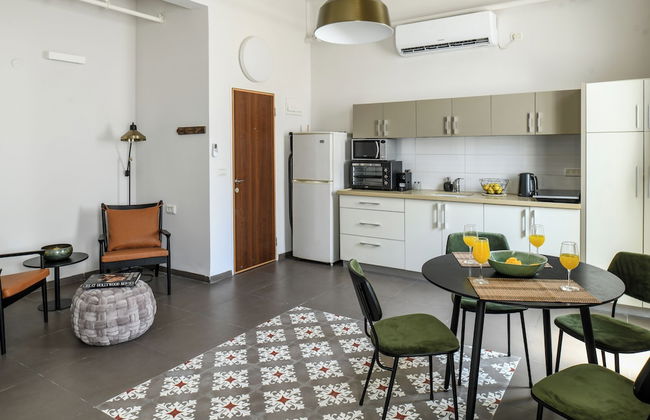
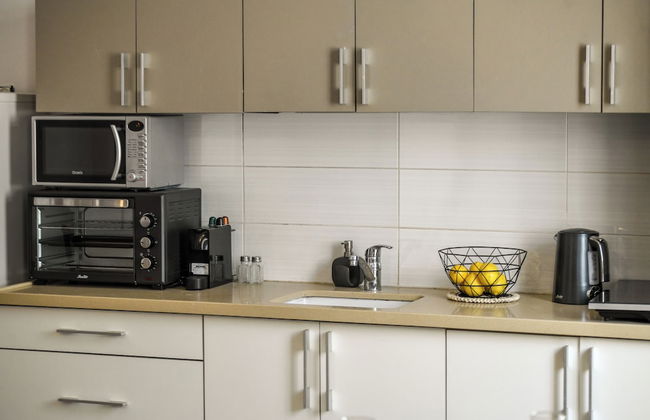
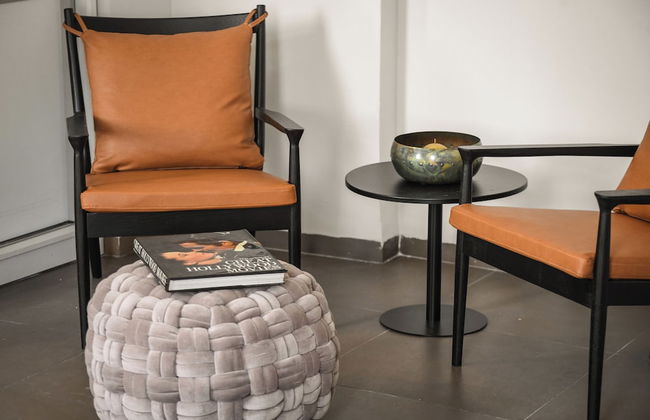
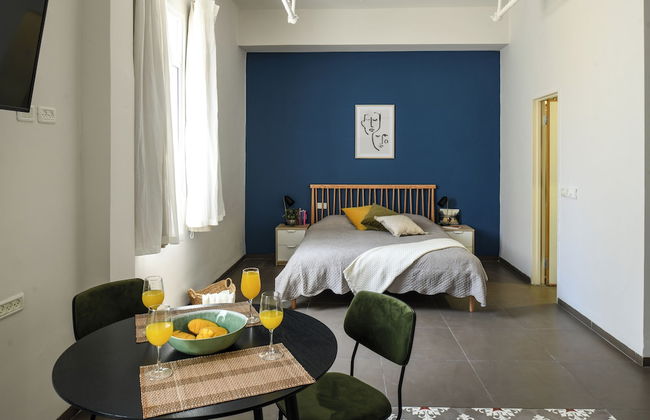
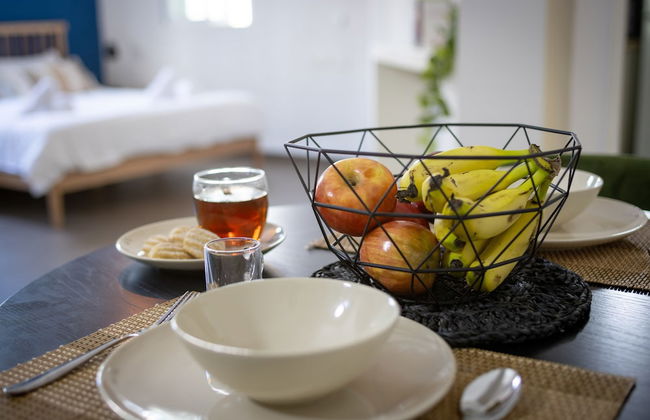
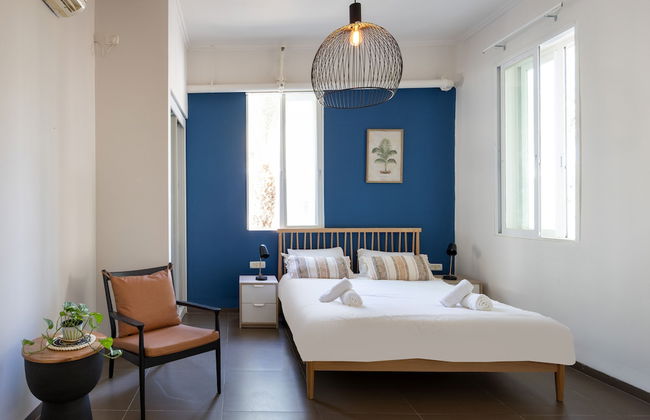
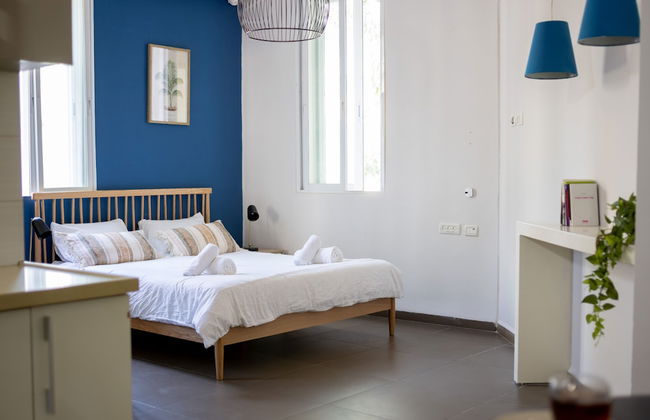
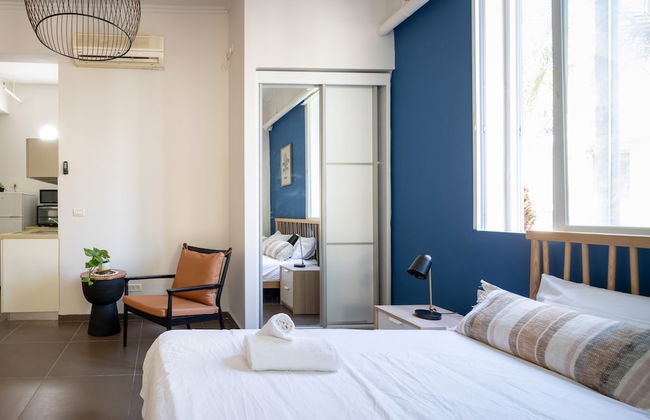
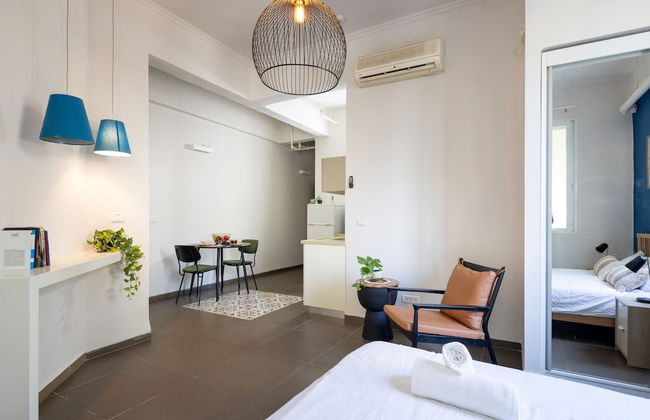
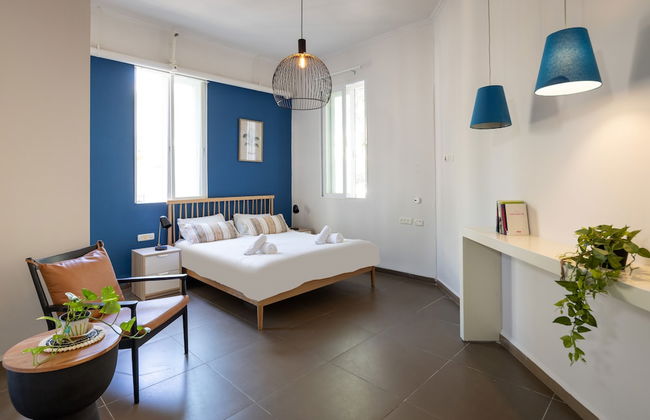
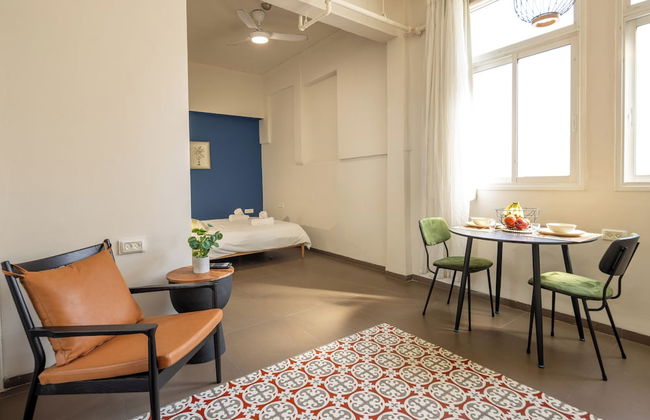
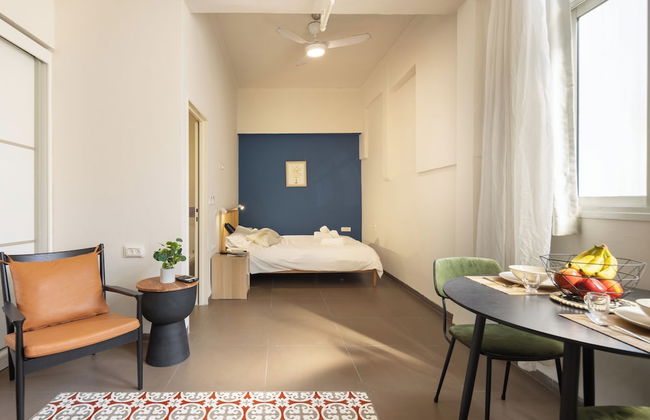
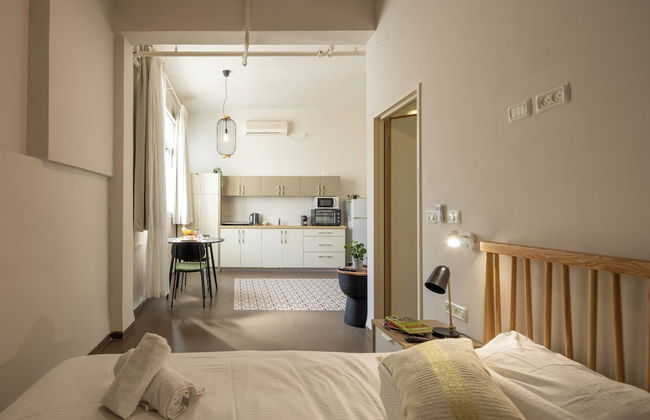
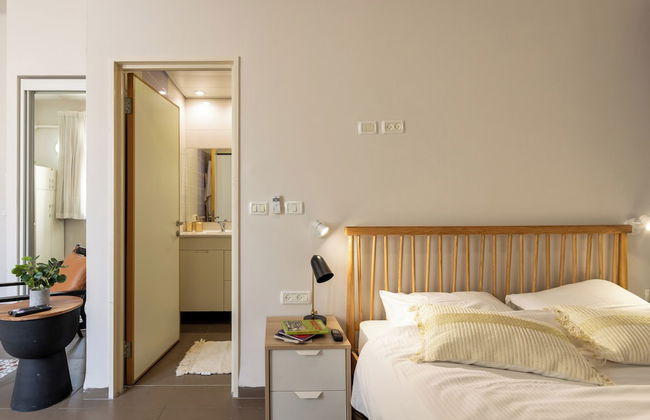
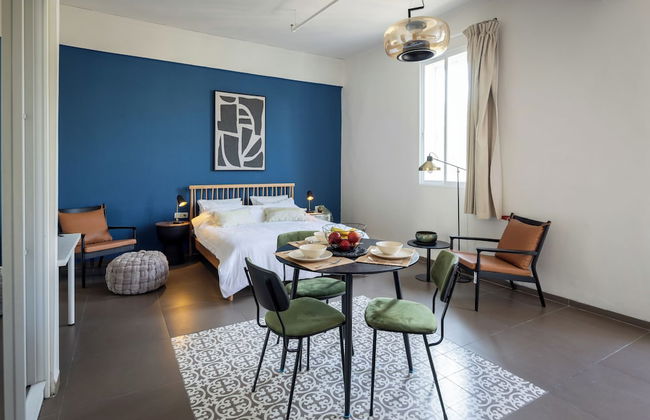
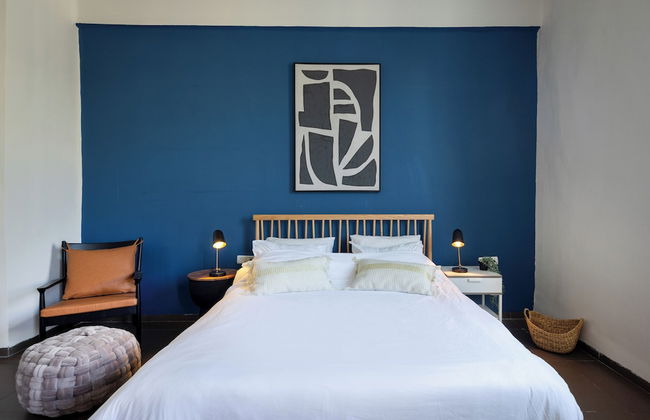
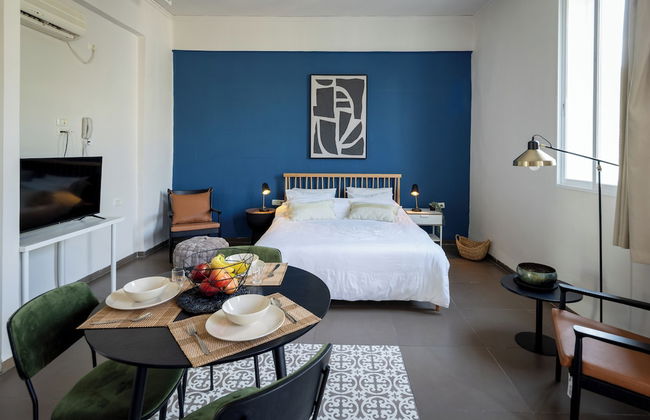
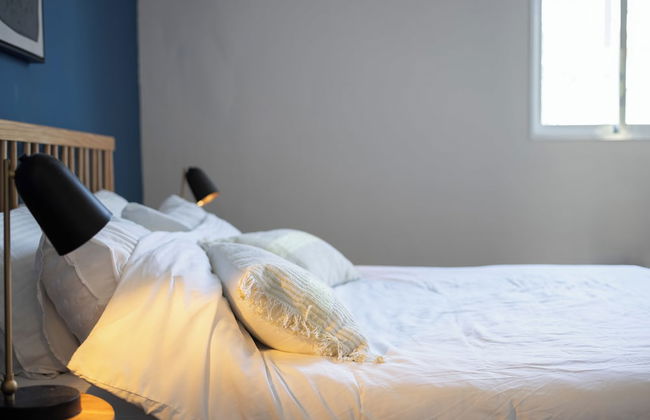
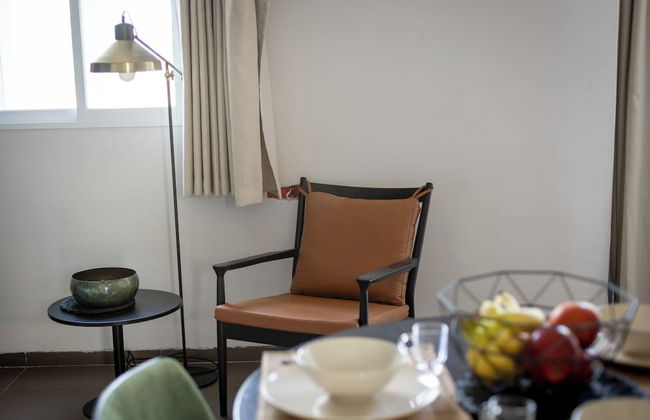
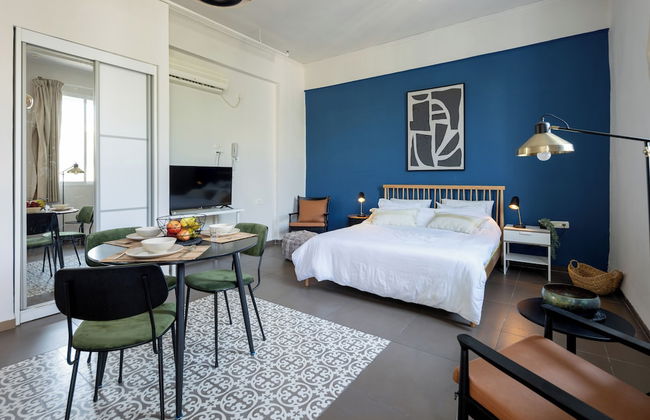
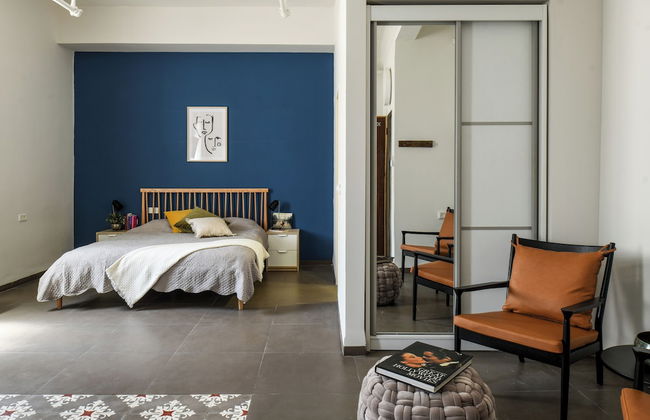
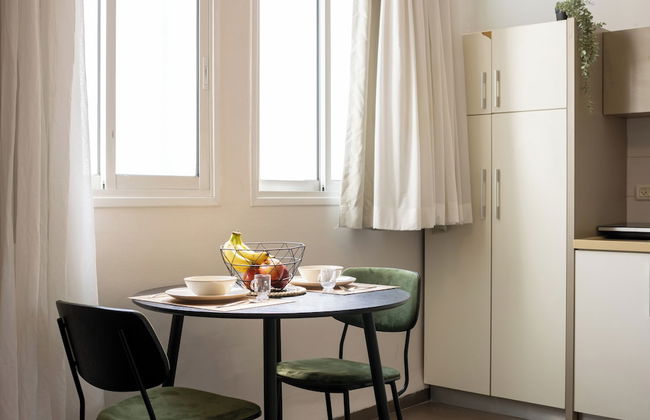
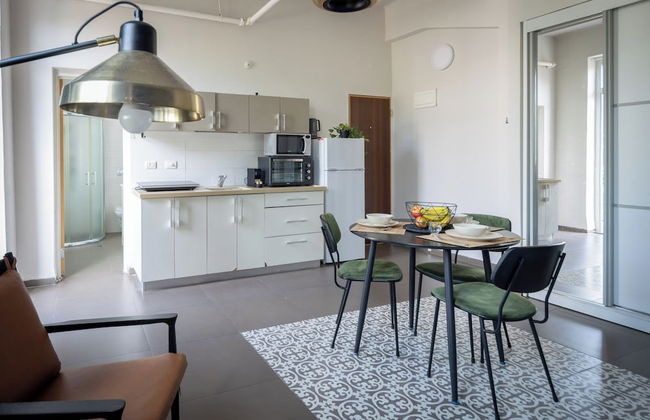
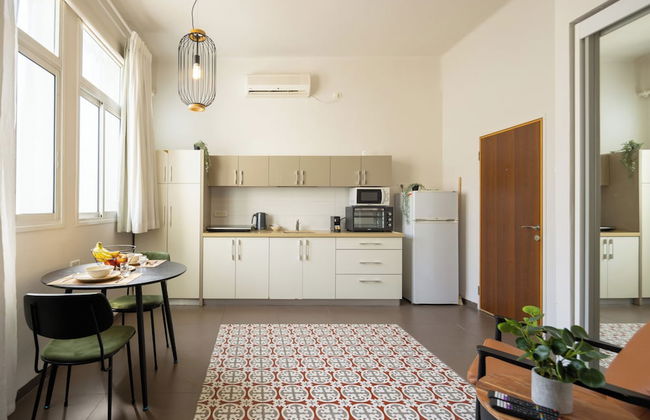
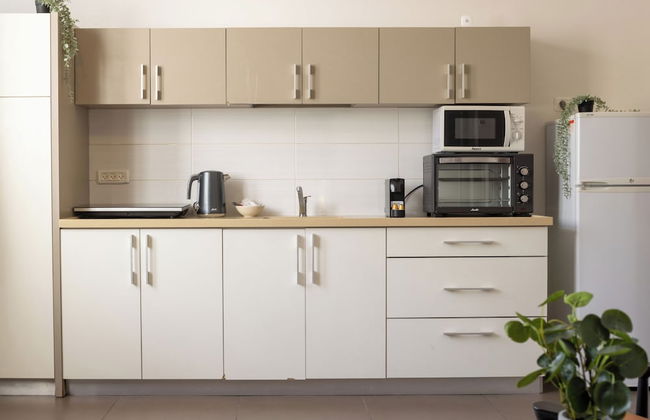
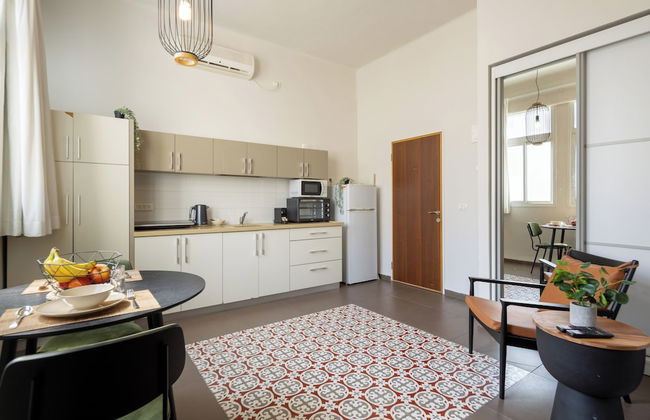
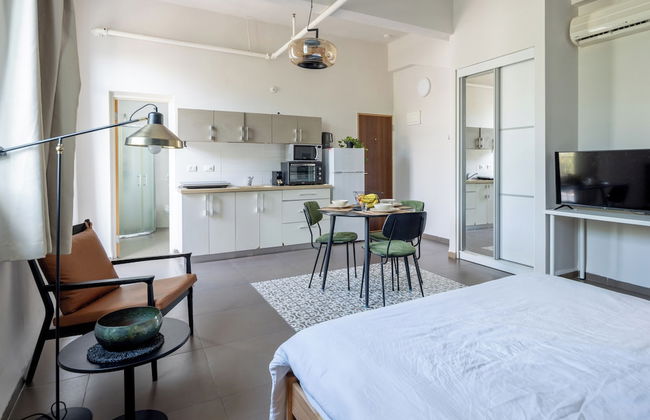
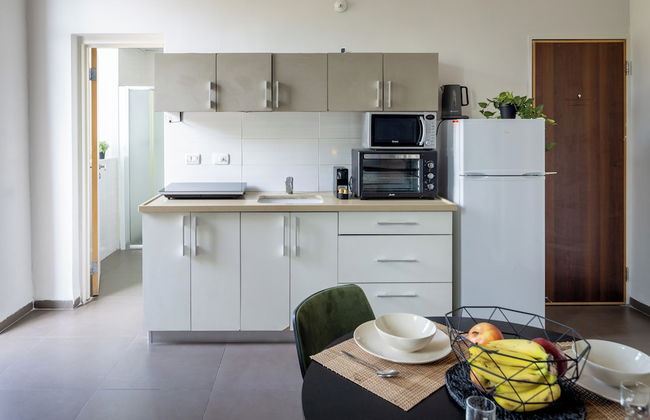
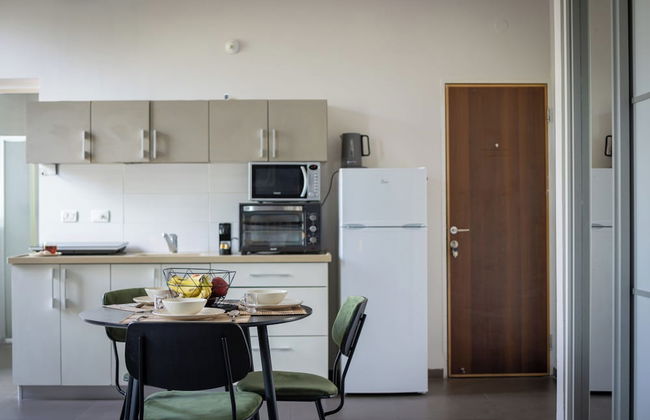
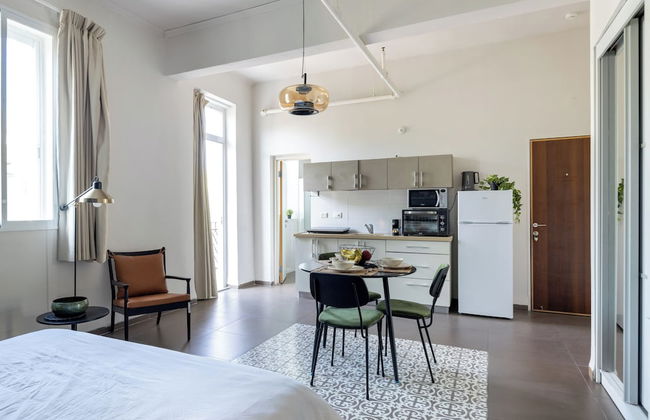
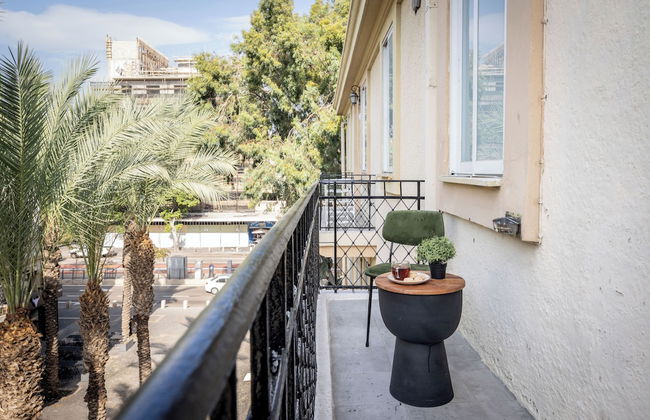
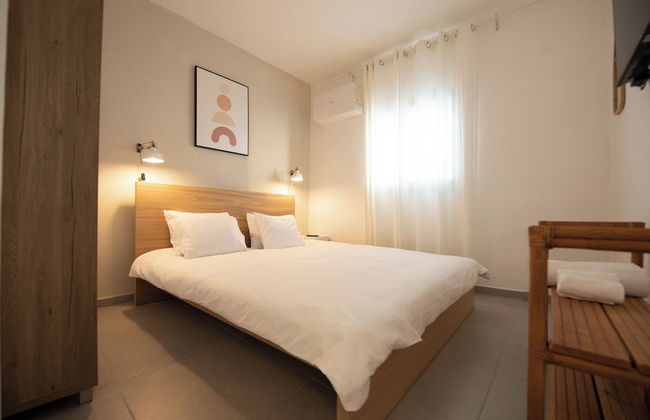
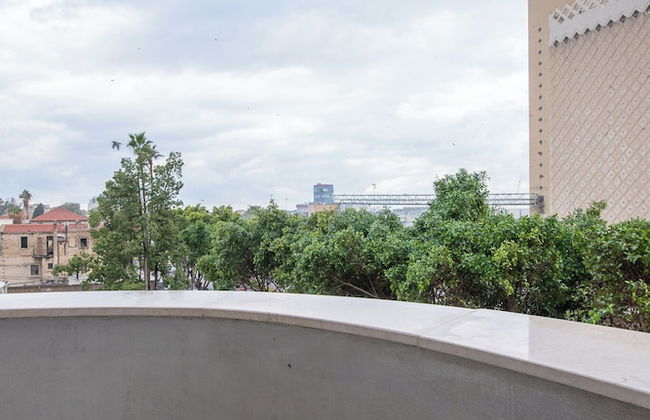
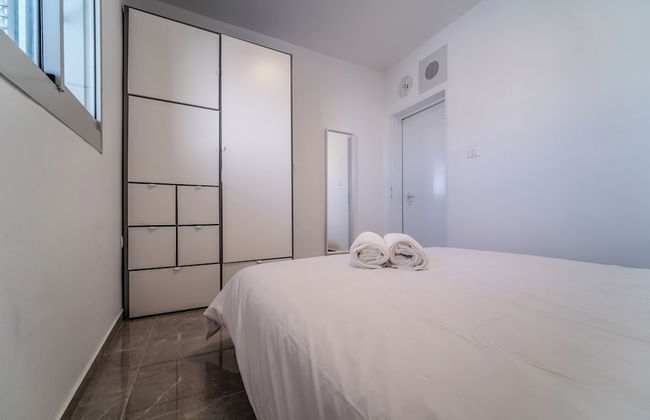
1926 Designed Apartments Hotel
Haifa - Old City - 1.5 km do centro
- 28 M2
- 4 pessoas
- Ar-condicionado
- Aquecimento
- Terraço
- Tv
- Toalhas
- Lençóis
242 avaliações


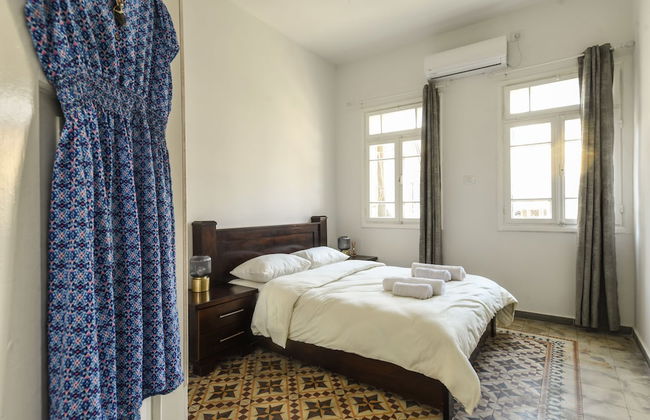
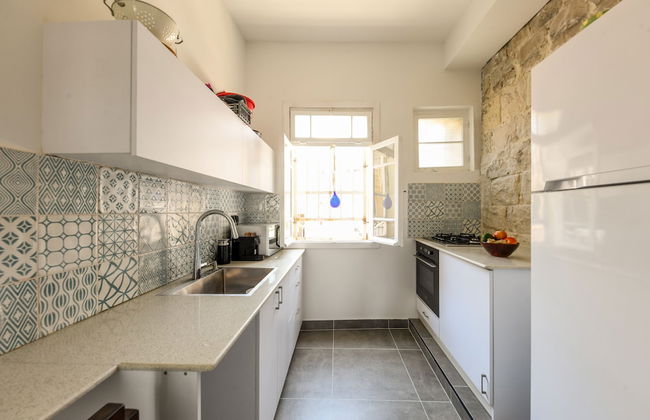
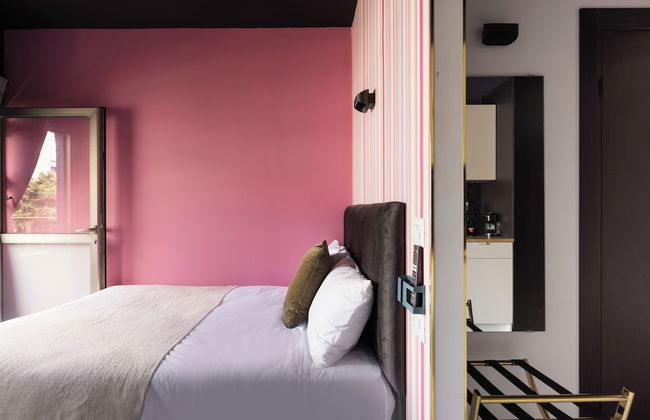
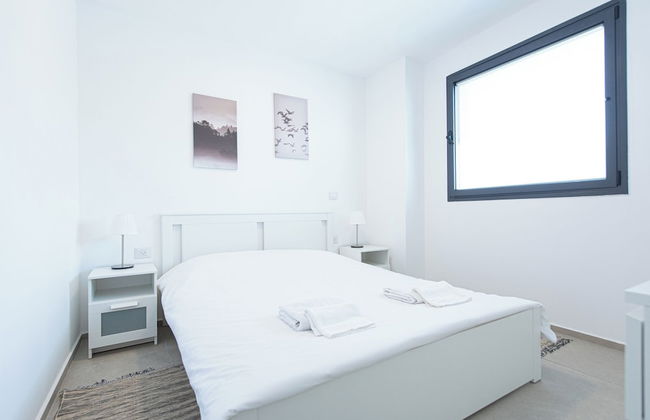
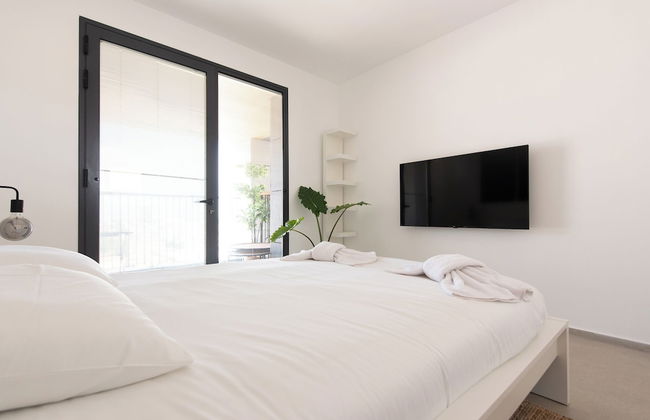
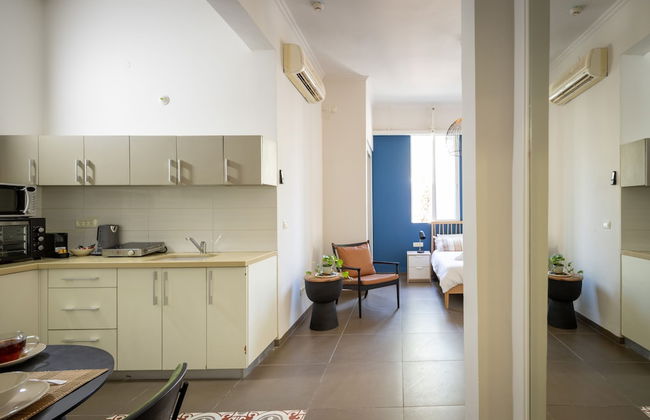
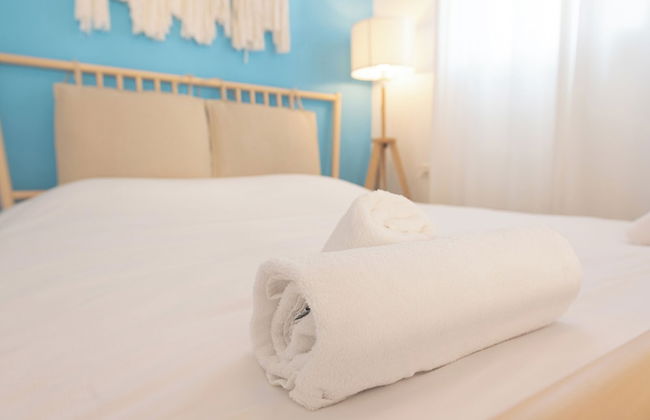
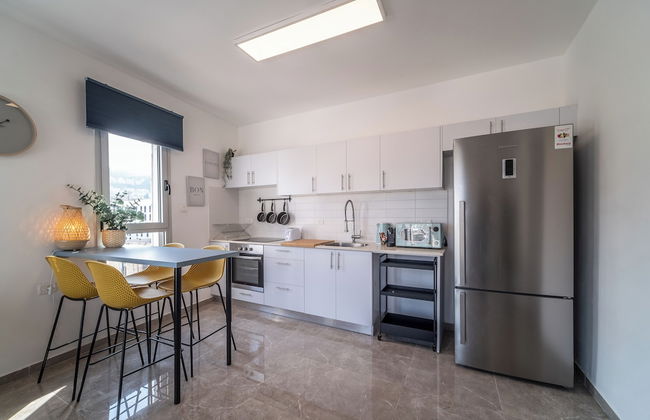
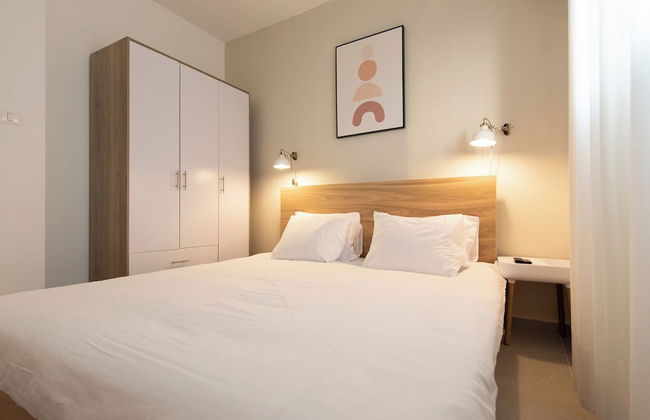
Diana Hotel
Haifa - Old City - 1.6 km do centro
- 35 M2
- 4 pessoas
- Ar-condicionado
- Aquecimento
- Estacionamento
- Elevador
- Varanda
- Tv
- Toalhas
- Lençóis
52 avaliações


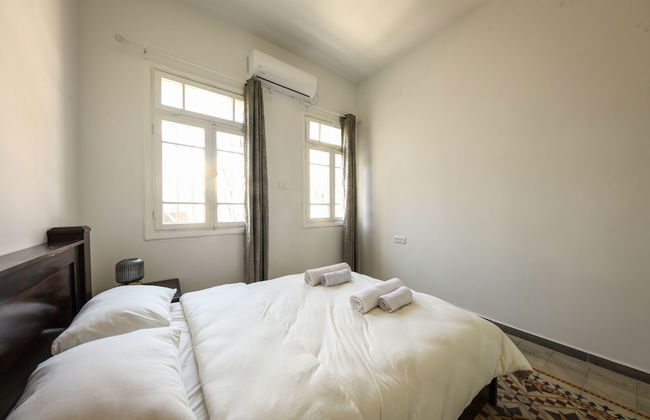
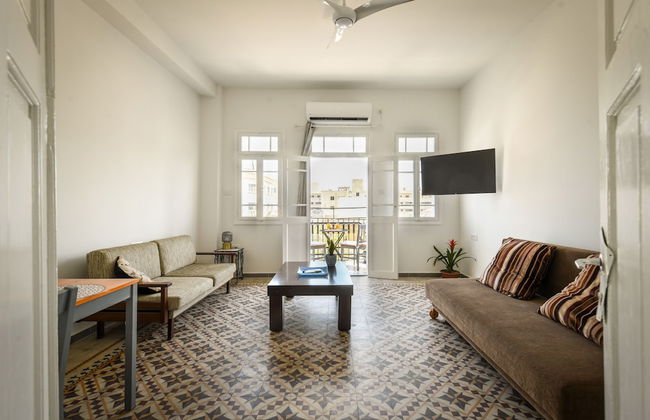
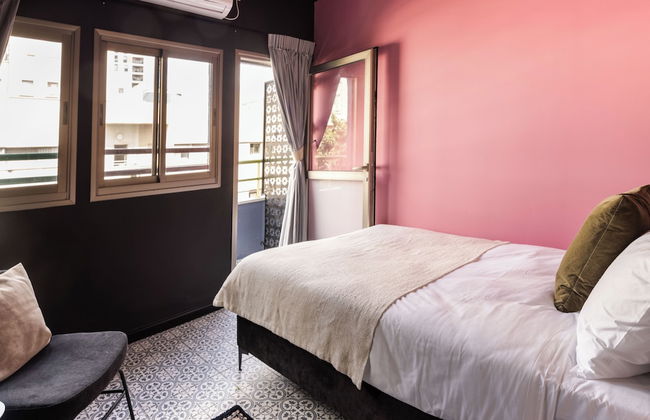
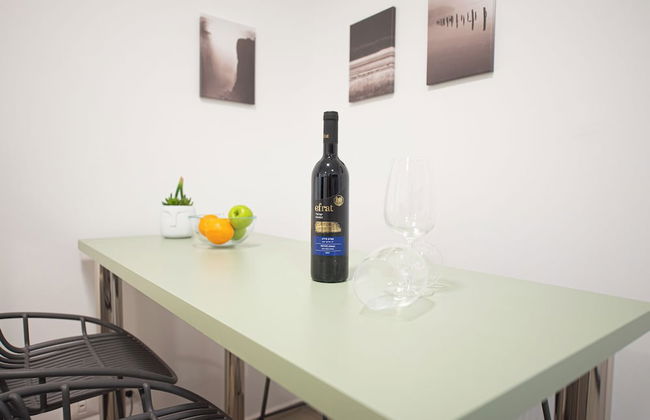
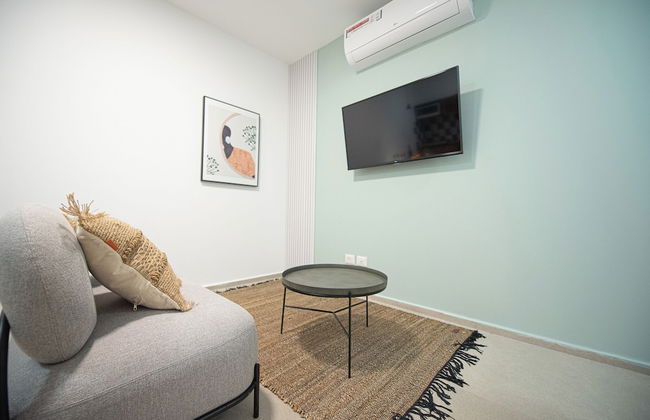
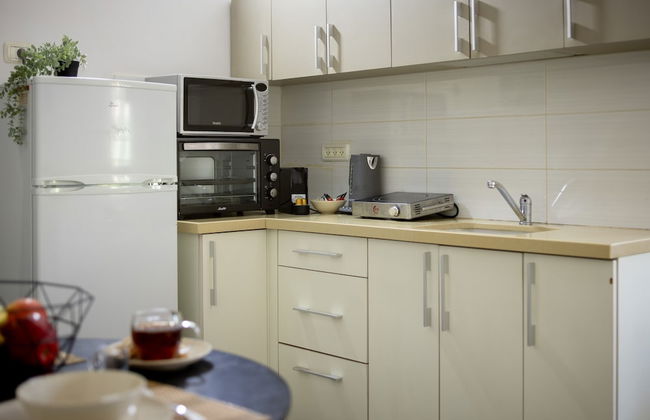
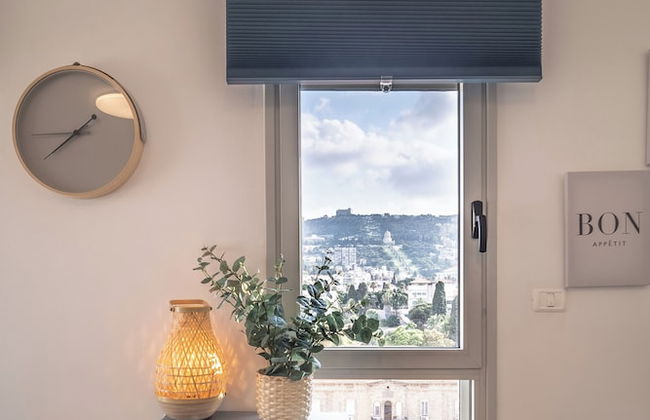
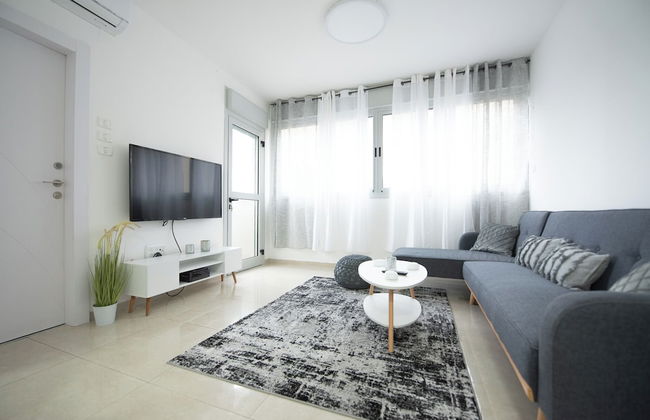
PORT CITY HAIFA - Jaffa Apartments
Haifa - Old City - 1.5 km do centro
- 2 pessoas
- Ar-condicionado
- Aquecimento
- Tv
- Toalhas
- Lençóis
3 avaliações

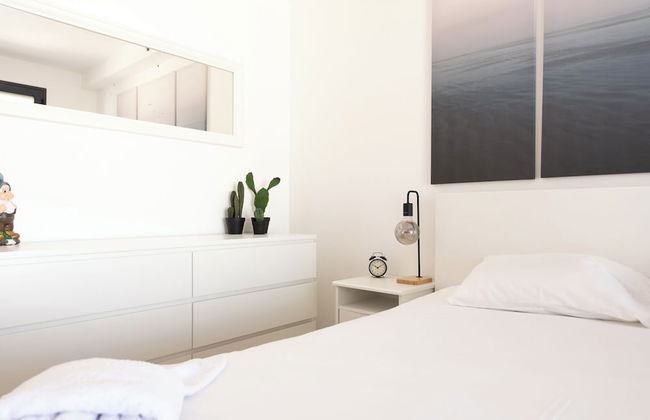


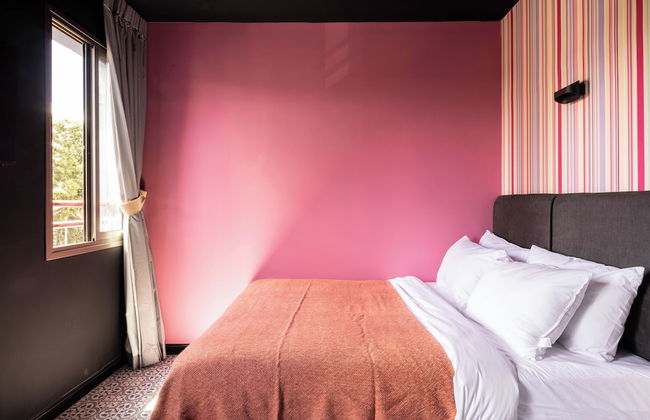
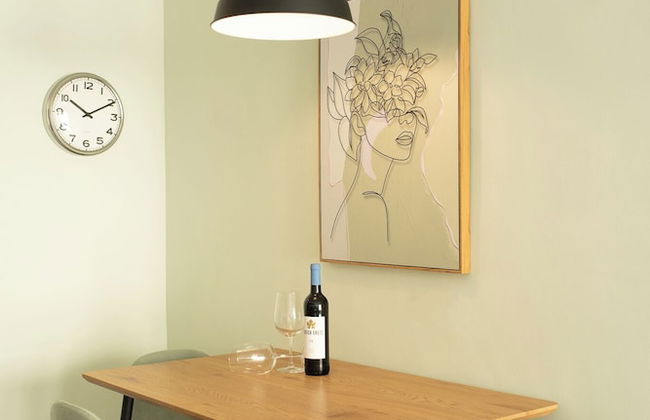
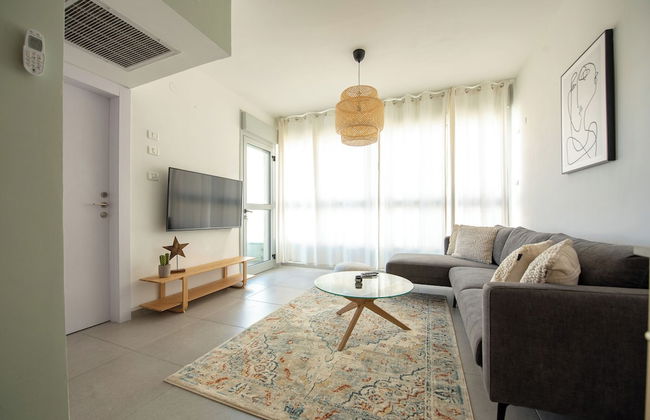
PORT CITY HAIFA- Downtown Luxury
Haifa - Old City - 1.8 km do centro
- 70 M2
- 4 pessoas
- Ar-condicionado
- Aquecimento
- Elevador
- Varanda
- Tv
- Toalhas
- Lençóis
1 avaliação


Printhouse Boutique STU 8 by Sea N' Rent
Haifa - Old City - 1.5 km do centro
- 24 M2
- 2 pessoas
- Ar-condicionado
- Aquecimento
- Elevador
- Varanda
- Tv
- Toalhas
- Lençóis


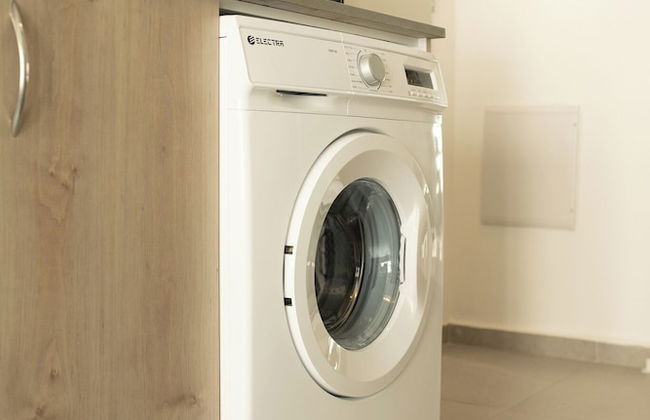
Printhouse Boutique STU10 by Sea N' Rent
Haifa - Old City - 1.5 km do centro
- 28 M2
- 4 pessoas
- Ar-condicionado
- Aquecimento
- Elevador
- Tv
- Máquina de lavar roupa
- Toalhas
- Lençóis


The Printhouse-Boutique Apt by SeaNRent
Haifa - Old City - 1.5 km do centro
- 28 M2
- 4 pessoas
- Ar-condicionado
- Aquecimento
- Elevador
- Varanda
- Tv
- Toalhas
- Lençóis


Printhouse Boutique STU 7 by Sea N' Rent
Haifa - Old City - 1.5 km do centro
- 24 M2
- 2 pessoas
- Ar-condicionado
- Aquecimento
- Elevador
- Tv
- Toalhas
- Lençóis


PORT CITY HAIFA - German Colony Luxury
Haifa - Old City - 2 km do centro
- 4 pessoas
- Ar-condicionado
- Aquecimento
- Varanda
- Tv
- Máquina de lavar roupa
- Toalhas
- Lençóis