


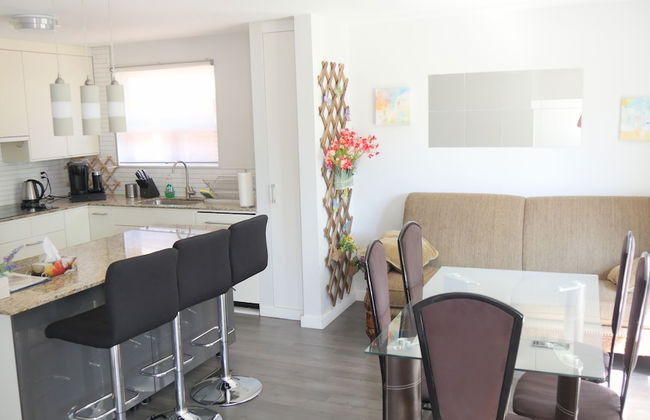


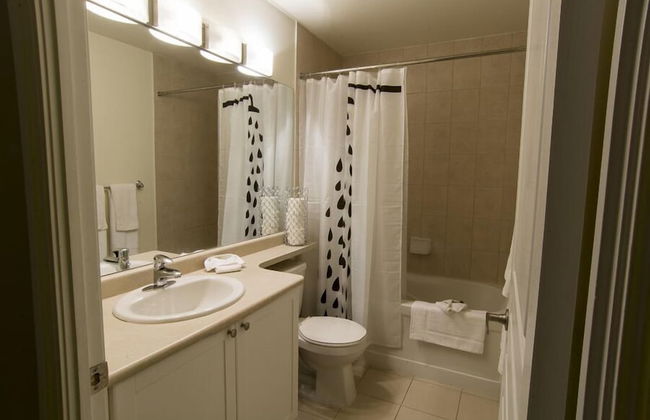
Richview Gardens Suite
Toronto - The Westway - 13.7 km do centro
- 101 M2
- 6 pessoas
- Ar-condicionado
- Aquecimento
- Terraço
- Estacionamento
- Elevador
- Jardim
- Tv
- Churrasco
- Toalhas
- Lençóis


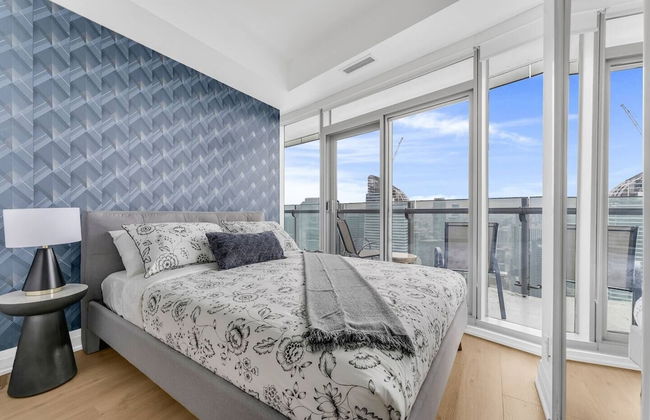
Margarita Vacation Getaway
Oro-Medonte - 13.1 km do centro
- 51 M2
- 4 pessoas
- Kitchenette
- Ar-condicionado
- Aquecimento
- Terraço
- Piscina
- Estacionamento
- Varanda
- Tv
- Chaminé
- Churrasco
- Toalhas
- Lençóis


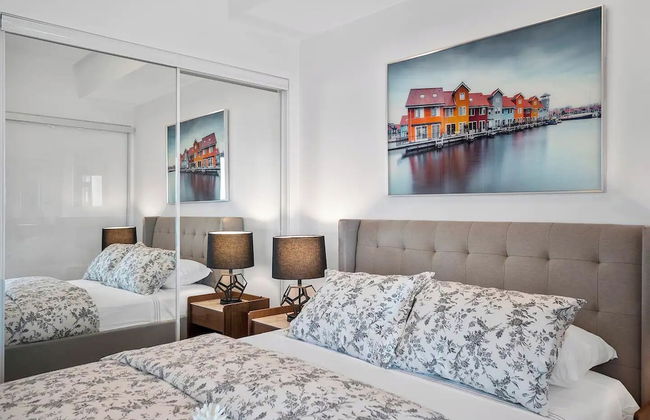
Horseshoe Valley Suites - The Azure
Oro-Medonte - 13.1 km do centro
- 8 pessoas
- Ar-condicionado
- Aquecimento
- Terraço
- Piscina
- Estacionamento
- Jardim
- Tv
- Máquina de lavar roupa
- Chaminé
- Toalhas
- Lençóis


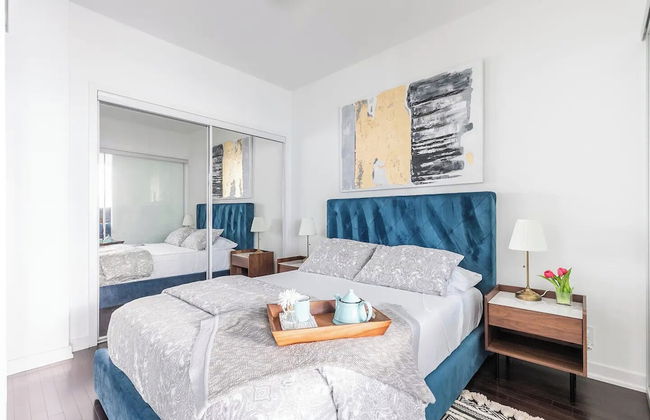
SOHO Residences Lisgar
Ottawa - Centretown-Downtown - No centro
- 81 M2
- 4 pessoas
- Ar-condicionado
- Aquecimento
- Terraço
- Piscina
- Estacionamento
- Elevador
- Jardim
- Tv
- Máquina de lavar roupa
- Churrasco
- Toalhas
- Lençóis


Suites On King
Niagara-on-the-Lake - No centro
- 74 M2
- 4 pessoas
- Kitchenette
- Ar-condicionado
- Aquecimento
- Terraço
- Estacionamento
- Varanda
- Tv
- Máquina de lavar roupa
- Chaminé
- Toalhas
- Lençóis


The Harbour Toronto
Toronto - Waterfront Communities-the Island - 310 m do centro
- 111 M2
- 7 pessoas
- Kitchenette
- Ar-condicionado
- Aquecimento
- Piscina
- Estacionamento
- Elevador
- Varanda
- Tv
- Máquina de lavar roupa
- Toalhas
- Lençóis


The Yorkville Suites
Toronto - Annex - 1.9 km do centro
- 121 M2
- 6 pessoas
- Ar-condicionado
- Aquecimento
- Piscina
- Estacionamento
- Elevador
- Tv
- Máquina de lavar roupa
- Toalhas
- Lençóis


NAPA Furnished Suites & Apartments
Toronto - Waterfront Communities-the Island - 350 m do centro
- 102 M2
- 6 pessoas
- Ar-condicionado
- Terraço
- Piscina
- Estacionamento
- Elevador
- Varanda
- Jardim
- Tv
- Máquina de lavar roupa
- Toalhas


Maplewood Furnished Suites
Mississauga - Cooksville - 570 m do centro
- 70 M2
- 4 pessoas
- Ar-condicionado
- Aquecimento
- Terraço
- Piscina
- Estacionamento
- Elevador
- Varanda
- Jardim
- Tv
- Máquina de lavar roupa
- Churrasco
- Toalhas


Condo in the sky with a breathtaking view
Toronto - Waterfront Communities-the Island - 360 m do centro
- 557 M2
- 4 pessoas
- Ar-condicionado
- Aquecimento
- Elevador
- Tv
- Máquina de lavar roupa


The Aurelien Luxe Collection
Toronto - Waterfront Communities-the Island - No centro
- 74 M2
- 4 pessoas
- Kitchenette
- Ar-condicionado
- Aquecimento
- Elevador
- Tv
- Toalhas


Graydon Front Street
Toronto - Waterfront Communities-the Island - No centro
- 186 M2
- 7 pessoas
- Kitchenette
- Ar-condicionado
- Aquecimento
- Piscina
- Estacionamento
- Elevador
- Tv
- Máquina de lavar roupa
- Toalhas
- Lençóis


Goodwood Suites
Mississauga - Ovation at City Centre - No centro
- 102 M2
- 4 pessoas
- Kitchenette
- Ar-condicionado
- Terraço
- Piscina
- Estacionamento
- Elevador
- Varanda
- Jardim
- Tv
- Máquina de lavar roupa
- Chaminé
- Churrasco
- Toalhas


Boho Beaver
Grey Highlands - 19.6 km do centro
- 2 pessoas
- Kitchenette
- Ar-condicionado
- Aquecimento
- Estacionamento
- Tv
- Chaminé
- Toalhas
- Lençóis


Bellair Yorkville
Toronto - Annex - 1.9 km do centro
- 93 M2
- 5 pessoas
- Ar-condicionado
- Aquecimento
- Estacionamento
- Elevador
- Tv
- Toalhas
- Lençóis


Dwell Aparthotels
Kingston - Inner Harbour - No centro
- 7 pessoas
- Ar-condicionado
- Aquecimento
- Terraço
- Estacionamento
- Tv
- Máquina de lavar roupa
- Chaminé
- Churrasco
- Toalhas
- Lençóis


Horseshoe Valley Suites - The Evergreen
Oro-Medonte - 13.1 km do centro
- 4 pessoas
- Ar-condicionado
- Aquecimento
- Piscina
- Estacionamento
- Tv
- Máquina de lavar roupa
- Chaminé
- Toalhas
- Lençóis


Cannery Lofts Niagara
Niagara - 1.5 km do centro
- 12 pessoas
- Kitchenette
- Ar-condicionado
- Aquecimento
- Estacionamento
- Elevador
- Tv
- Toalhas
- Lençóis


SOHO Residences Champagne
Ottawa - West Centre Town-Little Italy-Civic - 2.5 km do centro
- 4 pessoas
- Ar-condicionado
- Aquecimento
- Terraço
- Estacionamento
- Elevador
- Tv
- Máquina de lavar roupa
- Churrasco
- Toalhas
- Lençóis


The Westmores
Toronto - Moss Park - 900 m do centro
- 8 pessoas
- Ar-condicionado
- Aquecimento
- Terraço
- Estacionamento
- Elevador
- Varanda
- Jardim
- Tv
- Máquina de lavar roupa
- Toalhas
- Lençóis