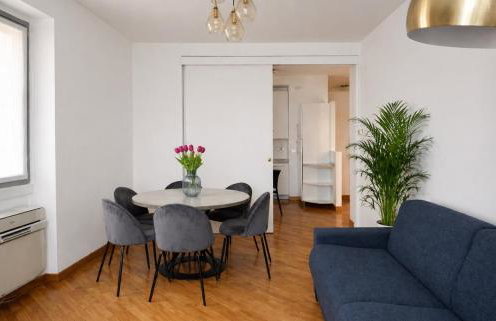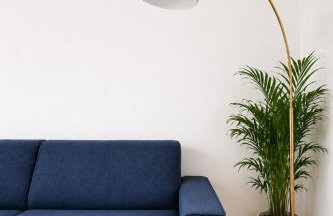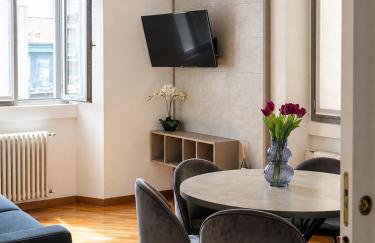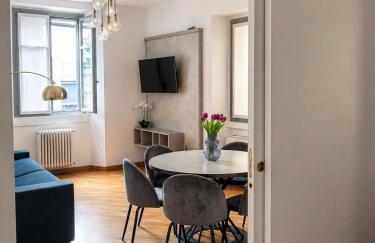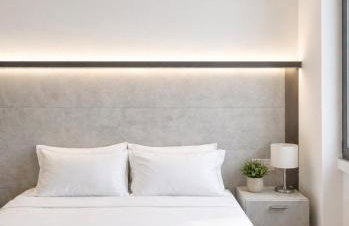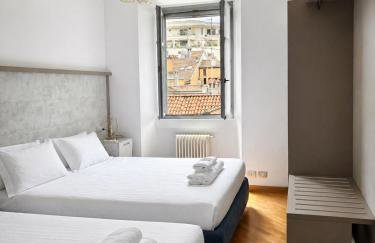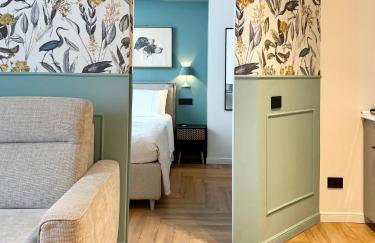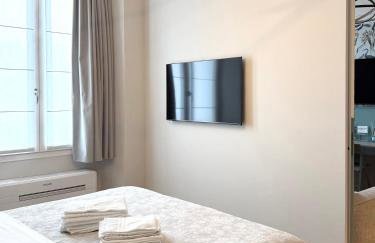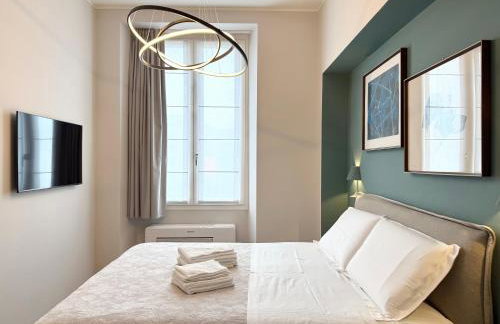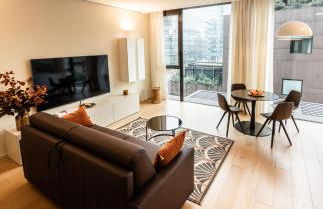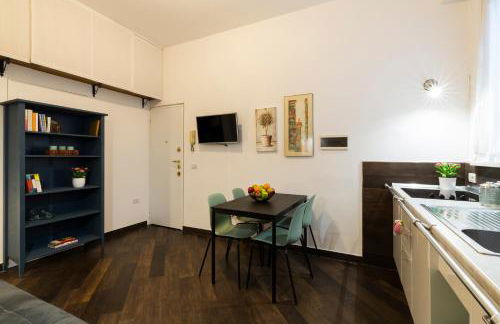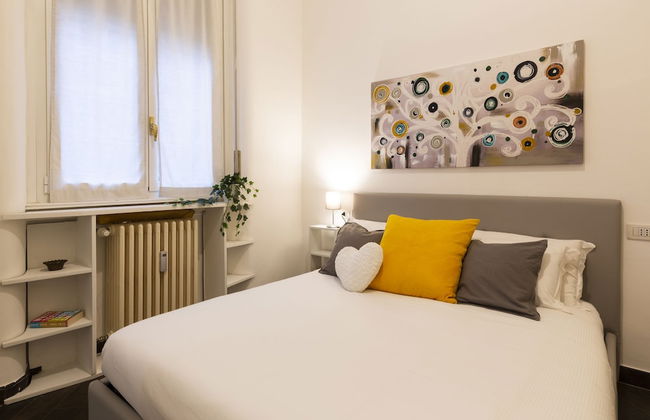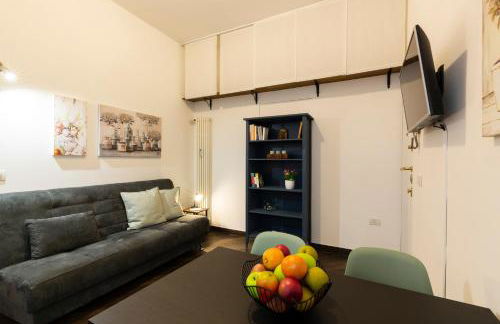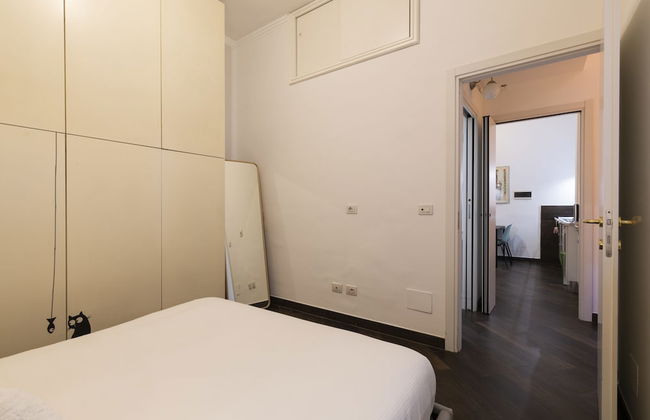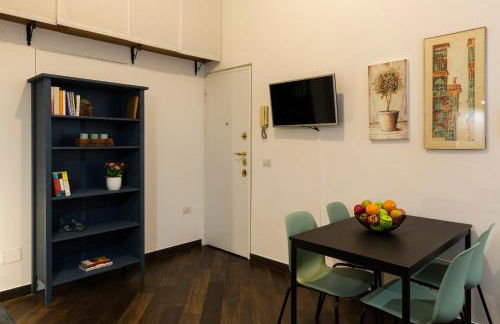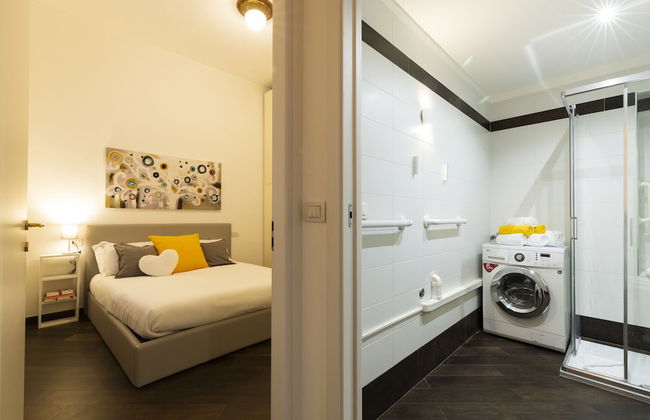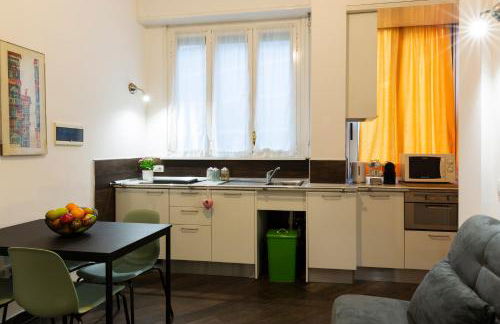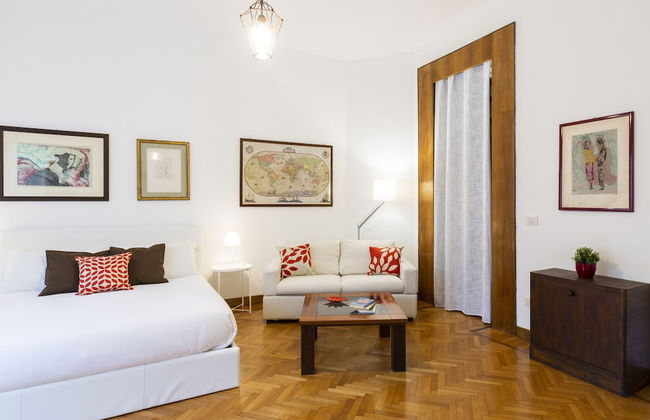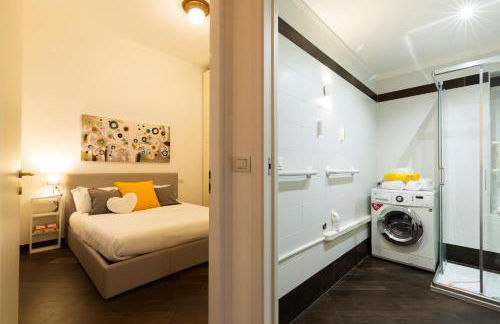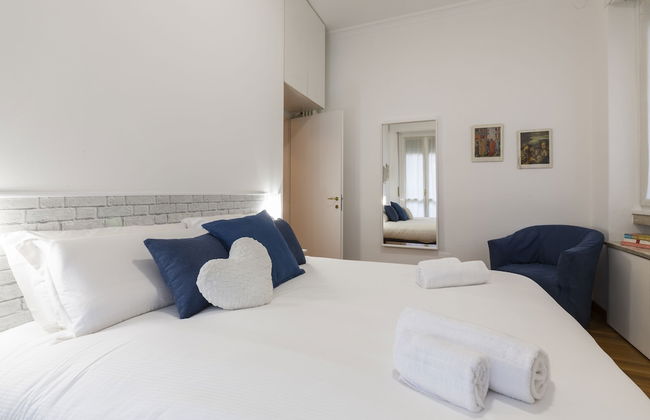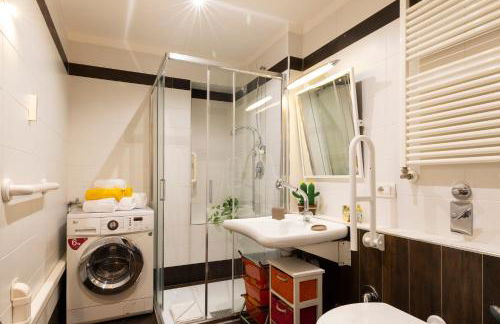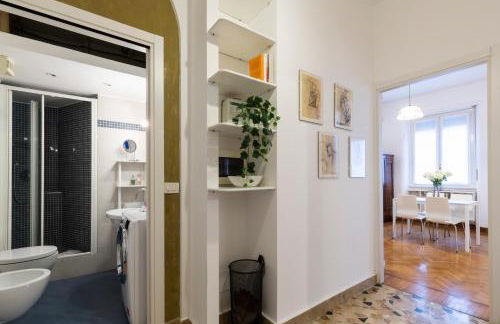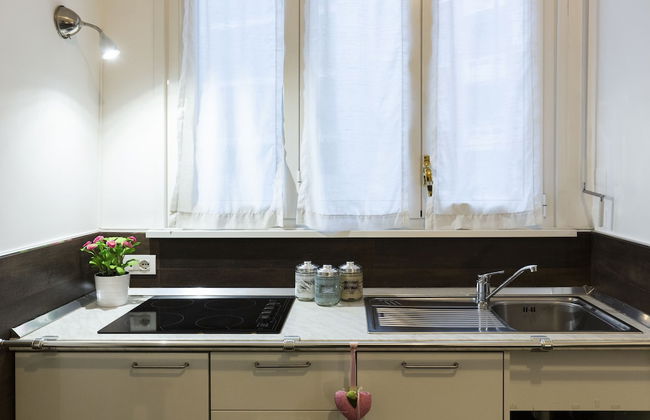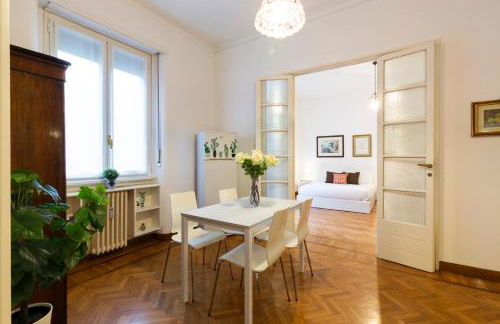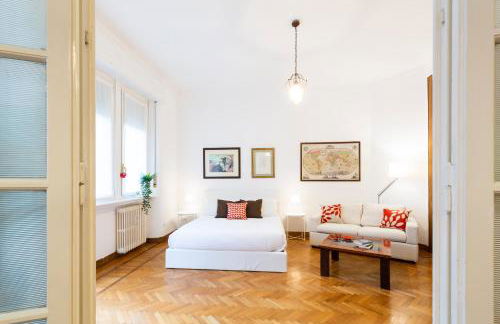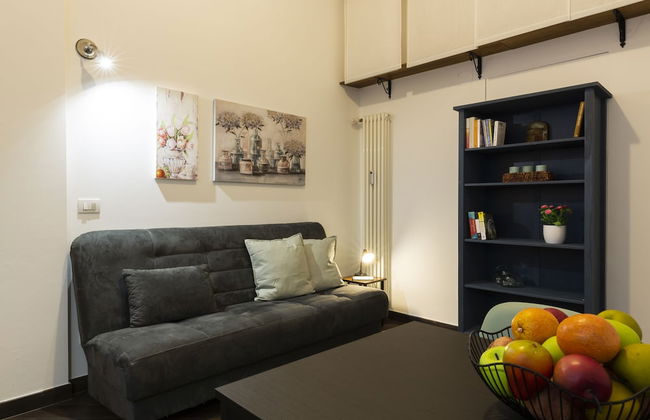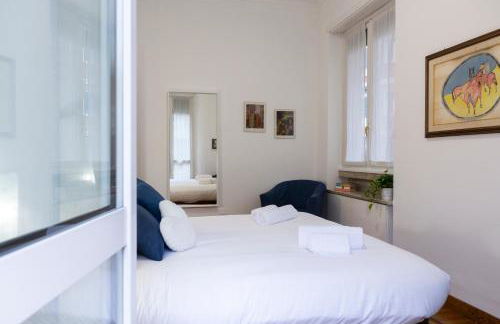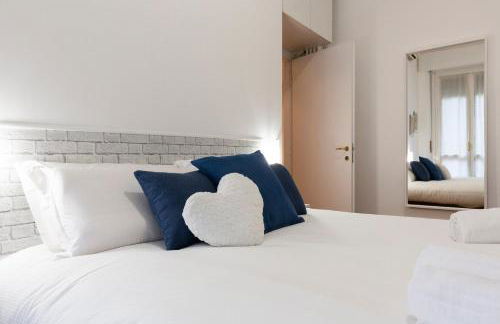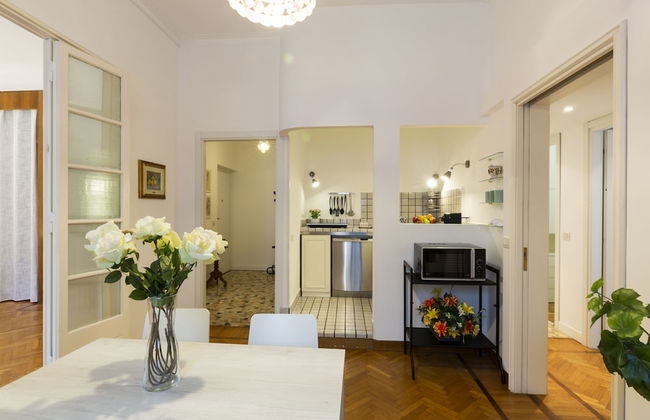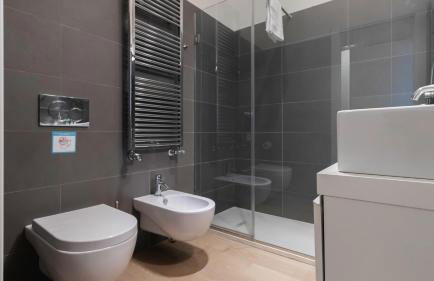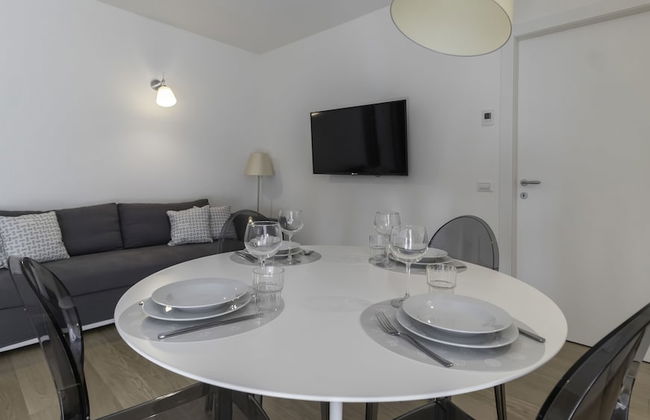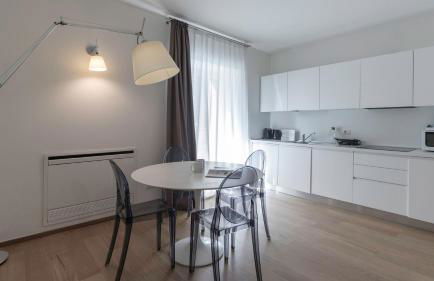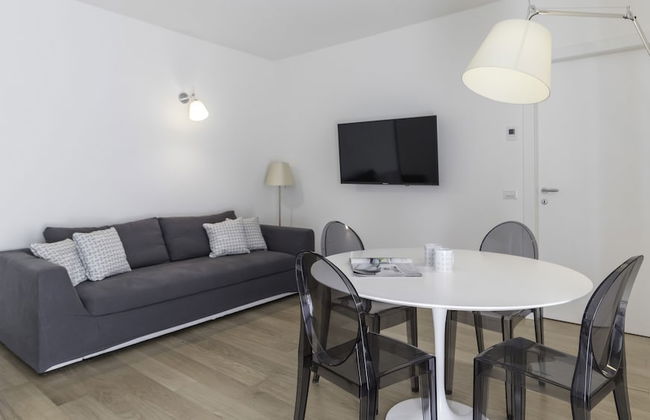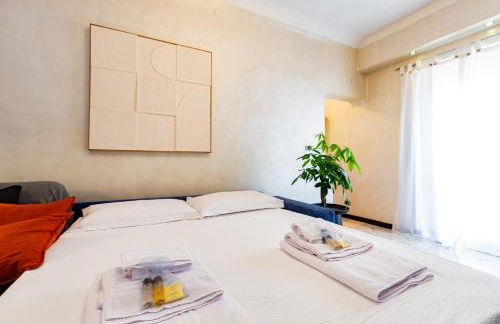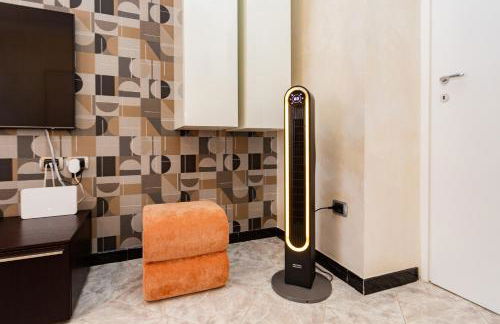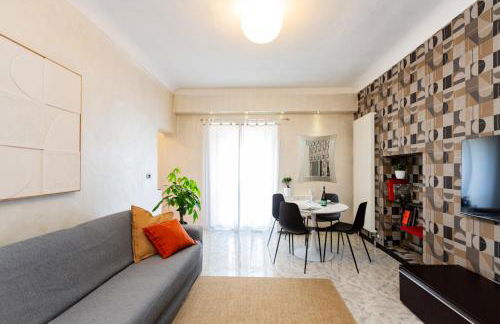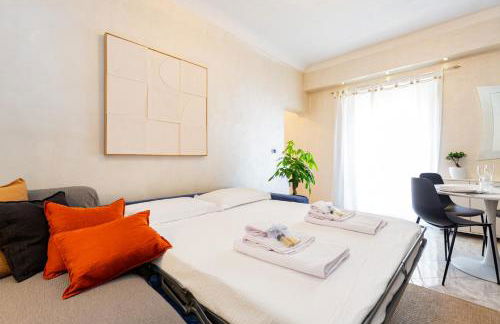
206 Apartamentos em Porta Garibaldi-Porta Nuova
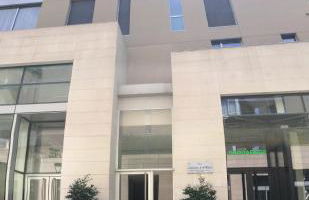
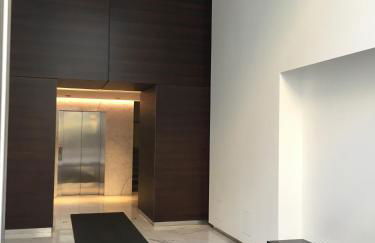
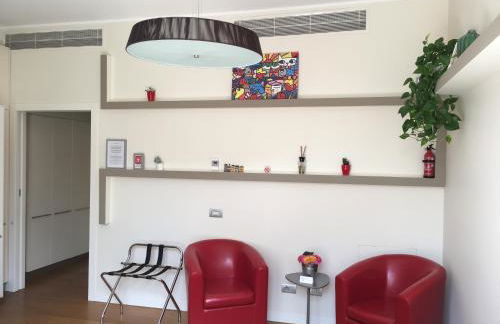
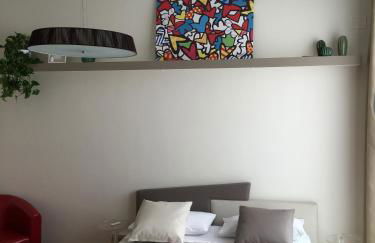
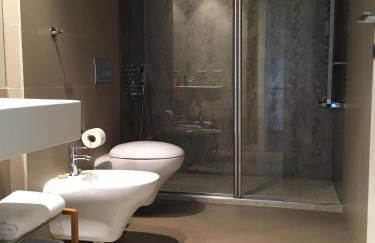
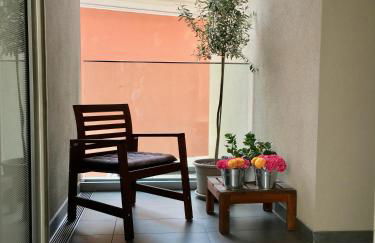
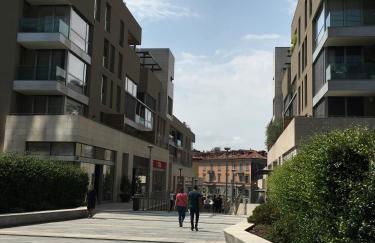
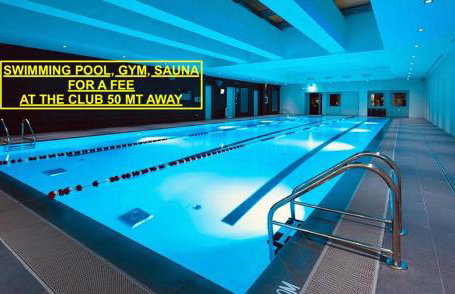
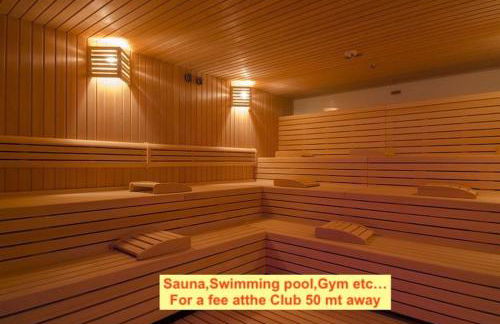
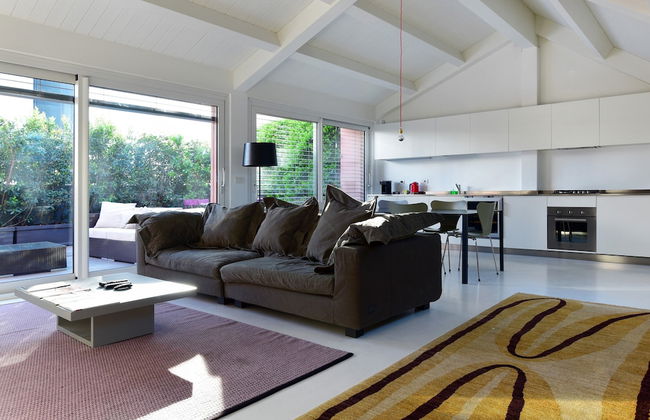
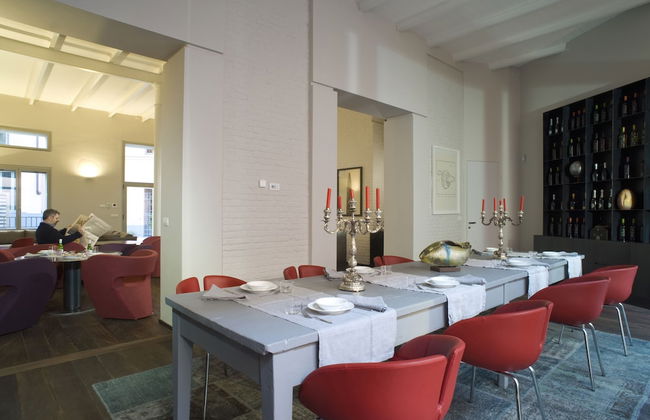
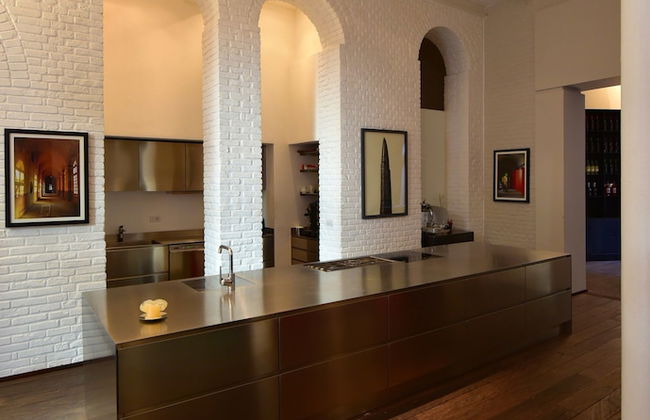
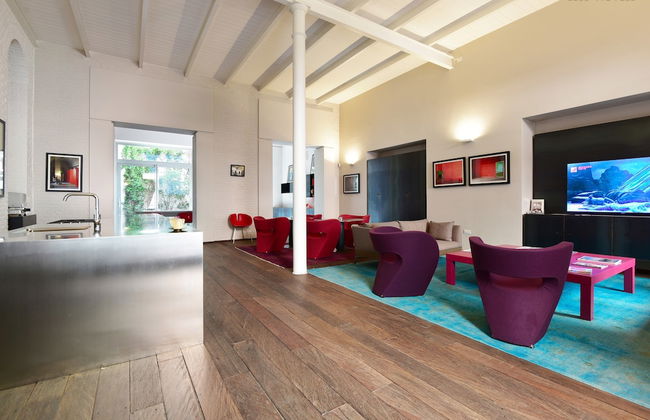
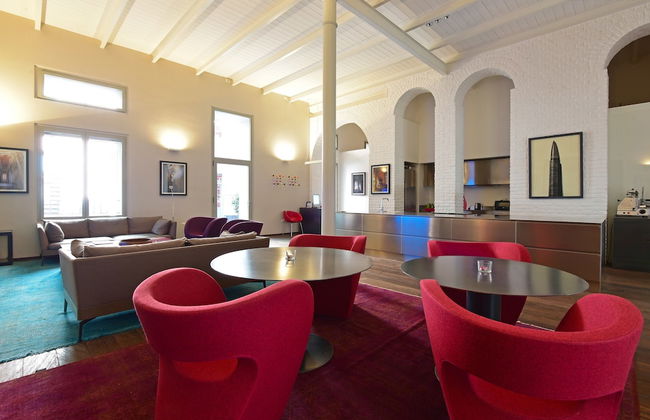
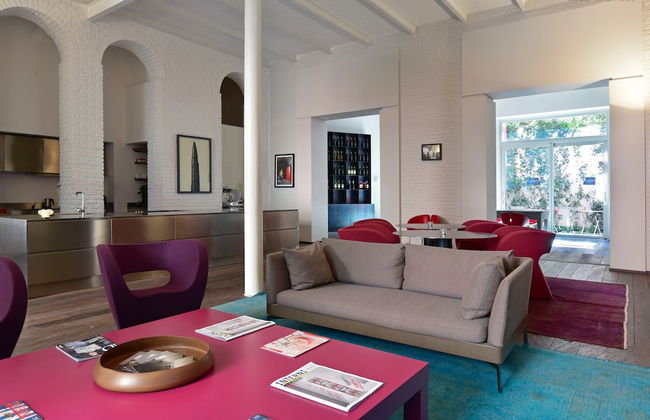
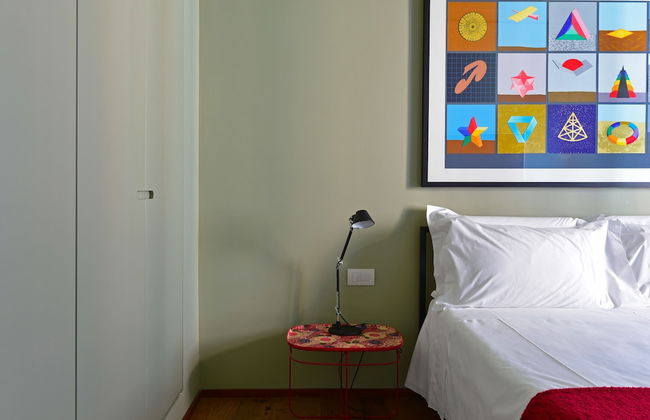
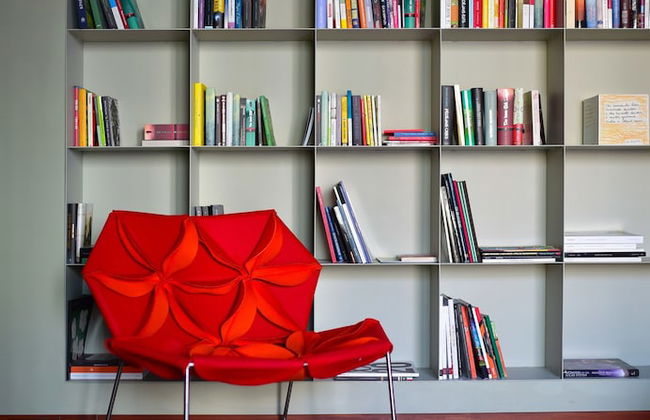
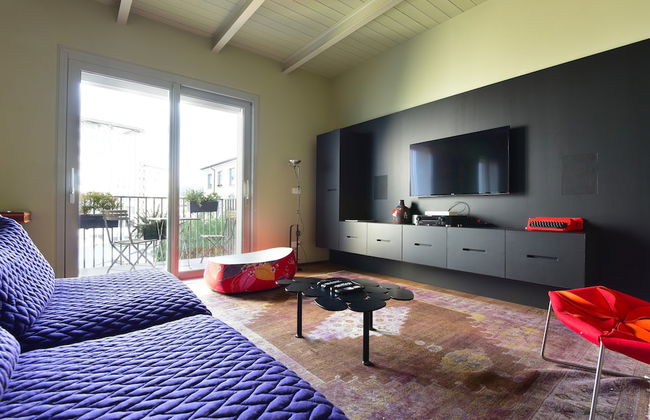
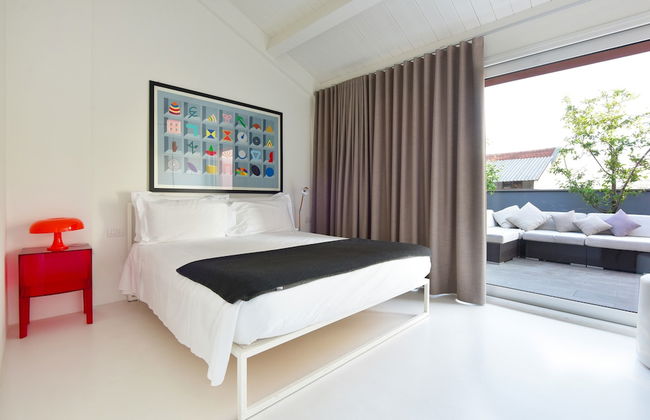
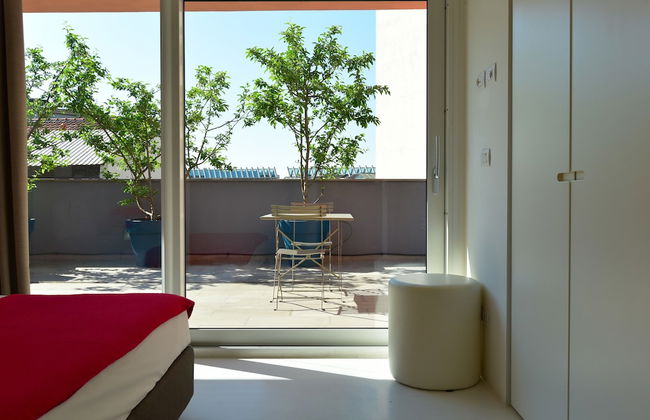
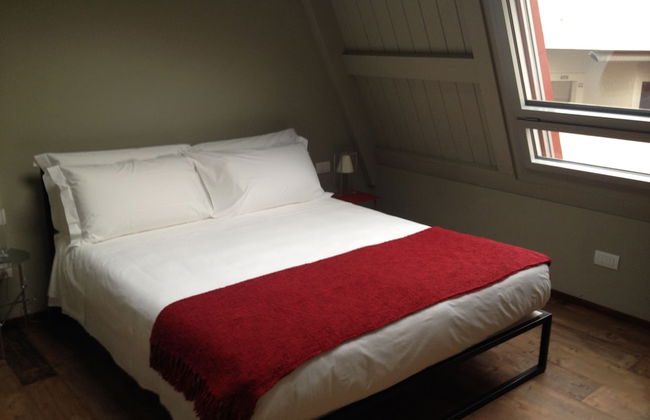
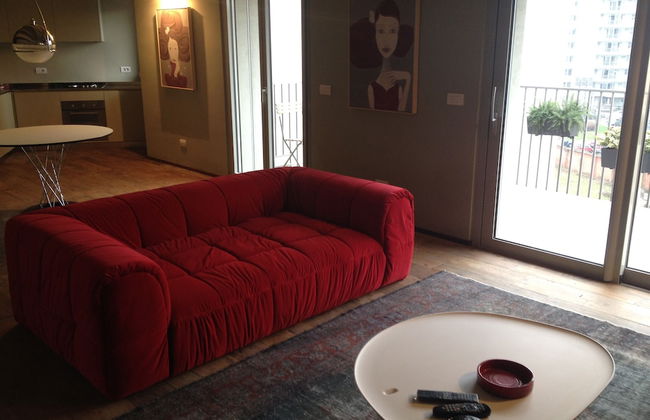
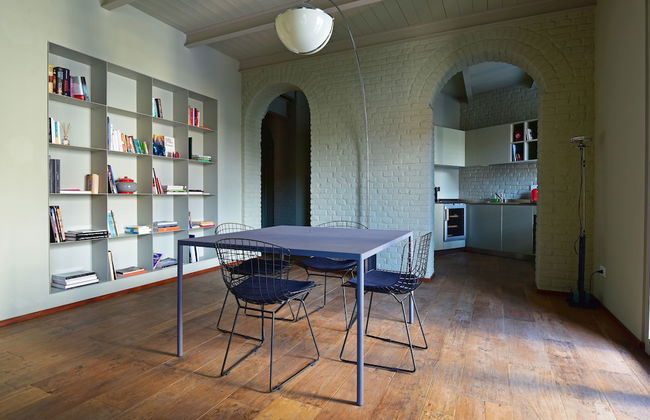
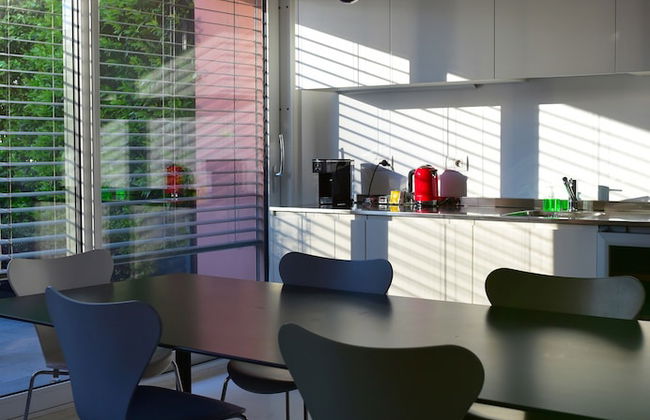
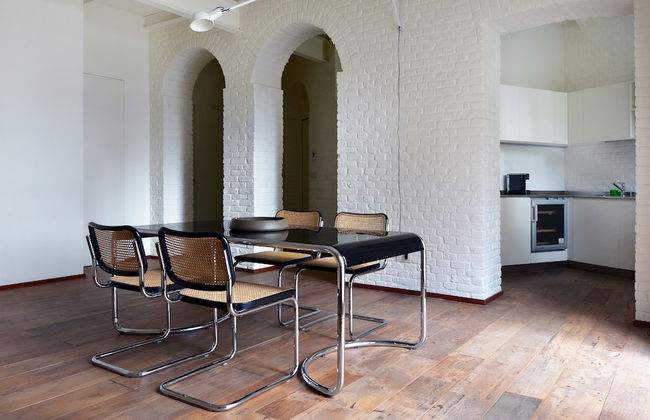
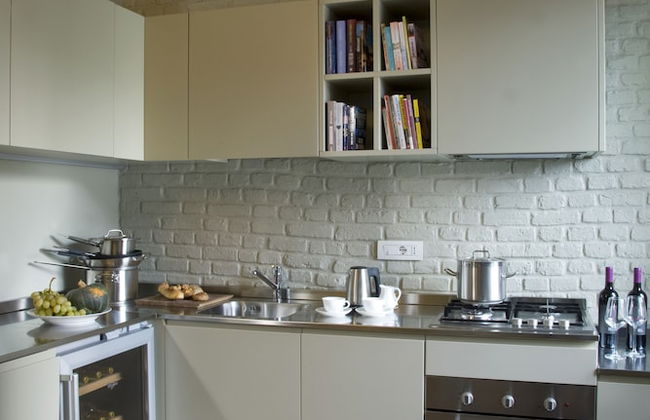
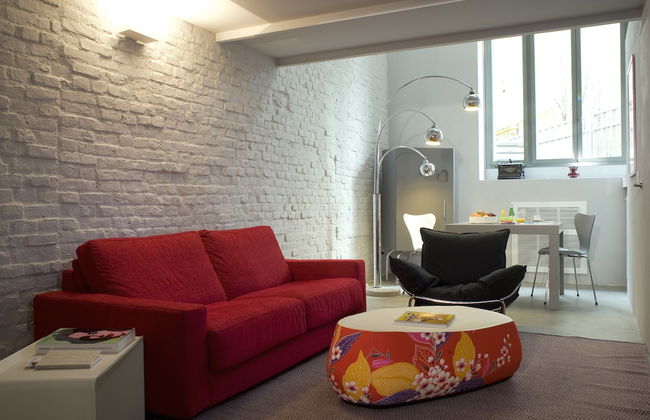
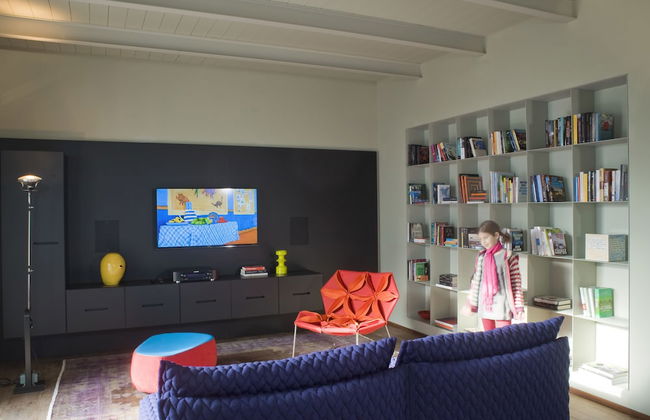
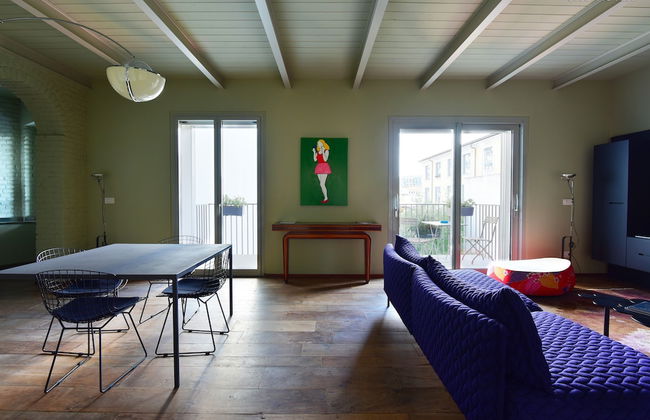
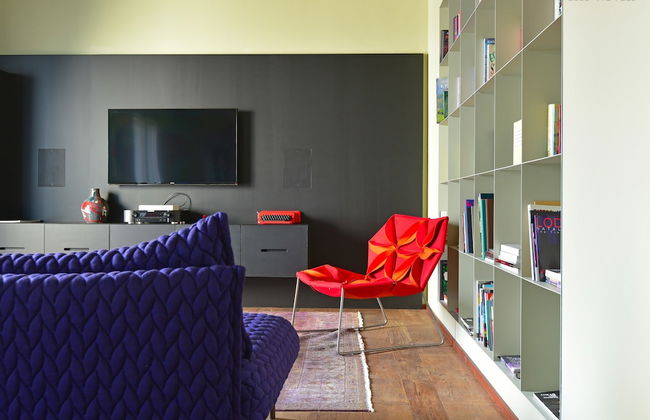
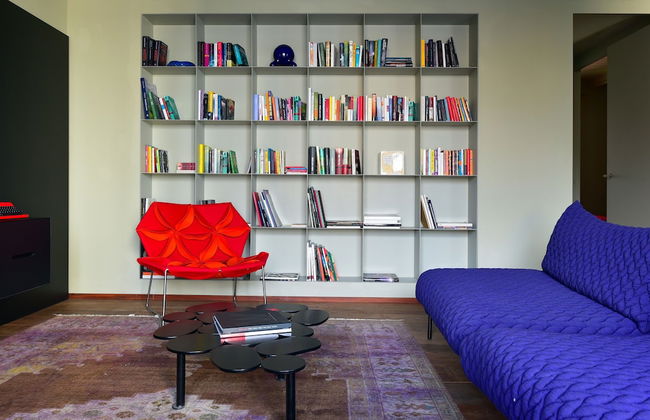
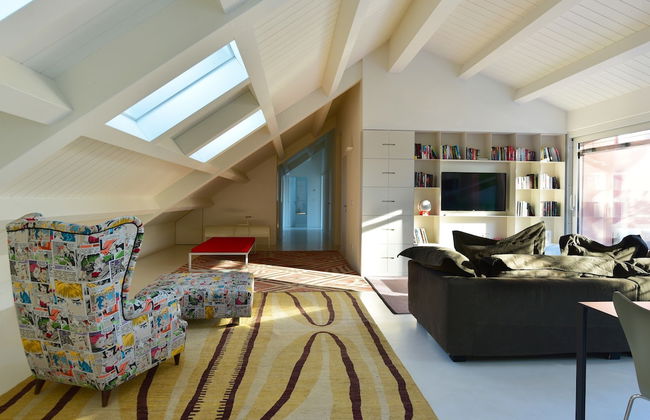
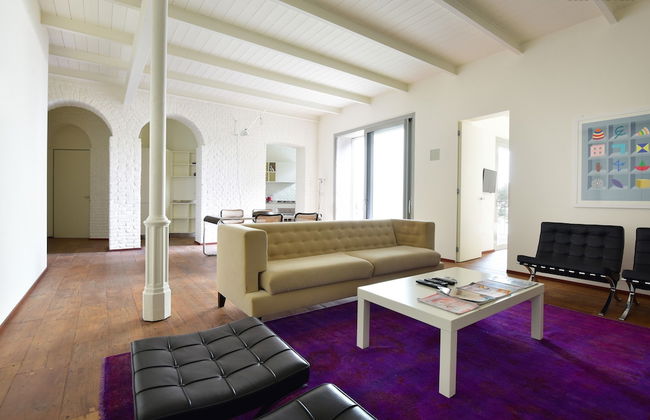
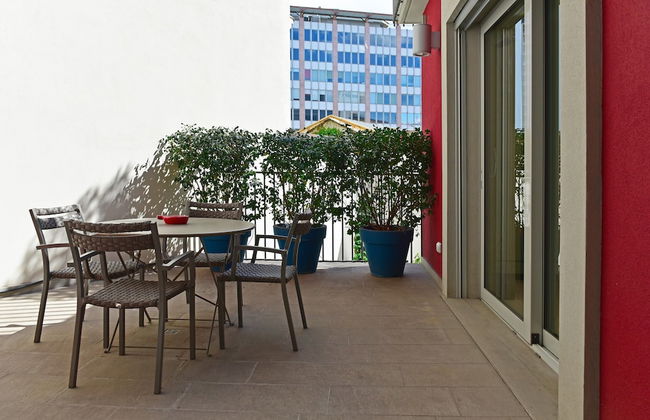
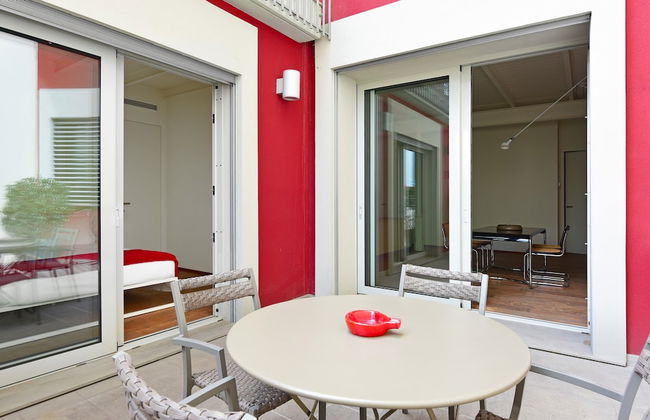
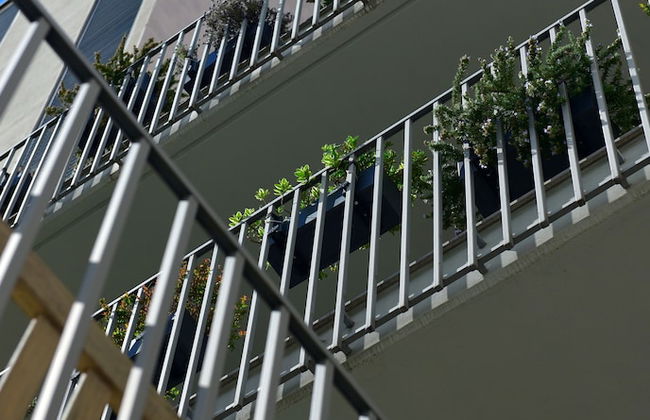
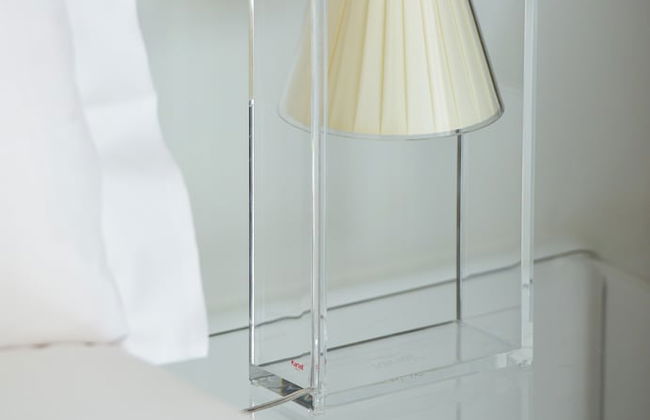
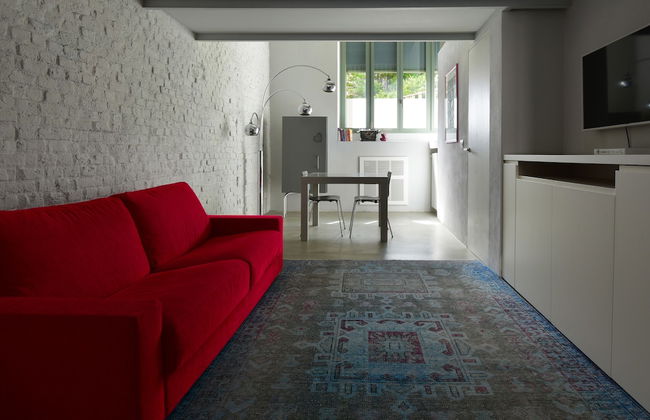
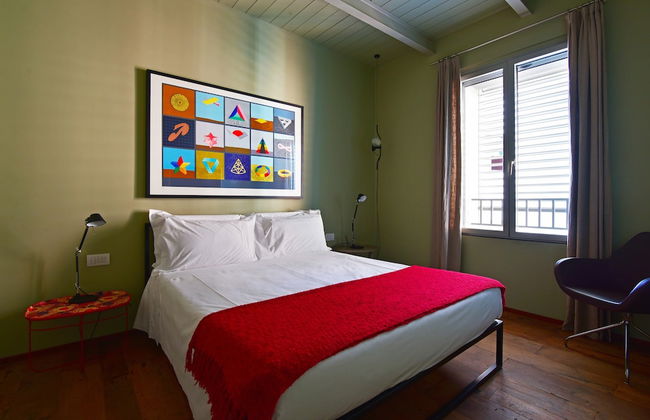
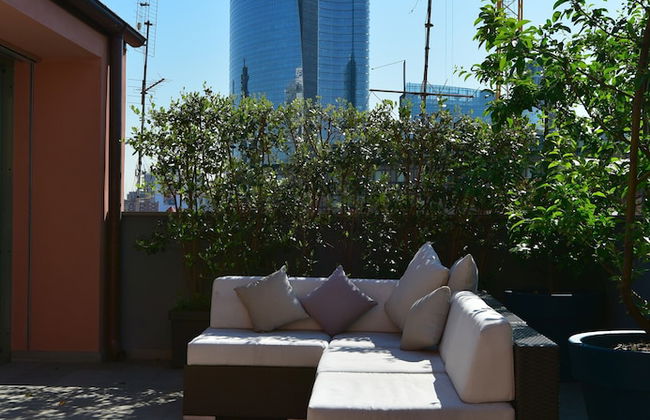
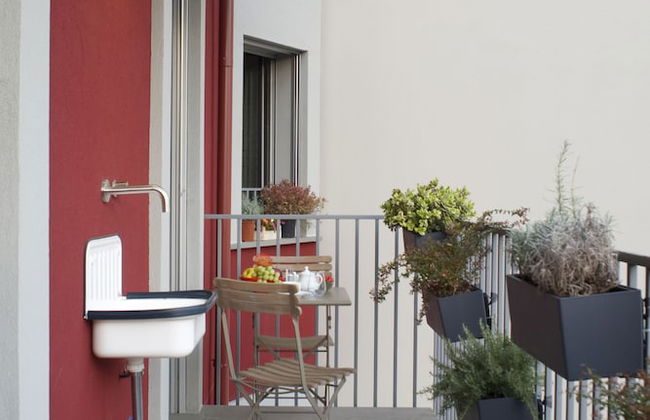
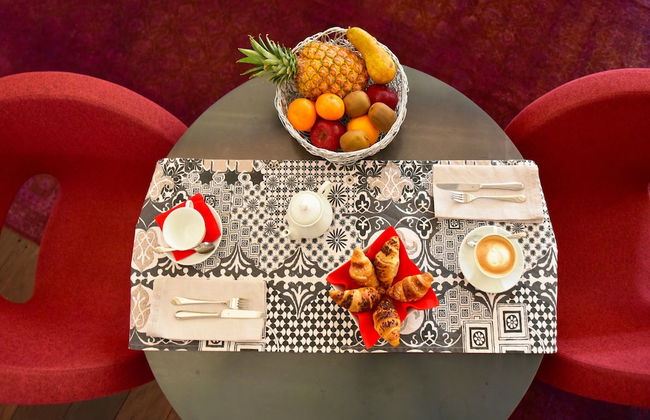
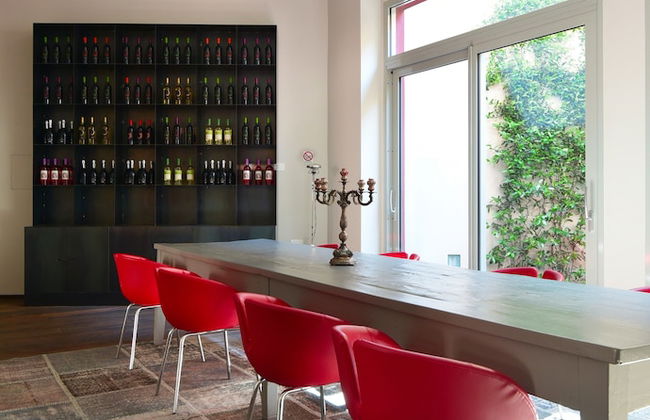
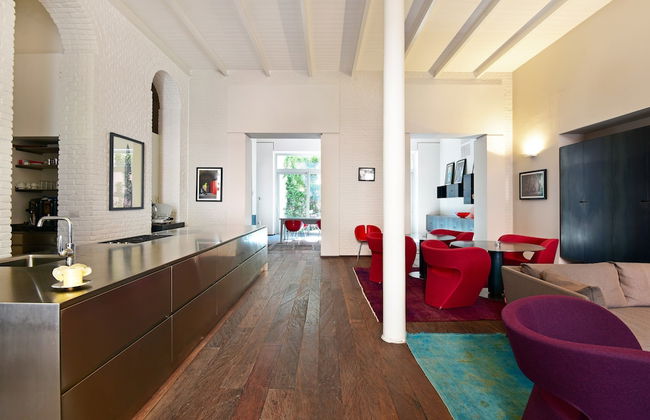
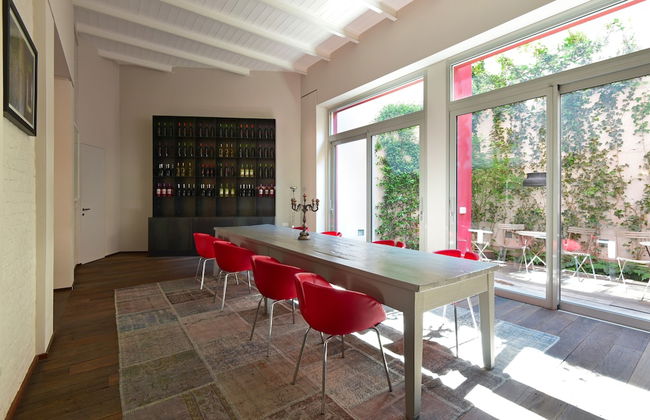
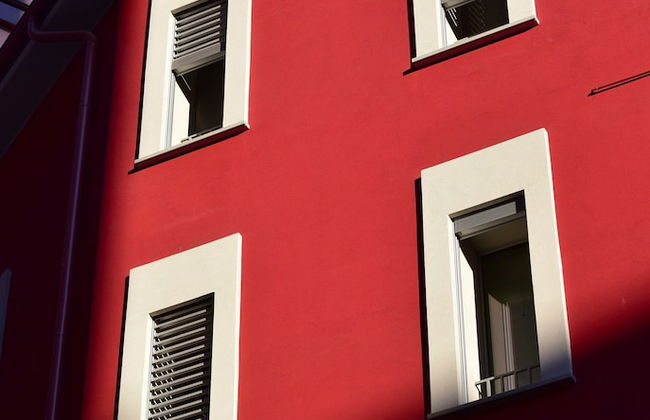
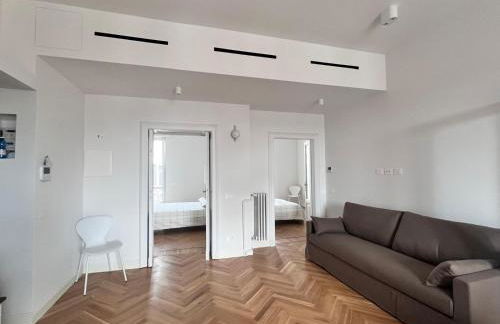
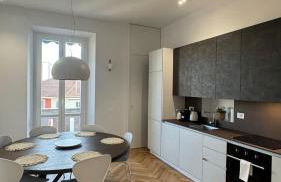
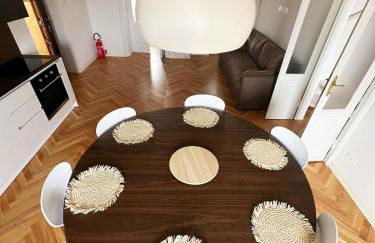
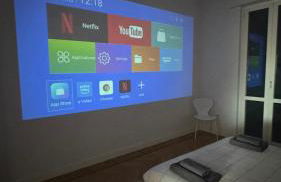
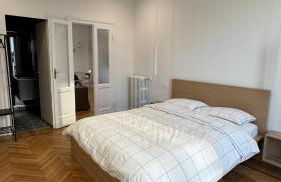
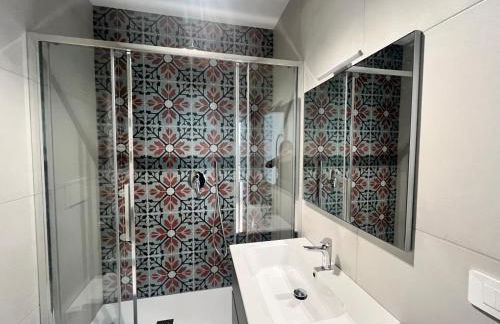
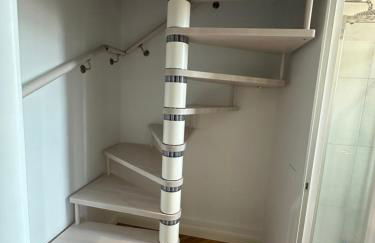
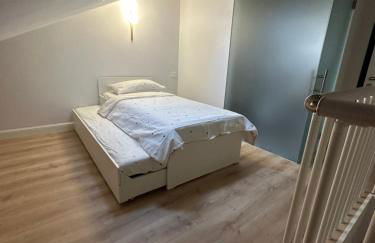
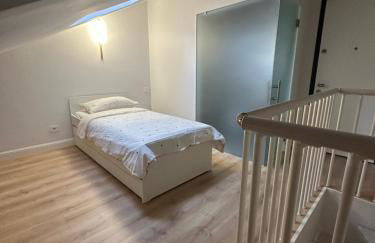
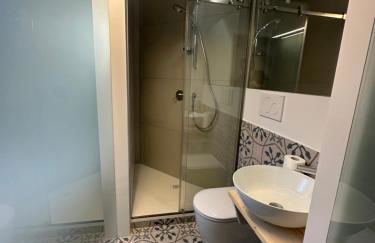
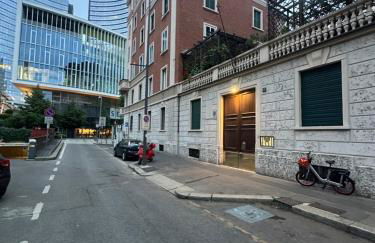
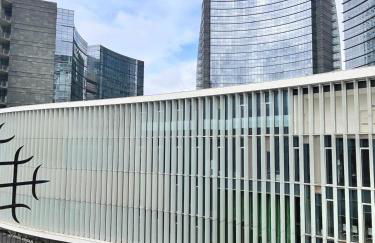
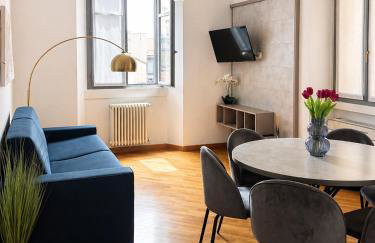
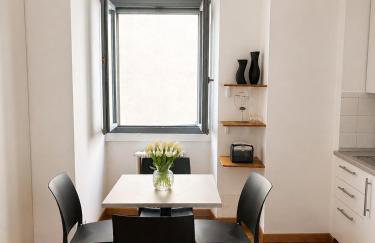
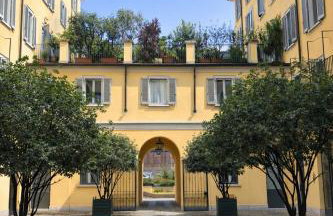
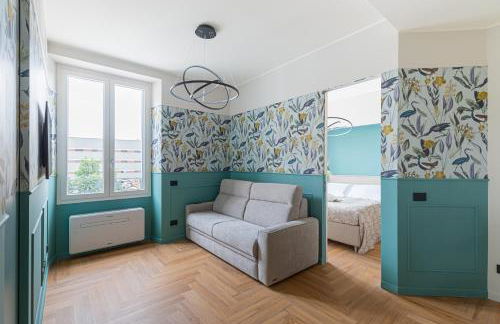
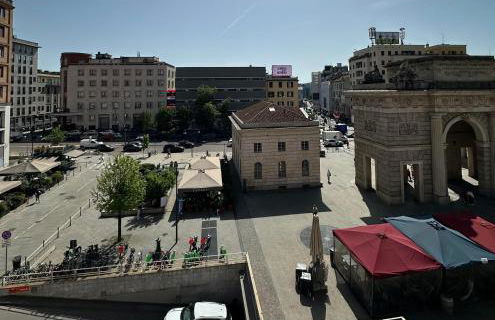
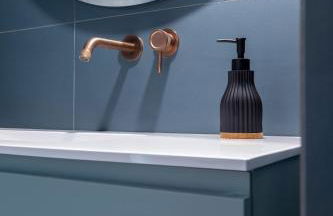
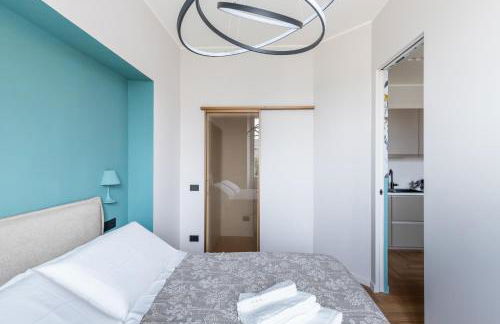
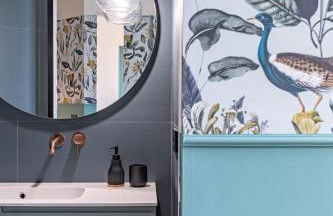
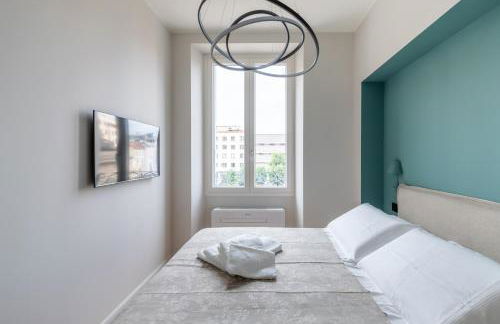
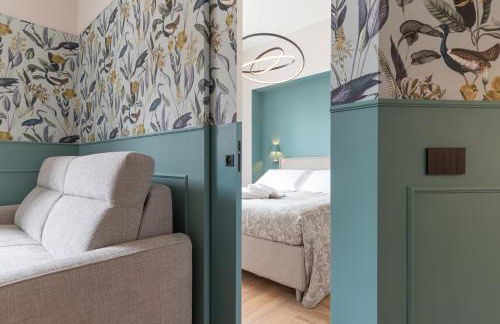
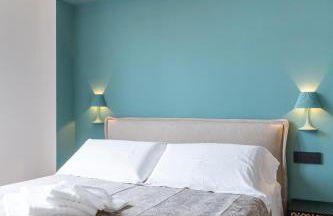
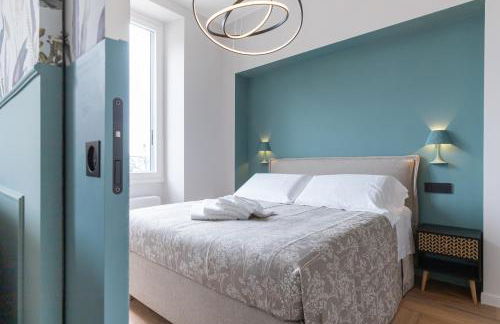
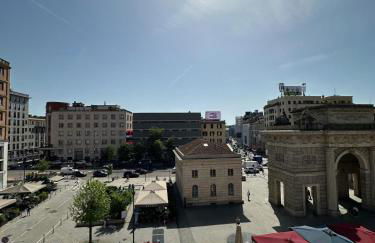
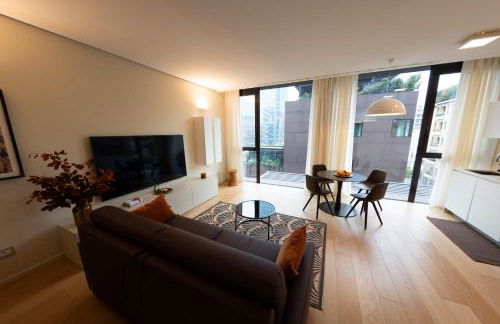
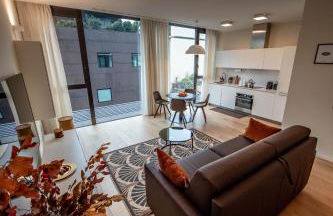
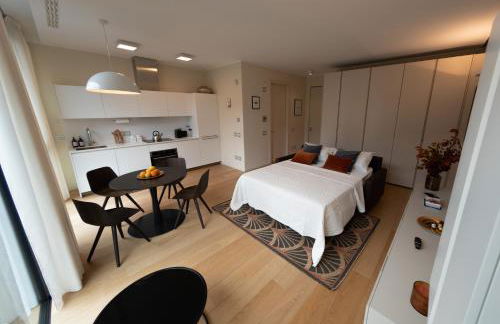
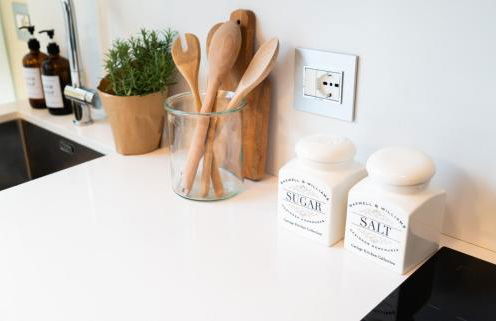
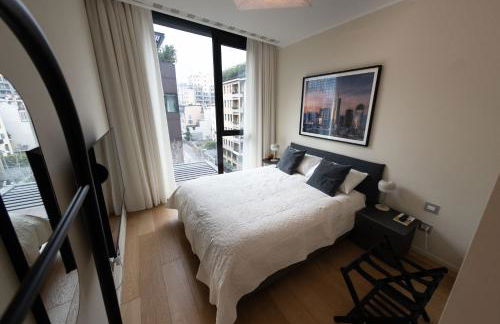
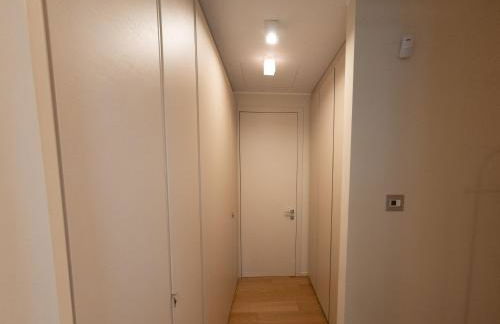
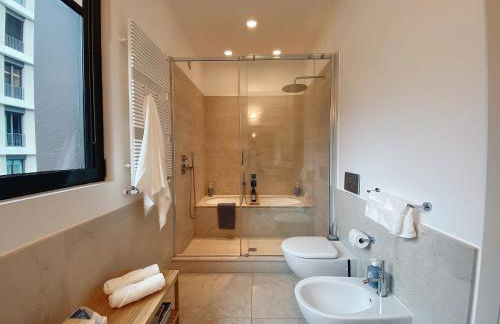
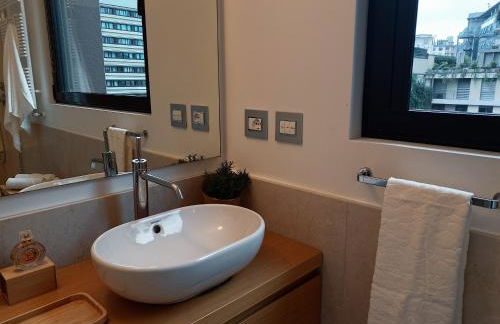
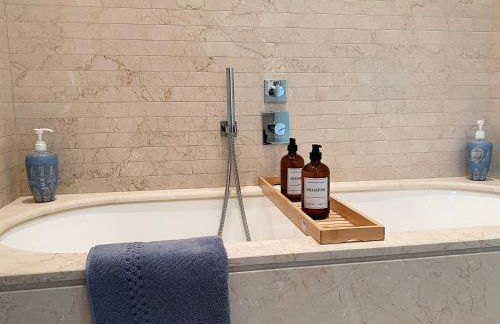
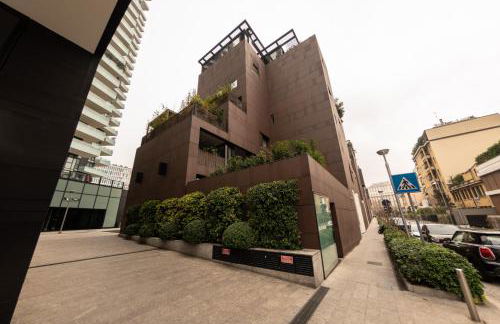
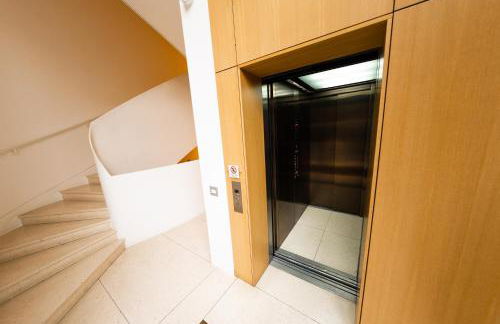
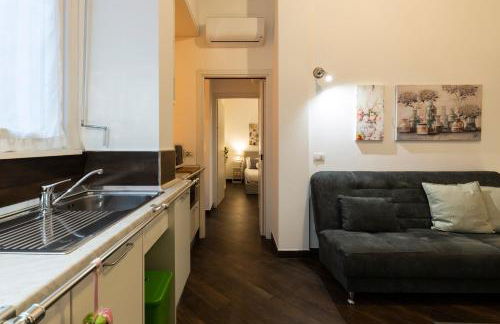
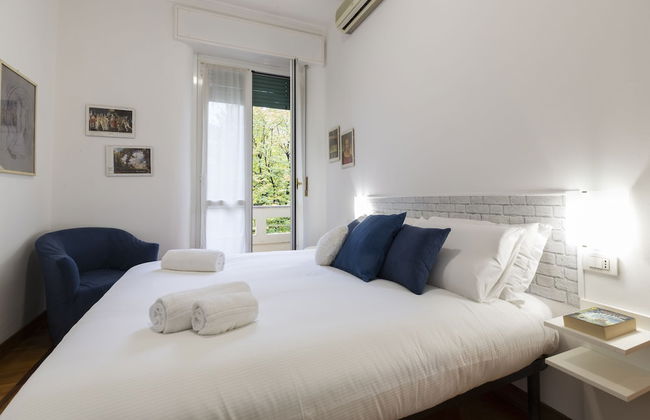
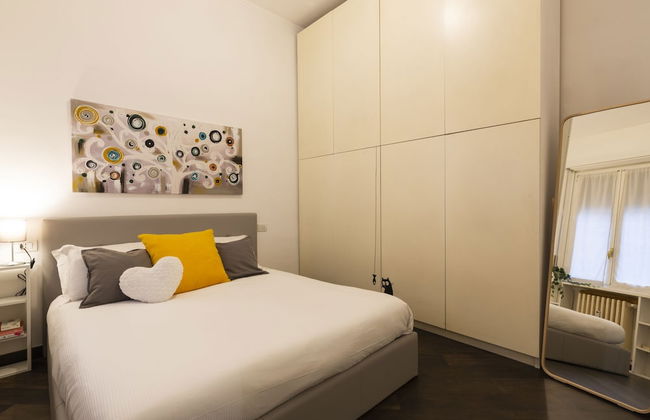
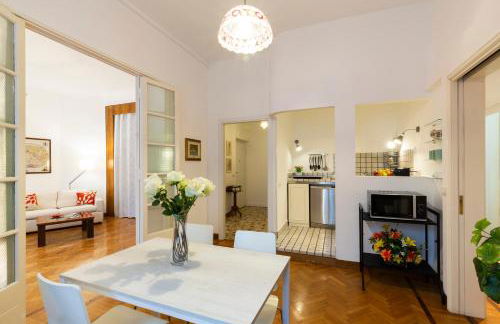
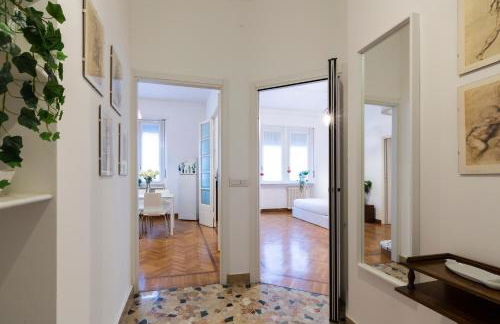
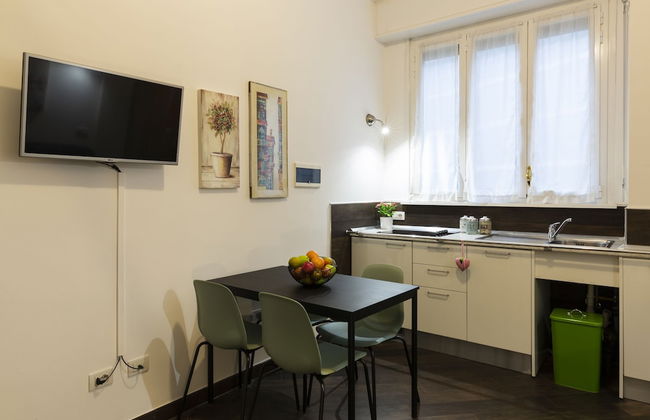
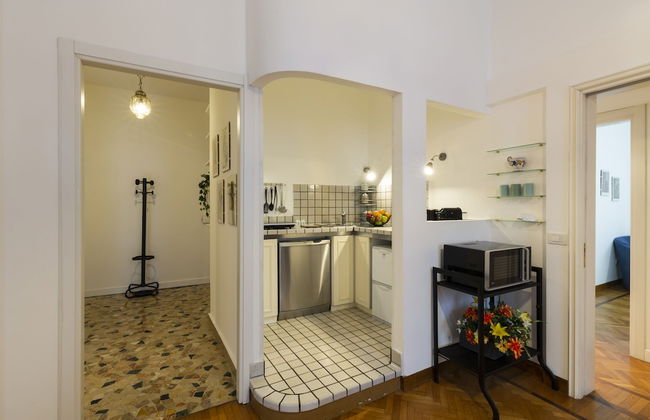
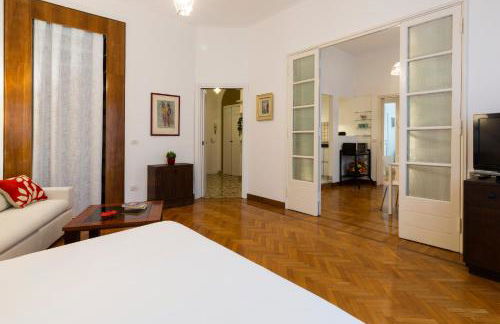
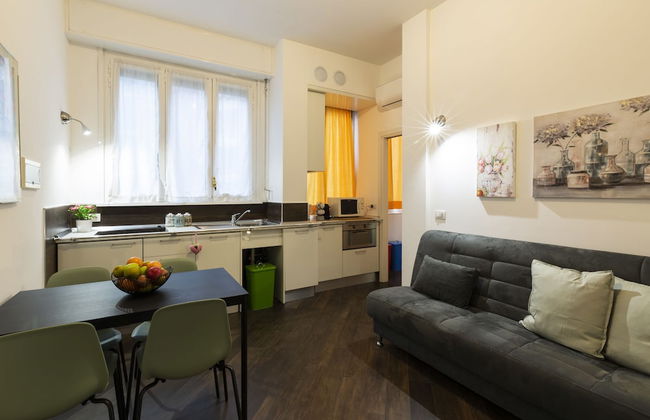
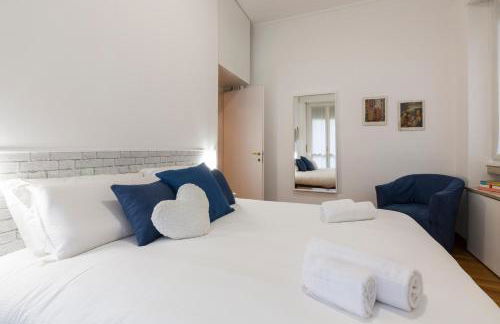
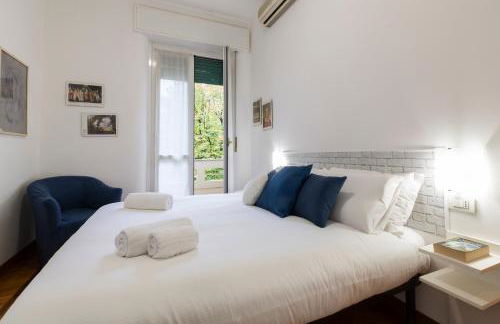
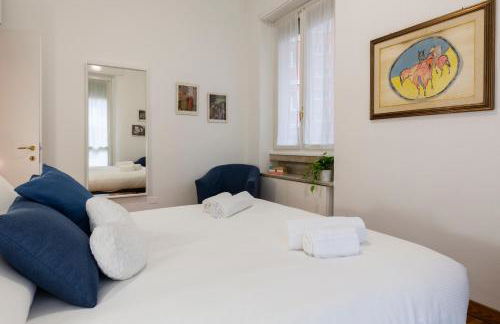
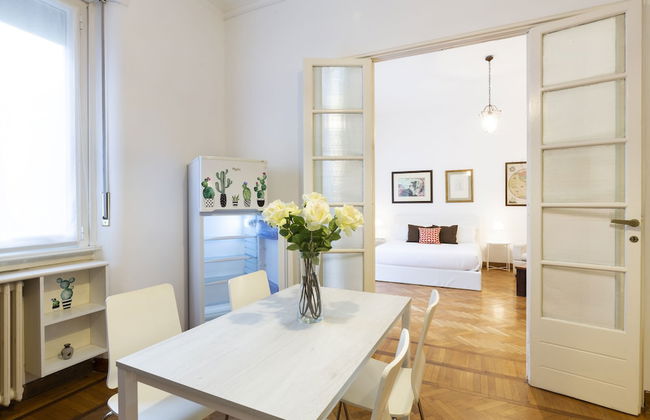
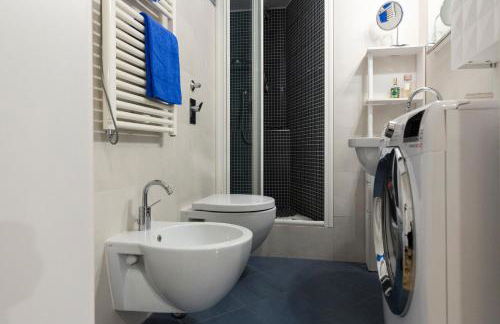
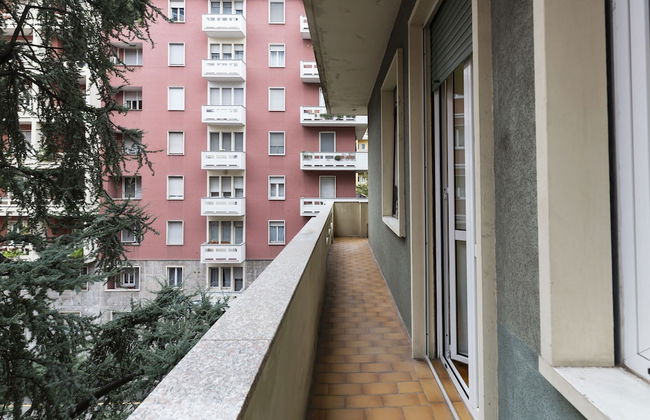
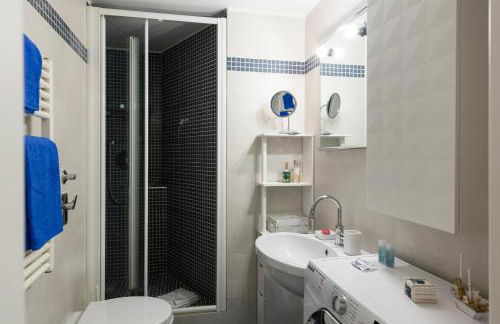
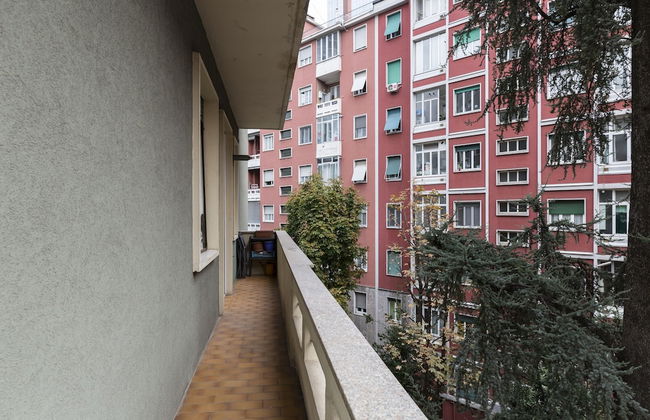
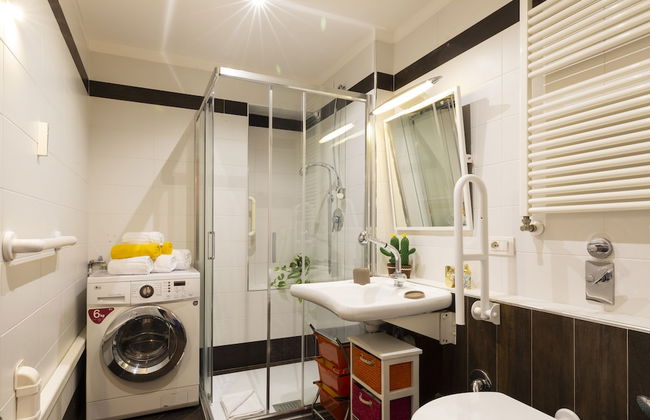
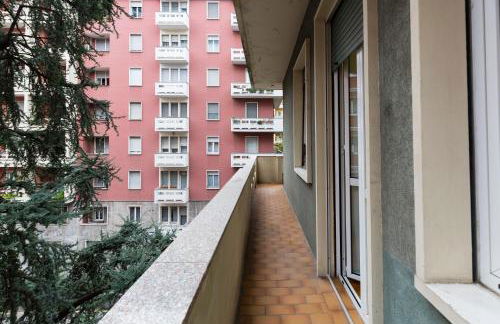
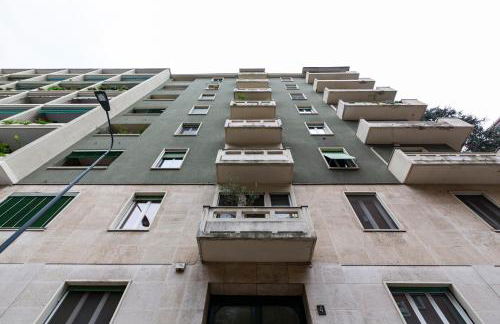
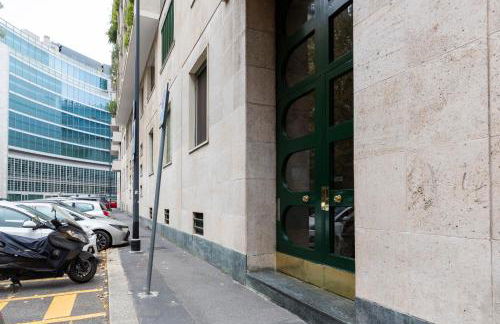
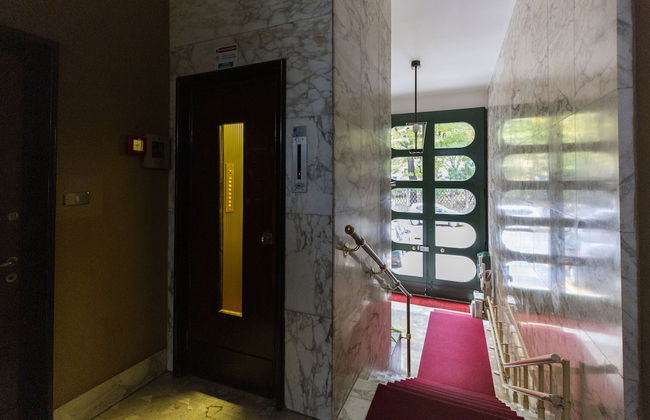
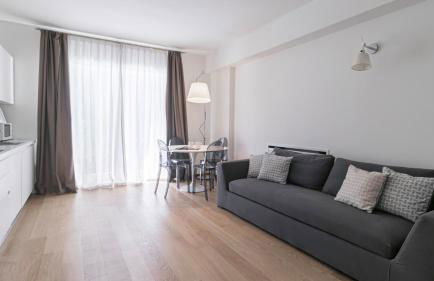
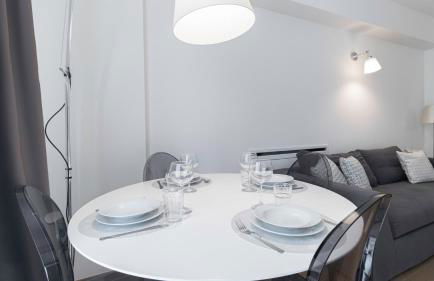
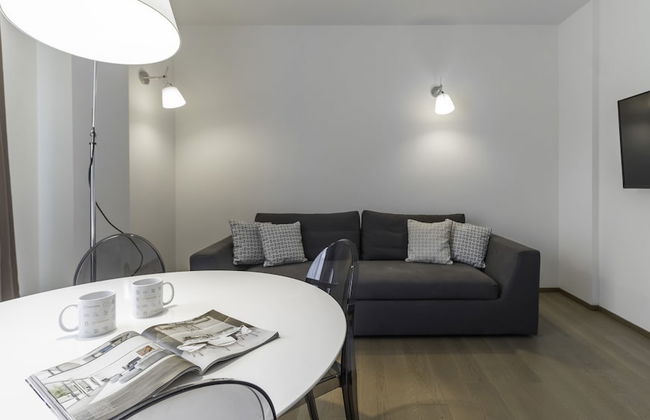
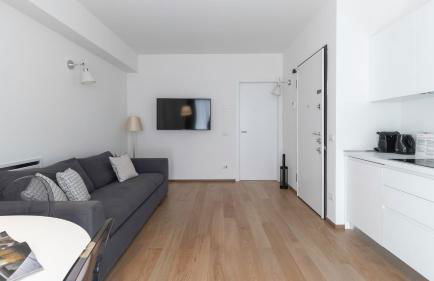
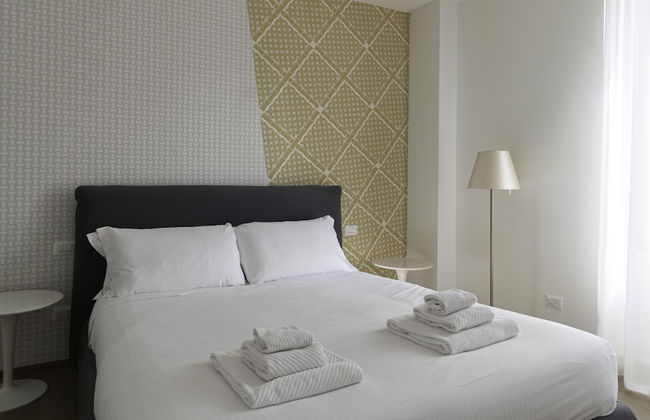
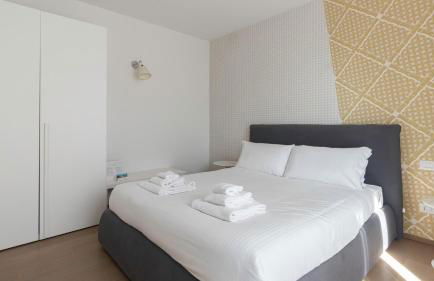
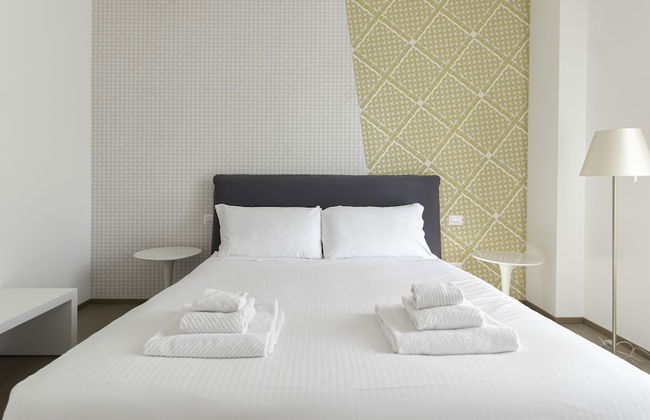
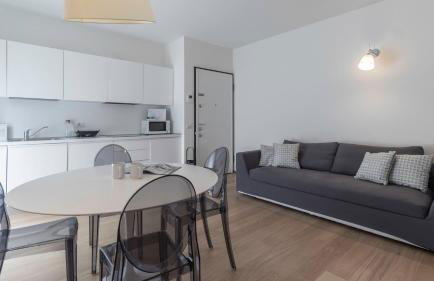
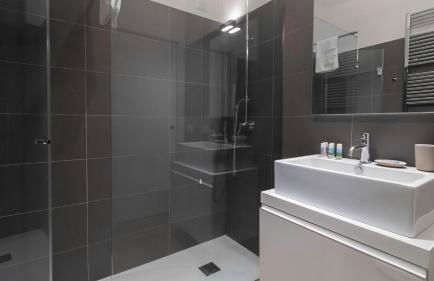
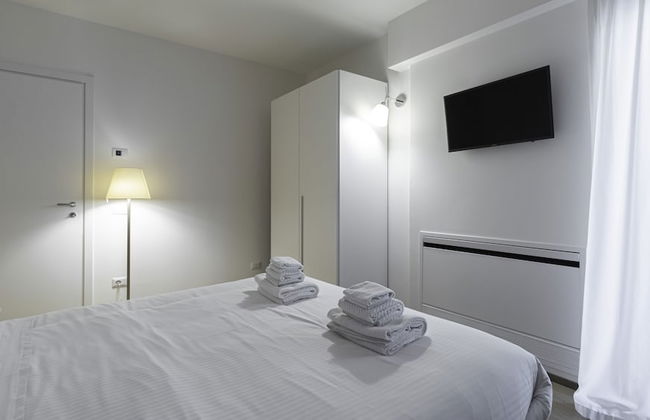
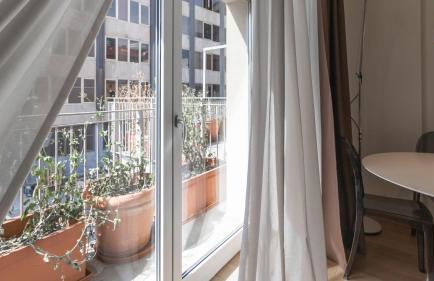
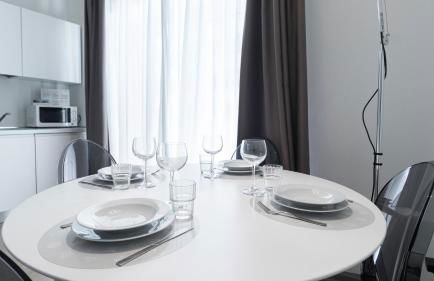
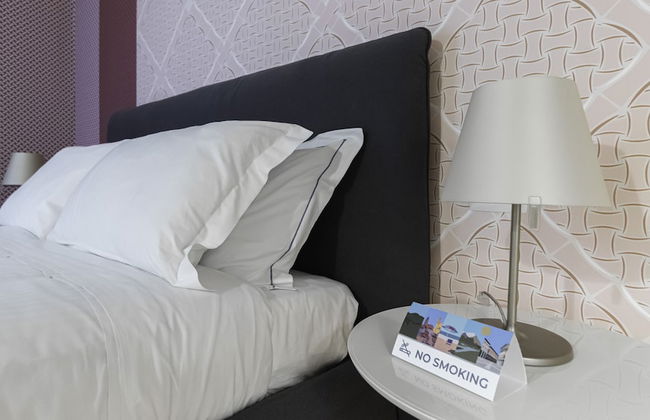
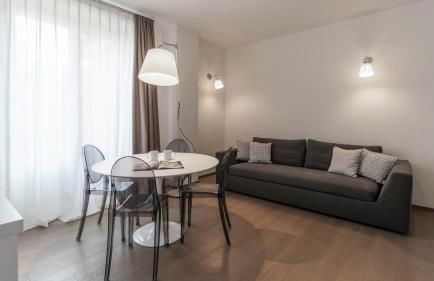
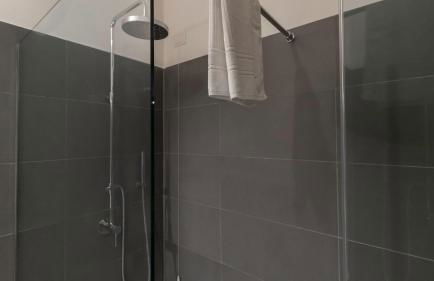
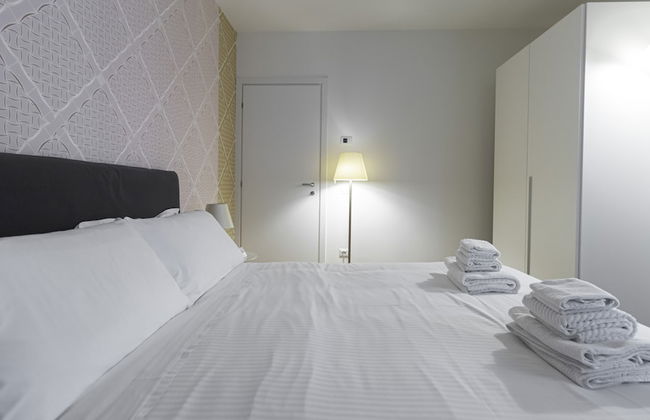
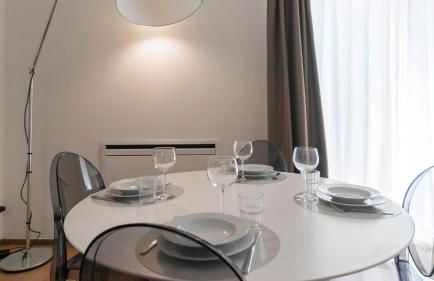
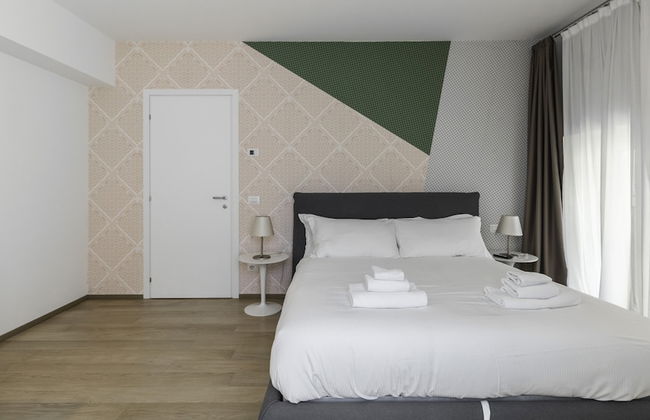
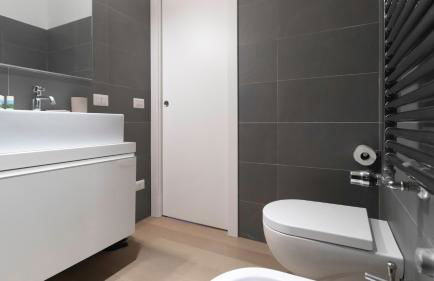
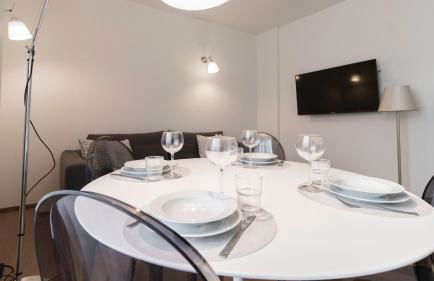
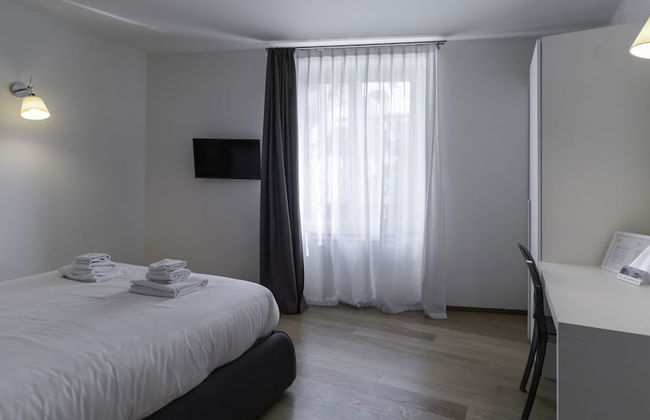
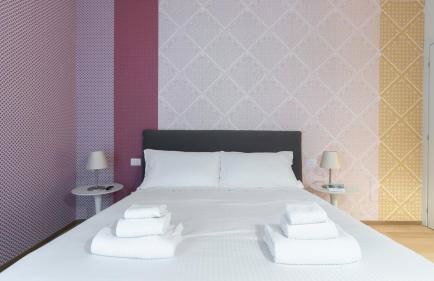
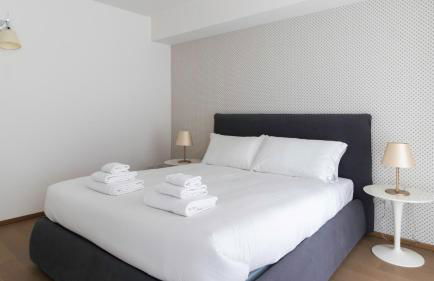
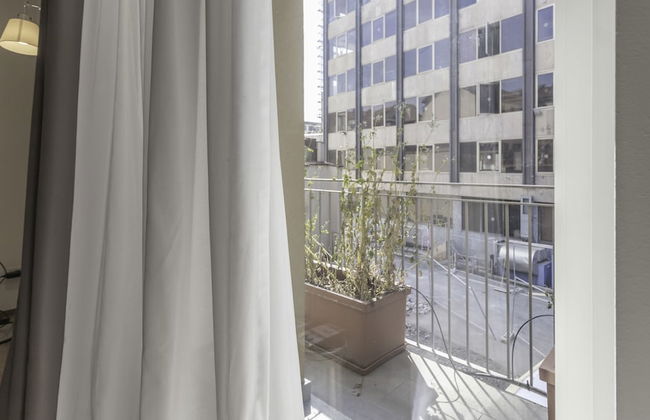
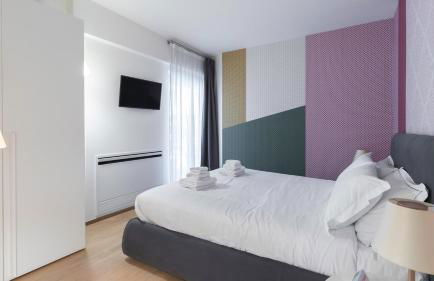
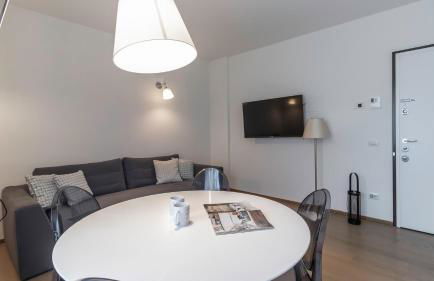
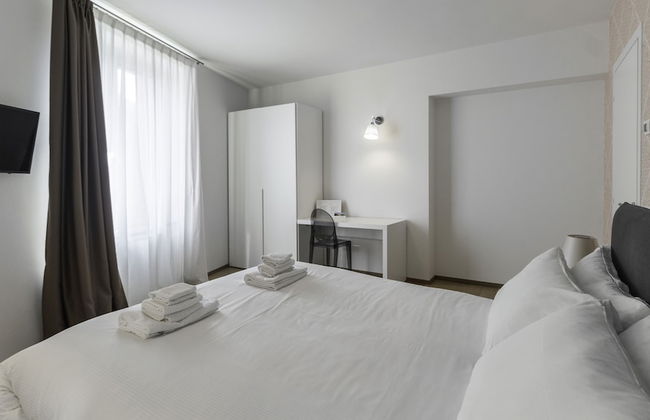
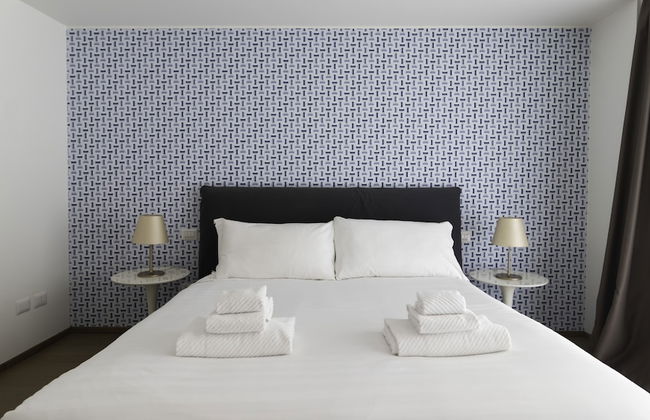
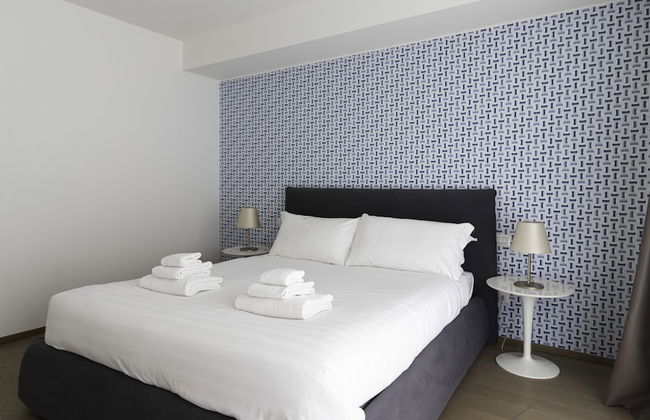
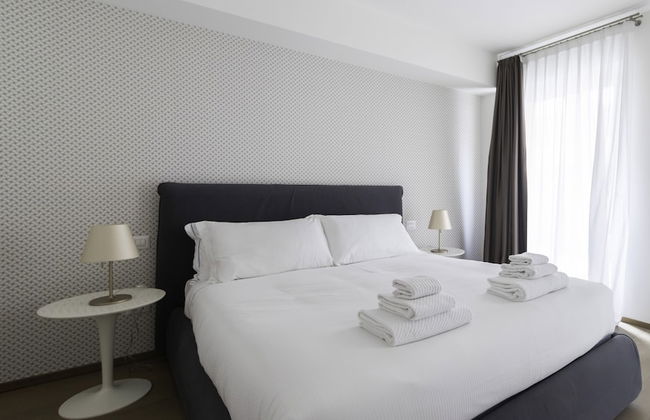
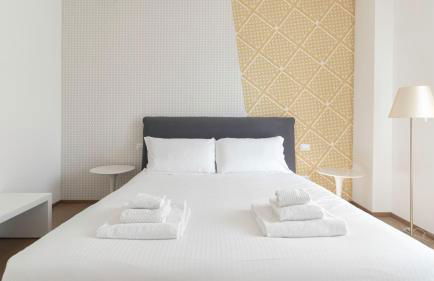
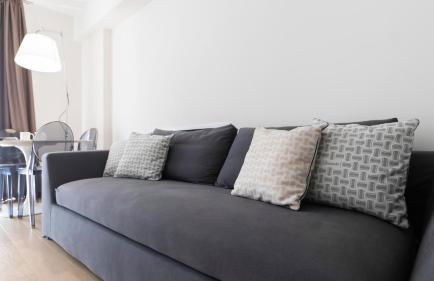
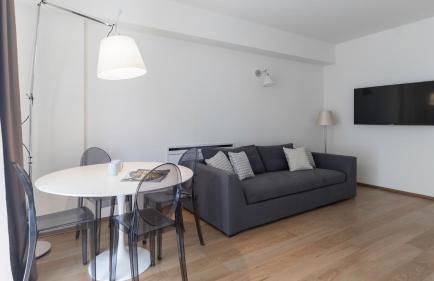
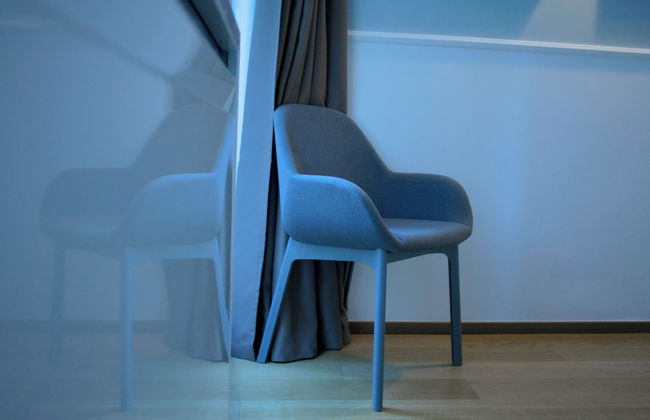
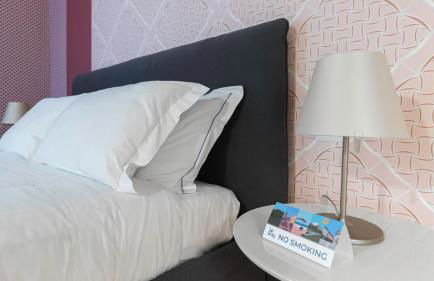
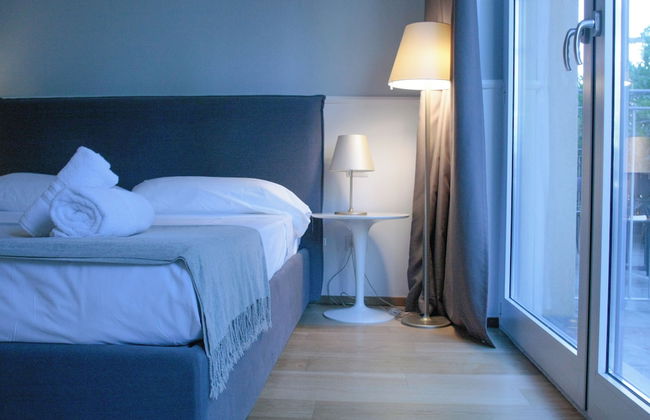
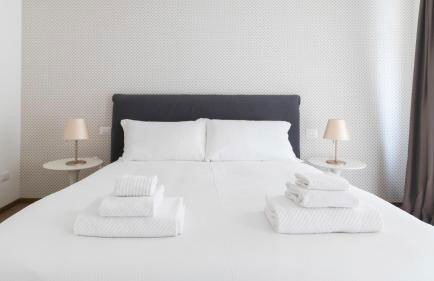
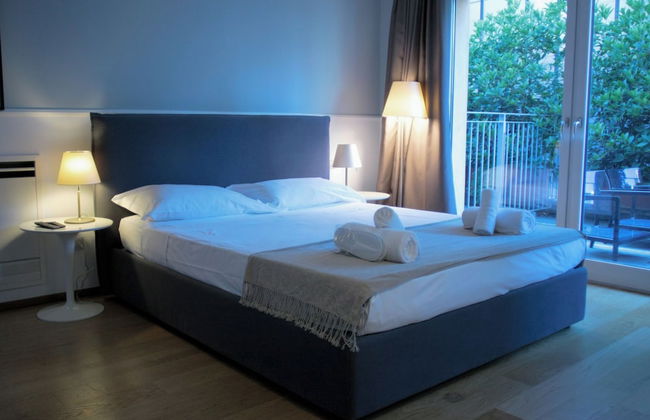
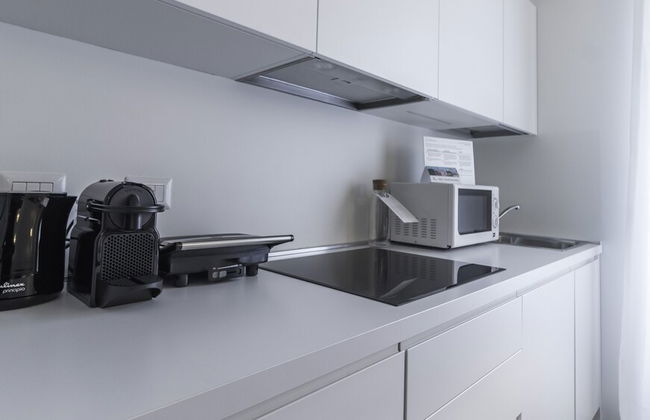
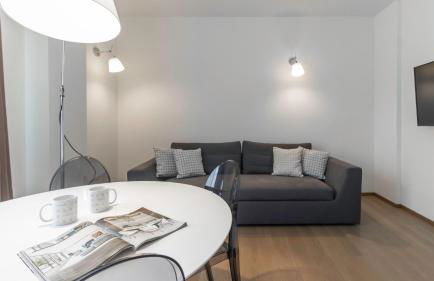
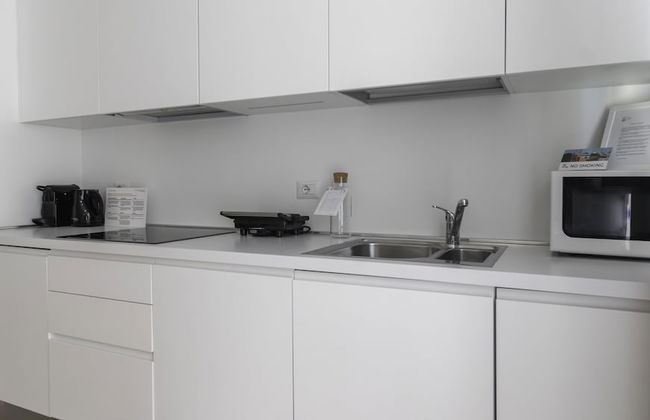
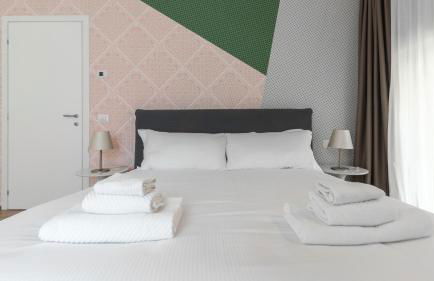
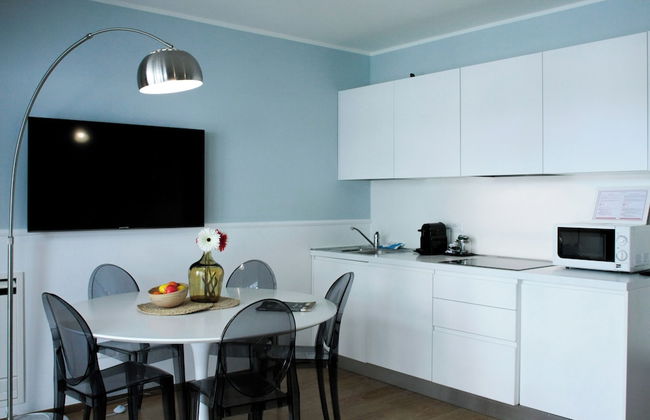
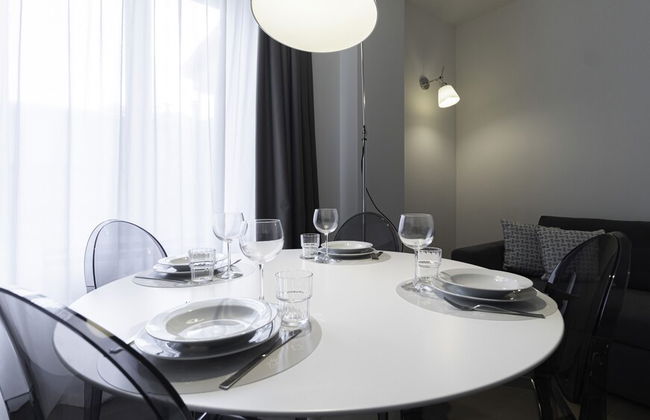
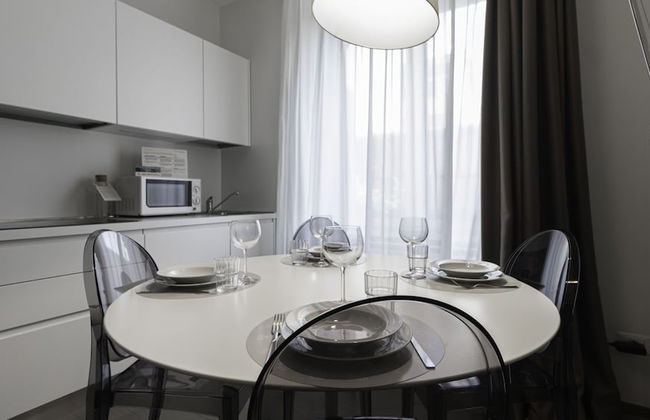
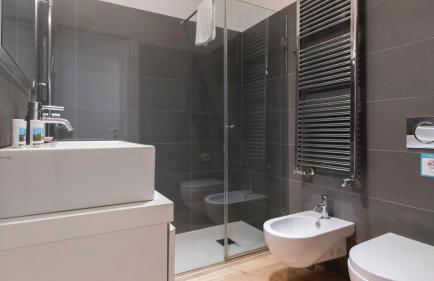
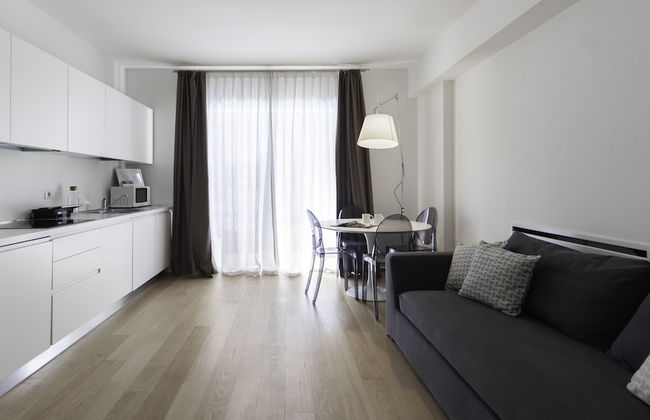
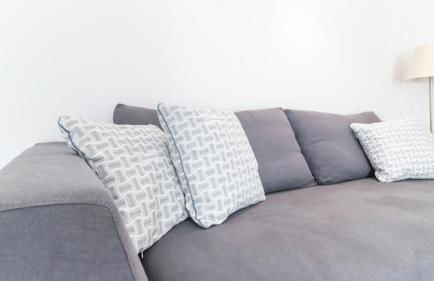
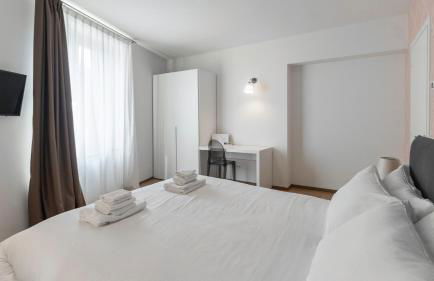
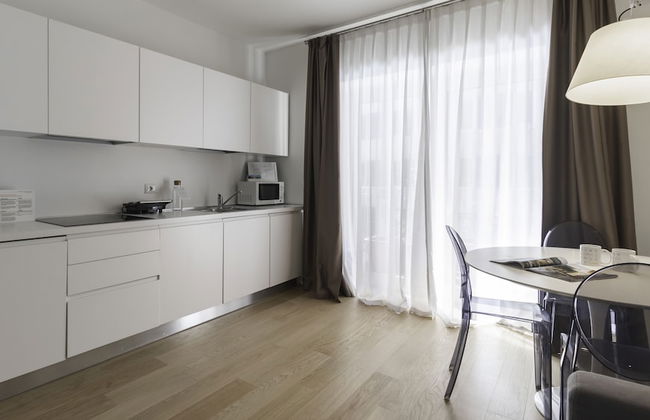
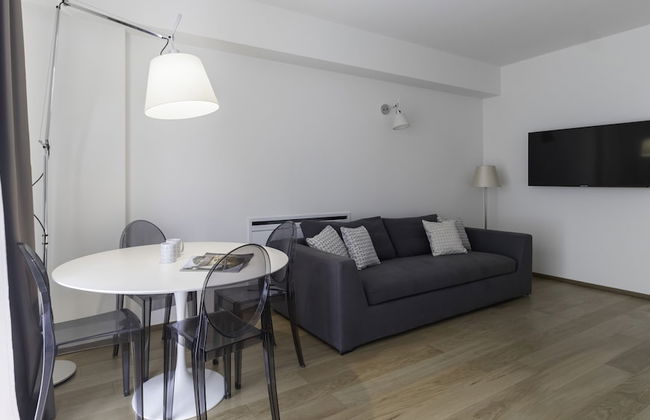
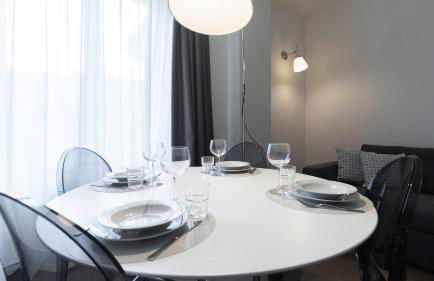
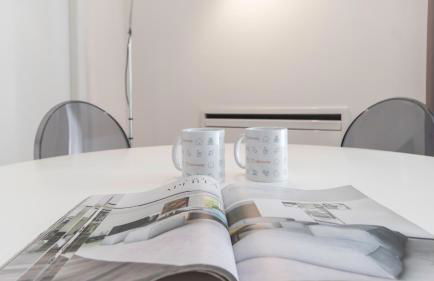
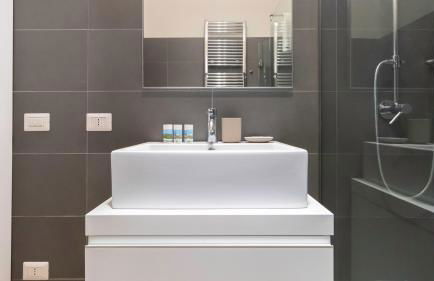
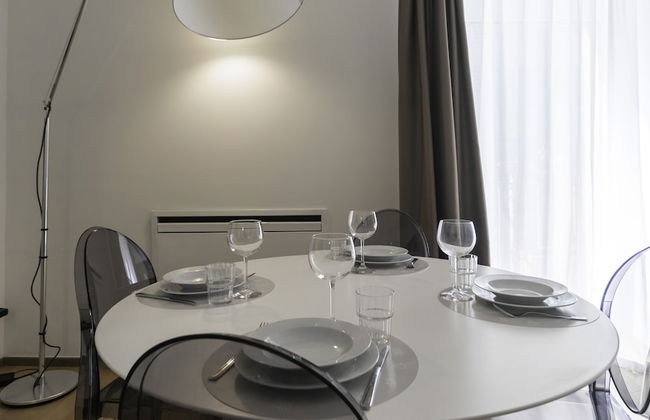
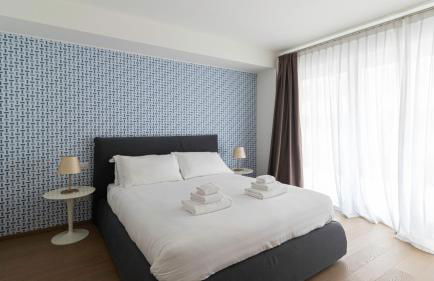
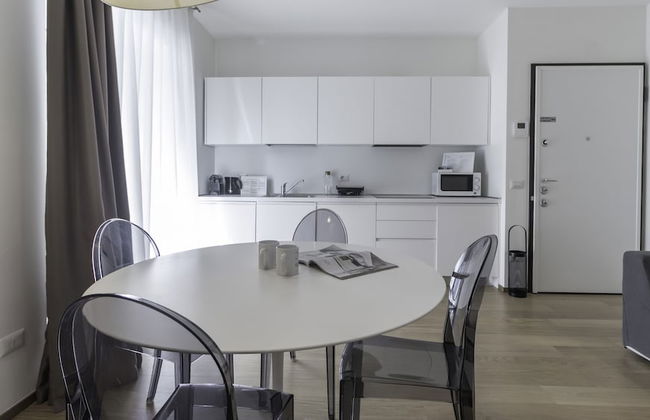
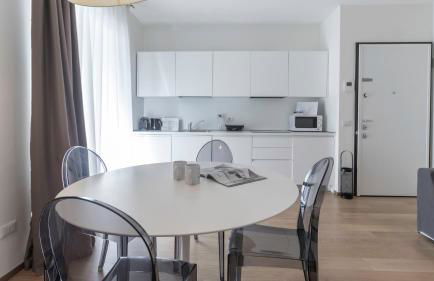
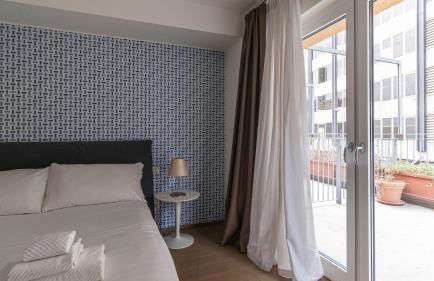
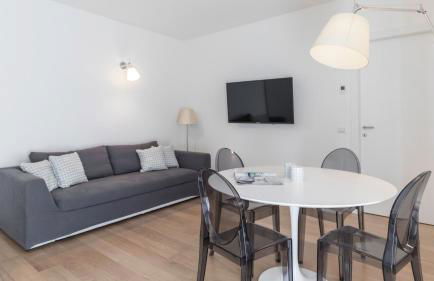
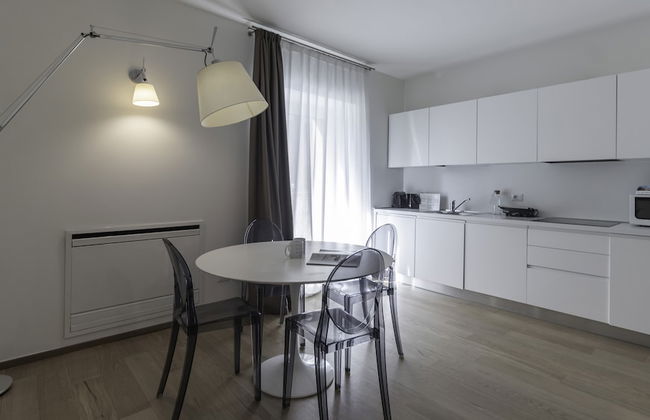
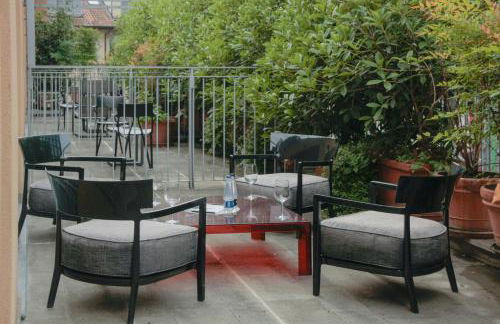
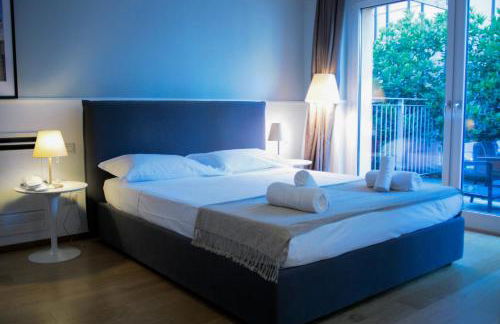
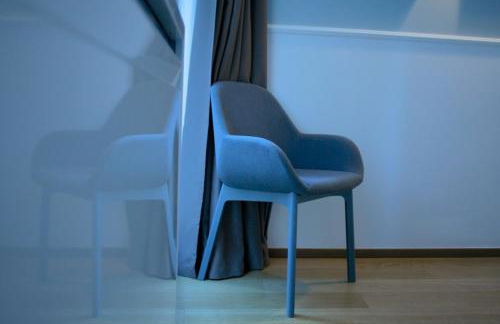
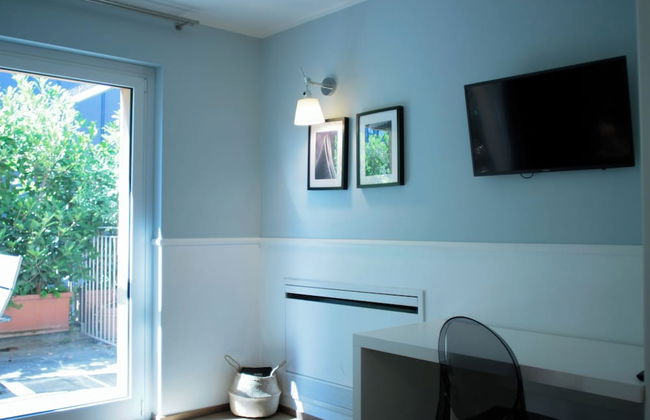
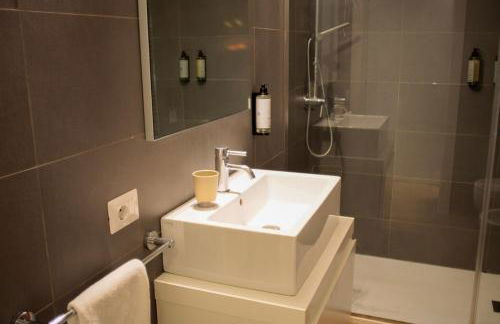
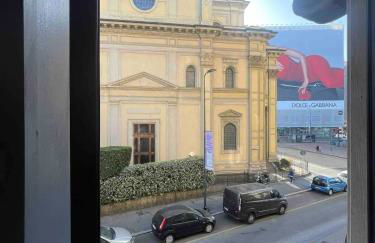
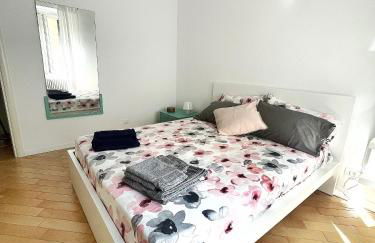
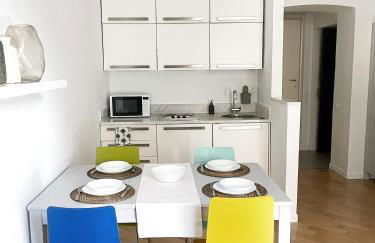
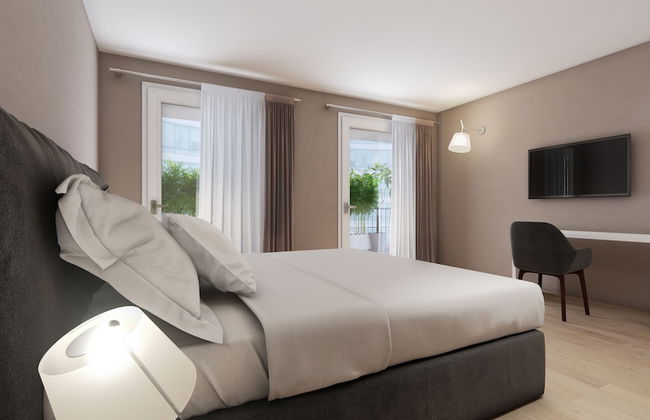
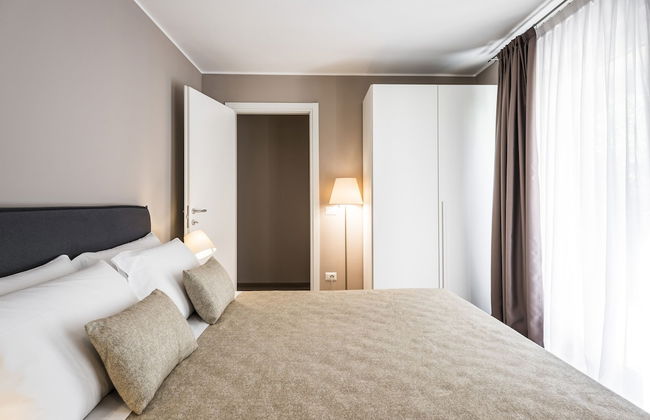
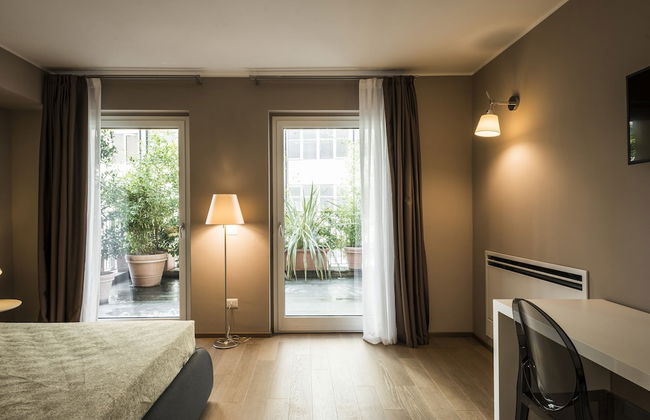
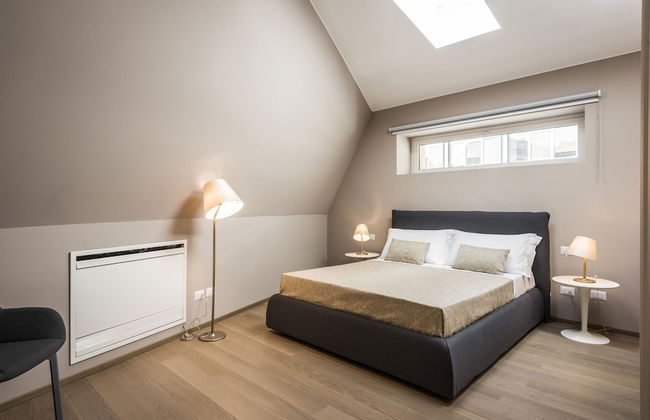
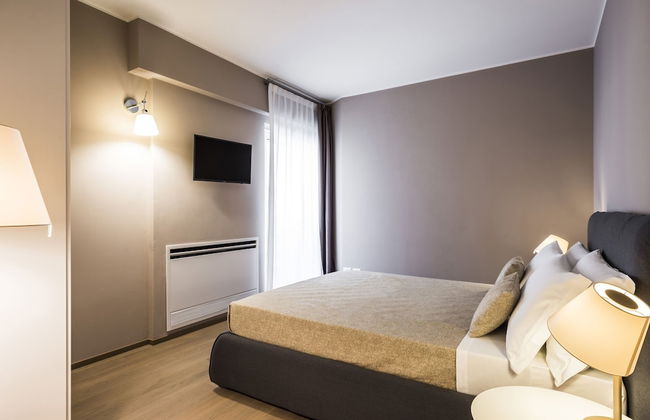
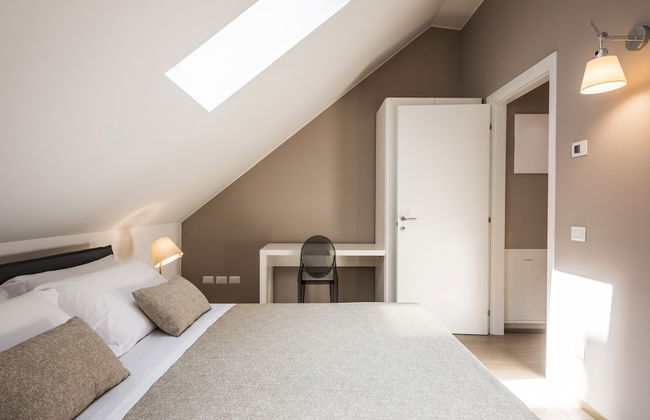
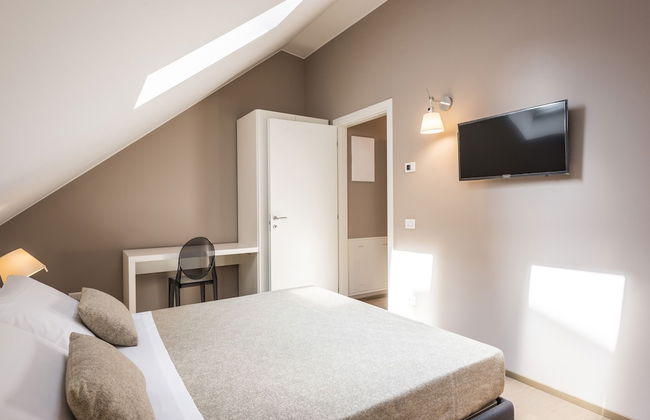
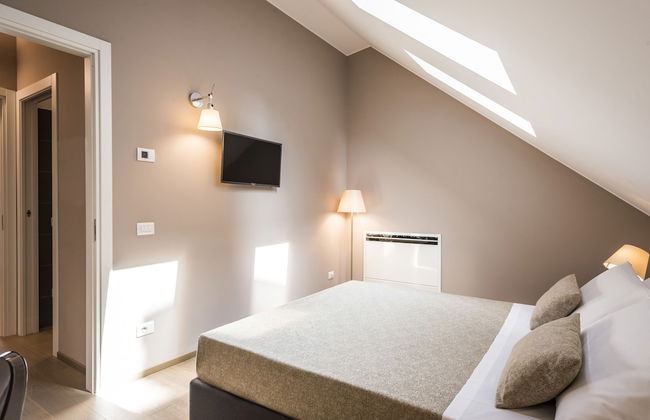
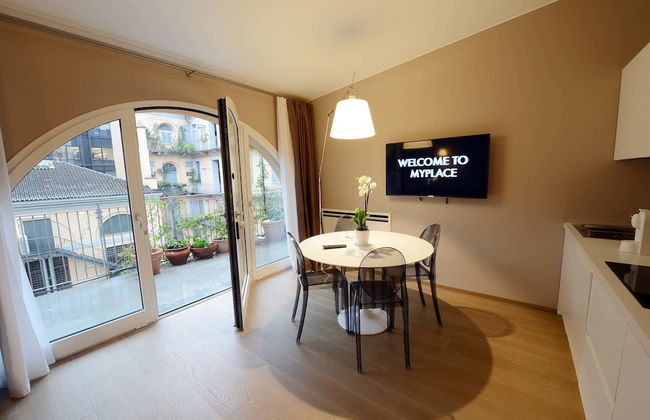
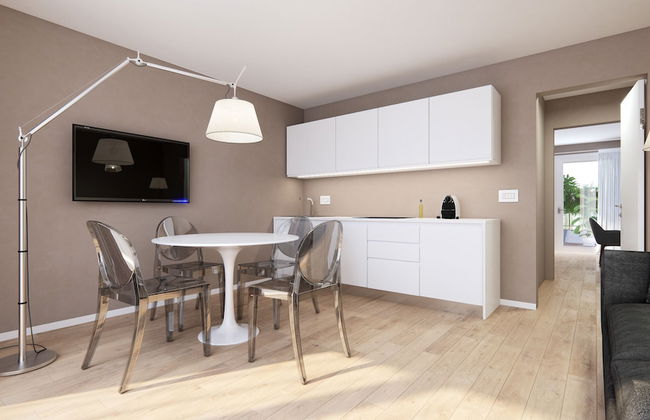
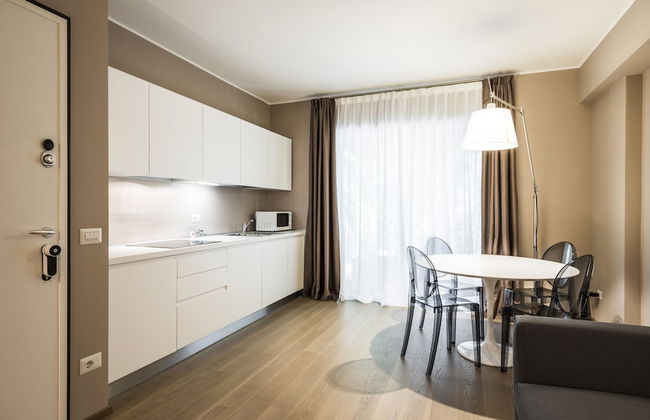
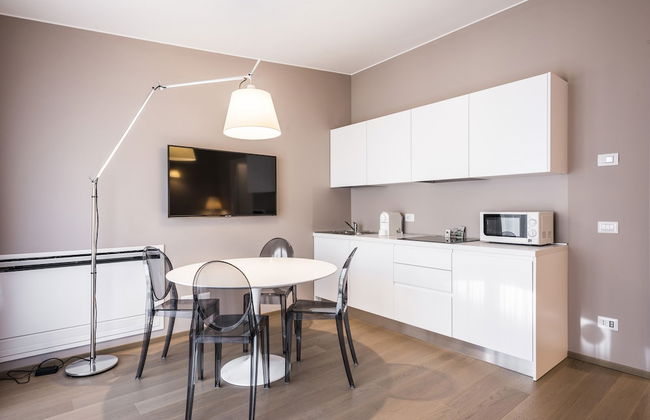
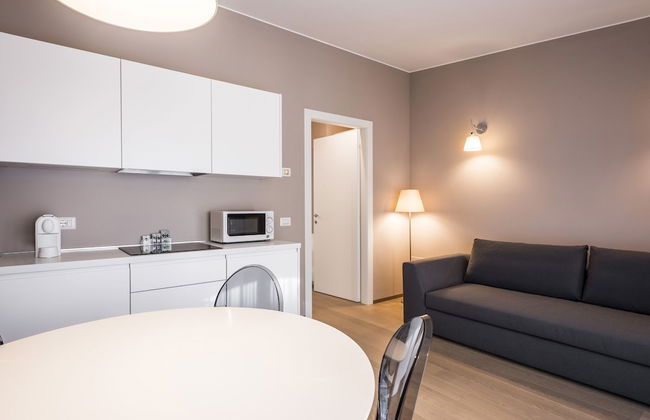
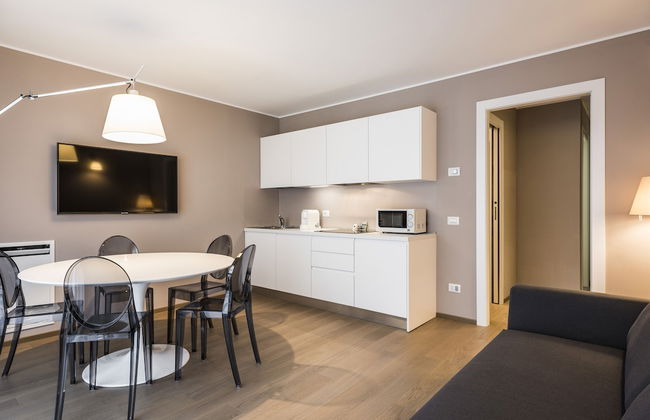
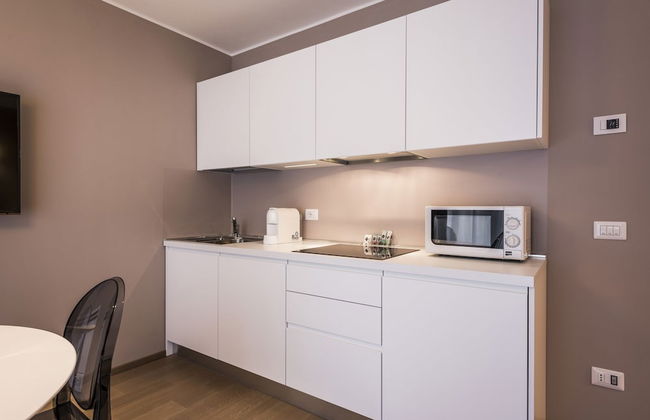
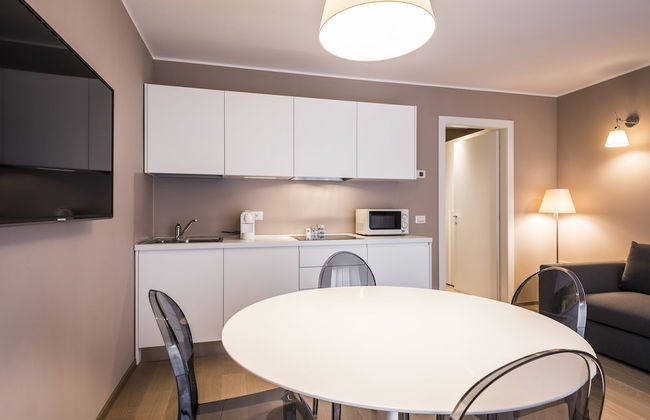
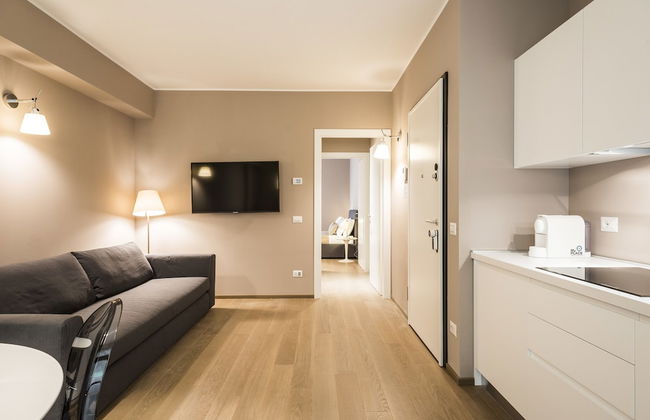
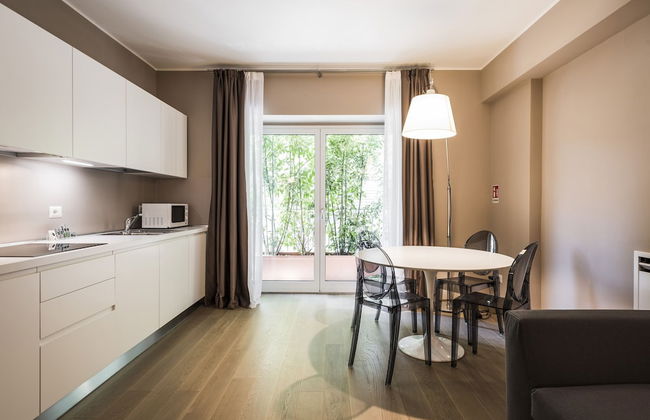
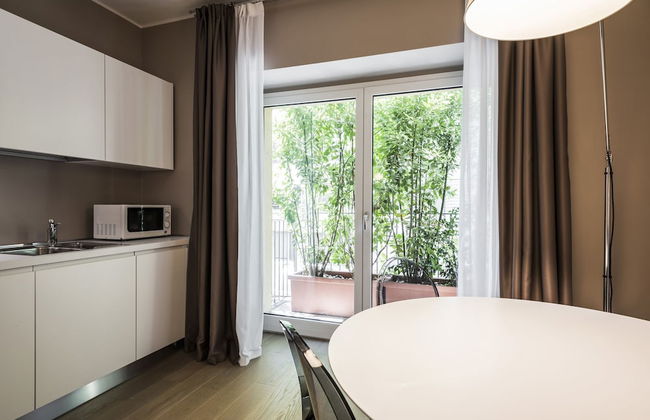
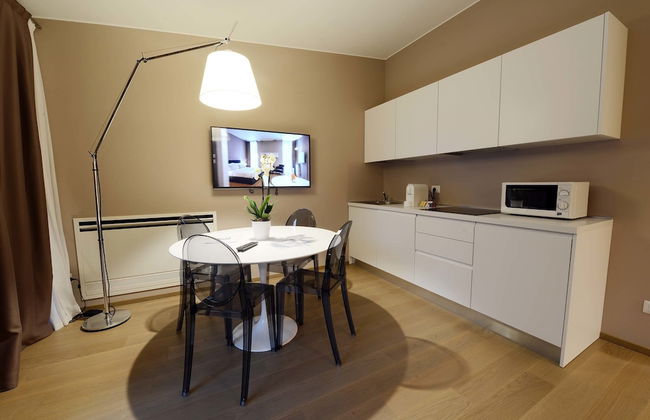
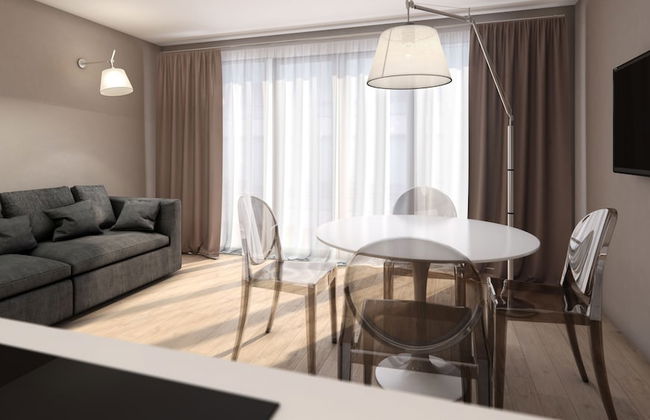
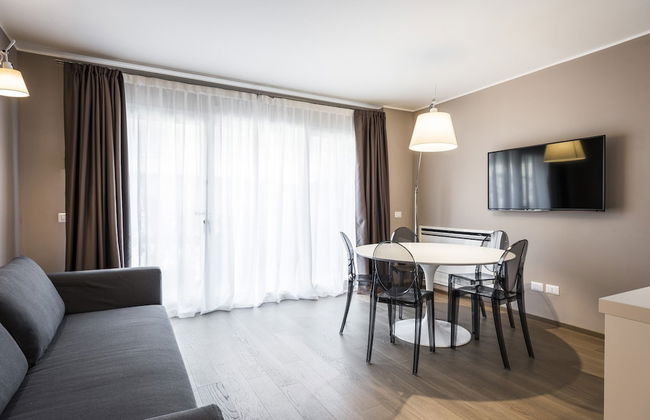
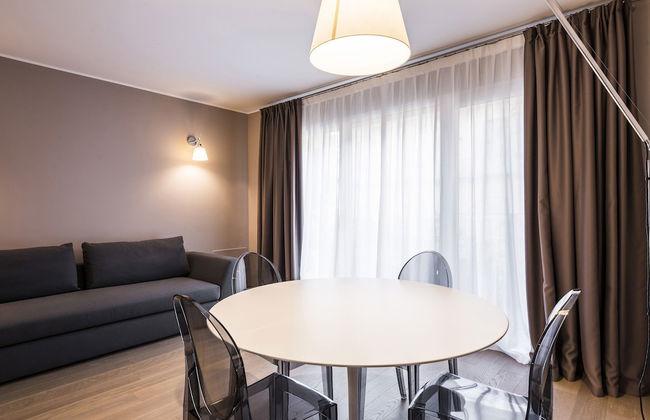
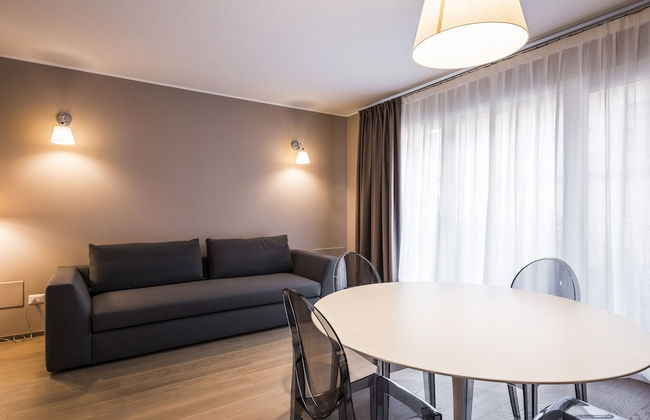
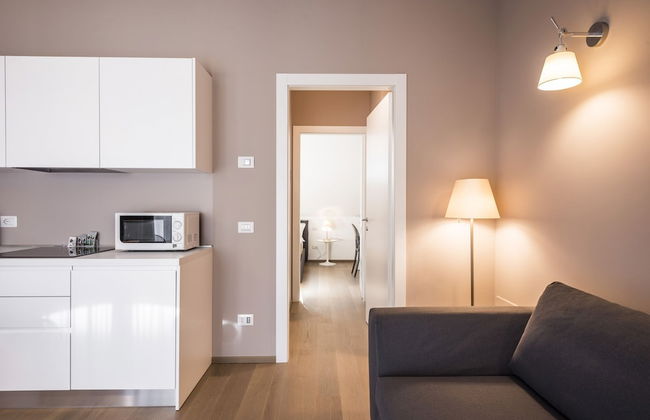
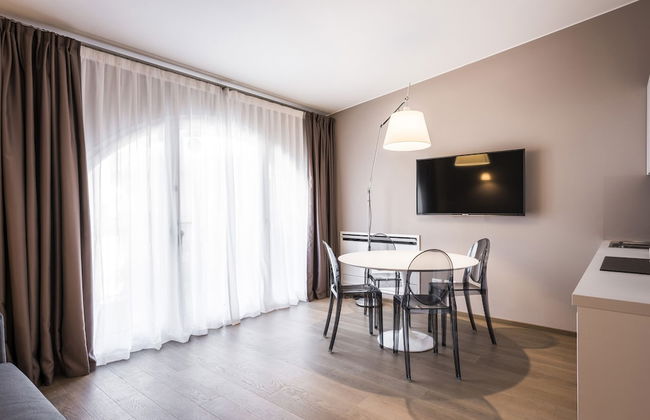
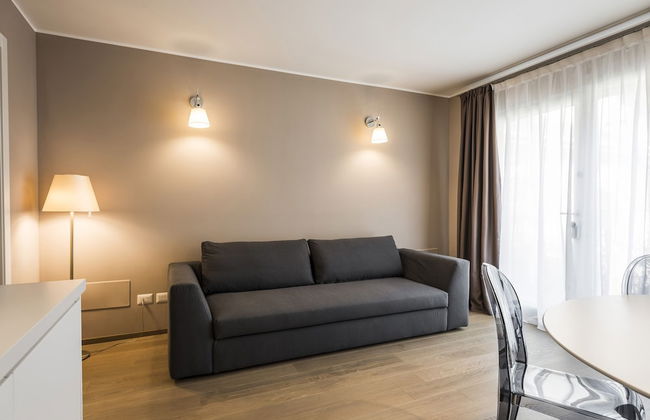
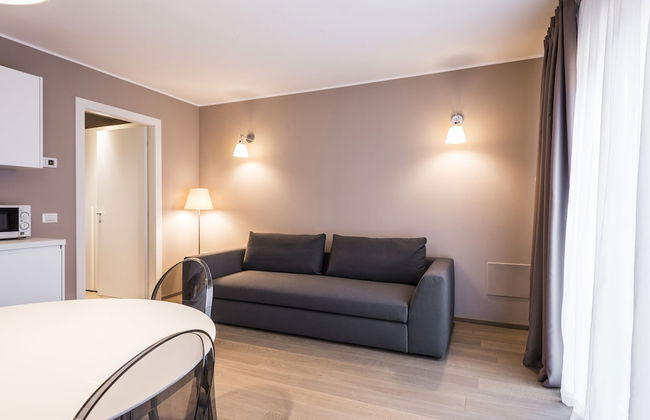
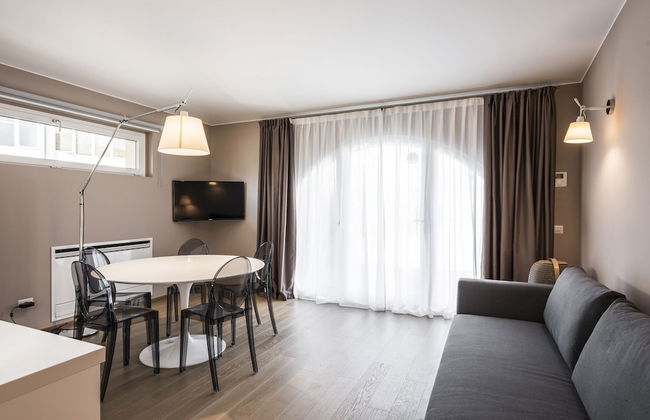
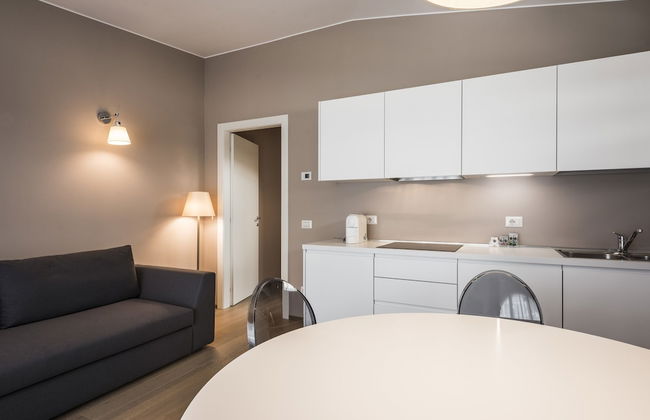
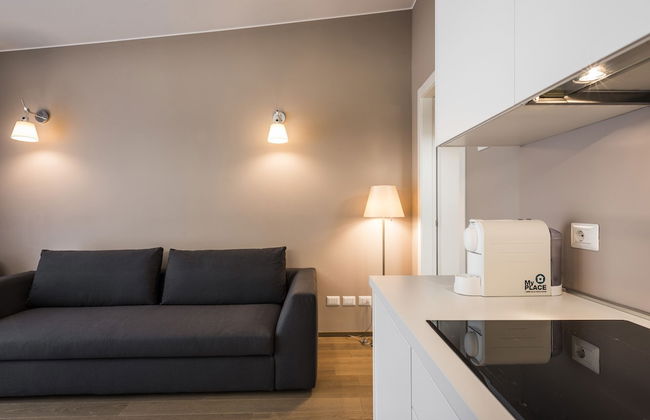
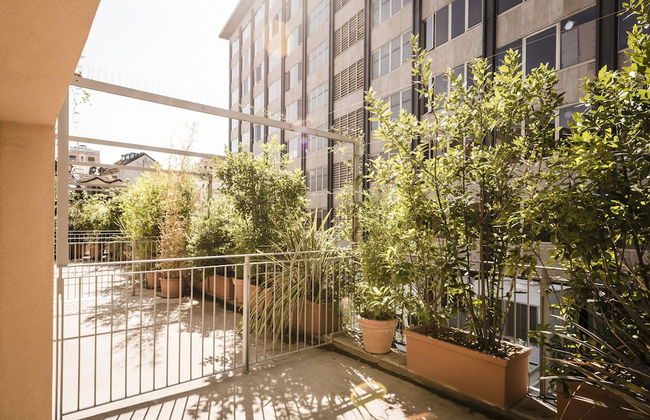
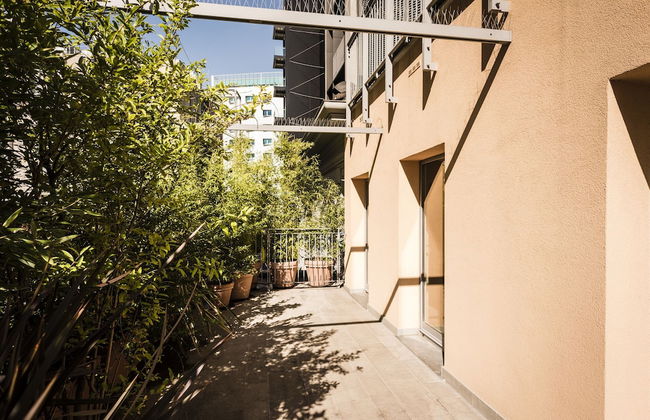
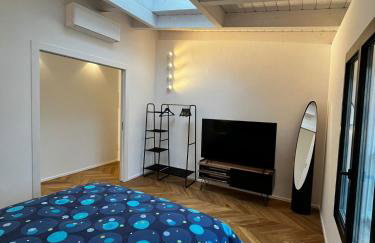
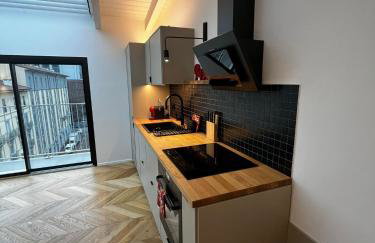
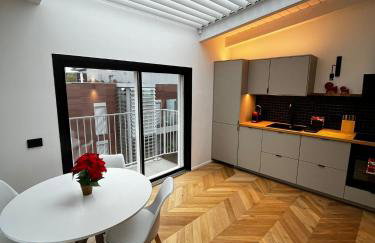
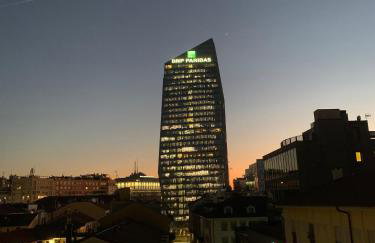
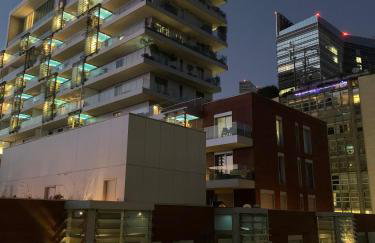
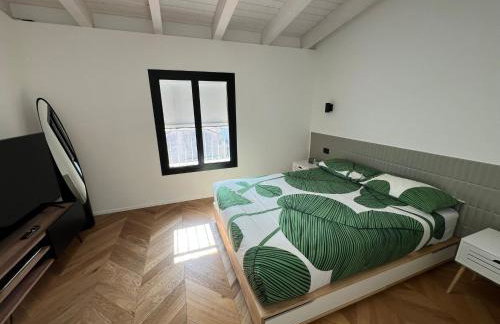
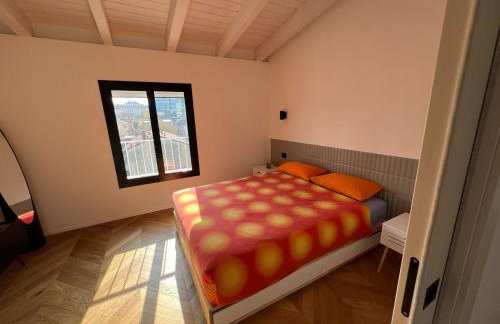
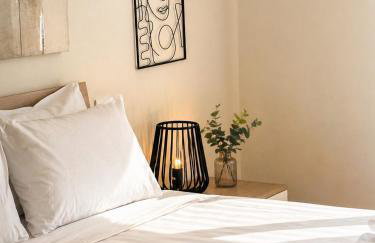
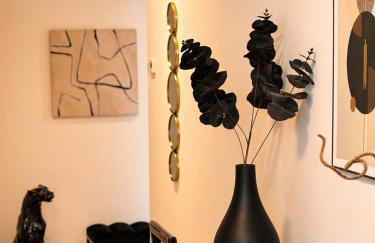
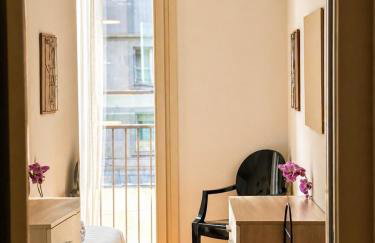
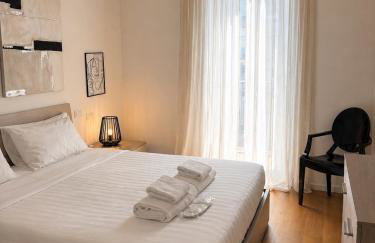
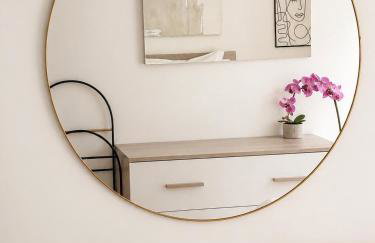
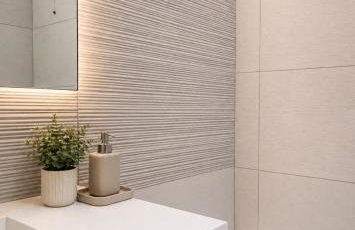
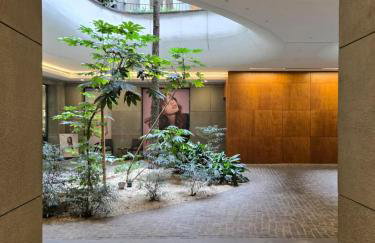
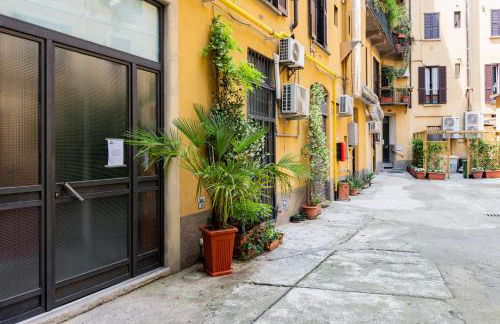
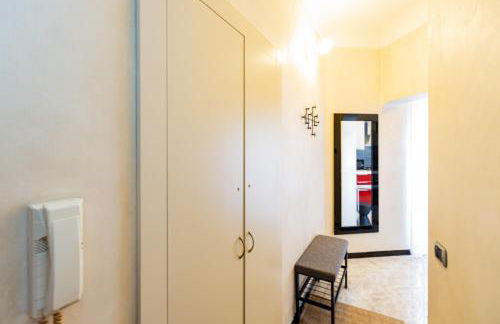
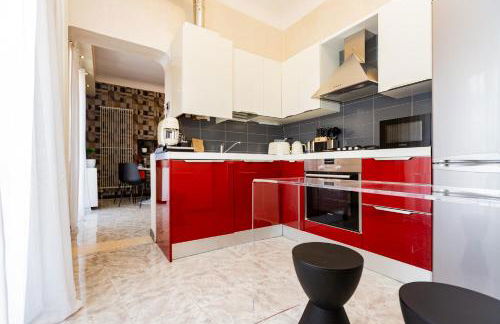
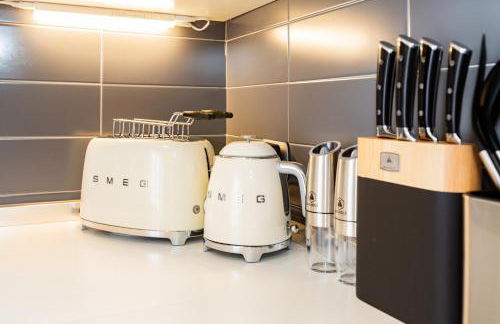
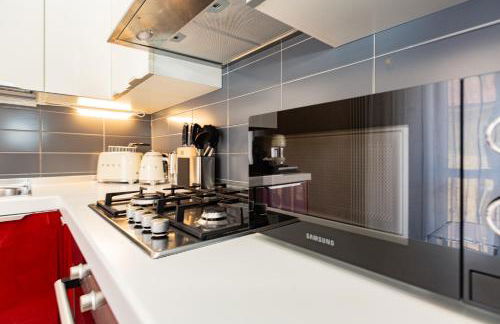
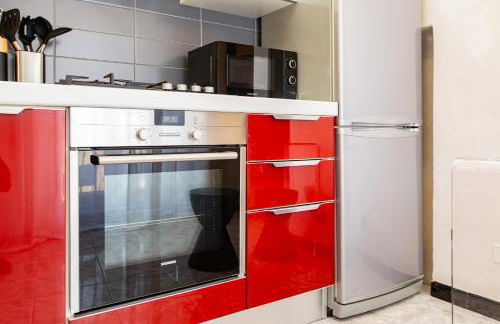
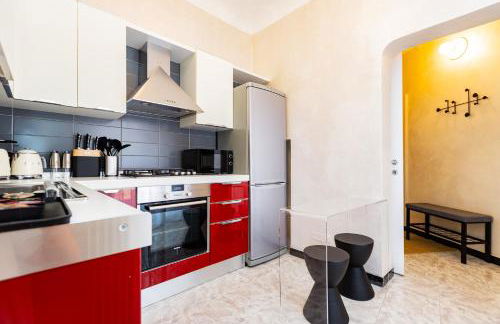
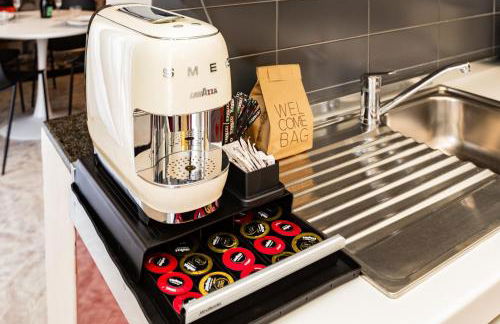
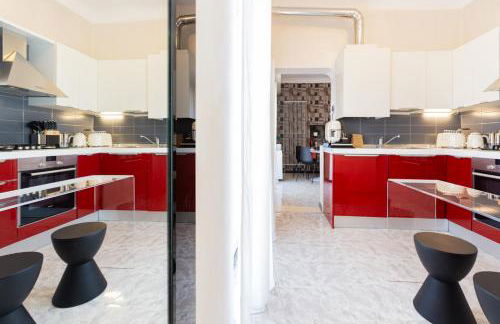
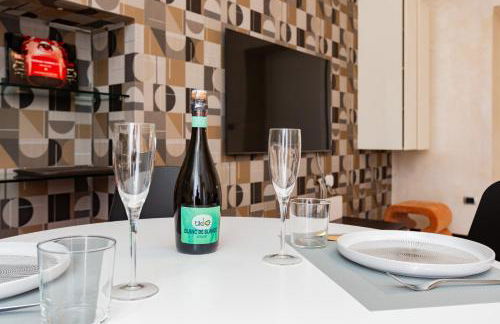
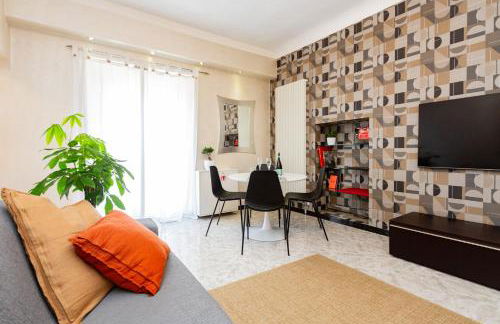
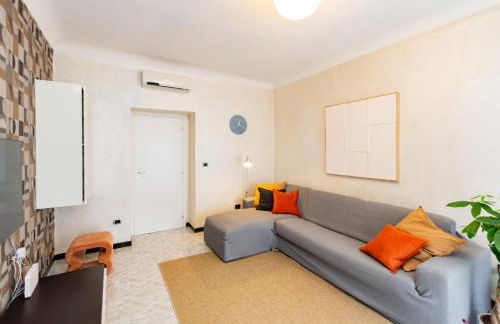
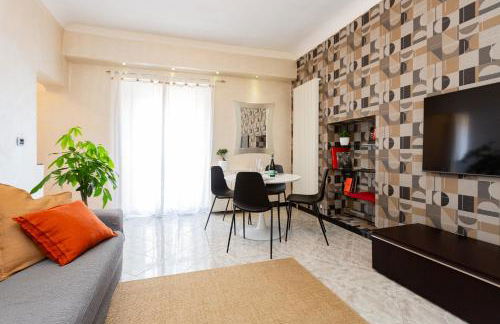
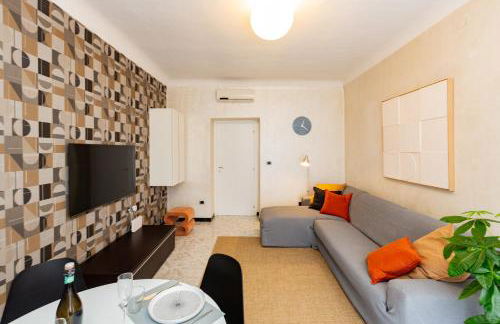
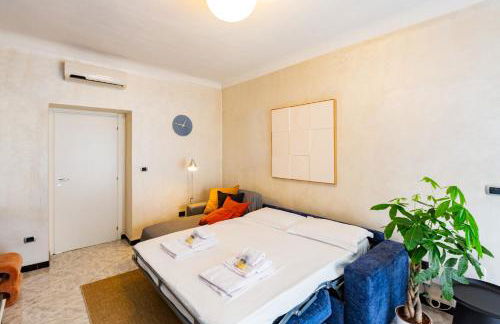
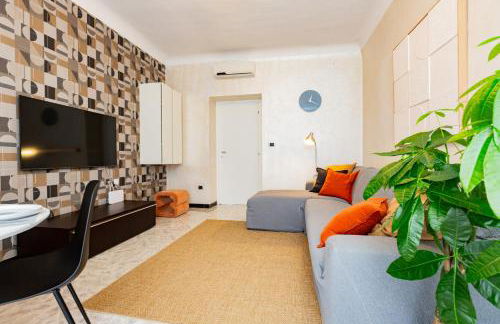
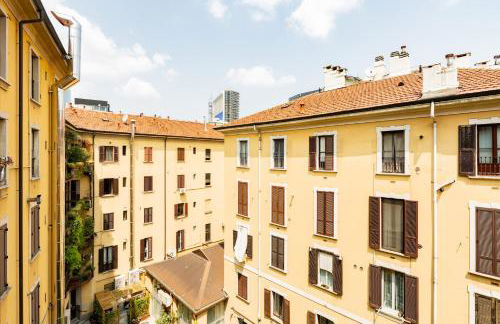
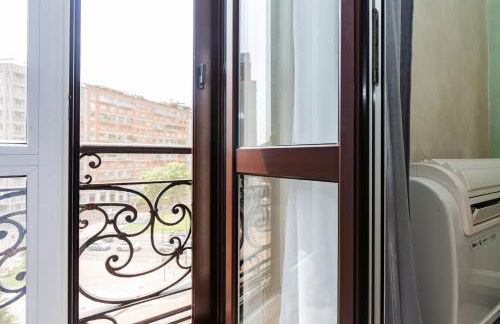
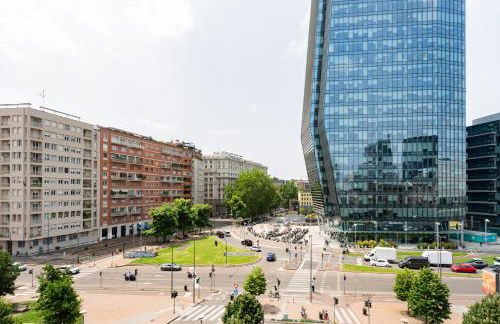
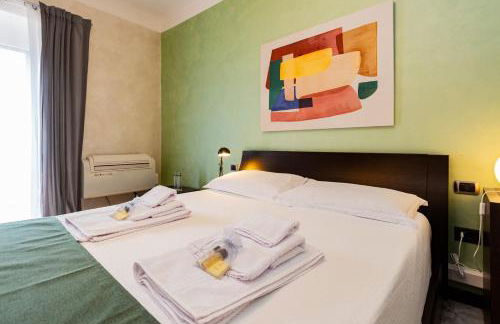
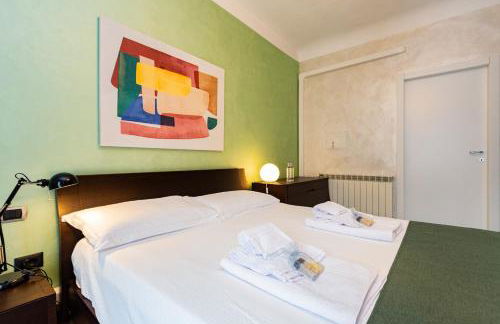
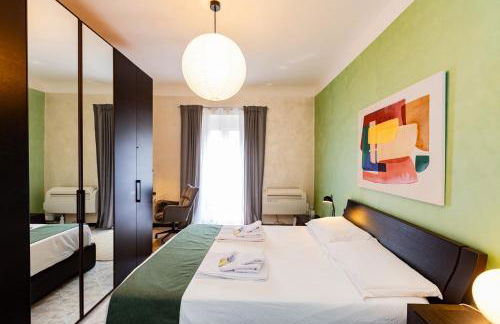
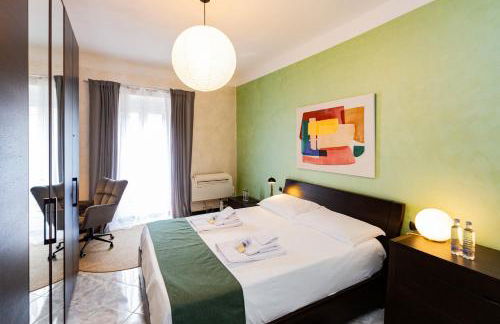
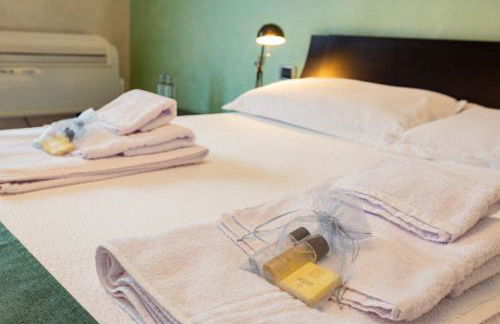
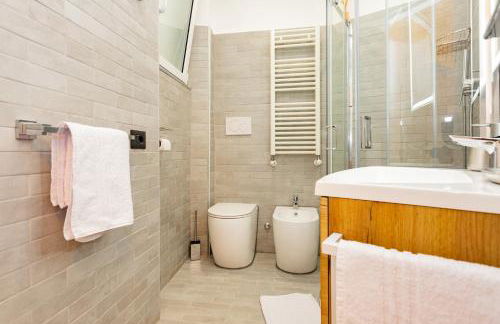
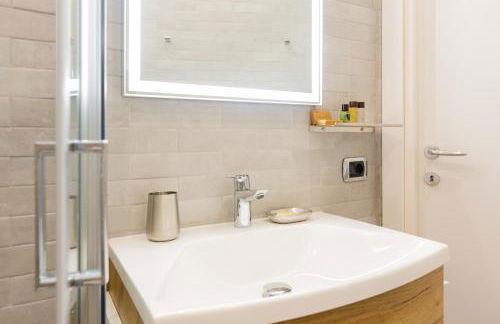
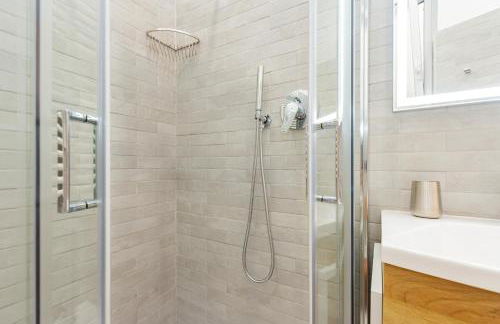
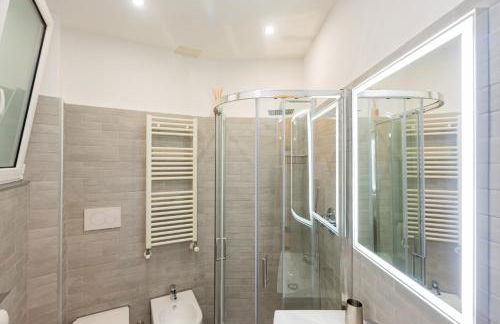
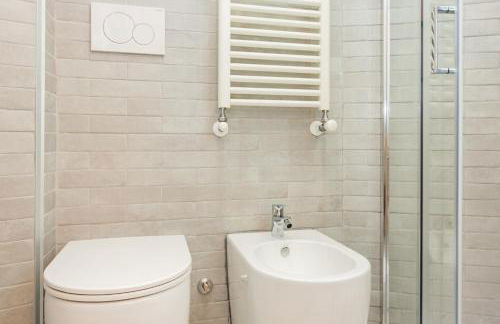
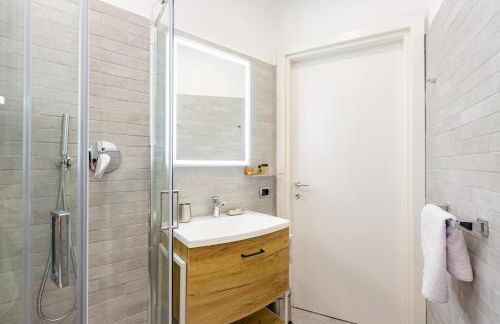
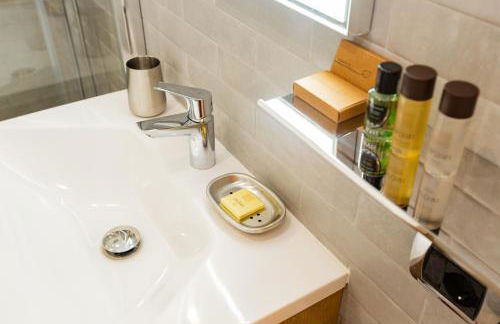
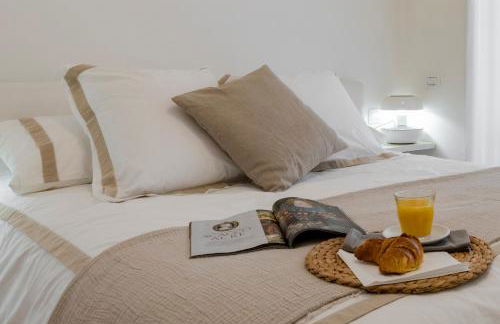
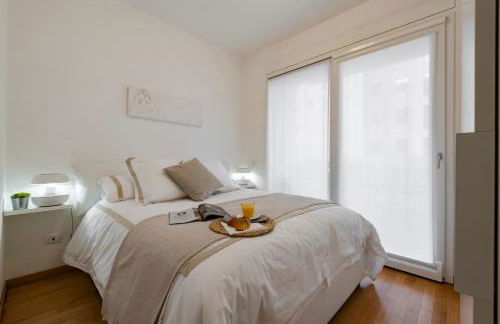
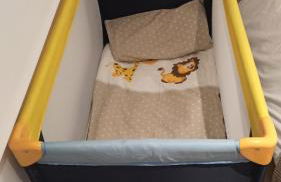
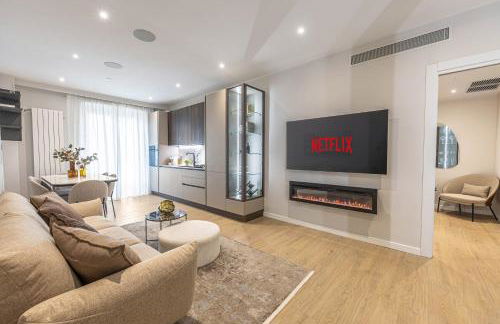
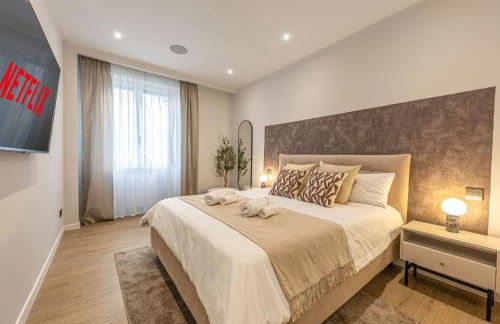
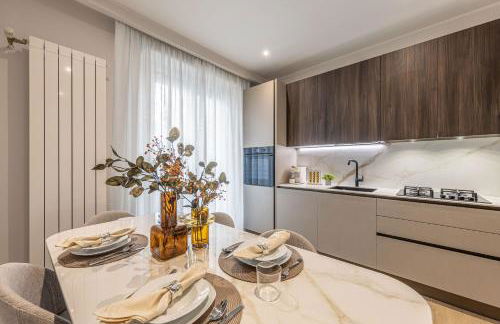
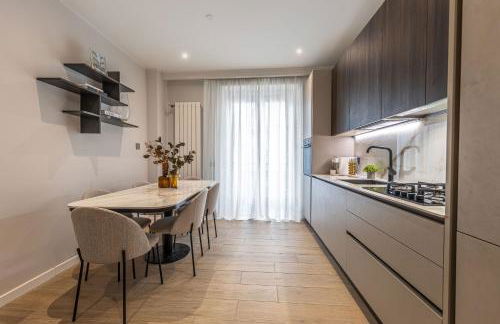
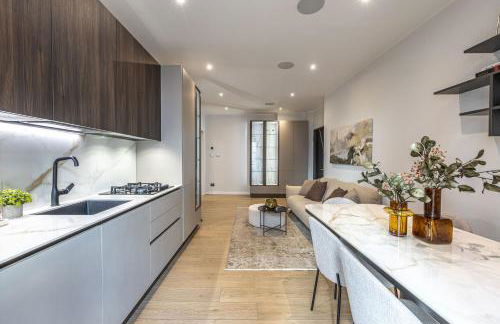
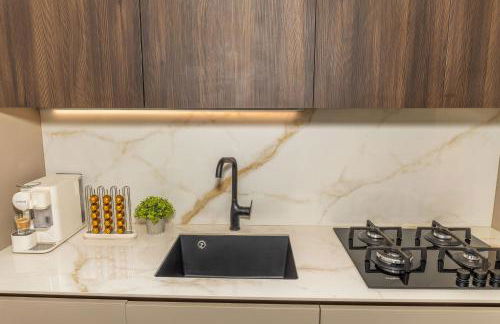
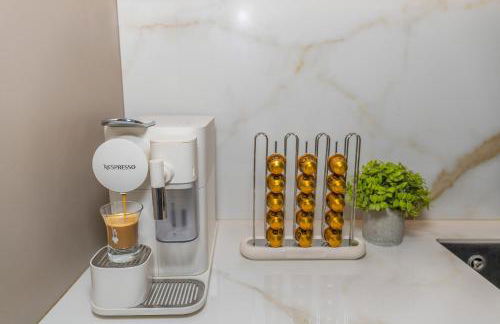
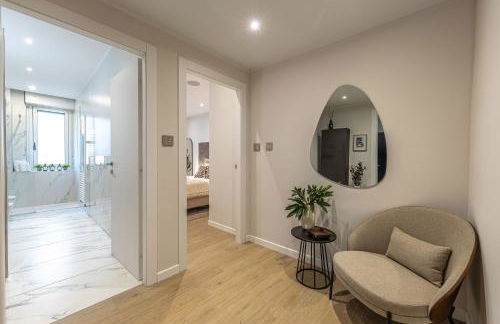
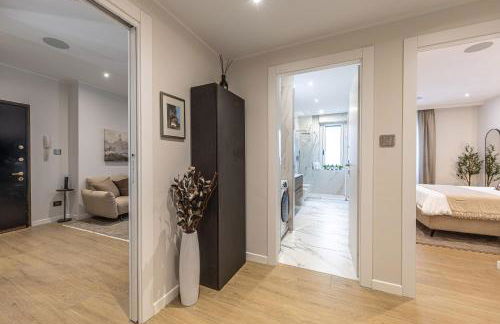
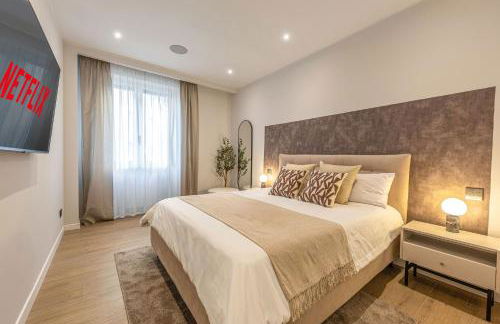
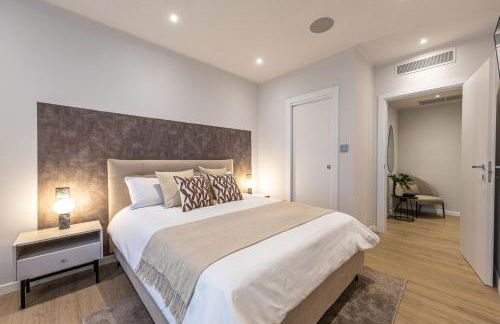
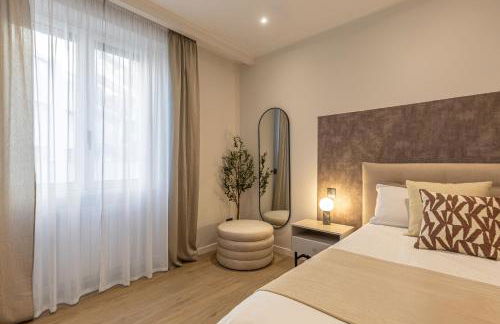
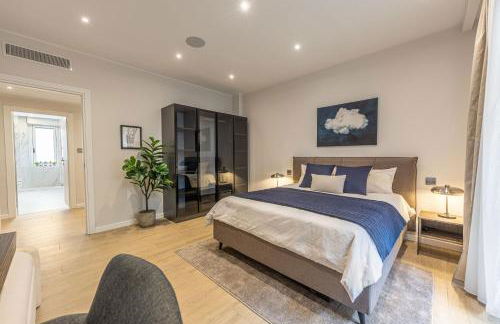
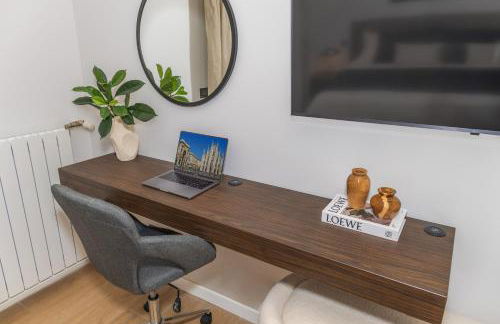
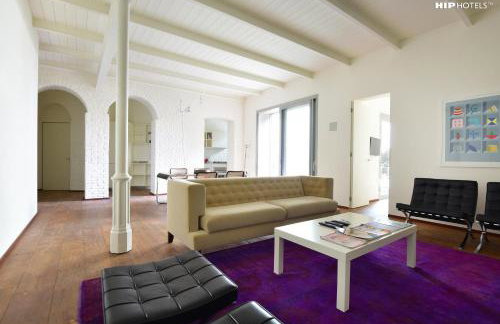
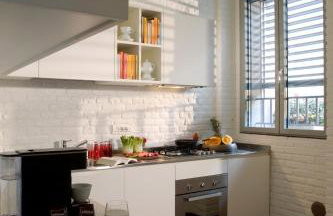
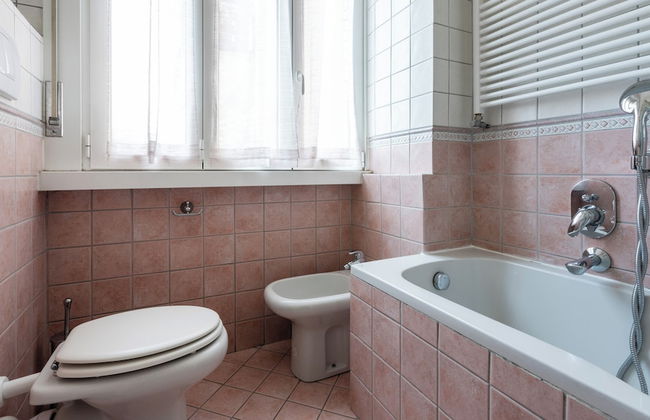
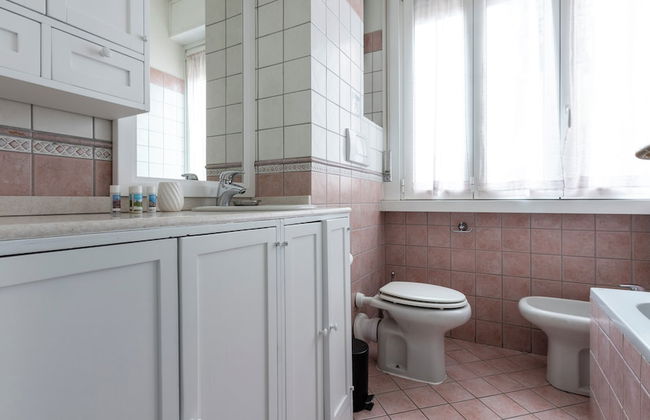
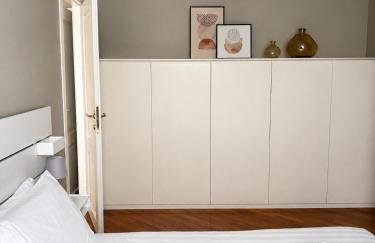
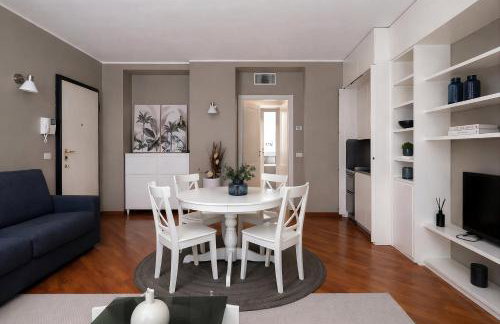
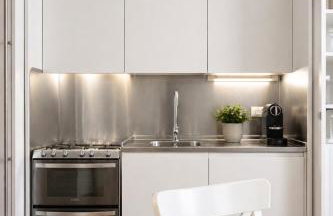
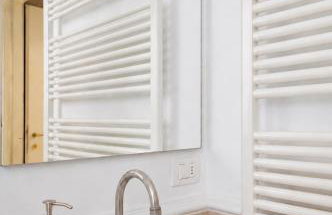
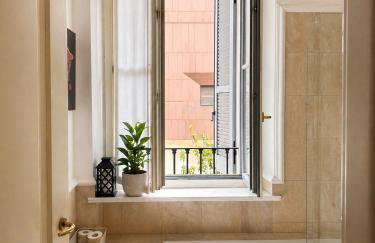
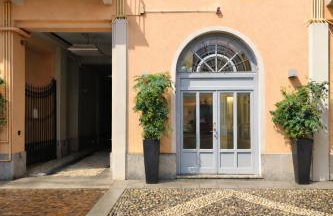
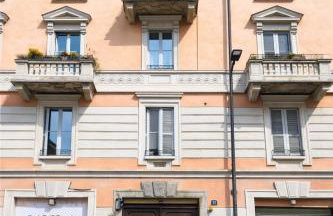
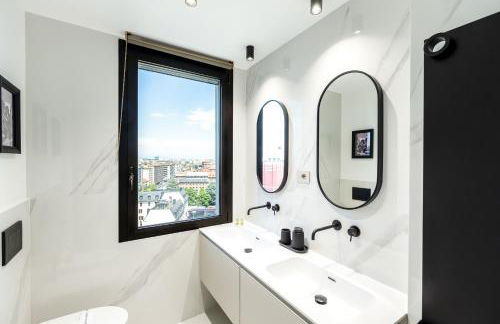
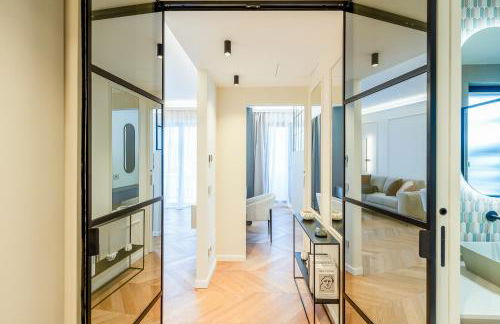
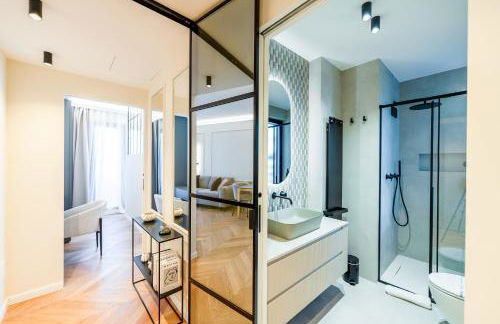
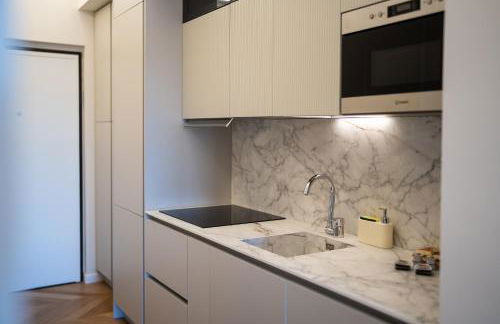
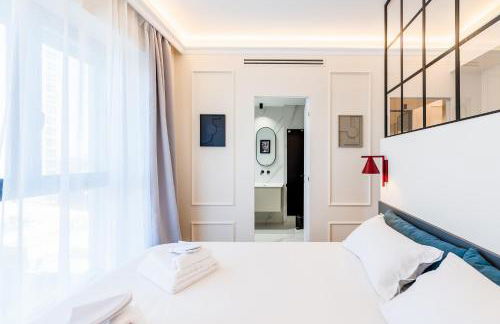
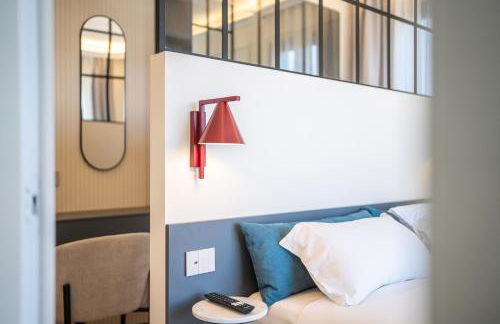
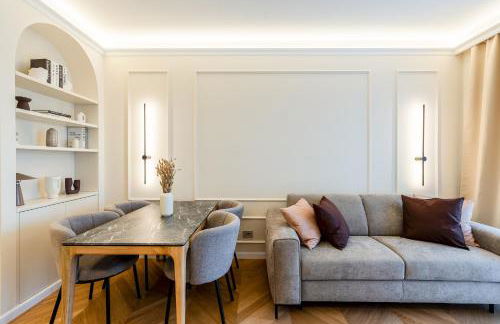
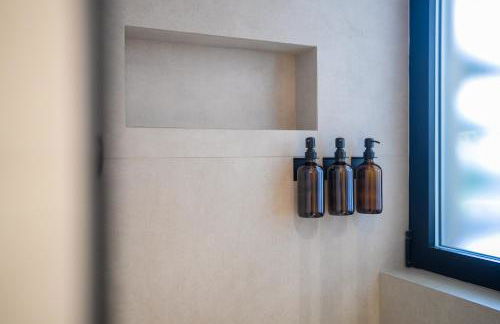
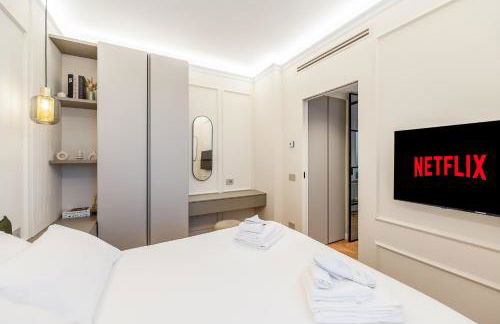
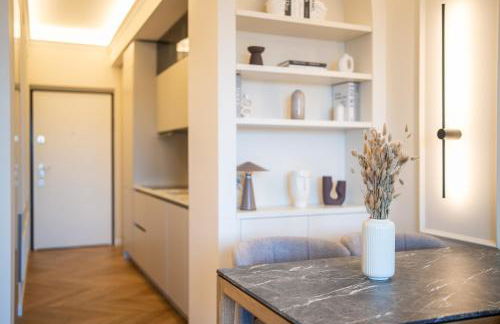
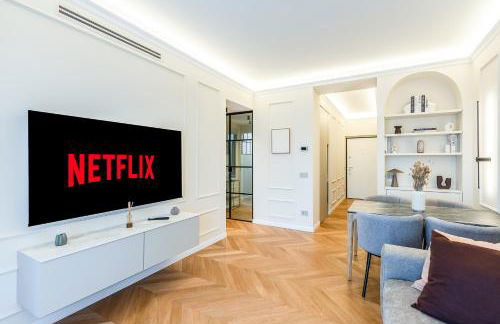
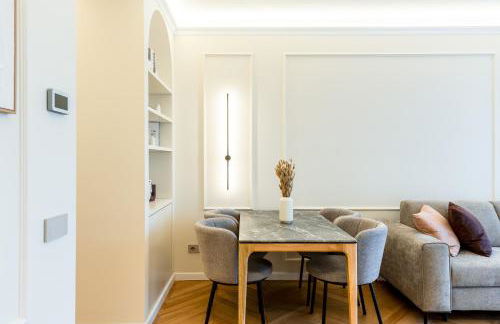
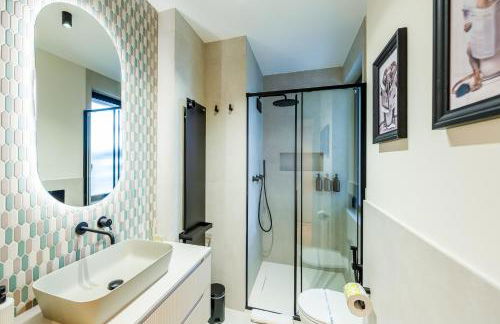
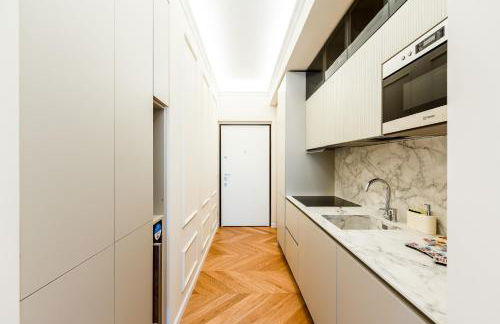
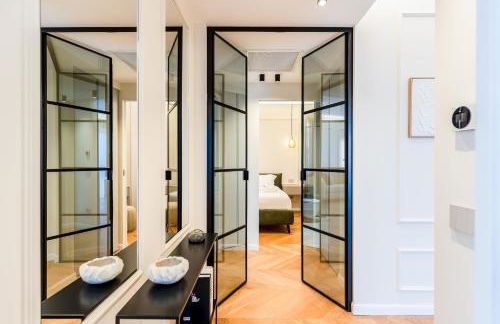
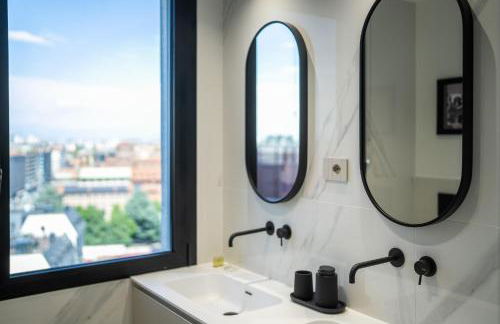
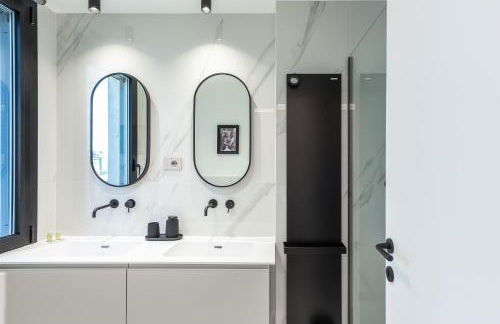
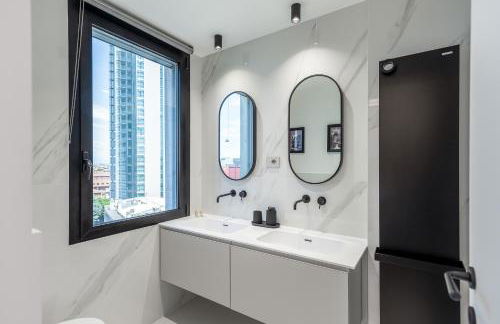
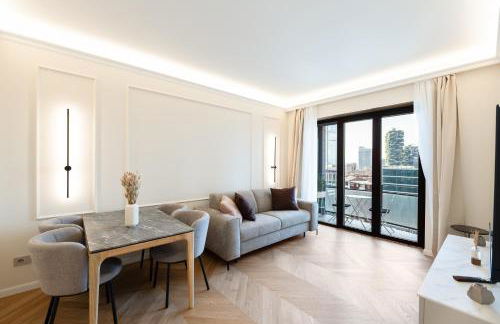
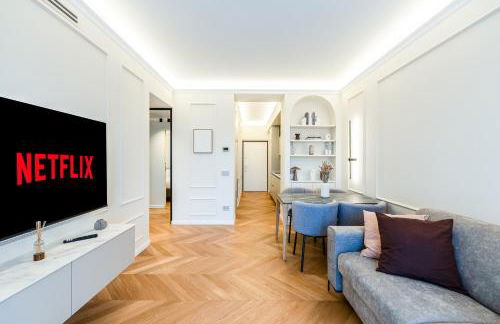
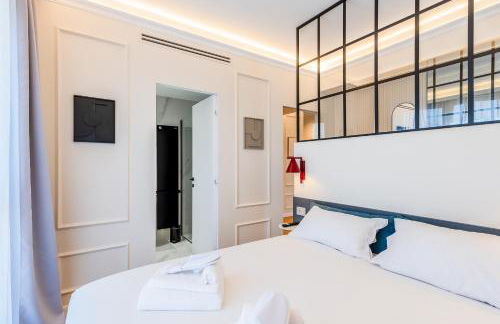
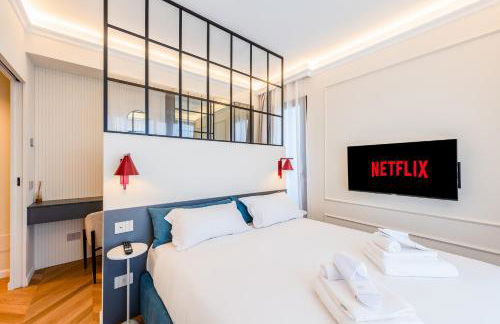
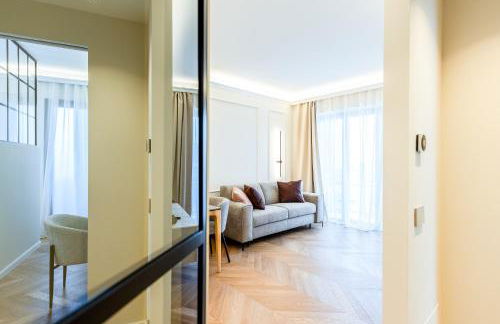
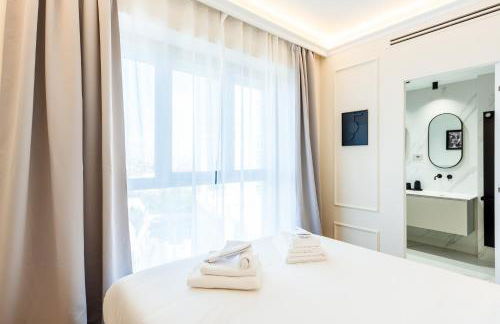
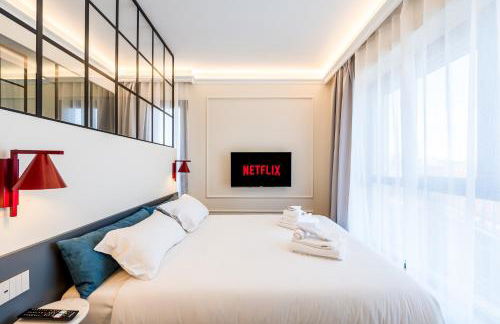
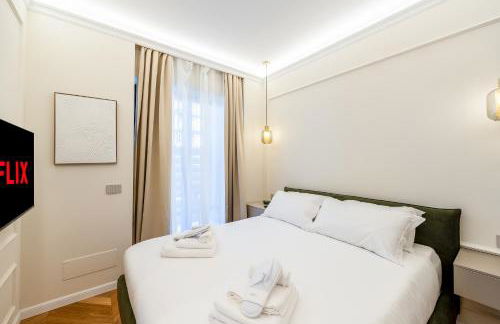
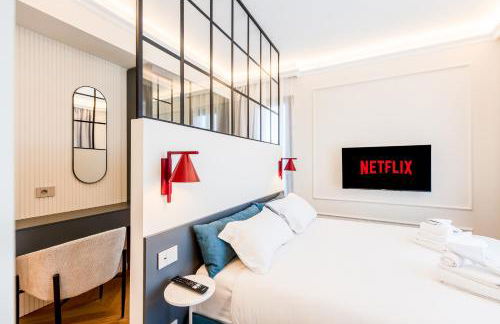
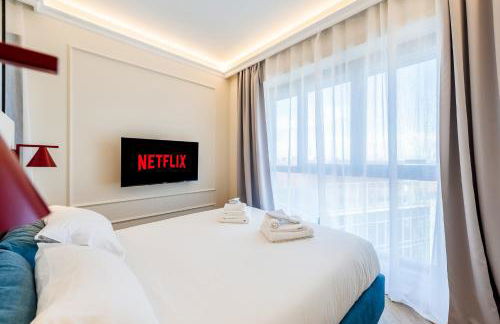
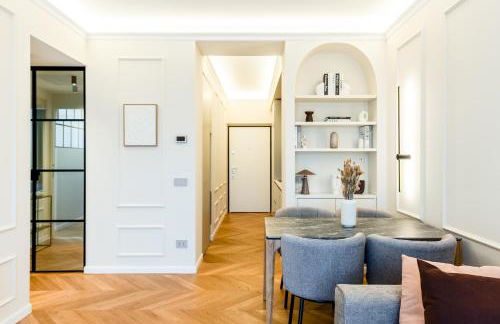
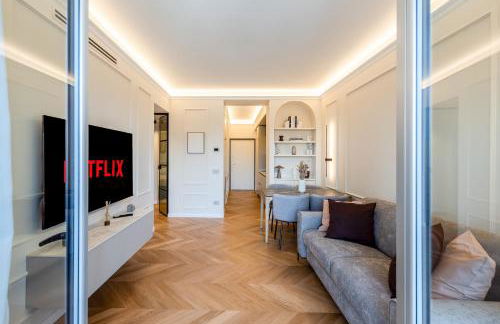
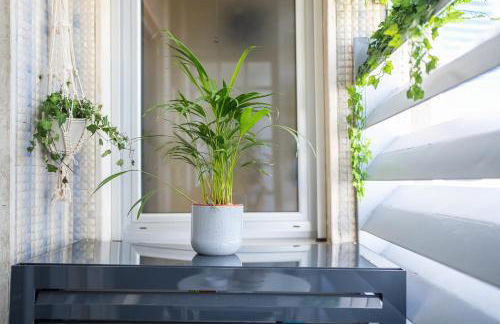
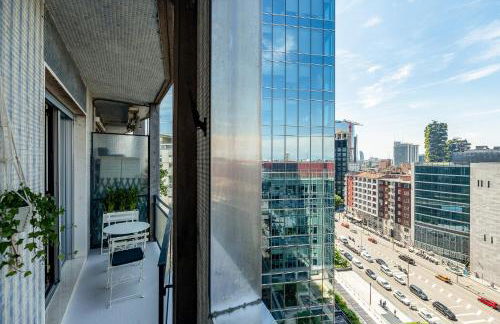
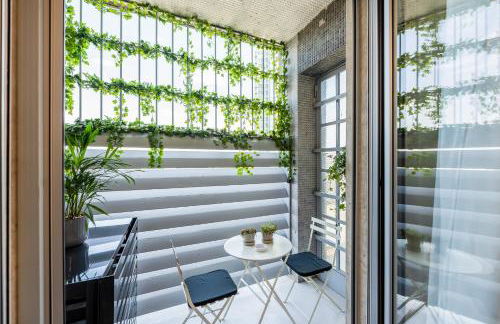
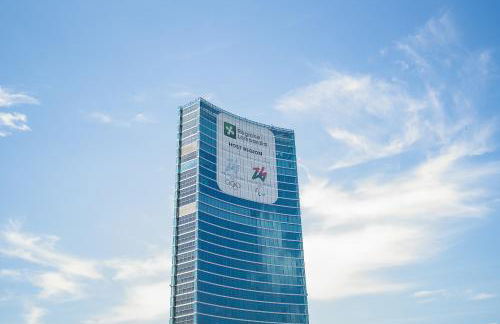
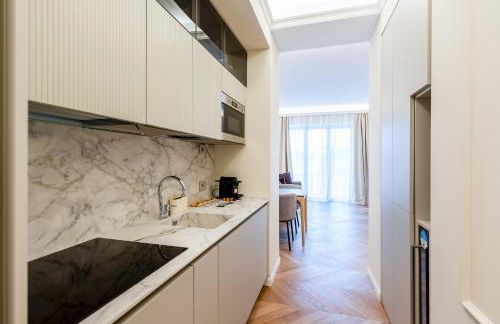
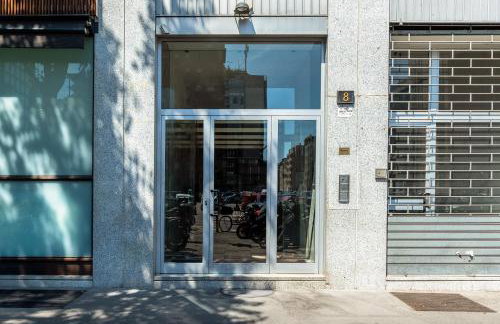
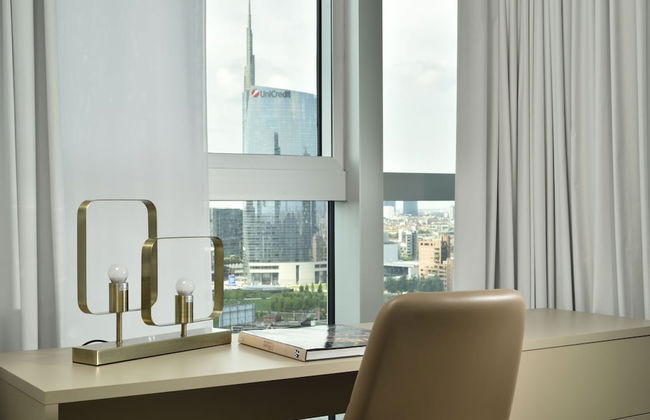
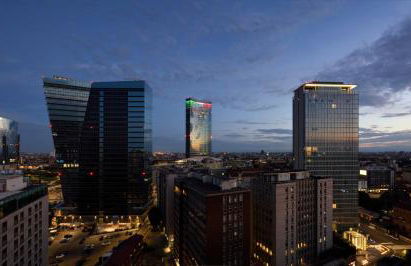
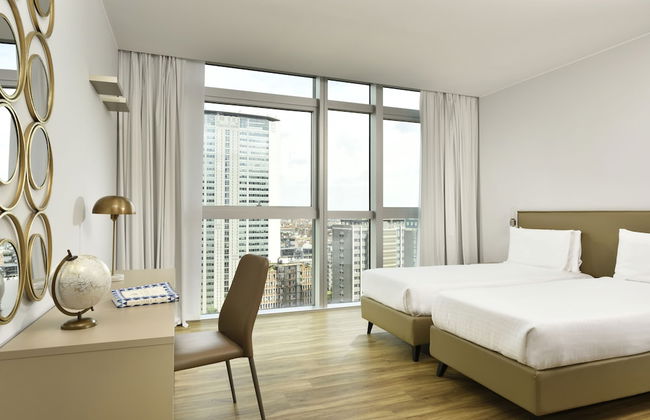
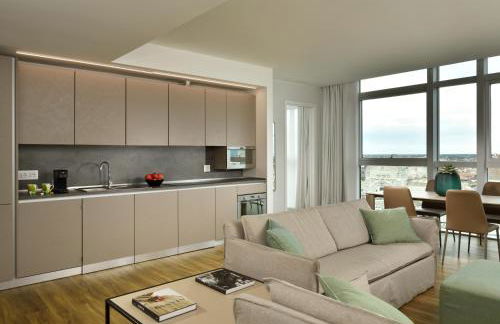
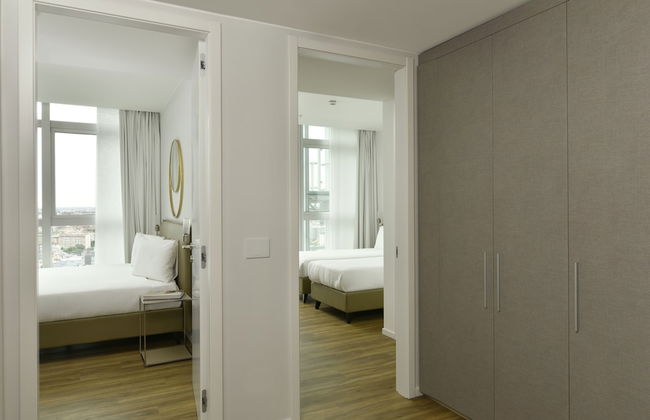
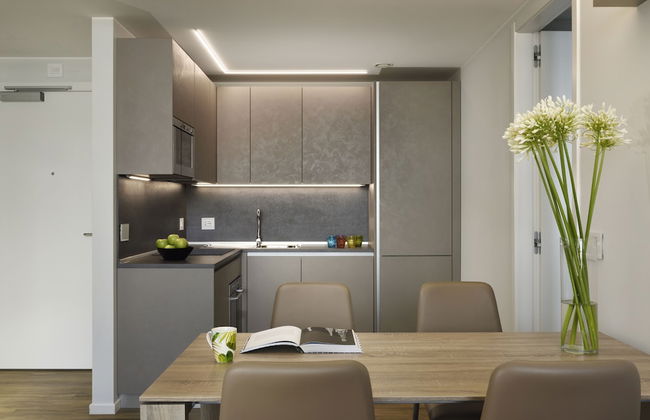
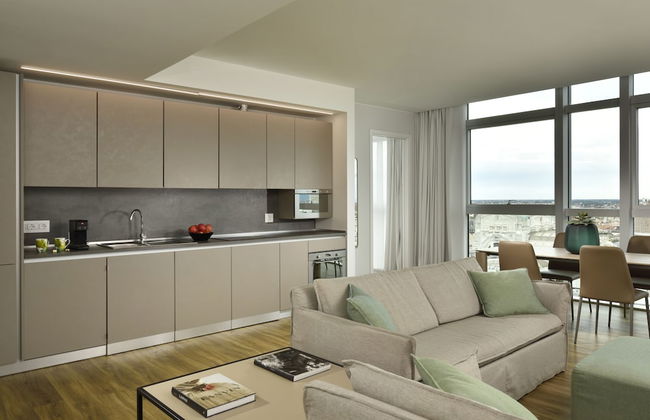
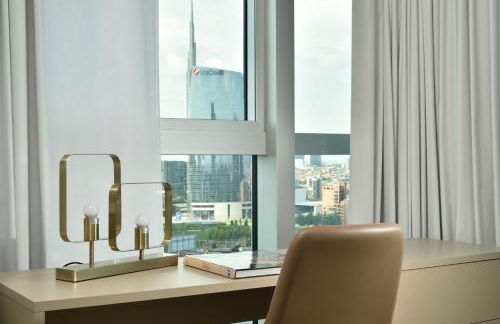
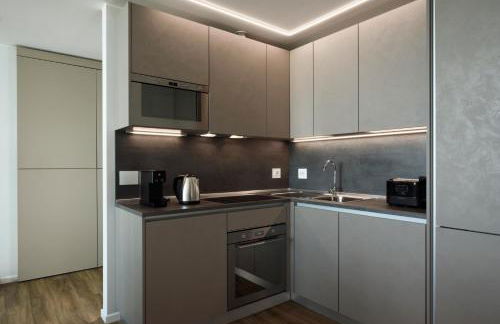
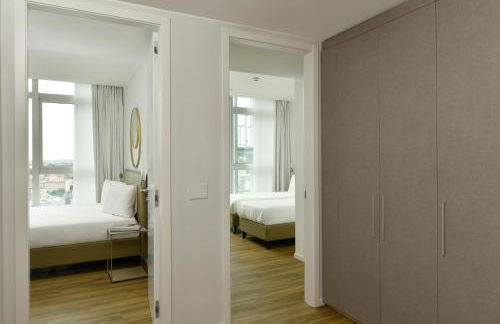
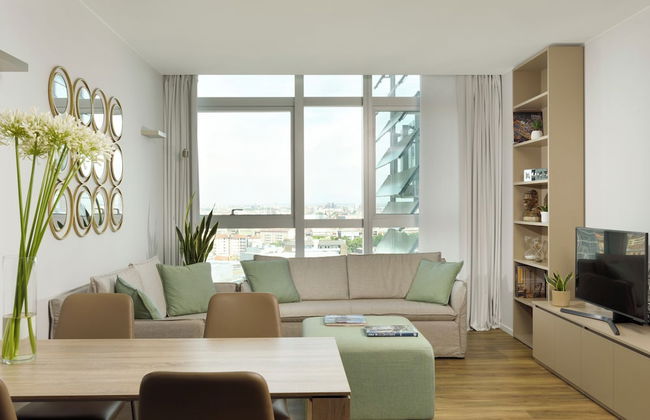
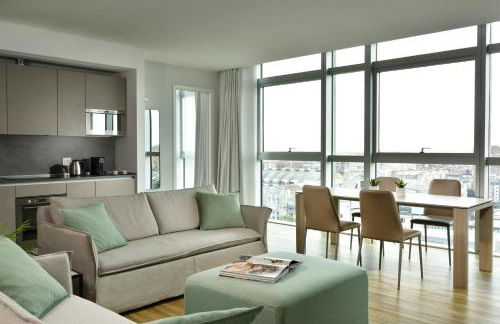
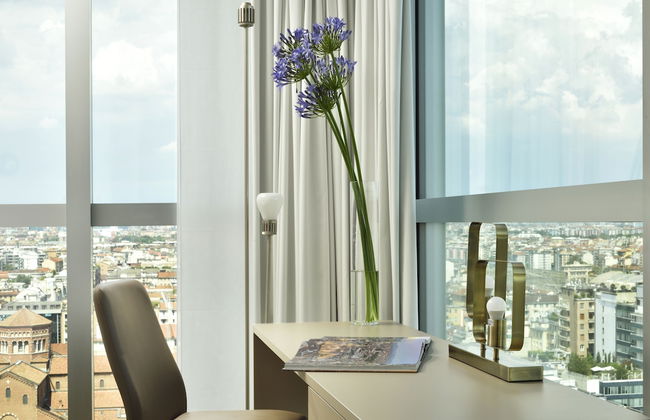
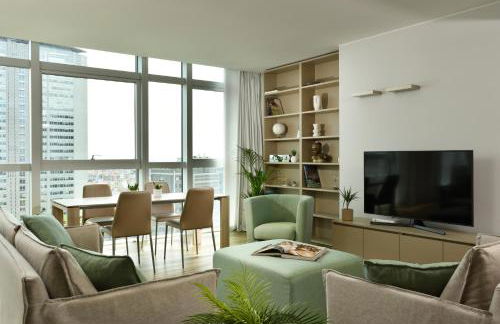
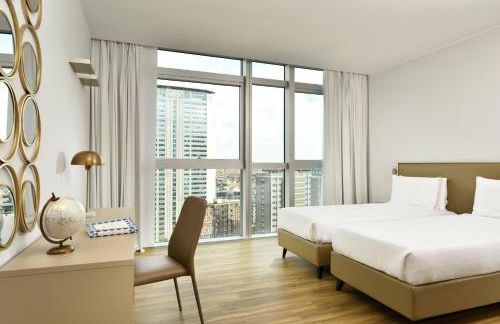
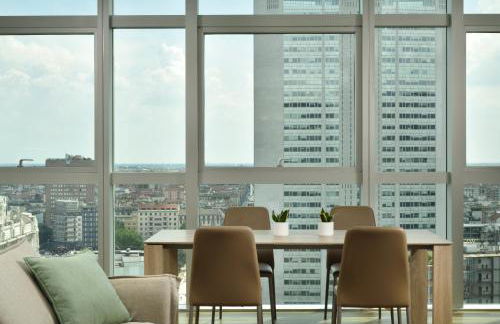
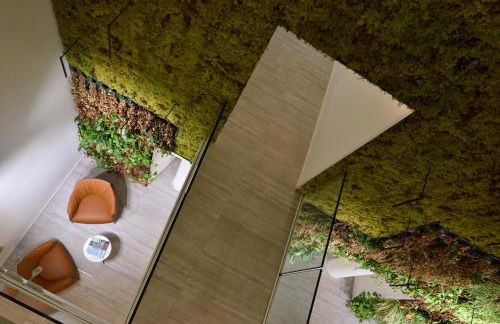
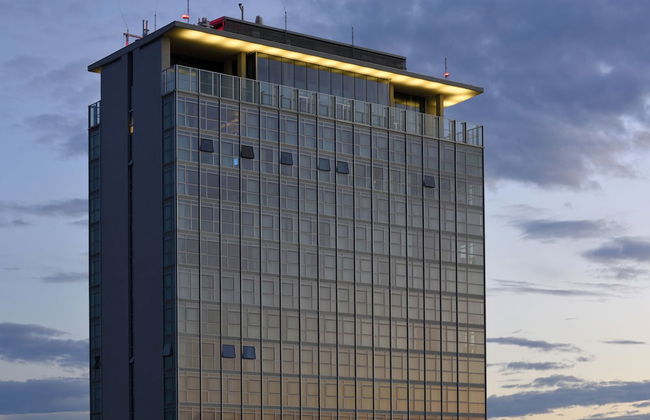
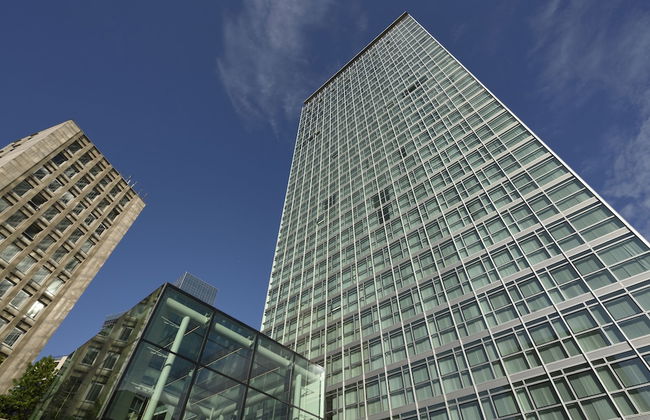
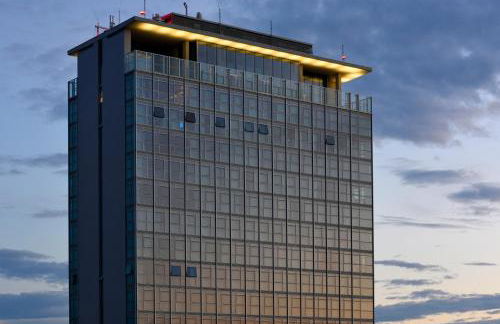
Torre Galfa Milano Luxury Apartments | UNA Esperienze - Foto 1
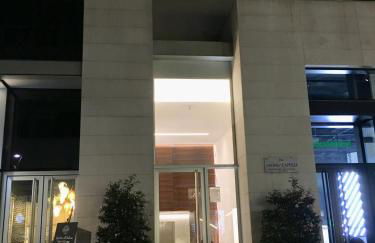
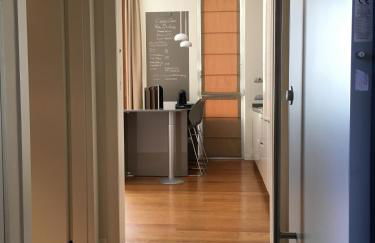
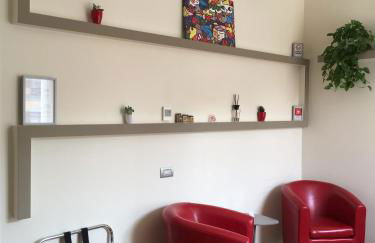
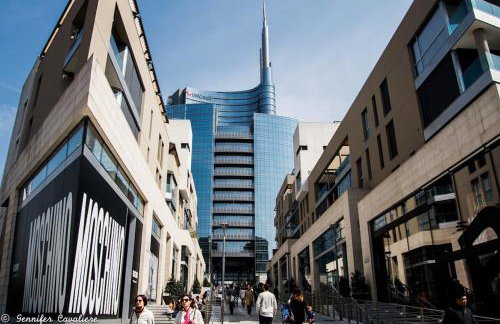
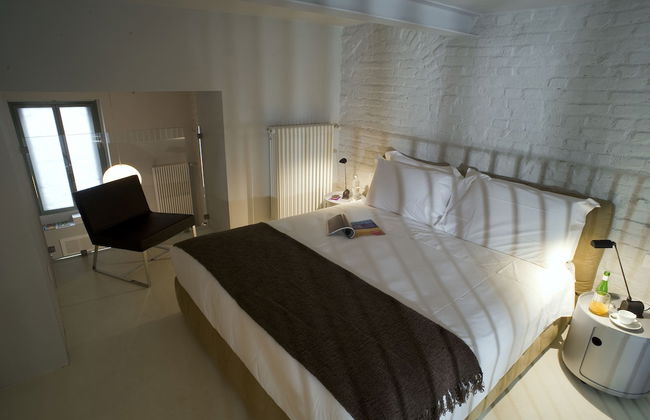
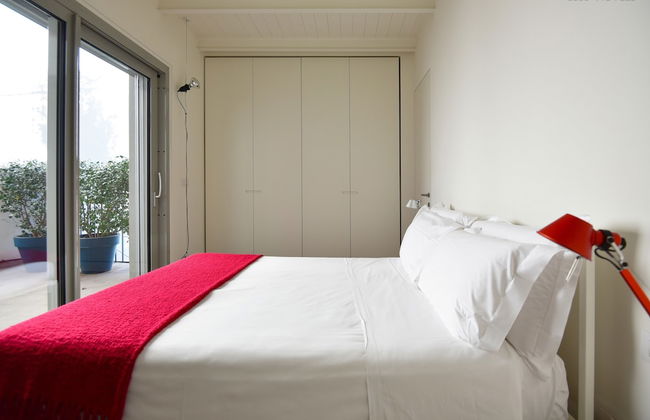
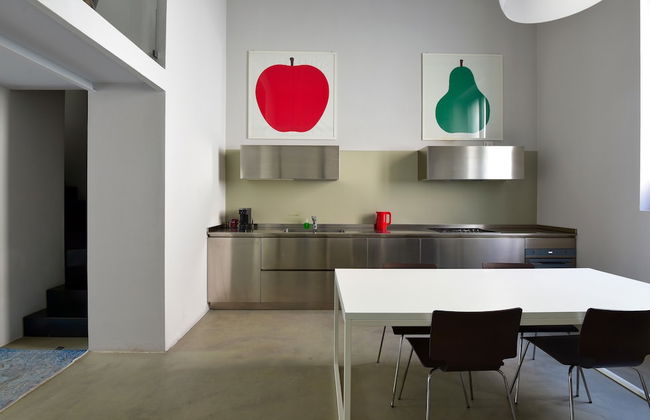
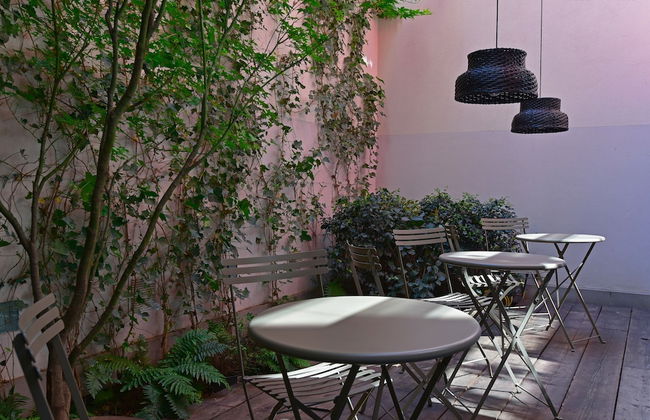
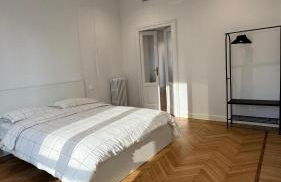
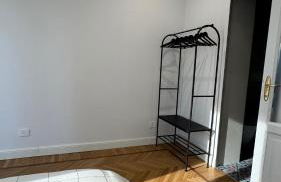
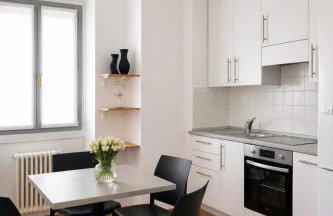
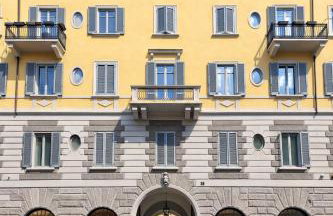
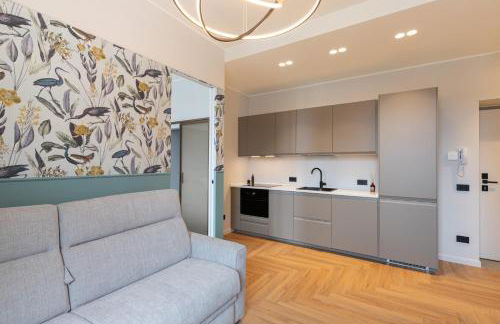
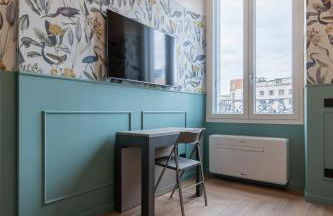
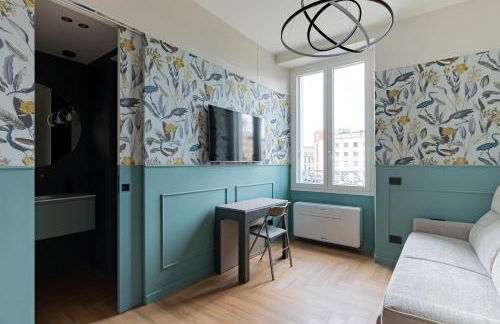
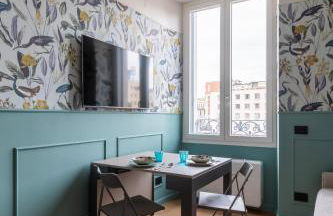
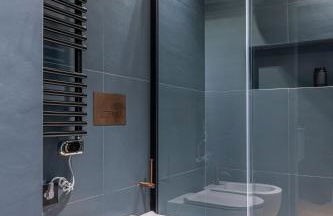
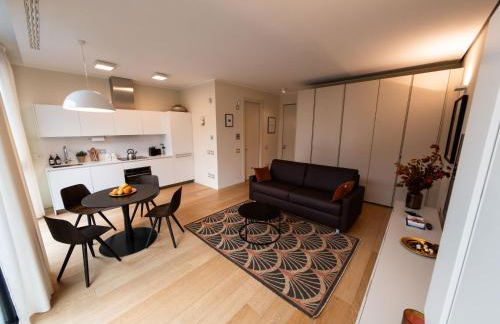
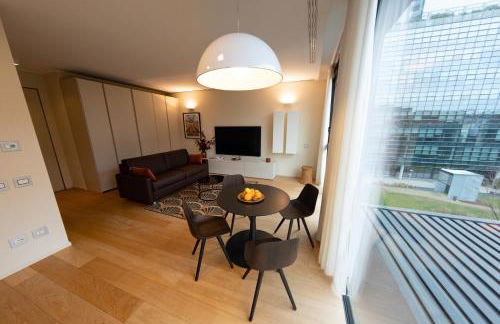
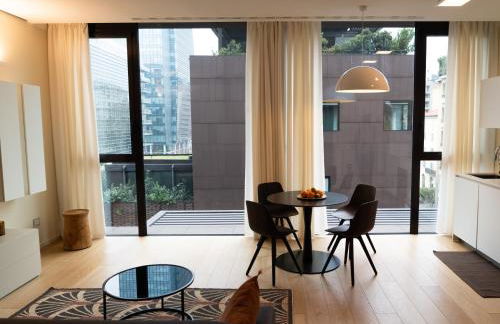
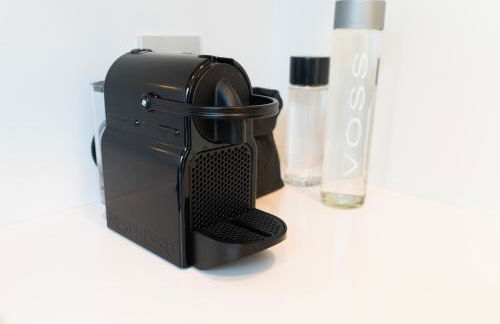
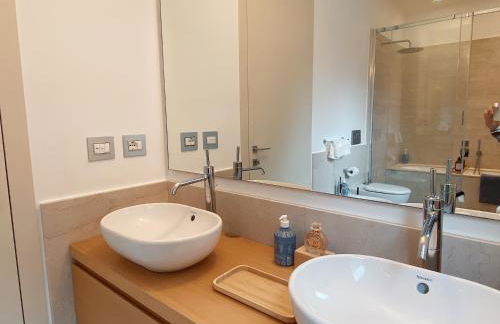
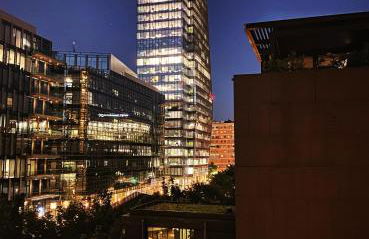
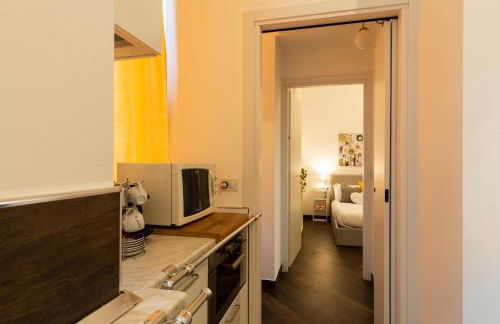
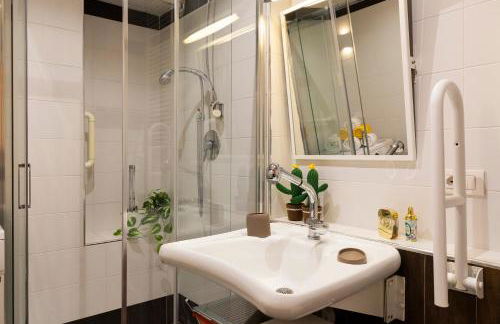
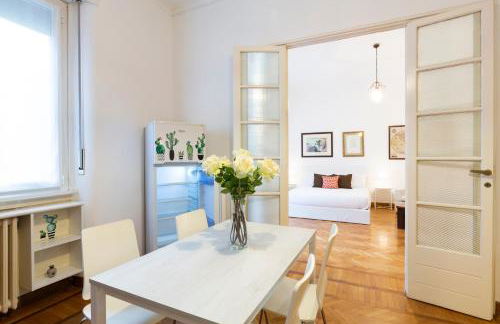
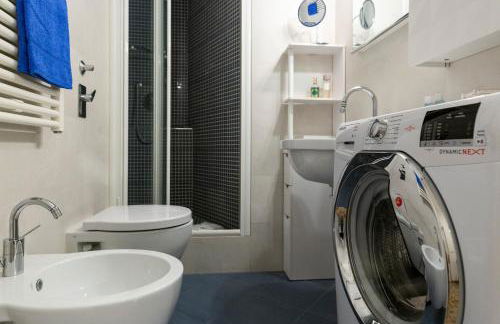
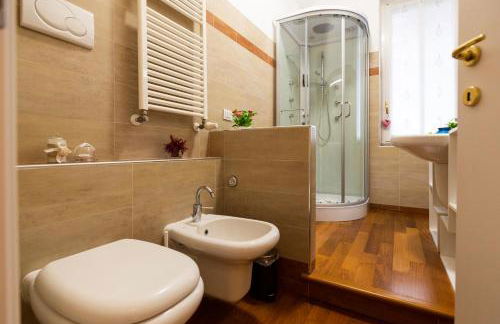
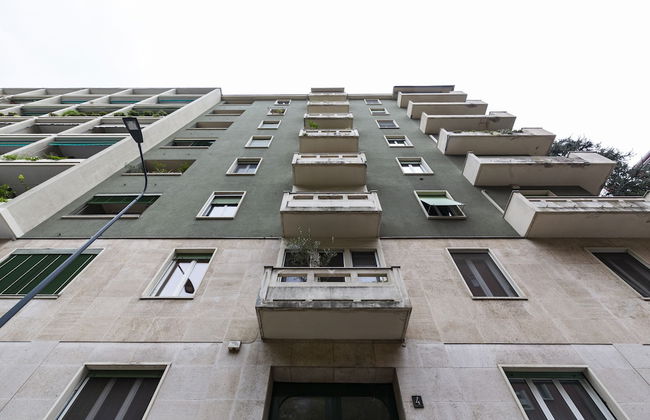
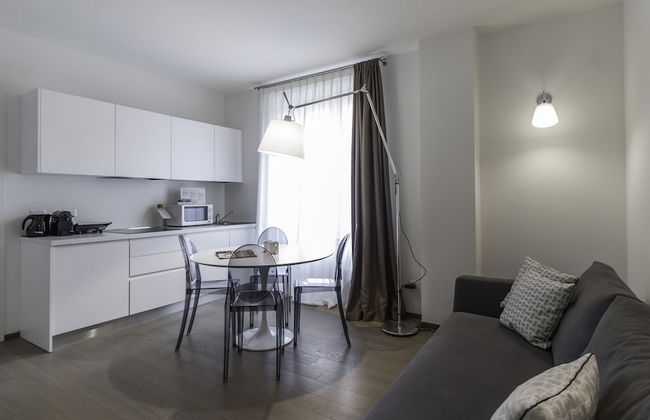
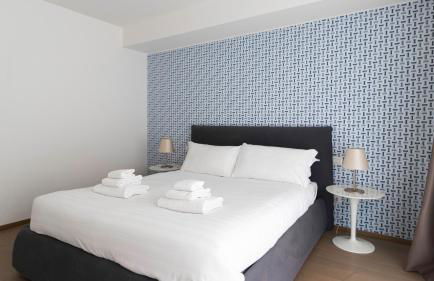
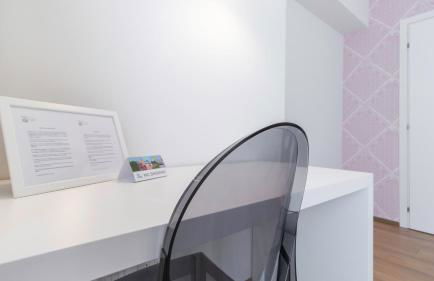
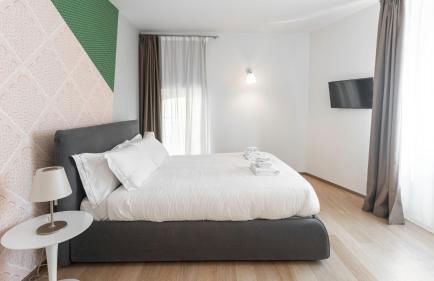
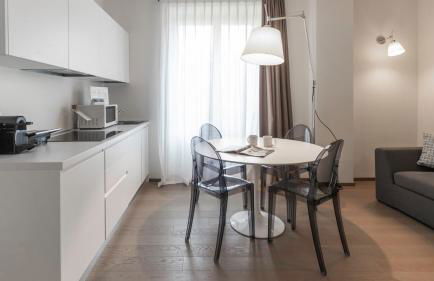
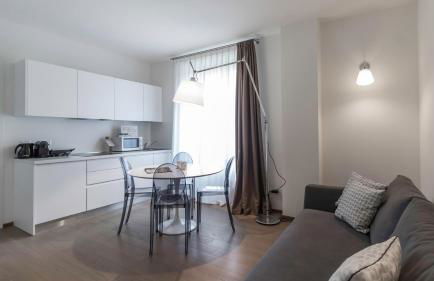
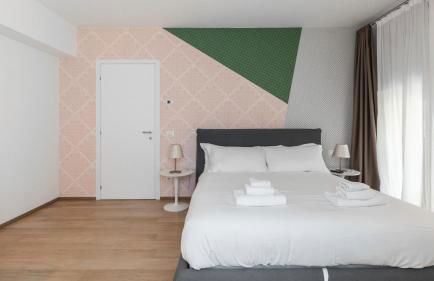
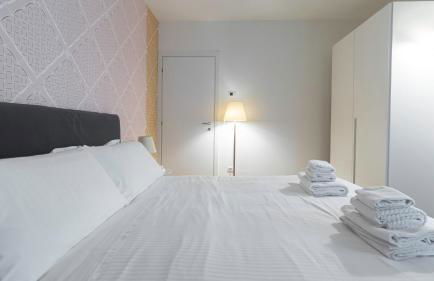
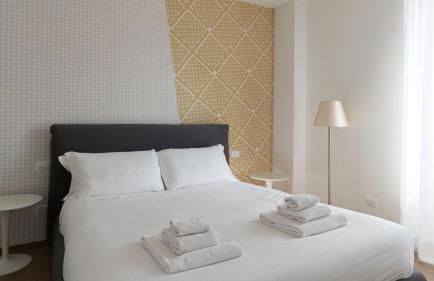
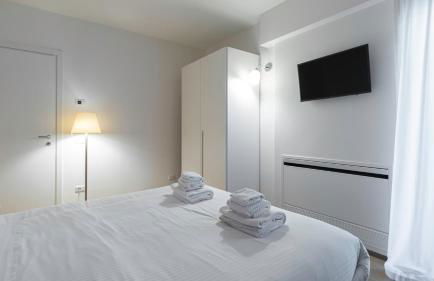
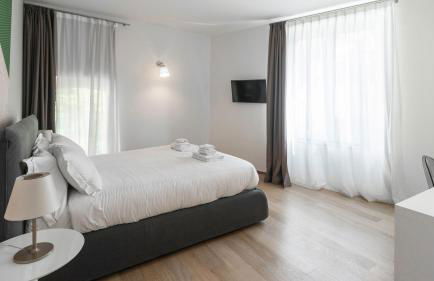
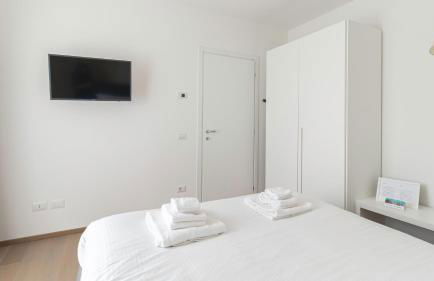
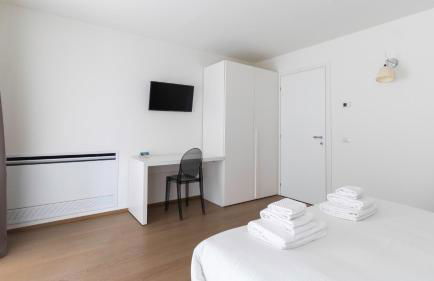
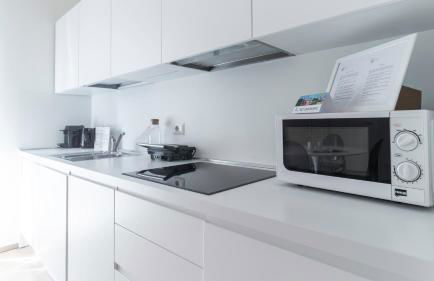
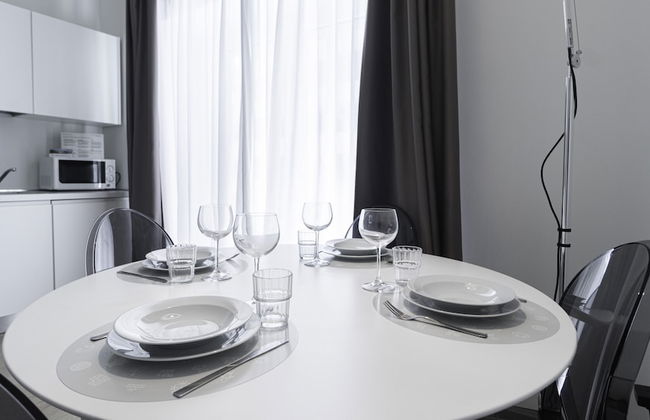
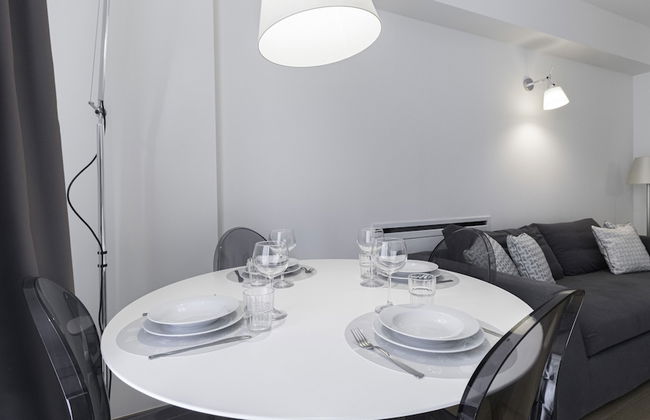
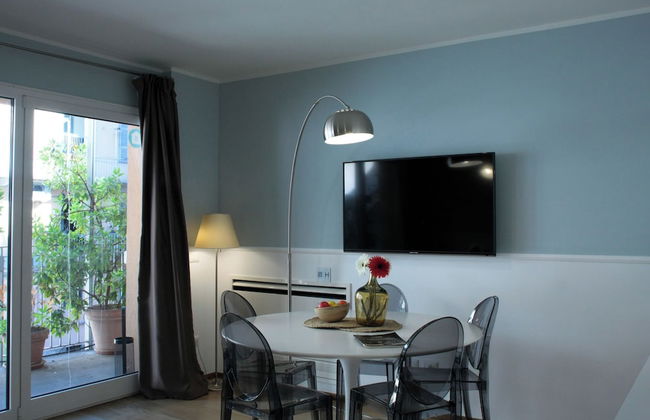
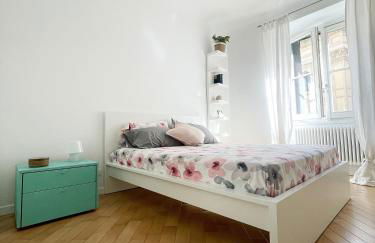
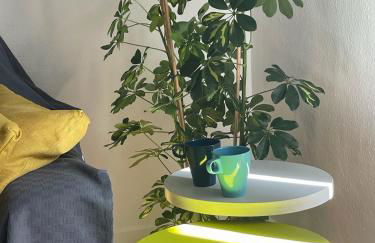
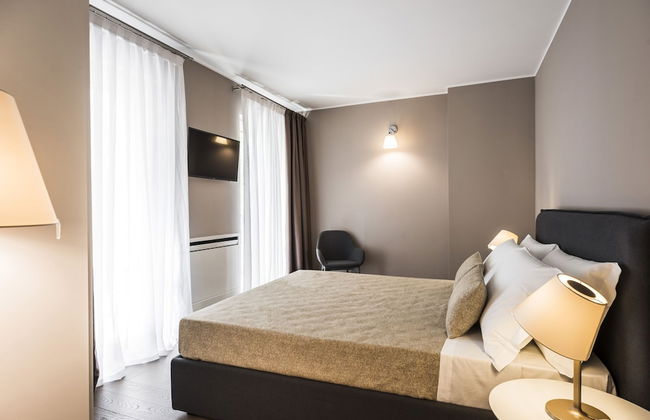
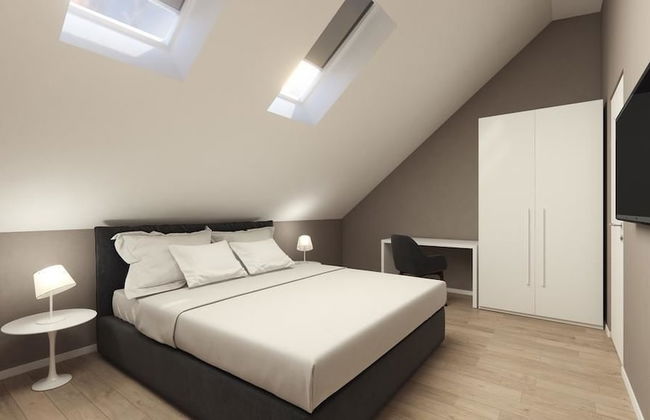
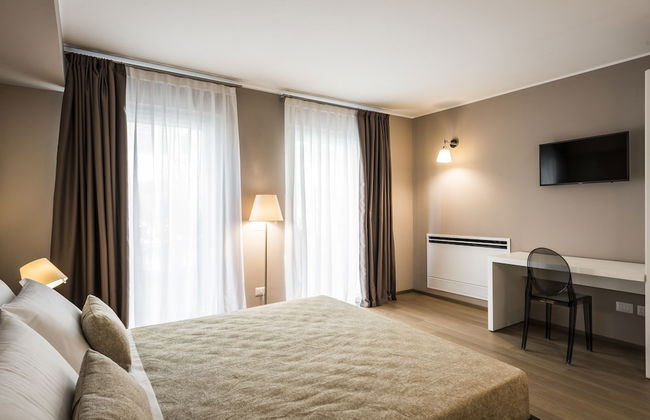
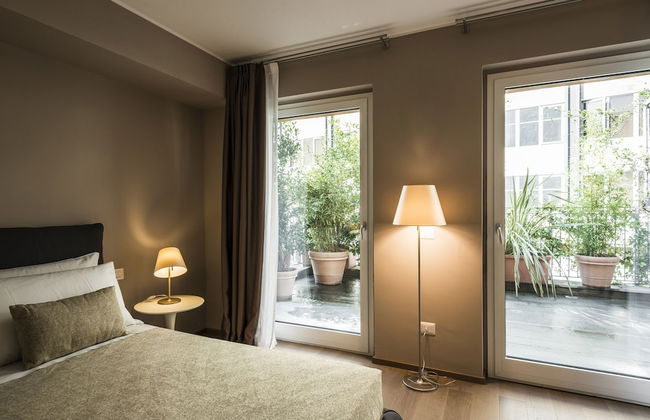
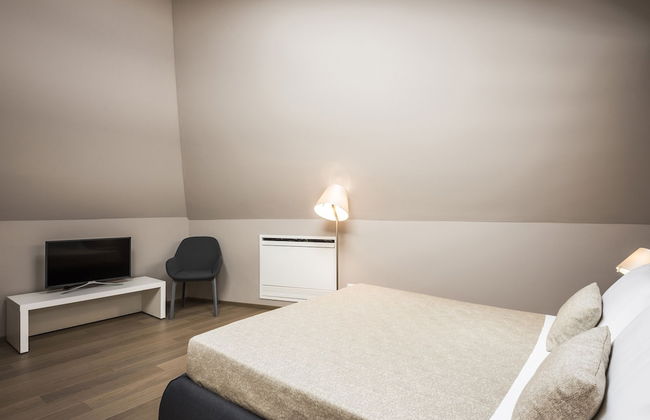
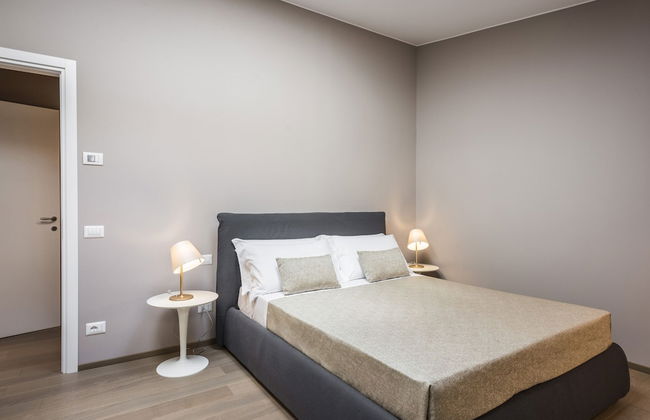
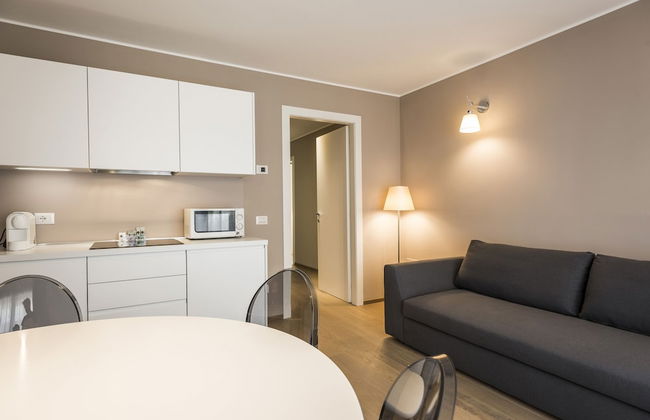
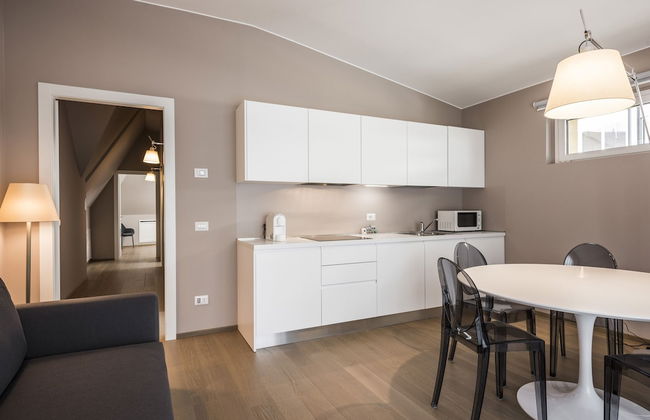
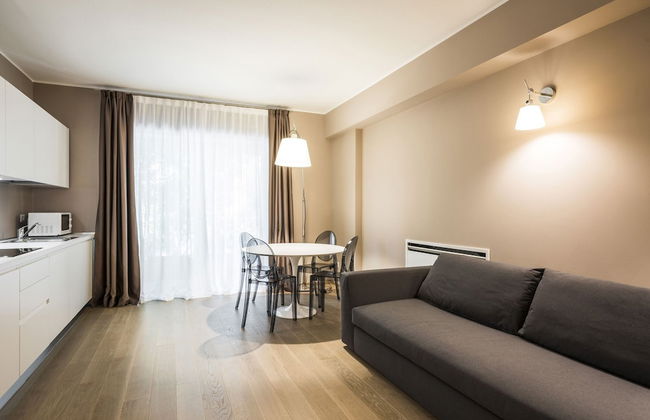
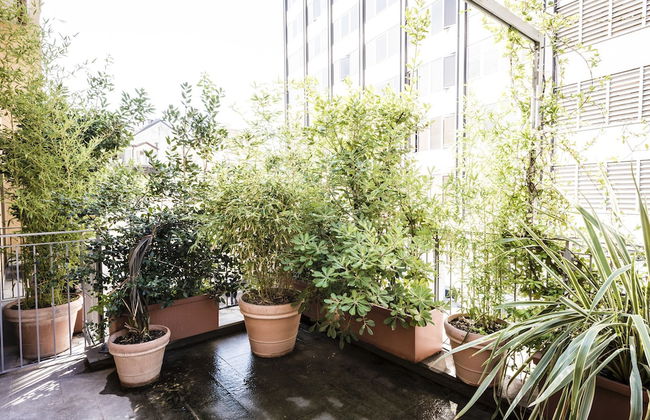
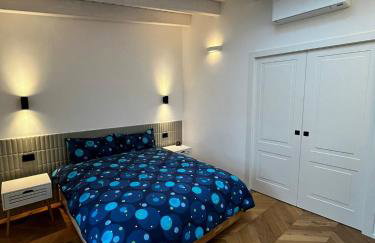
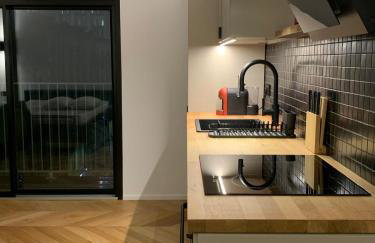
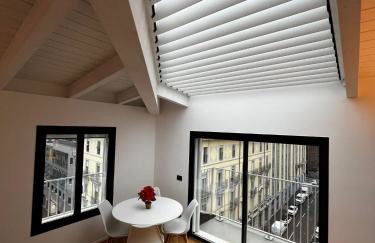
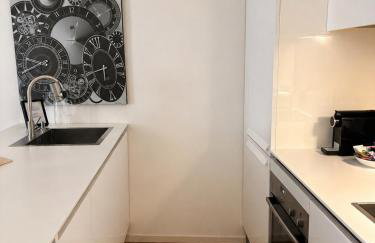
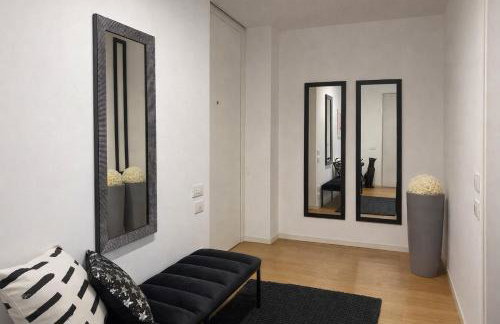
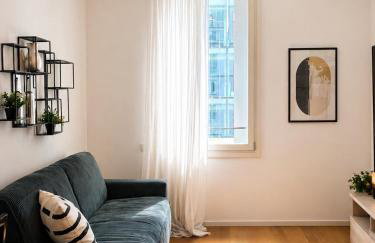
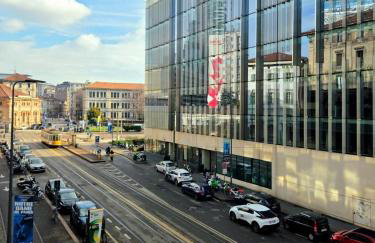
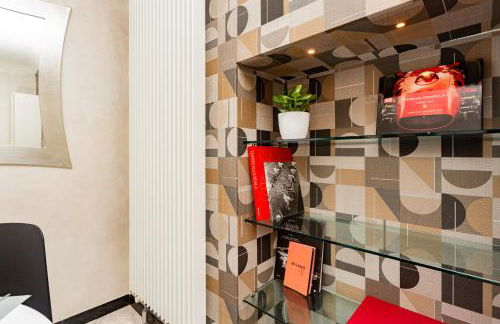
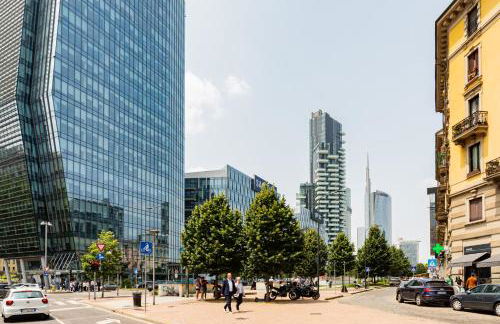
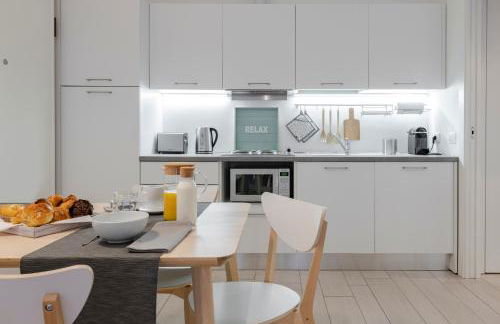
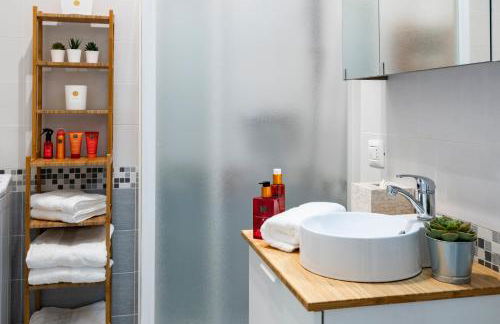
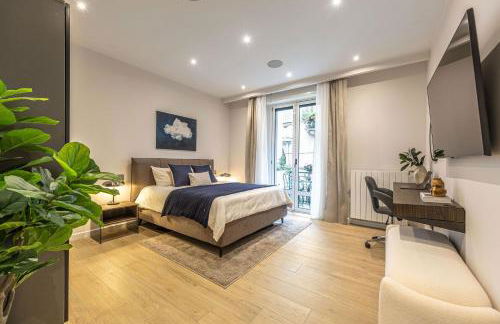
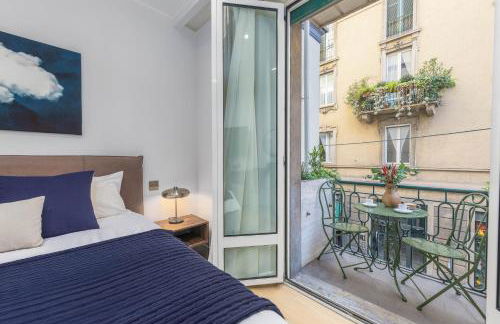
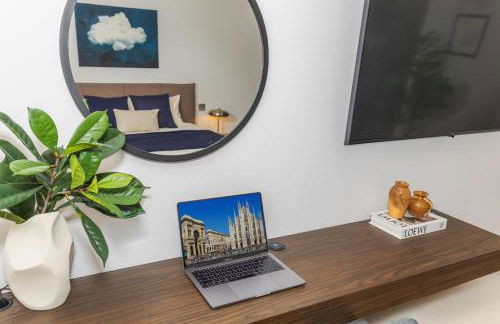
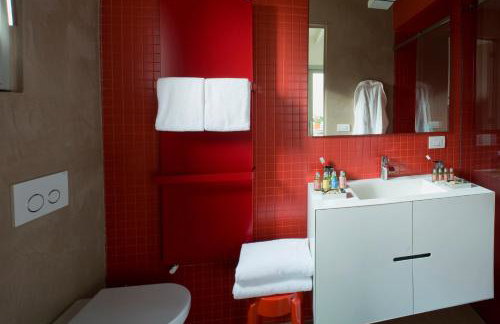
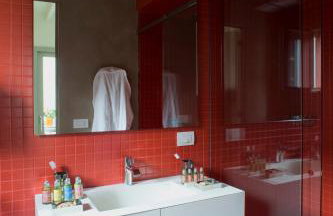
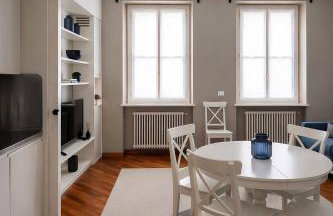
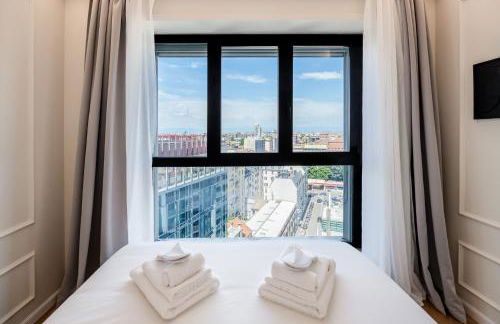
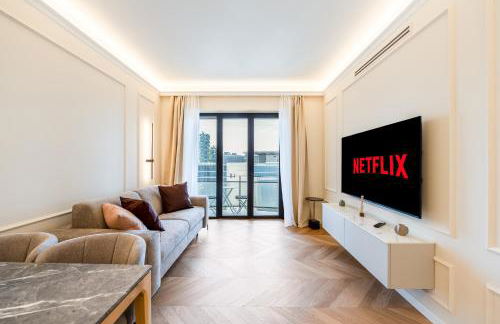
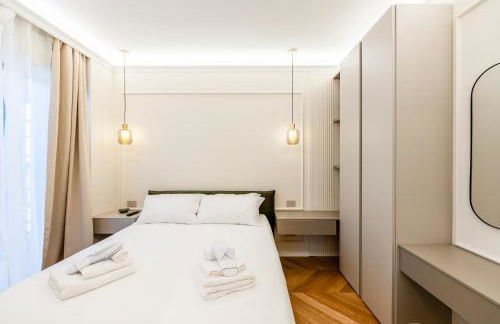
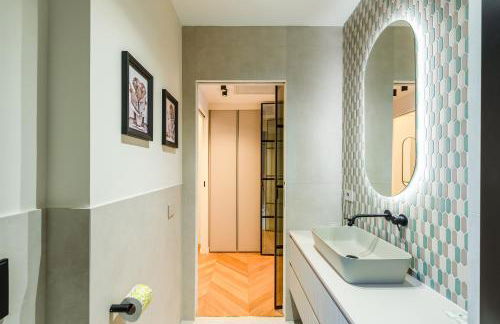
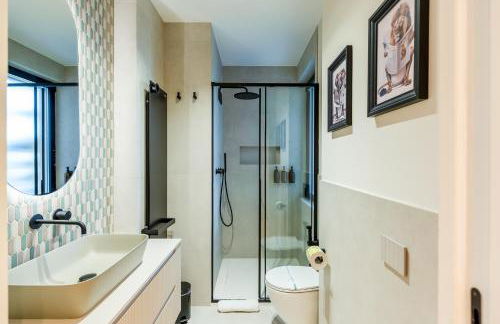
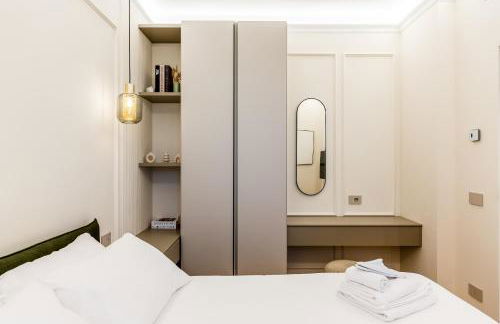
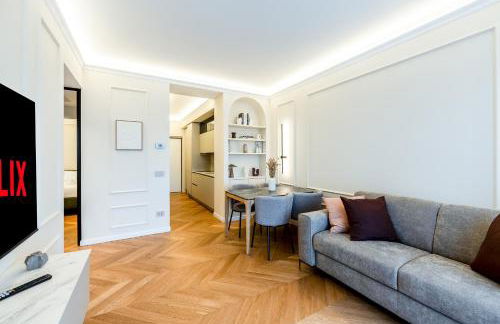
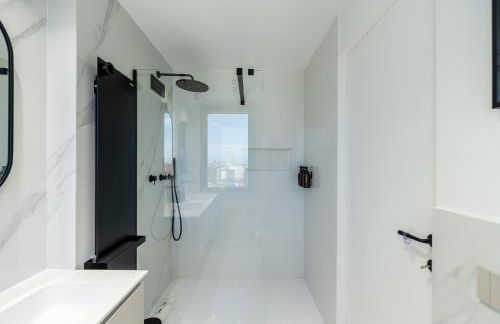
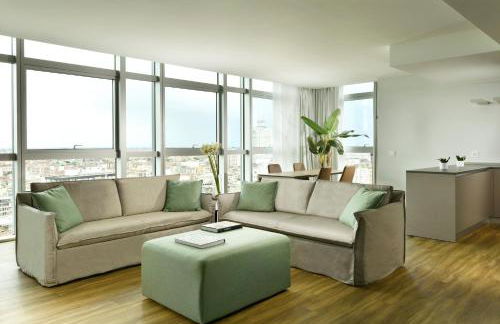
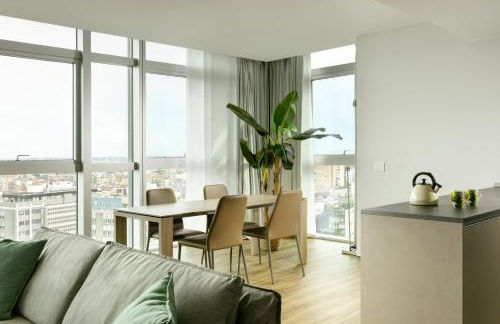
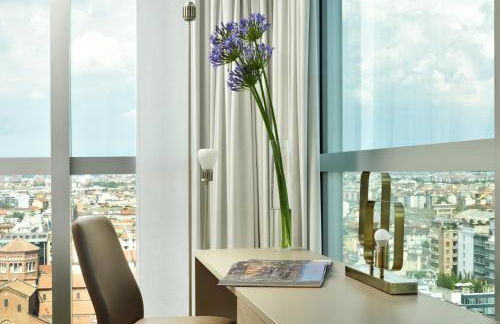
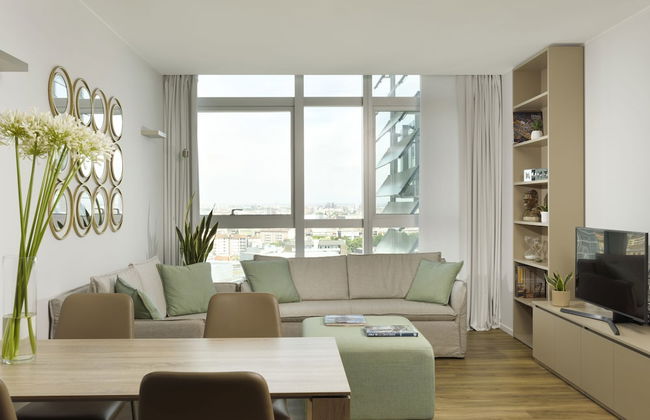
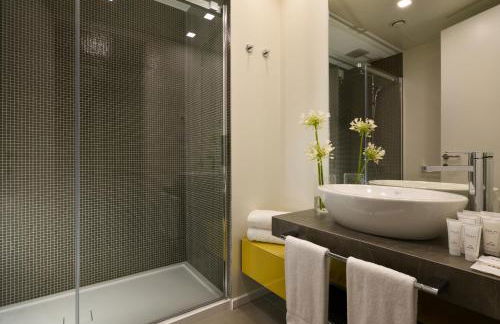
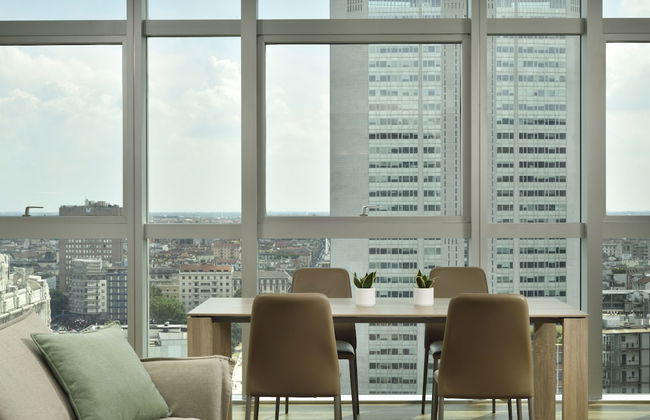
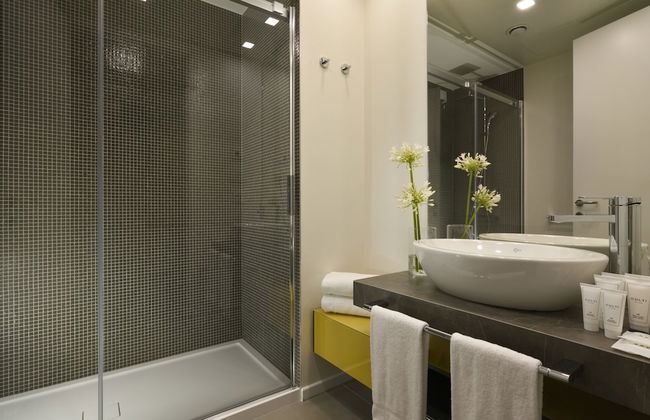
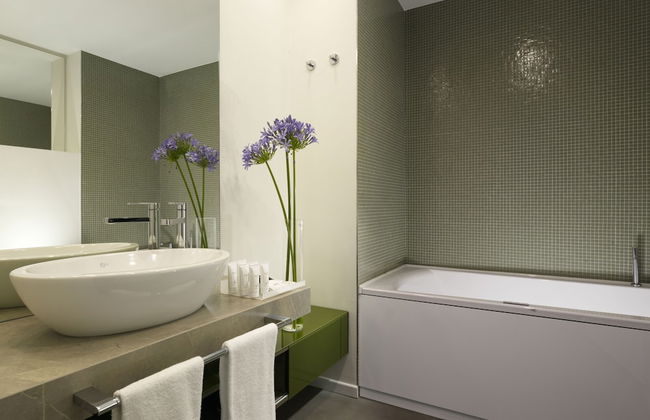
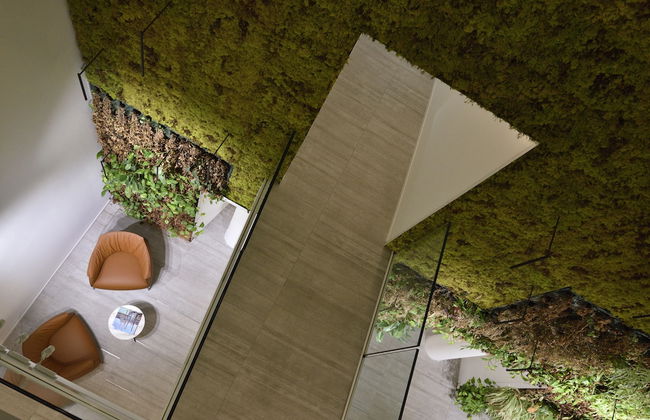
Torre Galfa Milano Luxury Apartments | UNA Esperienze - Foto 2
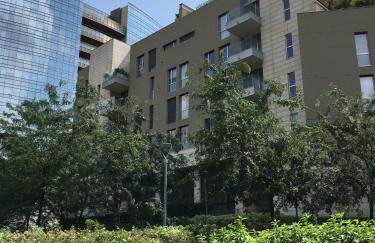
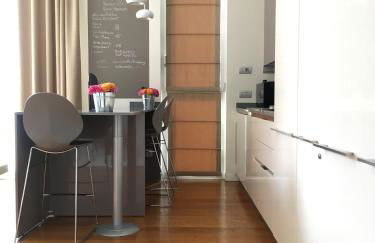
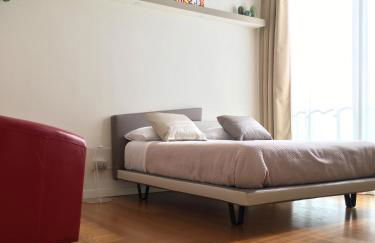
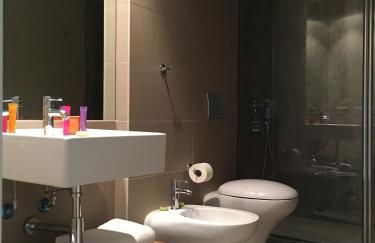
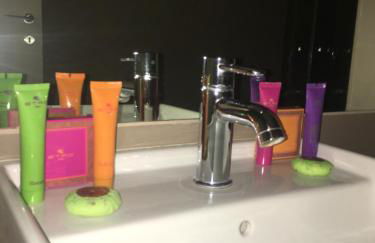
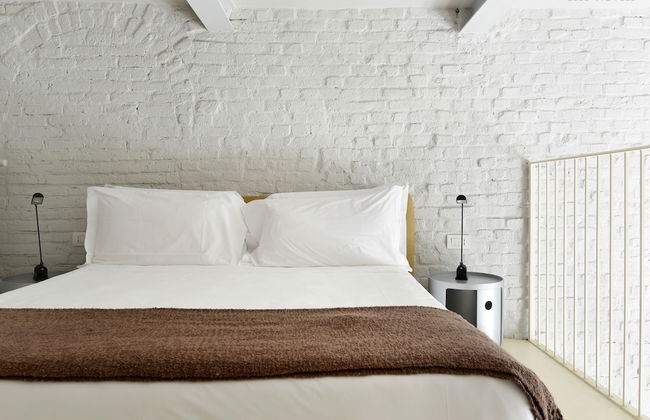
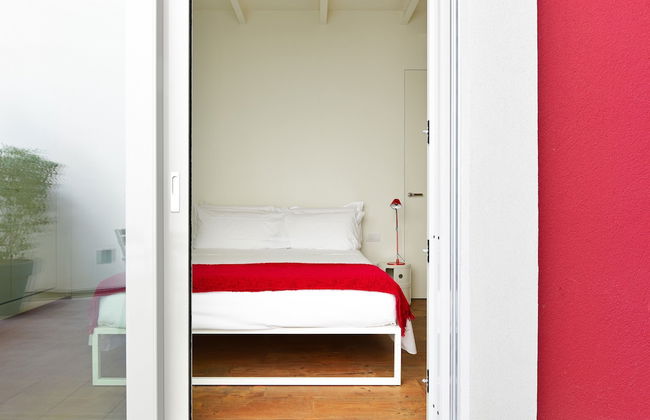
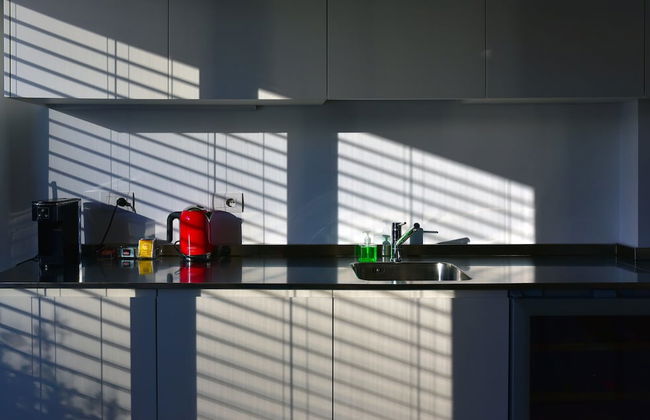
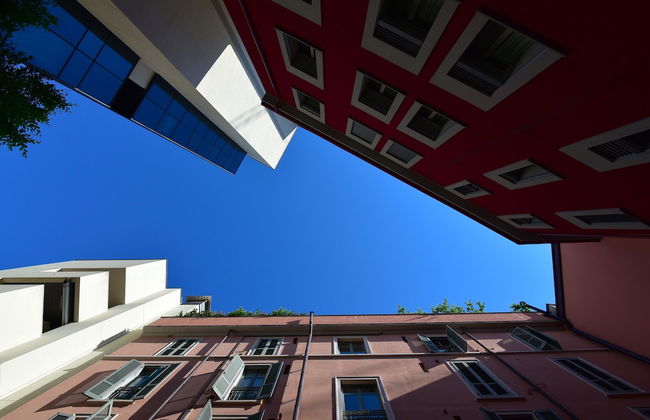
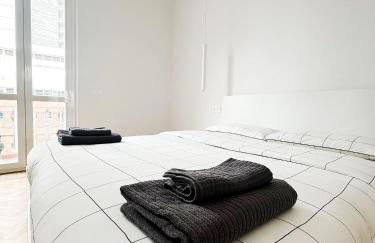
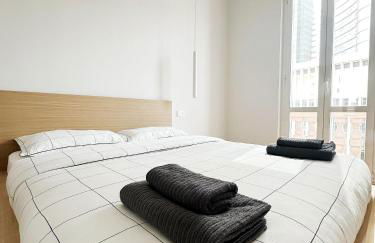
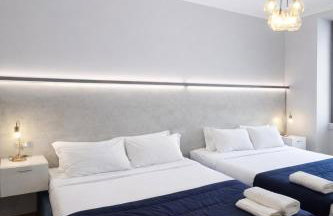
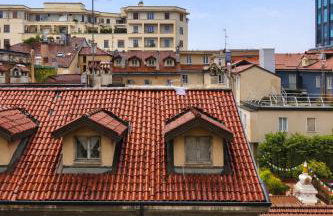
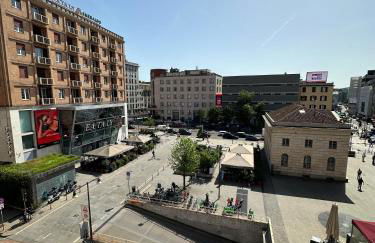
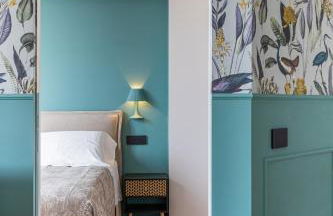
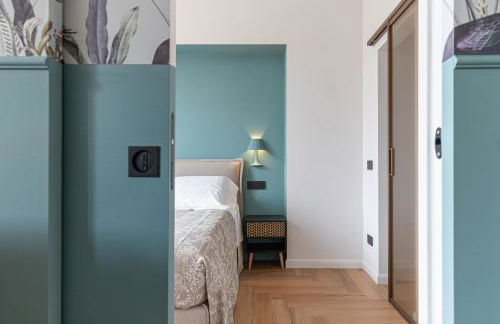
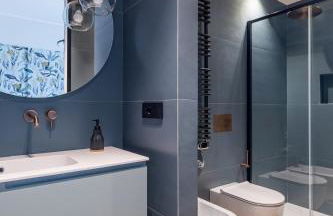
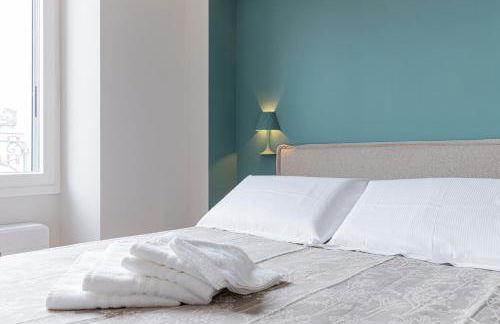
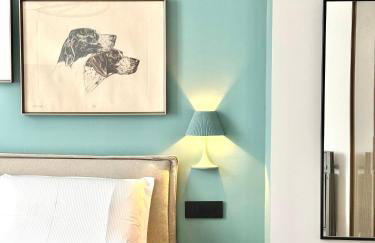
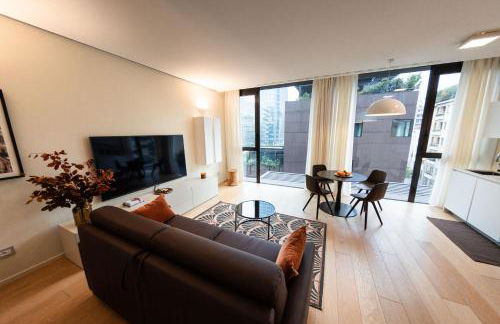
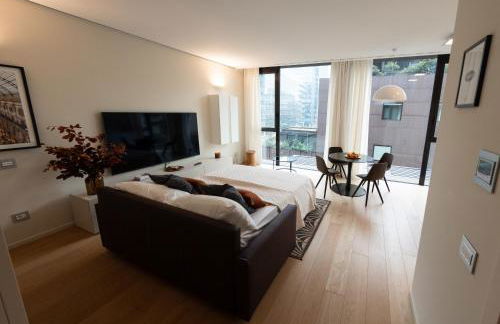
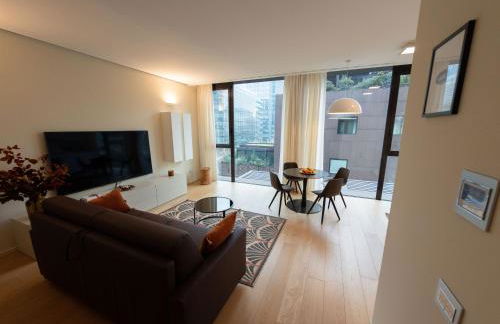
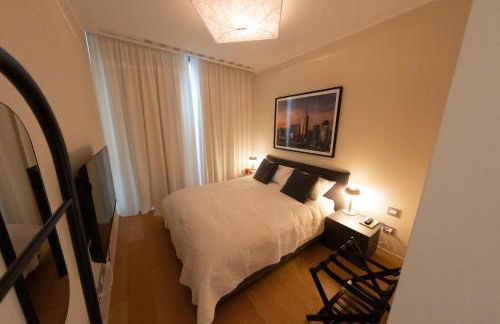
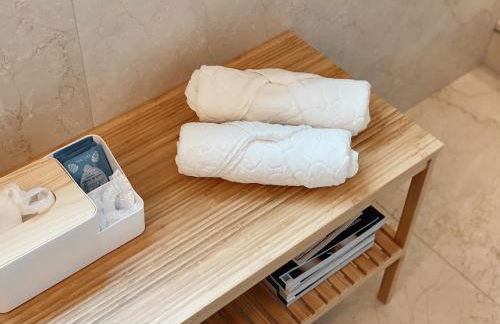
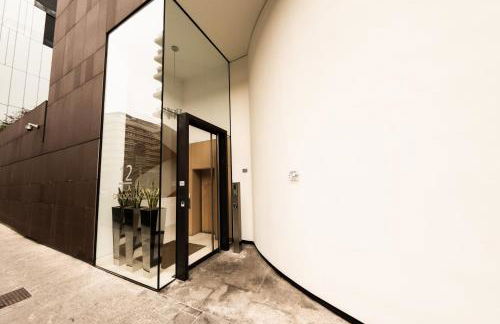
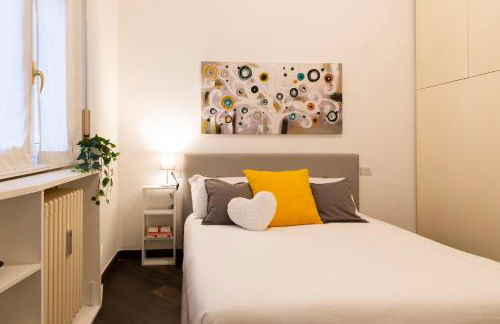
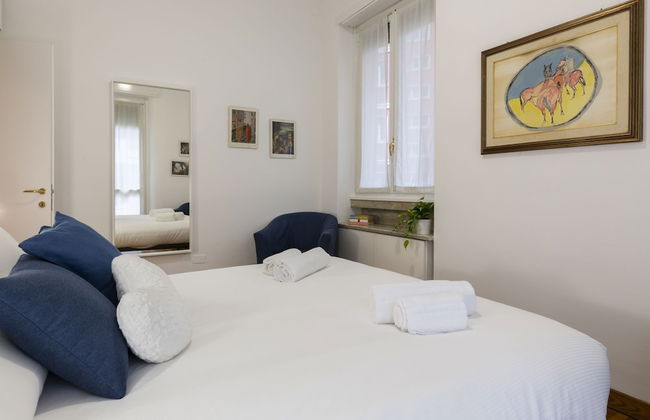
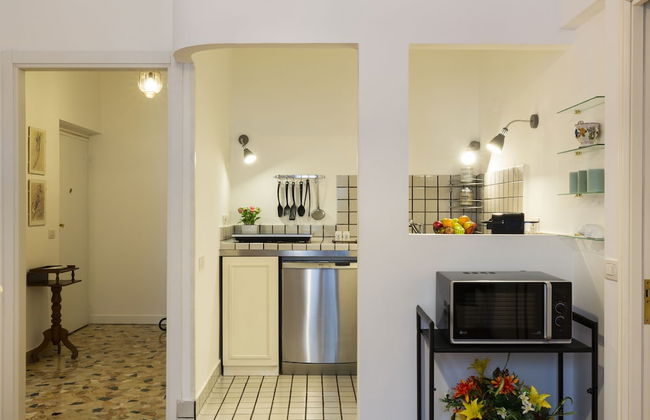
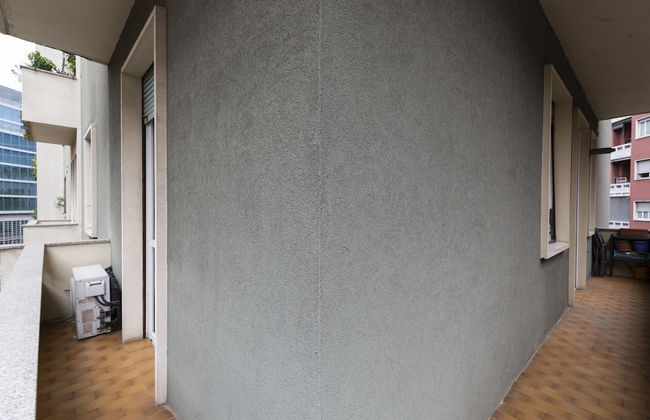
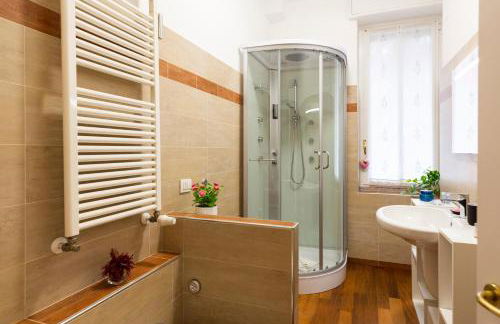
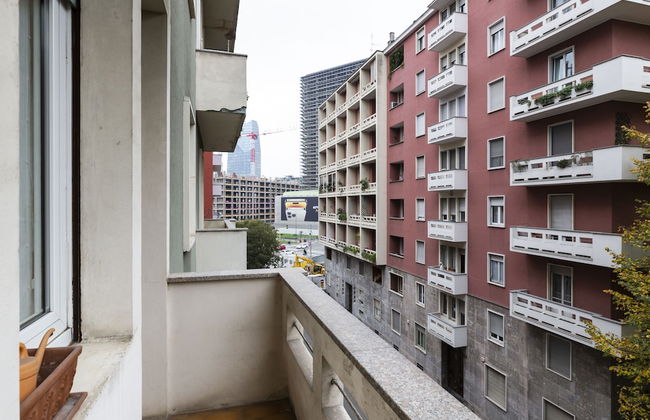
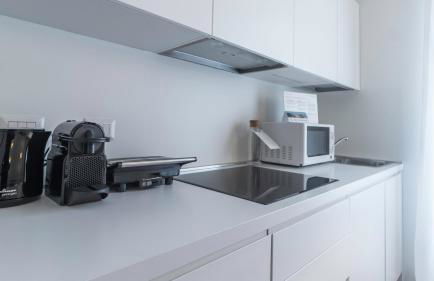
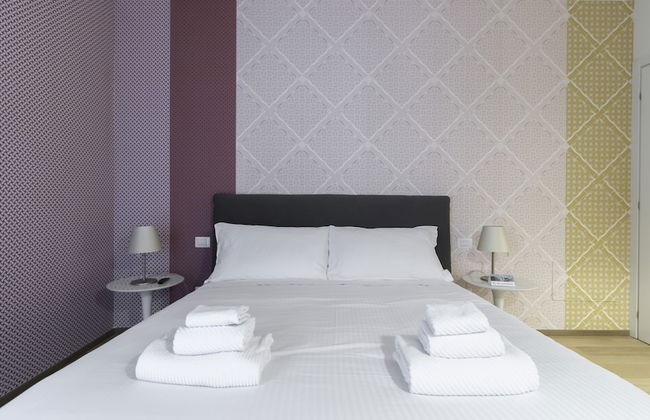
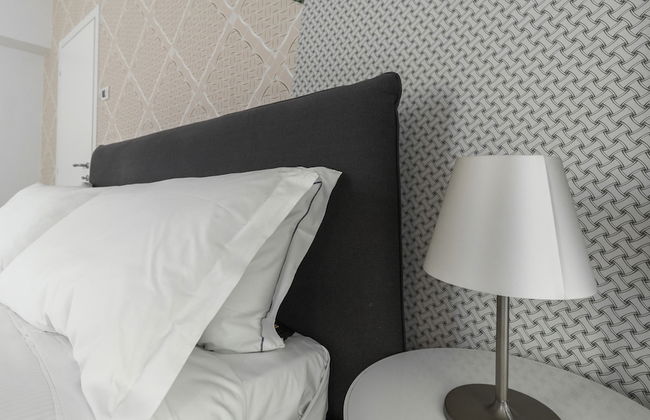
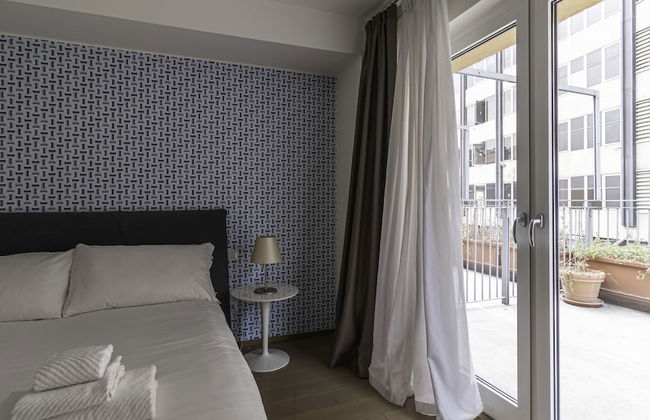
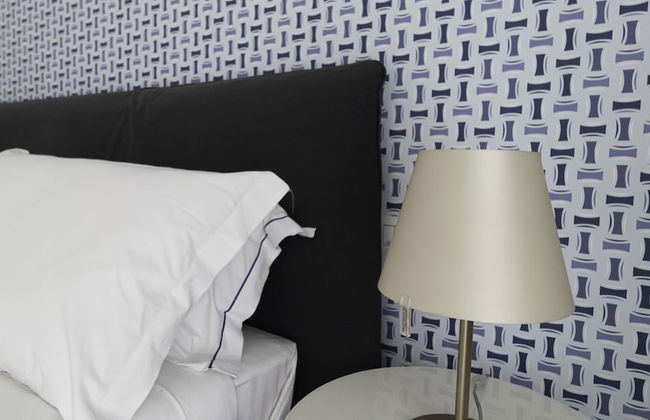
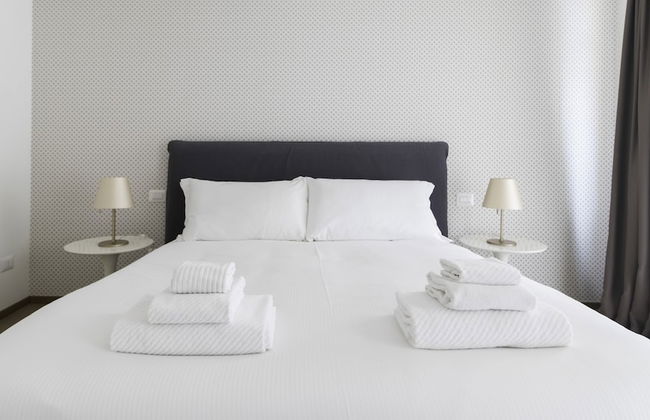
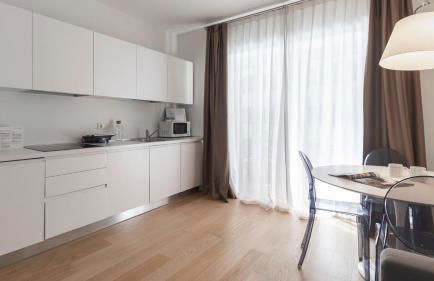
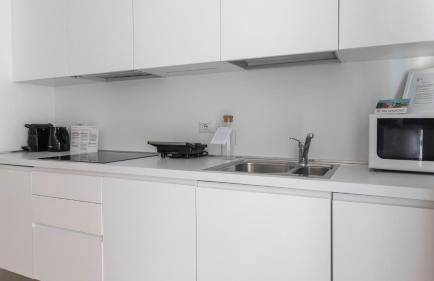
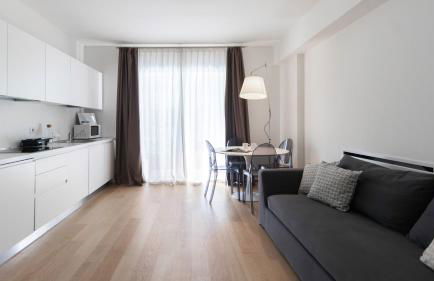
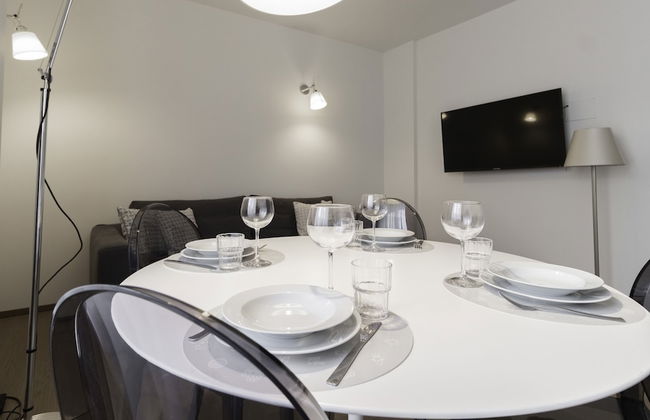
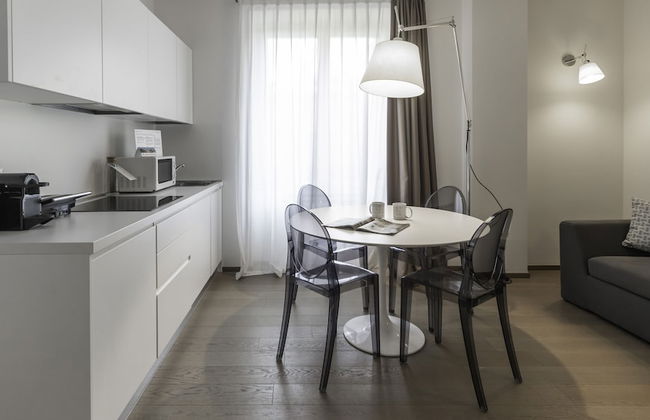
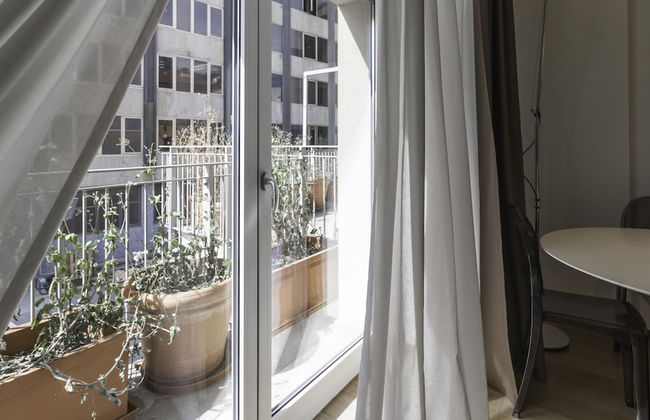
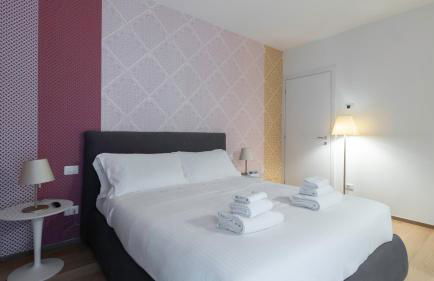
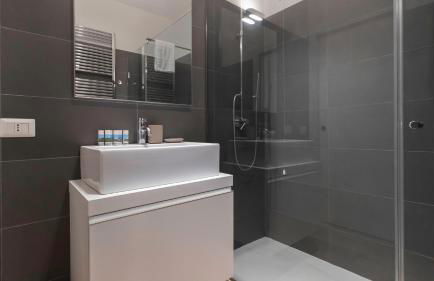
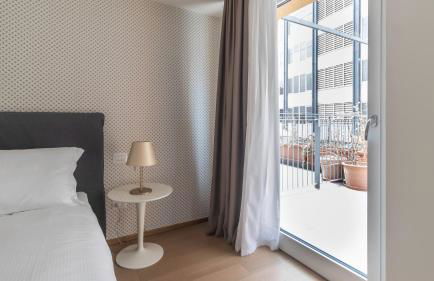
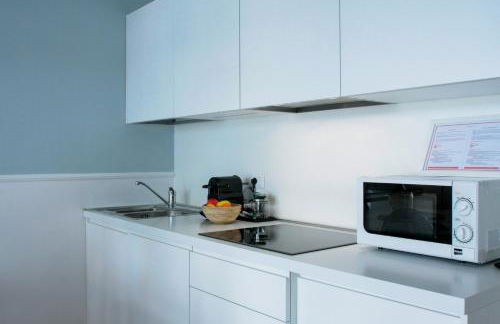
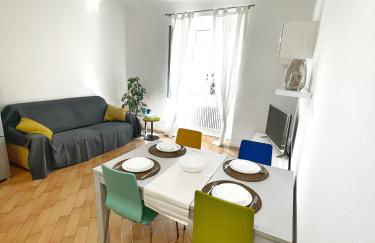
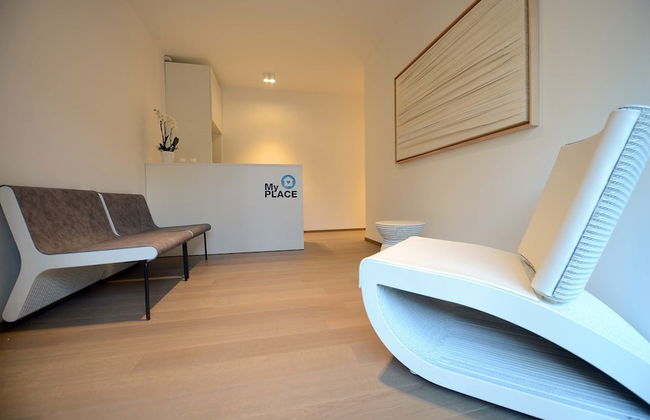
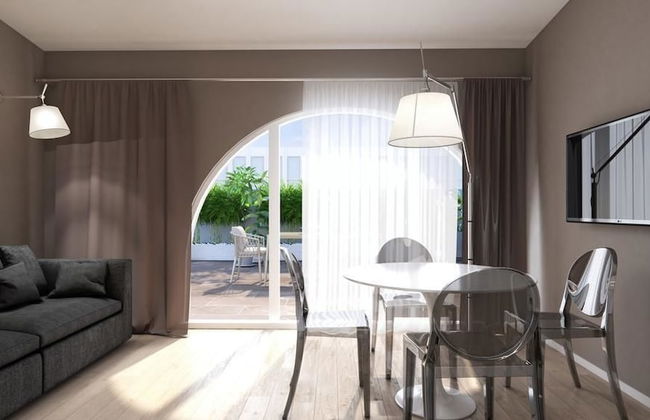
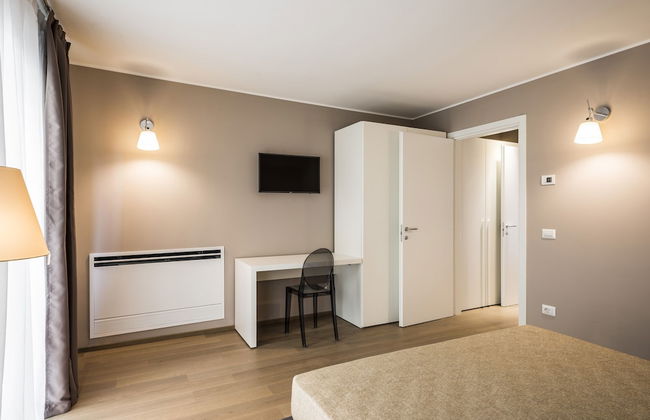
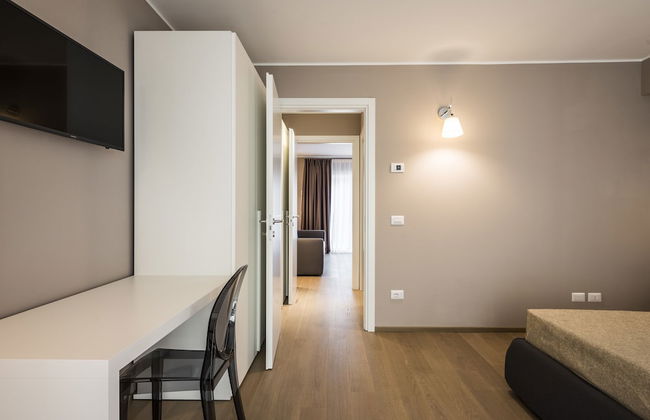
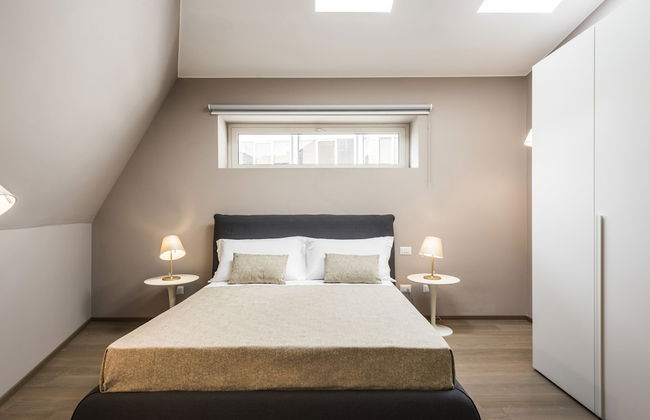
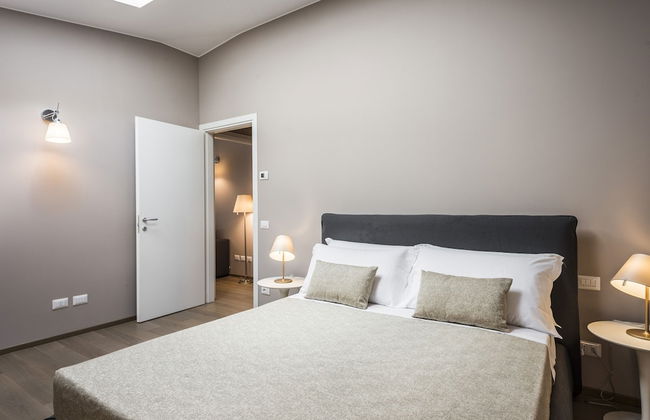
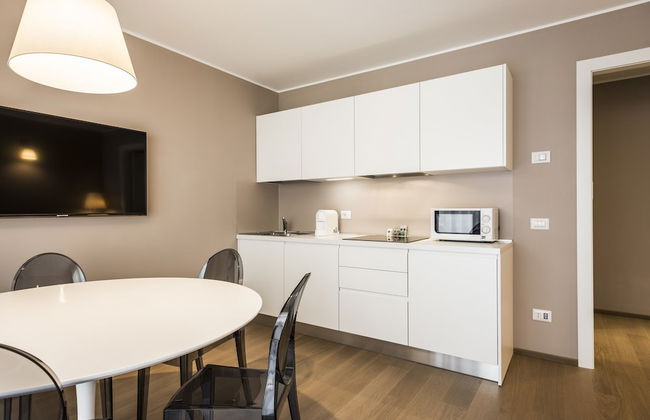
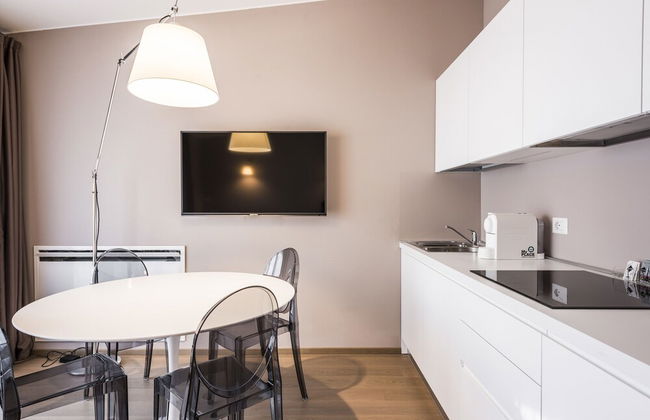
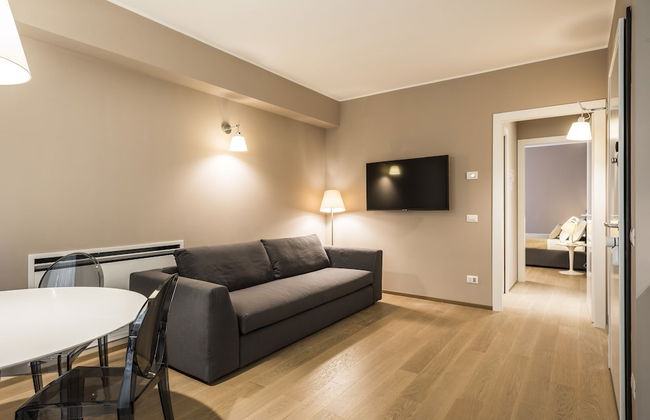
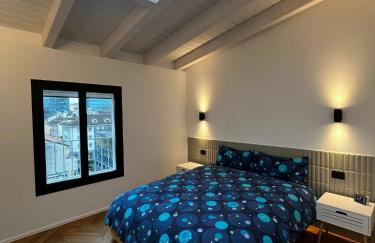
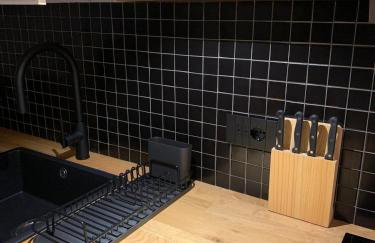
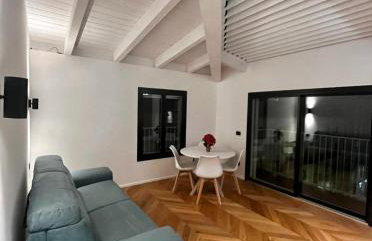
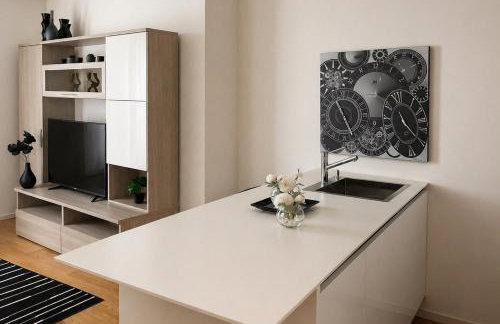
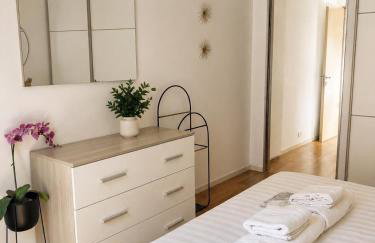
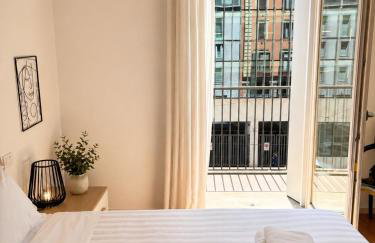
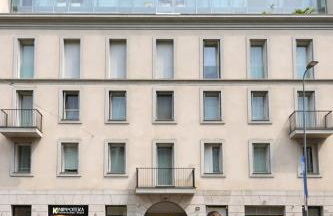
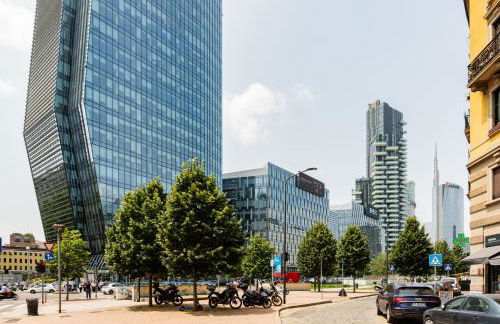
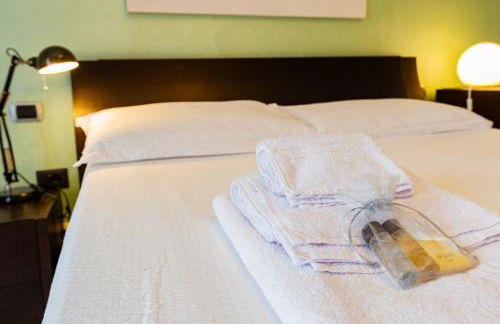
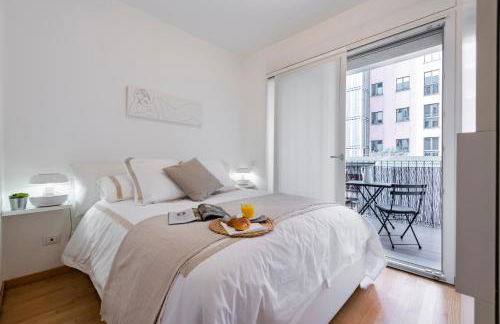
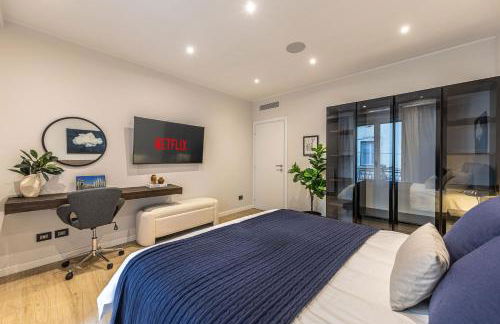
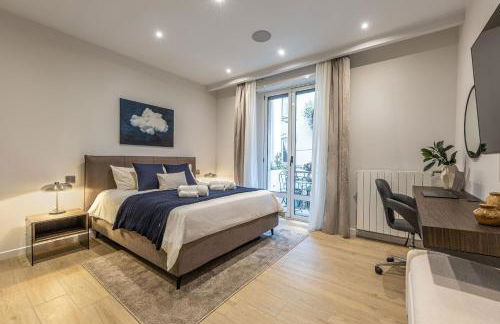
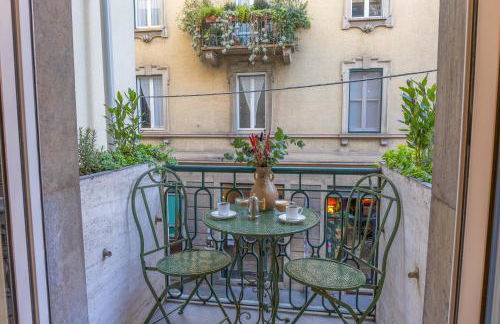
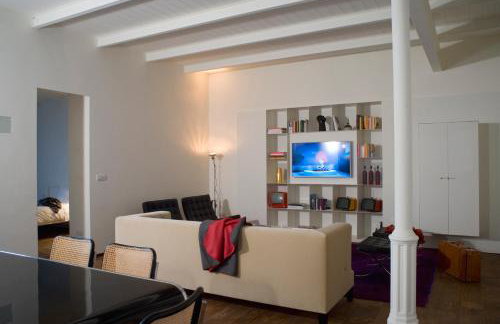
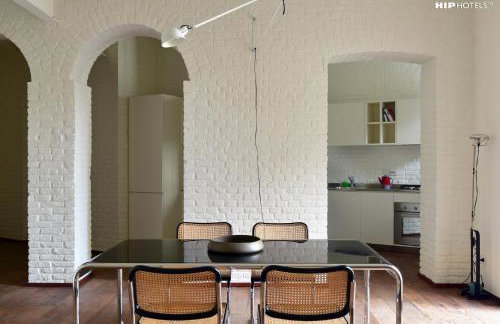
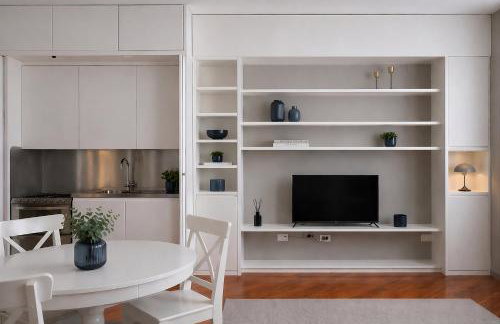
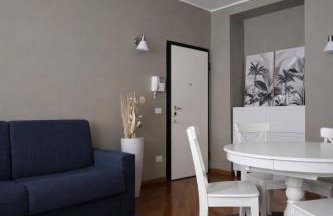
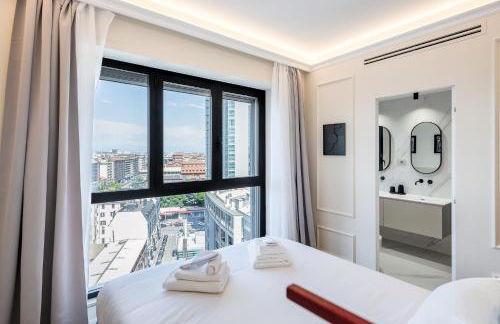
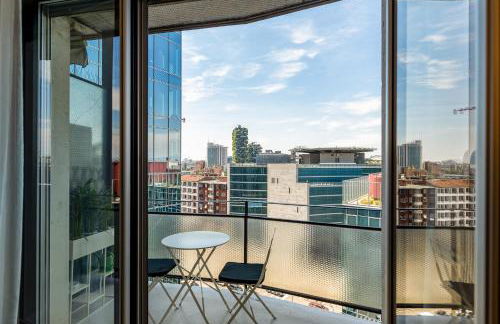
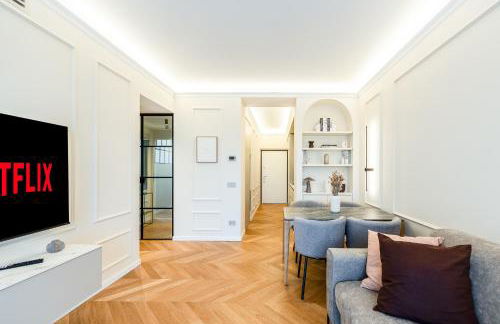
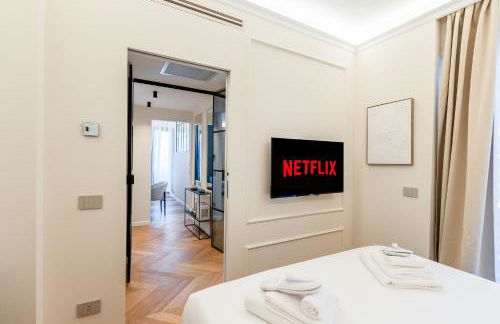
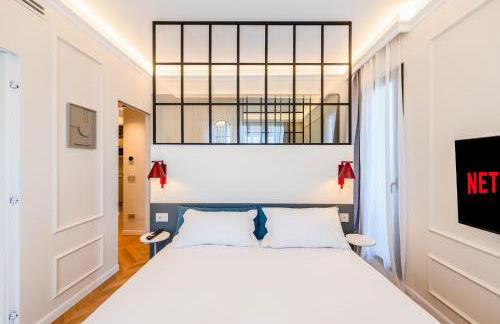
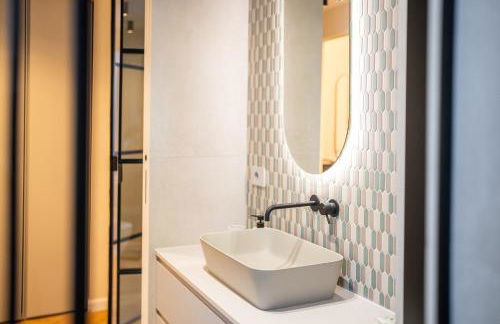
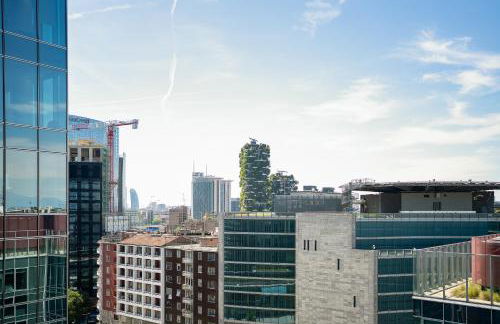
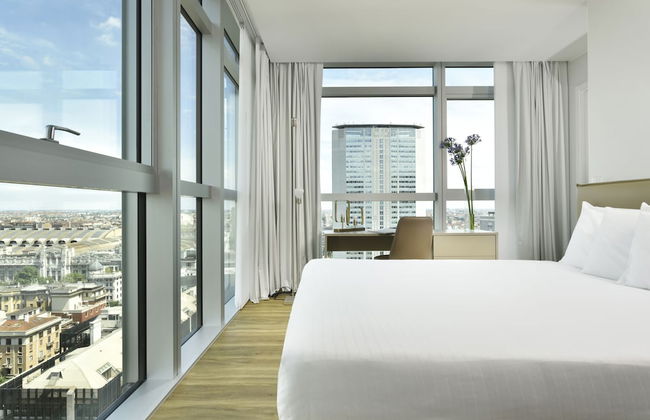
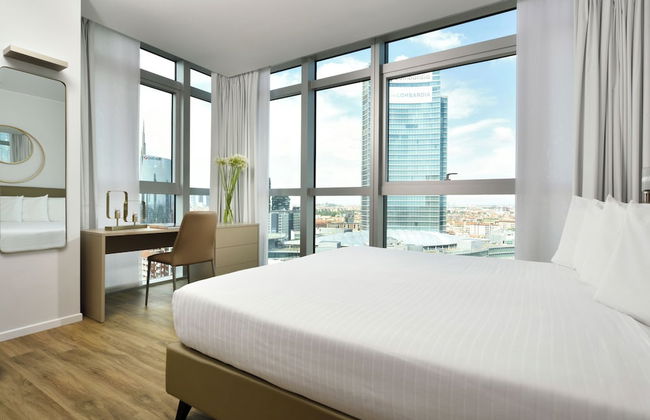
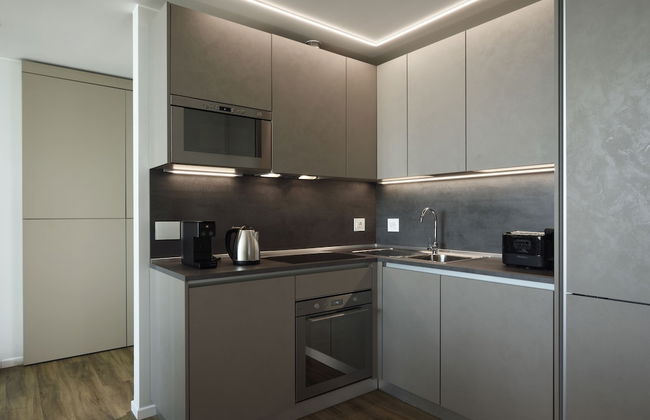
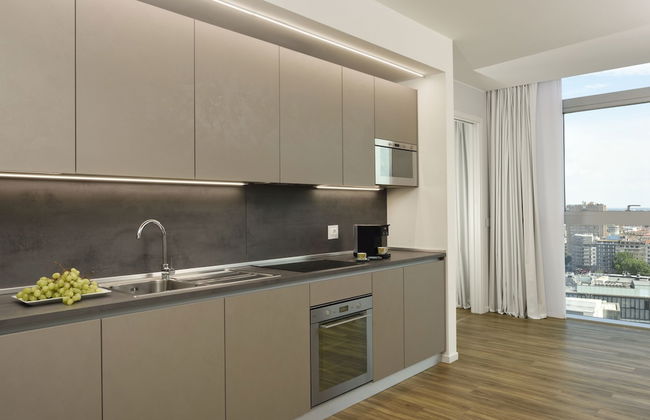
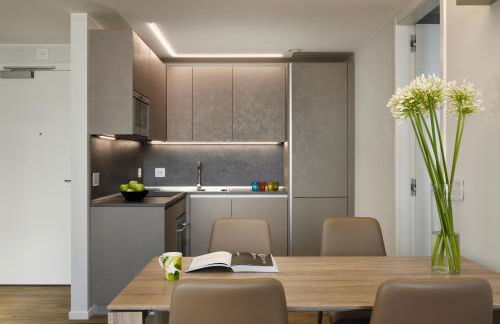
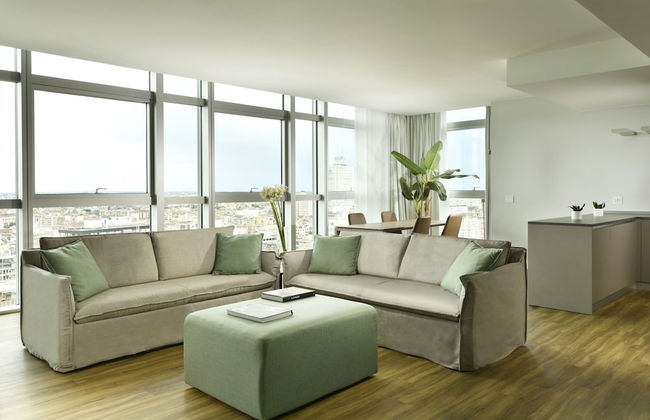
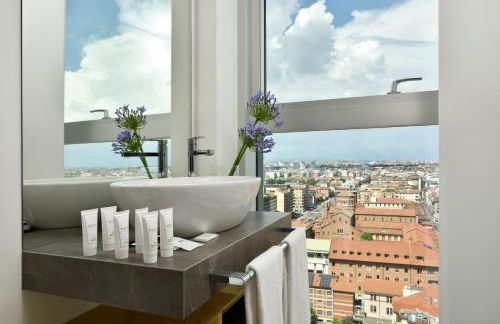
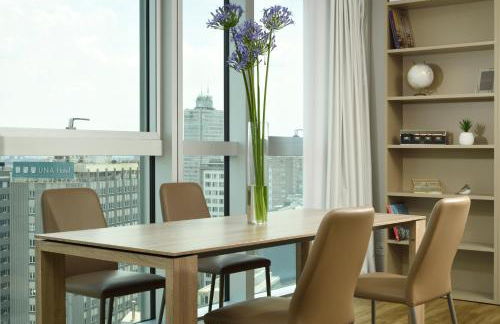
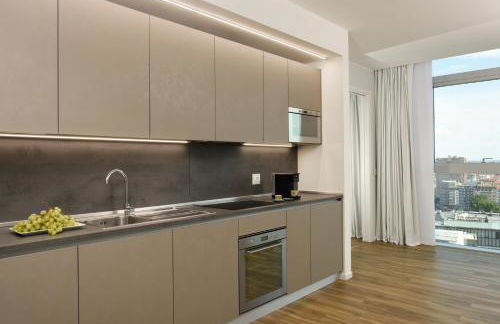
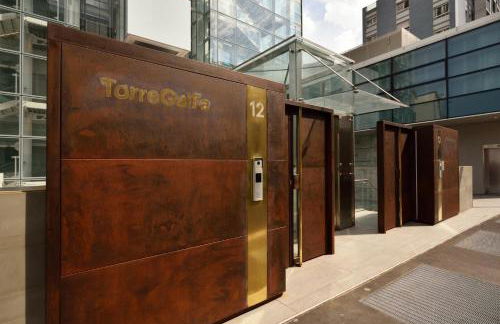
Torre Galfa Milano Luxury Apartments | UNA Esperienze - Foto 3
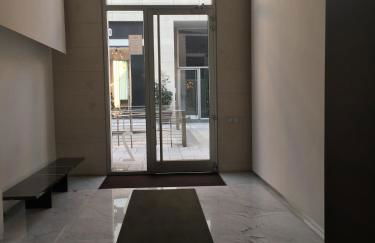
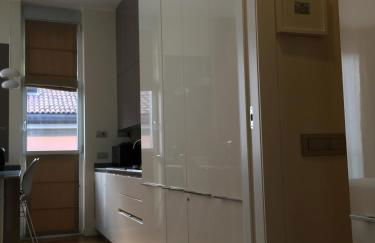
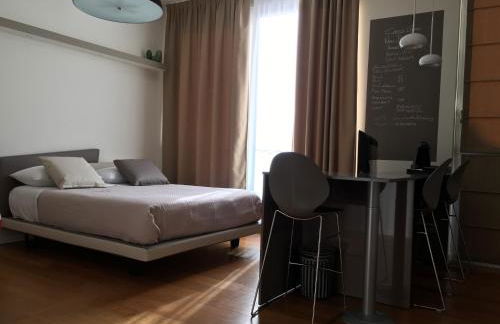
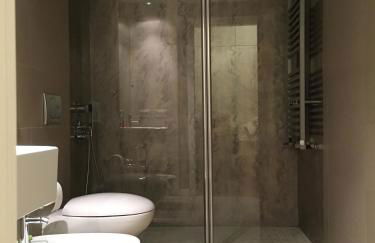
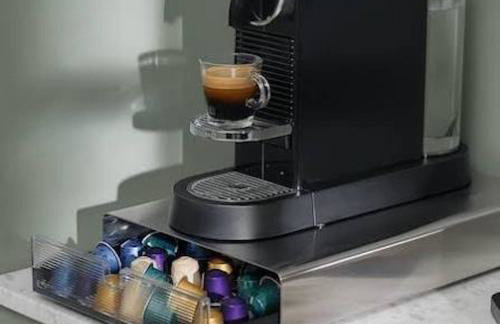
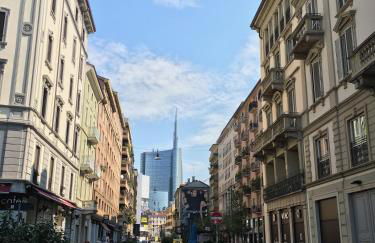
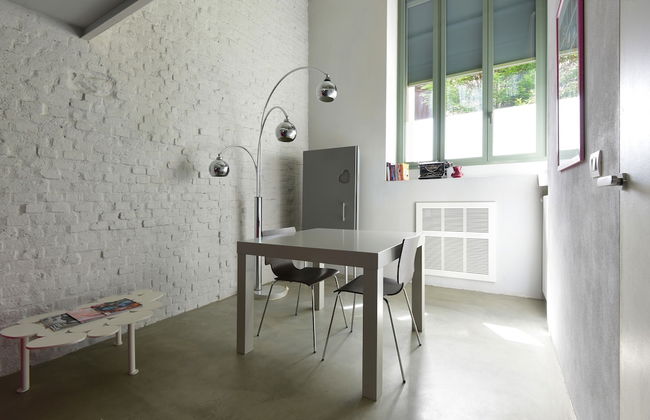
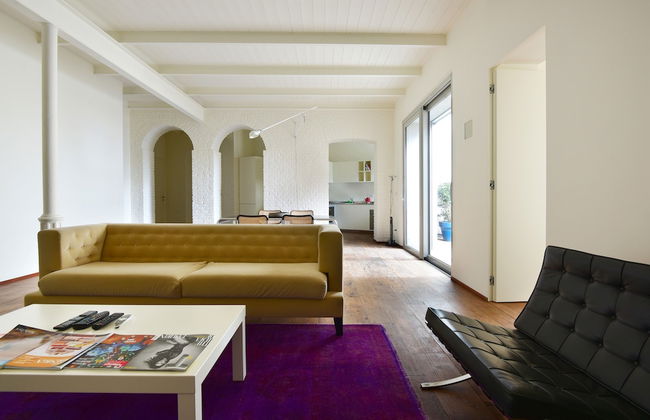
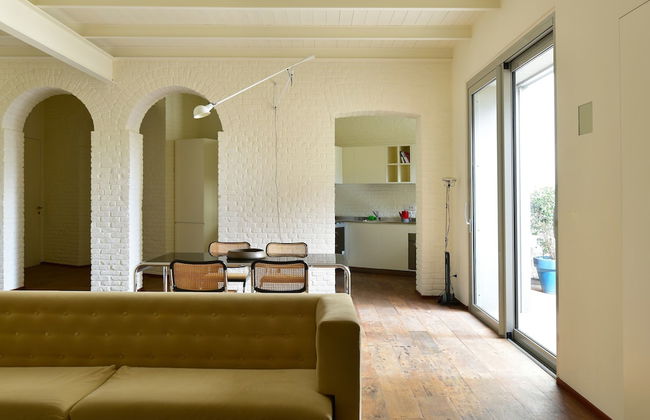
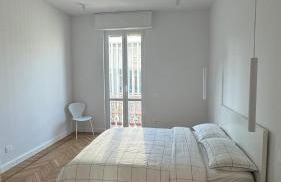
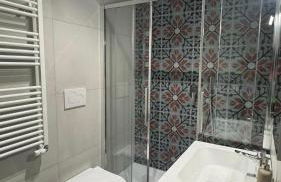
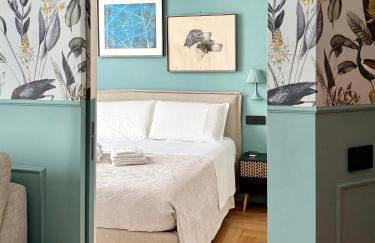
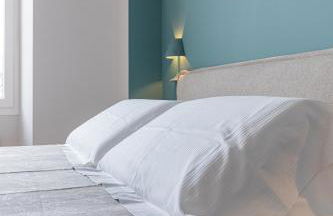
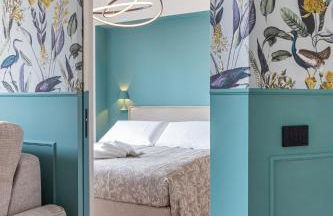
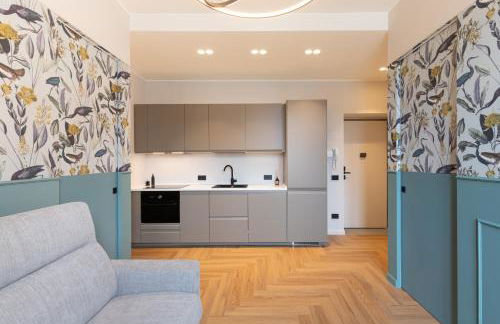
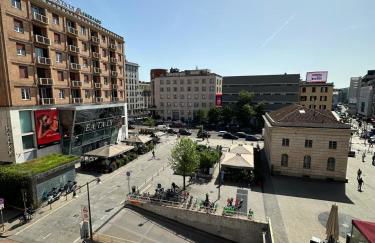
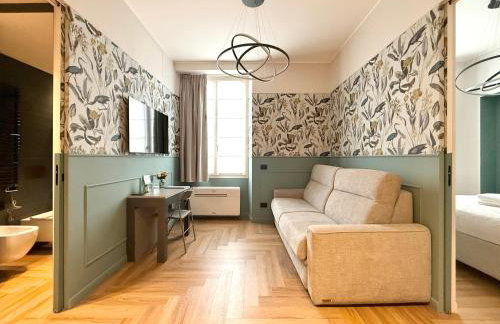
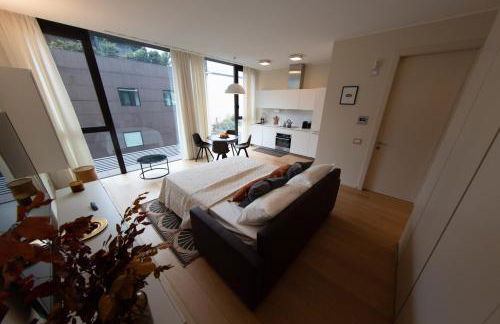
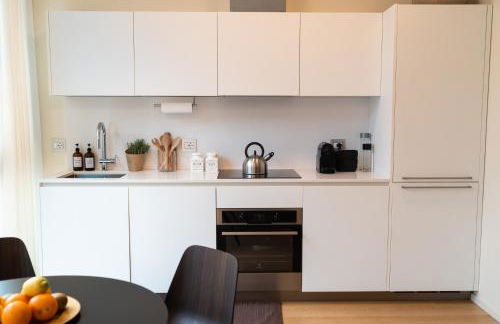
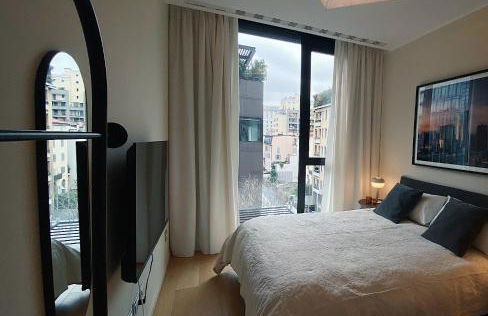
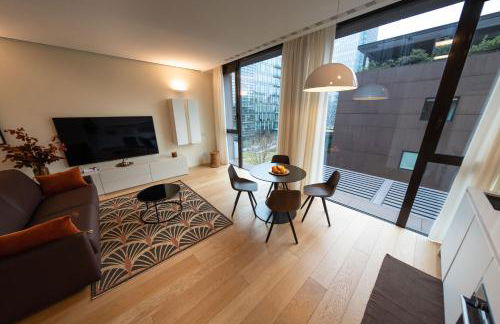
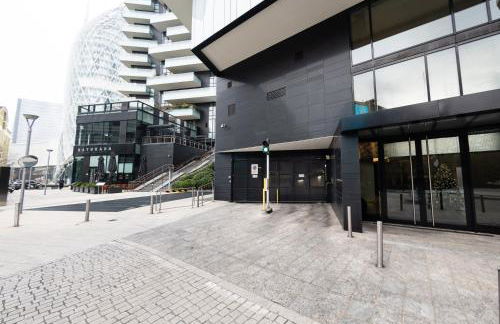
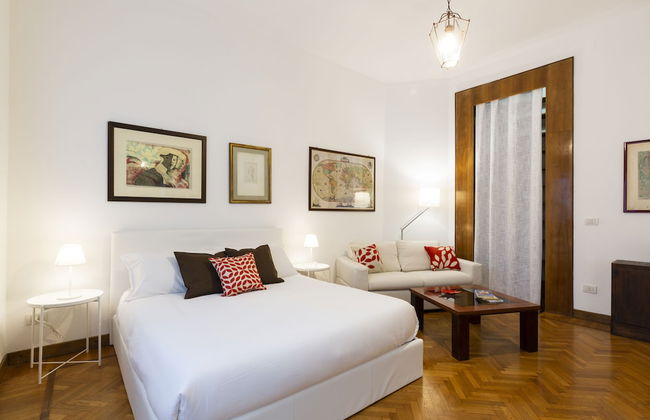
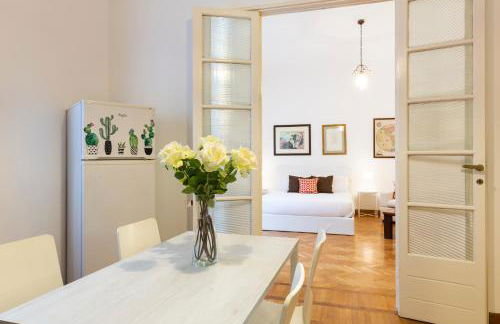
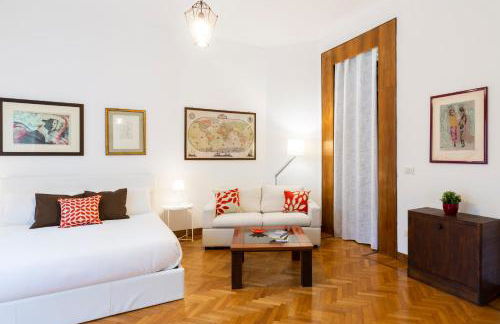
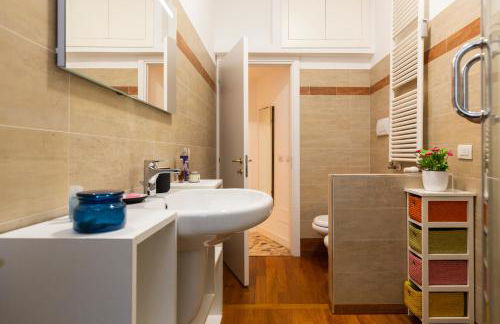
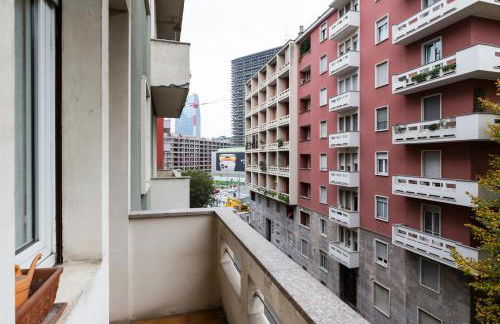
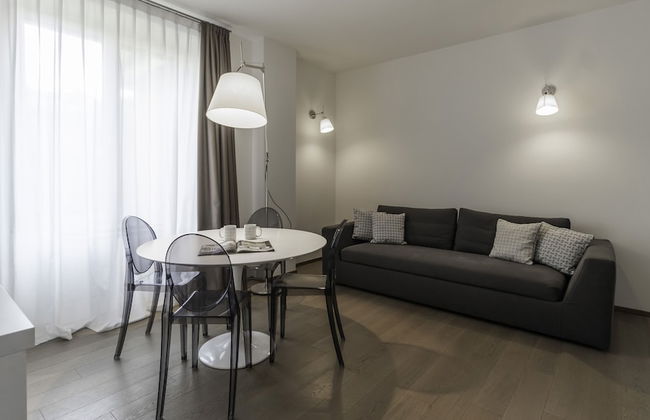
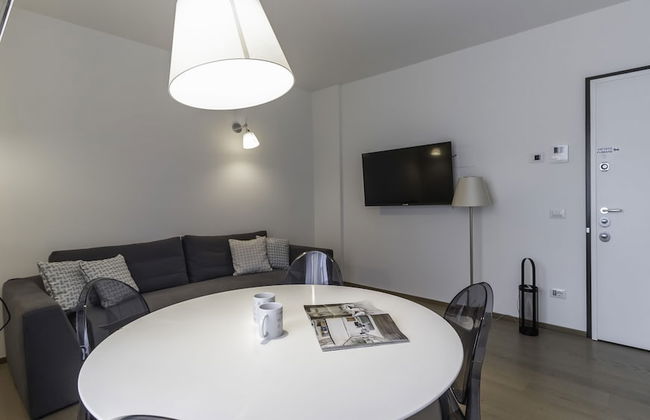
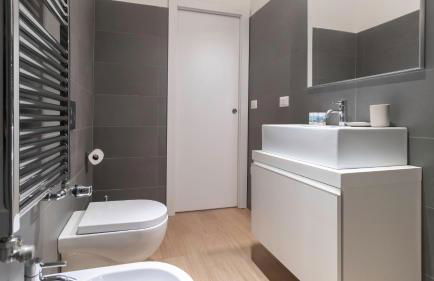
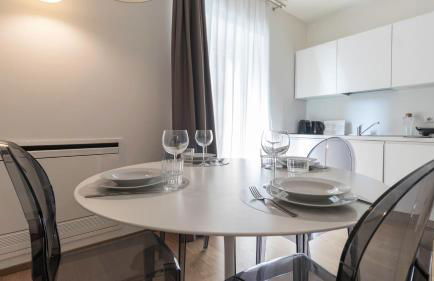
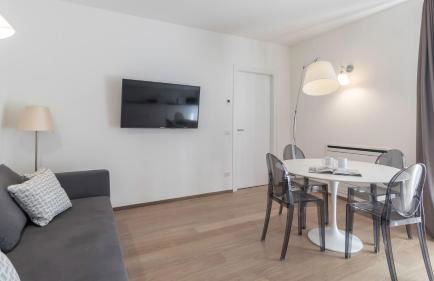
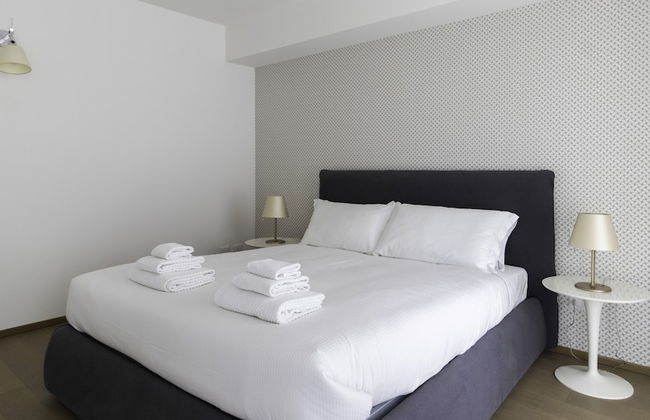
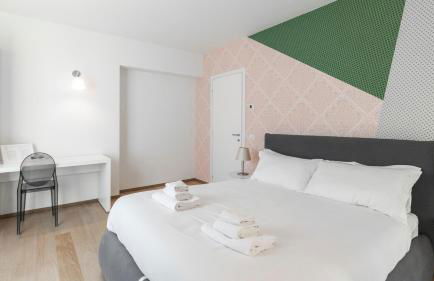
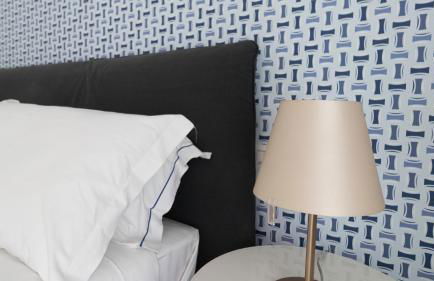
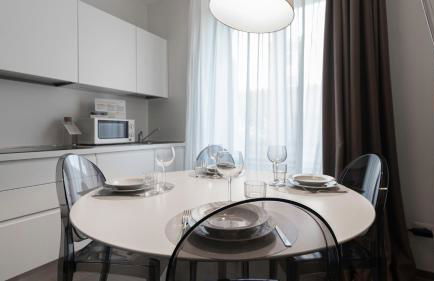
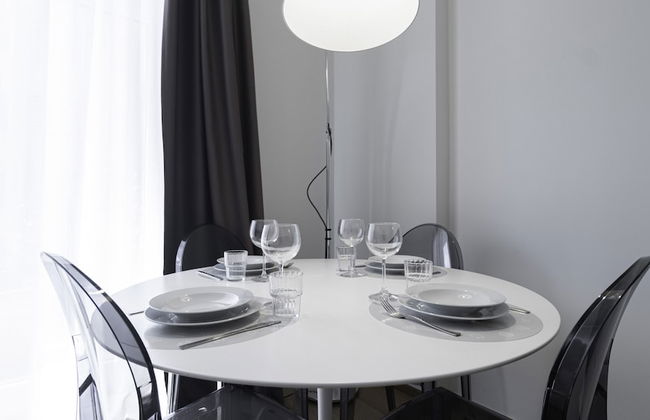
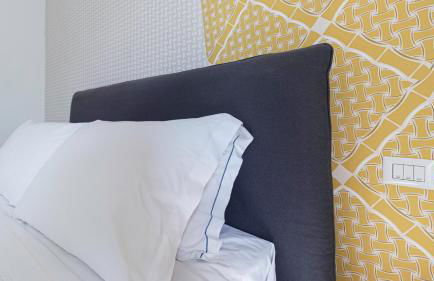
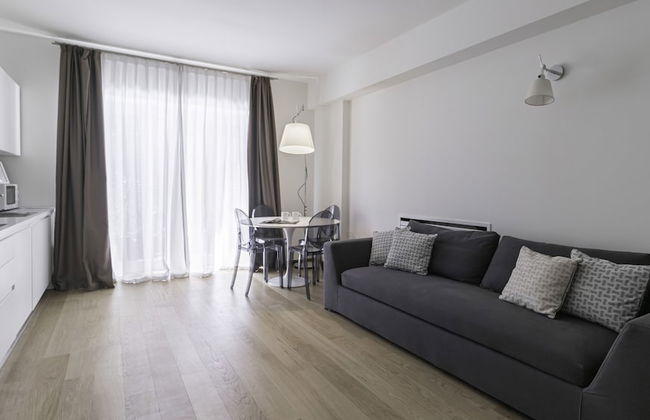
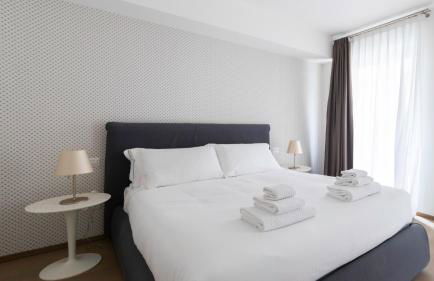
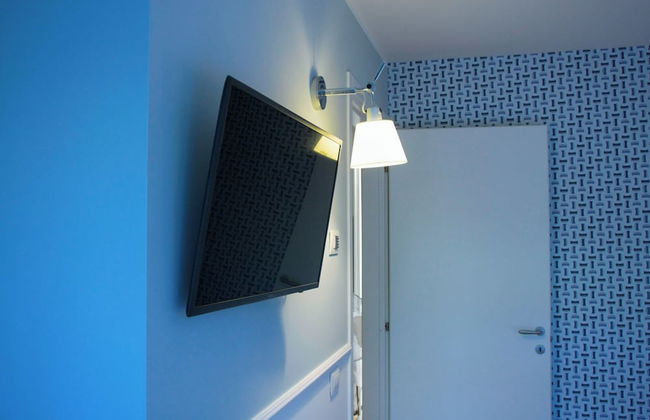
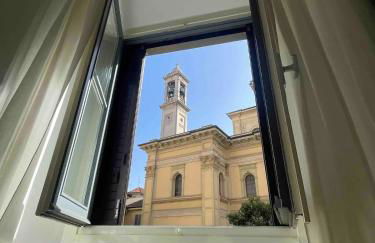
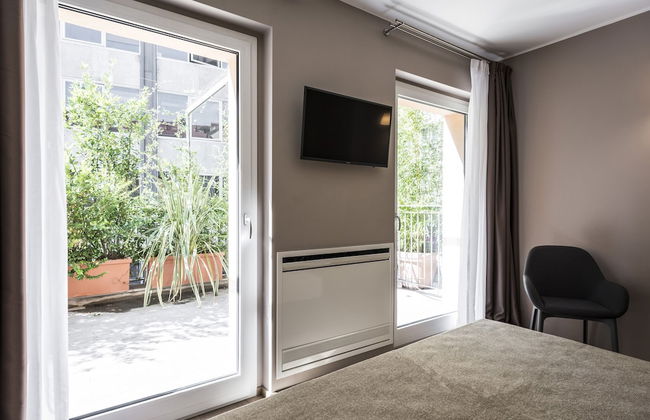
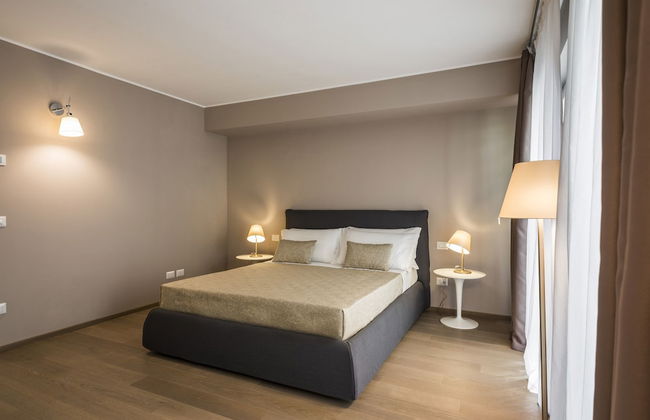
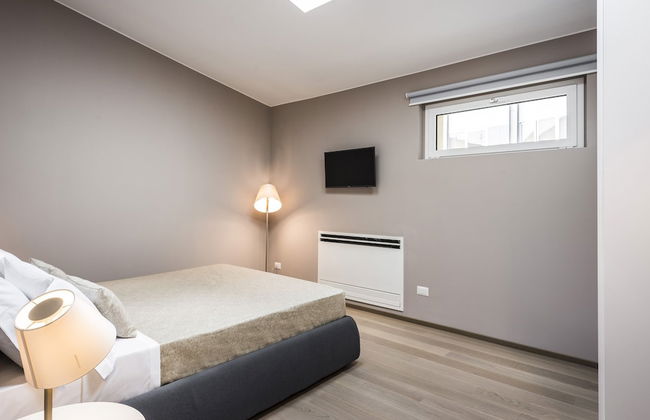
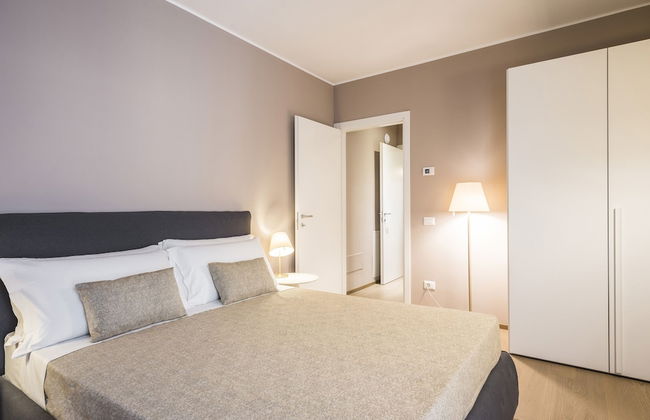
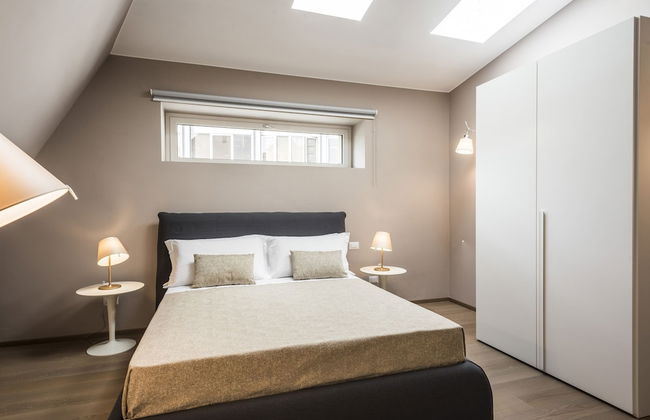
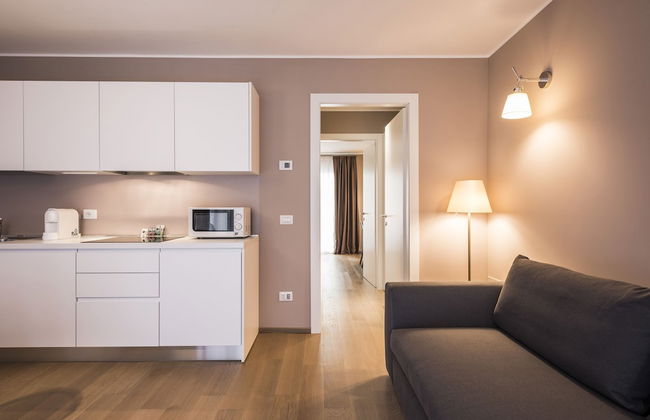
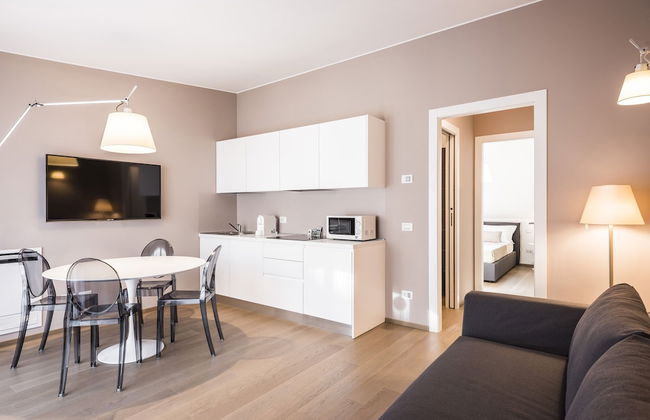
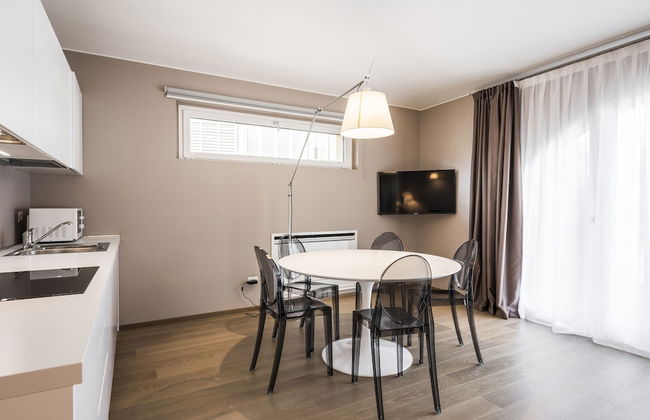
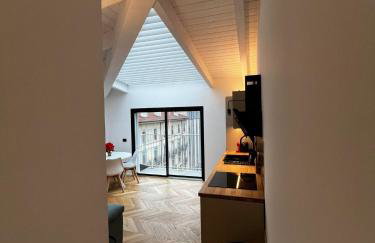
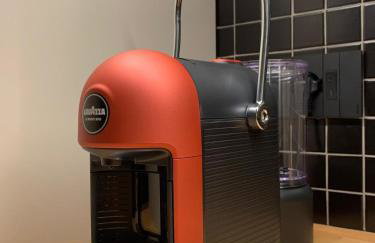
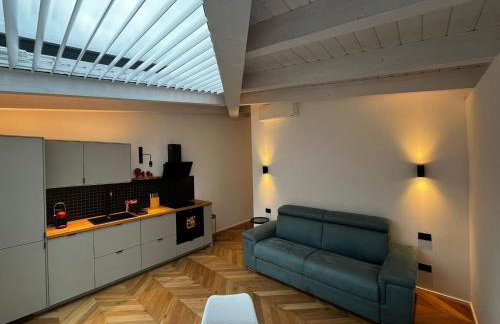
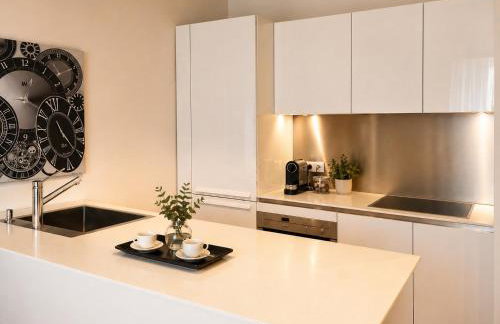
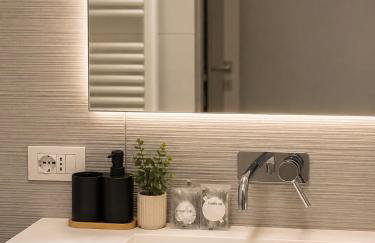
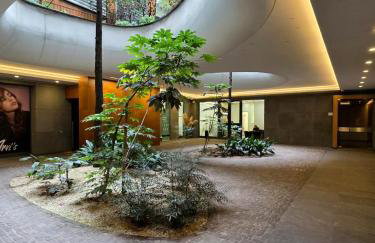
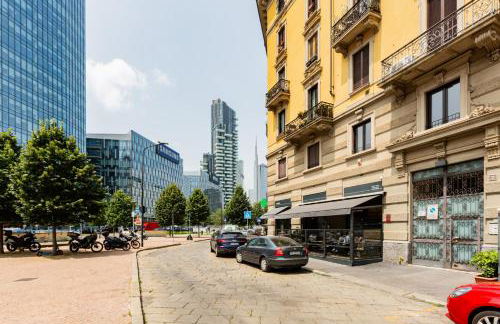
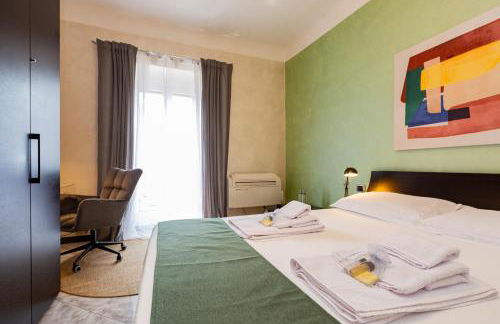
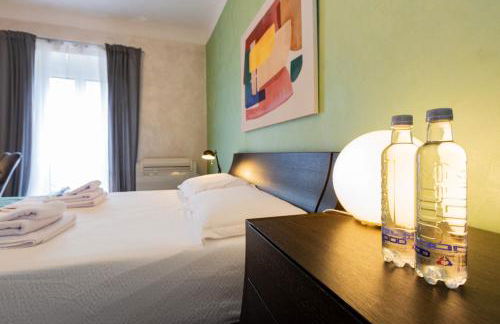
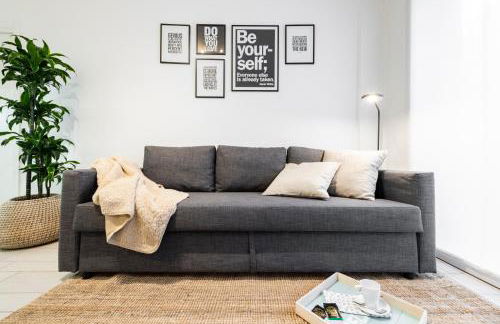
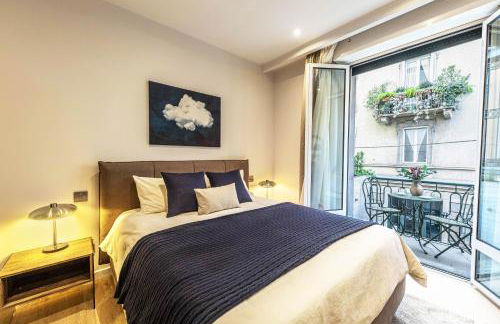
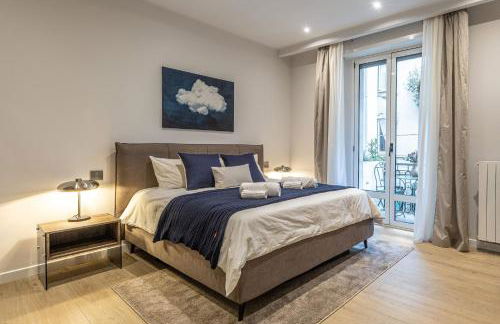
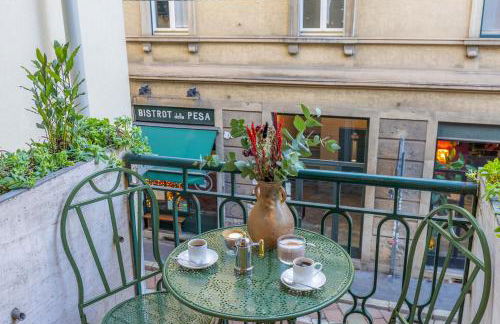
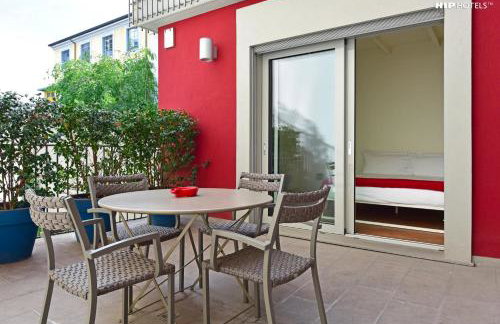
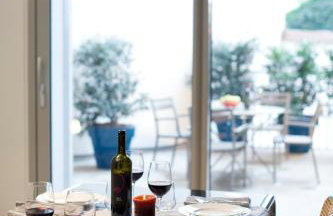
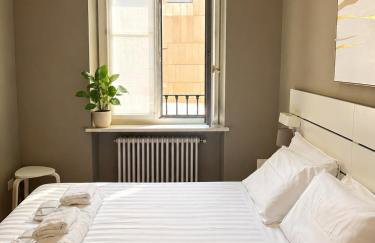
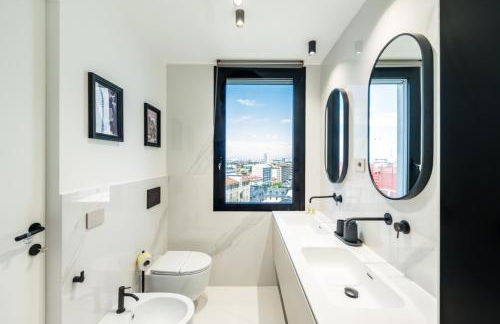
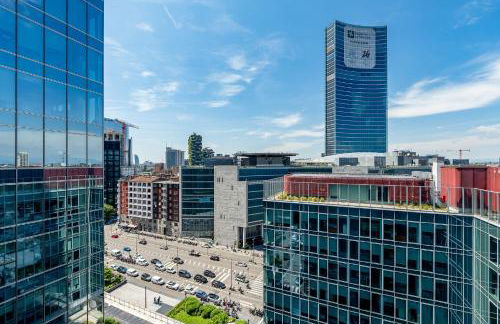
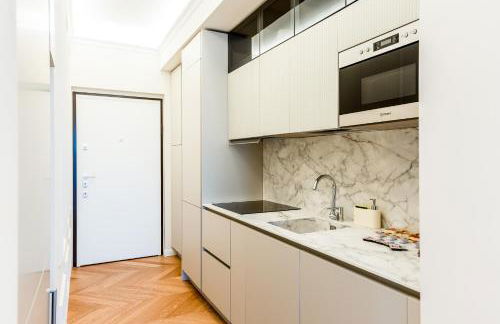
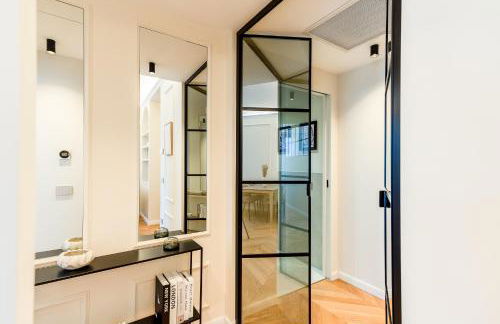
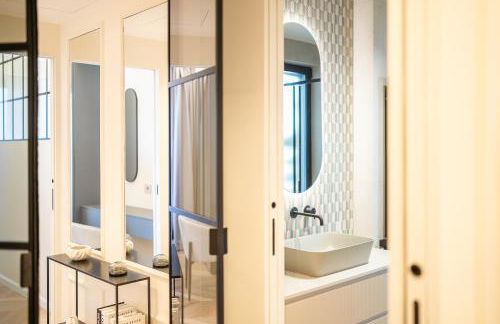
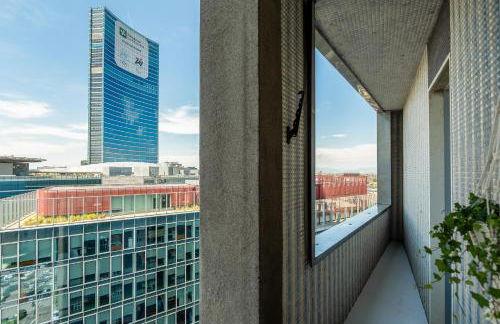
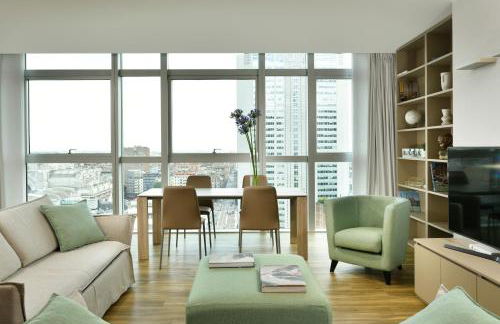
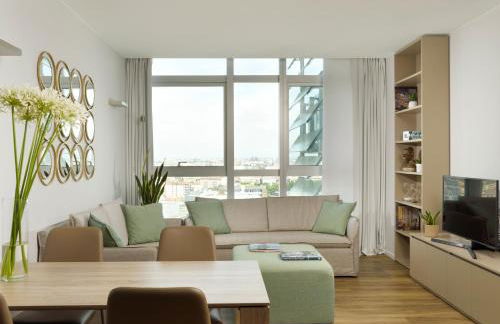
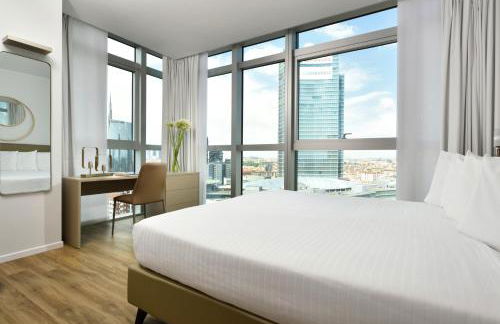
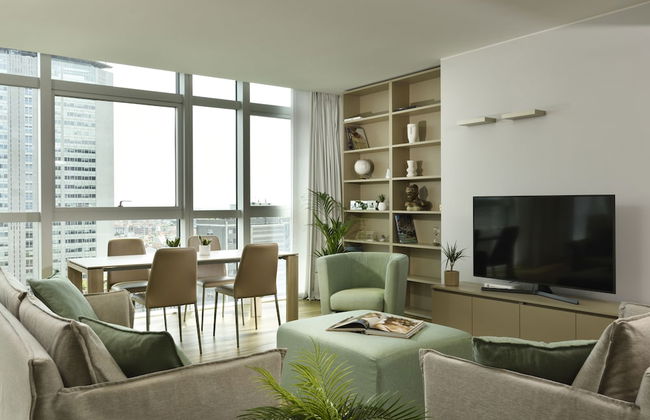
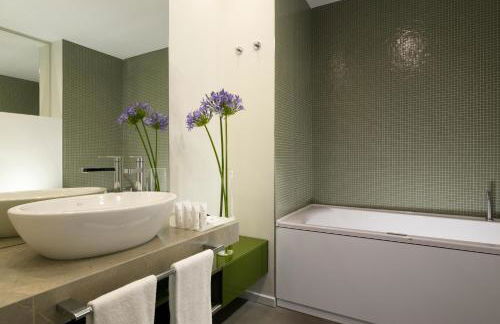
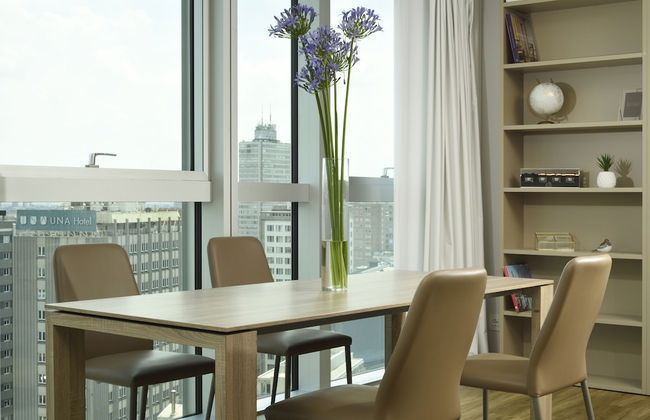
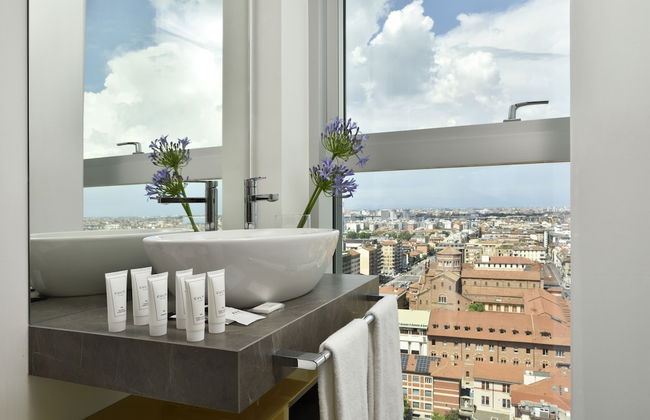
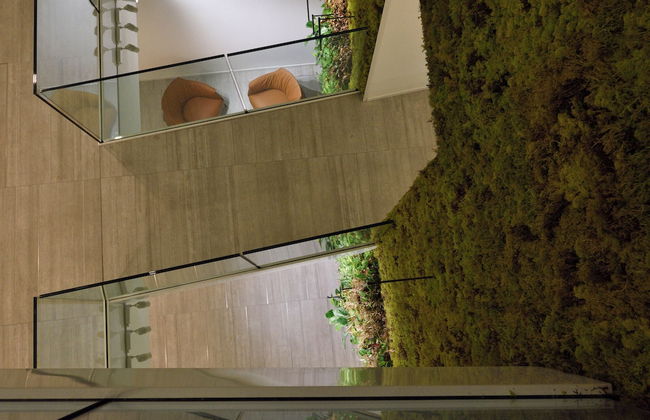
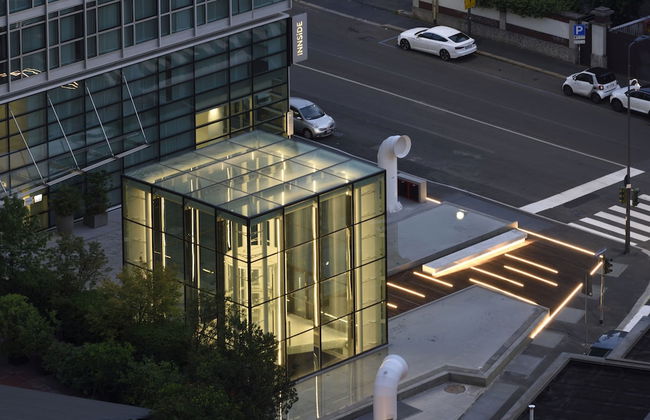
Torre Galfa Milano Luxury Apartments | UNA Esperienze - Foto 4
Torre Galfa Milano Luxury Apartments | UNA Esperienze - Foto 5
Torre Galfa Milano Luxury Apartments | UNA Esperienze - Foto 6
Torre Galfa Milano Luxury Apartments | UNA Esperienze - Foto 7
Torre Galfa Milano Luxury Apartments | UNA Esperienze - Foto 8
Torre Galfa Milano Luxury Apartments | UNA Esperienze - Foto 9
Torre Galfa Milano Luxury Apartments | UNA Esperienze - Foto 10
Torre Galfa Milano Luxury Apartments | UNA Esperienze - Foto 11
Torre Galfa Milano Luxury Apartments | UNA Esperienze - Foto 12
Torre Galfa Milano Luxury Apartments | UNA Esperienze - Foto 13
Torre Galfa Milano Luxury Apartments | UNA Esperienze - Foto 14
Torre Galfa Milano Luxury Apartments | UNA Esperienze - Foto 15
Torre Galfa Milano Luxury Apartments | UNA Esperienze - Foto 16
Torre Galfa Milano Luxury Apartments | UNA Esperienze - Foto 17
Torre Galfa Milano Luxury Apartments | UNA Esperienze - Foto 18
Torre Galfa Milano Luxury Apartments | UNA Esperienze - Foto 19
Torre Galfa Milano Luxury Apartments | UNA Esperienze - Foto 20
Torre Galfa Milano Luxury Apartments | UNA Esperienze - Foto 21
Torre Galfa Milano Luxury Apartments | UNA Esperienze - Foto 22
Torre Galfa Milano Luxury Apartments | UNA Esperienze - Foto 23
Torre Galfa Milano Luxury Apartments | UNA Esperienze - Foto 24
Torre Galfa Milano Luxury Apartments | UNA Esperienze - Foto 25
Torre Galfa Milano Luxury Apartments | UNA Esperienze - Foto 26
Torre Galfa Milano Luxury Apartments | UNA Esperienze - Foto 27
Torre Galfa Milano Luxury Apartments | UNA Esperienze - Foto 28
Torre Galfa Milano Luxury Apartments | UNA Esperienze - Foto 29
Torre Galfa Milano Luxury Apartments | UNA Esperienze - Foto 30
Torre Galfa Milano Luxury Apartments | UNA Esperienze - Foto 31
Torre Galfa Milano Luxury Apartments | UNA Esperienze - Foto 32
Torre Galfa Milano Luxury Apartments | UNA Esperienze - Foto 33
Torre Galfa Milano Luxury Apartments | UNA Esperienze - Foto 34
Torre Galfa Milano Luxury Apartments | UNA Esperienze - Foto 35
Torre Galfa Milano Luxury Apartments | UNA Esperienze - Foto 36
Torre Galfa Milano Luxury Apartments | UNA Esperienze - Foto 37
Torre Galfa Milano Luxury Apartments | UNA Esperienze - Foto 38
Torre Galfa Milano Luxury Apartments | UNA Esperienze - Foto 39
Torre Galfa Milano Luxury Apartments | UNA Esperienze - Foto 40
Torre Galfa Milano Luxury Apartments | UNA Esperienze - Foto 41
Torre Galfa Milano Luxury Apartments | UNA Esperienze - Foto 42
Torre Galfa Milano Luxury Apartments | UNA Esperienze - Foto 43
Torre Galfa Milano Luxury Apartments | UNA Esperienze - Foto 44
Torre Galfa Milano Luxury Apartments | UNA Esperienze - Foto 45
Torre Galfa Milano Luxury Apartments | UNA Esperienze - Foto 46
Torre Galfa Milano Luxury Apartments | UNA Esperienze - Foto 47
Torre Galfa Milano Luxury Apartments | UNA Esperienze - Foto 48
Torre Galfa Milano Luxury Apartments | UNA Esperienze - Foto 49
Torre Galfa Milano Luxury Apartments | UNA Esperienze - Foto 50
Torre Galfa Milano Luxury Apartments | UNA Esperienze - Foto 51
Torre Galfa Milano Luxury Apartments | UNA Esperienze - Foto 52
Torre Galfa Milano Luxury Apartments | UNA Esperienze - Foto 53
Torre Galfa Milano Luxury Apartments | UNA Esperienze - Foto 54
Torre Galfa Milano Luxury Apartments | UNA Esperienze - Foto 55

Torre Galfa Milano Luxury Apartments | UNA Esperienze

Milão - Porta Garibaldi-Porta Nuova - 1.9 km do centro

  • 147 M2
  • 3 quartos
  • 8 pessoas
  • Ar-condicionado
  • Aquecimento
  • Elevador
  • Jardim
  • Tv
  • Máquina de lavar roupa
  • Toalhas
  • Lençóis
9.4Excepcional | 377 avaliações
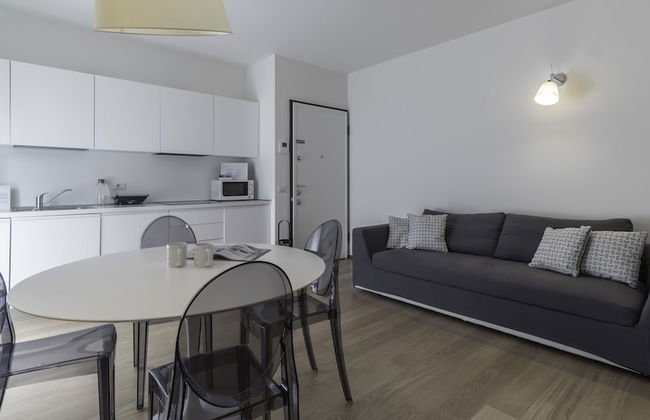
Corso Como - New Building Apartment - Foto 1
Corso Como - New Building Apartment - Foto 2
Corso Como - New Building Apartment - Foto 3
Corso Como - New Building Apartment - Foto 4
Corso Como - New Building Apartment - Foto 5
Corso Como - New Building Apartment - Foto 6
Corso Como - New Building Apartment - Foto 7
Corso Como - New Building Apartment - Foto 8
Corso Como - New Building Apartment - Foto 9
Corso Como - New Building Apartment - Foto 10
Corso Como - New Building Apartment - Foto 11
Corso Como - New Building Apartment - Foto 12
Corso Como - New Building Apartment - Foto 13
Corso Como - New Building Apartment - Foto 14
Corso Como - New Building Apartment - Foto 15
Corso Como - New Building Apartment - Foto 16
Corso Como - New Building Apartment - Foto 17
Corso Como - New Building Apartment - Foto 18
Corso Como - New Building Apartment - Foto 19
Corso Como - New Building Apartment - Foto 20
Corso Como - New Building Apartment - Foto 21
Corso Como - New Building Apartment - Foto 22
Corso Como - New Building Apartment - Foto 23
Corso Como - New Building Apartment - Foto 24
Corso Como - New Building Apartment - Foto 25
Corso Como - New Building Apartment - Foto 26
Corso Como - New Building Apartment - Foto 27
Corso Como - New Building Apartment - Foto 28
Corso Como - New Building Apartment - Foto 29
Corso Como - New Building Apartment - Foto 30
Corso Como - New Building Apartment - Foto 31
Corso Como - New Building Apartment - Foto 32
Corso Como - New Building Apartment - Foto 33
Corso Como - New Building Apartment - Foto 34
Corso Como - New Building Apartment - Foto 35
Corso Como - New Building Apartment - Foto 36

Corso Como - New Building Apartment

Milão - Porta Garibaldi-Porta Nuova - 1.2 km do centro

  • 50 M2
  • 1 quarto
  • 2 pessoas
  • Ar-condicionado
  • Aquecimento
  • Terraço
  • Piscina
  • Estacionamento
  • Elevador
9.4Excepcional | 56 avaliações
Le Suite di Palazzo Segreti - Foto 1
Le Suite di Palazzo Segreti - Foto 2
Le Suite di Palazzo Segreti - Foto 3
Le Suite di Palazzo Segreti - Foto 4
Le Suite di Palazzo Segreti - Foto 5
Le Suite di Palazzo Segreti - Foto 6
Le Suite di Palazzo Segreti - Foto 7
Le Suite di Palazzo Segreti - Foto 8
Le Suite di Palazzo Segreti - Foto 9
Le Suite di Palazzo Segreti - Foto 10
Le Suite di Palazzo Segreti - Foto 11
Le Suite di Palazzo Segreti - Foto 12
Le Suite di Palazzo Segreti - Foto 13
Le Suite di Palazzo Segreti - Foto 14
Le Suite di Palazzo Segreti - Foto 15
Le Suite di Palazzo Segreti - Foto 16
Le Suite di Palazzo Segreti - Foto 17
Le Suite di Palazzo Segreti - Foto 18
Le Suite di Palazzo Segreti - Foto 19
Le Suite di Palazzo Segreti - Foto 20
Le Suite di Palazzo Segreti - Foto 21
Le Suite di Palazzo Segreti - Foto 22
Le Suite di Palazzo Segreti - Foto 23
Le Suite di Palazzo Segreti - Foto 24
Le Suite di Palazzo Segreti - Foto 25
Le Suite di Palazzo Segreti - Foto 26
Le Suite di Palazzo Segreti - Foto 27
Le Suite di Palazzo Segreti - Foto 28
Le Suite di Palazzo Segreti - Foto 29
Le Suite di Palazzo Segreti - Foto 30
Le Suite di Palazzo Segreti - Foto 31
Le Suite di Palazzo Segreti - Foto 32
Le Suite di Palazzo Segreti - Foto 33
Le Suite di Palazzo Segreti - Foto 34
Le Suite di Palazzo Segreti - Foto 35
Le Suite di Palazzo Segreti - Foto 36
Le Suite di Palazzo Segreti - Foto 37
Le Suite di Palazzo Segreti - Foto 38
Le Suite di Palazzo Segreti - Foto 39
Le Suite di Palazzo Segreti - Foto 40
Le Suite di Palazzo Segreti - Foto 41
Le Suite di Palazzo Segreti - Foto 42
Le Suite di Palazzo Segreti - Foto 43
Le Suite di Palazzo Segreti - Foto 44
Le Suite di Palazzo Segreti - Foto 45
Le Suite di Palazzo Segreti - Foto 46
Le Suite di Palazzo Segreti - Foto 47
Le Suite di Palazzo Segreti - Foto 48
Le Suite di Palazzo Segreti - Foto 49
Le Suite di Palazzo Segreti - Foto 50
Le Suite di Palazzo Segreti - Foto 51
Le Suite di Palazzo Segreti - Foto 52
Le Suite di Palazzo Segreti - Foto 53
Le Suite di Palazzo Segreti - Foto 54
Le Suite di Palazzo Segreti - Foto 55
Le Suite di Palazzo Segreti - Foto 56
Le Suite di Palazzo Segreti - Foto 57
Le Suite di Palazzo Segreti - Foto 58
Le Suite di Palazzo Segreti - Foto 59
Le Suite di Palazzo Segreti - Foto 60
Le Suite di Palazzo Segreti - Foto 61
Le Suite di Palazzo Segreti - Foto 62
Le Suite di Palazzo Segreti - Foto 63
Le Suite di Palazzo Segreti - Foto 64
Le Suite di Palazzo Segreti - Foto 65
Le Suite di Palazzo Segreti - Foto 66
Le Suite di Palazzo Segreti - Foto 67
Le Suite di Palazzo Segreti - Foto 68
Le Suite di Palazzo Segreti - Foto 69
Le Suite di Palazzo Segreti - Foto 70
Le Suite di Palazzo Segreti - Foto 71
Le Suite di Palazzo Segreti - Foto 72
Le Suite di Palazzo Segreti - Foto 73

Le Suite di Palazzo Segreti

Milão - Porta Garibaldi-Porta Nuova - 1.3 km do centro

  • 120 M2
  • 5 pessoas
  • Ar-condicionado
  • Aquecimento
  • Terraço
  • Elevador
  • Varanda
  • Jardim
  • Tv
  • Toalhas
8.8Muito bom | 24 avaliações
Gae Aulenti Luxury Experience - Foto 1
Gae Aulenti Luxury Experience - Foto 2
Gae Aulenti Luxury Experience - Foto 3
Gae Aulenti Luxury Experience - Foto 4
Gae Aulenti Luxury Experience - Foto 5
Gae Aulenti Luxury Experience - Foto 6
Gae Aulenti Luxury Experience - Foto 7
Gae Aulenti Luxury Experience - Foto 8
Gae Aulenti Luxury Experience - Foto 9
Gae Aulenti Luxury Experience - Foto 10
Gae Aulenti Luxury Experience - Foto 11
Gae Aulenti Luxury Experience - Foto 12
Gae Aulenti Luxury Experience - Foto 13
Gae Aulenti Luxury Experience - Foto 14
Gae Aulenti Luxury Experience - Foto 15
Gae Aulenti Luxury Experience - Foto 16
Gae Aulenti Luxury Experience - Foto 17
Gae Aulenti Luxury Experience - Foto 18
Gae Aulenti Luxury Experience - Foto 19
Gae Aulenti Luxury Experience - Foto 20
Gae Aulenti Luxury Experience - Foto 21
Gae Aulenti Luxury Experience - Foto 22
Gae Aulenti Luxury Experience - Foto 23
Gae Aulenti Luxury Experience - Foto 24
Gae Aulenti Luxury Experience - Foto 25
Gae Aulenti Luxury Experience - Foto 26
Gae Aulenti Luxury Experience - Foto 27
Gae Aulenti Luxury Experience - Foto 28
Gae Aulenti Luxury Experience - Foto 29

Gae Aulenti Luxury Experience

Milão - Porta Garibaldi-Porta Nuova - 1.2 km do centro

  • 120 M2
  • 3 quartos
  • 6 pessoas
  • Ar-condicionado
  • Aquecimento
  • Terraço
  • Elevador
9.4Excepcional | 15 avaliações
MARCO POLO 9 by Serendipity - Foto 1
MARCO POLO 9 by Serendipity - Foto 2
MARCO POLO 9 by Serendipity - Foto 3
MARCO POLO 9 by Serendipity - Foto 4
MARCO POLO 9 by Serendipity - Foto 5
MARCO POLO 9 by Serendipity - Foto 6
MARCO POLO 9 by Serendipity - Foto 7
MARCO POLO 9 by Serendipity - Foto 8
MARCO POLO 9 by Serendipity - Foto 9
MARCO POLO 9 by Serendipity - Foto 10
MARCO POLO 9 by Serendipity - Foto 11
MARCO POLO 9 by Serendipity - Foto 12
MARCO POLO 9 by Serendipity - Foto 13
MARCO POLO 9 by Serendipity - Foto 14
MARCO POLO 9 by Serendipity - Foto 15
MARCO POLO 9 by Serendipity - Foto 16

MARCO POLO 9 by Serendipity

Milão - Porta Garibaldi-Porta Nuova - 1.2 km do centro

  • 75 M2
  • 1 quarto
  • 6 pessoas
  • Ar-condicionado
  • Aquecimento
  • Elevador
9.7Excepcional | 24 avaliações
Richard's Apartments - Garibaldi - Foto 1
Richard's Apartments - Garibaldi - Foto 2
Richard's Apartments - Garibaldi - Foto 3
Richard's Apartments - Garibaldi - Foto 4
Richard's Apartments - Garibaldi - Foto 5
Richard's Apartments - Garibaldi - Foto 6
Richard's Apartments - Garibaldi - Foto 7
Richard's Apartments - Garibaldi - Foto 8
Richard's Apartments - Garibaldi - Foto 9
Richard's Apartments - Garibaldi - Foto 10
Richard's Apartments - Garibaldi - Foto 11
Richard's Apartments - Garibaldi - Foto 12
Richard's Apartments - Garibaldi - Foto 13
Richard's Apartments - Garibaldi - Foto 14
Richard's Apartments - Garibaldi - Foto 15
Richard's Apartments - Garibaldi - Foto 16
Richard's Apartments - Garibaldi - Foto 17
Richard's Apartments - Garibaldi - Foto 18
Richard's Apartments - Garibaldi - Foto 19
Richard's Apartments - Garibaldi - Foto 20
Richard's Apartments - Garibaldi - Foto 21
Richard's Apartments - Garibaldi - Foto 22
Richard's Apartments - Garibaldi - Foto 23
Richard's Apartments - Garibaldi - Foto 24
Richard's Apartments - Garibaldi - Foto 25
Richard's Apartments - Garibaldi - Foto 26
Richard's Apartments - Garibaldi - Foto 27
Richard's Apartments - Garibaldi - Foto 28
Richard's Apartments - Garibaldi - Foto 29
Richard's Apartments - Garibaldi - Foto 30
Richard's Apartments - Garibaldi - Foto 31
Richard's Apartments - Garibaldi - Foto 32

Richard's Apartments - Garibaldi

Milão - Porta Garibaldi-Porta Nuova - 1 km do centro

  • 45 M2
  • 1 quarto
  • 4 pessoas
  • Ar-condicionado
  • Aquecimento
  • Elevador
9.7Excepcional | 62 avaliações
VolliHome - Foto 1
VolliHome - Foto 2
VolliHome - Foto 3
VolliHome - Foto 4
VolliHome - Foto 5
VolliHome - Foto 6
VolliHome - Foto 7
VolliHome - Foto 8
VolliHome - Foto 9
VolliHome - Foto 10
VolliHome - Foto 11
VolliHome - Foto 12
VolliHome - Foto 13
VolliHome - Foto 14
VolliHome - Foto 15
VolliHome - Foto 16
VolliHome - Foto 17
VolliHome - Foto 18
VolliHome - Foto 19
VolliHome - Foto 20
VolliHome - Foto 21
VolliHome - Foto 22
VolliHome - Foto 23
VolliHome - Foto 24
VolliHome - Foto 25
VolliHome - Foto 26
VolliHome - Foto 27
VolliHome - Foto 28
VolliHome - Foto 29
VolliHome - Foto 30
VolliHome - Foto 31
VolliHome - Foto 32
VolliHome - Foto 33

VolliHome

Milão - Porta Garibaldi-Porta Nuova - 1.3 km do centro

  • 76 M2
  • 1 quarto
  • 4 pessoas
  • Ar-condicionado
  • Aquecimento
  • Estacionamento
  • Elevador
9.6Excepcional | 50 avaliações
notaMi - Living Isola - Foto 1
notaMi - Living Isola - Foto 2
notaMi - Living Isola - Foto 3
notaMi - Living Isola - Foto 4
notaMi - Living Isola - Foto 5
notaMi - Living Isola - Foto 6
notaMi - Living Isola - Foto 7
notaMi - Living Isola - Foto 8
notaMi - Living Isola - Foto 9
notaMi - Living Isola - Foto 10
notaMi - Living Isola - Foto 11
notaMi - Living Isola - Foto 12
notaMi - Living Isola - Foto 13
notaMi - Living Isola - Foto 14
notaMi - Living Isola - Foto 15
notaMi - Living Isola - Foto 16
notaMi - Living Isola - Foto 17
notaMi - Living Isola - Foto 18
notaMi - Living Isola - Foto 19
notaMi - Living Isola - Foto 20
notaMi - Living Isola - Foto 21
notaMi - Living Isola - Foto 22
notaMi - Living Isola - Foto 23
notaMi - Living Isola - Foto 24
notaMi - Living Isola - Foto 25
notaMi - Living Isola - Foto 26
notaMi - Living Isola - Foto 27
notaMi - Living Isola - Foto 28
notaMi - Living Isola - Foto 29
notaMi - Living Isola - Foto 30
notaMi - Living Isola - Foto 31
notaMi - Living Isola - Foto 32
notaMi - Living Isola - Foto 33
notaMi - Living Isola - Foto 34
notaMi - Living Isola - Foto 35
notaMi - Living Isola - Foto 36
notaMi - Living Isola - Foto 37
notaMi - Living Isola - Foto 38
notaMi - Living Isola - Foto 39
notaMi - Living Isola - Foto 40
notaMi - Living Isola - Foto 41
notaMi - Living Isola - Foto 42
notaMi - Living Isola - Foto 43
notaMi - Living Isola - Foto 44
notaMi - Living Isola - Foto 45
notaMi - Living Isola - Foto 46
notaMi - Living Isola - Foto 47
notaMi - Living Isola - Foto 48
notaMi - Living Isola - Foto 49
notaMi - Living Isola - Foto 50
notaMi - Living Isola - Foto 51
notaMi - Living Isola - Foto 52
notaMi - Living Isola - Foto 53
notaMi - Living Isola - Foto 54
notaMi - Living Isola - Foto 55
notaMi - Living Isola - Foto 56
notaMi - Living Isola - Foto 57
notaMi - Living Isola - Foto 58
notaMi - Living Isola - Foto 59
notaMi - Living Isola - Foto 60
notaMi - Living Isola - Foto 61
notaMi - Living Isola - Foto 62
notaMi - Living Isola - Foto 63
notaMi - Living Isola - Foto 64
notaMi - Living Isola - Foto 65
notaMi - Living Isola - Foto 66
notaMi - Living Isola - Foto 67
notaMi - Living Isola - Foto 68
notaMi - Living Isola - Foto 69
notaMi - Living Isola - Foto 70
notaMi - Living Isola - Foto 71
notaMi - Living Isola - Foto 72
notaMi - Living Isola - Foto 73
notaMi - Living Isola - Foto 74
notaMi - Living Isola - Foto 75
notaMi - Living Isola - Foto 76
notaMi - Living Isola - Foto 77
notaMi - Living Isola - Foto 78
notaMi - Living Isola - Foto 79
notaMi - Living Isola - Foto 80
notaMi - Living Isola - Foto 81
notaMi - Living Isola - Foto 82
notaMi - Living Isola - Foto 83
notaMi - Living Isola - Foto 84
notaMi - Living Isola - Foto 85
notaMi - Living Isola - Foto 86
notaMi - Living Isola - Foto 87
notaMi - Living Isola - Foto 88
notaMi - Living Isola - Foto 89
notaMi - Living Isola - Foto 90
notaMi - Living Isola - Foto 91
notaMi - Living Isola - Foto 92
notaMi - Living Isola - Foto 93
notaMi - Living Isola - Foto 94
notaMi - Living Isola - Foto 95
notaMi - Living Isola - Foto 96
notaMi - Living Isola - Foto 97
notaMi - Living Isola - Foto 98
notaMi - Living Isola - Foto 99
notaMi - Living Isola - Foto 100
notaMi - Living Isola - Foto 101
notaMi - Living Isola - Foto 102
notaMi - Living Isola - Foto 103
notaMi - Living Isola - Foto 104
notaMi - Living Isola - Foto 105
notaMi - Living Isola - Foto 106
notaMi - Living Isola - Foto 107
notaMi - Living Isola - Foto 108
notaMi - Living Isola - Foto 109

notaMi - Living Isola

Milão - Porta Garibaldi-Porta Nuova - 1.7 km do centro

  • 105 M2
  • 2 quartos
  • 4 pessoas
  • Ar-condicionado
  • Aquecimento
  • Elevador
  • Tv
  • Máquina de lavar roupa
  • Toalhas
8.6Muito bom | 19 avaliações
Italianway Collection - Corso Como 11 - Foto 1
Italianway Collection - Corso Como 11 - Foto 2
Italianway Collection - Corso Como 11 - Foto 3
Italianway Collection - Corso Como 11 - Foto 4
Italianway Collection - Corso Como 11 - Foto 5
Italianway Collection - Corso Como 11 - Foto 6
Italianway Collection - Corso Como 11 - Foto 7
Italianway Collection - Corso Como 11 - Foto 8
Italianway Collection - Corso Como 11 - Foto 9
Italianway Collection - Corso Como 11 - Foto 10
Italianway Collection - Corso Como 11 - Foto 11
Italianway Collection - Corso Como 11 - Foto 12
Italianway Collection - Corso Como 11 - Foto 13
Italianway Collection - Corso Como 11 - Foto 14
Italianway Collection - Corso Como 11 - Foto 15
Italianway Collection - Corso Como 11 - Foto 16
Italianway Collection - Corso Como 11 - Foto 17
Italianway Collection - Corso Como 11 - Foto 18
Italianway Collection - Corso Como 11 - Foto 19
Italianway Collection - Corso Como 11 - Foto 20
Italianway Collection - Corso Como 11 - Foto 21
Italianway Collection - Corso Como 11 - Foto 22
Italianway Collection - Corso Como 11 - Foto 23
Italianway Collection - Corso Como 11 - Foto 24
Italianway Collection - Corso Como 11 - Foto 25
Italianway Collection - Corso Como 11 - Foto 26
Italianway Collection - Corso Como 11 - Foto 27
Italianway Collection - Corso Como 11 - Foto 28
Italianway Collection - Corso Como 11 - Foto 29
Italianway Collection - Corso Como 11 - Foto 30
Italianway Collection - Corso Como 11 - Foto 31
Italianway Collection - Corso Como 11 - Foto 32
Italianway Collection - Corso Como 11 - Foto 33
Italianway Collection - Corso Como 11 - Foto 34
Italianway Collection - Corso Como 11 - Foto 35
Italianway Collection - Corso Como 11 - Foto 36
Italianway Collection - Corso Como 11 - Foto 37
Italianway Collection - Corso Como 11 - Foto 38
Italianway Collection - Corso Como 11 - Foto 39
Italianway Collection - Corso Como 11 - Foto 40
Italianway Collection - Corso Como 11 - Foto 41
Italianway Collection - Corso Como 11 - Foto 42
Italianway Collection - Corso Como 11 - Foto 43
Italianway Collection - Corso Como 11 - Foto 44
Italianway Collection - Corso Como 11 - Foto 45
Italianway Collection - Corso Como 11 - Foto 46
Italianway Collection - Corso Como 11 - Foto 47
Italianway Collection - Corso Como 11 - Foto 48
Italianway Collection - Corso Como 11 - Foto 49
Italianway Collection - Corso Como 11 - Foto 50
Italianway Collection - Corso Como 11 - Foto 51
Italianway Collection - Corso Como 11 - Foto 52
Italianway Collection - Corso Como 11 - Foto 53
Italianway Collection - Corso Como 11 - Foto 54
Italianway Collection - Corso Como 11 - Foto 55
Italianway Collection - Corso Como 11 - Foto 56
Italianway Collection - Corso Como 11 - Foto 57
Italianway Collection - Corso Como 11 - Foto 58
Italianway Collection - Corso Como 11 - Foto 59
Italianway Collection - Corso Como 11 - Foto 60
Italianway Collection - Corso Como 11 - Foto 61
Italianway Collection - Corso Como 11 - Foto 62
Italianway Collection - Corso Como 11 - Foto 63
Italianway Collection - Corso Como 11 - Foto 64
Italianway Collection - Corso Como 11 - Foto 65
Italianway Collection - Corso Como 11 - Foto 66
Italianway Collection - Corso Como 11 - Foto 67
Italianway Collection - Corso Como 11 - Foto 68
Italianway Collection - Corso Como 11 - Foto 69
Italianway Collection - Corso Como 11 - Foto 70
Italianway Collection - Corso Como 11 - Foto 71
Italianway Collection - Corso Como 11 - Foto 72
Italianway Collection - Corso Como 11 - Foto 73
Italianway Collection - Corso Como 11 - Foto 74
Italianway Collection - Corso Como 11 - Foto 75
Italianway Collection - Corso Como 11 - Foto 76
Italianway Collection - Corso Como 11 - Foto 77
Italianway Collection - Corso Como 11 - Foto 78
Italianway Collection - Corso Como 11 - Foto 79
Italianway Collection - Corso Como 11 - Foto 80
Italianway Collection - Corso Como 11 - Foto 81
Italianway Collection - Corso Como 11 - Foto 82
Italianway Collection - Corso Como 11 - Foto 83
Italianway Collection - Corso Como 11 - Foto 84
Italianway Collection - Corso Como 11 - Foto 85
Italianway Collection - Corso Como 11 - Foto 86
Italianway Collection - Corso Como 11 - Foto 87
Italianway Collection - Corso Como 11 - Foto 88
Italianway Collection - Corso Como 11 - Foto 89
Italianway Collection - Corso Como 11 - Foto 90
Italianway Collection - Corso Como 11 - Foto 91
Italianway Collection - Corso Como 11 - Foto 92
Italianway Collection - Corso Como 11 - Foto 93
Italianway Collection - Corso Como 11 - Foto 94
Italianway Collection - Corso Como 11 - Foto 95
Italianway Collection - Corso Como 11 - Foto 96
Italianway Collection - Corso Como 11 - Foto 97
Italianway Collection - Corso Como 11 - Foto 98
Italianway Collection - Corso Como 11 - Foto 99
Italianway Collection - Corso Como 11 - Foto 100
Italianway Collection - Corso Como 11 - Foto 101
Italianway Collection - Corso Como 11 - Foto 102
Italianway Collection - Corso Como 11 - Foto 103
Italianway Collection - Corso Como 11 - Foto 104
Italianway Collection - Corso Como 11 - Foto 105
Italianway Collection - Corso Como 11 - Foto 106
Italianway Collection - Corso Como 11 - Foto 107
Italianway Collection - Corso Como 11 - Foto 108
Italianway Collection - Corso Como 11 - Foto 109
Italianway Collection - Corso Como 11 - Foto 110
Italianway Collection - Corso Como 11 - Foto 111
Italianway Collection - Corso Como 11 - Foto 112
Italianway Collection - Corso Como 11 - Foto 113
Italianway Collection - Corso Como 11 - Foto 114
Italianway Collection - Corso Como 11 - Foto 115
Italianway Collection - Corso Como 11 - Foto 116
Italianway Collection - Corso Como 11 - Foto 117
Italianway Collection - Corso Como 11 - Foto 118
Italianway Collection - Corso Como 11 - Foto 119
Italianway Collection - Corso Como 11 - Foto 120
Italianway Collection - Corso Como 11 - Foto 121
Italianway Collection - Corso Como 11 - Foto 122
Italianway Collection - Corso Como 11 - Foto 123
Italianway Collection - Corso Como 11 - Foto 124
Italianway Collection - Corso Como 11 - Foto 125
Italianway Collection - Corso Como 11 - Foto 126
Italianway Collection - Corso Como 11 - Foto 127
Italianway Collection - Corso Como 11 - Foto 128
Italianway Collection - Corso Como 11 - Foto 129
Italianway Collection - Corso Como 11 - Foto 130
Italianway Collection - Corso Como 11 - Foto 131
Italianway Collection - Corso Como 11 - Foto 132
Italianway Collection - Corso Como 11 - Foto 133
Italianway Collection - Corso Como 11 - Foto 134
Italianway Collection - Corso Como 11 - Foto 135
Italianway Collection - Corso Como 11 - Foto 136
Italianway Collection - Corso Como 11 - Foto 137
Italianway Collection - Corso Como 11 - Foto 138
Italianway Collection - Corso Como 11 - Foto 139
Italianway Collection - Corso Como 11 - Foto 140
Italianway Collection - Corso Como 11 - Foto 141
Italianway Collection - Corso Como 11 - Foto 142
Italianway Collection - Corso Como 11 - Foto 143
Italianway Collection - Corso Como 11 - Foto 144
Italianway Collection - Corso Como 11 - Foto 145
Italianway Collection - Corso Como 11 - Foto 146
Italianway Collection - Corso Como 11 - Foto 147
Italianway Collection - Corso Como 11 - Foto 148
Italianway Collection - Corso Como 11 - Foto 149
Italianway Collection - Corso Como 11 - Foto 150
Italianway Collection - Corso Como 11 - Foto 151
Italianway Collection - Corso Como 11 - Foto 152
Italianway Collection - Corso Como 11 - Foto 153
Italianway Collection - Corso Como 11 - Foto 154
Italianway Collection - Corso Como 11 - Foto 155
Italianway Collection - Corso Como 11 - Foto 156
Italianway Collection - Corso Como 11 - Foto 157
Italianway Collection - Corso Como 11 - Foto 158
Italianway Collection - Corso Como 11 - Foto 159
Italianway Collection - Corso Como 11 - Foto 160

Italianway Collection - Corso Como 11

Milão - Porta Garibaldi-Porta Nuova - 1.1 km do centro

  • 5 M2
  • 2 quartos
  • 6 pessoas
  • Kitchenette
  • Ar-condicionado
  • Aquecimento
  • Terraço
  • Elevador
  • Tv
  • Máquina de lavar roupa
  • Toalhas
  • Lençóis

9.8Excepcional | 9 avaliações
Casa Milano Fara 1 - Ampio & Accogliente Bilocale - Foto 1
Casa Milano Fara 1 - Ampio & Accogliente Bilocale - Foto 2
Casa Milano Fara 1 - Ampio & Accogliente Bilocale - Foto 3
Casa Milano Fara 1 - Ampio & Accogliente Bilocale - Foto 4
Casa Milano Fara 1 - Ampio & Accogliente Bilocale - Foto 5
Casa Milano Fara 1 - Ampio & Accogliente Bilocale - Foto 6
Casa Milano Fara 1 - Ampio & Accogliente Bilocale - Foto 7
Casa Milano Fara 1 - Ampio & Accogliente Bilocale - Foto 8
Casa Milano Fara 1 - Ampio & Accogliente Bilocale - Foto 9
Casa Milano Fara 1 - Ampio & Accogliente Bilocale - Foto 10
Casa Milano Fara 1 - Ampio & Accogliente Bilocale - Foto 11
Casa Milano Fara 1 - Ampio & Accogliente Bilocale - Foto 12
Casa Milano Fara 1 - Ampio & Accogliente Bilocale - Foto 13
Casa Milano Fara 1 - Ampio & Accogliente Bilocale - Foto 14
Casa Milano Fara 1 - Ampio & Accogliente Bilocale - Foto 15
Casa Milano Fara 1 - Ampio & Accogliente Bilocale - Foto 16

Casa Milano Fara 1 - Ampio & Accogliente Bilocale

Milão - Porta Garibaldi-Porta Nuova - 1.5 km do centro

  • 48 M2
  • 1 quarto
  • 4 pessoas
  • Ar-condicionado
  • Aquecimento
  • Estacionamento
  • Elevador
9.3Excepcional | 58 avaliações
MYSWEETPLACE - Corso Como Apartments - Foto 1
MYSWEETPLACE - Corso Como Apartments - Foto 2
MYSWEETPLACE - Corso Como Apartments - Foto 3
MYSWEETPLACE - Corso Como Apartments - Foto 4
MYSWEETPLACE - Corso Como Apartments - Foto 5
MYSWEETPLACE - Corso Como Apartments - Foto 6
MYSWEETPLACE - Corso Como Apartments - Foto 7
MYSWEETPLACE - Corso Como Apartments - Foto 8
MYSWEETPLACE - Corso Como Apartments - Foto 9
MYSWEETPLACE - Corso Como Apartments - Foto 10
MYSWEETPLACE - Corso Como Apartments - Foto 11
MYSWEETPLACE - Corso Como Apartments - Foto 12
MYSWEETPLACE - Corso Como Apartments - Foto 13
MYSWEETPLACE - Corso Como Apartments - Foto 14
MYSWEETPLACE - Corso Como Apartments - Foto 15
MYSWEETPLACE - Corso Como Apartments - Foto 16
MYSWEETPLACE - Corso Como Apartments - Foto 17
MYSWEETPLACE - Corso Como Apartments - Foto 18
MYSWEETPLACE - Corso Como Apartments - Foto 19
MYSWEETPLACE - Corso Como Apartments - Foto 20
MYSWEETPLACE - Corso Como Apartments - Foto 21
MYSWEETPLACE - Corso Como Apartments - Foto 22
MYSWEETPLACE - Corso Como Apartments - Foto 23
MYSWEETPLACE - Corso Como Apartments - Foto 24
MYSWEETPLACE - Corso Como Apartments - Foto 25
MYSWEETPLACE - Corso Como Apartments - Foto 26
MYSWEETPLACE - Corso Como Apartments - Foto 27
MYSWEETPLACE - Corso Como Apartments - Foto 28
MYSWEETPLACE - Corso Como Apartments - Foto 29
MYSWEETPLACE - Corso Como Apartments - Foto 30
MYSWEETPLACE - Corso Como Apartments - Foto 31
MYSWEETPLACE - Corso Como Apartments - Foto 32
MYSWEETPLACE - Corso Como Apartments - Foto 33
MYSWEETPLACE - Corso Como Apartments - Foto 34
MYSWEETPLACE - Corso Como Apartments - Foto 35
MYSWEETPLACE - Corso Como Apartments - Foto 36
MYSWEETPLACE - Corso Como Apartments - Foto 37
MYSWEETPLACE - Corso Como Apartments - Foto 38
MYSWEETPLACE - Corso Como Apartments - Foto 39
MYSWEETPLACE - Corso Como Apartments - Foto 40
MYSWEETPLACE - Corso Como Apartments - Foto 41
MYSWEETPLACE - Corso Como Apartments - Foto 42
MYSWEETPLACE - Corso Como Apartments - Foto 43
MYSWEETPLACE - Corso Como Apartments - Foto 44
MYSWEETPLACE - Corso Como Apartments - Foto 45
MYSWEETPLACE - Corso Como Apartments - Foto 46
MYSWEETPLACE - Corso Como Apartments - Foto 47
MYSWEETPLACE - Corso Como Apartments - Foto 48
MYSWEETPLACE - Corso Como Apartments - Foto 49
MYSWEETPLACE - Corso Como Apartments - Foto 50
MYSWEETPLACE - Corso Como Apartments - Foto 51
MYSWEETPLACE - Corso Como Apartments - Foto 52
MYSWEETPLACE - Corso Como Apartments - Foto 53
MYSWEETPLACE - Corso Como Apartments - Foto 54
MYSWEETPLACE - Corso Como Apartments - Foto 55
MYSWEETPLACE - Corso Como Apartments - Foto 56
MYSWEETPLACE - Corso Como Apartments - Foto 57
MYSWEETPLACE - Corso Como Apartments - Foto 58
MYSWEETPLACE - Corso Como Apartments - Foto 59
MYSWEETPLACE - Corso Como Apartments - Foto 60
MYSWEETPLACE - Corso Como Apartments - Foto 61
MYSWEETPLACE - Corso Como Apartments - Foto 62
MYSWEETPLACE - Corso Como Apartments - Foto 63
MYSWEETPLACE - Corso Como Apartments - Foto 64
MYSWEETPLACE - Corso Como Apartments - Foto 65
MYSWEETPLACE - Corso Como Apartments - Foto 66
MYSWEETPLACE - Corso Como Apartments - Foto 67
MYSWEETPLACE - Corso Como Apartments - Foto 68
MYSWEETPLACE - Corso Como Apartments - Foto 69
MYSWEETPLACE - Corso Como Apartments - Foto 70
MYSWEETPLACE - Corso Como Apartments - Foto 71
MYSWEETPLACE - Corso Como Apartments - Foto 72
MYSWEETPLACE - Corso Como Apartments - Foto 73
MYSWEETPLACE - Corso Como Apartments - Foto 74
MYSWEETPLACE - Corso Como Apartments - Foto 75
MYSWEETPLACE - Corso Como Apartments - Foto 76
MYSWEETPLACE - Corso Como Apartments - Foto 77
MYSWEETPLACE - Corso Como Apartments - Foto 78
MYSWEETPLACE - Corso Como Apartments - Foto 79
MYSWEETPLACE - Corso Como Apartments - Foto 80

MYSWEETPLACE - Corso Como Apartments

Milão - Porta Garibaldi-Porta Nuova - 1.1 km do centro

  • 65 M2
  • 6 pessoas
  • Ar-condicionado
  • Terraço
  • Tv
  • Toalhas
8.6Muito bom | 40 avaliações
IconicVue Skyline Milano Porta Nuova - Foto 1
IconicVue Skyline Milano Porta Nuova - Foto 2
IconicVue Skyline Milano Porta Nuova - Foto 3
IconicVue Skyline Milano Porta Nuova - Foto 4
IconicVue Skyline Milano Porta Nuova - Foto 5
IconicVue Skyline Milano Porta Nuova - Foto 6
IconicVue Skyline Milano Porta Nuova - Foto 7
IconicVue Skyline Milano Porta Nuova - Foto 8
IconicVue Skyline Milano Porta Nuova - Foto 9
IconicVue Skyline Milano Porta Nuova - Foto 10
IconicVue Skyline Milano Porta Nuova - Foto 11
IconicVue Skyline Milano Porta Nuova - Foto 12
IconicVue Skyline Milano Porta Nuova - Foto 13
IconicVue Skyline Milano Porta Nuova - Foto 14
IconicVue Skyline Milano Porta Nuova - Foto 15
IconicVue Skyline Milano Porta Nuova - Foto 16
IconicVue Skyline Milano Porta Nuova - Foto 17
IconicVue Skyline Milano Porta Nuova - Foto 18
IconicVue Skyline Milano Porta Nuova - Foto 19
IconicVue Skyline Milano Porta Nuova - Foto 20
IconicVue Skyline Milano Porta Nuova - Foto 21
IconicVue Skyline Milano Porta Nuova - Foto 22
IconicVue Skyline Milano Porta Nuova - Foto 23
IconicVue Skyline Milano Porta Nuova - Foto 24
IconicVue Skyline Milano Porta Nuova - Foto 25
IconicVue Skyline Milano Porta Nuova - Foto 26

IconicVue Skyline Milano Porta Nuova

Milão - Porta Garibaldi-Porta Nuova - 1.6 km do centro

  • 55 M2
  • 1 quarto
  • 4 pessoas
  • Ar-condicionado
  • Estacionamento
9.7Excepcional | 13 avaliações
MONTE GRAPPA 16 by Serendipity - Foto 1
MONTE GRAPPA 16 by Serendipity - Foto 2
MONTE GRAPPA 16 by Serendipity - Foto 3
MONTE GRAPPA 16 by Serendipity - Foto 4
MONTE GRAPPA 16 by Serendipity - Foto 5
MONTE GRAPPA 16 by Serendipity - Foto 6
MONTE GRAPPA 16 by Serendipity - Foto 7
MONTE GRAPPA 16 by Serendipity - Foto 8
MONTE GRAPPA 16 by Serendipity - Foto 9
MONTE GRAPPA 16 by Serendipity - Foto 10
MONTE GRAPPA 16 by Serendipity - Foto 11
MONTE GRAPPA 16 by Serendipity - Foto 12
MONTE GRAPPA 16 by Serendipity - Foto 13
MONTE GRAPPA 16 by Serendipity - Foto 14
MONTE GRAPPA 16 by Serendipity - Foto 15
MONTE GRAPPA 16 by Serendipity - Foto 16
MONTE GRAPPA 16 by Serendipity - Foto 17
MONTE GRAPPA 16 by Serendipity - Foto 18
MONTE GRAPPA 16 by Serendipity - Foto 19
MONTE GRAPPA 16 by Serendipity - Foto 20
MONTE GRAPPA 16 by Serendipity - Foto 21
MONTE GRAPPA 16 by Serendipity - Foto 22

MONTE GRAPPA 16 by Serendipity

Milão - Porta Garibaldi-Porta Nuova - 1.1 km do centro

  • 75 M2
  • 1 quarto
  • 4 pessoas
  • Ar-condicionado
  • Aquecimento
  • Elevador
9.2Excepcional | 10 avaliações
ViVi2 Suite - Foto 1
ViVi2 Suite - Foto 2
ViVi2 Suite - Foto 3
ViVi2 Suite - Foto 4
ViVi2 Suite - Foto 5
ViVi2 Suite - Foto 6
ViVi2 Suite - Foto 7
ViVi2 Suite - Foto 8
ViVi2 Suite - Foto 9
ViVi2 Suite - Foto 10
ViVi2 Suite - Foto 11
ViVi2 Suite - Foto 12
ViVi2 Suite - Foto 13
ViVi2 Suite - Foto 14
ViVi2 Suite - Foto 15
ViVi2 Suite - Foto 16
ViVi2 Suite - Foto 17
ViVi2 Suite - Foto 18
ViVi2 Suite - Foto 19
ViVi2 Suite - Foto 20
ViVi2 Suite - Foto 21
ViVi2 Suite - Foto 22
ViVi2 Suite - Foto 23
ViVi2 Suite - Foto 24
ViVi2 Suite - Foto 25
ViVi2 Suite - Foto 26
ViVi2 Suite - Foto 27
ViVi2 Suite - Foto 28
ViVi2 Suite - Foto 29
ViVi2 Suite - Foto 30
ViVi2 Suite - Foto 31
ViVi2 Suite - Foto 32
ViVi2 Suite - Foto 33
ViVi2 Suite - Foto 34
ViVi2 Suite - Foto 35
ViVi2 Suite - Foto 36
ViVi2 Suite - Foto 37
ViVi2 Suite - Foto 38
ViVi2 Suite - Foto 39
ViVi2 Suite - Foto 40
ViVi2 Suite - Foto 41
ViVi2 Suite - Foto 42
ViVi2 Suite - Foto 43
ViVi2 Suite - Foto 44

ViVi2 Suite

Milão - Porta Garibaldi-Porta Nuova - 1.4 km do centro

  • 70 M2
  • 1 quarto
  • 4 pessoas
  • Ar-condicionado
  • Aquecimento
  • Estacionamento
  • Elevador
9.9Excepcional | 41 avaliações
Milano Central Station - Foto 1
Milano Central Station - Foto 2
Milano Central Station - Foto 3
Milano Central Station - Foto 4
Milano Central Station - Foto 5
Milano Central Station - Foto 6
Milano Central Station - Foto 7
Milano Central Station - Foto 8
Milano Central Station - Foto 9
Milano Central Station - Foto 10
Milano Central Station - Foto 11
Milano Central Station - Foto 12
Milano Central Station - Foto 13
Milano Central Station - Foto 14
Milano Central Station - Foto 15
Milano Central Station - Foto 16
Milano Central Station - Foto 17
Milano Central Station - Foto 18
Milano Central Station - Foto 19
Milano Central Station - Foto 20
Milano Central Station - Foto 21
Milano Central Station - Foto 22
Milano Central Station - Foto 23
Milano Central Station - Foto 24
Milano Central Station - Foto 25

Milano Central Station

Milão - Porta Garibaldi-Porta Nuova - 1.8 km do centro

  • 43 M2
  • 1 quarto
  • 4 pessoas
  • Ar-condicionado
  • Aquecimento
  • Terraço
  • Estacionamento
  • Elevador
9.5Excepcional | 70 avaliações
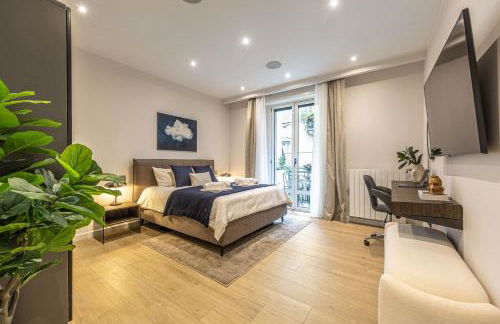
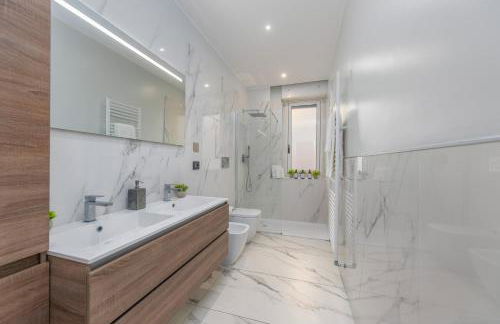
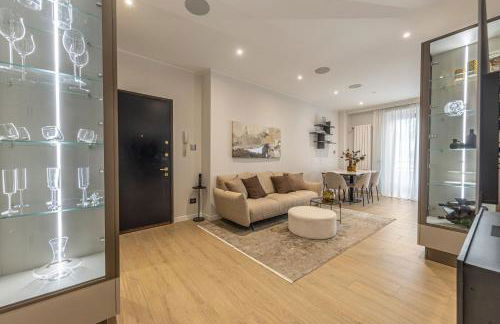
Luxury 2 Bedroom Apartment in Central Milan - Foto 1
Luxury 2 Bedroom Apartment in Central Milan - Foto 2
Luxury 2 Bedroom Apartment in Central Milan - Foto 3
Luxury 2 Bedroom Apartment in Central Milan - Foto 4
Luxury 2 Bedroom Apartment in Central Milan - Foto 5
Luxury 2 Bedroom Apartment in Central Milan - Foto 6
Luxury 2 Bedroom Apartment in Central Milan - Foto 7
Luxury 2 Bedroom Apartment in Central Milan - Foto 8
Luxury 2 Bedroom Apartment in Central Milan - Foto 9
Luxury 2 Bedroom Apartment in Central Milan - Foto 10
Luxury 2 Bedroom Apartment in Central Milan - Foto 11
Luxury 2 Bedroom Apartment in Central Milan - Foto 12
Luxury 2 Bedroom Apartment in Central Milan - Foto 13
Luxury 2 Bedroom Apartment in Central Milan - Foto 14
Luxury 2 Bedroom Apartment in Central Milan - Foto 15
Luxury 2 Bedroom Apartment in Central Milan - Foto 16
Luxury 2 Bedroom Apartment in Central Milan - Foto 17
Luxury 2 Bedroom Apartment in Central Milan - Foto 18
Luxury 2 Bedroom Apartment in Central Milan - Foto 19
Luxury 2 Bedroom Apartment in Central Milan - Foto 20
Luxury 2 Bedroom Apartment in Central Milan - Foto 21
Luxury 2 Bedroom Apartment in Central Milan - Foto 22
Luxury 2 Bedroom Apartment in Central Milan - Foto 23
Luxury 2 Bedroom Apartment in Central Milan - Foto 24
Luxury 2 Bedroom Apartment in Central Milan - Foto 25
Luxury 2 Bedroom Apartment in Central Milan - Foto 26
Luxury 2 Bedroom Apartment in Central Milan - Foto 27
Luxury 2 Bedroom Apartment in Central Milan - Foto 28
Luxury 2 Bedroom Apartment in Central Milan - Foto 29
Luxury 2 Bedroom Apartment in Central Milan - Foto 30
Luxury 2 Bedroom Apartment in Central Milan - Foto 31
Luxury 2 Bedroom Apartment in Central Milan - Foto 32
Luxury 2 Bedroom Apartment in Central Milan - Foto 33
Luxury 2 Bedroom Apartment in Central Milan - Foto 34
Luxury 2 Bedroom Apartment in Central Milan - Foto 35
Luxury 2 Bedroom Apartment in Central Milan - Foto 36
Luxury 2 Bedroom Apartment in Central Milan - Foto 37

Luxury 2 Bedroom Apartment in Central Milan

Milão - Porta Garibaldi-Porta Nuova - 1.1 km do centro

  • 97 M2
  • 2 quartos
  • 4 pessoas
  • Ar-condicionado
  • Estacionamento
  • Elevador
9.9Excepcional | 69 avaliações
Milan Design Suites 3 ROOMS - Foto 1
Milan Design Suites 3 ROOMS - Foto 2
Milan Design Suites 3 ROOMS - Foto 3
Milan Design Suites 3 ROOMS - Foto 4
Milan Design Suites 3 ROOMS - Foto 5
Milan Design Suites 3 ROOMS - Foto 6
Milan Design Suites 3 ROOMS - Foto 7
Milan Design Suites 3 ROOMS - Foto 8
Milan Design Suites 3 ROOMS - Foto 9
Milan Design Suites 3 ROOMS - Foto 10
Milan Design Suites 3 ROOMS - Foto 11

Milan Design Suites 3 ROOMS

Milão - Porta Garibaldi-Porta Nuova - 1.3 km do centro

  • 160 M2
  • 2 quartos
  • 5 pessoas
  • Ar-condicionado
  • Aquecimento
  • Terraço
  • Elevador
9.3Excepcional | 25 avaliações
Italianway - Bonnet 5 - Foto 1
Italianway - Bonnet 5 - Foto 2

Italianway - Bonnet 5

Milão - Porta Garibaldi-Porta Nuova - 1.1 km do centro

  • 90 M2
  • 5 pessoas
  • Ar-condicionado
  • Aquecimento
  • Elevador
  • Tv
  • Máquina de lavar roupa
  • Toalhas
  • Lençóis

8.8Muito bom | 10 avaliações
MARCO POLO 11 by Serendipity - Foto 1
MARCO POLO 11 by Serendipity - Foto 2
MARCO POLO 11 by Serendipity - Foto 3
MARCO POLO 11 by Serendipity - Foto 4
MARCO POLO 11 by Serendipity - Foto 5
MARCO POLO 11 by Serendipity - Foto 6
MARCO POLO 11 by Serendipity - Foto 7
MARCO POLO 11 by Serendipity - Foto 8
MARCO POLO 11 by Serendipity - Foto 9
MARCO POLO 11 by Serendipity - Foto 10
MARCO POLO 11 by Serendipity - Foto 11
MARCO POLO 11 by Serendipity - Foto 12
MARCO POLO 11 by Serendipity - Foto 13
MARCO POLO 11 by Serendipity - Foto 14
MARCO POLO 11 by Serendipity - Foto 15

MARCO POLO 11 by Serendipity

Milão - Porta Garibaldi-Porta Nuova - 1.2 km do centro

  • 75 M2
  • 1 quarto
  • 4 pessoas
  • Ar-condicionado
  • Aquecimento
  • Elevador
8.7Muito bom | 12 avaliações
Lumen Milano - Skyline View Attic - Foto 1
Lumen Milano - Skyline View Attic - Foto 2
Lumen Milano - Skyline View Attic - Foto 3
Lumen Milano - Skyline View Attic - Foto 4
Lumen Milano - Skyline View Attic - Foto 5
Lumen Milano - Skyline View Attic - Foto 6
Lumen Milano - Skyline View Attic - Foto 7
Lumen Milano - Skyline View Attic - Foto 8
Lumen Milano - Skyline View Attic - Foto 9
Lumen Milano - Skyline View Attic - Foto 10
Lumen Milano - Skyline View Attic - Foto 11
Lumen Milano - Skyline View Attic - Foto 12
Lumen Milano - Skyline View Attic - Foto 13
Lumen Milano - Skyline View Attic - Foto 14
Lumen Milano - Skyline View Attic - Foto 15
Lumen Milano - Skyline View Attic - Foto 16
Lumen Milano - Skyline View Attic - Foto 17
Lumen Milano - Skyline View Attic - Foto 18
Lumen Milano - Skyline View Attic - Foto 19
Lumen Milano - Skyline View Attic - Foto 20
Lumen Milano - Skyline View Attic - Foto 21
Lumen Milano - Skyline View Attic - Foto 22
Lumen Milano - Skyline View Attic - Foto 23
Lumen Milano - Skyline View Attic - Foto 24
Lumen Milano - Skyline View Attic - Foto 25
Lumen Milano - Skyline View Attic - Foto 26
Lumen Milano - Skyline View Attic - Foto 27
Lumen Milano - Skyline View Attic - Foto 28
Lumen Milano - Skyline View Attic - Foto 29
Lumen Milano - Skyline View Attic - Foto 30
Lumen Milano - Skyline View Attic - Foto 31
Lumen Milano - Skyline View Attic - Foto 32
Lumen Milano - Skyline View Attic - Foto 33
Lumen Milano - Skyline View Attic - Foto 34
Lumen Milano - Skyline View Attic - Foto 35
Lumen Milano - Skyline View Attic - Foto 36
Lumen Milano - Skyline View Attic - Foto 37
Lumen Milano - Skyline View Attic - Foto 38
Lumen Milano - Skyline View Attic - Foto 39
Lumen Milano - Skyline View Attic - Foto 40
Lumen Milano - Skyline View Attic - Foto 41
Lumen Milano - Skyline View Attic - Foto 42
Lumen Milano - Skyline View Attic - Foto 43
Lumen Milano - Skyline View Attic - Foto 44
Lumen Milano - Skyline View Attic - Foto 45
Lumen Milano - Skyline View Attic - Foto 46
Lumen Milano - Skyline View Attic - Foto 47
Lumen Milano - Skyline View Attic - Foto 48
Lumen Milano - Skyline View Attic - Foto 49
Lumen Milano - Skyline View Attic - Foto 50
Lumen Milano - Skyline View Attic - Foto 51
Lumen Milano - Skyline View Attic - Foto 52
Lumen Milano - Skyline View Attic - Foto 53
Lumen Milano - Skyline View Attic - Foto 54
Lumen Milano - Skyline View Attic - Foto 55
Lumen Milano - Skyline View Attic - Foto 56
Lumen Milano - Skyline View Attic - Foto 57
Lumen Milano - Skyline View Attic - Foto 58
Lumen Milano - Skyline View Attic - Foto 59
Lumen Milano - Skyline View Attic - Foto 60
Lumen Milano - Skyline View Attic - Foto 61
Lumen Milano - Skyline View Attic - Foto 62
Lumen Milano - Skyline View Attic - Foto 63
Lumen Milano - Skyline View Attic - Foto 64
Lumen Milano - Skyline View Attic - Foto 65
Lumen Milano - Skyline View Attic - Foto 66

Lumen Milano - Skyline View Attic

Milão - Porta Garibaldi-Porta Nuova - 1.8 km do centro

  • 76 M2
  • 2 quartos
  • 5 pessoas
  • Ar-condicionado
  • Aquecimento
  • Estacionamento
  • Elevador
9.5Excepcional | 36 avaliações
Destinos relacionados