


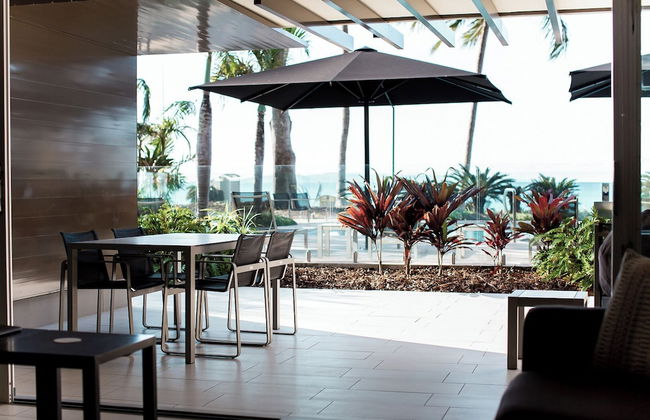
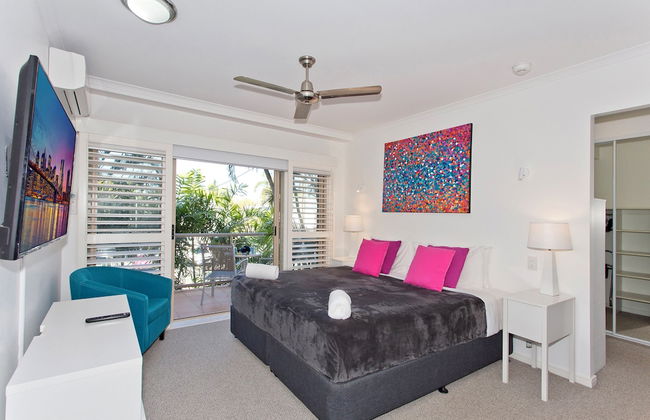
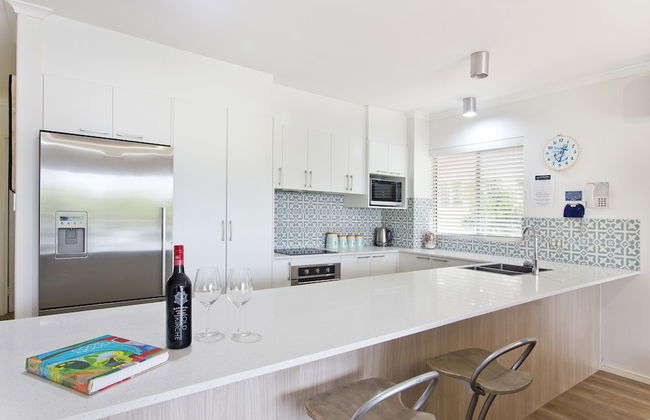
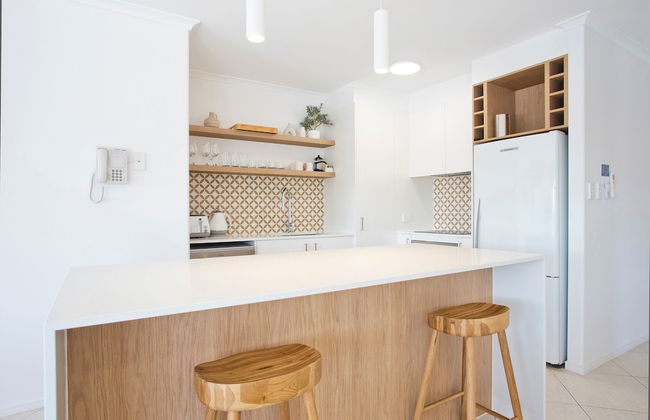
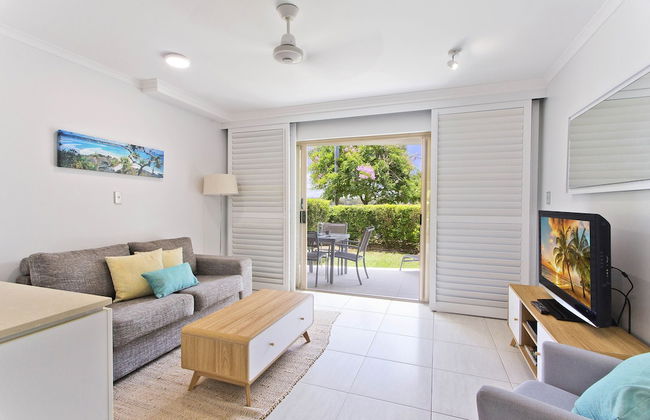
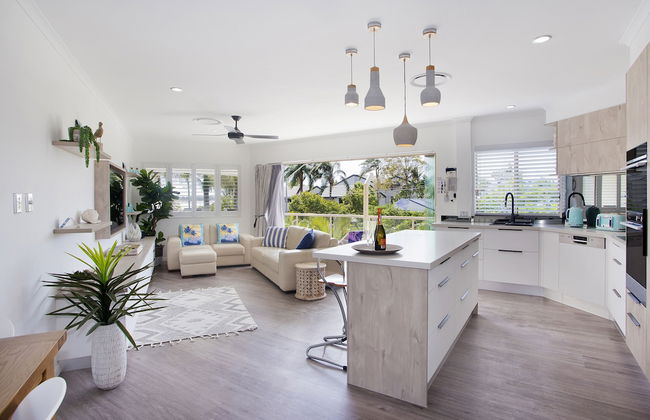
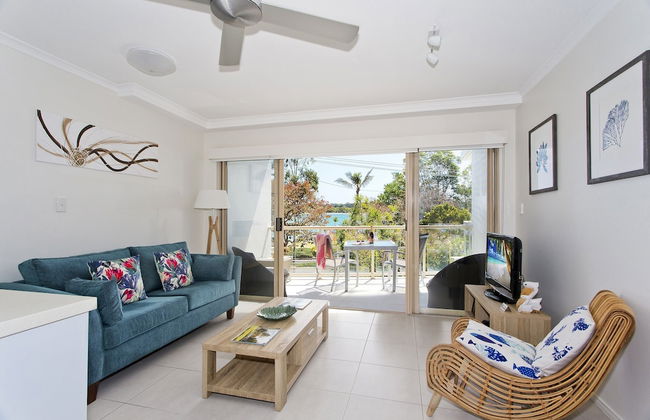
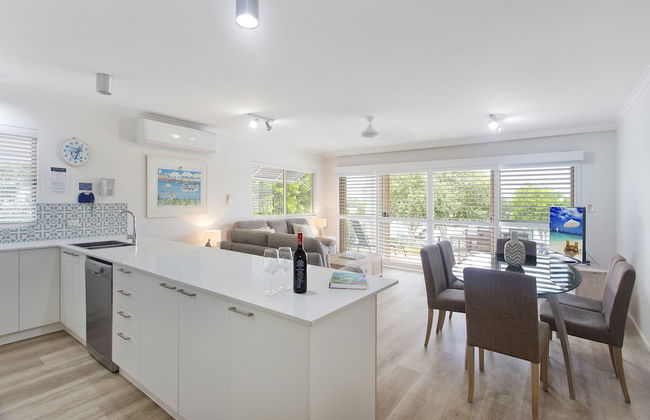
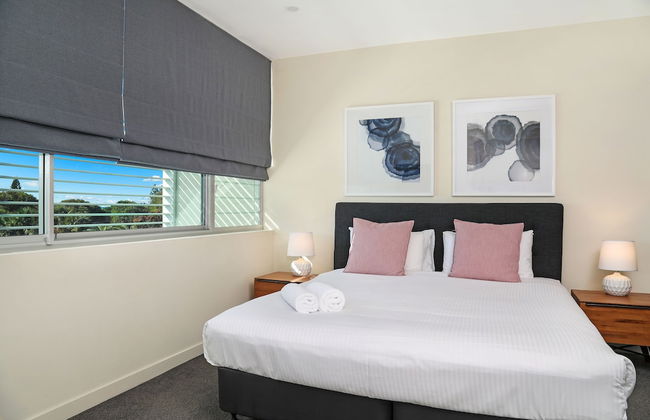
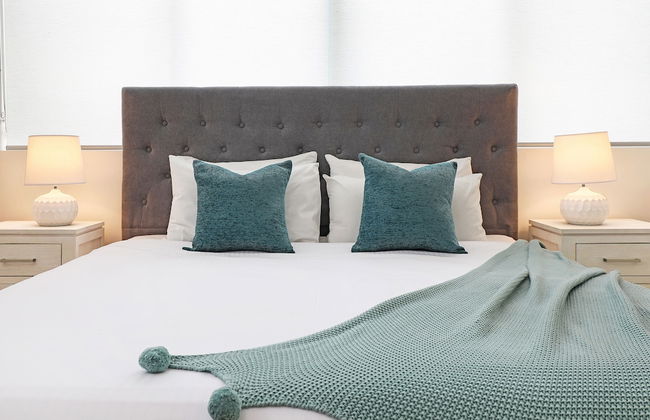
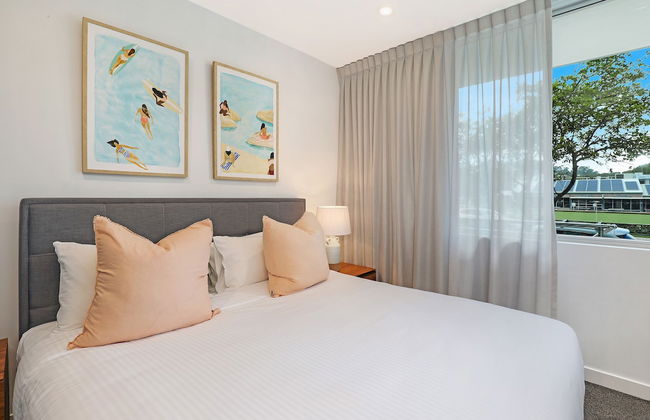
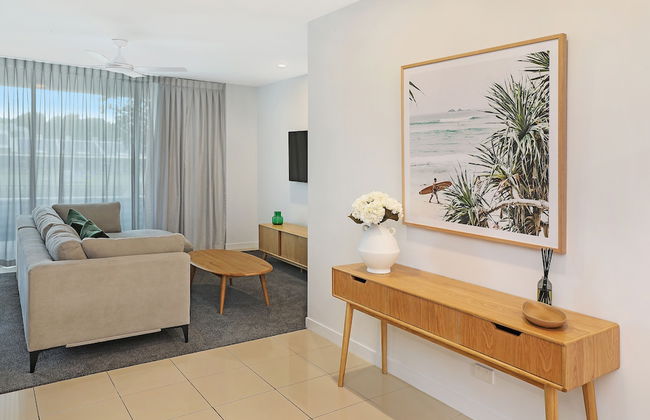
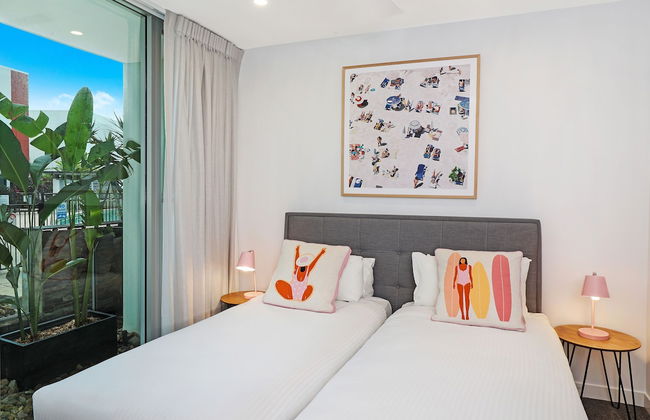
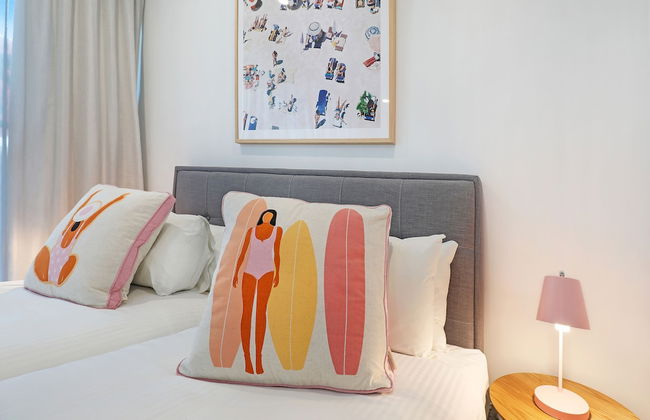
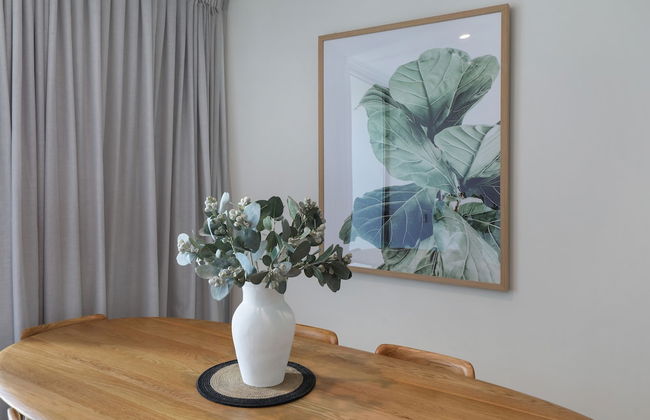
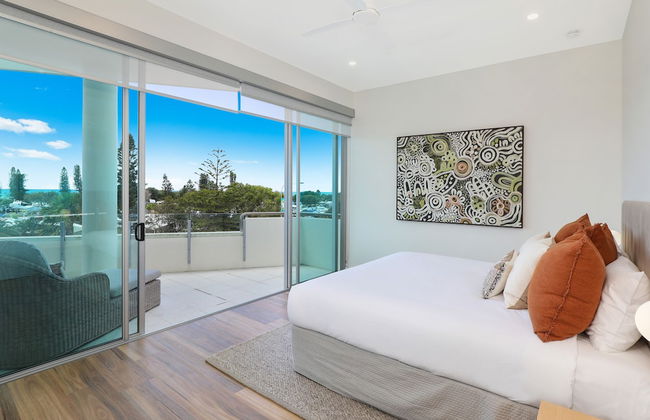
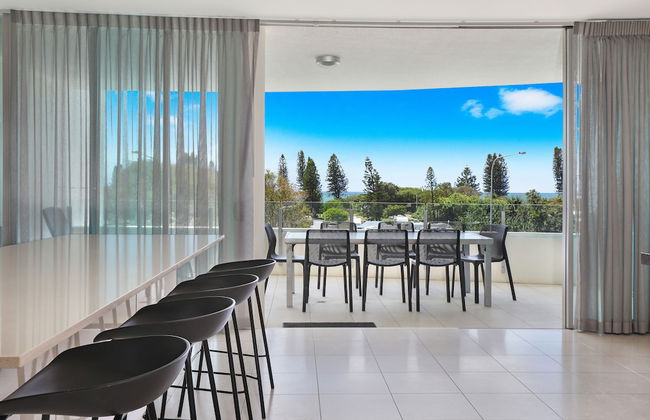
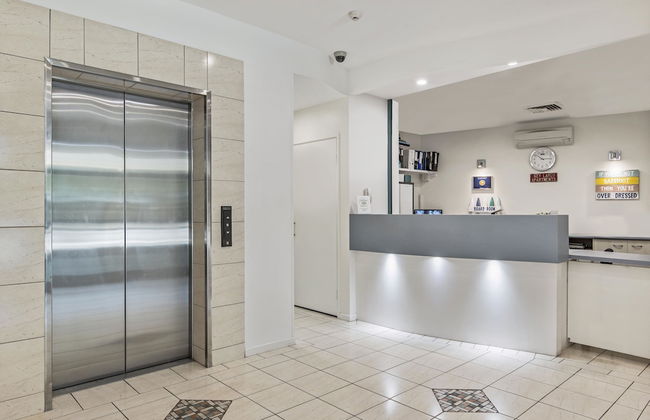
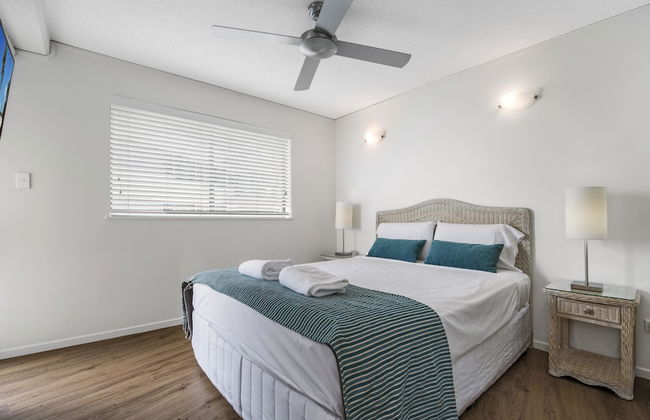
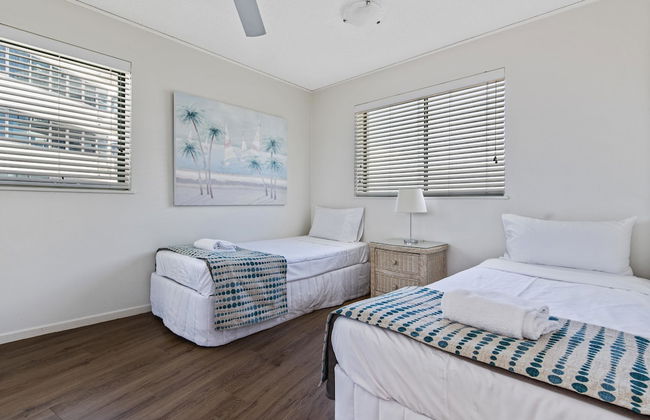
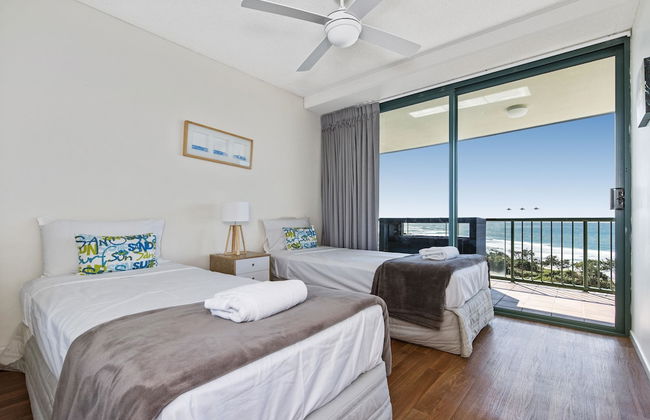
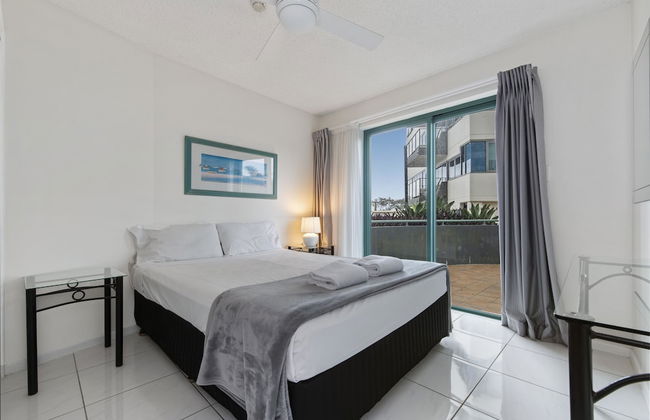
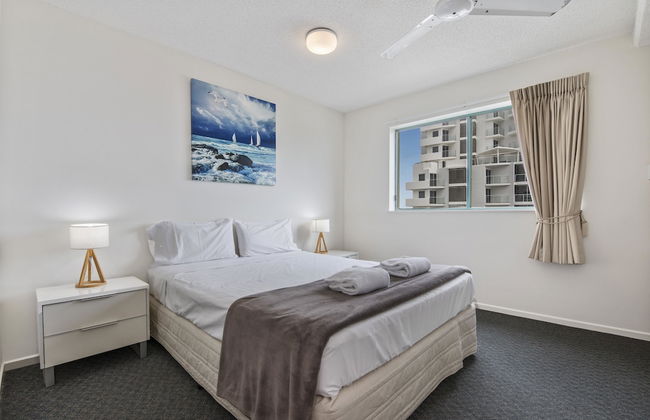
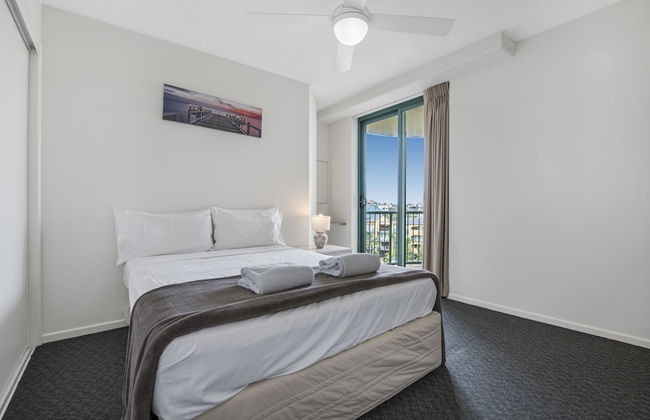
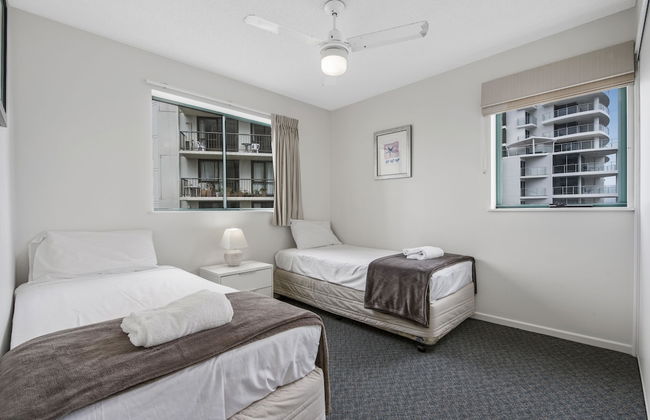
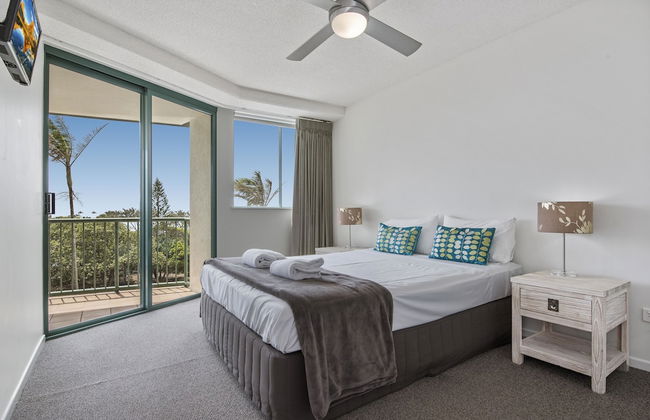
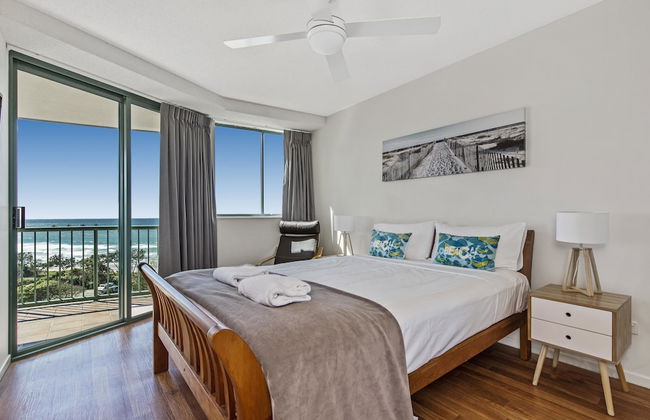
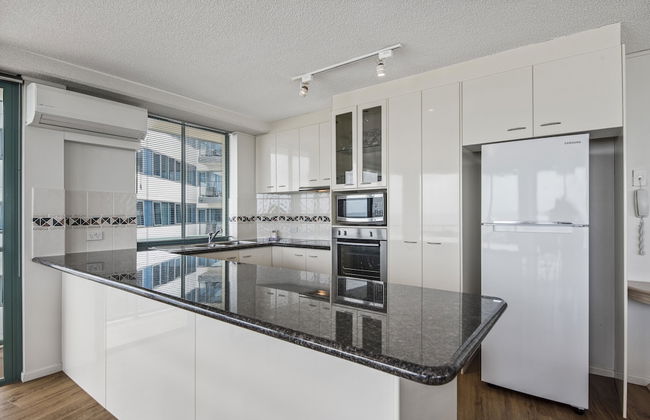
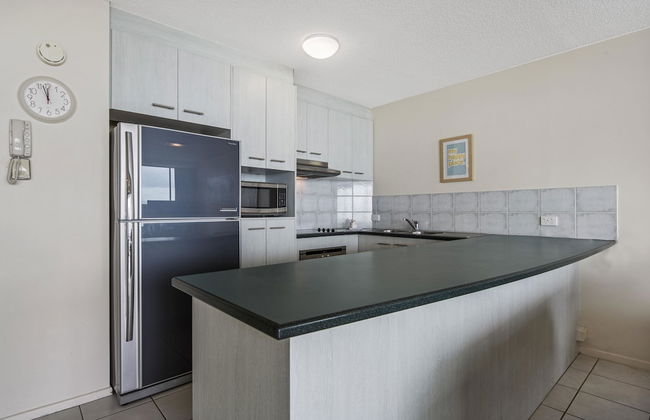
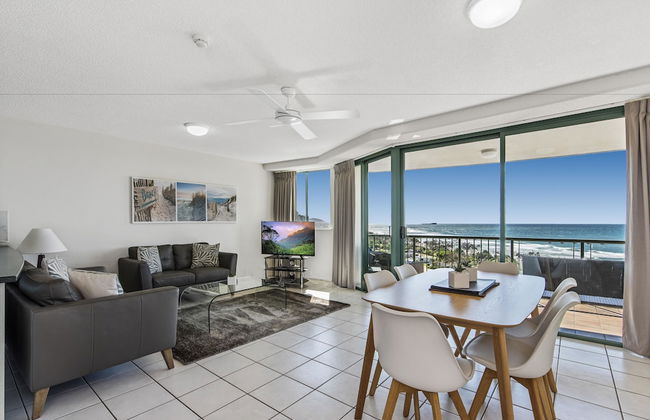
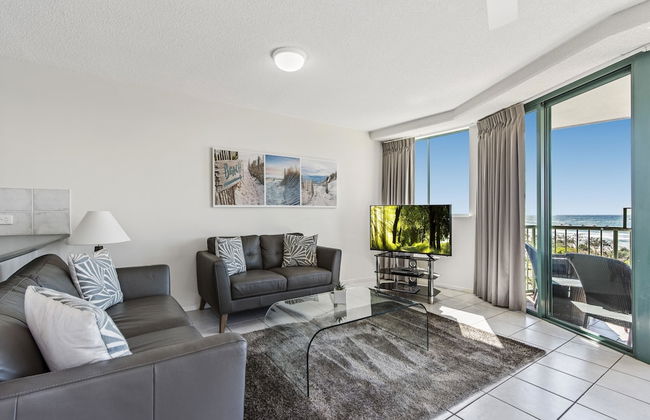
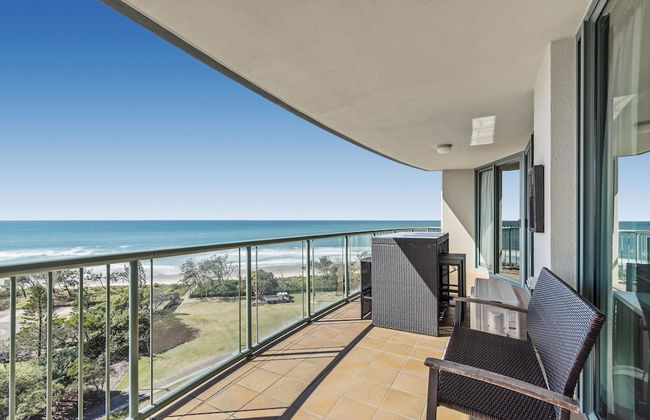
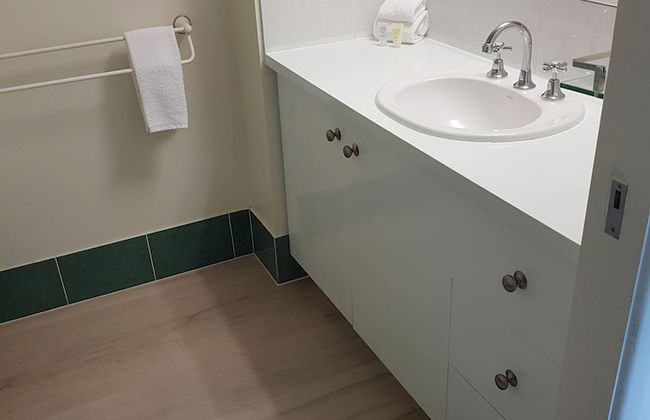
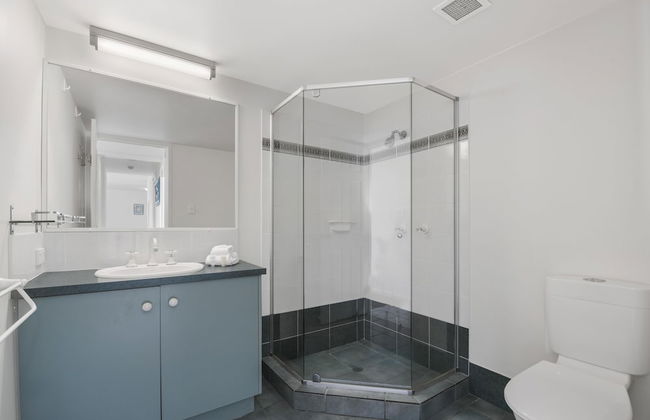
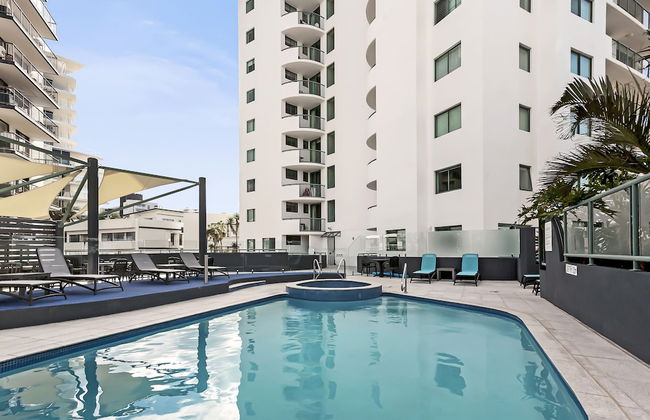
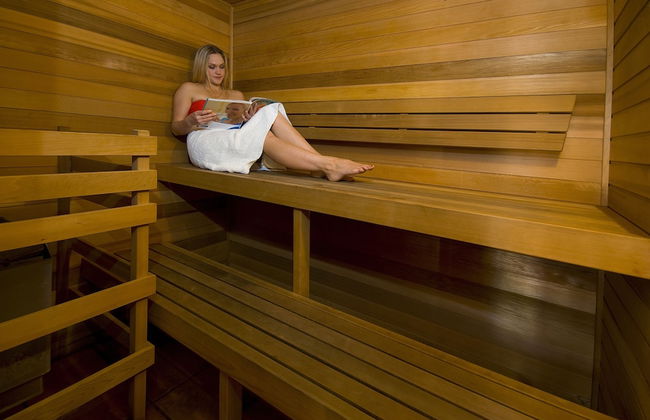
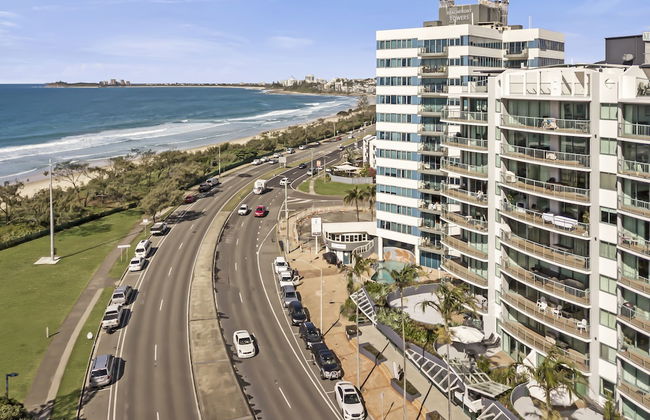
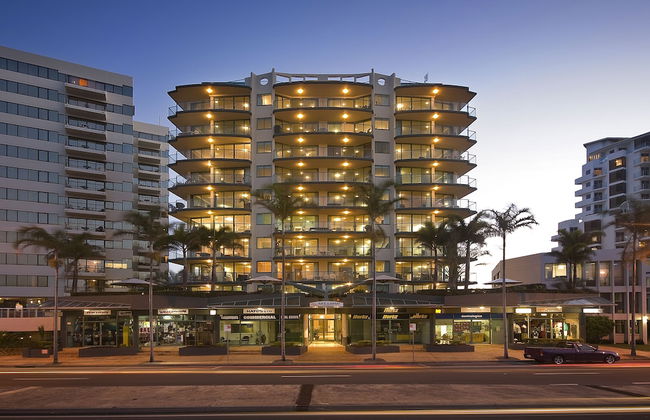
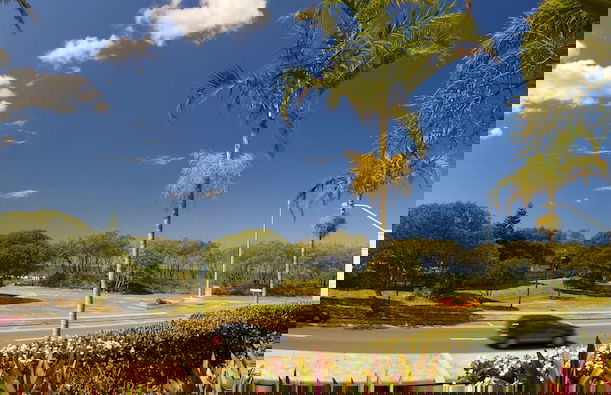
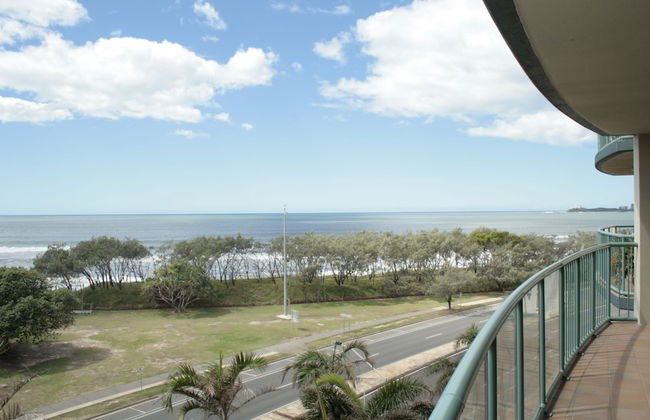
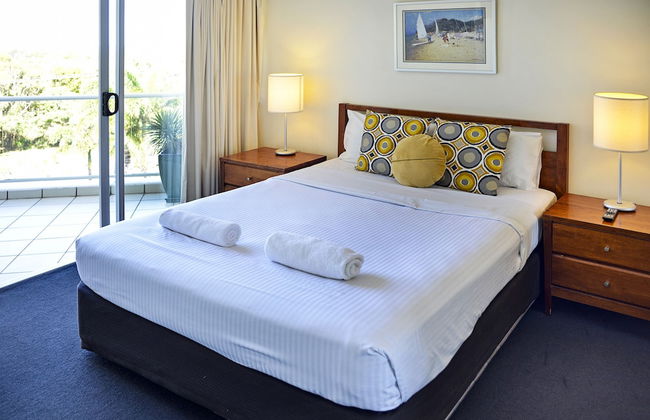
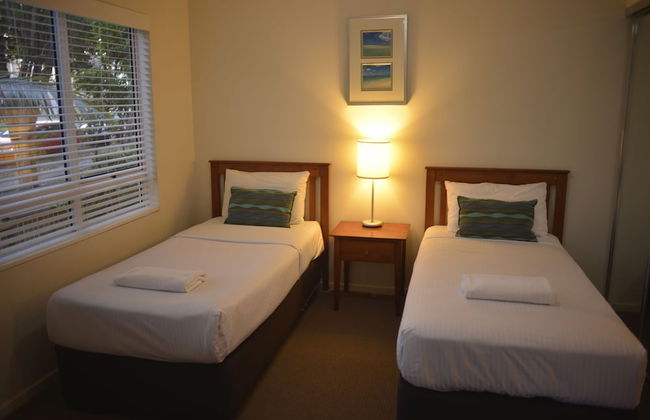
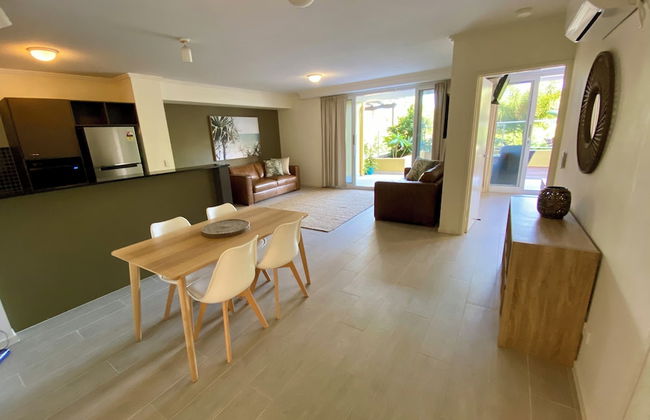
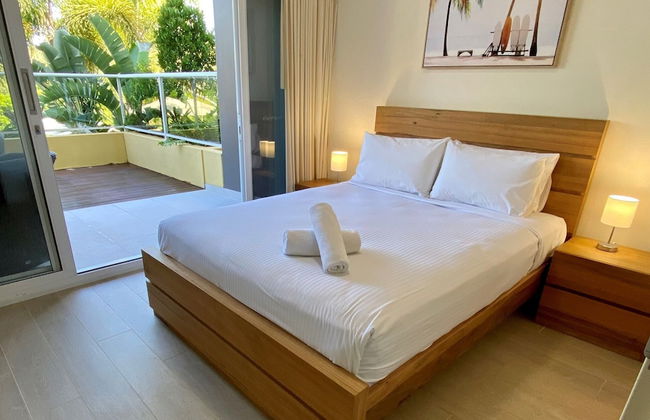
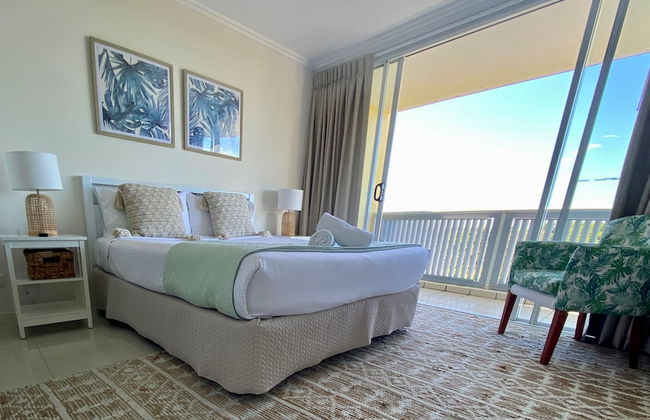
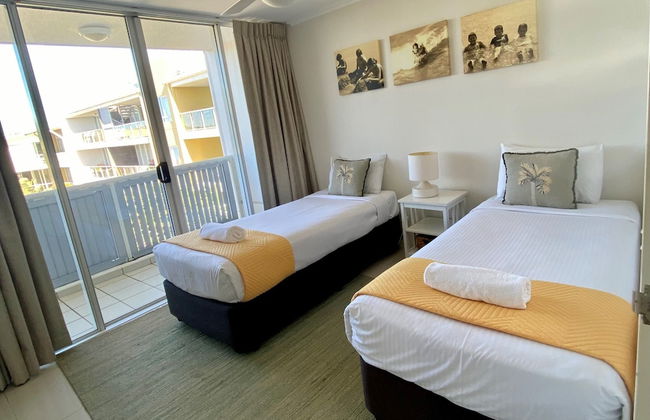
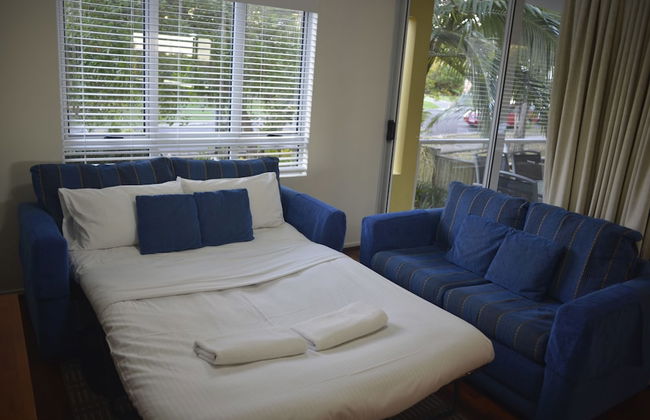
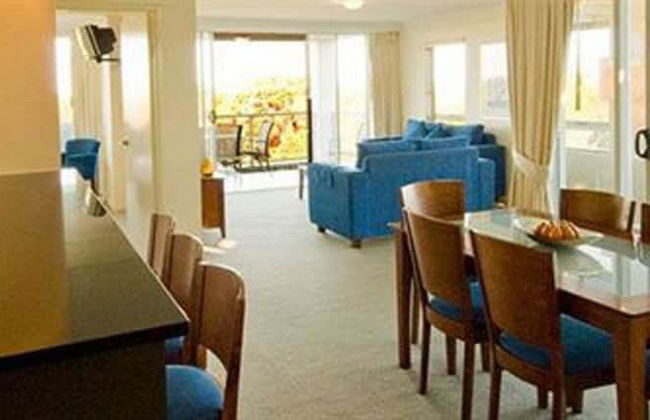
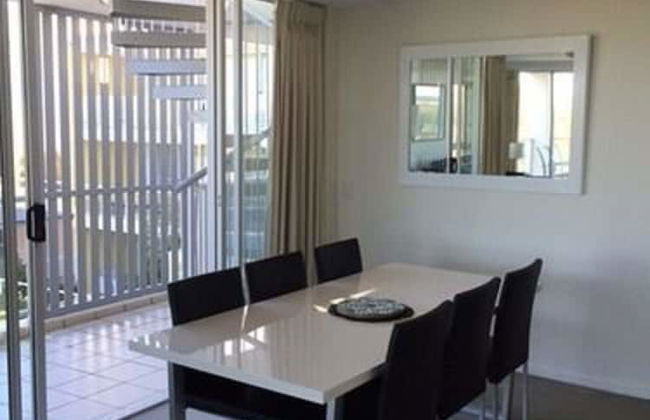
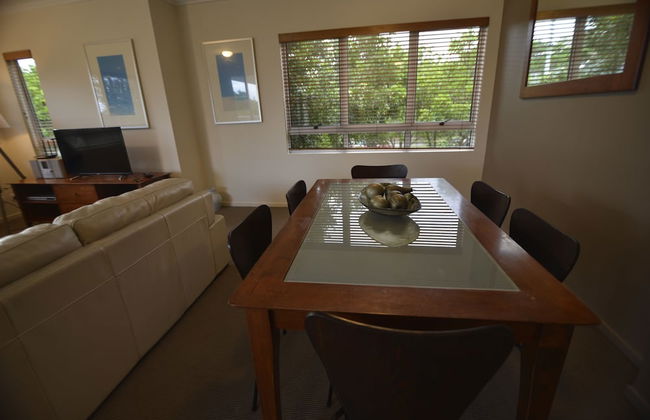
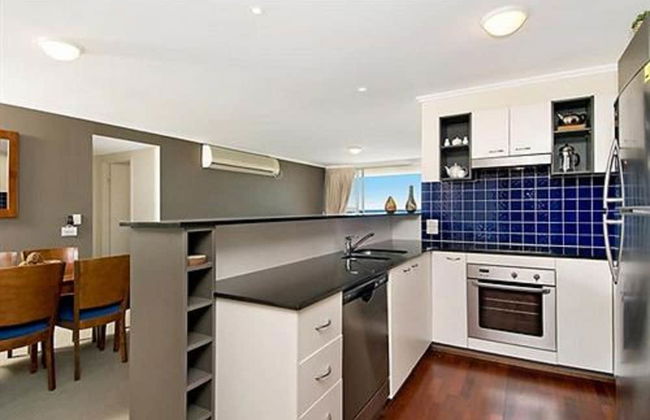
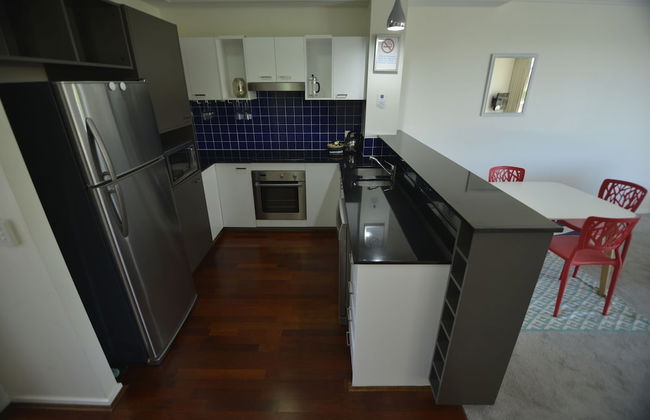
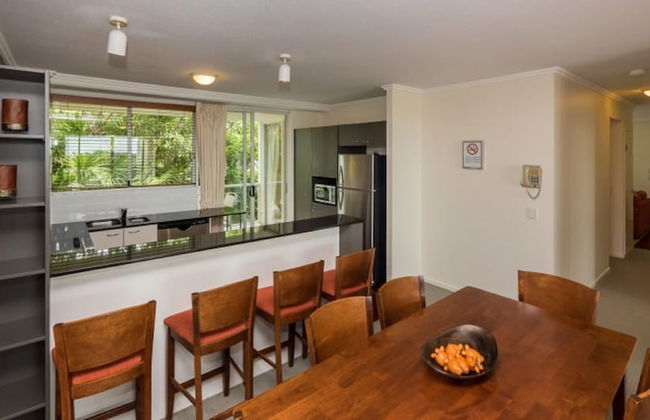
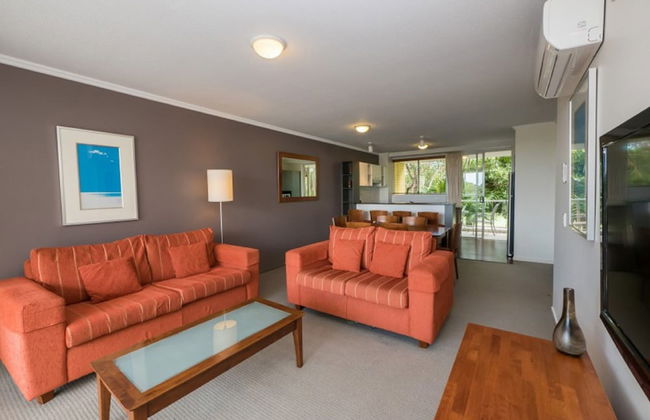
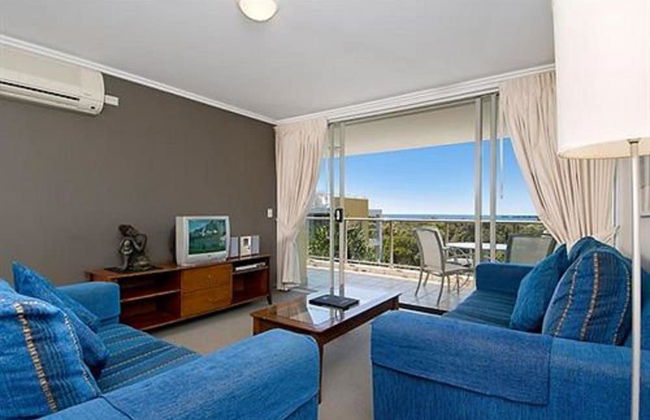
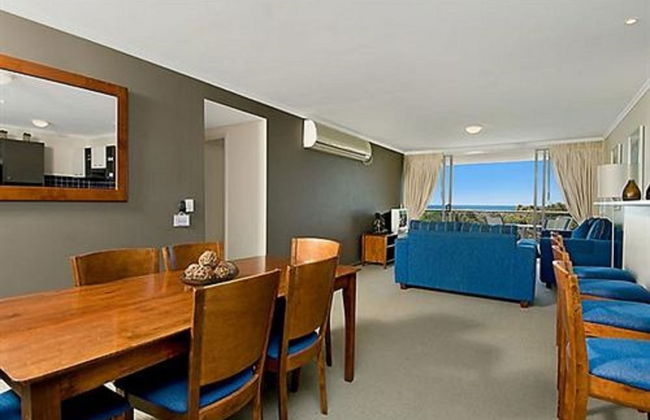
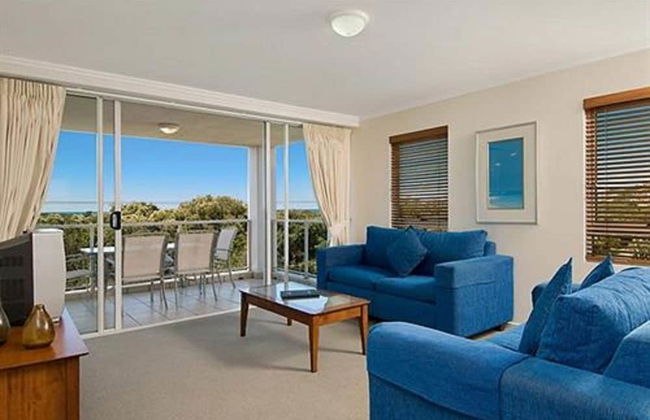
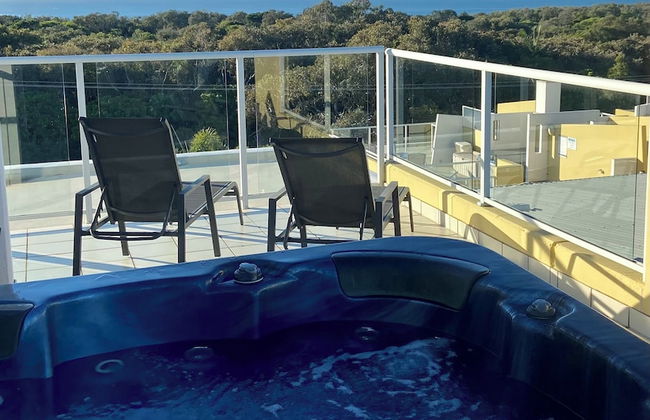
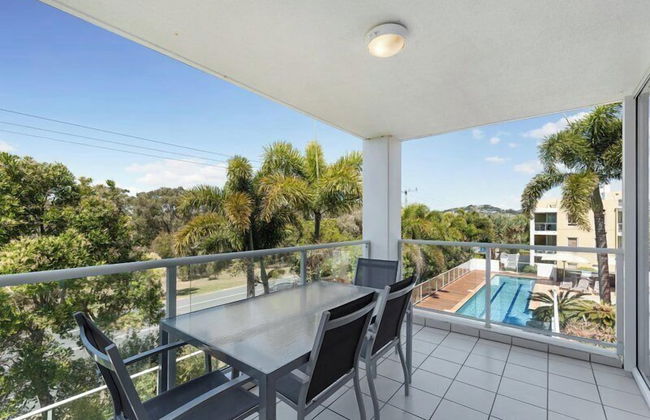
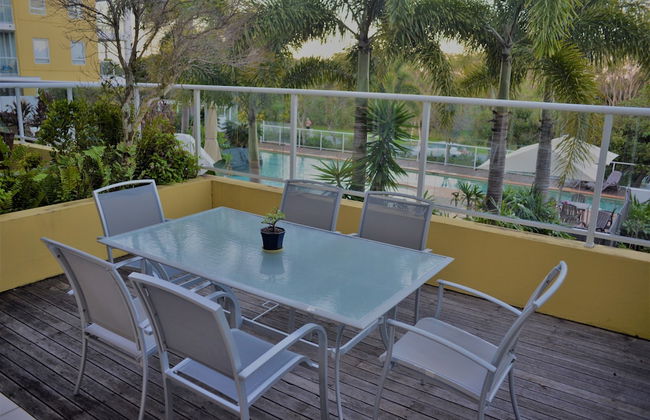
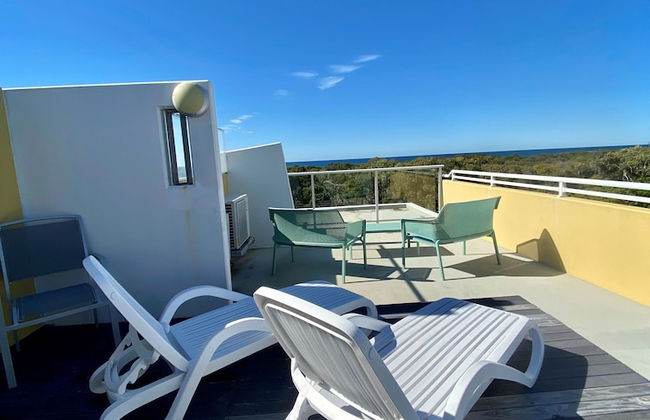
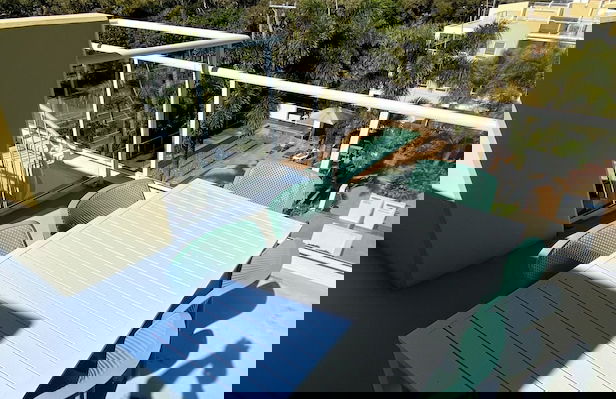
Allure Mooloolaba
Sunshine Coast - Mooloolaba - 5.4 km do centro
- 102 M2
- 6 pessoas
- Ar-condicionado
- Aquecimento
- Terraço
- Piscina
- Estacionamento
- Elevador
- Varanda
- Tv
- Máquina de lavar roupa
- Toalhas
- Lençóis


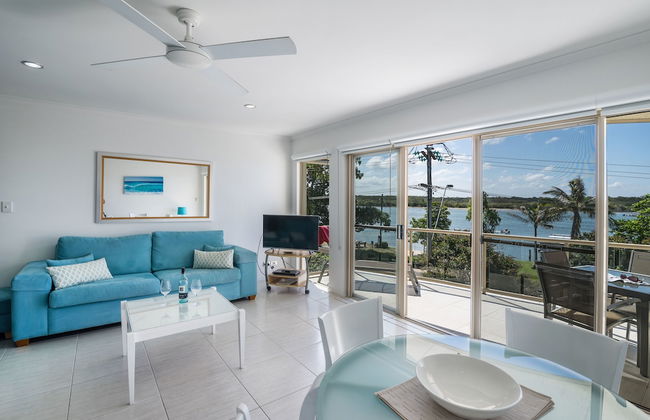
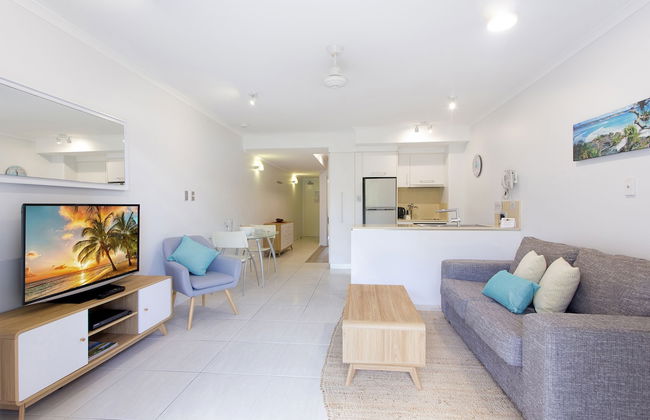
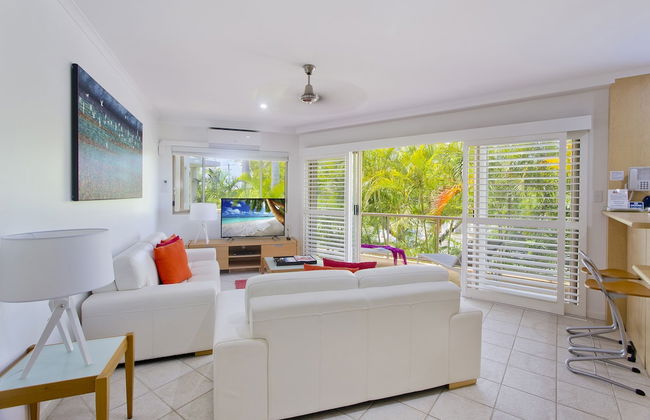
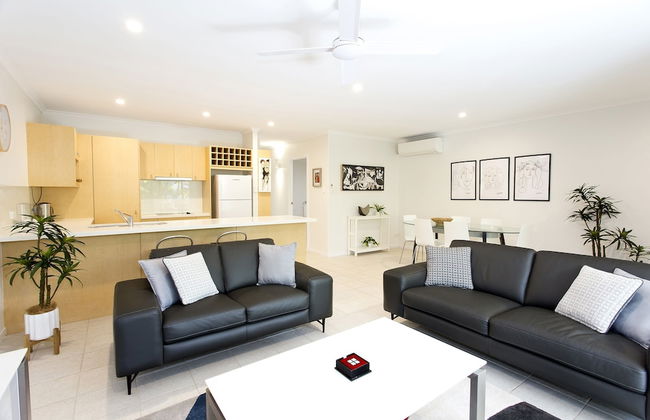
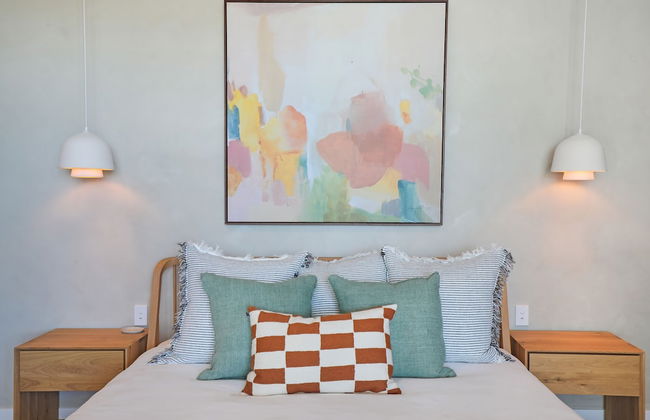
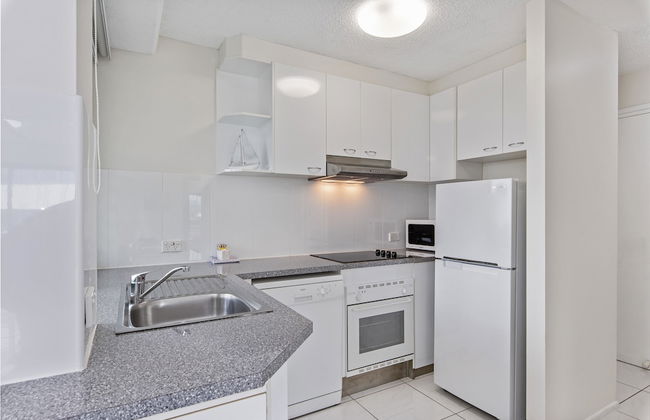
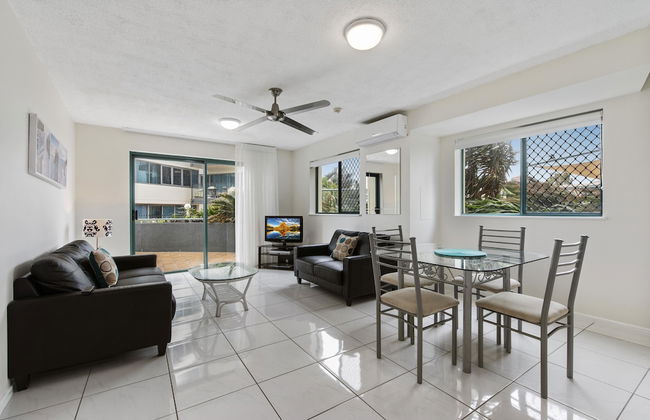
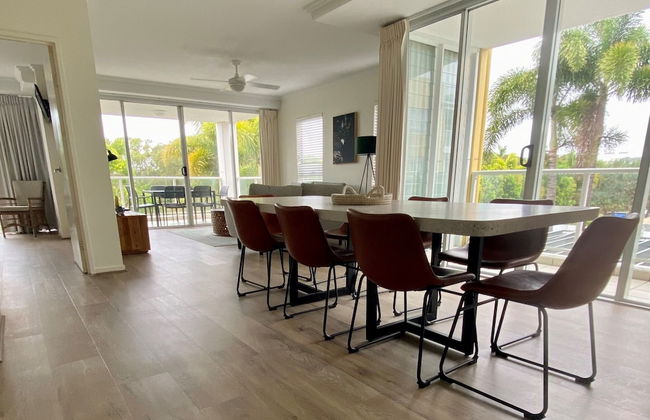
Picture Point Terraces
Sunshine Coast - Noosa Heads - 28.6 km do centro
- 148 M2
- 9 pessoas
- Ar-condicionado
- Aquecimento
- Terraço
- Piscina
- Estacionamento
- Elevador
- Jardim
- Tv
- Máquina de lavar roupa
- Churrasco
- Toalhas
- Lençóis


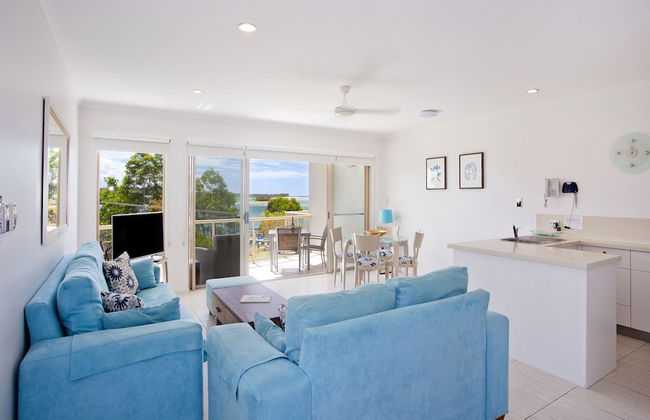
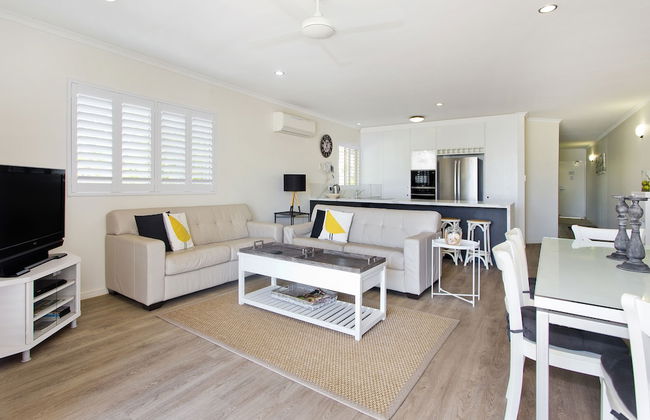
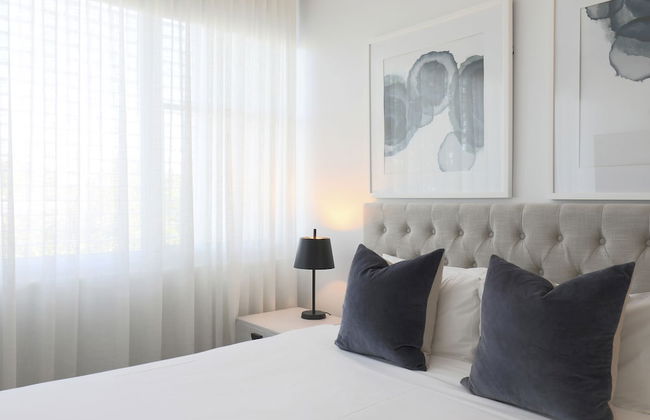
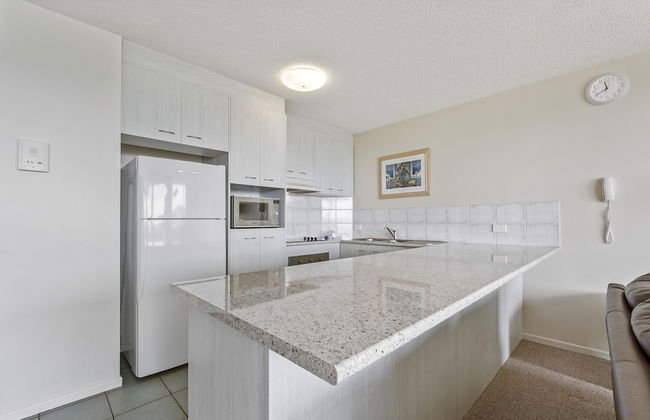
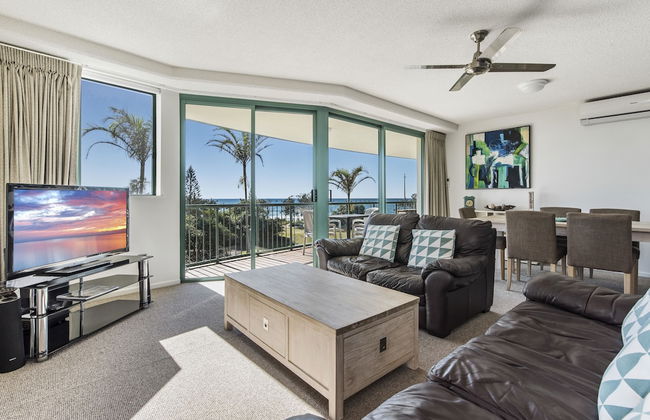
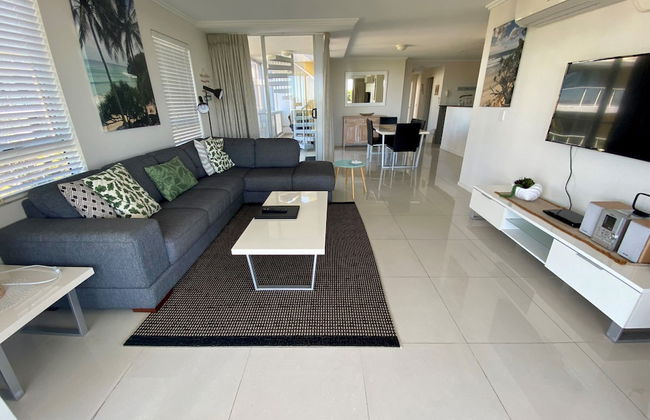
Beach on Sixth
Sunshine Coast - Maroochydore - 3.2 km do centro
- 120 M2
- 6 pessoas
- Ar-condicionado
- Aquecimento
- Terraço
- Piscina
- Estacionamento
- Elevador
- Varanda
- Jardim
- Tv
- Máquina de lavar roupa
- Churrasco
- Toalhas
- Lençóis


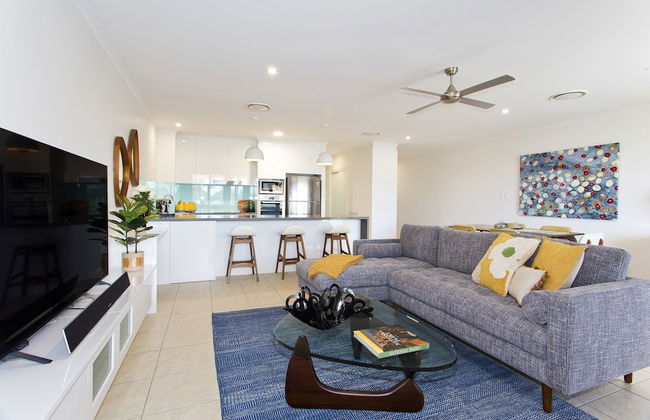
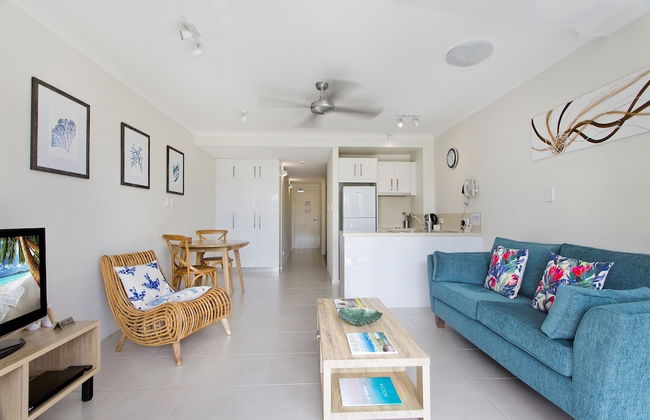
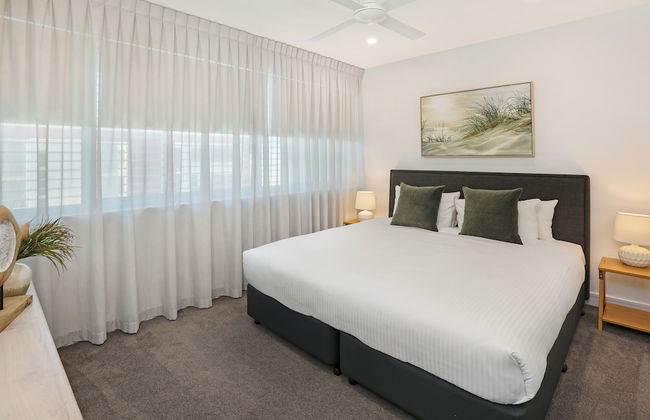
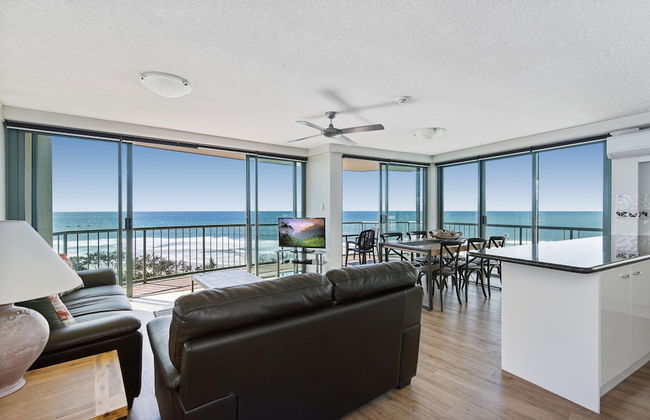
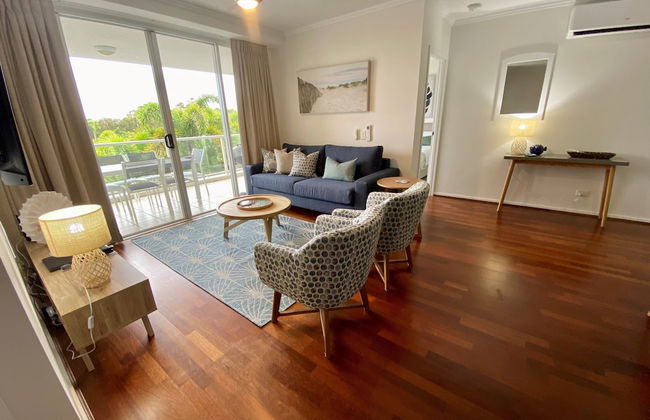
Verve on Cotton Tree
Sunshine Coast - Maroochydore - 3.3 km do centro
- 125 M2
- 4 pessoas
- Ar-condicionado
- Terraço
- Piscina
- Estacionamento
- Elevador
- Jardim
- Tv
- Máquina de lavar roupa
- Churrasco
- Toalhas
- Lençóis


Sea Pearl Resort Mooloolaba
Sunshine Coast - Mooloolaba - 5.6 km do centro
- 9 pessoas
- Ar-condicionado
- Terraço
- Piscina
- Estacionamento
- Elevador
- Varanda
- Tv
- Máquina de lavar roupa
- Toalhas
- Lençóis


Coco Mooloolaba
Sunshine Coast - Mooloolaba - 5.3 km do centro
- 100 M2
- 5 pessoas
- Ar-condicionado
- Aquecimento
- Terraço
- Piscina
- Estacionamento
- Elevador
- Varanda
- Jardim
- Tv
- Máquina de lavar roupa
- Churrasco
- Toalhas
- Lençóis
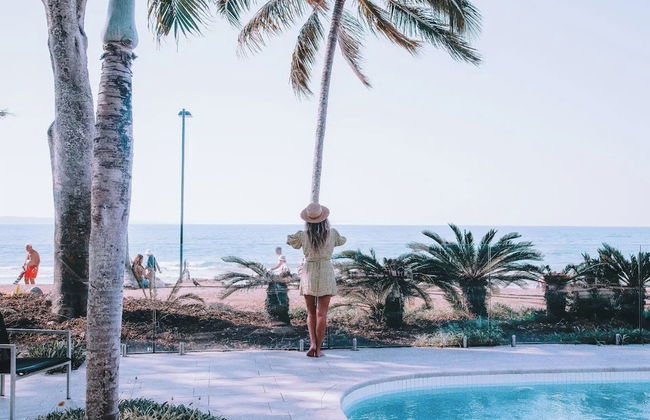
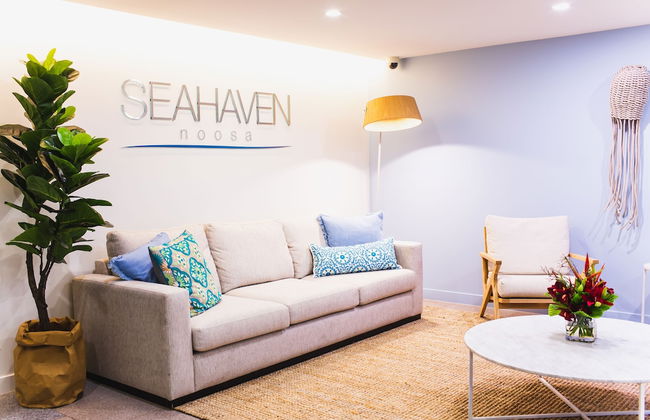


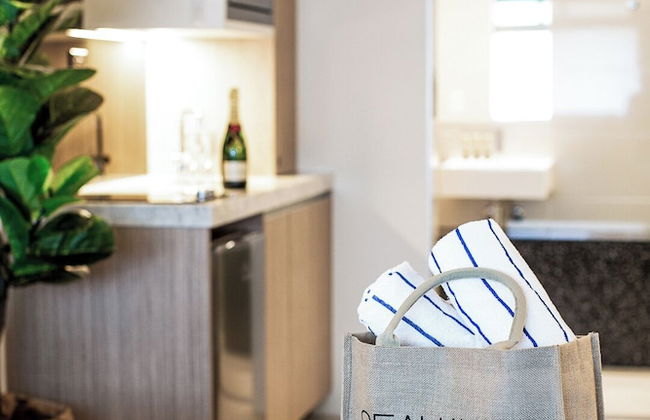
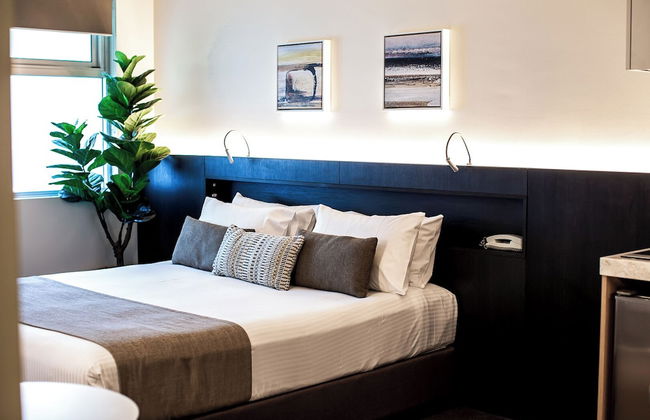


Seahaven Noosa Beachfront Resort
Sunshine Coast - Noosa Heads - 28.9 km do centro
- 95 M2
- 5 pessoas
- Kitchenette
- Ar-condicionado
- Aquecimento
- Terraço
- Piscina
- Estacionamento
- Elevador
- Varanda
- Jardim
- Tv
- Máquina de lavar roupa
- Churrasco
- Toalhas
- Lençóis


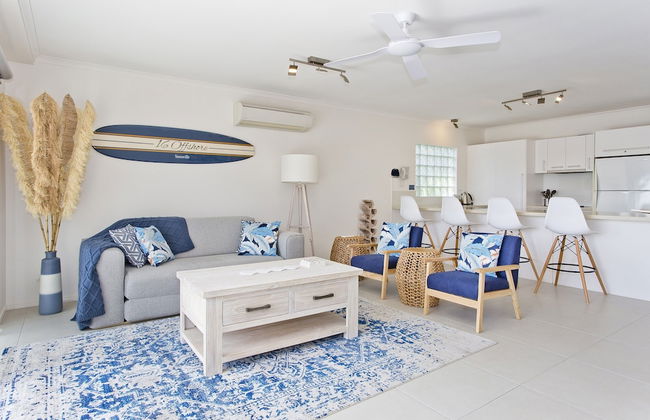


Offshore Noosa Resort
Sunshine Coast - Noosaville - 27.7 km do centro
- 145 M2
- 6 pessoas
- Ar-condicionado
- Aquecimento
- Terraço
- Piscina
- Estacionamento
- Elevador
- Varanda
- Jardim
- Tv
- Máquina de lavar roupa
- Churrasco
- Toalhas
- Lençóis


Pandanus Mooloolaba
Sunshine Coast - Mooloolaba - 5.7 km do centro
- 200 M2
- 8 pessoas
- Ar-condicionado
- Aquecimento
- Terraço
- Piscina
- Estacionamento
- Elevador
- Varanda
- Jardim
- Tv
- Máquina de lavar roupa
- Toalhas
- Lençóis


Rumba Beach Resort
Sunshine Coast - Caloundra - 18.1 km do centro
- 140 M2
- 6 pessoas
- Ar-condicionado
- Aquecimento
- Terraço
- Piscina
- Estacionamento
- Elevador
- Varanda
- Tv
- Máquina de lavar roupa
- Toalhas
- Lençóis


The Duporth Riverside
Sunshine Coast - Maroochydore - 2.1 km do centro
- 6 pessoas
- Ar-condicionado
- Aquecimento
- Terraço
- Piscina
- Estacionamento
- Elevador
- Varanda
- Jardim
- Tv
- Máquina de lavar roupa
- Toalhas
- Lençóis


71 Hastings Street - Beachfront
Sunshine Coast - Noosa Heads - 28.9 km do centro
- 312 M2
- 7 pessoas
- Kitchenette
- Ar-condicionado
- Aquecimento
- Piscina
- Estacionamento
- Elevador
- Varanda
- Tv
- Churrasco
- Toalhas
- Lençóis


Terrapin Apartments
Sunshine Coast - Noosaville - 27.4 km do centro
- 6 pessoas
- Ar-condicionado
- Aquecimento
- Terraço
- Piscina
- Estacionamento
- Varanda
- Jardim
- Tv
- Máquina de lavar roupa
- Churrasco
- Toalhas
- Lençóis


Element on Coolum Beach
Sunshine Coast - Coolum Beach - 13.2 km do centro
- 150 M2
- 6 pessoas
- Ar-condicionado
- Aquecimento
- Terraço
- Piscina
- Estacionamento
- Elevador
- Varanda
- Jardim
- Tv
- Máquina de lavar roupa
- Churrasco
- Toalhas
- Lençóis


Seaview Resort
Sunshine Coast - Mooloolaba - 5.3 km do centro
- 148 M2
- 7 pessoas
- Ar-condicionado
- Aquecimento
- Terraço
- Piscina
- Estacionamento
- Elevador
- Varanda
- Jardim
- Tv
- Máquina de lavar roupa
- Churrasco
- Toalhas
- Lençóis


Endless Summer Resort
Sunshine Coast - Coolum Beach - 12.9 km do centro
- 105 M2
- 6 pessoas
- Ar-condicionado
- Aquecimento
- Terraço
- Piscina
- Estacionamento
- Elevador
- Varanda
- Jardim
- Tv
- Máquina de lavar roupa
- Churrasco
- Toalhas
- Lençóis


Tingirana Noosa
Sunshine Coast - Noosa Heads - 29 km do centro
- 115 M2
- 5 pessoas
- Kitchenette
- Ar-condicionado
- Aquecimento
- Terraço
- Piscina
- Estacionamento
- Elevador
- Varanda
- Jardim
- Tv
- Máquina de lavar roupa
- Churrasco
- Toalhas
- Lençóis


Meridian Alex Beach Apartments
Sunshine Coast - Alexandra Headland - 3.8 km do centro
- 180 M2
- 8 pessoas
- Ar-condicionado
- Aquecimento
- Terraço
- Piscina
- Estacionamento
- Elevador
- Varanda
- Jardim
- Tv
- Máquina de lavar roupa
- Churrasco
- Toalhas
- Lençóis


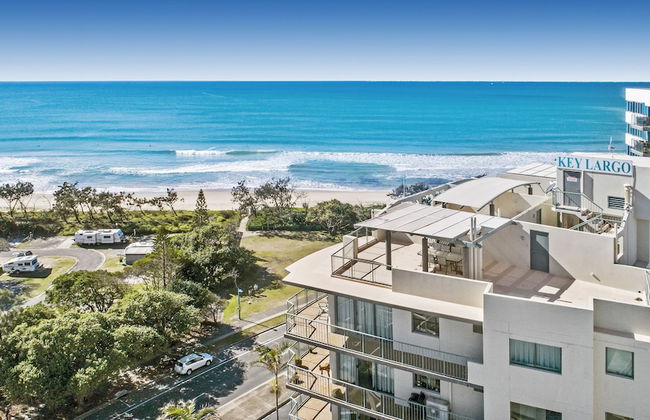
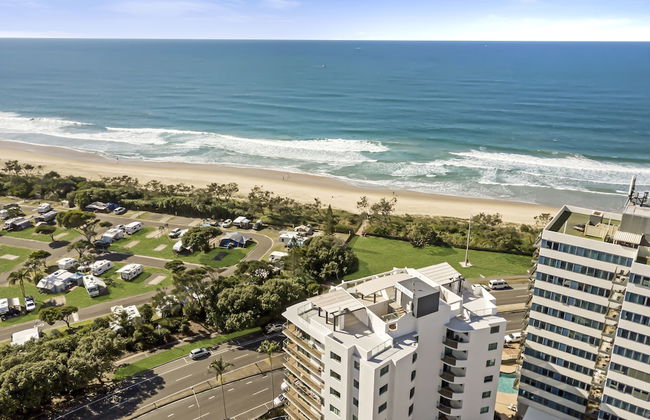
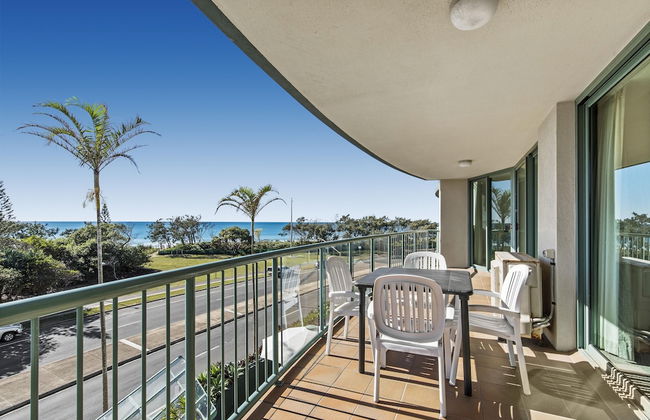
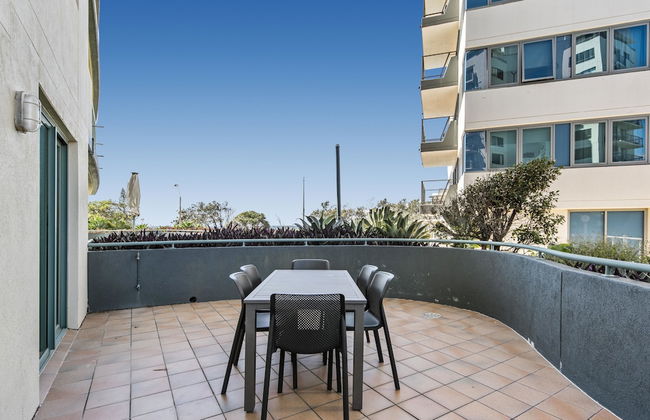
Key Largo Apartments
Sunshine Coast - Maroochydore - 3.5 km do centro
- 7 pessoas
- Ar-condicionado
- Aquecimento
- Terraço
- Piscina
- Estacionamento
- Elevador
- Varanda
- Tv
- Máquina de lavar roupa
- Churrasco
- Toalhas
- Lençóis
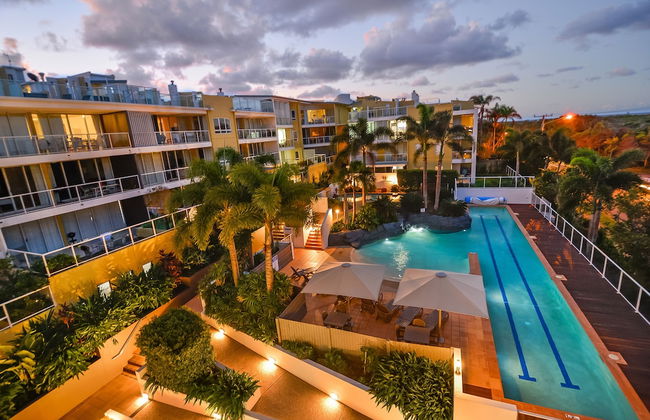
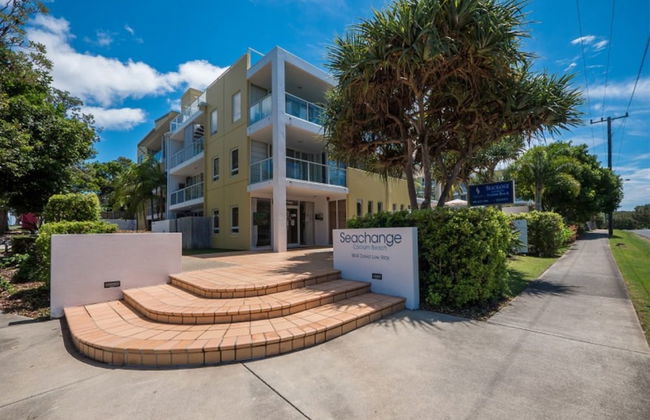

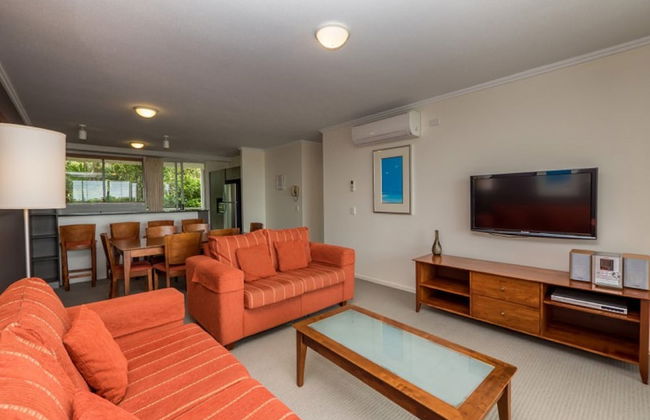

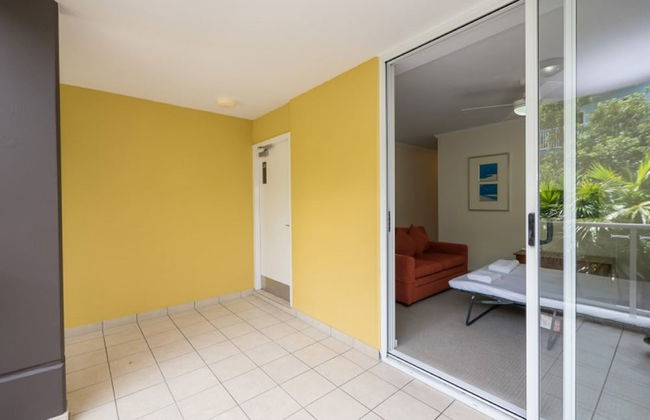


Seachange Coolum Beach
Sunshine Coast - Coolum Beach - 13.9 km do centro
- 122 M2
- 6 pessoas
- Ar-condicionado
- Aquecimento
- Terraço
- Piscina
- Estacionamento
- Elevador
- Varanda
- Jardim
- Tv
- Máquina de lavar roupa
- Churrasco
- Toalhas
- Lençóis