
252 Apartamentos em Tasmania


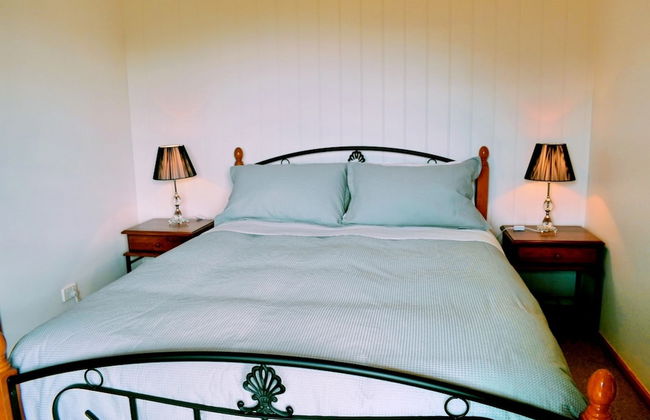
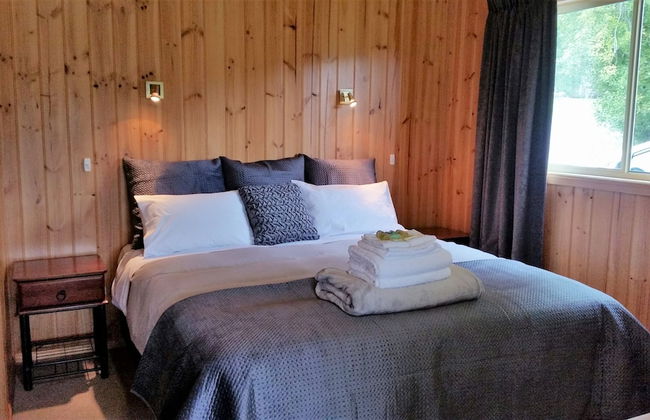
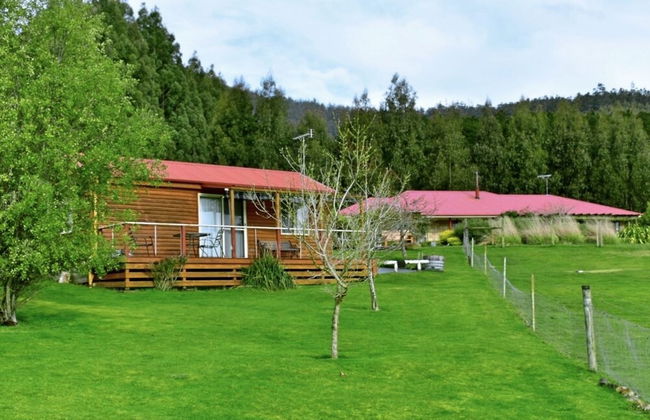
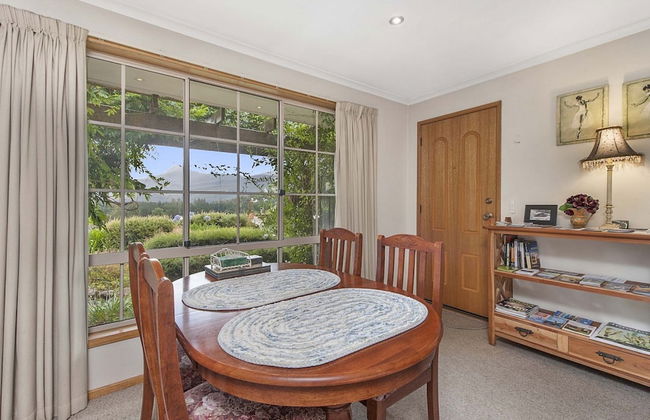
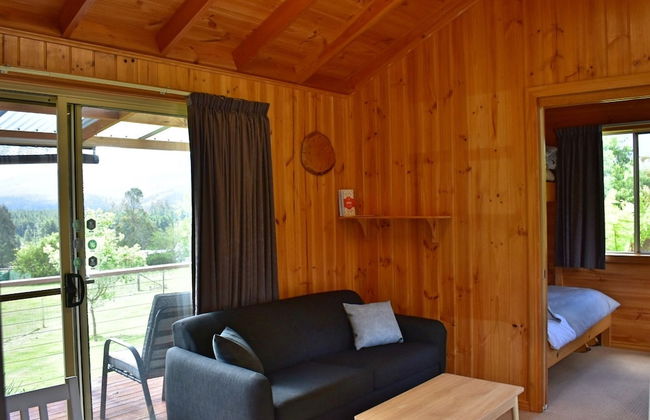
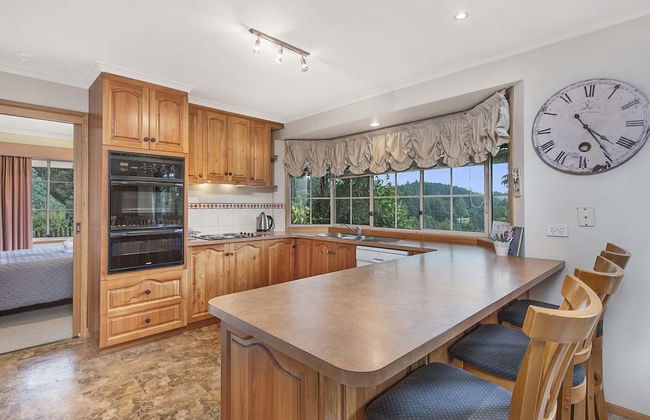
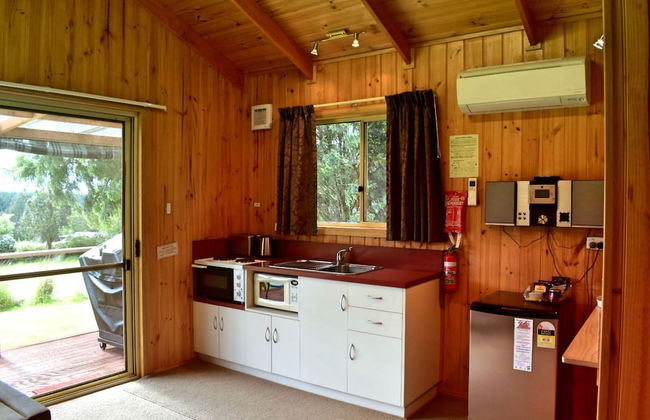
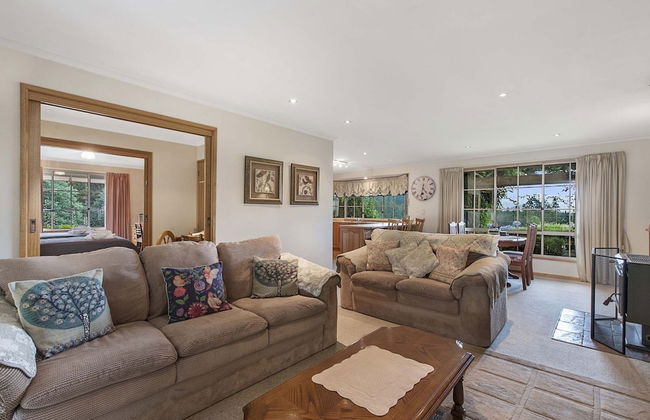
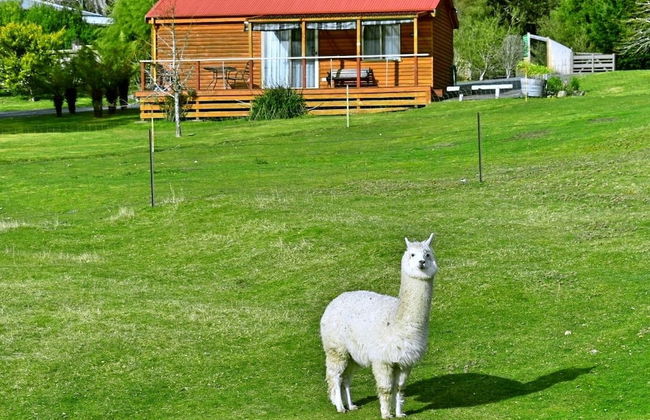
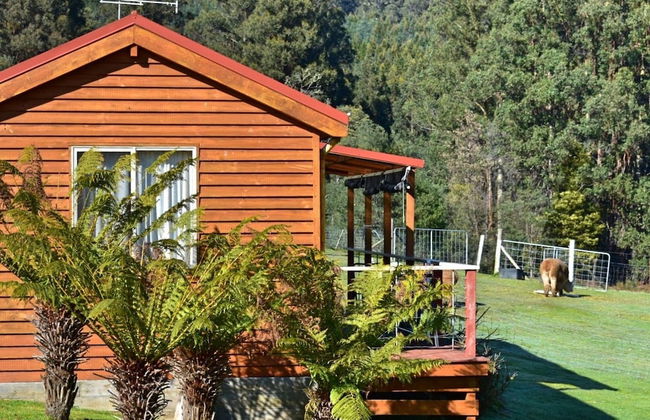
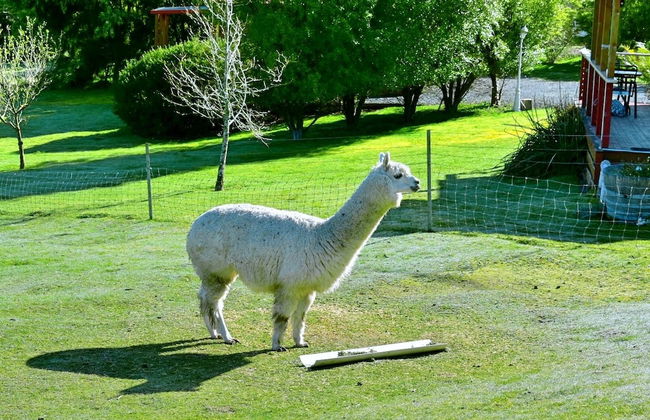
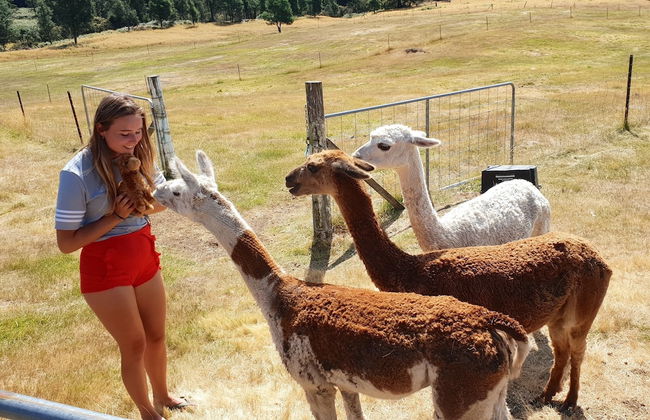
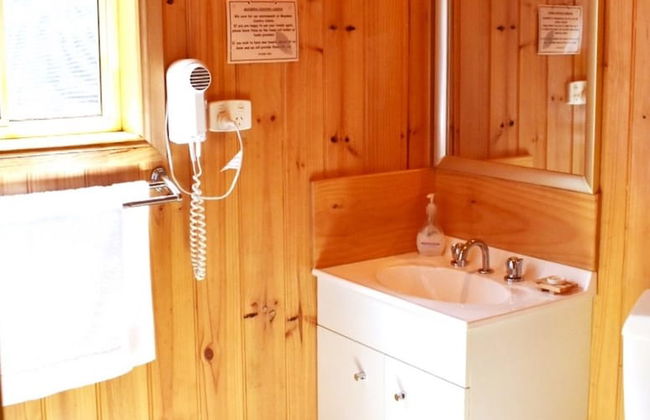
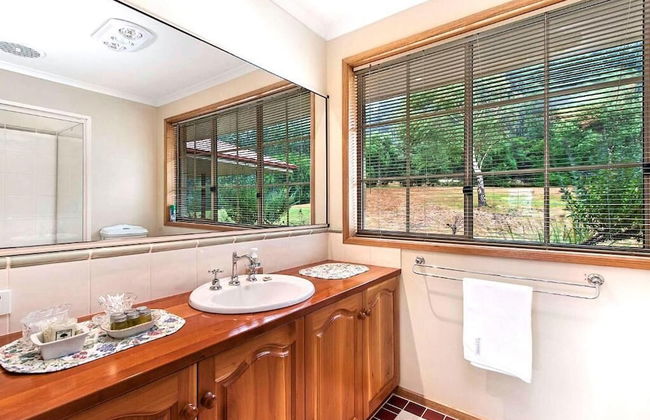
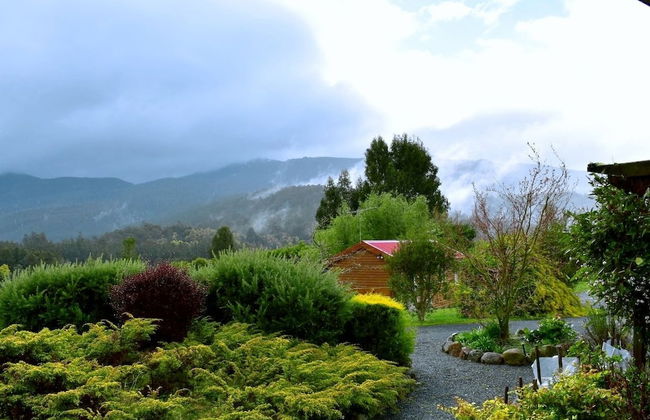
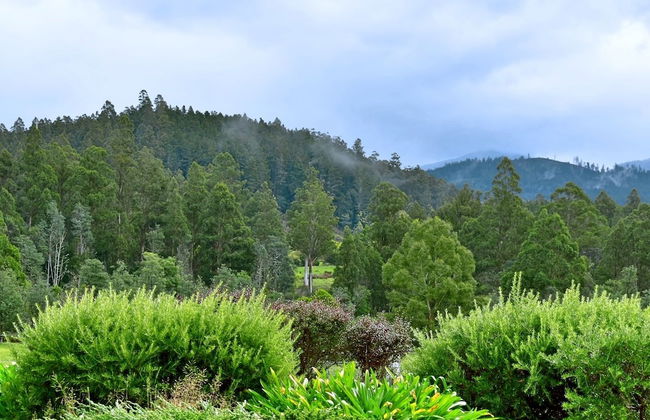
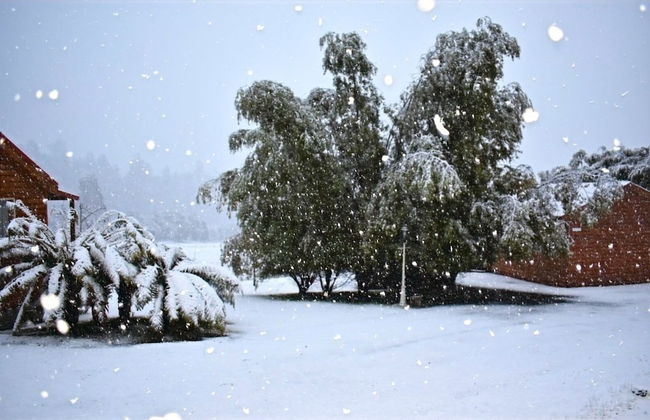
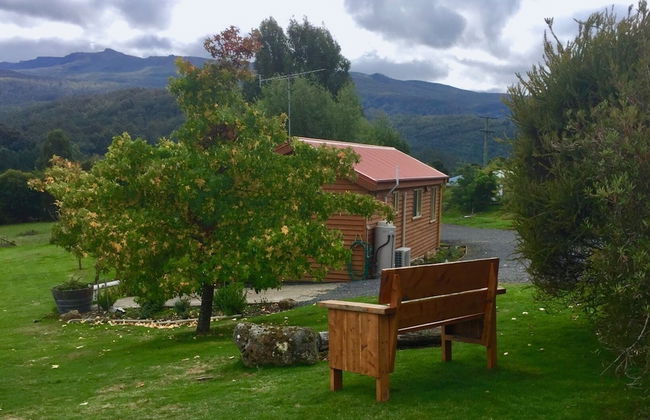
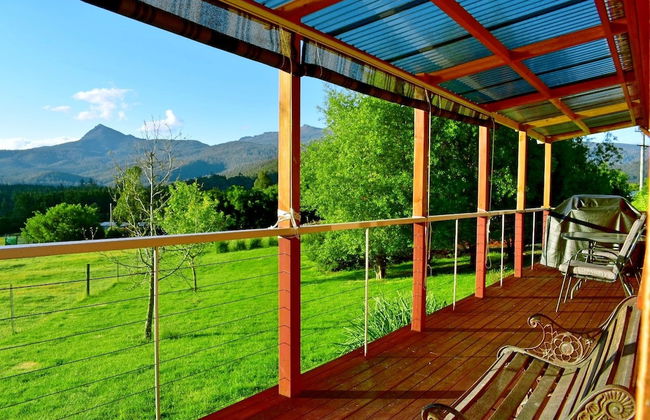
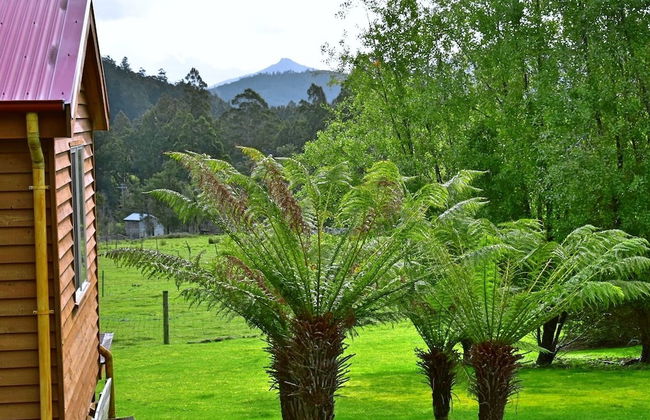
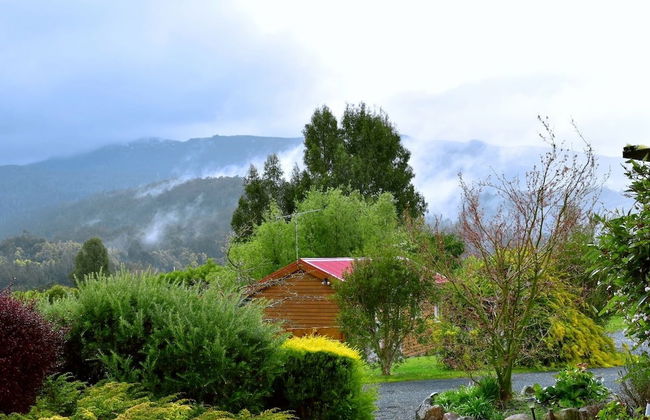
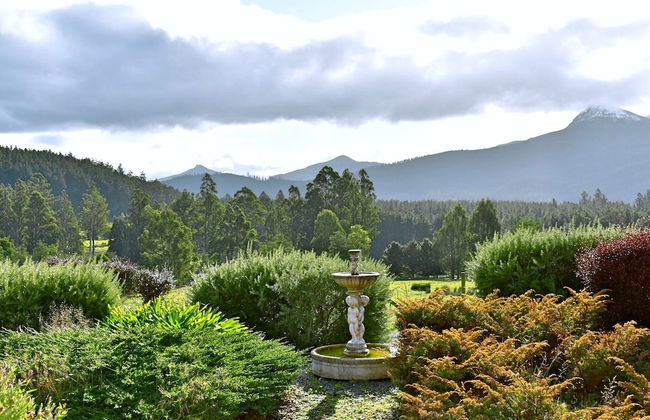
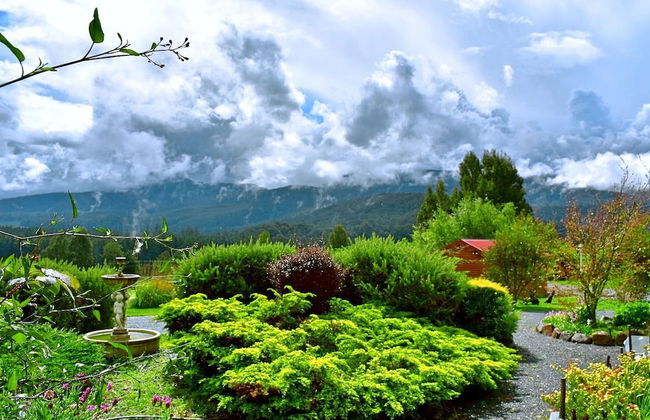
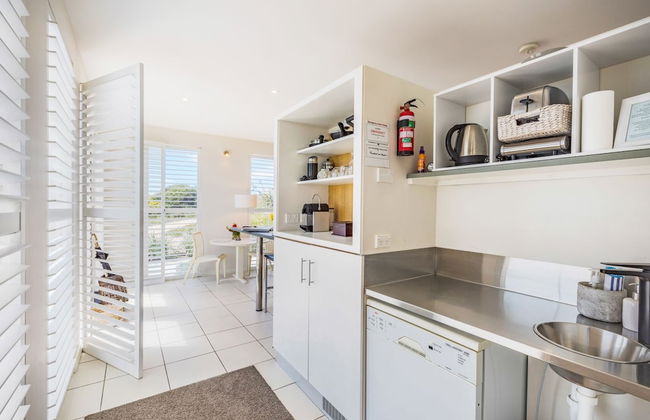
Woodbridge Hill Hideaway
Woodbridge
- 52 M2
- 2 pessoas
- Ar-condicionado
- Aquecimento
- Terraço
- Piscina
- Estacionamento
- Jardim
- Tv
- Máquina de lavar roupa
- Chaminé
- Churrasco
- Toalhas
43 avaliações


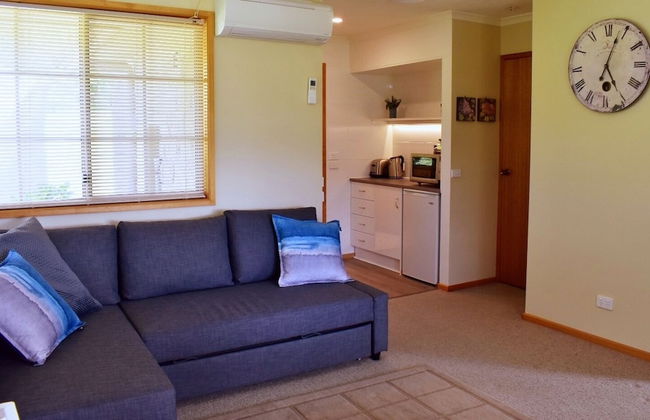
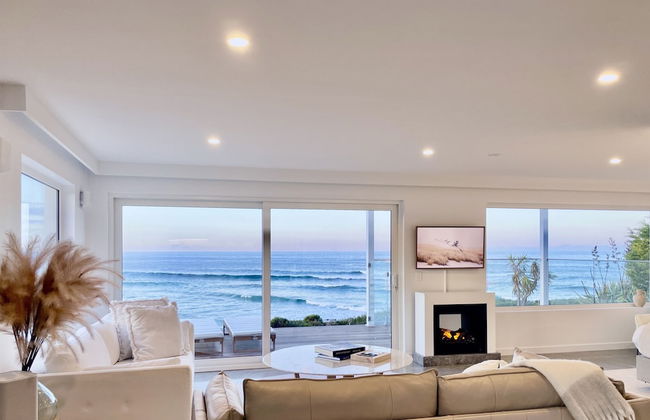
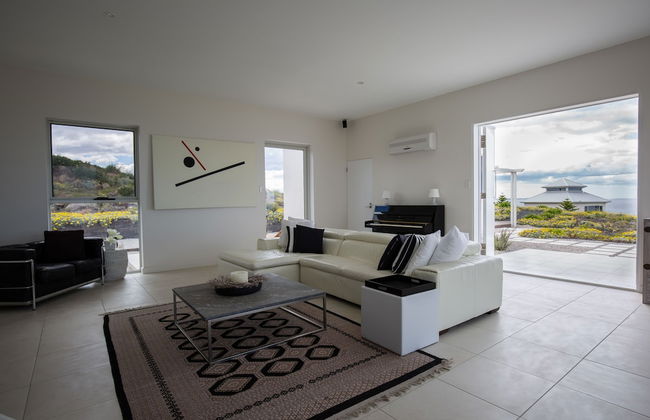
Sunrise at Penguin
Penguin - Penguin - 400 m do centro
- 16 M2
- 6 pessoas
- Ar-condicionado
- Aquecimento
- Terraço
- Estacionamento
- Jardim
- Tv
- Máquina de lavar roupa
- Churrasco
- Toalhas
- Lençóis
28 avaliações


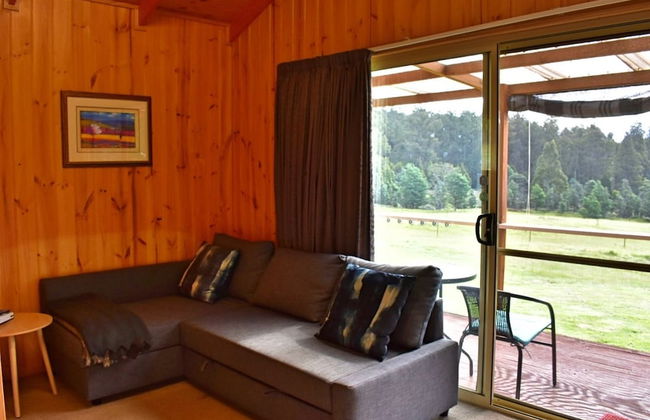
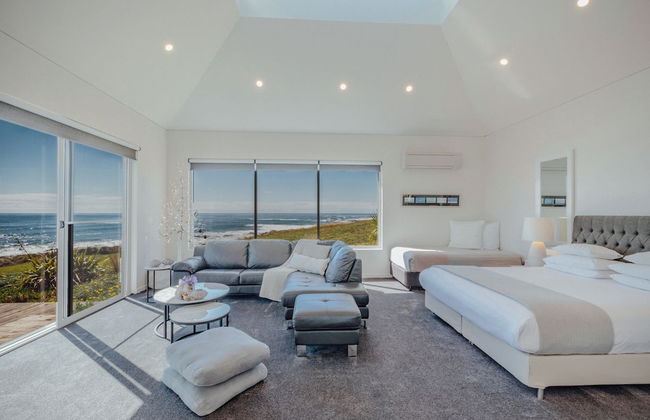
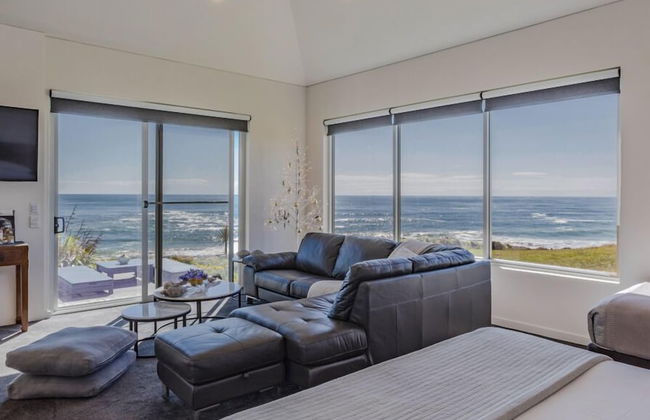
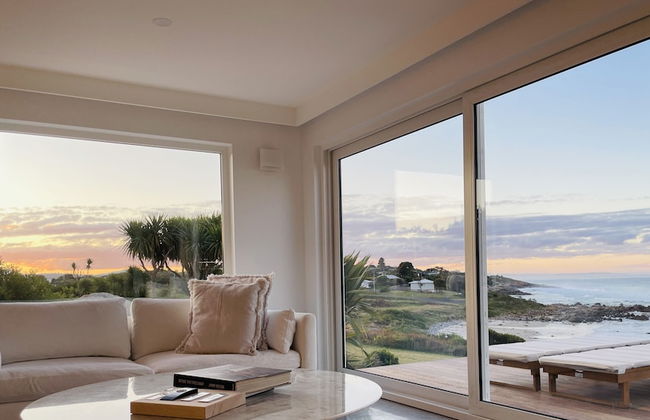
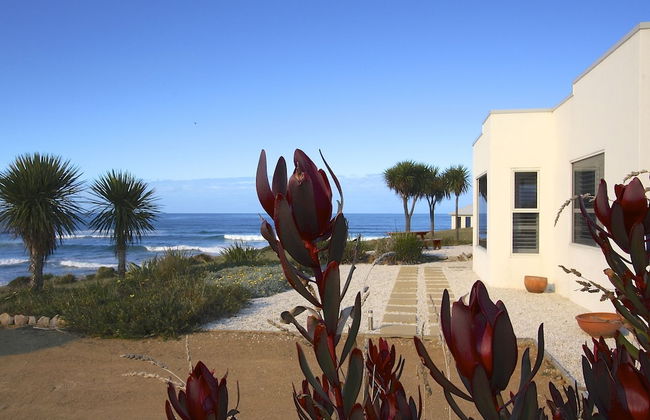
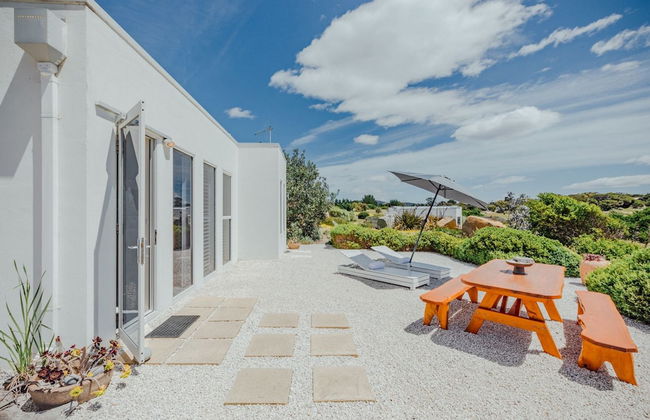
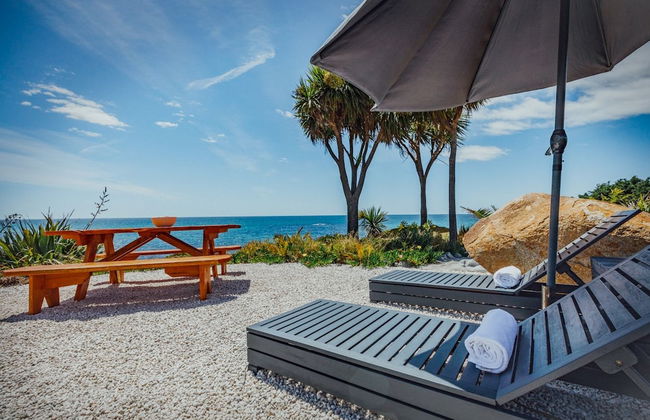
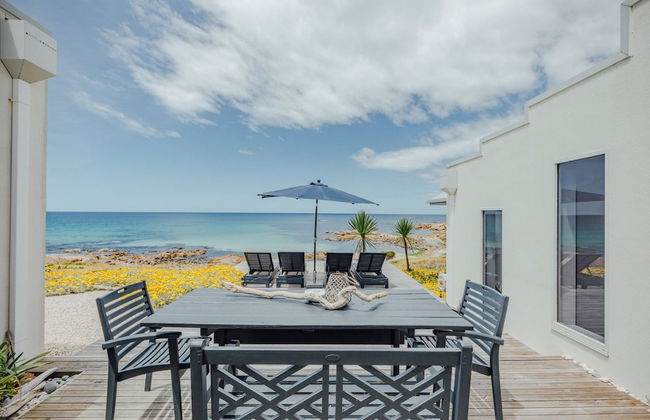
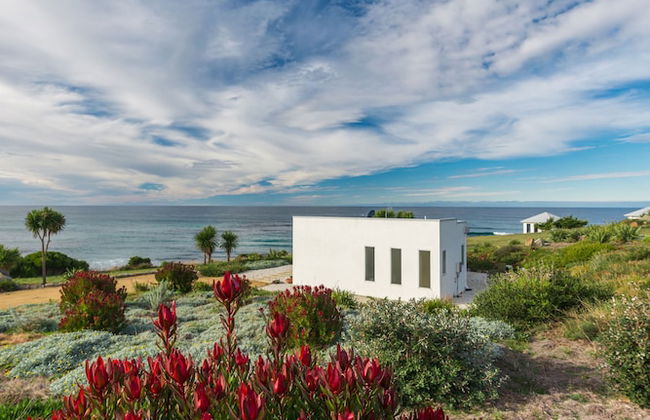
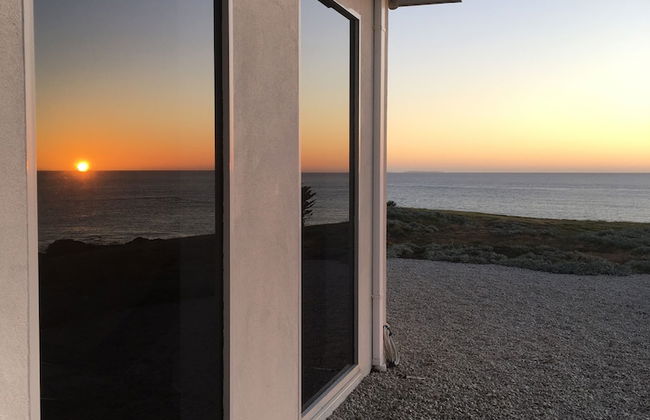
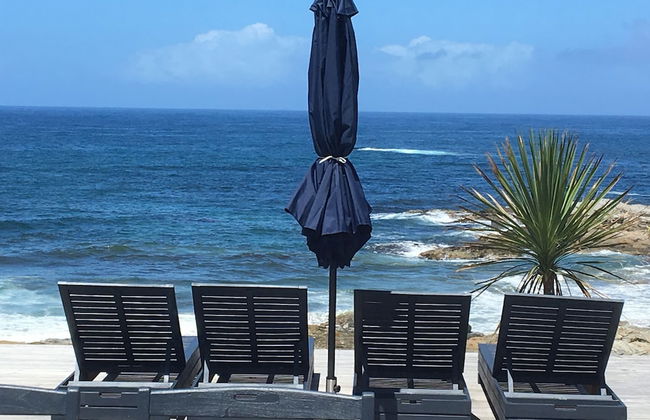
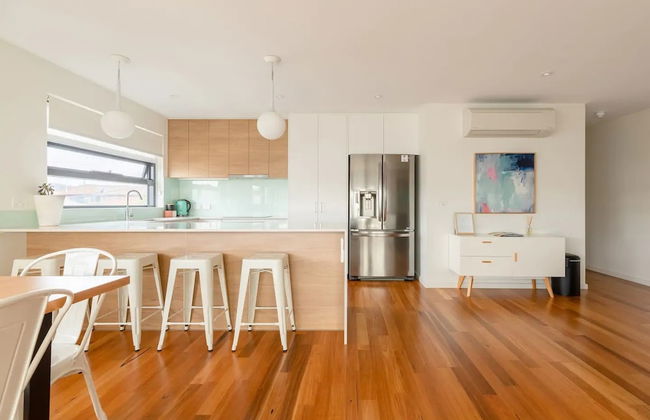
Cod Rock Point
Bicheno - Bicheno - 880 m do centro
- 370 M2
- 4 pessoas
- Ar-condicionado
- Aquecimento
- Terraço
- Estacionamento
- Varanda
- Jardim
- Tv
- Máquina de lavar roupa
- Churrasco
- Toalhas
- Lençóis
69 avaliações


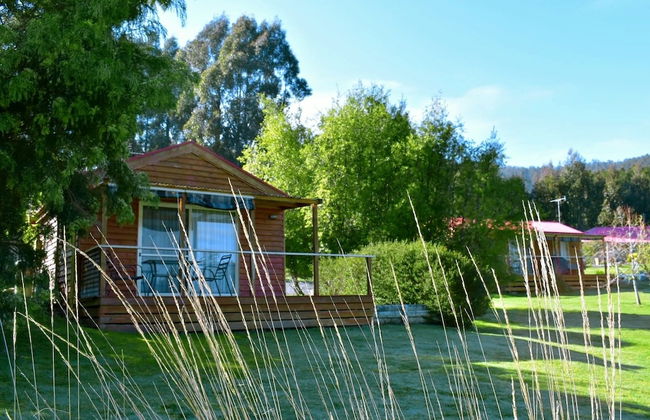
Lythgo's Row Colonial Cottages
Pontville - Pontville
- 2 pessoas
- Kitchenette
- Ar-condicionado
- Aquecimento
- Terraço
- Estacionamento
- Jardim
- Tv
- Chaminé
- Churrasco
- Toalhas
- Lençóis
15 avaliações


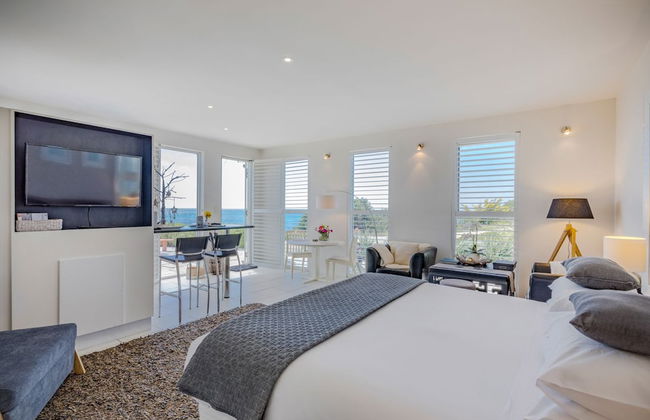
Adventure Bay Retreat
Adventure Bay
- 20 M2
- 6 pessoas
- Ar-condicionado
- Aquecimento
- Terraço
- Estacionamento
- Varanda
- Jardim
- Tv
- Máquina de lavar roupa
- Chaminé
- Churrasco
- Toalhas
26 avaliações


StudioAt10
Hobart - Sandy Bay - 2.7 km do centro
- 115 M2
- 3 pessoas
- Kitchenette
- Ar-condicionado
- Aquecimento
- Terraço
- Estacionamento
- Varanda
- Jardim
- Tv
- Máquina de lavar roupa
- Toalhas
- Lençóis
12 avaliações


Manna Hill Farm
West Kentish
- 60 M2
- 2 pessoas
- Aquecimento
- Terraço
- Estacionamento
- Varanda
- Jardim
- Tv
- Chaminé
- Churrasco
- Toalhas
- Lençóis
63 avaliações


Rocky Hills Retreat
Rocky Hills - Rocky Hills
- 15 M2
- 2 pessoas
- Aquecimento
- Terraço
- Varanda
- Jardim
- Tv
- Chaminé
- Churrasco
- Toalhas
25 avaliações


The Duck House
Burnie - Burnie - No centro
- 6 pessoas
- Ar-condicionado
- Aquecimento
- Terraço
- Estacionamento
- Jardim
- Tv
- Máquina de lavar roupa
- Chaminé
- Churrasco
- Toalhas
- Lençóis
95 avaliações


Ulverstone River Edge Apartments
West Ulverstone
- 125 M2
- 6 pessoas
- Ar-condicionado
- Aquecimento
- Terraço
- Estacionamento
- Varanda
- Jardim
- Tv
- Máquina de lavar roupa
- Churrasco
- Toalhas
- Lençóis
112 avaliações


Maydena Mountain Cabins
Maydena - Maydena - No centro
- 34 M2
- 3 pessoas
- Kitchenette
- Ar-condicionado
- Aquecimento
- Terraço
- Estacionamento
- Varanda
- Jardim
- Tv
- Churrasco
- Toalhas
- Lençóis
103 avaliações


Ulverstone Waterfront Apartments
West Ulverstone
- 4 pessoas
- Ar-condicionado
- Aquecimento
- Terraço
- Estacionamento
- Varanda
- Jardim
- Tv
- Máquina de lavar roupa
- Churrasco
- Toalhas
- Lençóis
144 avaliações


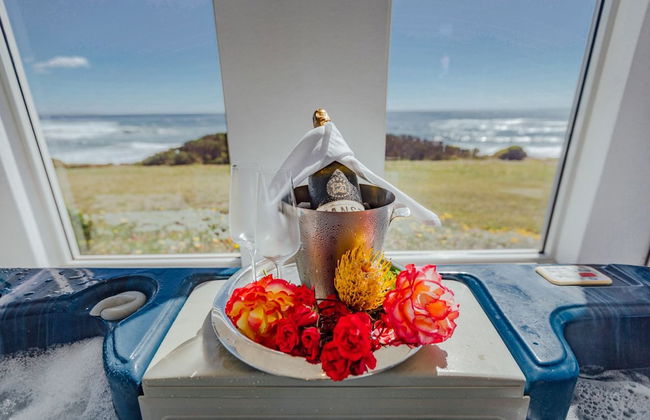


Saltwater Sunrise
Falmouth - No centro
- 240 M2
- 8 pessoas
- Kitchenette
- Ar-condicionado
- Aquecimento
- Terraço
- Estacionamento
- Jardim
- Tv
- Chaminé
- Churrasco
- Toalhas
- Lençóis
146 avaliações


Craggy Peaks Wilderness Cabins
Rossarden - 3.3 km do centro
- 30 M2
- 5 pessoas
- Ar-condicionado
- Aquecimento
- Terraço
- Estacionamento
- Varanda
- Jardim
- Tv
- Churrasco
- Toalhas
- Lençóis
75 avaliações


Jones On Wilson Boutique B&B
Burnie - Burnie - No centro
- 6 pessoas
- Kitchenette
- Ar-condicionado
- Aquecimento
- Terraço
- Estacionamento
- Elevador
- Varanda
- Tv
- Toalhas
- Lençóis
49 avaliações

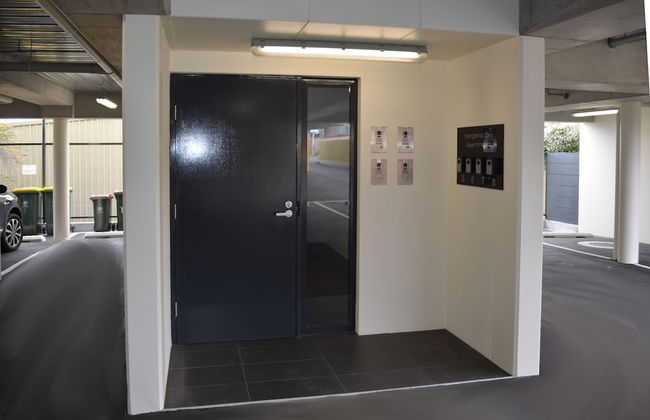


Kangaroo Bay Apartments
Hobart - Bellerive - 2.7 km do centro
- 180 M2
- 10 pessoas
- Ar-condicionado
- Aquecimento
- Terraço
- Estacionamento
- Elevador
- Varanda
- Tv
- Máquina de lavar roupa
- Toalhas
- Lençóis
120 avaliações


Salamanca Inn
Hobart - Battery Point - No centro
- 60 M2
- 6 pessoas
- Kitchenette
- Ar-condicionado
- Aquecimento
- Piscina
- Estacionamento
- Elevador
- Varanda
- Tv
- Máquina de lavar roupa
- Toalhas
- Lençóis
1427 avaliações


Harrison Grove
Forcett - 910 m do centro
- 36 M2
- 3 pessoas
- Kitchenette
- Ar-condicionado
- Aquecimento
- Estacionamento
- Varanda
- Jardim
- Tv
- Máquina de lavar roupa
- Churrasco
- Toalhas
- Lençóis
30 avaliações


City Retreat Hobart
Hobart - Hobart - 670 m do centro
- 109 M2
- 5 pessoas
- Ar-condicionado
- Aquecimento
- Estacionamento
- Tv
- Máquina de lavar roupa
- Toalhas
- Lençóis
33 avaliações


Bay View Villas
Hobart - West Hobart - 1.5 km do centro
- 112 M2
- 7 pessoas
- Ar-condicionado
- Aquecimento
- Terraço
- Piscina
- Estacionamento
- Elevador
- Varanda
- Jardim
- Tv
- Churrasco
- Toalhas
- Lençóis
1249 avaliações