


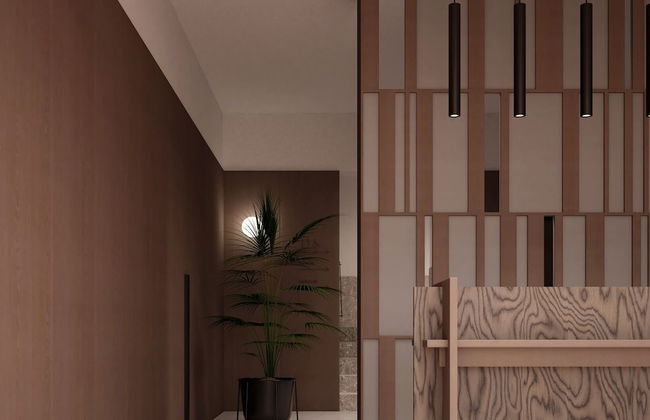


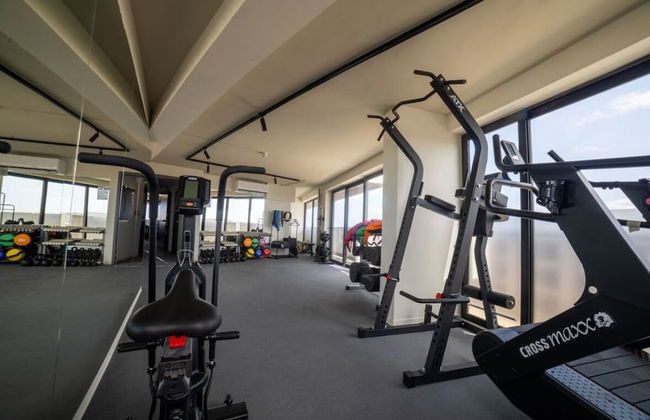


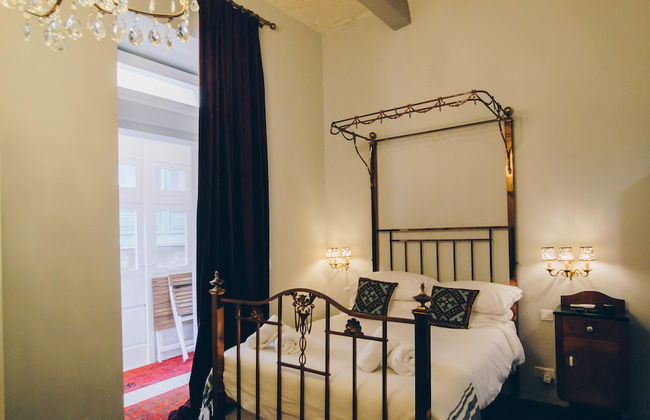
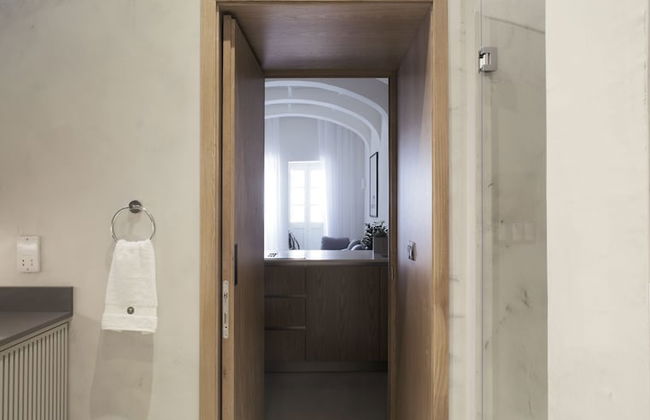
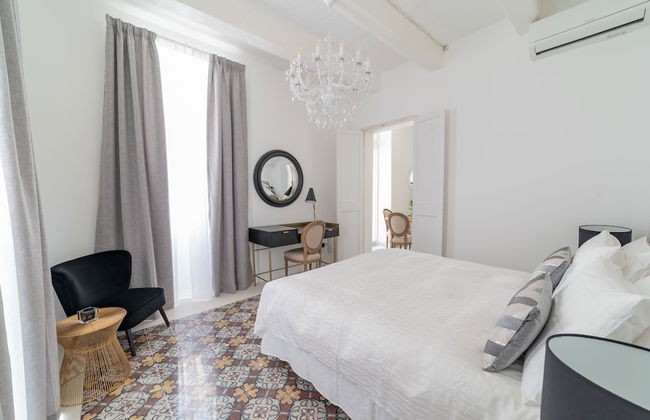
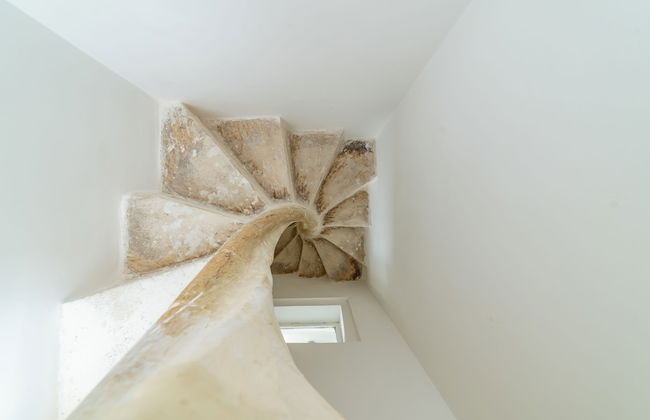
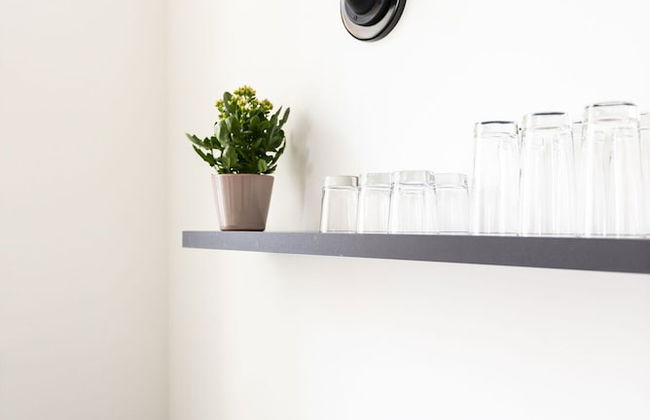
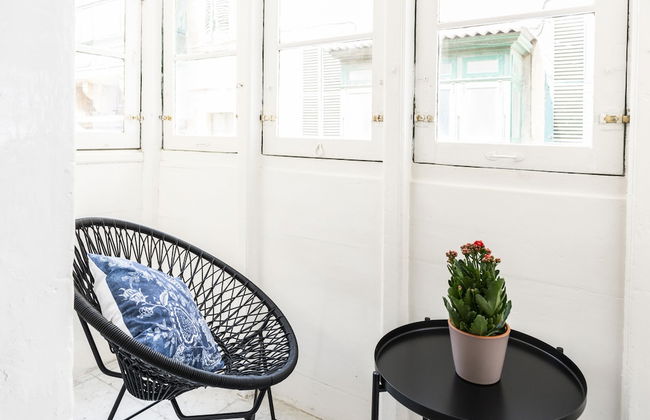
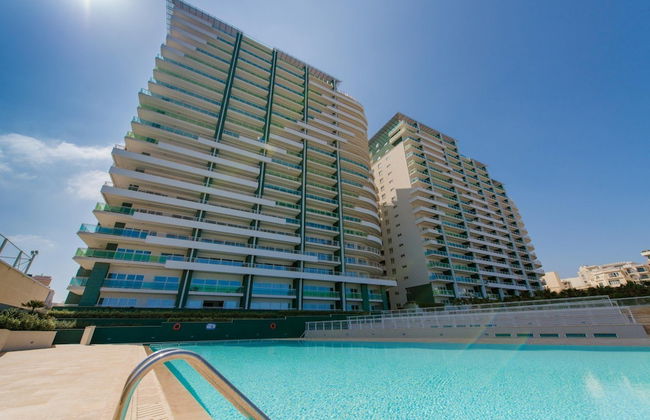
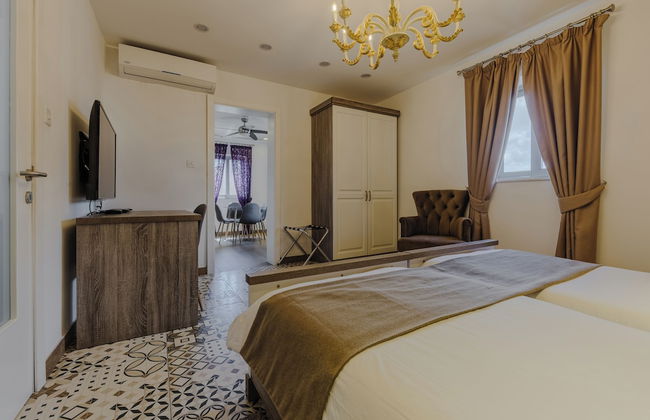
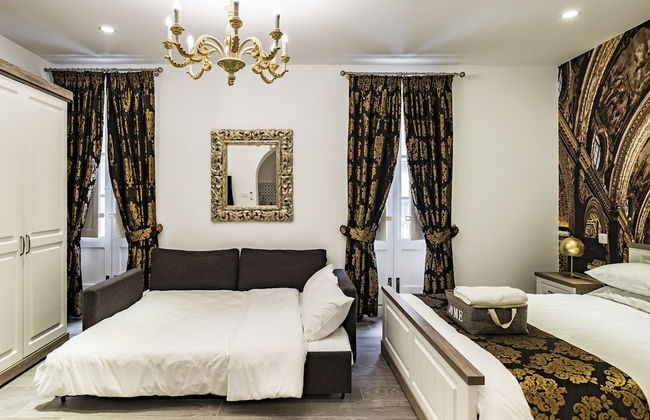
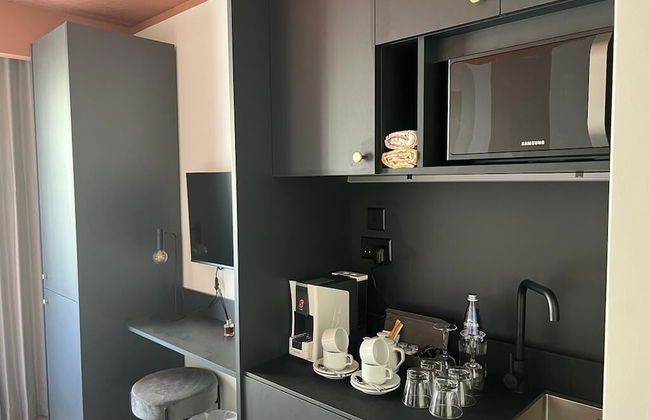
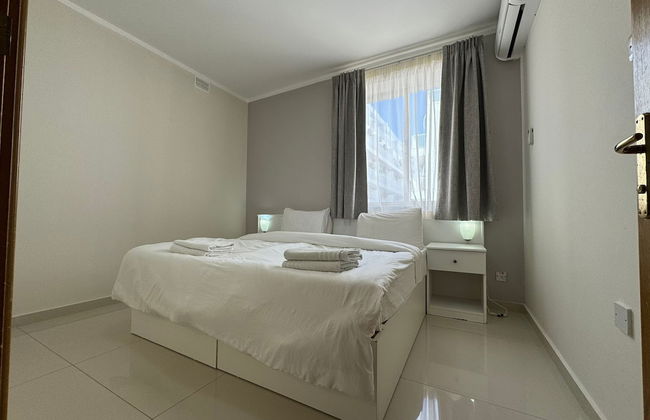
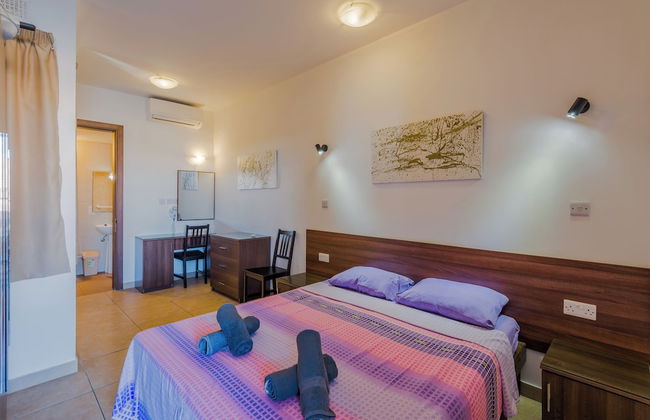
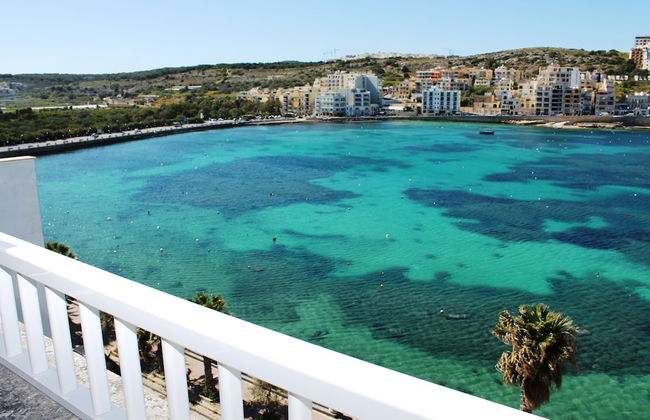
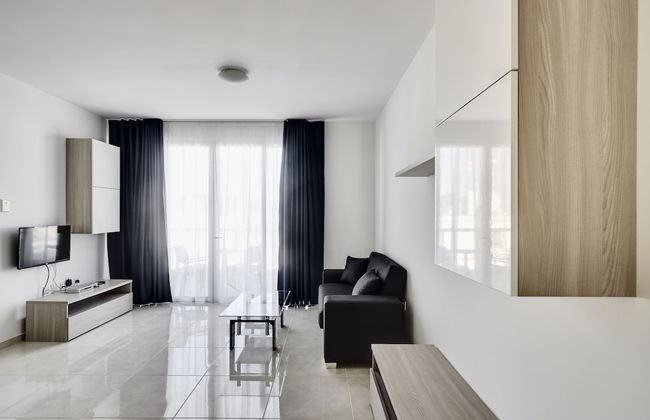
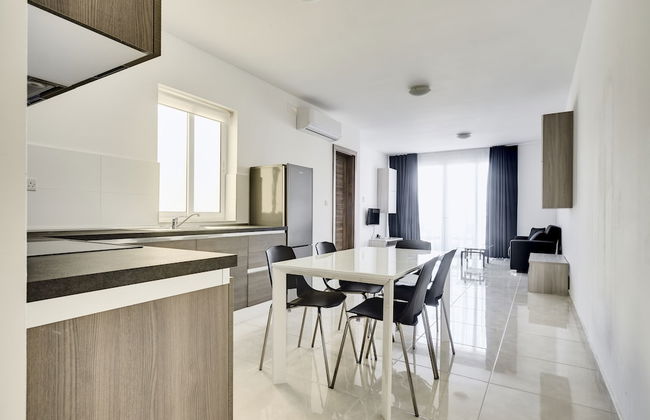
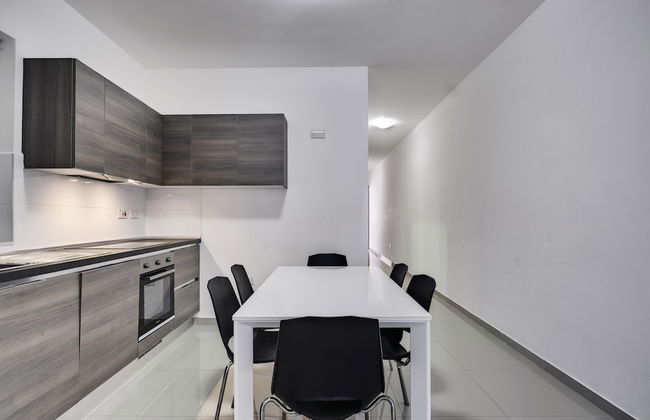
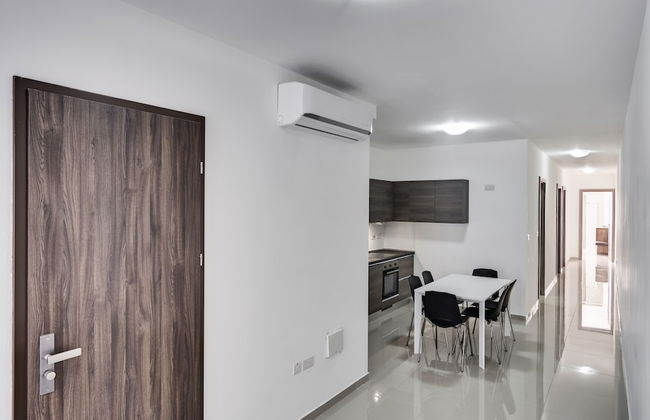
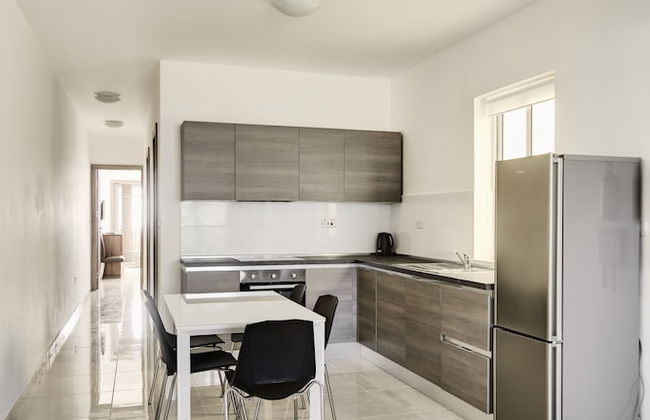
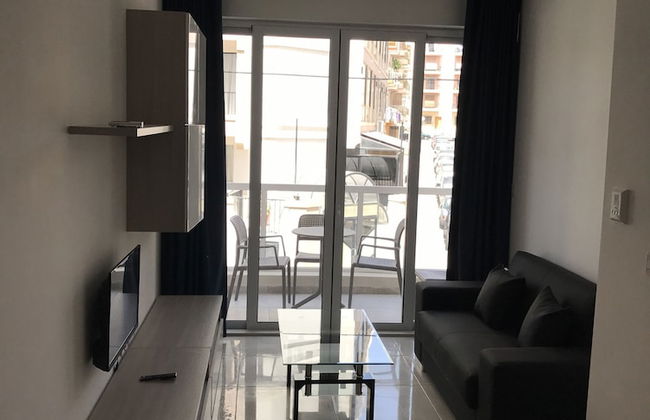
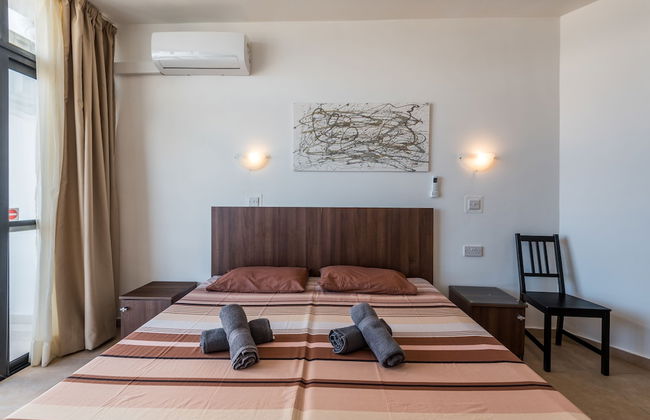
Park Heights by the Warren Collection
Msida - Msida
- 4 pessoas
- Ar-condicionado
- Aquecimento
- Terraço
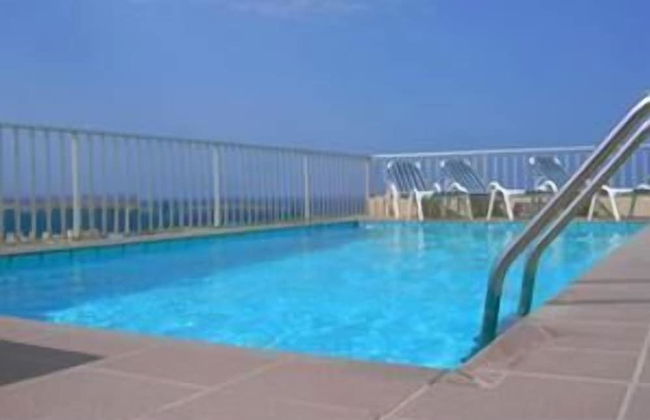
- Piscina
- Estacionamento
- Elevador
- Varanda
- Tv
- Toalhas
- Lençóis


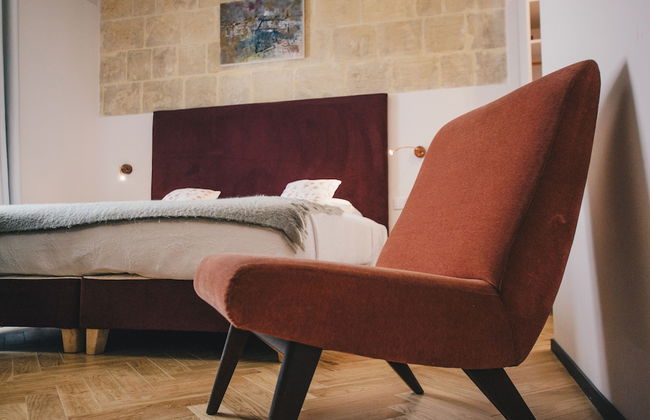


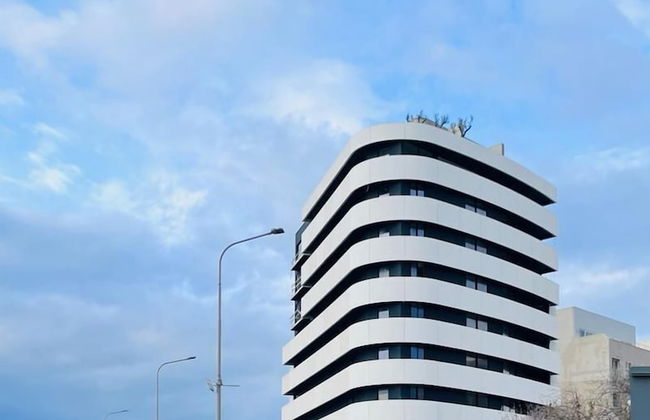
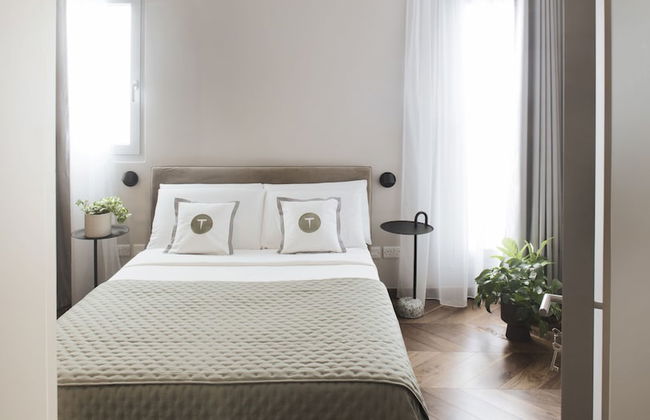
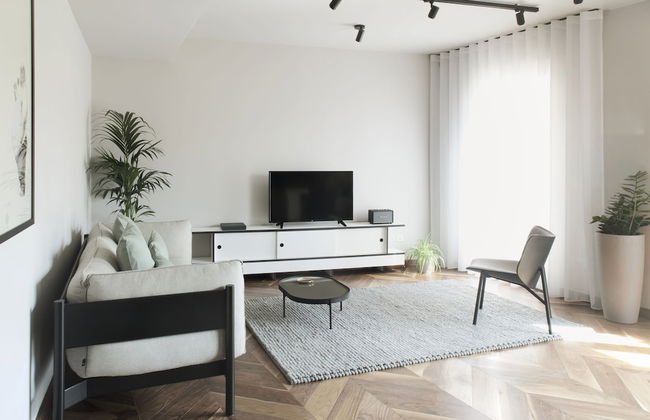
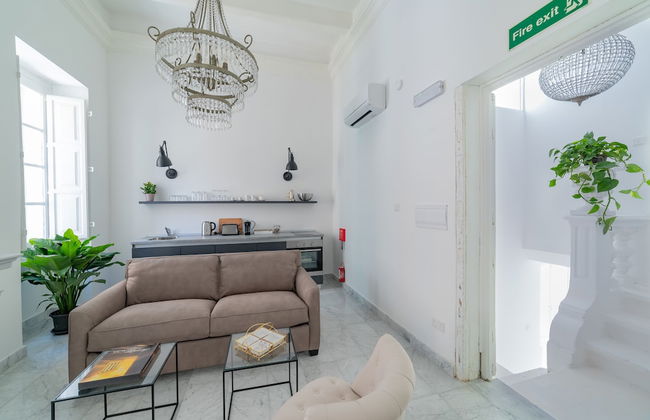
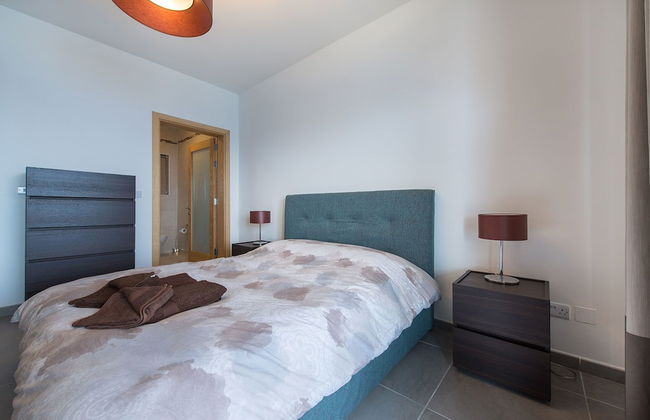
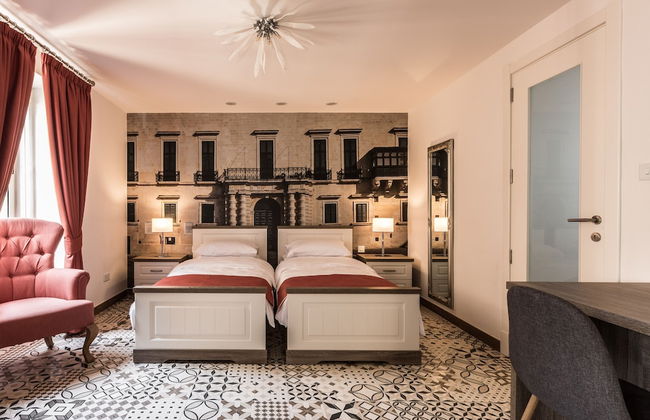
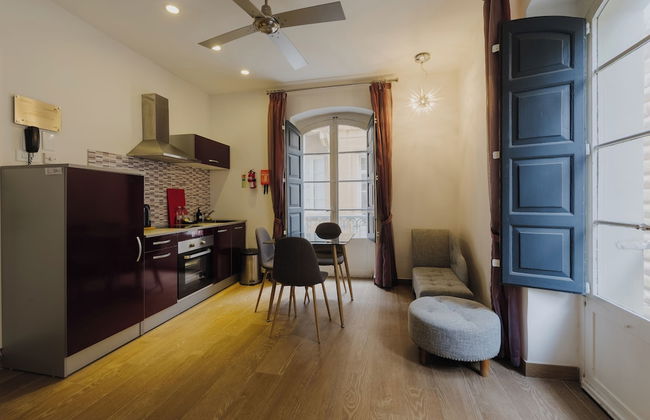
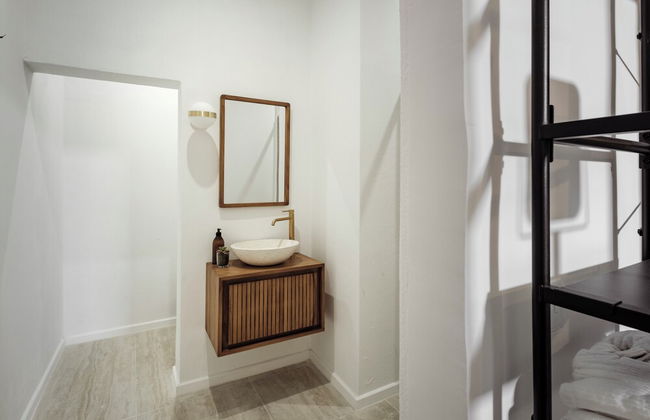
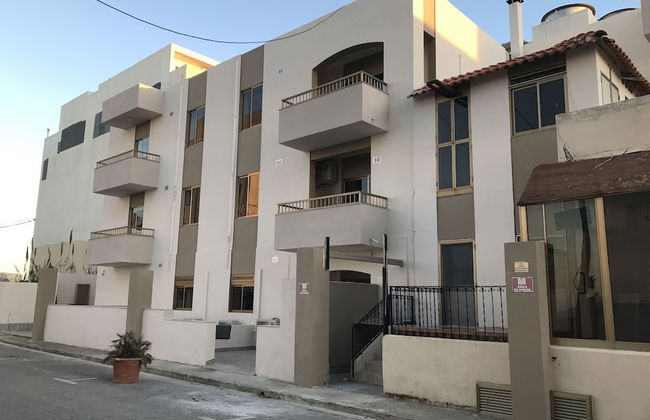
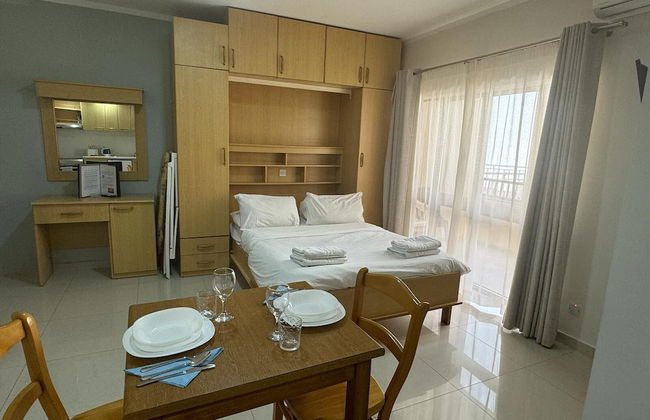
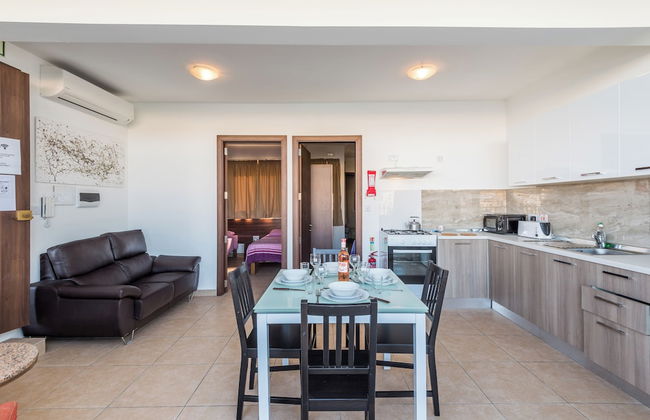
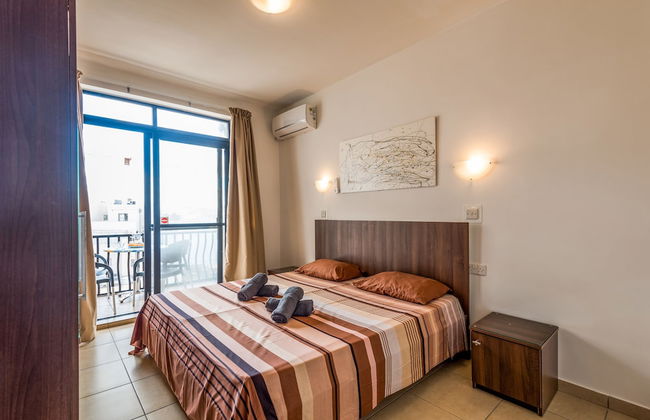
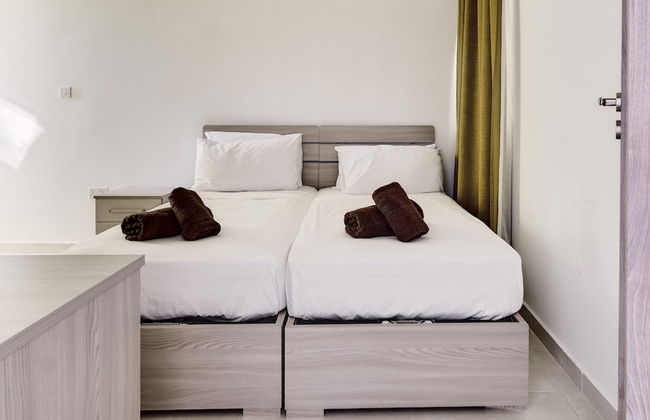
Sally Port Suites
Valletta - Valletta
- 25 M2
- 2 pessoas
- Kitchenette
- Ar-condicionado
- Aquecimento
- Terraço
- Tv
- Toalhas
- Lençóis


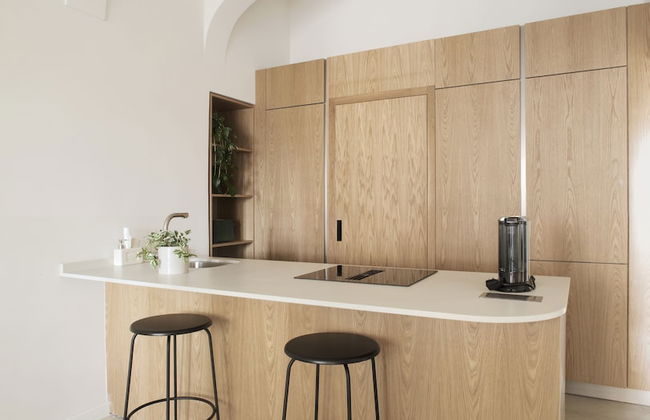
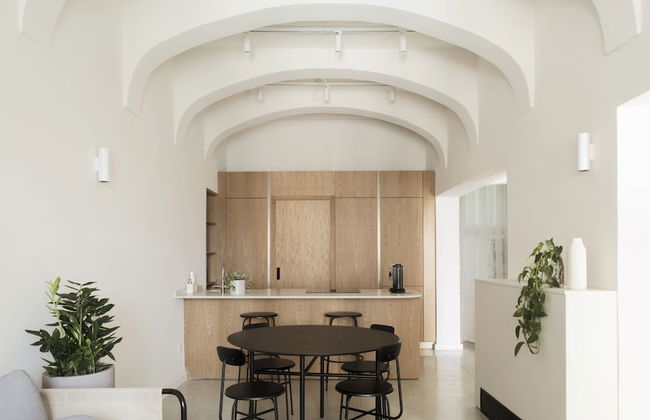


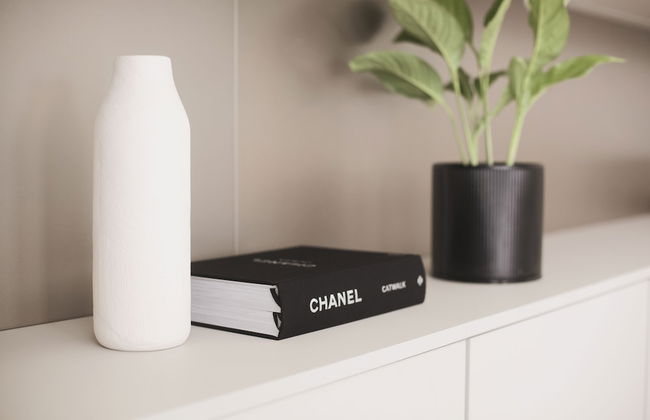


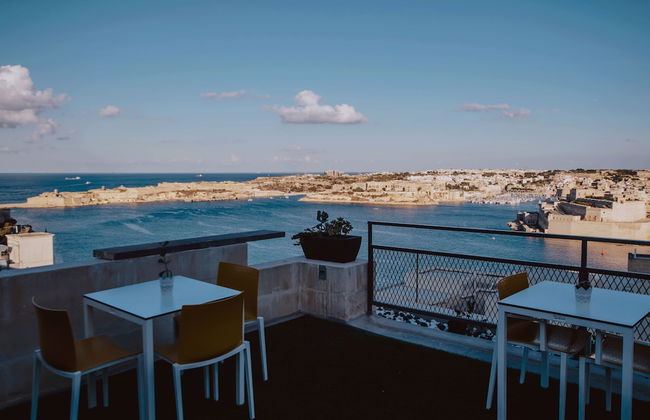
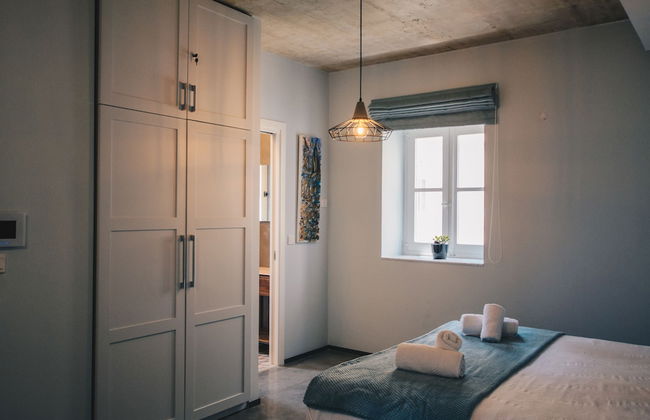
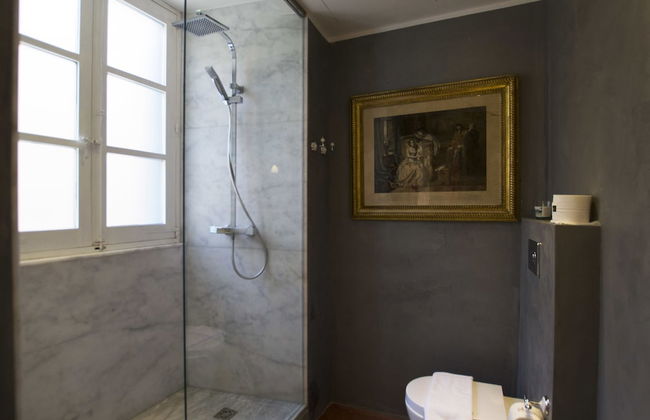
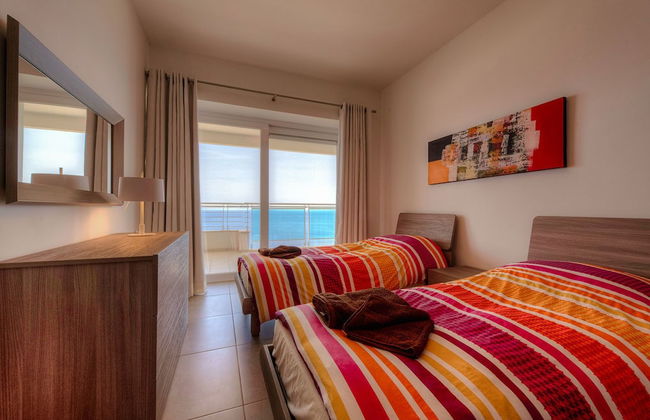
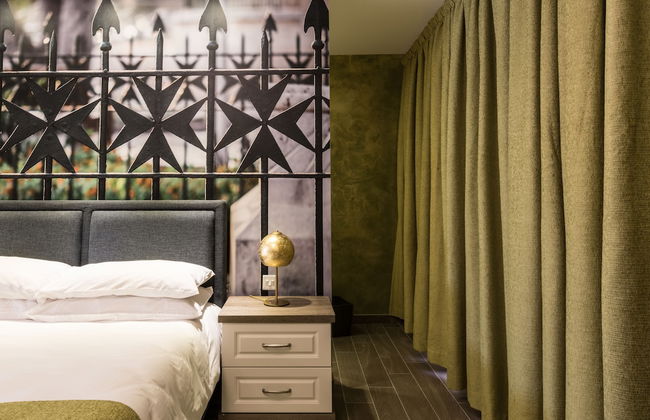
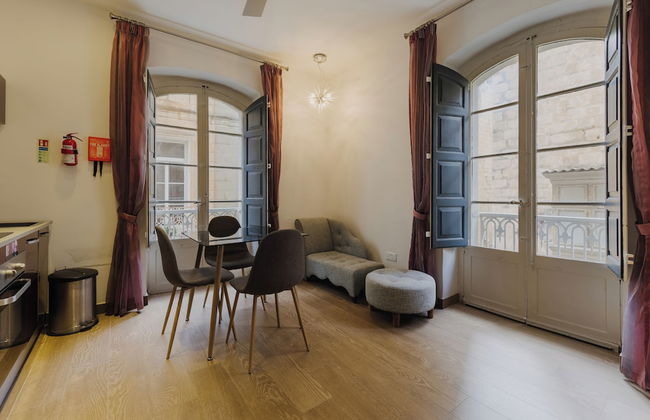
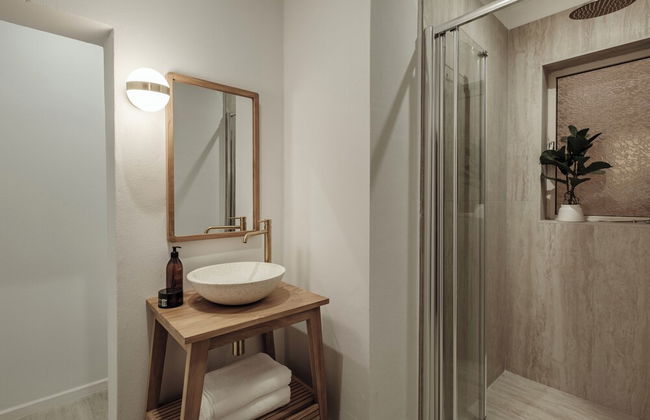
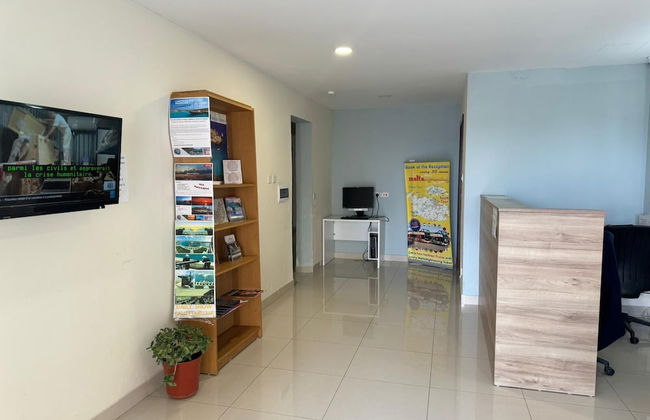
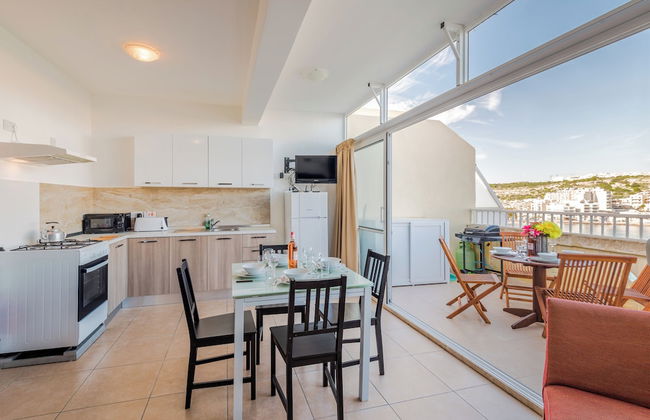
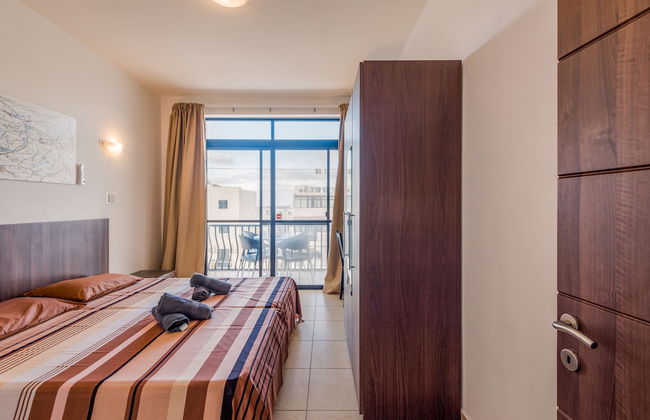
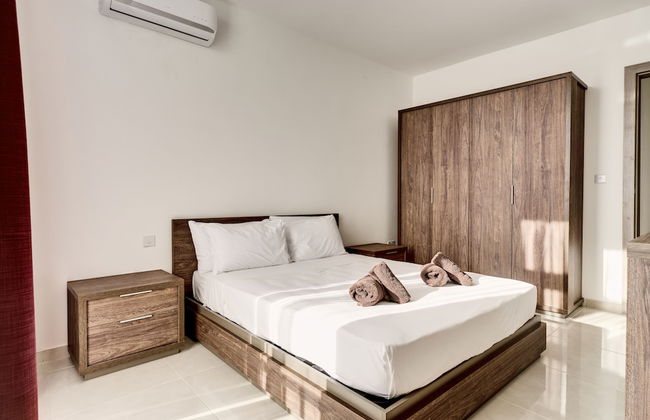
Trabuxu Boutique Living
Valletta - Valletta
- 300 M2
- 4 pessoas
- Ar-condicionado
- Aquecimento
- Terraço
- Piscina
- Elevador
- Varanda
- Tv
- Máquina de lavar roupa
- Toalhas
- Lençóis


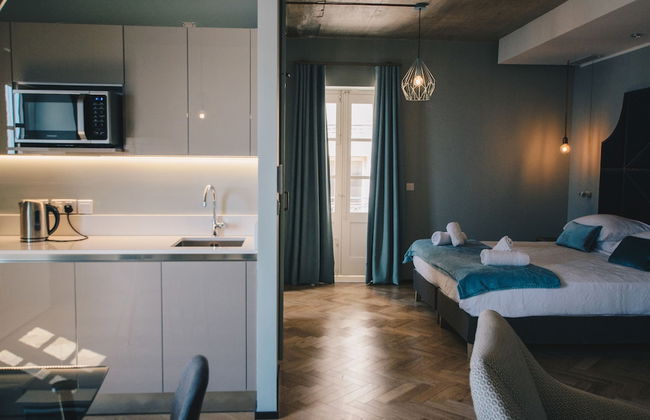
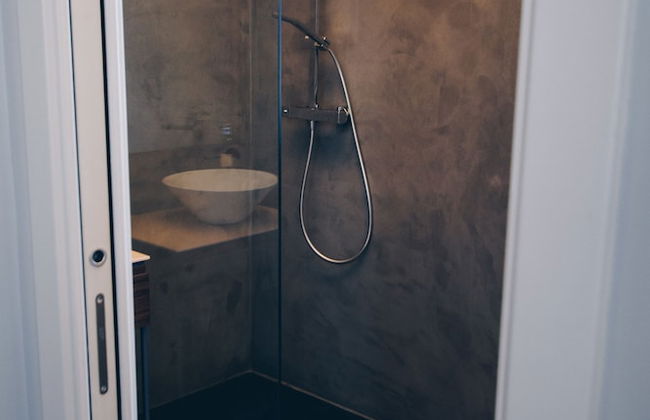
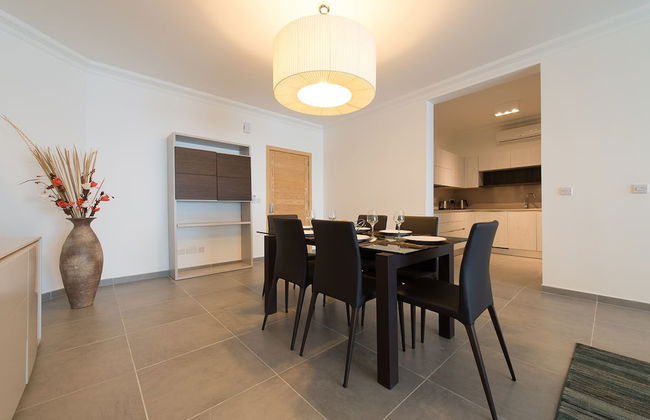
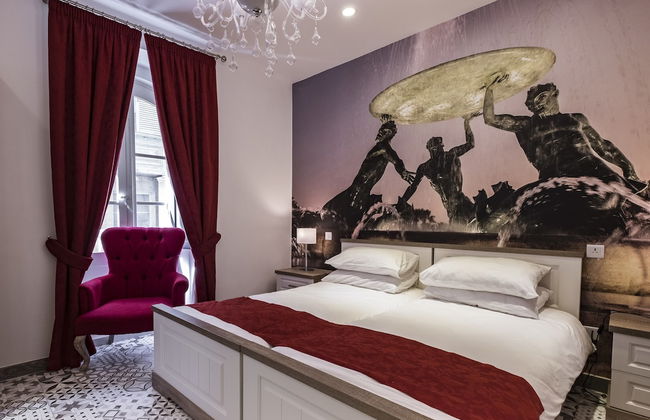
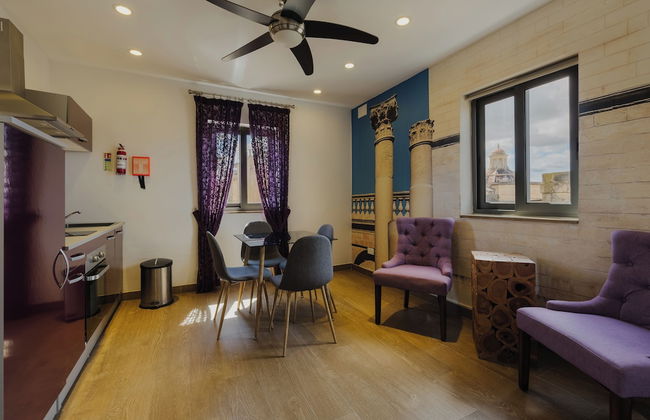
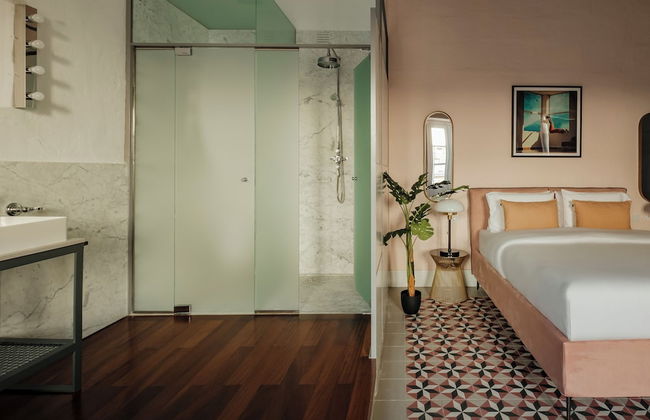
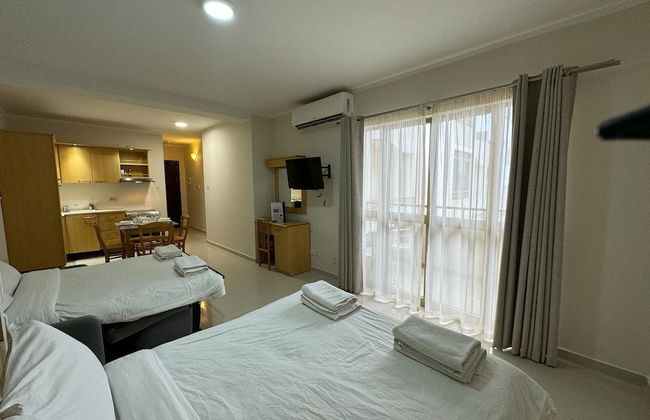
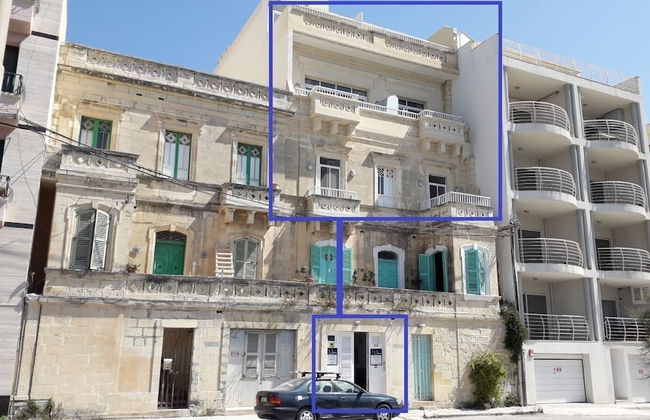
Carmelita
Valletta - Valletta
- 55 M2
- 4 pessoas
- Kitchenette
- Ar-condicionado
- Aquecimento
- Tv
- Toalhas


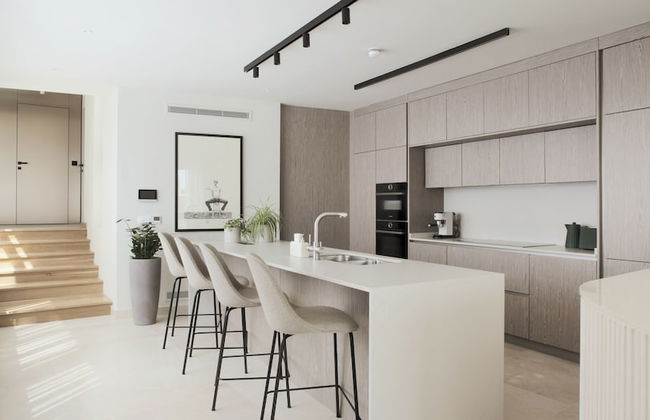
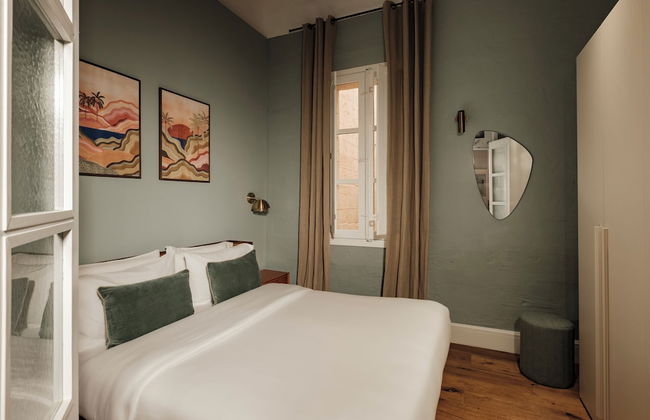
Three Cities Apartments
Bormla - Bormla
- 63 M2
- 2 pessoas
- Ar-condicionado
- Aquecimento
- Terraço
- Estacionamento
- Tv
- Máquina de lavar roupa
- Toalhas
- Lençóis


StiLLel Retreat
Saint Paul's Bay - Saint Paul's Bay
- 50 M2
- 5 pessoas
- Ar-condicionado
- Aquecimento
- Terraço
- Tv
- Máquina de lavar roupa
- Toalhas
- Lençóis


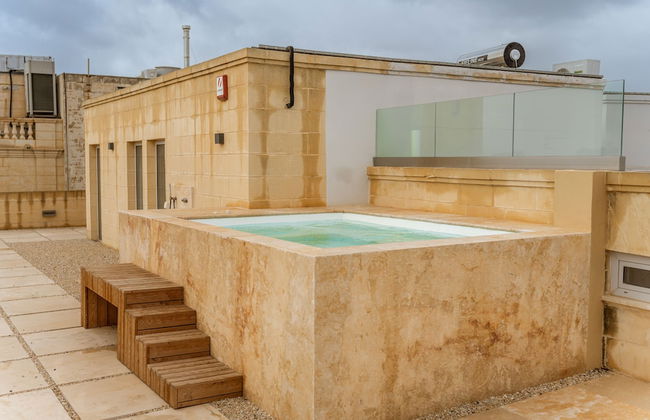
Seafront Luxury Apartment Incl Pool
- 4 pessoas
- Ar-condicionado
- Aquecimento
- Terraço
- Piscina
- Estacionamento
- Elevador
- Varanda
- Tv
- Máquina de lavar roupa
- Toalhas
- Lençóis


Jean De Valette Boutique Living
Valletta - Valletta
- 45 M2
- 4 pessoas
- Kitchenette
- Ar-condicionado
- Aquecimento
- Terraço
- Elevador
- Varanda
- Tv
- Máquina de lavar roupa
- Toalhas
- Lençóis


Ellul Living
Floriana - Floriana
- 100 M2
- 4 pessoas
- Aquecimento
- Terraço
- Tv
- Máquina de lavar roupa
- Toalhas
- Lençóis


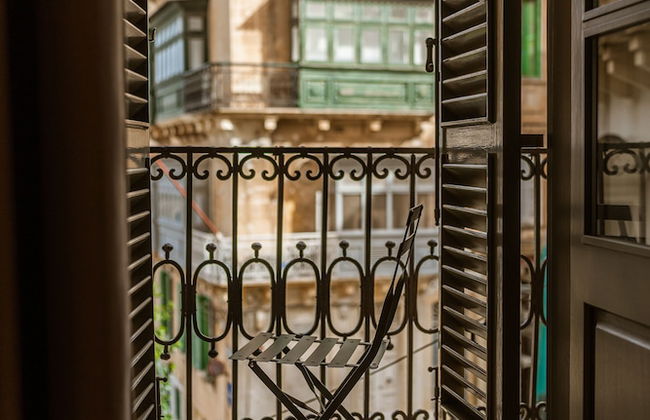
136 Old Bakery
Valletta - Valletta
- 55 M2
- 2 pessoas
- Kitchenette
- Ar-condicionado
- Aquecimento
- Elevador
- Tv
- Toalhas
- Lençóis


Blue Harbour 2 by Getaways Malta
- 100 M2
- 9 pessoas
- Ar-condicionado
- Aquecimento
- Terraço
- Estacionamento
- Elevador
- Tv
- Máquina de lavar roupa
- Churrasco
- Toalhas
- Lençóis


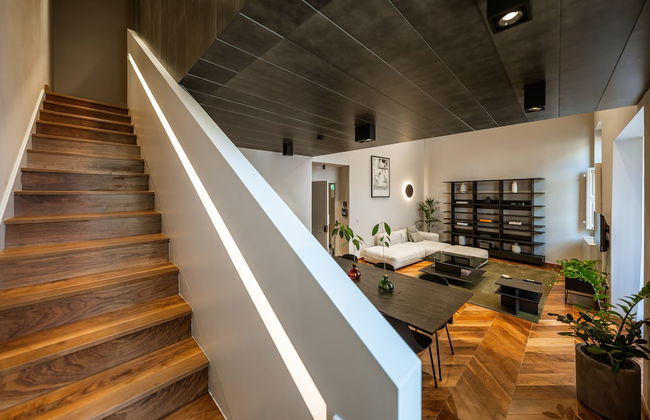
Eleven by Warren Collection
Sliema - Sliema
- 3 pessoas
- Ar-condicionado
- Piscina
- Elevador
- Varanda
- Tv
- Toalhas
- Lençóis


Triton
- 40 M2
- 6 pessoas
- Ar-condicionado
- Aquecimento
- Terraço
- Estacionamento
- Elevador
- Varanda
- Tv
- Toalhas


Blue Harbour – Seafront Self-Catering Holiday Penthouse – St Paul’s Bay
- 75 M2
- 4 pessoas
- Ar-condicionado
- Aquecimento
- Terraço
- Estacionamento
- Elevador
- Varanda
- Tv
- Máquina de lavar roupa
- Churrasco
- Toalhas
- Lençóis


Seashells Self Catering Apartment by Getaways Malta
- 71 M2
- 5 pessoas
- Ar-condicionado
- Aquecimento
- Terraço
- Estacionamento
- Elevador
- Varanda
- Tv
- Máquina de lavar roupa
- Toalhas
- Lençóis


The Village Apartments
- 110 M2
- 6 pessoas
- Ar-condicionado
- Aquecimento
- Estacionamento
- Varanda
- Tv
- Máquina de lavar roupa
- Toalhas
- Lençóis


Seashells 2 bedroom Apartment with sunny terrace with stunning panoramic sea views by Getaways Malta
Saint Paul's Bay - Saint Paul's Bay
- 63 M2
- 5 pessoas
- Ar-condicionado
- Aquecimento
- Terraço
- Estacionamento
- Elevador
- Tv
- Máquina de lavar roupa
- Churrasco
- Toalhas
- Lençóis


Art Deco Apartment in Central Sliema
- 100 M2
- 6 pessoas
- Ar-condicionado
- Aquecimento
- Terraço
- Estacionamento
- Elevador
- Tv
- Máquina de lavar roupa
- Toalhas
- Lençóis


Islet Seafront Apartment Corner Terrace
Saint Paul's Bay - Saint Paul's Bay
- 50 M2
- 4 pessoas
- Ar-condicionado
- Aquecimento
- Terraço
- Estacionamento
- Elevador
- Varanda
- Tv
- Máquina de lavar roupa
- Toalhas
- Lençóis
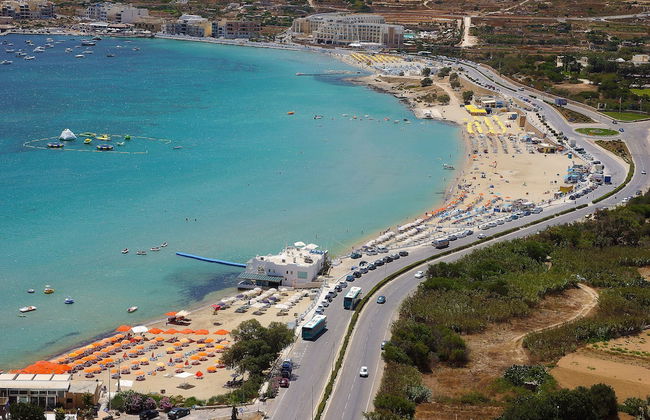
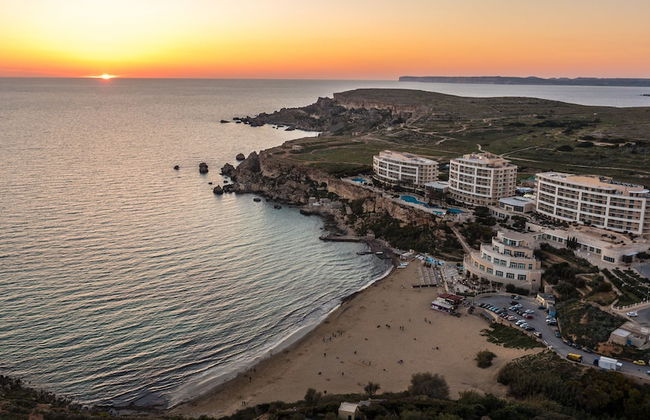
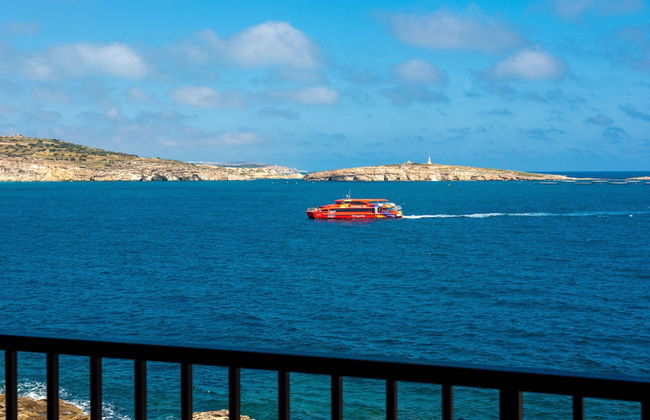
Malta é uma pequena ilha do Mediterrâneo situada ao sul de Sicilia e ao norte da África, o que lhe proporciona um clima caloroso e perfeito para desfrutar das tuas férias de verão. A ilha tem tudo, desde história e cultura até lugares de ócio e de vida noturna, além de uma paisagem espetacular e incríveis praias. Aluga apartamentos em Malta e descubra uma ilha mágica que te fascinará.
O que não perder em Malta
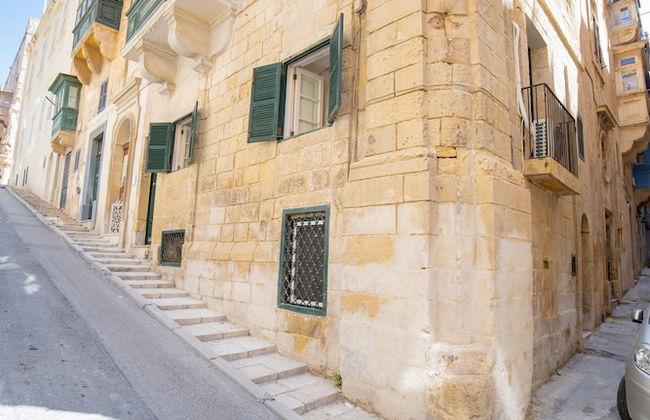
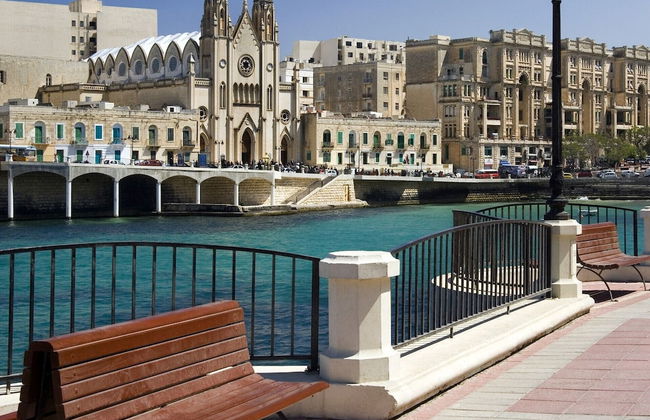
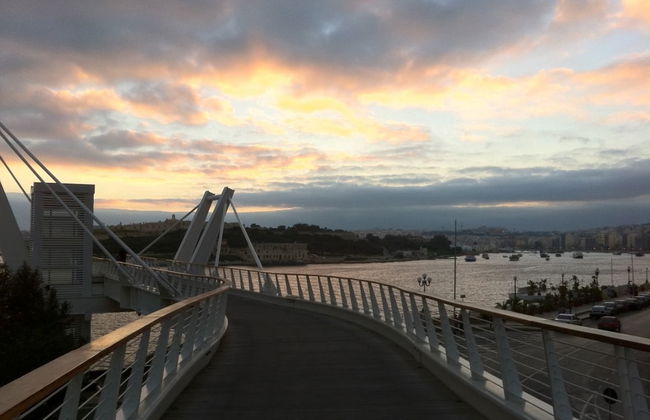
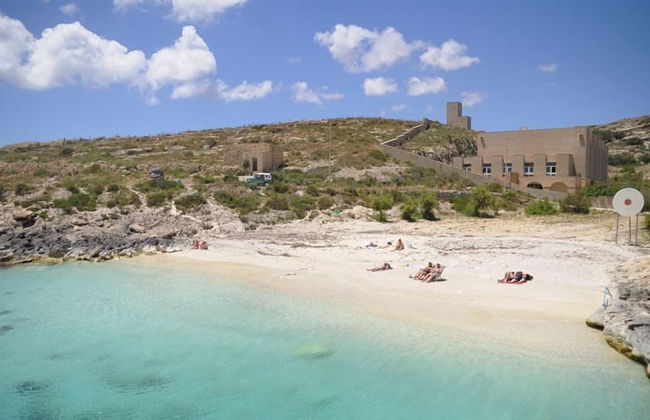
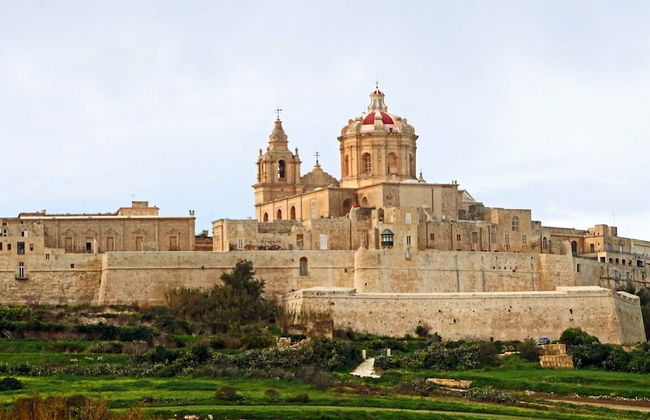
A capital de Malta é La Valeta , uma cidade que se deteve no tempo. Sua catedral com pinturas de Caravaggio , seu impressionante porto , os palácios barrocos e empinadas ruas calçadas são essenciais. A ilha de Malta irradia história que se alarga até milhões de anos antes de Cristo, é um lugar que reflete o Apogeo , um antigo santuário e estrutura subterrânea de quase 3.000 anos de história nos arredores de La Valeta. Também não percas uma viagem nos seus místicos ônibus amarelos, que te levam por toda a ilha por muito pouco dinheiro. Na Bahía de St Julian , desfruta do grande ambiente noturno que há enquanto que em Mdina encontrarás um antigo povoado fortificado de dezenas de séculos de antiguidade. Também as praias de malta são impressionantes , quando mais remotas, mais belas, sobretudo no noroeste e sul do país.
Destinos em Malta
La Valeta é sua capital e como tal a cidade mais importante. Sua beleza histórica e seus edifícios de grande valor artístico y arquitetônico além do seu incrível porto e sua beleza a convertem em um ponto de partida perfeito para férias em apartamentos para alugar em Malta . Um pouco ao norte se situa Paceville , o coração da festa maltesa, um pequeno povoado que vibra com uma grande diversidade de discotecas y bares e um ambiente muito animado. Mais ao norte ainda está Bugibba , um povoado turístico muito popular pelos seus lugares de ócio e o ambiente em seu passeio marítimo. Finalmente, na ponta norte se encontra Mellieha , uma vila tradicional aonde se pode desfrutar de tradição y natureza e sua fauna, além de incríveis praias de areia fina .
A melhor época para desfrutar de Malta
Ao estar no Mediterrâneo , Malta é sempre melhor desfrutar no verão , já que é quando as temperaturas são mais altas . Se vires para umas férias de praia e sol , não há melhor época. Por estar tão perto da África, as chuvas são quase inexistentes no verão e são escassas durante o ano..
Como se locomover por Malta
Ainda que a ilha é muito pequena, ao aeroporto de Malta chegam voos comerciais de toda a Europa. Para se deslocar pela ilha, não há nada melhor que usar os seus antigos ônibus amarelos, baratos e regulares, com uma experiência em si, ainda que também há táxis por toda a ilha. Também se pode usar uma balsa para visitar as ilhas de Gozo e Comino durante as tuas férias em Malta.
Festas de Malta
O Carnaval de Valeta em fevereiro um dos eventos mais destacados da sua apertada agenda cultural , além dos festivais de arte e música , destacando os de música jazz e folk nos meses de julho e junho respectivamente.