
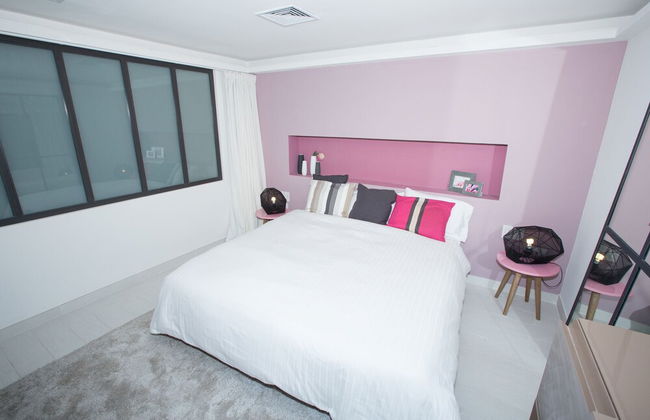
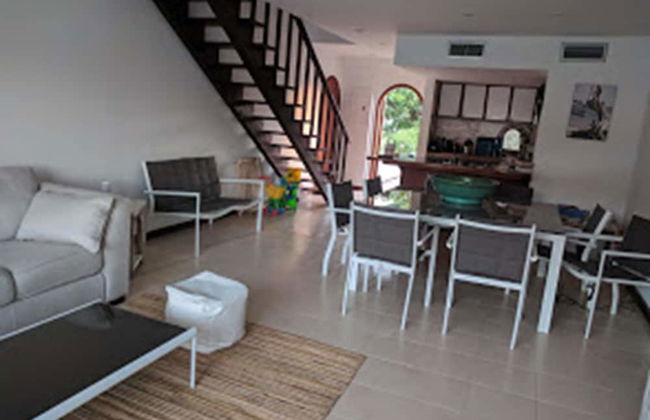
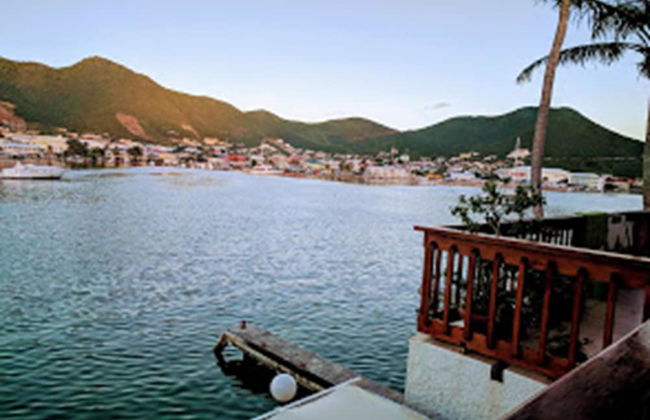
69 Apartamentos em São Martinho


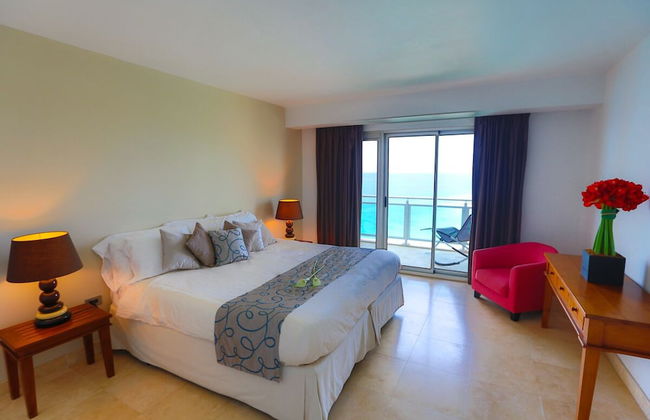
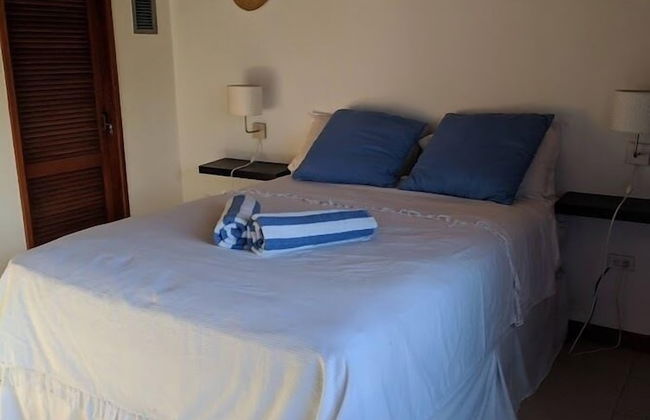
Mullet Bay Suites: Your Luxury Stay Awaits
Low Lands
- 45 M2
- 2 pessoas
- Ar-condicionado
- Piscina
- Estacionamento
- Elevador
- Varanda
- Tv
- Máquina de lavar roupa
- Toalhas
- Lençóis
153 avaliações


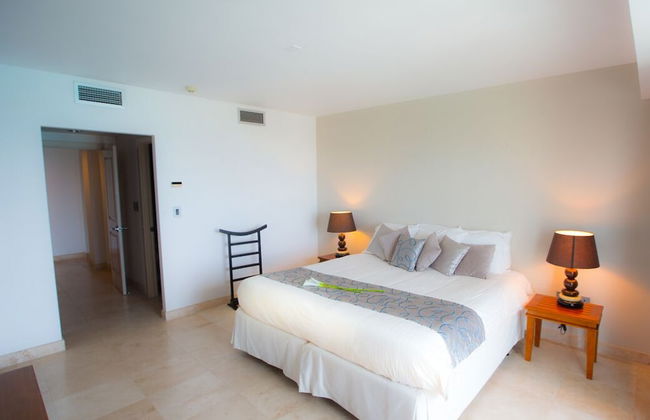
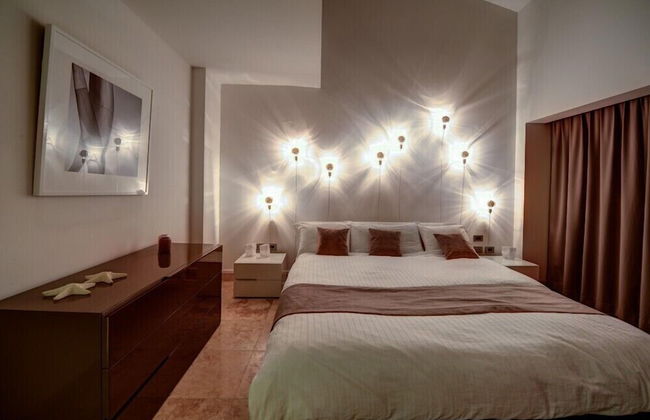
Fourteen at Mullet Bay
Low Lands
- 128 M2
- 6 pessoas
- Ar-condicionado
- Piscina
- Estacionamento
- Elevador
- Varanda
- Jardim
- Tv
- Máquina de lavar roupa
- Toalhas
- Lençóis
624 avaliações


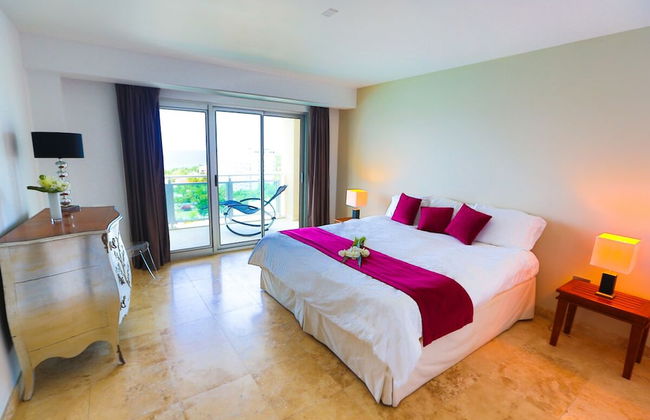
Hilton Vacation Club Royal Palm St. Maarten
Simpsom Bay
- 128 M2
- 8 pessoas
- Ar-condicionado
- Piscina
- Estacionamento
- Elevador
- Varanda
- Jardim
- Tv
- Churrasco
- Toalhas
- Lençóis
1236 avaliações


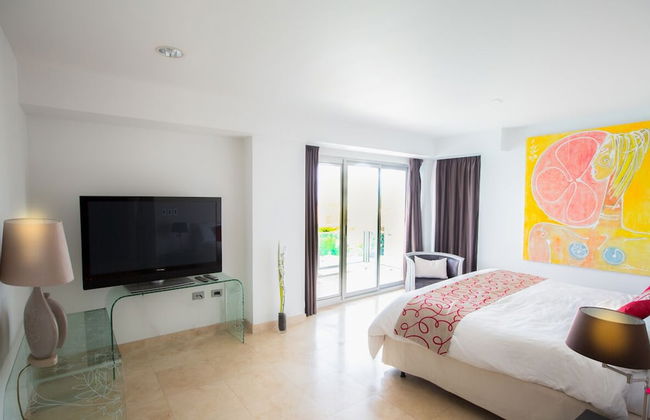


The Cliff
Low Lands
- 550 M2
- 8 pessoas
- Ar-condicionado
- Terraço
- Piscina
- Estacionamento
- Elevador
- Varanda
- Jardim
- Máquina de lavar roupa
- Toalhas
- Lençóis
11 avaliações


Sint Maarten 2 Bedrooms Simpson Bay
Simpsom Bay
- 15 M2
- 5 pessoas
- Ar-condicionado
- Terraço
- Piscina
- Elevador
- Jardim
- Tv
- Máquina de lavar roupa
- Churrasco
- Toalhas
- Lençóis
2 avaliações


The Hills Residence
Cole Bay
- 6 pessoas
- Ar-condicionado
- Terraço
- Piscina
- Estacionamento
- Elevador
- Varanda
- Tv
- Máquina de lavar roupa
- Toalhas
- Lençóis
143 avaliações


Cozy one-bedroom & mezzanine apartment
Upper Prince's Quarter
- 4 pessoas
- Ar-condicionado
- Piscina
- Varanda
- Tv
- Churrasco
- Toalhas
- Lençóis
24 avaliações


July Apartments
Lower Prince's Quarter
- 3 pessoas
- Kitchenette
- Ar-condicionado
- Terraço
- Estacionamento
- Tv
- Toalhas
- Lençóis
243 avaliações


Sea Palace
Philipsburg - 1.4 km de A. Cyrus Wathey Cruise Facilities (geolocation.placetype.port)
- 8 pessoas
- Kitchenette
- Ar-condicionado
- Estacionamento
- Elevador
- Tv
- Toalhas
- Lençóis
122 avaliações


Loft on Océan
Upper Prince's Quarter - Pointe Blanche
- 100 M2
- 3 pessoas
- Ar-condicionado
- Terraço
- Piscina
- Tv
- Máquina de lavar roupa
- Toalhas
- Lençóis
7 avaliações


Charming 1-bed Studio in Simpson Bay - Beacon Hill
Simpsom Bay
- 2 pessoas
- Estacionamento
- Varanda
- Jardim
- Máquina de lavar roupa
- Toalhas
- Lençóis
3 avaliações


Cupecoy Beach Club
Low Lands
- 250 M2
- 8 pessoas
- Ar-condicionado
- Piscina
- Varanda
- Tv
- Máquina de lavar roupa
- Toalhas
- Lençóis
4 avaliações


Aqua Vue by Island Properties Online
Low Lands
- 8 pessoas
- Ar-condicionado
- Aquecimento
- Piscina
- Estacionamento
- Elevador
- Varanda
- Tv
- Toalhas
- Lençóis
1 avaliação


Immaculate 1-bed Apartment on Ocean View
Upper Prince's Quarter - Pointe Blanche
- Piscina
- Estacionamento
1 avaliação


Garden View Condo in Maho
Low Lands
- 4 pessoas
- Piscina
- Estacionamento
- Varanda
- Máquina de lavar roupa
- Toalhas
- Lençóis
4 avaliações


Océan Cave
Upper Prince's Quarter - Pointe Blanche
- 3 pessoas
- Ar-condicionado
- Terraço
- Piscina
- Tv
- Máquina de lavar roupa
- Toalhas
4 avaliações


Coco's Beach House
Simpsom Bay
- 6 pessoas
- Piscina
- Estacionamento
- Tv
- Máquina de lavar roupa
- Toalhas
- Lençóis
1 avaliação


Tamarind Hotel Suite
Upper Prince's Quarter
- 4 pessoas
- Kitchenette
- Ar-condicionado
- Terraço
- Piscina
- Estacionamento
- Varanda
- Jardim
- Tv
- Churrasco
- Toalhas
- Lençóis
4 avaliações