


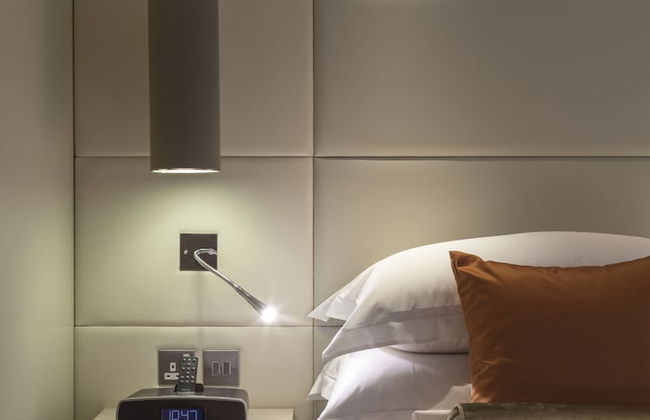


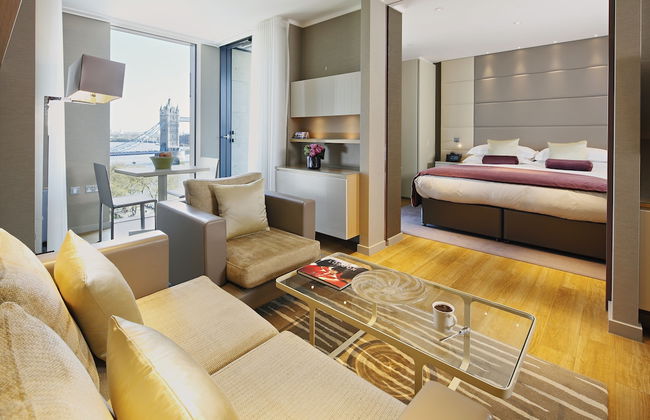
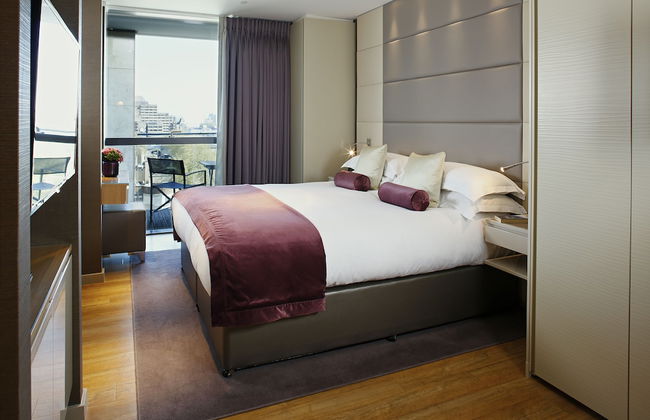
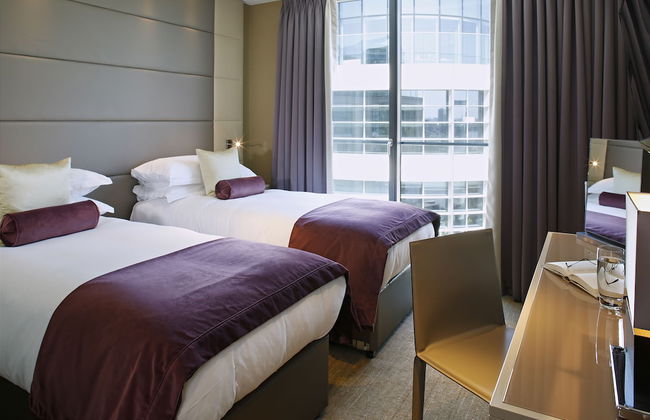


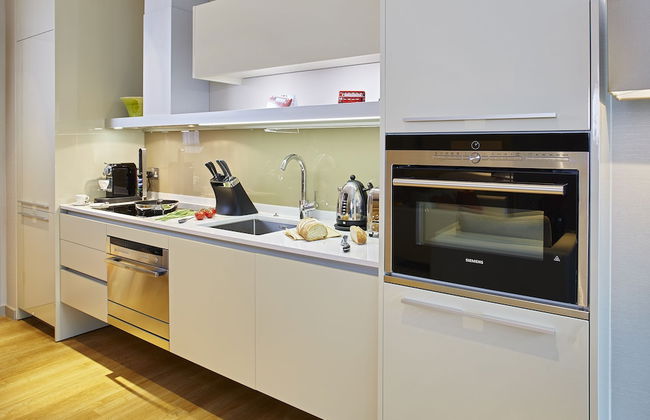


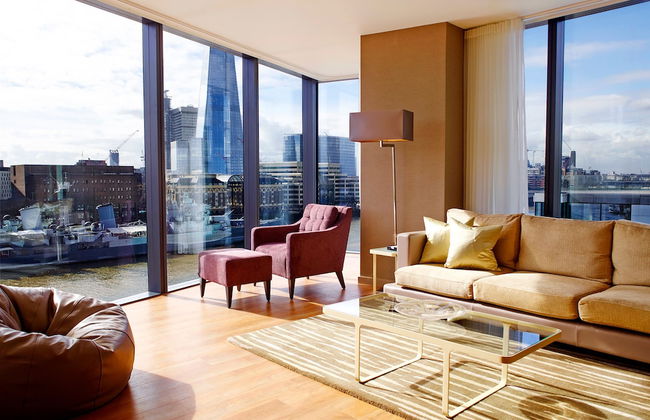


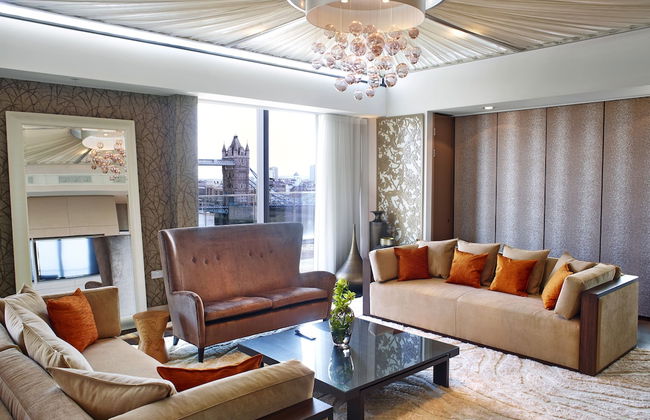


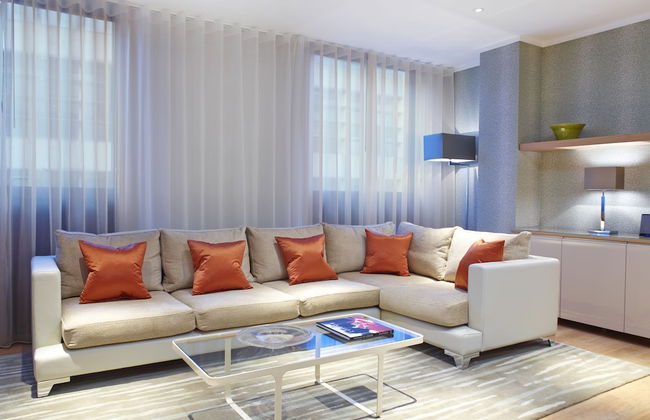


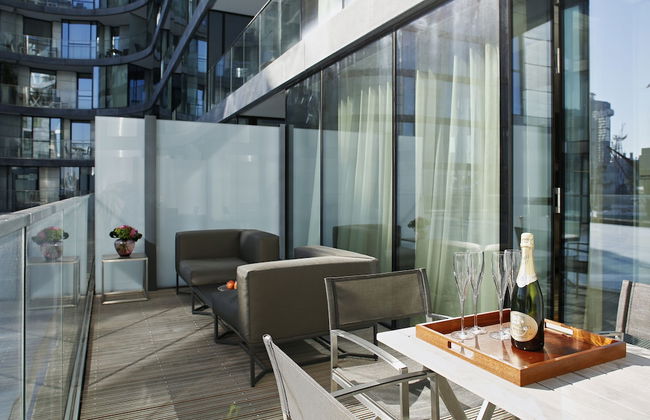


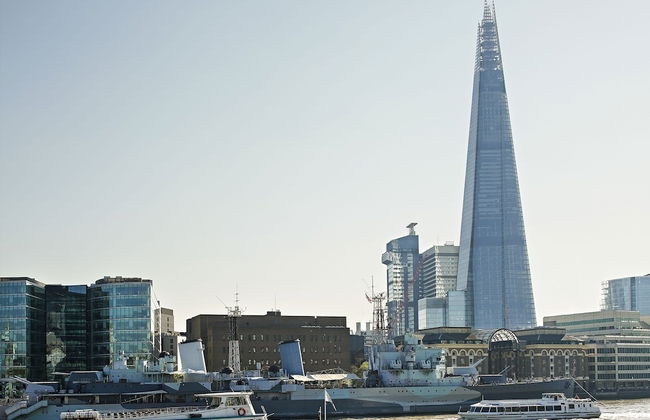
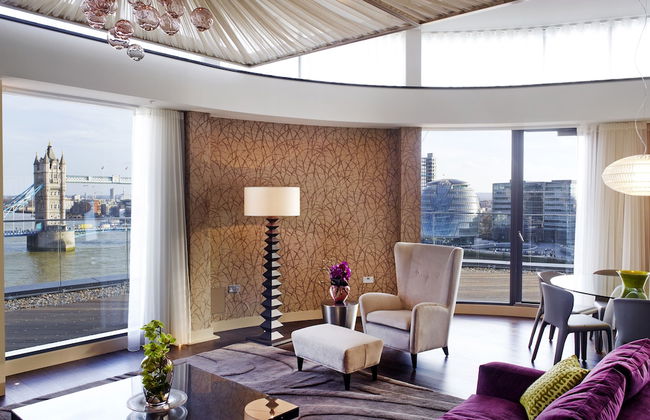
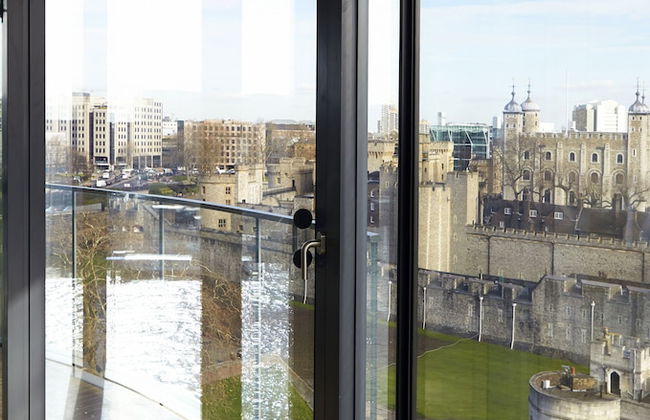


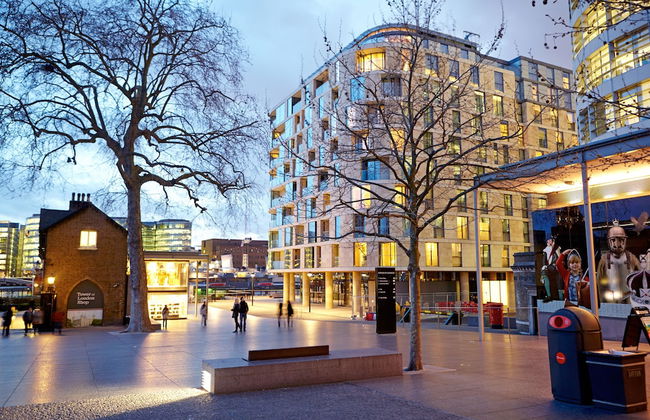


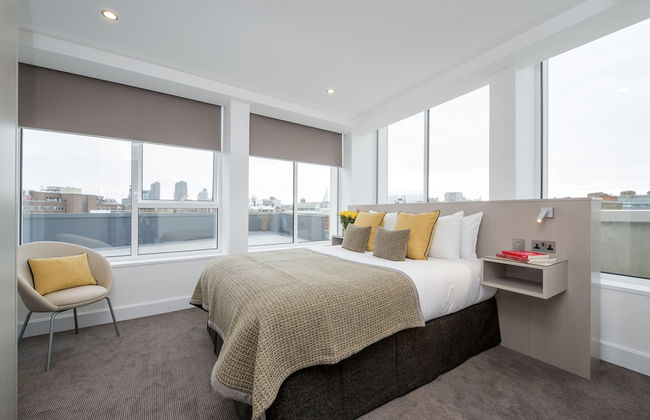
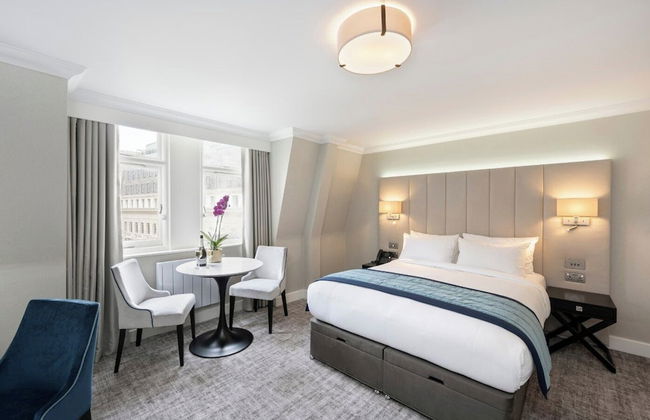
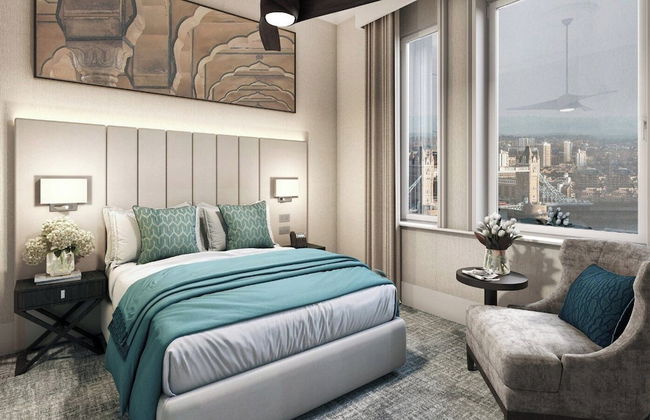
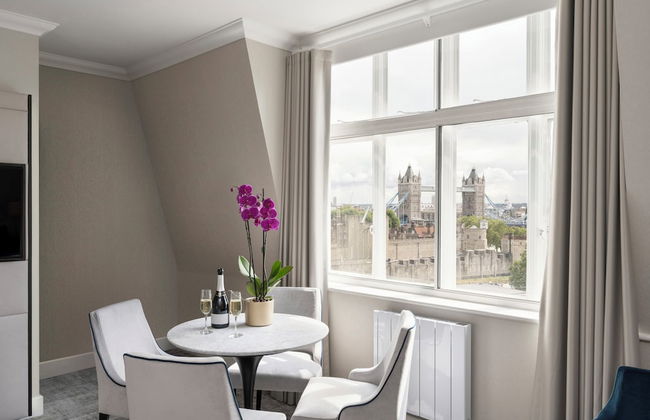
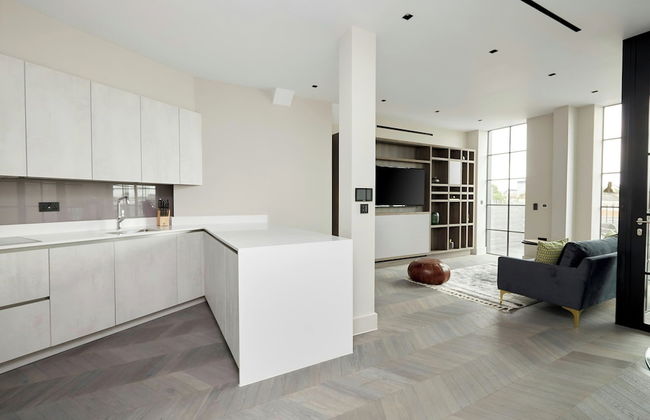
Cheval Three Quays at The Tower of London
Londres - City of London - 2.7 km do centro
- 140 M2
- 6 pessoas
- Ar-condicionado
- Elevador
- Varanda
- Tv
- Máquina de lavar roupa
- Toalhas
- Lençóis
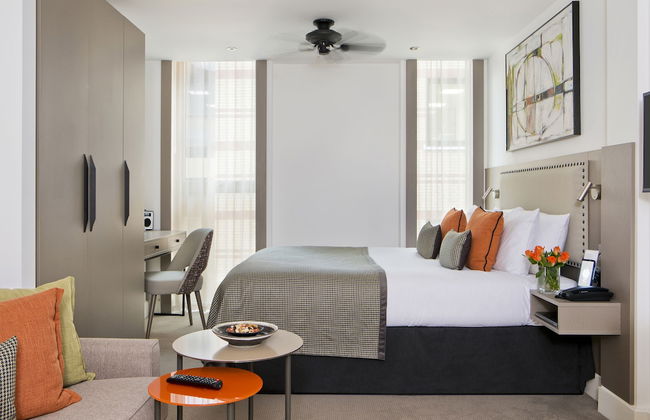


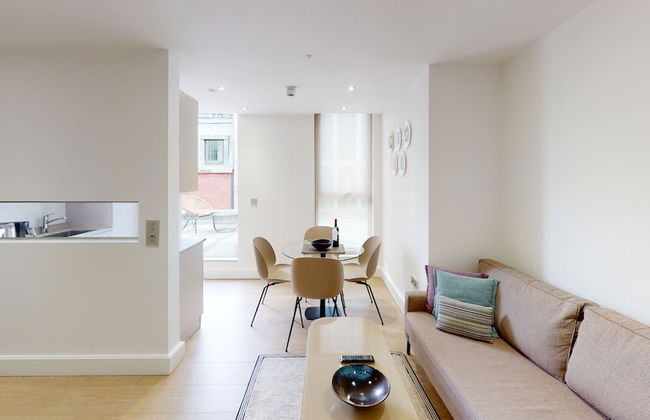


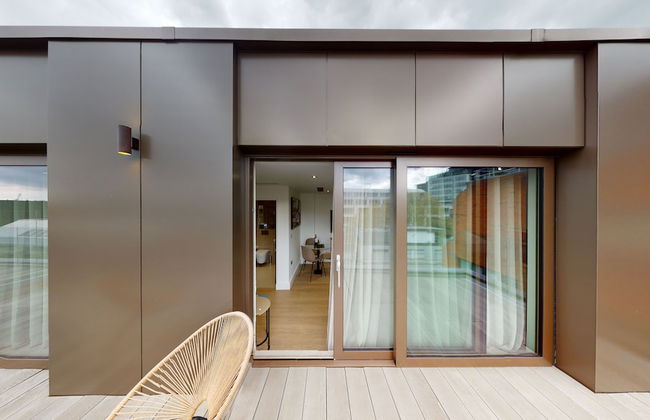
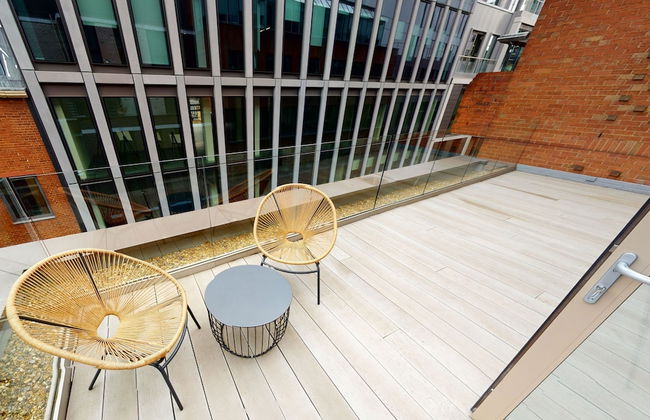


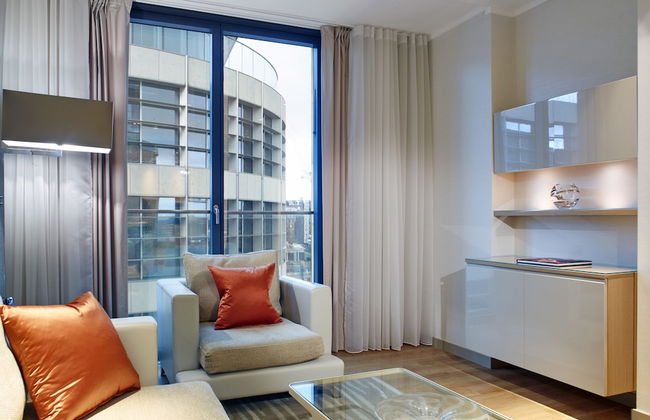
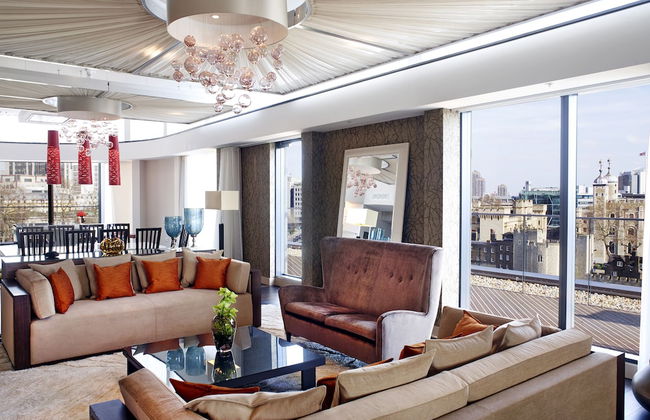
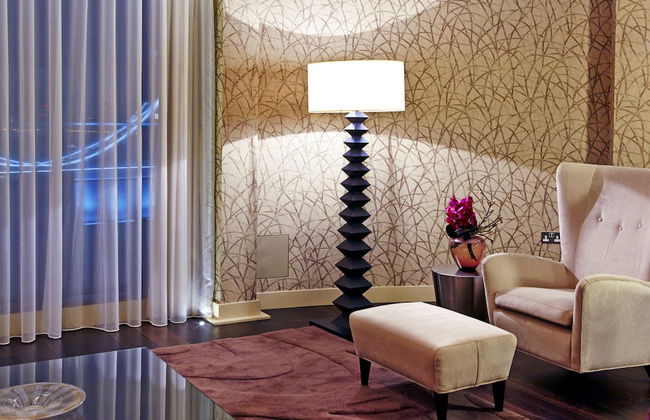
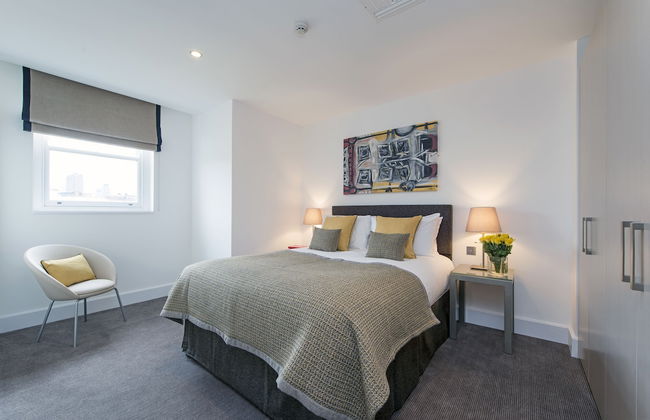
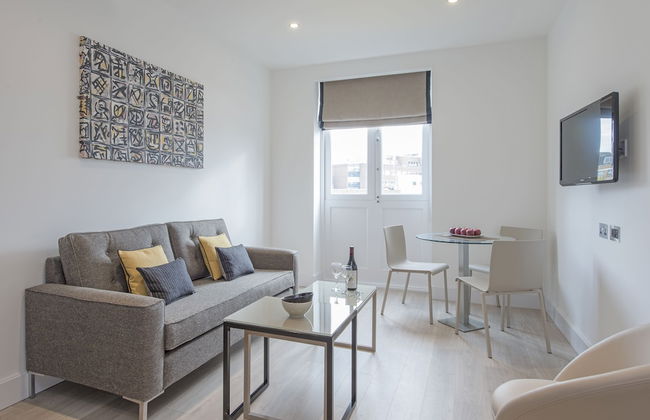
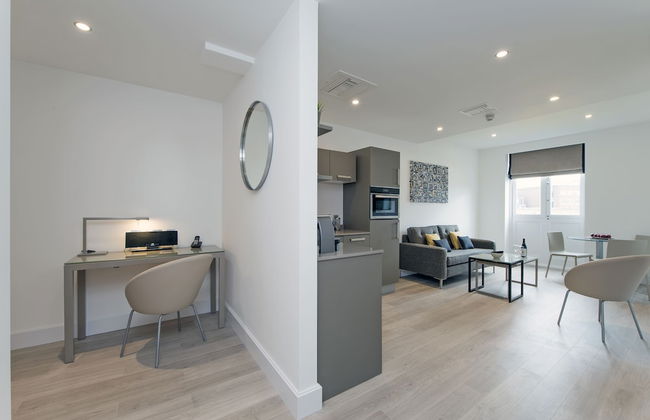
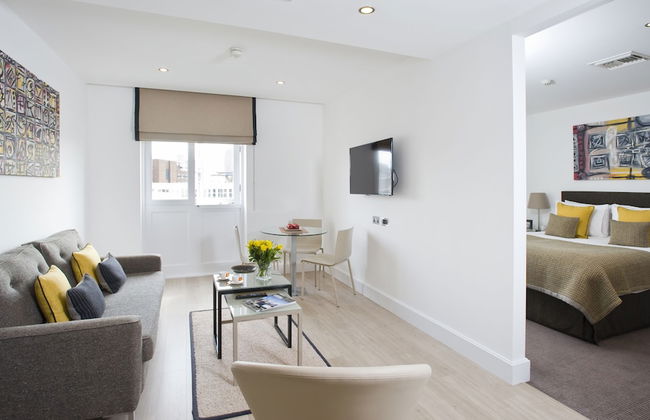
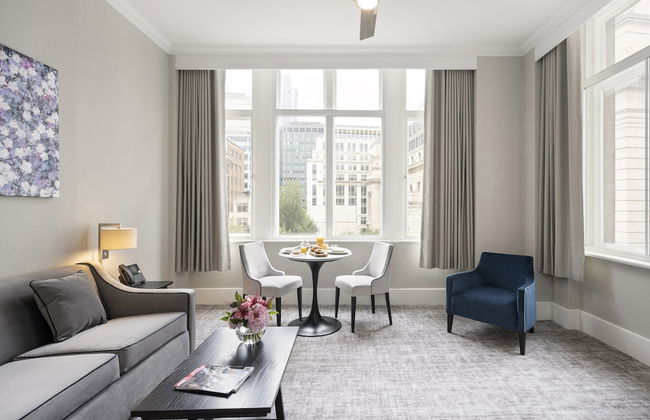
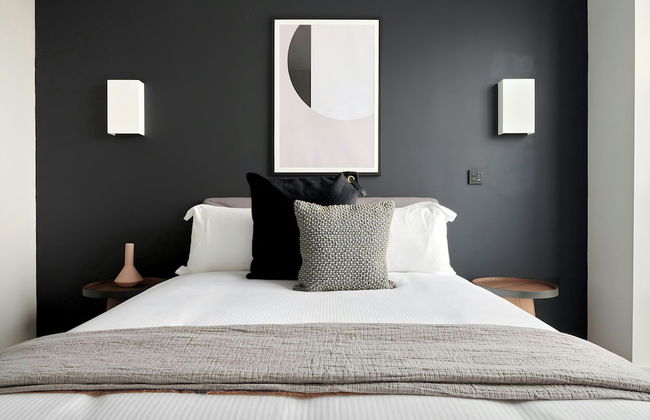
The Chronicle by Supercity Aparthotels
Londres - City of London - 1.2 km do centro
- 62 M2
- 4 pessoas
- Ar-condicionado
- Aquecimento
- Terraço
- Varanda
- Tv
- Máquina de lavar roupa
- Toalhas
- Lençóis


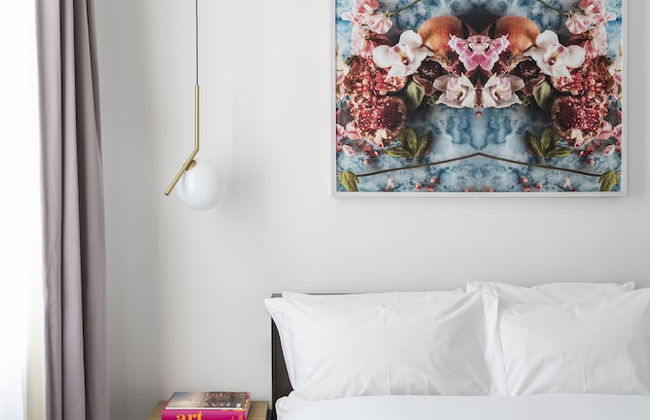


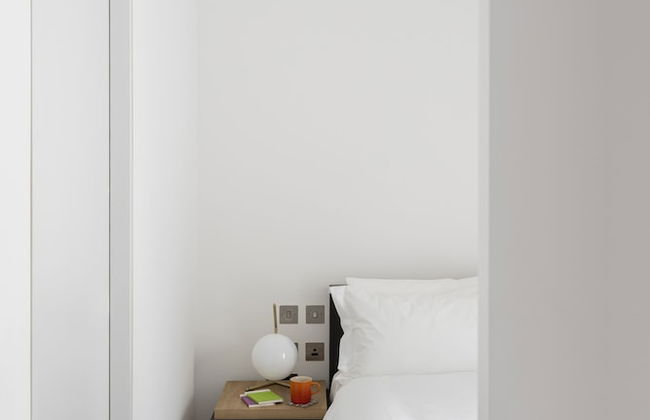
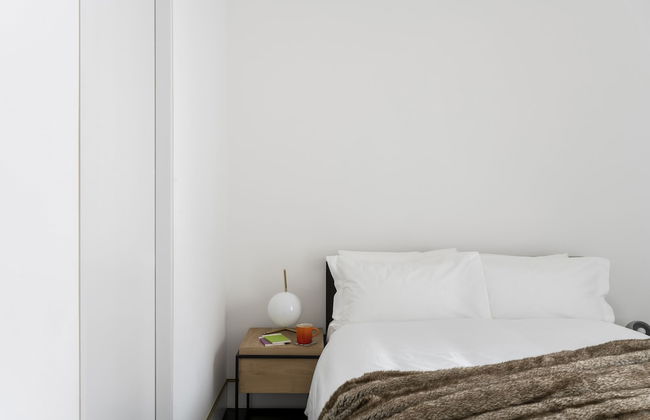
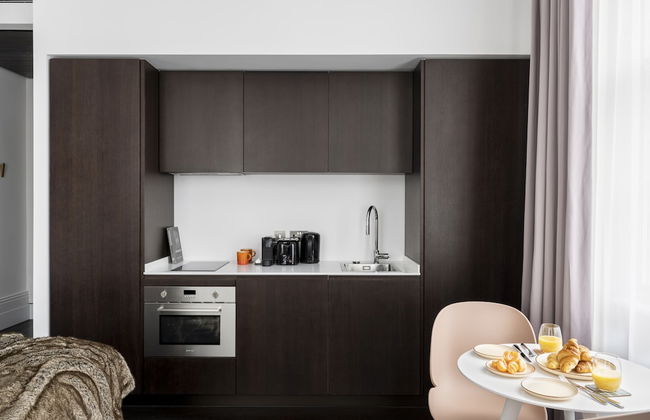


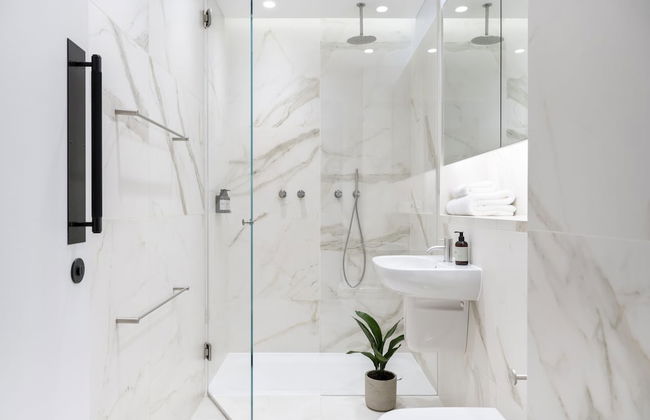
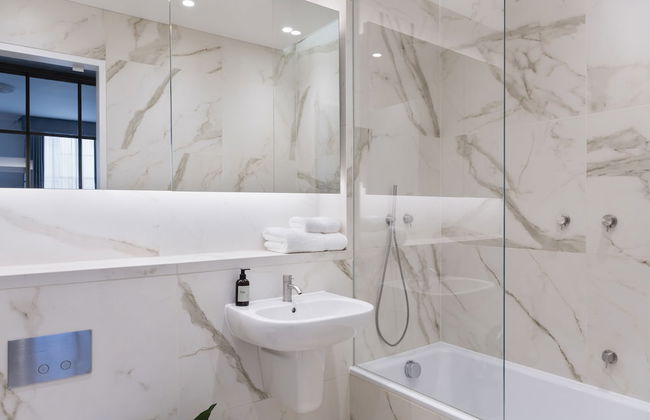


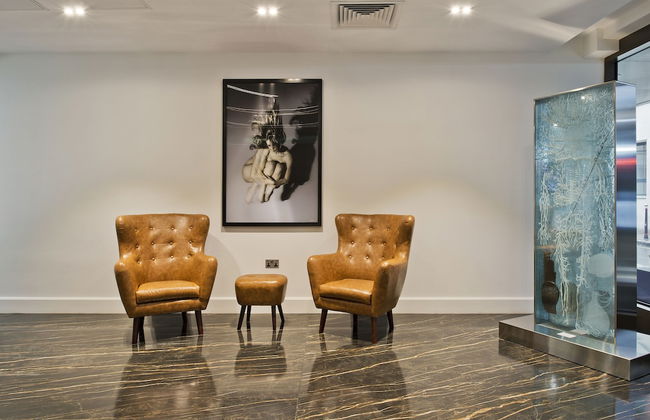
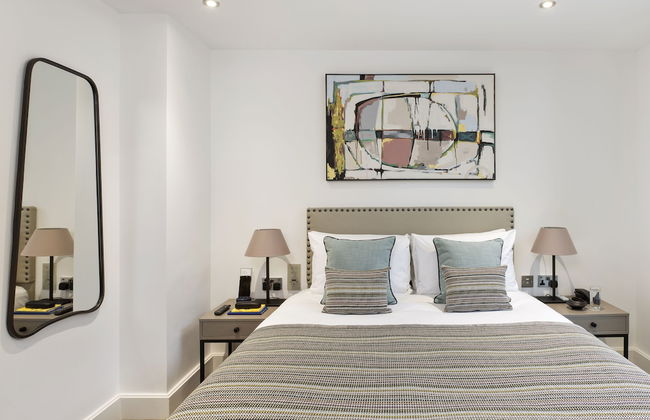
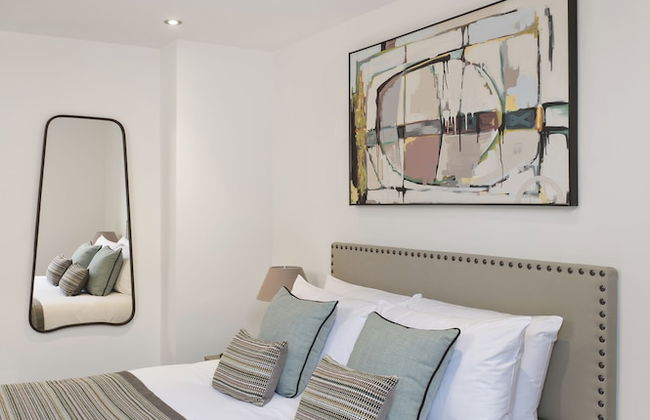
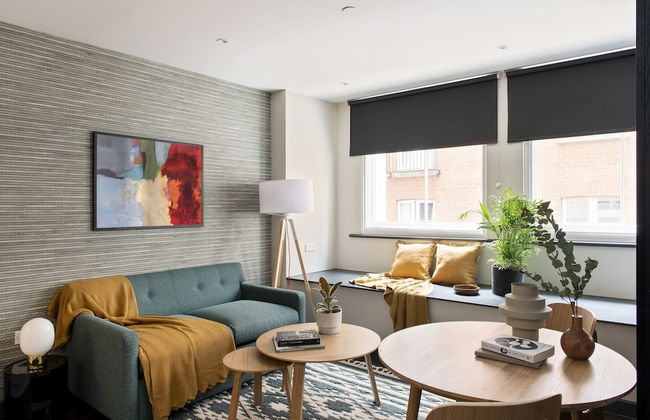
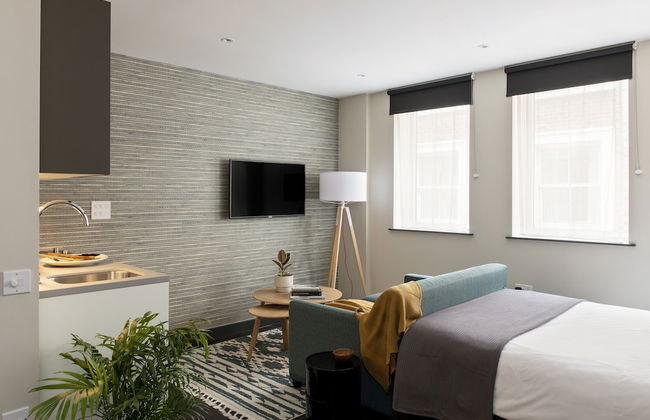
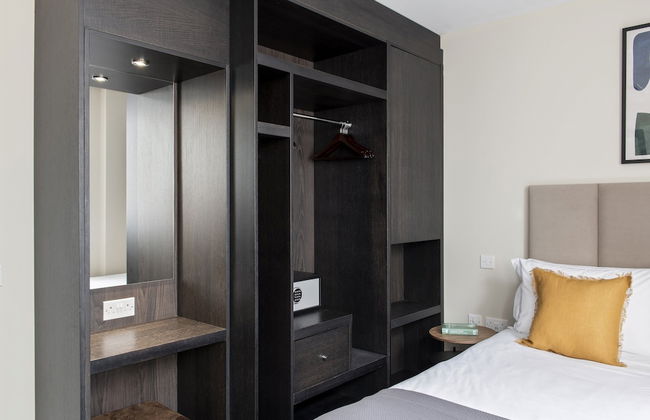
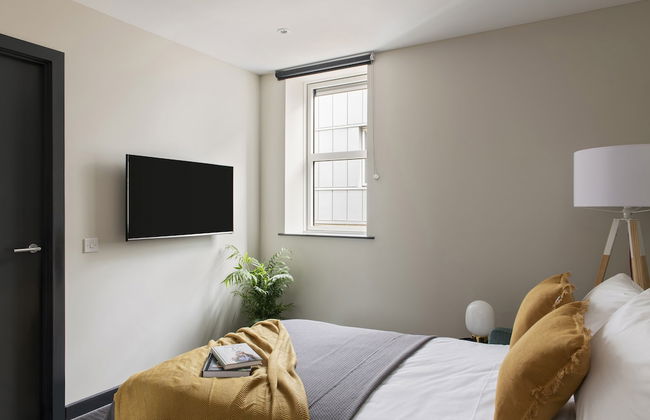
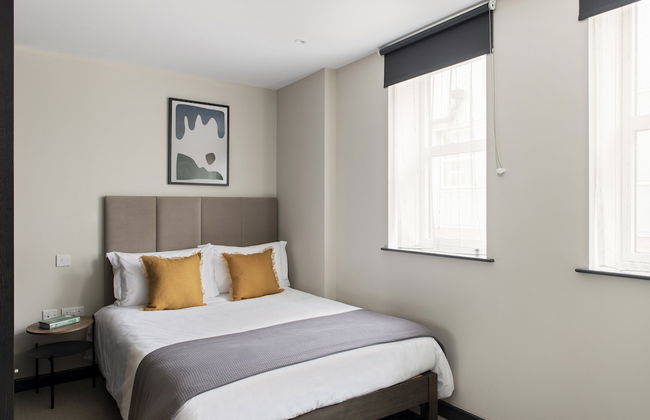
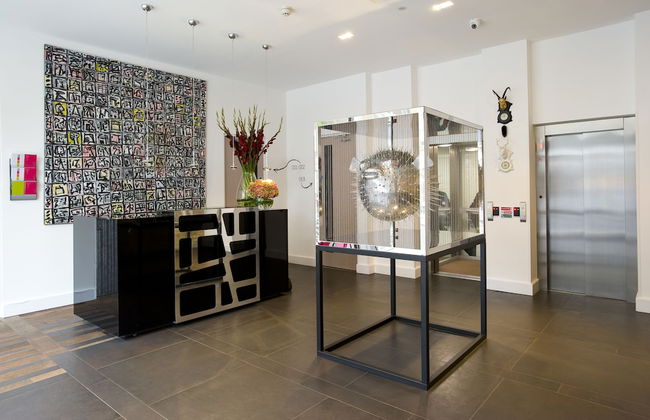
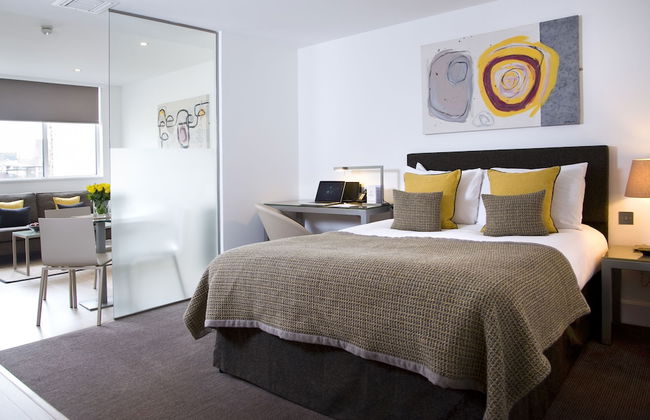
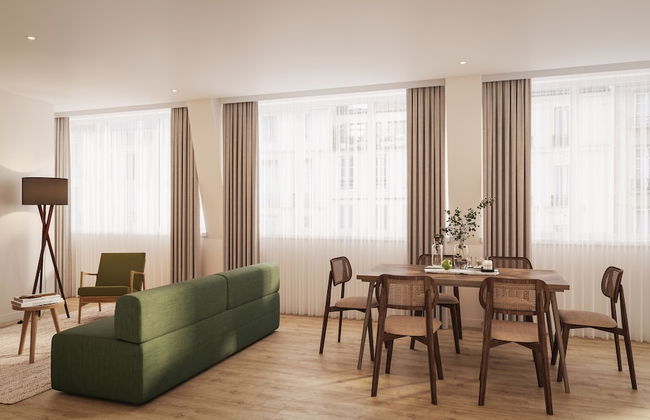
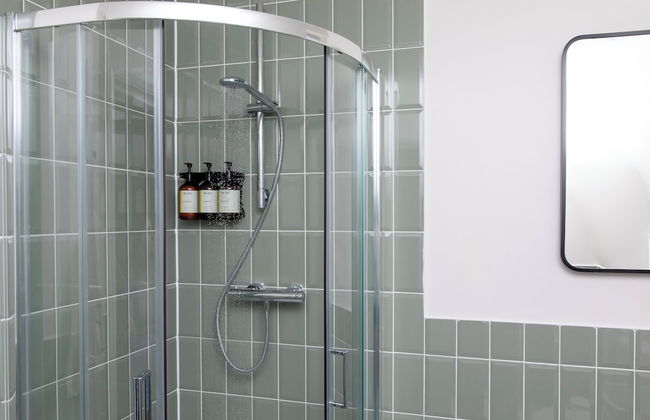
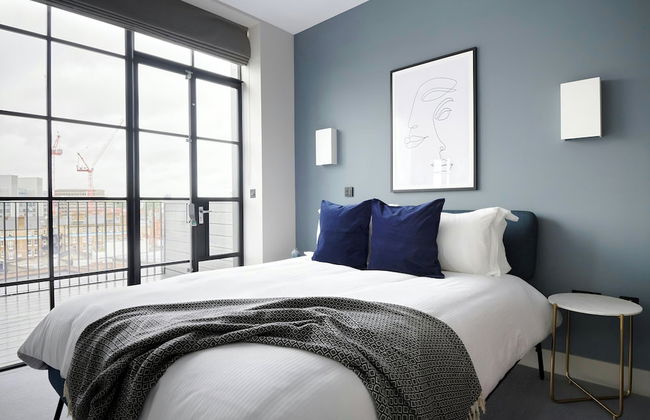
The Moorgate by Cove
Londres - City of London - 2.4 km do centro
- 35 M2
- 2 pessoas
- Ar-condicionado
- Aquecimento
- Elevador
- Tv
- Máquina de lavar roupa
- Toalhas
- Lençóis


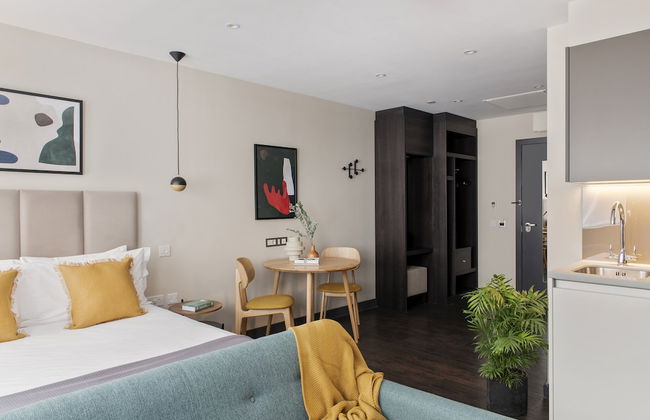


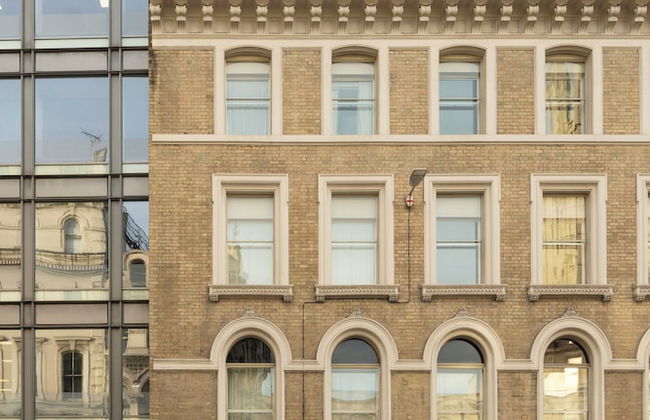

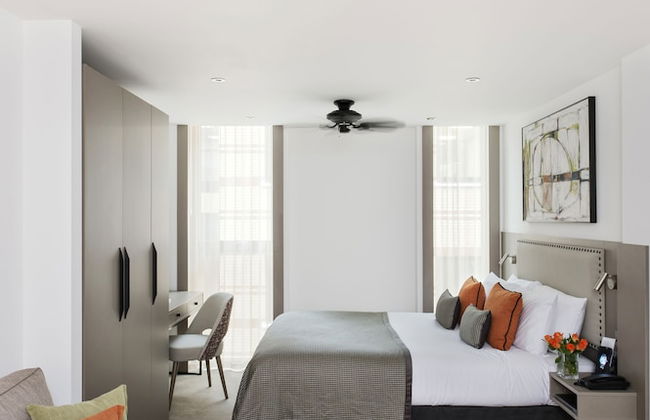
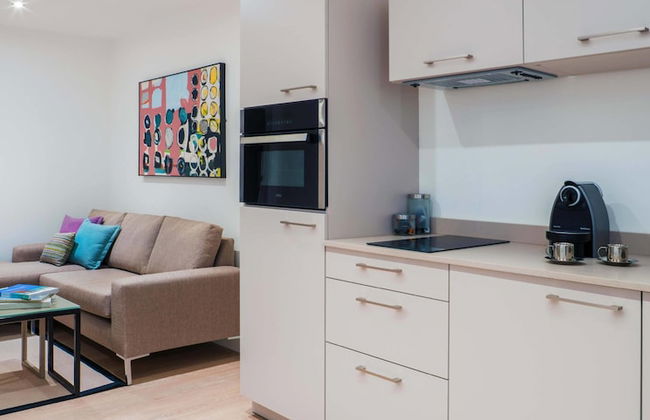
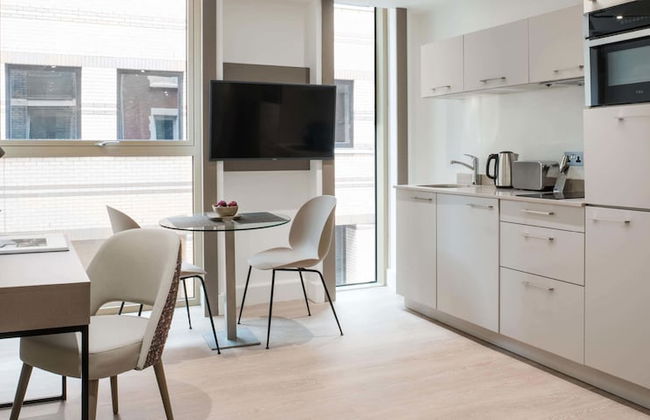
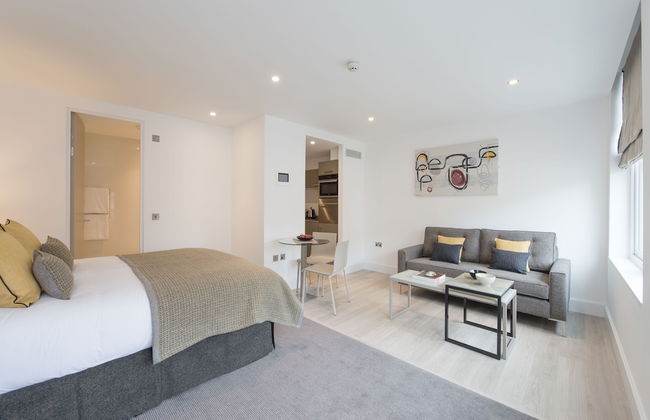
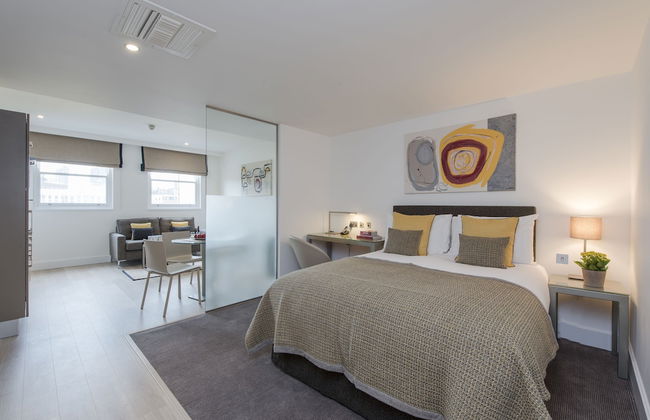
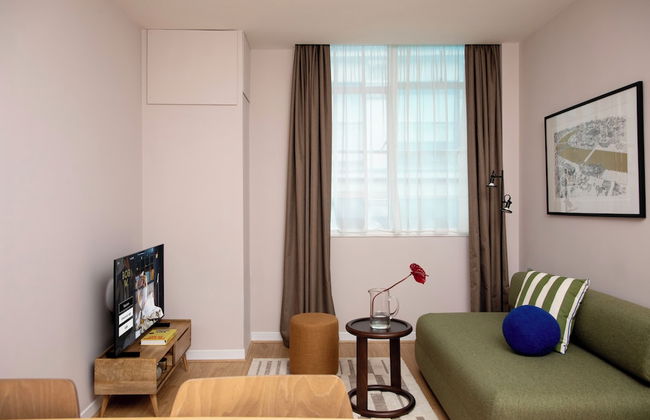
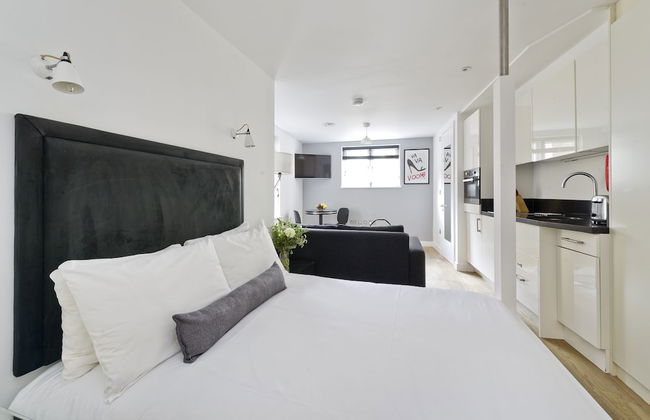
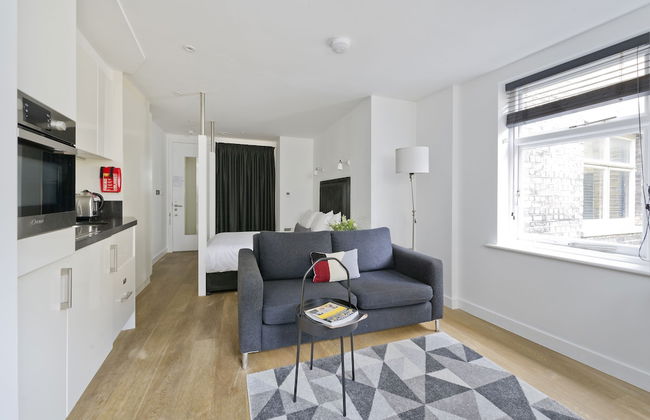
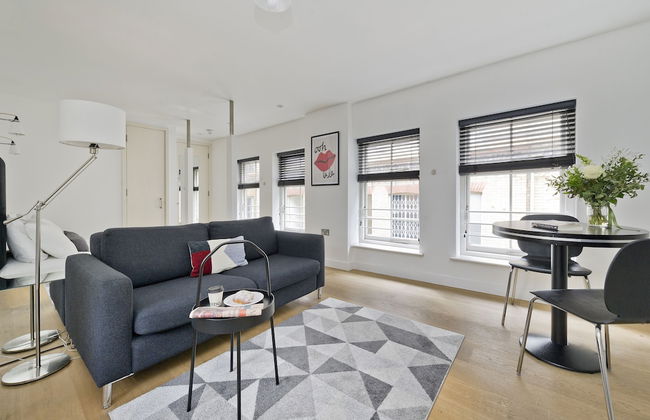
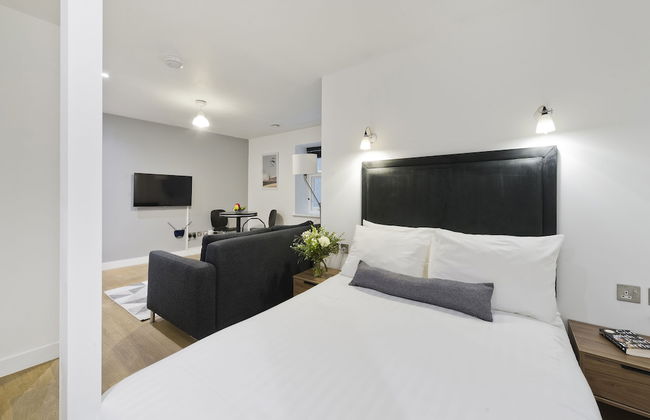
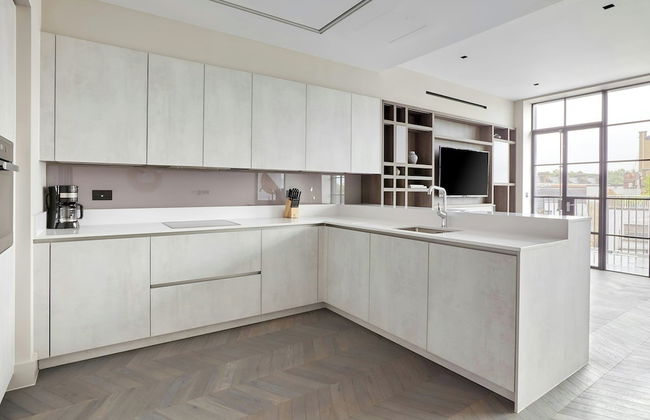
Cove Cannon Street
Londres - City of London - 410 m de Saint Paul's Cathedral
- 43 M2
- 3 pessoas
- Ar-condicionado
- Aquecimento
- Elevador
- Tv
- Máquina de lavar roupa
- Toalhas
- Lençóis


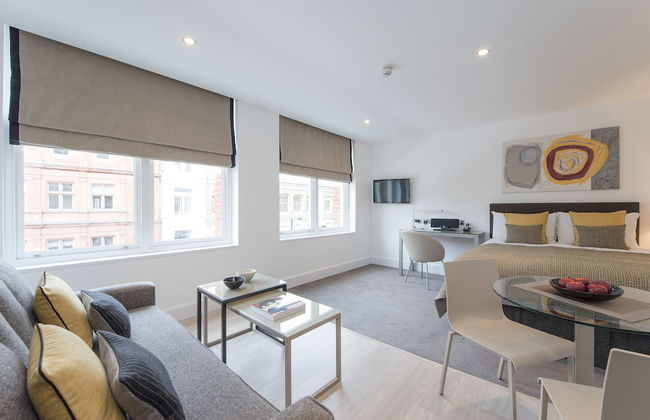


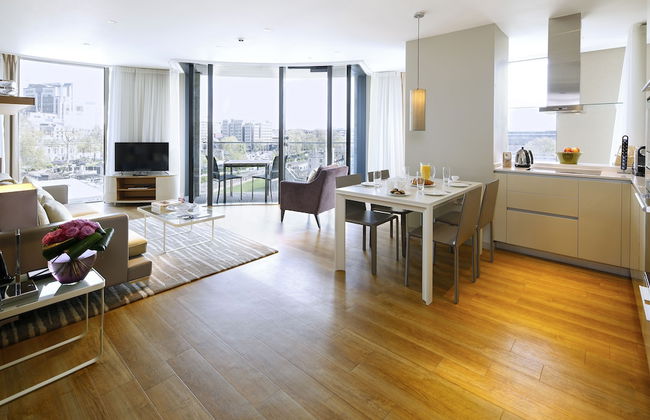
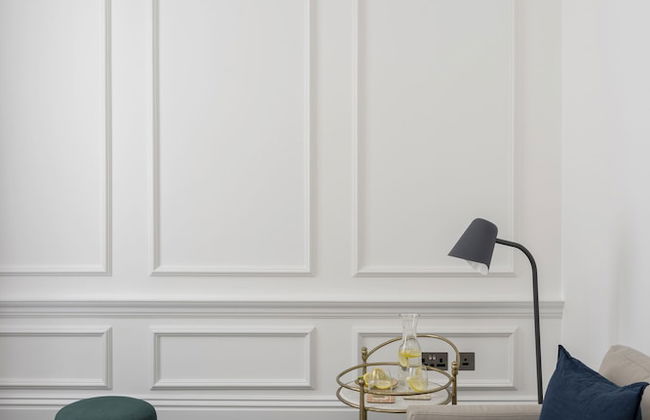
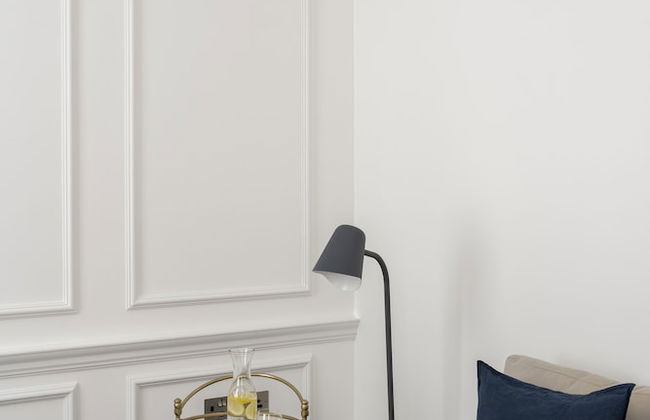
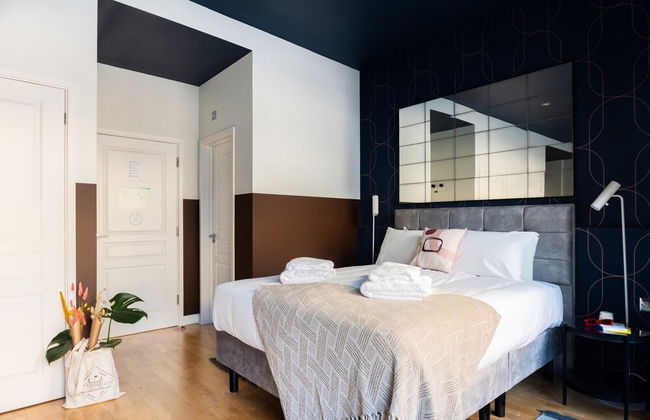
The Rosebery by Supercity Aparthotels
Londres - City of London - 1.7 km do centro
- 53 M2
- 4 pessoas
- Ar-condicionado
- Aquecimento
- Elevador
- Tv
- Máquina de lavar roupa
- Toalhas
- Lençóis


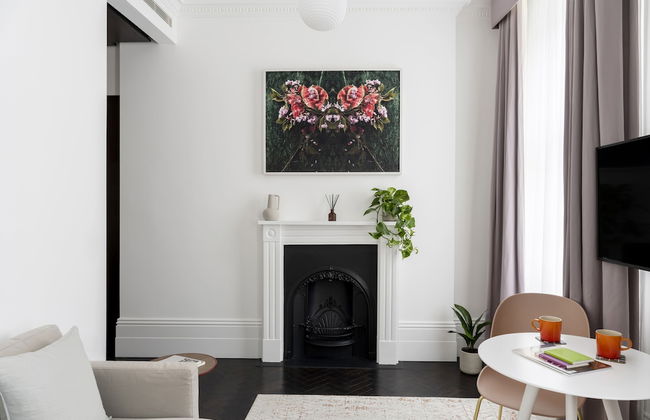
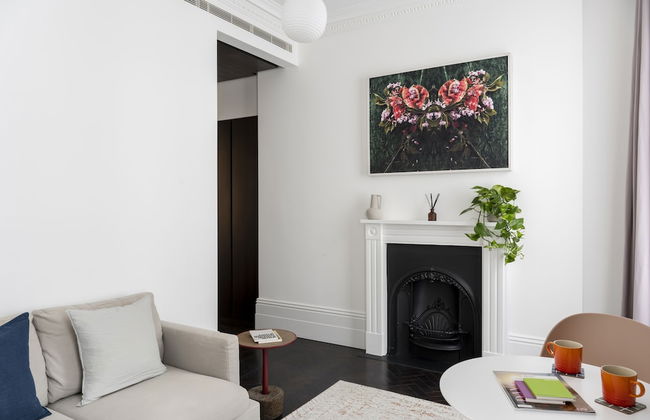
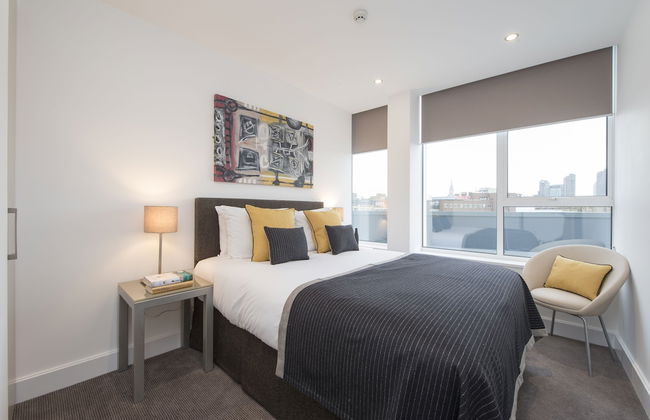
master St. Paul's
Londres - City of London - 170 m de Saint Paul's Cathedral
- 50 M2
- 5 pessoas
- Ar-condicionado
- Aquecimento
- Tv
- Máquina de lavar roupa
- Toalhas
- Lençóis


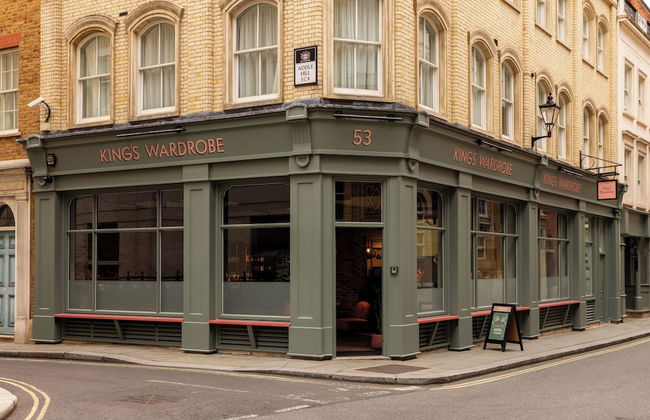

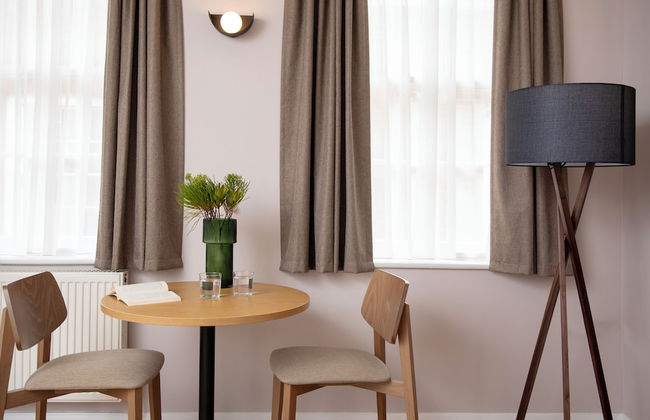
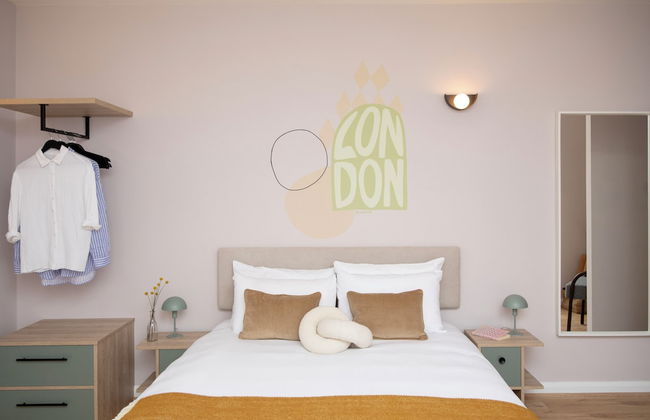
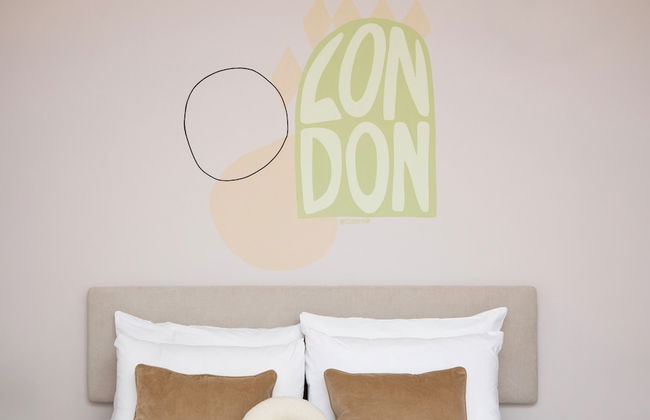
Native Kings Wardrobe, St Paul's
Londres - City of London - 160 m de Saint Paul's Cathedral
- 114 M2
- 6 pessoas
- Estacionamento
- Elevador
- Tv
- Máquina de lavar roupa
- Toalhas
- Lençóis


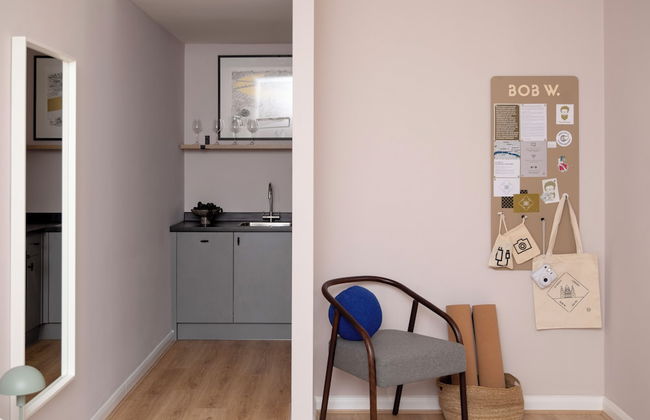
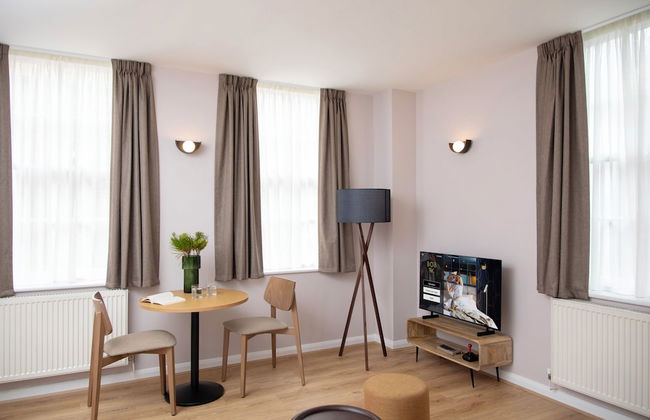


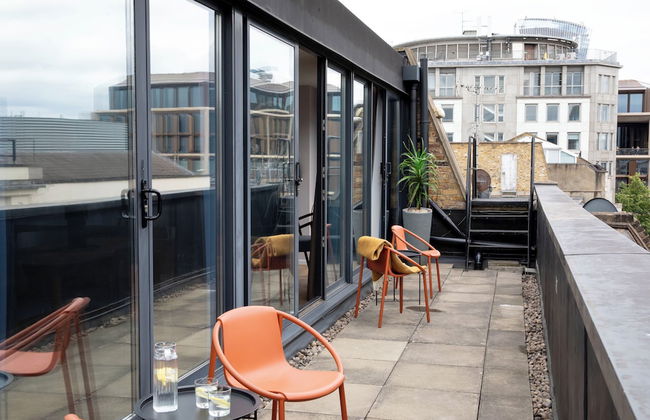
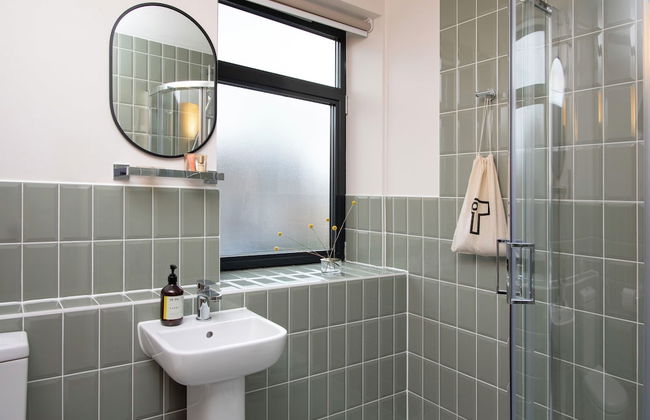


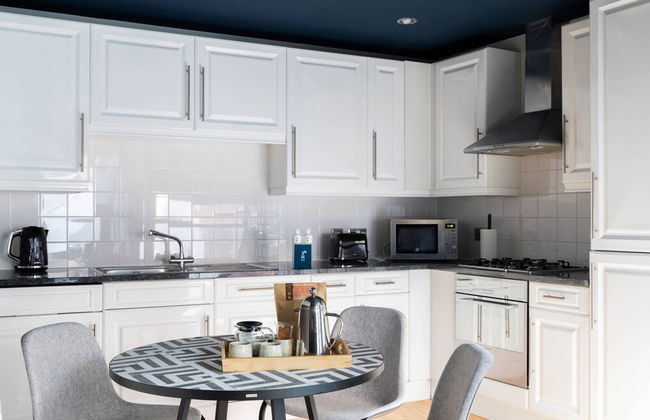
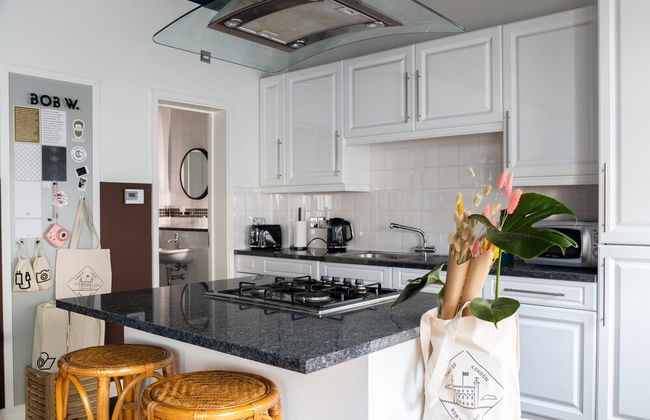
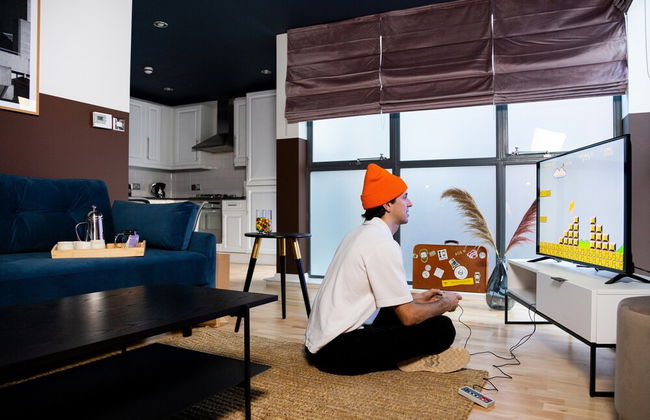
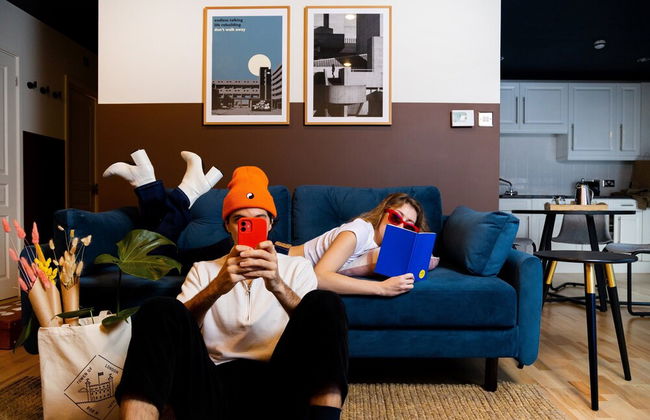
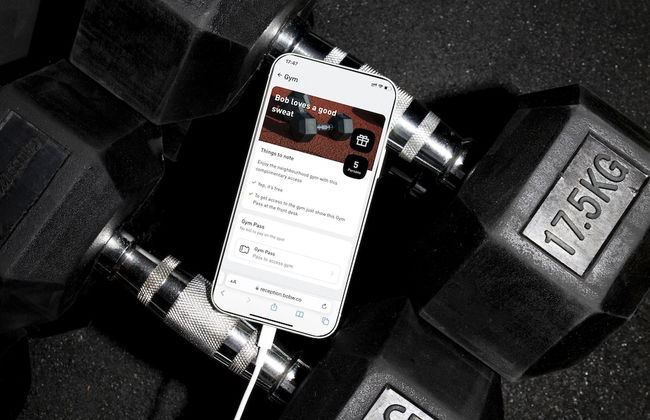
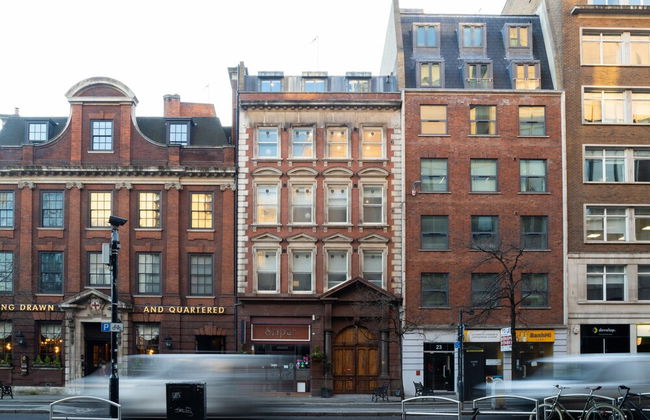
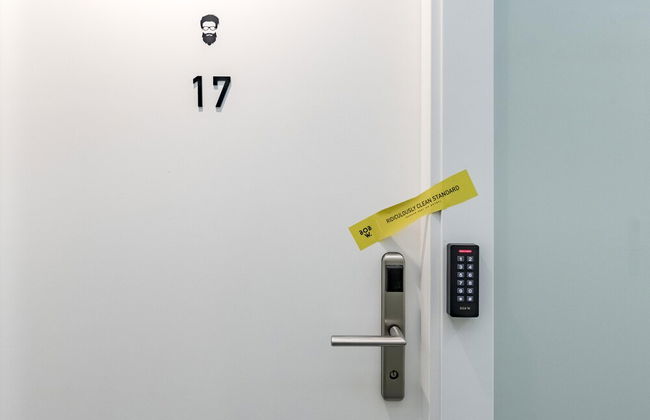
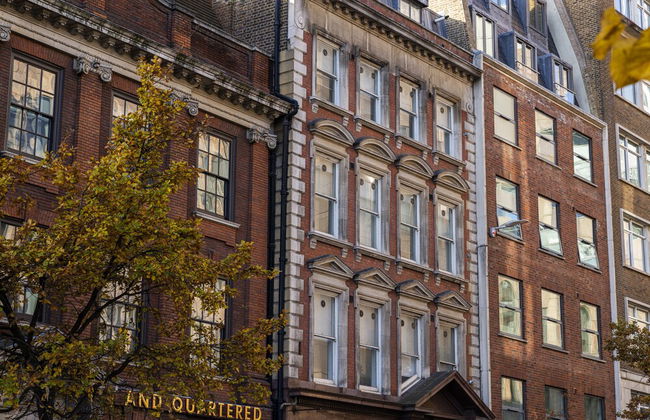
Bob W St Pauls London
Londres - City of London - 360 m de Saint Paul's Cathedral
- 63 M2
- 6 pessoas
- Aquecimento
- Elevador
- Tv
- Toalhas
- Lençóis


Bob W Tower of London
Londres - City of London - 2.7 km do centro
- 39 M2
- 4 pessoas
- Aquecimento
- Tv
- Máquina de lavar roupa
- Toalhas
- Lençóis


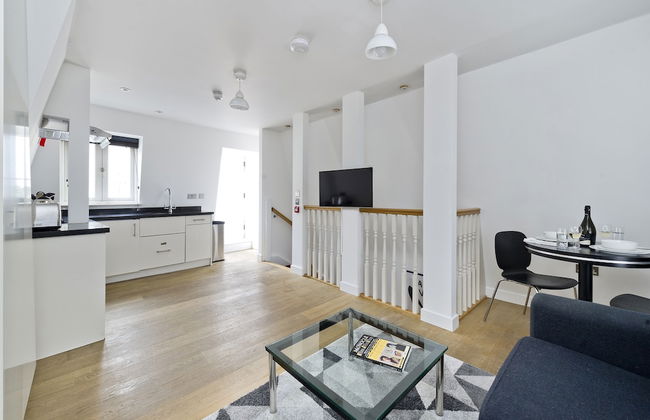

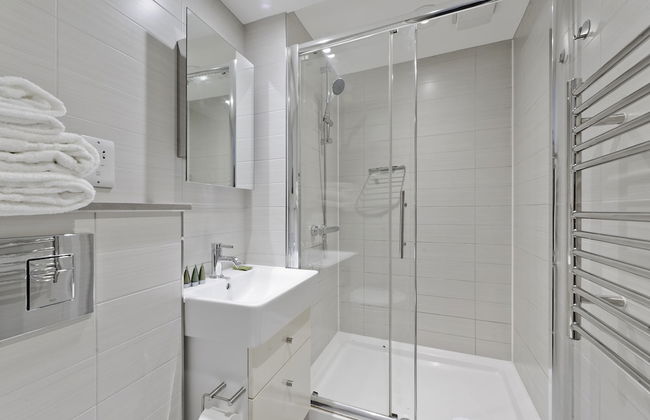


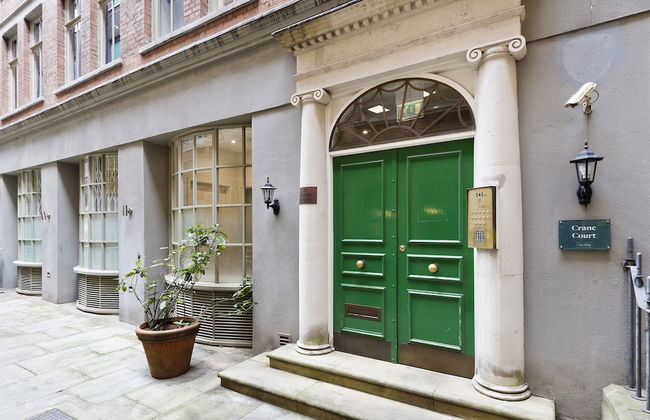

Crane Court by City2Stay
Londres - City of London - 1.1 km do centro
- 26 M2
- 2 pessoas
- Aquecimento
- Elevador
- Tv
- Máquina de lavar roupa
- Toalhas
- Lençóis
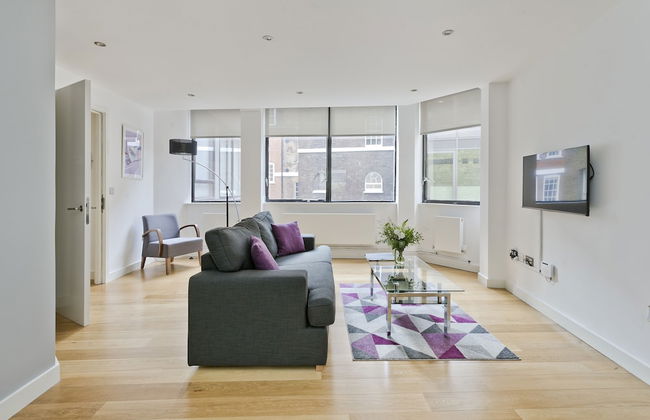


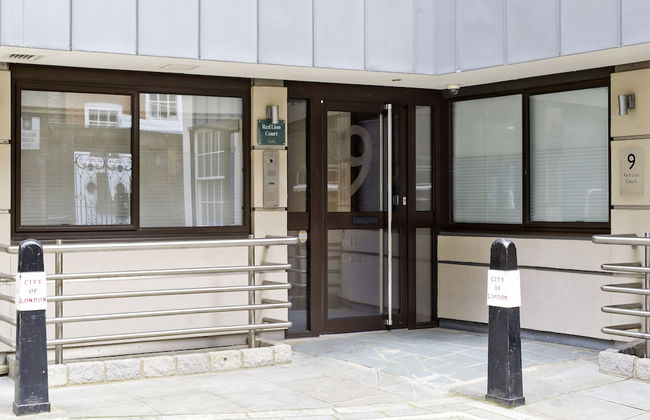


Red Lion Court by City2Stay
Londres - City of London - 1.1 km do centro
- 46 M2
- 4 pessoas
- Aquecimento
- Elevador
- Tv
- Máquina de lavar roupa
- Toalhas
- Lençóis


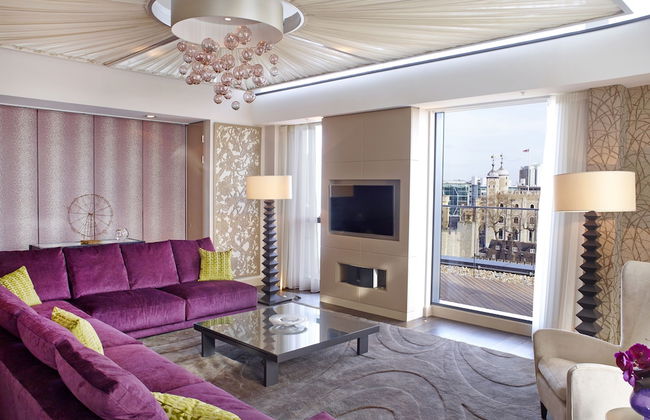
Tower Residences by Blue Orchid
Londres - City of London - 2.9 km do centro
- 50 M2
- 4 pessoas
- Ar-condicionado
- Aquecimento
- Elevador
- Tv
- Máquina de lavar roupa
- Toalhas
- Lençóis


48 Bishopsgate by City Living London
Londres - City of London - 2.7 km do centro
- 4 pessoas
- Ar-condicionado
- Aquecimento
- Elevador
- Tv
- Toalhas
- Lençóis


Sonder by Marriott Bonvoy Back Hill Apartments Clerkenwell
Londres - City of London - 1.7 km do centro
- 4 pessoas
- Ar-condicionado
- Aquecimento
- Elevador
- Tv
- Toalhas


Cleveland Residences Farringdon
Londres - City of London - 1.6 km do centro
- 4 pessoas
- Kitchenette
- Ar-condicionado
- Aquecimento
- Elevador
- Tv
- Toalhas
- Lençóis


Grays Inn by Aeria Apartments
Londres - City of London - 1.3 km do centro
- 67 M2
- 4 pessoas
- Ar-condicionado
- Aquecimento
- Tv
- Máquina de lavar roupa
- Toalhas
- Lençóis


Still Life Tower Hill Executive
Londres - City of London - 3 km do centro
- 46 M2
- 2 pessoas
- Aquecimento
- Elevador
- Tv
- Máquina de lavar roupa
- Toalhas
- Lençóis


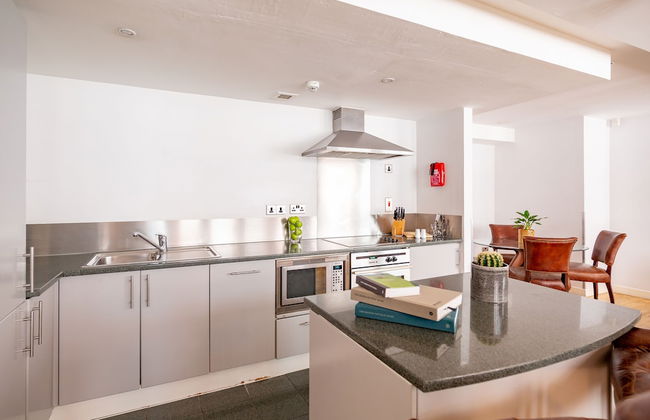


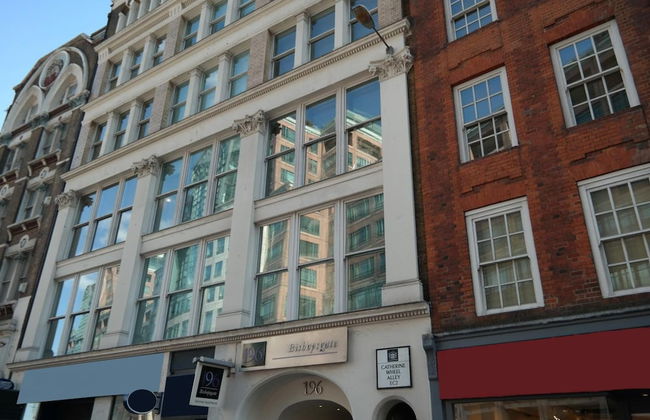
196 Bishopsgate
Londres - City of London - 3 km do centro
- 70 M2
- 5 pessoas
- Aquecimento
- Elevador
- Tv
- Máquina de lavar roupa
- Toalhas
- Lençóis

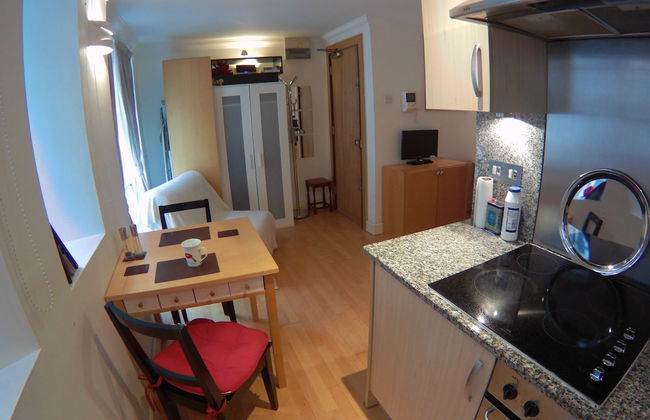
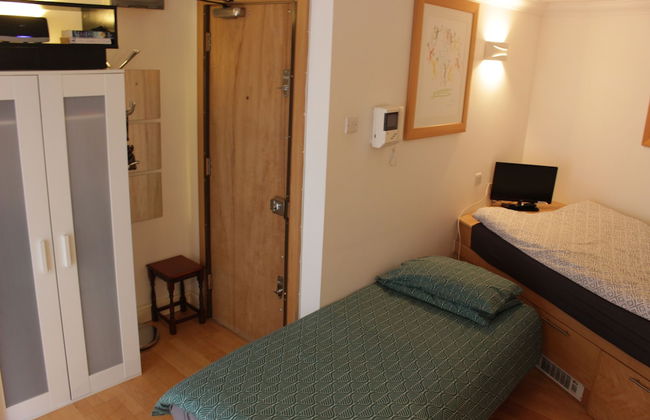


Tower Hill Studio Appartment
Londres - City of London - 2.9 km do centro
- 20 M2
- 3 pessoas
- Aquecimento
- Estacionamento
- Tv


Cheval Calico House
Londres - City of London - 400 m de Saint Paul's Cathedral
- 71 M2
- 4 pessoas
- Ar-condicionado
- Aquecimento
- Tv
- Máquina de lavar roupa
- Toalhas
- Lençóis