


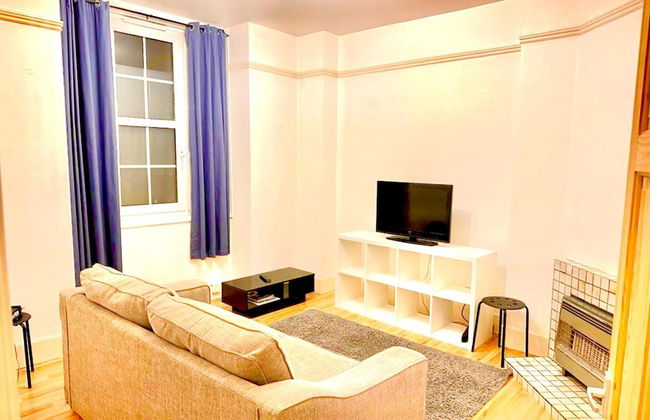
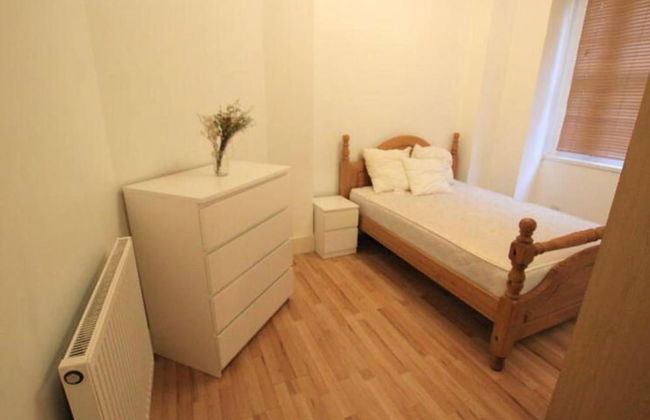
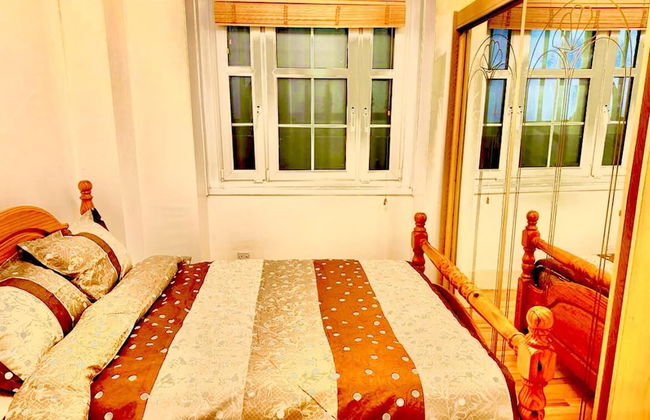
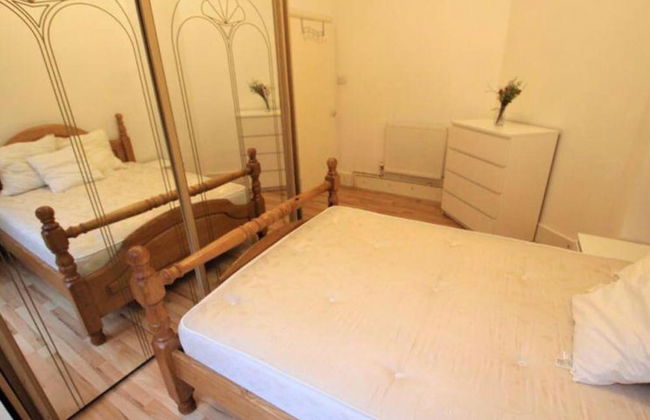
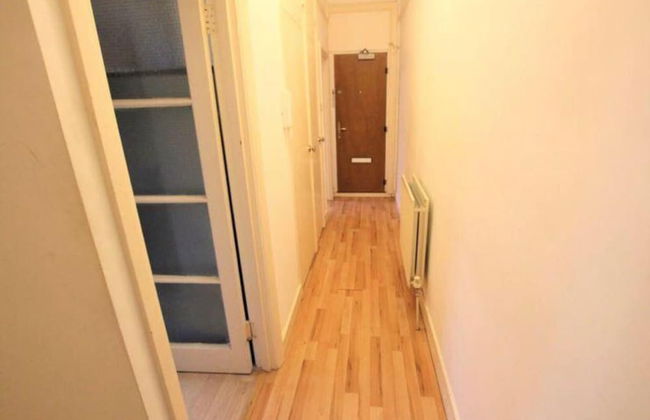
Entire Boat at St Katherine Docks 2 Available select using room options
Londres - Tower Hamlets - 290 m de Tower Bridge
- 14 M2
- 4 pessoas
- Aquecimento
- Estacionamento
- Jardim


Cheval Three Quays at The Tower of London
Londres - City of London - 430 m de Tower Bridge
- 140 M2
- 3 quartos
- 6 pessoas
- Ar-condicionado
- Aquecimento
- Elevador
- Varanda
- Tv
- Máquina de lavar roupa
- Toalhas
- Lençóis


Serenity in the Heart of London
Londres - Tower Hamlets - 380 m de Tower Bridge
- 72 M2
- 2 quartos
- 4 pessoas
- Terraço


Amazing location 1 BD flat on St Katharine's Docks
Londres - Tower Hamlets - 370 m de Tower Bridge
- 40 M2
- 1 quarto
- 4 pessoas
- Terraço
- Estacionamento


Amazing Marina-Overlooking 1Bed
Londres - Tower Hamlets - 410 m de Tower Bridge
- 35 M2
- 1 quarto
- 4 pessoas
- Terraço
- Estacionamento
- Jardim


Tower Bridge St Katherines Docks 2 Bedroom Appartment
Londres - Tower Hamlets - 450 m de Tower Bridge
- 68 M2
- 2 quartos
- 4 pessoas
- Terraço
- Estacionamento


Tower Bridge Exclusive Two bedroom apartment
Londres - Bermondsey - 440 m de Tower Bridge
- 60 M2
- 2 quartos
- 6 pessoas
- Aquecimento
- Elevador


Historic Dutch Barge, Idyllic location
Londres - Tower Hamlets - 460 m de Tower Bridge
- 2 quartos
- 4 pessoas
- Terraço


A Penthouse by Tower Bridge
Londres - Bermondsey - 390 m de Tower Bridge
- 68 M2
- 2 quartos
- 4 pessoas
- Ar-condicionado
- Aquecimento
- Terraço
- Estacionamento
- Elevador
- Jardim


London Bridge – Tooley St by Viridian Apartments
Londres - Bermondsey - 500 m de Tower Bridge
- 67 M2
- 2 quartos
- 5 pessoas
- Aquecimento
- Terraço
- Elevador
- Tv
- Máquina de lavar roupa
- Toalhas
- Lençóis


TruStay Apartments London Bridge
Londres - Bermondsey - 500 m de Tower Bridge
- 80 M2
- 2 quartos
- 4 pessoas
- Aquecimento
- Elevador
- Jardim


Live like a Londoner by TOWER BRIDGE
Londres - Bermondsey - 460 m de Tower Bridge
- 52 M2
- 2 quartos
- 4 pessoas
- Aquecimento
- Estacionamento


Charming houseboat featuring a sauna
Londres - Tower Hamlets - 260 m de Tower Bridge
- 479 M2
- 5 quartos
- 10 pessoas


Stylish Central London Flat Near Tower Bridge
Londres - Bermondsey - 410 m de Tower Bridge
- 35 M2
- 1 quarto
- 4 pessoas


ARCORE Premium Apartments London Bridge
Londres - Bermondsey - 290 m de Tower Bridge
- 110 M2
- 2 quartos
- 5 pessoas
- Ar-condicionado


SIAC Tower Bridge
Londres - City of London - 410 m de Tower Bridge
- 49 M2
- 1 quarto
- 3 pessoas
- Ar-condicionado
- Terraço
- Piscina


Immaculate One Bed in Tower Bridge Luxurious Taste
Londres - Bermondsey - 390 m de Tower Bridge
- 650 M2
- 4 pessoas
- Aquecimento
- Estacionamento
- Elevador


2 beds by Tower Bridge, Walk to Sights & Dining
Londres - Bermondsey - 310 m de Tower Bridge
- 70 M2
- 2 quartos
- 4 pessoas
- Estacionamento


Spacious 3 bedroom 3 bathroom apartment near Tower Bridge
Londres - Bermondsey - 260 m de Tower Bridge
- 170 M2
- 2 quartos
- 6 pessoas
- Ar-condicionado
- Terraço


Spacious 1BR Steps from London Bridge & The Shard
Londres - Bermondsey - 440 m de Tower Bridge
- 1 quarto
- 6 pessoas