
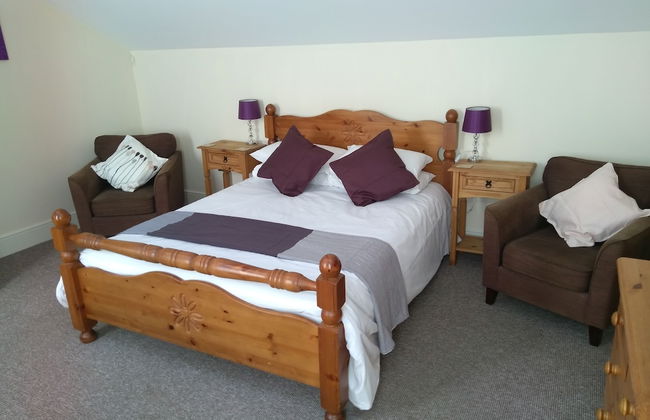
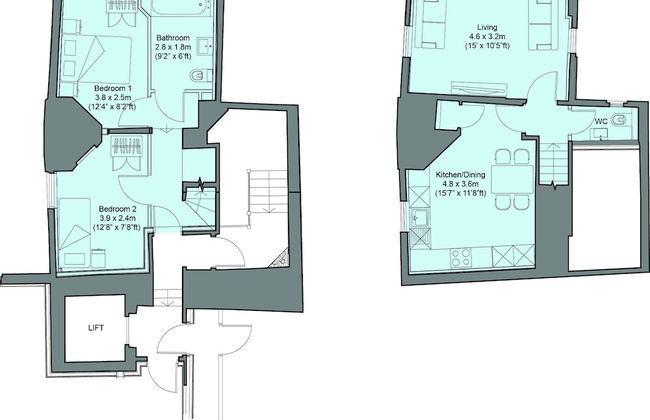
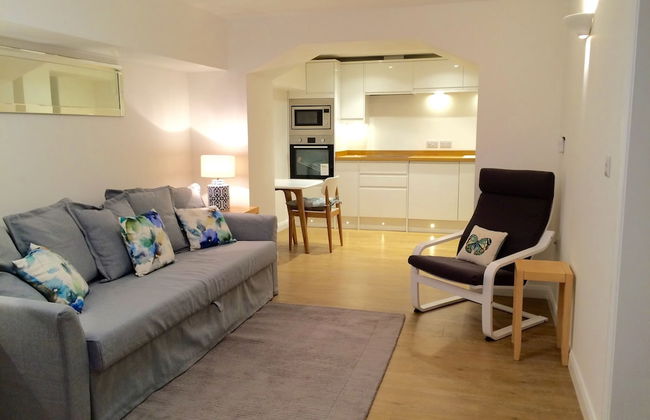
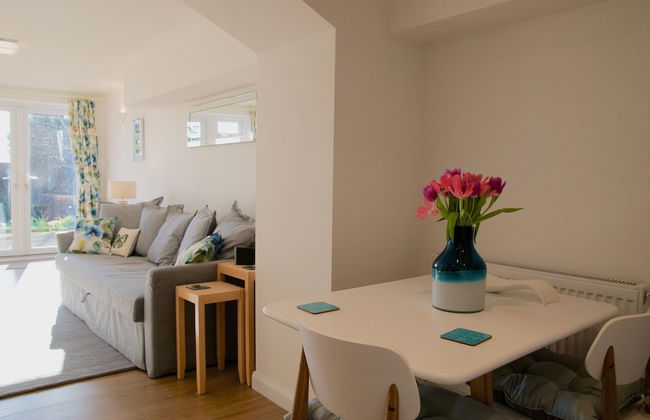
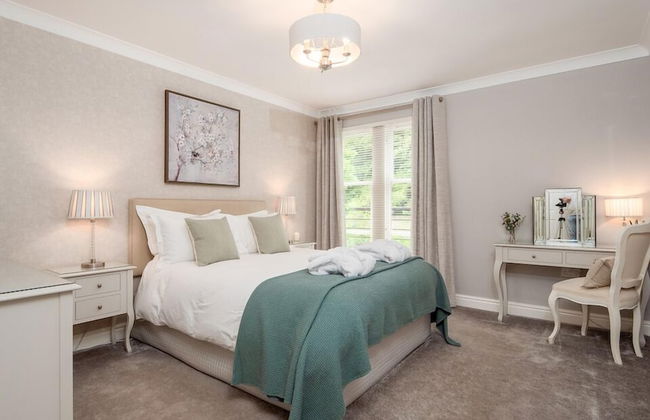
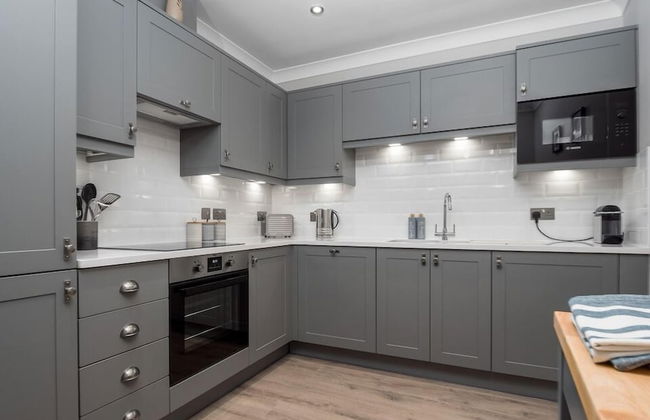
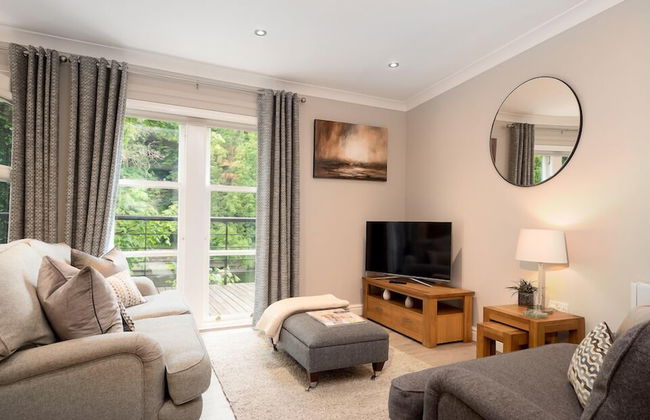
15169 Apartamentos em Inglaterra


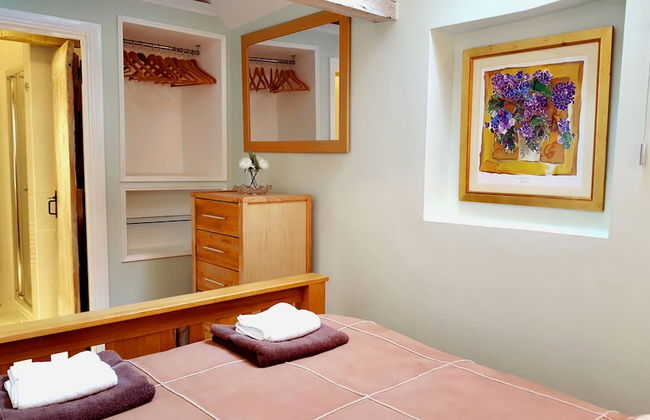


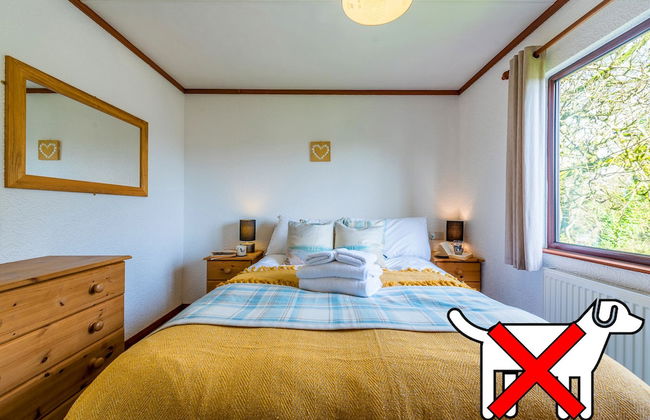
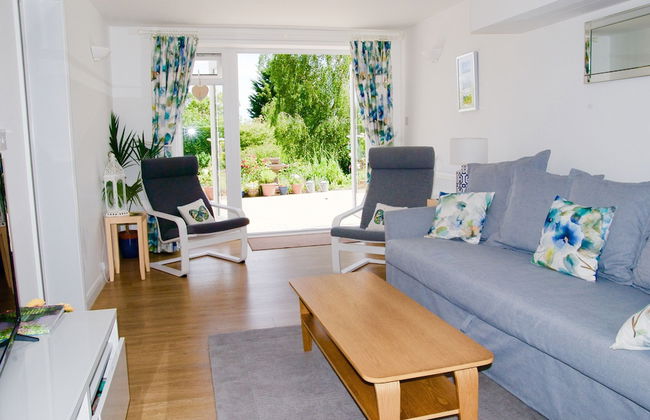
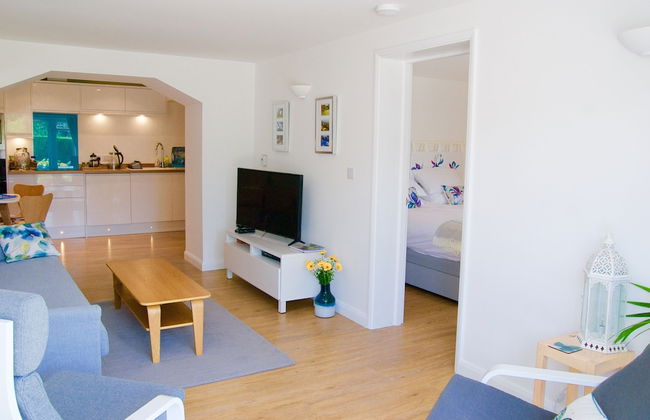
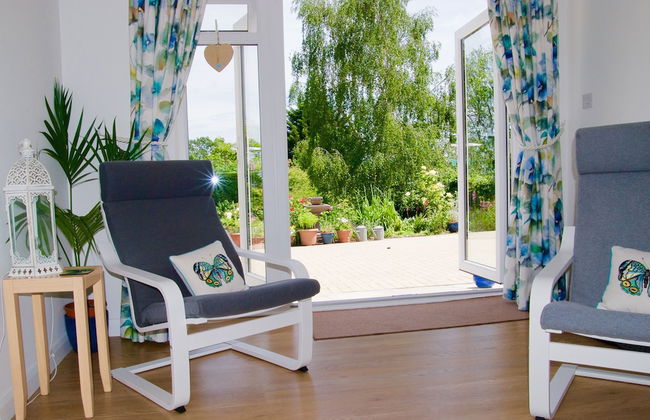
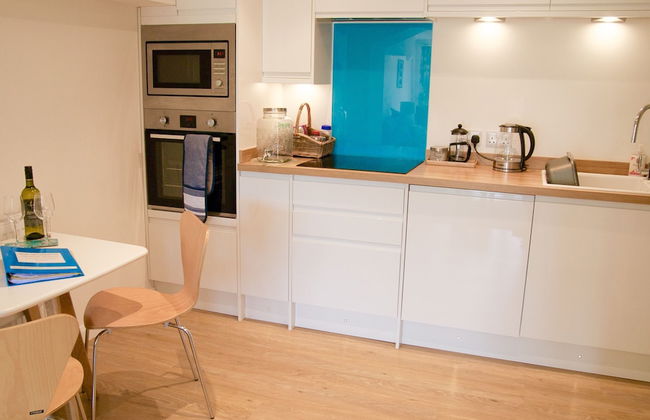
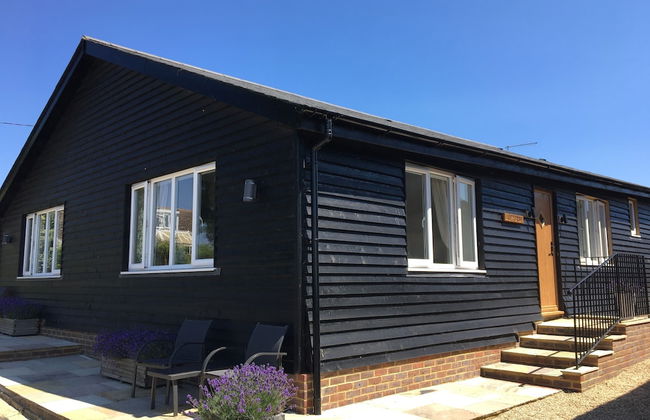
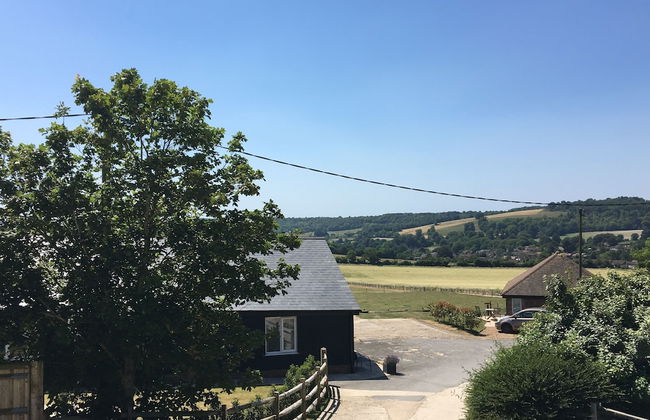
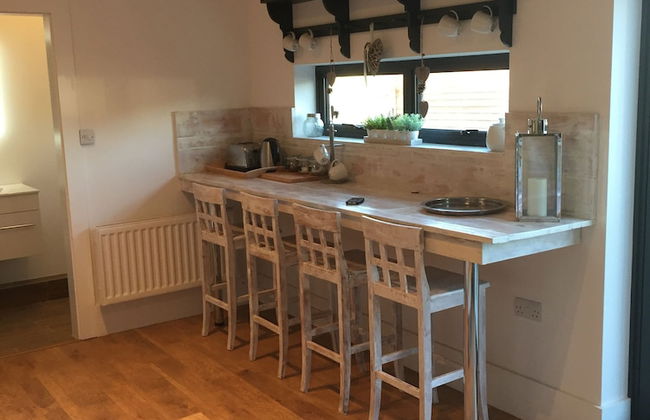
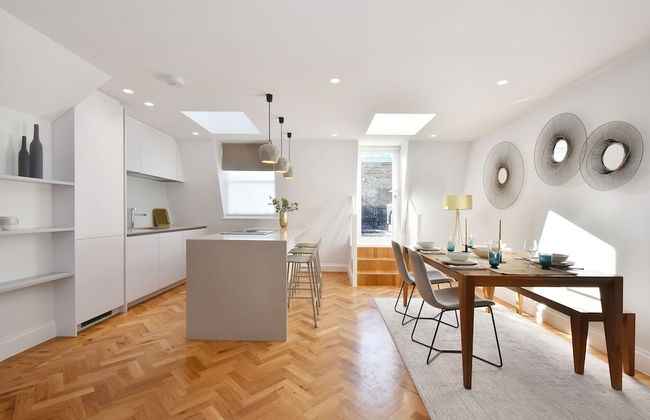
River Nene Cottages
Peterborough - Waternewton - 7.5 km do centro
- 60 M2
- 4 pessoas
- Aquecimento
- Terraço
- Piscina
- Estacionamento
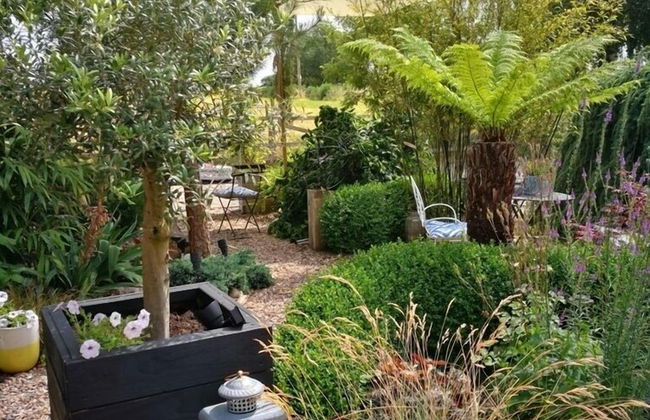
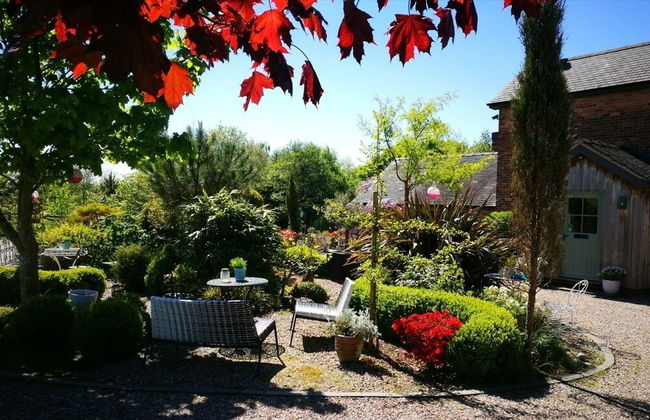
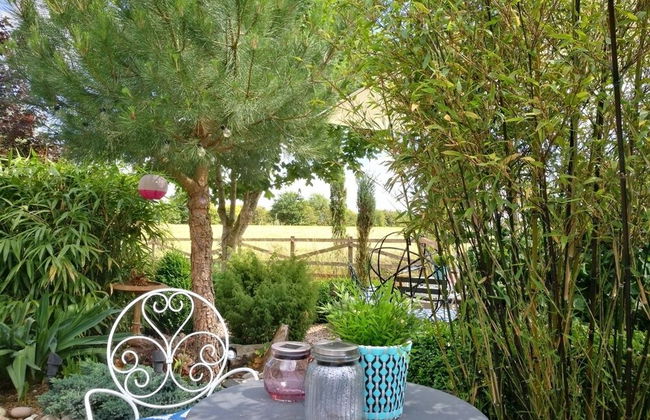
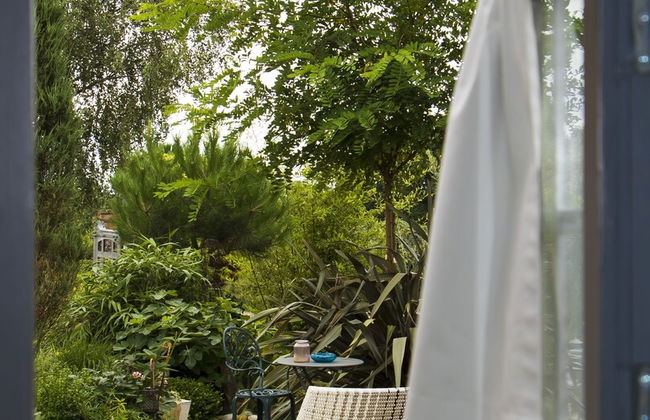
- Jardim
- Tv
- Máquina de lavar roupa
- Chaminé
- Churrasco
- Toalhas
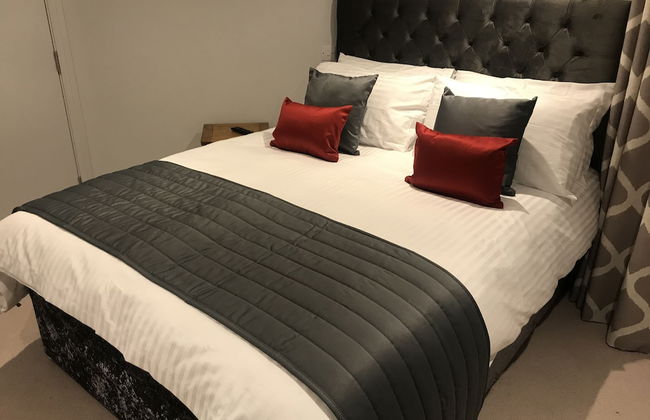
- Lençóis
11 avaliações


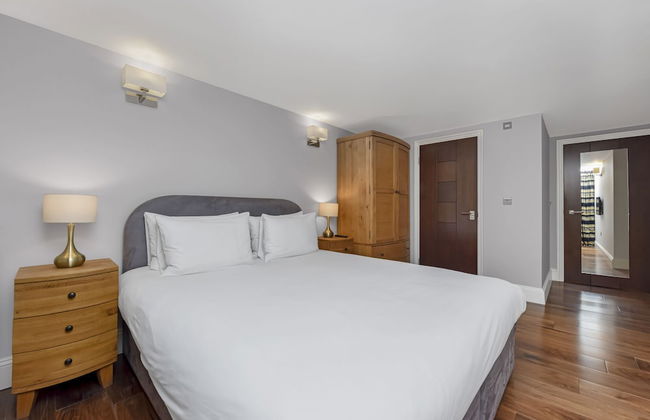


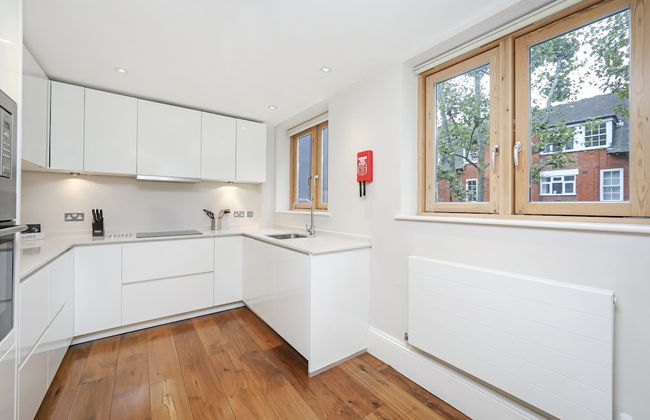


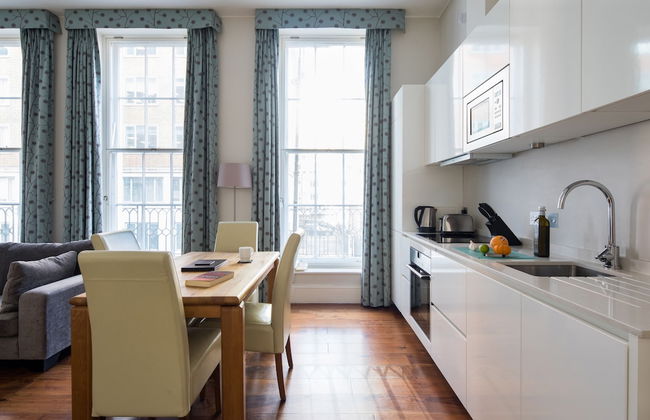
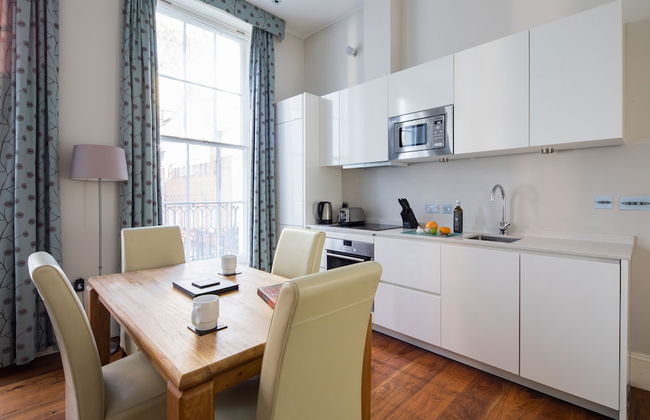


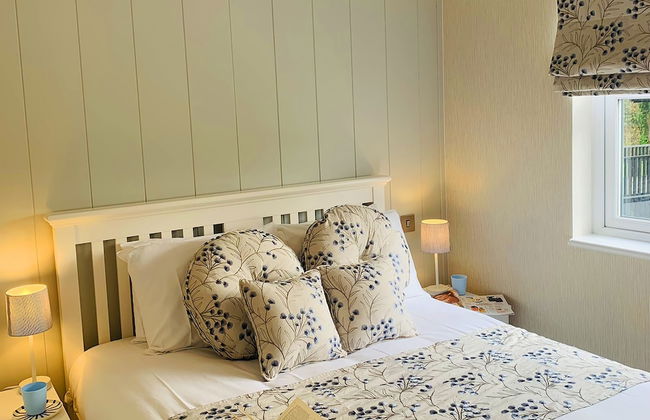
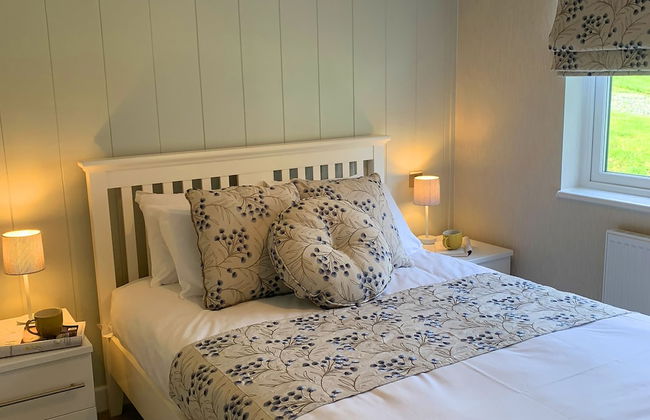
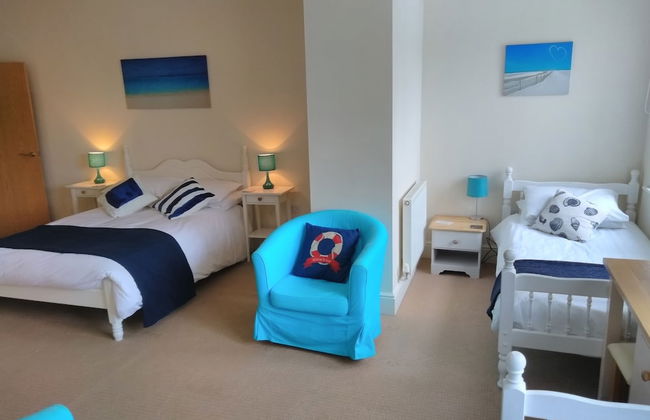
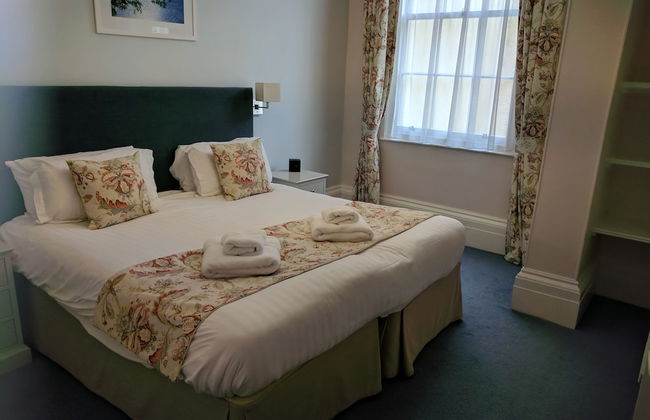
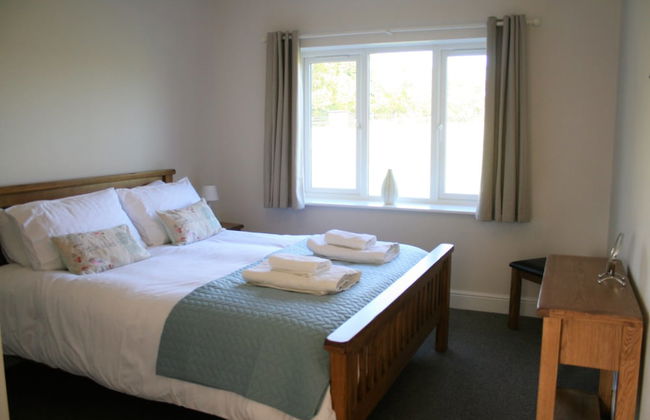
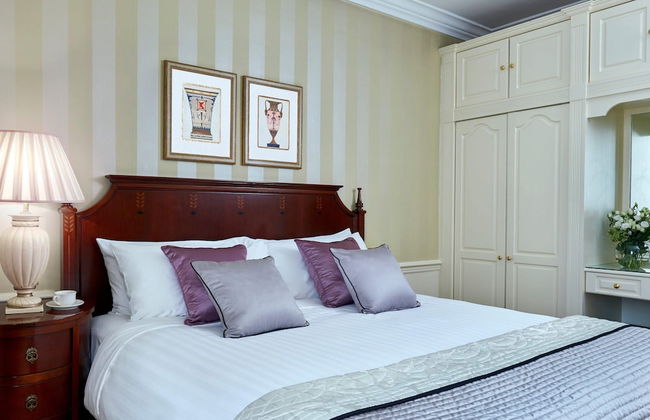
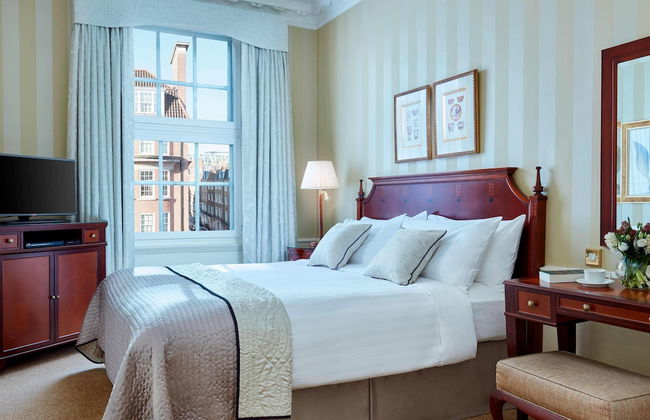
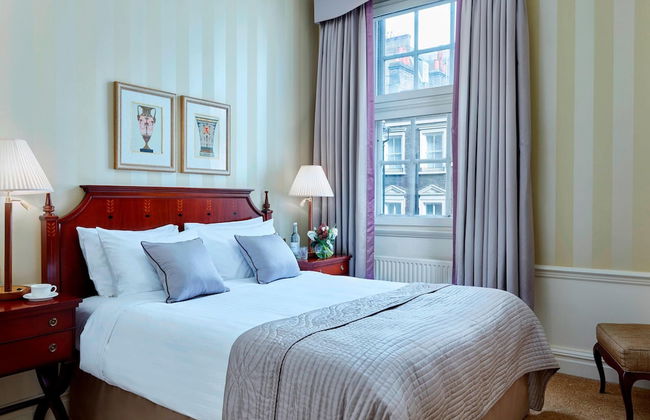
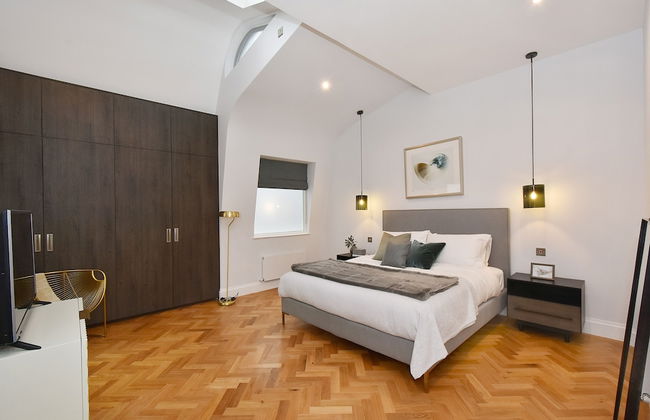
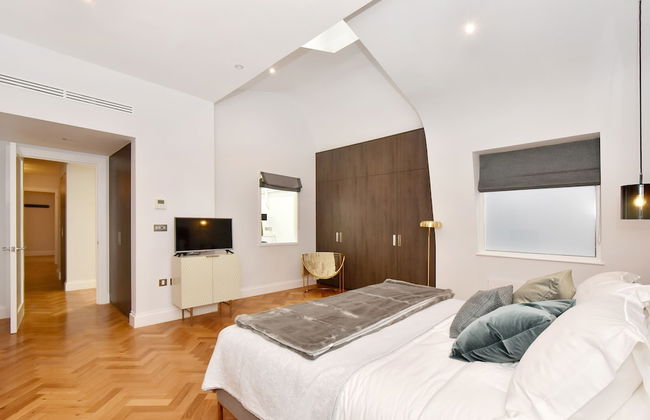
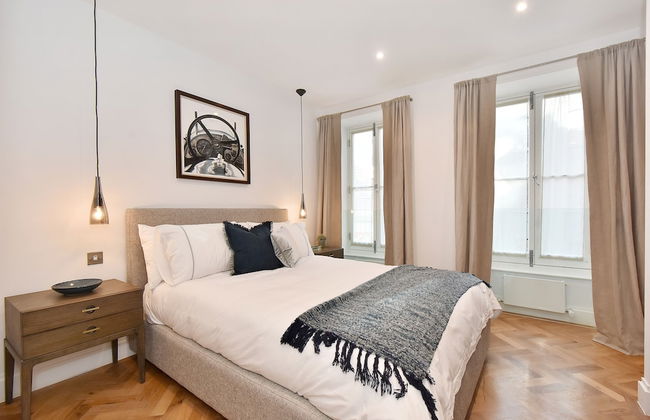
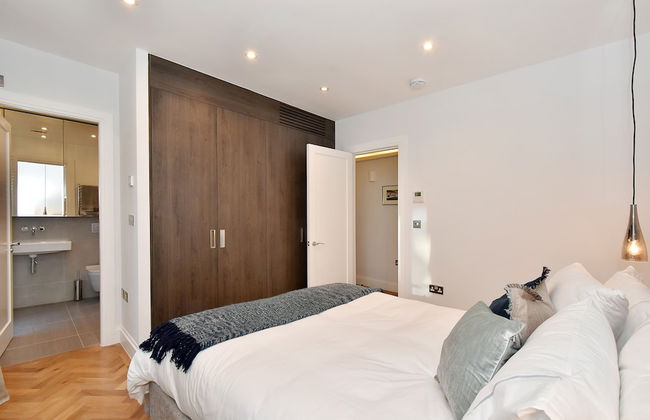
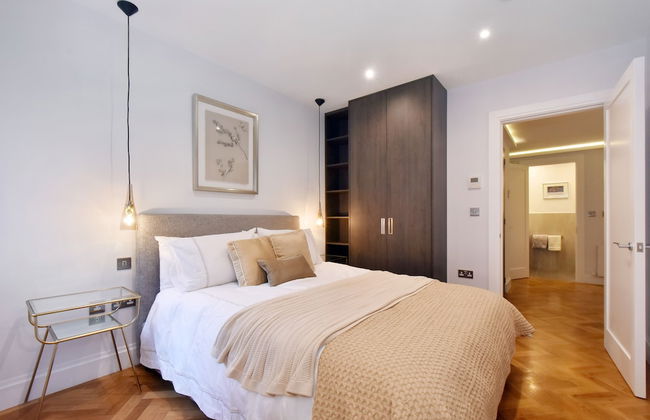
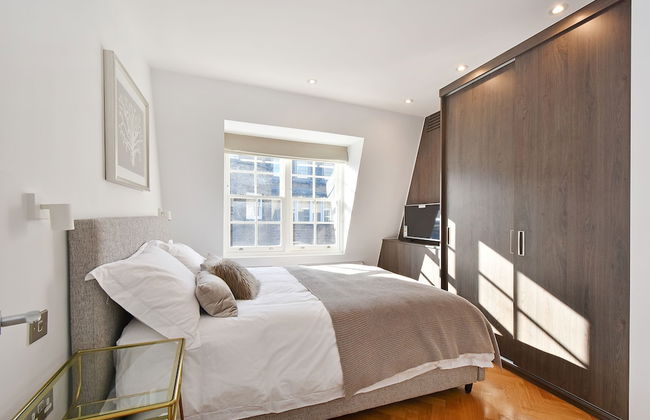
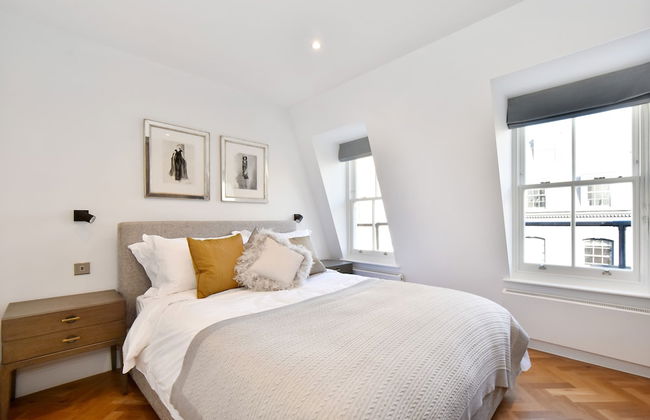
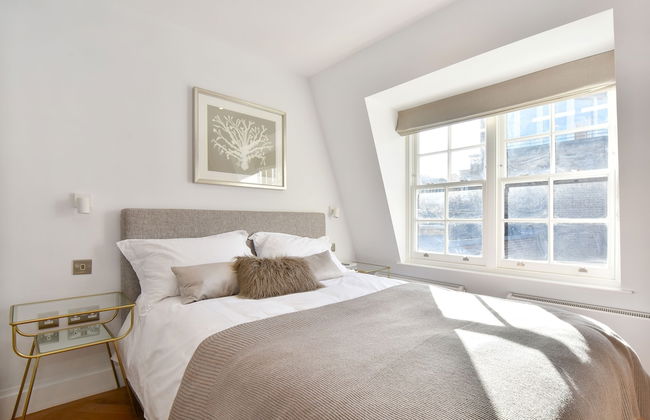
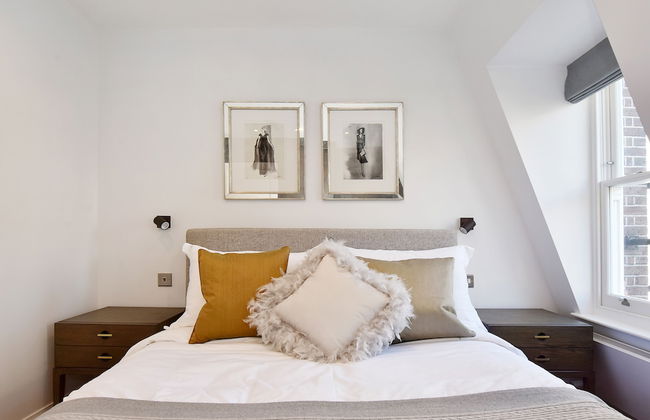
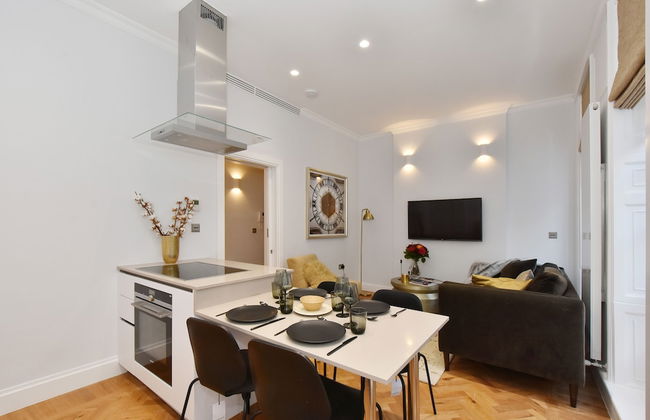
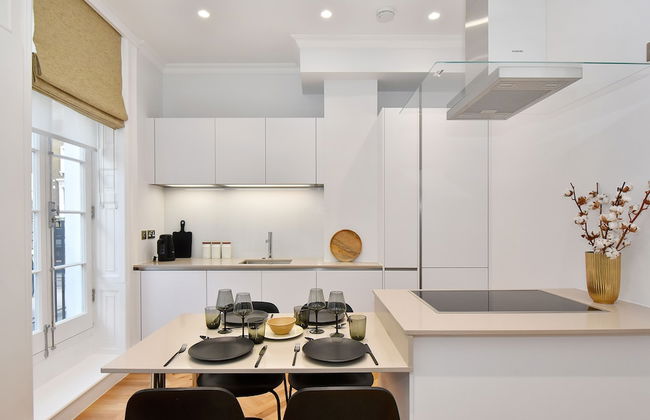
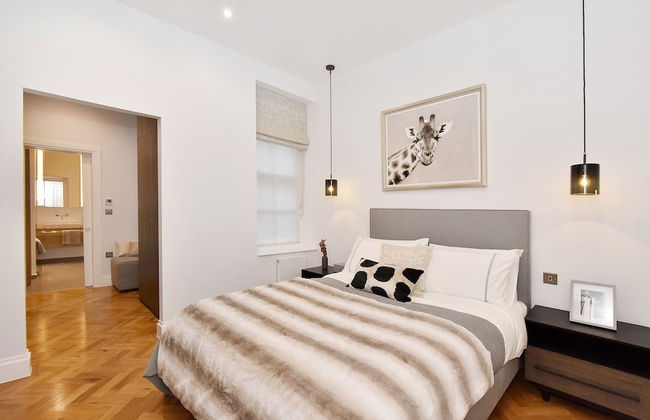
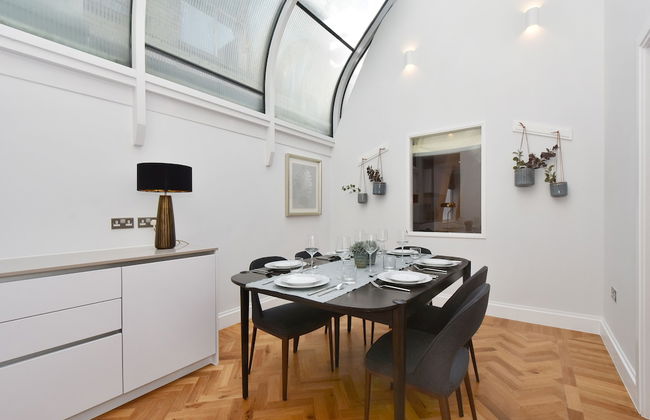
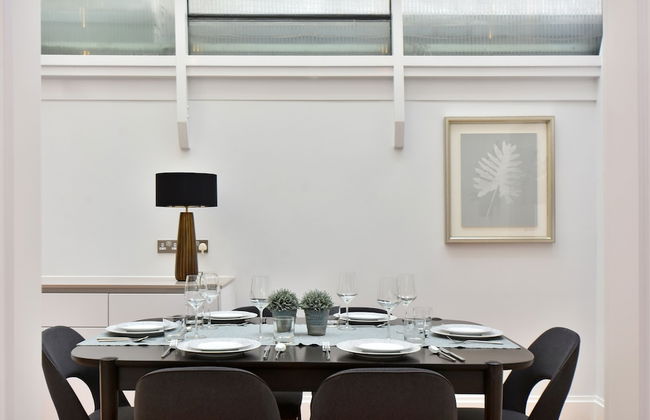
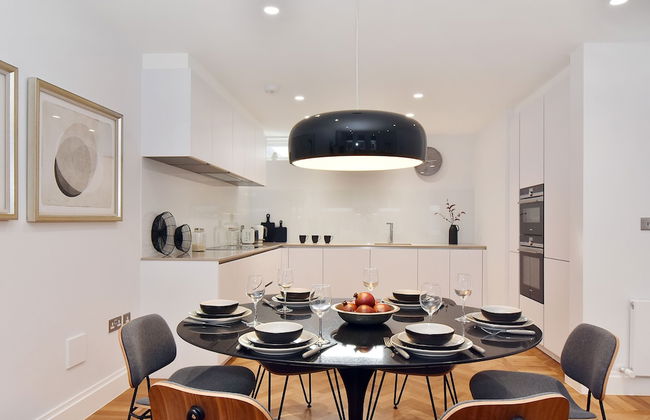
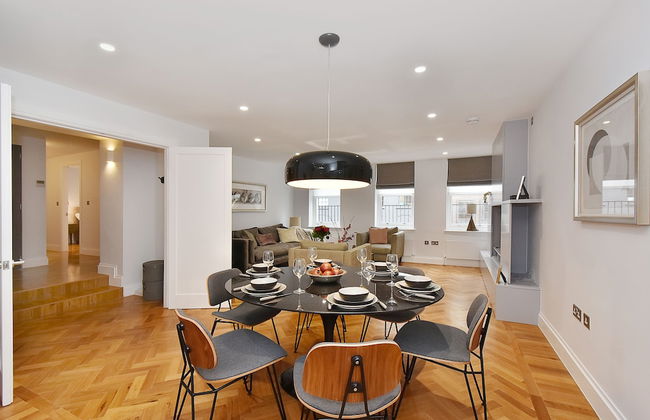
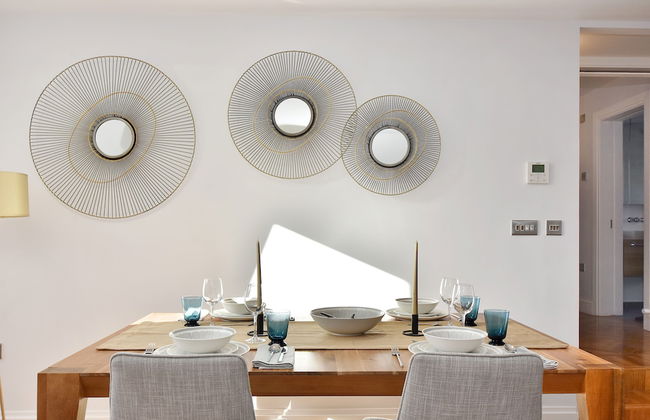
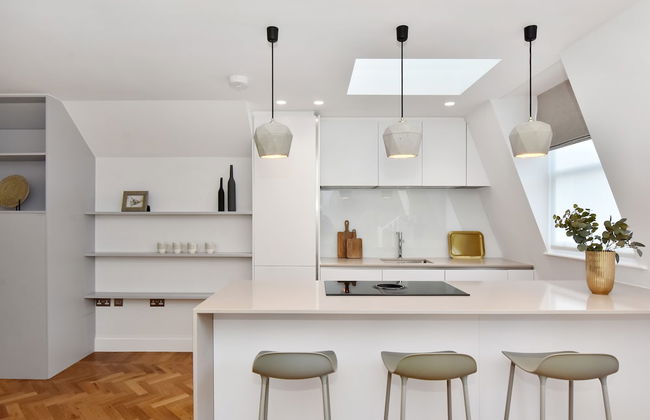
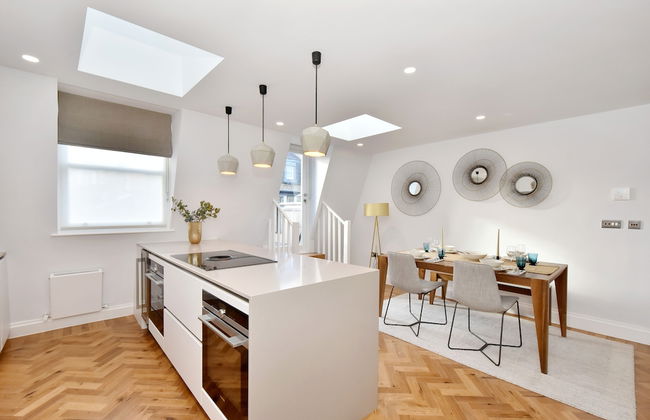
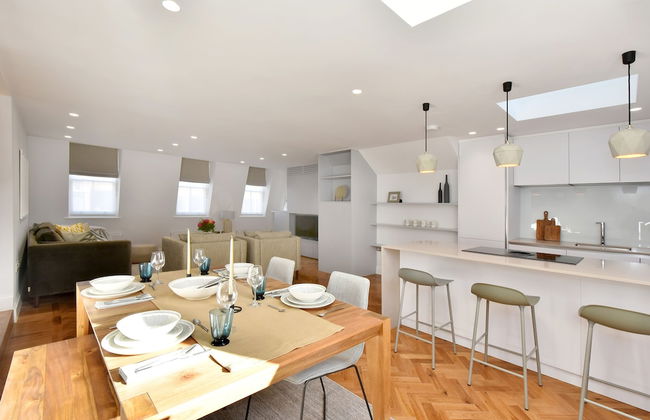
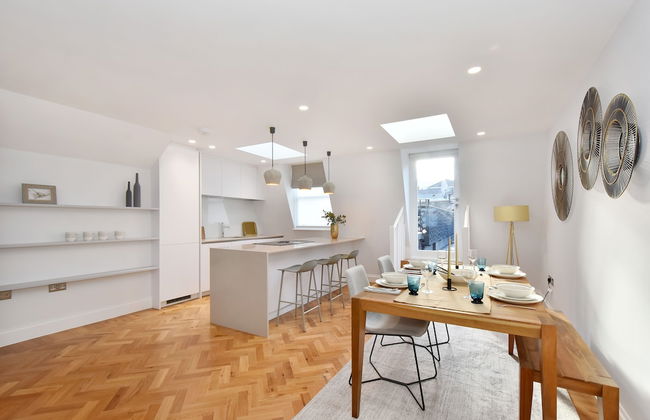
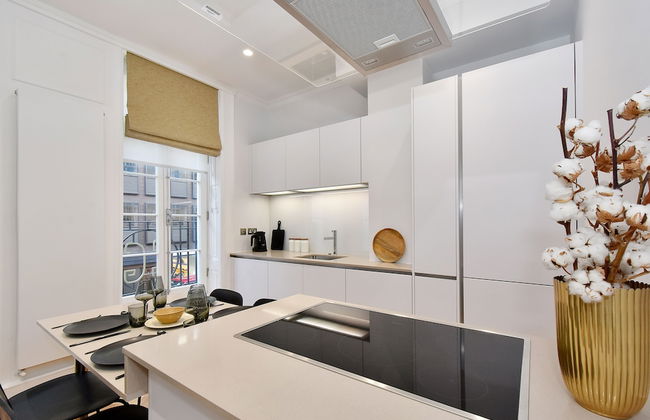
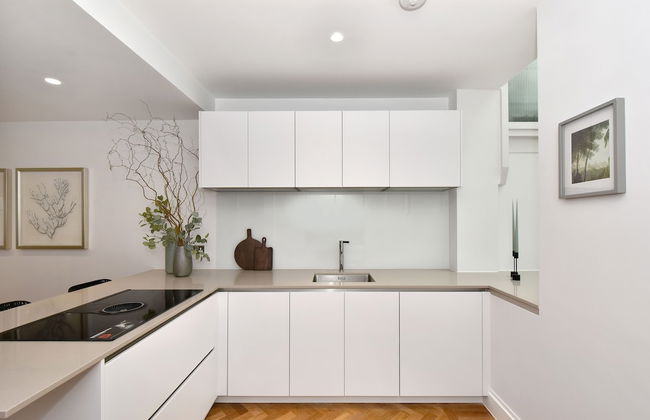
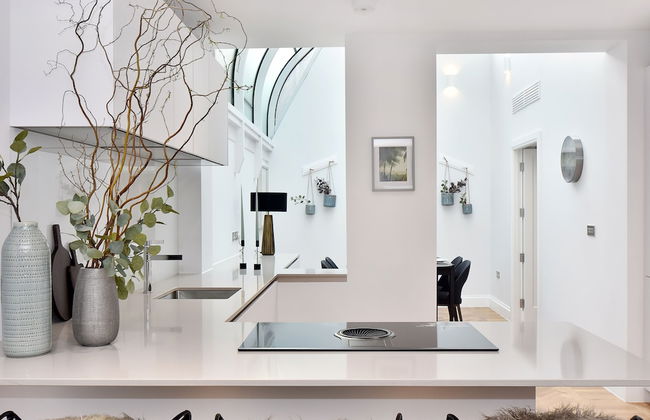
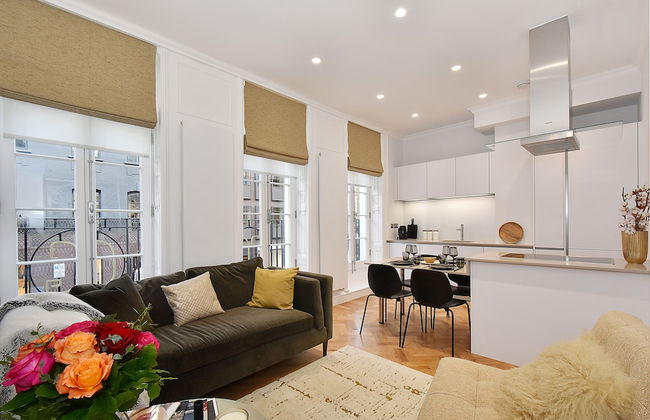
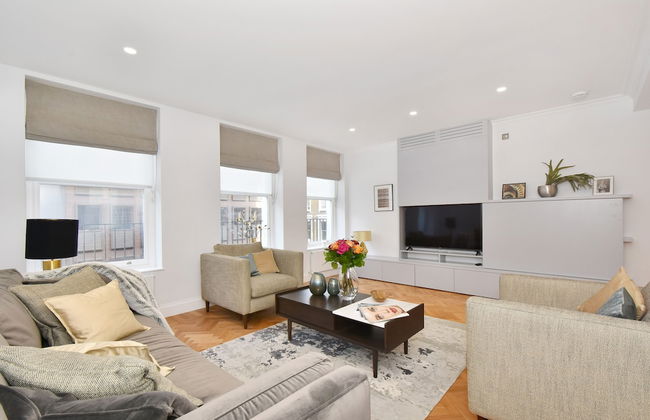
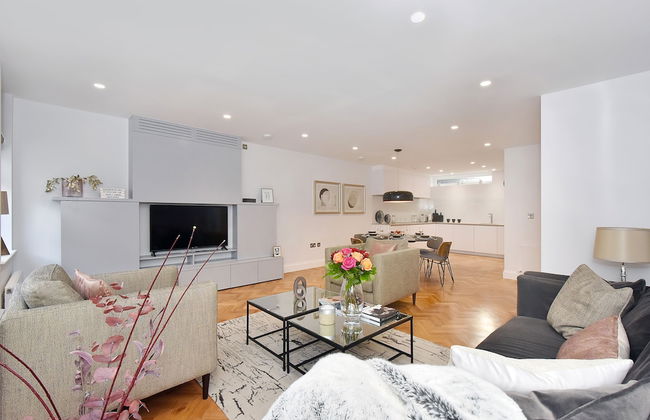
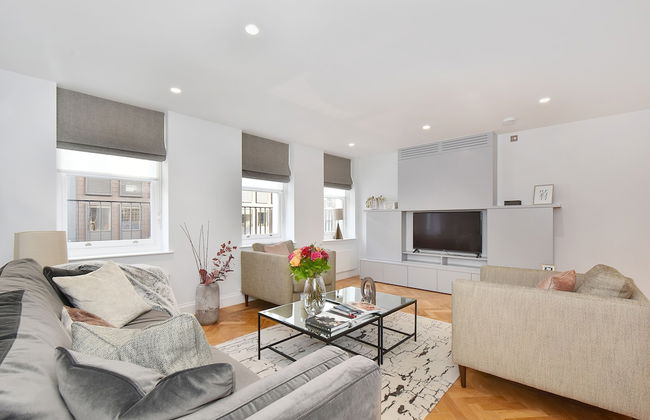
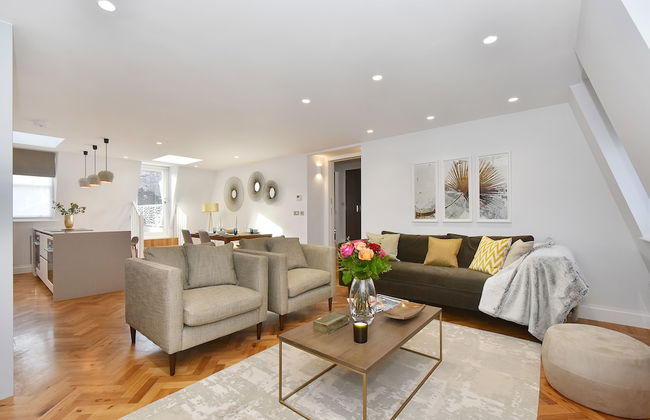
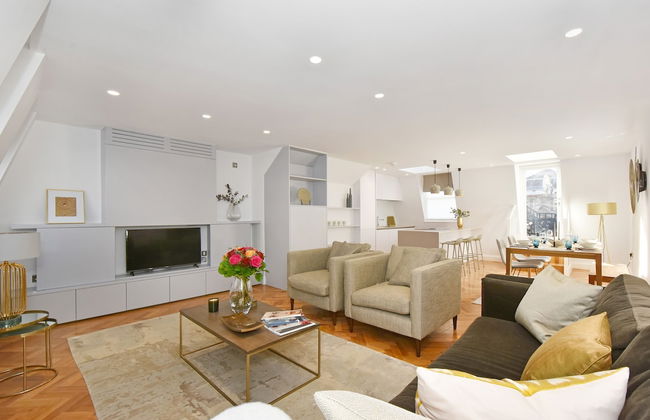
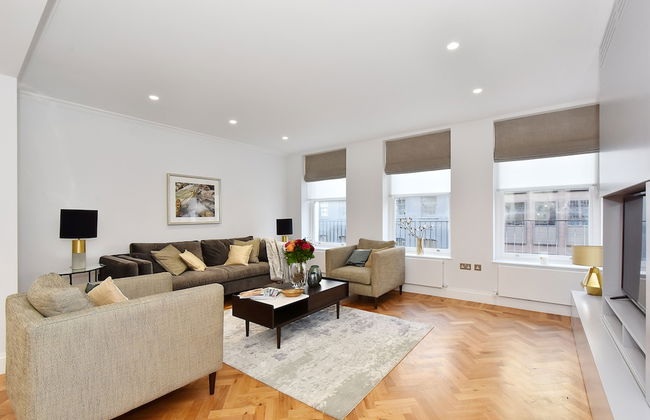
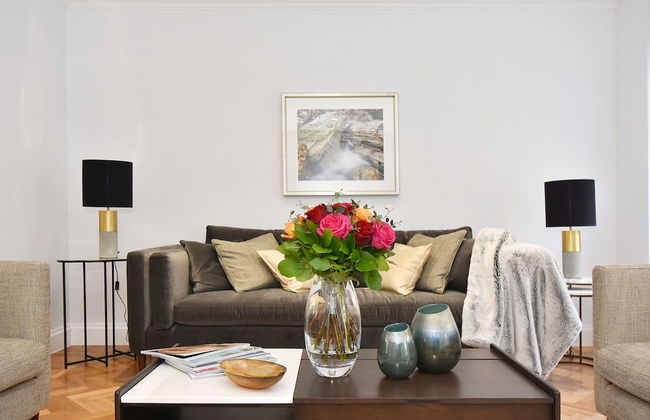
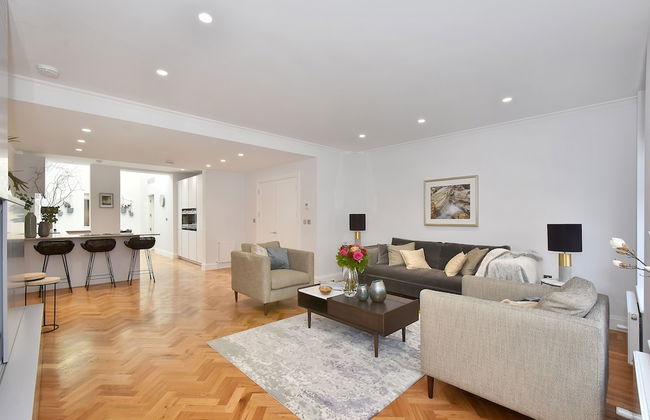
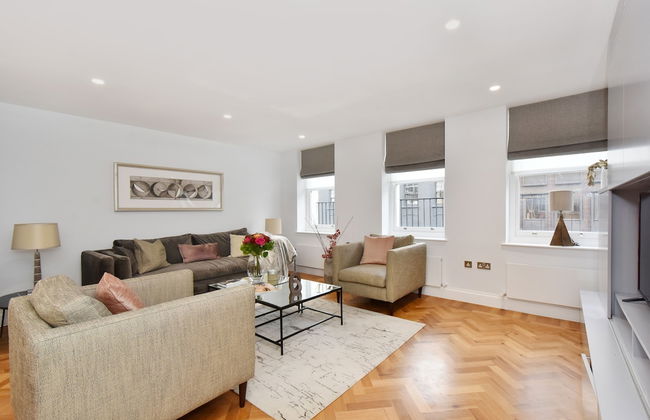
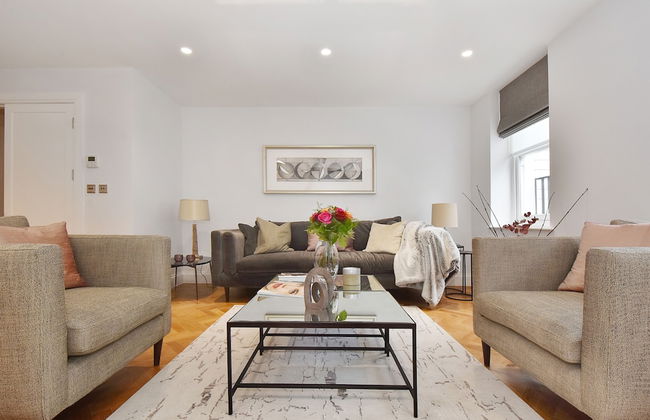
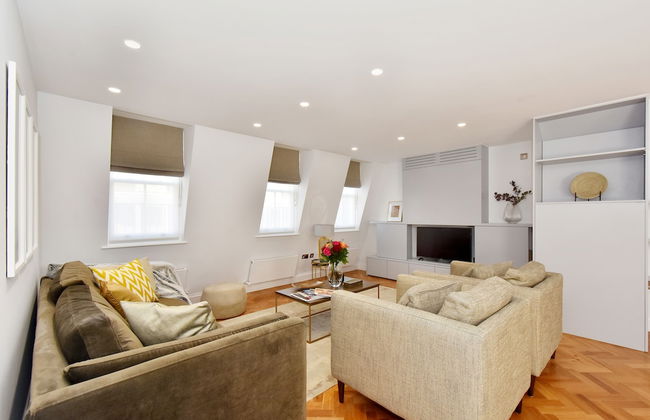
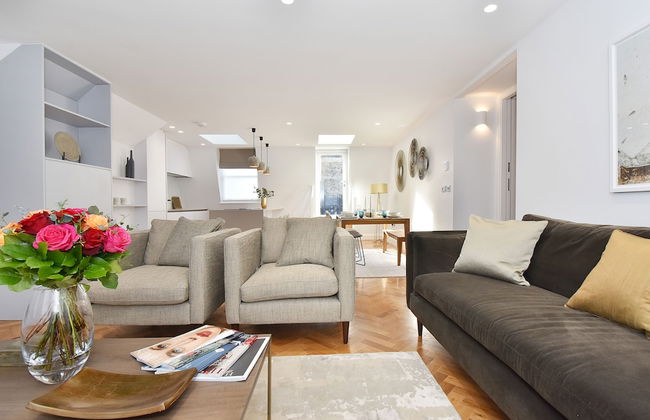
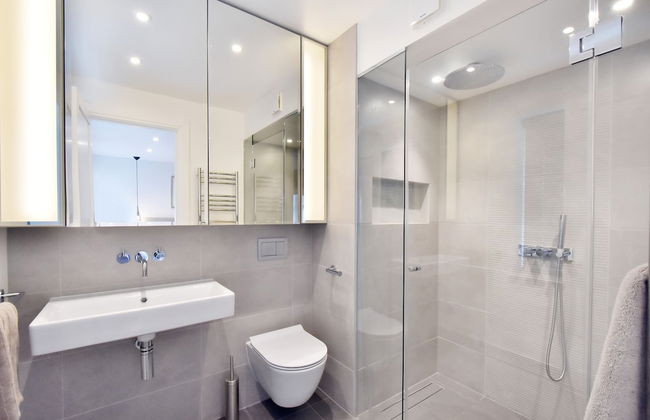
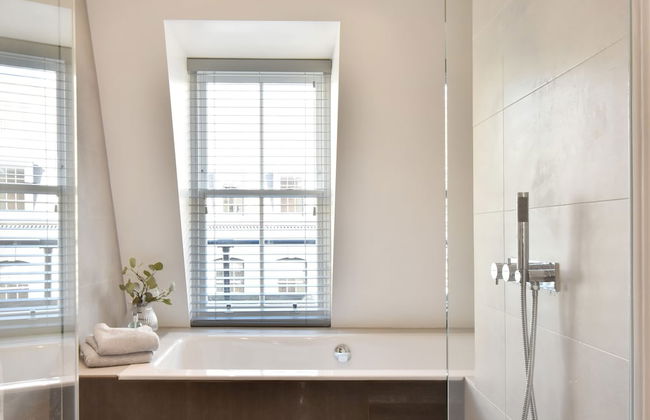
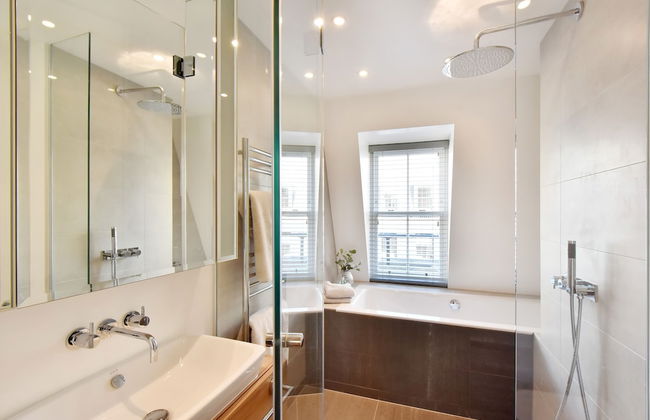
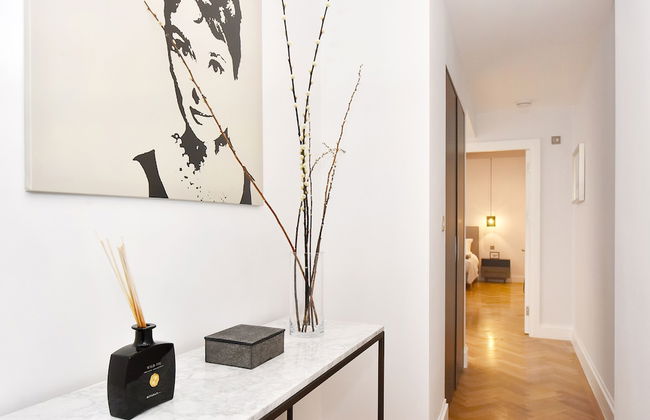
Tavistock Place Apartments
Londres - St Pancras - 1.5 km do centro
- 105 M2
- 6 pessoas
- Aquecimento
- Terraço
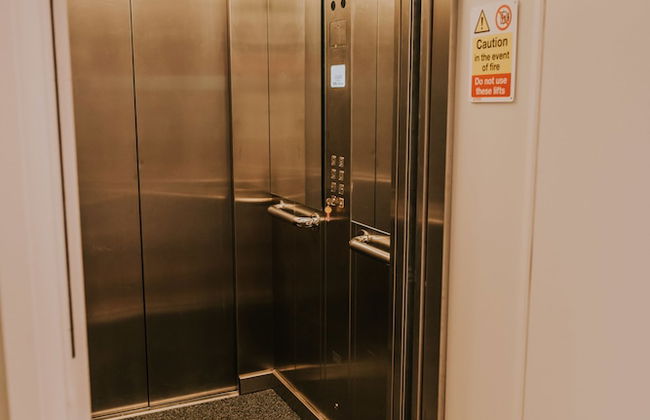
- Elevador
- Varanda
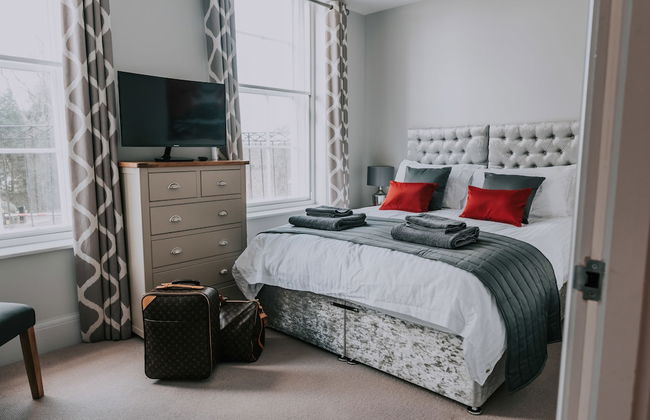
- Tv
- Máquina de lavar roupa
- Chaminé
- Toalhas
- Lençóis
12 avaliações


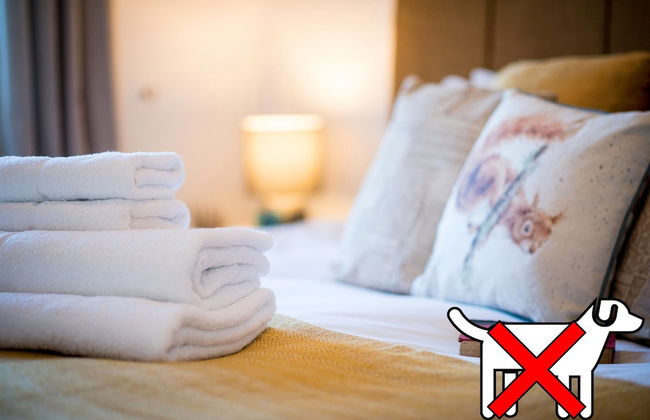


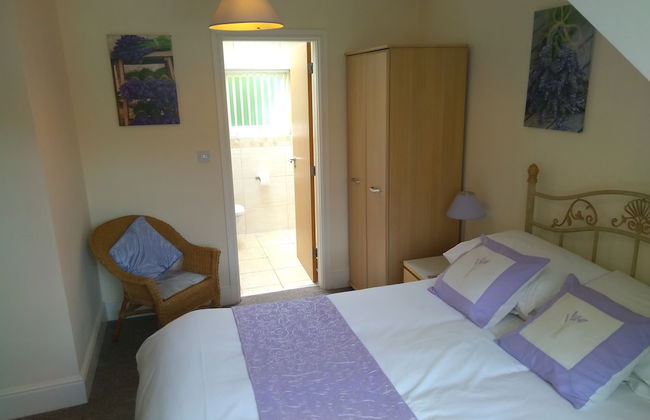
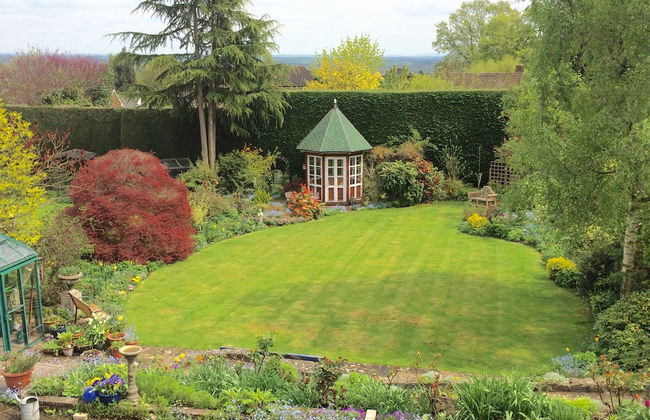
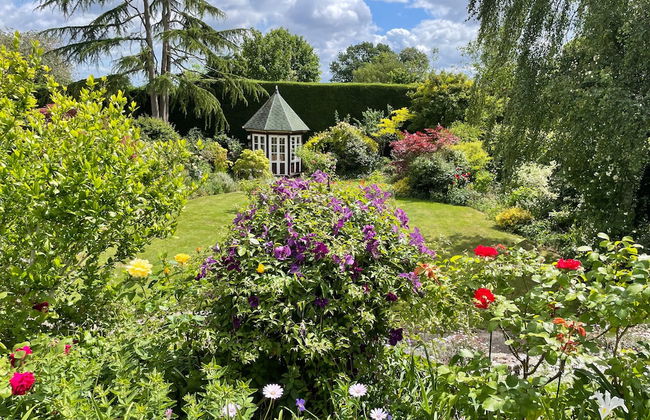
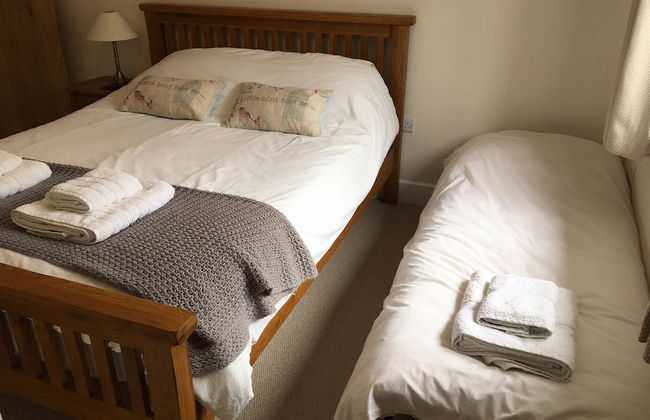
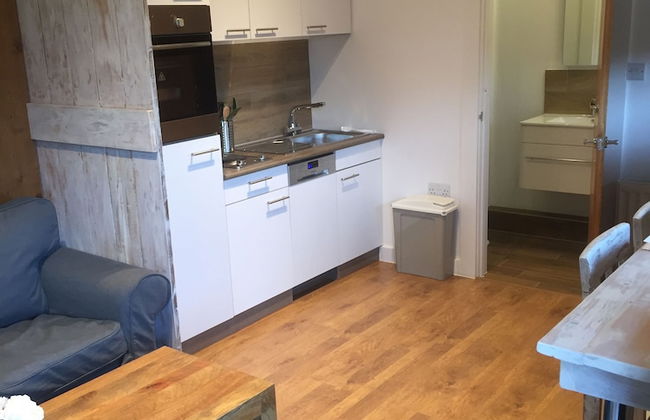
St. Tinney Farm
Camelford - Otterham
- 74 M2
- 6 pessoas
- Aquecimento
- Terraço
- Piscina
- Estacionamento
- Varanda
- Jardim
- Tv
- Máquina de lavar roupa
- Chaminé
- Toalhas
- Lençóis
24 avaliações


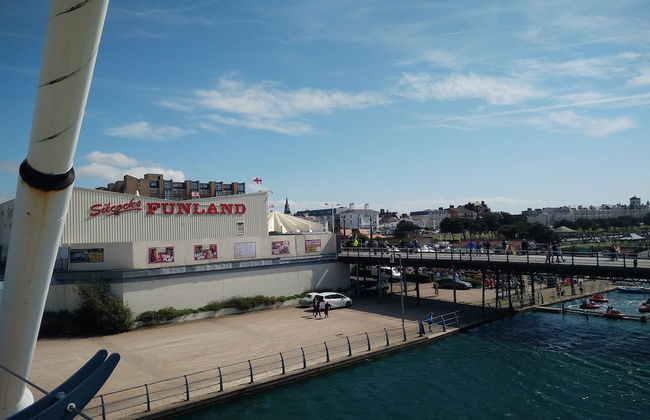

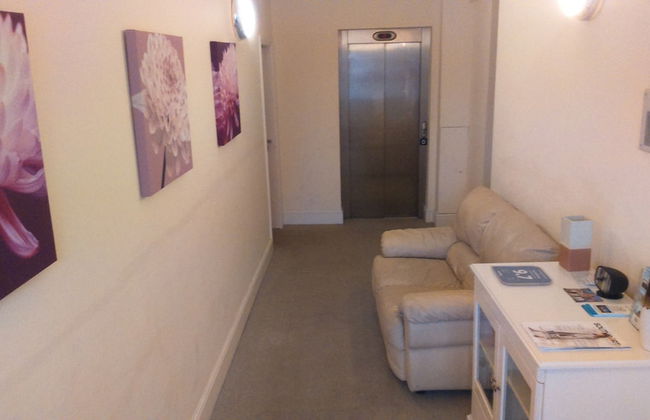


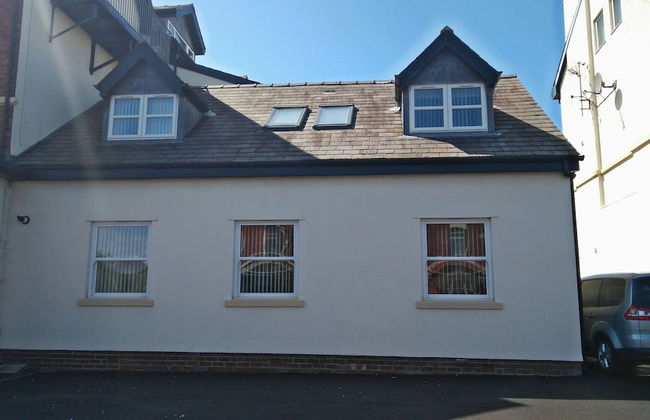


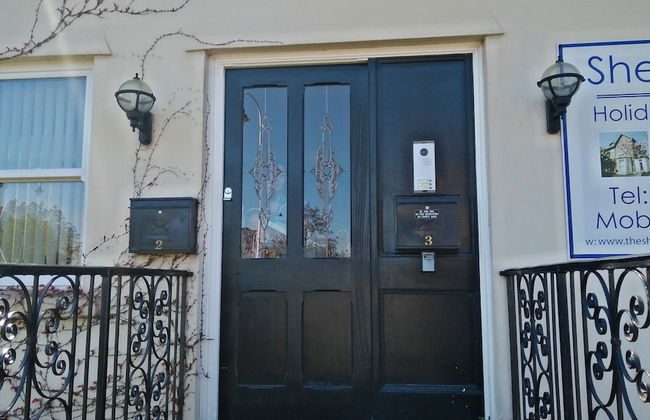


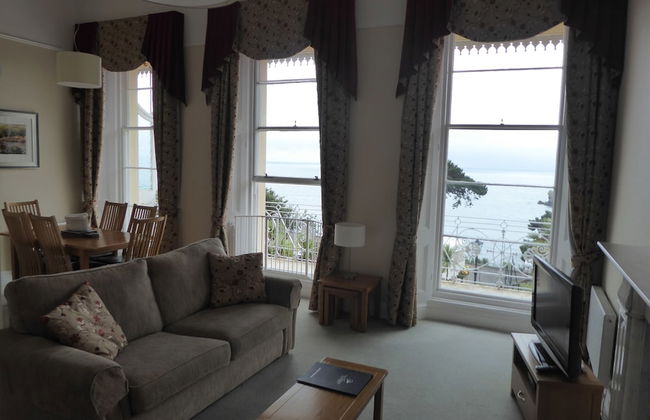
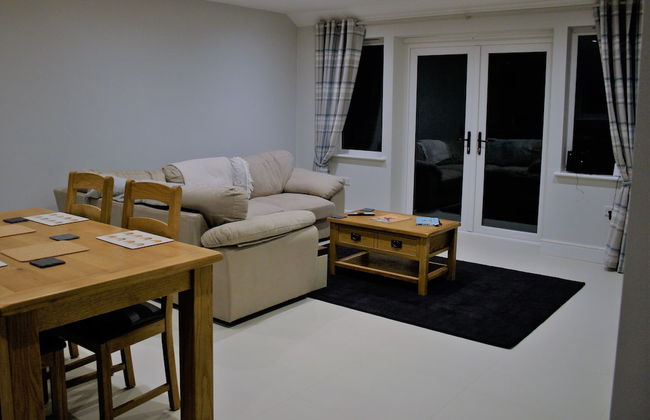
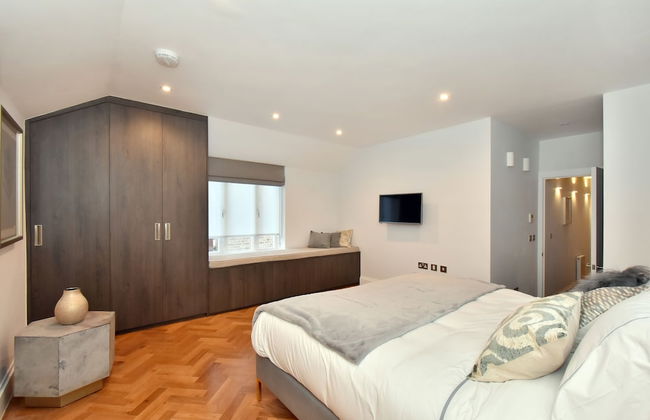
The Shelbourne Apartments
Southport - Southport
- 125 M2
- 10 pessoas
- Aquecimento
- Terraço
- Estacionamento
- Elevador
- Varanda
- Jardim
- Tv
- Máquina de lavar roupa
- Toalhas
- Lençóis
75 avaliações


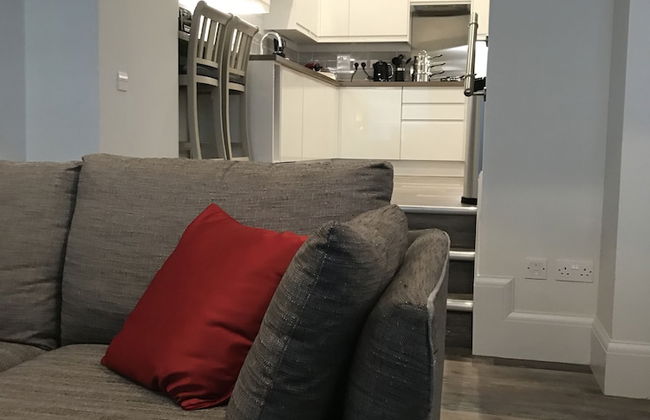
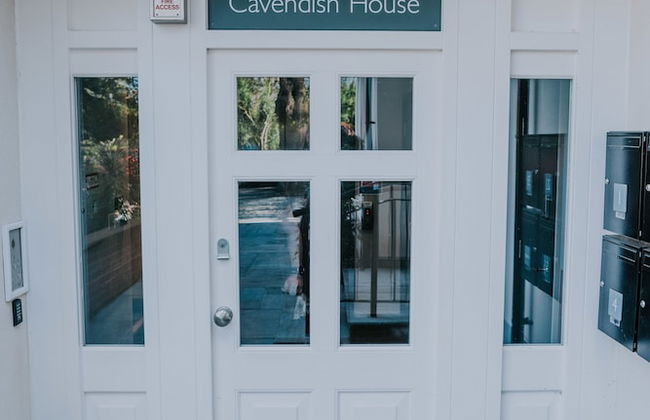
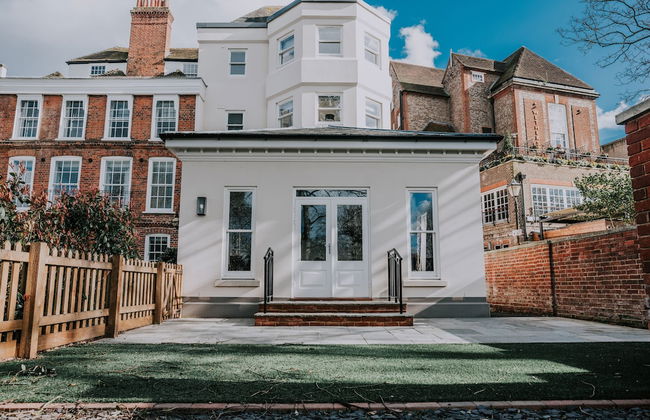
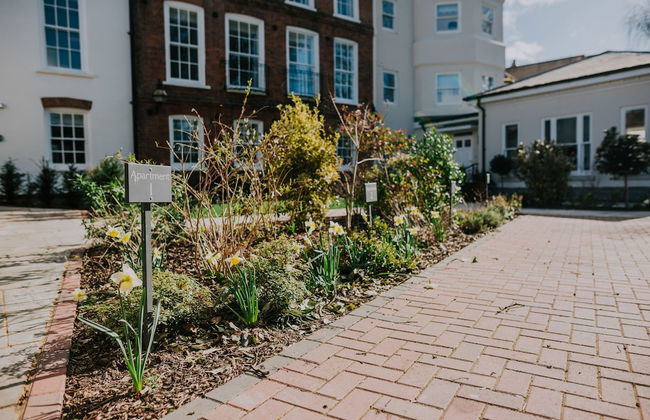
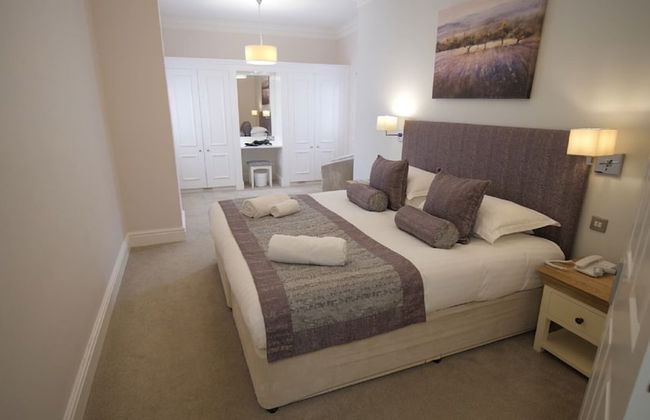
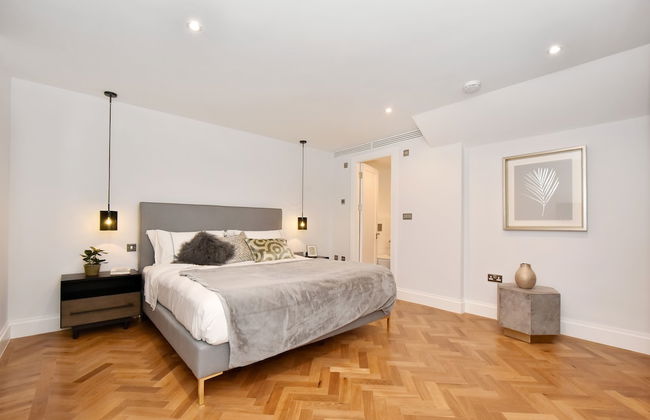
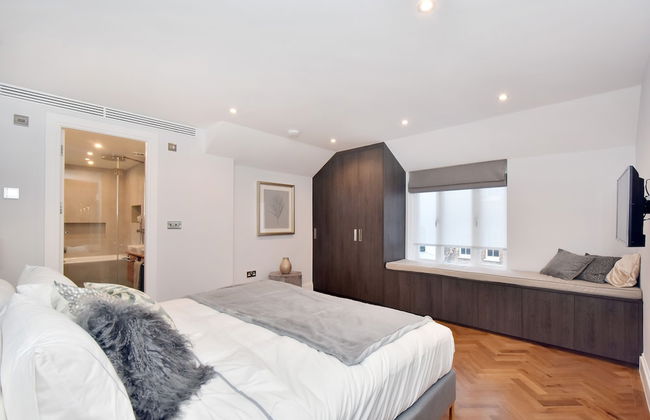
Cavendish House
Windsor - Windsor
- 92 M2
- 6 pessoas
- Aquecimento
- Terraço
- Estacionamento
- Elevador
- Varanda
- Jardim
- Tv
- Máquina de lavar roupa
- Toalhas
- Lençóis
57 avaliações


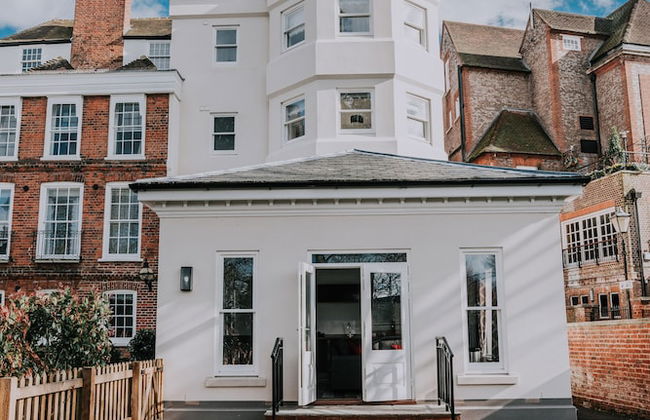
The Osborne Apartments
Torquay - Torquay
- 139 M2
- 8 pessoas
- Aquecimento
- Terraço
- Piscina
- Estacionamento
- Elevador
- Jardim
- Tv
- Toalhas
- Lençóis
86 avaliações


Willow Cottage
Harrogate - Pateley Bridge - 16.9 km do centro
- 167 M2
- 6 pessoas
- Aquecimento
- Terraço
- Estacionamento
- Tv
- Máquina de lavar roupa
- Chaminé
- Toalhas
- Lençóis
11 avaliações


Riverbank View
Lorque - York - 1 km do centro
- 88 M2
- 5 pessoas
- Aquecimento
- Terraço
- Estacionamento
- Varanda
- Jardim
- Tv
- Máquina de lavar roupa
- Toalhas
- Lençóis
25 avaliações


Hayeswood Lodge Luxury Accommodation
Ilkeston - Stanley
- 2 pessoas
- Kitchenette
- Aquecimento
- Terraço
- Estacionamento
- Jardim
- Tv
- Toalhas
- Lençóis
32 avaliações


Malvern Holiday Garden Flat
Malvern - Malvern
- 2 pessoas
- Aquecimento
- Terraço
- Estacionamento
- Jardim
- Tv
- Máquina de lavar roupa
- Toalhas
- Lençóis
19 avaliações


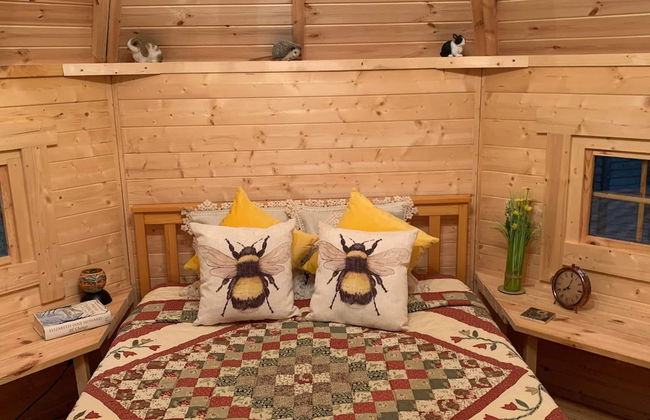
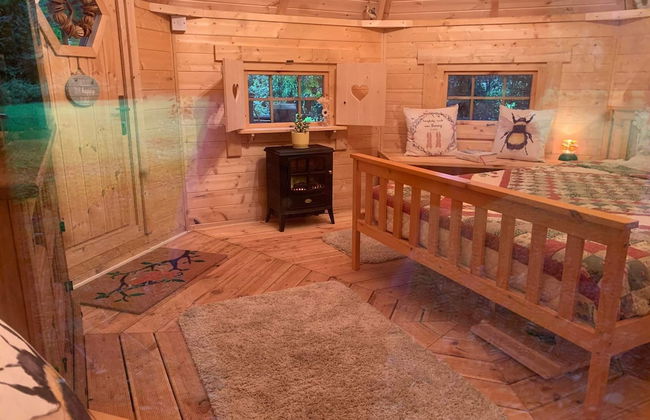
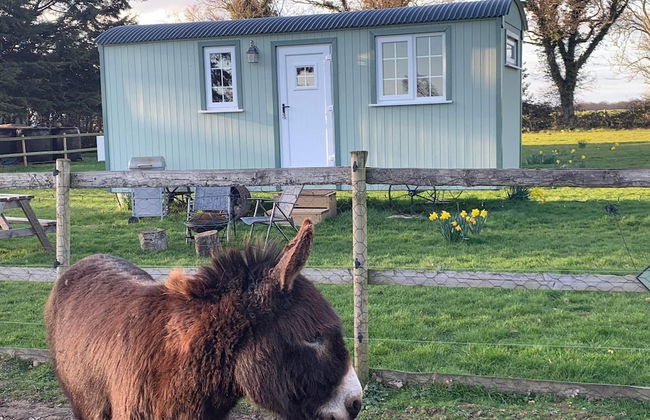
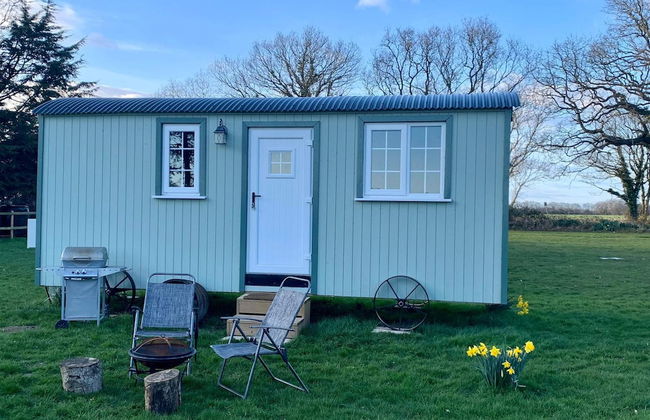
Wensleydale Glamping Pods
Leyburn - Redmire
- 4 pessoas
- Kitchenette
- Aquecimento
- Terraço
- Estacionamento
- Tv
- Churrasco
- Toalhas
- Lençóis
13 avaliações


Gallops Farm Holiday Cottages
Worthing - Findon - 6.6 km do centro
- 4 pessoas
- Aquecimento
- Terraço
- Estacionamento
- Jardim
- Tv
- Máquina de lavar roupa
- Chaminé
- Toalhas
- Lençóis
13 avaliações


Durham Riverside Apartments
Durham - Durham - No centro
- 100 M2
- 4 pessoas
- Aquecimento
- Terraço
- Estacionamento
- Tv
- Máquina de lavar roupa
- Toalhas
- Lençóis
12 avaliações


Starry Meadow
Great Yarmouth - Catfield - 19.9 km do centro
- 2 pessoas
- Aquecimento
- Terraço
- Estacionamento
- Tv
- Toalhas
- Lençóis
11 avaliações


Middlehead Cottages at Cropton Forest
Pickering - Stape
- 68 M2
- 5 pessoas
- Aquecimento
- Terraço
- Estacionamento
- Jardim
- Tv
- Chaminé
- Toalhas
- Lençóis
32 avaliações

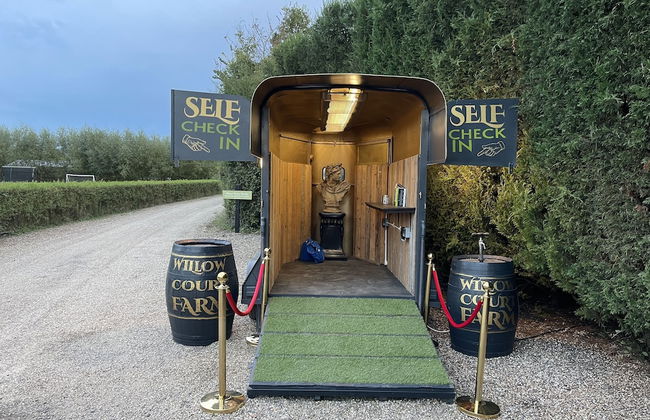


Willow Court Farm
Windsor - Oakley
- 46 M2
- 5 pessoas
- Kitchenette
- Aquecimento
- Terraço
- Estacionamento
- Jardim
- Tv
- Churrasco
- Toalhas
- Lençóis
172 avaliações


Spring Cottage
Salisbury - Teffont Evias
- 60 M2
- 2 pessoas
- Aquecimento
- Terraço
- Estacionamento
- Jardim
- Tv
- Lençóis
11 avaliações

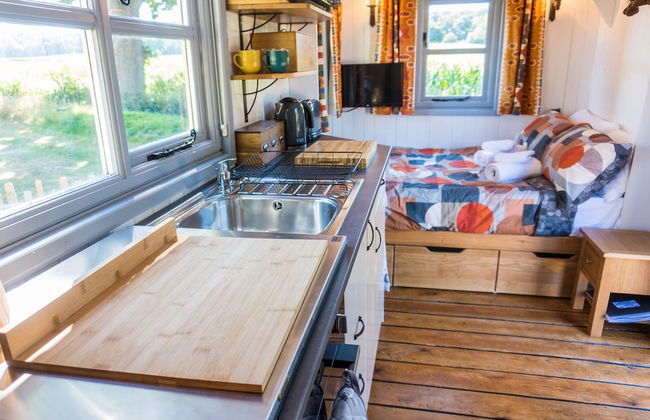
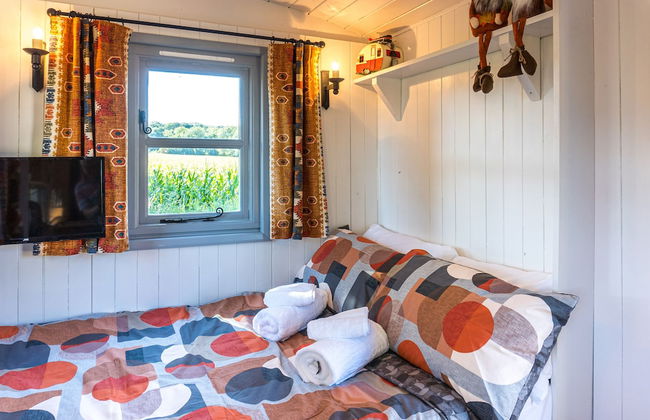
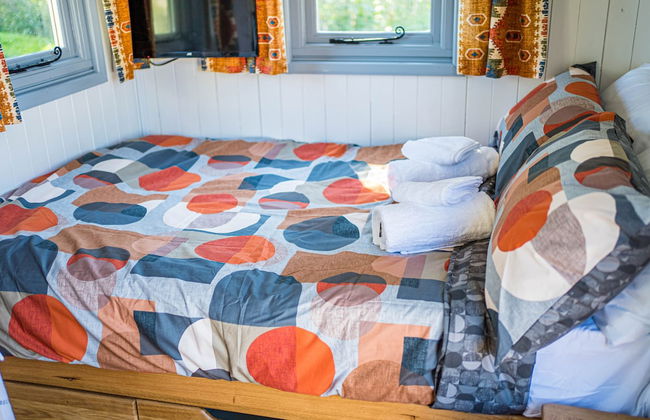
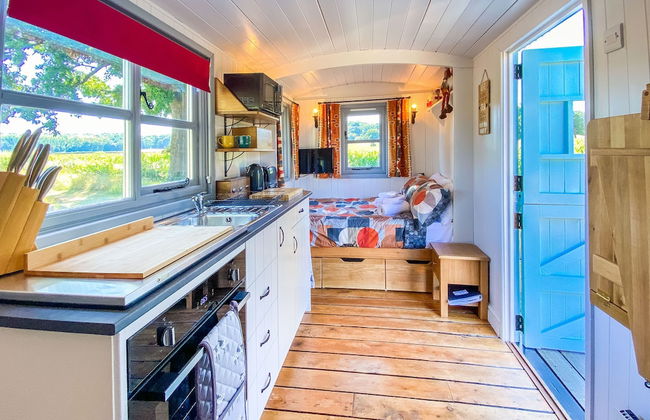
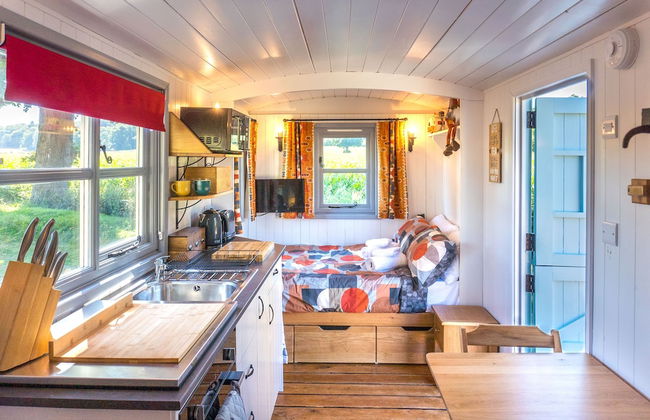
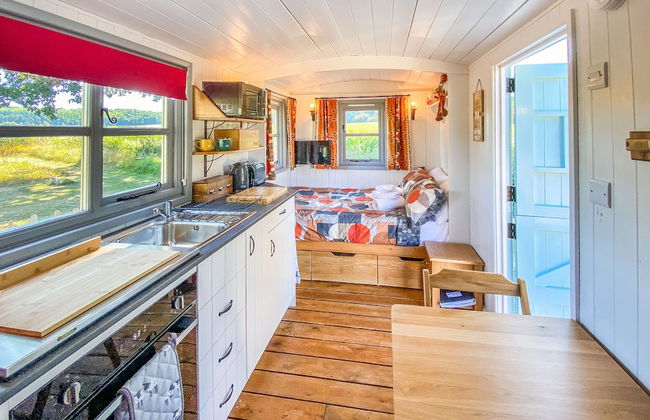
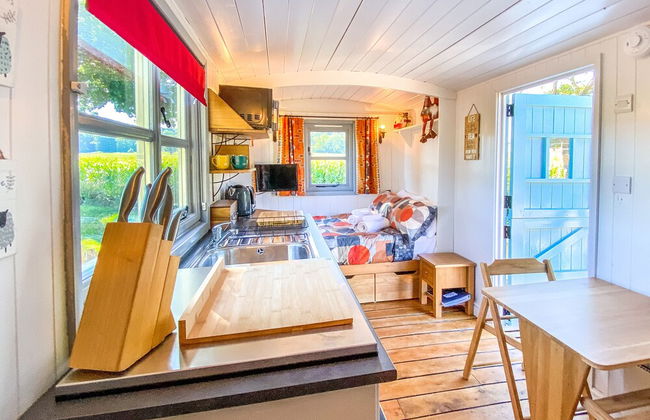
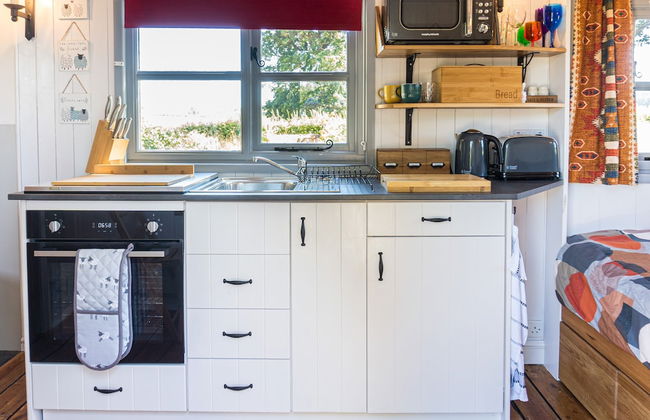
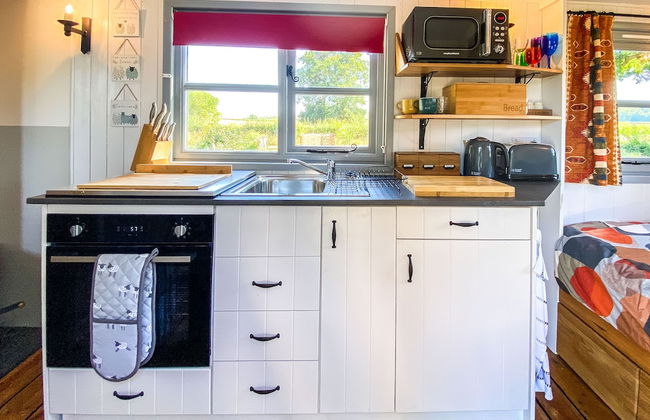
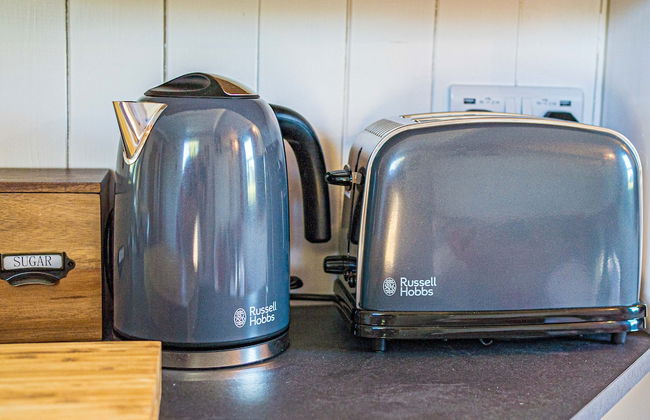
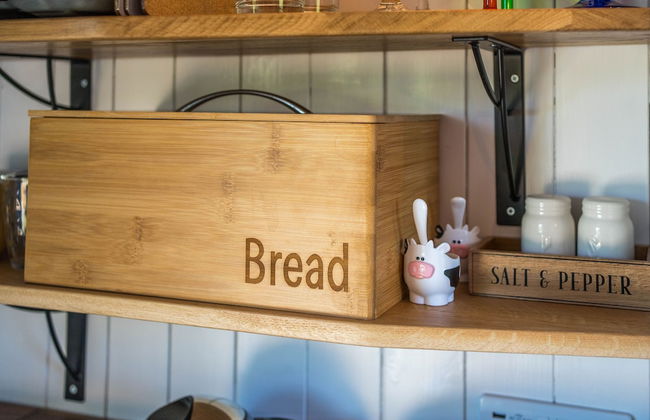
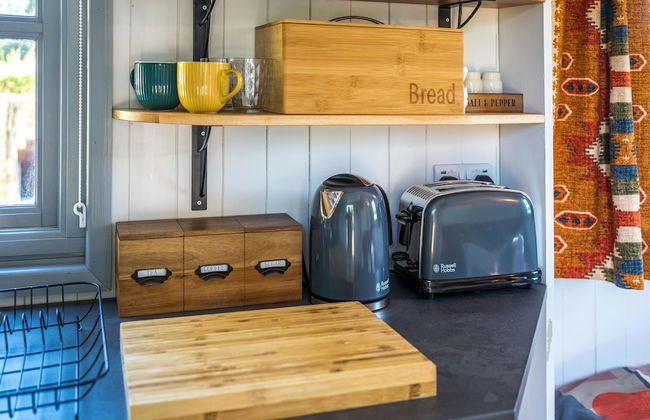

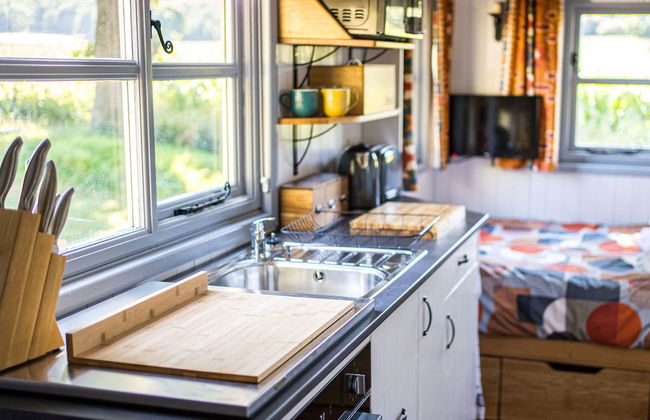
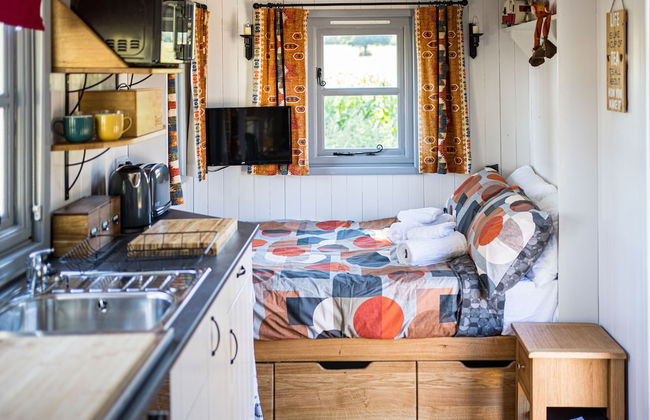

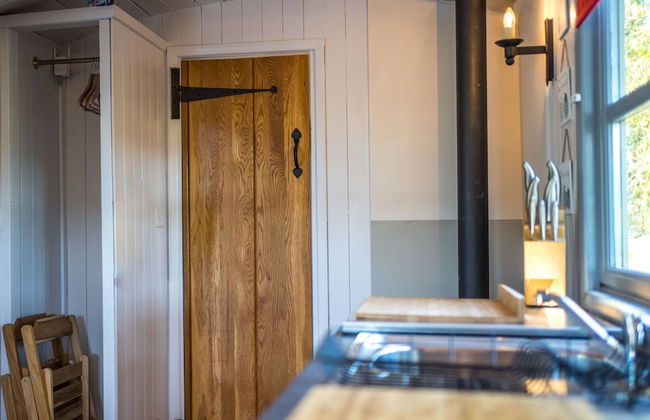
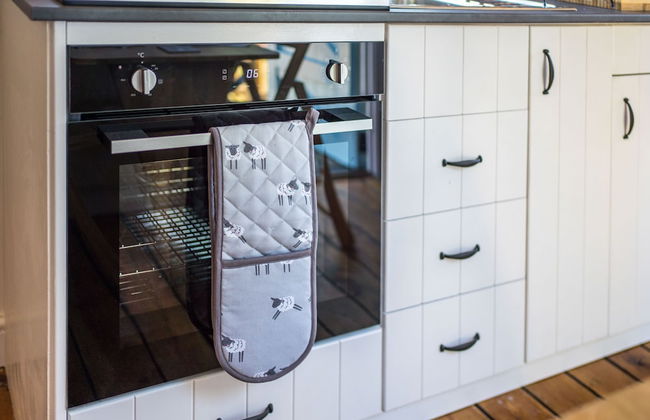


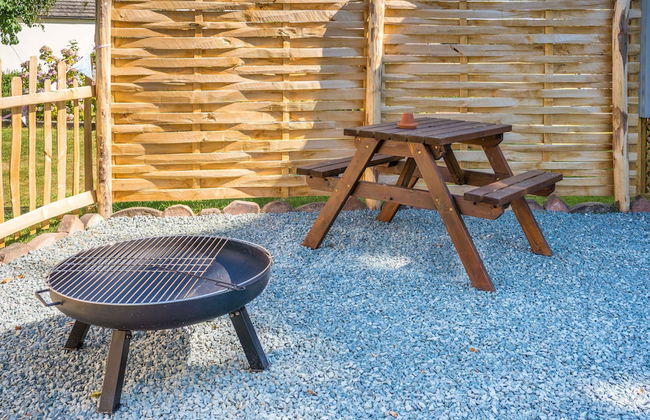


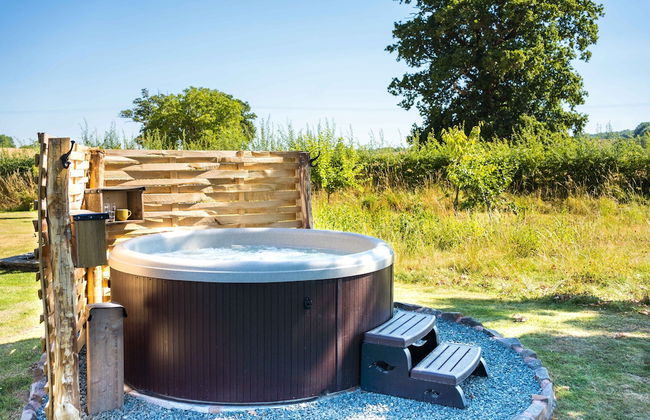
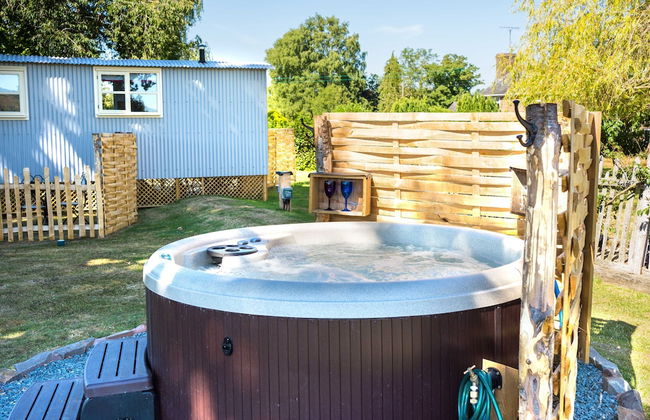
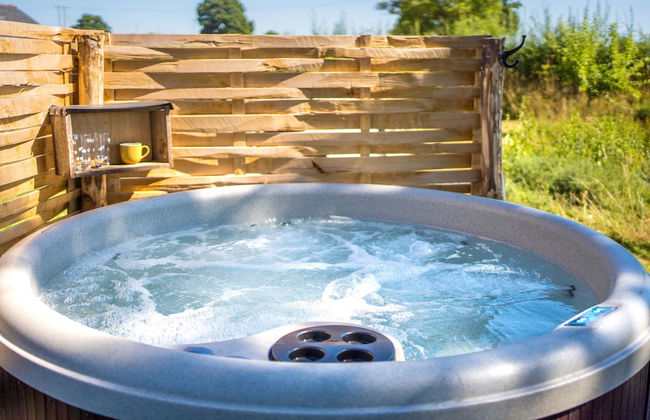
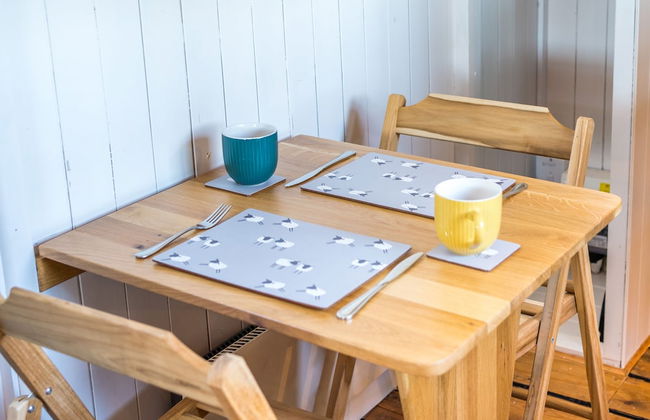

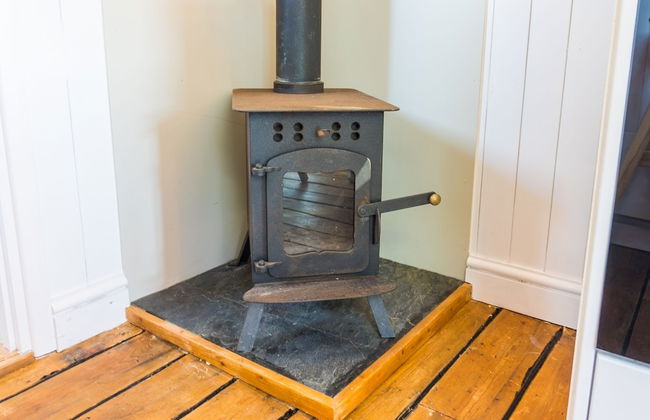
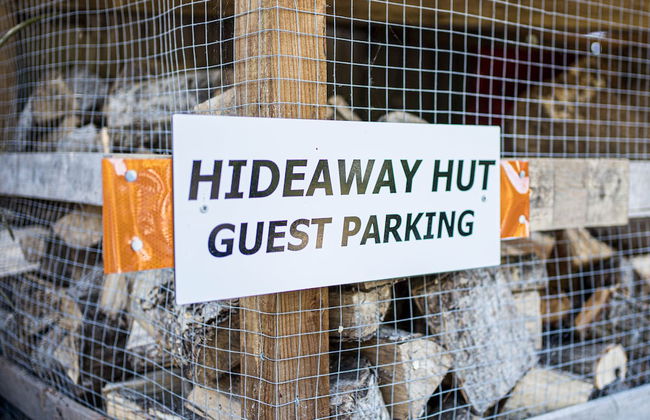


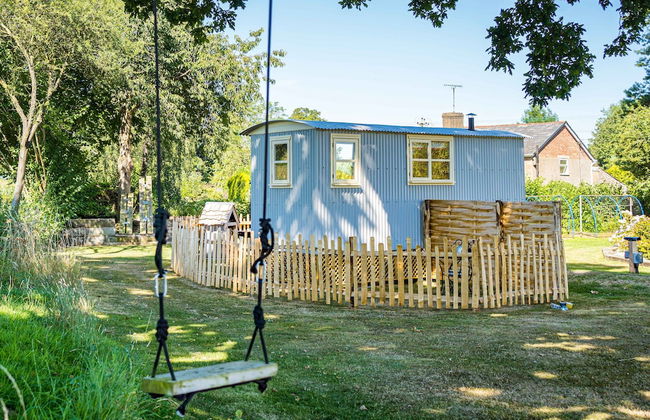
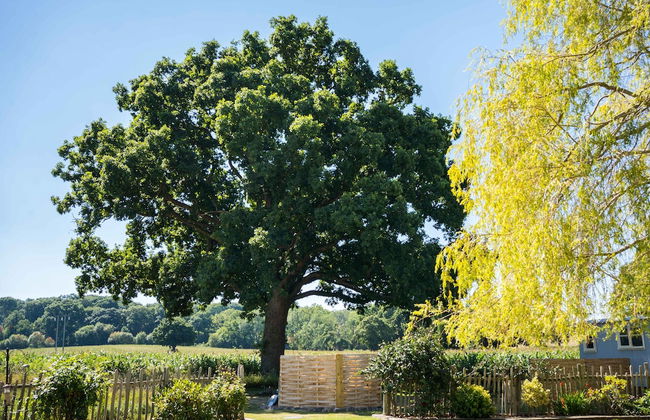
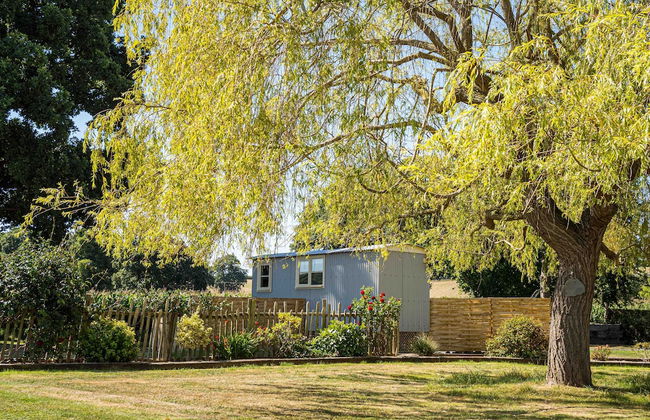
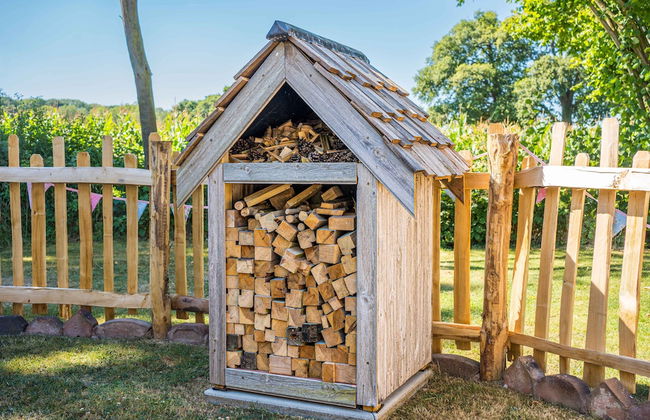
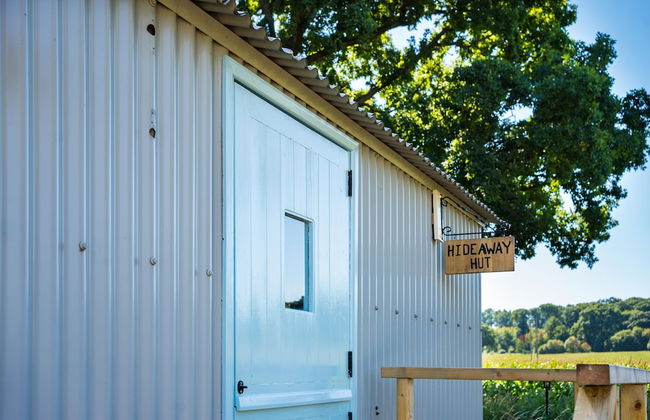

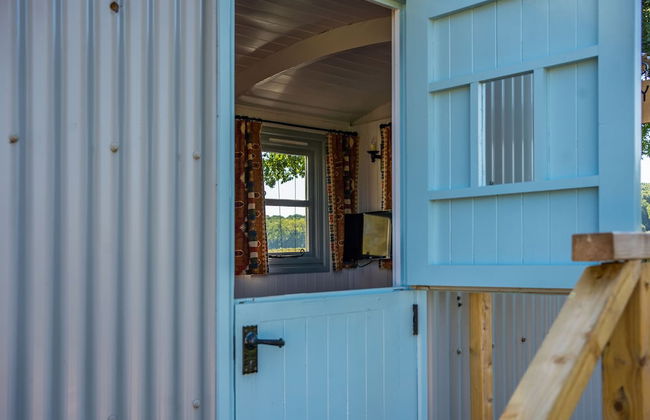


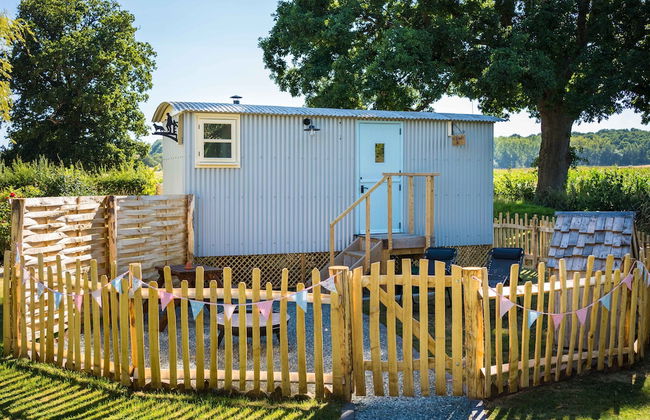
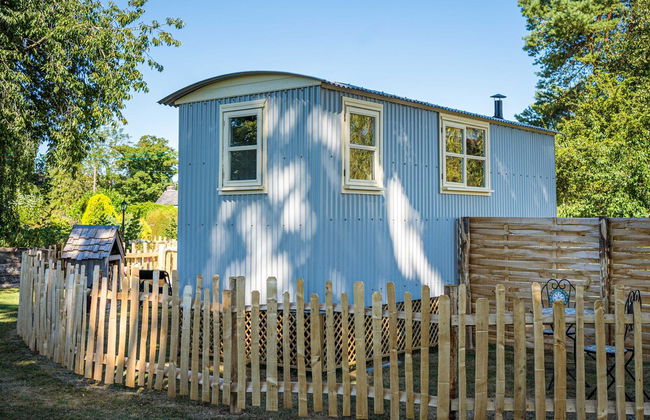
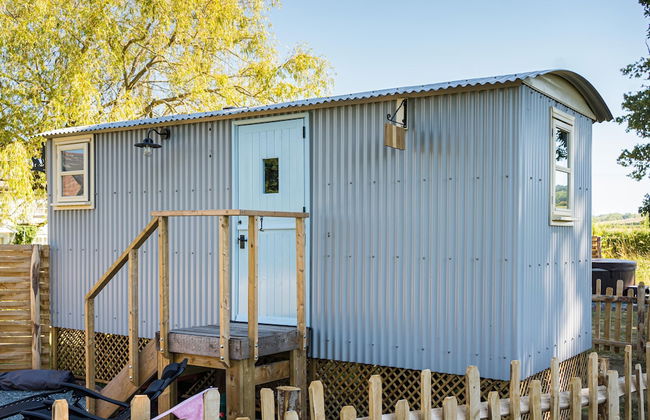
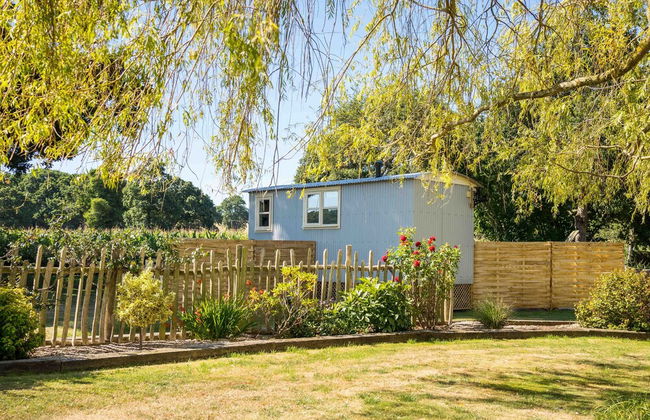
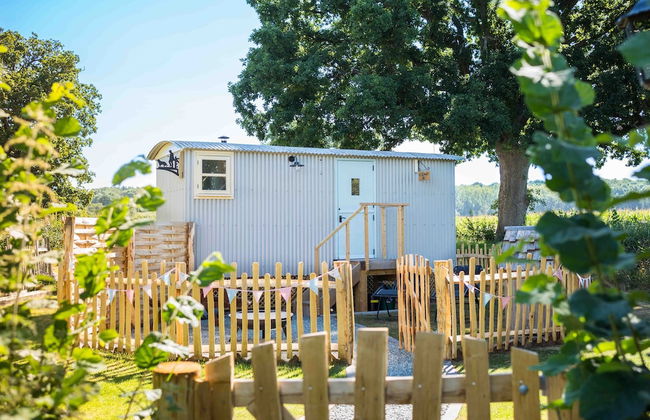
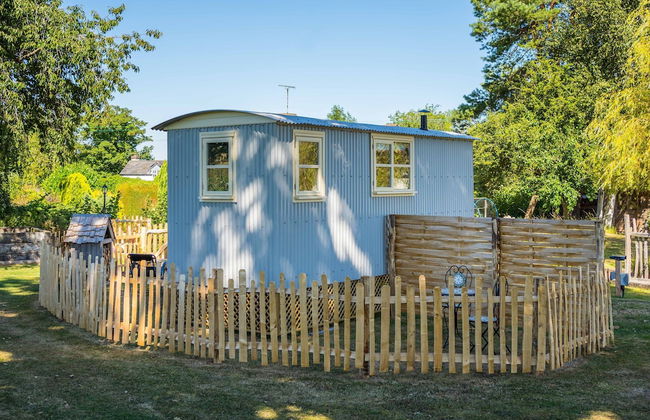
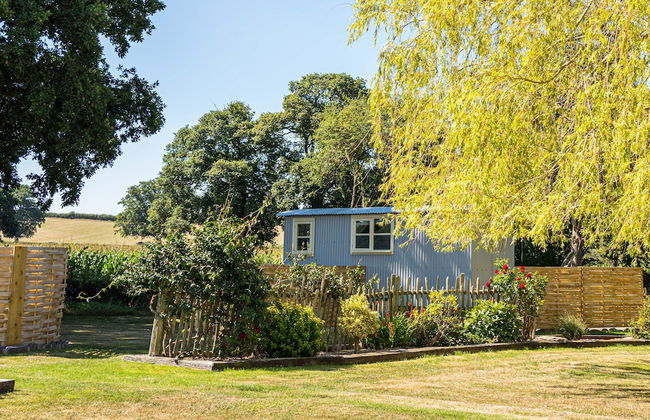

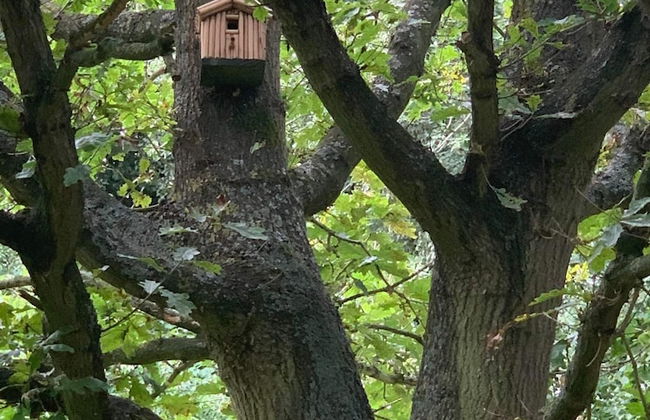
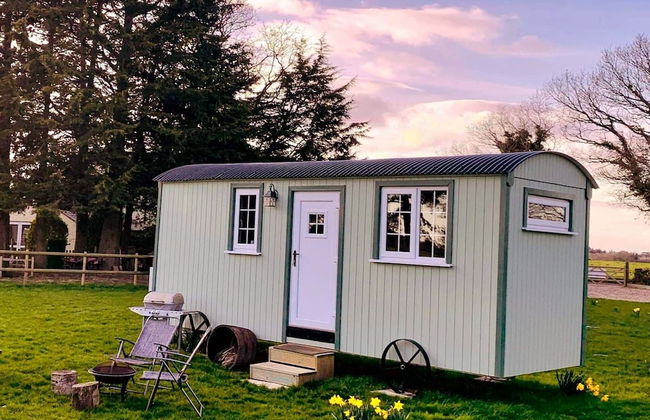
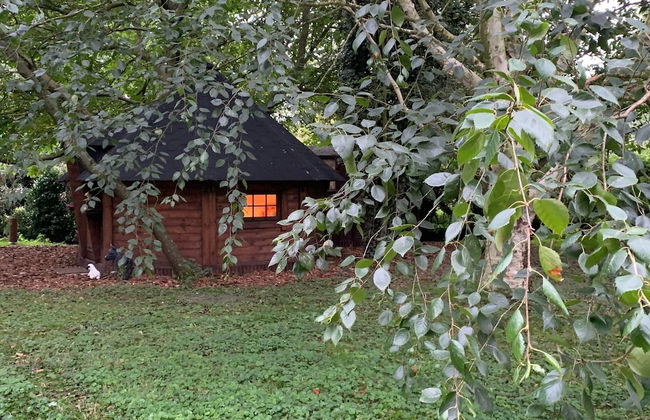
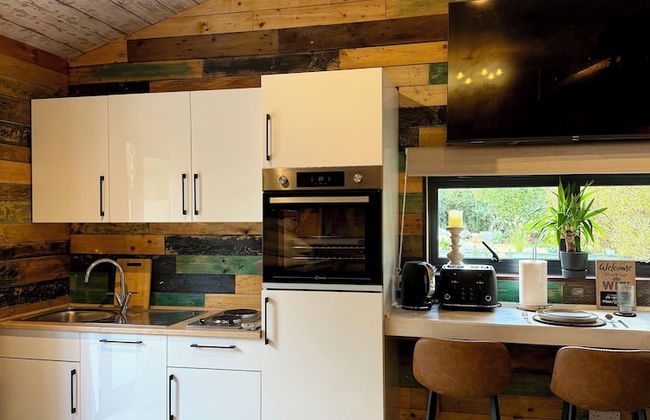
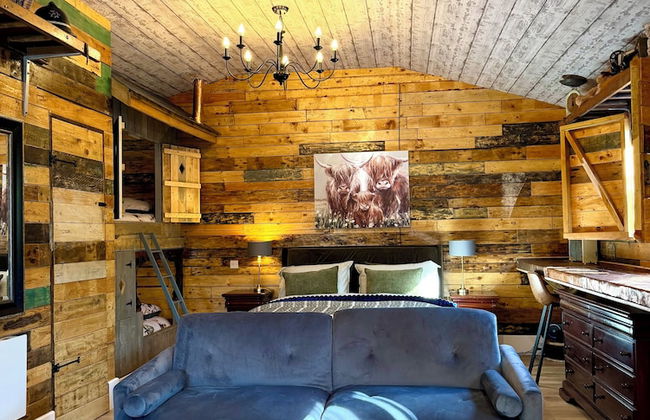
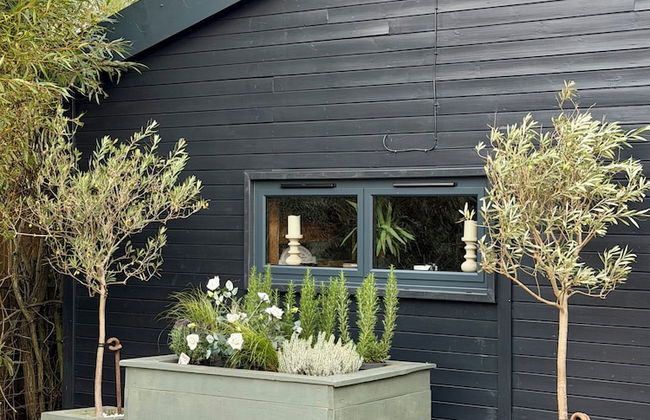
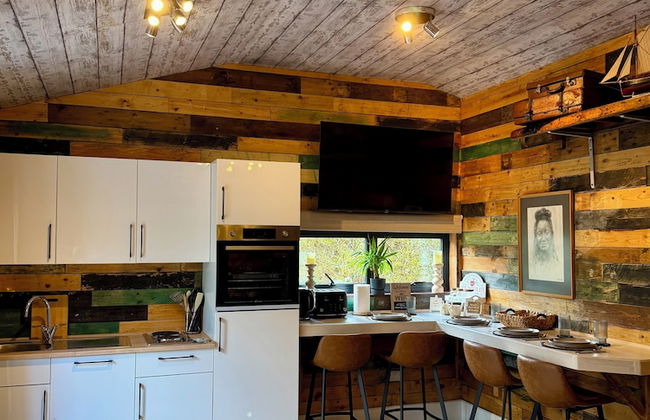
The Hideaway Hut - 1 Bed Shepherds Hut - Hereford
Hereford - Withington
- 2 pessoas
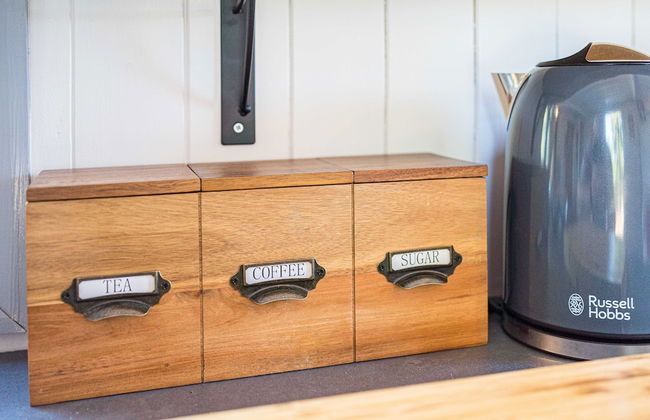
- Kitchenette
- Aquecimento
- Terraço
- Estacionamento
- Jardim
- Tv
- Chaminé
- Churrasco
- Toalhas
- Lençóis
15 avaliações
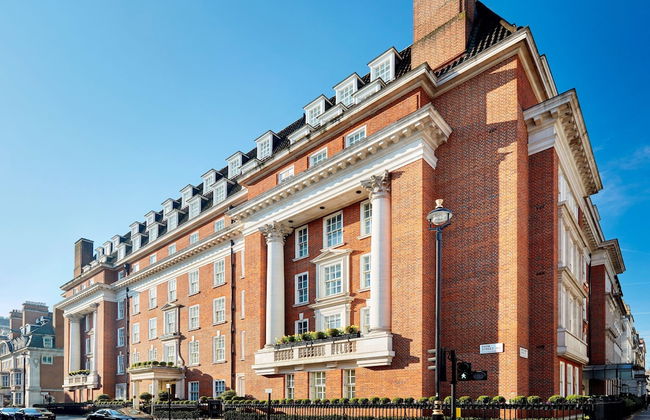
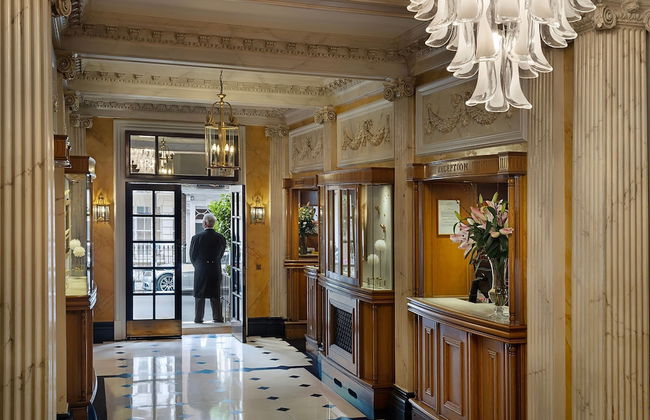
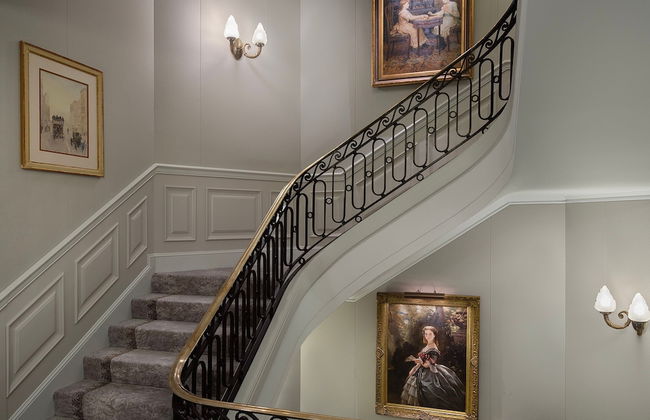


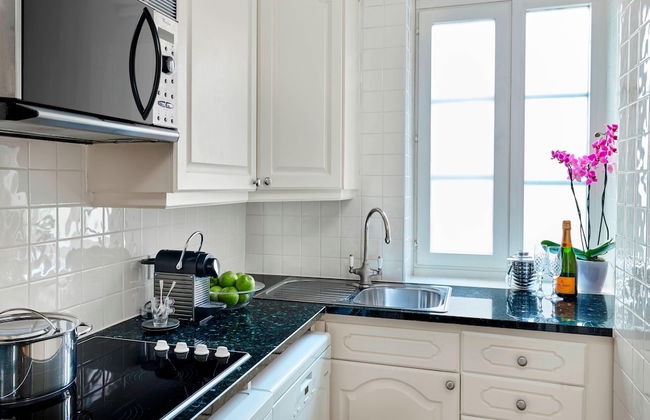


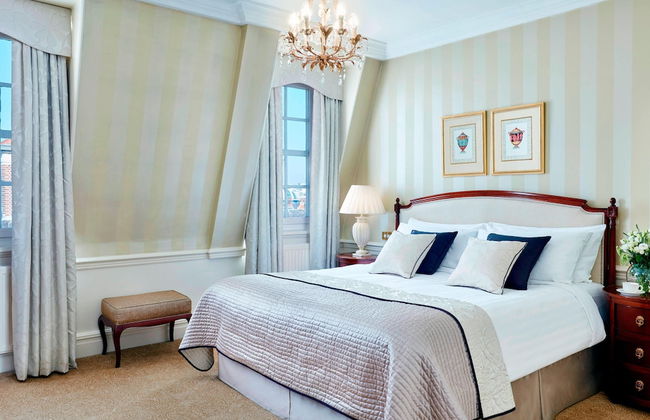


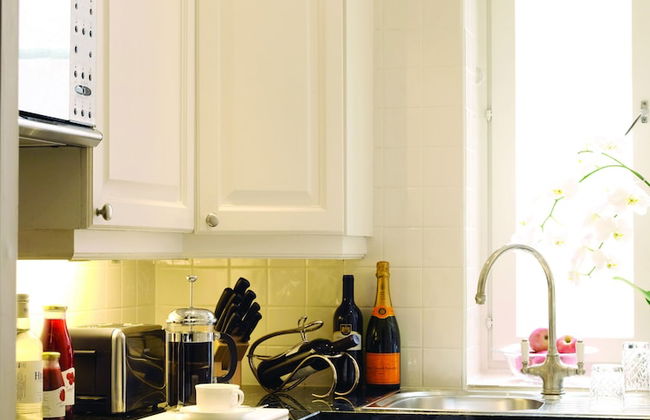


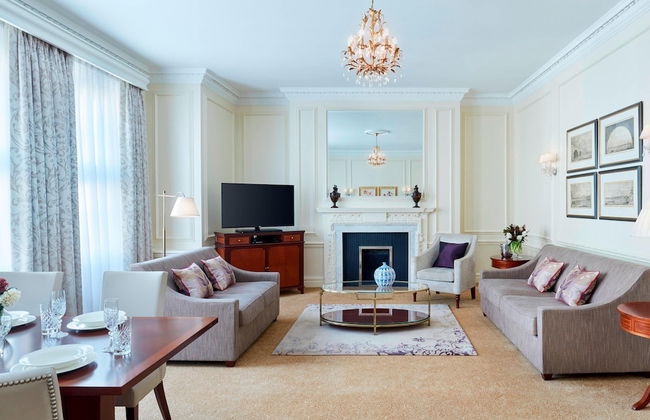


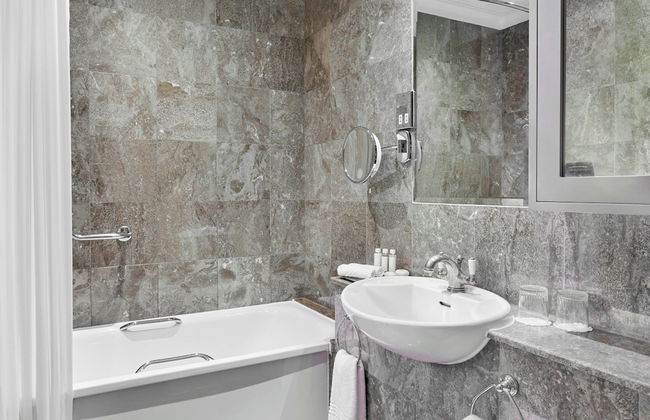


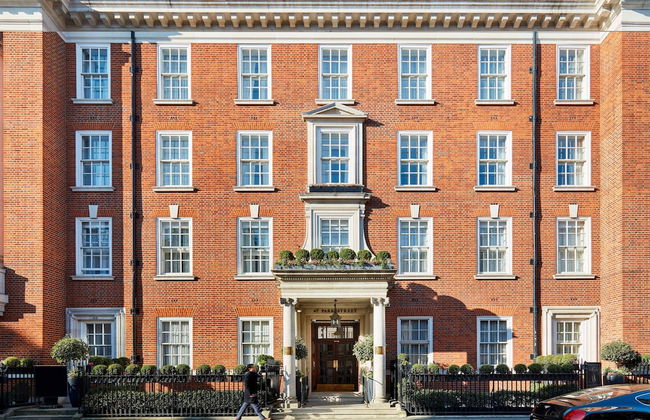
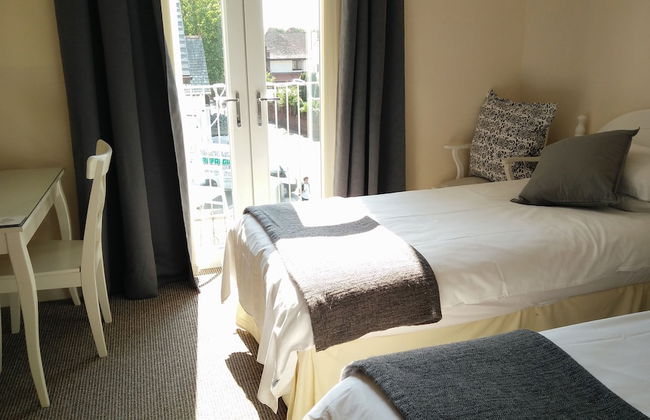
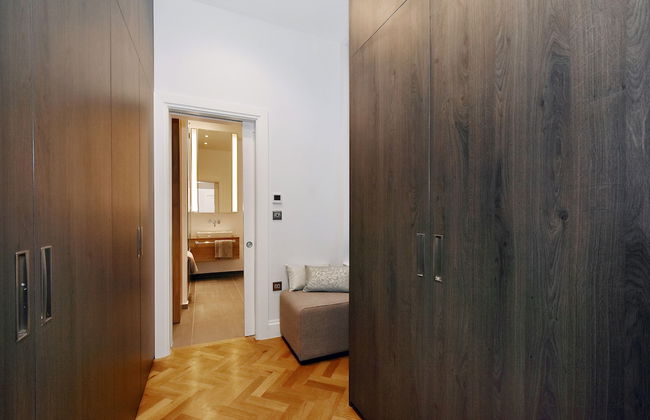
47 Park Street - Grand Residences by Marriott
Londres - Mayfair - 1.5 km do centro
- 108 M2
- 6 pessoas
- Kitchenette
- Ar-condicionado
- Aquecimento
- Estacionamento
- Elevador
- Tv
- Toalhas
- Lençóis
110 avaliações
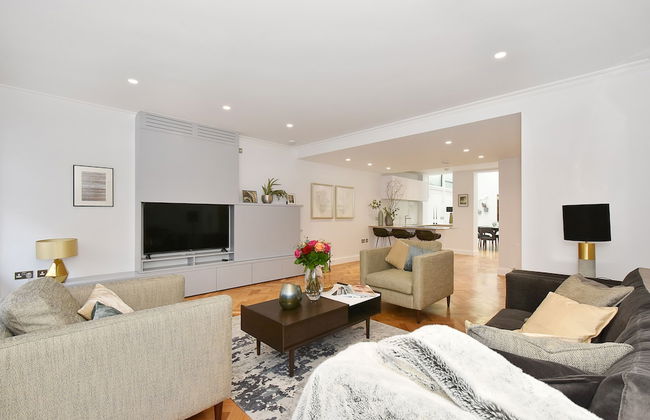


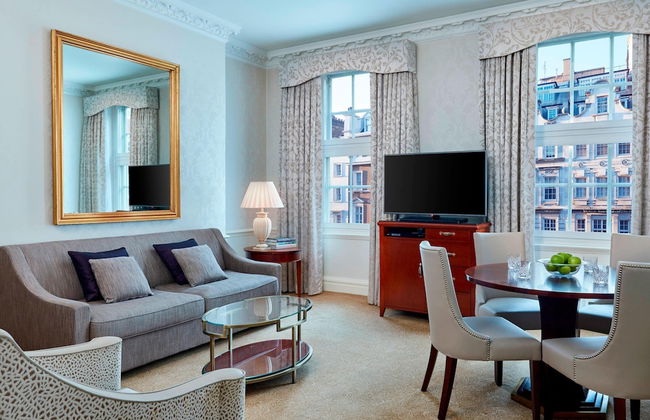
London Choice Apartments - Mayfair One
Londres - Mayfair - 550 m do centro
- 150 M2
- 7 pessoas
- Ar-condicionado
- Aquecimento
- Elevador
- Tv
- Máquina de lavar roupa
- Lençóis
16 avaliações