
6841 Apartamentos em Yorkshire do Norte


Middlehead Huts at Cropton Forest
Pickering - Stape
- 13 M2
- 2 pessoas
- Kitchenette
- Ar-condicionado
- Aquecimento
- Terraço
- Estacionamento
- Jardim
- Tv
- Chaminé
- Toalhas
- Lençóis
11 avaliações


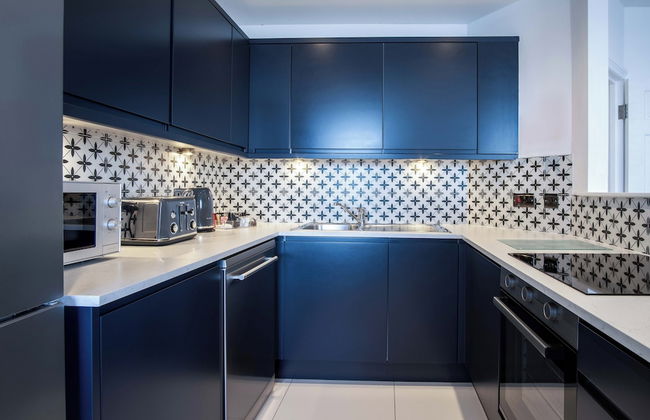
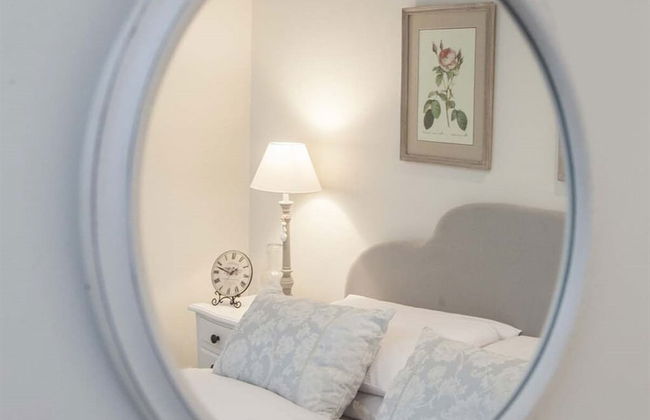
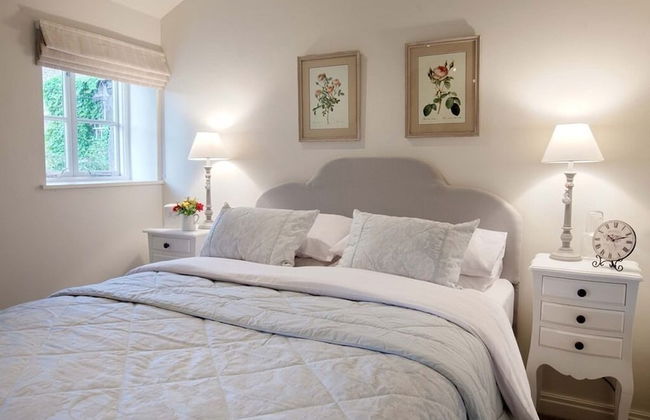
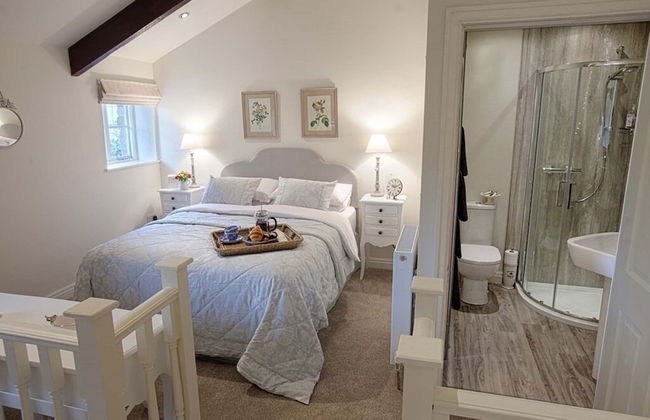
King's 23
Lorque - York - 290 m do centro
- 45 M2
- 2 pessoas
- Aquecimento
- Elevador
- Jardim
- Tv
- Toalhas
- Lençóis
27 avaliações

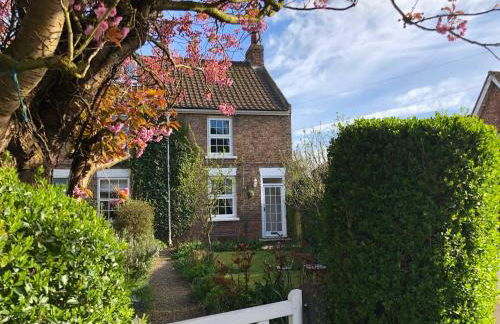

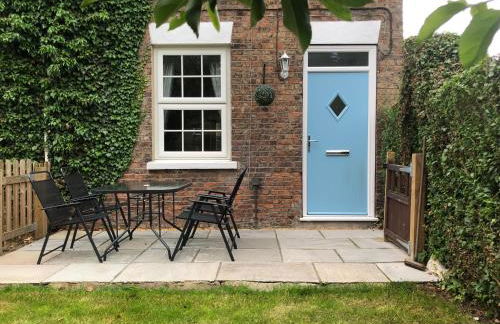


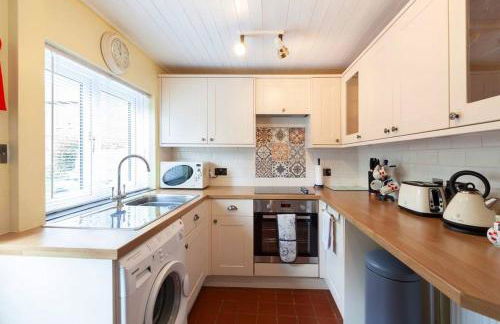


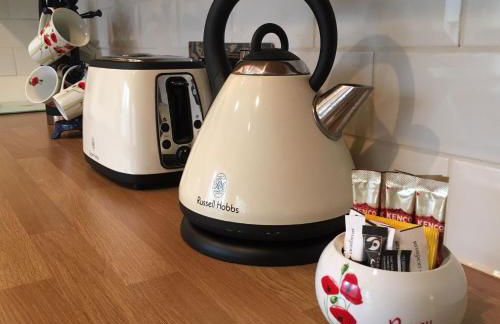

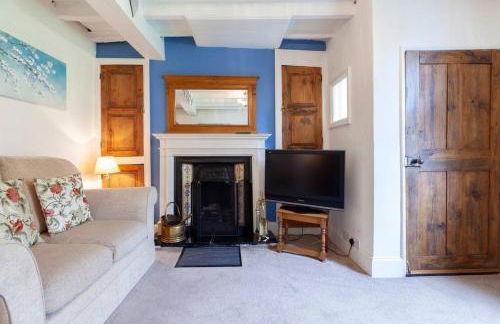

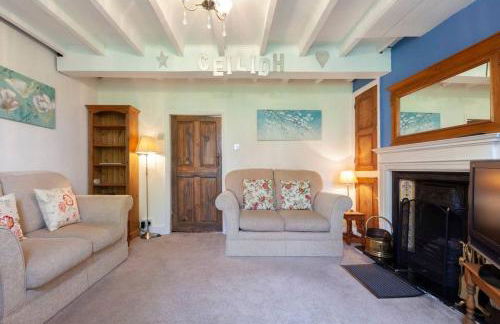


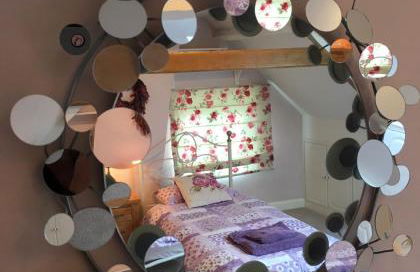


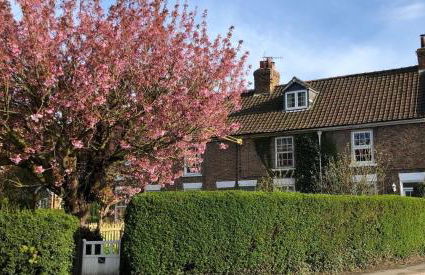


Ceilidh Cottage
Lorque - Alne - 17.3 km do centro
- 75 M2
- 2 quartos
- 4 pessoas
- Aquecimento
- Terraço
- Estacionamento
- Jardim
- Tv
- Máquina de lavar roupa
- Chaminé
- Churrasco
- Toalhas
- Lençóis
14 avaliações


Wensleydale Glamping Pods
Leyburn - Redmire
- 4 pessoas
- Kitchenette
- Aquecimento
- Terraço
- Estacionamento
- Tv
- Churrasco
- Toalhas
- Lençóis
19 avaliações

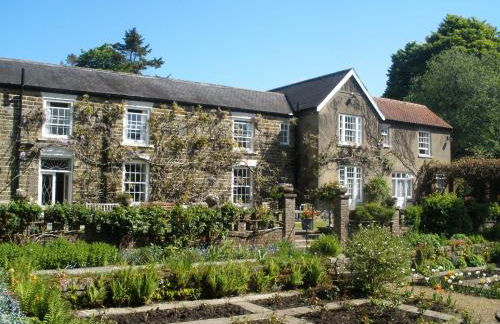

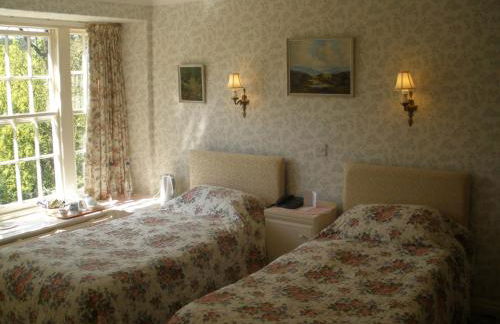


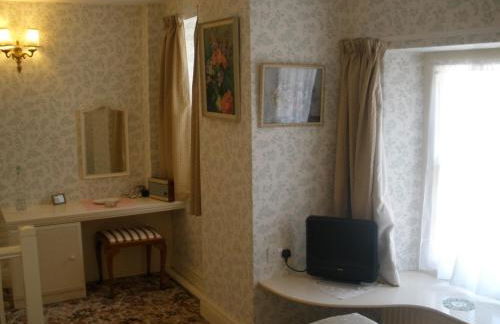


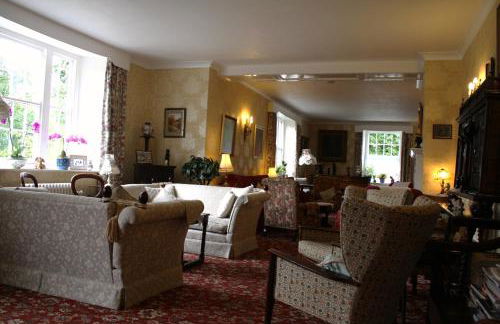

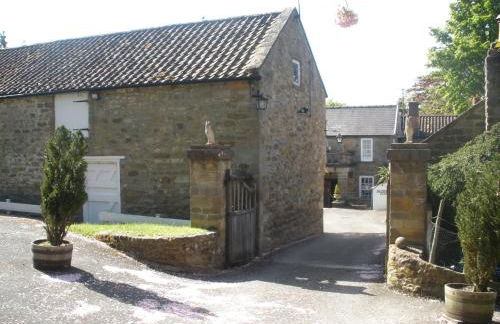

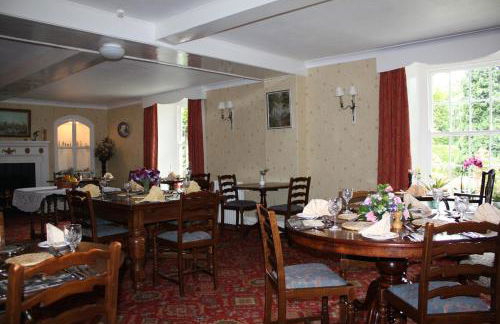


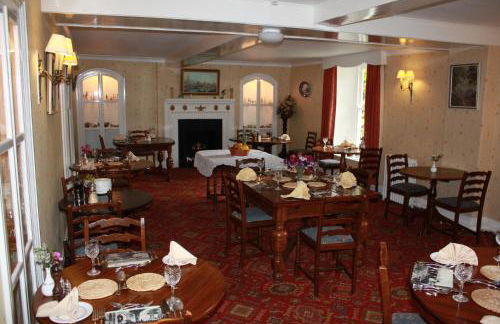


Lastingham Grange
Lorque - Lastingham - 41 km do centro
- 20 M2
- 2 pessoas
- Aquecimento
- Terraço
- Estacionamento
- Jardim
- Tv
- Chaminé
- Toalhas
- Lençóis
19 avaliações


No. 45
Lorque - Acomb - 2.1 km do centro
- 59 M2
- 4 pessoas
- Aquecimento
- Estacionamento
- Elevador
- Jardim
- Tv
- Máquina de lavar roupa
- Toalhas
- Lençóis
12 avaliações


Morndyke Shepherds' Huts
Thirsk - Catton
- 13 M2
- 2 pessoas
- Kitchenette
- Aquecimento
- Terraço
- Estacionamento
- Jardim
- Tv
- Máquina de lavar roupa
- Chaminé
- Churrasco
- Toalhas
- Lençóis
21 avaliações


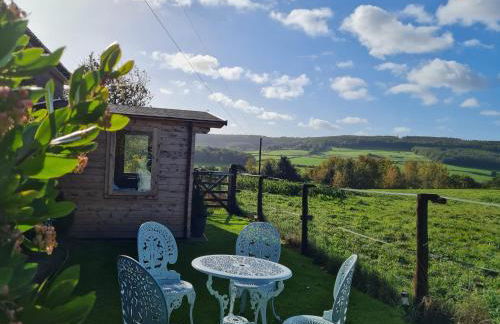

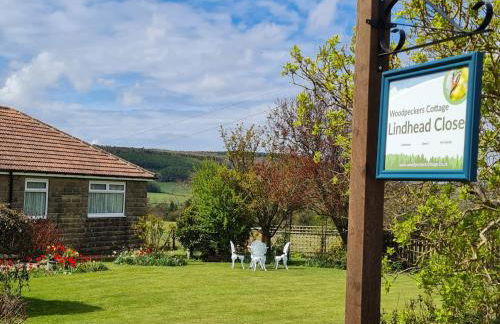

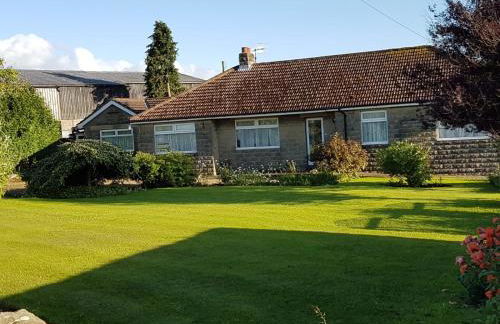

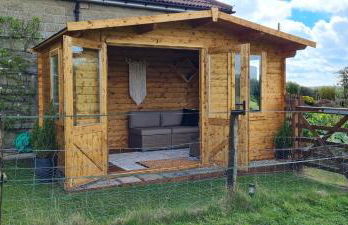


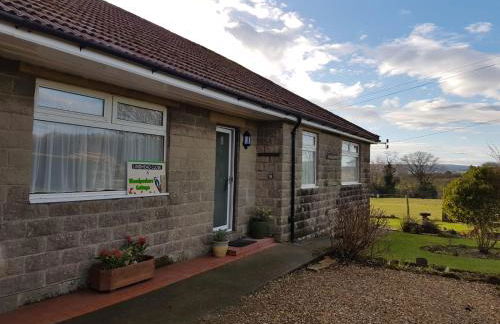


Woodpeckers Cottage
Scarborough - Cloughton - 8.1 km do centro
- 120 M2
- 3 quartos
- 5 pessoas
- Aquecimento
- Terraço
- Estacionamento
- Jardim
- Tv
- Máquina de lavar roupa
- Chaminé
- Churrasco
- Toalhas
- Lençóis
10 avaliações


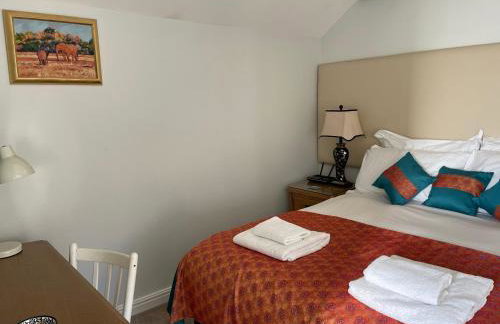


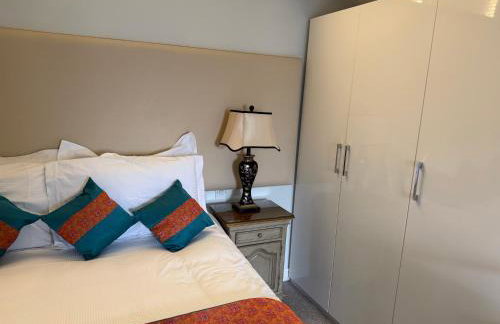

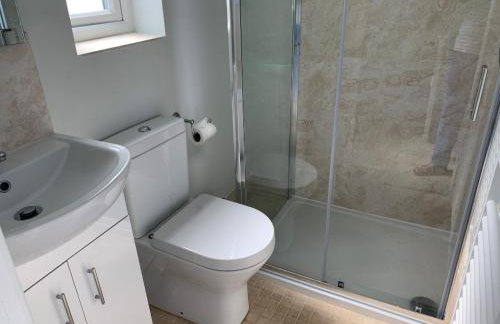

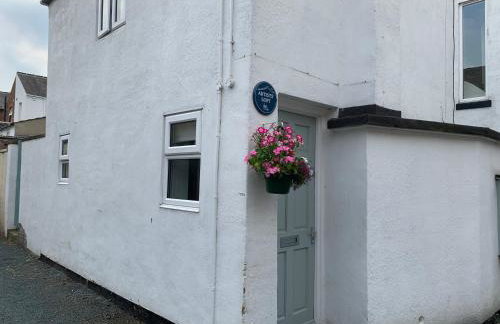


Artists Cottages Artists Loft near Hornbeam Park Free Parking
Harrogate - Harrogate - 1.5 km do centro
- 35 M2
- 1 quarto
- 2 pessoas
- Aquecimento
- Terraço
- Estacionamento
- Jardim
- Tv
- Chaminé
- Churrasco
- Toalhas
- Lençóis
14 avaliações


Stone House Hotel
Hawes - Sedbusk
- 9 M2
- 2 pessoas
- Aquecimento
- Terraço
- Estacionamento
- Jardim
- Tv
- Chaminé
- Toalhas
- Lençóis
95 avaliações

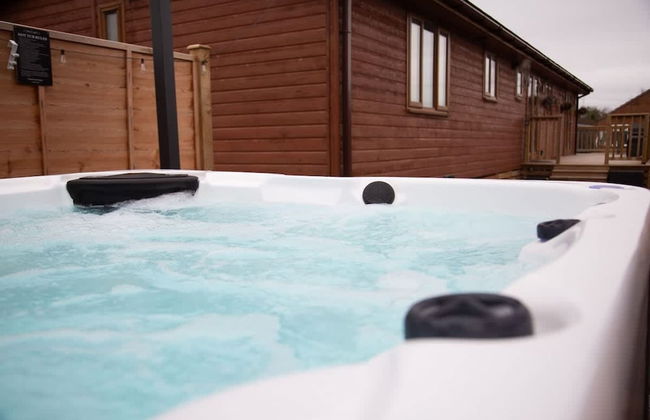


Stunning 3 Bedroom Lodge With Hot Tub in York
Lorque - Barmby Moor - 14.4 km do centro
- 112 M2
- 3 quartos
- 8 pessoas
- Aquecimento
- Terraço
- Estacionamento
- Varanda
- Jardim
- Tv
- Máquina de lavar roupa
- Chaminé
- Churrasco
- Toalhas
- Lençóis
74 avaliações


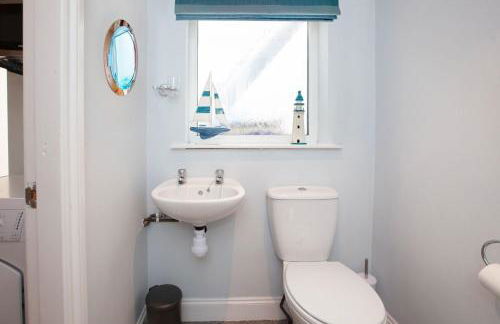

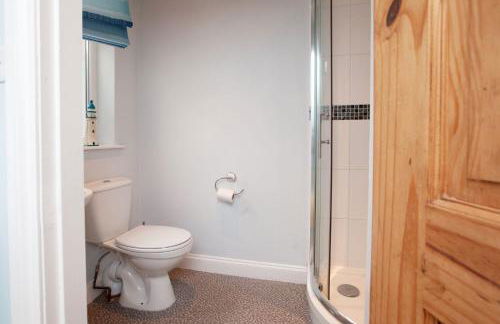

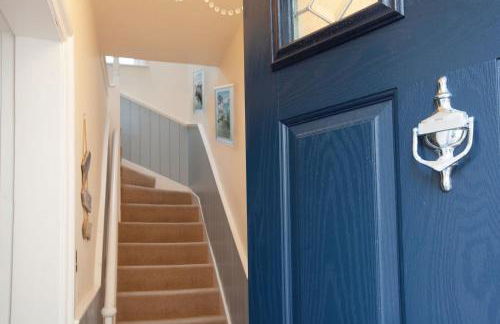


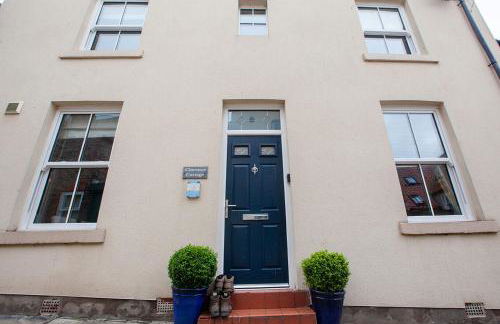


Clarence Cottage
Whitby - Whitby
- 89 M2
- 2 quartos
- 4 pessoas
- Aquecimento
- Estacionamento
- Tv
- Máquina de lavar roupa
- Chaminé
- Toalhas
- Lençóis
17 avaliações
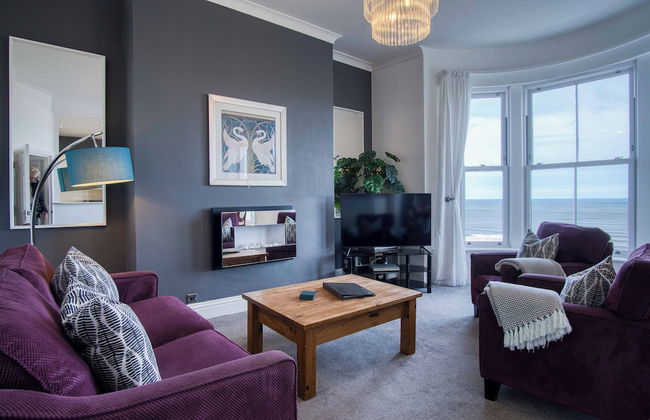
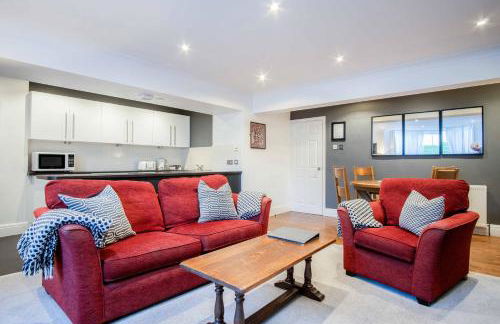

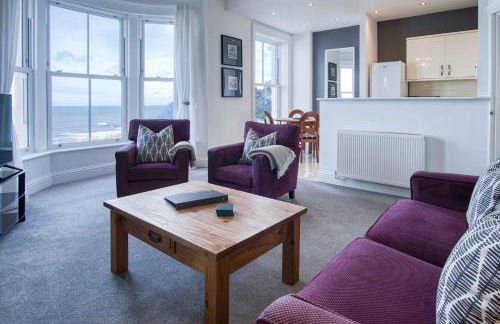

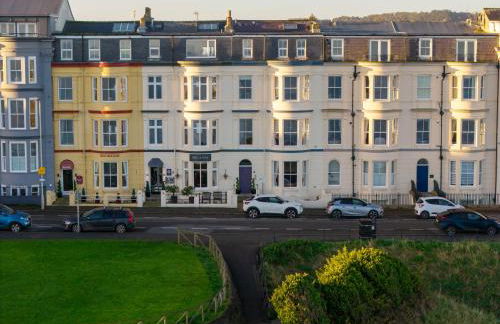


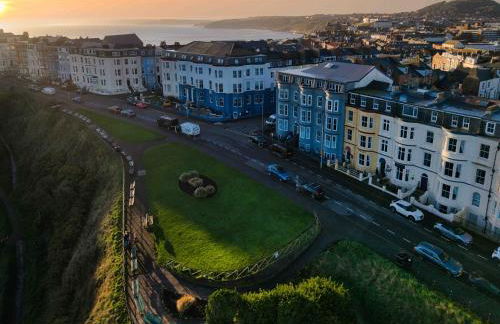
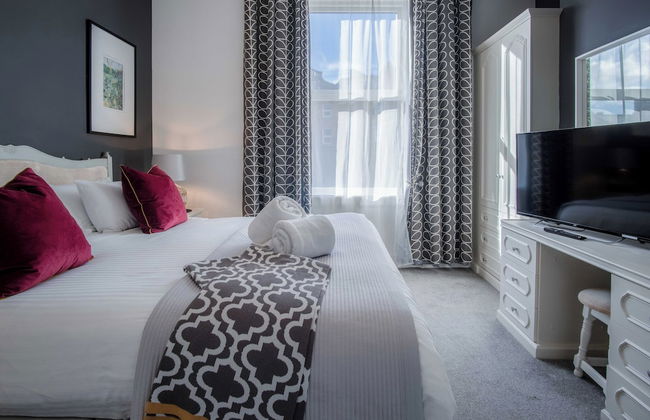
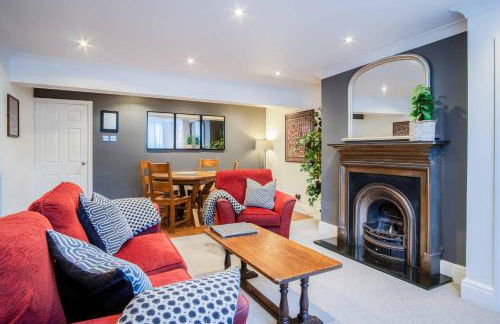
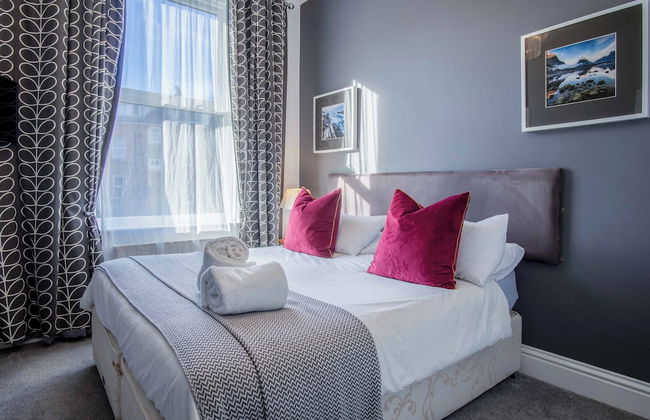
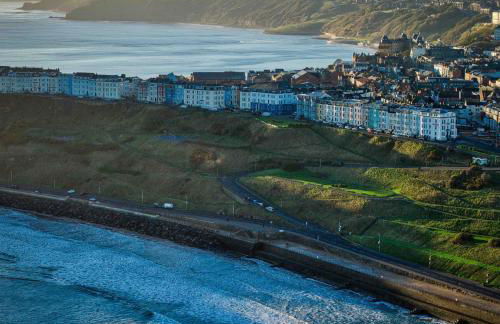
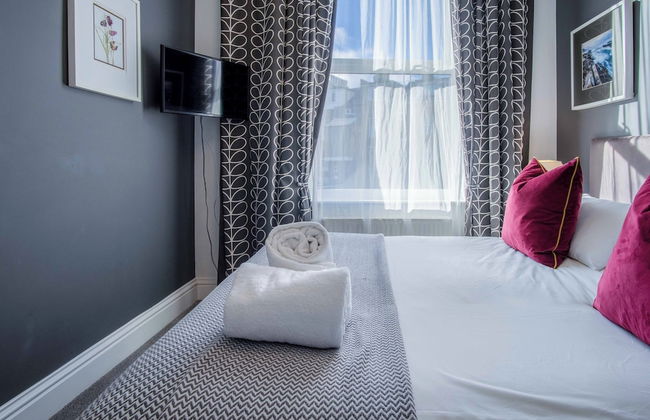
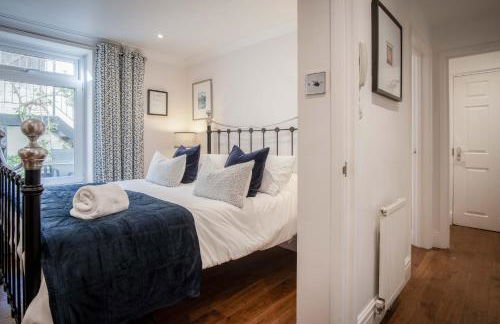
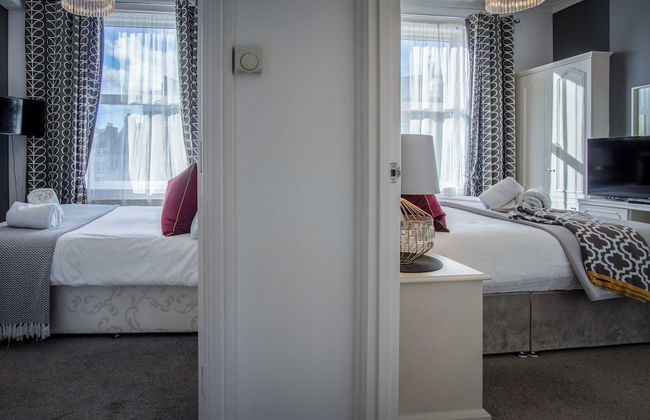
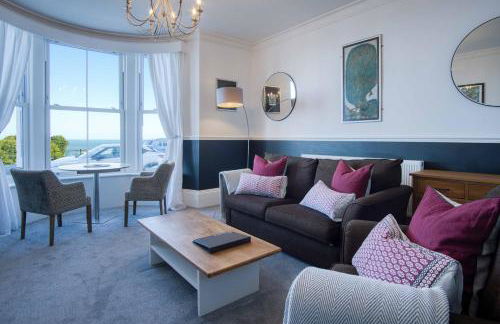
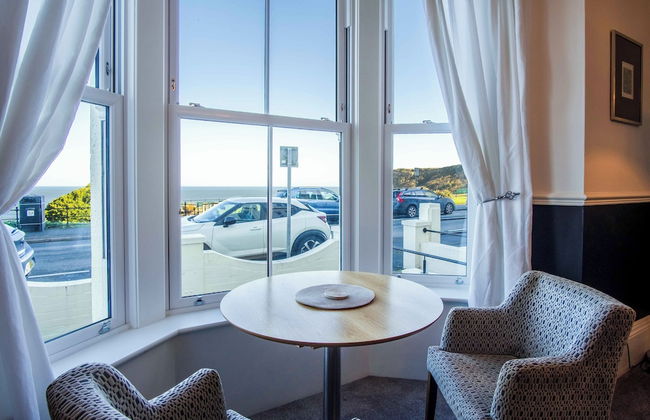

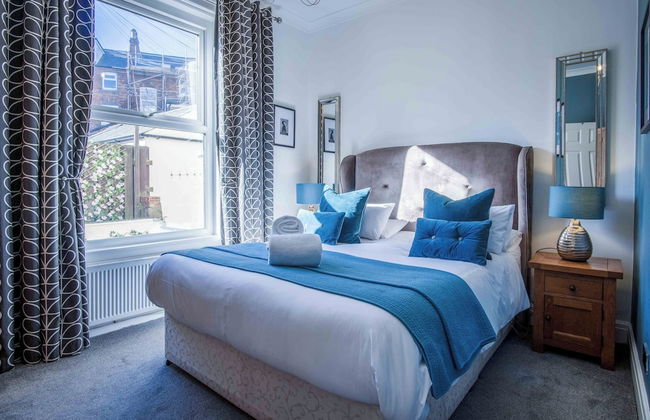


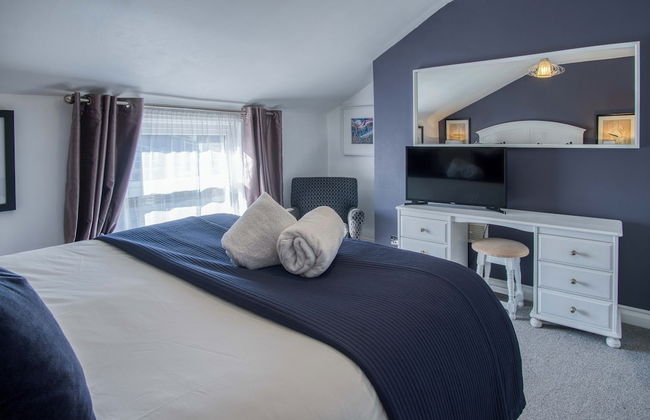

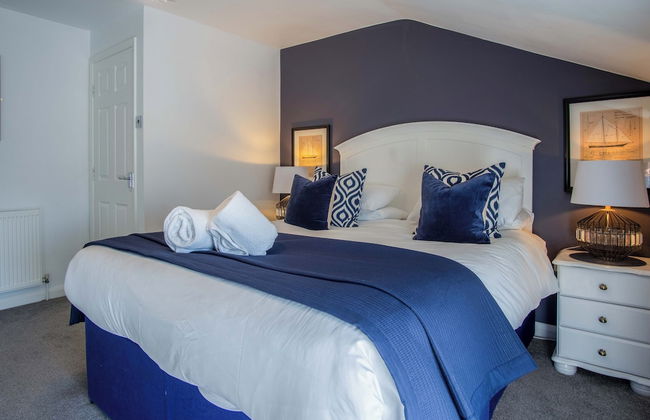

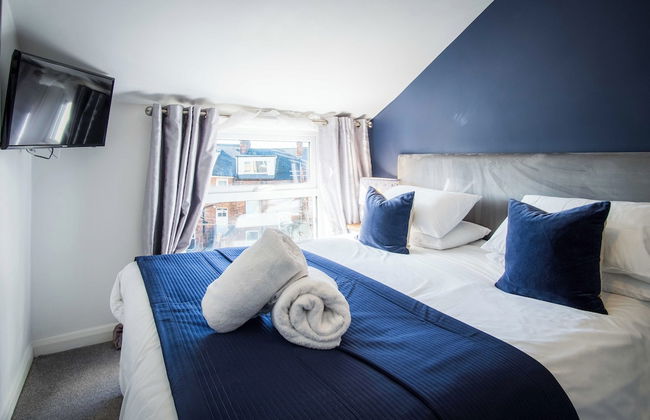
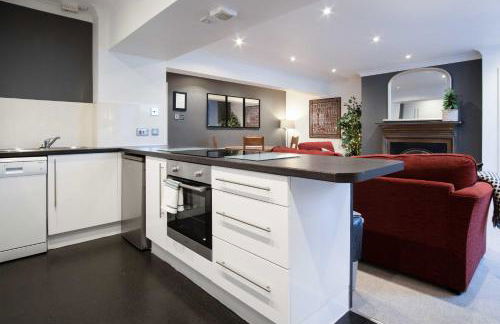
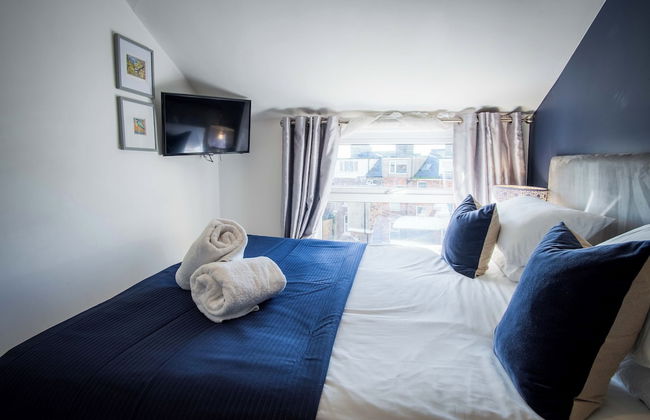
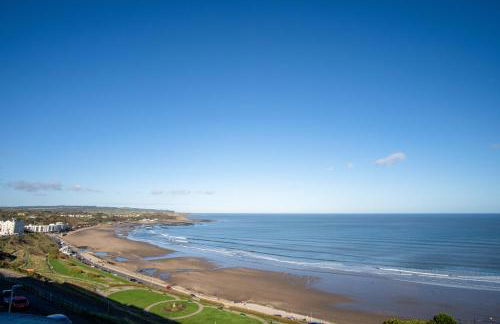


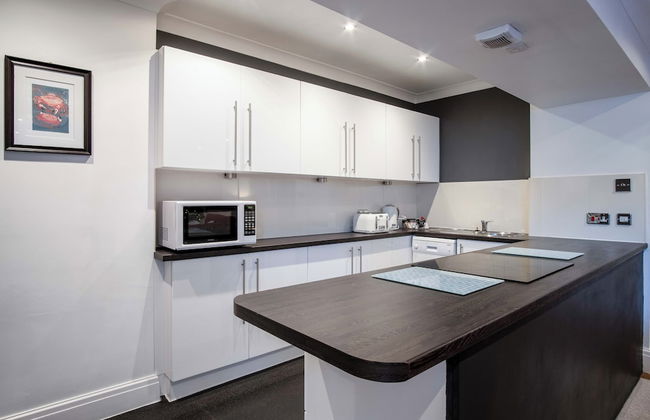
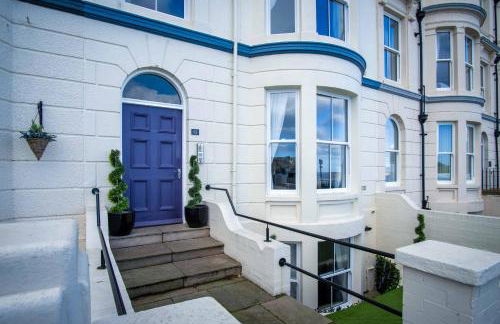


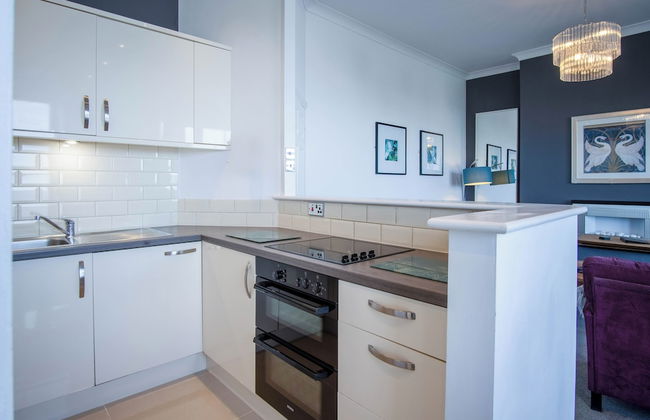
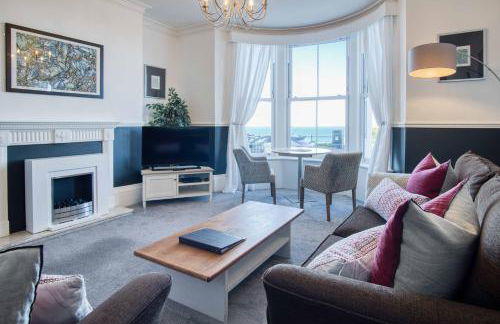

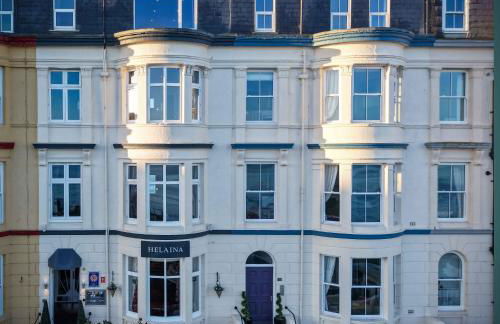
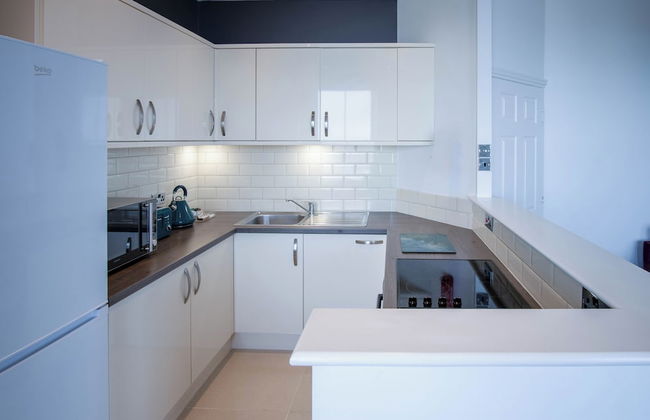
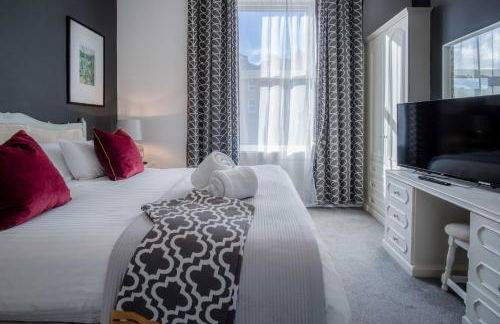
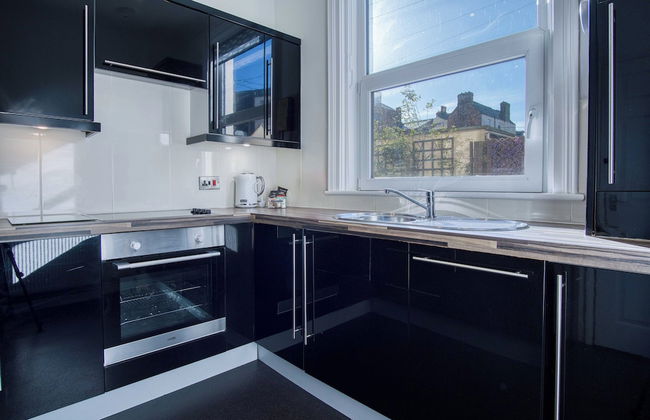
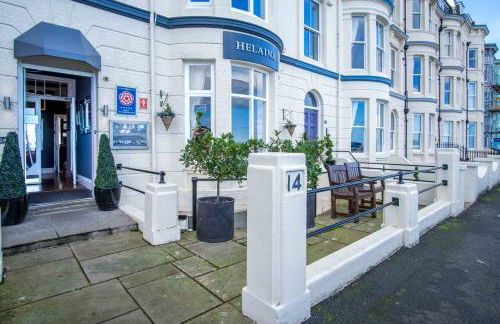


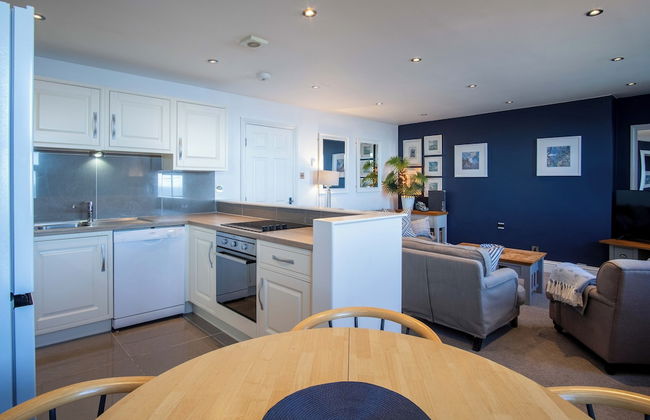

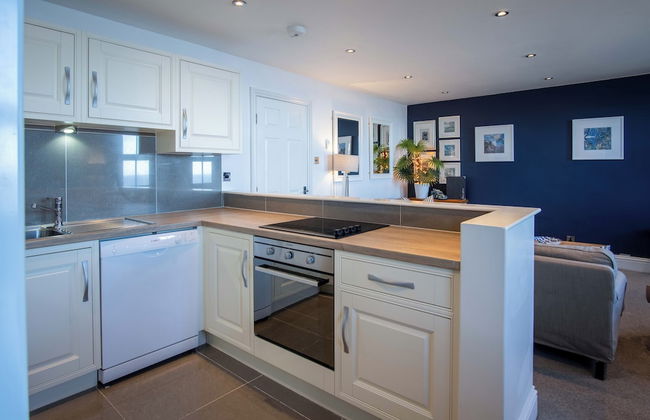

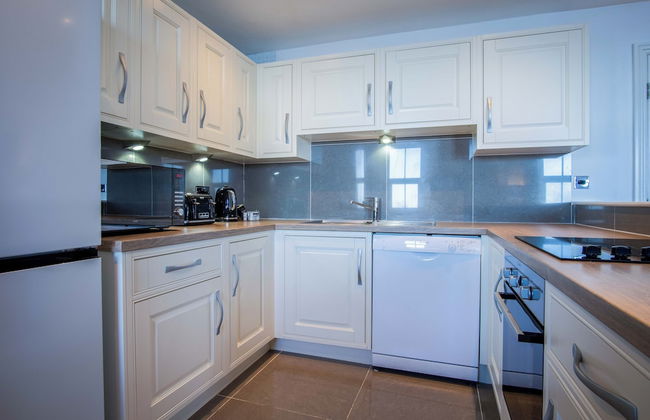
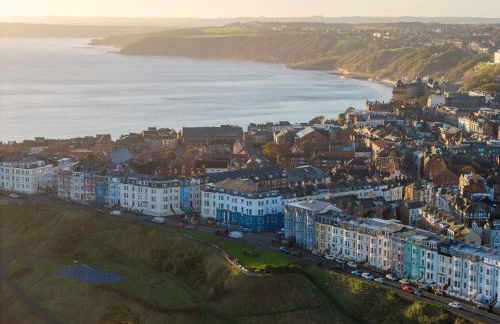
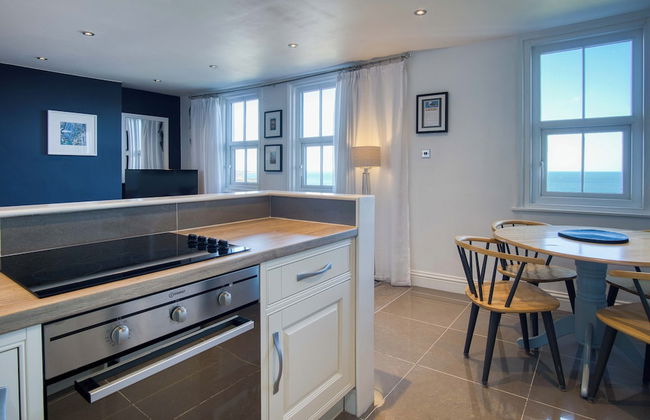
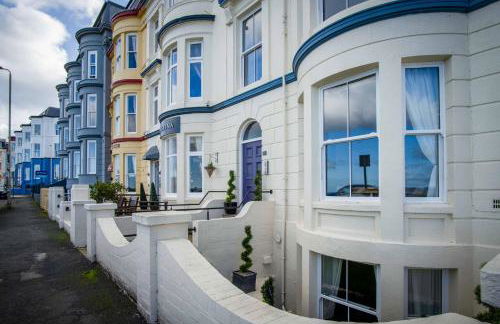

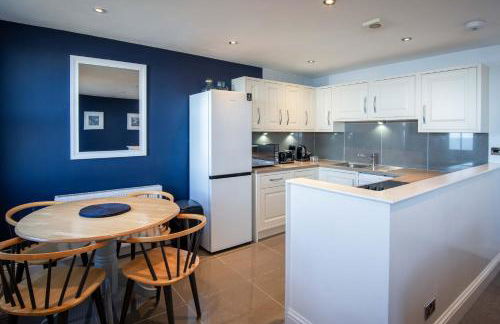
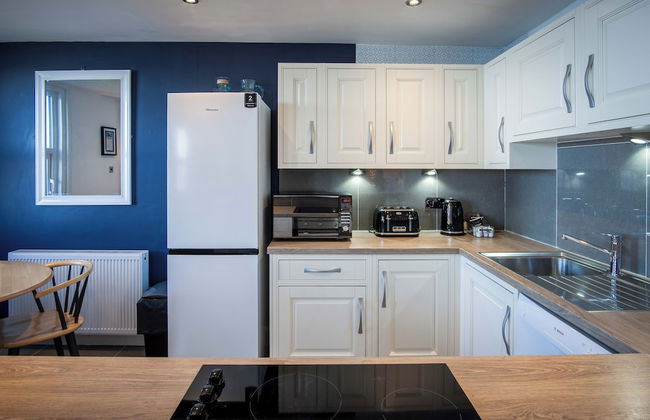
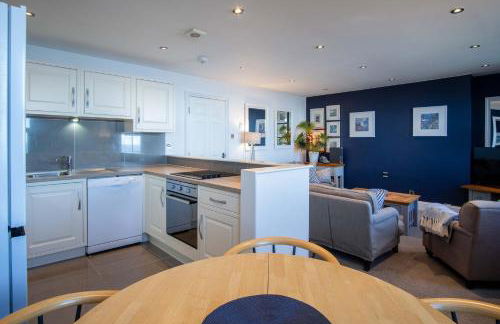

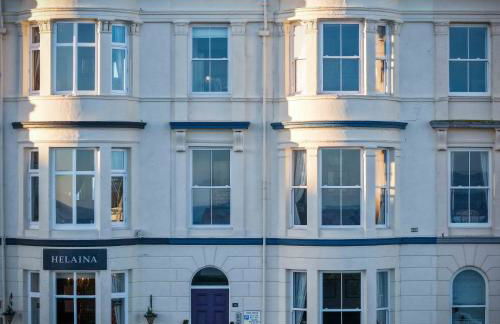
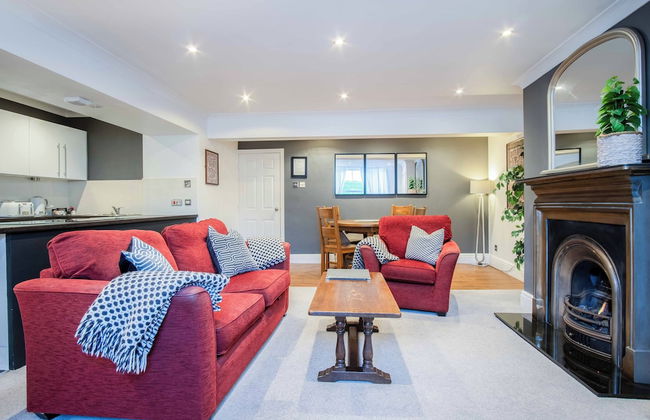
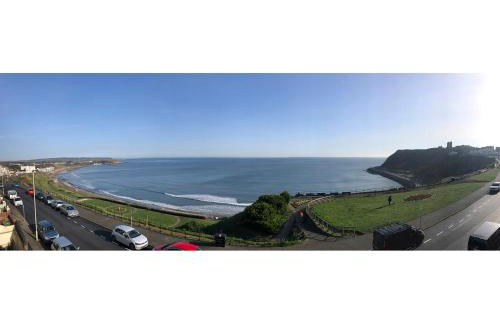
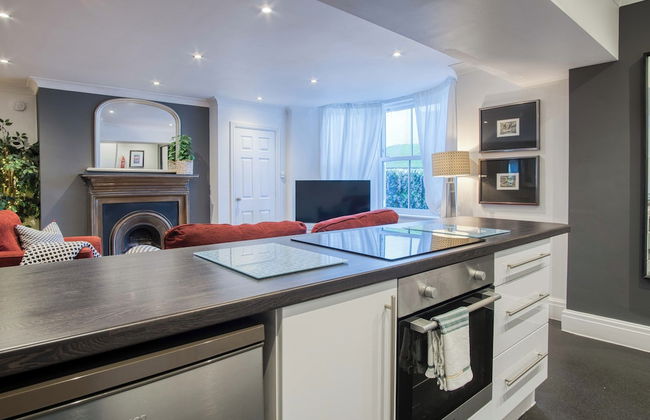

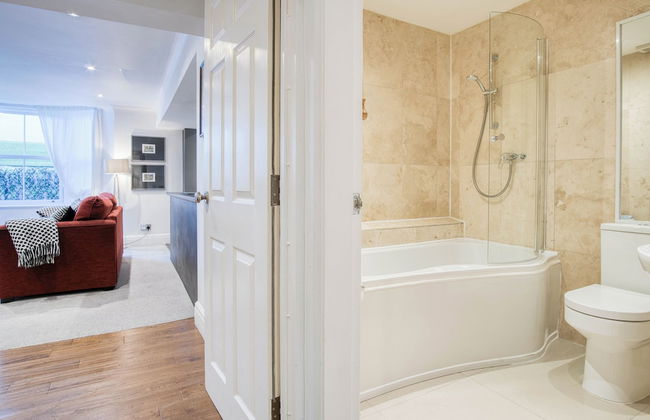


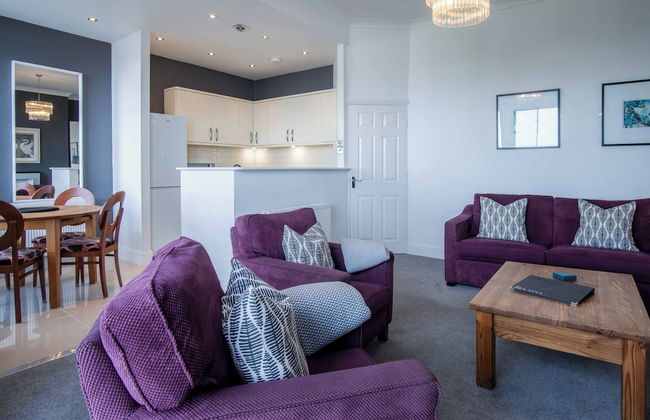

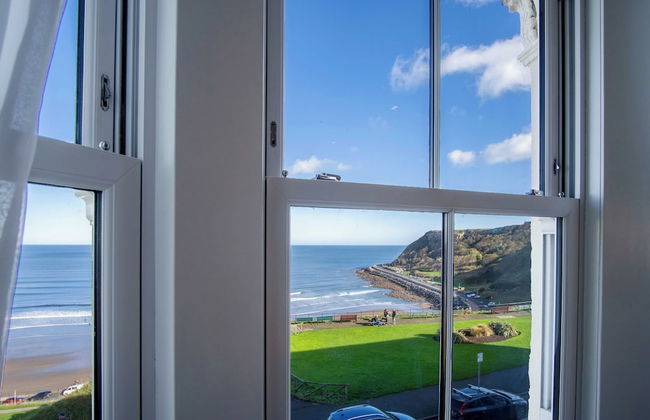
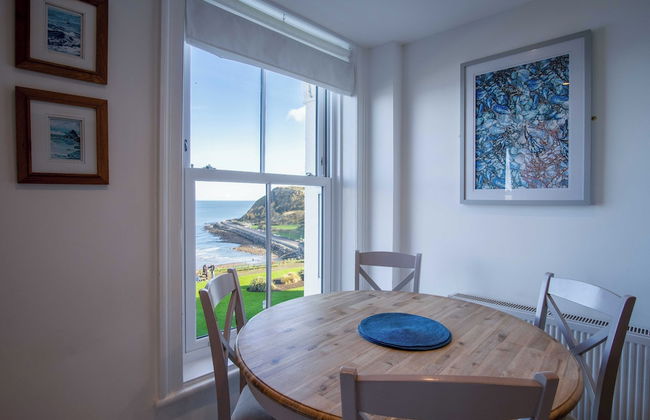

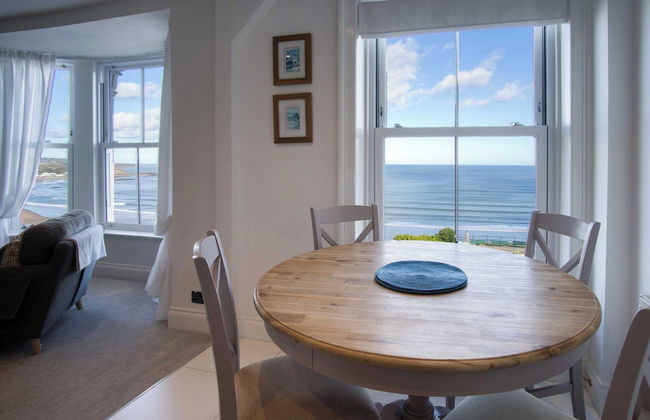

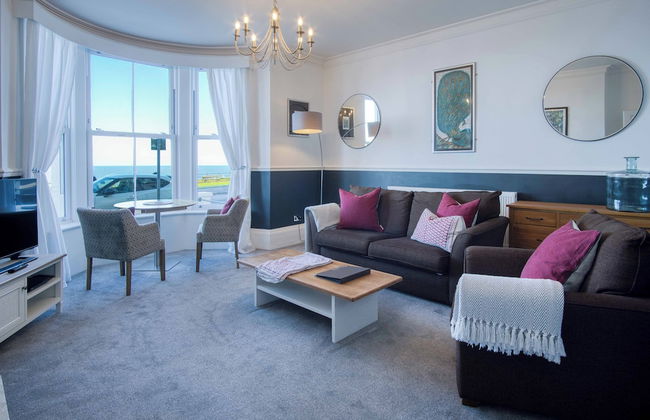
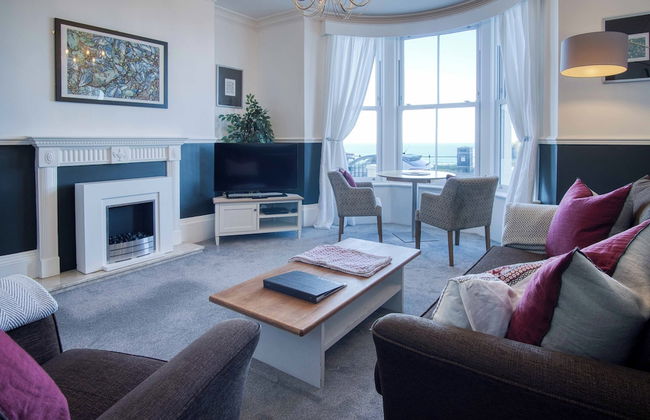
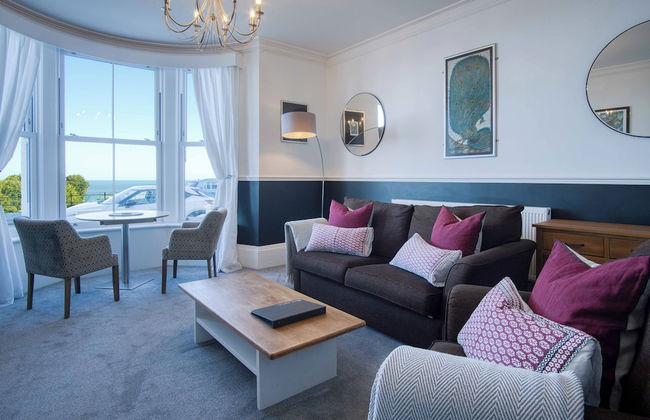

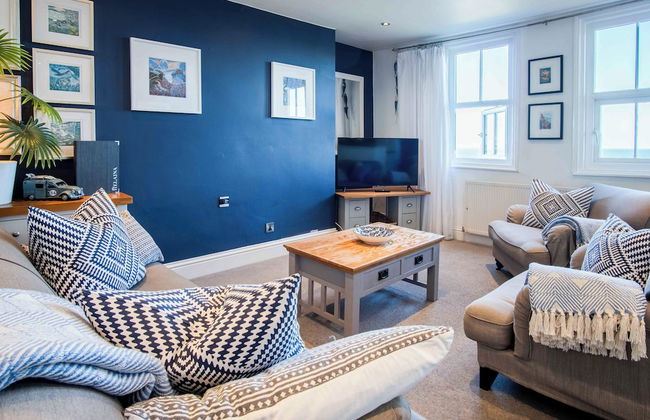
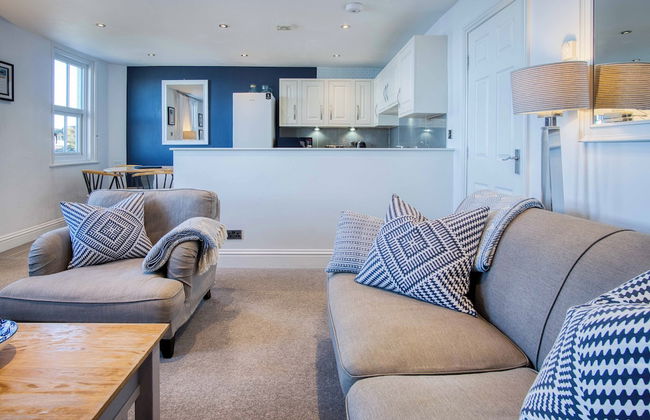
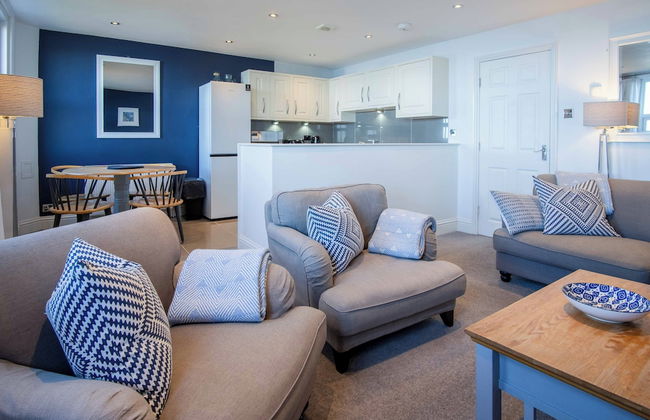


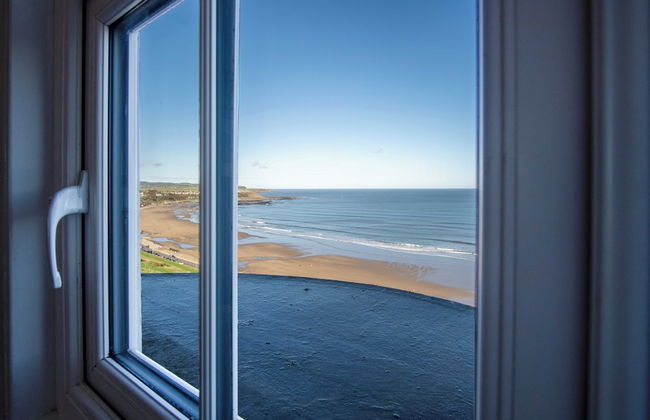
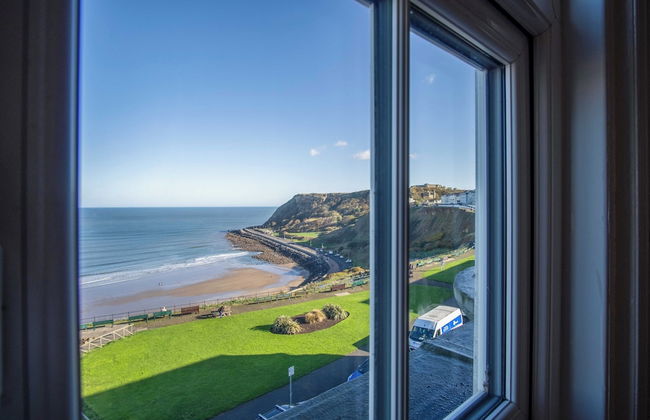
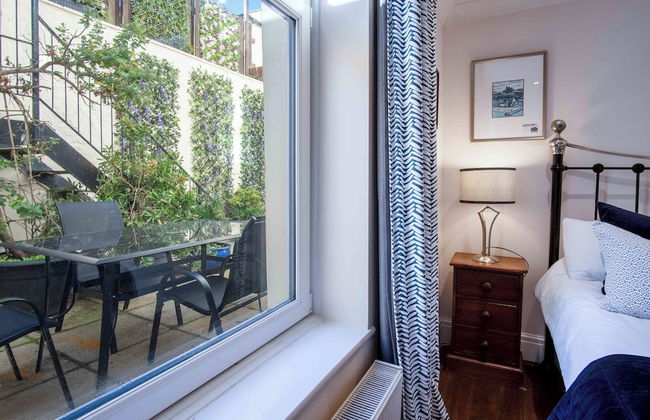
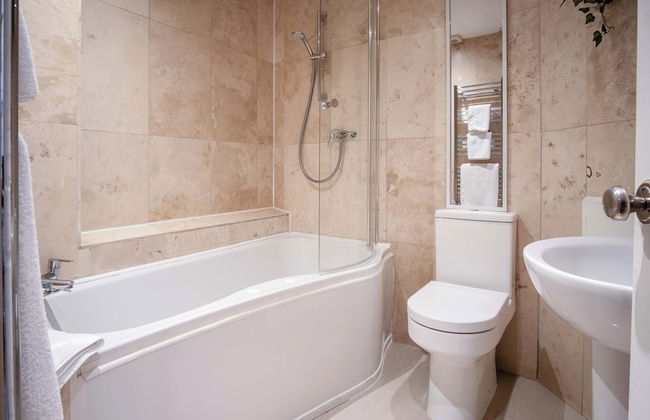


Blue Horizon Apartments at The Helaina
Scarborough - Scarborough - 780 m do centro
- 56 M2
- 2 quartos
- 4 pessoas
- Aquecimento
- Tv
- Chaminé
- Toalhas
- Lençóis
58 avaliações


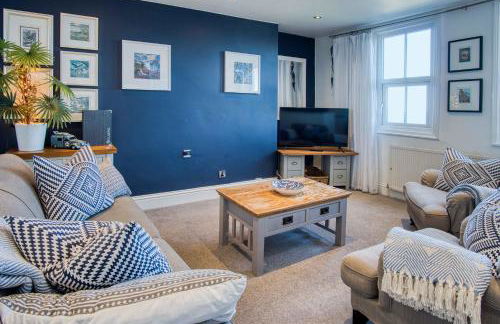
Penleys Apartment
Lorque - York - 890 m do centro
- 47 M2
- 1 quarto
- 4 pessoas
- Aquecimento
- Estacionamento
- Tv
- Máquina de lavar roupa
- Toalhas
- Lençóis
15 avaliações


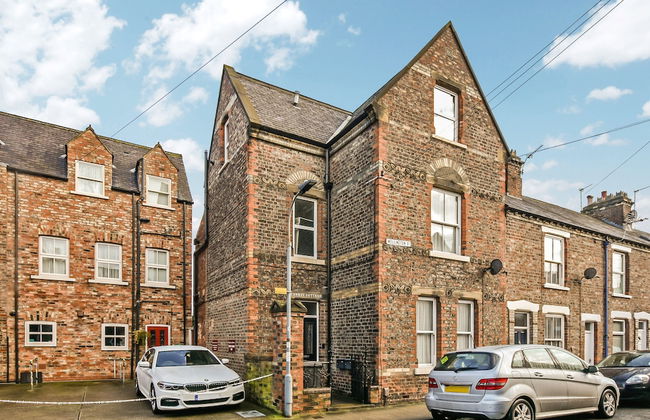

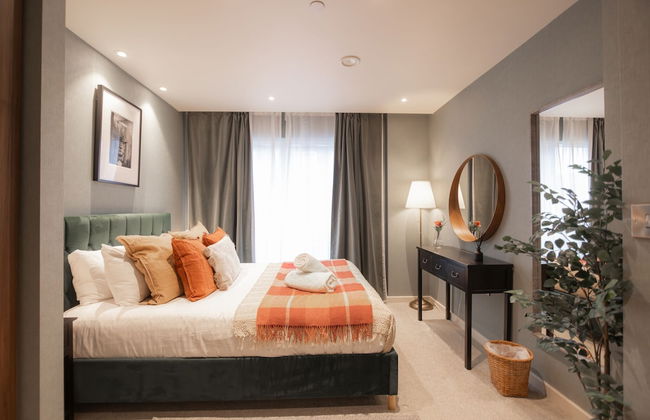
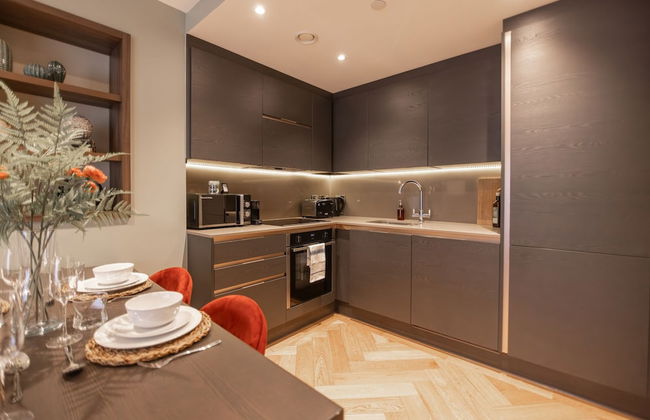
York Apartment Conway Cottage
Lorque - Heslington - 290 m do centro
- 46 M2
- 1 quarto
- 2 pessoas
- Aquecimento
- Estacionamento
- Tv
- Máquina de lavar roupa
- Chaminé
- Toalhas
- Lençóis
11 avaliações


Osprey Meadow Holiday Cottages
Bedale - Theakston
- 6 pessoas
- Aquecimento
- Terraço
- Estacionamento
- Jardim
- Tv
- Chaminé
- Toalhas
- Lençóis
16 avaliações

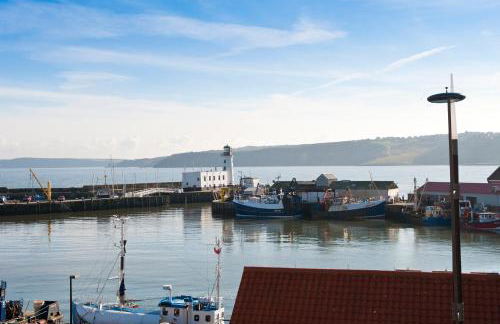

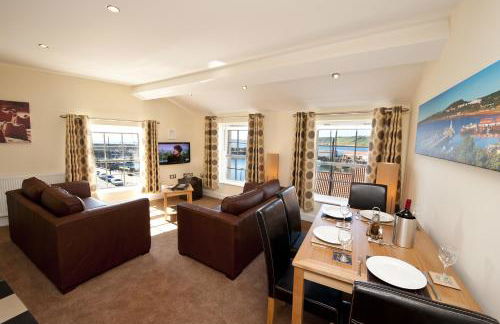

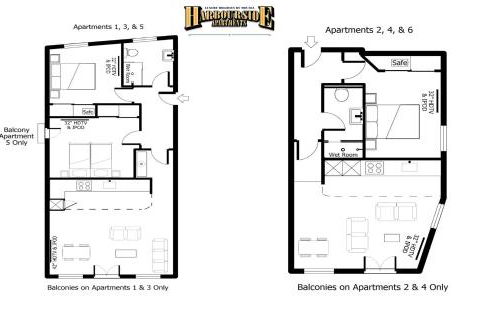

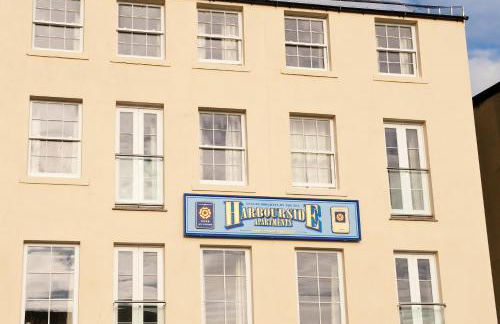

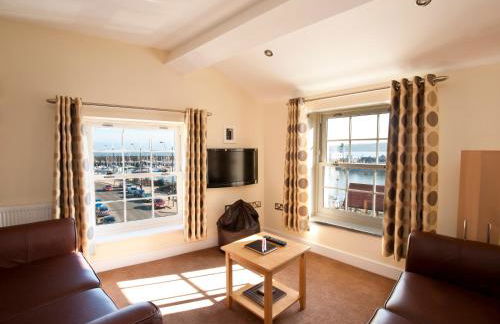

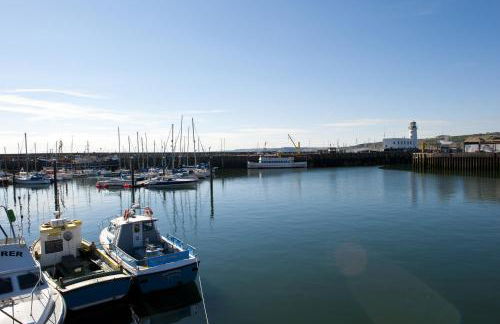

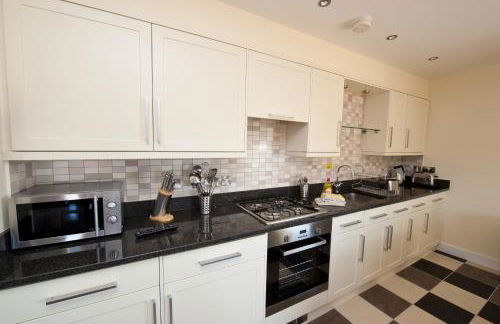

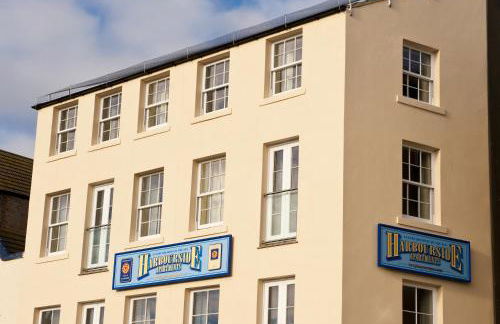


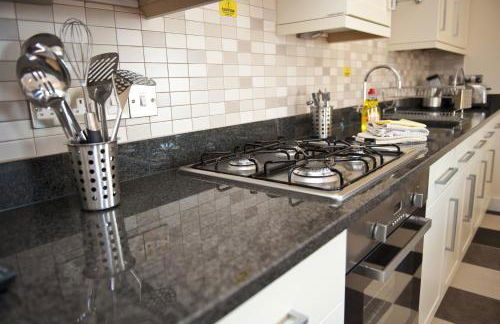


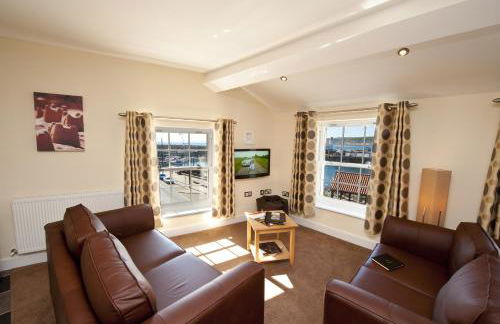

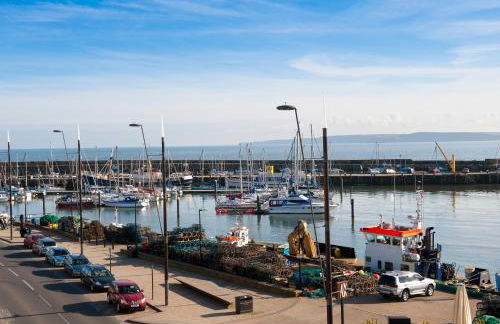


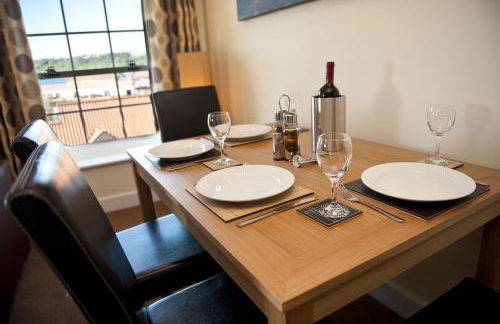

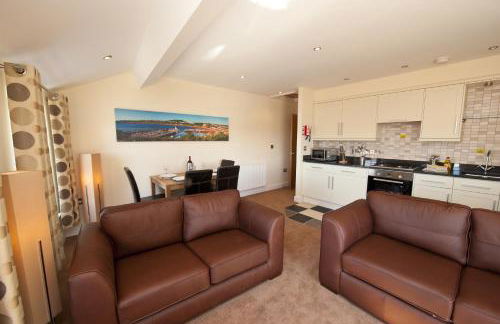


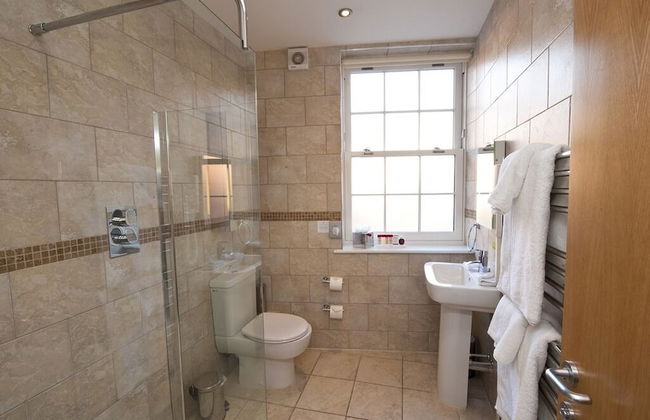
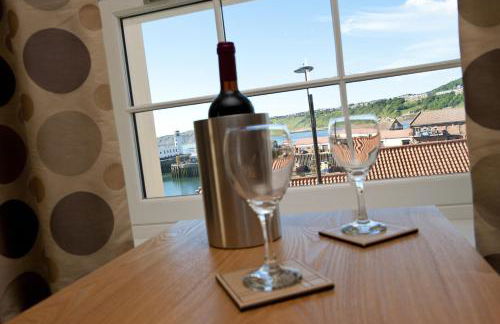


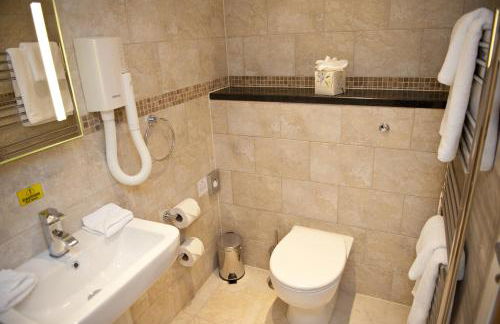
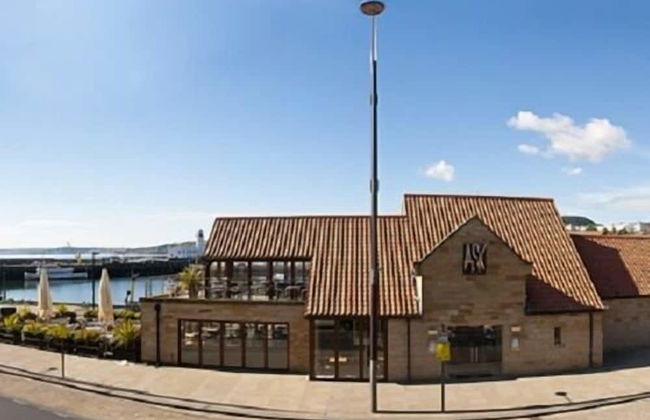


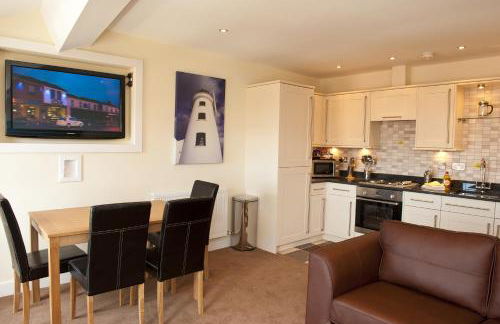

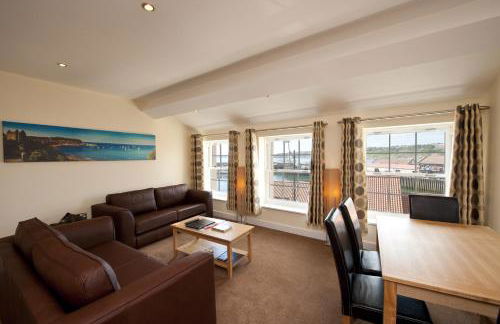


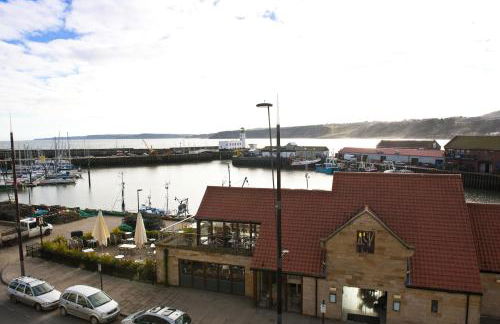

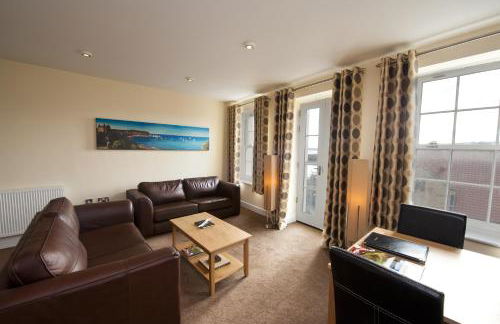

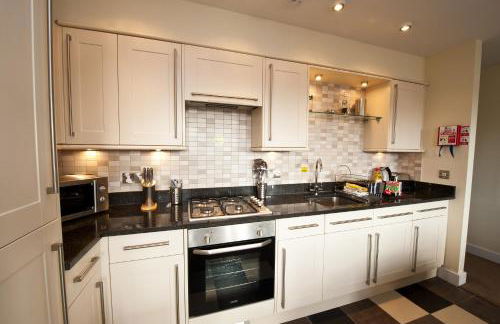

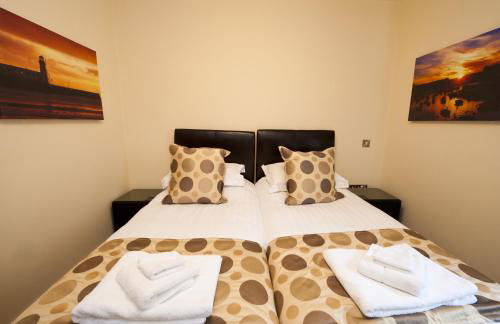

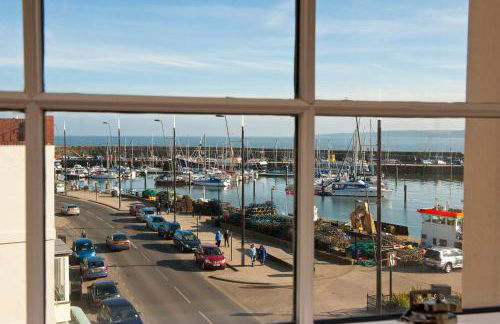

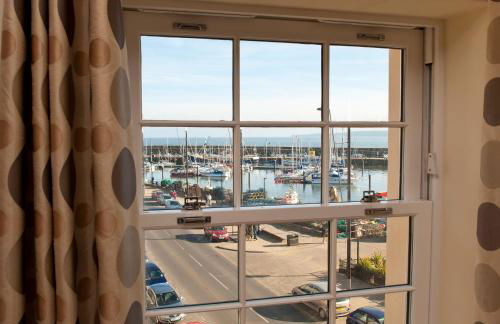


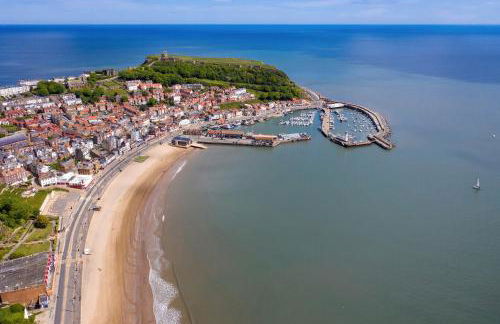
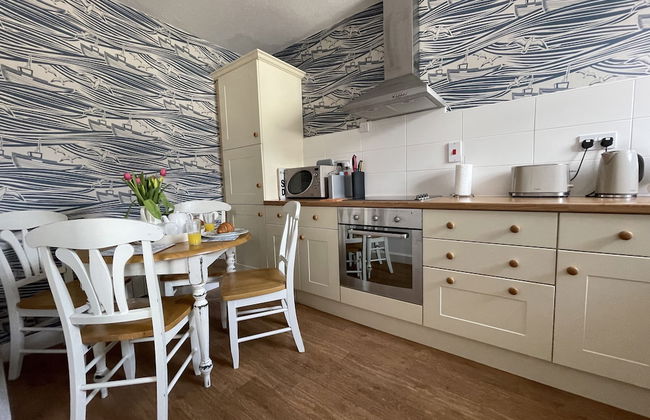
Harbourside Apartments with Private Parking
Scarborough - Scarborough - 1 km do centro
- 84 M2
- 2 quartos
- 4 pessoas
- Estacionamento
- Tv
- Toalhas
- Lençóis
25 avaliações


Fayvan Apartments
Whitby - Whitby
- 45 M2
- 1 quarto
- 4 pessoas
- Aquecimento
- Estacionamento
- Tv
- Máquina de lavar roupa
- Toalhas
- Lençóis
28 avaliações