
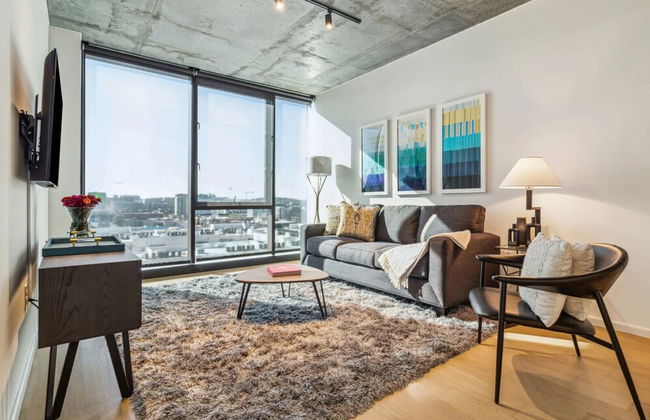
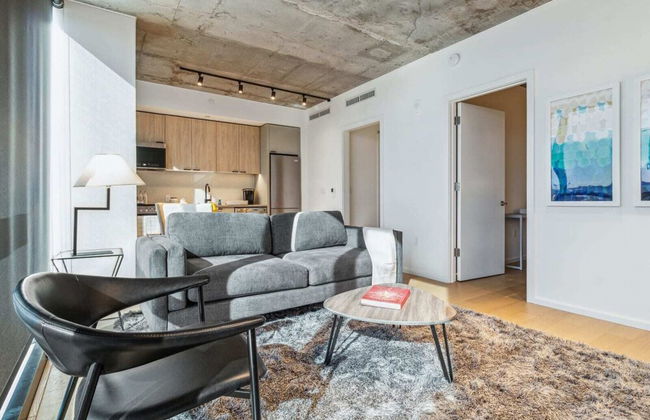
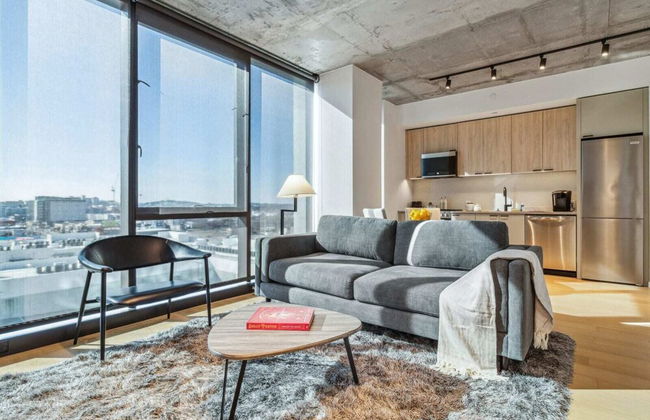
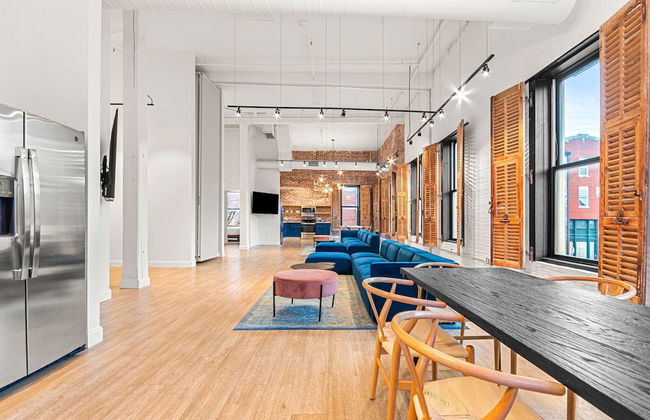
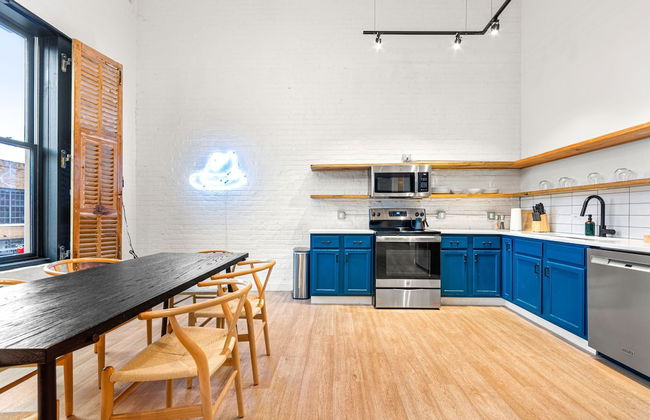
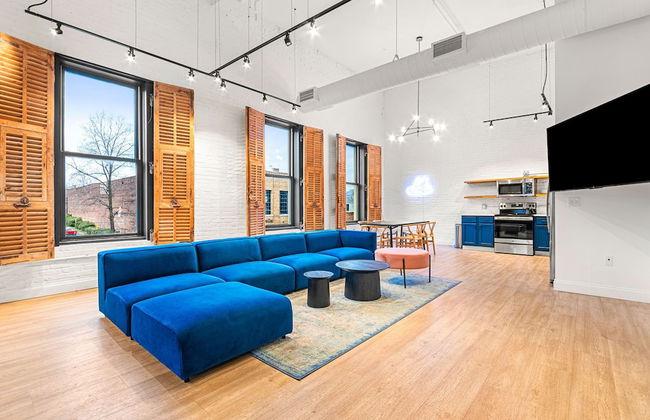
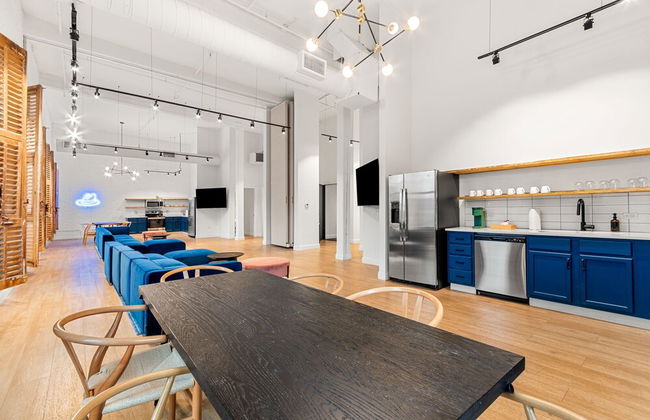
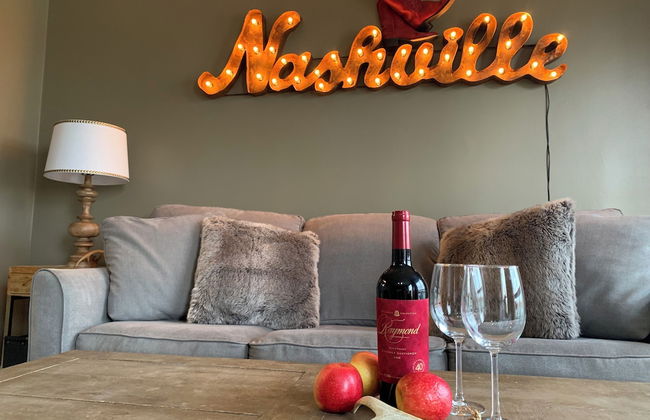
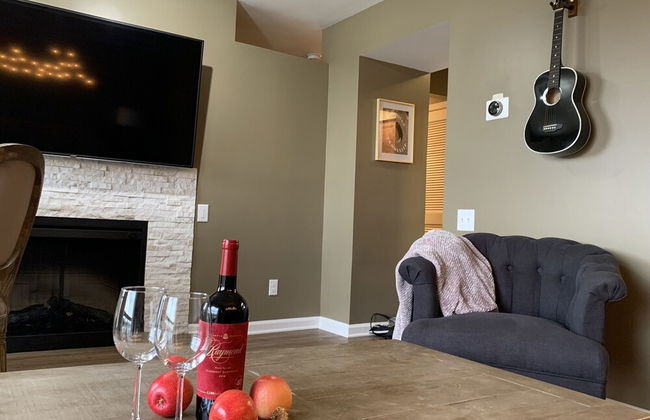
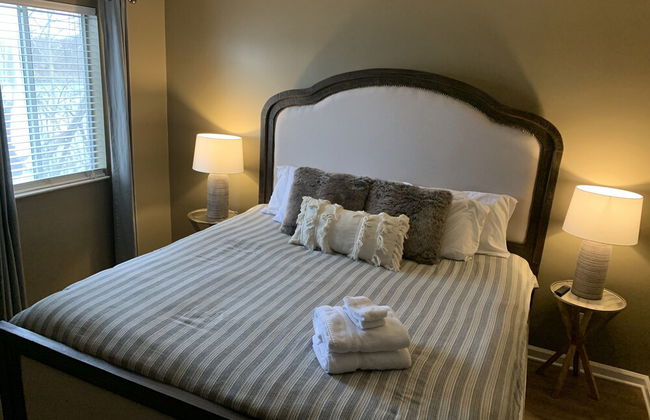
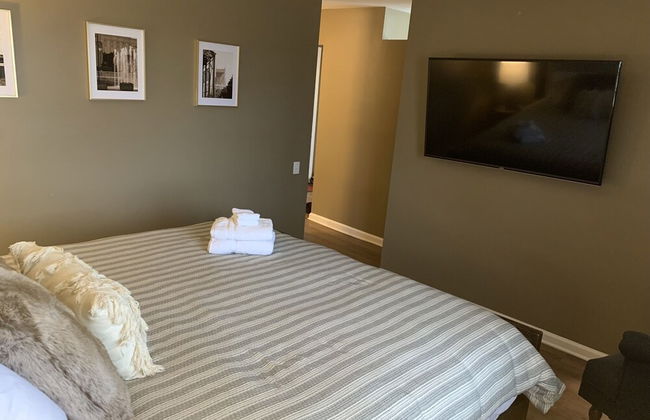
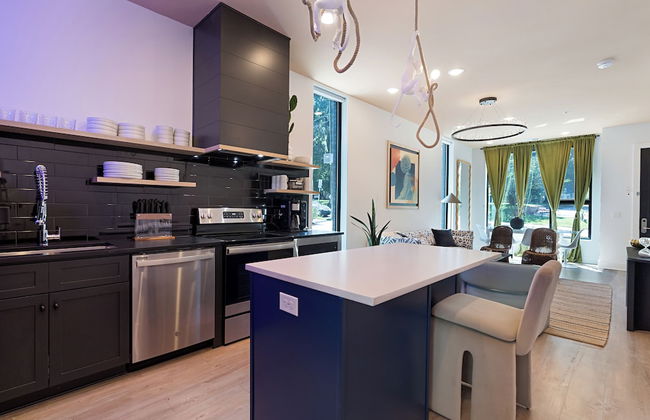
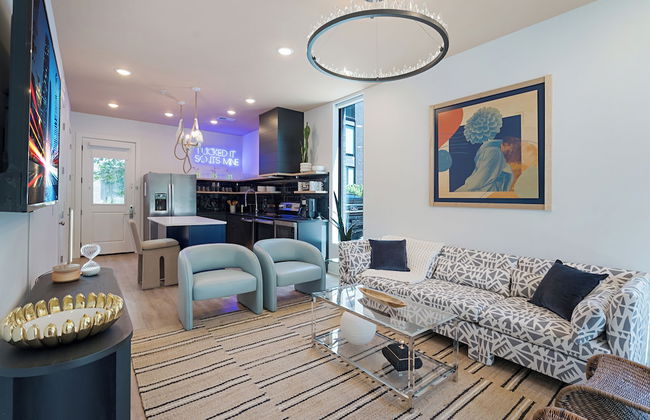
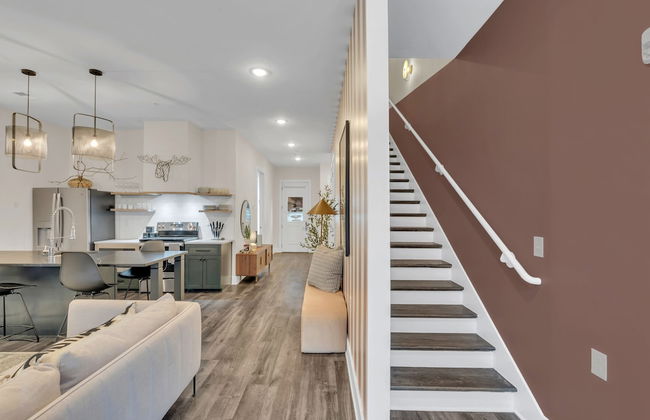
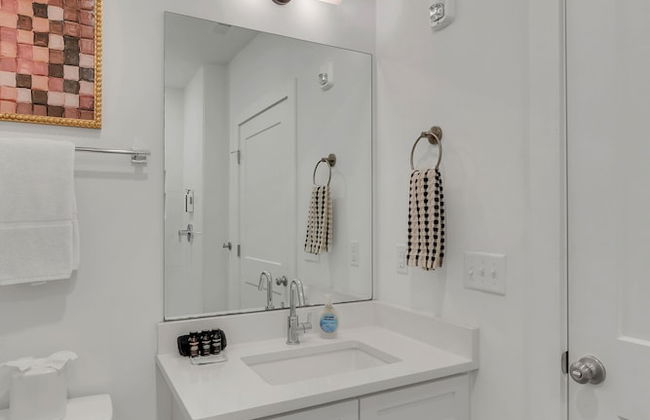
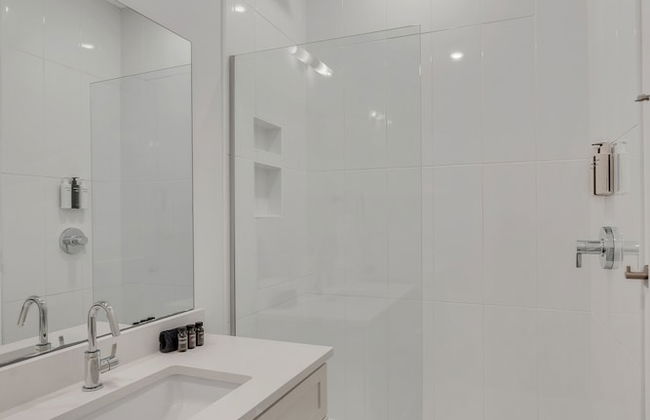
1966 Apartamentos em Tennessee


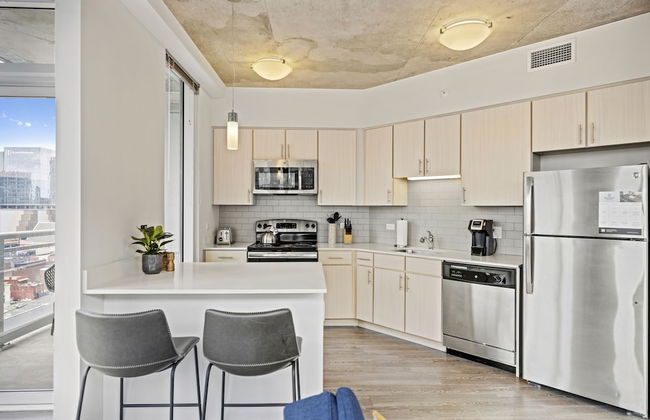


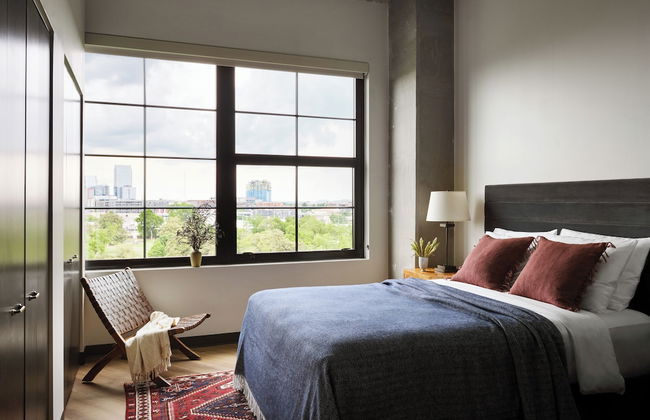
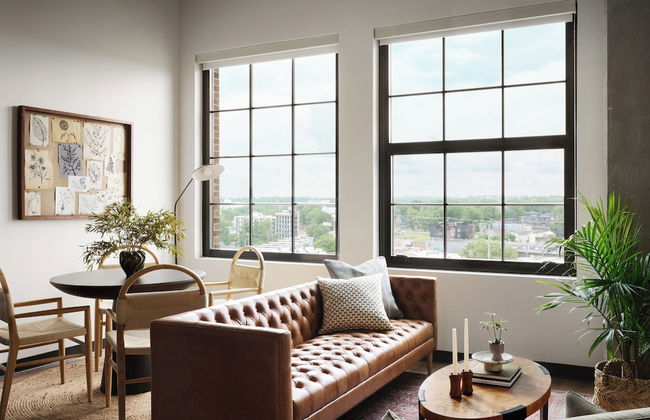
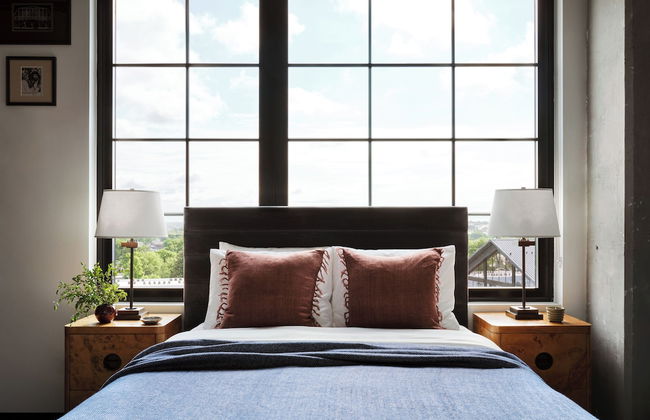
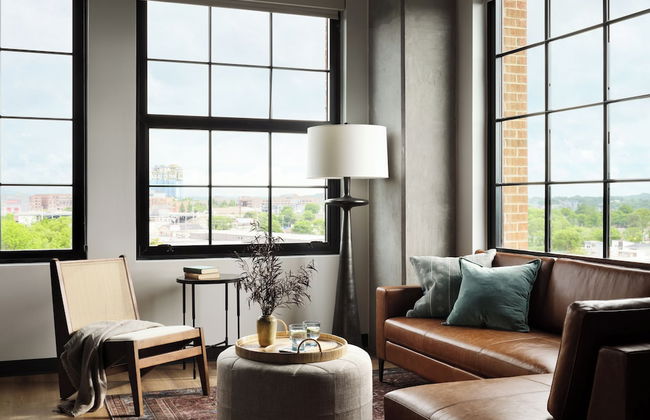
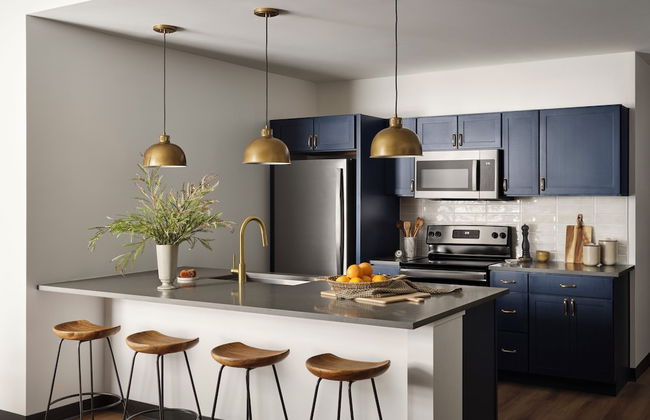
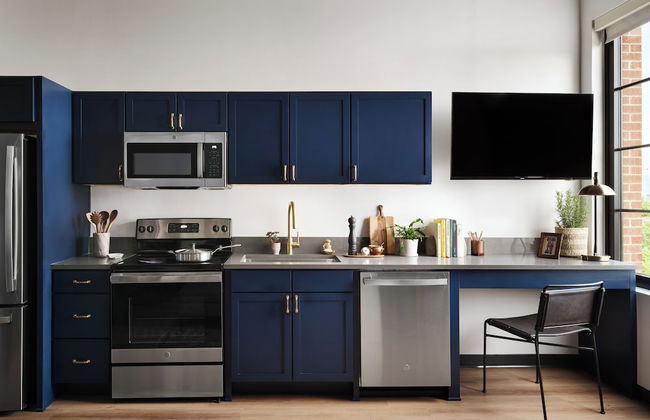
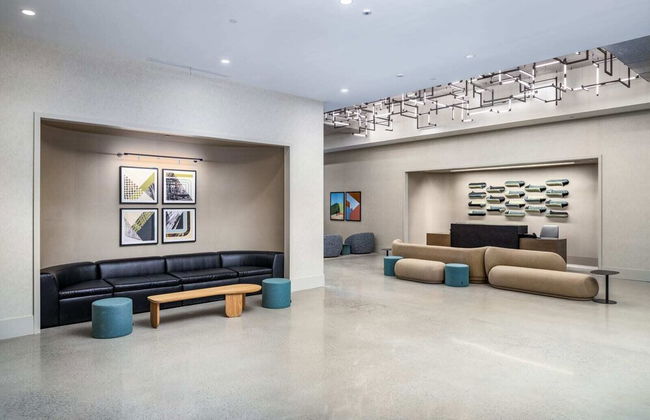
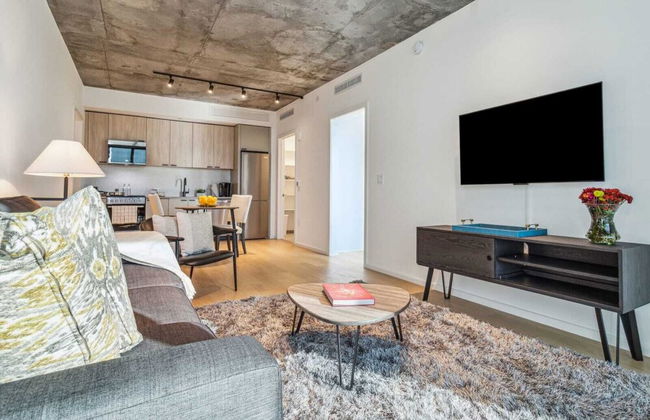
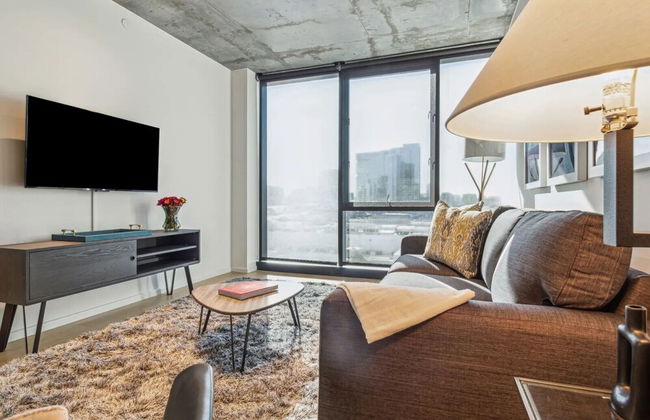
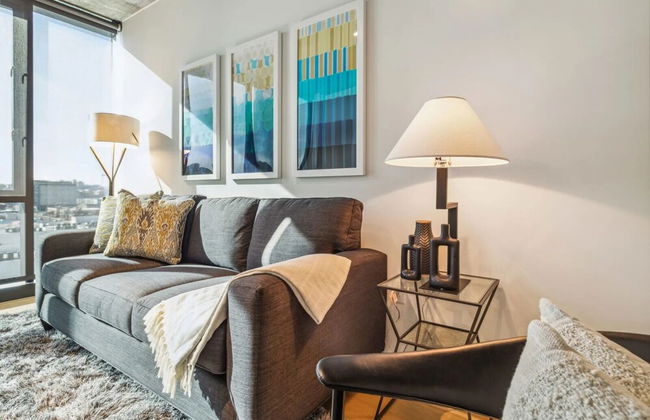
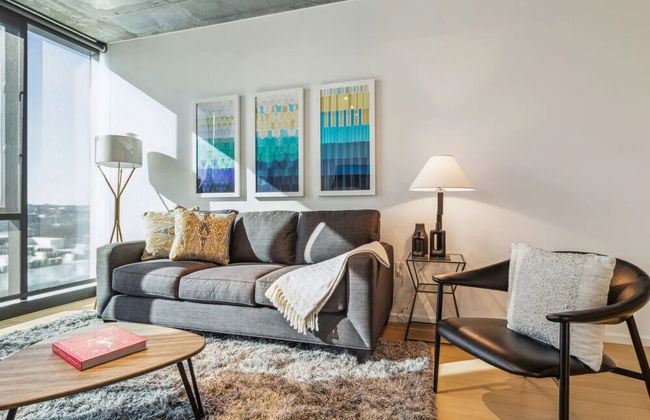
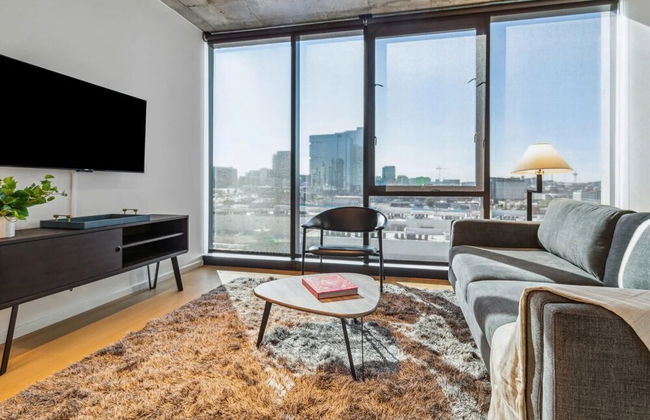
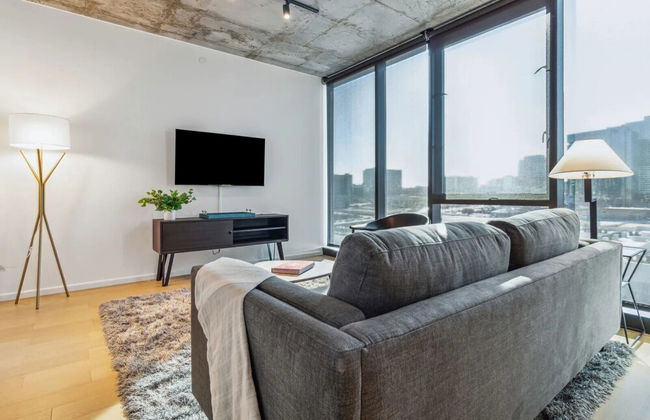
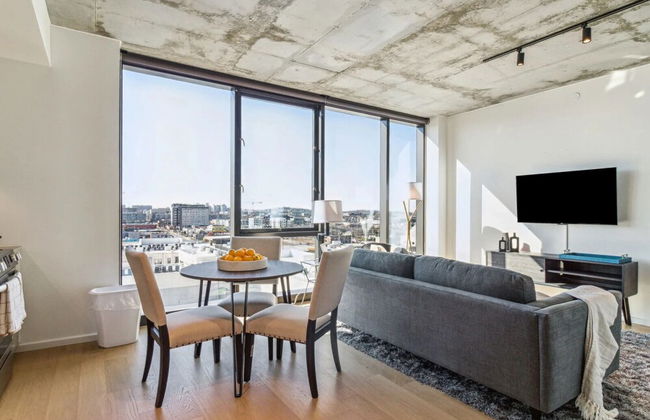
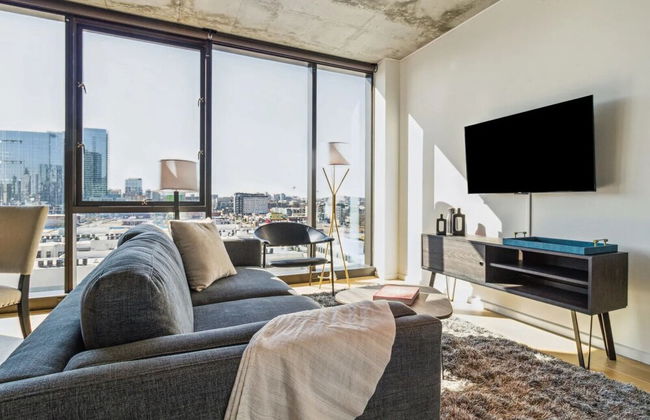
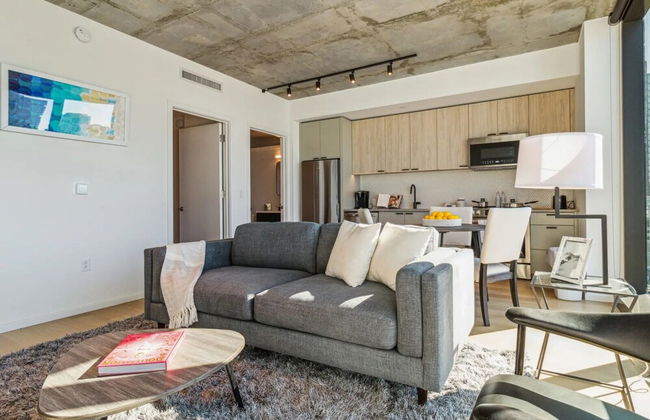
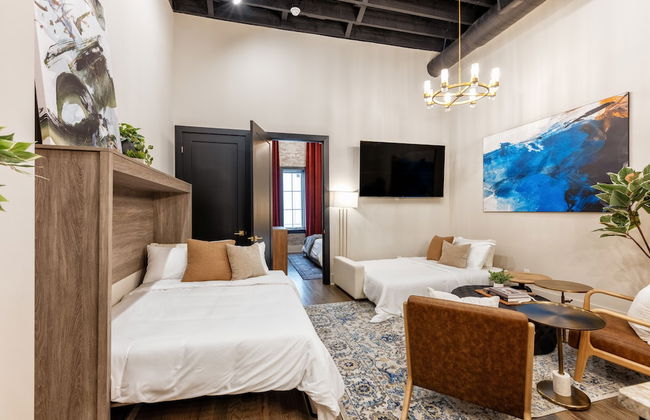
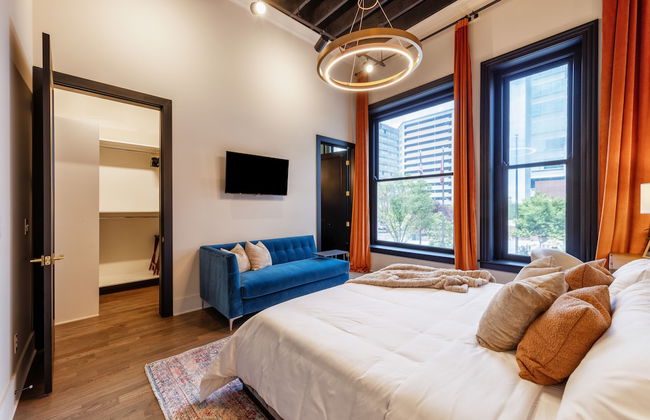
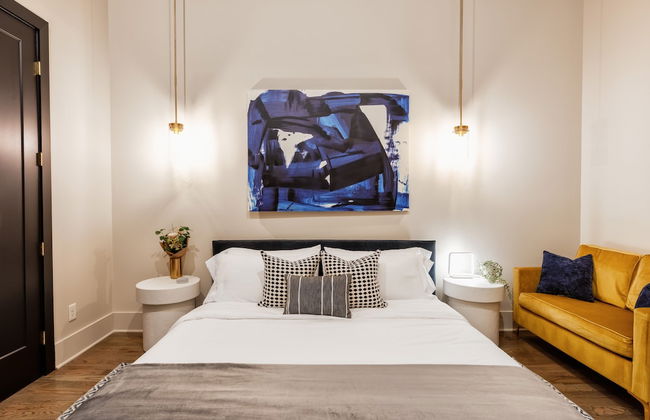
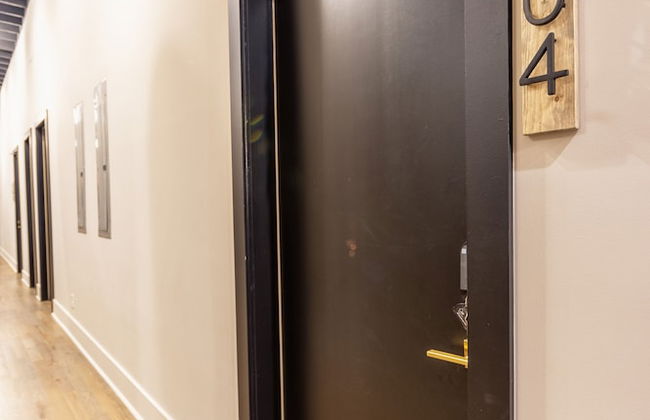
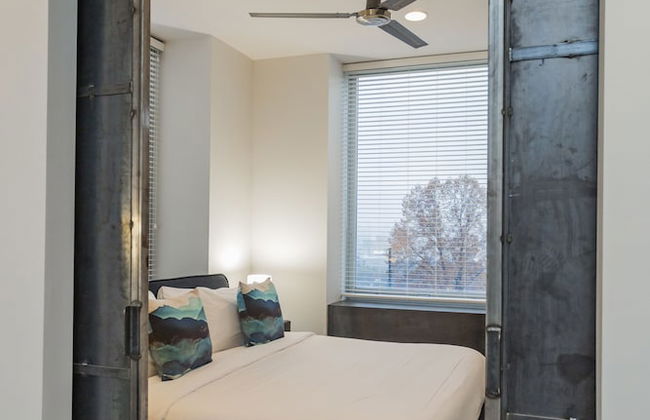
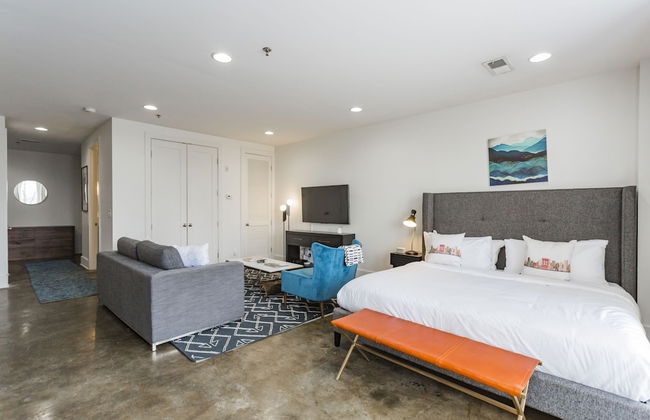
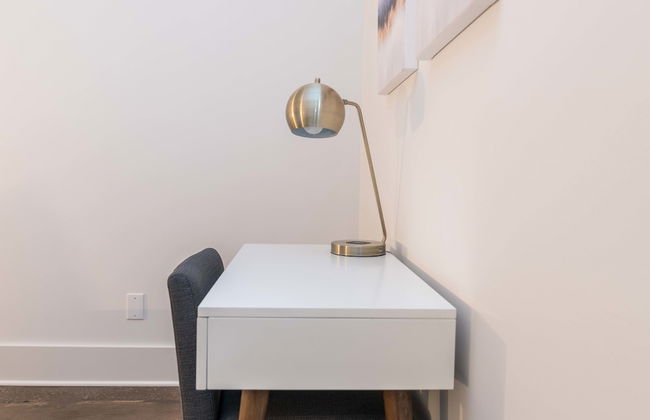
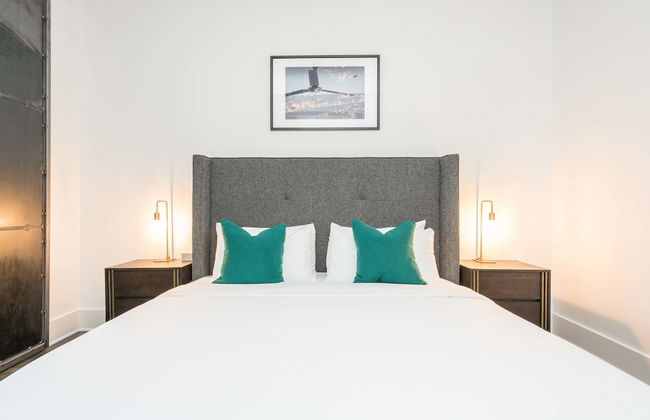
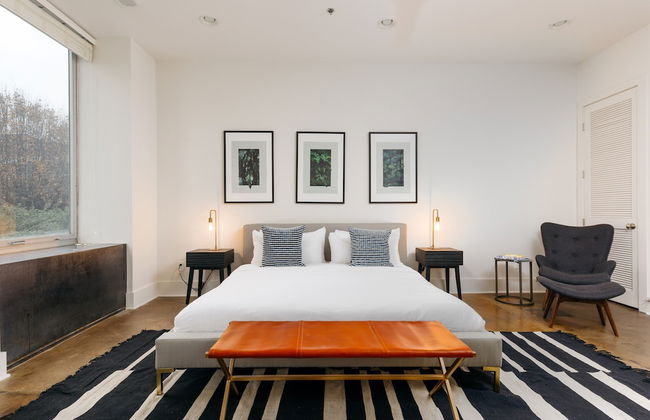
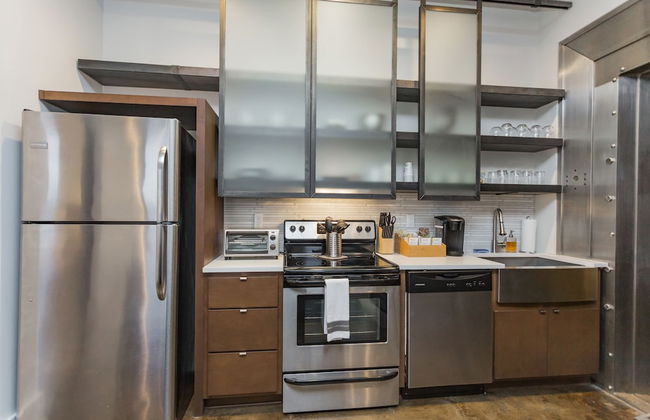
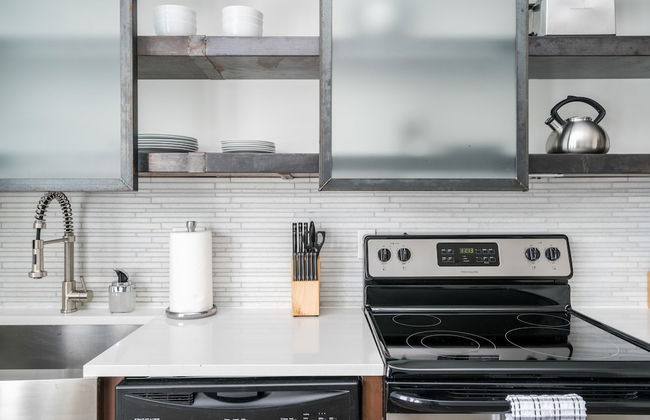
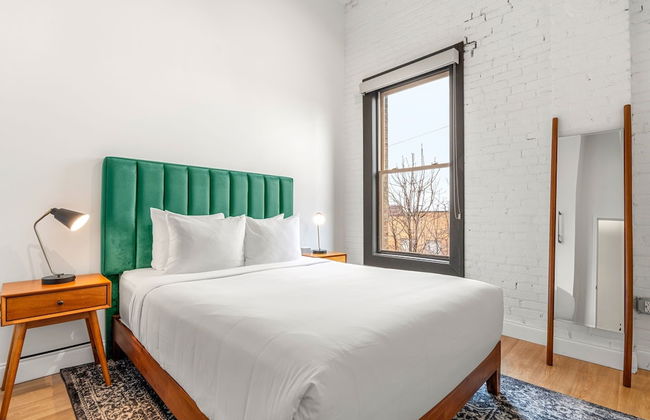
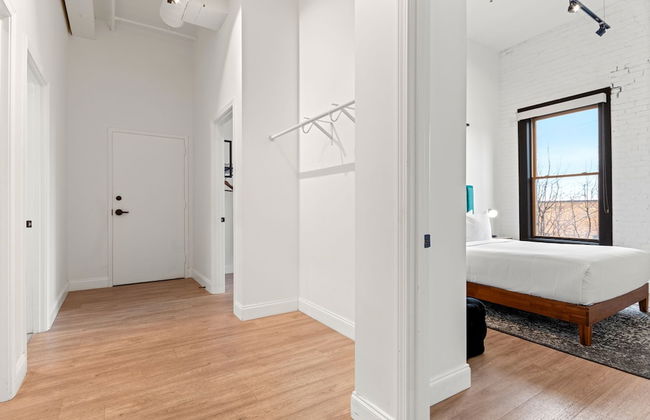
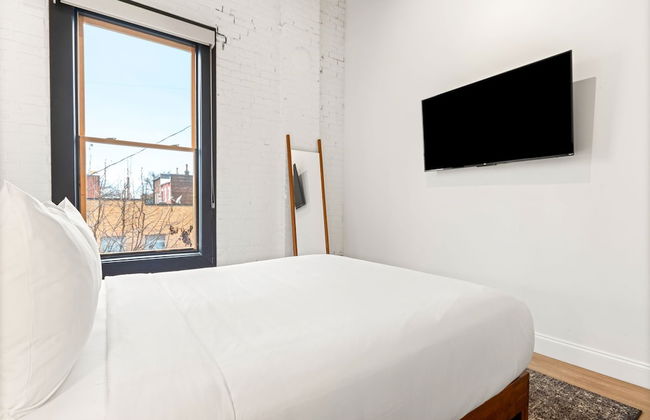
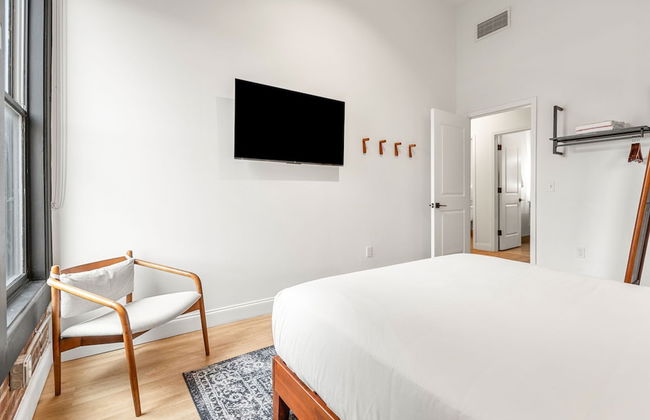
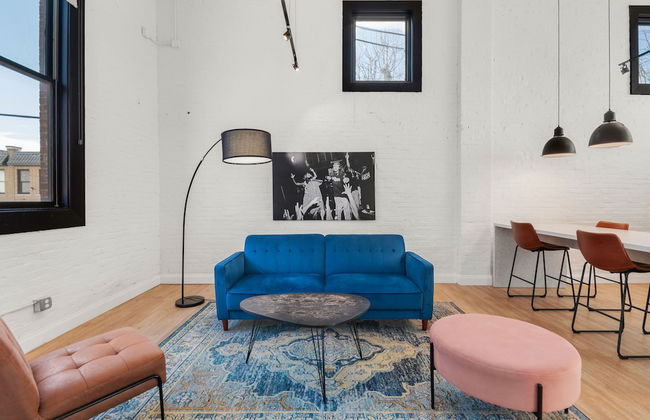
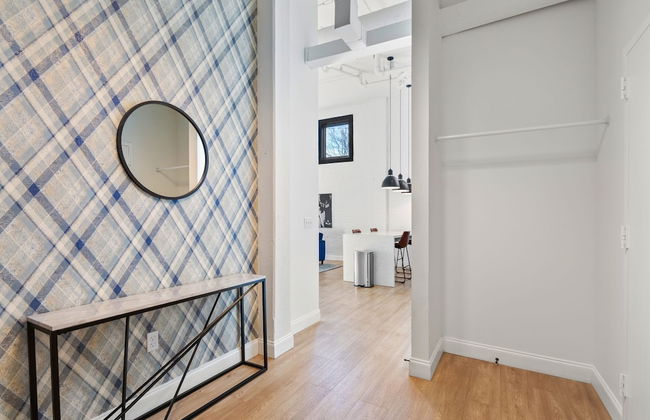
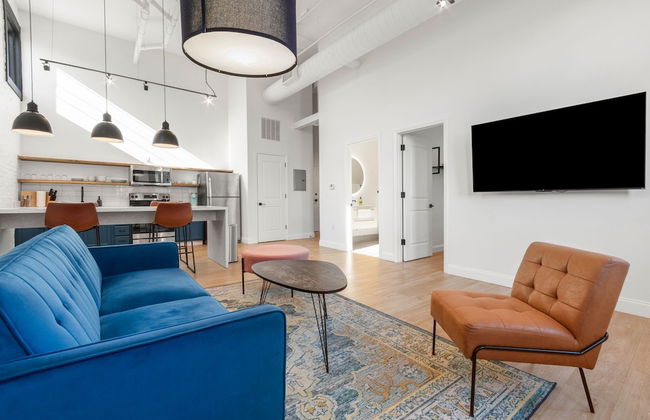
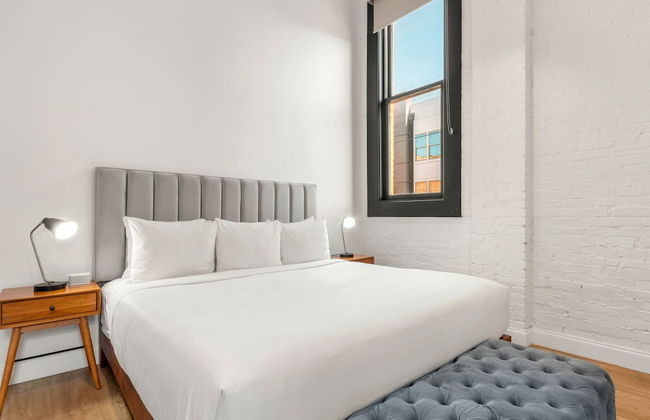
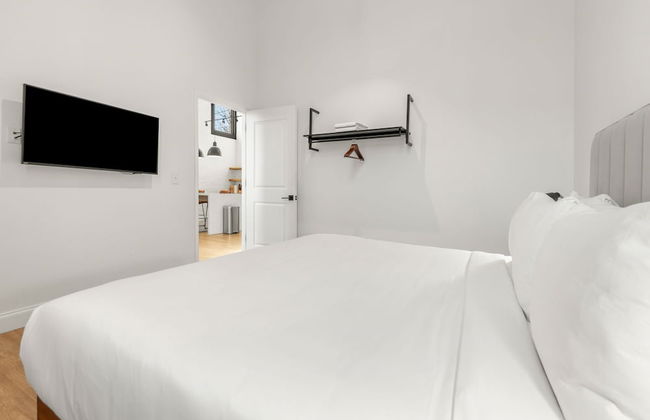
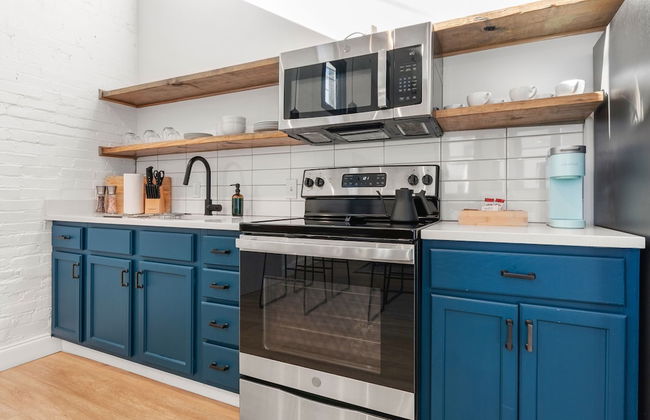
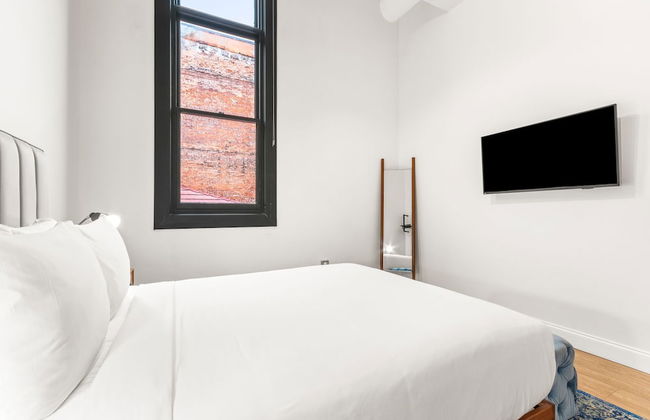
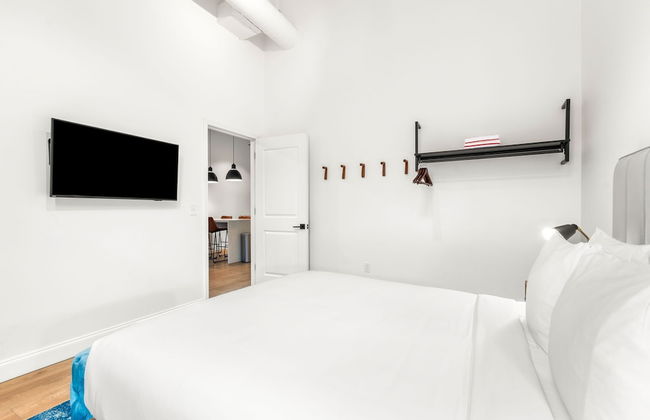
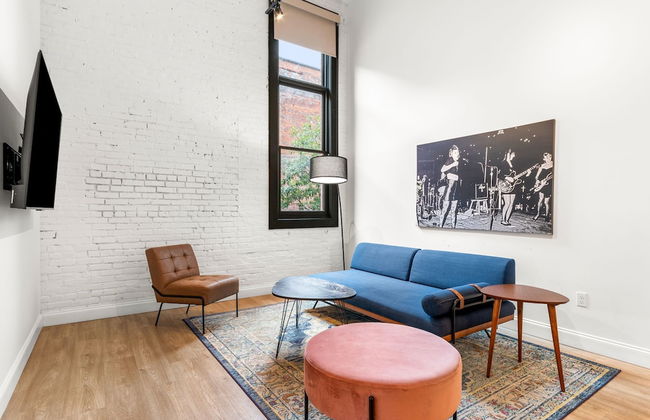
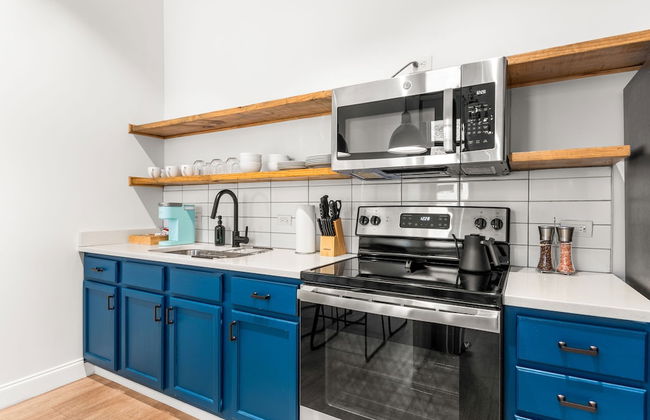
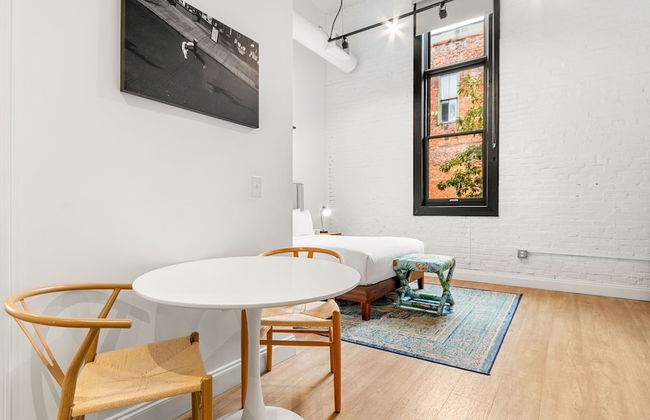
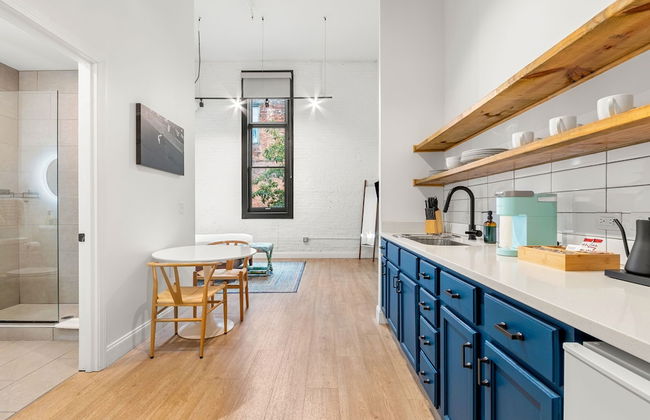
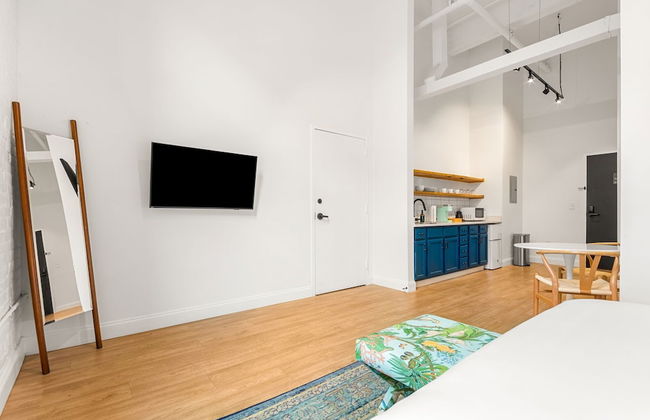
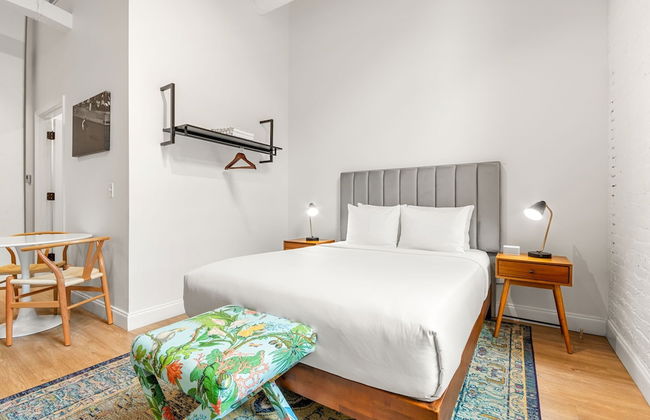
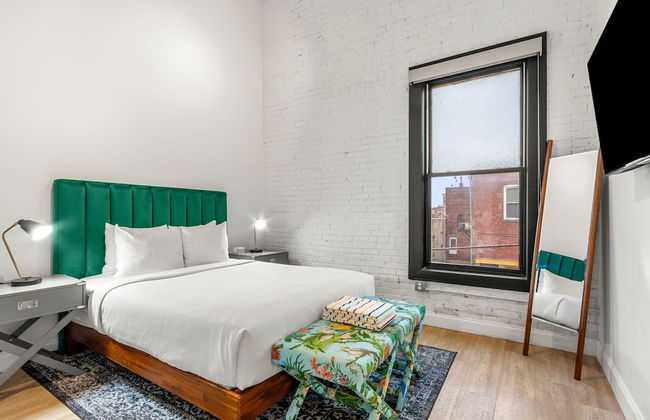
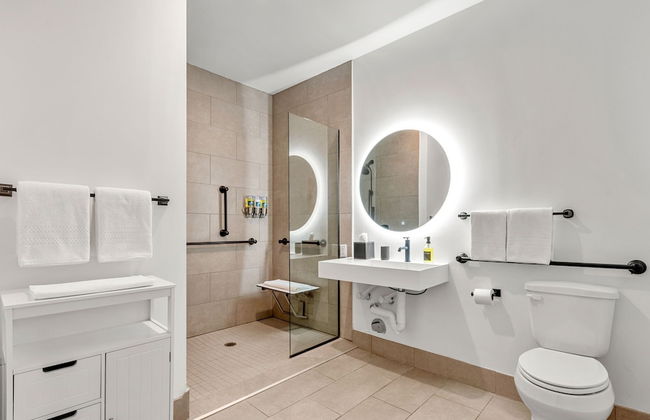
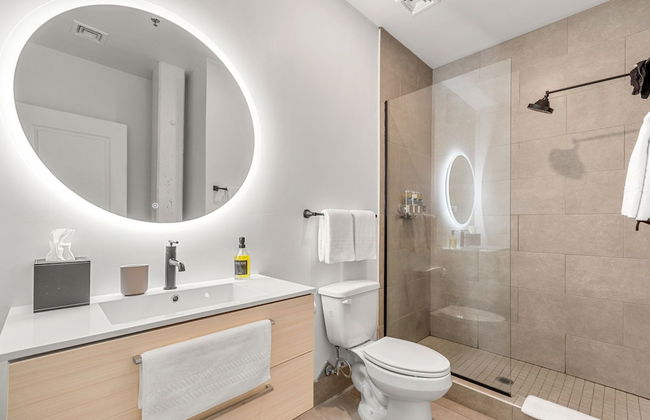
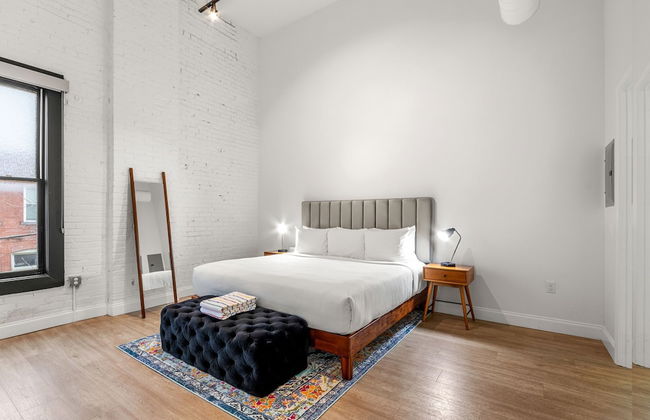
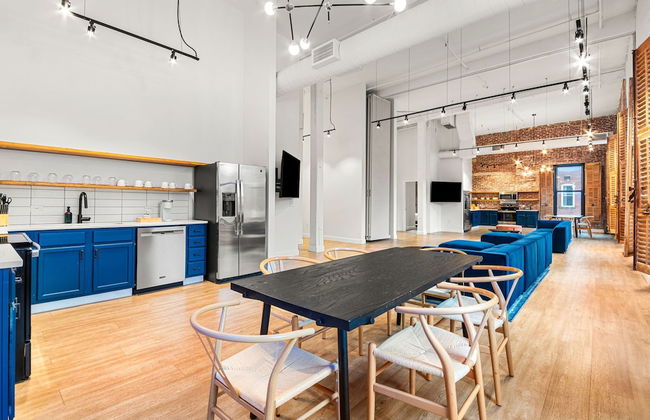
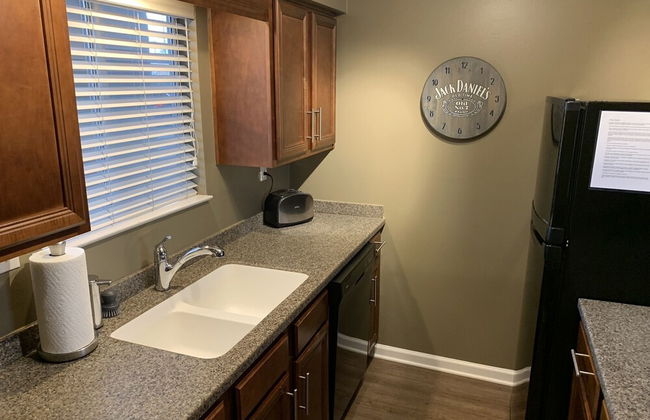
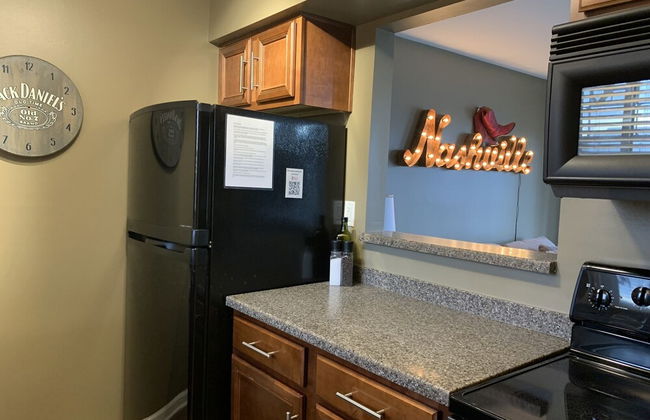
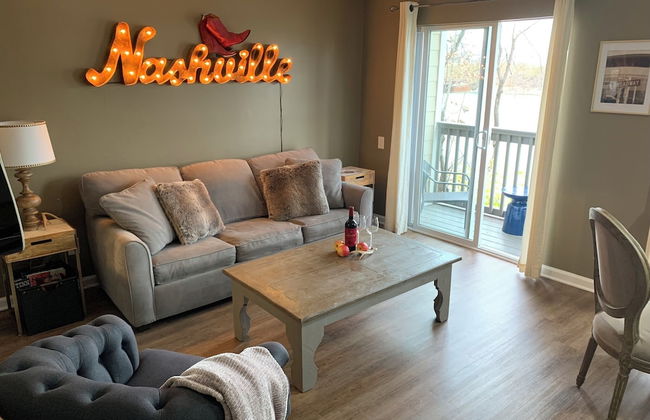
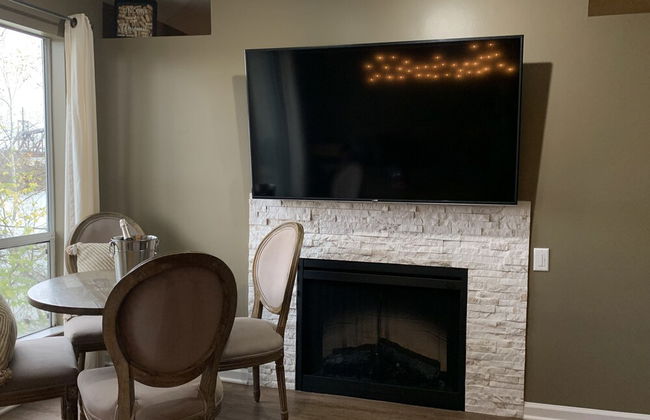
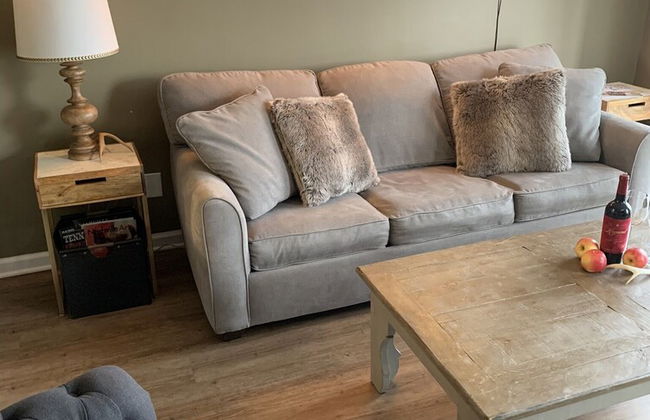
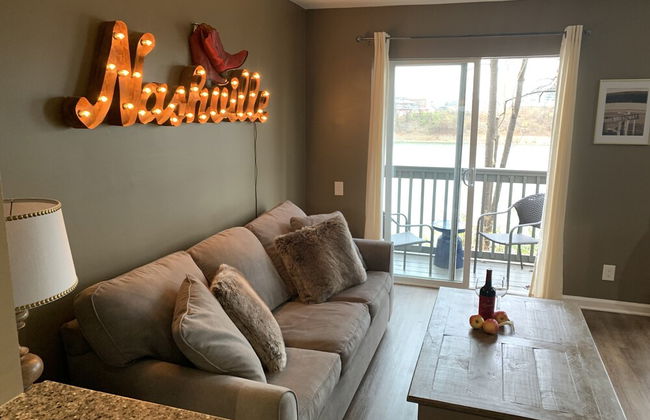
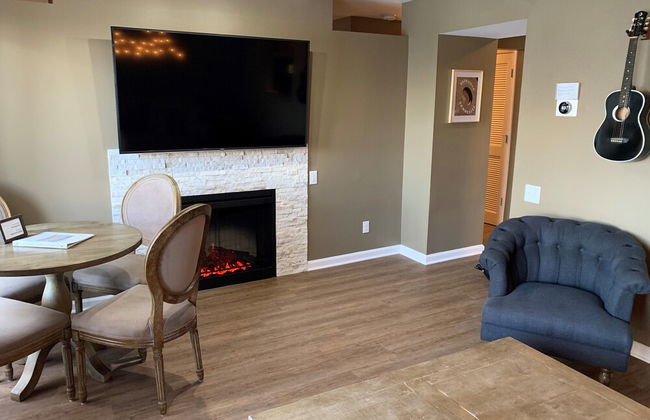
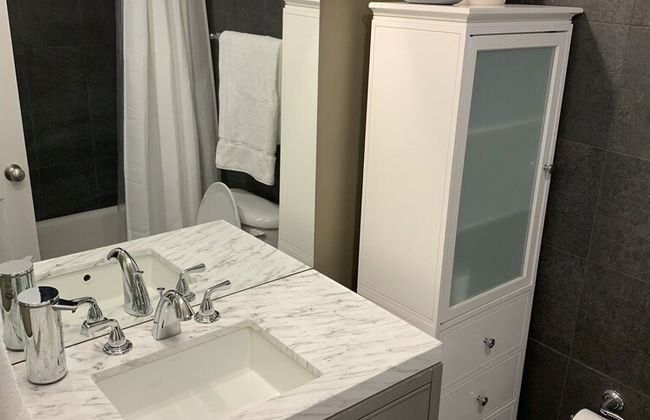
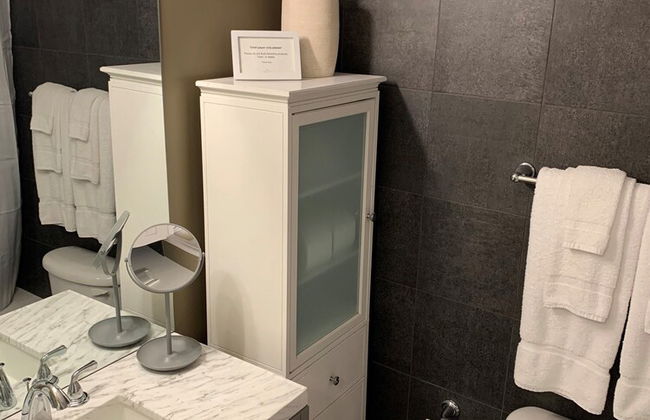
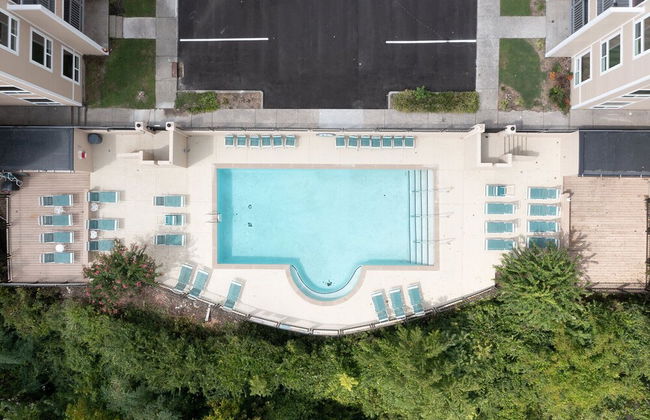
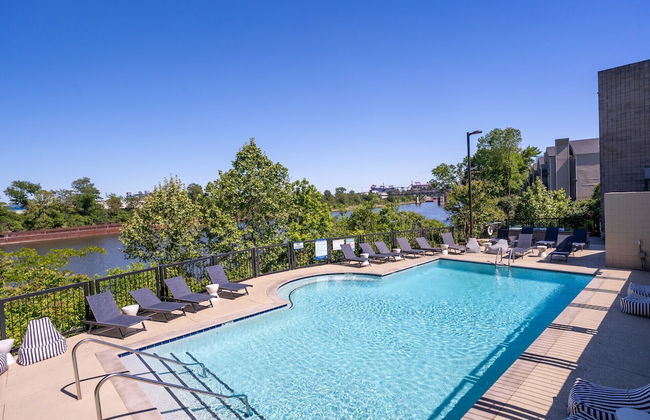
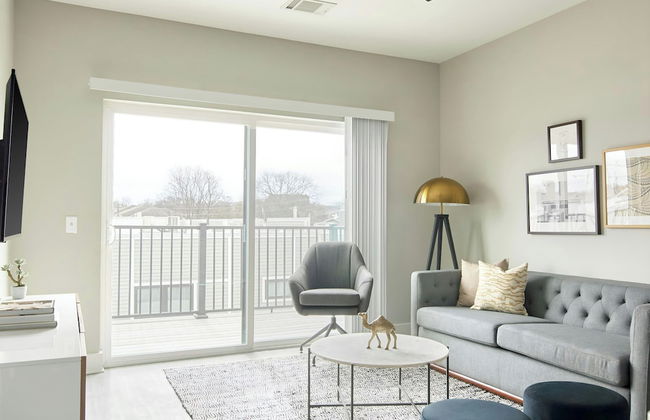
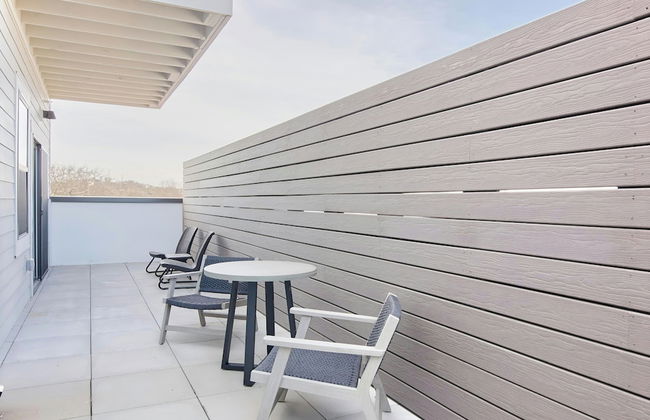
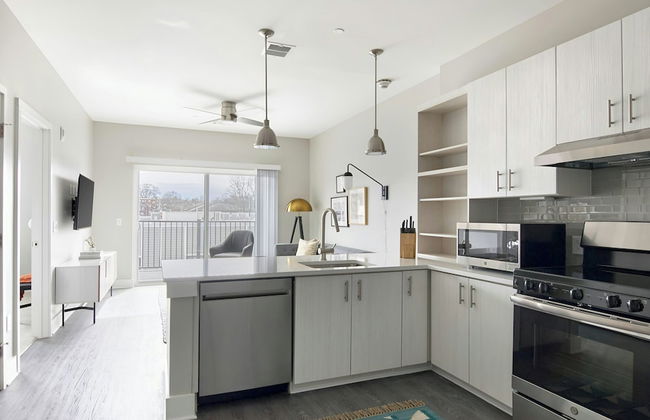
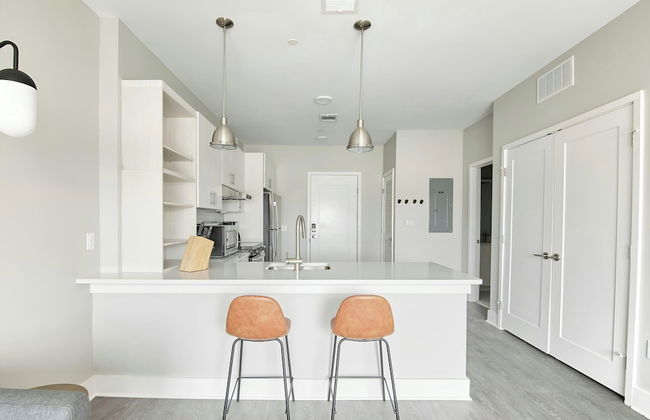
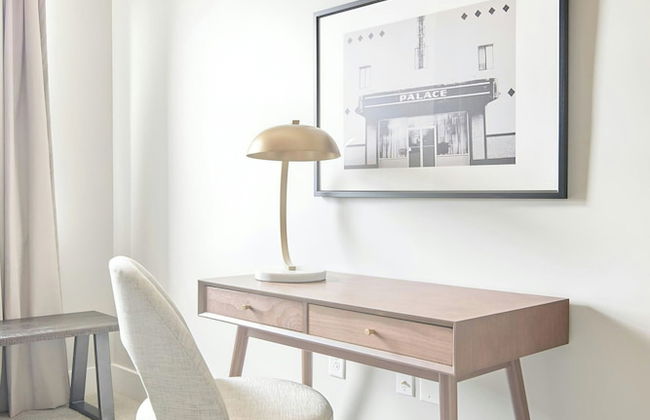
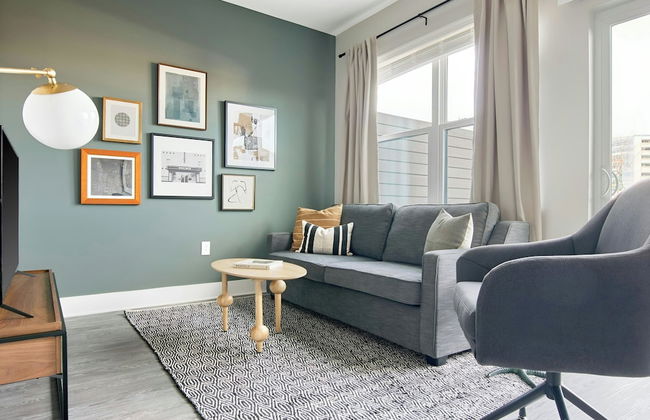
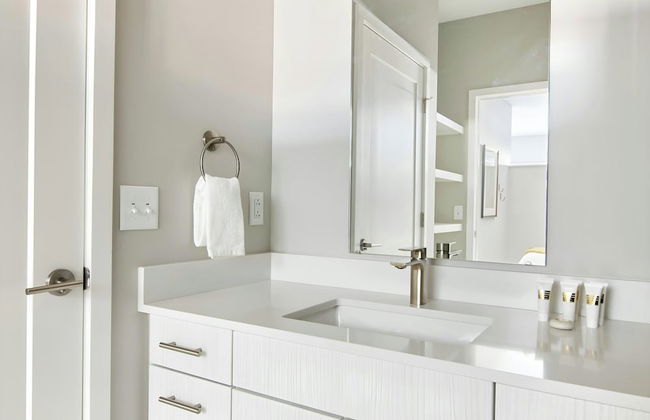
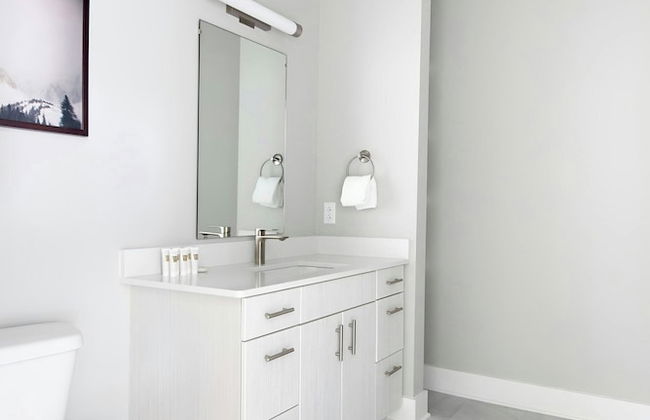
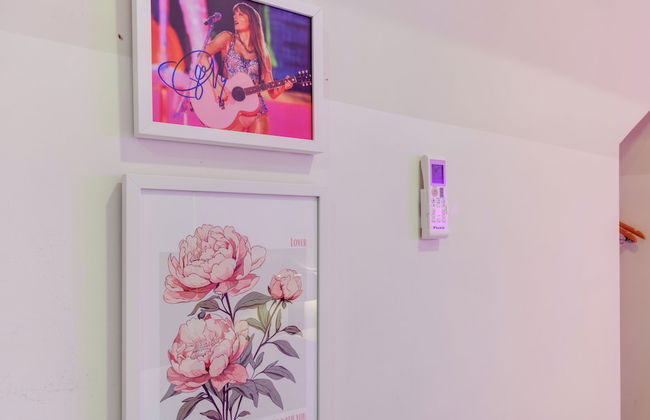
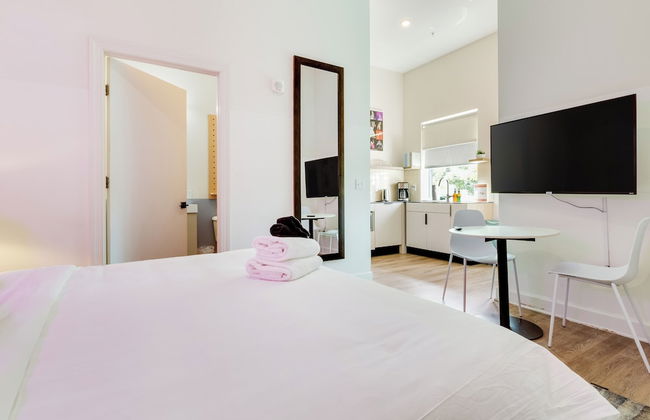
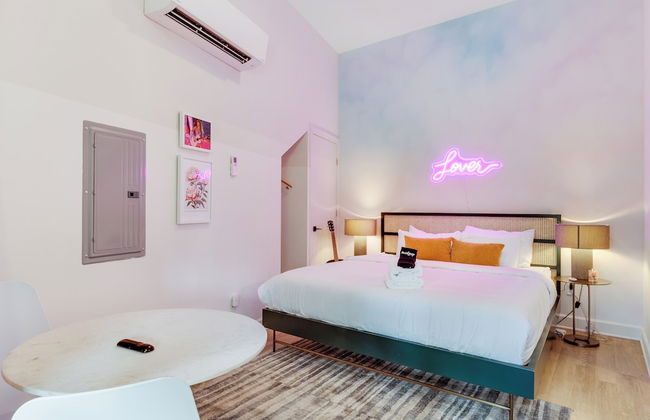
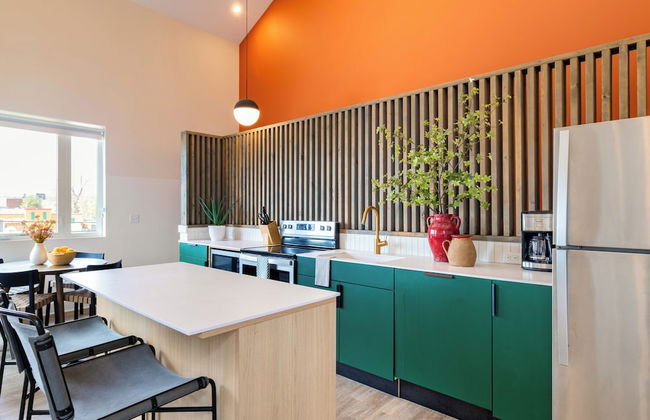
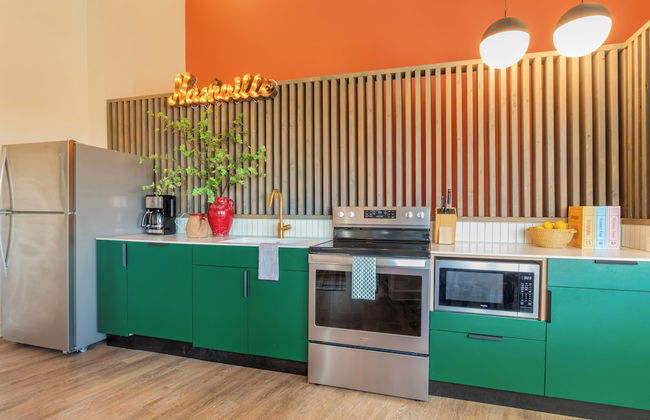
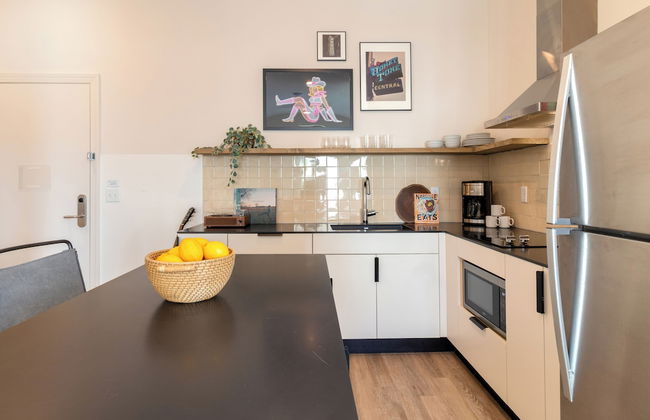
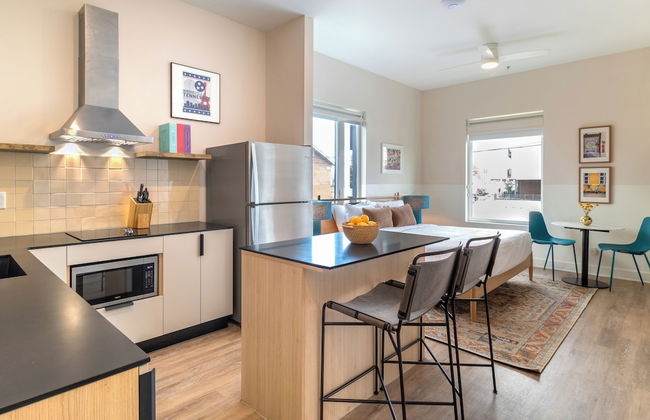
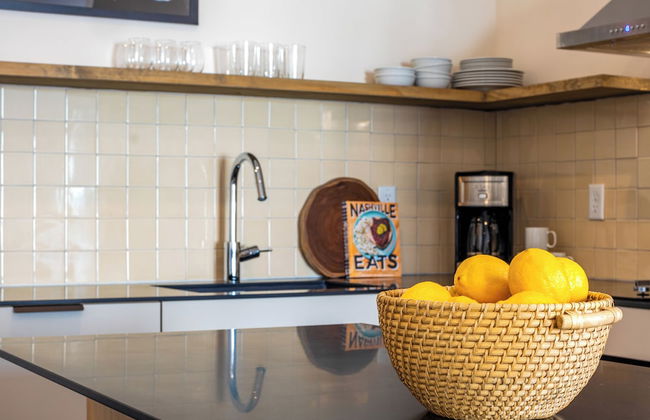
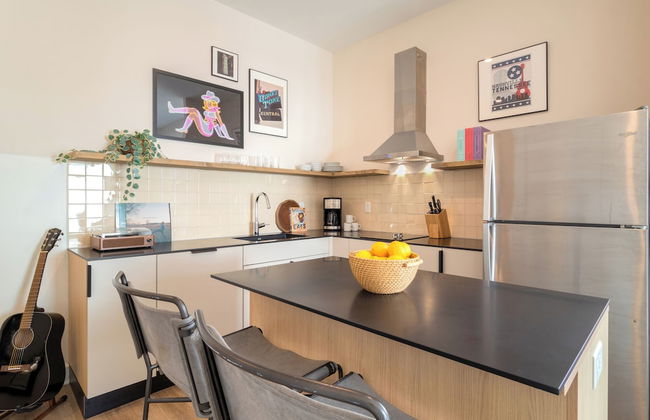
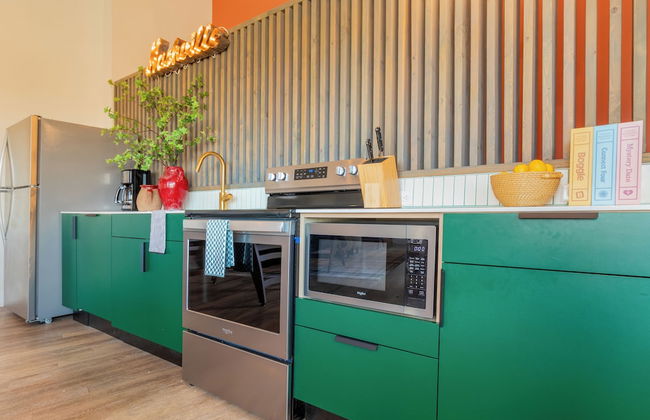
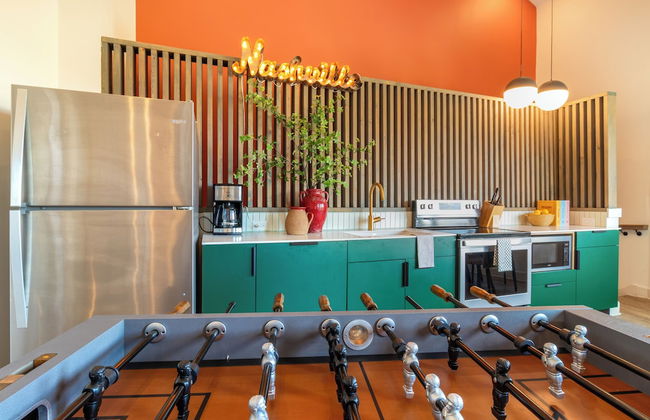
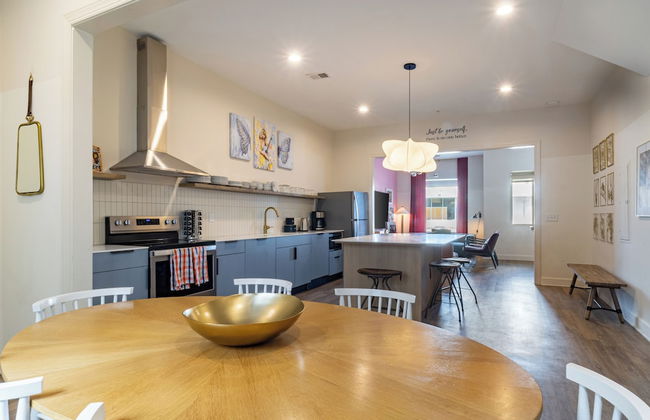
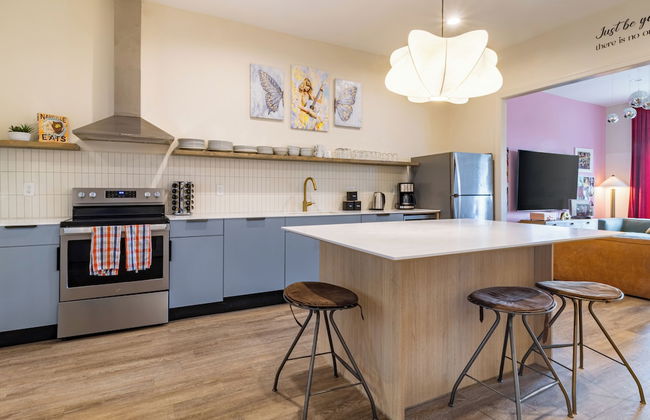
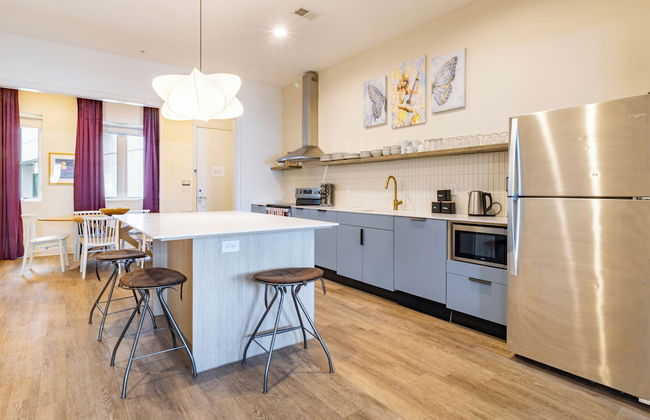
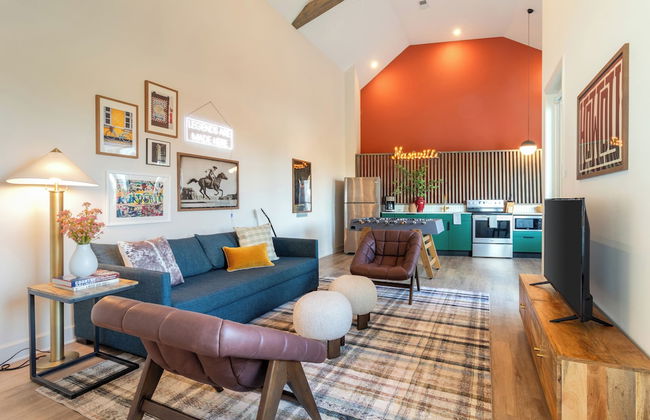
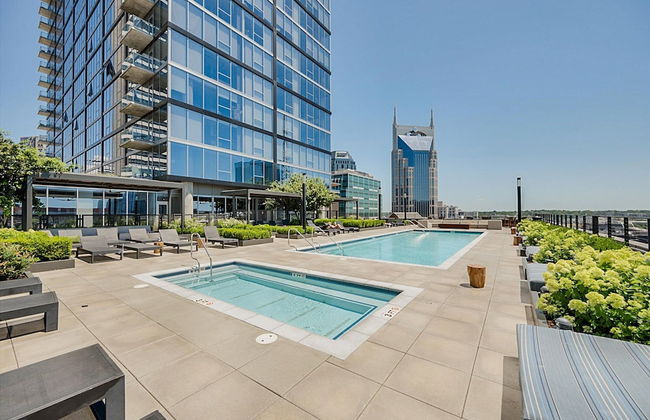
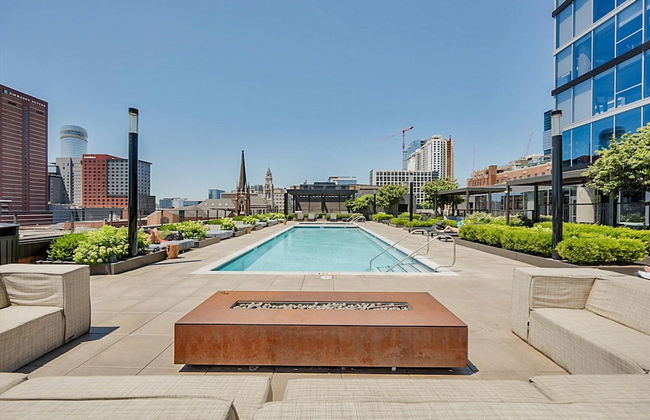
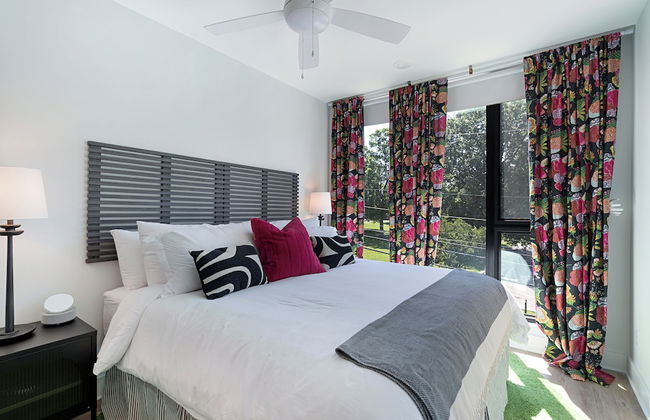
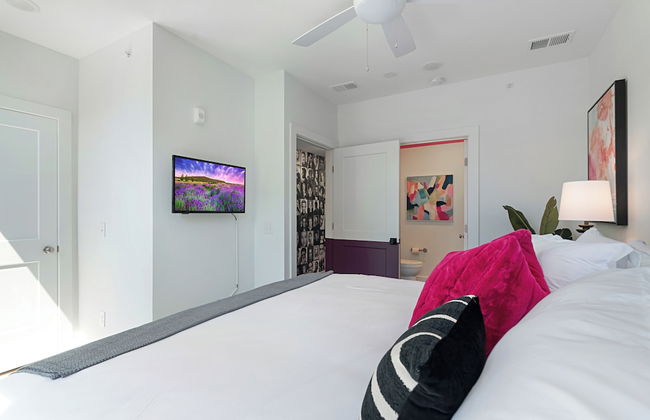
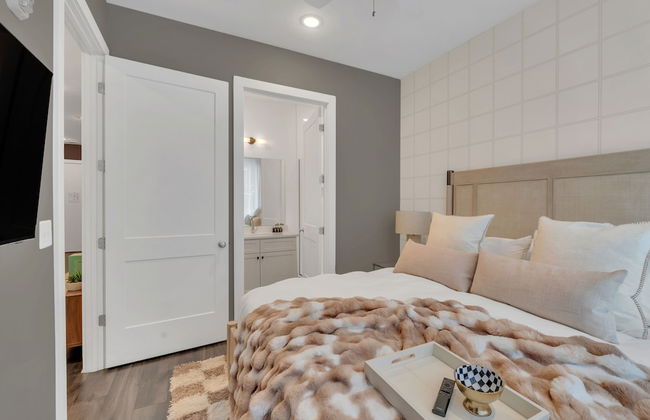
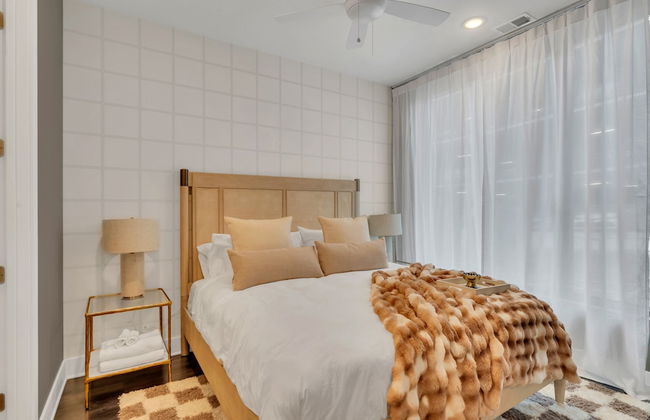
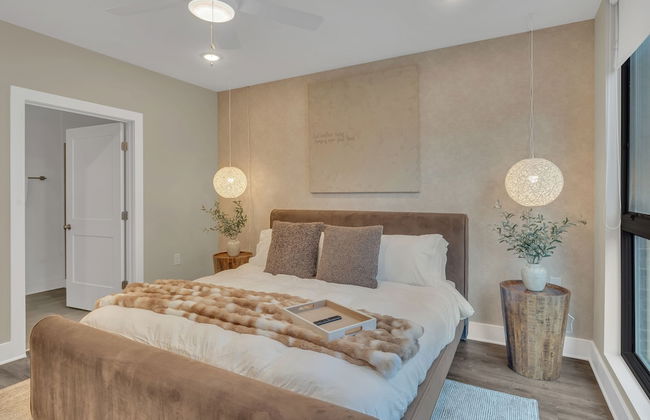
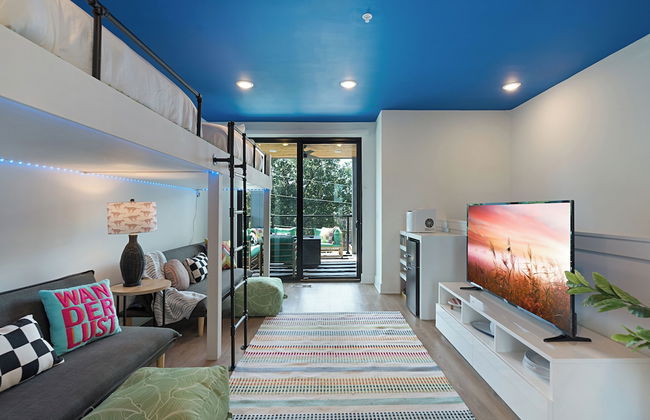
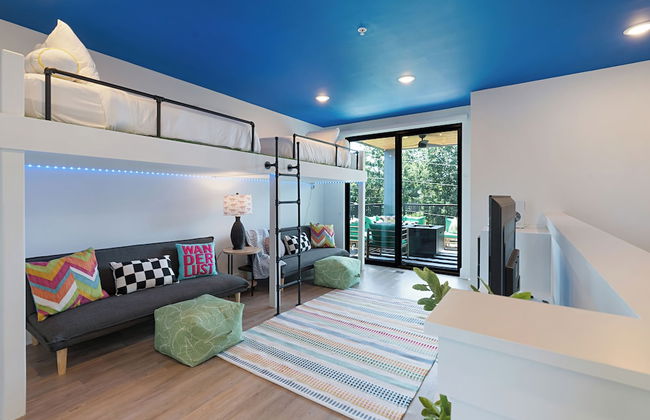
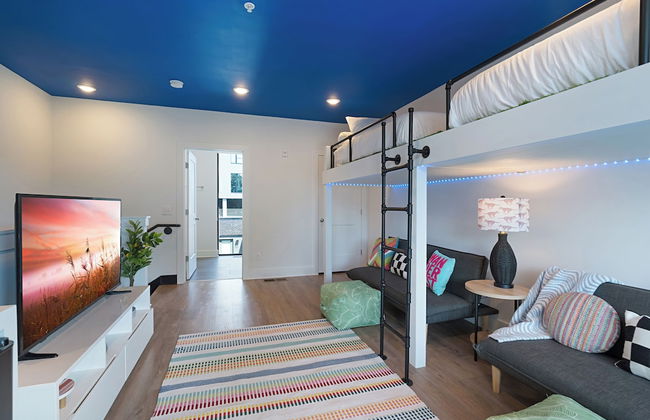
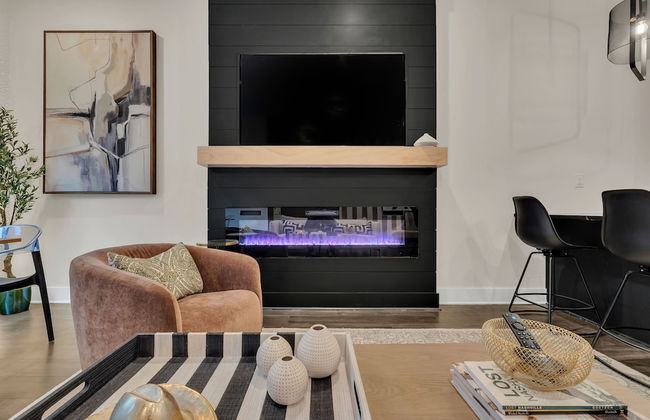
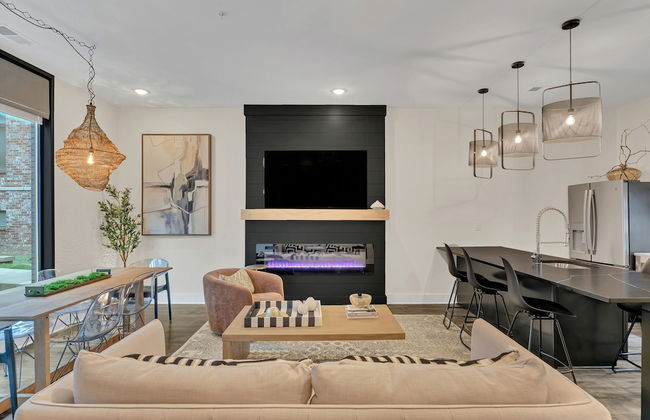
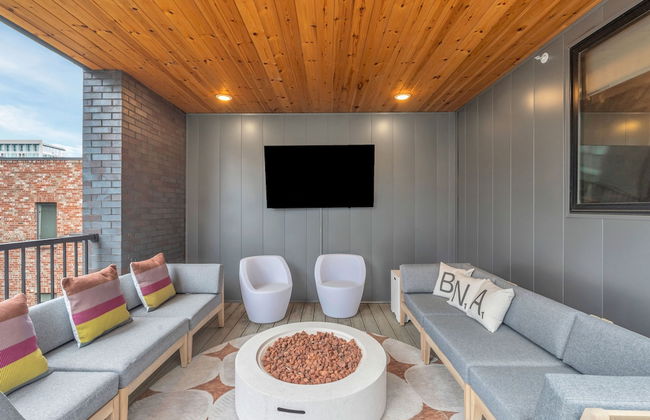
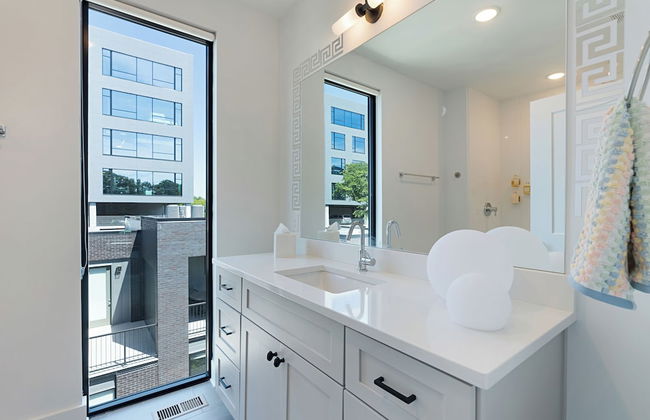
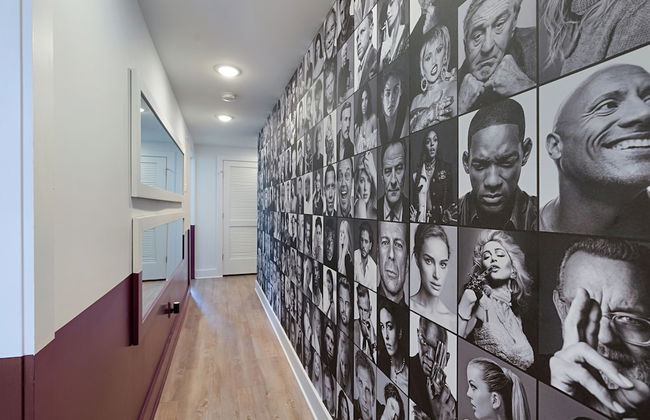
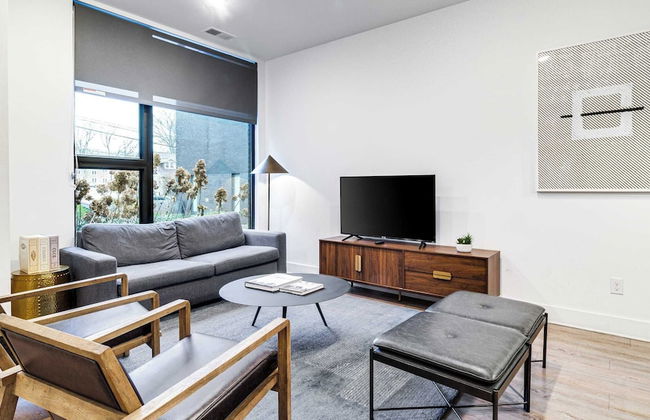
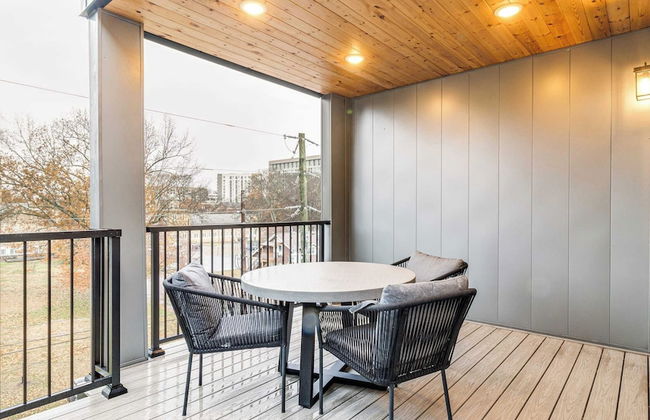
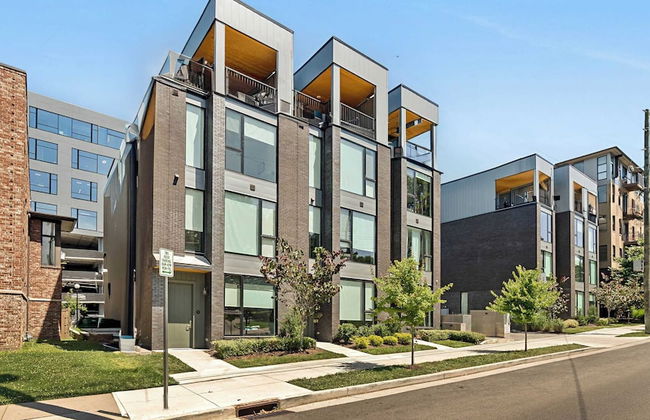
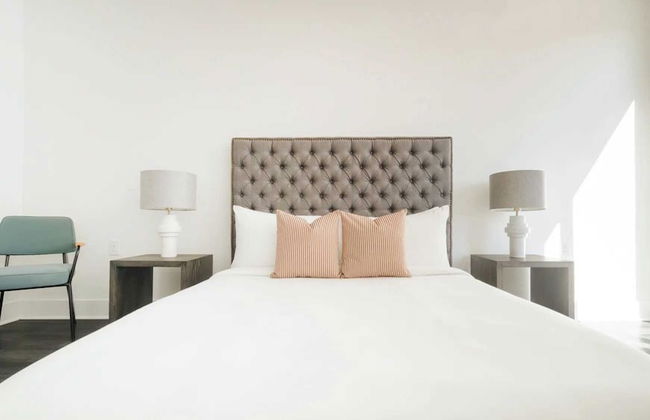
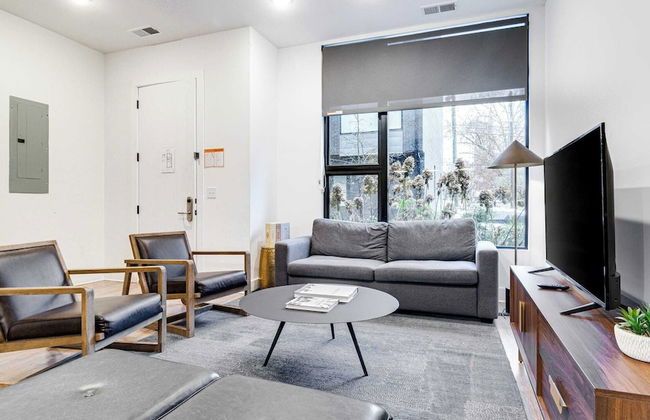
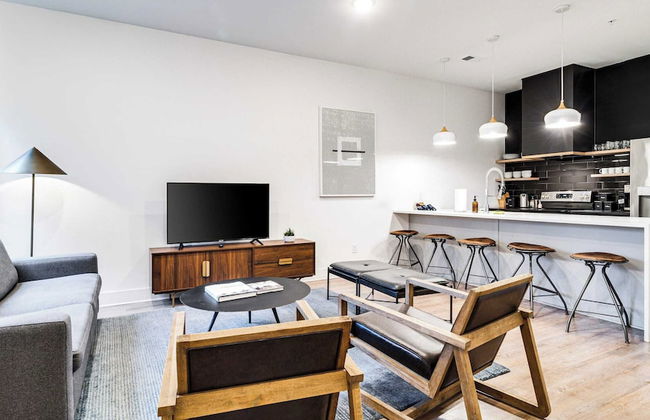
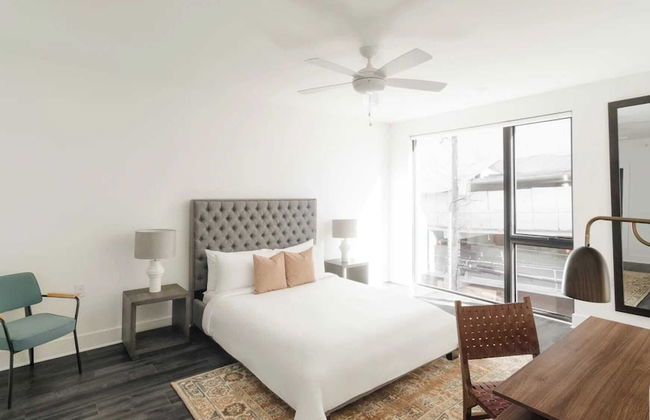
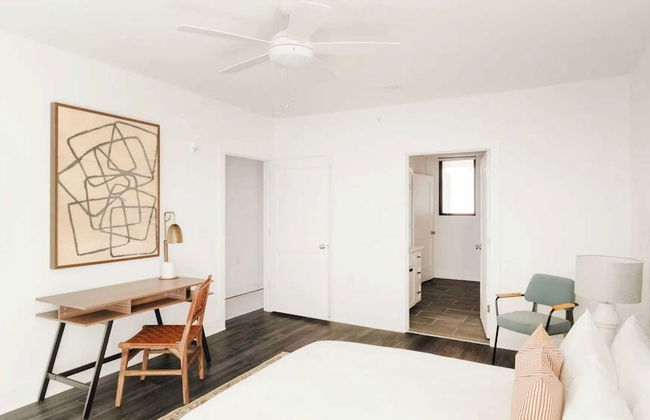
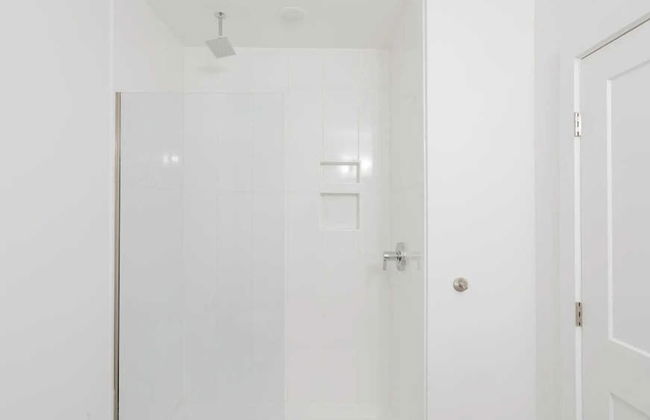
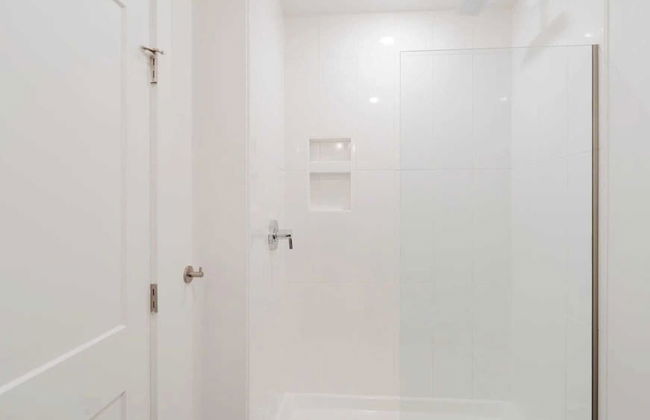
Placemakr Premier SoBro
Nashville - Sobro - 500 m do centro
- 166 M2
- 6 pessoas
- Ar-condicionado
- Aquecimento
- Terraço
- Piscina
- Estacionamento
- Elevador
- Varanda
- Tv
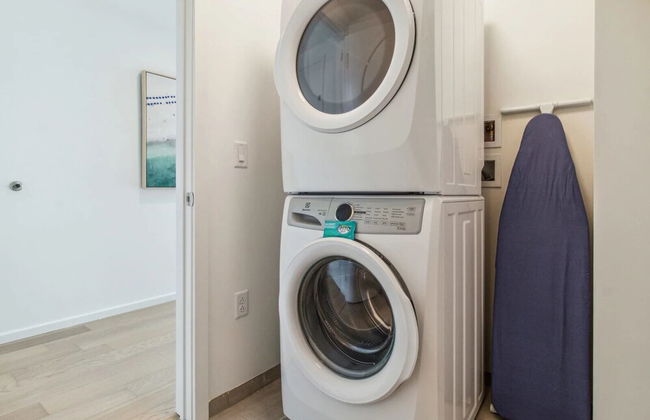
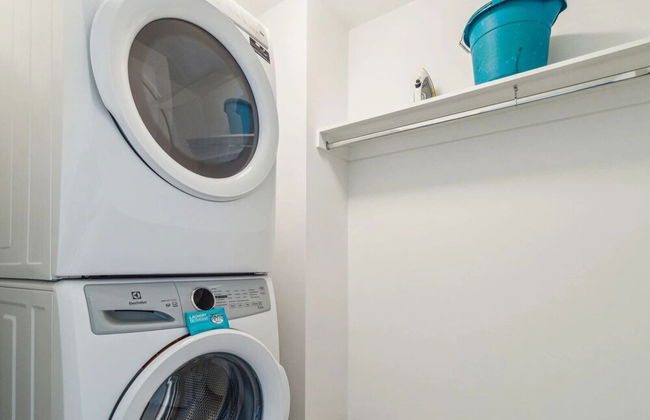
- Máquina de lavar roupa
- Chaminé
- Churrasco
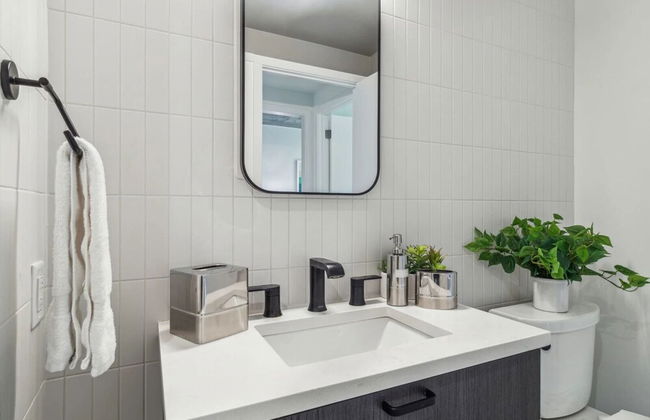
- Toalhas
- Lençóis
2362 avaliações


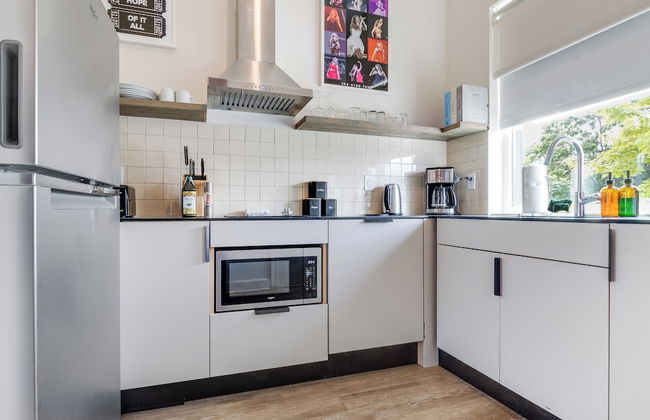
Happily Ever After
Gatlinburg - 6.2 km do centro
- 81 M2
- 2 pessoas
- Ar-condicionado
- Aquecimento
- Estacionamento
- Varanda
- Tv
- Máquina de lavar roupa
- Chaminé
- Churrasco
- Toalhas
- Lençóis
11 avaliações


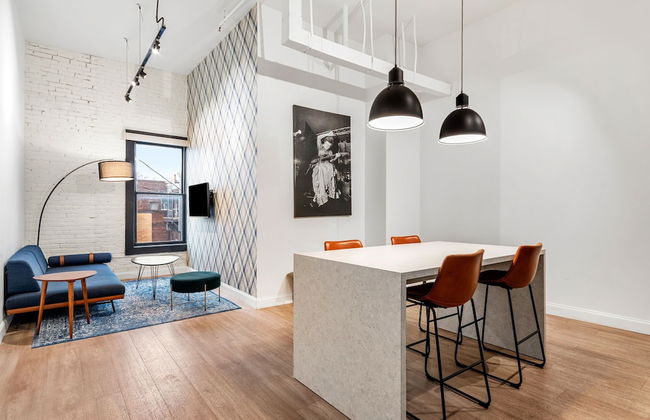
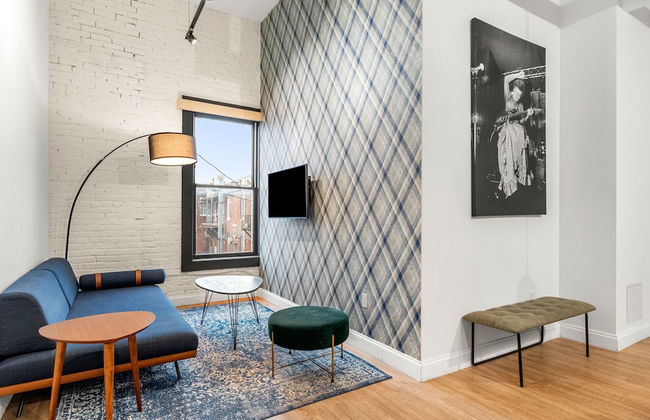
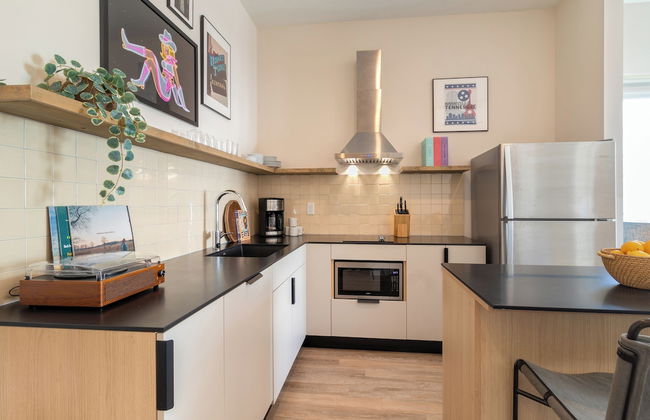
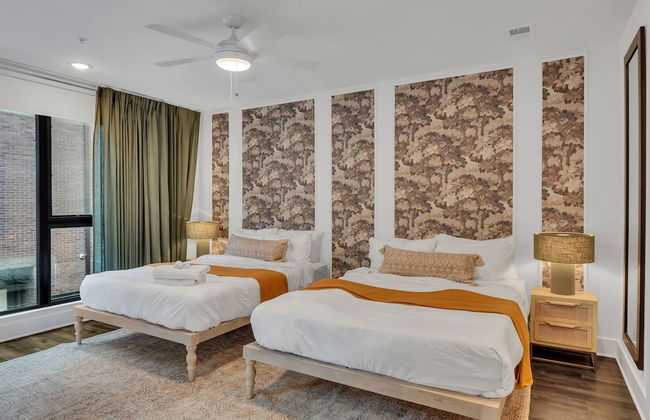
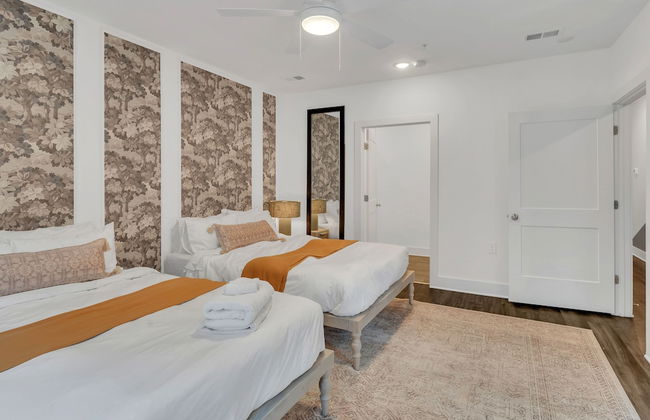
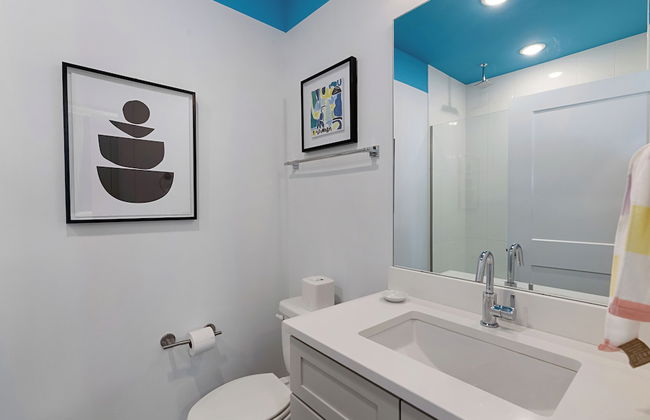
Memoir Wedgewood Houston
Nashville - South Nashville - 2.2 km do centro
- 46 M2
- 2 pessoas
- Ar-condicionado
- Aquecimento
- Piscina
- Estacionamento
- Elevador
- Tv
- Máquina de lavar roupa
- Chaminé
- Churrasco
- Toalhas
- Lençóis
8 avaliações


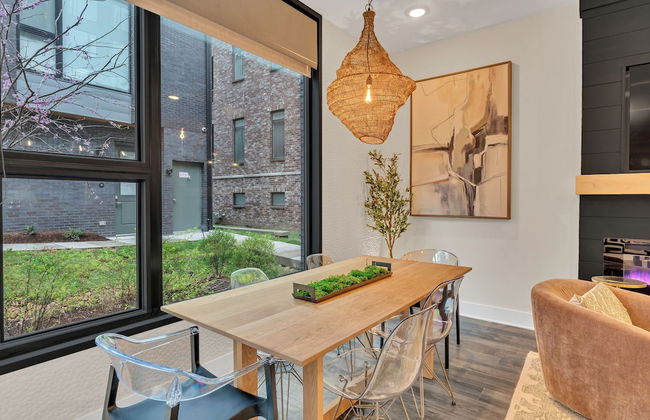
1111 Church
Nashville - The Gulch - 890 m do centro
- 100 M2
- 4 pessoas
- Ar-condicionado
- Aquecimento
- Piscina
- Estacionamento
- Elevador
- Jardim
- Tv
- Máquina de lavar roupa
- Toalhas
- Lençóis
58 avaliações


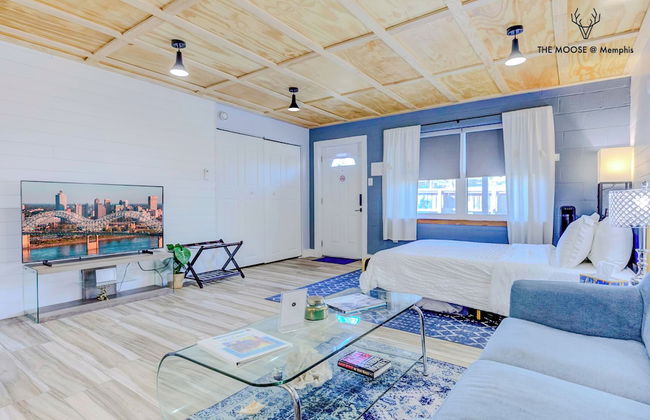
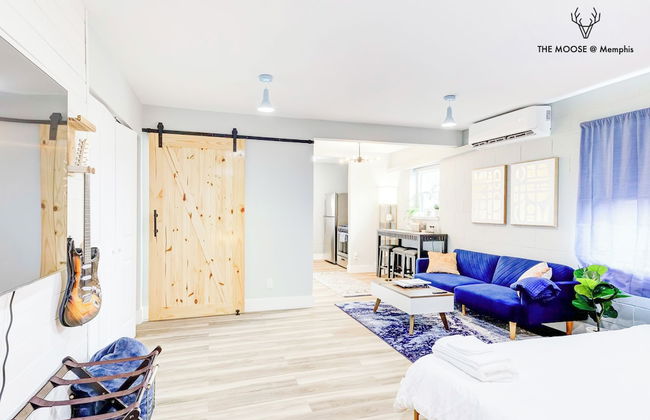


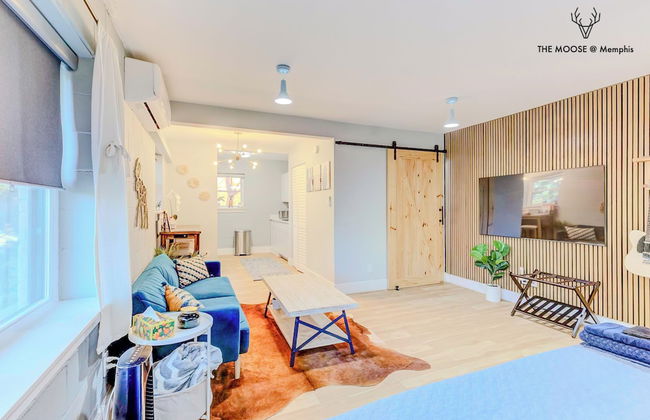
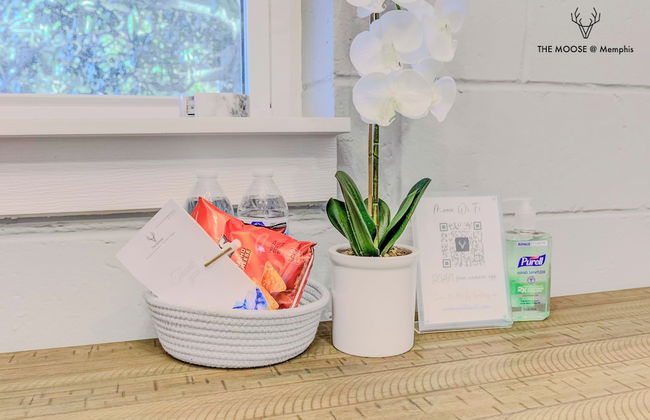

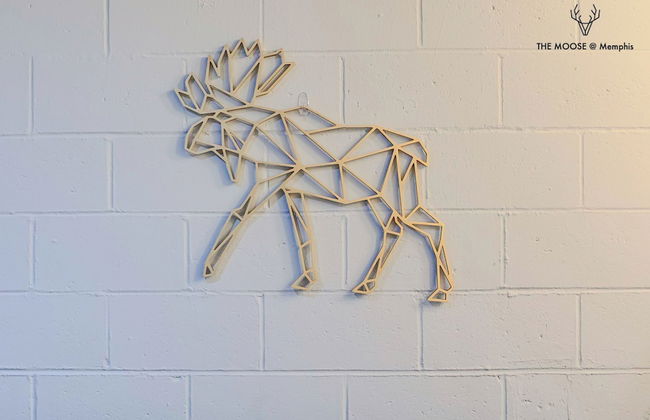


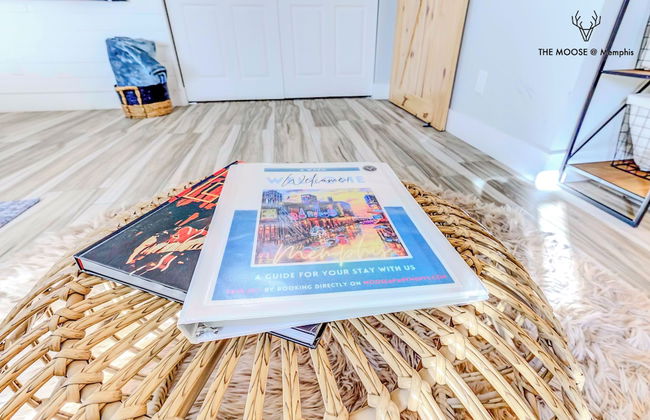
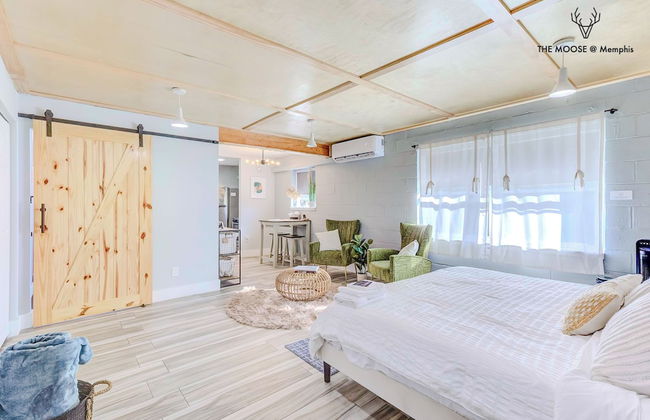


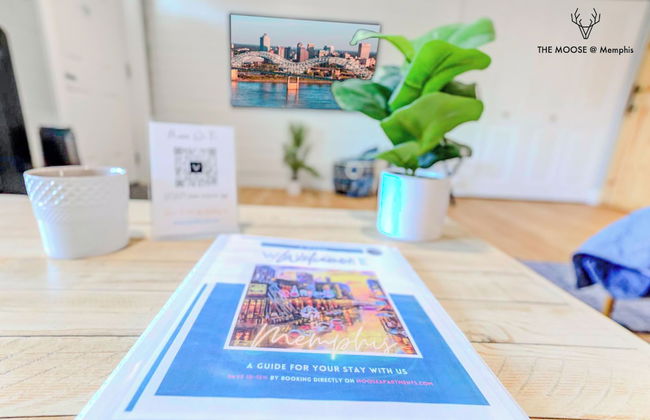


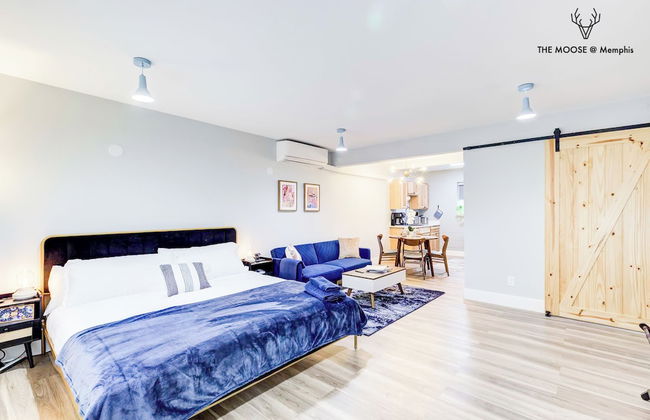


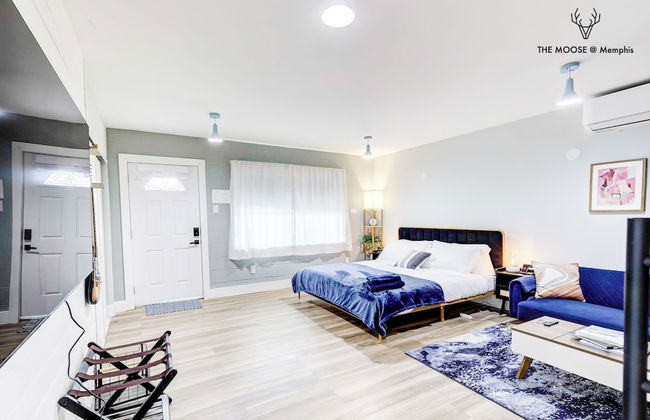
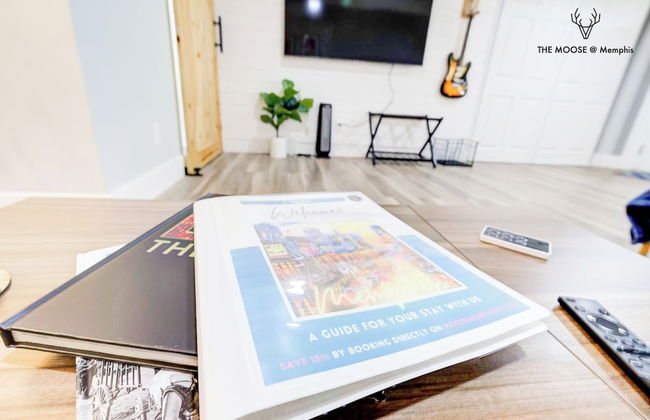
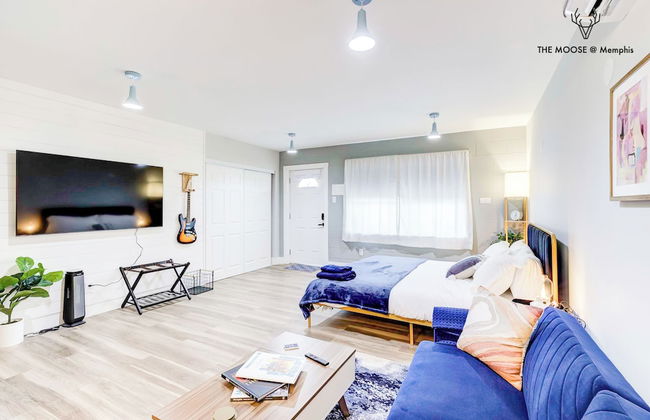
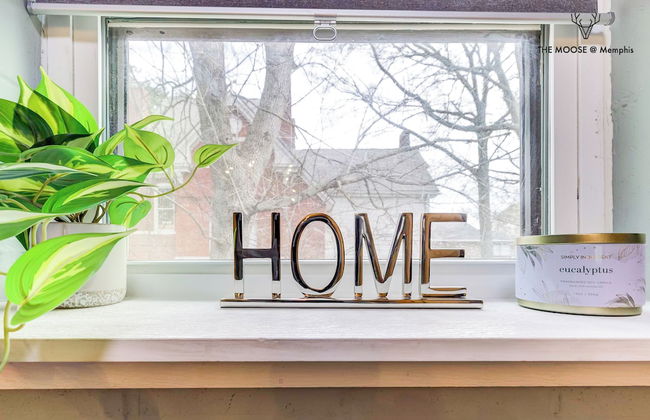
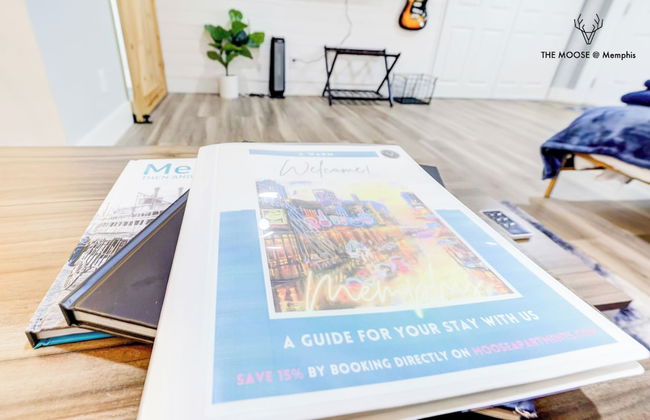
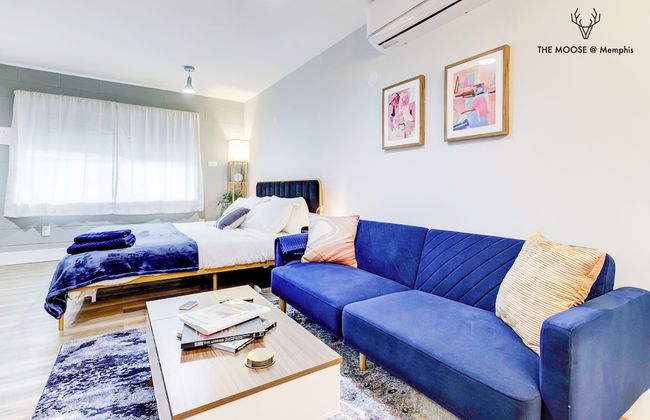


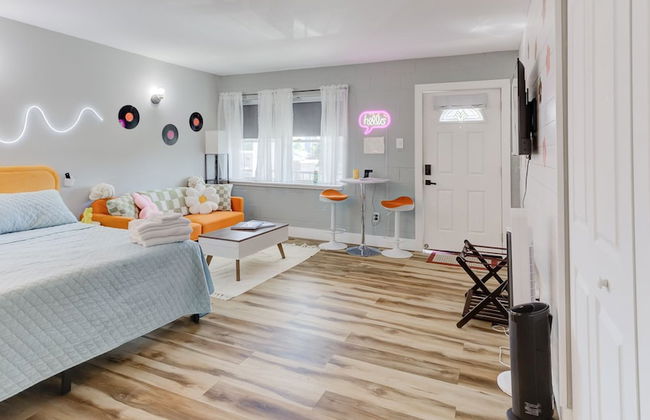


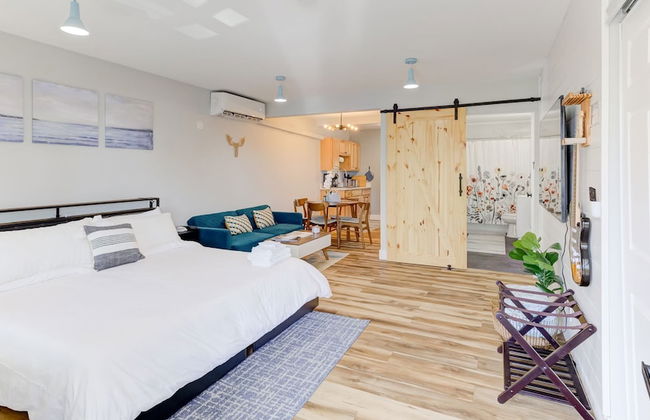

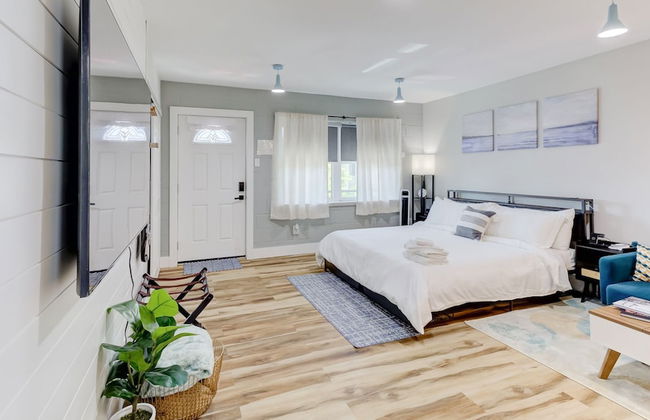


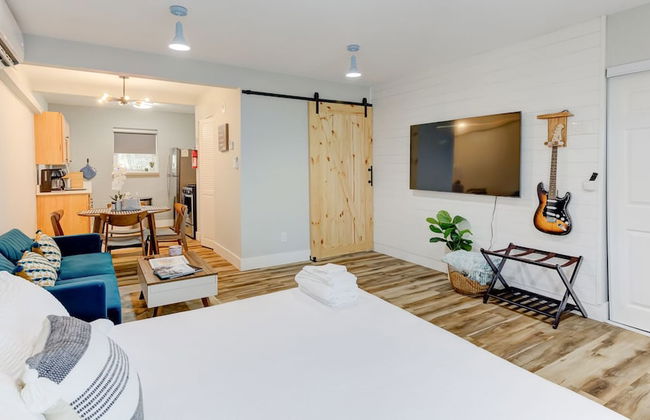


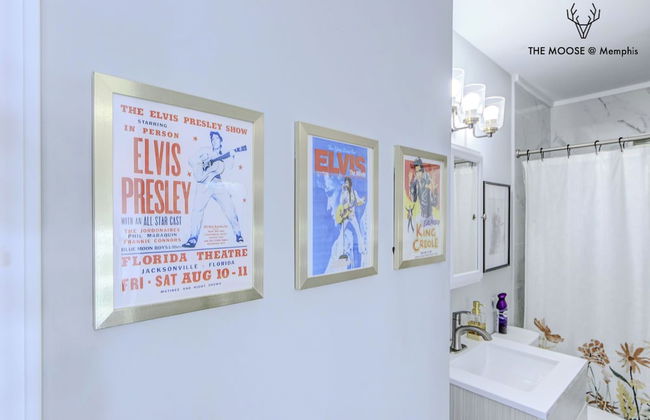
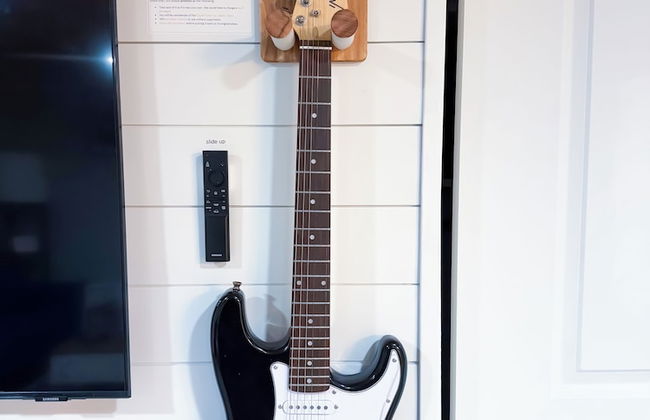
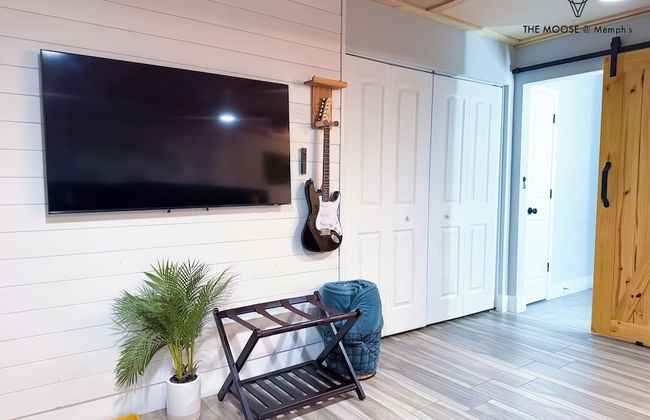
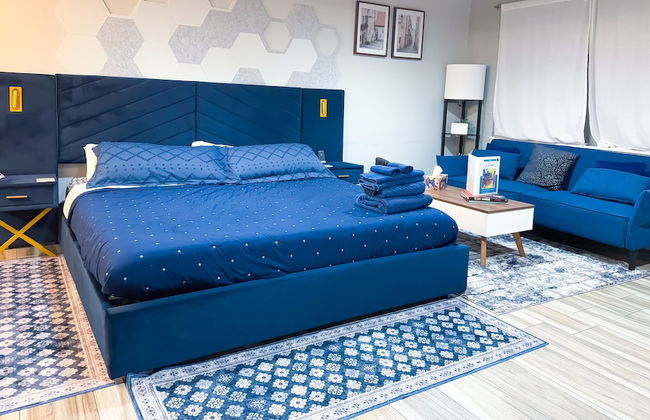
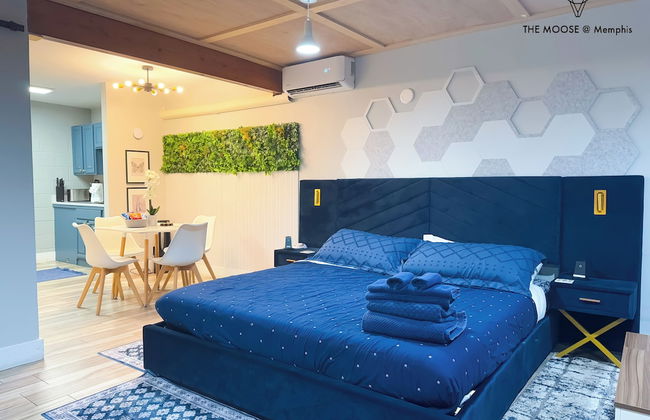


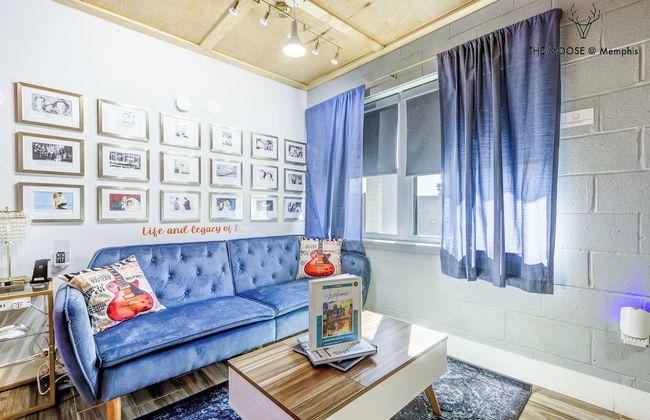
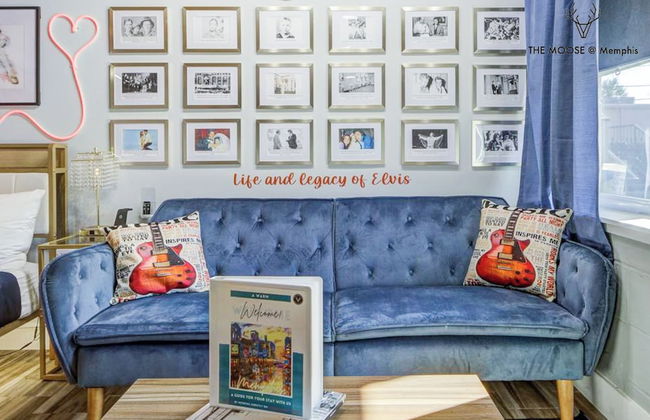

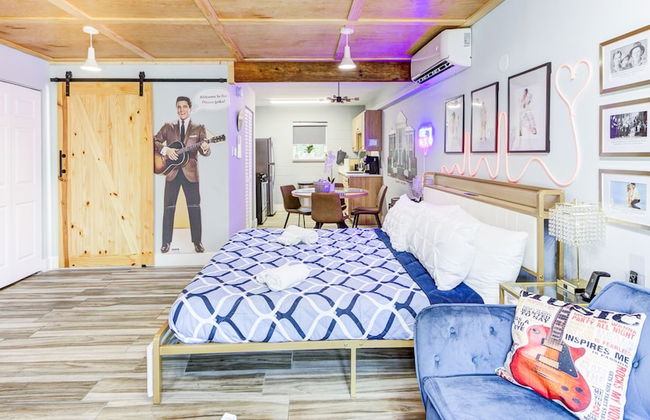

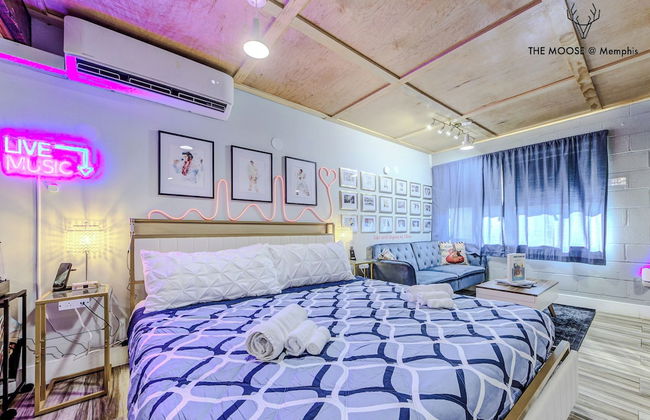


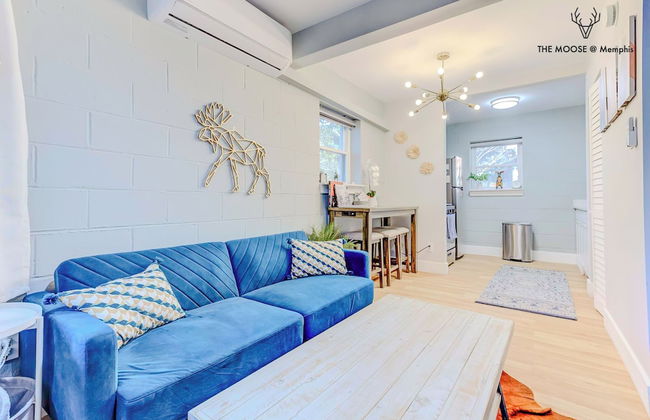
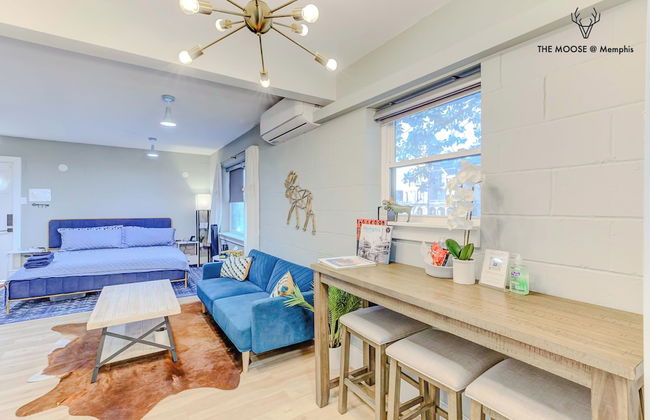
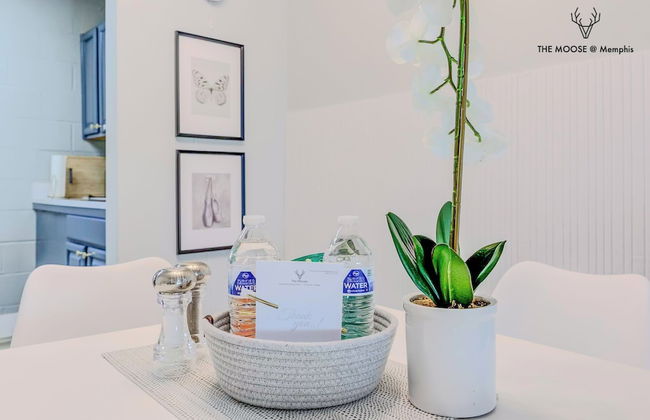
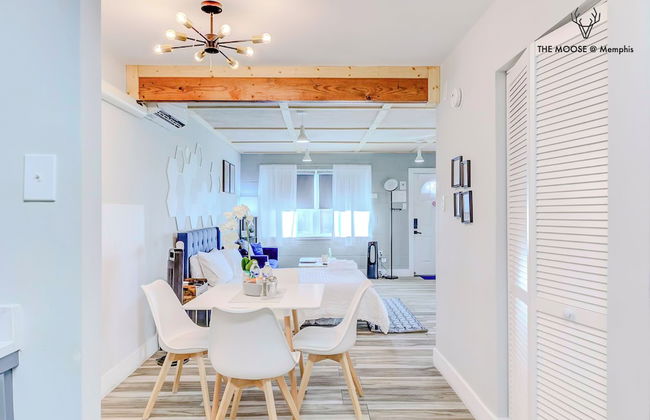
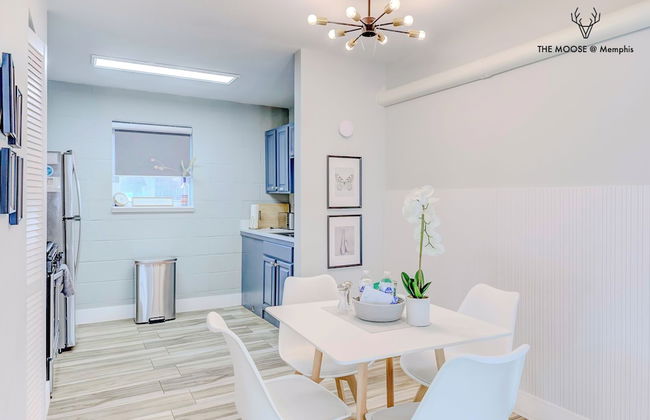
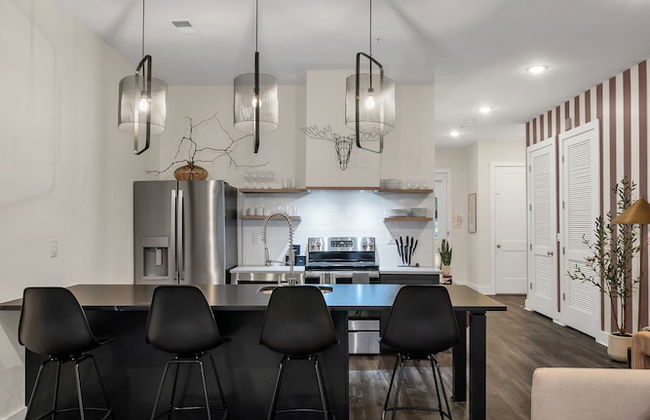
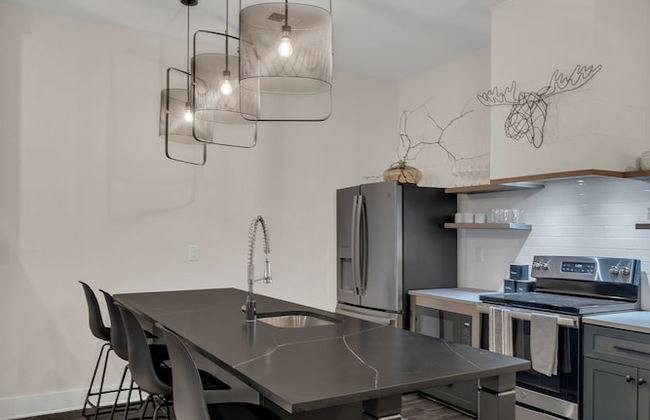
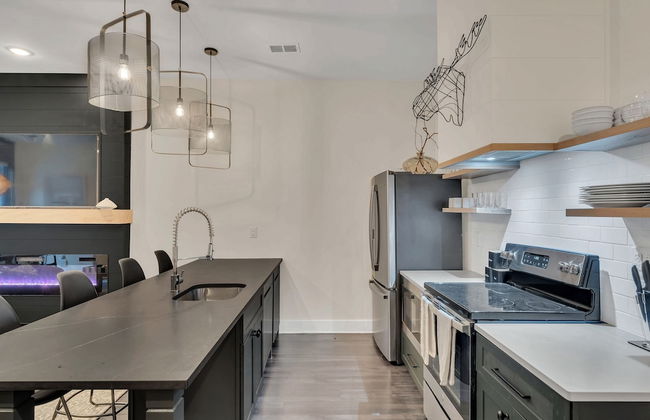
The Moose
Memphis - Downtown Core - 670 m do centro
- 56 M2
- 3 pessoas
- Ar-condicionado
- Aquecimento
- Estacionamento
- Tv
- Máquina de lavar roupa
- Churrasco
- Toalhas
- Lençóis
106 avaliações


A Walk in the Clouds - Two Bedroom Cabin
Sevierville - 10 km do centro
- 81 M2
- 6 pessoas
- Ar-condicionado
- Aquecimento
- Estacionamento
- Varanda
- Tv
- Máquina de lavar roupa
- Chaminé
- Churrasco
- Toalhas
- Lençóis
14 avaliações


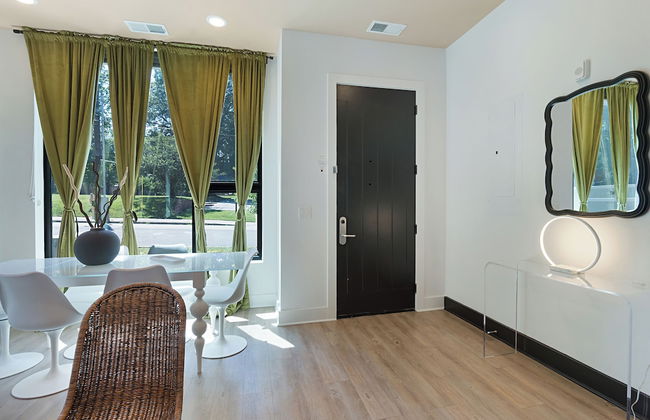
Union Street Lofts
Nashville - Downtown Nashville - No centro
- 8 pessoas
- Ar-condicionado
- Aquecimento
- Tv
- Máquina de lavar roupa
- Toalhas
- Lençóis
12 avaliações


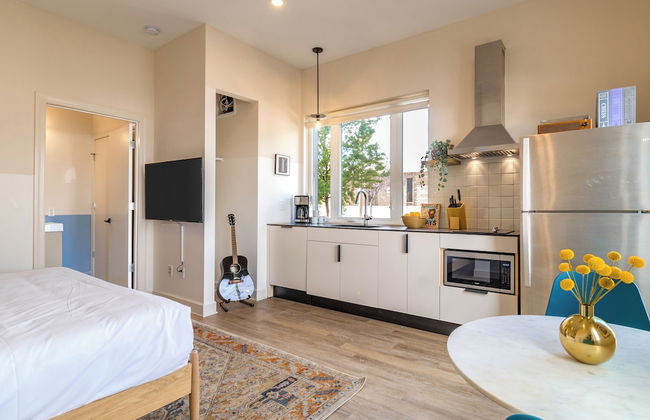
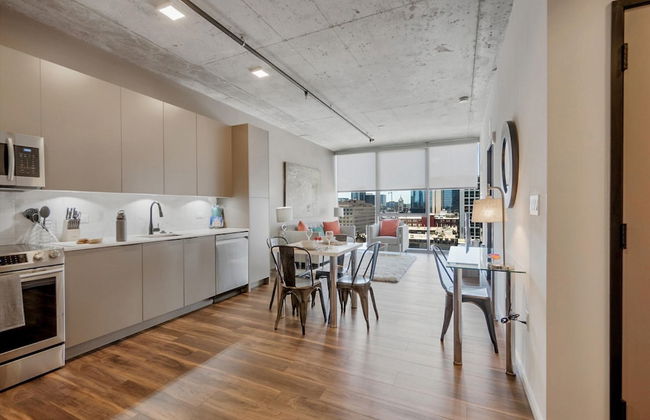
Mint House at The Reserve - Nashville
Nashville - Downtown Nashville - 330 m do centro
- 93 M2
- 6 pessoas
- Ar-condicionado
- Aquecimento
- Estacionamento
- Elevador
- Tv
- Máquina de lavar roupa
- Toalhas
- Lençóis
1815 avaliações


The Rambler
Memphis - Southside - 1.3 km do centro
- 269 M2
- 14 pessoas
- Ar-condicionado
- Terraço
- Piscina
- Tv
- Toalhas
- Lençóis
376 avaliações


Sonder by Marriott Bonvoy Belcourt Apartments Hillsboro Village
Nashville - Hillsboro Village - 3.6 km do centro
- 6 pessoas
- Ar-condicionado
- Aquecimento
- Terraço
- Estacionamento
- Elevador
- Tv
- Máquina de lavar roupa
- Toalhas
- Lençóis
232 avaliações


Cedar Lodge
Pigeon Forge - 1 km do centro
- 158 M2
- 8 pessoas
- Kitchenette
- Ar-condicionado
- Aquecimento
- Piscina
- Estacionamento
- Elevador
- Varanda
- Tv
- Máquina de lavar roupa
- Chaminé
- Churrasco
- Toalhas
- Lençóis
55 avaliações


The Conway by AvantStay Modern Comfort Near Downtown Nashville
Nashville - Buena - 910 m do centro
- 14 pessoas
- Ar-condicionado
- Aquecimento
- Terraço
- Estacionamento
- Elevador
- Varanda
- Tv
- Máquina de lavar roupa
- Toalhas
- Lençóis
12 avaliações


Laurel Point Resort
Gatlinburg - 1.5 km do centro
- 99 M2
- 4 pessoas
- Ar-condicionado
- Terraço
- Piscina
- Estacionamento
- Elevador
- Varanda
- Tv
- Chaminé
- Churrasco
- Toalhas
- Lençóis
310 avaliações


Global Luxury Suites Nashville Downtown
Nashville - Downtown Nashville - 380 m do centro
- 65 M2
- 2 pessoas
- Ar-condicionado
- Aquecimento
- Terraço
- Piscina
- Estacionamento
- Elevador
- Jardim
- Tv
- Máquina de lavar roupa
- Chaminé
- Churrasco
- Toalhas
- Lençóis
35 avaliações


Fireflies and Moonshine
Gatlinburg - 5.6 km do centro
- 167 M2
- 10 pessoas
- Ar-condicionado
- Aquecimento
- Estacionamento
- Tv
- Máquina de lavar roupa
- Chaminé
- Churrasco
- Toalhas
- Lençóis
18 avaliações


Tennessee Dream
Gatlinburg - No centro
- 215 M2
- 11 pessoas
- Ar-condicionado
- Aquecimento
- Estacionamento
- Varanda
- Tv
- Máquina de lavar roupa
- Churrasco
- Toalhas
13 avaliações


The Grove by AvantStay – Stylish Group Stay with Private Bathrooms
Nashville - Midtown - 2.3 km do centro
- 206 M2
- 10 pessoas
- Ar-condicionado
- Terraço
- Estacionamento
- Varanda
- Tv
- Máquina de lavar roupa
- Toalhas
- Lençóis
23 avaliações


White Oak Lodge & Resort
Gatlinburg - 14.6 km do centro
- Terraço
- Piscina
- Estacionamento
- Churrasco
37 avaliações


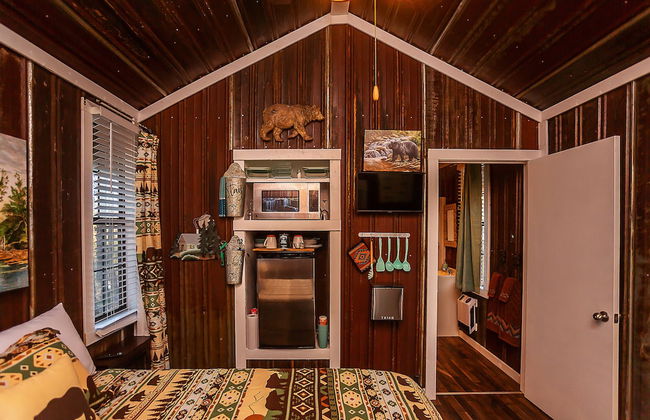


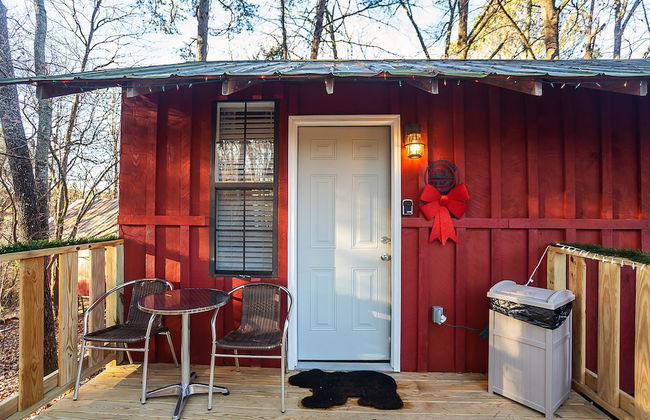

Yeti Cabin
Benton
- 24 M2
- 2 pessoas
- Ar-condicionado
- Aquecimento
- Terraço
- Estacionamento
- Tv
- Chaminé
- Churrasco
- Toalhas
- Lençóis
16 avaliações