


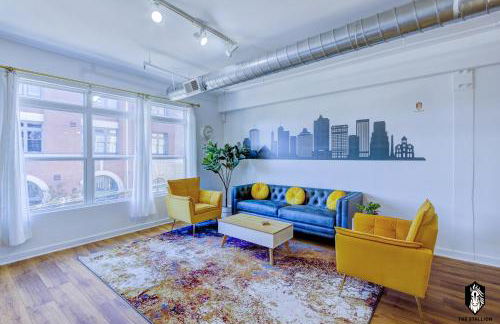


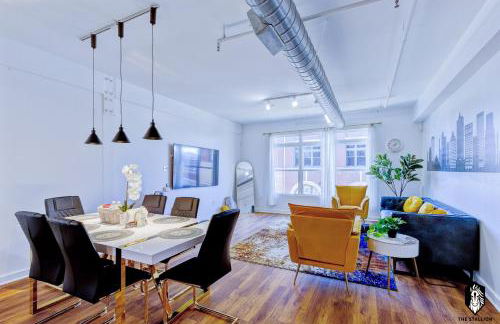


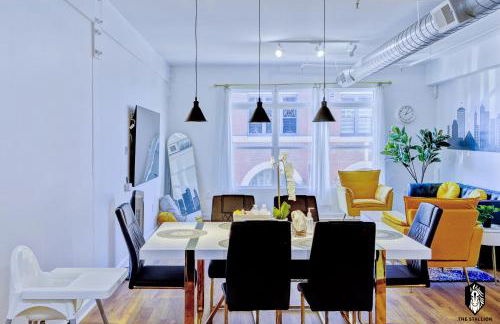

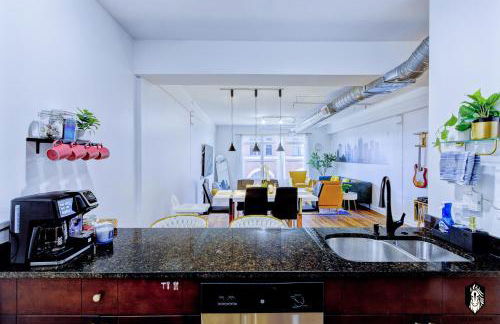

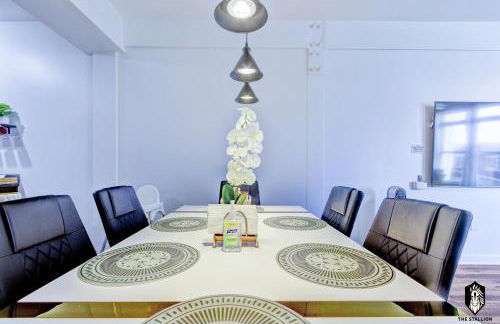


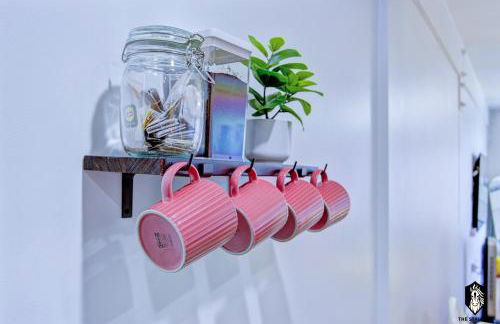

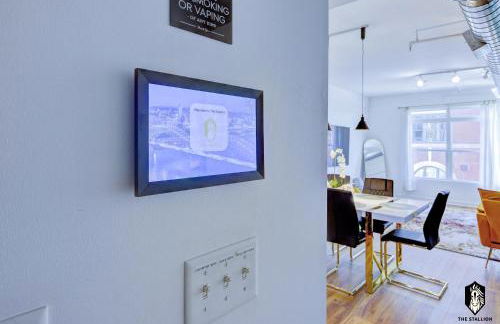


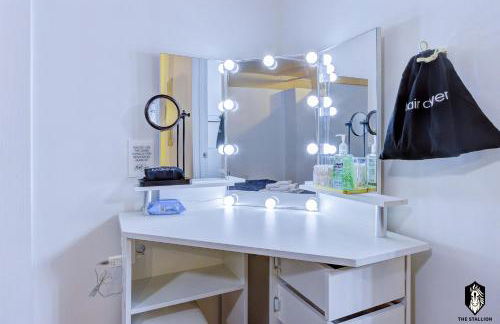

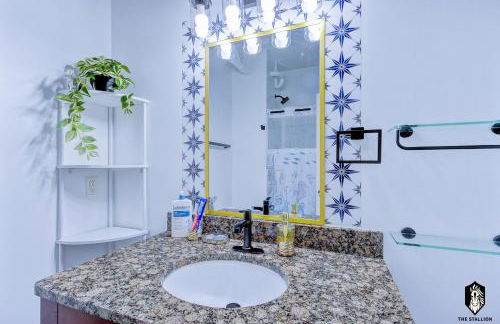

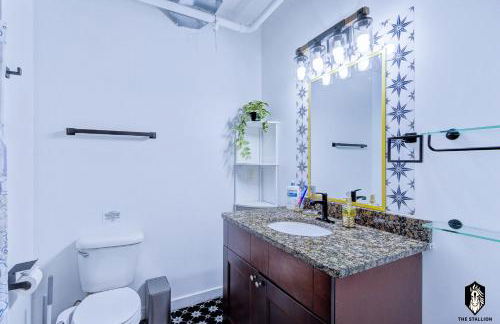


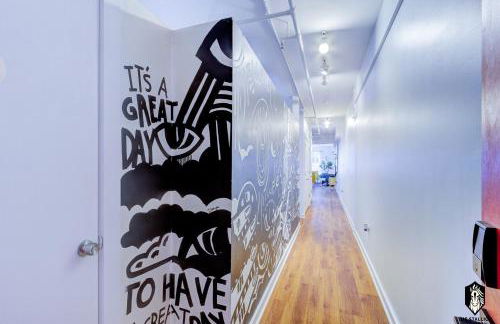

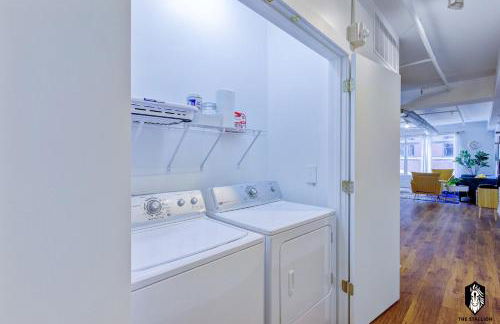

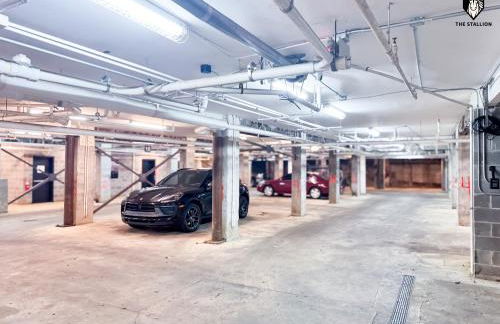


The Stallion #208 - Walk to Attractions - Modern Luxe Loft in Memphis Downtown with free covered gated parking
Memphis - Southside - 1.4 km do centro
- 130 M2
- 1 quarto
- 6 pessoas
- Ar-condicionado
- Aquecimento
- Estacionamento
- Elevador
- Tv
- Máquina de lavar roupa
- Toalhas
- Lençóis


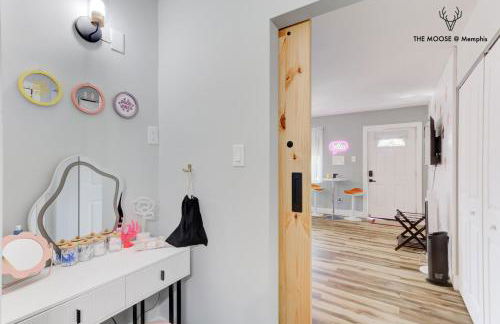

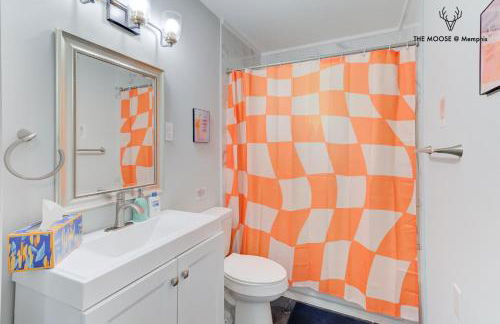

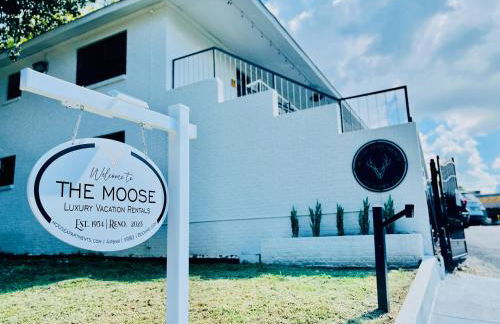


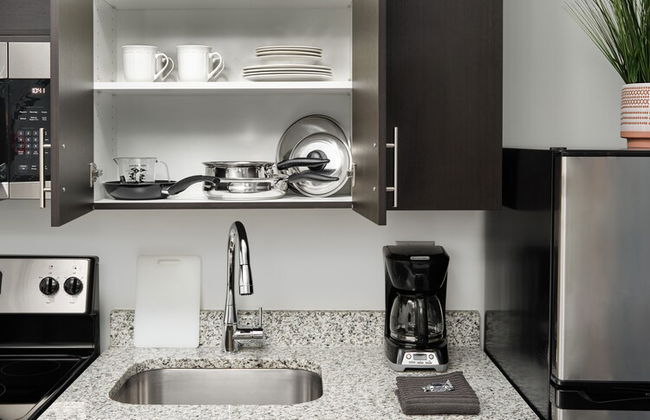
The Moose #10 - Stylish Loft with King Bed, Free Parking & Wi-Fi
Memphis - Downtown Core - 670 m do centro
- 56 M2
- 1 quarto
- 3 pessoas
- Ar-condicionado
- Aquecimento
- Estacionamento
- Jardim
- Tv
- Máquina de lavar roupa
- Churrasco
- Toalhas
- Lençóis


Memphis Belvedere Suites
Memphis - Midtown - 3.8 km do centro
- 102 M2
- 6 pessoas
- Ar-condicionado
- Aquecimento
- Terraço
- Estacionamento
- Varanda
- Jardim
- Tv
- Churrasco
- Toalhas
- Lençóis


The Loft Downtown
Memphis - Uptown - 570 m do centro
- 162 M2
- 2 quartos
- 5 pessoas
- Ar-condicionado
- Aquecimento
- Estacionamento
- Jardim


CeloVacationHousing
Memphis - East Memphis - 10.9 km do centro
- 1395 M2
- 3 quartos
- 6 pessoas
- Ar-condicionado
- Aquecimento
- Estacionamento
- Jardim


stayAPT Suites Memphis-Cordova-Wolfchase
Cordova - Cordova - 1.9 km do centro
- 48 M2
- 4 pessoas
- Ar-condicionado
- Aquecimento
- Estacionamento
- Elevador
- Tv
- Chaminé
- Churrasco
- Toalhas
- Lençóis


Abode Memphis - Pontotoc
Memphis - Southside - 1 km do centro
- 260 M2
- 4 quartos
- 14 pessoas
- Ar-condicionado
- Aquecimento
- Terraço
- Estacionamento


The Stallion #301 - Walk to attractions, Modern Luxe Loft in Downtown Memphis with free covered gated parking
Memphis - Southside - 1.4 km do centro
- 102 M2
- 1 quarto
- 4 pessoas
- Ar-condicionado
- Aquecimento
- Estacionamento
- Elevador


The Stallion #302 - Modern 2BD Loft in Downtown with free parking
Memphis - Southside - 1.4 km do centro
- 126 M2
- 2 quartos
- 5 pessoas
- Ar-condicionado
- Aquecimento
- Estacionamento
- Elevador


The Stallion #104 - Brand New Modern Spacious Loft with Patio - Walkable to attractions
Memphis - Southside - 1.4 km do centro
- 135 M2
- 1 quarto
- 4 pessoas
- Ar-condicionado
- Aquecimento
- Terraço
- Estacionamento
- Elevador
- Jardim


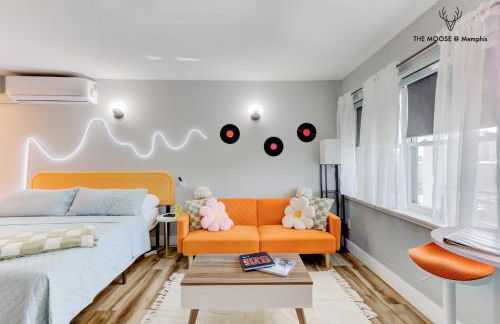
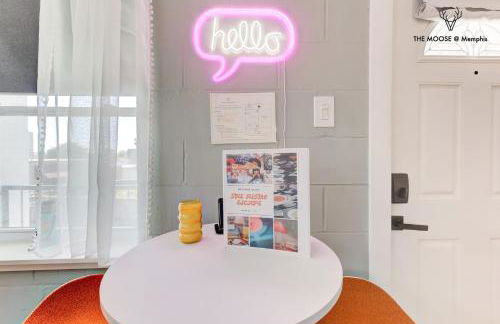
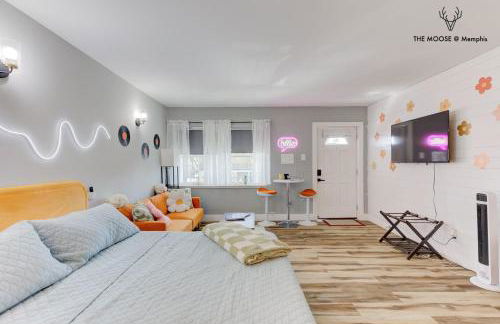
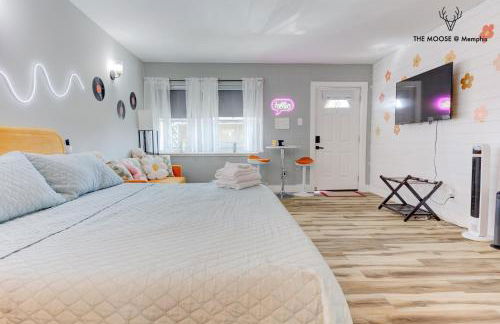
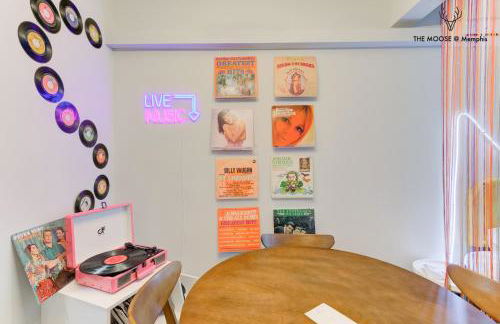
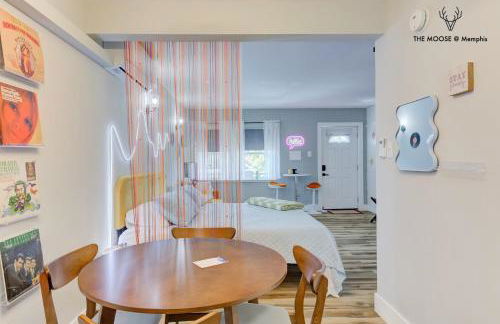
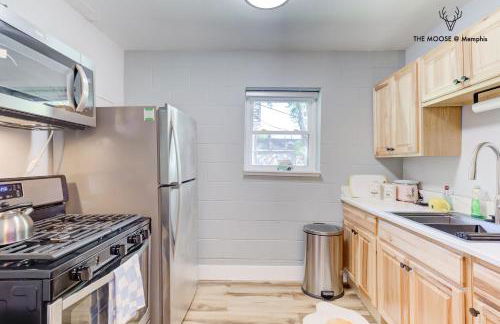
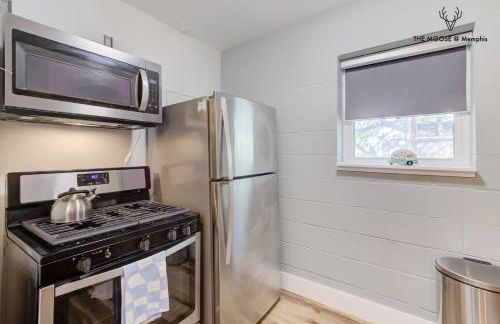
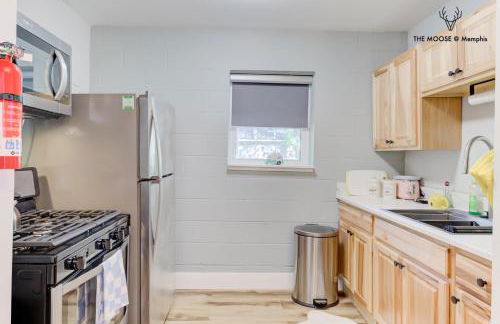
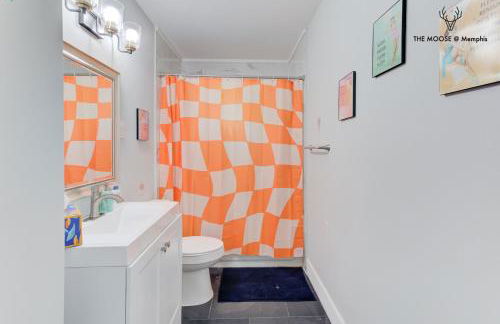
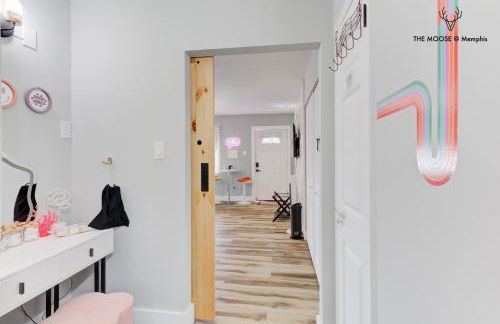
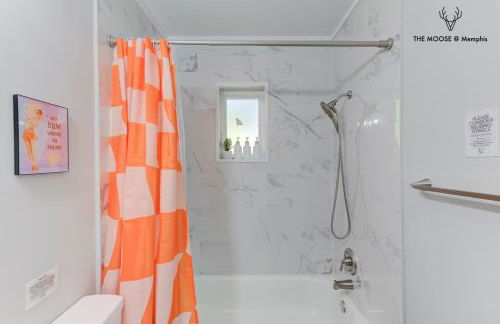
The Moose #12 - Brand New Modern Luxe Loft with Free Parking, King Bed & Fast WiFi
Memphis - Downtown Core - 670 m do centro
- 56 M2
- 1 quarto
- 3 pessoas
- Ar-condicionado
- Aquecimento
- Estacionamento
- Jardim


The Stallion #209 - Walk to Museums, Luxe Loft with free gated & covered parking
Memphis - Southside - 1.4 km do centro
- 102 M2
- 1 quarto
- 3 pessoas
- Ar-condicionado
- Aquecimento
- Estacionamento
- Elevador


EV, Family Friendly, Close to Downtown
Memphis - Southside - 2.6 km do centro
- 130 M2
- 4 quartos
- 8 pessoas
- Ar-condicionado
- Estacionamento
- Jardim


The Moose #8 - Modern Luxe Loft with King Bed & Free Parking & Wifi
Memphis - Downtown Core - 670 m do centro
- 56 M2
- 1 quarto
- 3 pessoas
- Ar-condicionado
- Aquecimento
- Estacionamento
- Jardim


The Moose #11 - Luxe Modern loft with King Bed, Free Parking & Wi-Fi
Memphis - Downtown Core - 670 m do centro
- 56 M2
- 1 quarto
- 3 pessoas
- Ar-condicionado
- Aquecimento
- Estacionamento
- Jardim
- Churrasco


The Moose #5 - Modern Comfy Studio with King Bed, Free Parking & Fast WiFi
Memphis - Downtown Core - 670 m do centro
- 56 M2
- 1 quarto
- 3 pessoas
- Ar-condicionado
- Aquecimento
- Estacionamento
- Jardim


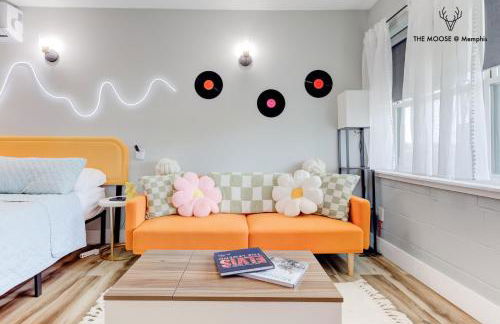
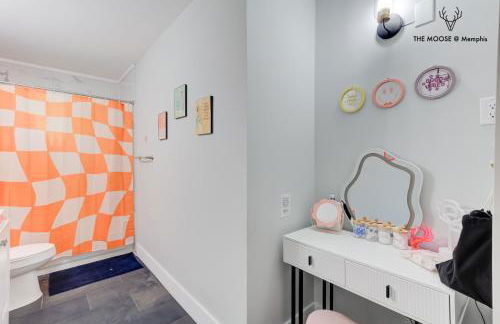
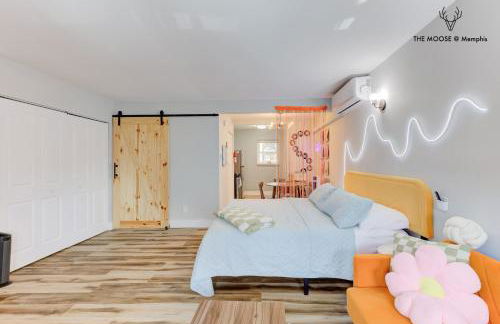
The Moose #4 - Elvis Presley King Suite with Free Parking and WIFI
Memphis - Downtown Core - 670 m do centro
- 55 M2
- 1 quarto
- 3 pessoas
- Ar-condicionado
- Aquecimento
- Estacionamento
- Jardim
- Churrasco


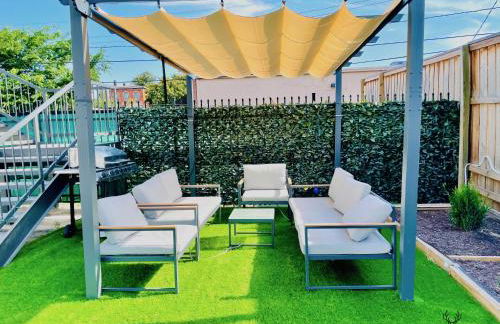
Radiant & Cozy
Memphis - East Memphis - 6.3 km do centro
- 2 pessoas
- Ar-condicionado
- Piscina
- Elevador


The Stallion #106 - Walk to Museums, Luxe Loft with free gated parking
Memphis - Southside - 1.4 km do centro
- 102 M2
- 1 quarto
- 4 pessoas
- Ar-condicionado
- Estacionamento
- Elevador


The Moose #6 - Modern Luxe Studio with Free Parking & King Bed
Memphis - Downtown Core - 630 m do centro
- 56 M2
- 3 pessoas
- Ar-condicionado
- Aquecimento
- Estacionamento
- Jardim
- Churrasco