


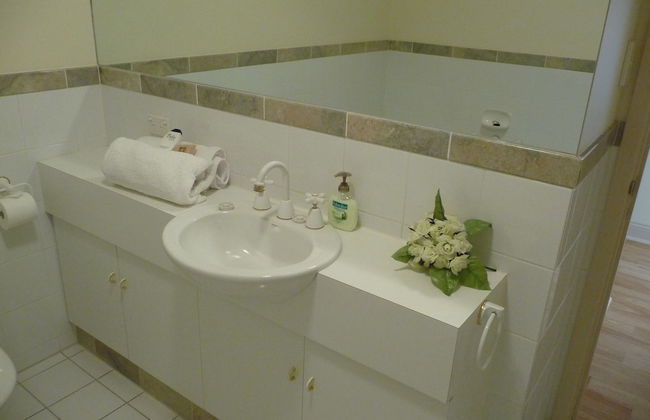
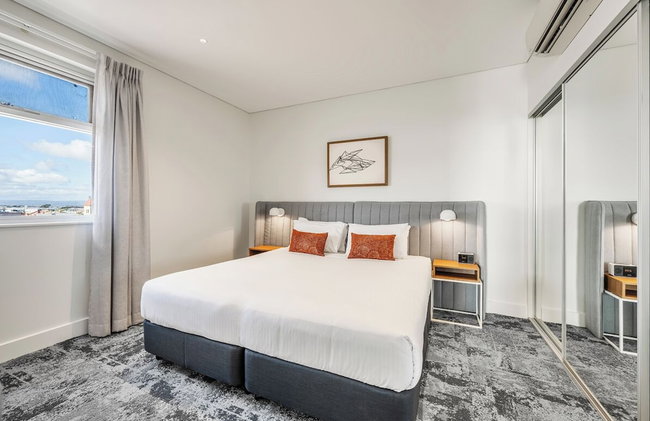
Hollidge House Apartments
Adelaide - Fullarton - 3.2 km do centro
- 2 pessoas
- Ar-condicionado
- Aquecimento
- Terraço
- Piscina
- Estacionamento
- Jardim
- Tv
- Máquina de lavar roupa
- Chaminé
- Toalhas
- Lençóis


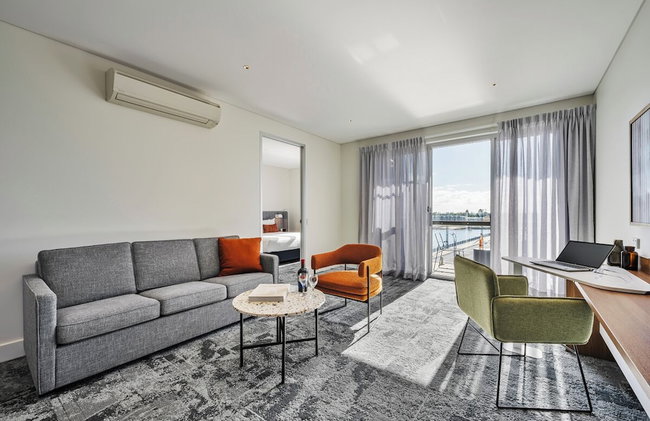
Majestic M Suites
Adelaide - North Adelaide - 1.8 km do centro
- 86 M2
- 6 pessoas
- Ar-condicionado
- Terraço
- Estacionamento
- Elevador
- Varanda
- Jardim
- Tv
- Máquina de lavar roupa
- Toalhas
- Lençóis


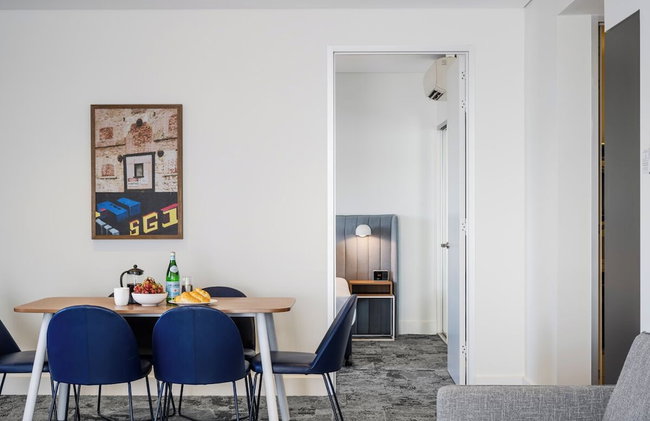
Horizons 1402
Adelaide - Adelaide - No centro
- 76 M2
- 4 pessoas
- Ar-condicionado
- Aquecimento
- Piscina
- Estacionamento
- Elevador
- Tv
- Máquina de lavar roupa
- Toalhas
- Lençóis


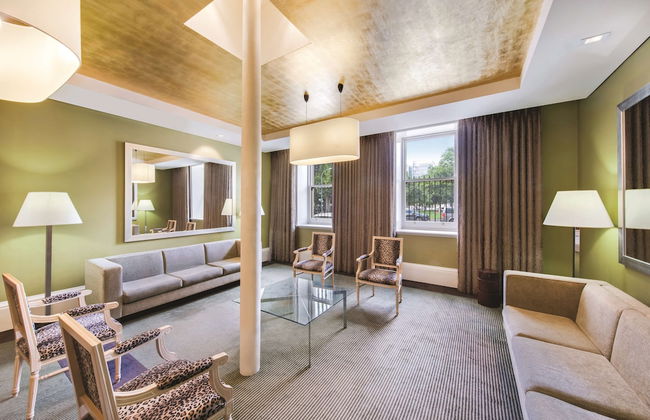


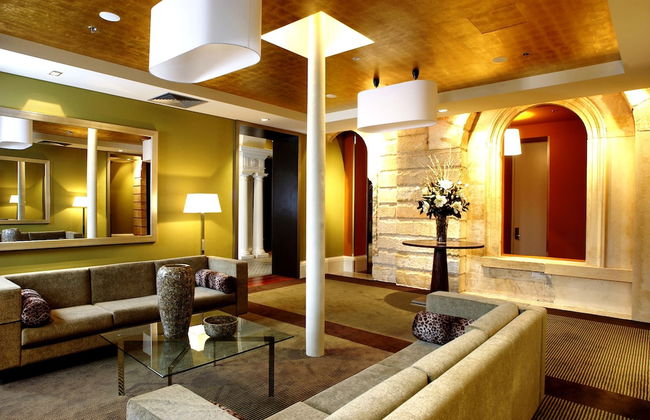


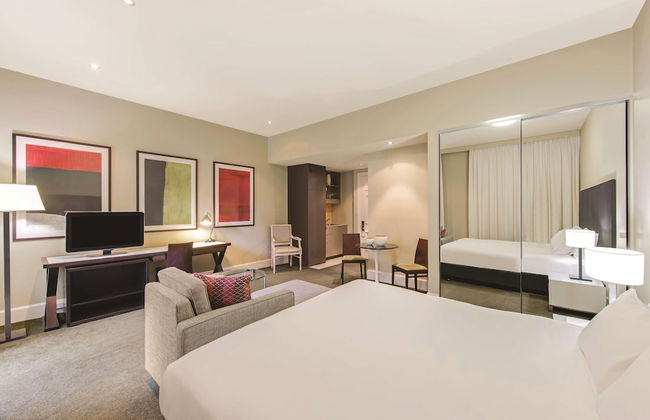


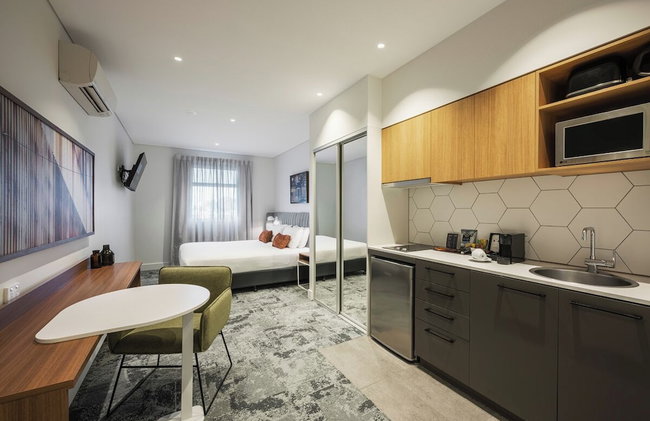
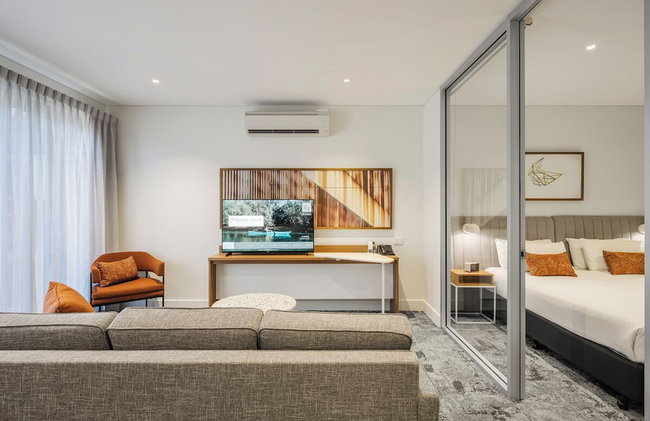
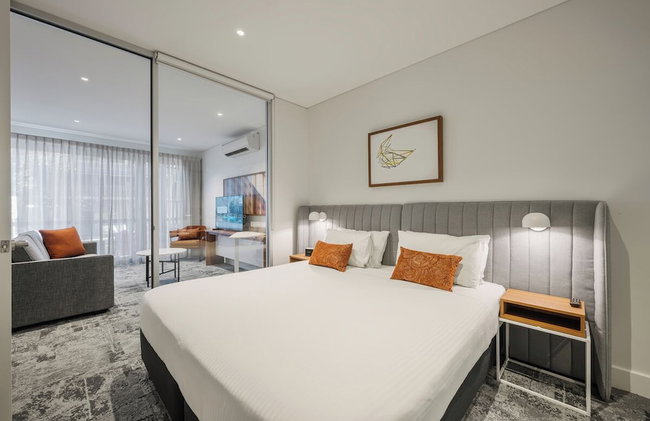
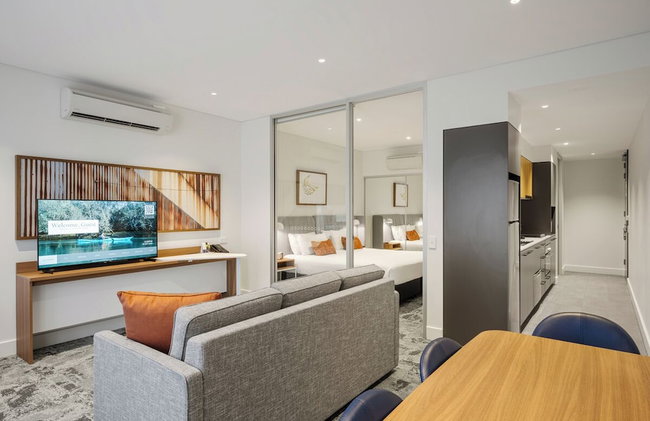
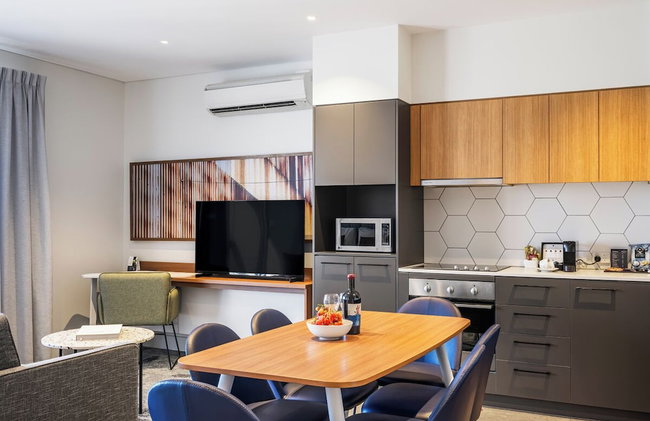
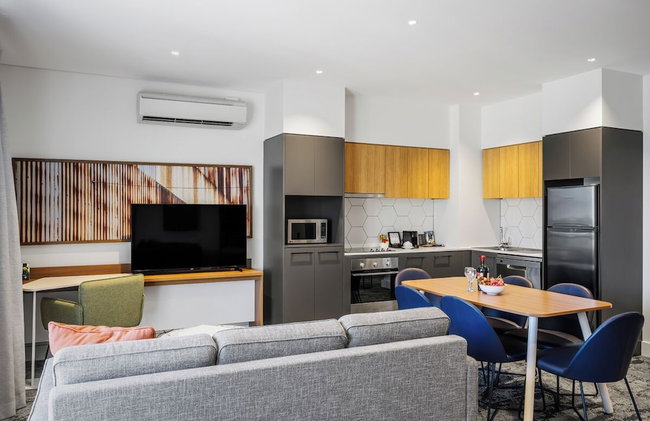
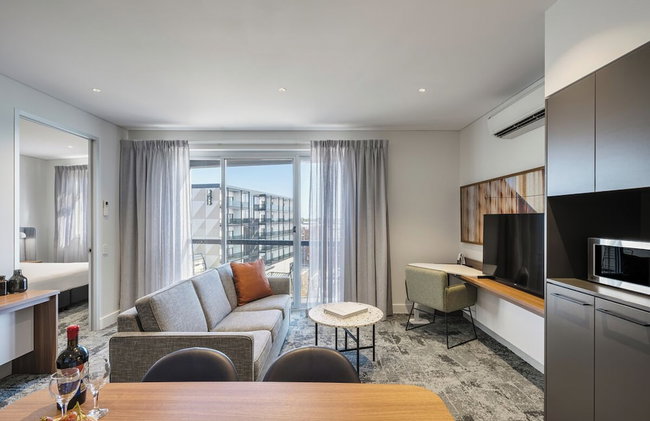
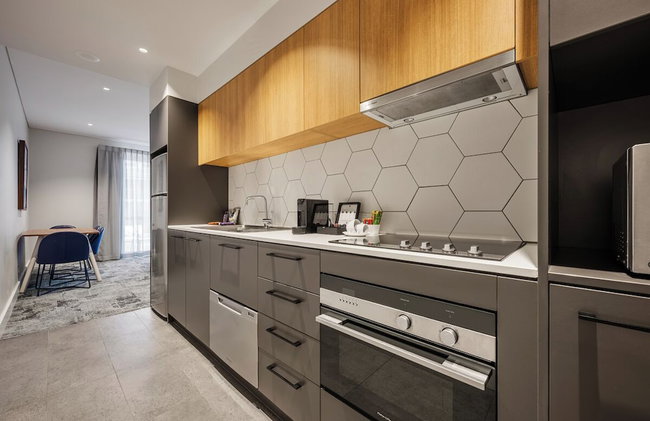
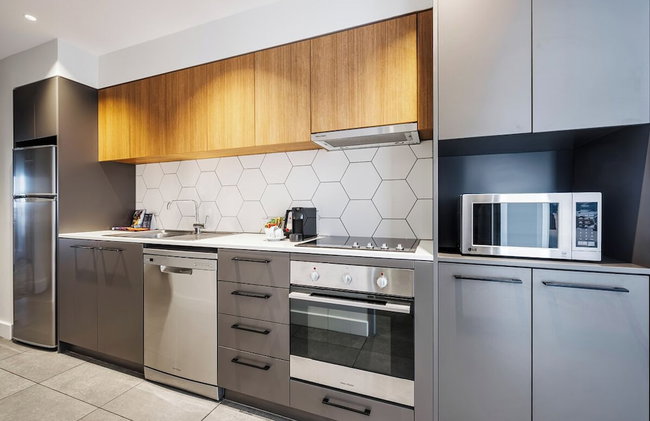
Adina Apartment Hotel Adelaide Treasury
Adelaide - Adelaide - No centro
- 82 M2
- 5 pessoas
- Kitchenette
- Ar-condicionado
- Terraço
- Piscina
- Elevador
- Jardim
- Tv
- Máquina de lavar roupa
- Toalhas
- Lençóis


The Palms Apartments
Adelaide - Kent Town - 1.4 km do centro
- 77 M2
- 4 pessoas
- Ar-condicionado
- Aquecimento
- Terraço
- Estacionamento
- Elevador
- Varanda
- Tv
- Máquina de lavar roupa
- Toalhas
- Lençóis


Semaphore Blue Apartments
Adelaide - Semaphore - 14.1 km do centro
- 5 pessoas
- Ar-condicionado
- Aquecimento
- Estacionamento
- Varanda
- Tv
- Máquina de lavar roupa
- Toalhas
- Lençóis


Durham Serviced Apartments
Adelaide - Glenelg - 9.4 km do centro
- 73 M2
- 7 pessoas
- Ar-condicionado
- Aquecimento
- Estacionamento
- Elevador
- Varanda
- Tv
- Máquina de lavar roupa
- Toalhas
- Lençóis


Glenelg Gateway Apartments
Adelaide - Glenelg - 9 km do centro
- 150 M2
- 8 pessoas
- Ar-condicionado
- Aquecimento
- Terraço
- Estacionamento
- Varanda
- Jardim
- Tv
- Máquina de lavar roupa
- Toalhas


Ethelton Serviced Apartments
Adelaide - Ethelton - 12.4 km do centro
- 6 pessoas
- Ar-condicionado
- Aquecimento
- Terraço
- Estacionamento
- Varanda
- Tv
- Máquina de lavar roupa
- Toalhas
- Lençóis


Oaks Adelaide Horizons Suites
Adelaide - Adelaide - No centro
- 63 M2
- 5 pessoas
- Ar-condicionado
- Aquecimento
- Terraço
- Piscina
- Estacionamento
- Elevador
- Varanda
- Tv
- Máquina de lavar roupa
- Toalhas
- Lençóis


City Escape 3BD in Adelaides East End 5
Adelaide - Adelaide - 440 m do centro
- 120 M2
- 7 pessoas
- Ar-condicionado
- Aquecimento
- Estacionamento
- Varanda
- Tv
- Máquina de lavar roupa
- Toalhas
- Lençóis


Quest Port Adelaide
Adelaide - Port Adelaide - 12.3 km do centro
- 55 M2
- 6 pessoas
- Kitchenette
- Ar-condicionado
- Aquecimento
- Estacionamento
- Elevador
- Varanda
- Tv
- Máquina de lavar roupa
- Toalhas
- Lençóis


Quest on Franklin
Adelaide - Adelaide - No centro
- 95 M2
- 7 pessoas
- Kitchenette
- Ar-condicionado
- Aquecimento
- Elevador
- Varanda
- Tv
- Máquina de lavar roupa
- Toalhas
- Lençóis


Quest Mawson Lakes
Adelaide - Mawson Lakes - 12.8 km do centro
- 95 M2
- 7 pessoas
- Kitchenette
- Ar-condicionado
- Terraço
- Estacionamento
- Elevador
- Varanda
- Tv
- Máquina de lavar roupa
- Churrasco
- Toalhas
- Lençóis


Avani Adelaide Residences
Adelaide - Adelaide - 210 m do centro
- 6 pessoas
- Ar-condicionado
- Piscina
- Estacionamento
- Elevador
- Jardim
- Tv
- Máquina de lavar roupa
- Churrasco
- Toalhas
- Lençóis


Oaks Glenelg Liberty Suites
Adelaide - Glenelg - 9.3 km do centro
- 107 M2
- 7 pessoas
- Ar-condicionado
- Aquecimento
- Piscina
- Estacionamento
- Elevador
- Varanda
- Tv
- Máquina de lavar roupa
- Toalhas
- Lençóis


Little Grenfell Apartments by Urban Rest
Adelaide - Kent Town - 1.6 km do centro
- 161 M2
- 6 pessoas
- Ar-condicionado
- Aquecimento
- Estacionamento
- Varanda
- Tv
- Máquina de lavar roupa
- Toalhas
- Lençóis


Quest King William South
Adelaide - Adelaide - 370 m do centro
- 87 M2
- 4 pessoas
- Kitchenette
- Ar-condicionado
- Estacionamento
- Elevador
- Tv
- Máquina de lavar roupa
- Toalhas
- Lençóis


Marion Holiday Park
Adelaide - Bedford Park - 10.2 km do centro
- 65 M2
- 6 pessoas
- Kitchenette
- Ar-condicionado
- Piscina
- Estacionamento
- Varanda
- Jardim
- Máquina de lavar roupa
- Chaminé
- Churrasco
- Toalhas
- Lençóis


Adelaide Heritage Cottages & Apartments
Adelaide - North Adelaide - 1.5 km do centro
- 100 M2
- 6 pessoas
- Kitchenette
- Ar-condicionado
- Aquecimento
- Terraço
- Estacionamento
- Jardim
- Tv
- Máquina de lavar roupa
- Chaminé
- Toalhas
- Lençóis