
299 Apartamentos em South Australia


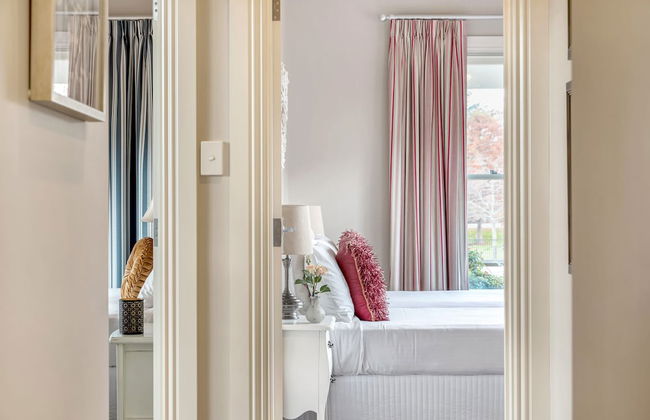
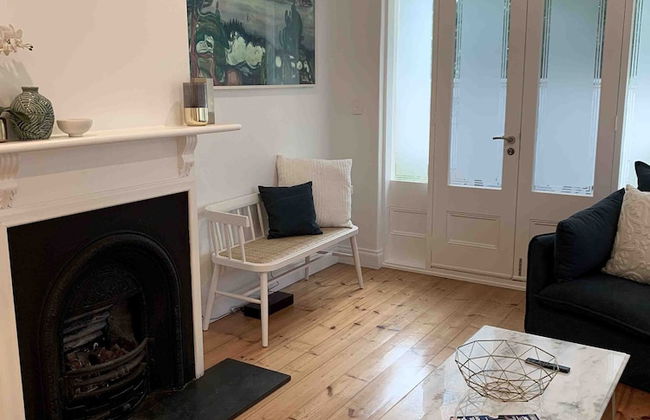
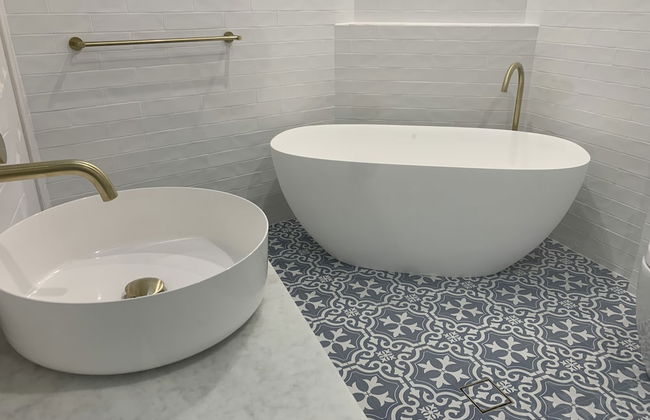
Hollidge House Apartments
Adelaide - Fullarton - 3.2 km do centro
- 2 pessoas
- Ar-condicionado
- Aquecimento
- Terraço
- Piscina
- Estacionamento
- Jardim
- Tv
- Máquina de lavar roupa
- Chaminé
- Toalhas
- Lençóis
10 avaliações


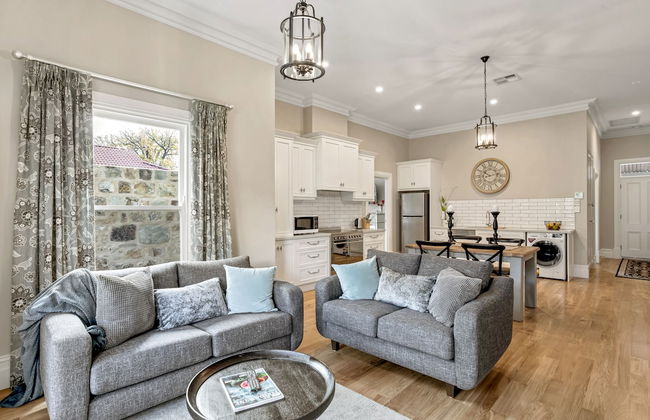
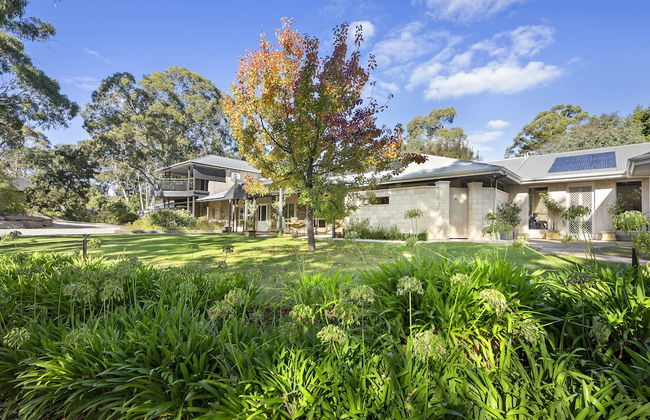
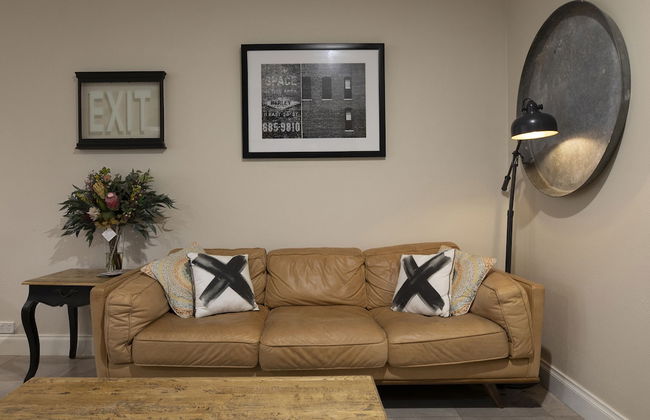
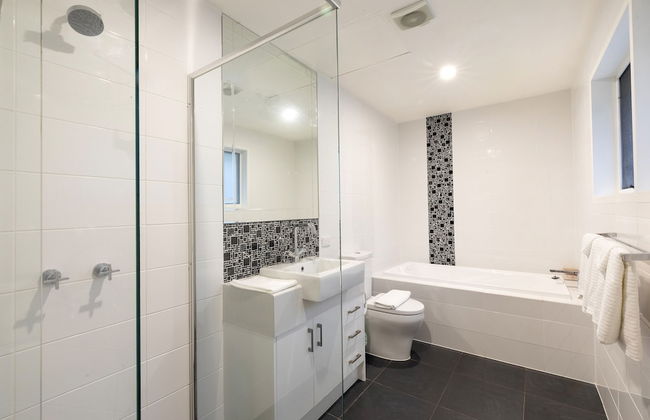
Esto House
Crafers - Crafers
- 16 M2
- 4 pessoas
- Ar-condicionado
- Aquecimento
- Terraço
- Estacionamento
- Jardim
- Tv
- Máquina de lavar roupa
- Chaminé
- Churrasco
- Toalhas
- Lençóis
17 avaliações


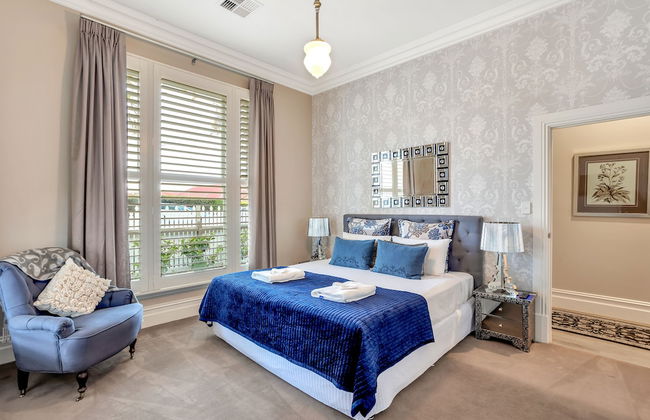

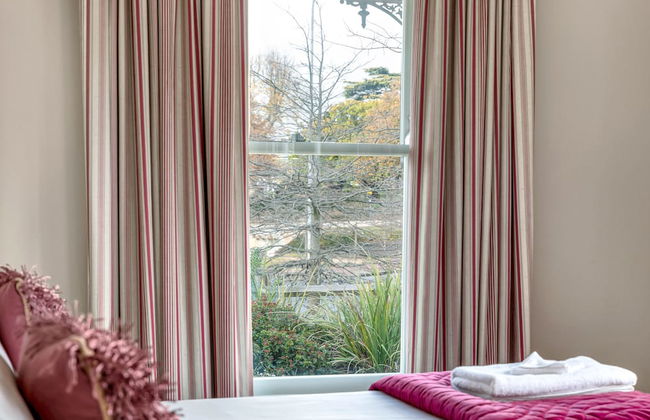


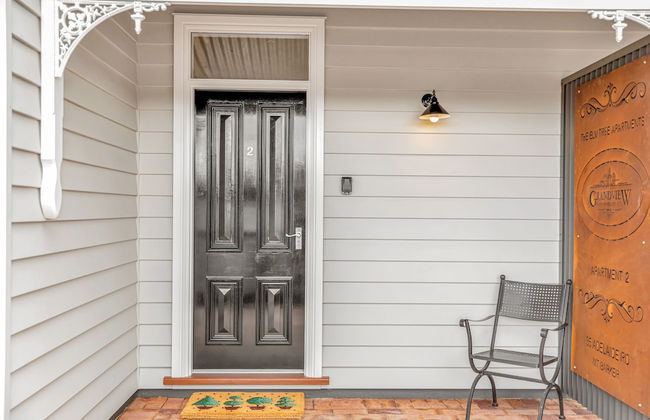


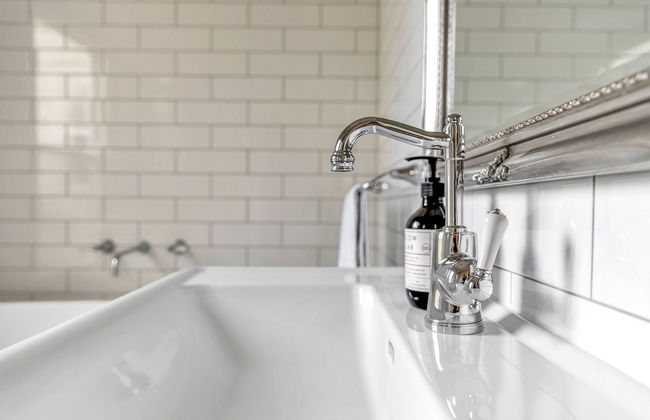

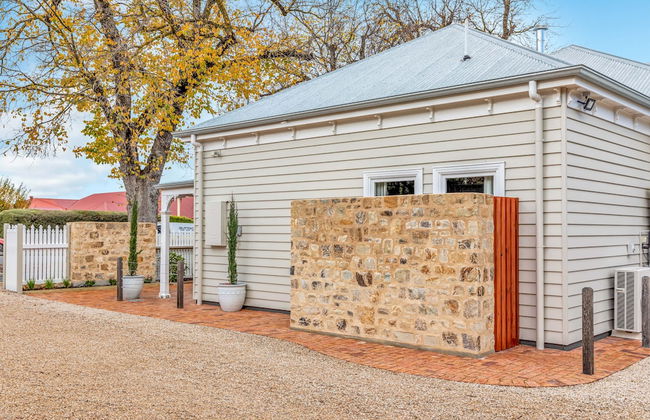


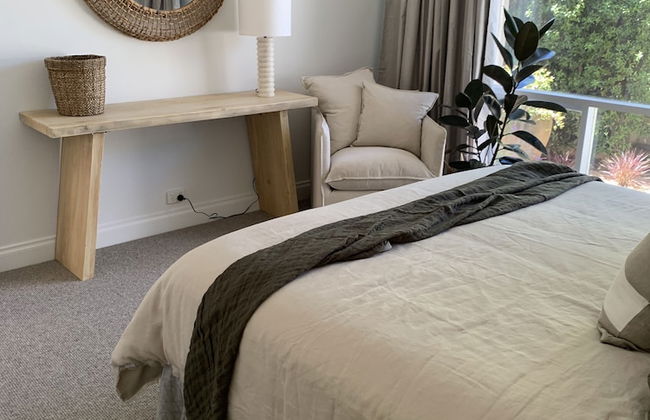
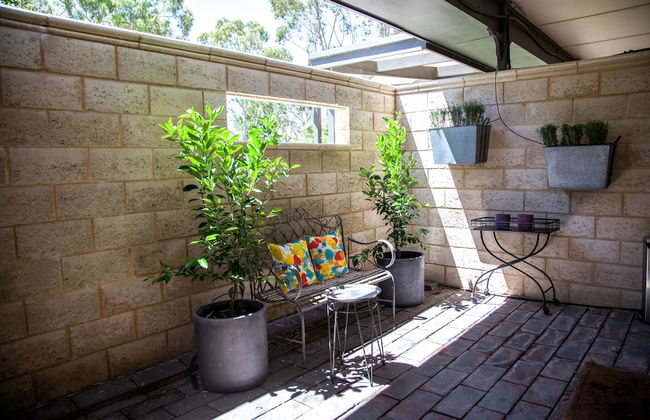
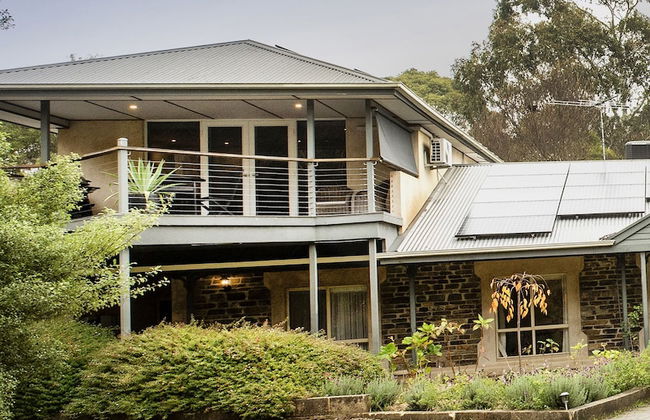
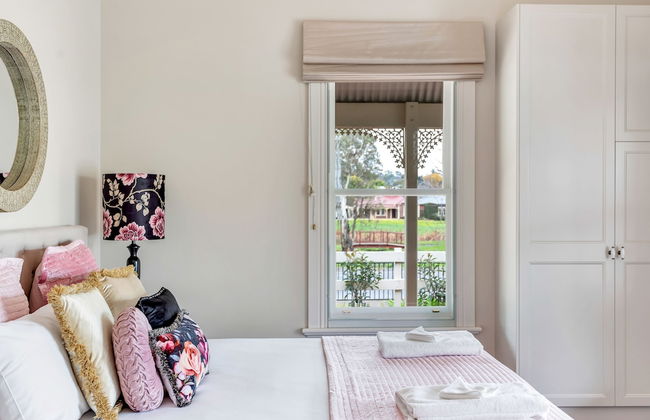
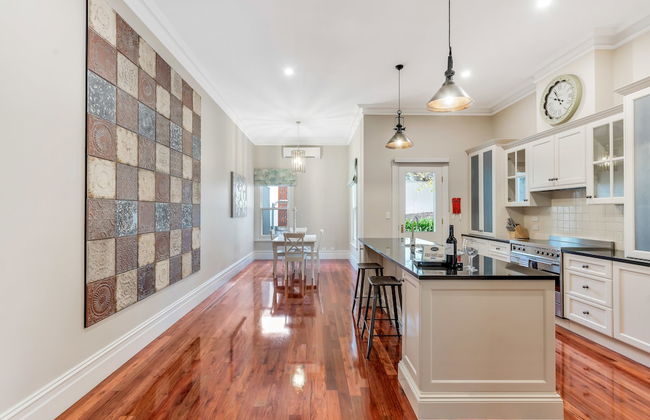
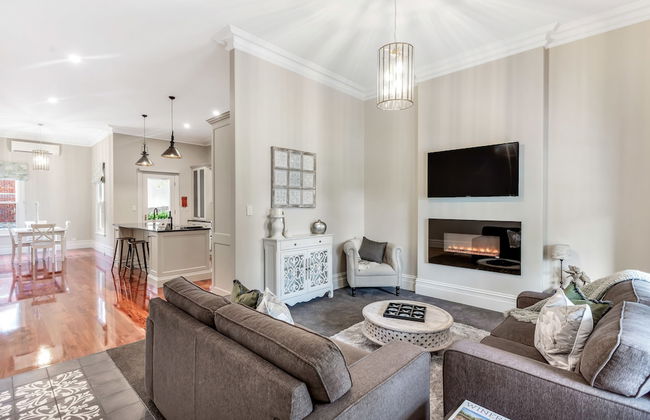
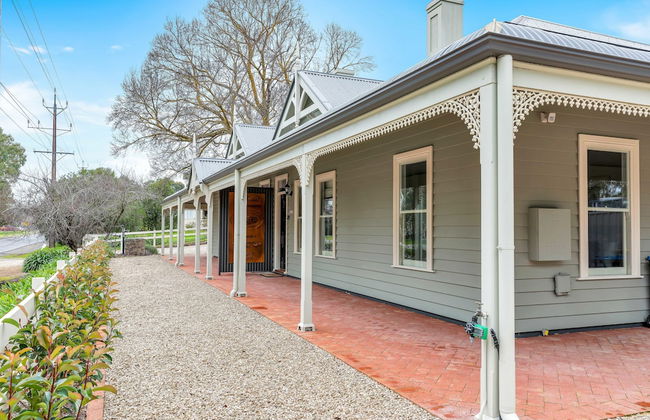
Grandview Accommodation - The Elm Tree Apartments
Mount Barker - Mount Barker - No centro
- 115 M2
- 6 pessoas
- Ar-condicionado
- Aquecimento
- Terraço
- Estacionamento
- Jardim
- Tv
- Máquina de lavar roupa
- Toalhas
- Lençóis
21 avaliações


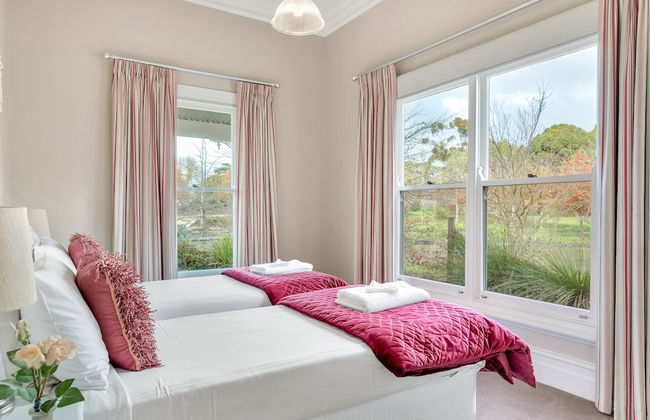
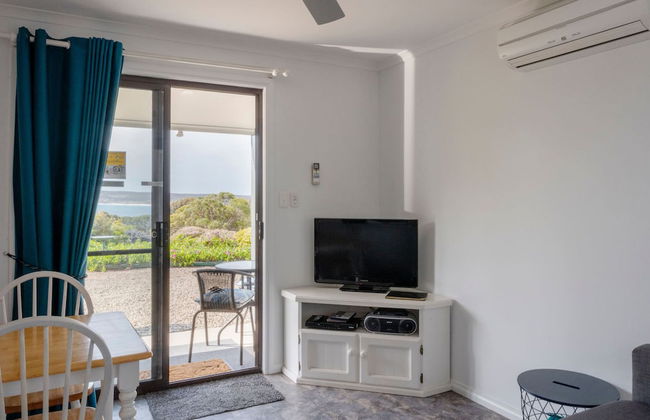
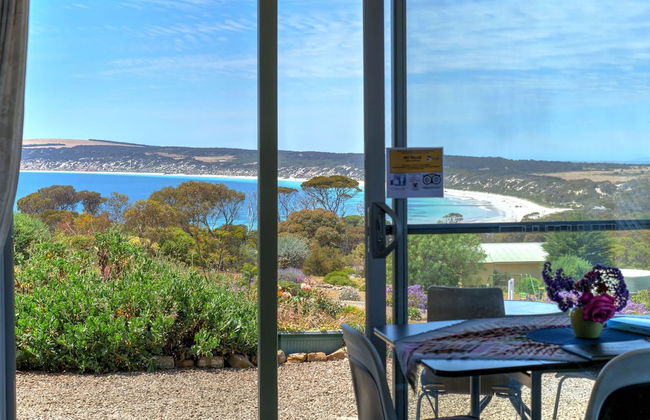
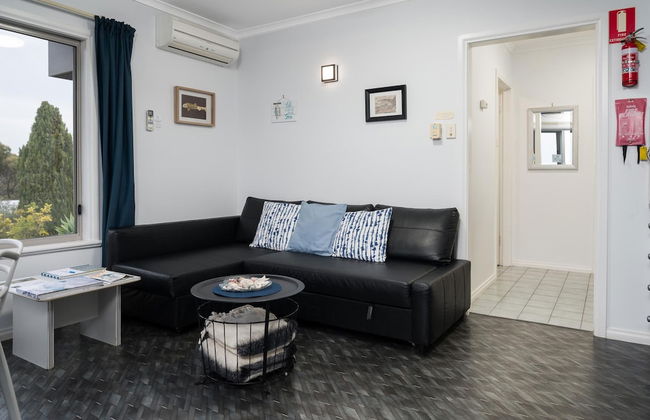
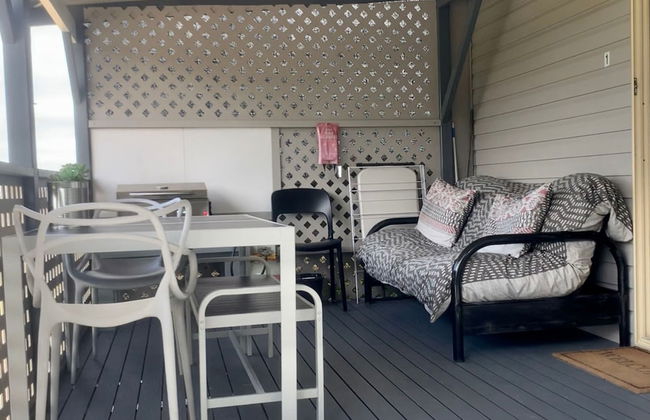
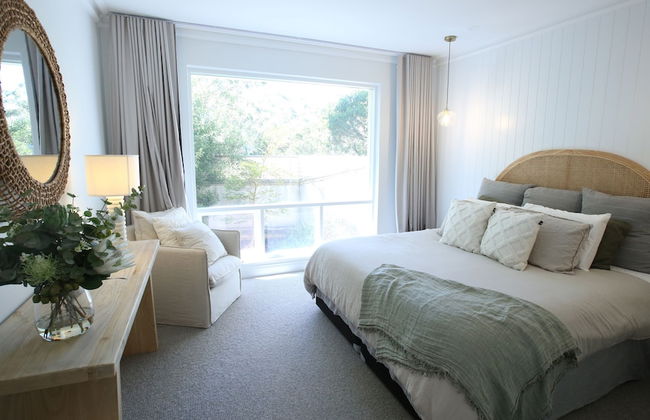
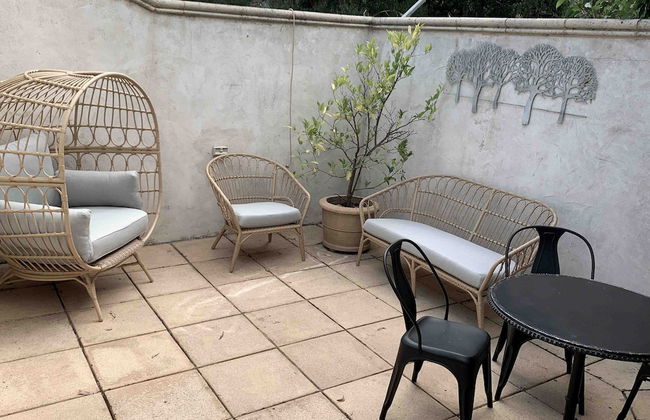
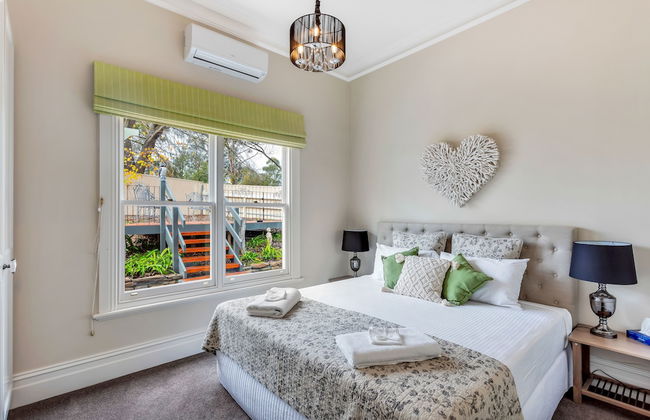
Sky House Kangaroo Island
Middle River - 4 km do centro
- 150 M2
- 2 pessoas
- Ar-condicionado
- Aquecimento
- Terraço
- Estacionamento
- Varanda
- Jardim
- Tv
- Churrasco
- Toalhas
- Lençóis
16 avaliações


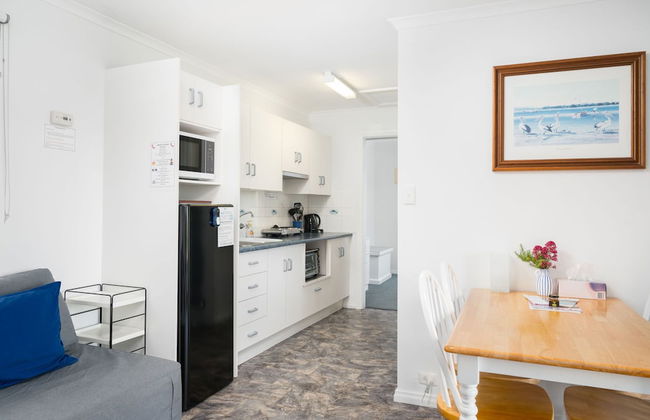
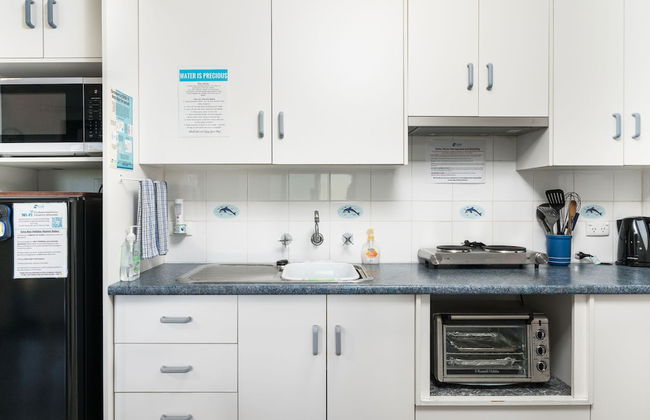


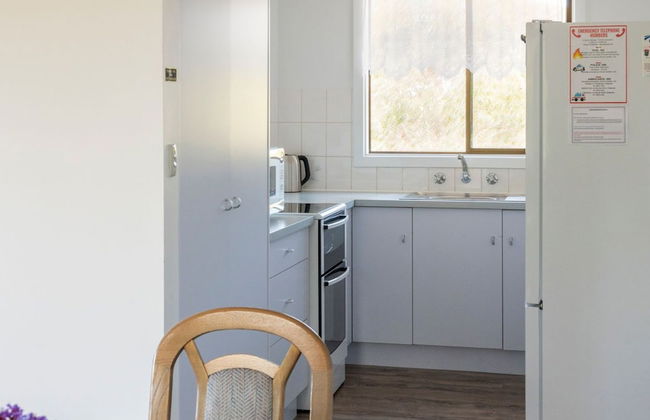


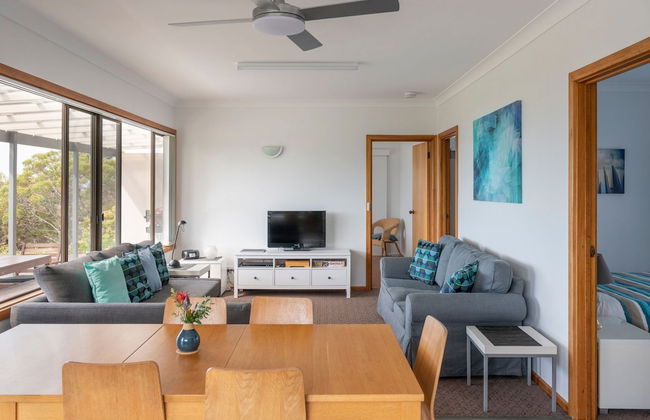


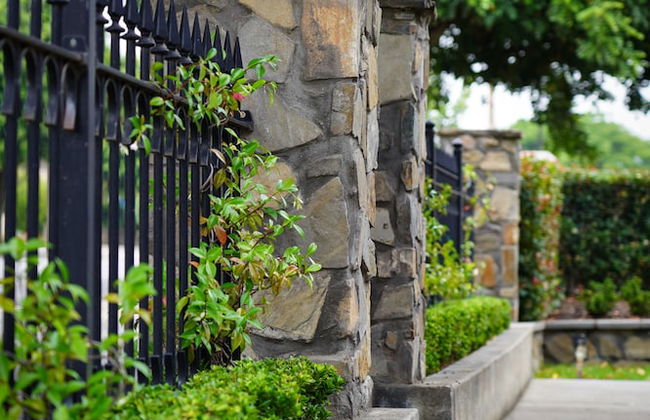
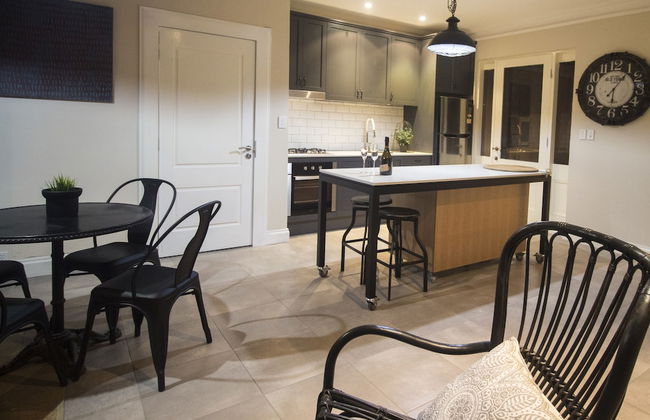
Emu Bay Holiday Homes
Emu Bay
- 10 pessoas
- Kitchenette
- Ar-condicionado
- Aquecimento
- Terraço
- Estacionamento
- Varanda
- Jardim
- Tv
- Máquina de lavar roupa
- Churrasco
- Toalhas
- Lençóis
53 avaliações


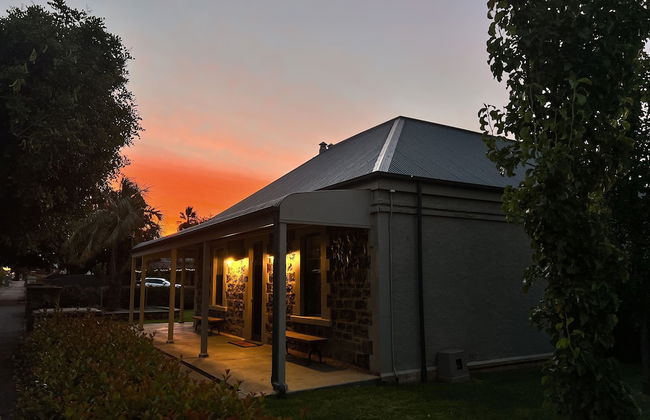
Jasmine's Cottage
Lyndoch - Lyndoch - No centro
- 20 M2
- 4 pessoas
- Ar-condicionado
- Aquecimento
- Terraço
- Estacionamento
- Jardim
- Tv
- Máquina de lavar roupa
- Chaminé
- Churrasco
- Toalhas
- Lençóis
17 avaliações


Karawatha Cottages B&B
Blewitt Springs
- 65 M2
- 2 pessoas
- Ar-condicionado
- Aquecimento
- Terraço
- Estacionamento
- Varanda
- Jardim
- Tv
- Chaminé
- Churrasco
- Toalhas
- Lençóis
29 avaliações
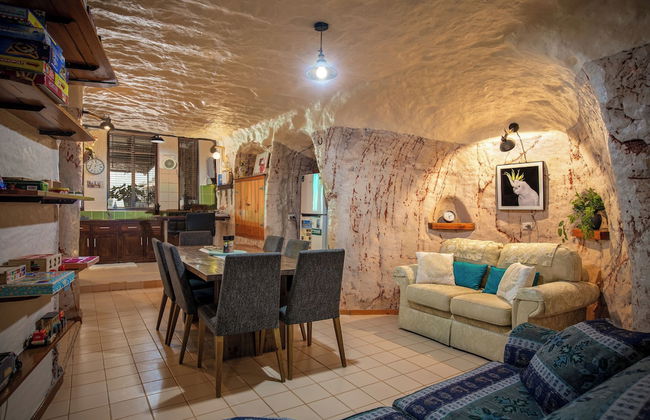
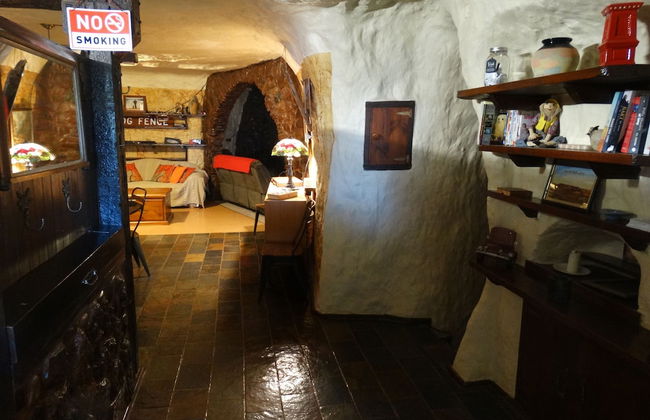
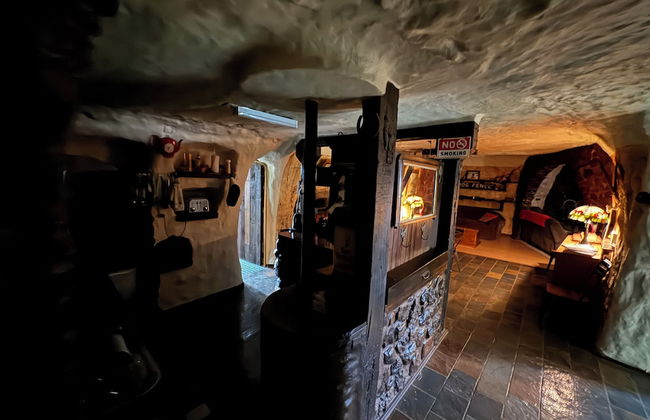
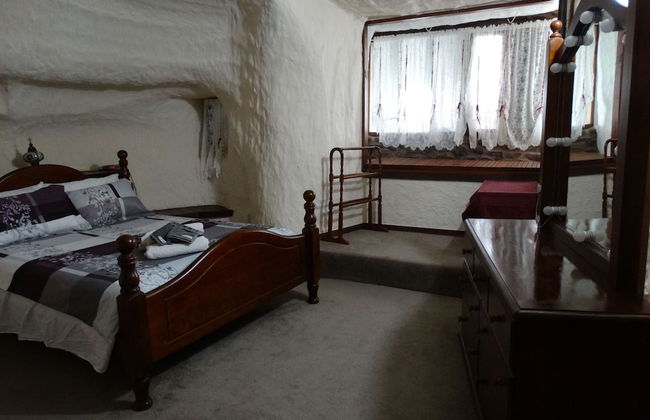
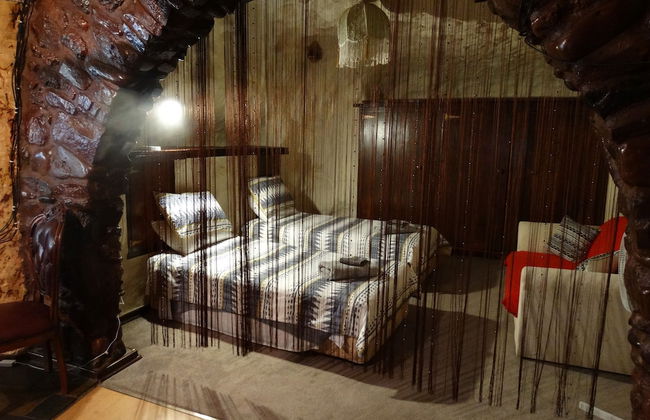
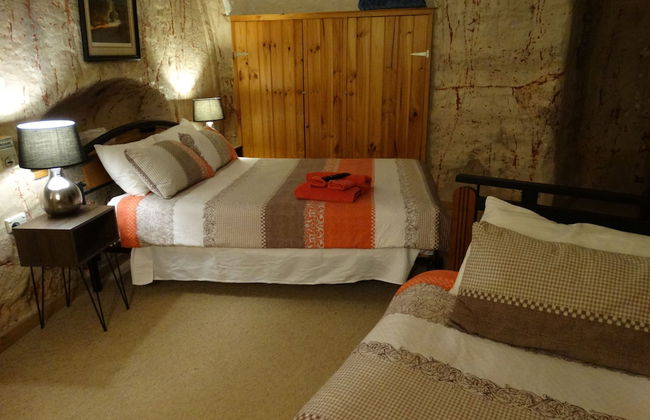
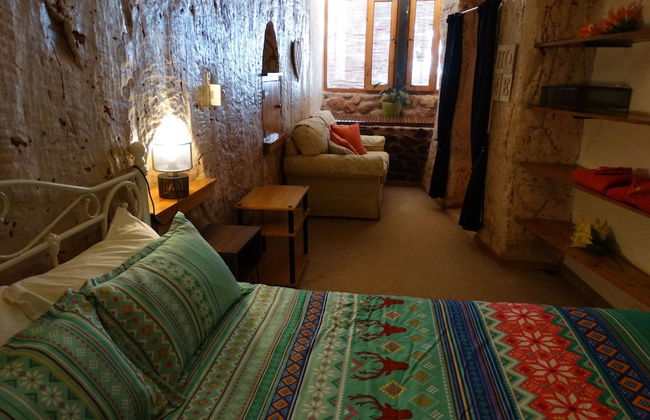
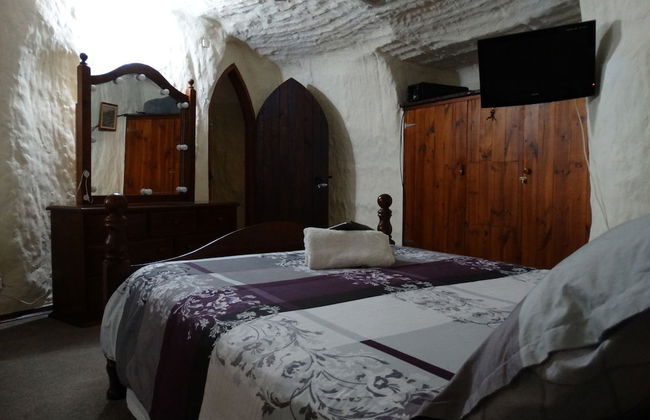
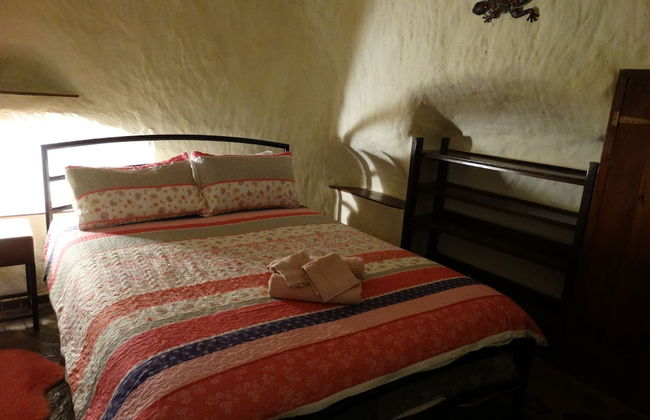
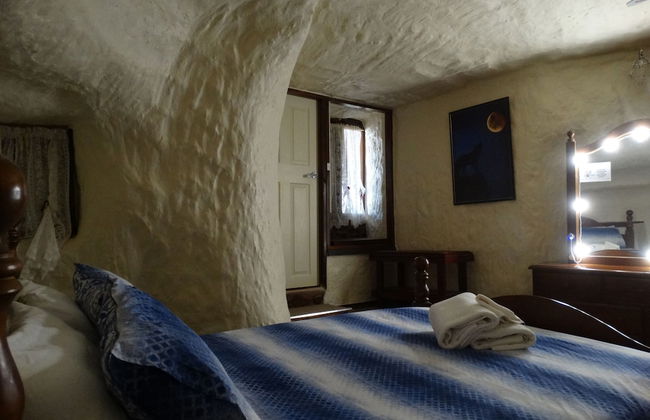
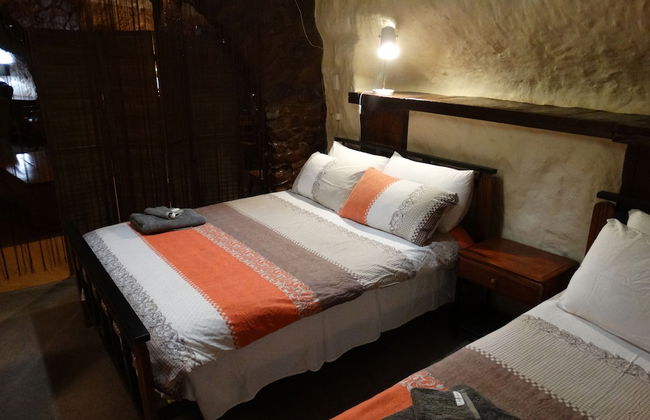
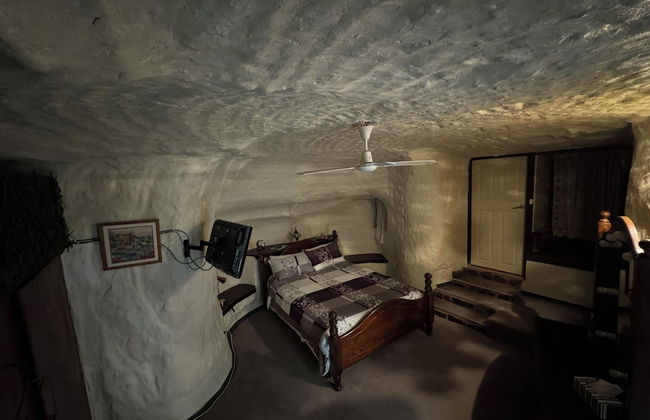
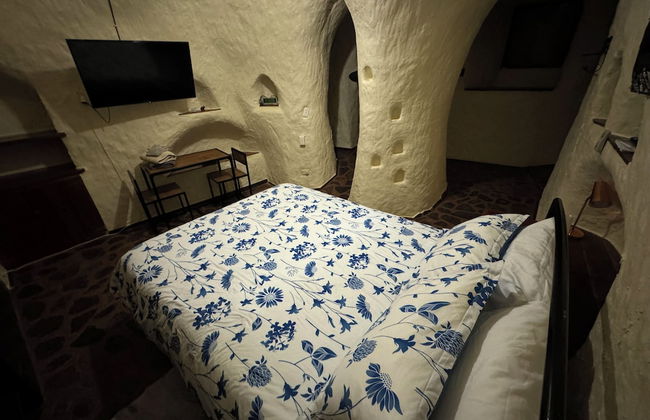
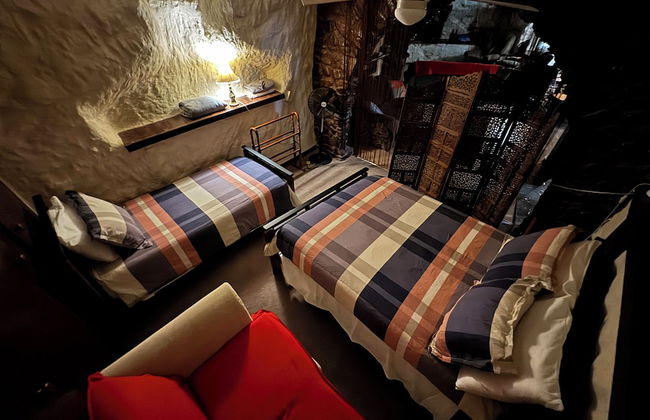
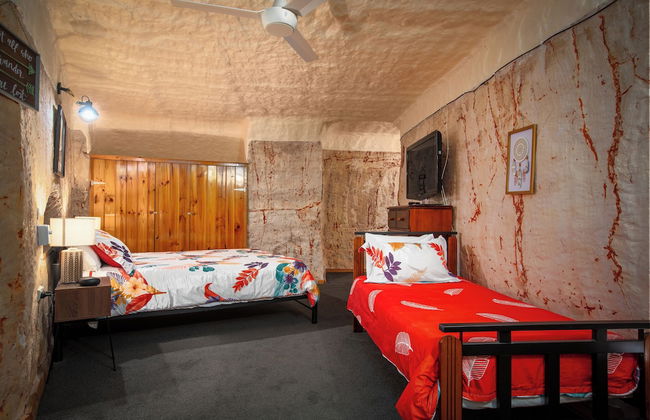
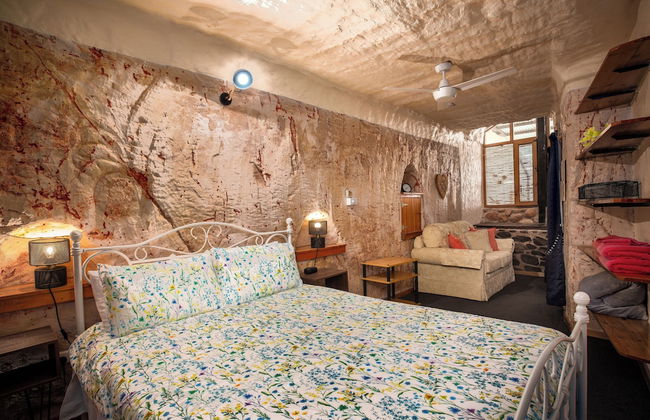
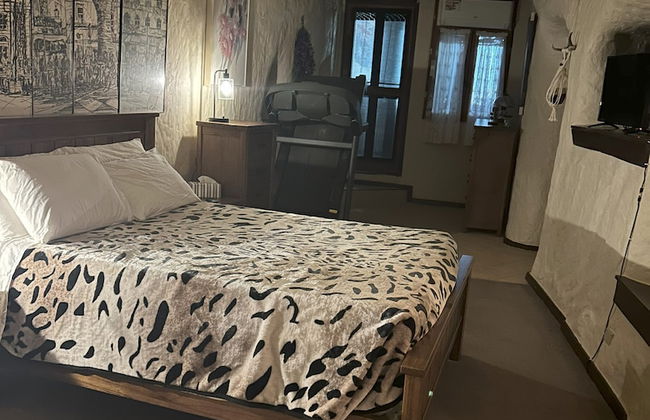
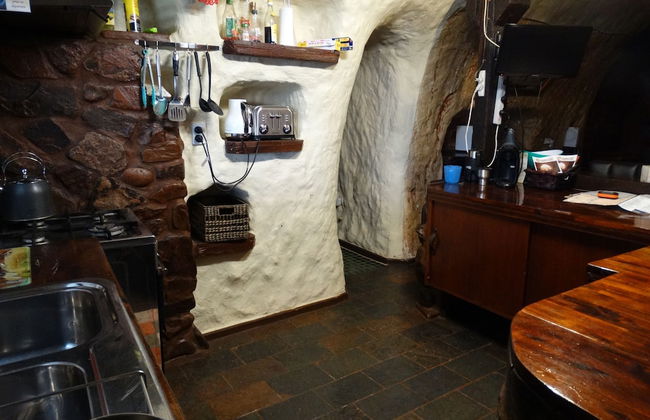
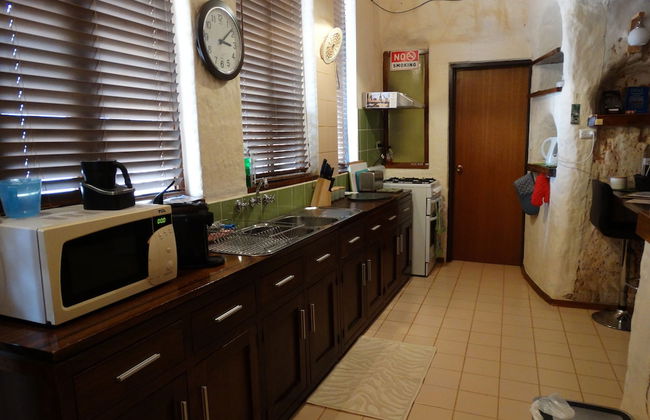
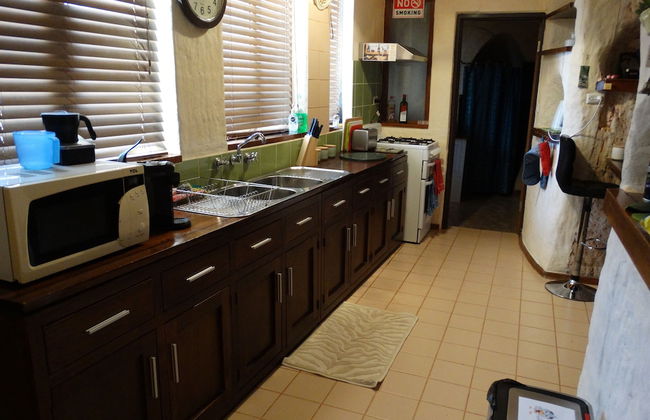
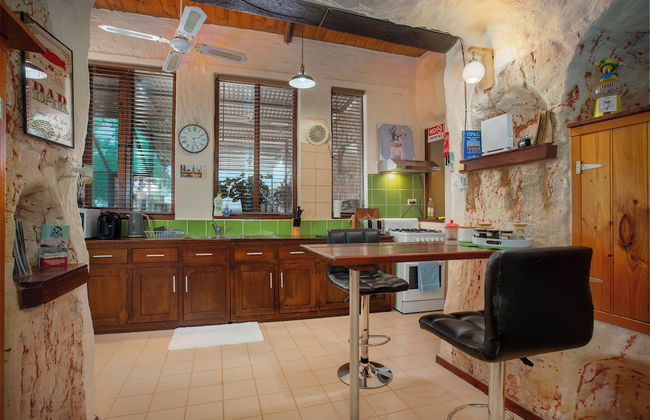

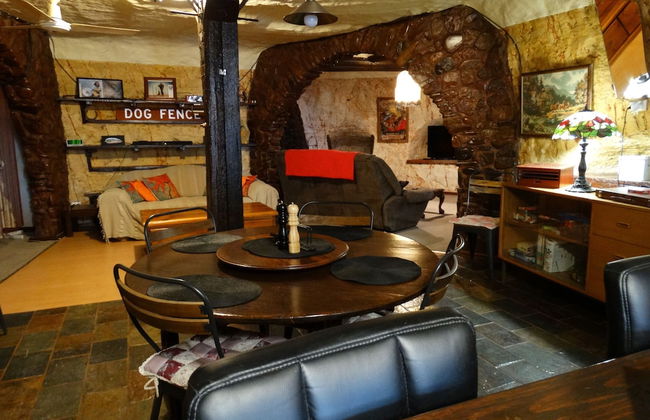
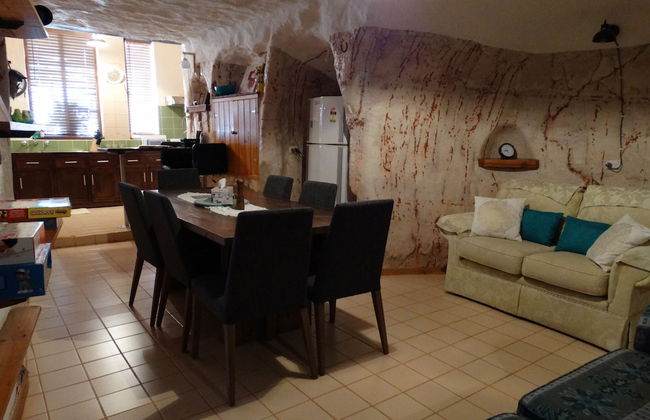
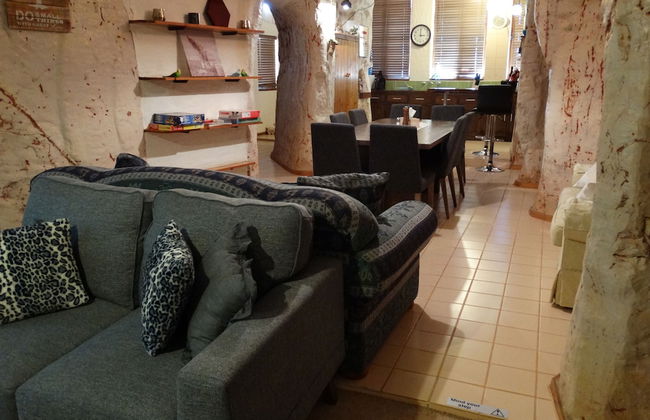
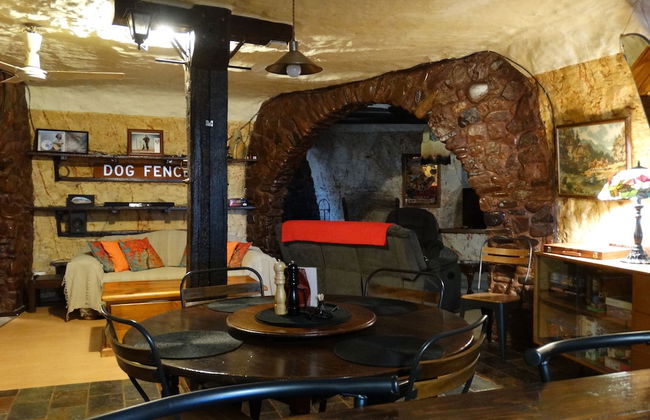
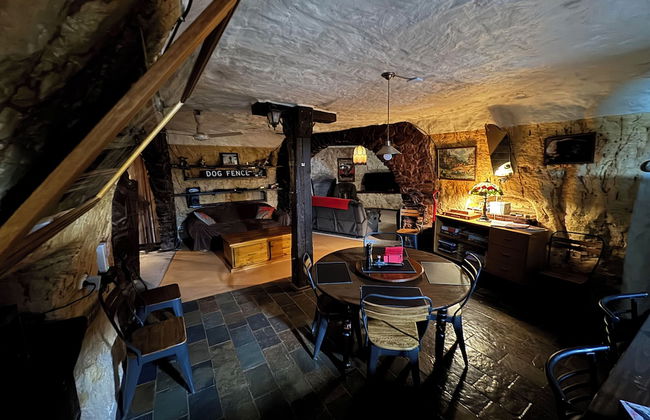
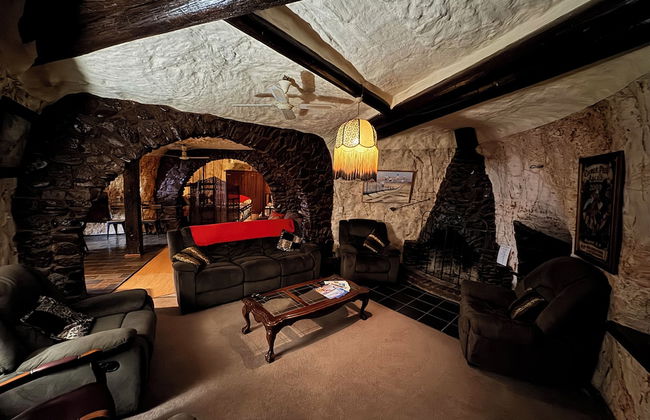
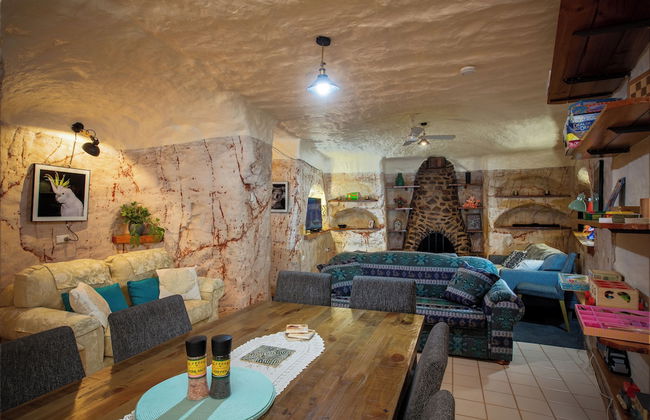
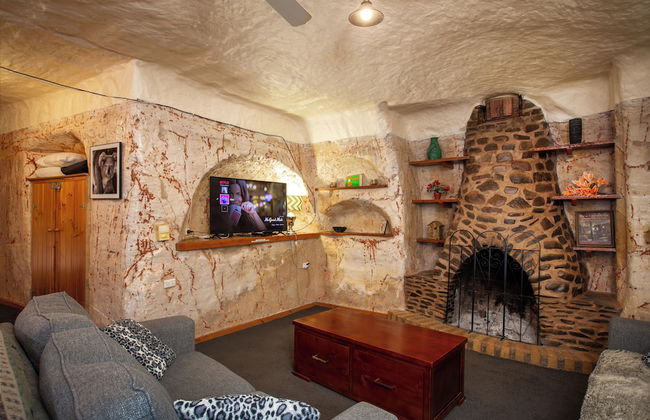

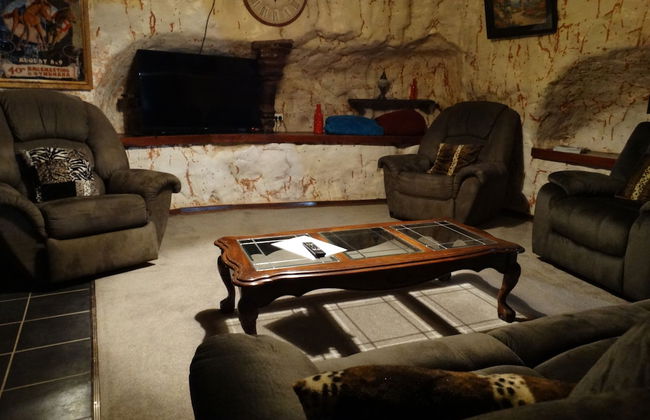
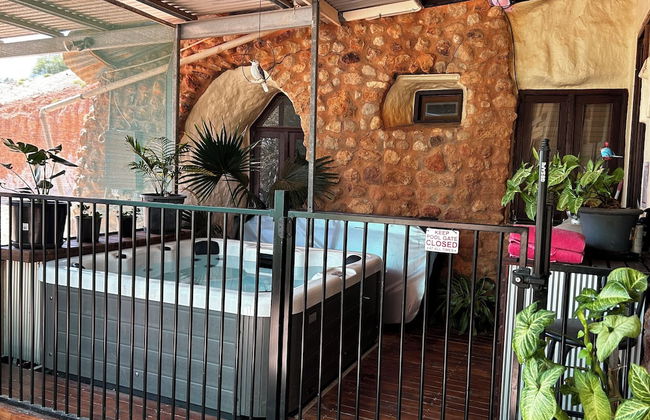
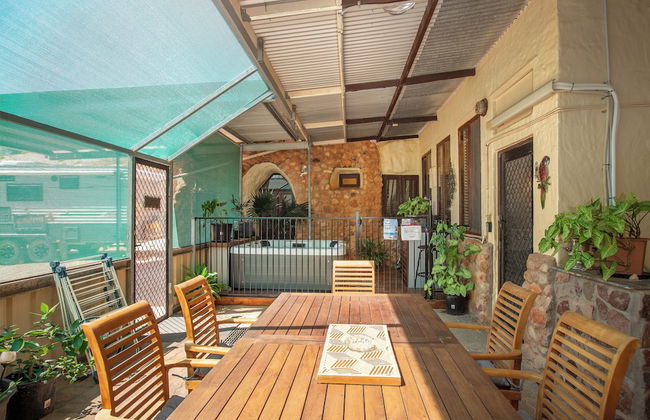
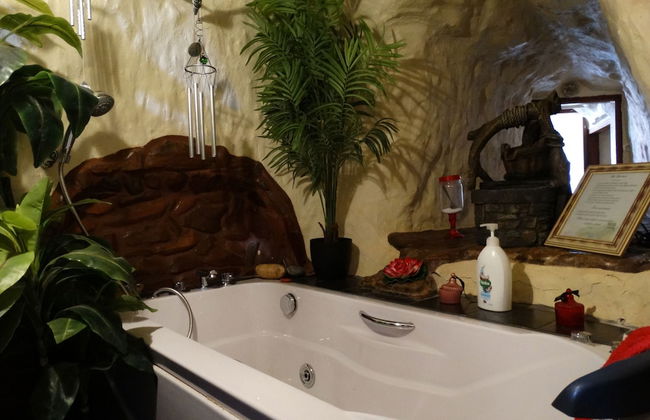
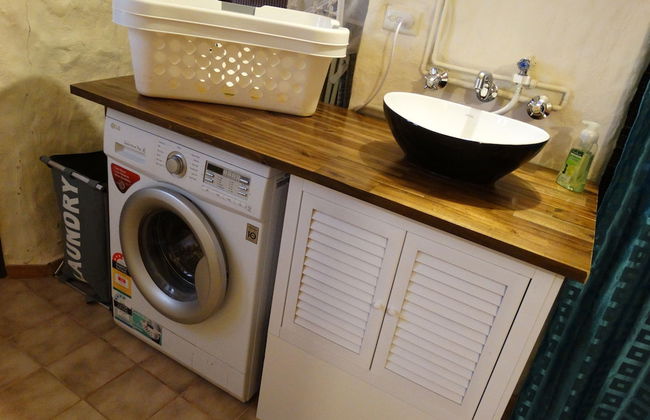
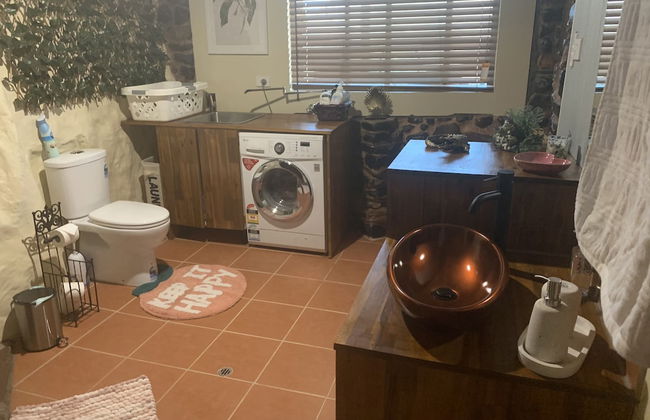
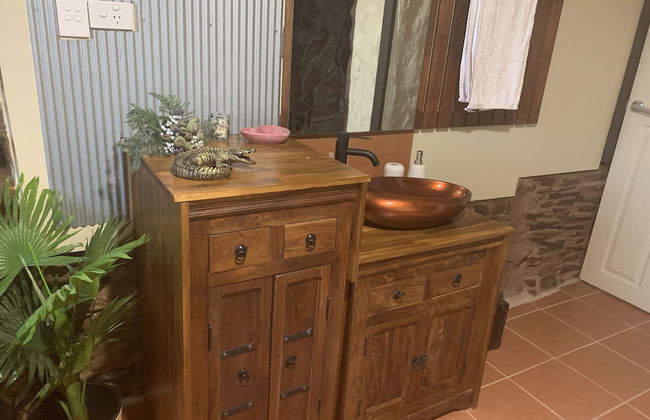

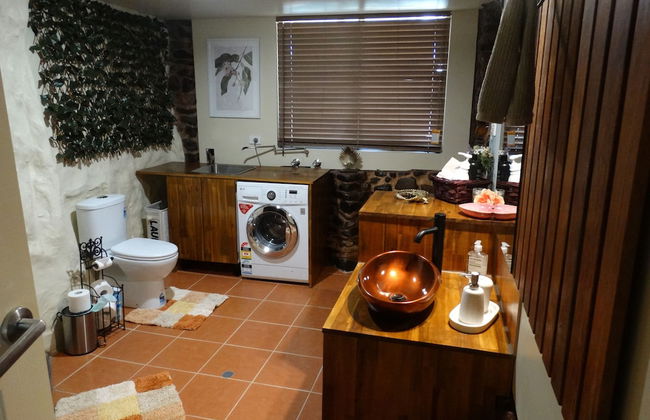
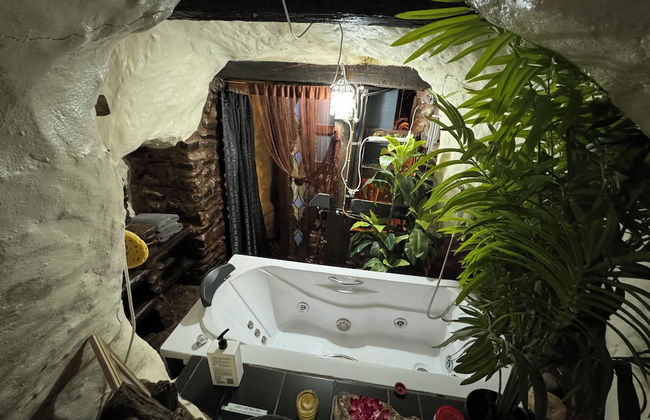
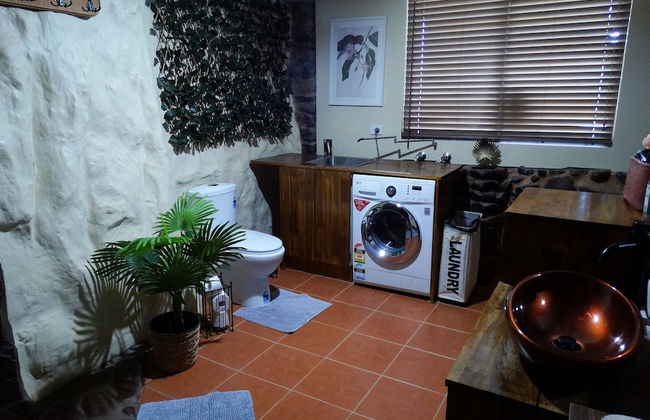
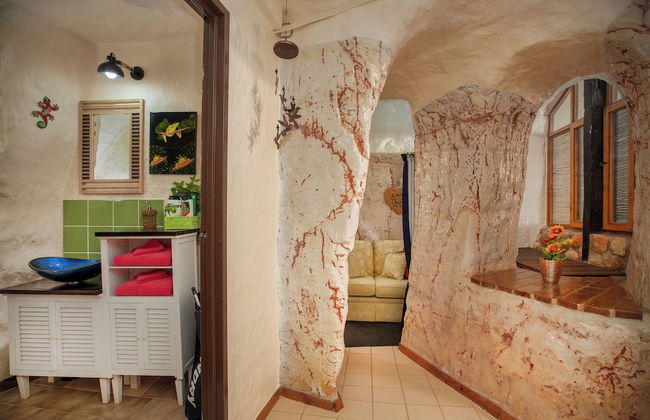
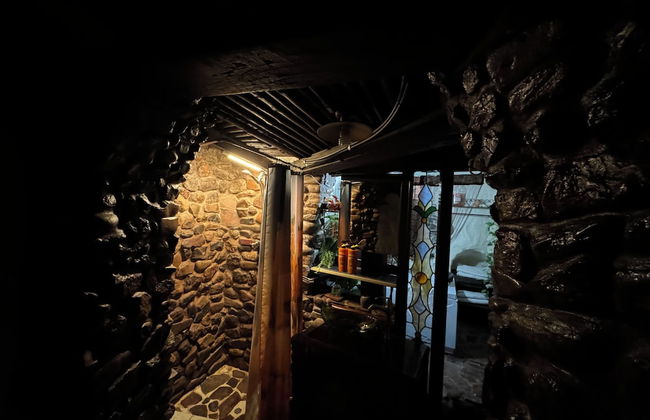

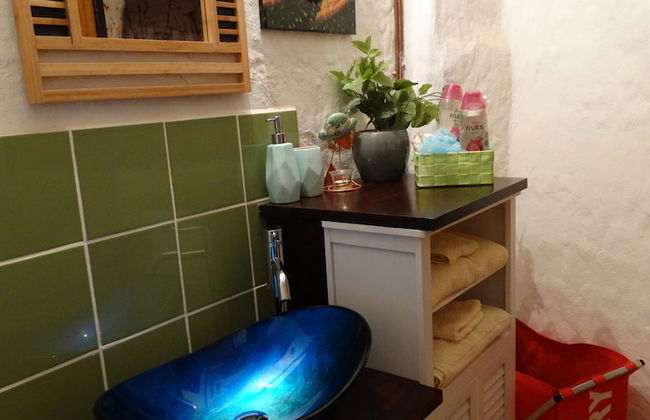
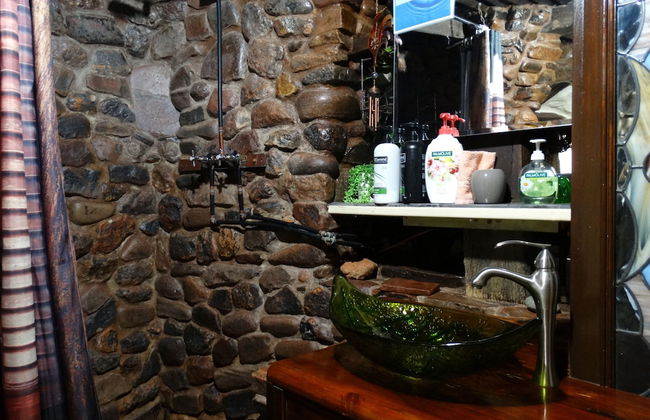
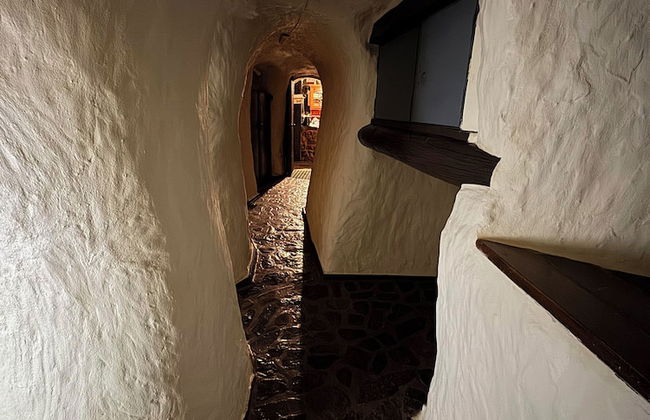

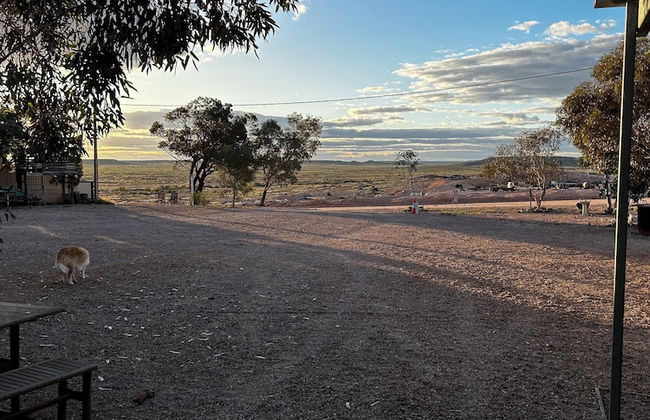

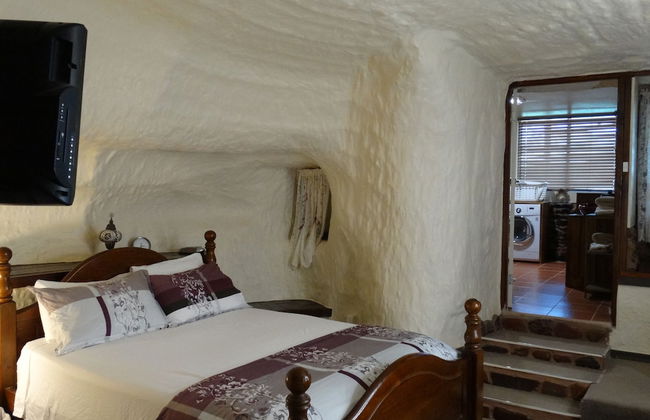
Di's Dugouts
Coober Pedy - Coober Pedy - 1.3 km do centro
- 200 M2
- 9 pessoas
- Ar-condicionado
- Aquecimento
- Terraço
- Estacionamento
- Tv
- Máquina de lavar roupa
- Chaminé
- Churrasco
- Toalhas
- Lençóis
11 avaliações


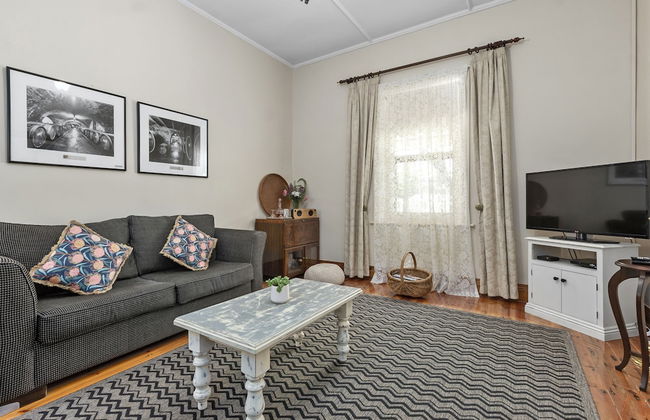


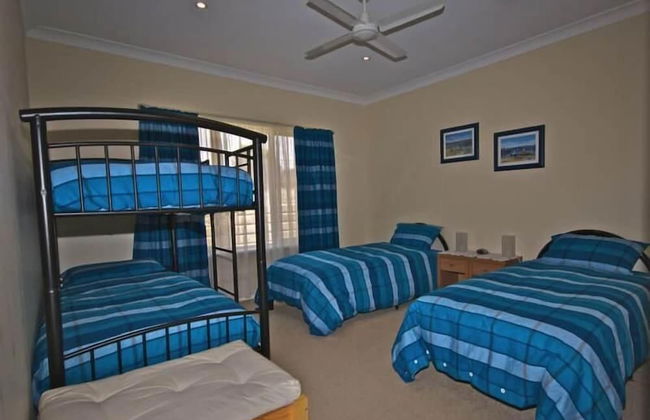
Miriams Cottage
Tanunda - Tanunda - 370 m do centro
- 180 M2
- 4 pessoas
- Ar-condicionado
- Aquecimento
- Terraço
- Estacionamento
- Varanda
- Jardim
- Tv
- Máquina de lavar roupa
- Chaminé
- Churrasco
- Toalhas
- Lençóis
11 avaliações


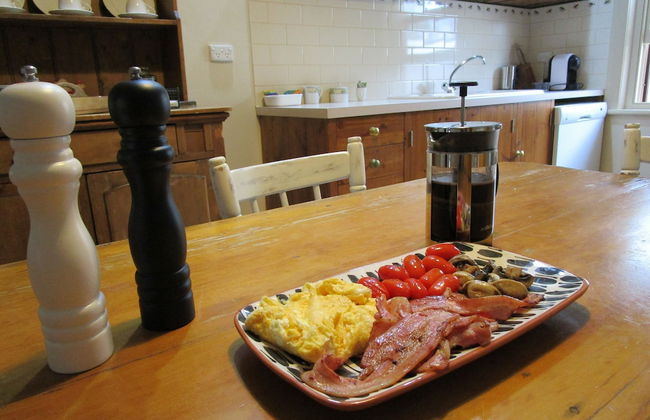
Barossa Bed & Breakfast
Tanunda - Tanunda - 320 m do centro
- 240 M2
- 6 pessoas
- Ar-condicionado
- Aquecimento
- Terraço
- Estacionamento
- Jardim
- Tv
- Máquina de lavar roupa
- Chaminé
- Churrasco
- Toalhas
- Lençóis
15 avaliações


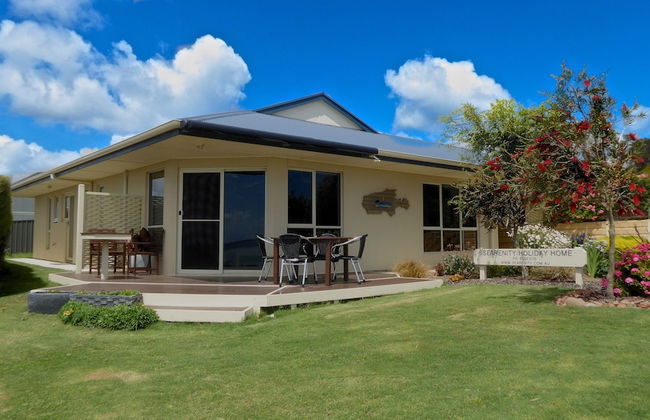


Searenity Holiday Accommodation
Emu Bay
- 96 M2
- 8 pessoas
- Kitchenette
- Ar-condicionado
- Aquecimento
- Terraço
- Estacionamento
- Jardim
- Tv
- Máquina de lavar roupa
- Churrasco
- Toalhas
- Lençóis
29 avaliações


The Retreat at Stirling
Stirling
- 76 M2
- 2 pessoas
- Ar-condicionado
- Aquecimento
- Piscina
- Estacionamento
- Jardim
- Tv
- Máquina de lavar roupa
- Chaminé
- Churrasco
- Toalhas
- Lençóis
29 avaliações


Grandview Accommodation - The Flaxley Apartments
Mount Barker - Mount Barker - 1.1 km do centro
- 95 M2
- 4 pessoas
- Ar-condicionado
- Aquecimento
- Terraço
- Estacionamento
- Jardim
- Tv
- Máquina de lavar roupa
- Toalhas
- Lençóis
24 avaliações


The Frames
Paringa - Paringa
- 145 M2
- 4 pessoas
- Ar-condicionado
- Aquecimento
- Piscina
- Estacionamento
- Varanda
- Jardim
- Tv
- Máquina de lavar roupa
- Chaminé
- Churrasco
- Toalhas
- Lençóis
11 avaliações


The Other House
Piccadilly
- 104 M2
- 5 pessoas
- Ar-condicionado
- Aquecimento
- Terraço
- Estacionamento
- Jardim
- Tv
- Máquina de lavar roupa
- Chaminé
- Churrasco
- Toalhas
- Lençóis
16 avaliações


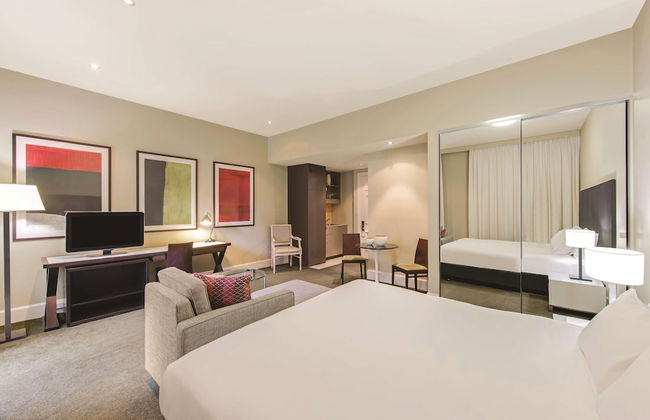
Majestic M Suites
Adelaide - North Adelaide - 1.8 km do centro
- 86 M2
- 6 pessoas
- Ar-condicionado
- Terraço
- Estacionamento
- Elevador
- Varanda
- Jardim
- Tv
- Máquina de lavar roupa
- Toalhas
- Lençóis
703 avaliações


Horizons 1402
Adelaide - Adelaide - No centro
- 76 M2
- 4 pessoas
- Ar-condicionado
- Aquecimento
- Piscina
- Estacionamento
- Elevador
- Tv
- Máquina de lavar roupa
- Toalhas
- Lençóis
11 avaliações


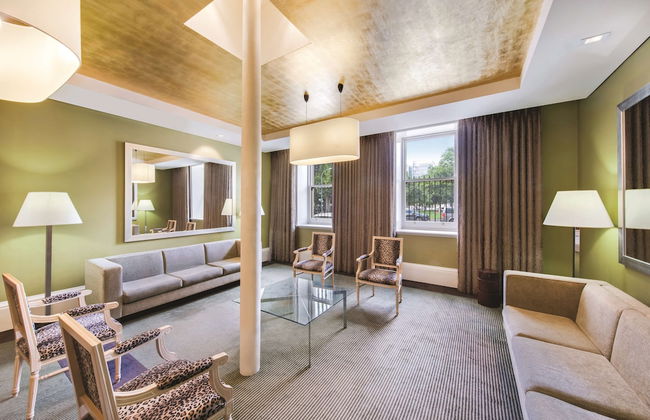


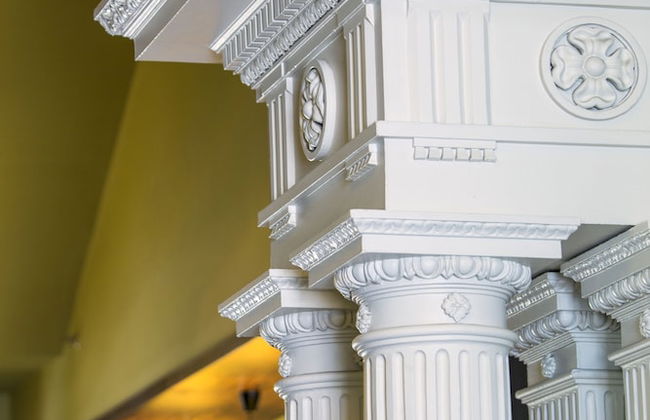
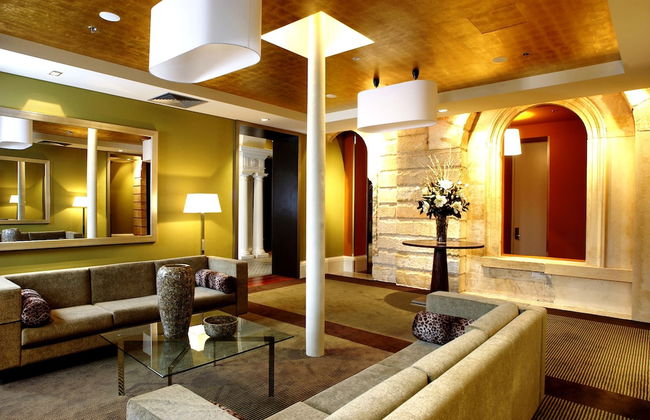


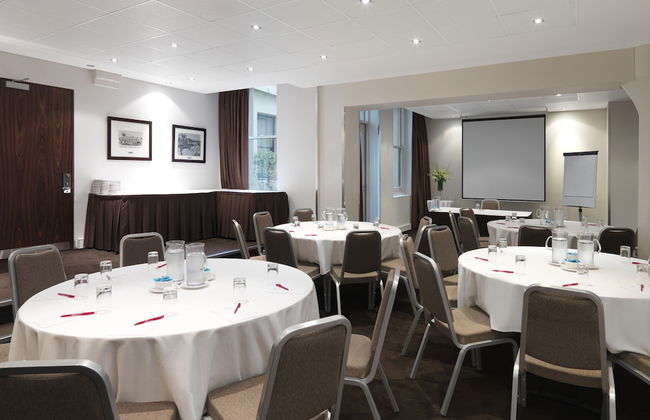


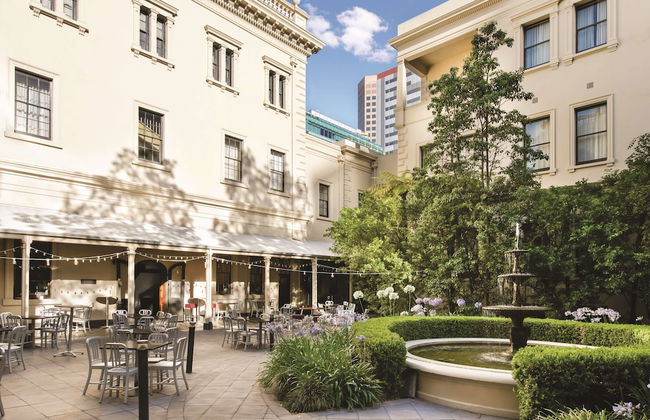


Adina Apartment Hotel Adelaide Treasury
Adelaide - Adelaide - No centro
- 82 M2
- 5 pessoas
- Kitchenette
- Ar-condicionado
- Terraço
- Piscina
- Elevador
- Jardim
- Tv
- Máquina de lavar roupa
- Toalhas
- Lençóis
1531 avaliações


Neagles Retreat Villas
Emu Flat
- 6 pessoas
- Ar-condicionado
- Aquecimento
- Terraço
- Estacionamento
- Tv
- Chaminé
- Churrasco
- Toalhas
- Lençóis
60 avaliações


Lindsays of Kangaroo Island
Penneshaw - Penneshaw
- 2 pessoas
- Ar-condicionado
- Aquecimento
- Terraço
- Estacionamento
- Varanda
- Jardim
- Tv
- Churrasco
- Toalhas
- Lençóis
11 avaliações