
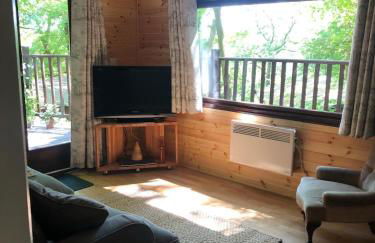
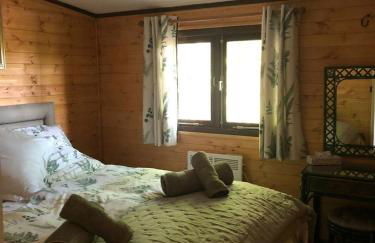
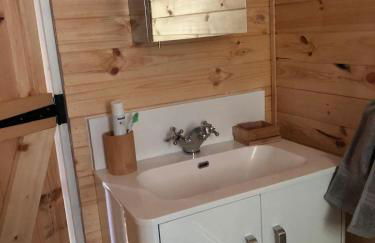
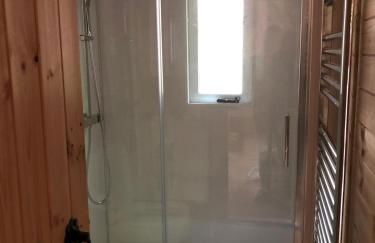
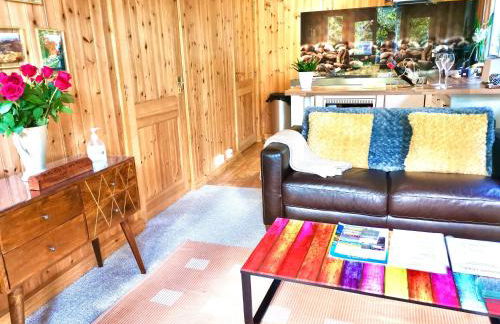
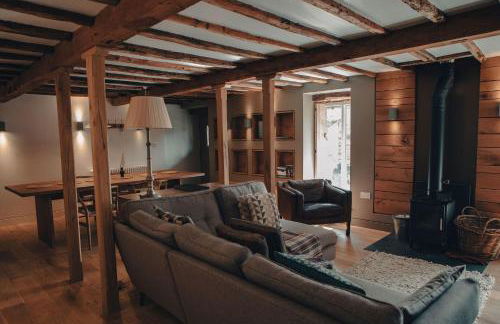
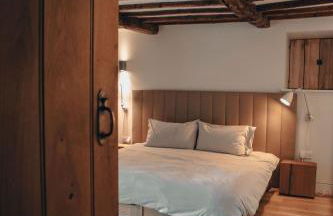
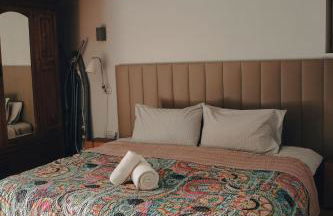
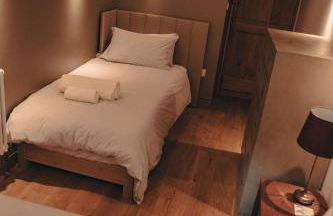
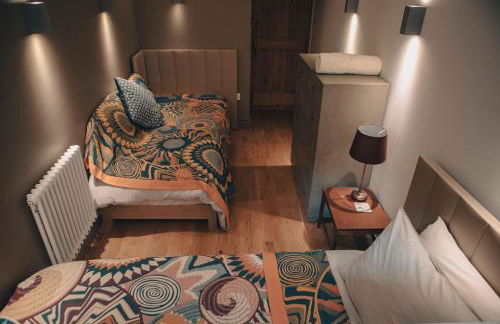
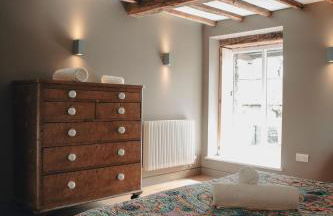
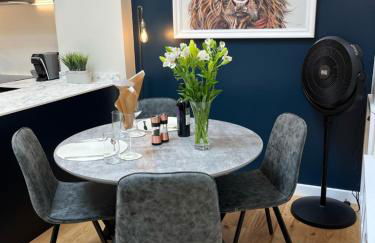
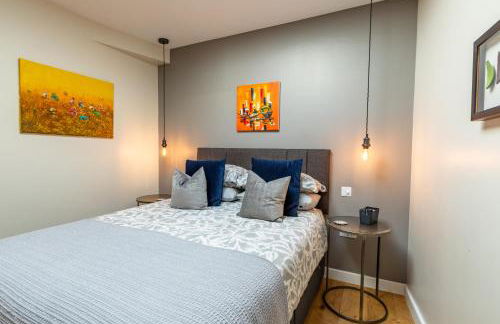
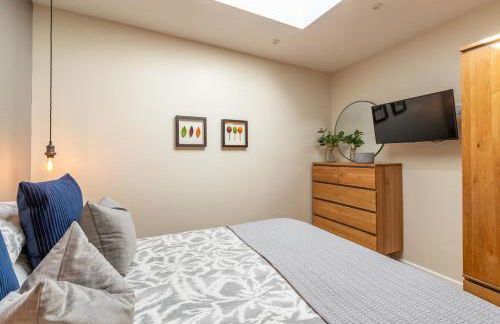
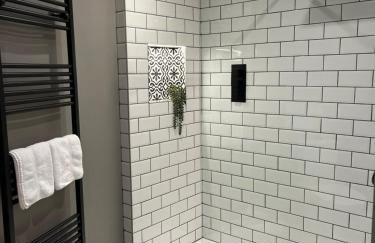
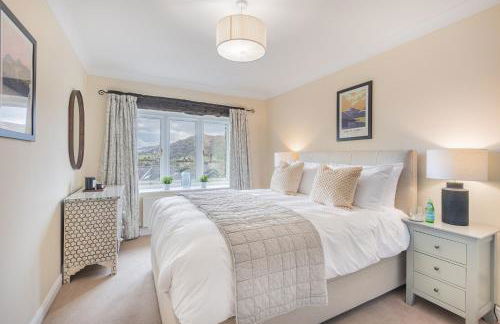
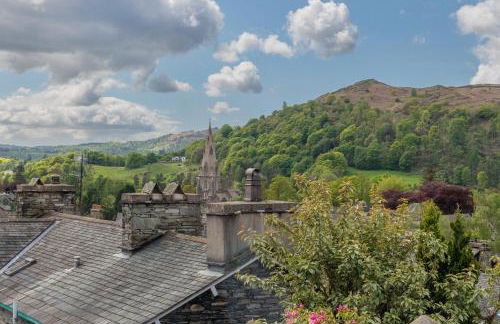
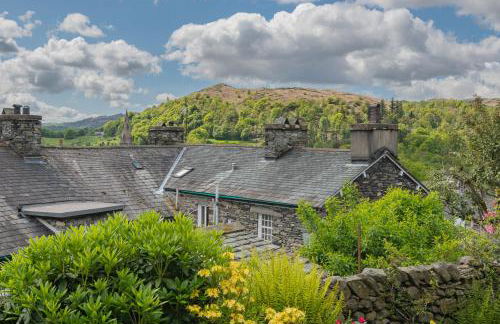
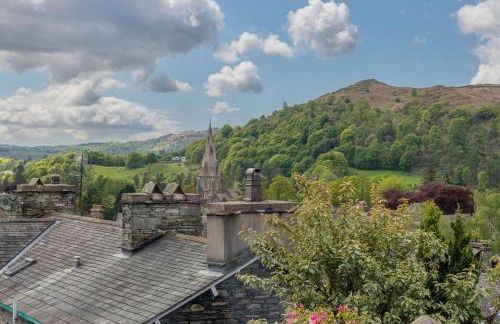
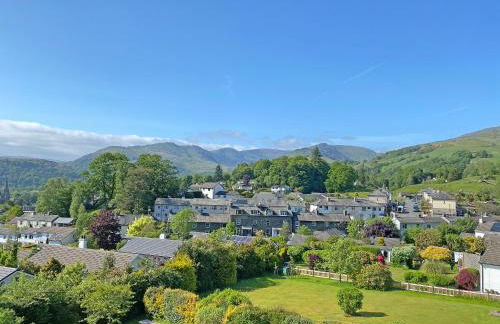
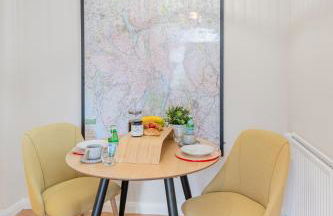
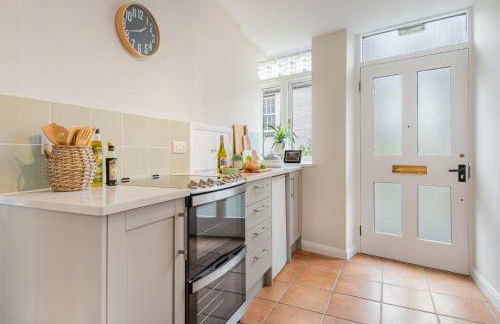
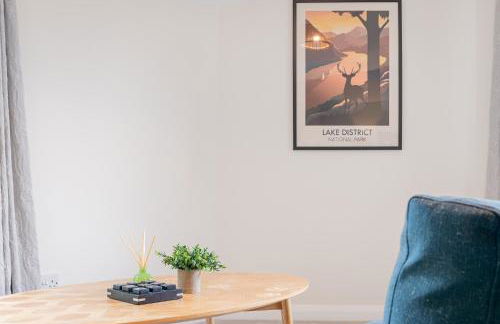
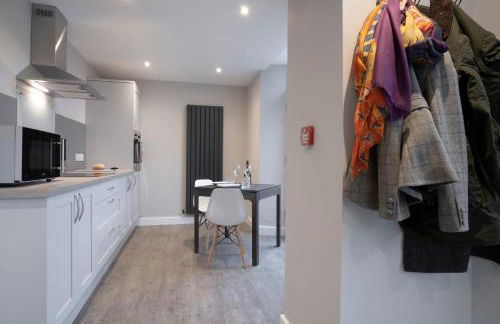
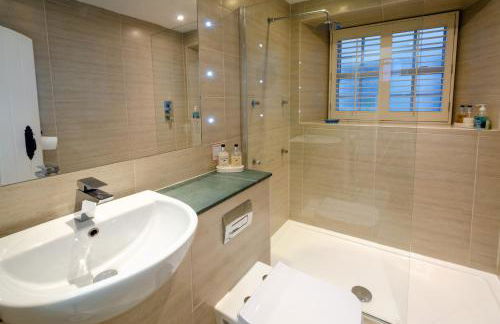
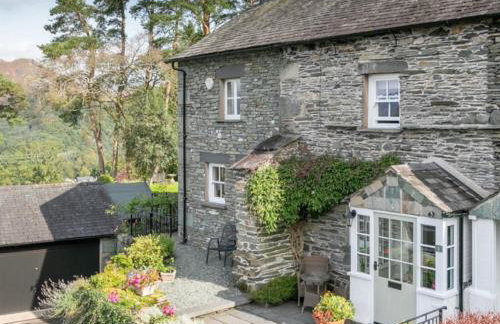
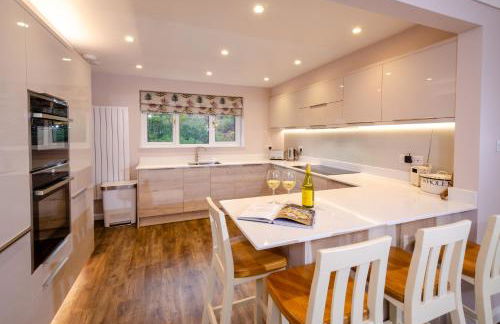
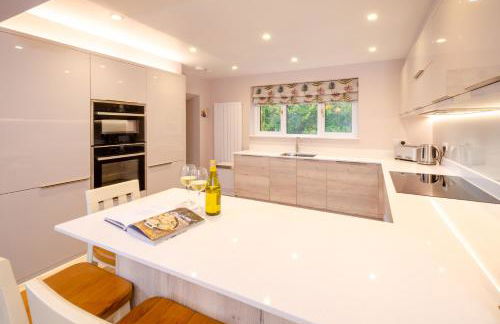
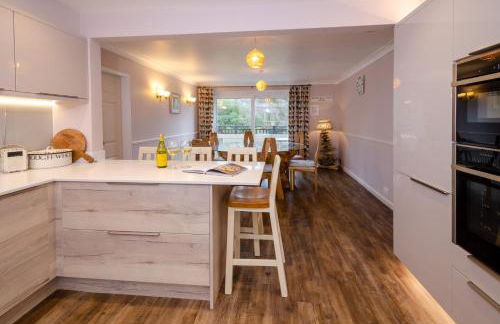
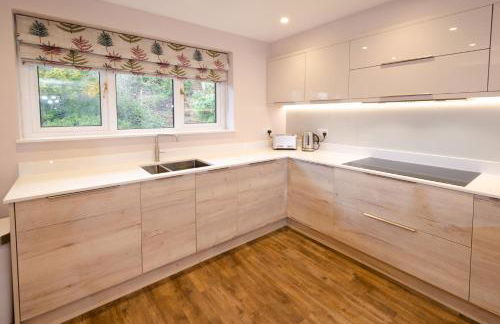
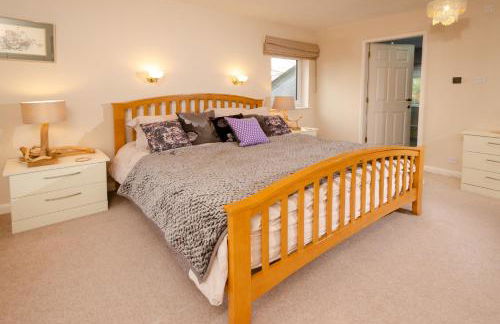
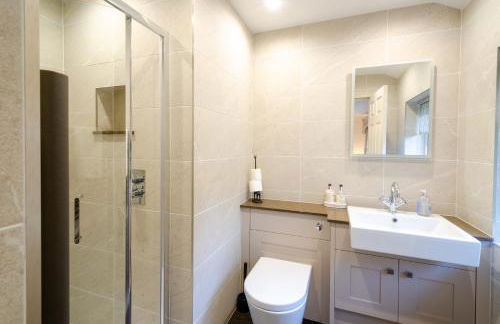
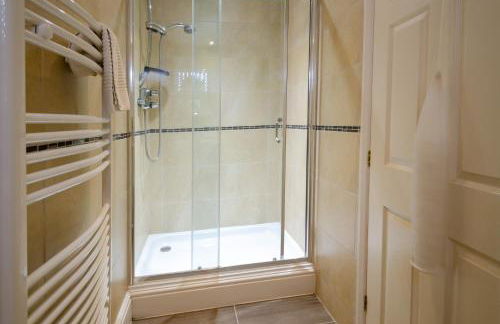
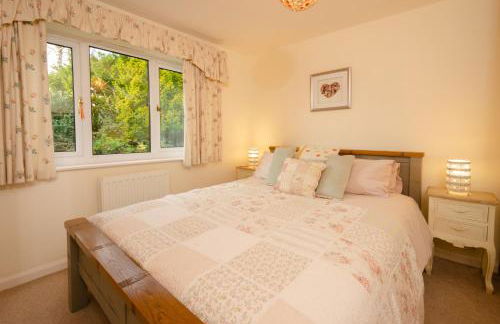
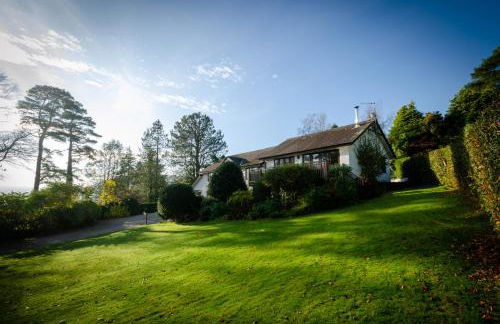
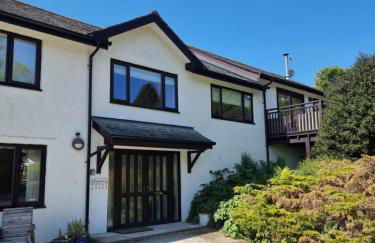
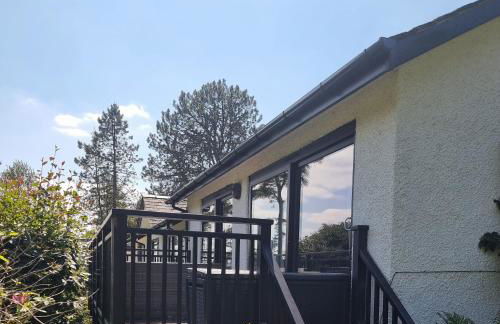
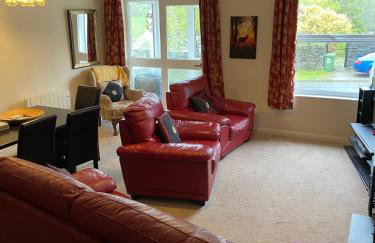
860 Apartamentos em Ambleside


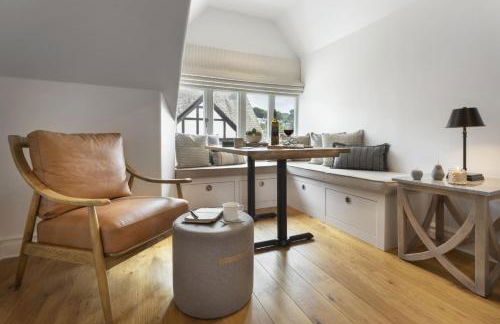
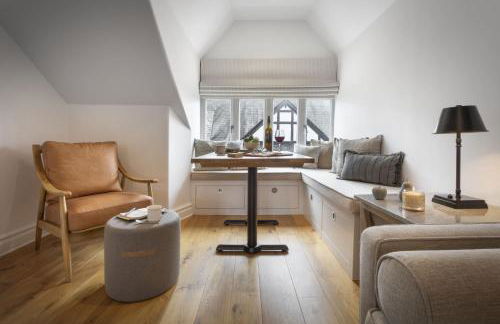
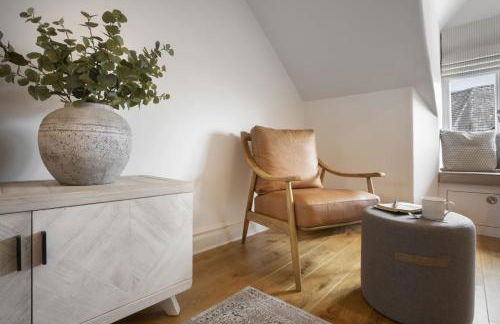
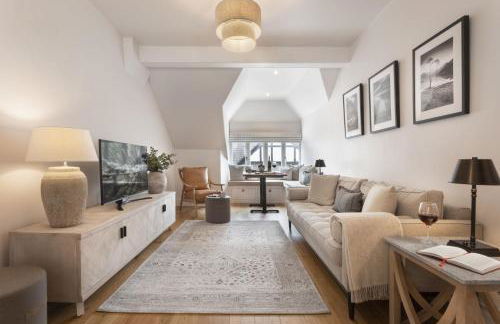
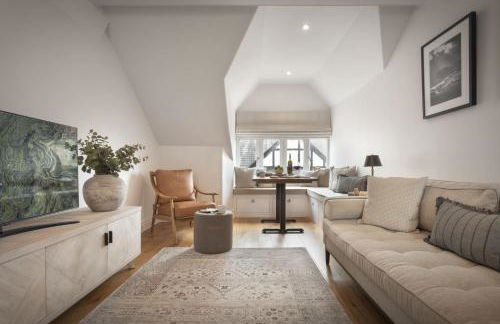
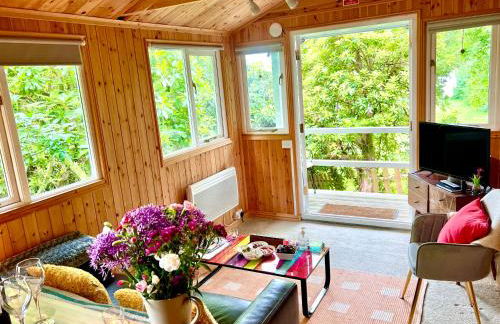
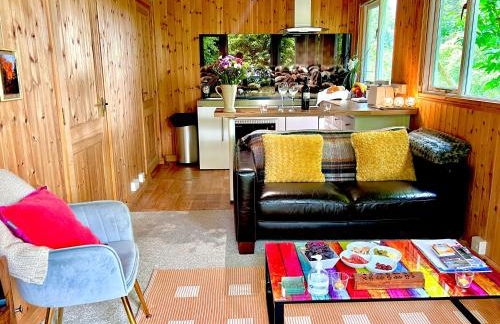
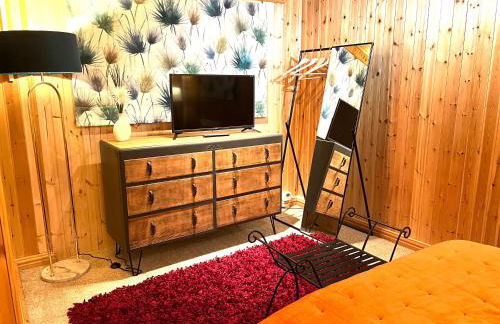
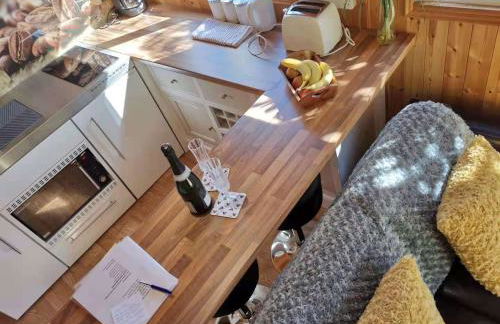
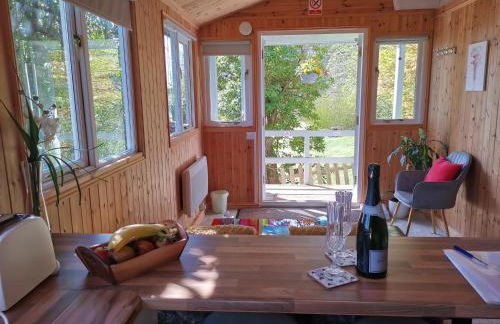
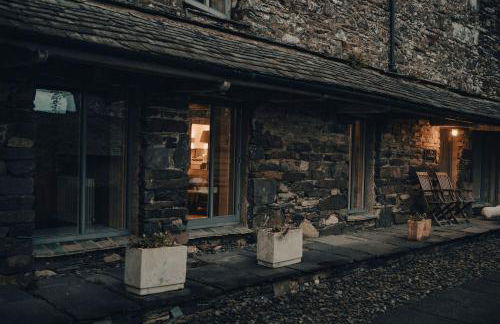
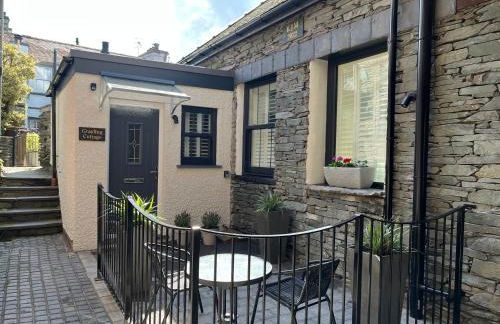
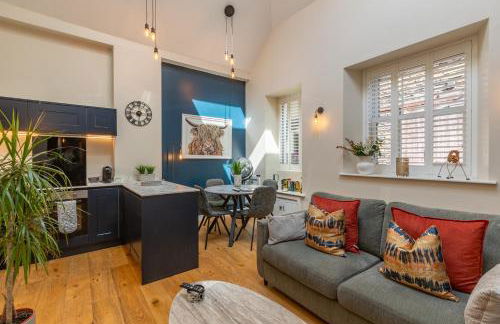
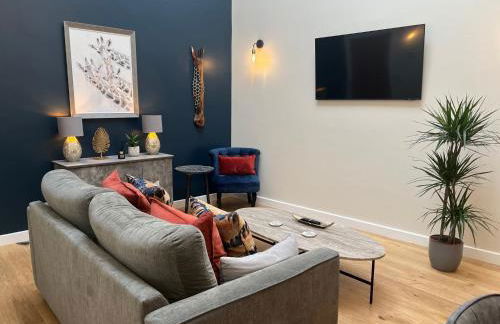
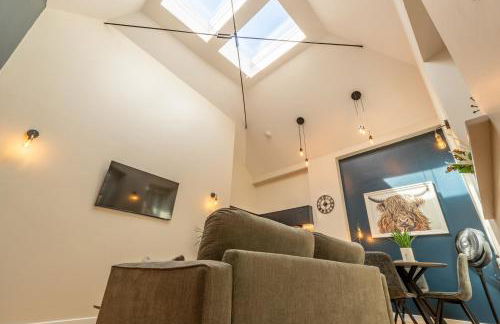
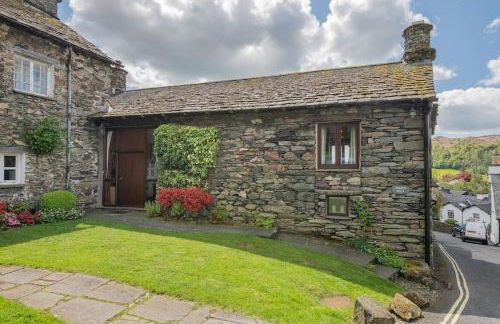
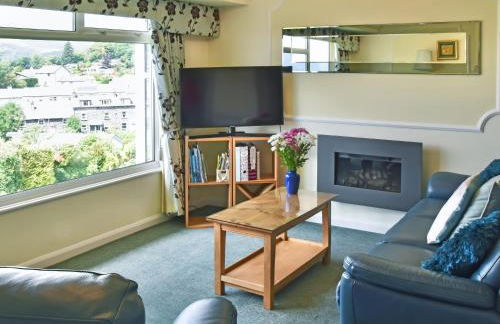
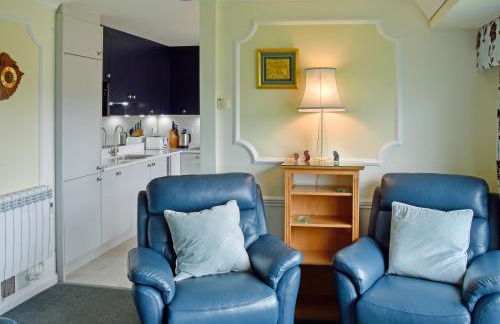
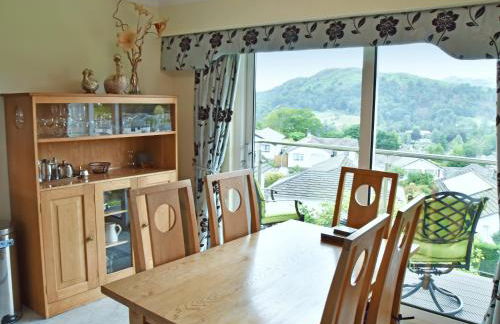
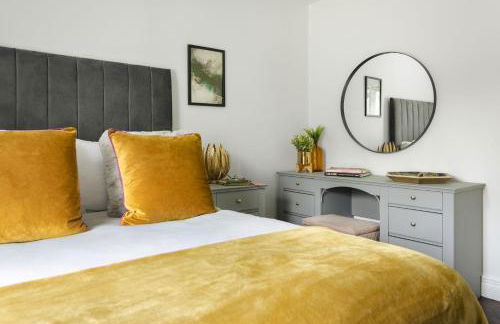
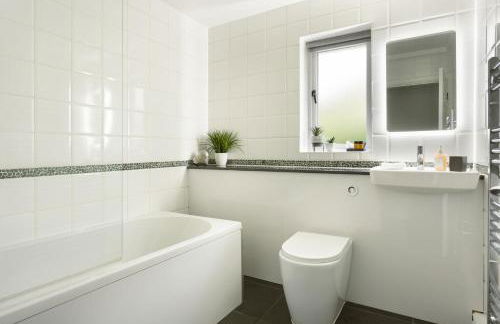
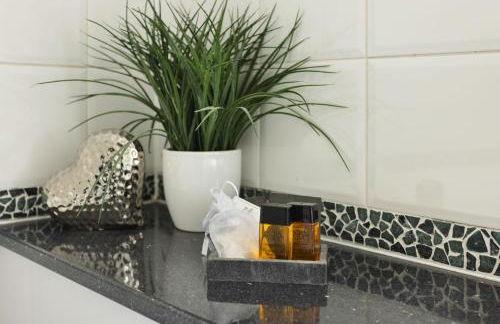
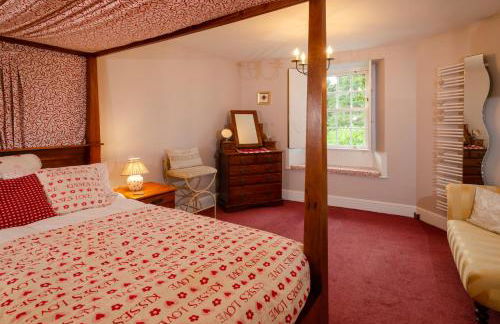
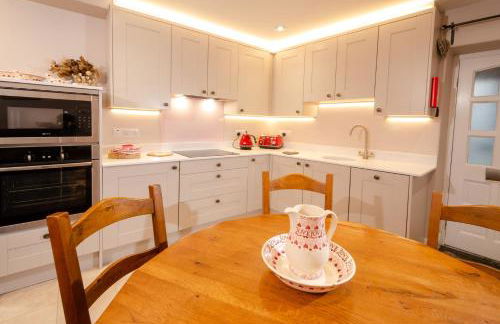
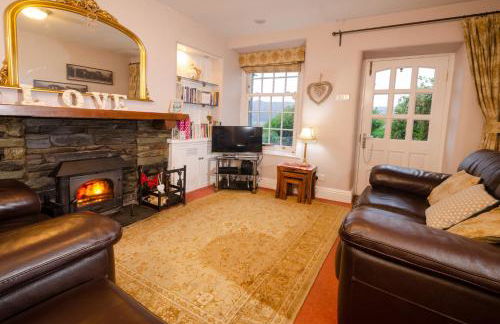
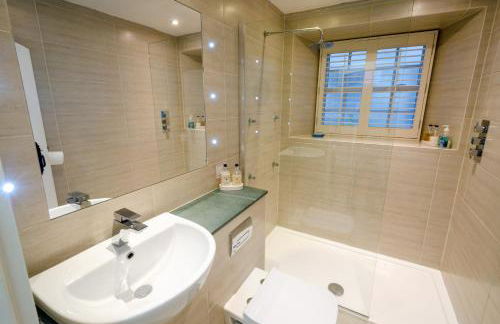
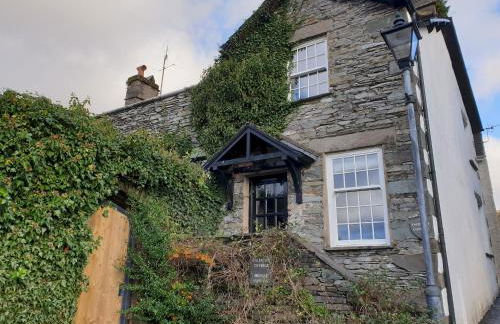
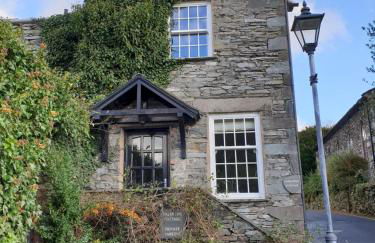
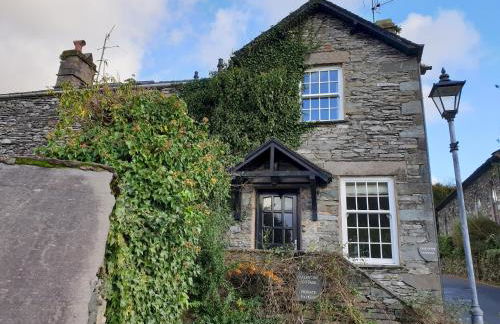
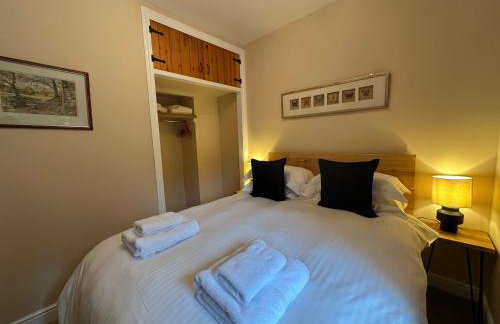
Hawkshead Suites
Ambleside - Hawkshead
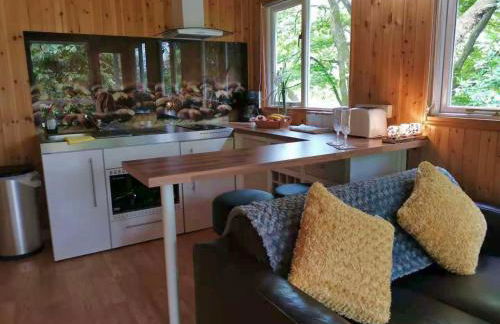
- 60 M2
- 1 quarto
- 2 pessoas
- Ar-condicionado
- Aquecimento
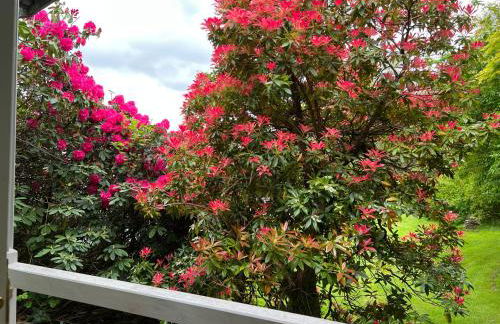
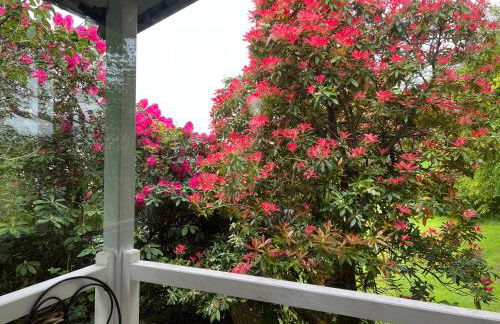
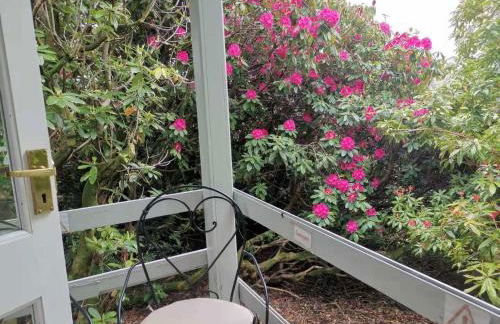
- Terraço
- Estacionamento
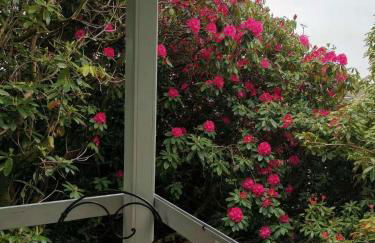
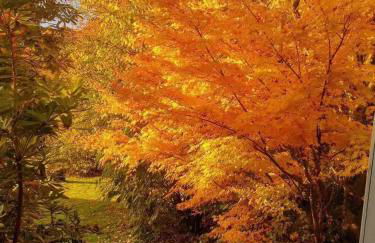
- Jardim
64 avaliações


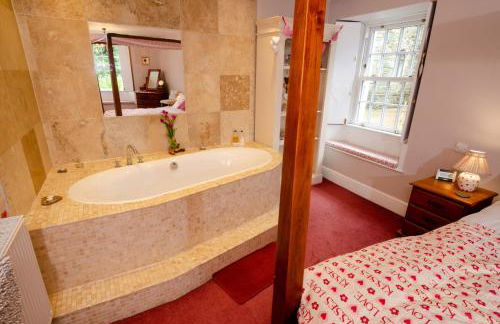
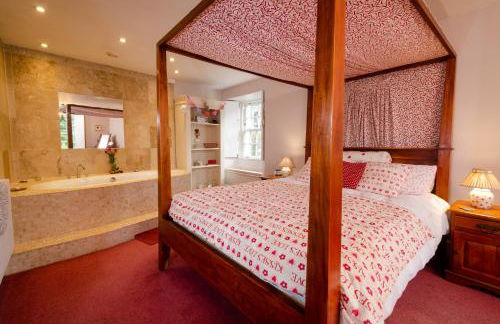
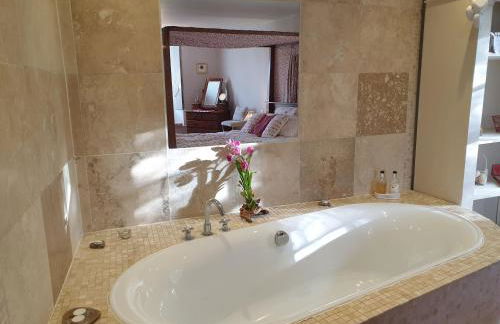
Ees Wyke Country House
Ambleside - Near Sawrey
- 15 M2
- Aquecimento
- Terraço
- Estacionamento
- Jardim
160 avaliações


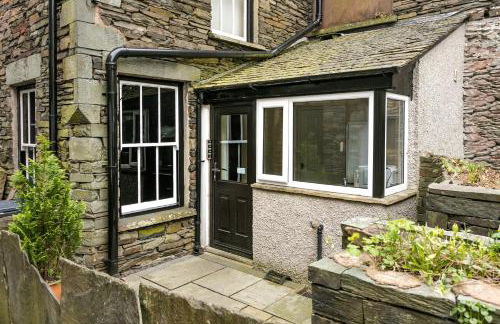

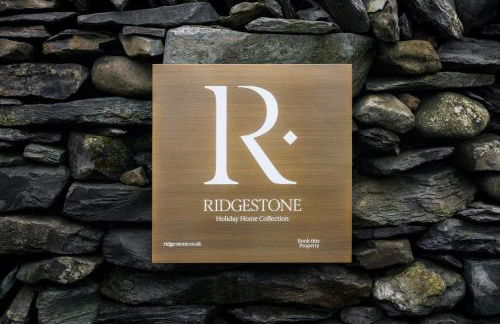


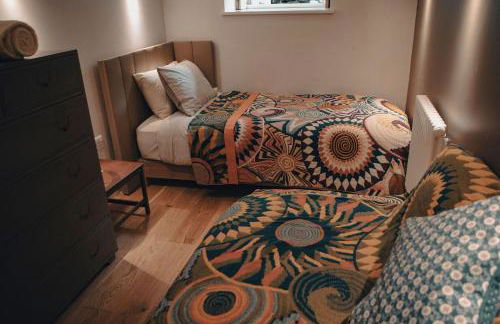
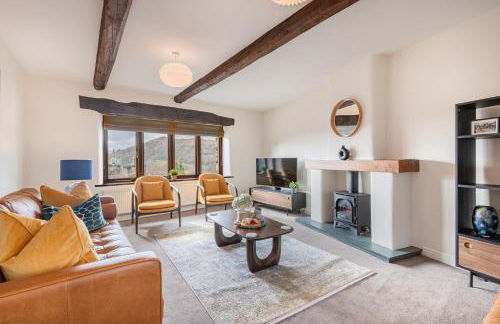
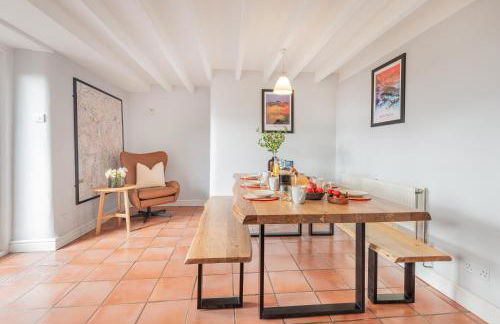
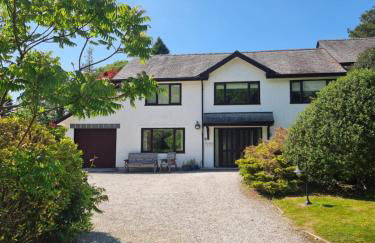
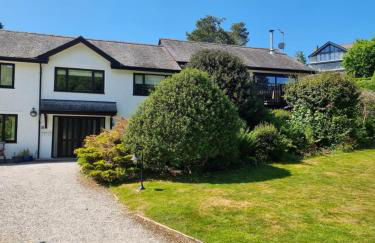
Rohan Rise - Lake District Escape for Two - Ridgestone
Ambleside - Ambleside
- 430 M2
- 2 pessoas
- Aquecimento
- Estacionamento
- Tv
- Máquina de lavar roupa
- Toalhas
- Lençóis
43 avaliações
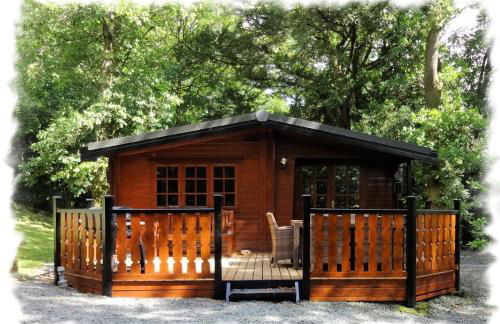

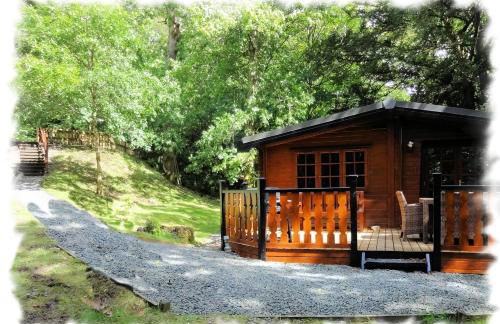
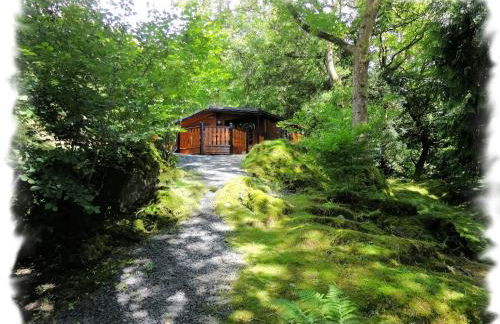

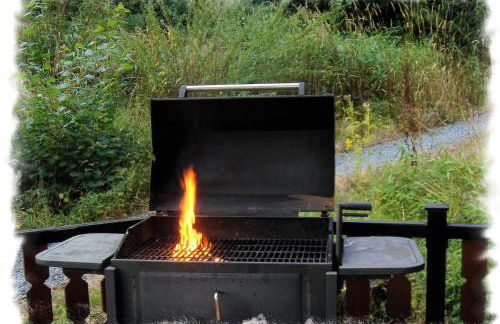
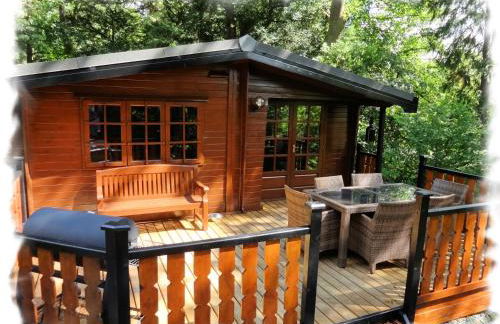
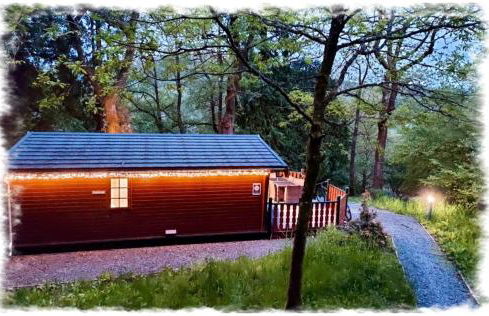
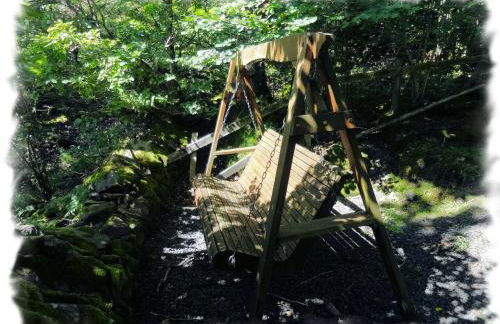
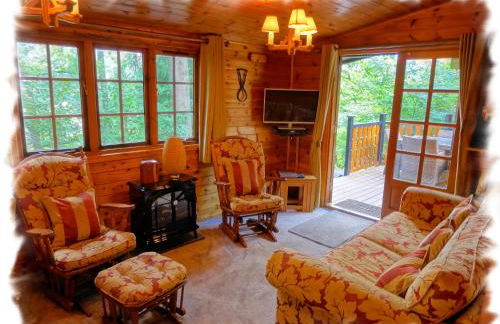
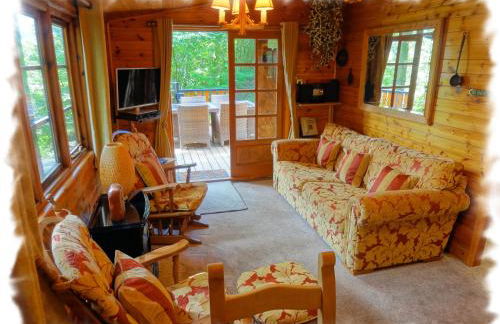


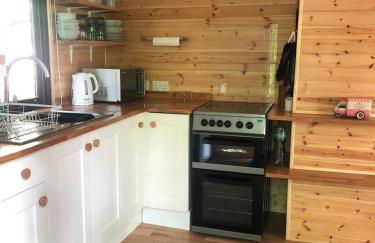
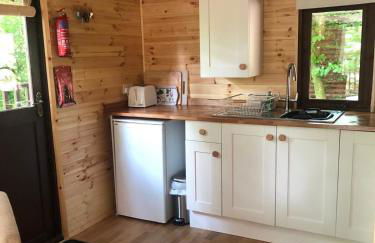
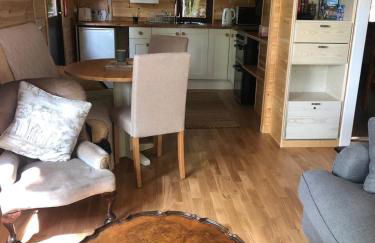
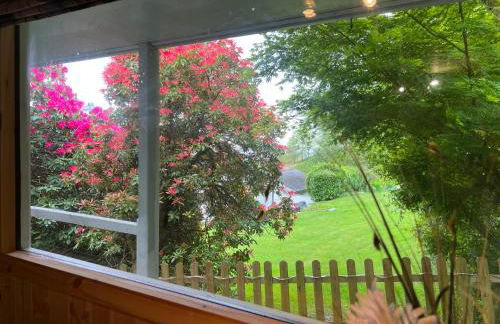
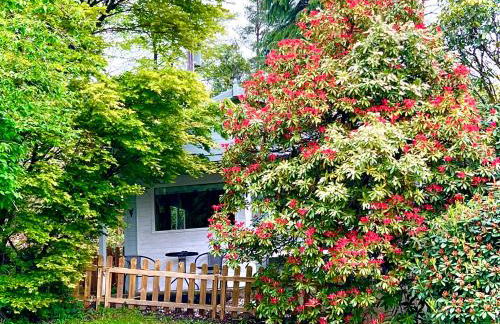
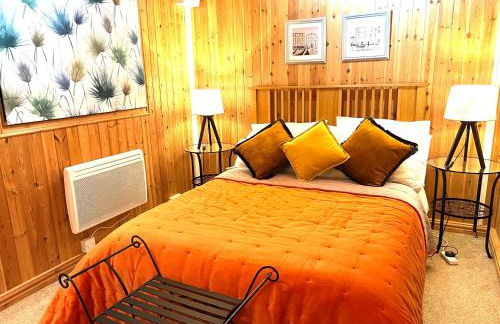
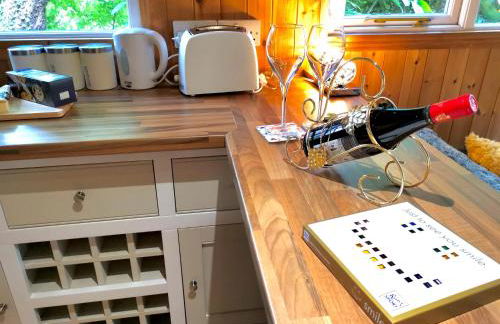
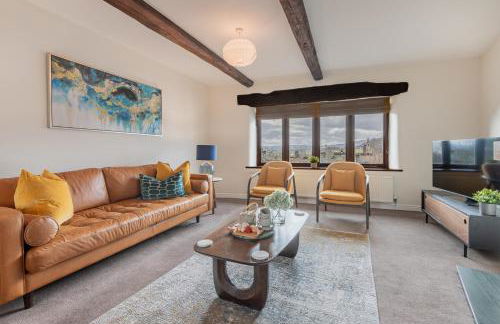
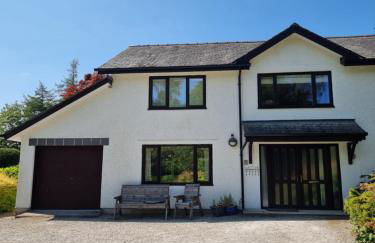
Blelham Tarn Rustic cabin in tranquil woodland
Ambleside - Skelwith Bridge
- 82 M2
- 2 quartos
- Aquecimento
- Terraço
- Piscina
- Estacionamento
- Jardim
- Churrasco
25 avaliações


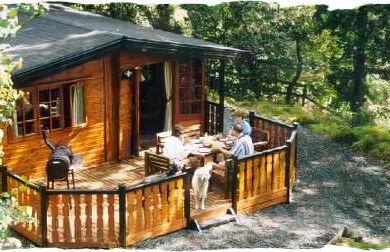
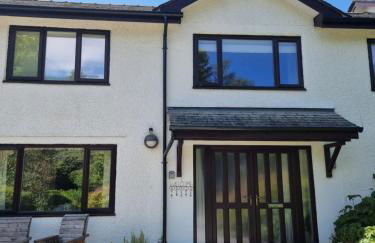
Devoke Water
Ambleside - Skelwith Bridge
- 2 quartos
- 4 pessoas
- Aquecimento
- Piscina
- Estacionamento
13 avaliações


Treeside woodhouse
Ambleside - Outgate
- 29 M2
- 2 pessoas
- Aquecimento
- Terraço
- Estacionamento
- Jardim
56 avaliações


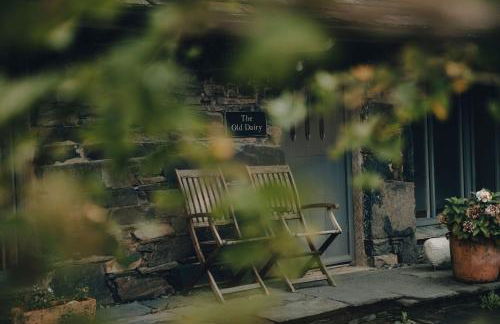
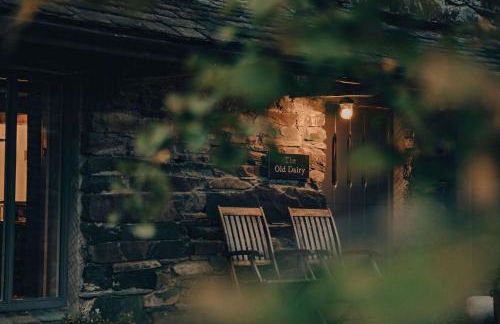

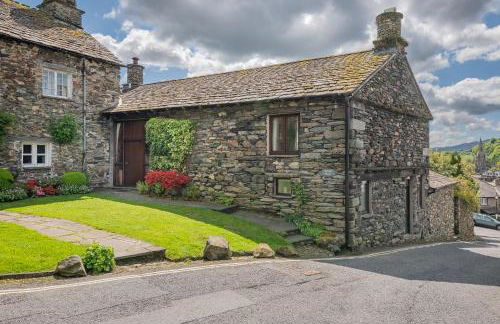
THE OLD DAIRY at Sunny Brow Farm
Ambleside - Outgate
- 90 M2
- 2 quartos
- 4 pessoas
- Terraço
- Estacionamento
- Jardim
25 avaliações


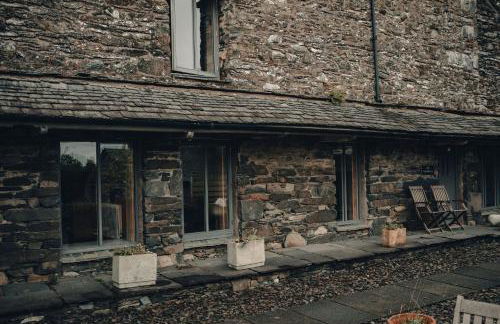
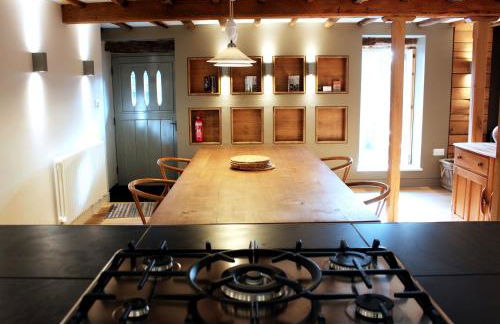
The Barn at Walker Ground Manor
Ambleside - Hawkshead
- 49 M2
- 2 quartos
- 4 pessoas
- Aquecimento
- Terraço
- Estacionamento
- Jardim
28 avaliações
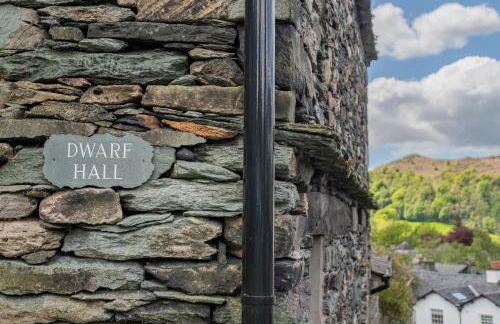


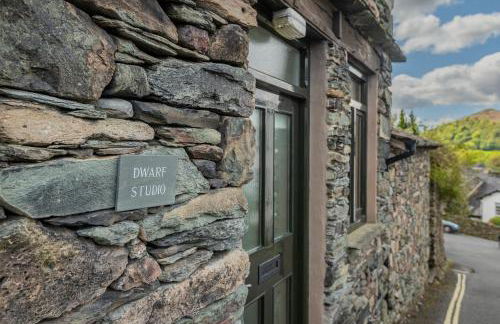
Dwarf Hall - central Ambleside
Ambleside - Ambleside
- 3 quartos
- 6 pessoas
- Aquecimento
- Estacionamento
27 avaliações


Badgers Rake 12 Squirrels Nest
Ambleside - Ambleside
- 2 quartos
- 4 pessoas
- Aquecimento
- Estacionamento
- Jardim
11 avaliações


Bellfoot Rural Retreat and Hot Tub
Ambleside - Grasmere
- 108 M2
- 3 quartos
- Aquecimento
- Terraço
- Estacionamento
- Jardim
28 avaliações
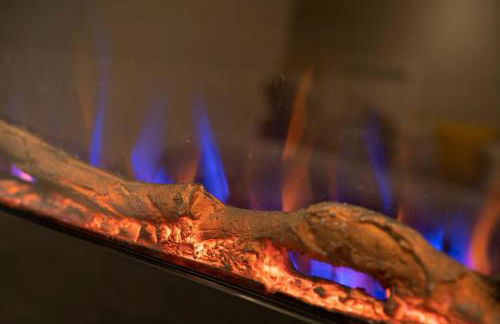


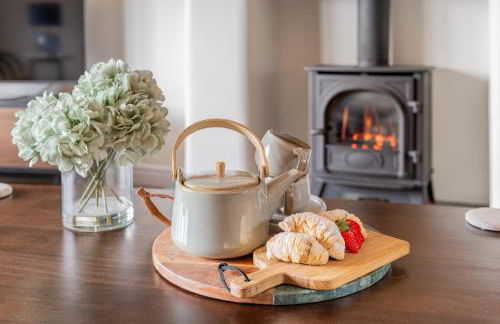
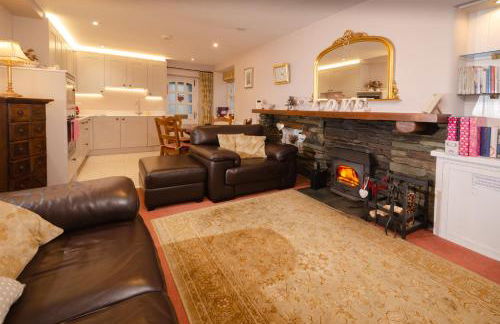
The Hideaway with Cosy Fireplace by LetMeStay
Ambleside - Ambleside
- 40 M2
- 2 pessoas
- Aquecimento
- Estacionamento
21 avaliações


Cottage No1 Four Bed Lakeland Retreat and Hot Tub
Ambleside - Skelwith Fold
- 14 M2
- 3 quartos
- Aquecimento
- Estacionamento
- Jardim
12 avaliações
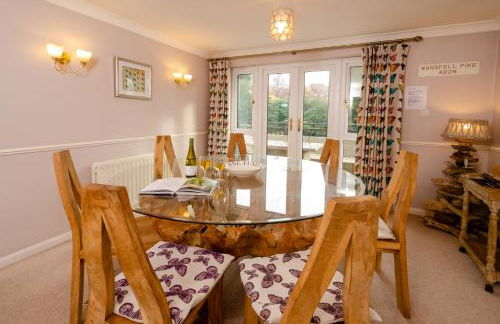
Wansfell
Ambleside - Ambleside
- 2000 M2
- 4 quartos
- 6 pessoas
- Aquecimento
- Terraço
- Estacionamento
- Jardim
2 avaliações


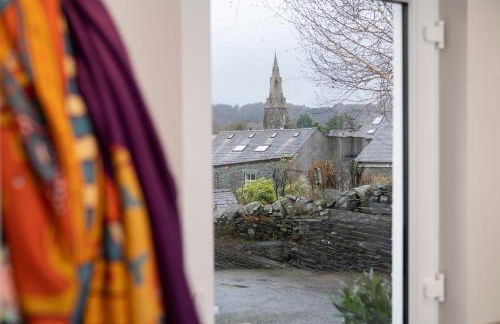
Cosy home in centre of Lake District National Park
Ambleside - Chapel
- 100 M2
- 1 pessoa
- Aquecimento
- Terraço
- Estacionamento
- Jardim
2 avaliações