
312 Apartamentos em Asheville


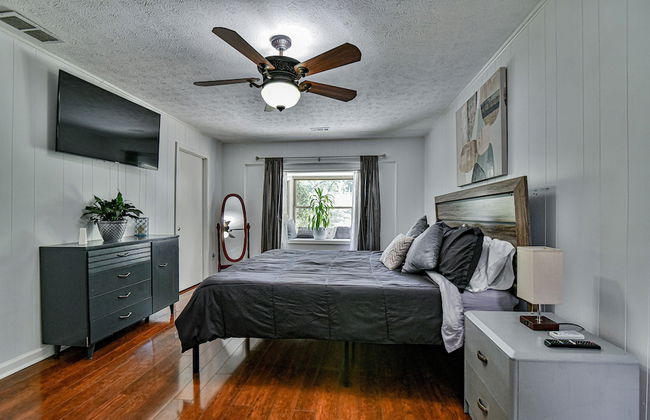
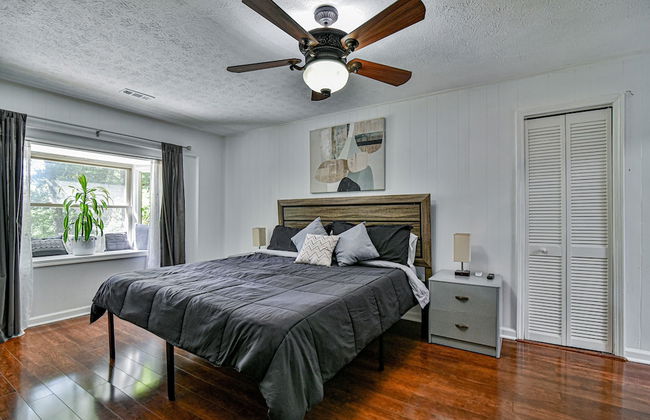
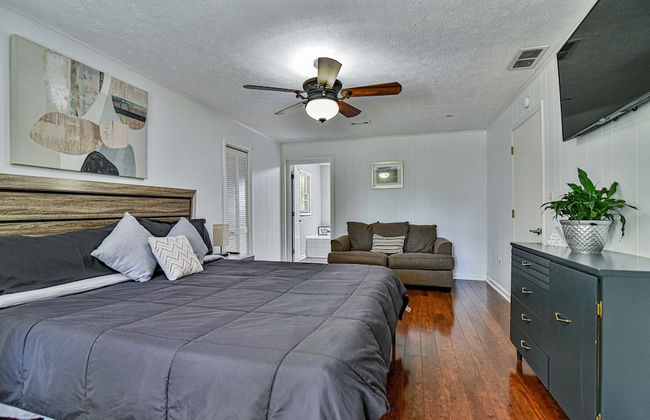
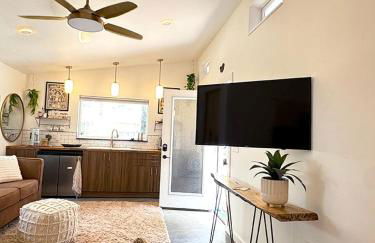
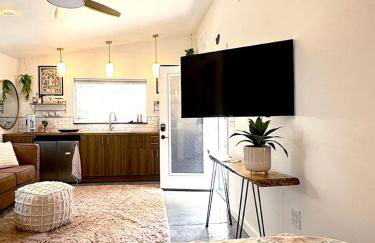
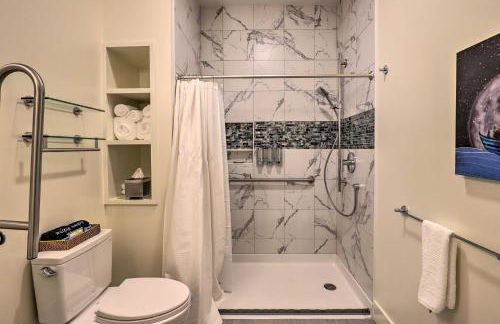
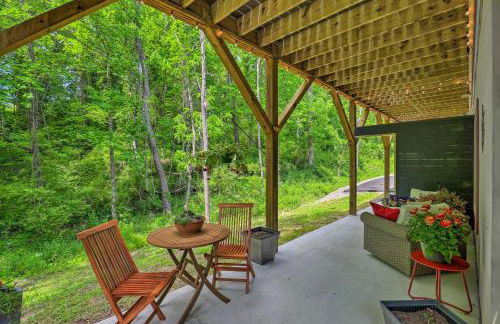
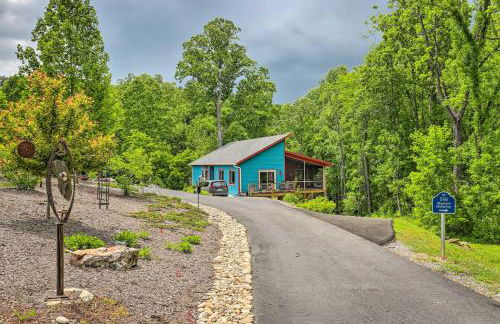
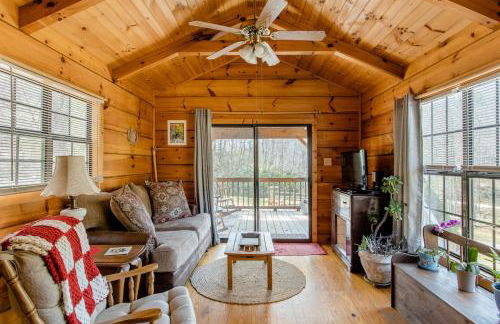
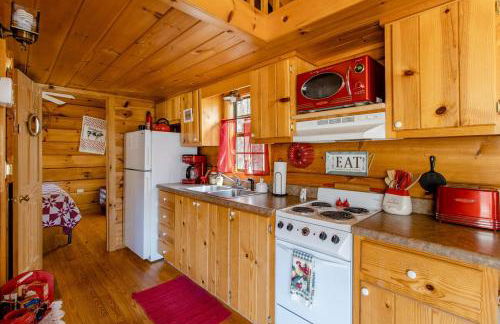
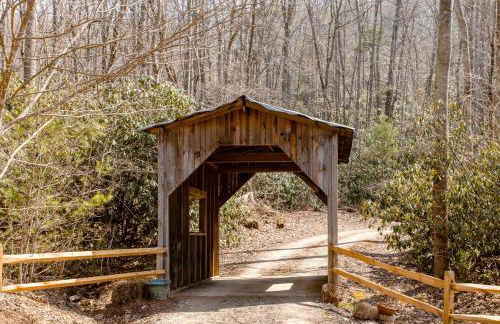
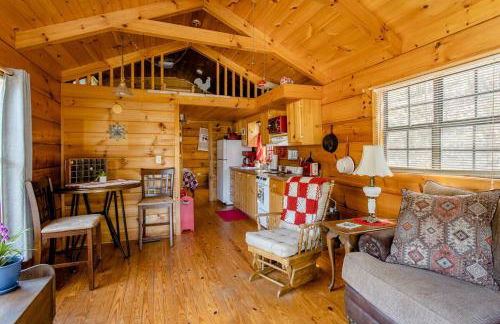
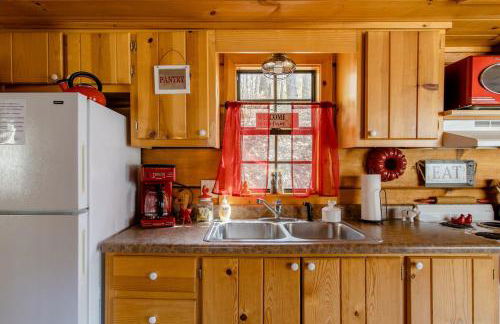
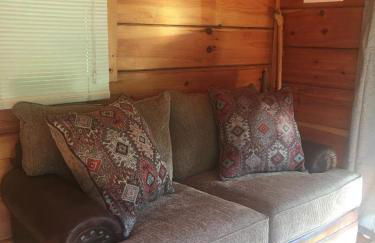
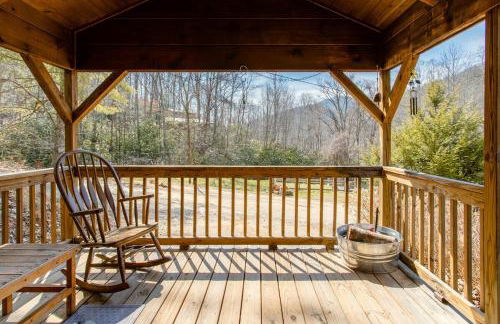
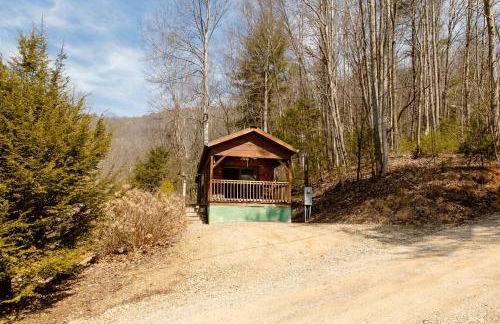
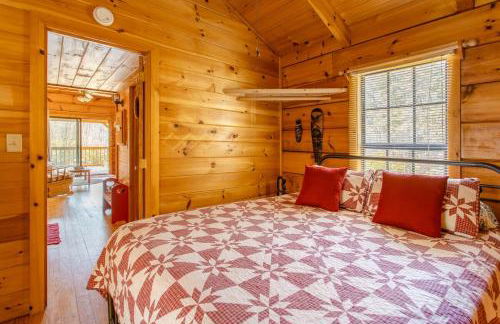
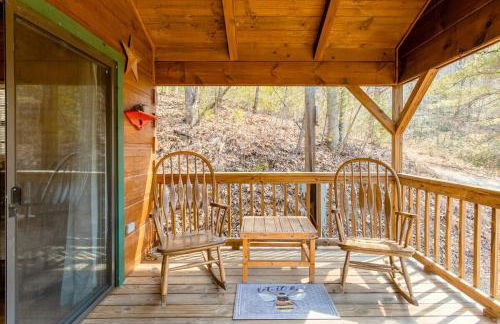
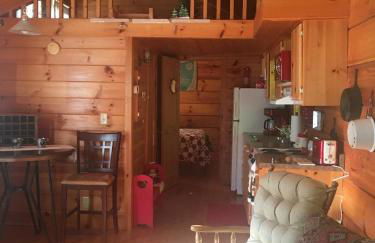
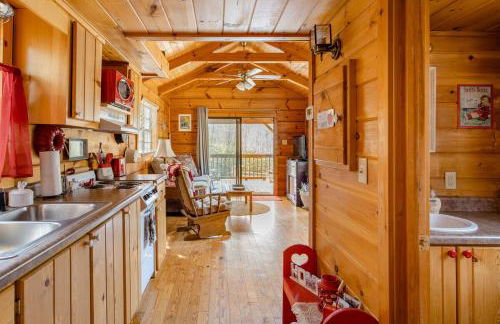
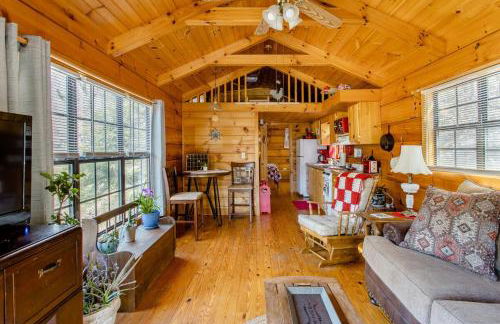
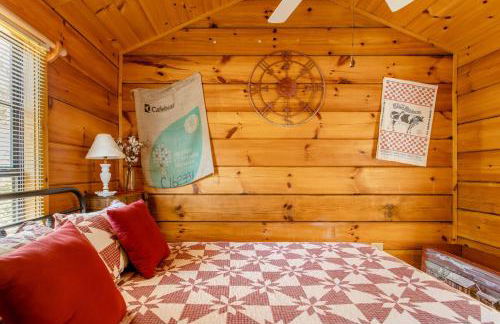
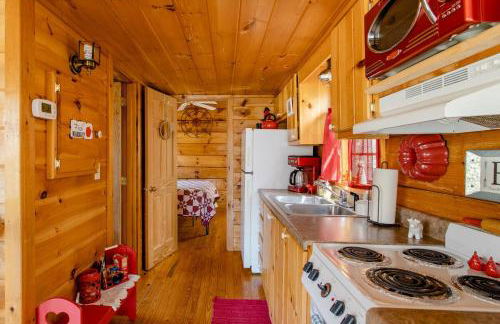
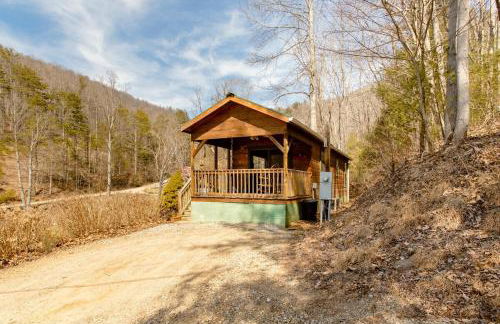
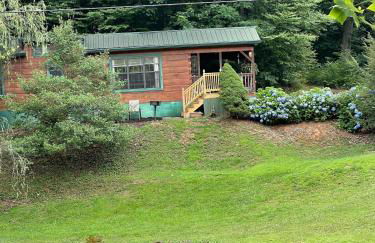
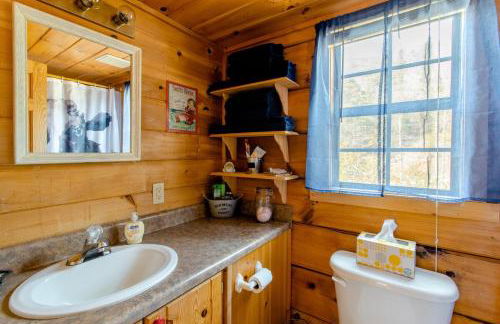
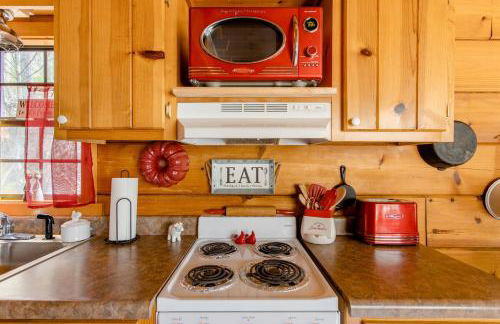
Asheville Country Cabins
Asheville - 13.5 km do centro
- 139 M2
- 6 pessoas
- Ar-condicionado
- Aquecimento
- Terraço
- Estacionamento
- Varanda
- Jardim
- Tv
- Máquina de lavar roupa
- Chaminé
- Churrasco
- Toalhas
- Lençóis
15 avaliações


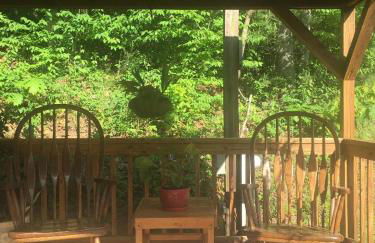
Asheville Cottages
Asheville - 9.8 km do centro
- 79 M2
- 4 pessoas
- Ar-condicionado
- Aquecimento
- Estacionamento
- Varanda
- Tv
- Máquina de lavar roupa
- Chaminé
- Churrasco
- Toalhas
24 avaliações


River Row Flats
Asheville - Westwood - 1.7 km do centro
- 46 M2
- 4 pessoas
- Ar-condicionado
- Aquecimento
- Estacionamento
- Varanda
- Tv
- Máquina de lavar roupa
- Toalhas
- Lençóis
11 avaliações


The Furman Building
Asheville - Charlotte Street - 360 m do centro
- 37 M2
- 2 pessoas
- Kitchenette
- Ar-condicionado
- Aquecimento
- Estacionamento
- Tv
- Toalhas
- Lençóis
34 avaliações


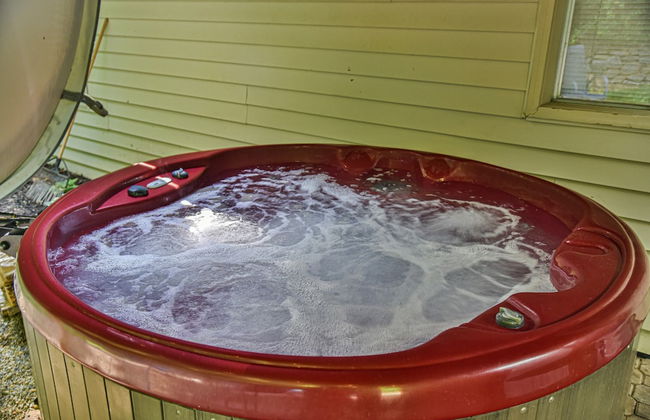


Mountain Retreat Hot Tub Asheville
Asheville - 11.9 km do centro
- 165 M2
- 10 pessoas
- Ar-condicionado
- Aquecimento
- Estacionamento
- Tv
- Chaminé
- Churrasco
- Toalhas
- Lençóis
2 avaliações


Blueberry Hill Cabin-Private, secluded cabin with a fireplace and New Hot Tub 2025
Asheville - 8.8 km do centro
- 95 M2
- 3 quartos
- 4 pessoas
- Ar-condicionado
- Aquecimento
- Terraço
- Estacionamento
- Jardim
- Churrasco
13 avaliações


Elevation Lofts Hotel
Asheville - Downtown Asheville - No centro
- 91 M2
- 2 quartos
- Ar-condicionado
- Aquecimento
- Estacionamento
- Elevador
73 avaliações


Mid-century Modern Impeccable Remodel with Hot Tub
Asheville - 9.5 km do centro
- 311 M2
- 4 quartos
- 7 pessoas
- Ar-condicionado
- Aquecimento
- Estacionamento
- Jardim
- Churrasco
11 avaliações


Wrong Way River Lodge & Cabins
Asheville - 3.3 km do centro
- 32 M2
- 4 pessoas
- Kitchenette
- Aquecimento
- Estacionamento
- Varanda
- Chaminé
- Toalhas
- Lençóis
2 avaliações


Arras Altitude Adjustment
Asheville - Downtown Asheville - No centro
- 77 M2
- 1 quarto
- 4 pessoas
- Aquecimento
- Elevador
10 avaliações


The Farmhouse at Wolfehaven
Asheville - 9.9 km do centro
- 125 M2
- 2 quartos
- 6 pessoas
- Ar-condicionado
- Aquecimento
- Estacionamento
- Jardim
- Churrasco
33 avaliações


The Views Over Pack Square | Arras Vacation Rental
Asheville - Downtown Asheville - No centro
- 77 M2
- 1 quarto
- 4 pessoas
- Aquecimento
- Estacionamento
- Elevador
15 avaliações


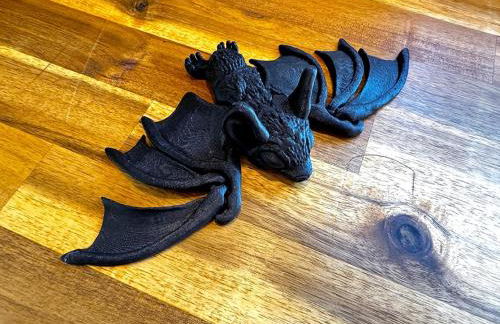


Tiny House Rental in Asheville, NC - The Bat Shack
Asheville - Kenilworth - 1.7 km do centro
- 27 M2
- Ar-condicionado
- Aquecimento
- Terraço
- Estacionamento
- Jardim
- Churrasco
2 avaliações


7 Mi to Dtwn Asheville Apartment with Patio
Asheville - 8.1 km do centro
- 70 M2
- 2 pessoas
- Aquecimento
- Estacionamento
15 avaliações


Willow Pond Cabin that is peaceful and quiet
Asheville - 8.9 km do centro
- 1 M2
- 1 quarto
- 2 pessoas
- Ar-condicionado
- Estacionamento
- Churrasco
13 avaliações


High-Design Downtown Loft
Asheville - Downtown Asheville - No centro
- 121 M2
- 2 quartos
- Ar-condicionado
- Aquecimento
- Estacionamento
25 avaliações


Happy Haven w hottub, Gym, & hammocks in West AVL
Asheville - Bear Creek - 4.7 km do centro
- 102 M2
- 2 pessoas
- Ar-condicionado
- Terraço
- Estacionamento
- Jardim
- Churrasco
4 avaliações


Blue Ridge Retreat with Deck Hike, Sip and Explore!
Asheville - 5.9 km do centro
- 81 M2
- 2 quartos
- 4 pessoas
- Estacionamento
12 avaliações


Endless Sunset Retreat | Arras Vacation Rentals
Asheville - Downtown Asheville - No centro
- 89 M2
- 1 quarto
- 4 pessoas
- Aquecimento
- Estacionamento
- Elevador
6 avaliações


Riverside House
Asheville - 3.7 km do centro
- 4 quartos
- Ar-condicionado
- Terraço
- Estacionamento
10 avaliações