


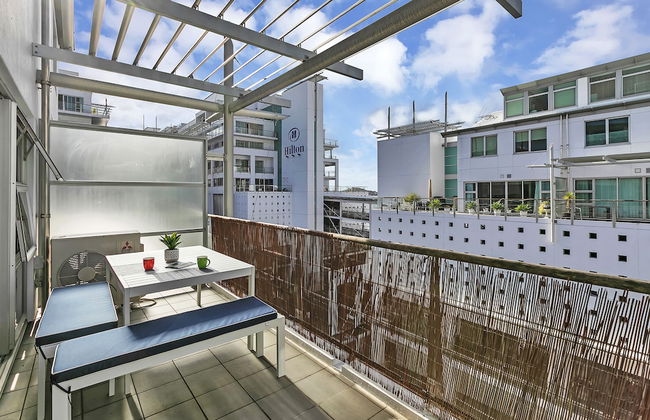


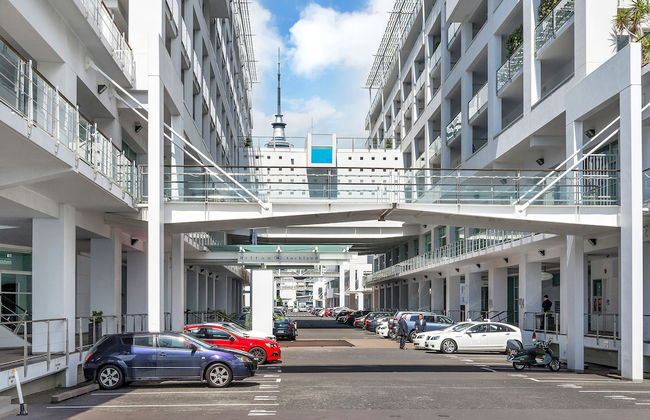


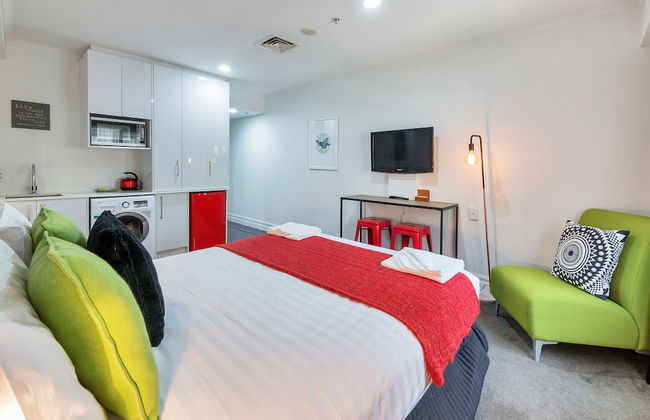
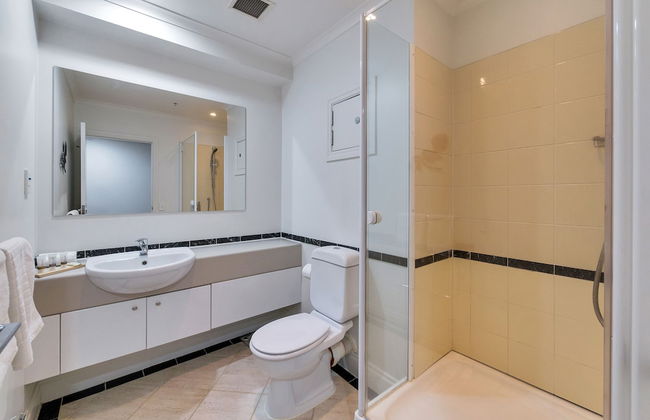
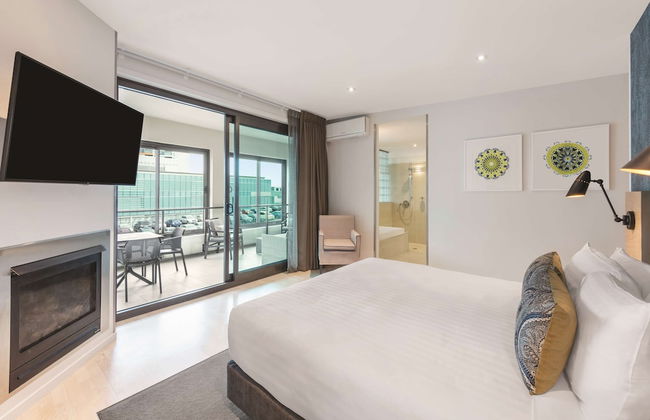
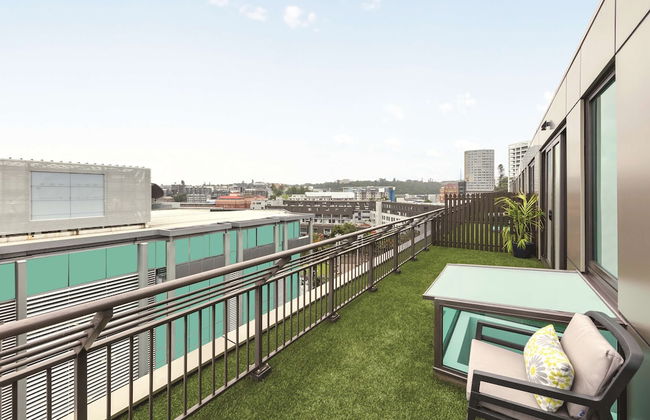
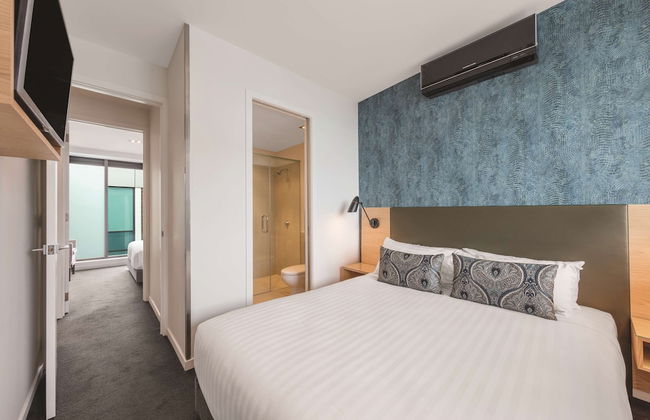
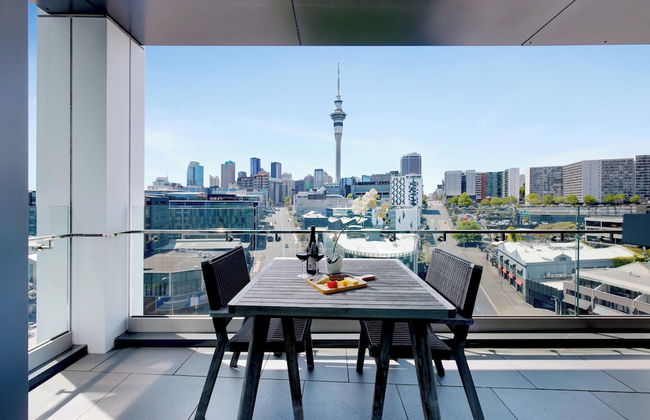
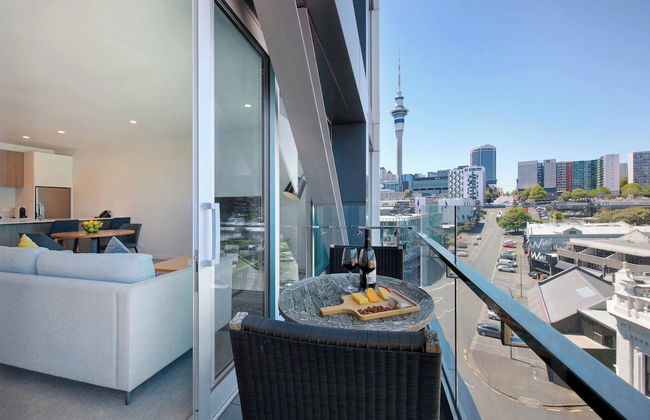
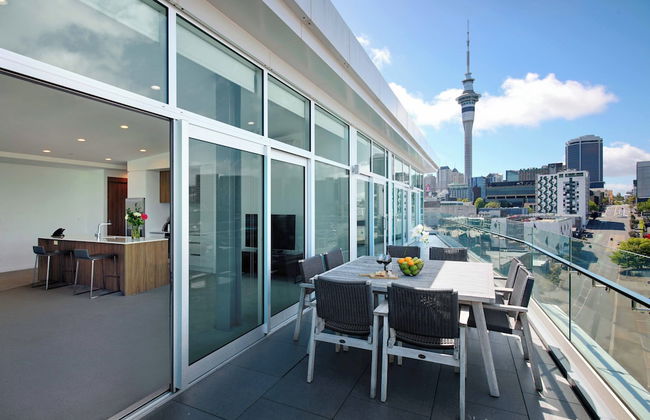
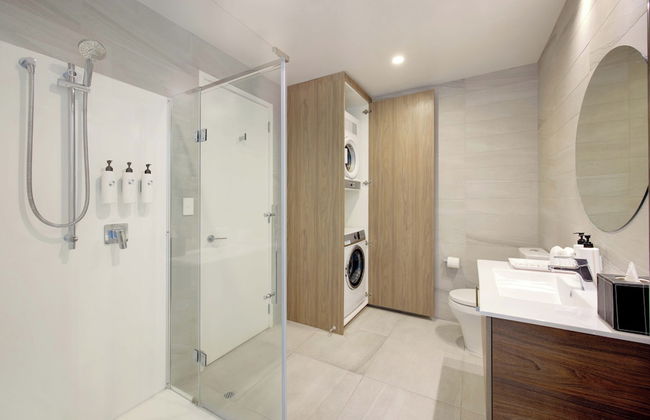
Deluxe Waterfront & City Apartment
Auckland - Auckland Central - 820 m do centro
- 55 M2
- 2 pessoas
- Ar-condicionado
- Aquecimento
- Terraço
- Estacionamento
- Elevador
- Varanda
- Tv
- Máquina de lavar roupa
- Toalhas
- Lençóis


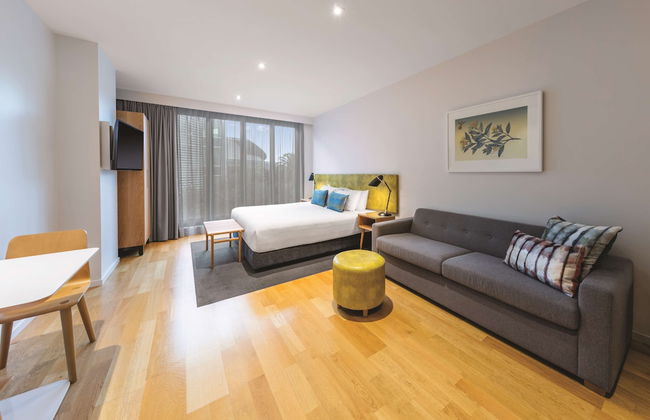
Toodle's Stylish stay on Queen Street
Auckland - Auckland Central - No centro
- 2 pessoas
- Kitchenette
- Ar-condicionado
- Aquecimento
- Piscina
- Estacionamento
- Elevador
- Tv
- Toalhas
- Lençóis


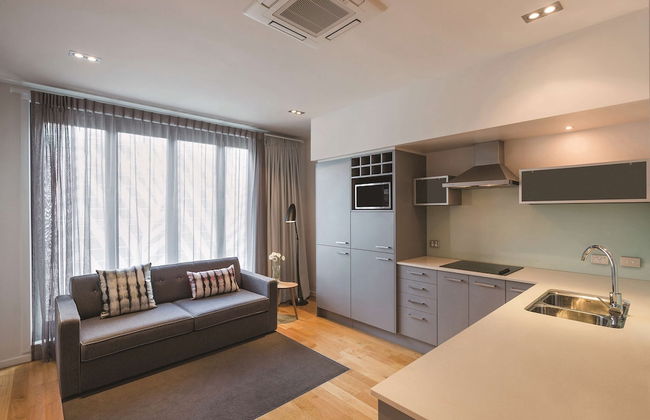
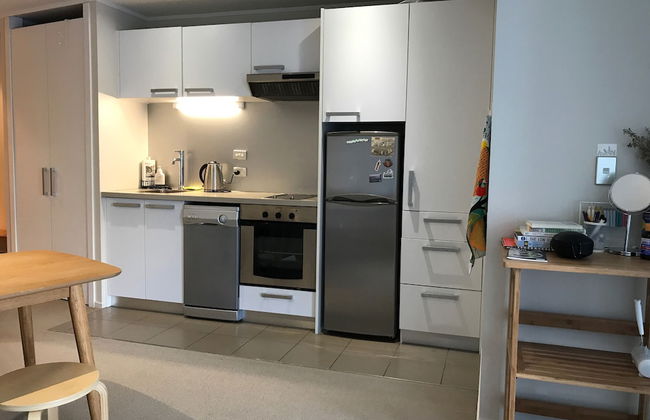
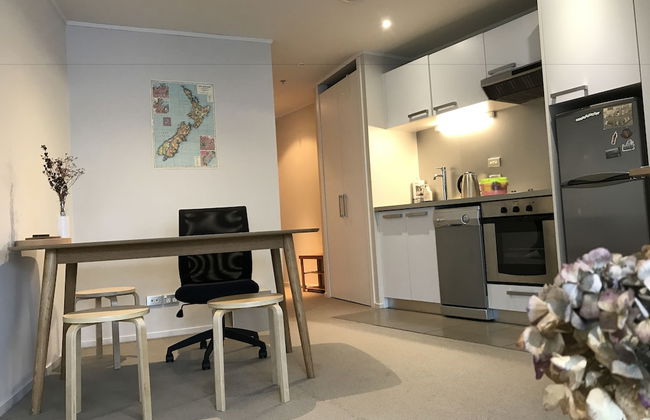
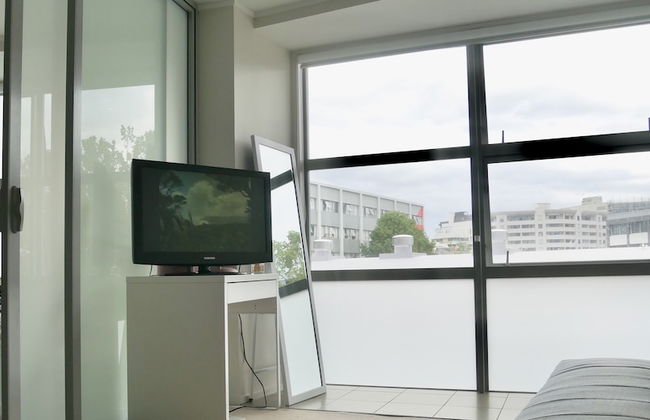
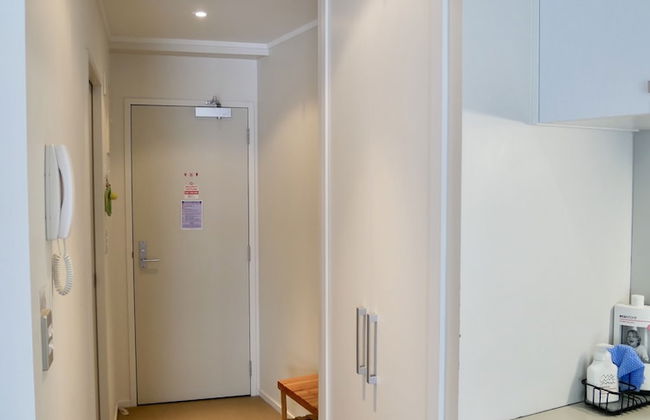
Idyllic City Studio Air-Con & Wifi
Auckland - Auckland Central - No centro
- 20 M2
- 2 pessoas
- Kitchenette
- Ar-condicionado
- Aquecimento
- Piscina
- Elevador
- Tv
- Máquina de lavar roupa
- Toalhas
- Lençóis


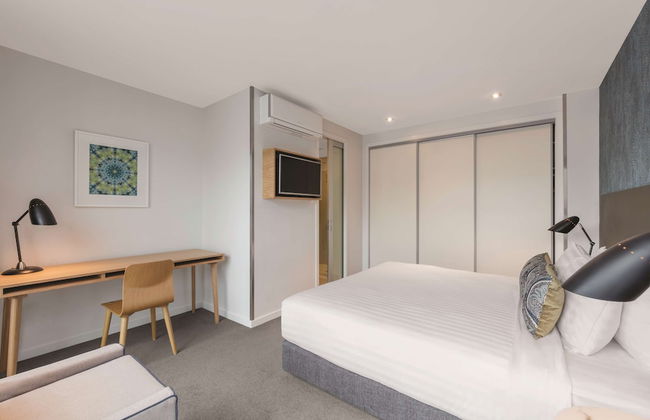
Quest Auckland
Auckland - Auckland Central - No centro
- 80 M2
- 4 pessoas
- Kitchenette
- Ar-condicionado
- Aquecimento
- Terraço
- Estacionamento
- Elevador
- Varanda
- Tv
- Máquina de lavar roupa
- Toalhas
- Lençóis


Quest on Beaumont
Auckland - Auckland Central - 750 m do centro
- 64 M2
- 5 pessoas
- Kitchenette
- Ar-condicionado
- Estacionamento
- Elevador
- Tv
- Máquina de lavar roupa
- Toalhas
- Lençóis


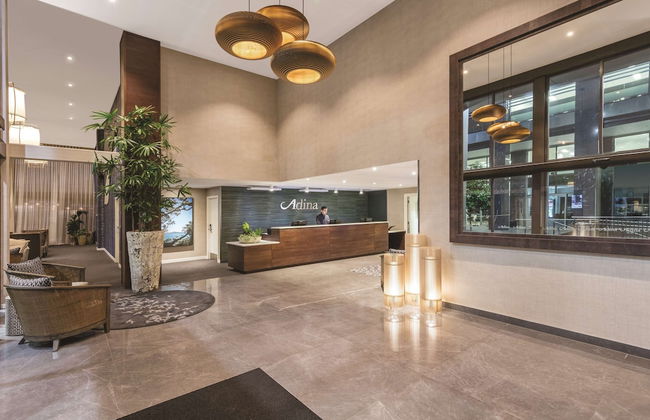


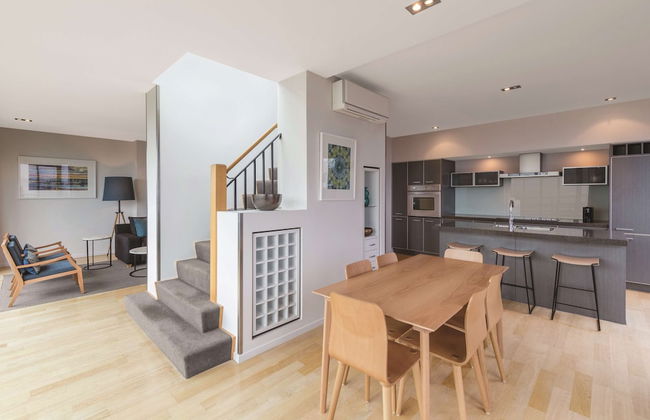

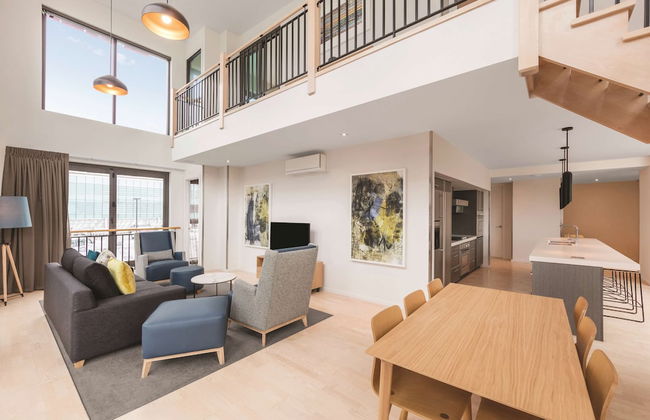


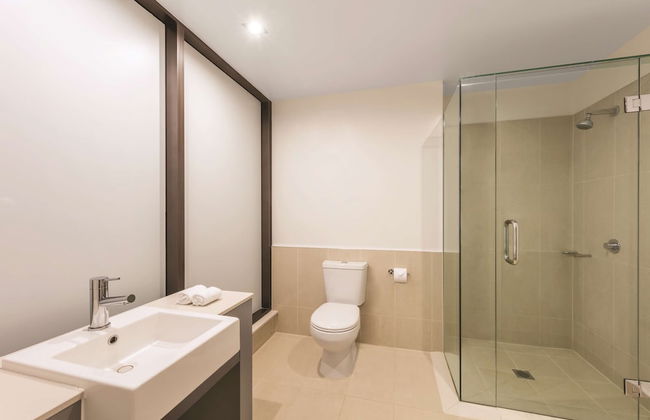


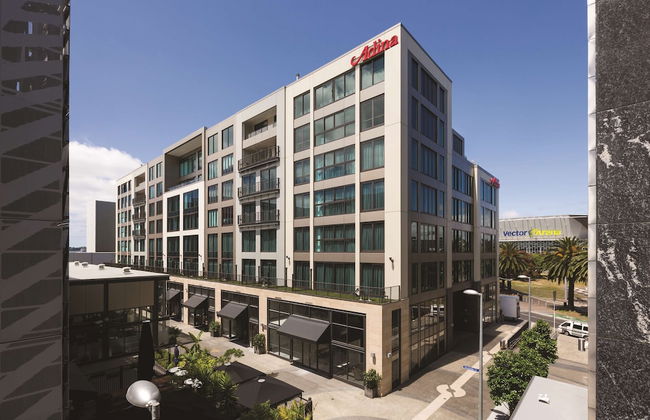

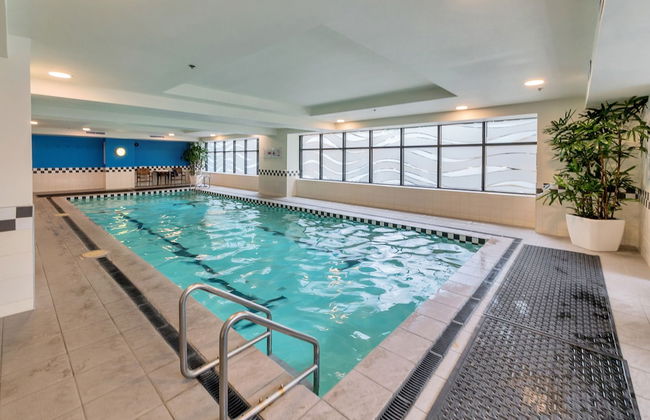
Adina Apartment Hotel Auckland Britomart
Auckland - Auckland Central - 620 m do centro
- 200 M2
- 7 pessoas
- Kitchenette
- Ar-condicionado
- Aquecimento
- Estacionamento
- Elevador
- Varanda
- Tv
- Toalhas
- Lençóis


Ramada Suites By Wyndham Victoria Street West
Auckland - Auckland Central - No centro
- 70 M2
- 5 pessoas
- Kitchenette
- Ar-condicionado
- Aquecimento
- Estacionamento
- Elevador
- Tv
- Toalhas
- Lençóis


The Sebel Quay West Auckland
Auckland - Auckland Central - 350 m do centro
- 125 M2
- 5 pessoas
- Ar-condicionado
- Estacionamento
- Elevador
- Varanda
- Tv
- Máquina de lavar roupa
- Toalhas
- Lençóis

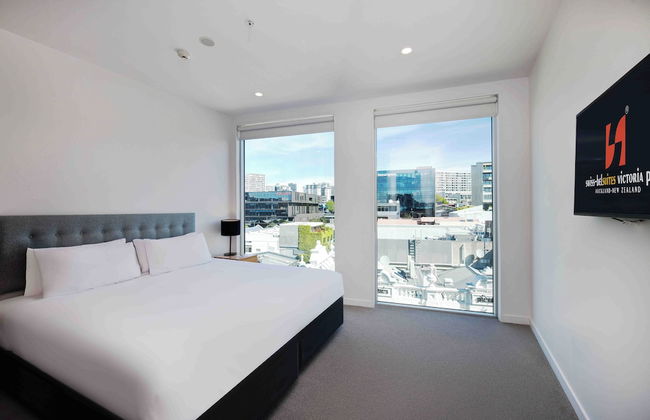


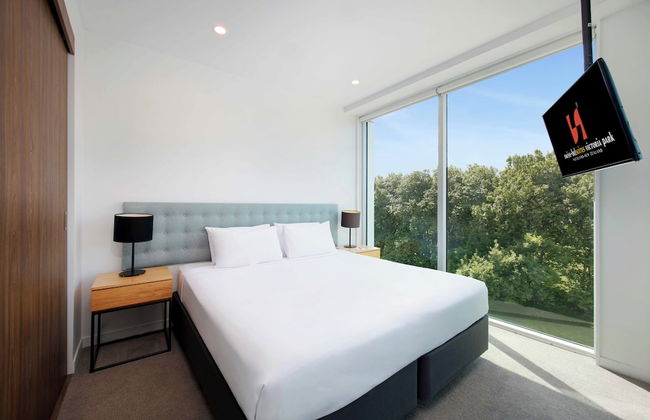


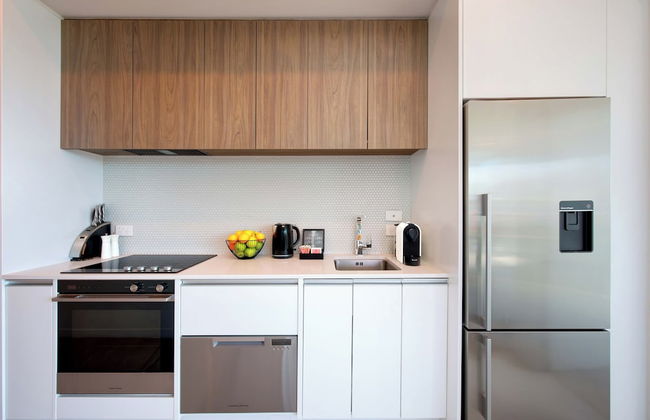


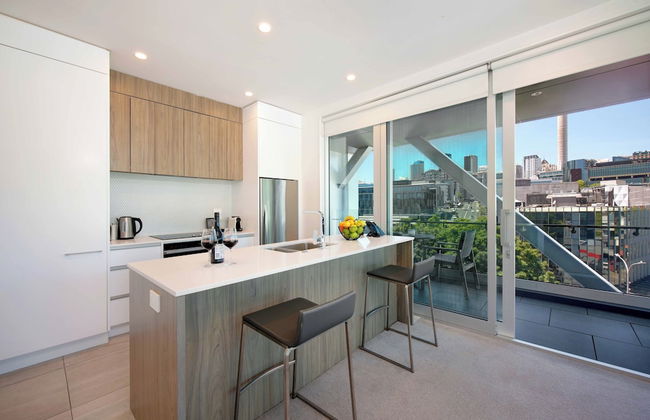
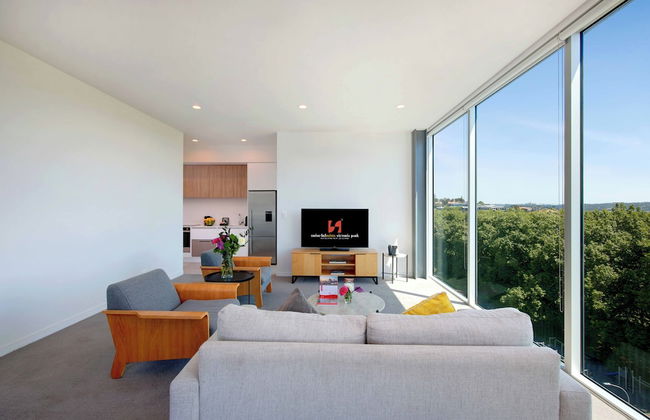
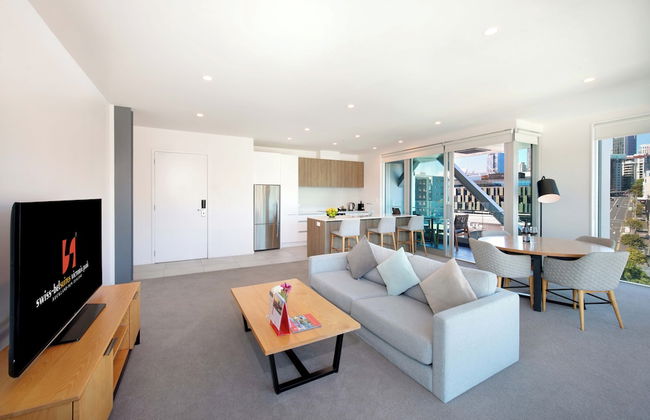

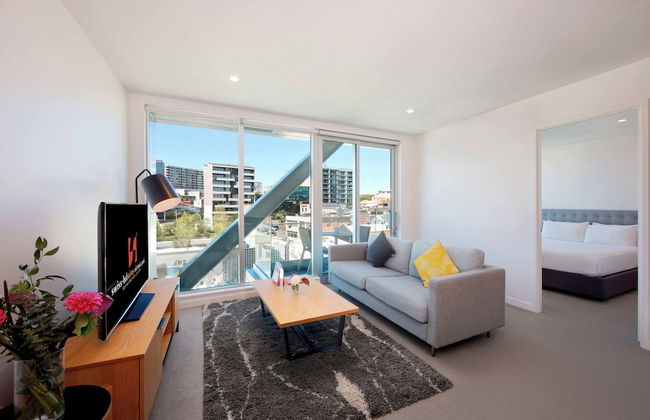
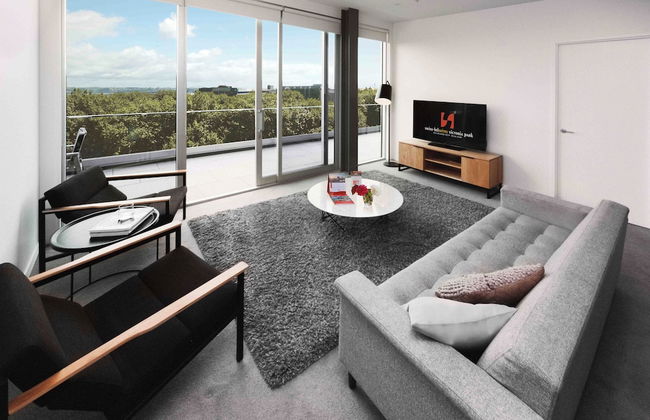
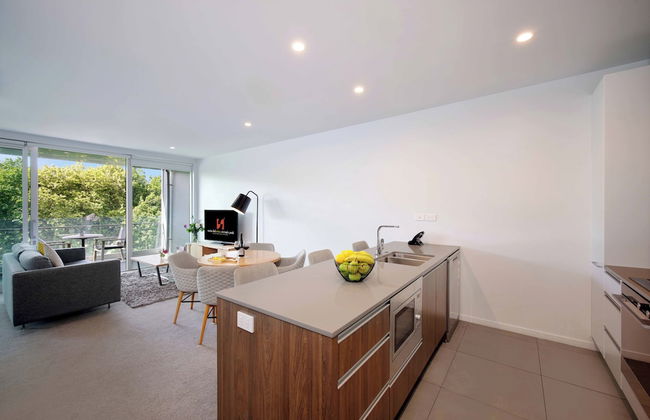


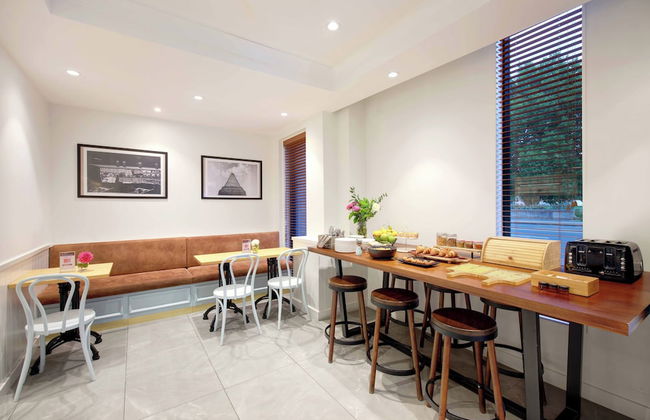


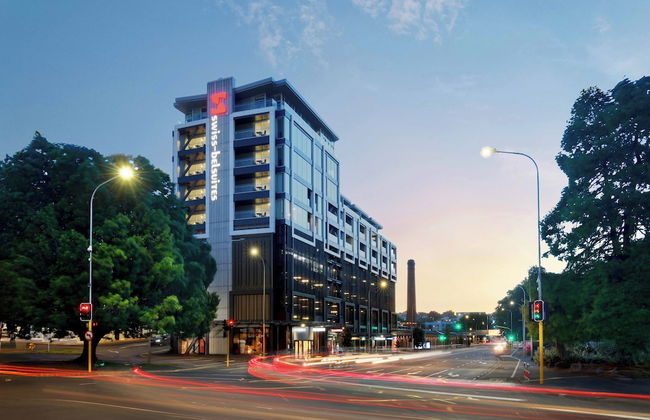


Swiss-Belsuites Victoria Park Auckland
Auckland - Auckland Central - 370 m do centro
- 130 M2
- 6 pessoas
- Ar-condicionado
- Aquecimento
- Estacionamento
- Elevador
- Varanda
- Jardim
- Tv
- Máquina de lavar roupa
- Toalhas
- Lençóis


The Sebel Auckland Viaduct Harbour
Auckland - Auckland Central - 480 m do centro
- 3 pessoas
- Ar-condicionado
- Aquecimento
- Estacionamento
- Elevador
- Tv
- Máquina de lavar roupa
- Toalhas
- Lençóis


Parkside Hotel & Apartments Auckland
Auckland - Auckland Central - No centro
- 37 M2
- 4 pessoas
- Kitchenette
- Terraço
- Piscina
- Estacionamento
- Elevador
- Varanda
- Tv
- Máquina de lavar roupa
- Toalhas
- Lençóis


Quest on Queen
Auckland - Auckland Central - 280 m do centro
- 32 M2
- 3 pessoas
- Ar-condicionado
- Aquecimento
- Estacionamento
- Elevador
- Varanda
- Tv
- Máquina de lavar roupa
- Toalhas
- Lençóis


Princes Wharf Boutique Apartment
Auckland - Auckland Central - 820 m do centro
- 72 M2
- 3 pessoas
- Ar-condicionado
- Aquecimento
- Estacionamento
- Elevador
- Varanda
- Tv
- Máquina de lavar roupa
- Churrasco
- Toalhas
- Lençóis


Barclay Suites
Auckland - Auckland Central - No centro
- 70 M2
- 5 pessoas
- Ar-condicionado
- Aquecimento
- Estacionamento
- Elevador
- Varanda
- Tv
- Máquina de lavar roupa
- Toalhas
- Lençóis


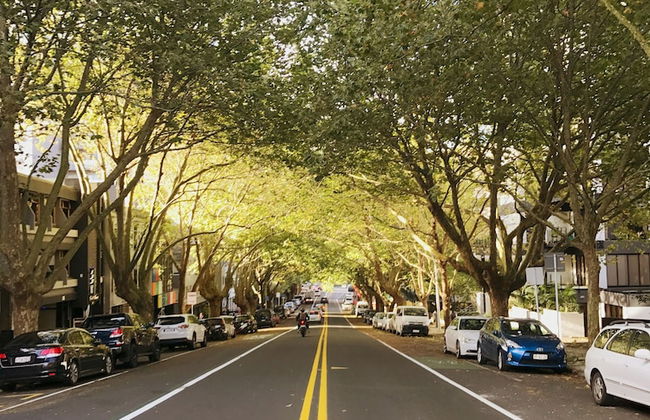

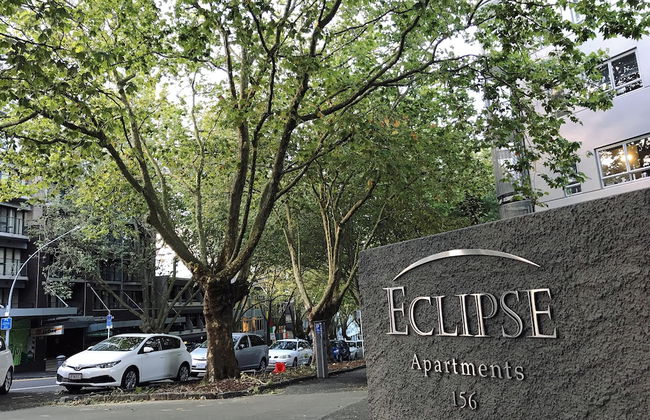
Leafy Street Apartment Central Auckland
Auckland - Auckland Central - No centro
- 40 M2
- 3 pessoas
- Piscina
- Tv
- Máquina de lavar roupa
- Toalhas
- Lençóis


Amazing Harbour, Skytower & Rangitoto Views
Auckland - Auckland Central - 210 m do centro
- 73 M2
- 4 pessoas
- Ar-condicionado
- Aquecimento
- Elevador
- Tv
- Máquina de lavar roupa
- Toalhas


Perfect Location, Viaduct Harbour CBD
Auckland - Auckland Central - 880 m do centro
- 2 pessoas
- Terraço
- Elevador
- Tv
- Máquina de lavar roupa
- Toalhas
- Lençóis


Wynyard Quarter Apartments by Urban Rest
Auckland - Auckland Central - 840 m do centro
- 6 pessoas
- Ar-condicionado
- Estacionamento
- Elevador
- Varanda
- Toalhas
- Lençóis


The Parc Apartments by Urban Rest
Auckland - Auckland Central - 450 m do centro
- Terraço
- Estacionamento
- Jardim