


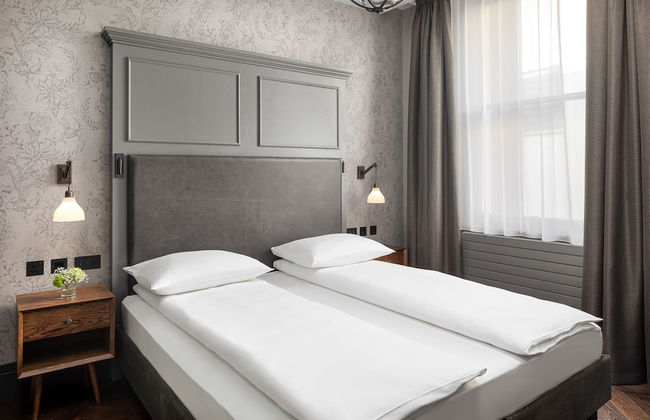


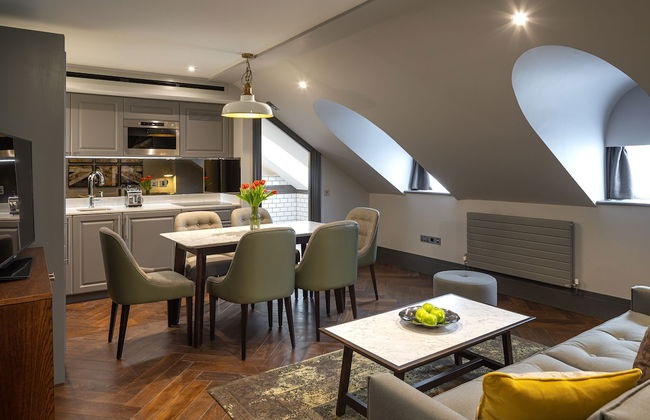


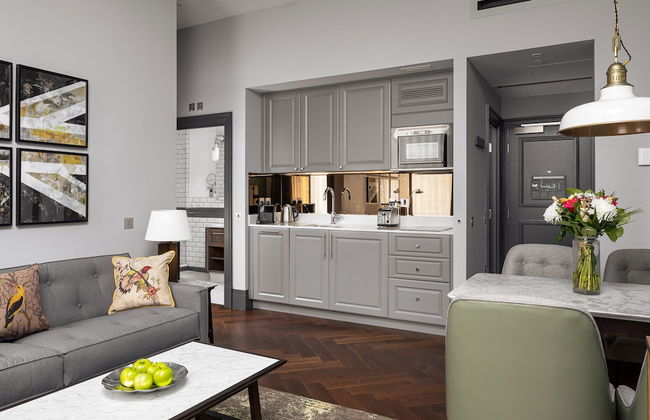

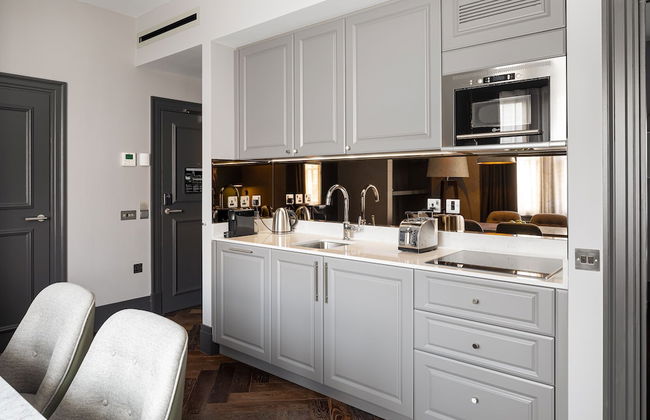

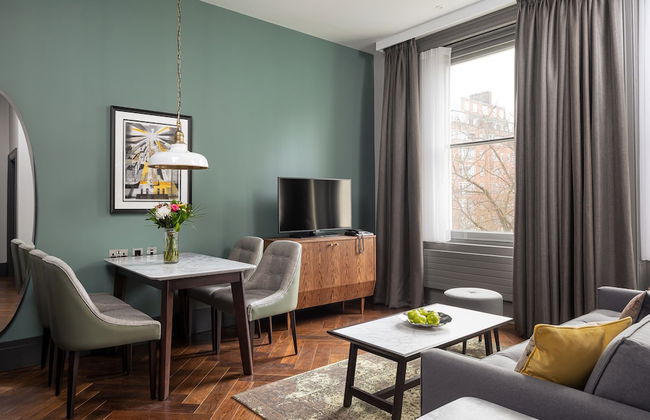

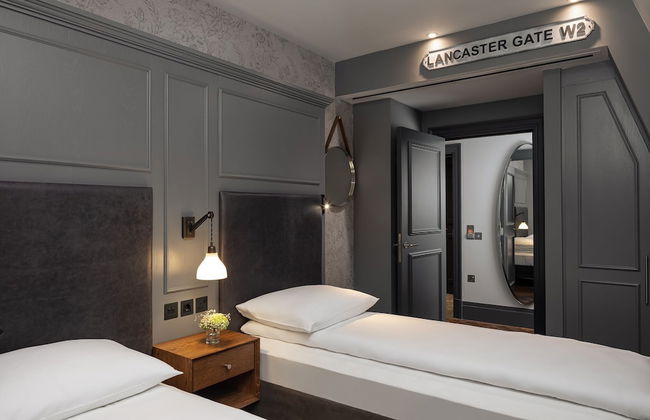

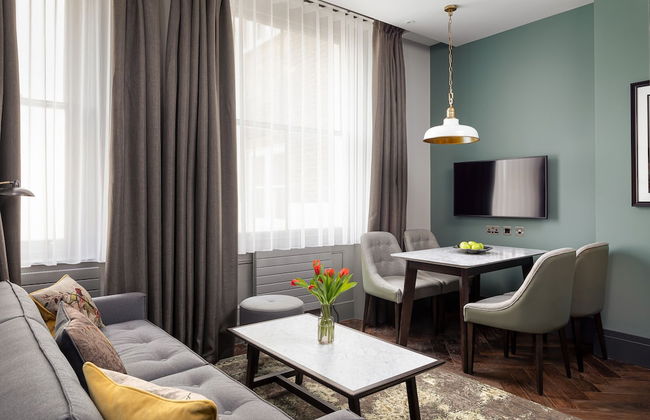


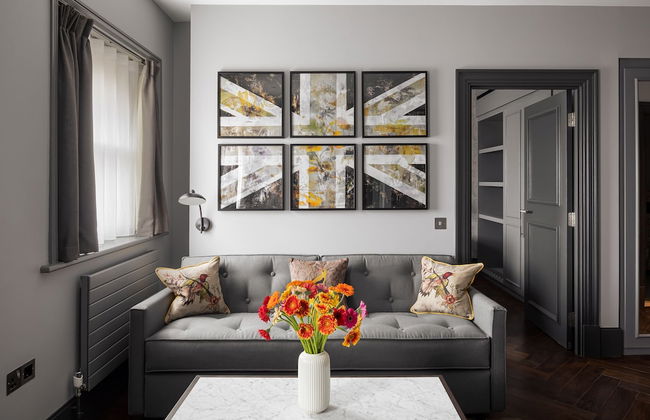


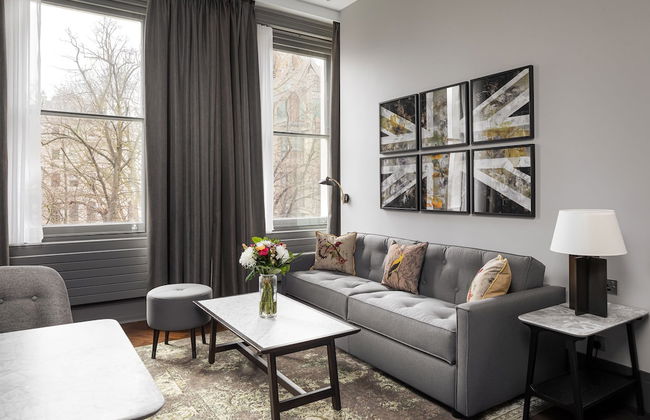

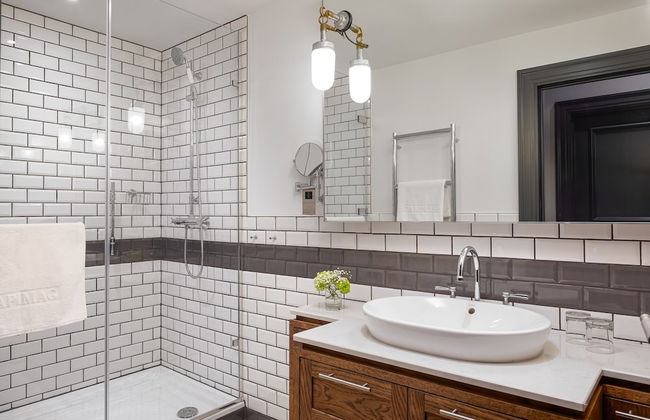

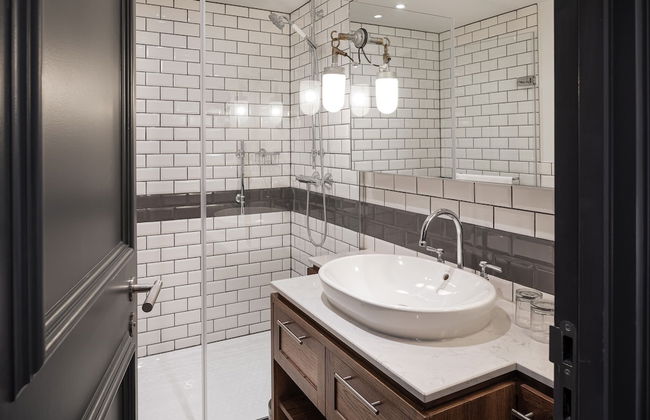

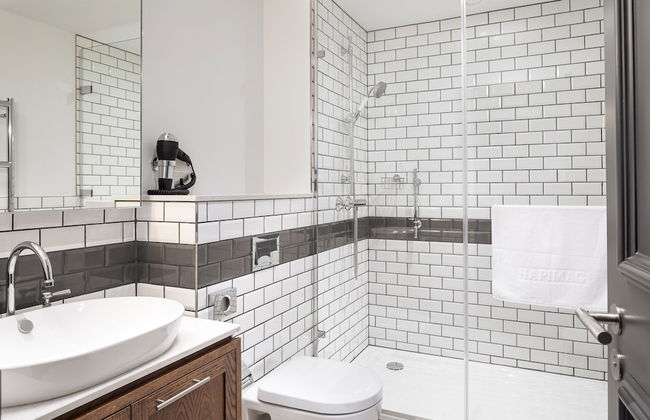


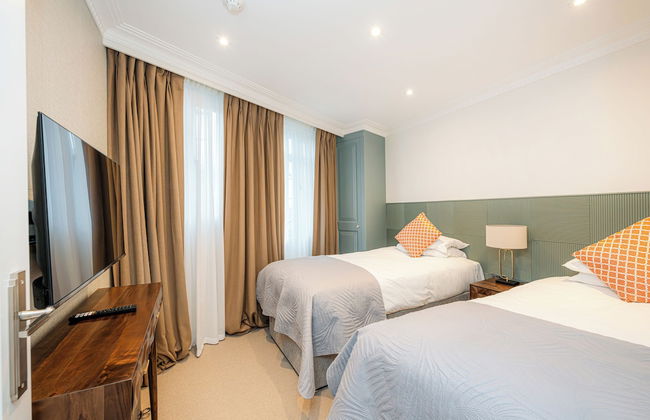
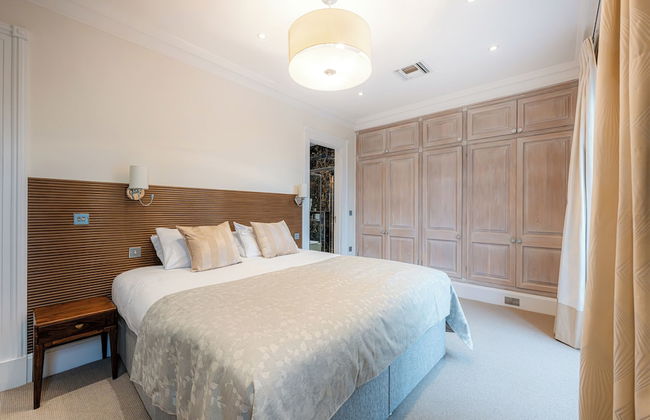
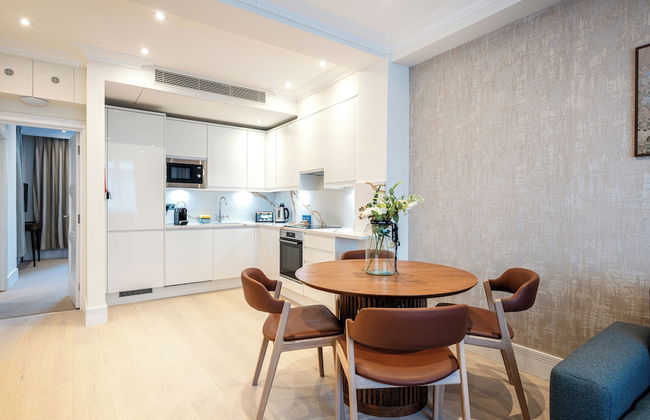
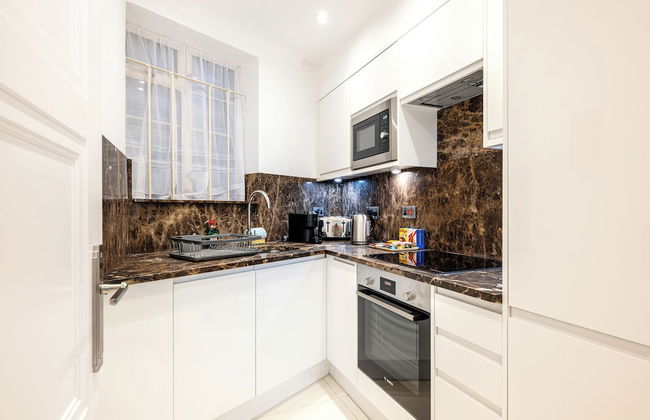
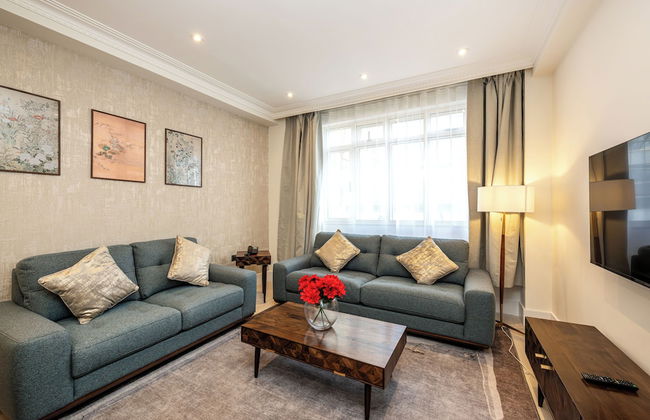
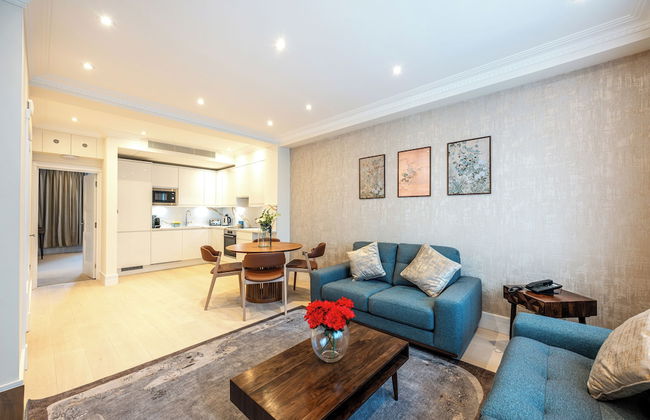
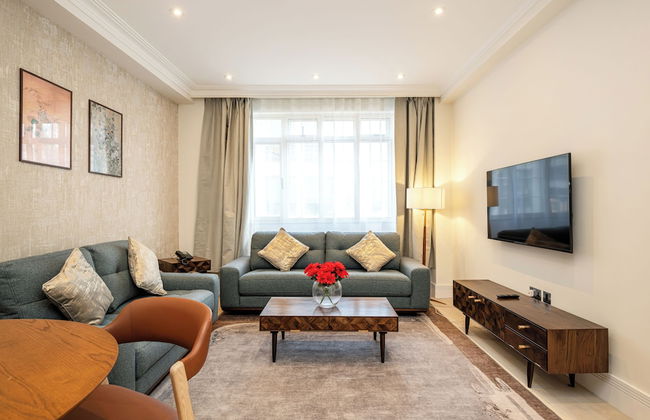
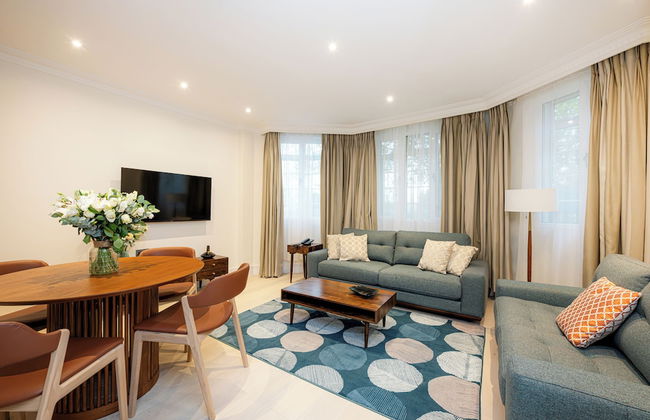
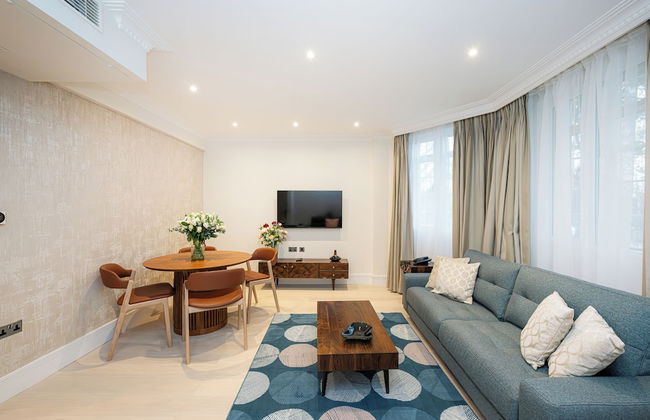
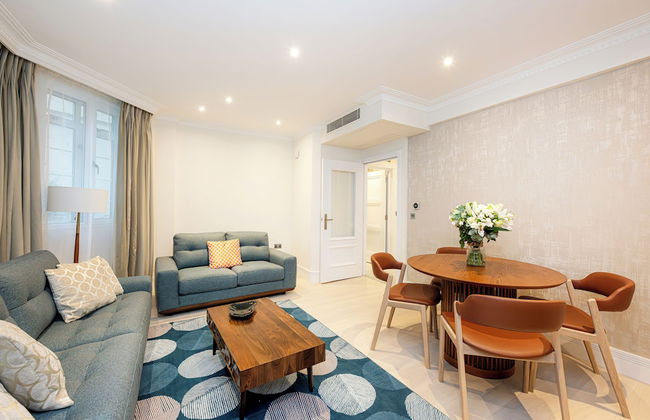
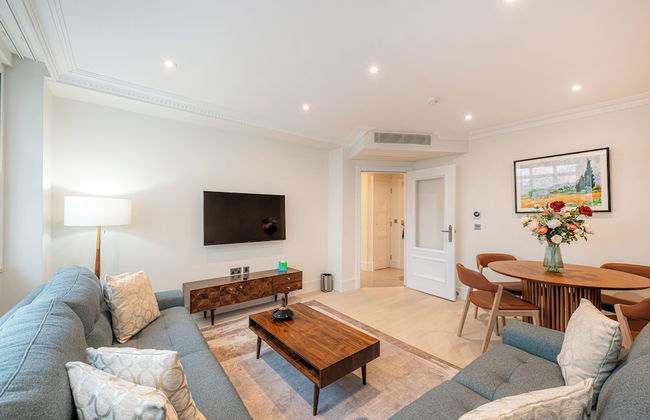
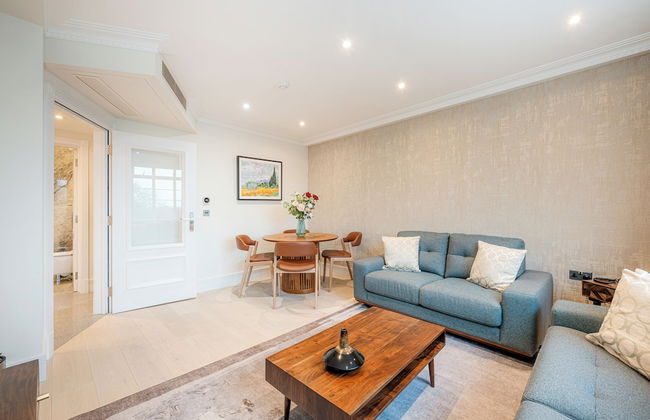
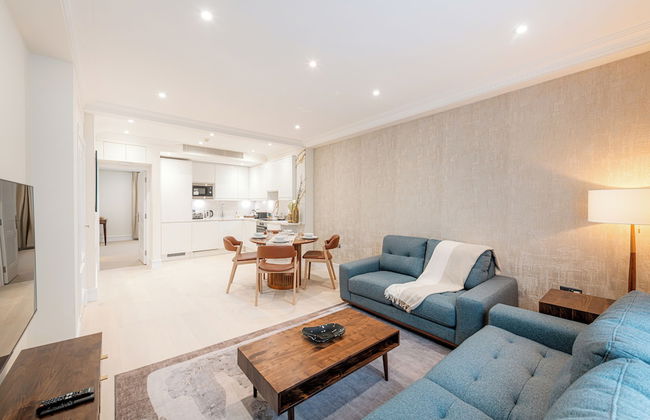
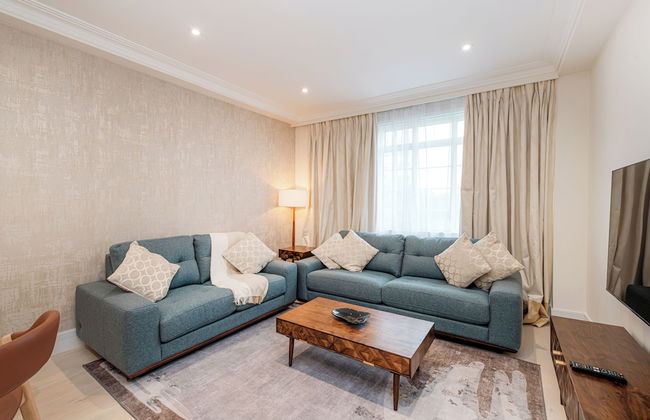
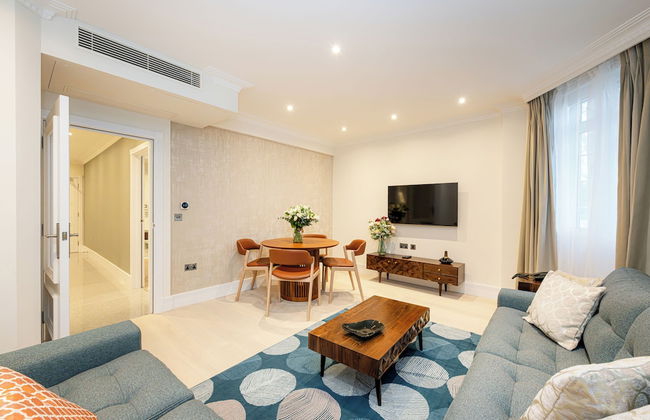
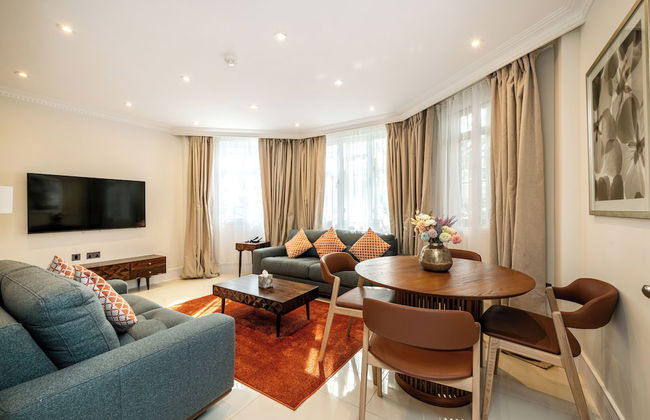
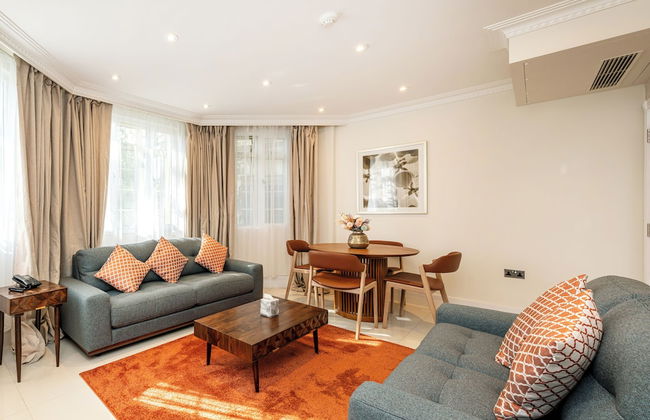
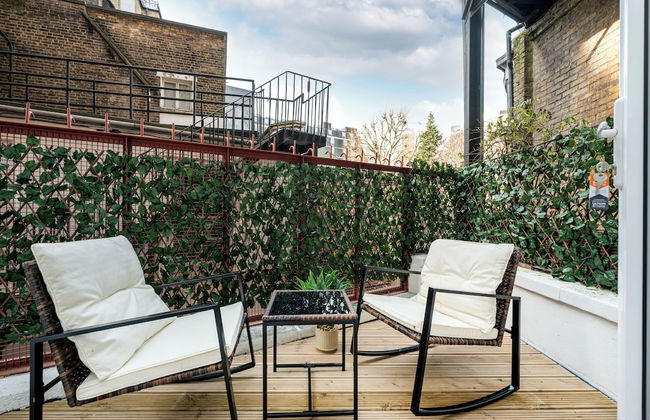
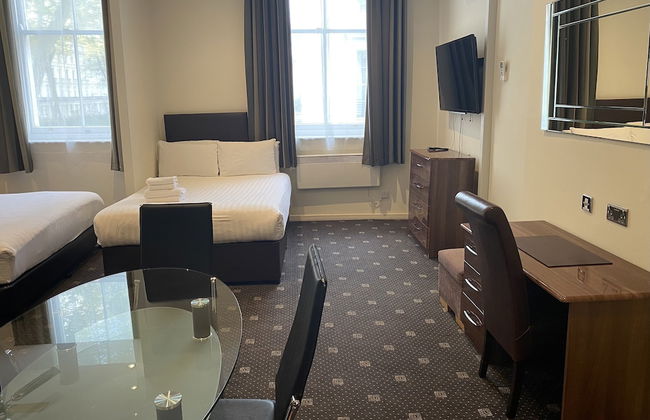
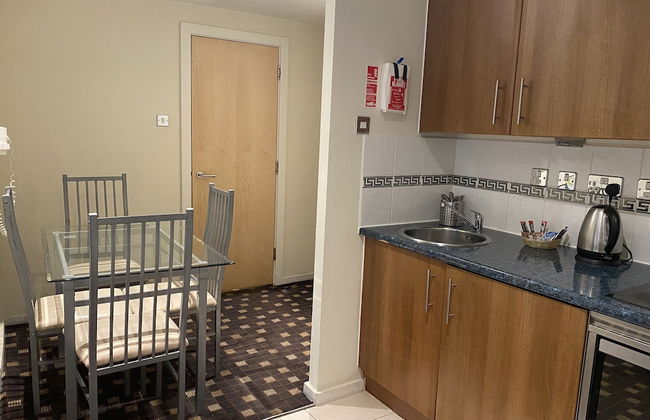
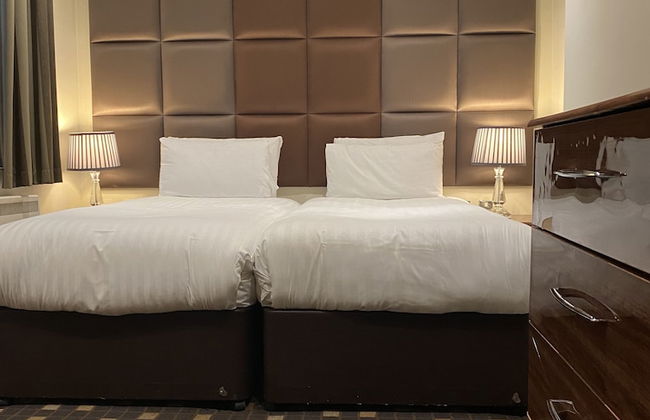
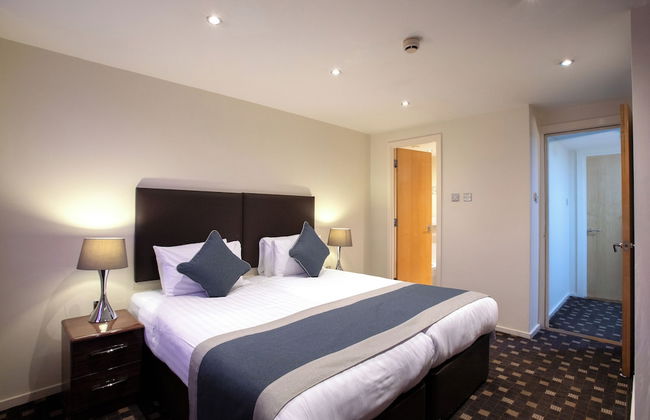
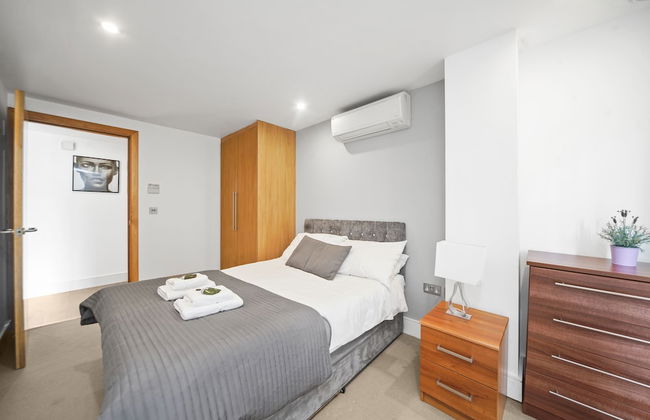
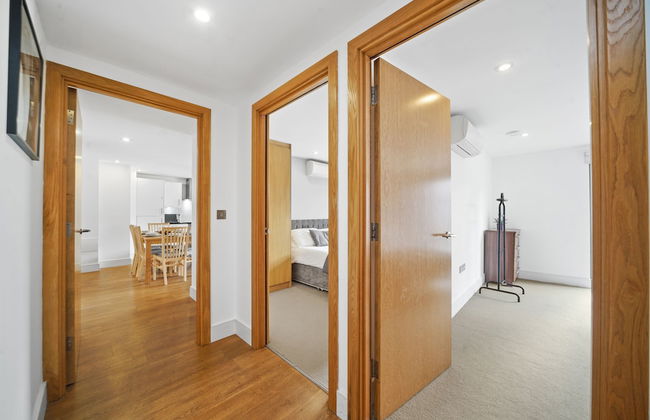
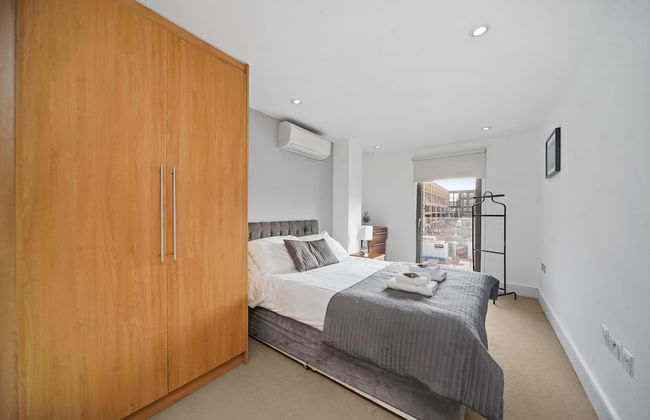
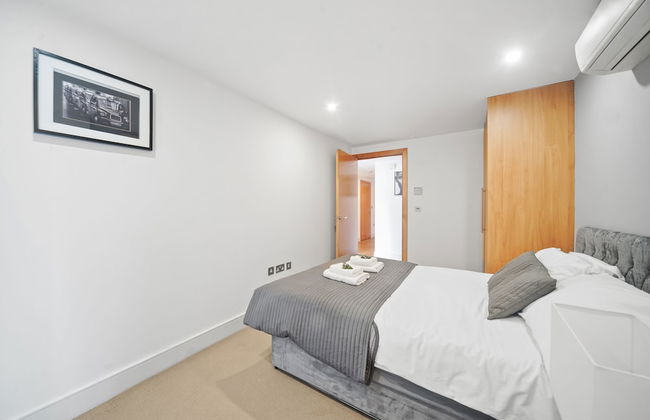
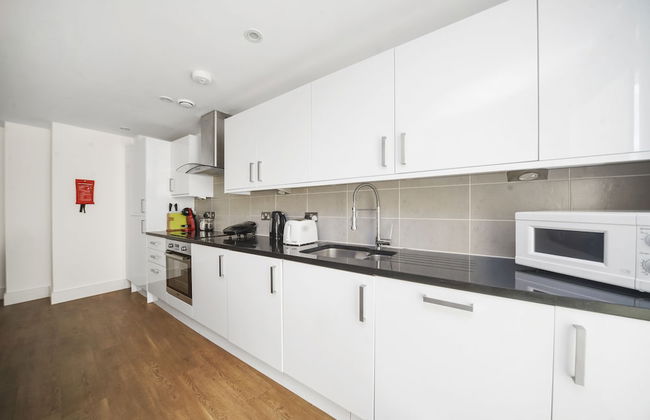
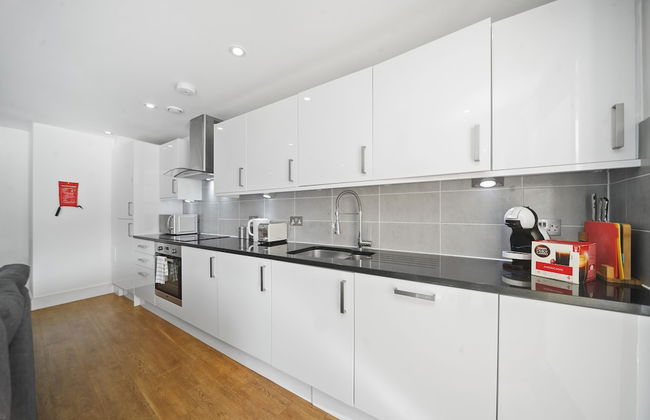
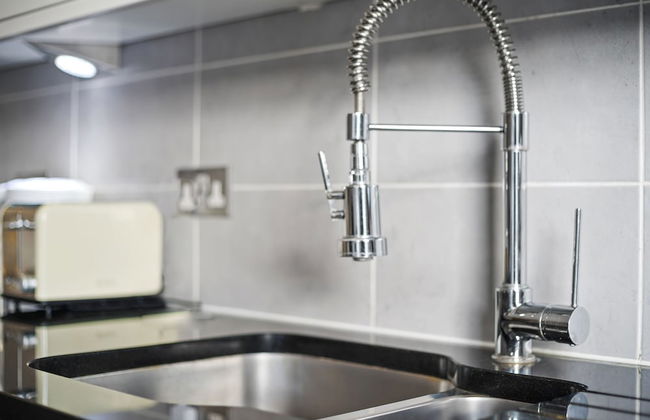
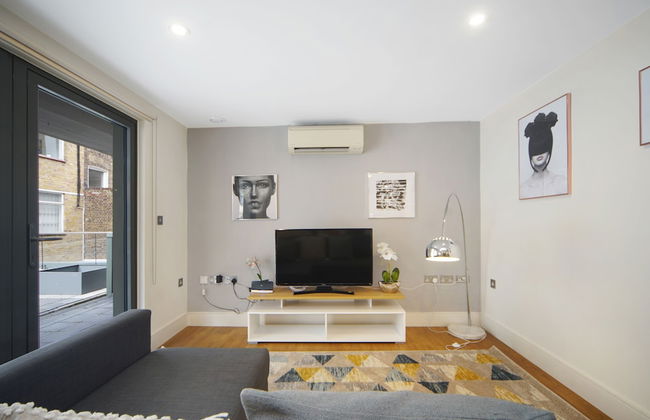
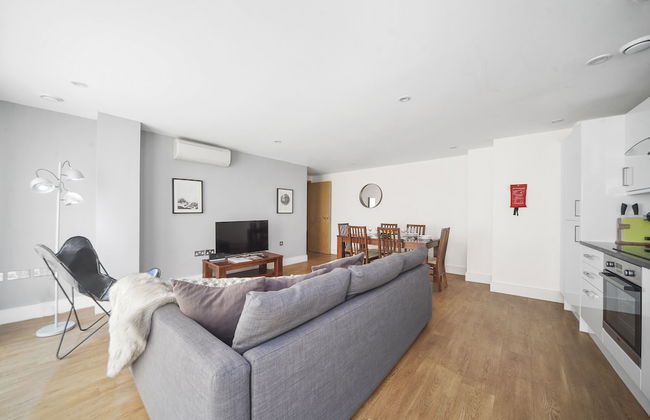
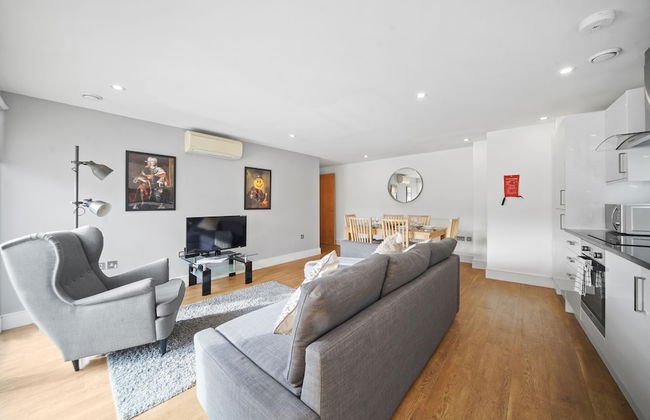
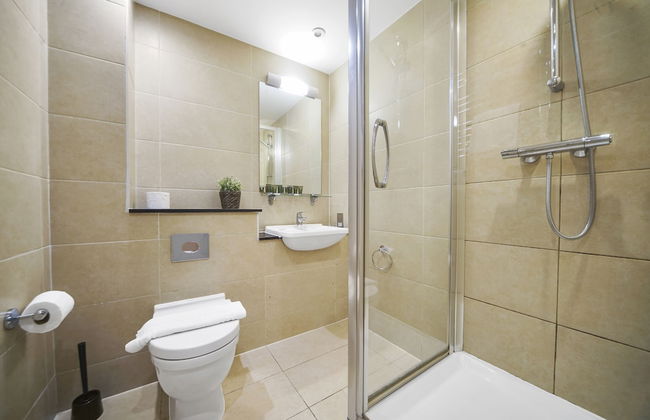
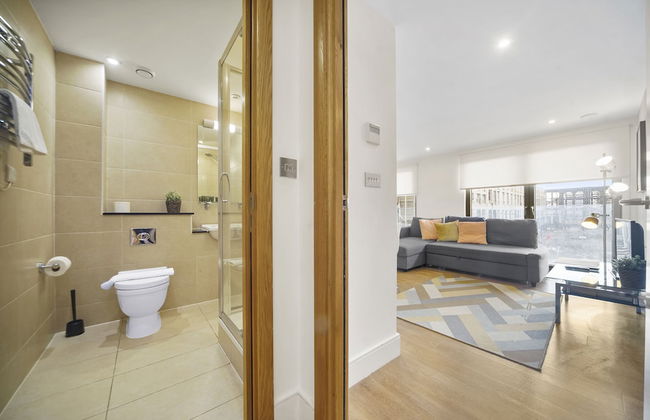
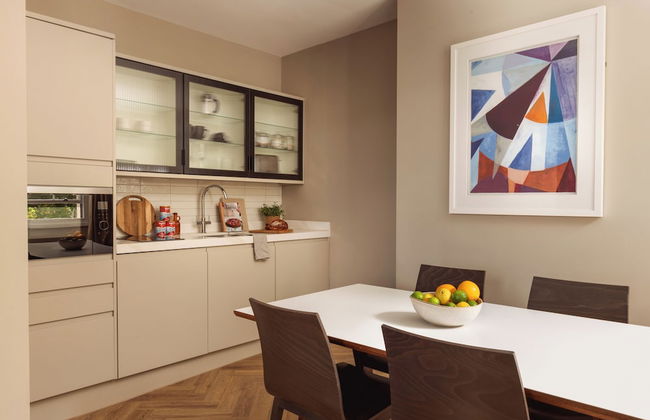
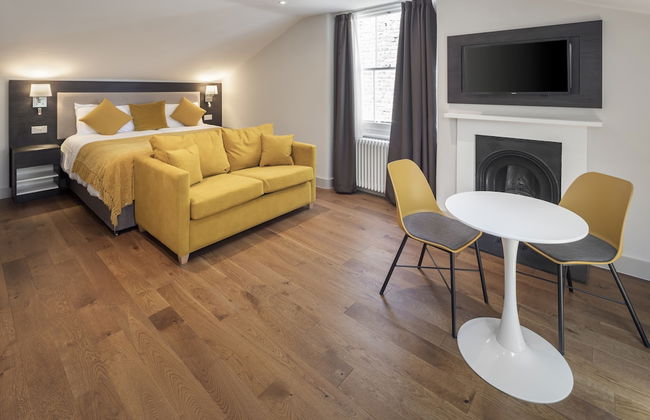
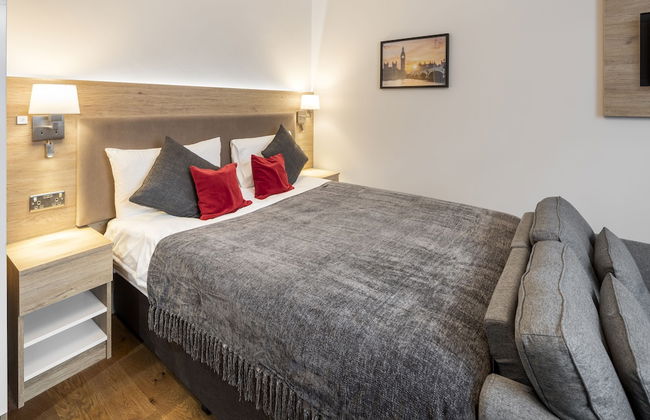
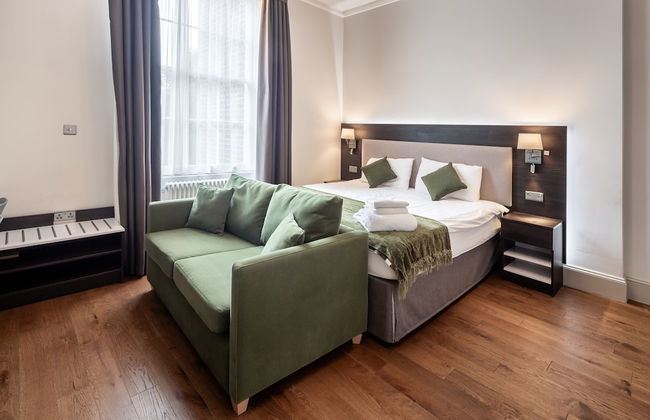
Hapimag Apartments London
Londres - Bayswater - 3.2 km do centro
- 52 M2
- 2 quartos
- 6 pessoas
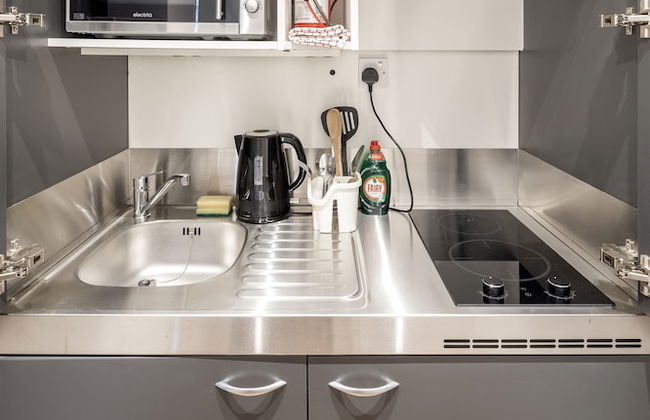
- Kitchenette
- Ar-condicionado
- Aquecimento
- Elevador
- Jardim
- Tv
- Toalhas
- Lençóis


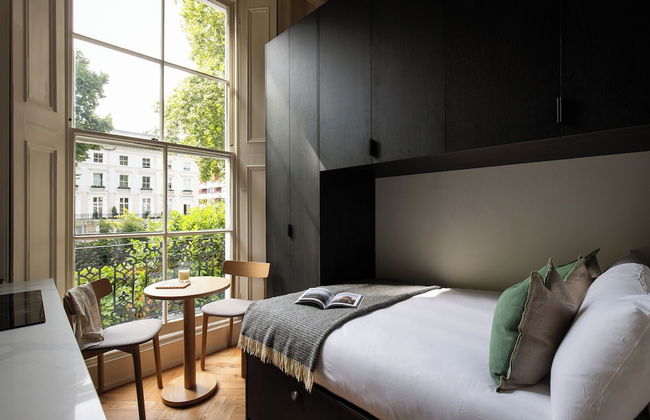

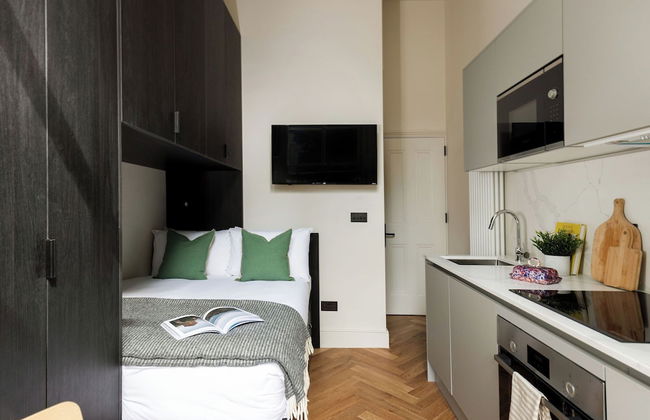

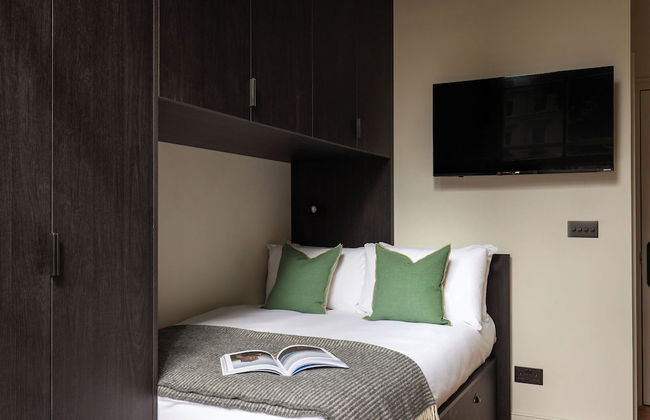

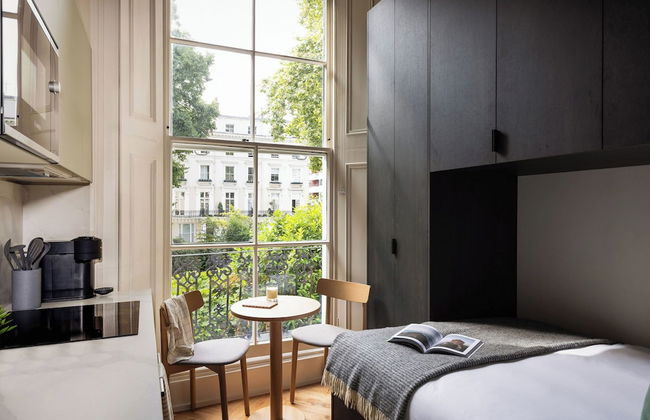


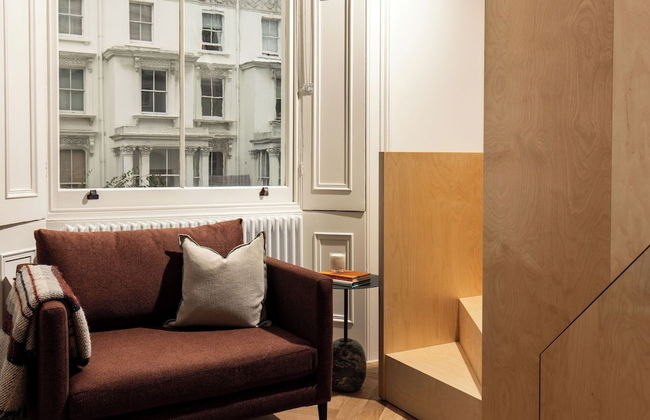


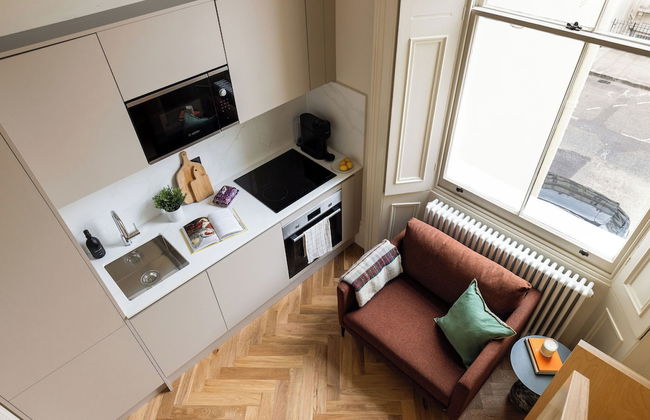


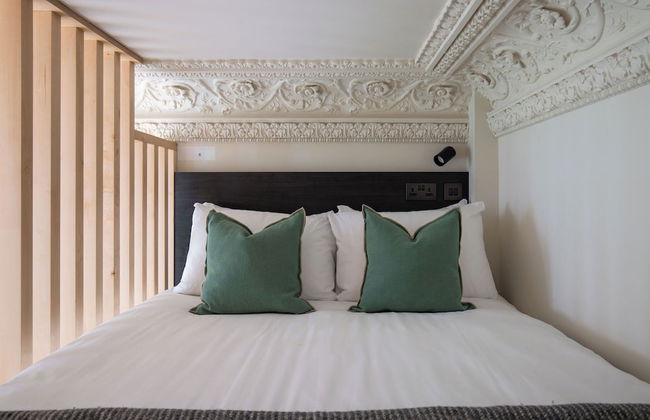

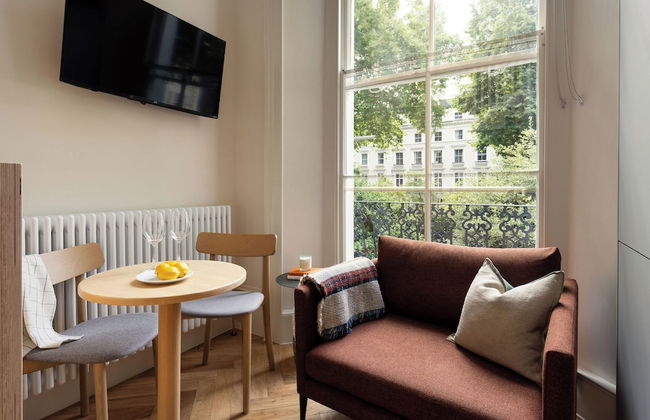

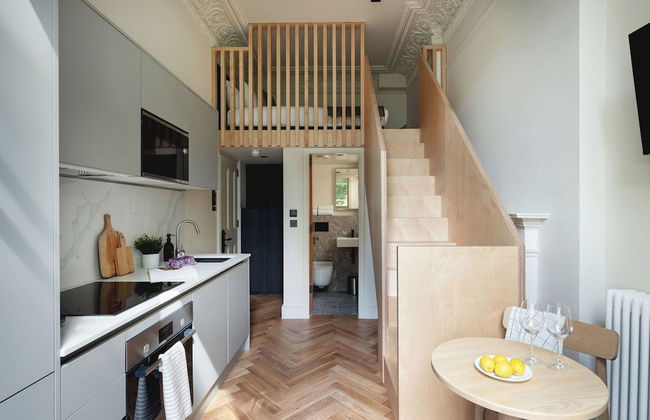

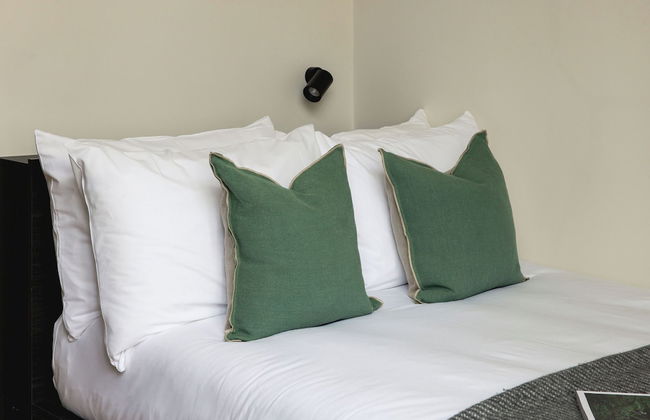

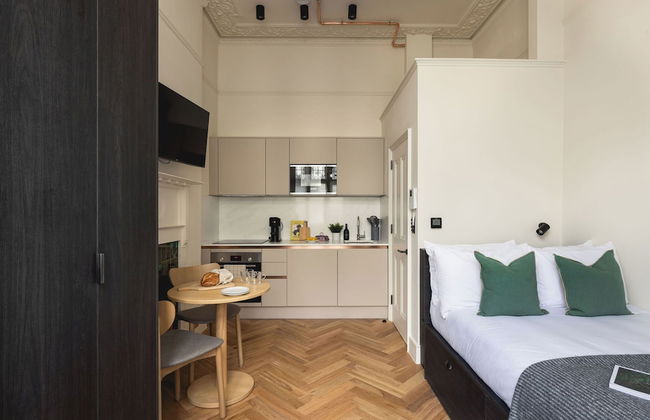


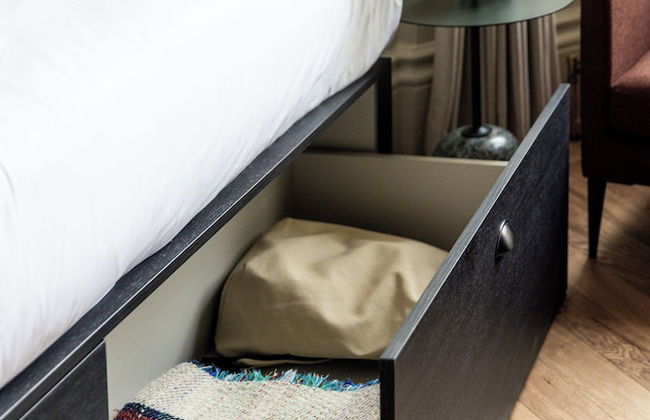


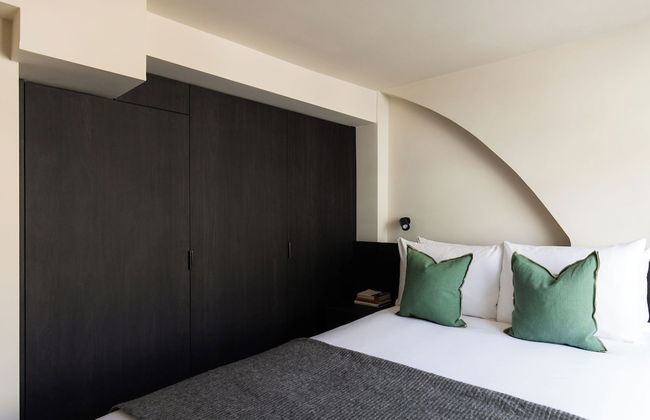


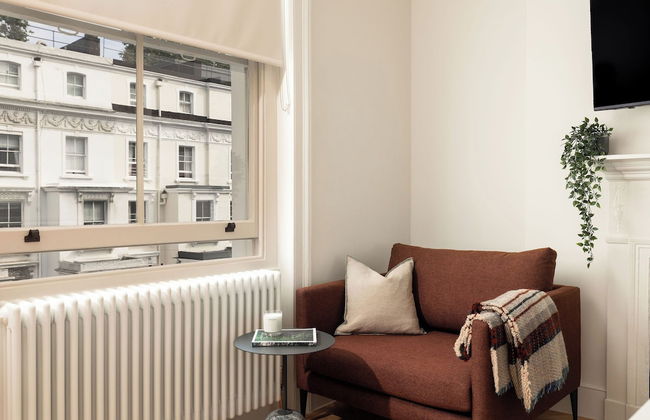


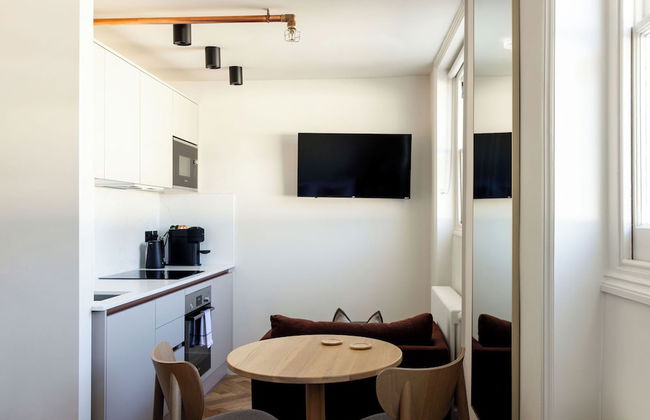

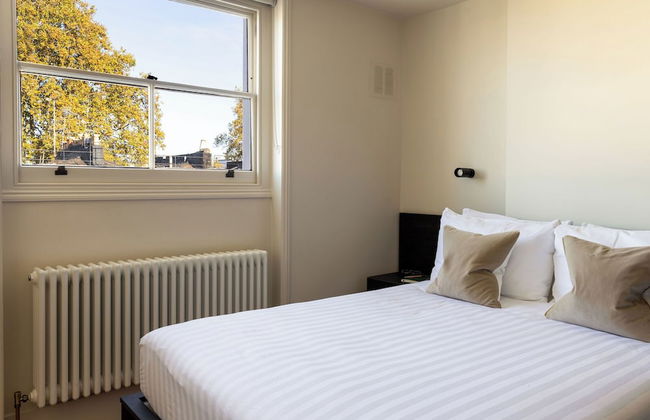

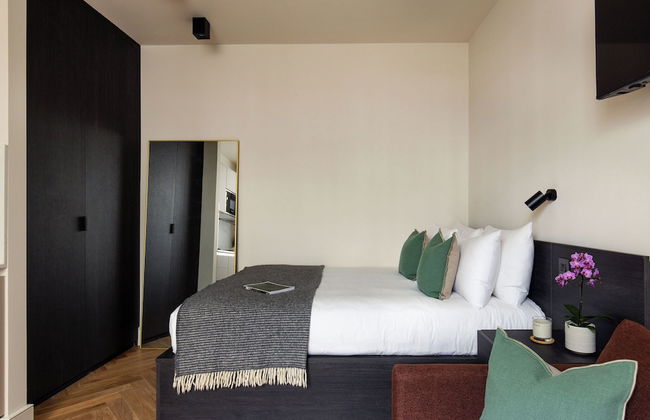

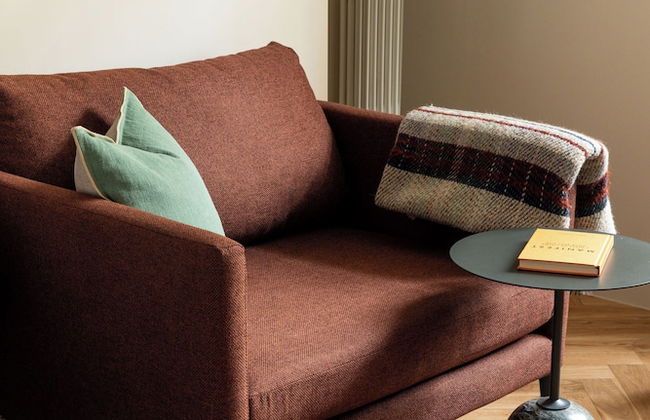


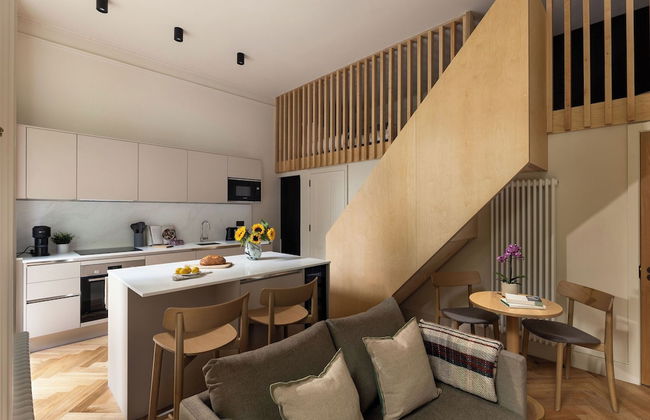

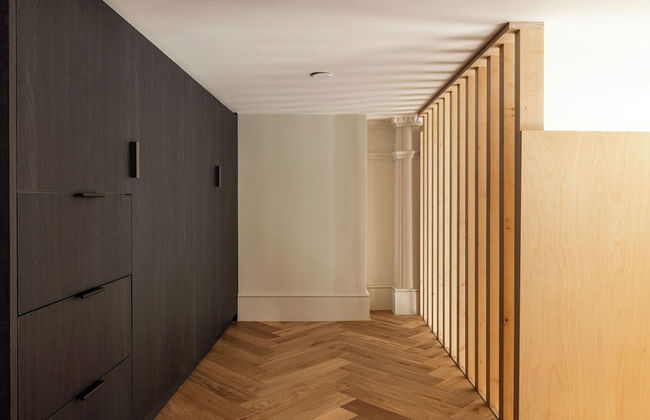

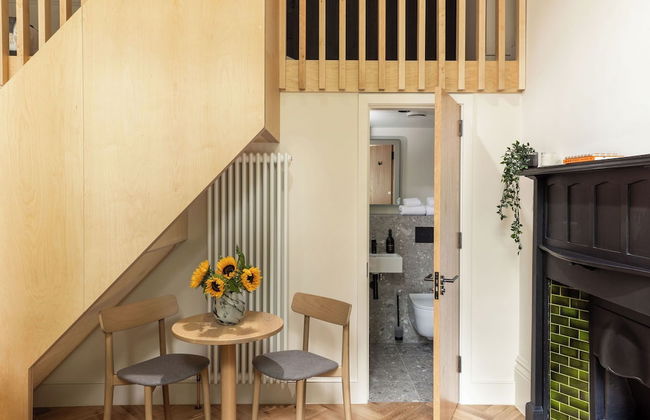

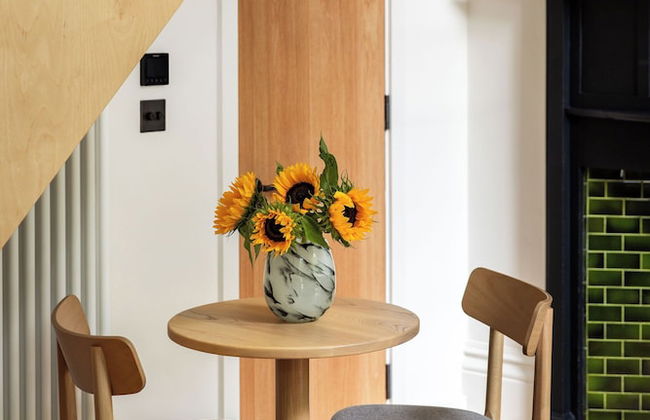


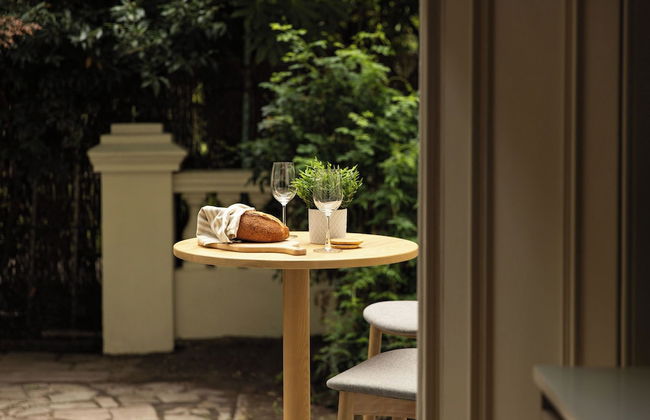

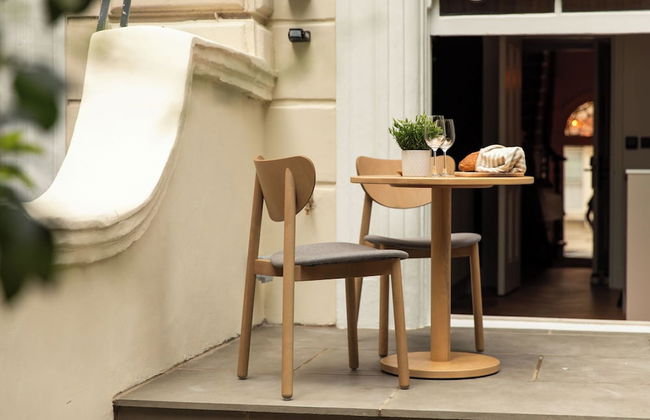


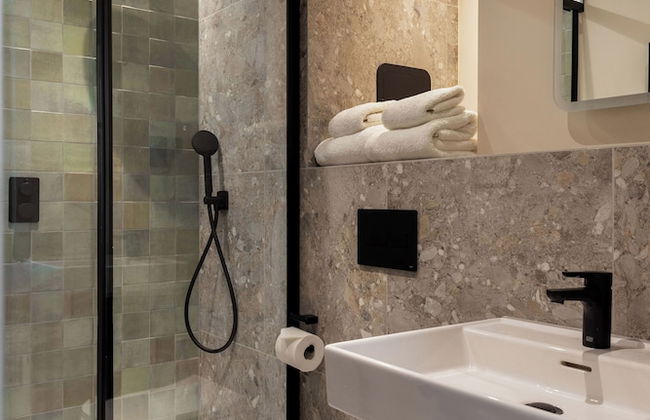


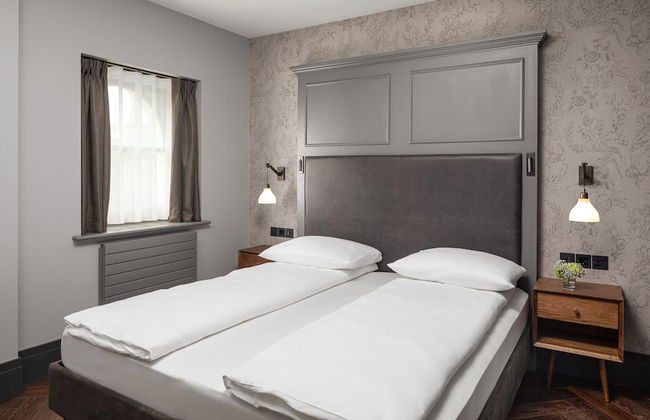
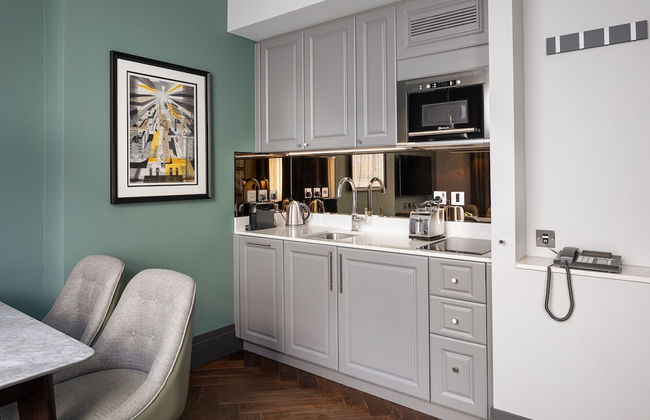
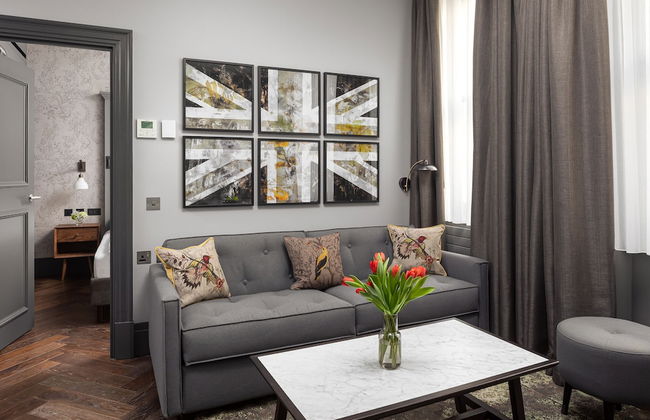
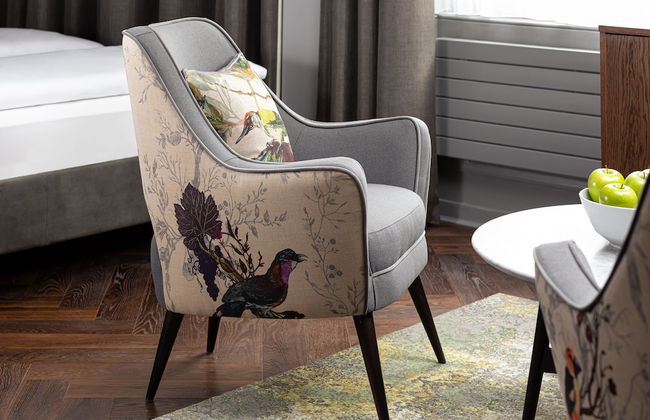
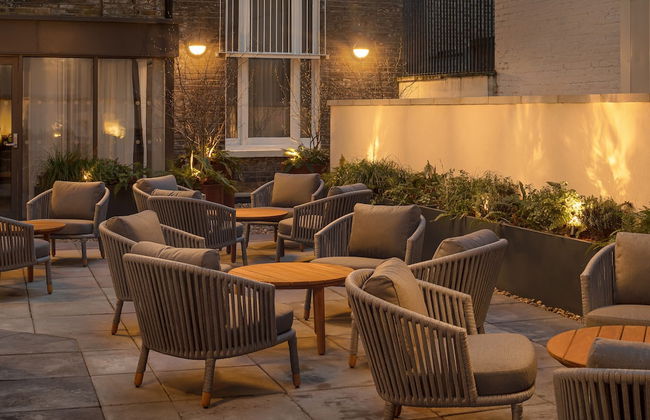
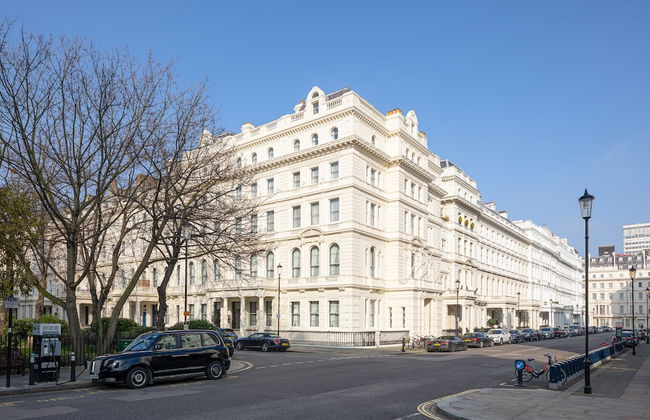
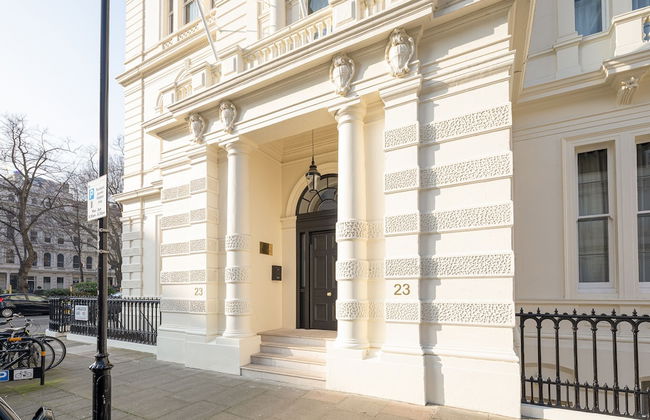
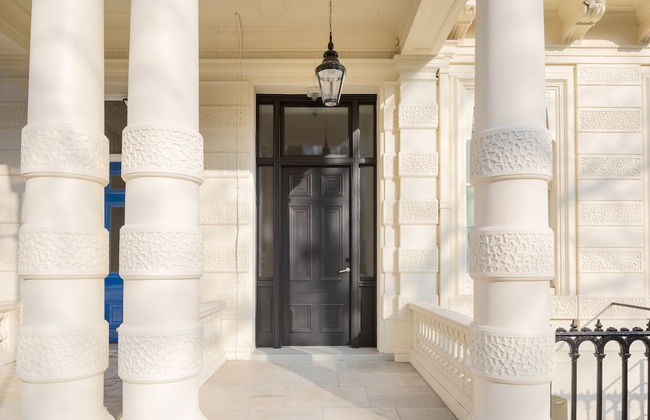
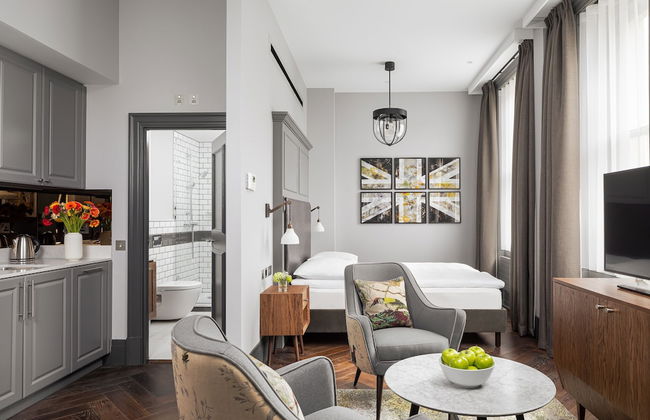
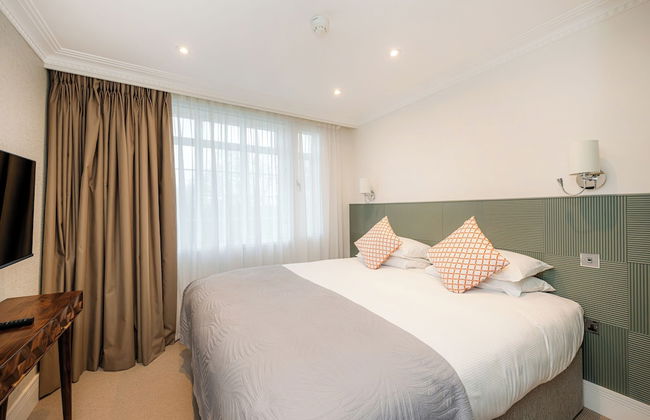
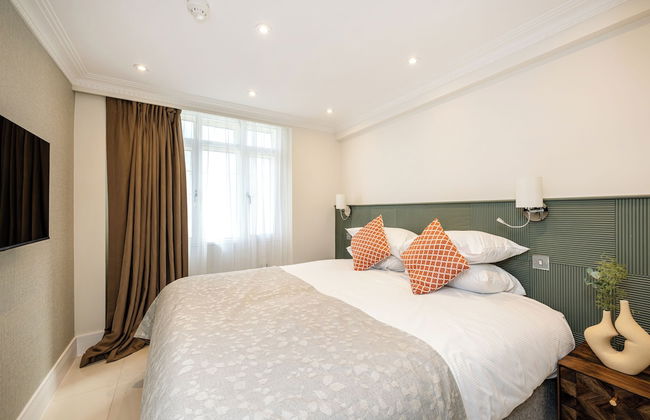
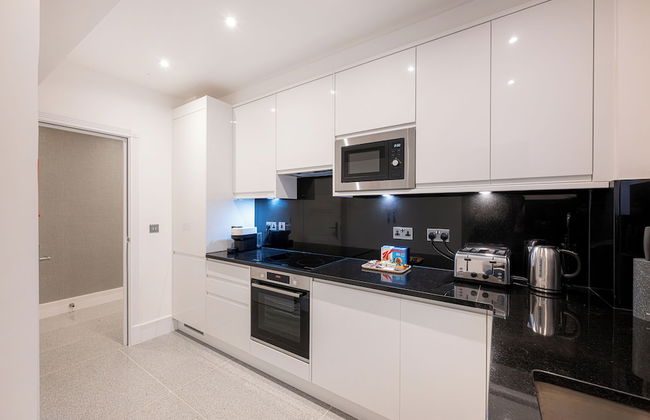
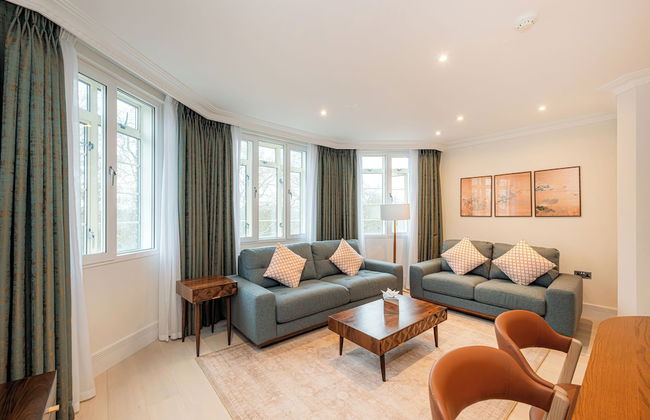
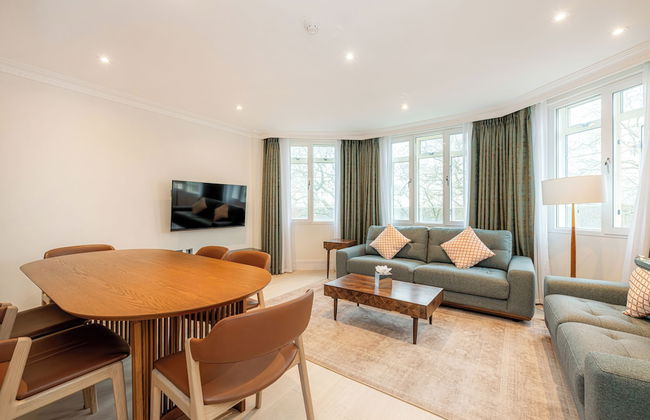
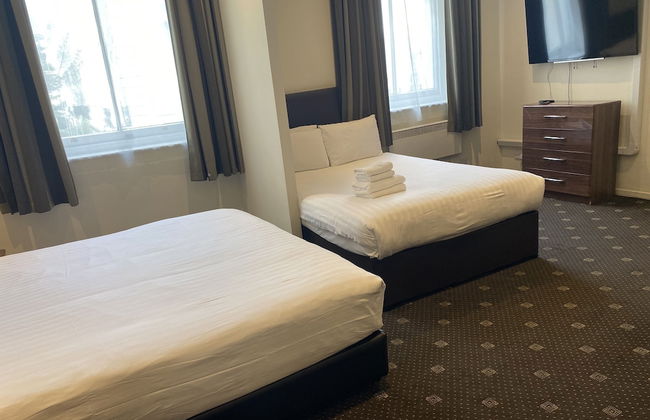
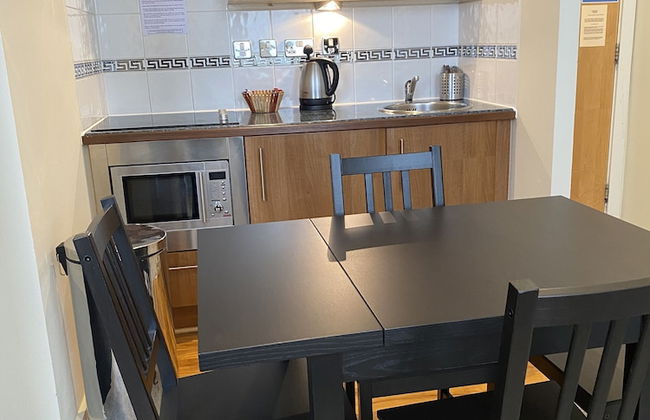
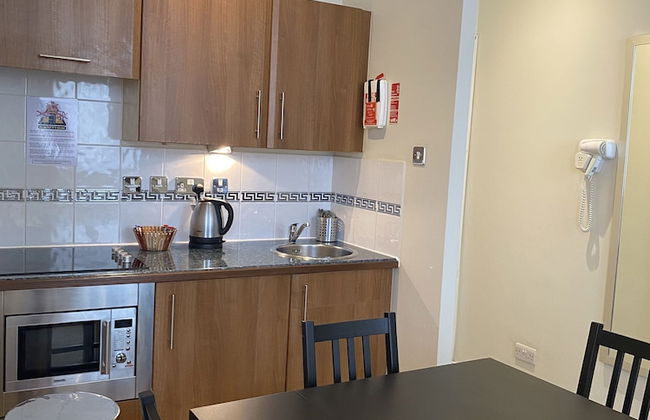
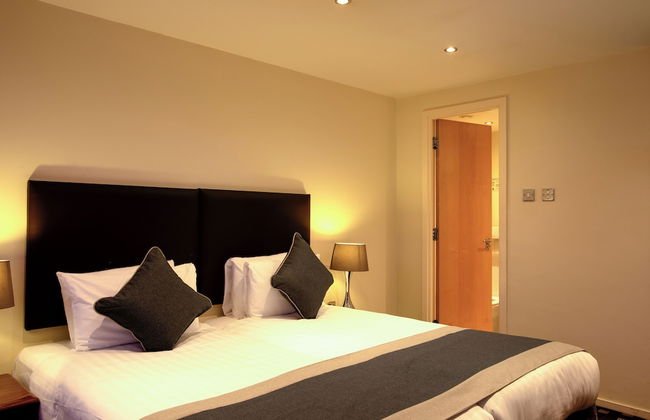
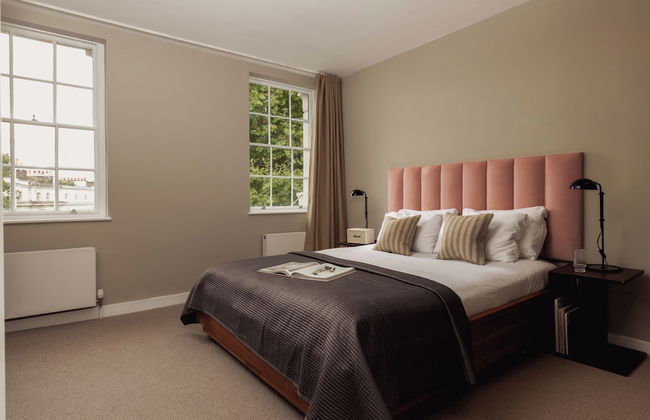
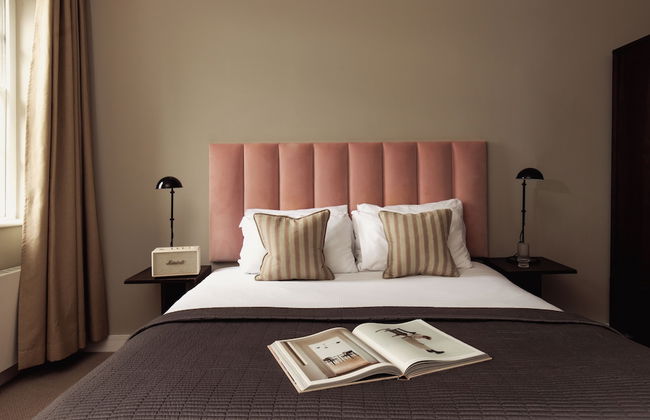
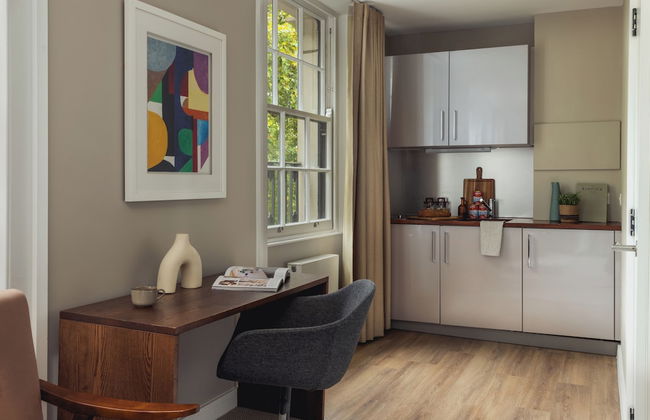
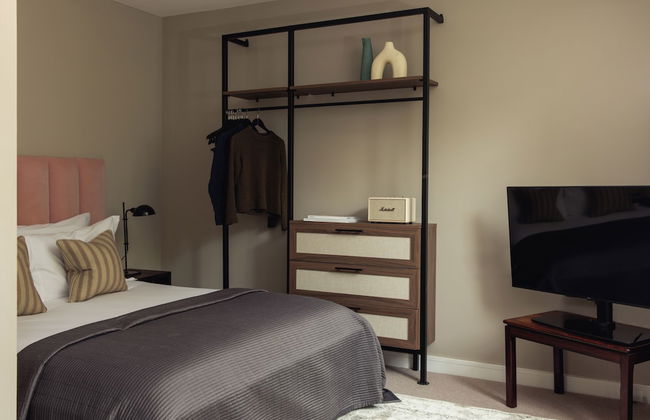
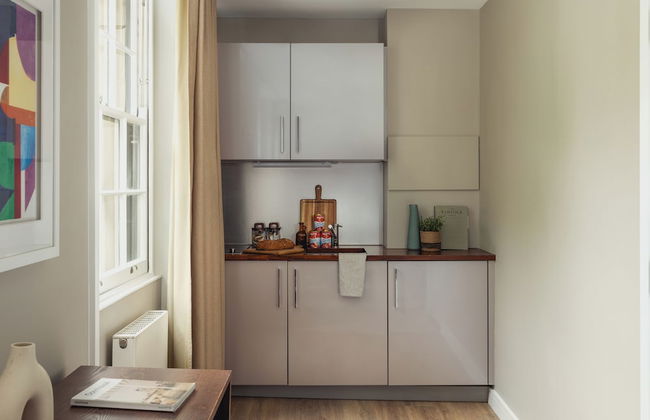
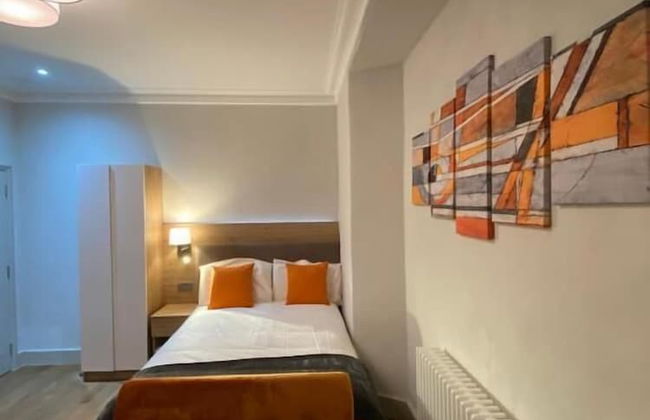
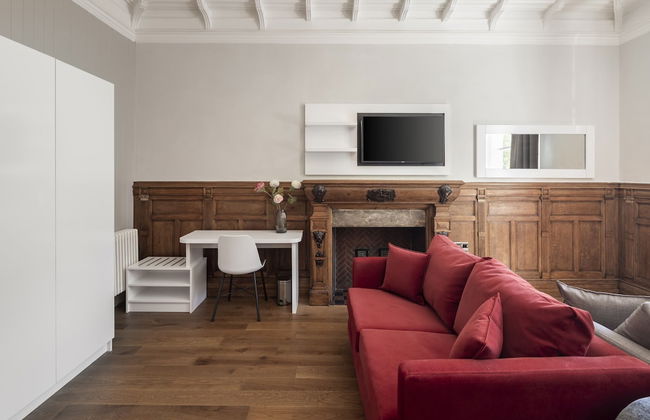
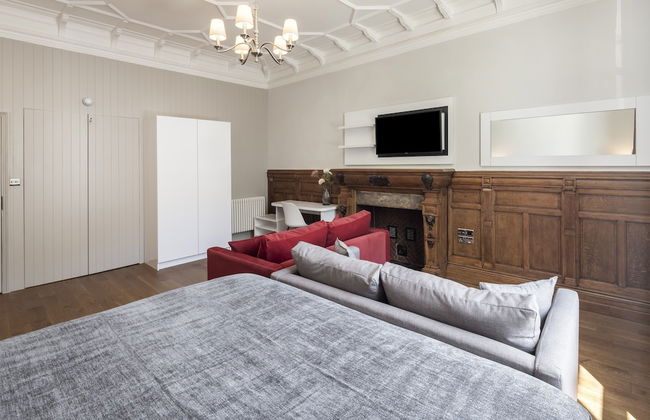
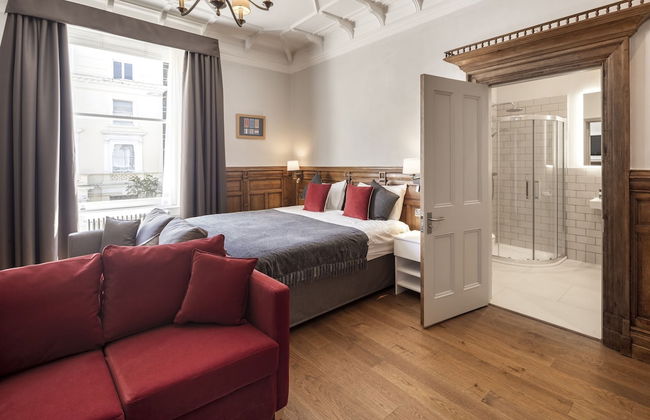
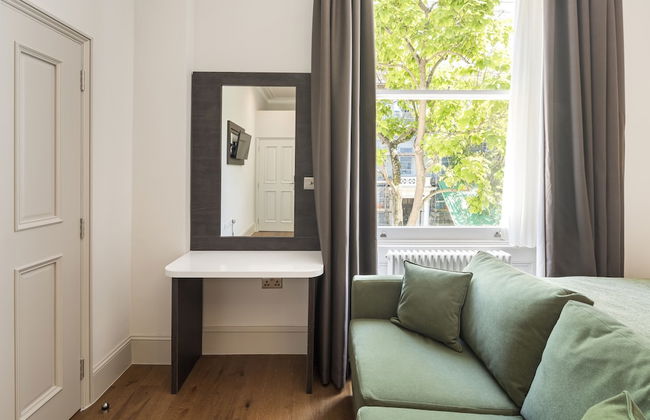
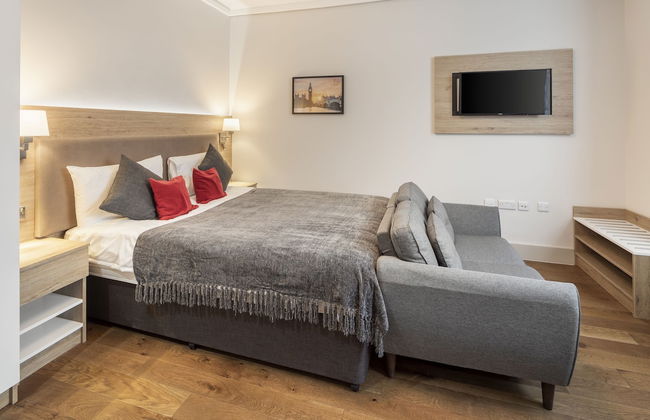
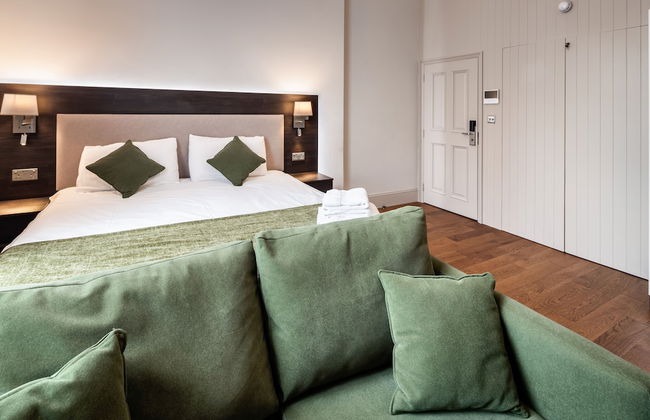
FiveM Notting Hill
Londres - Bayswater - 4.1 km do centro
- 37 M2
- 4 pessoas
- Aquecimento
- Tv
- Máquina de lavar roupa
- Toalhas
- Lençóis

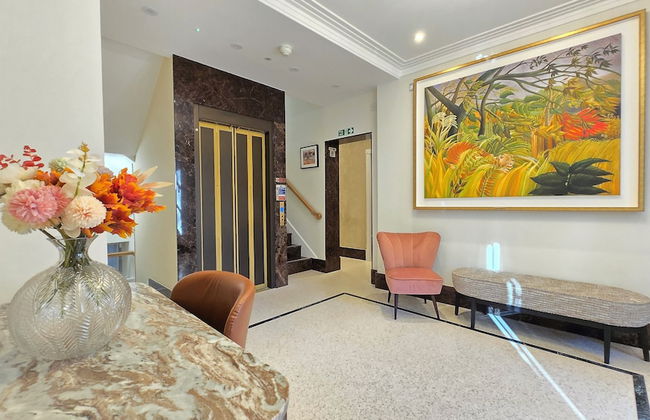

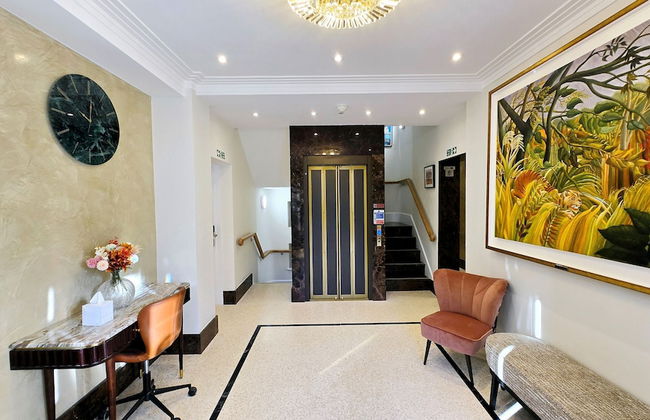

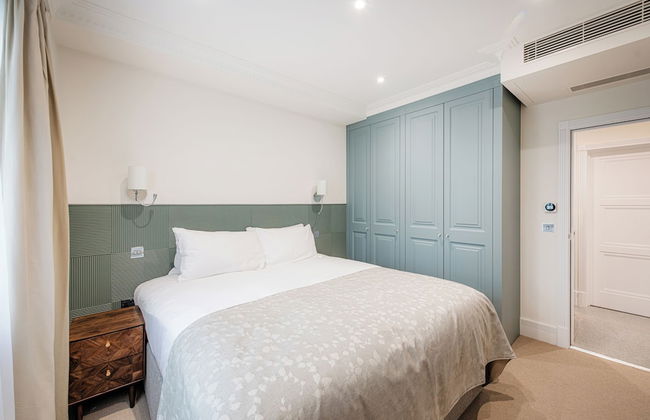

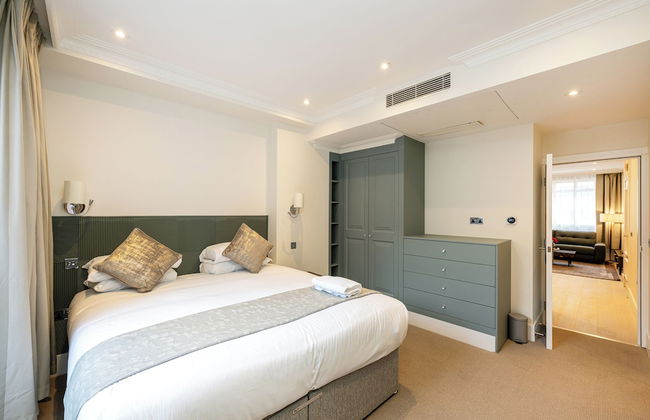


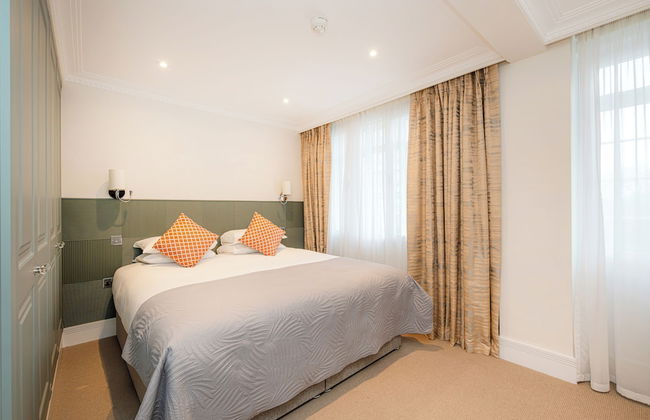


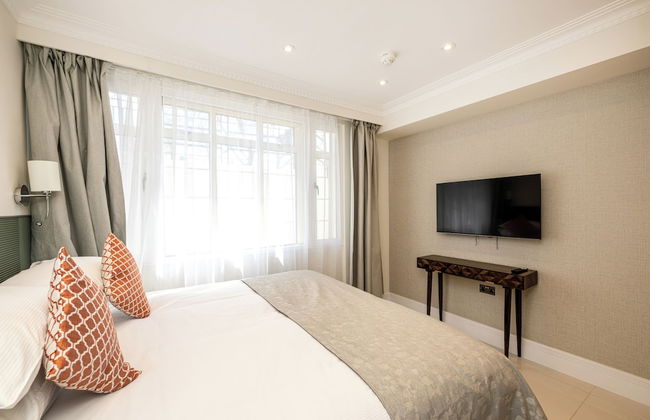


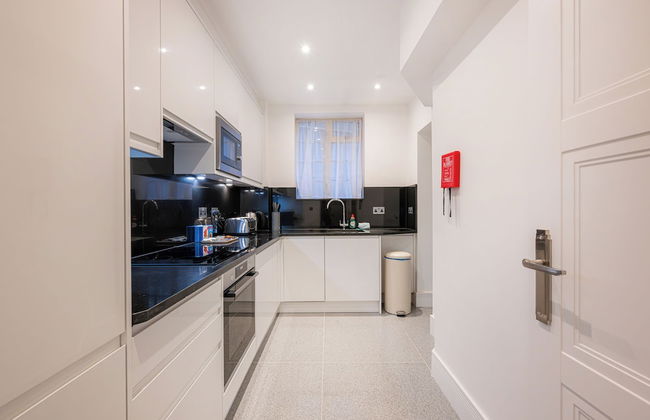


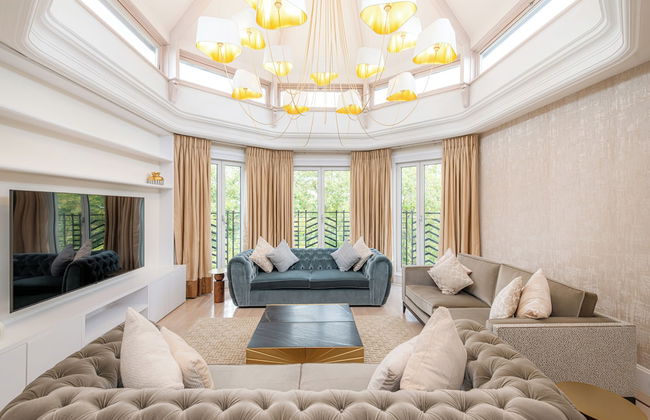


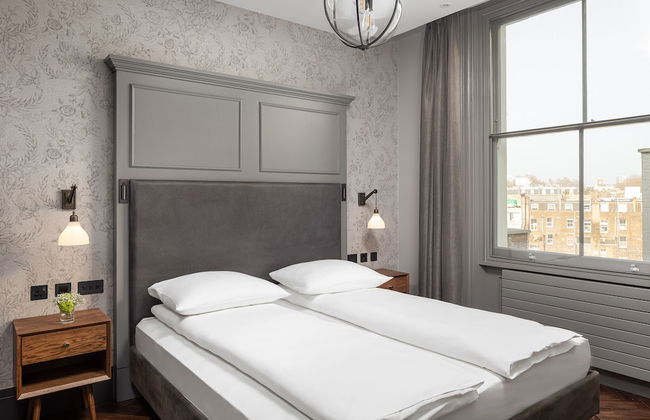
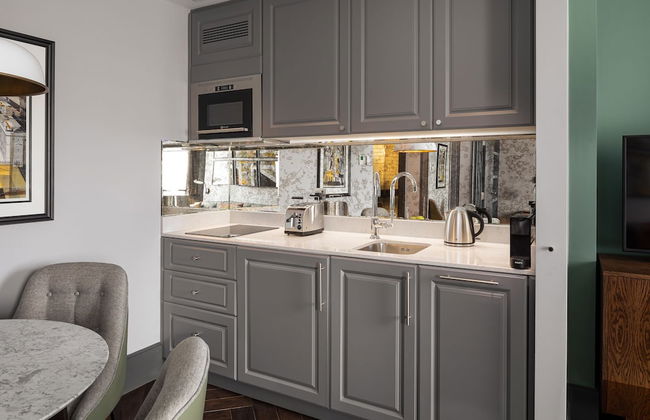
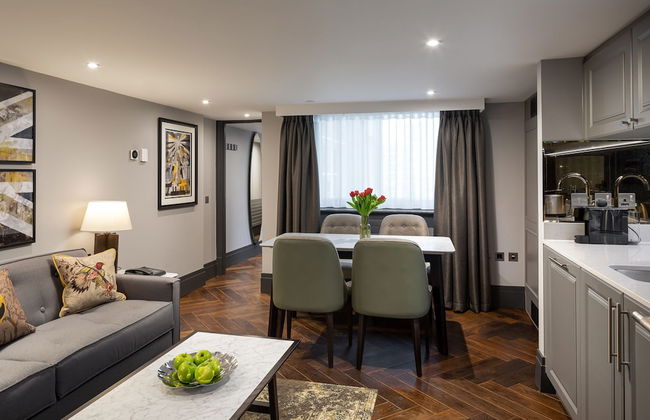
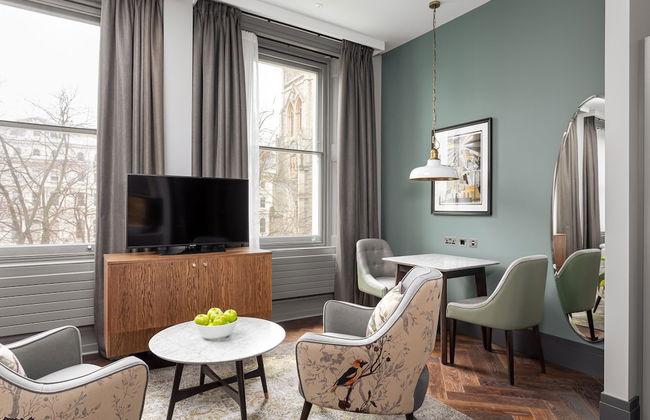
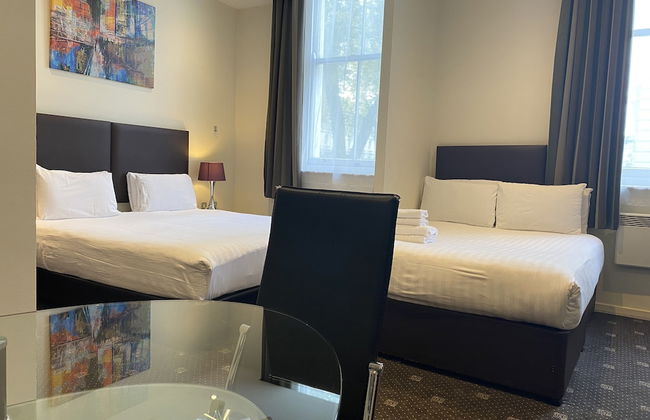
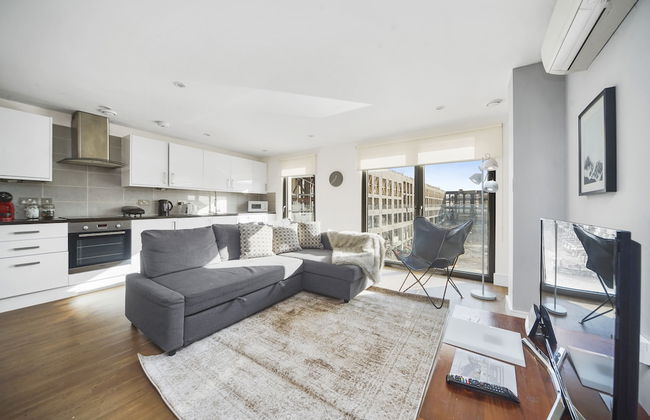
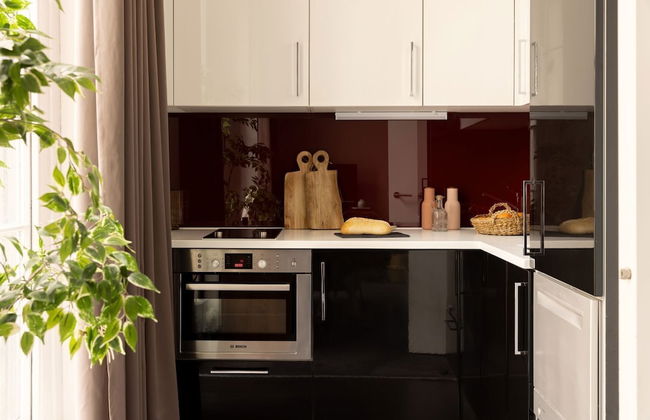
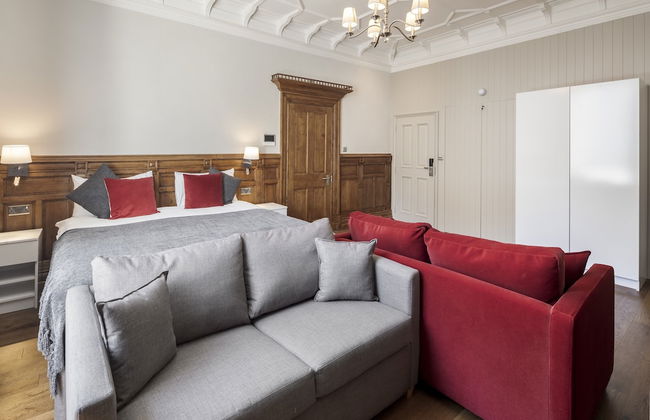
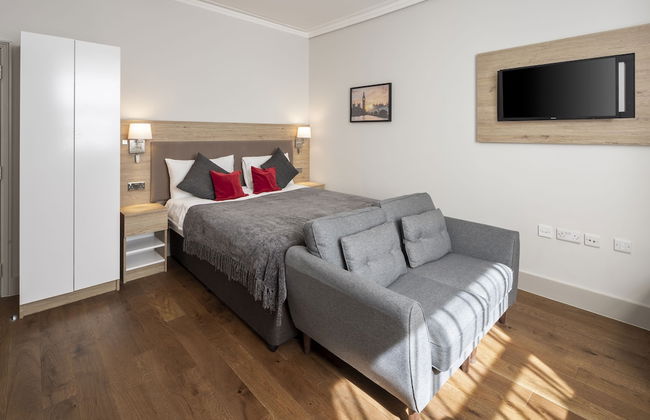
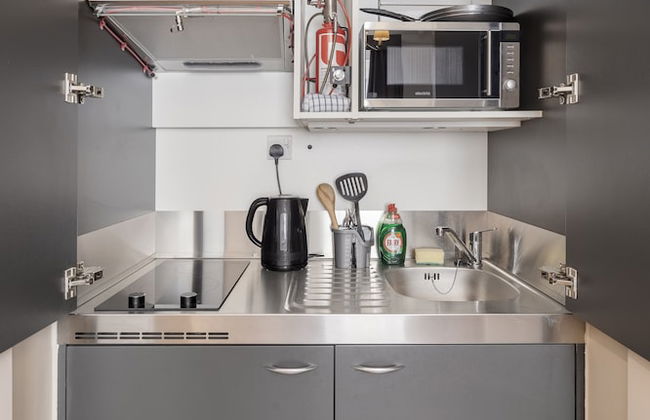
Fountain House Apartments - Hyde Park, London
Londres - Bayswater - 3 km do centro
- 160 M2
- 4 quartos
- 8 pessoas
- Ar-condicionado
- Aquecimento
- Elevador


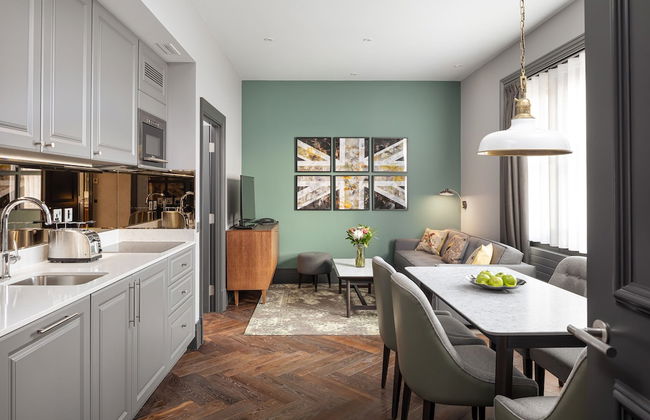
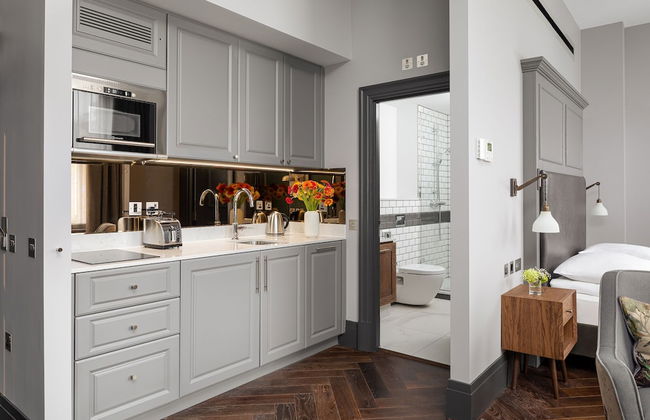
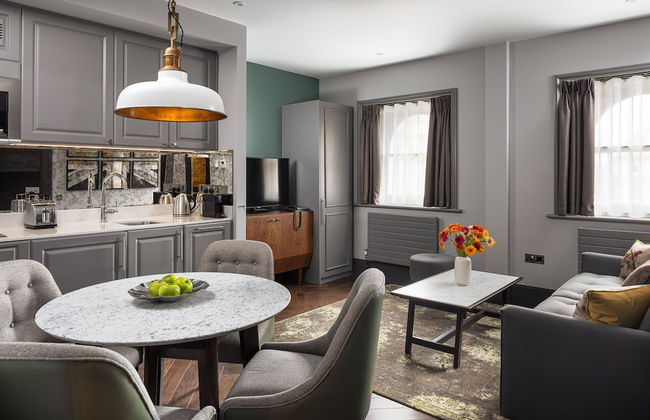
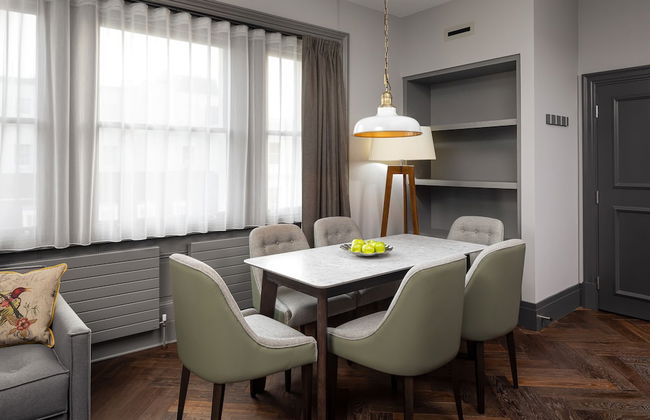
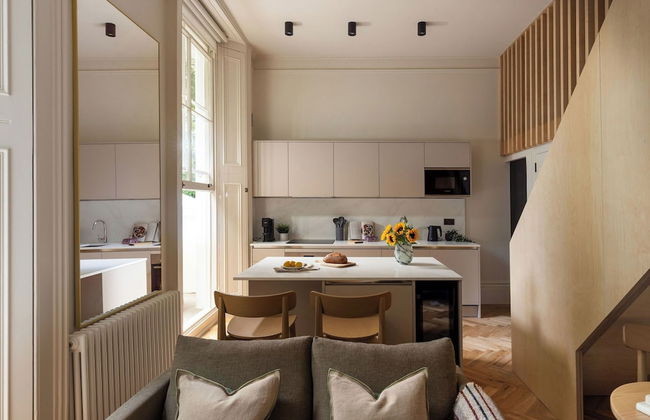
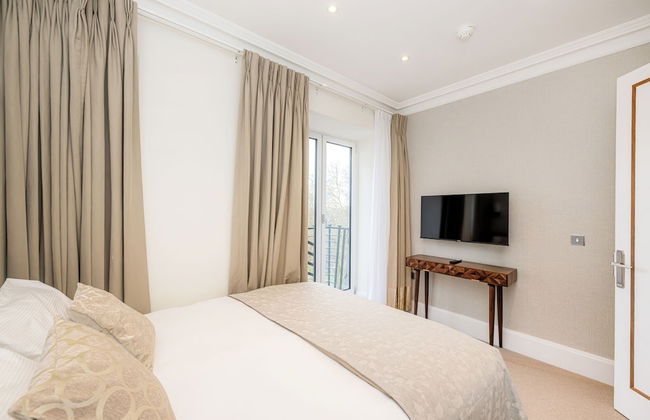
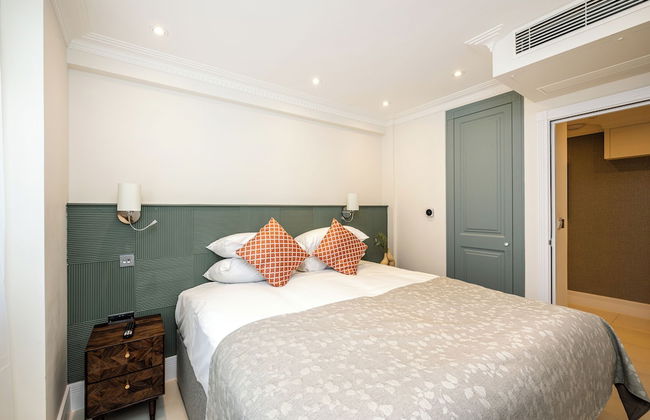
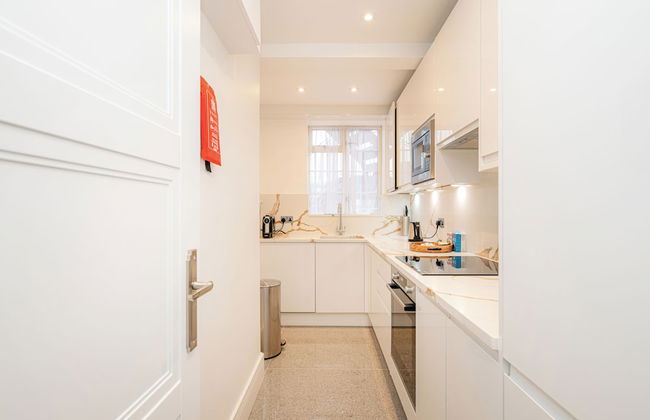
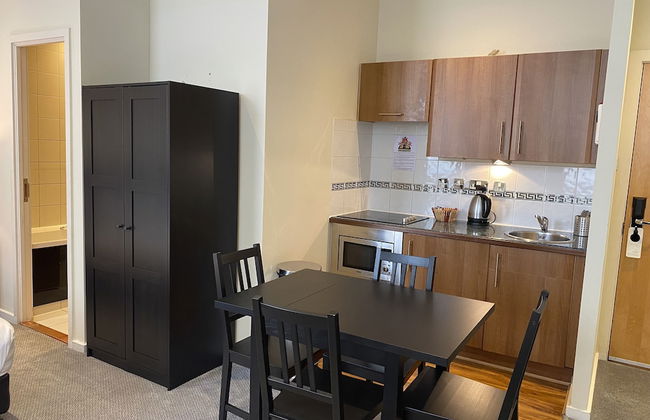
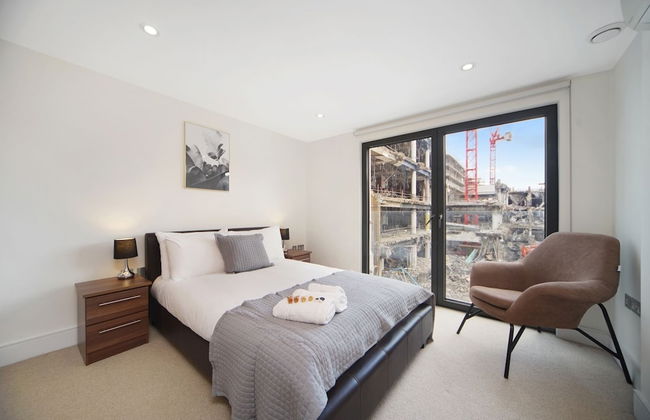
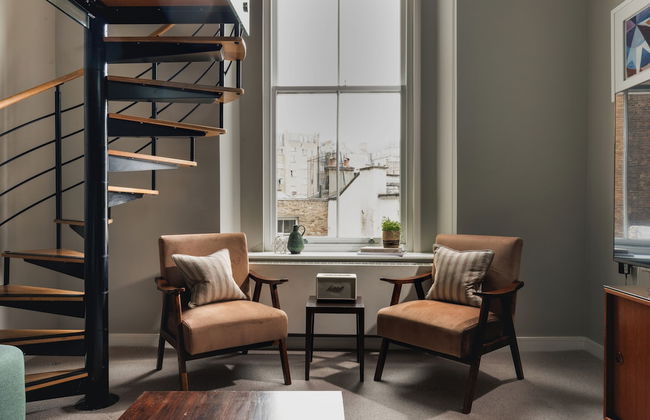
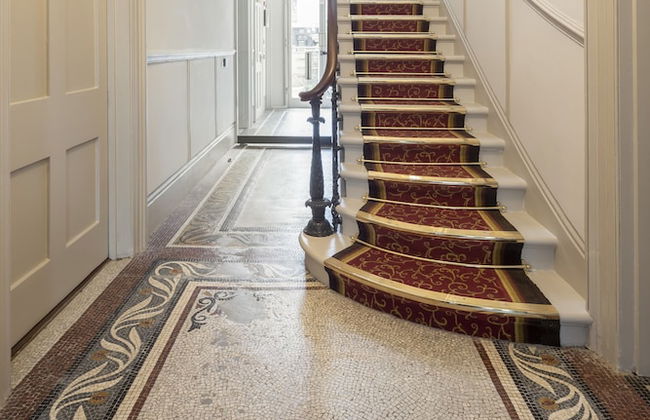
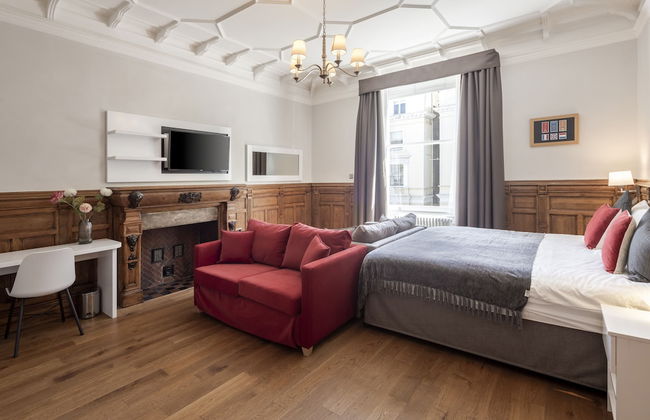
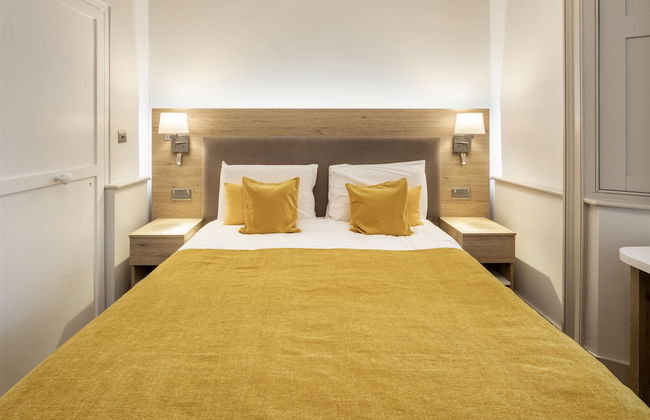
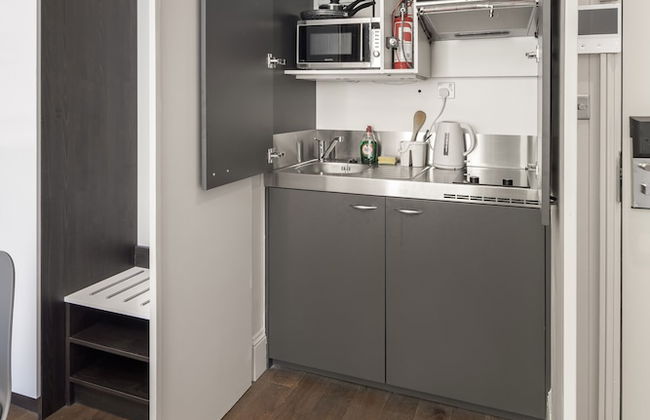
Regency Haven
Londres - Bayswater - 3.1 km do centro
- 46 M2
- 2 pessoas
- Aquecimento
- Terraço
- Estacionamento
- Elevador
- Jardim


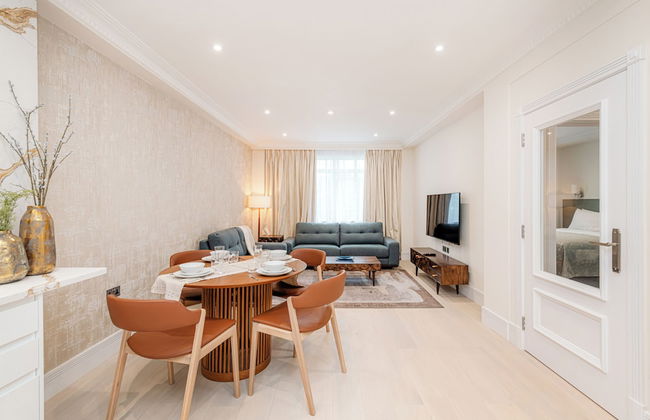
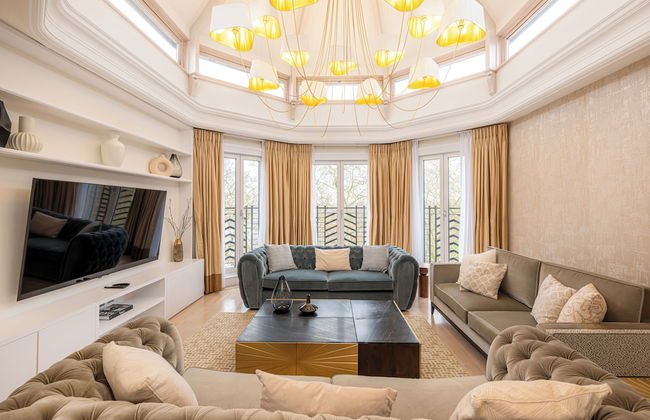
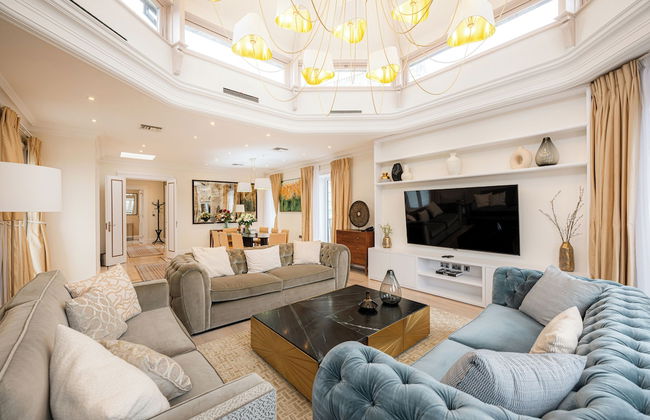
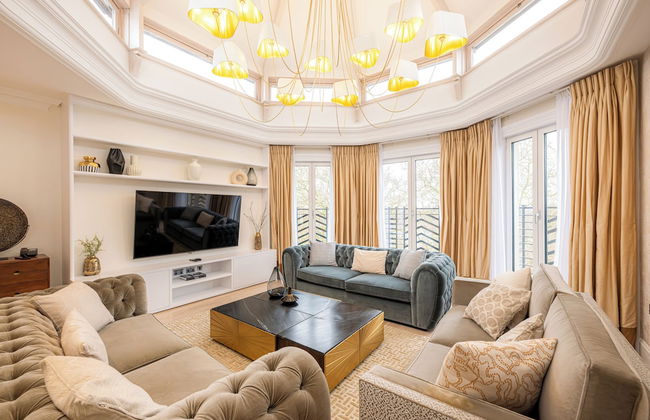
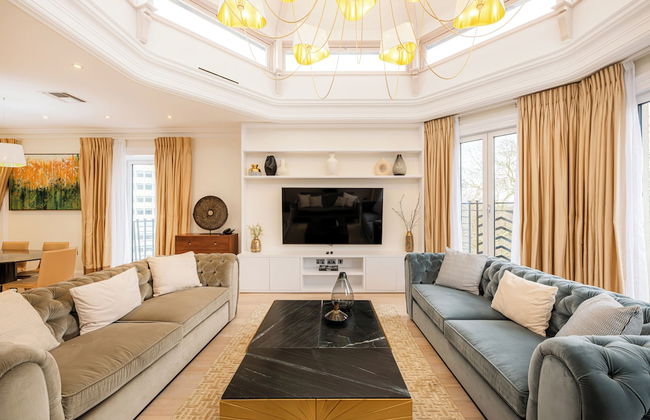
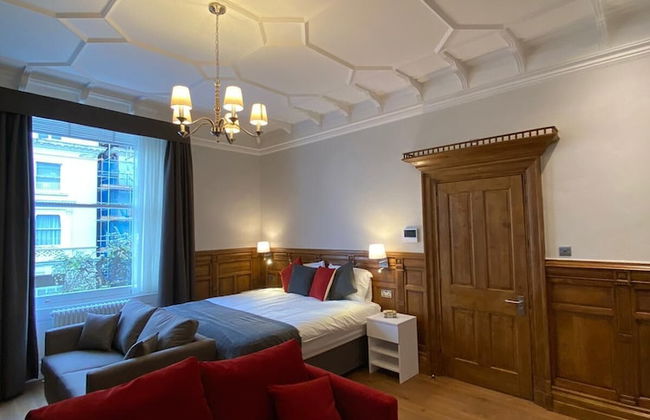
Hyde Park Georgian Duplex Mayfair, Kensington Palace & Notting Hill
Londres - Bayswater - 3.2 km do centro
- 186 M2
- 3 quartos
- 6 pessoas
- Aquecimento
- Terraço
- Elevador
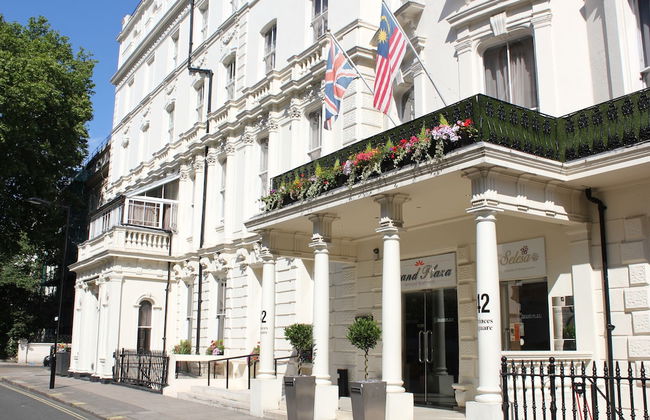


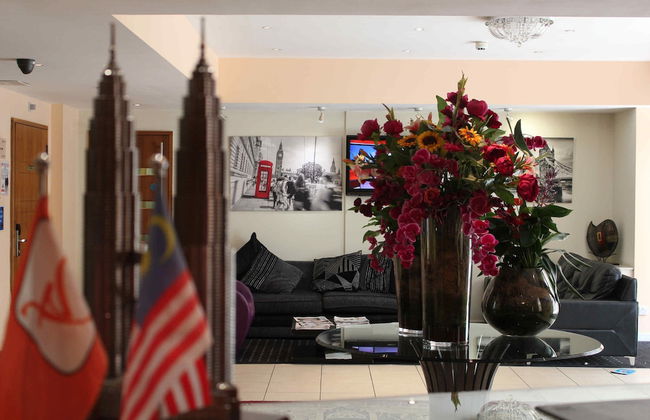


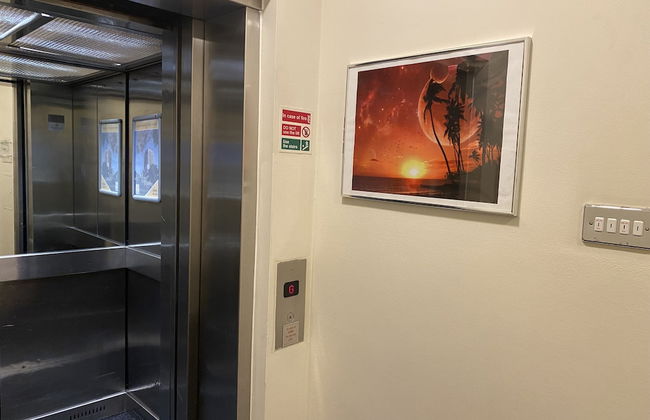


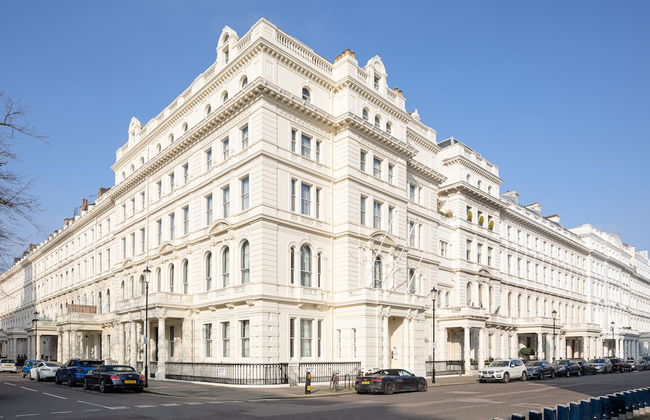
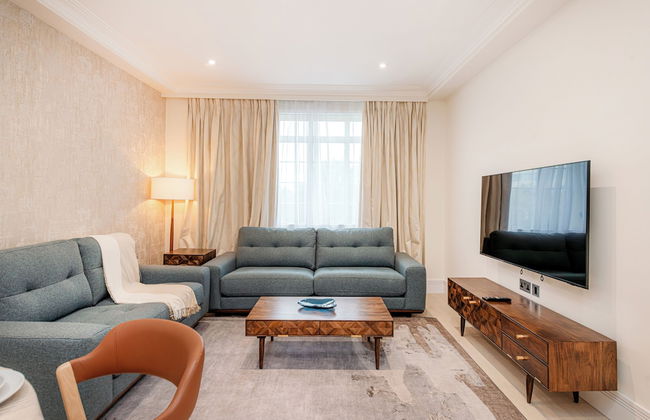
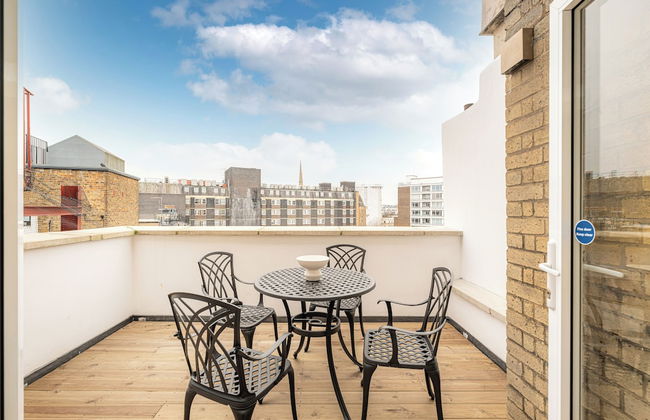
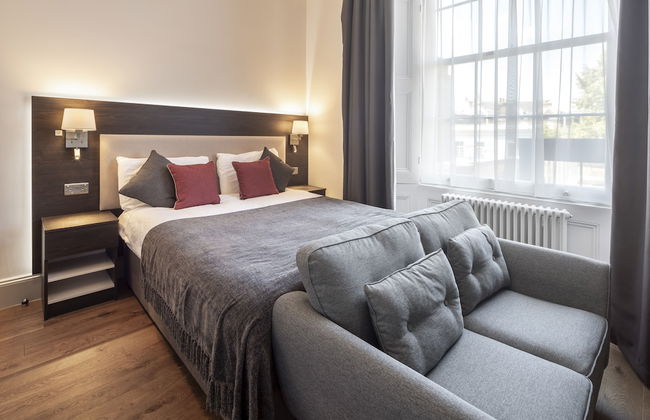
Grand Plaza Serviced Apartments
Londres - Bayswater - 4 km do centro
- 40 M2
- 6 pessoas
- Kitchenette
- Aquecimento
- Terraço
- Elevador
- Jardim
- Tv
- Toalhas
- Lençóis


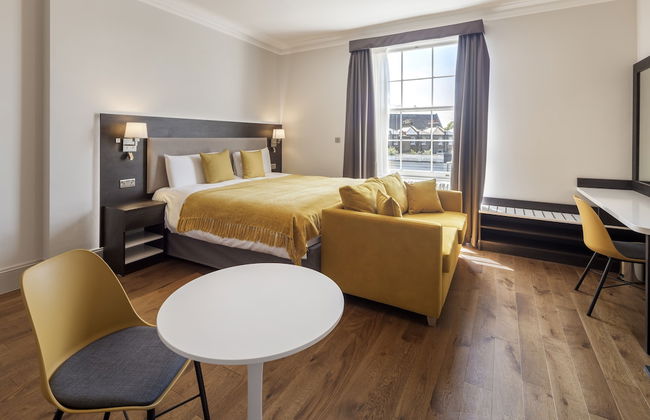
Modern Apartments in Bayswater Central London FREE WIFI & AIRCON by City Stay Aparts London
Londres - Bayswater - 3.9 km do centro
- 95 M2
- 5 pessoas
- Ar-condicionado
- Aquecimento
- Terraço
- Estacionamento
- Elevador
- Tv
- Máquina de lavar roupa
- Toalhas


Kensington Gardens Apartments
Londres - Bayswater - 4 km do centro
- 37 M2
- 2 quartos
- 5 pessoas
- Aquecimento
- Tv
- Máquina de lavar roupa
- Toalhas
- Lençóis


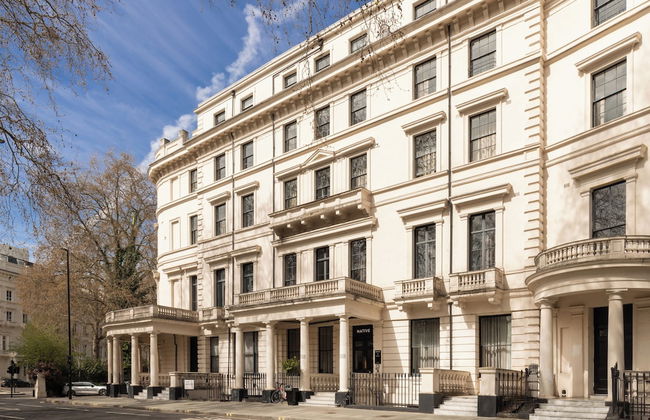
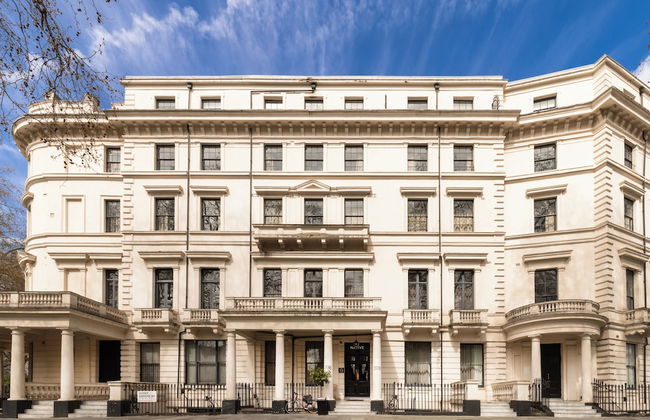
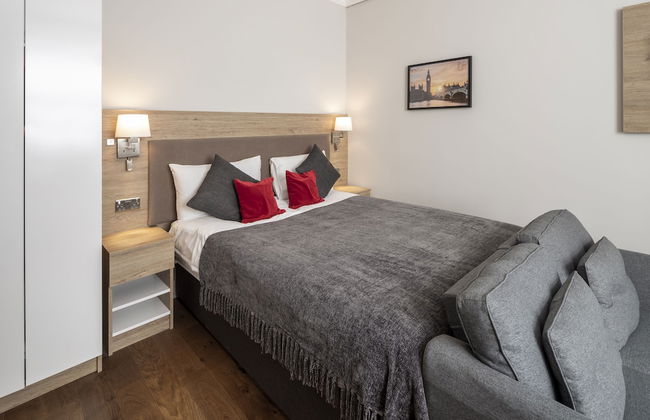
Native Hyde Park
Londres - Bayswater - 3 km do centro
- 63 M2
- 2 quartos
- 6 pessoas
- Aquecimento
- Elevador
- Tv
- Máquina de lavar roupa
- Toalhas
- Lençóis


Stylish 4BD Mews House Close to Paddington
Londres - Bayswater - 3.1 km do centro
- 138 M2
- 4 quartos
- 8 pessoas
- Ar-condicionado
- Aquecimento
- Terraço
- Estacionamento
- Jardim


Stunning Hyde Park Home with Private Balcony & Lift Elevator Access
Londres - Bayswater - 3.5 km do centro
- 75 M2
- 2 quartos
- 6 pessoas
- Aquecimento
- Terraço
- Elevador
- Jardim


Notting Hill House
Londres - Bayswater - 4.3 km do centro
- 19 M2
- 3 pessoas
- Kitchenette
- Aquecimento
- Tv
- Toalhas
- Lençóis


Awesome 3 bedroom very central flat
Londres - Bayswater - 4.1 km do centro
- 82 M2
- 3 quartos
- 8 pessoas
- Aquecimento
- Jardim


Gorgeous Hyde Park Home with Lift-Elevator Access & Nice View
Londres - Bayswater - 3.5 km do centro
- 70 M2
- 2 quartos
- 6 pessoas
- Aquecimento
- Terraço
- Elevador


Central London Hyde Park Apartments
Londres - Bayswater - 3.3 km do centro
- 160 M2
- 2 quartos
- 7 pessoas
- Ar-condicionado
- Aquecimento
- Terraço
- Elevador


Traveleraddress - Crawford Place
Londres - Bayswater - 2.5 km do centro
- 56 M2
- 2 quartos
- 6 pessoas
- Ar-condicionado
- Aquecimento
- Elevador


Cozy one bedroom apartment next to Paddington
Londres - Bayswater - 3.4 km do centro
- 42 M2
- 2 pessoas
- Aquecimento
- Terraço
- Elevador
- Jardim


Modern 1 Bedroom Apartment in Kensington
Londres - Bayswater - 4.3 km do centro
- 36 M2
- 1 quarto
- 3 pessoas
- Aquecimento
- Estacionamento


Flat in the center of London 8
Londres - Bayswater - 3.5 km do centro
- 8 M2
- 2 pessoas
- Jardim


Hyde Park,3 min walk,Family home! 2 Bedrooms & 2 Bathrooms Apartment! Fantastic Location
Londres - Bayswater - 3.5 km do centro
- 95 M2
- 2 quartos
- 4 pessoas
- Ar-condicionado