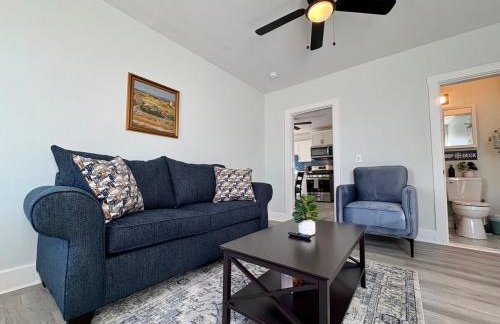
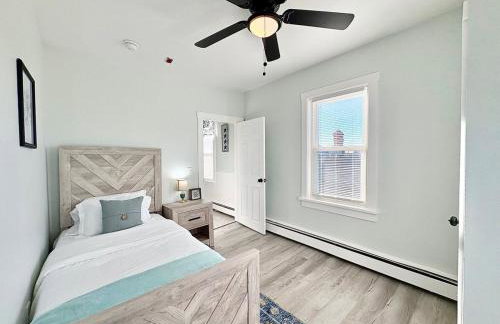
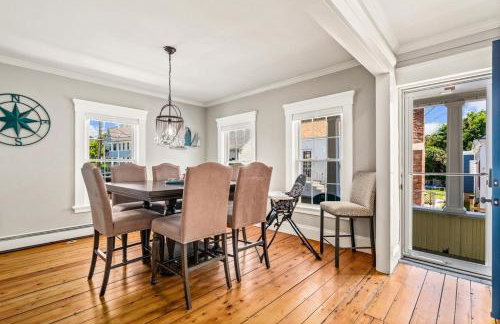
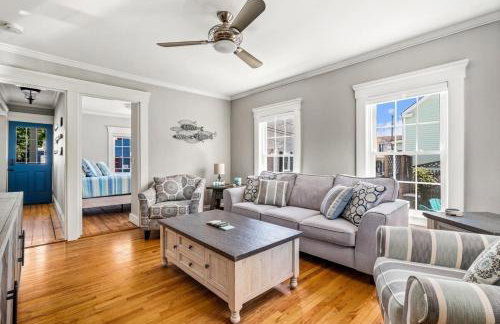
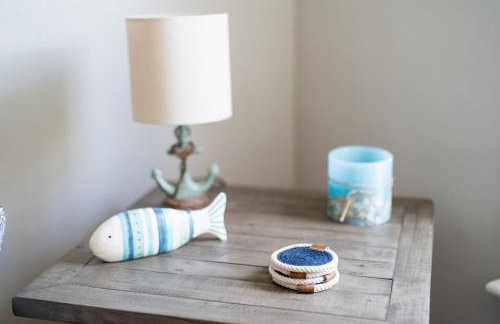
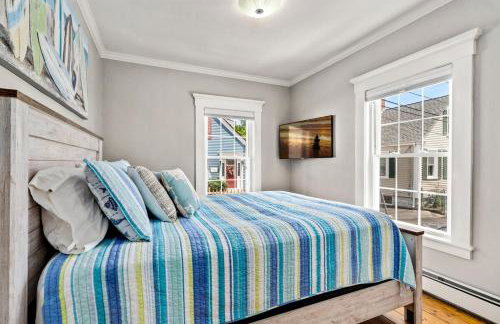
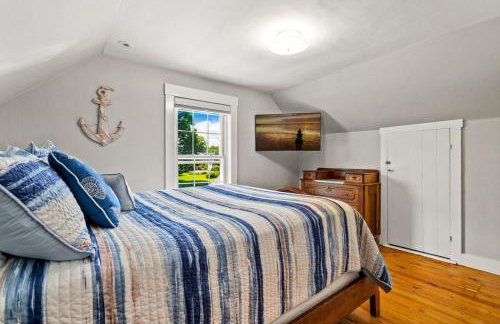
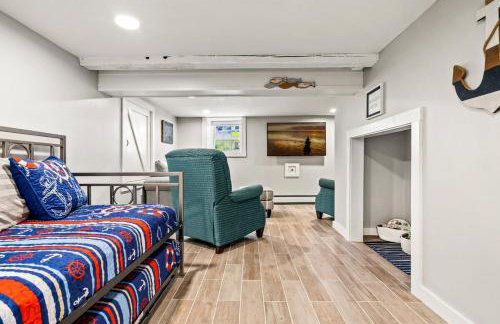
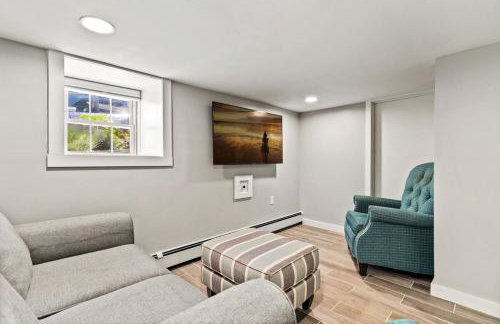
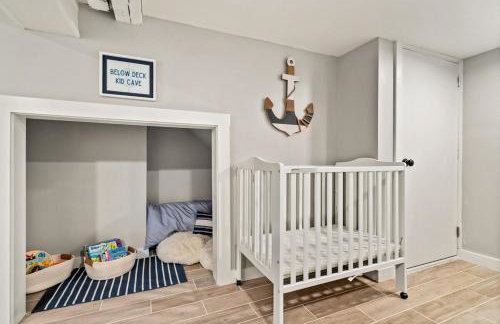
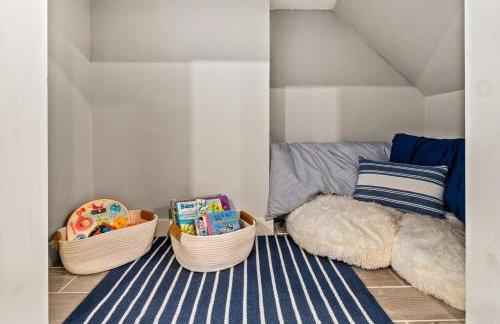
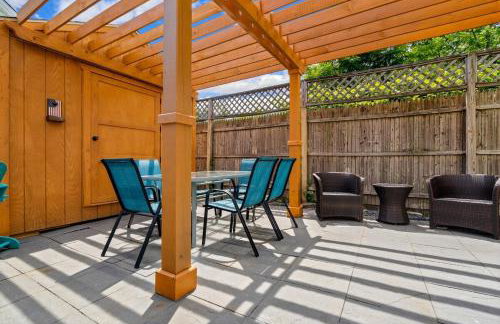
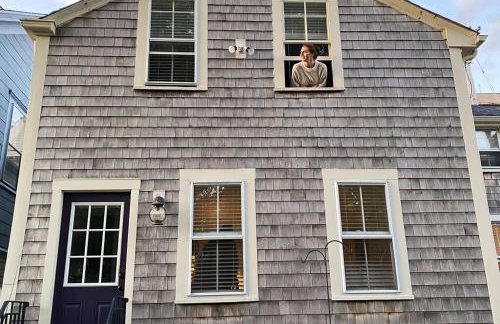
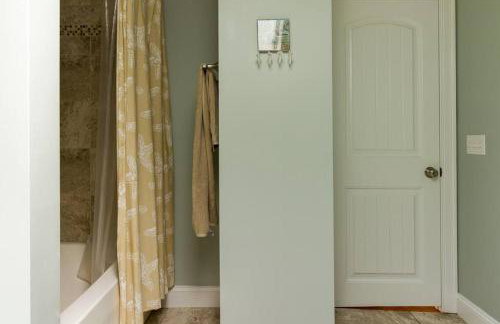
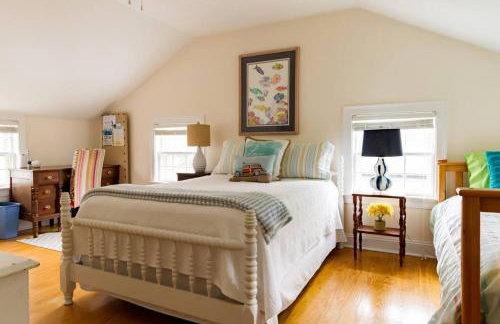
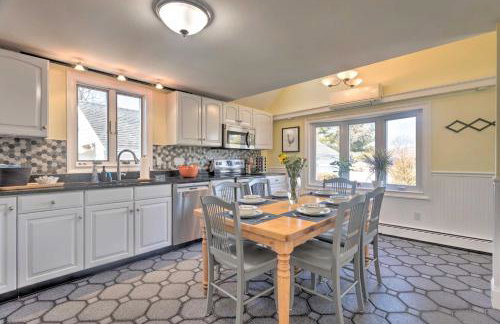
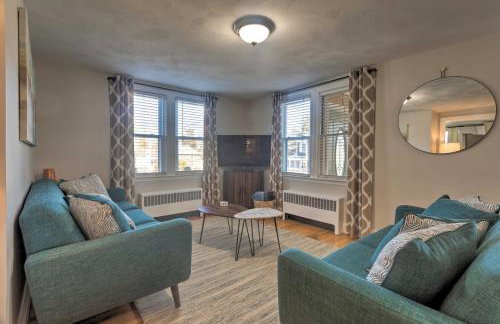
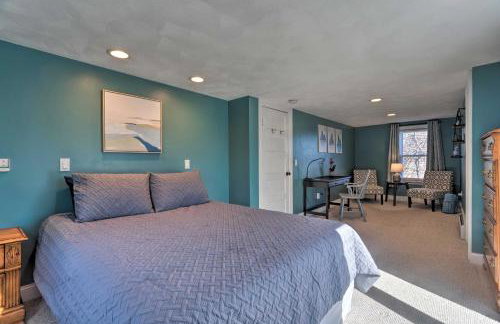
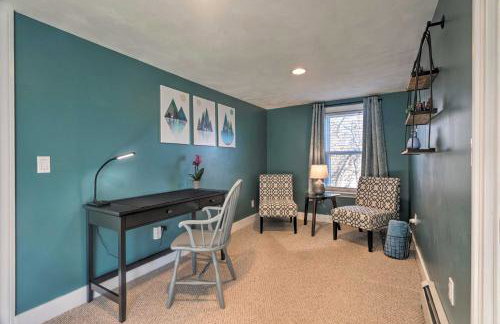
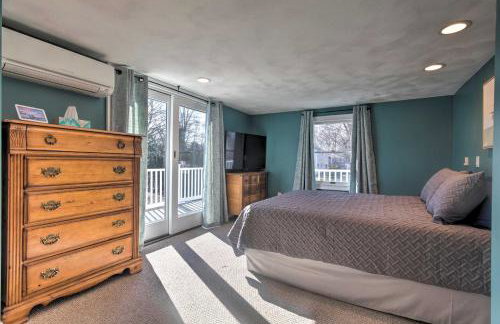
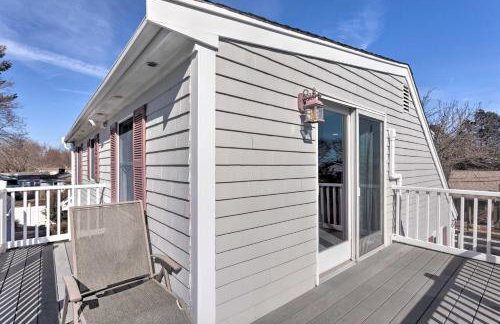
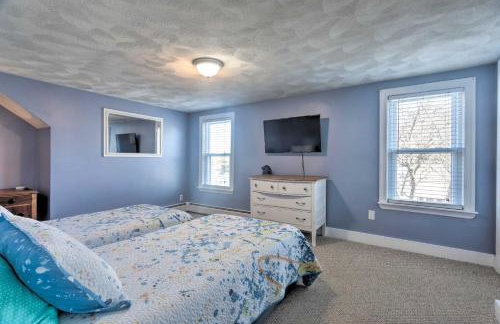
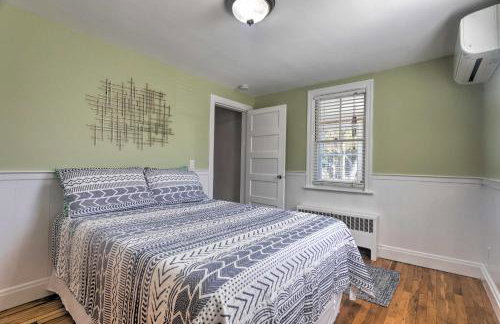
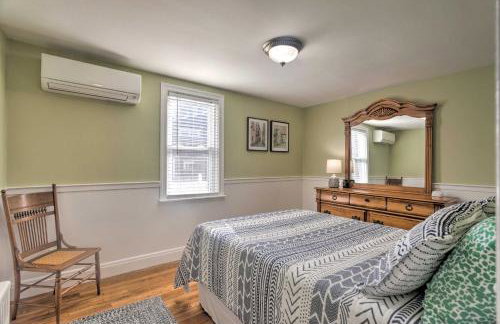
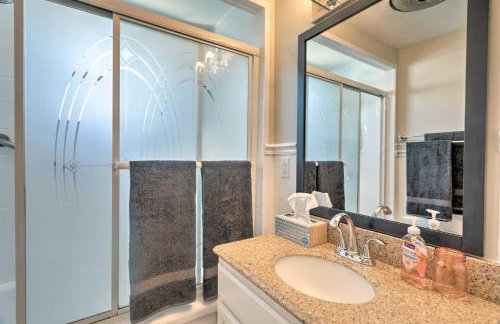
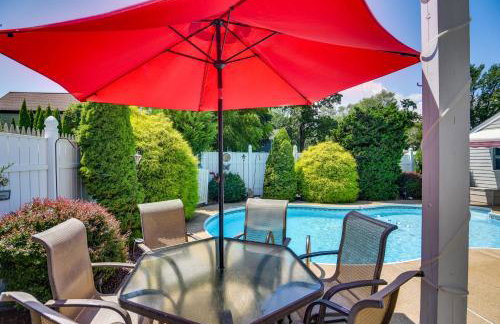
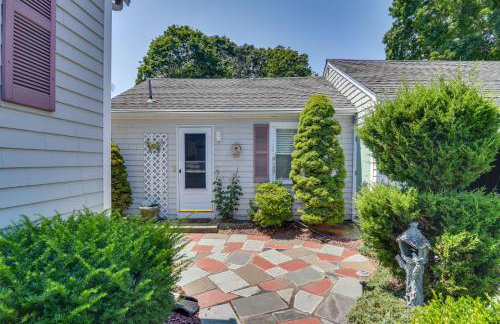
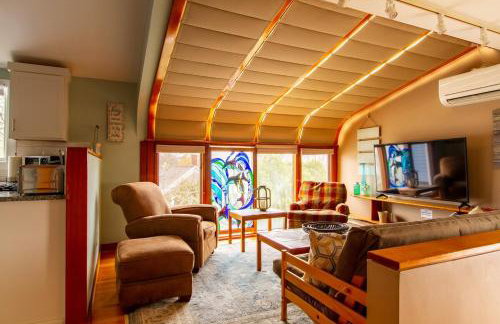
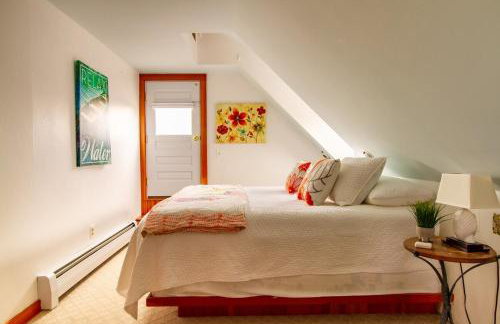
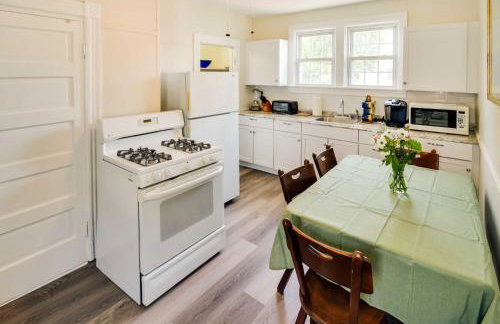
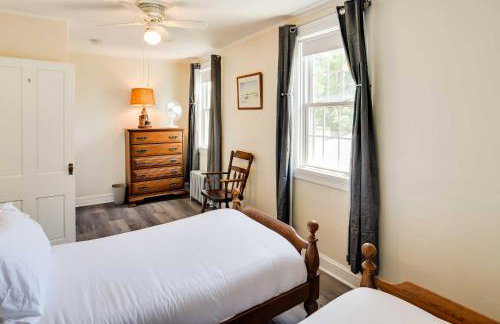
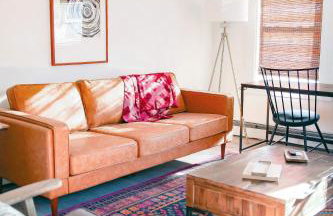
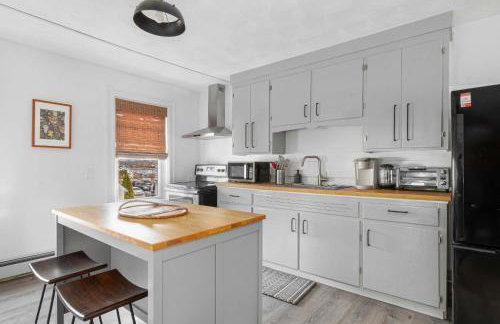
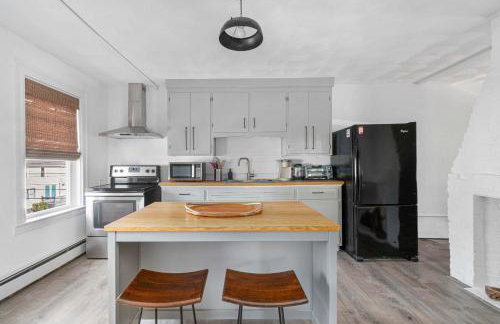
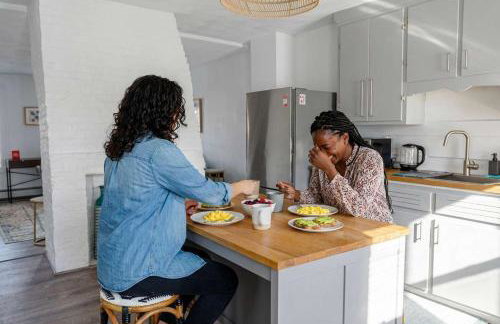
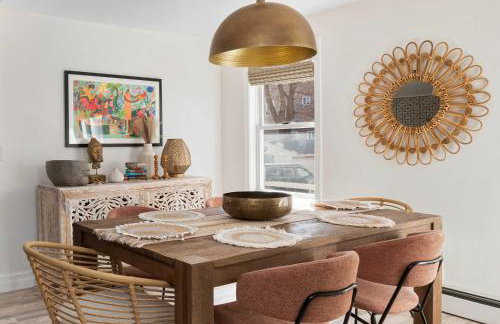
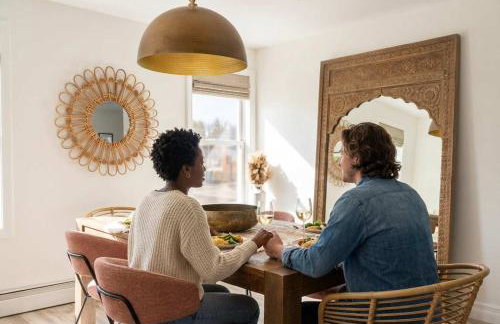
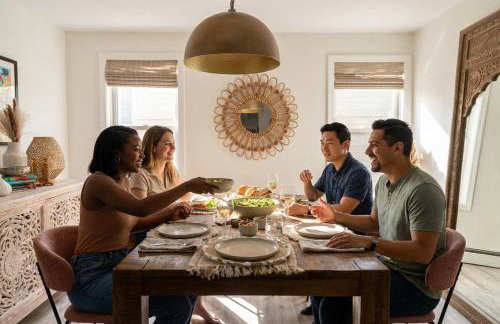
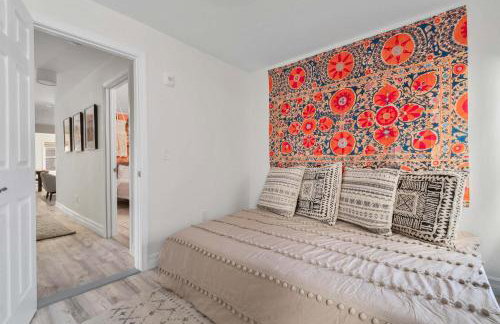
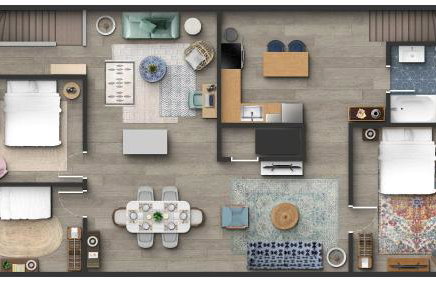
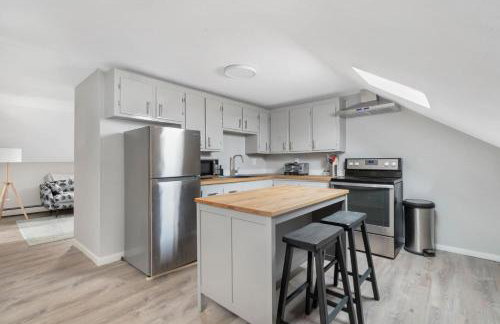
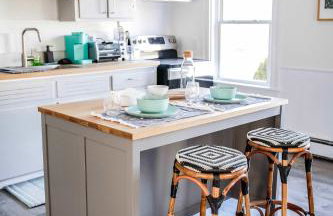
15 Apartamentos em Bristol

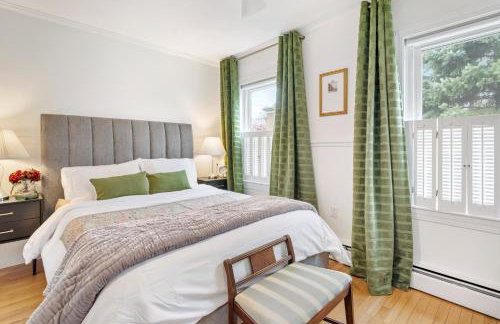
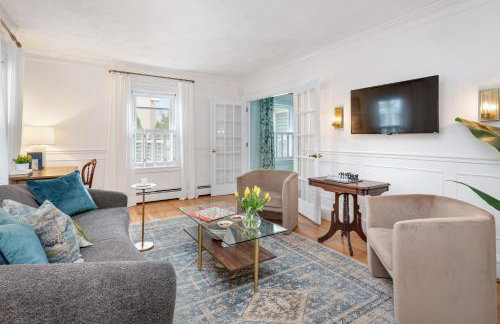
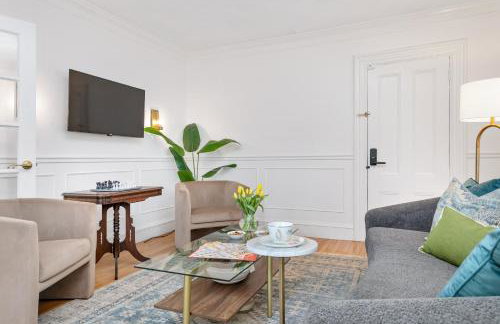

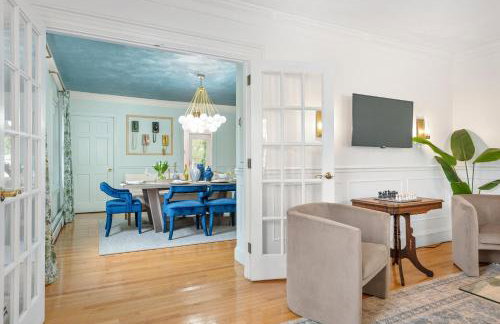
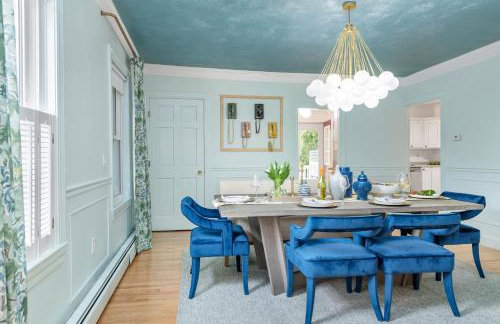

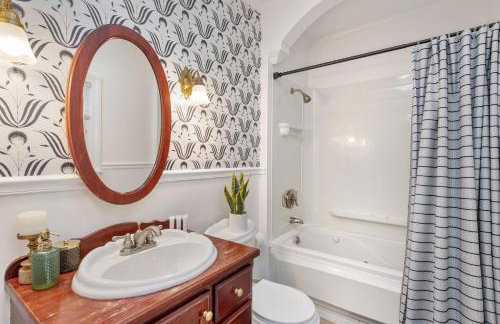
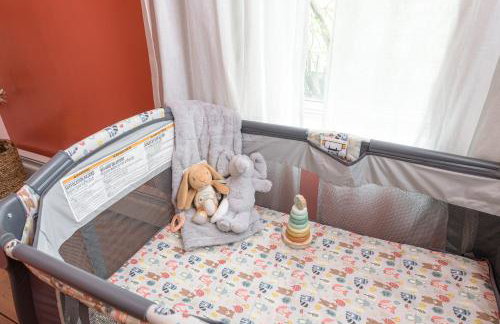
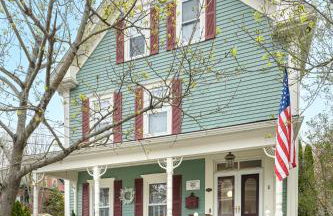
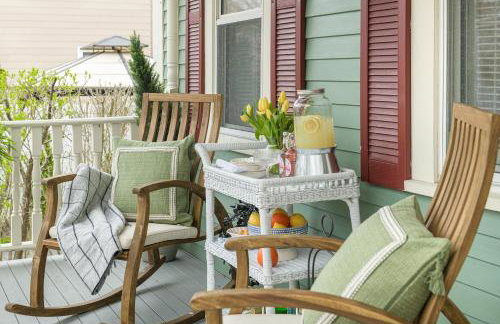
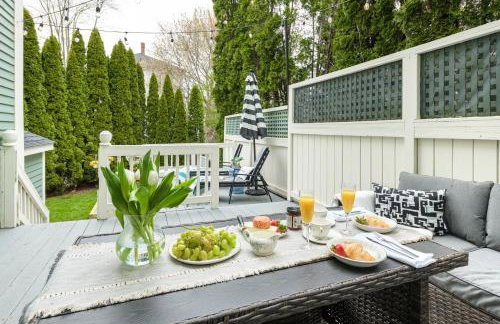
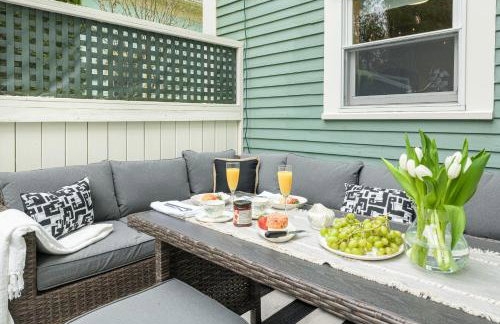


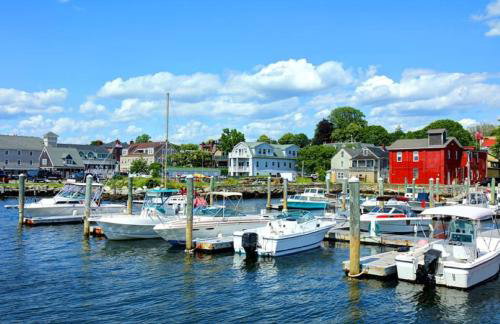
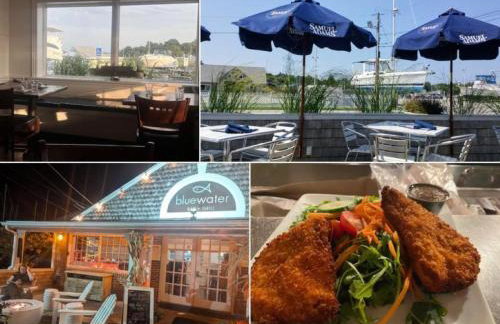
The Front Porch Vacation Rentals
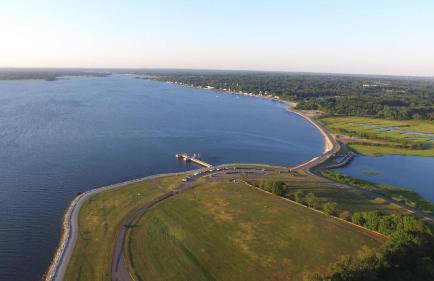
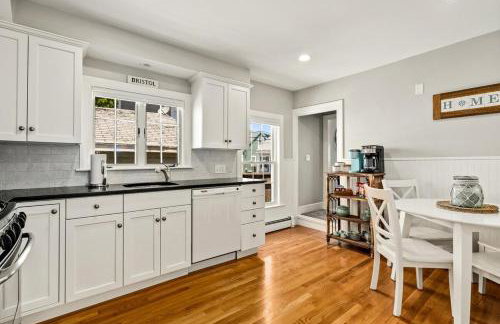
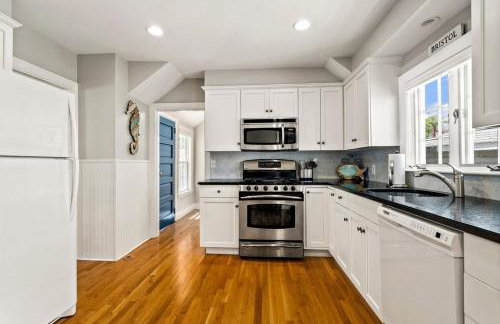
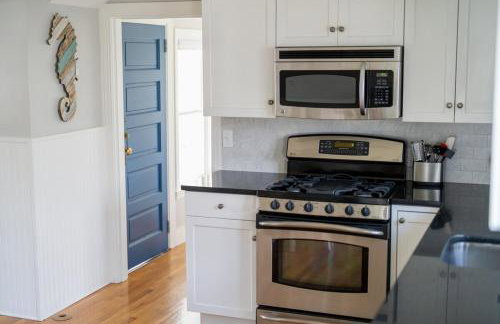
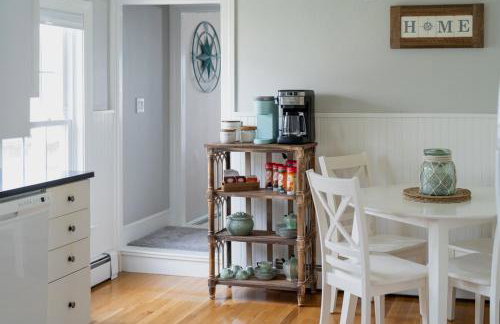
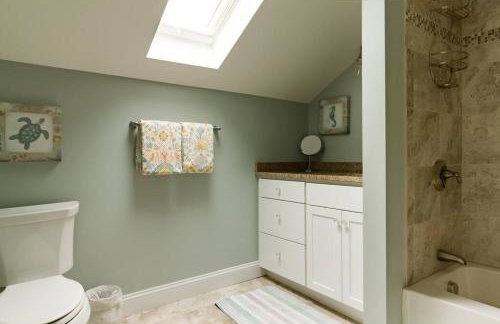
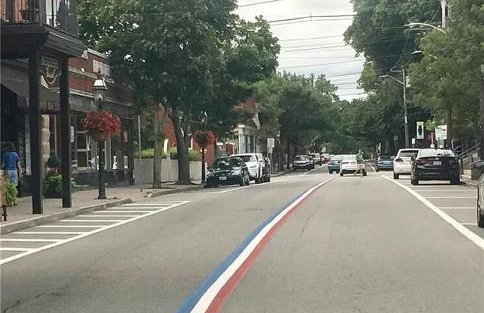
Bristol
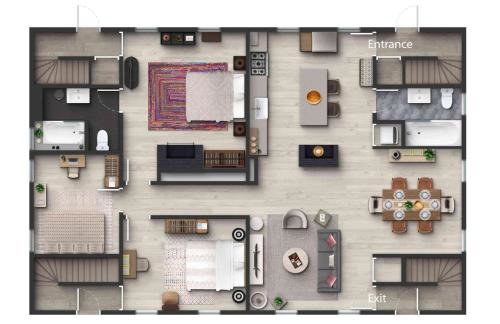
- 139 M2
- 2 quartos
- 6 pessoas
- Ar-condicionado
- Aquecimento
- Estacionamento
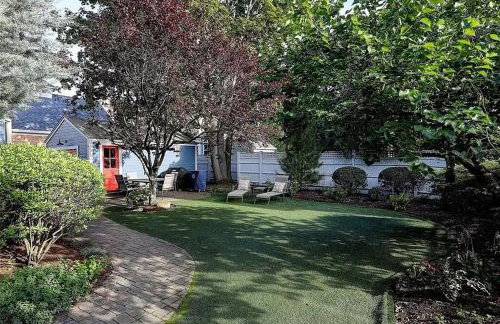
- Jardim
10 avaliações


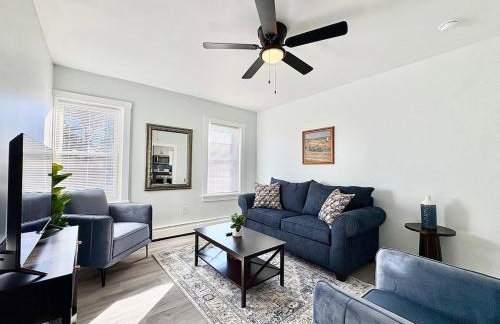
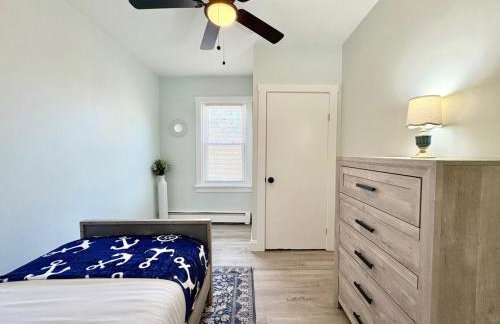
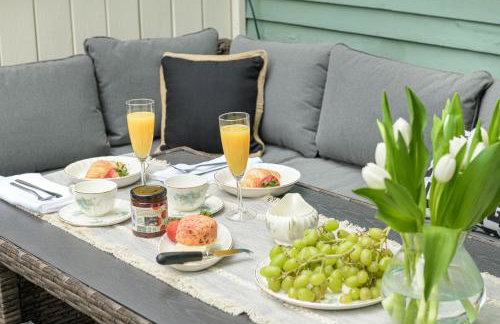
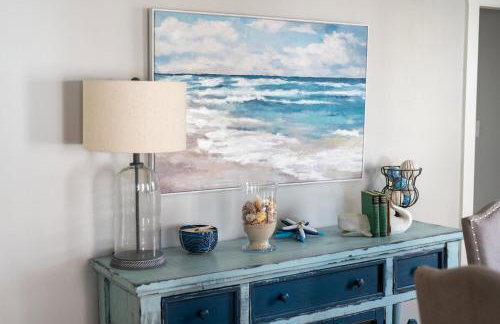
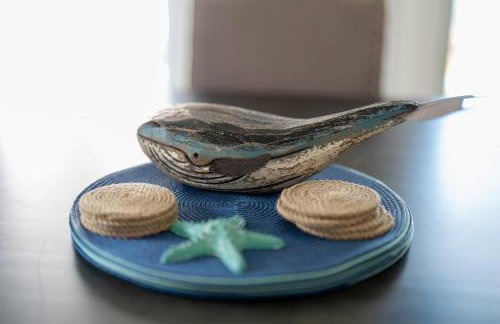
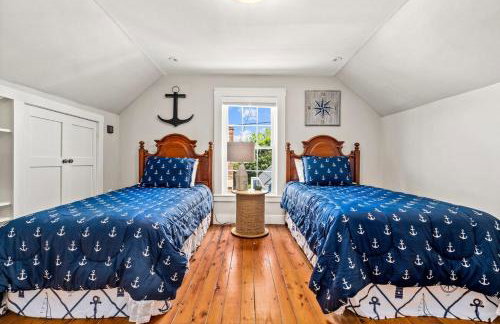
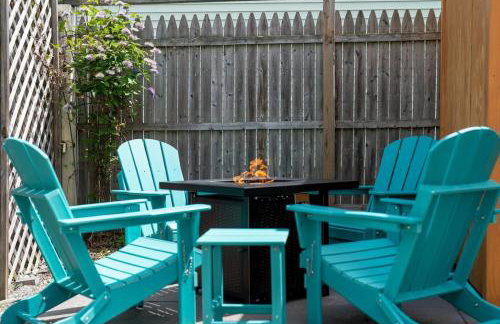
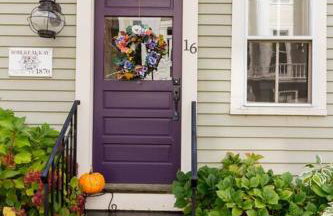
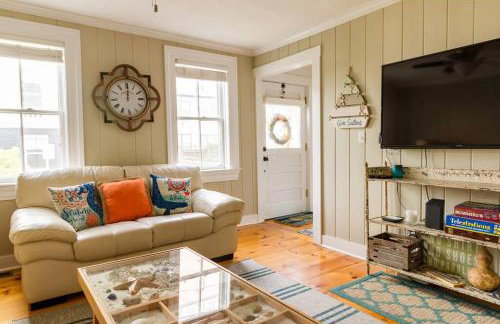
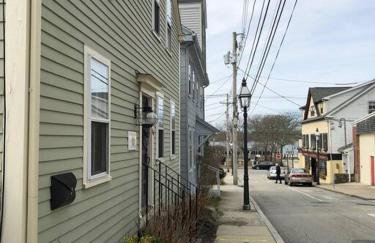
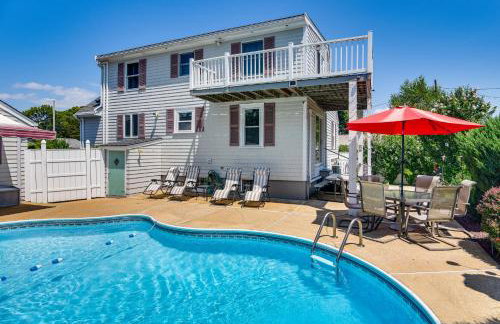
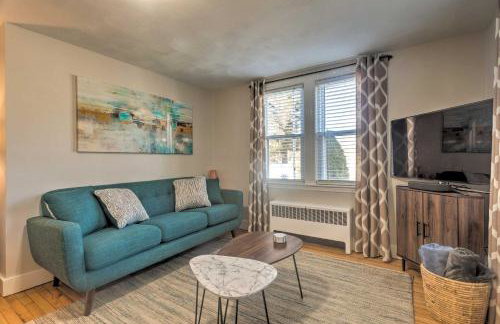
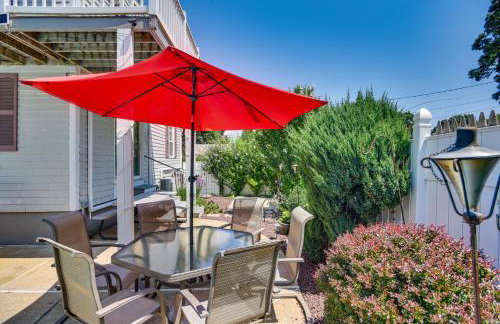
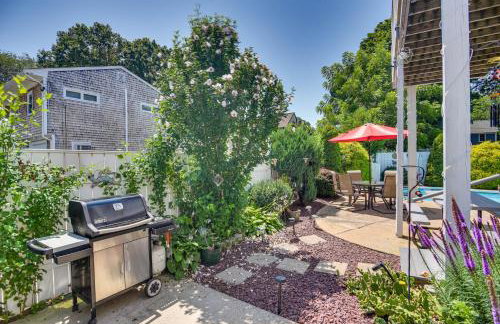
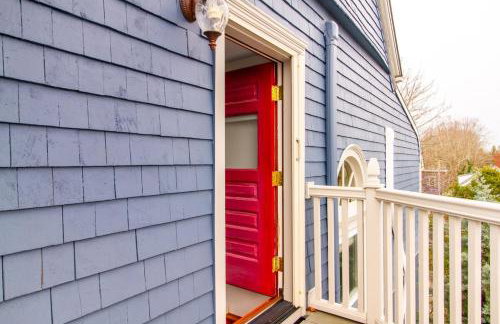
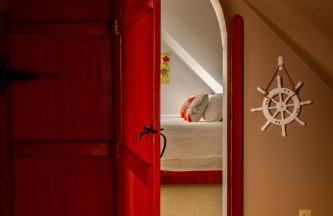
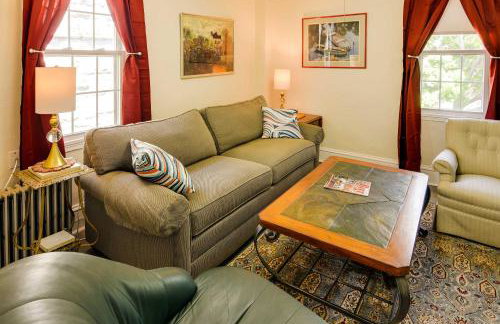
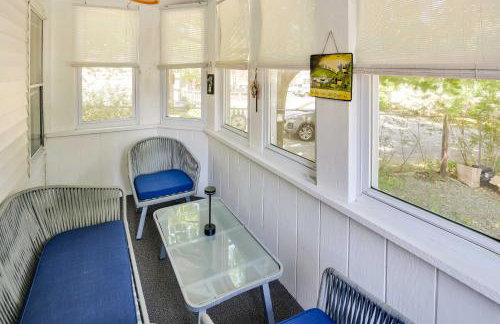
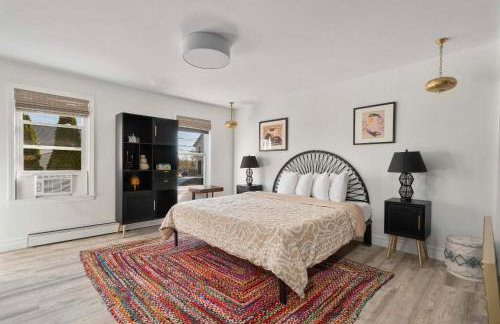
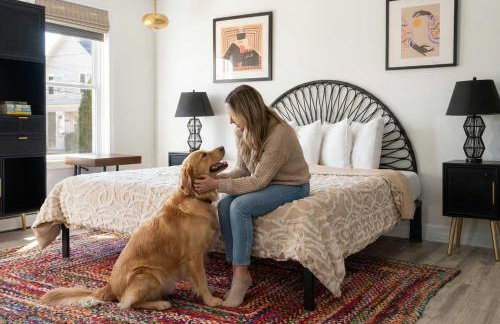
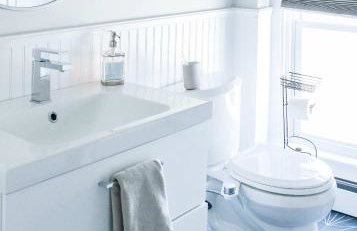
Charming Bristol Cottage with Private Beach!
Bristol
- 70 M2
- 2 quartos
- 4 pessoas
- Aquecimento
- Estacionamento
6 avaliações
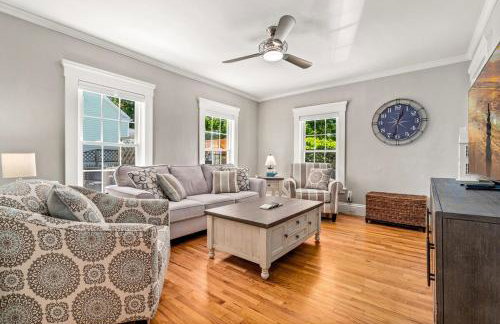


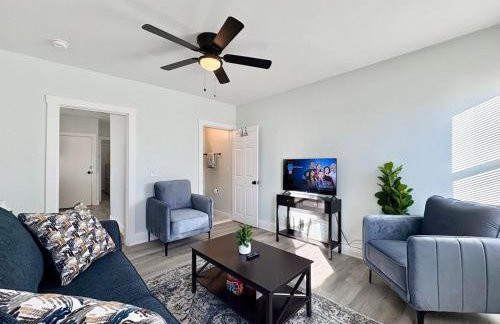
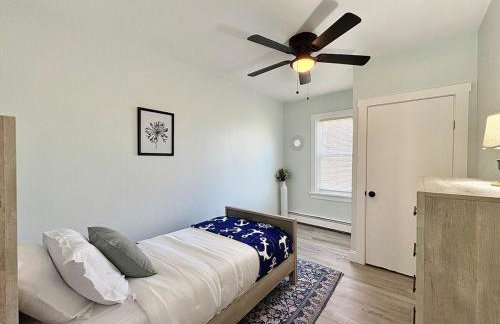
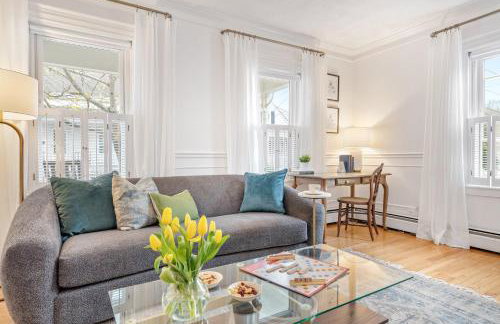
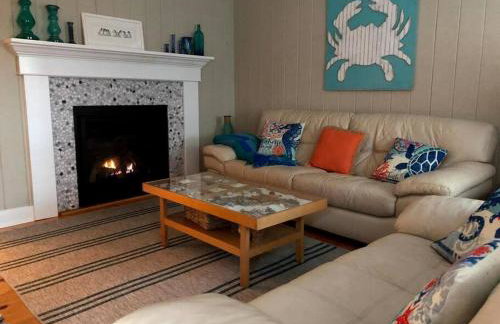
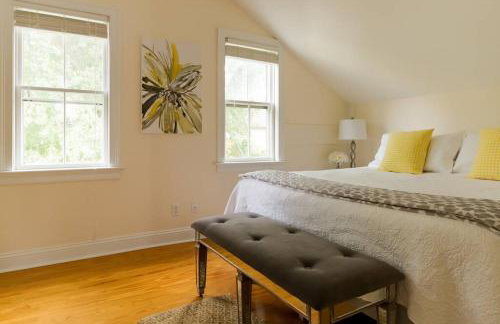
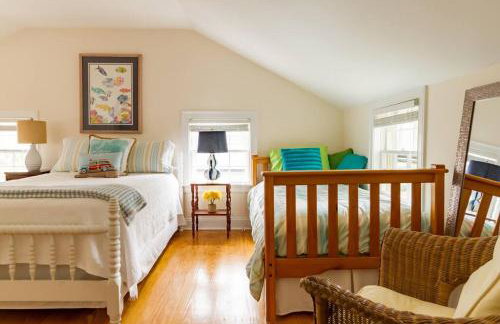
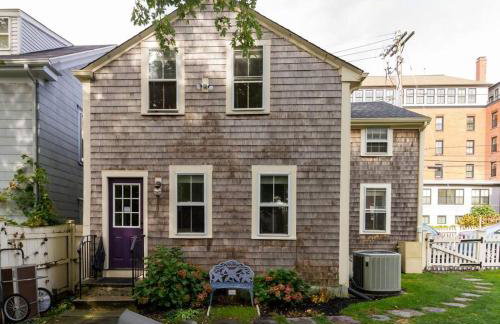
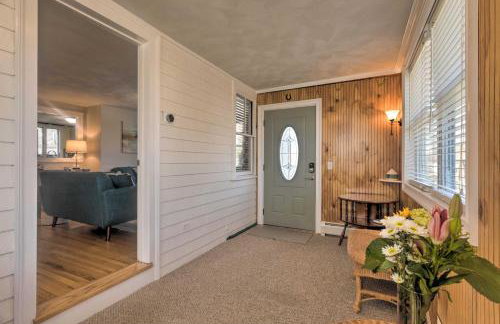
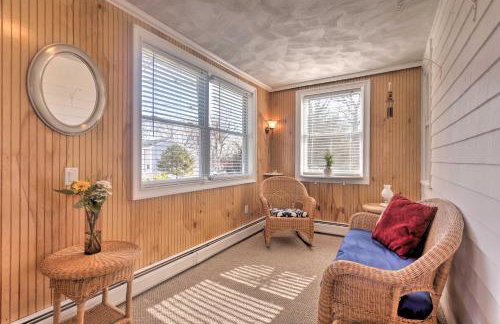
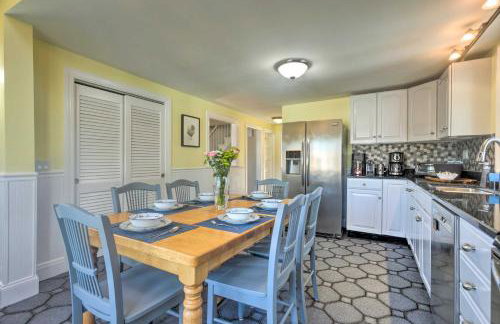
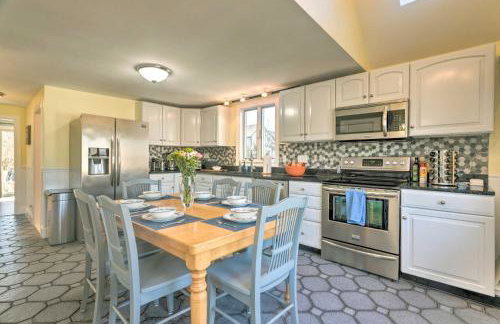
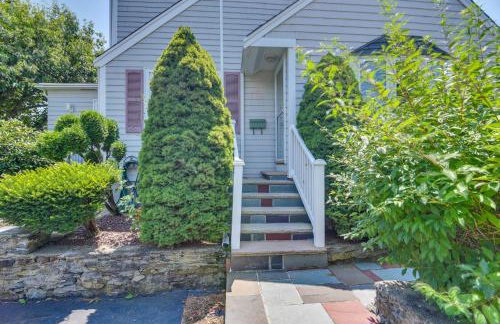
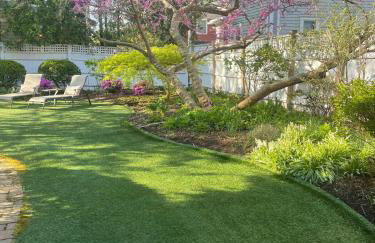
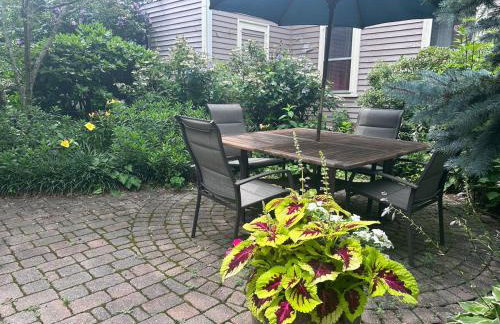
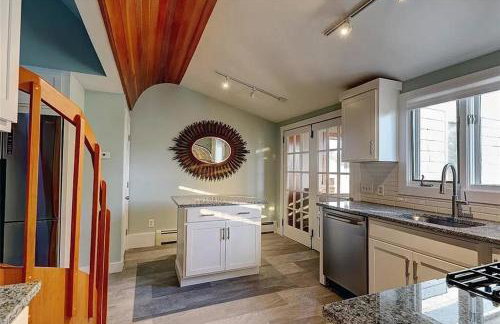
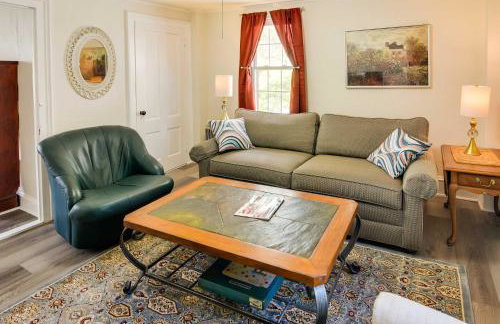
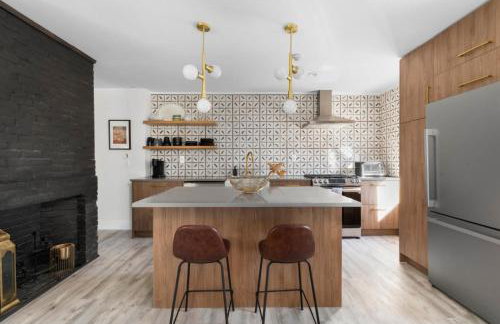
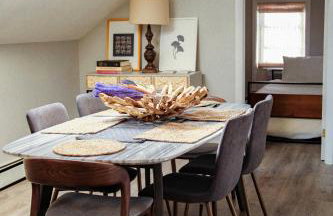
Beautiful Cottage in Downtown Bristol
Bristol
- 137 M2
- 3 quartos
- 8 pessoas
- Ar-condicionado
- Aquecimento
- Estacionamento
- Churrasco
3 avaliações
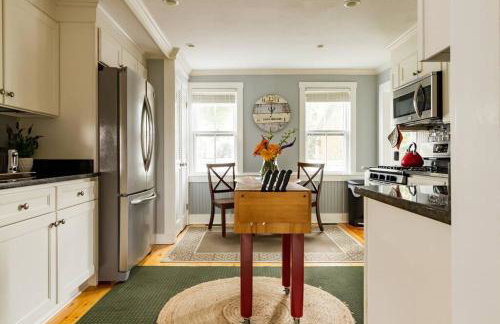


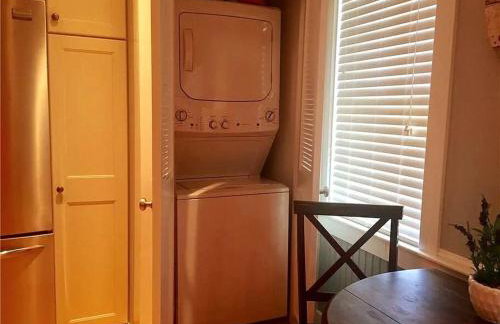


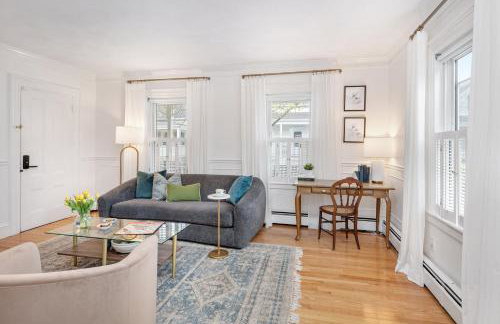
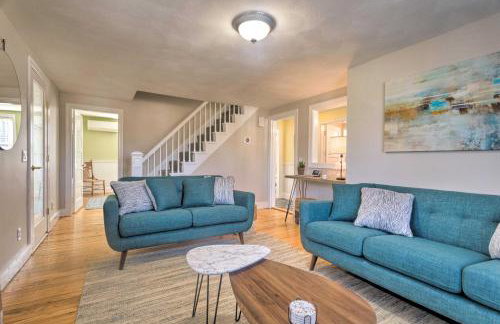
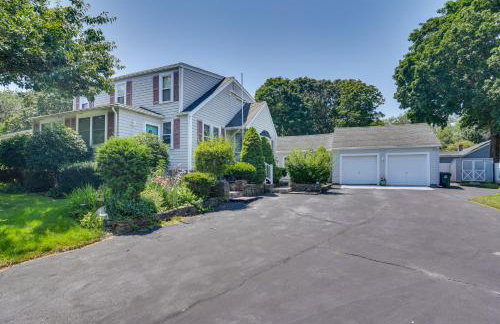
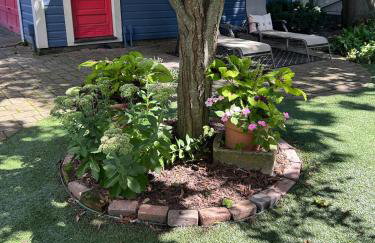
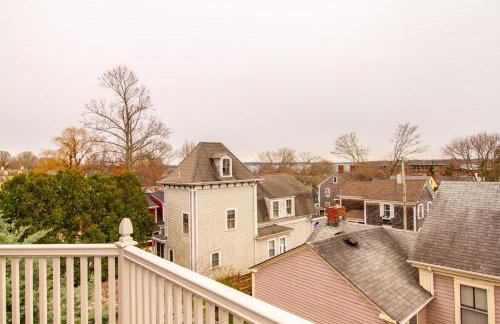
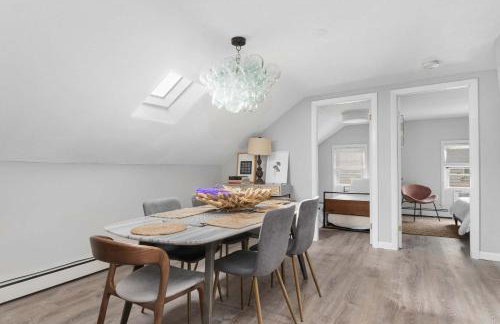
The Seaport House - Near Newport
Bristol
- 151 M2
- 3 quartos
- 7 pessoas
- Ar-condicionado
- Estacionamento
- Jardim
- Churrasco
5 avaliações


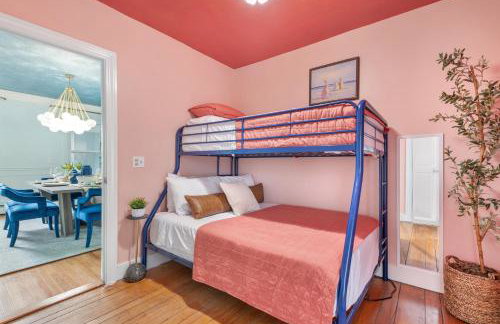
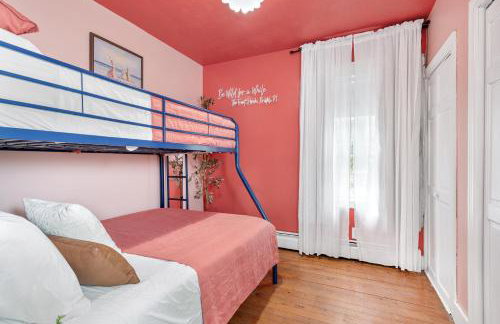
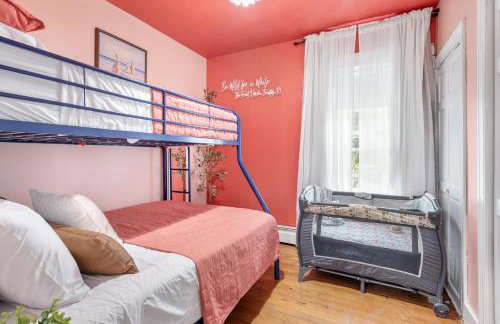
WFH Friendly Cozy Winter Retreat in Bristol!
Bristol
- 166 M2
- 4 quartos
- 8 pessoas
- Aquecimento
- Piscina
- Estacionamento
- Jardim
3 avaliações


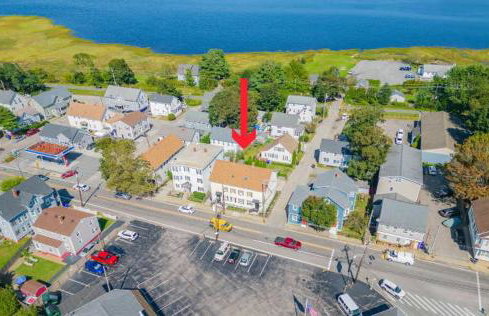
Seaside Stay in Historic Warren
Warren
- 149 M2
- 3 quartos
- 6 pessoas
- Ar-condicionado
- Aquecimento
- Estacionamento
- Jardim
1 avaliação


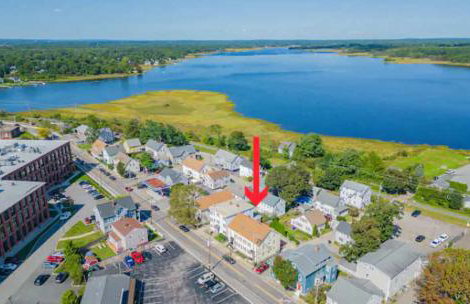
Historic Warren Vacation Rental Walk to Beaches!
Warren
- 173 M2
- 2 quartos
- 4 pessoas
- Aquecimento
- Estacionamento
4 avaliações


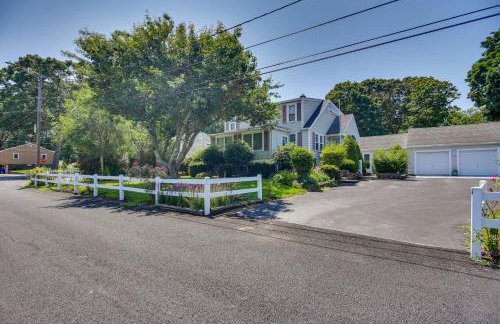
Bristol, RI The Ship of Dreams-Historical District
Bristol
- 117 M2
- 3 quartos
- 6 pessoas
- Ar-condicionado
- Estacionamento
- Jardim
- Churrasco
1 avaliação


Warren Vacation Rental, Walk to Warren Town Beach
Warren
- 140 M2
- 3 quartos
- 6 pessoas
- Aquecimento
- Estacionamento
1 avaliação

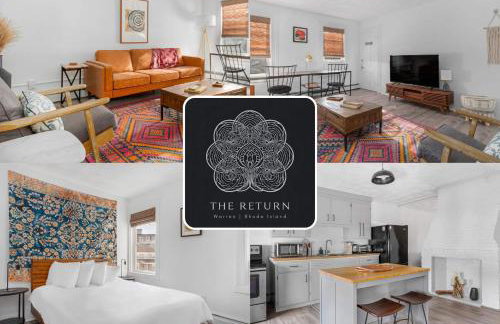


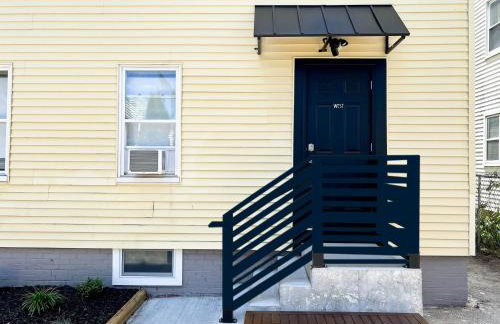
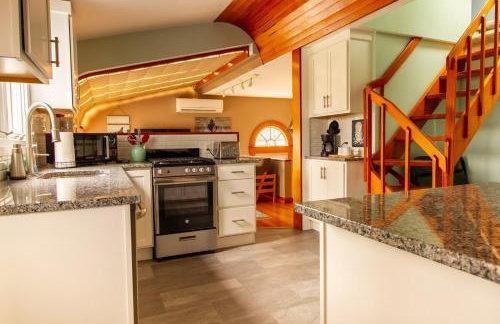
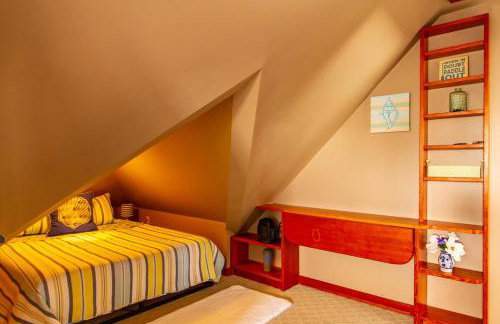
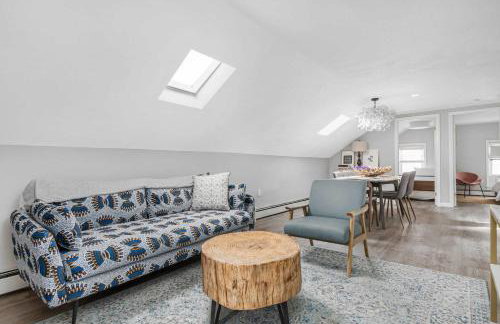
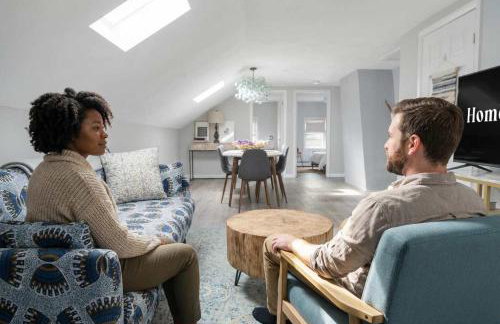
The Return to Woods - Newly Designed & Renovated
Warren
- 92 M2
- 2 pessoas
- Ar-condicionado
- Aquecimento
- Estacionamento
- Jardim


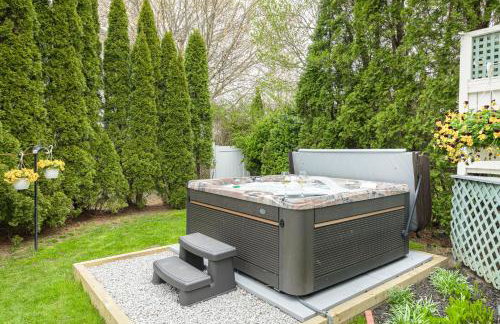
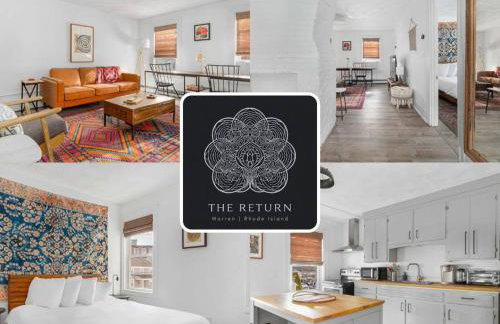
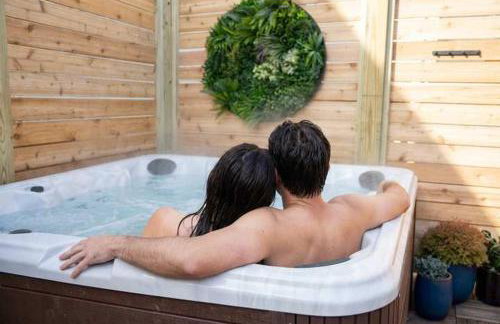
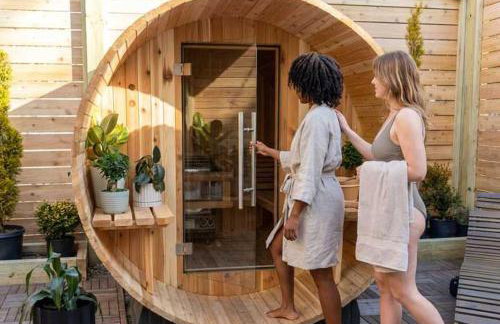
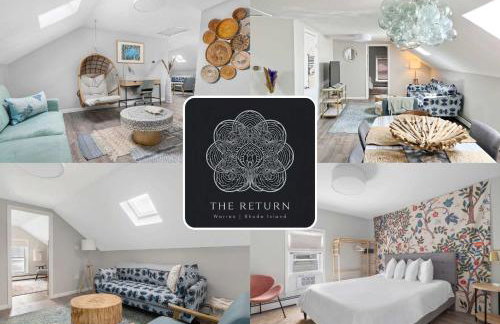
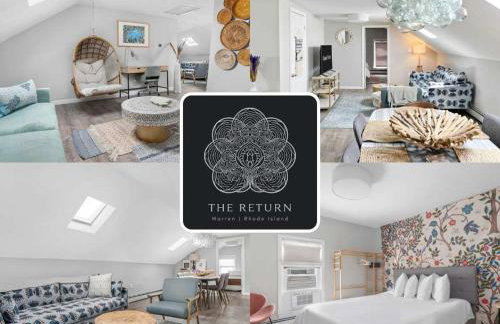
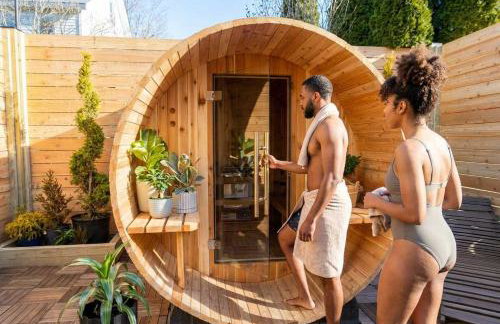
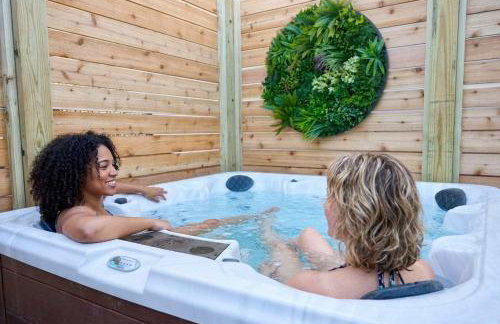
The Return - Multi-Unit Retreat - Sleeps 16 - Spa
Warren
- 325 M2
- 8 quartos
- 16 pessoas
- Ar-condicionado
- Aquecimento
- Estacionamento
- Jardim


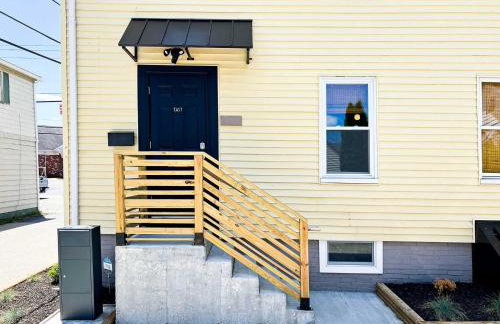
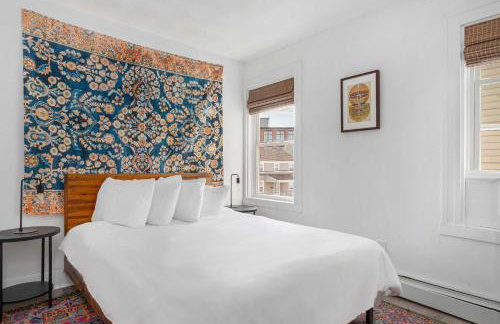
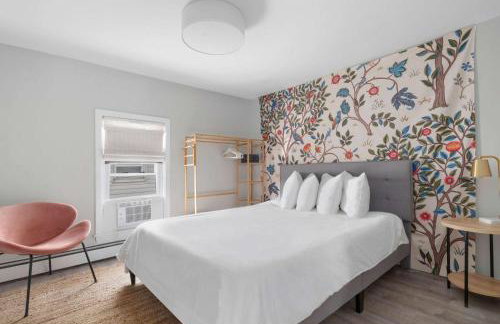
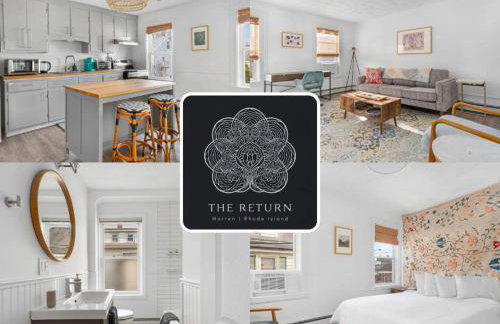
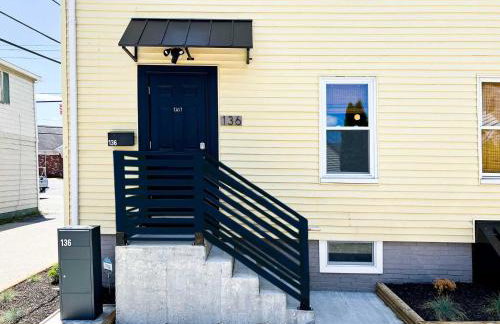
The Return to Self - Walk to Historic Downtown
Warren
- 84 M2
- 3 quartos
- 6 pessoas
- Ar-condicionado
- Aquecimento
- Estacionamento
- Jardim
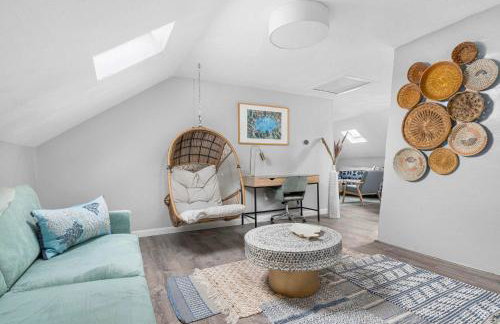


The Return to Water - Sleeps 6 - Newly Renovated
Warren
- 111 M2
- 3 quartos
- 6 pessoas
- Ar-condicionado
- Aquecimento
- Estacionamento
- Jardim


The Return to the Marshlands - Newly Renovated
Warren
- 92 M2
- 2 pessoas
- Ar-condicionado
- Aquecimento
- Estacionamento
- Jardim