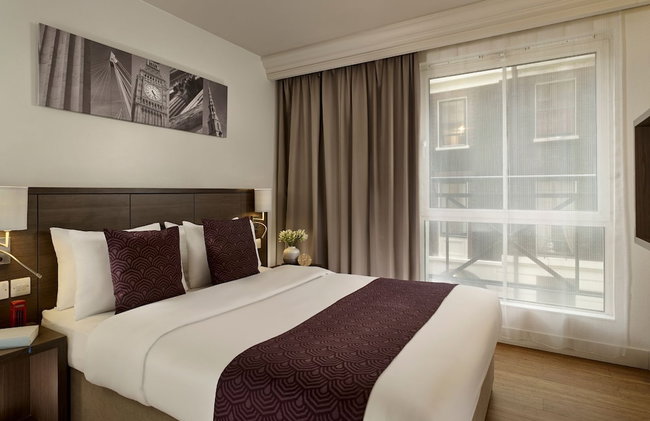
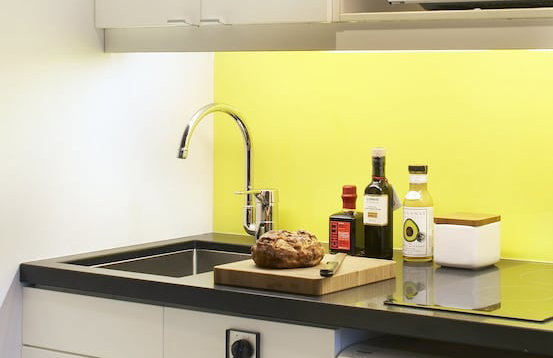
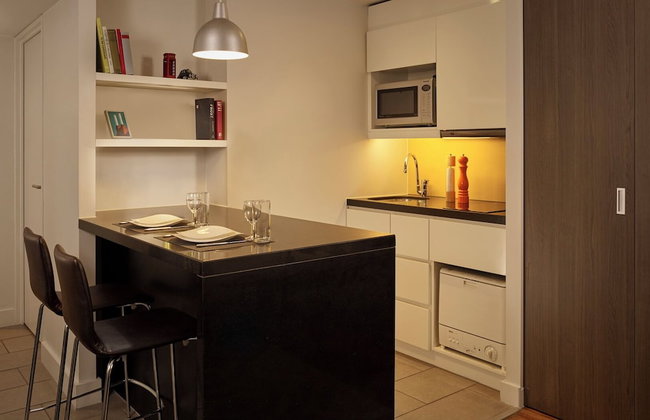
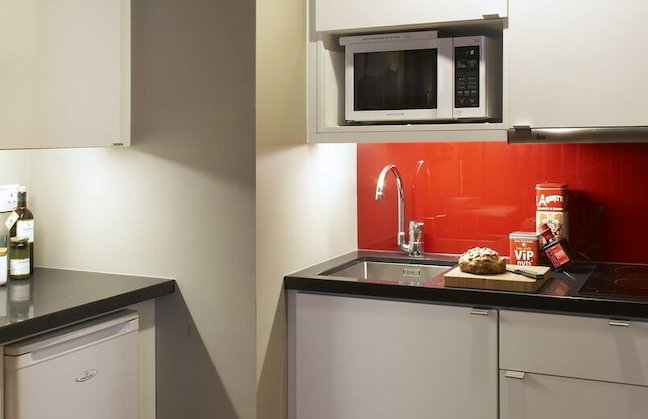
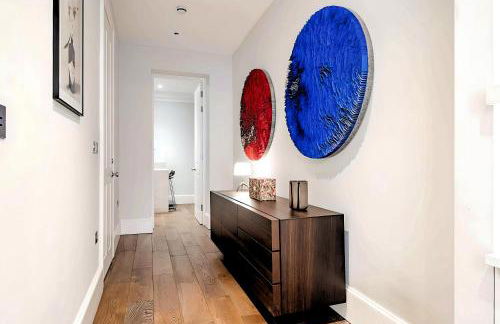
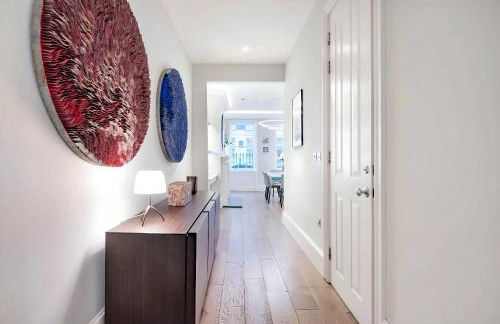
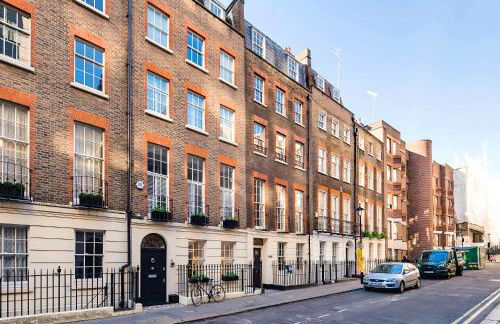
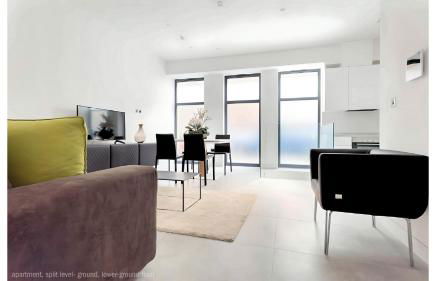
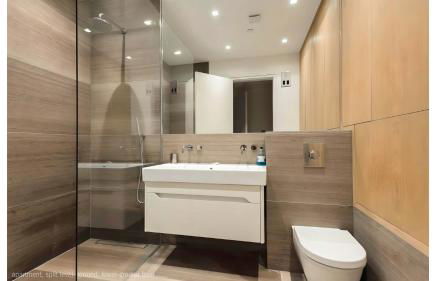
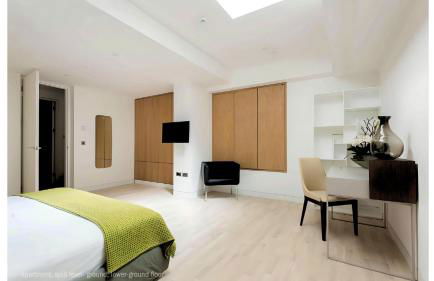
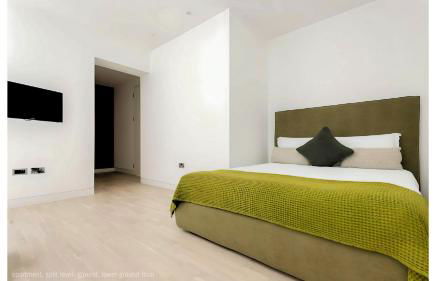
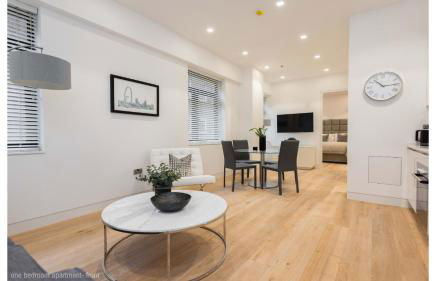
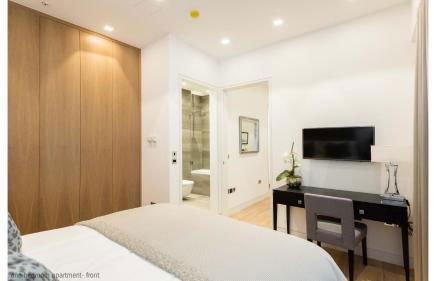
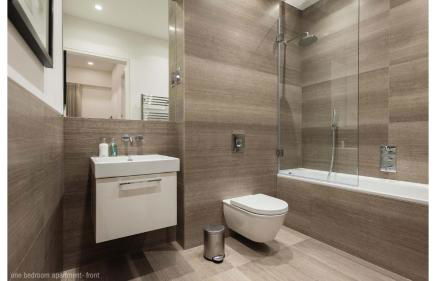
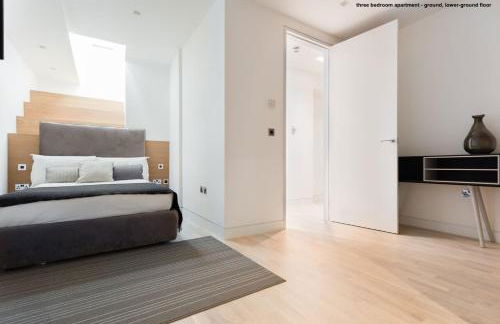
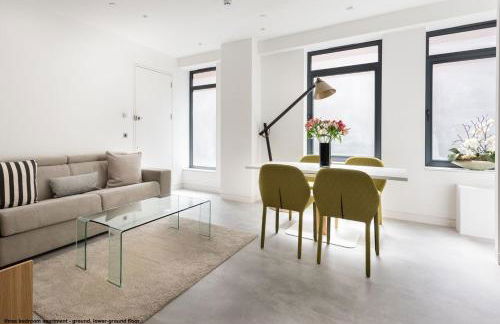
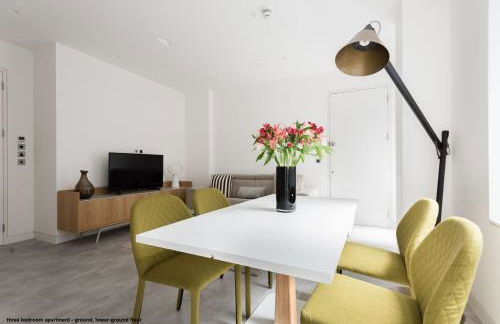
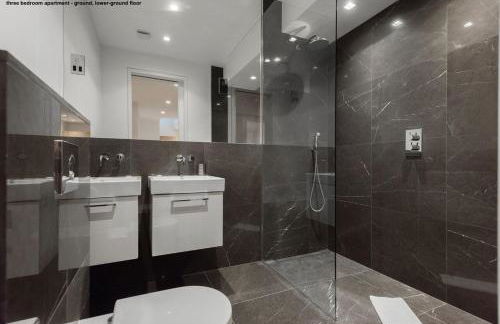
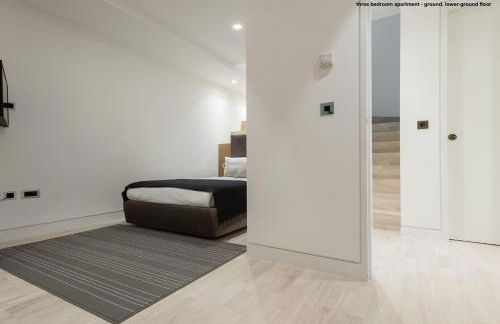
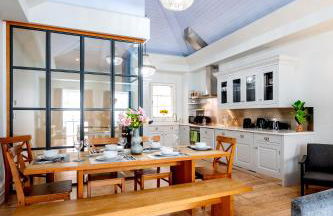
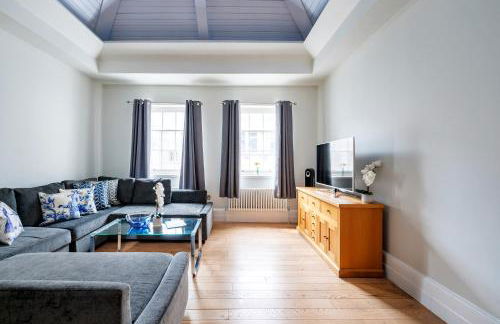
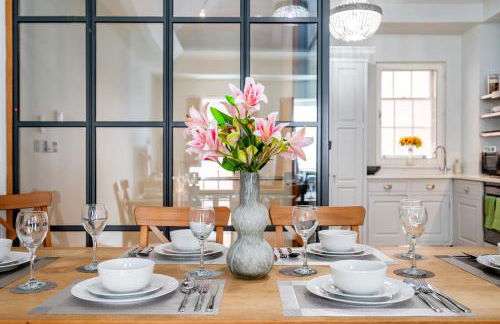
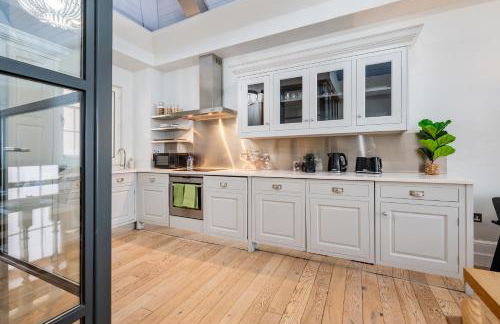
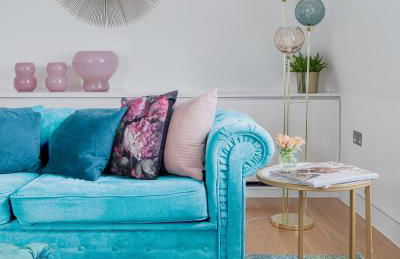
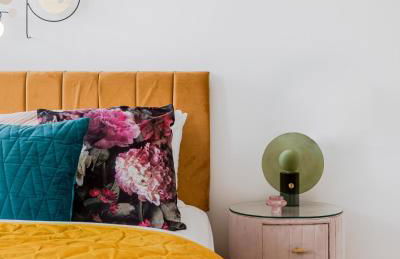
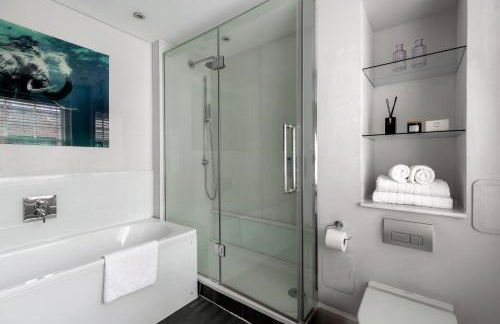
46 Apartamentos em Charing
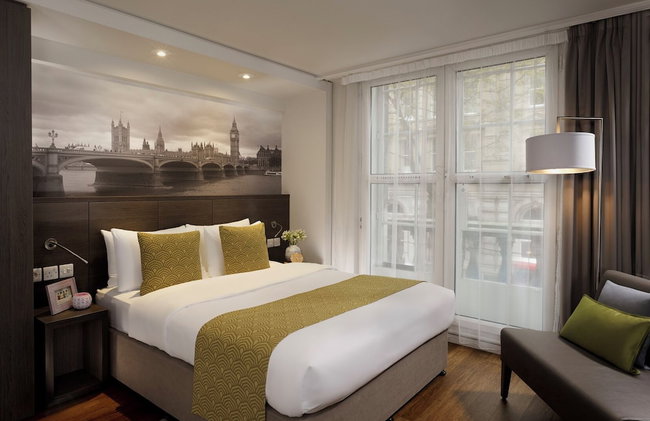
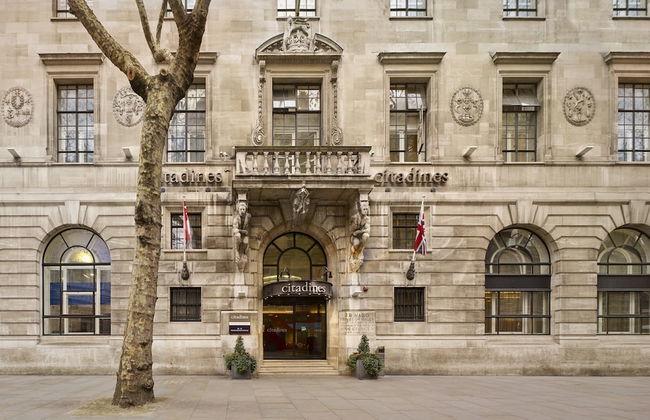
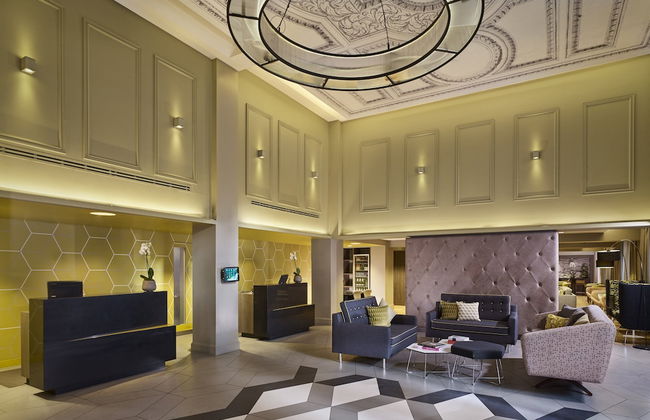
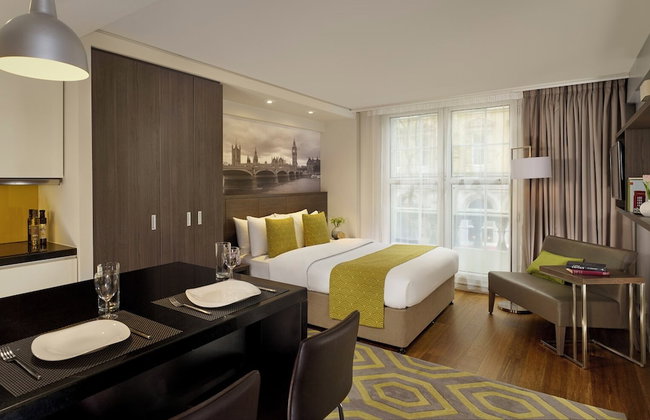
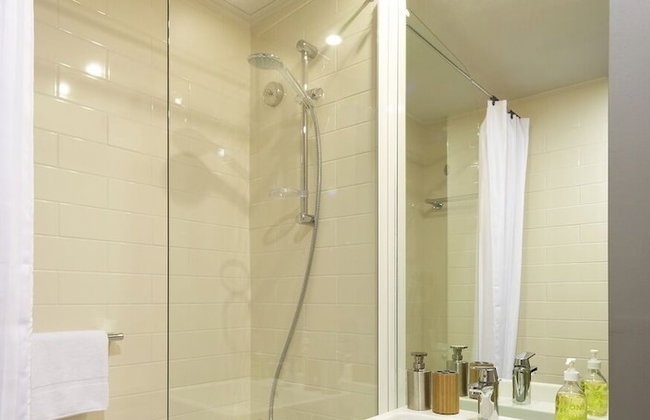
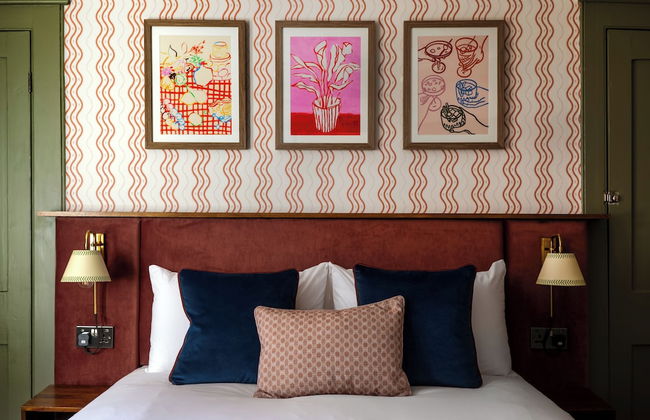
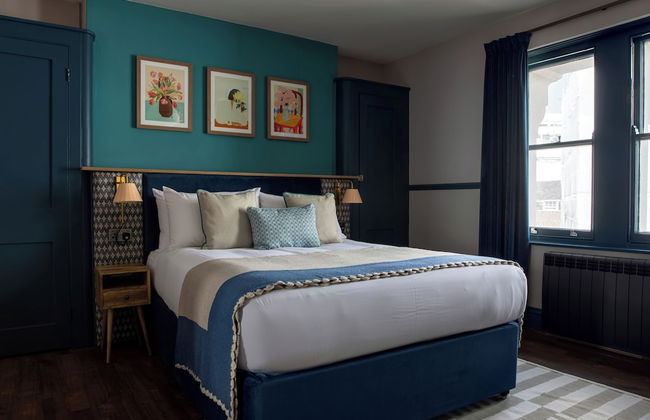
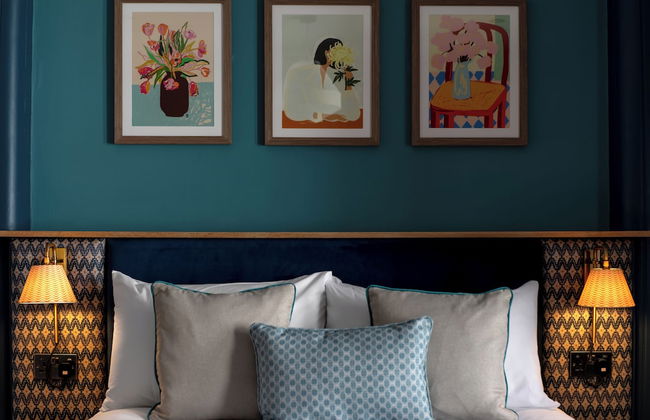
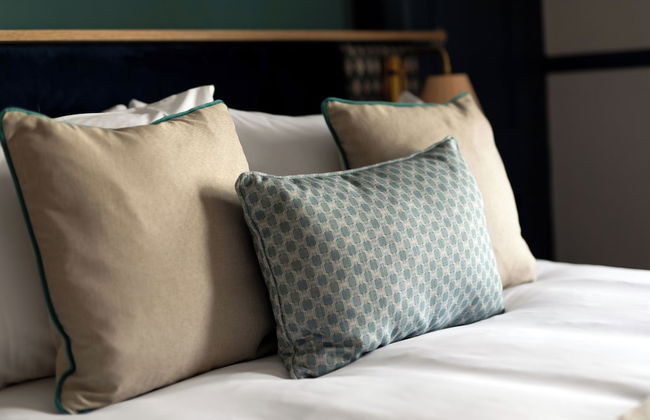
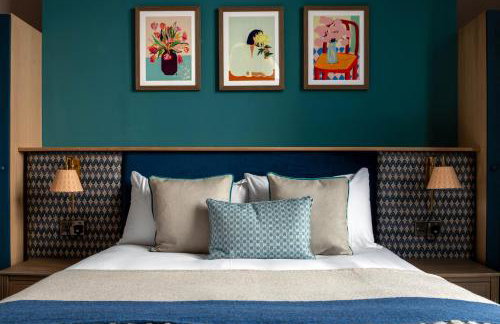
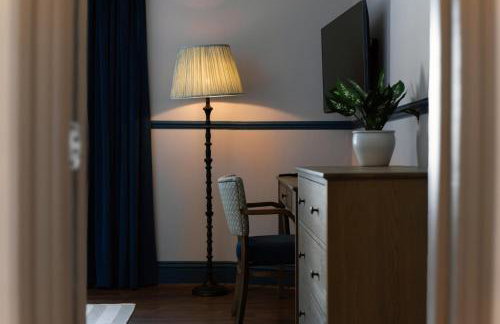
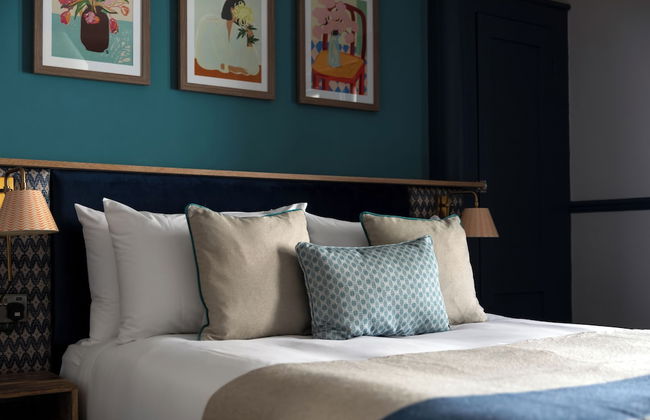
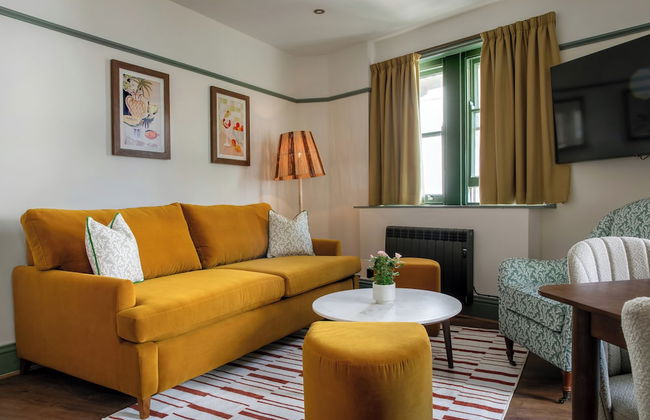
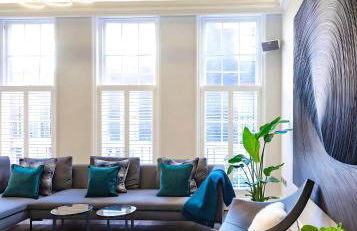
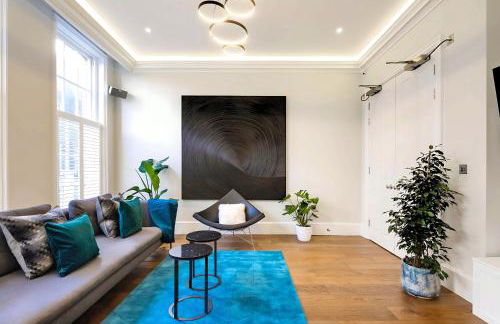
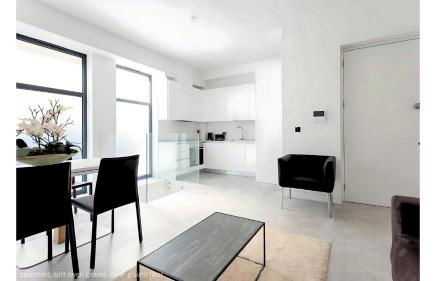
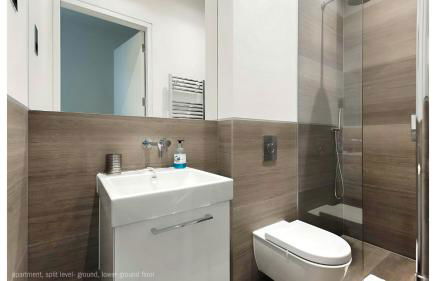
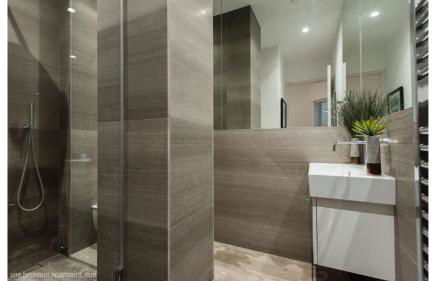
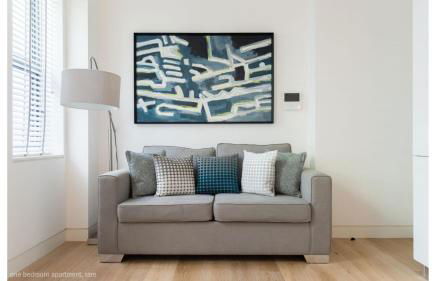
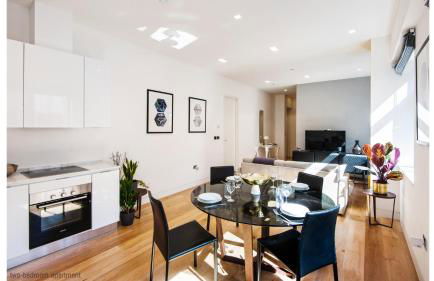
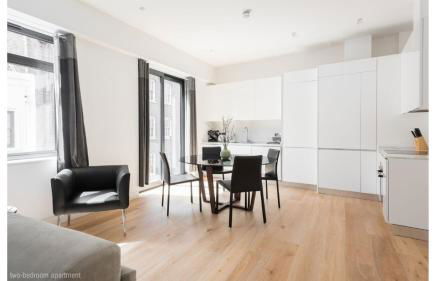
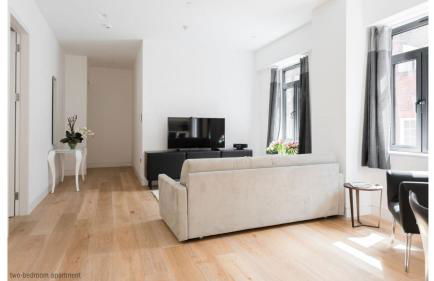
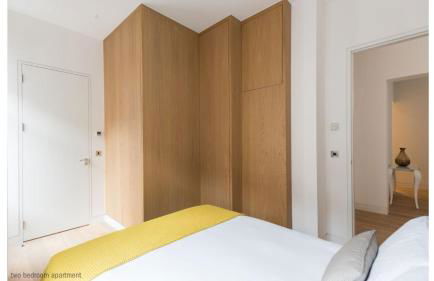
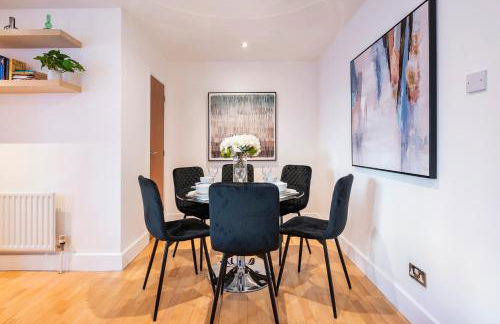
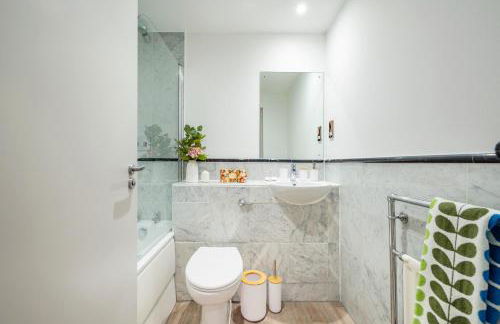
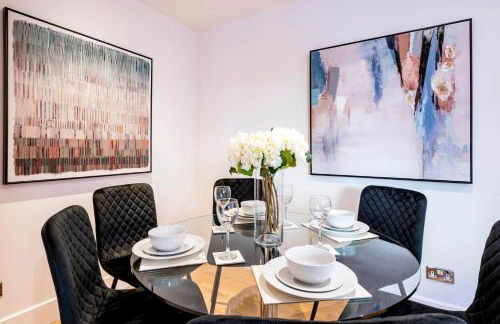
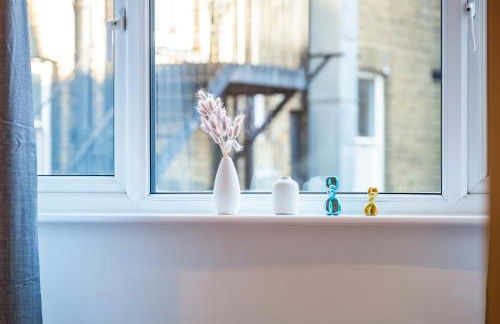
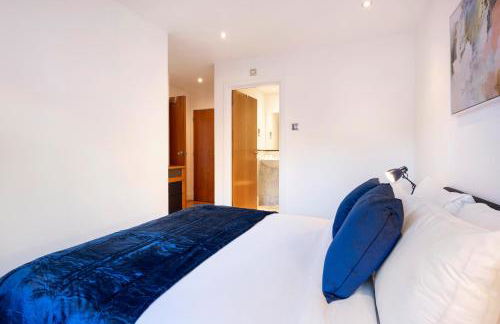
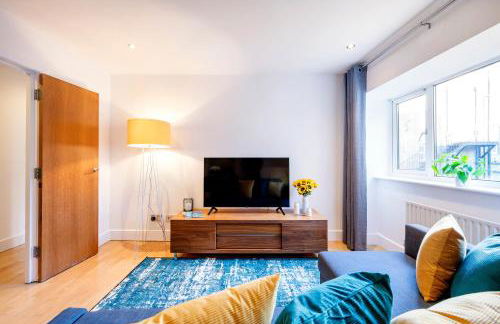
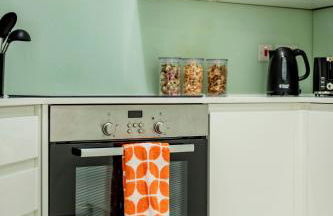
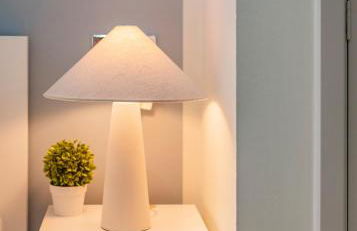
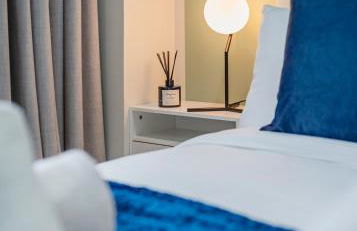
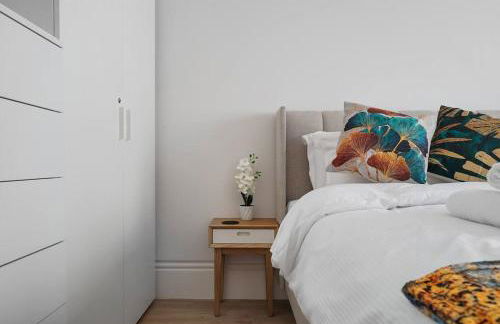
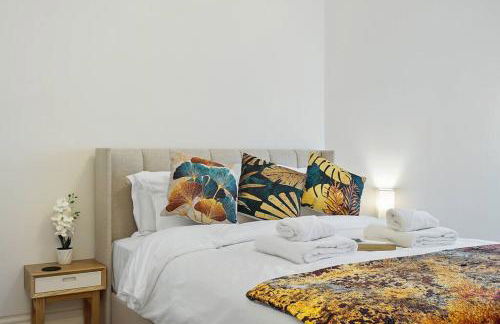
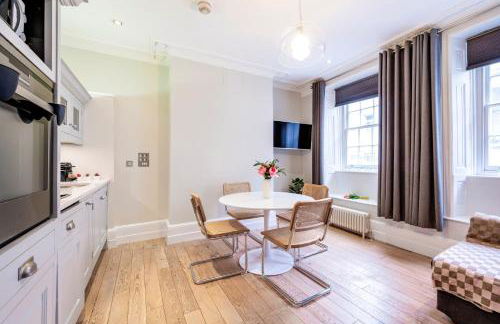
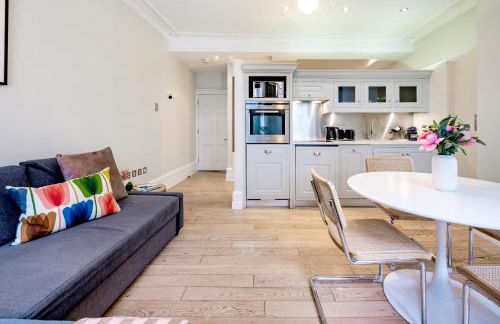
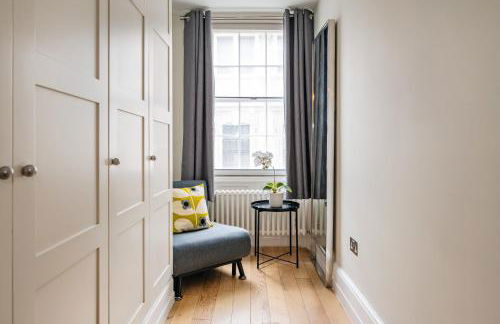
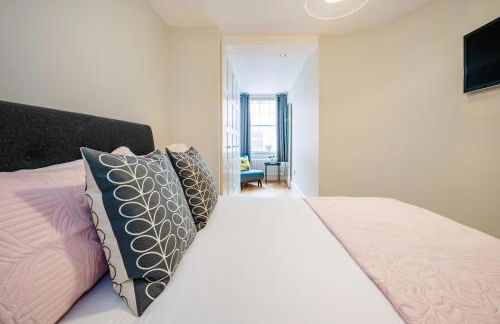
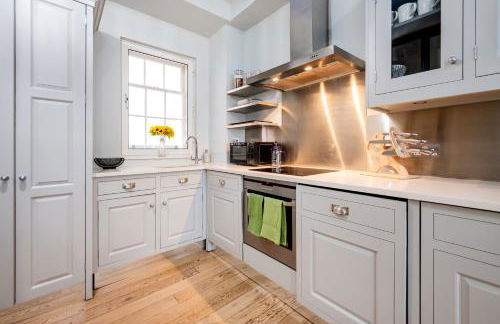
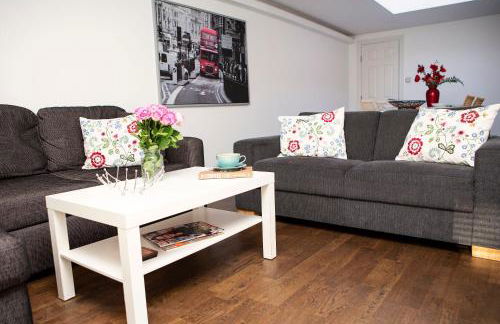
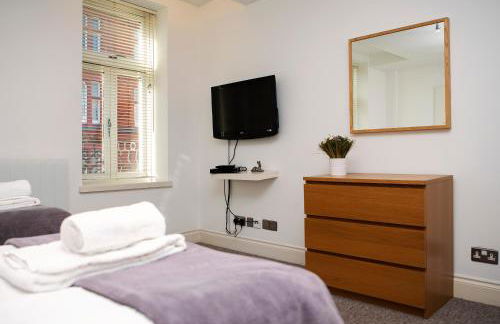
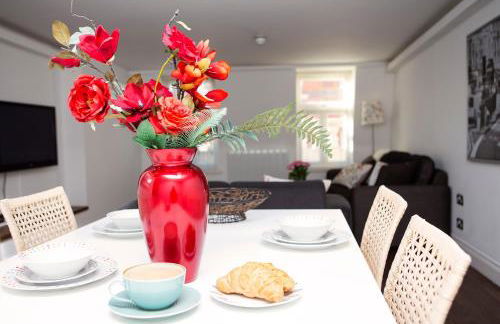
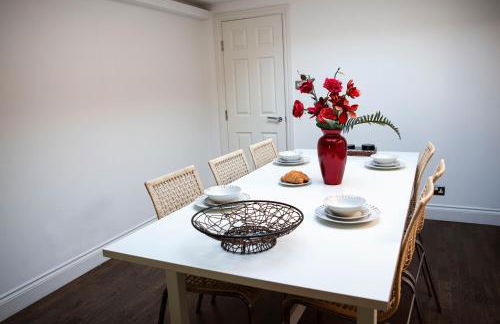
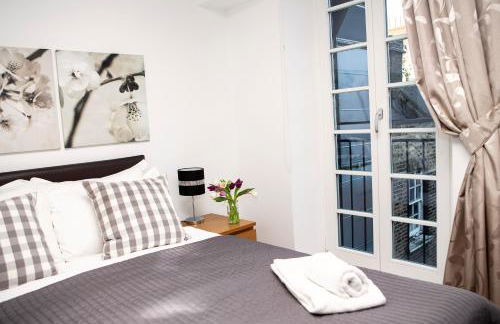
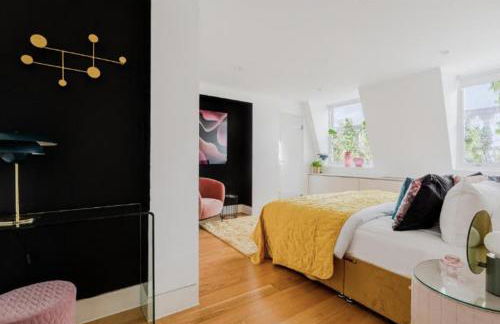
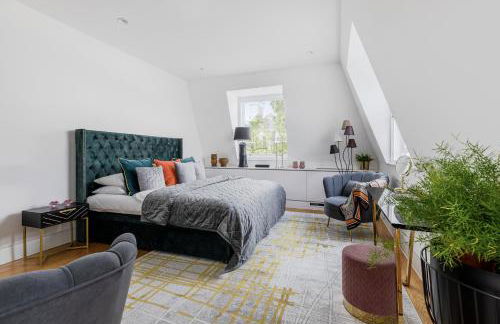
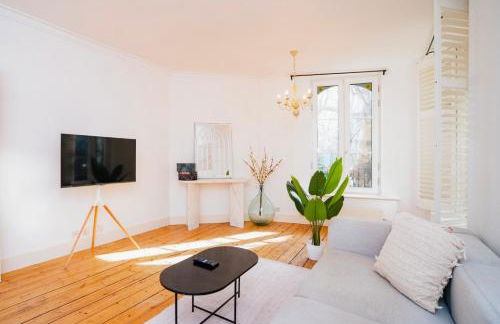
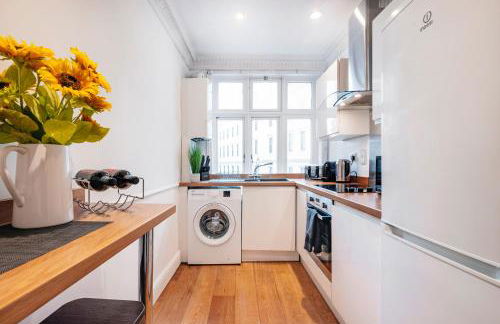
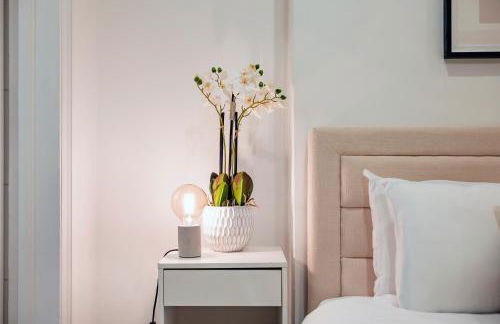
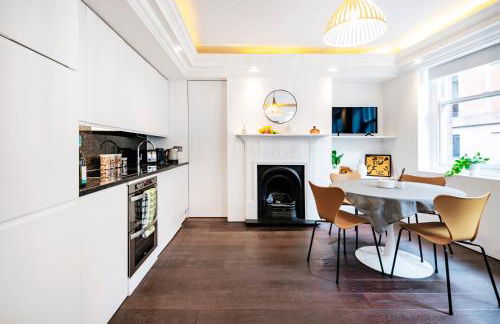
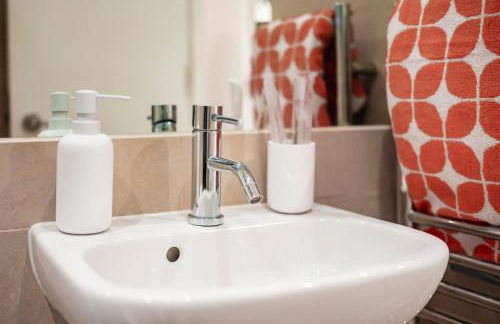
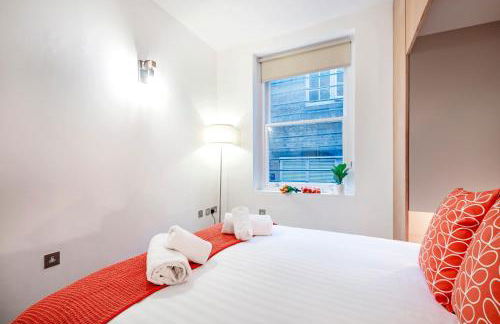
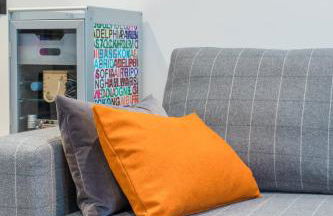
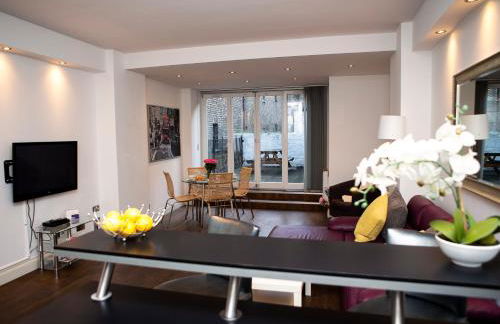
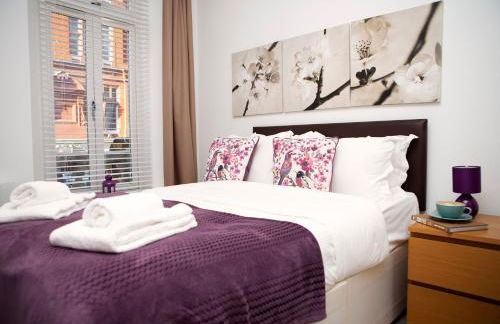
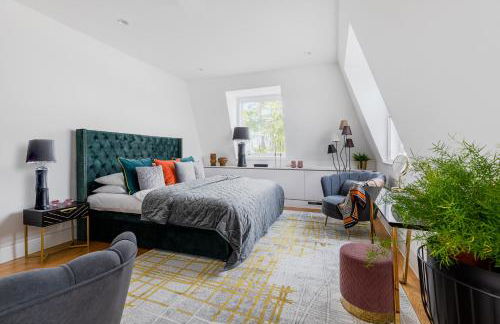
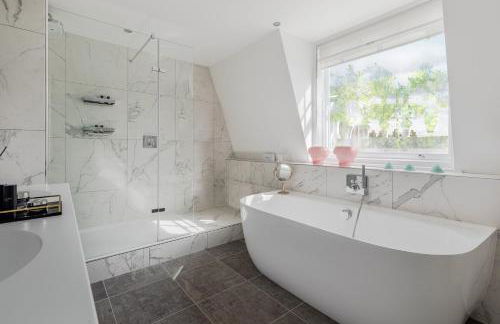
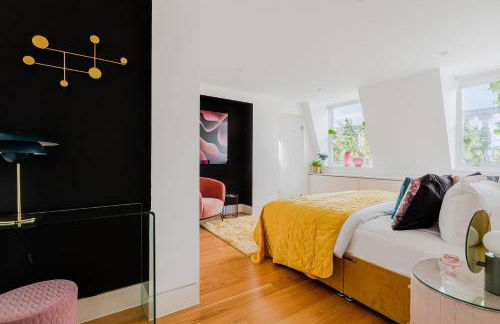
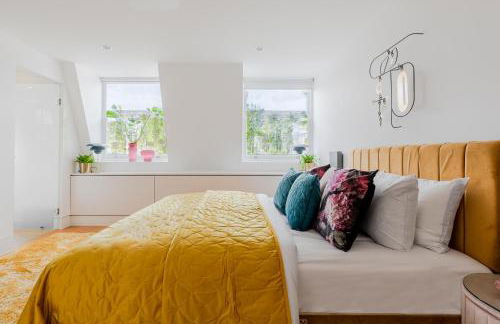
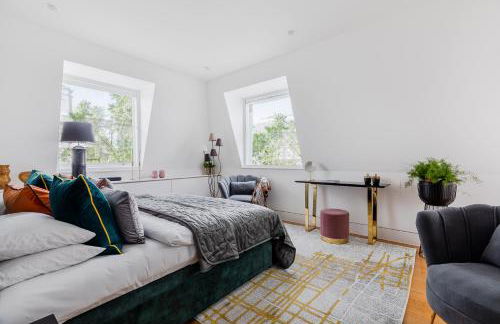
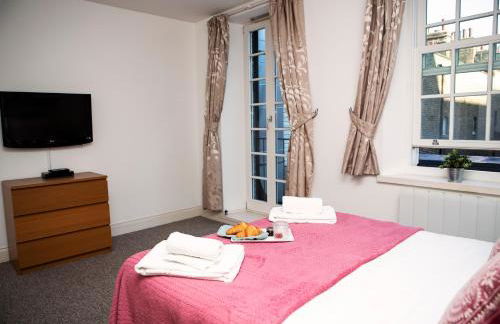
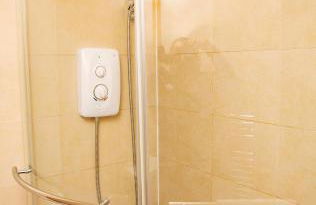
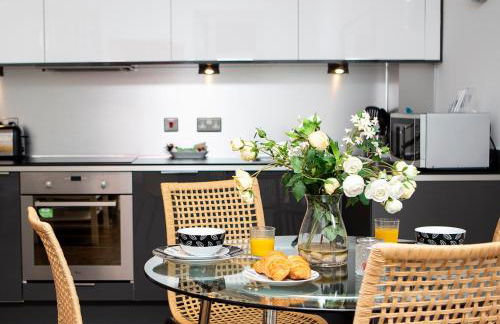
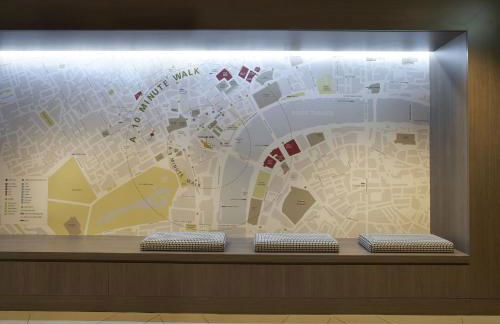
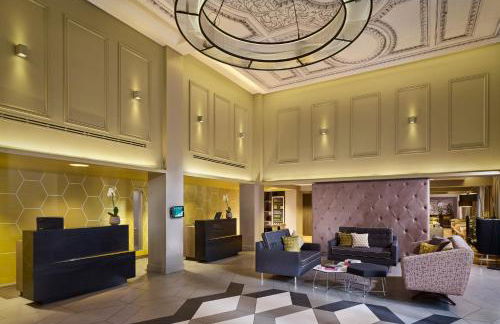
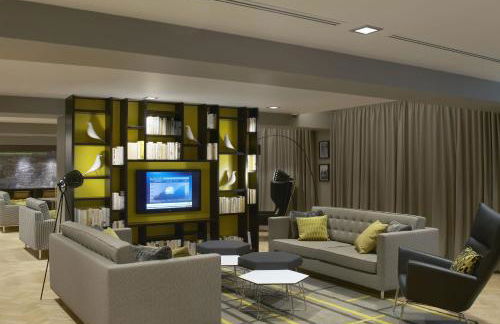
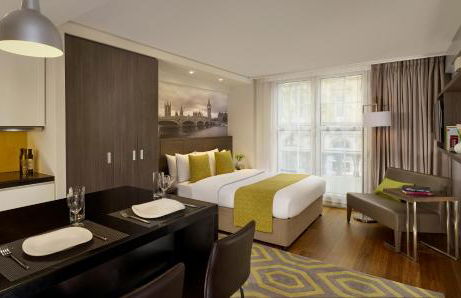
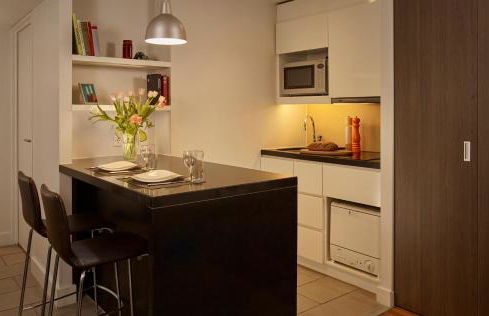
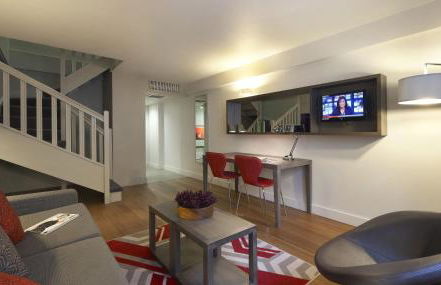
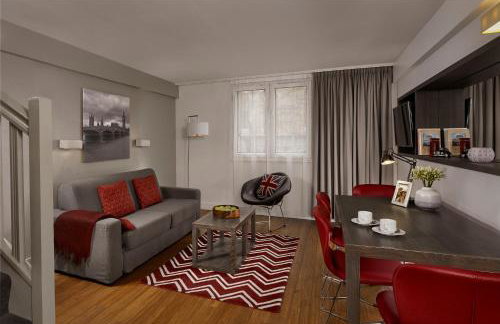
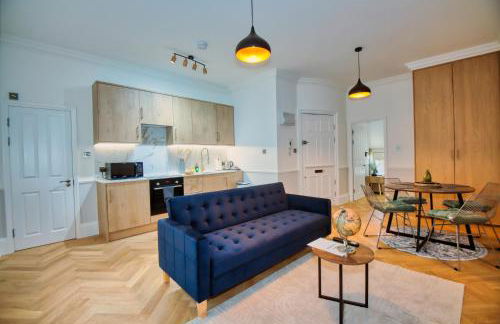
Citadines Trafalgar Square London - Foto 1
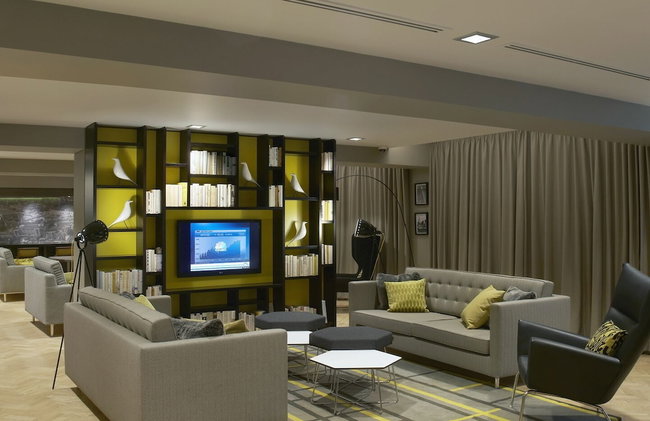
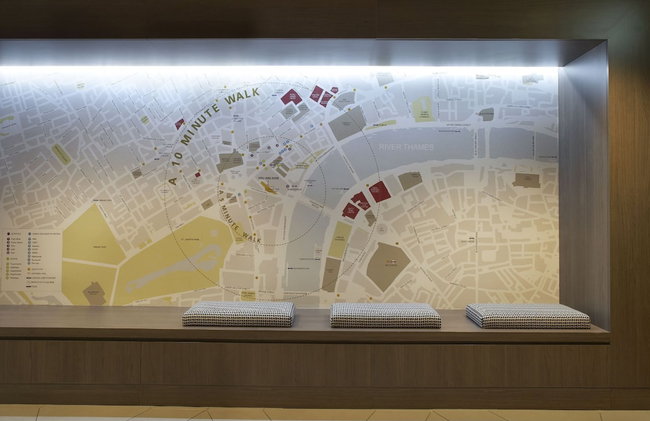
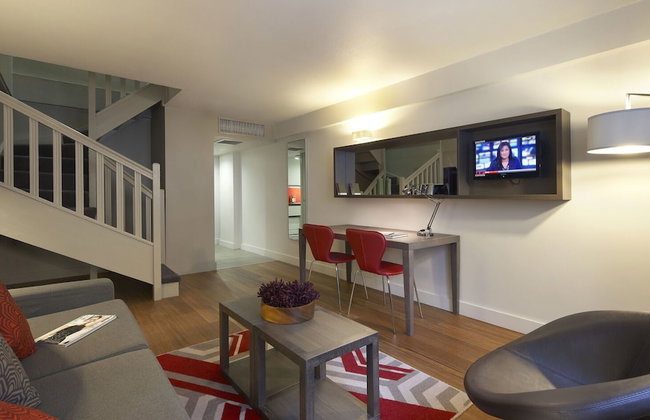
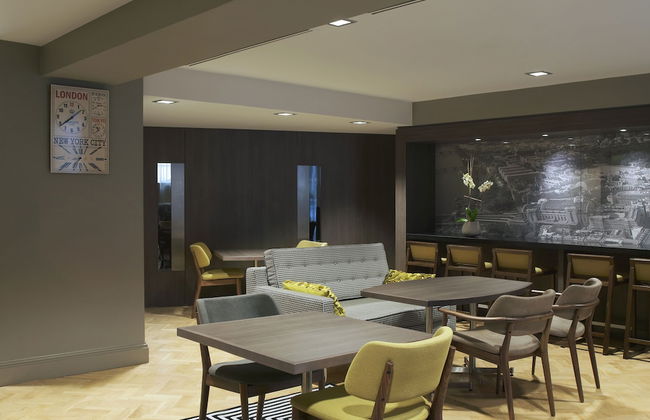
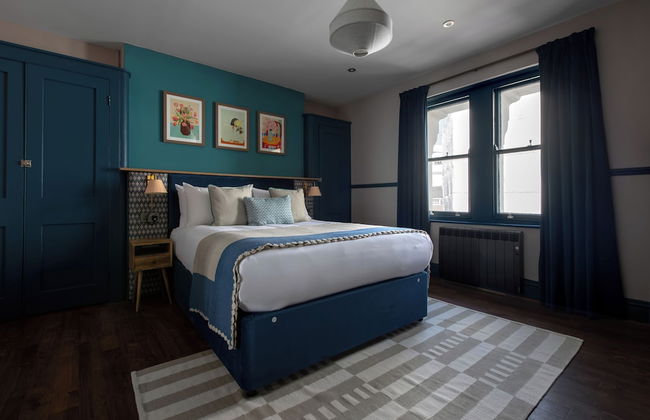
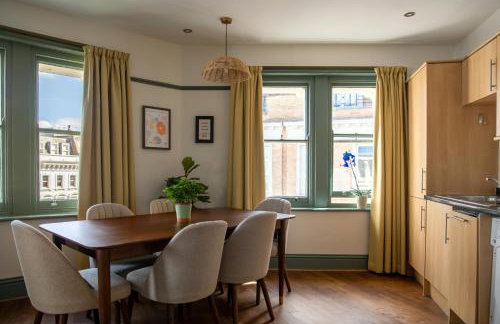
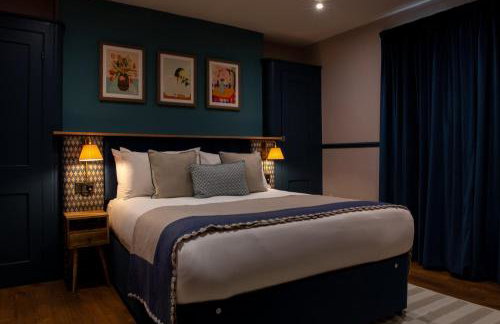
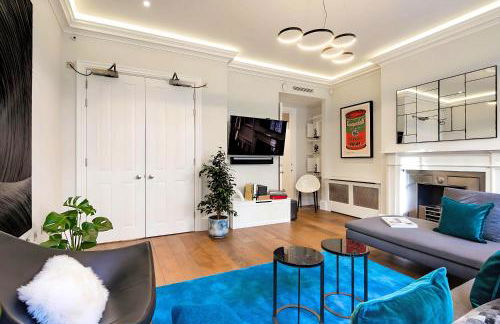
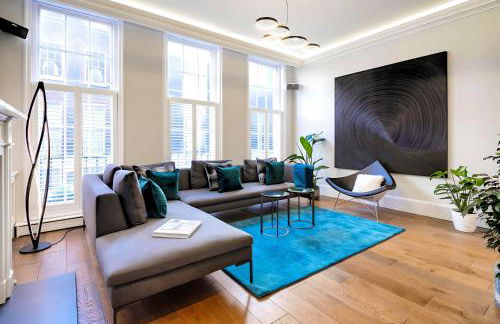
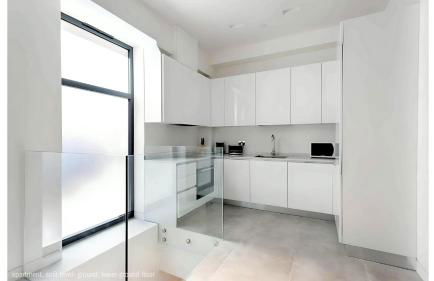
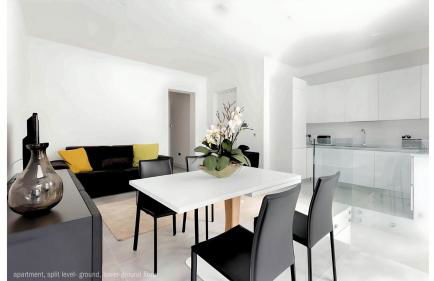
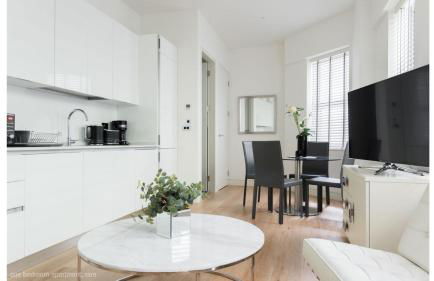
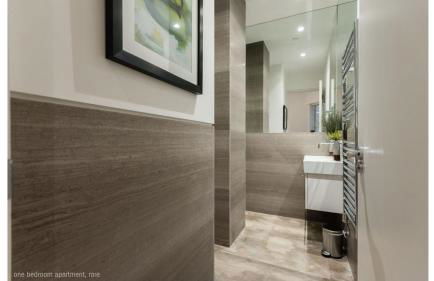
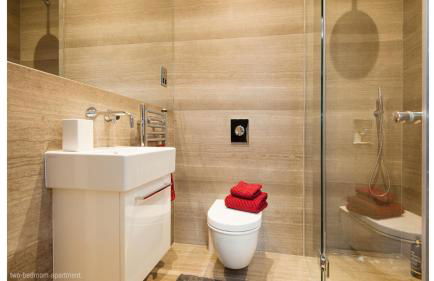
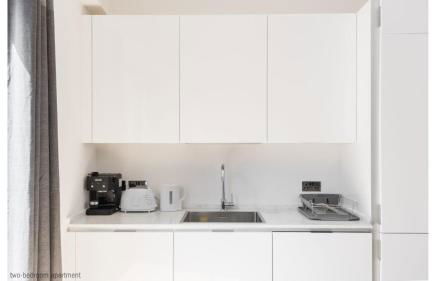
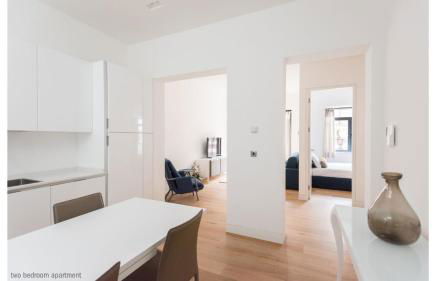
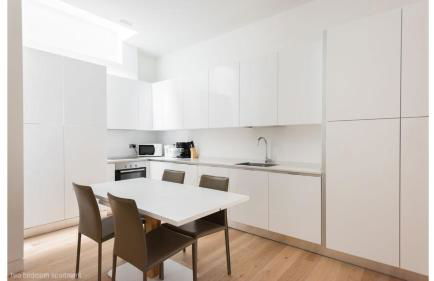
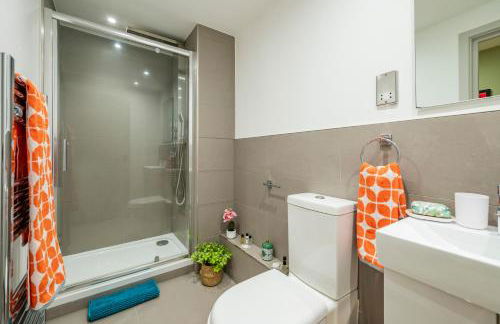
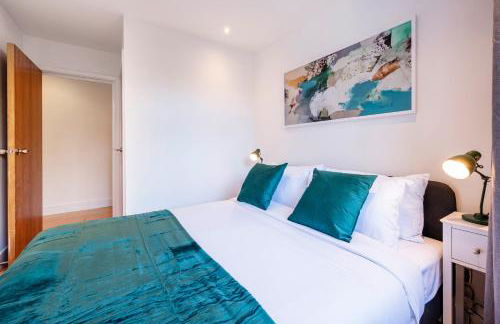
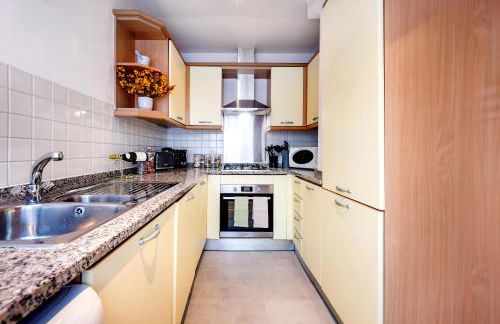
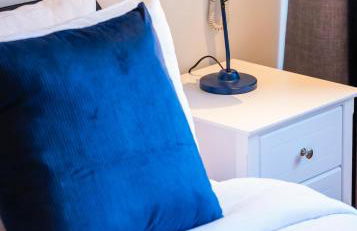
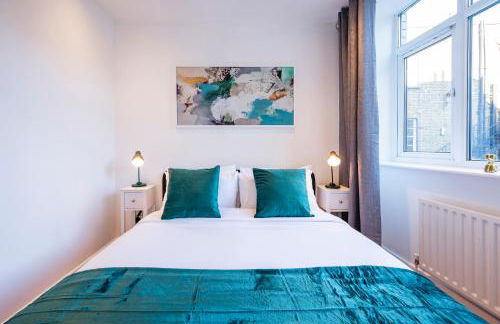
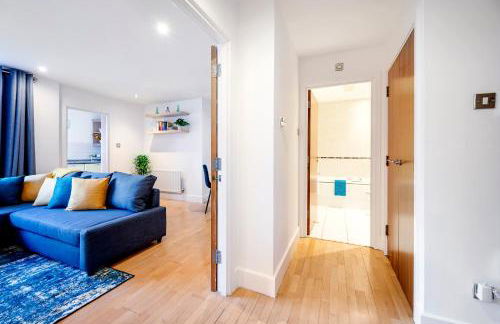
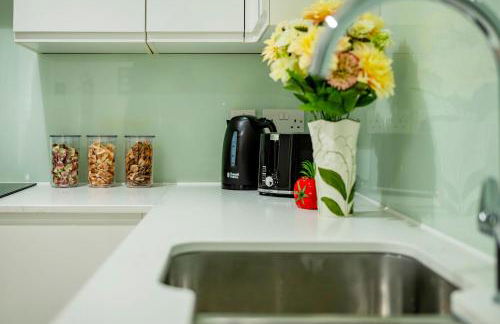
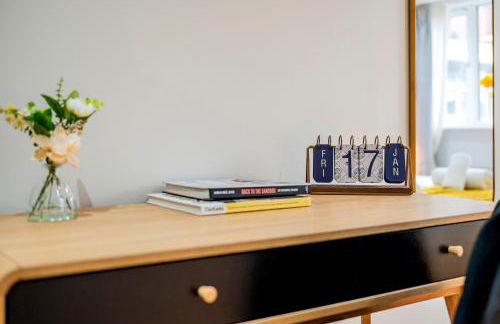
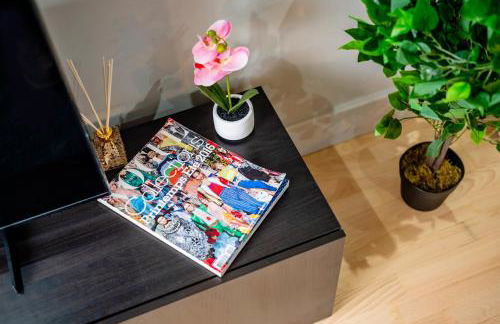
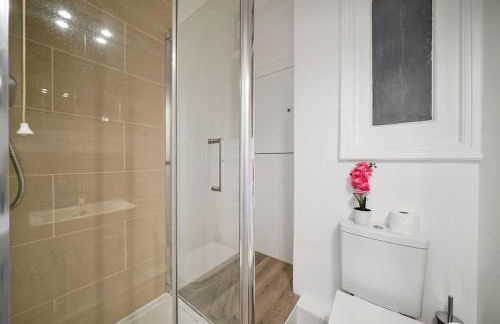
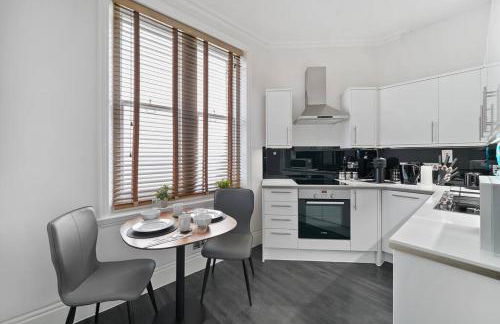
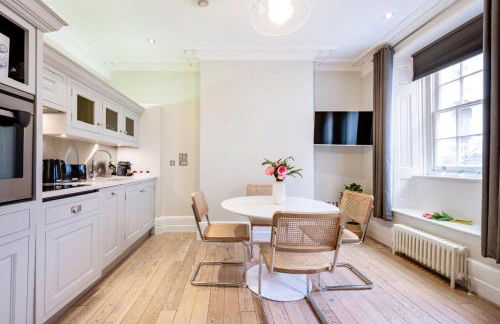
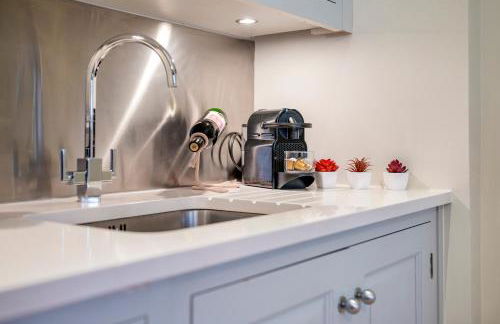
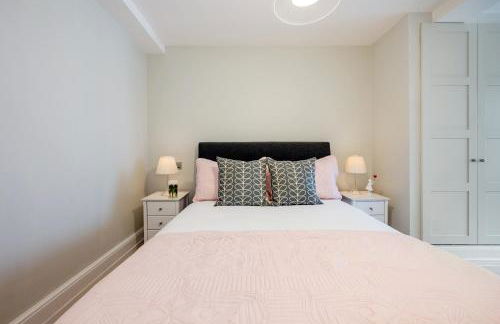
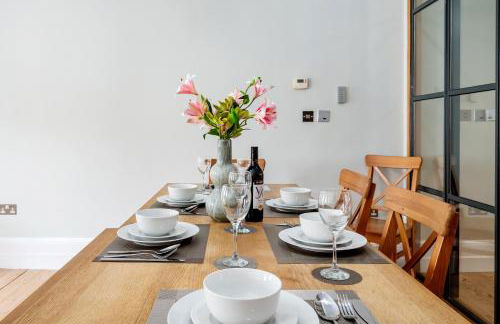
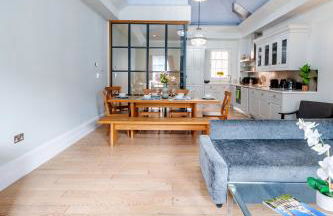
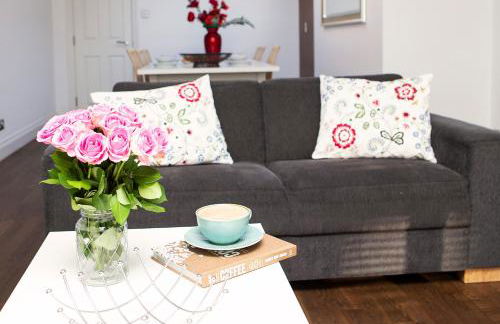
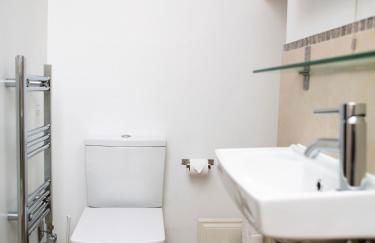
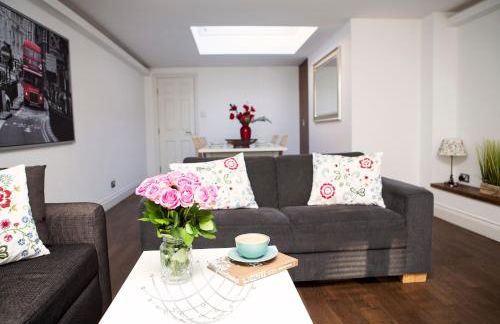
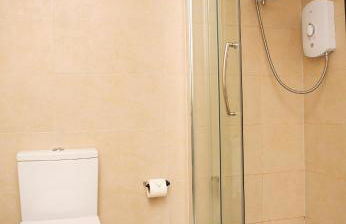
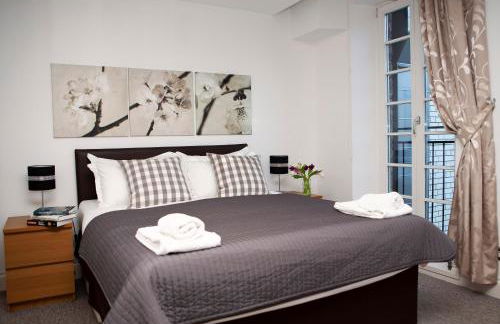
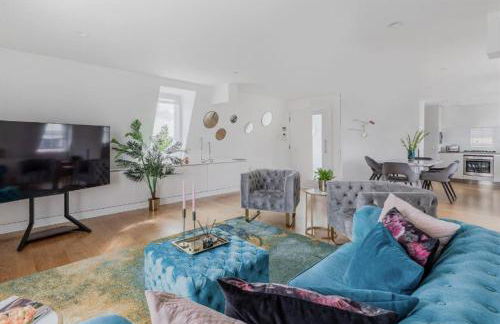
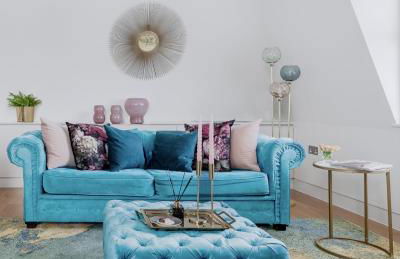
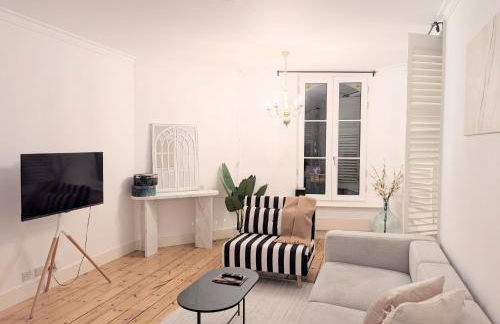
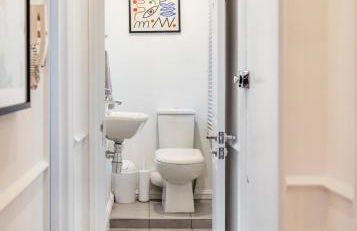
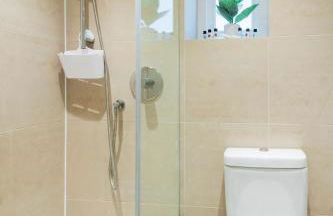
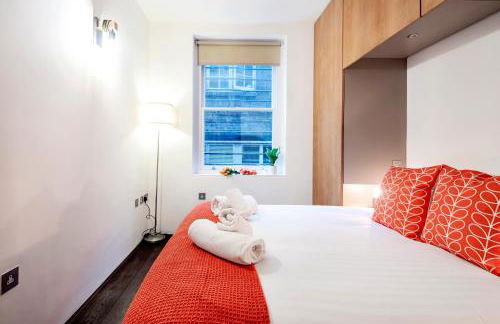
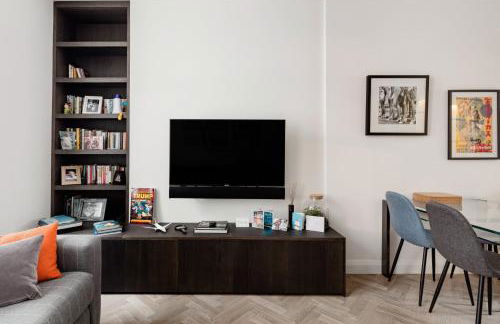
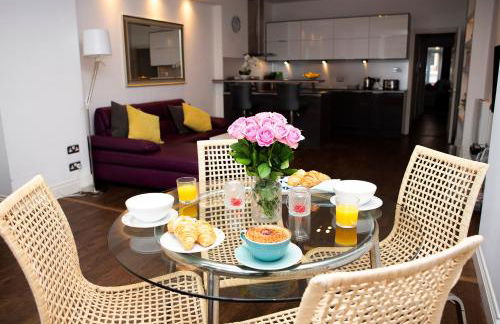
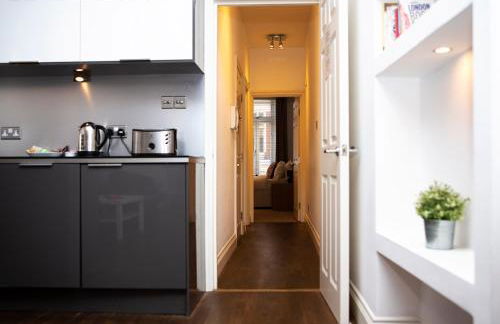
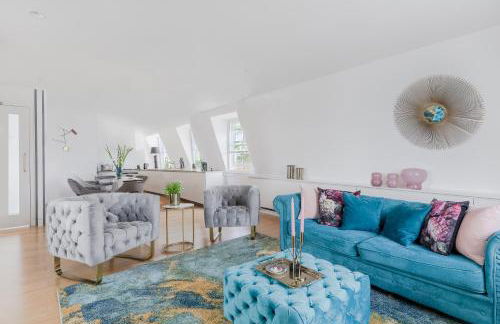
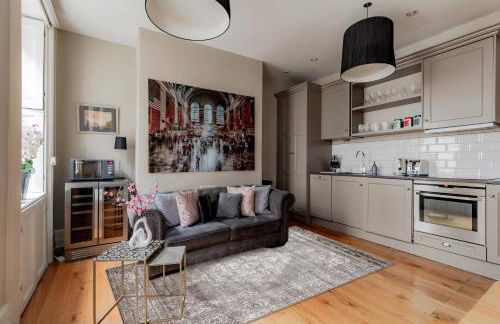
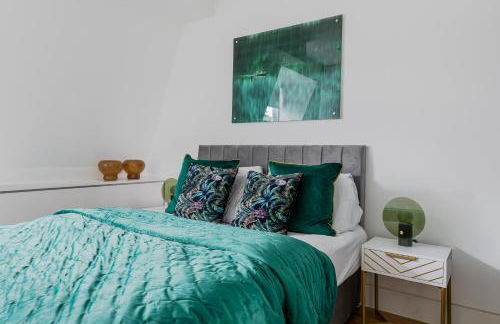
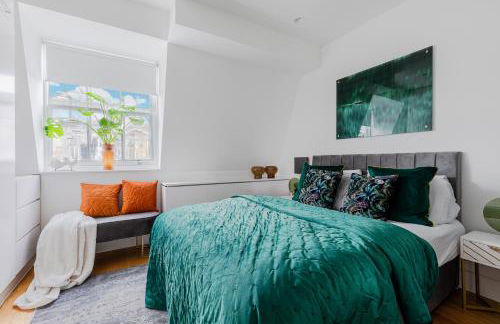
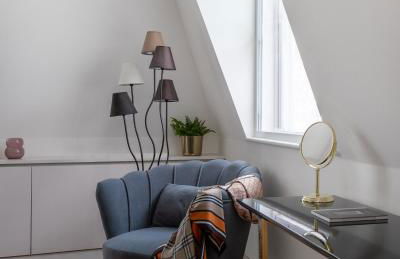
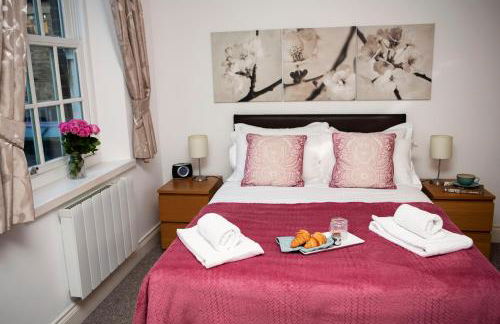
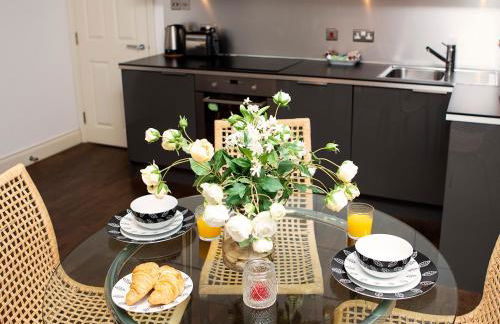
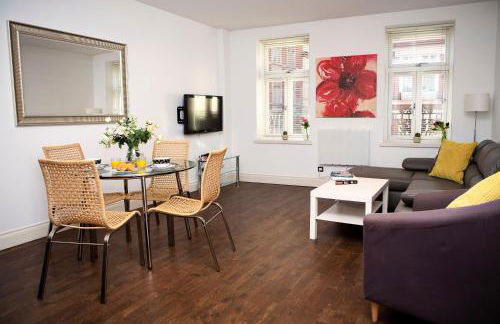
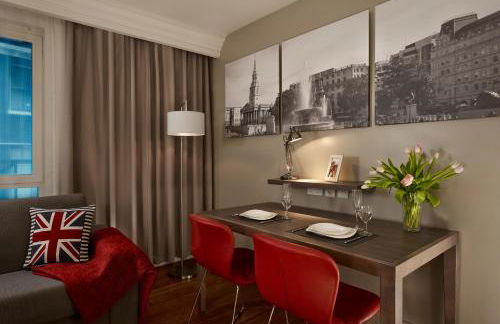
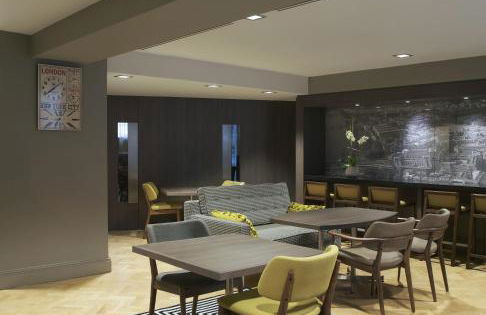
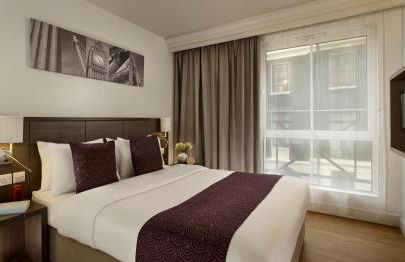
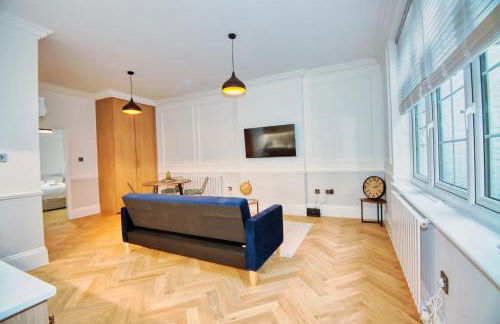
Citadines Trafalgar Square London - Foto 2
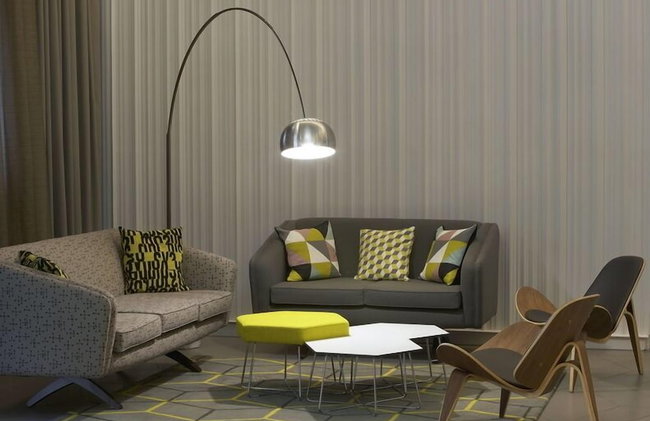
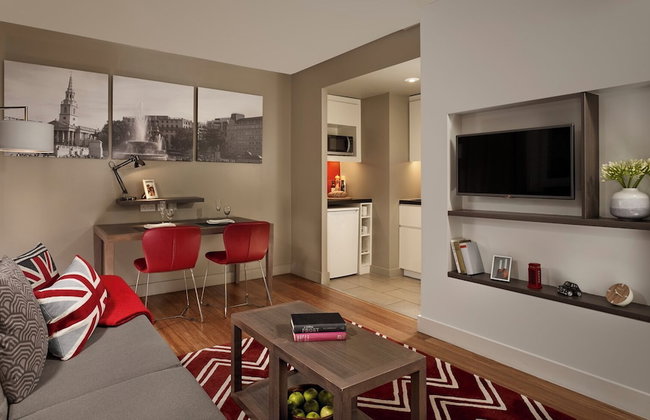
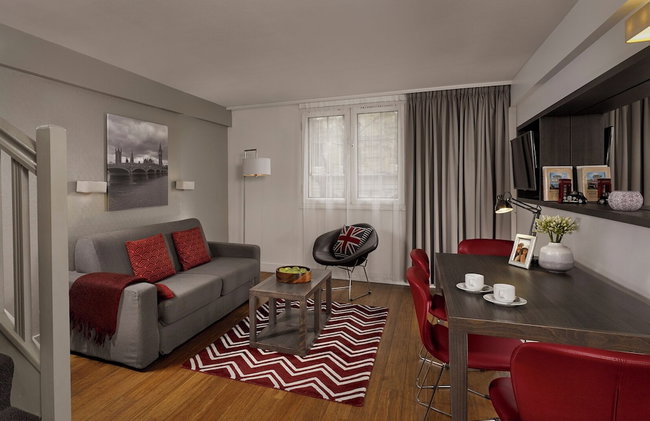
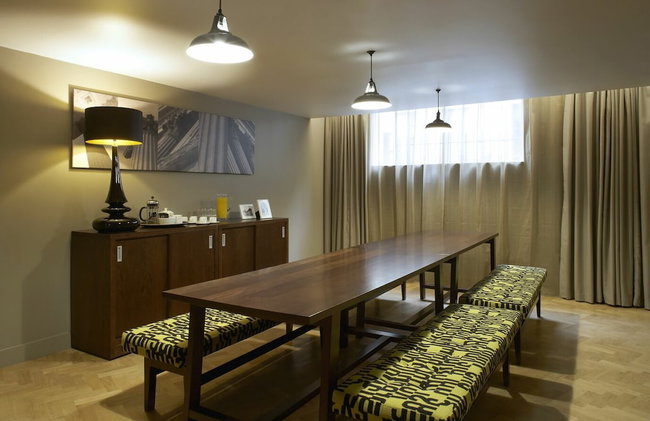
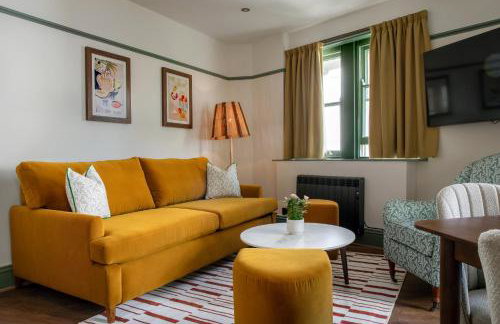
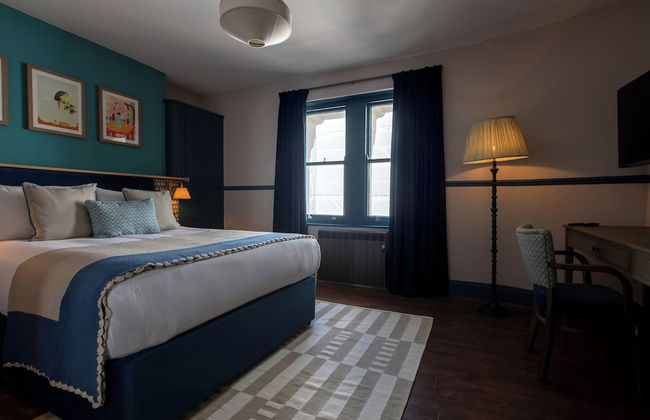
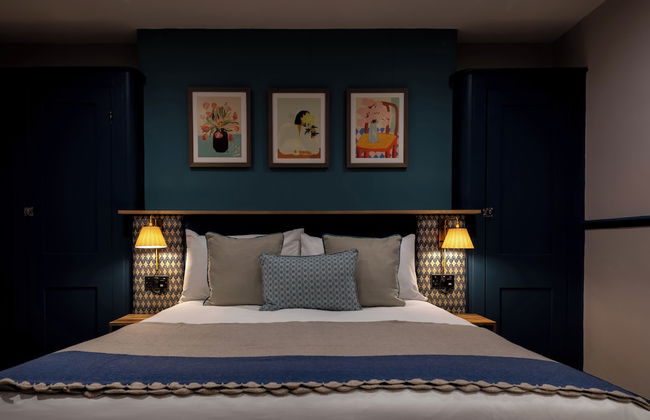
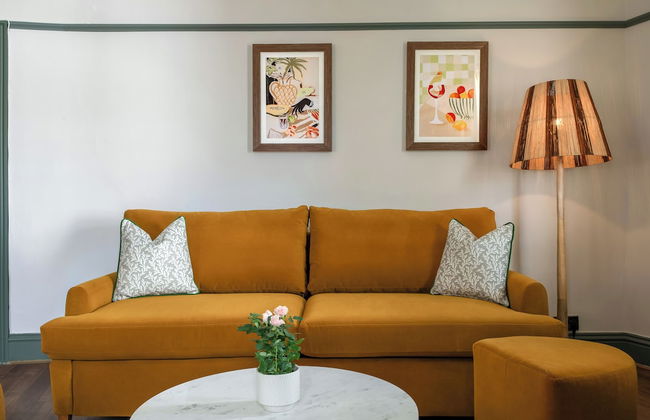
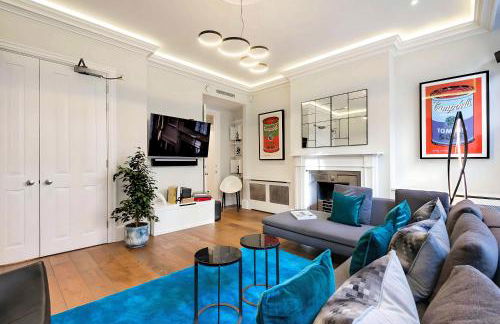
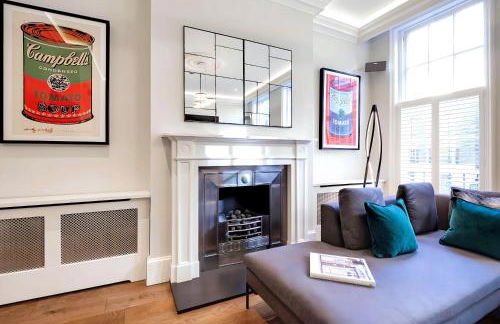
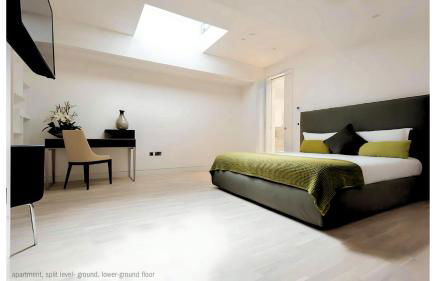
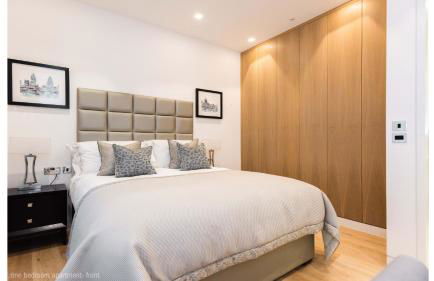
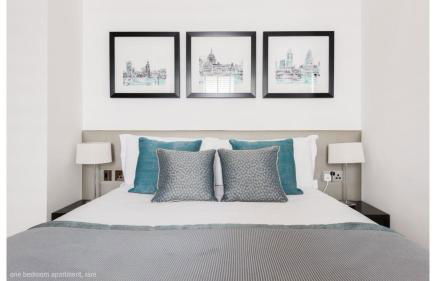
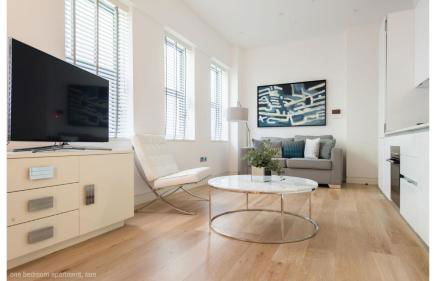
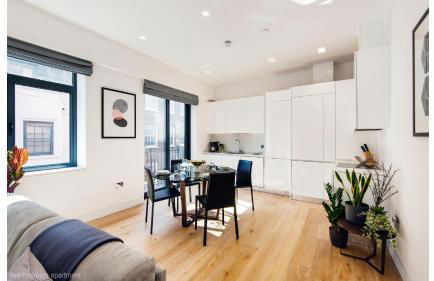
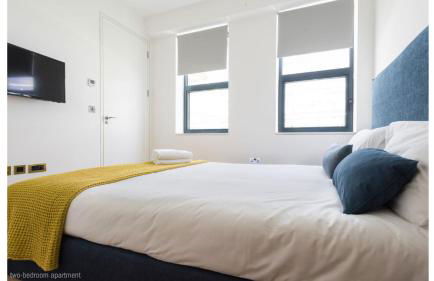
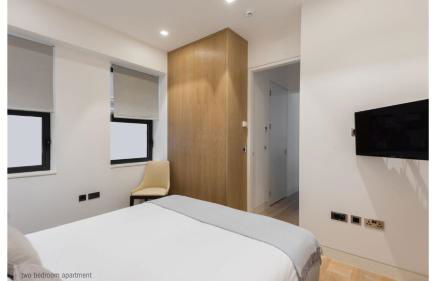
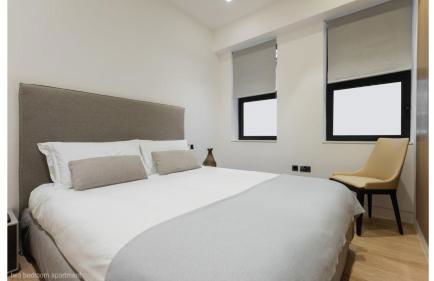
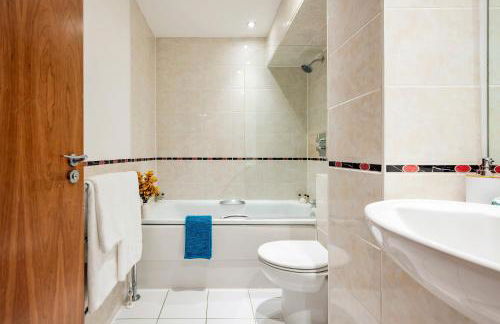
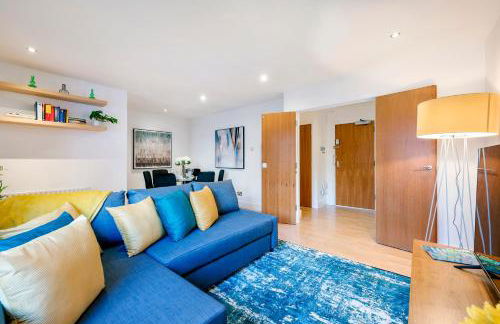
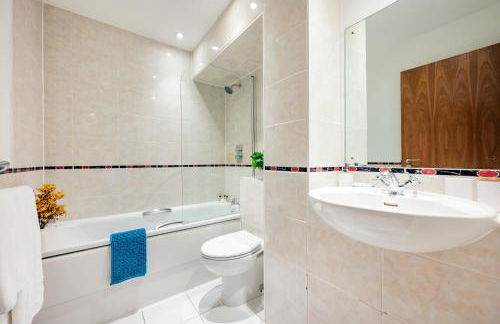
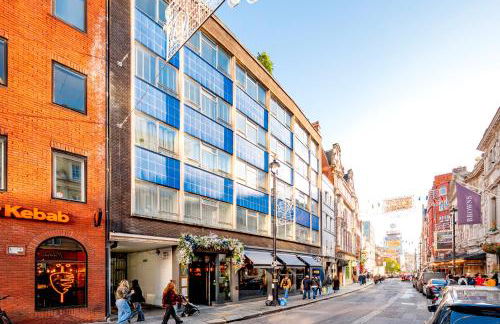
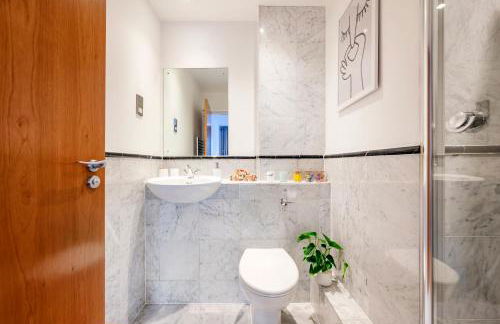
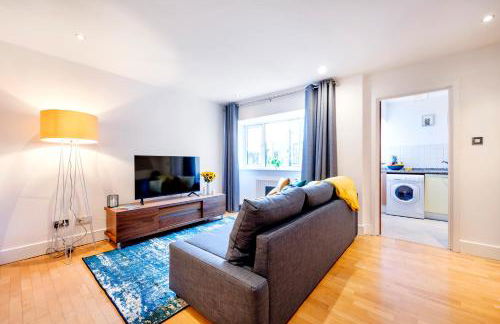
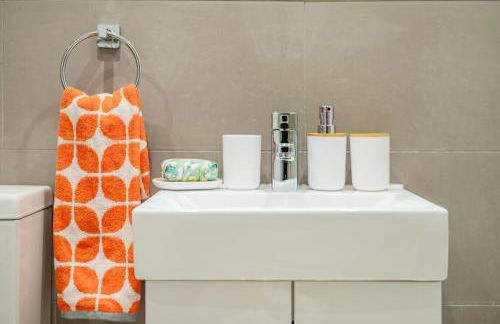
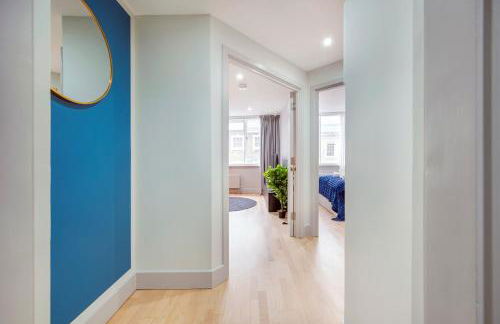
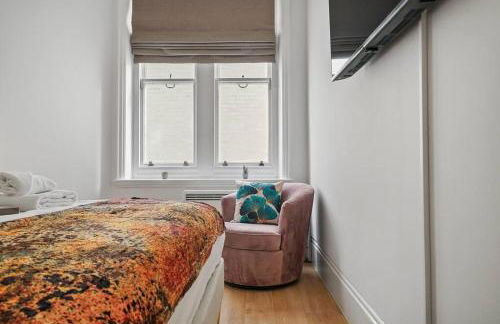
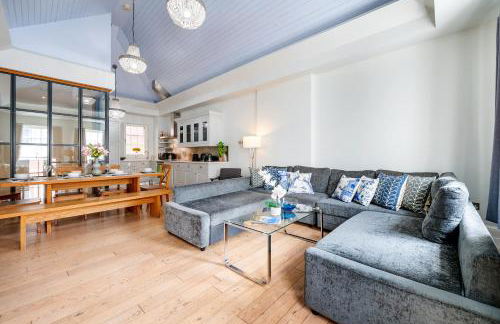
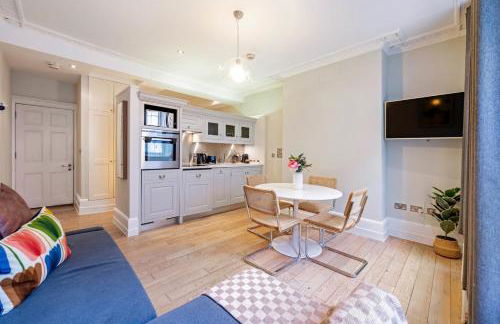
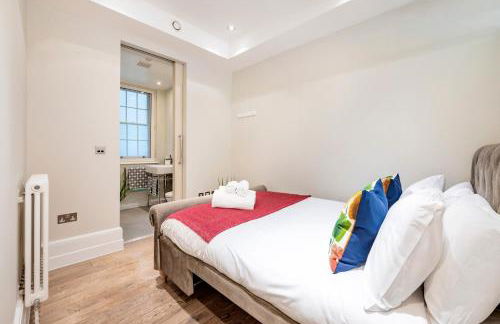
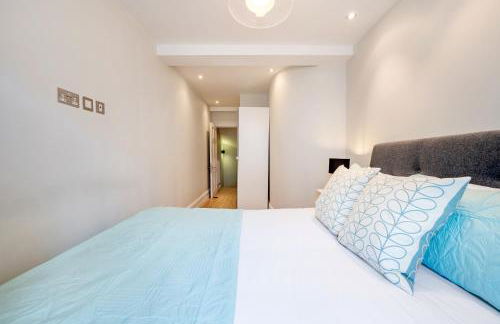
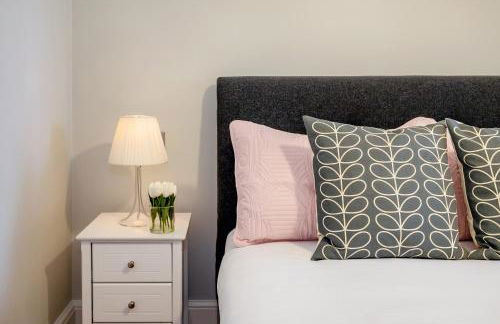
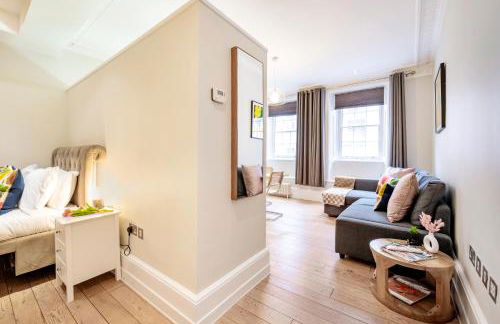
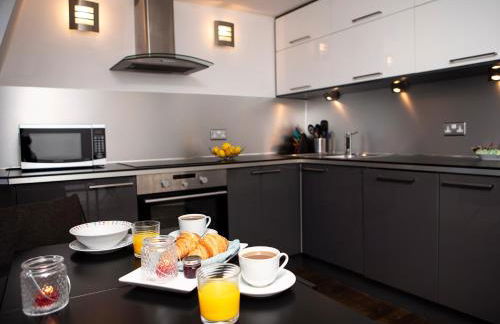
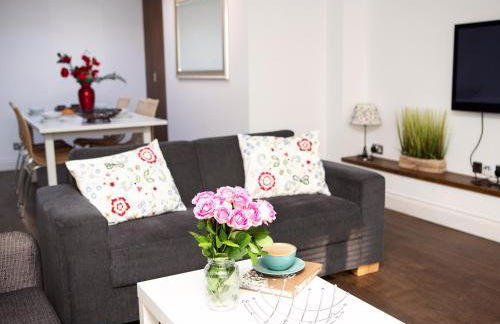
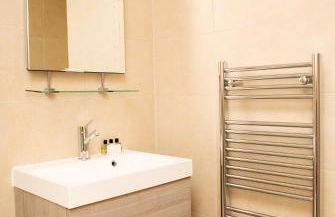
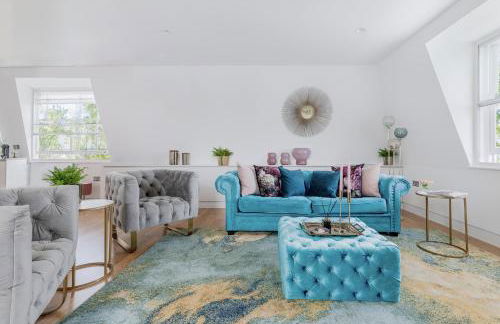
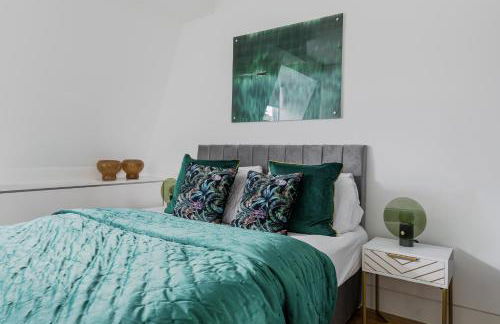
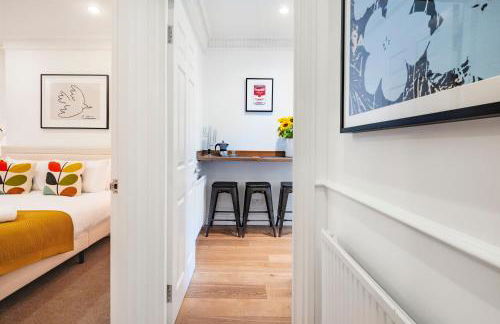
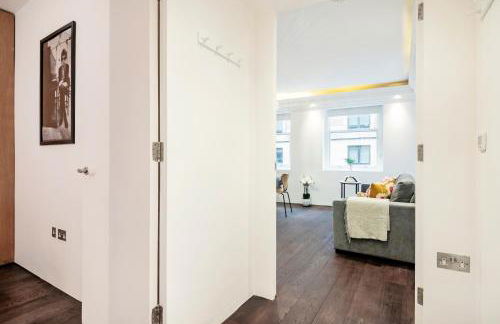
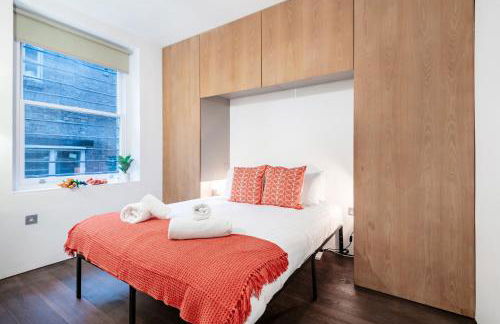
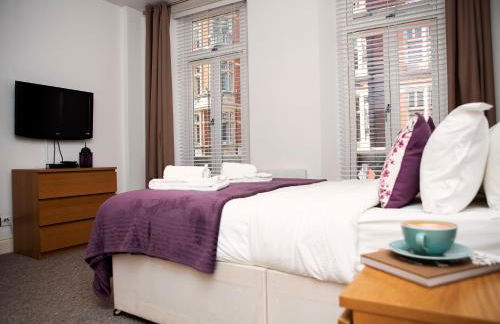
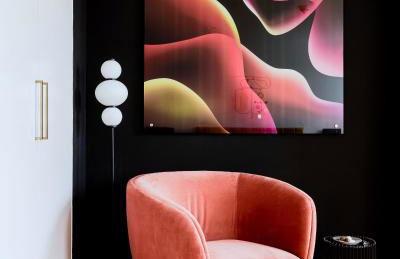
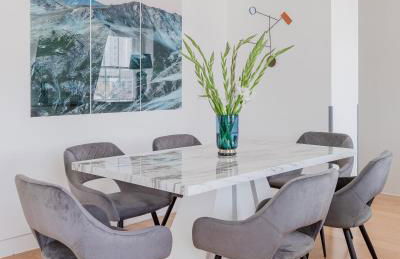
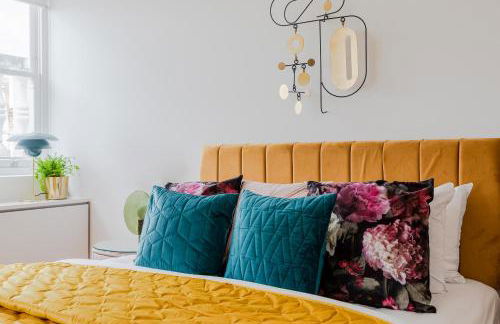
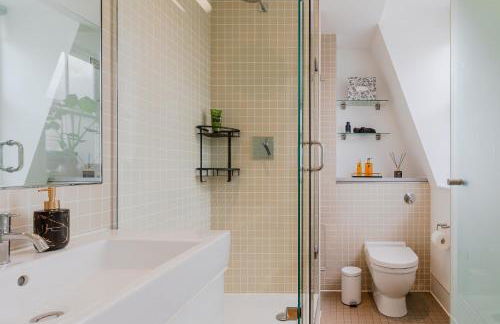
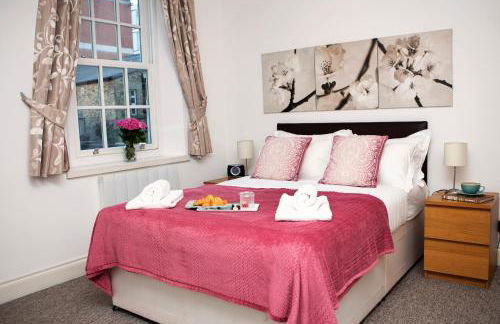
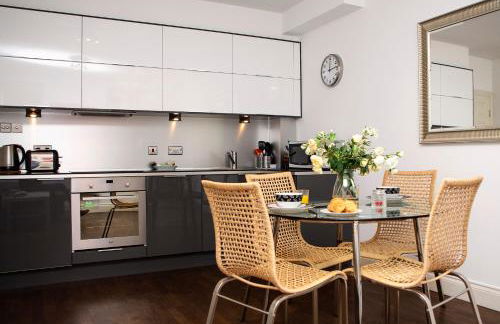
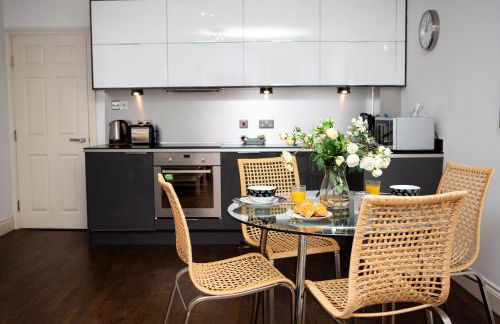
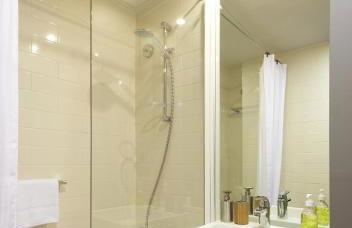
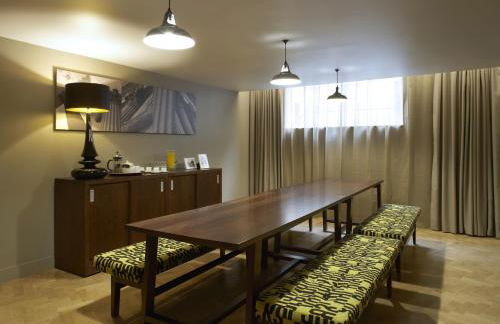
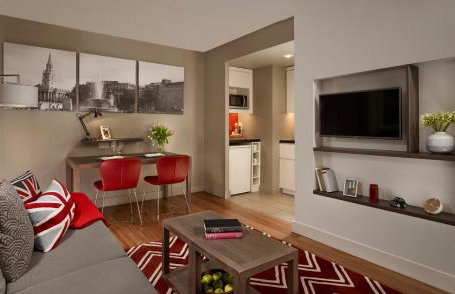
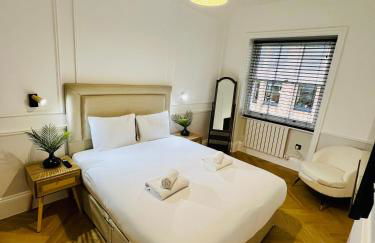
Citadines Trafalgar Square London - Foto 3
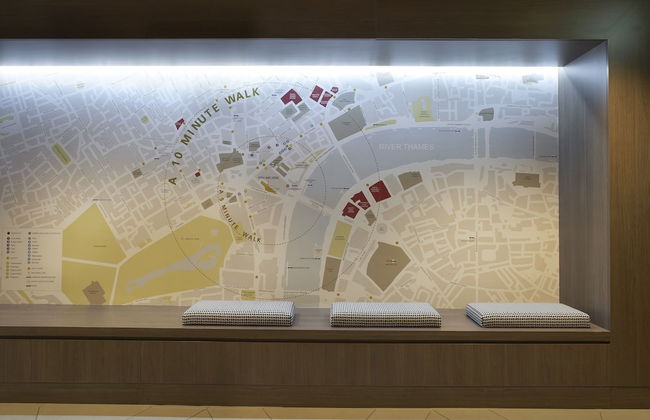
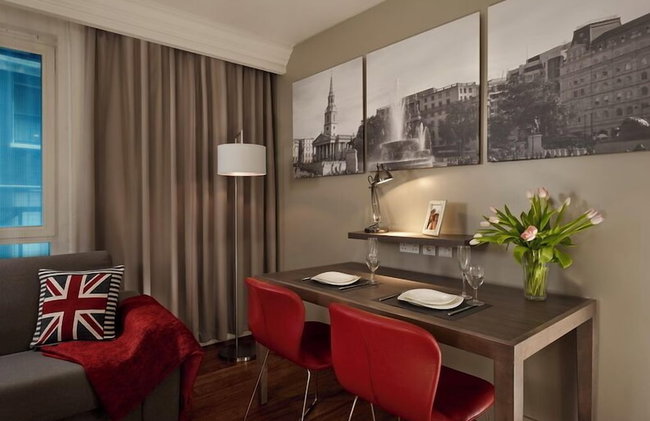
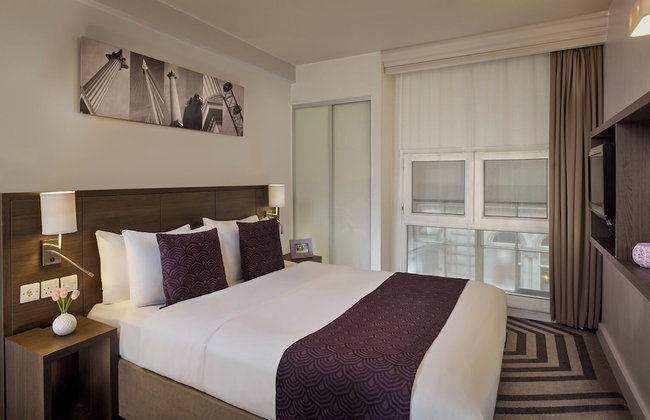
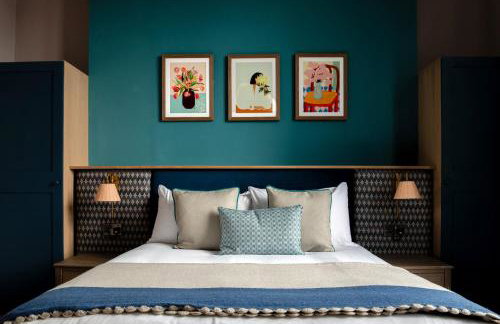
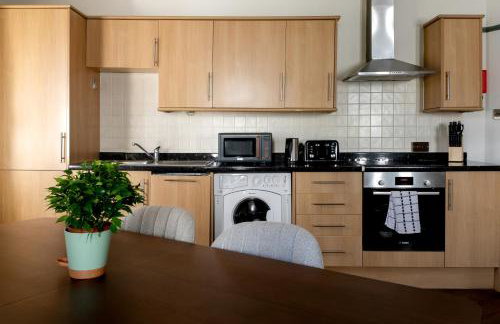
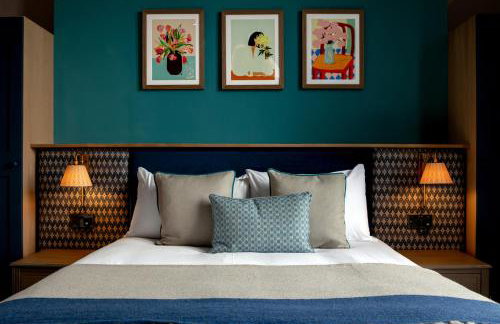
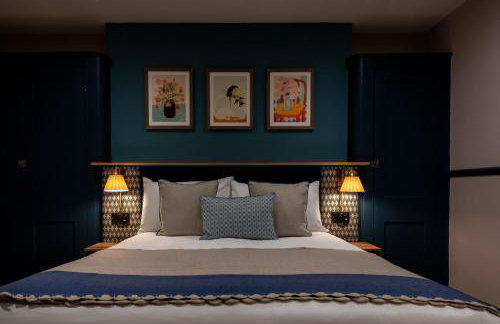
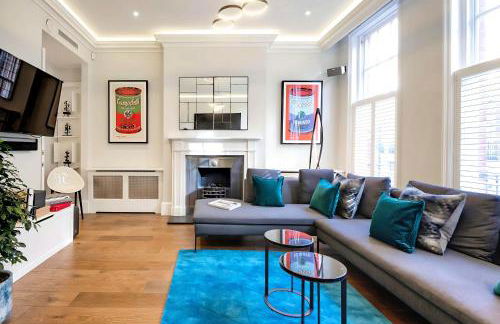
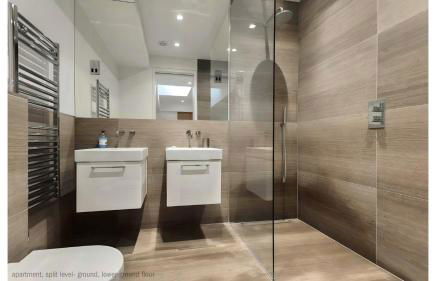
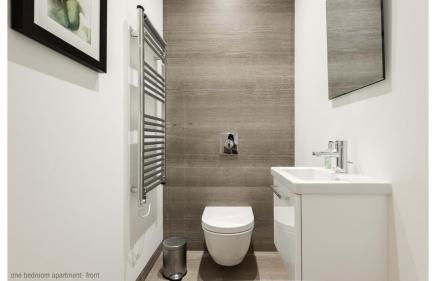
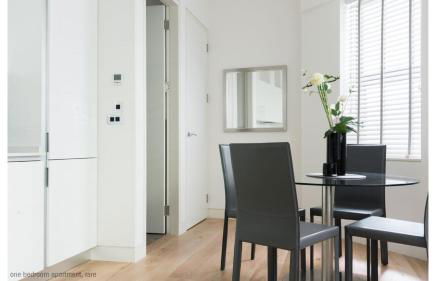
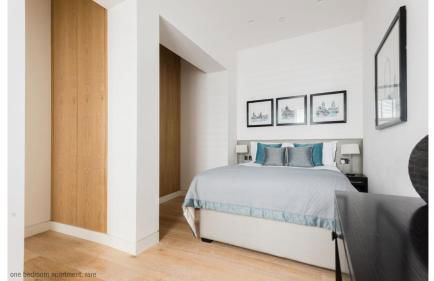
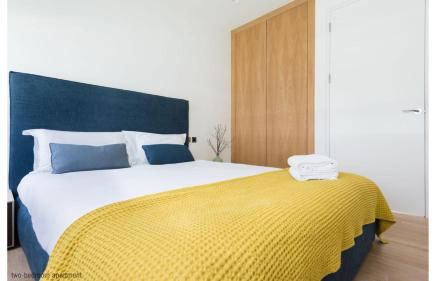
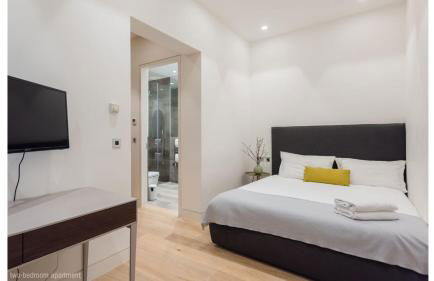
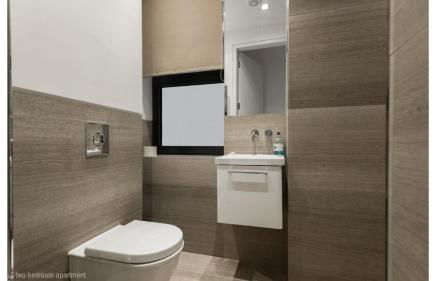
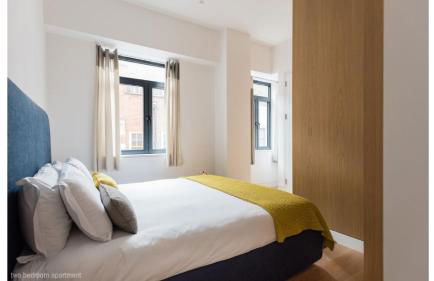
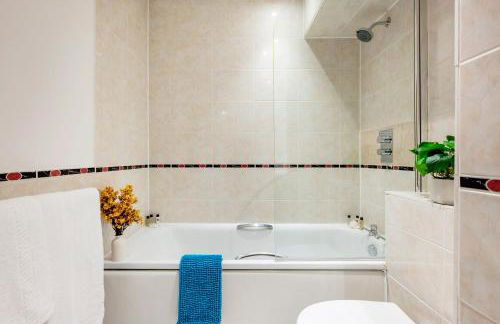
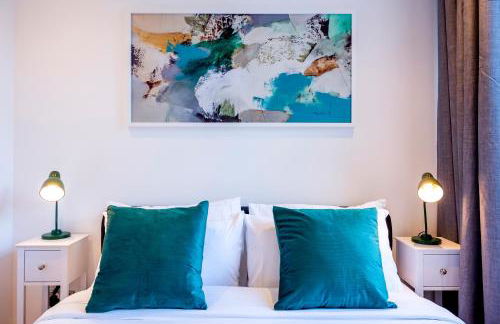
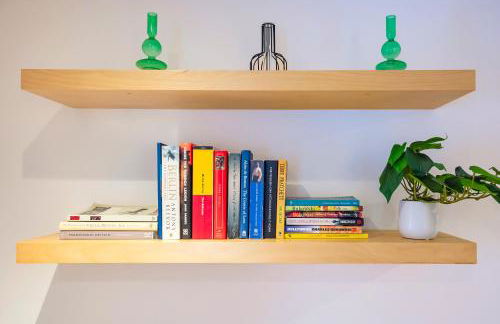
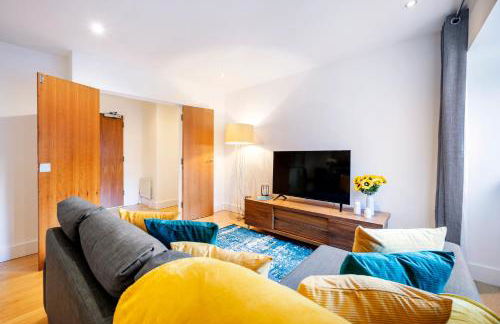
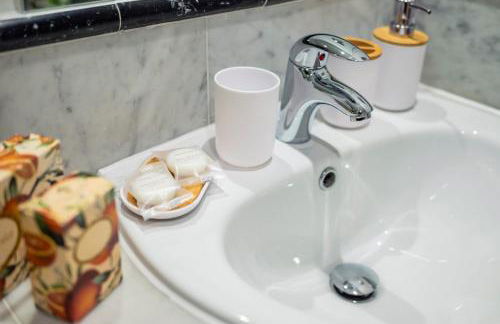
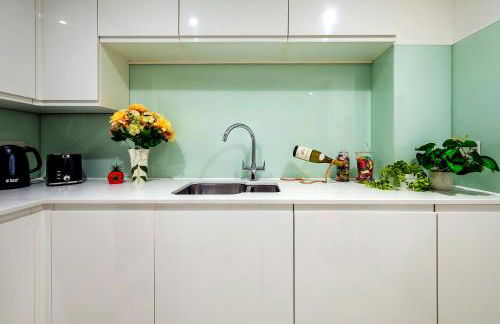
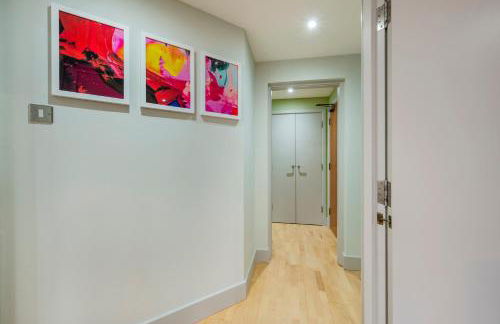
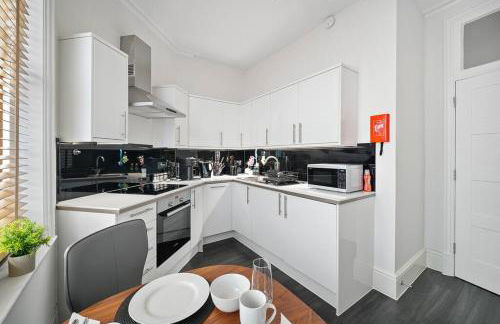
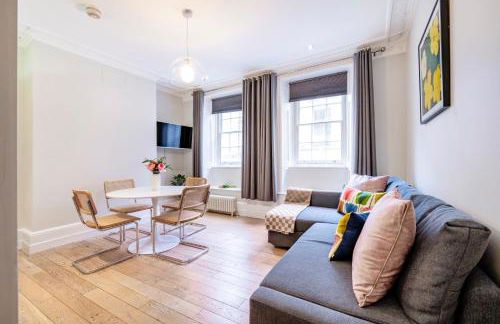
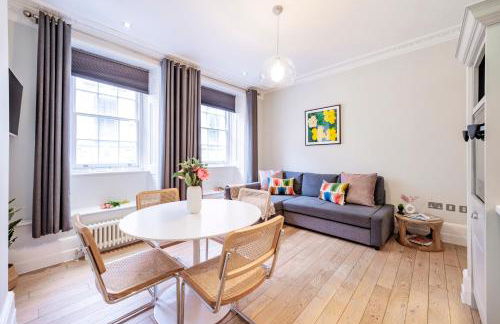
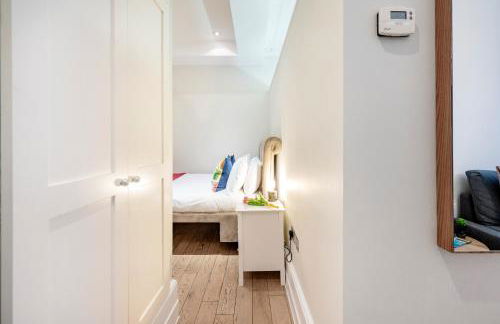
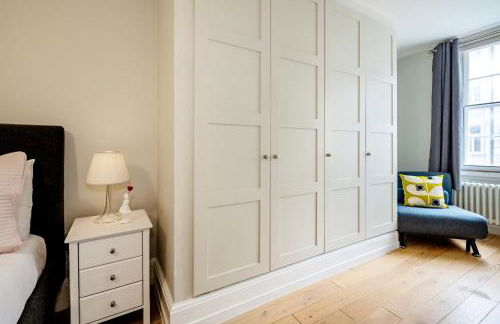
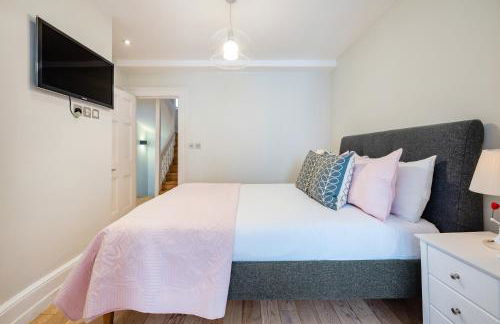
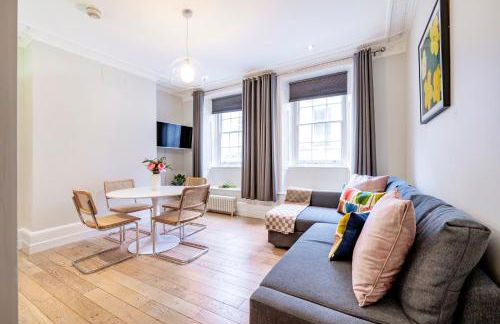
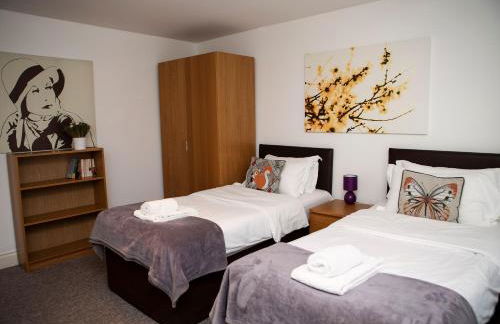
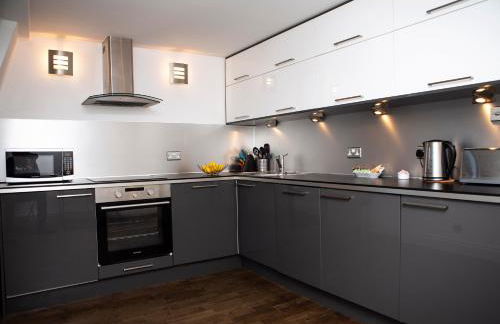
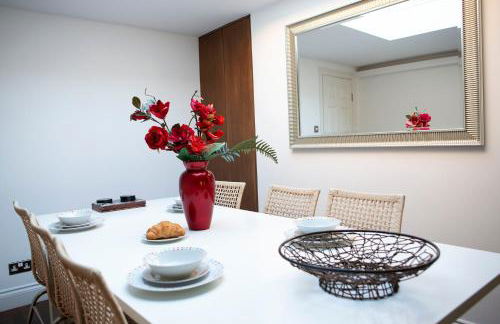
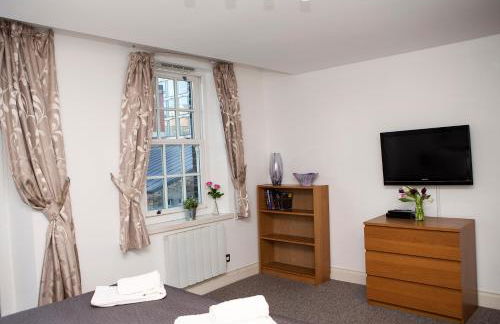
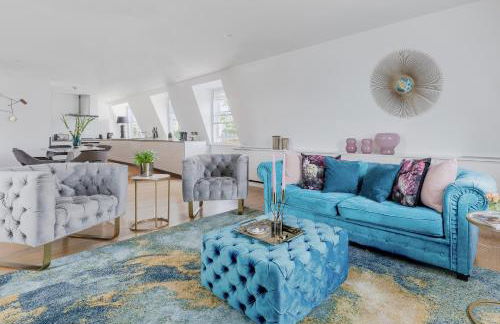
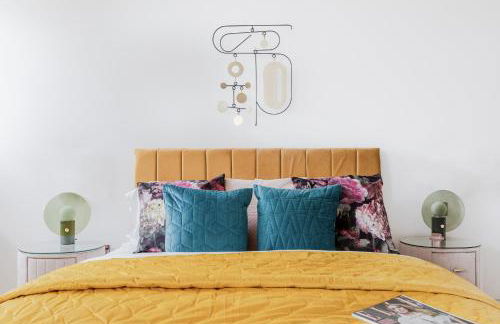
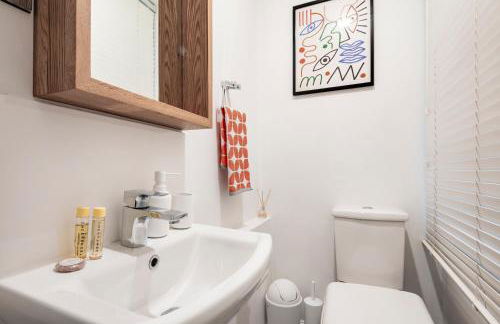
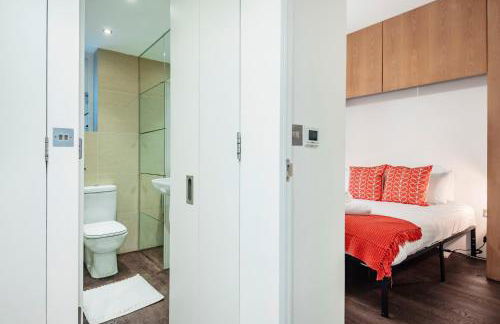
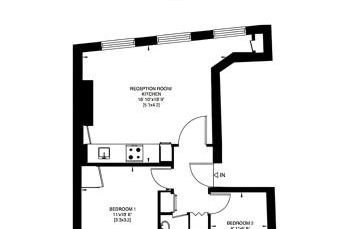
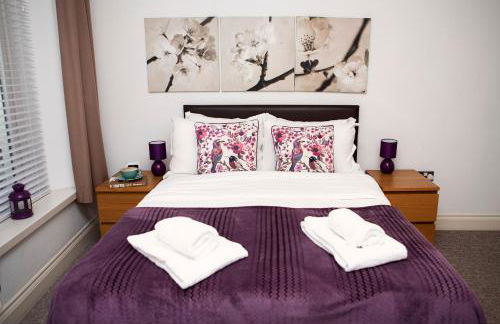
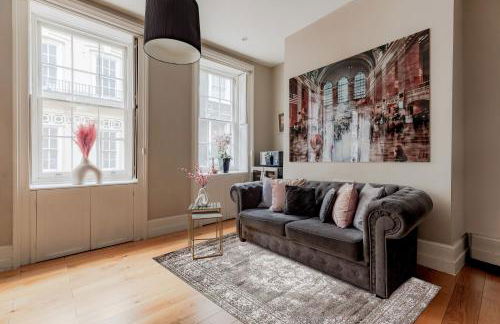
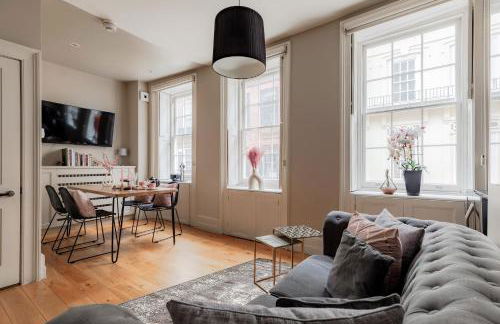
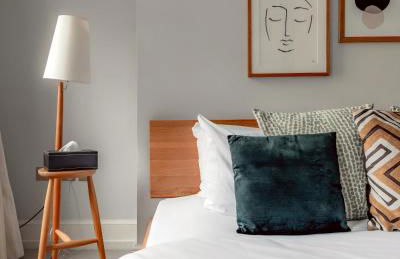
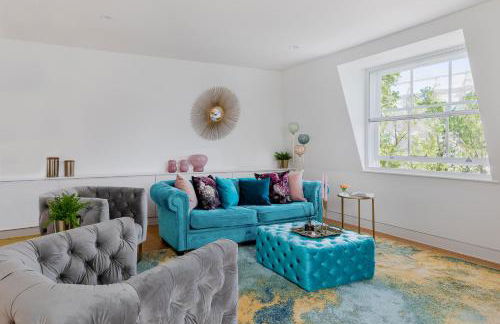
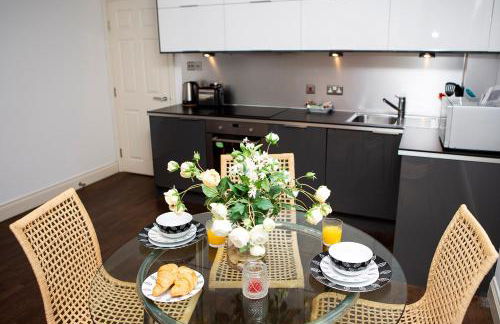
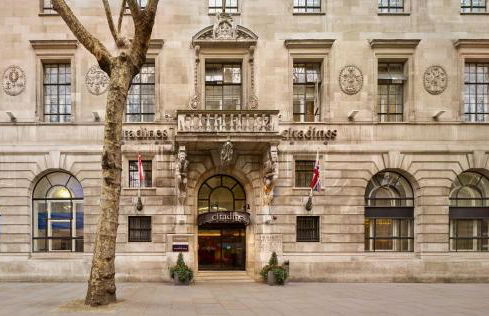
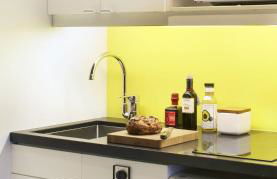
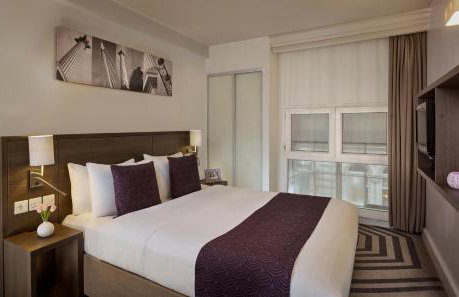
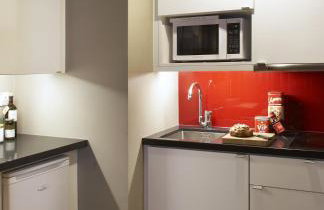
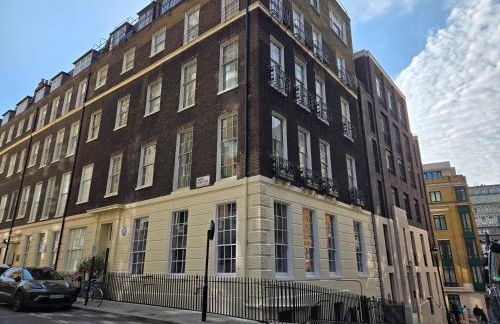
Citadines Trafalgar Square London - Foto 4
Citadines Trafalgar Square London - Foto 5
Citadines Trafalgar Square London - Foto 6
Citadines Trafalgar Square London - Foto 7
Citadines Trafalgar Square London - Foto 8
Citadines Trafalgar Square London - Foto 9
Citadines Trafalgar Square London - Foto 10
Citadines Trafalgar Square London - Foto 11
Citadines Trafalgar Square London - Foto 12
Citadines Trafalgar Square London - Foto 13
Citadines Trafalgar Square London - Foto 14
Citadines Trafalgar Square London - Foto 15
Citadines Trafalgar Square London - Foto 16
Citadines Trafalgar Square London - Foto 17
Citadines Trafalgar Square London - Foto 18
Citadines Trafalgar Square London - Foto 19
Citadines Trafalgar Square London - Foto 20

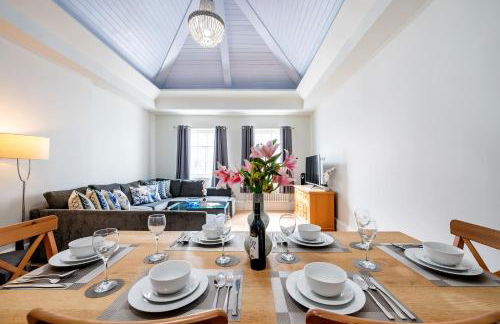
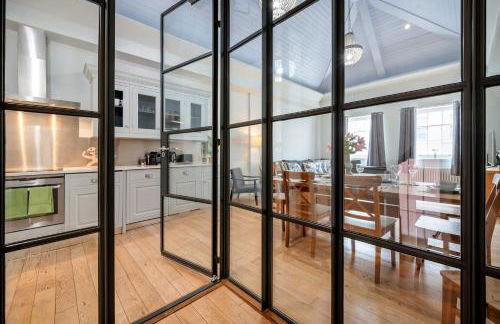
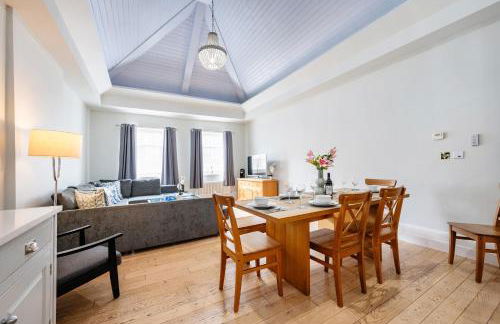
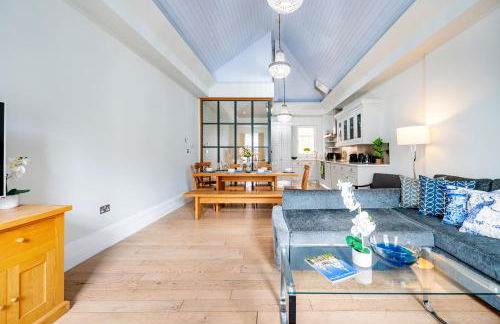
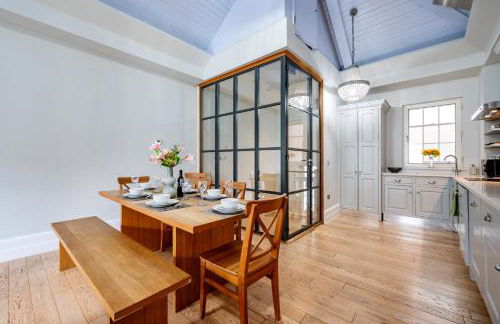
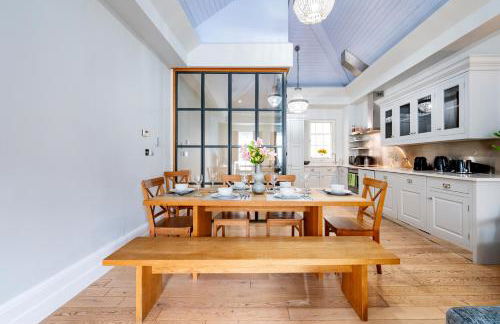
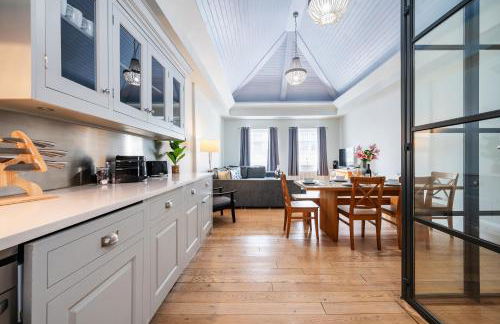
Citadines Trafalgar Square London

Londres - Charing - No centro

  • 70 M2
  • 6 pessoas
  • Kitchenette
  • Ar-condicionado
  • Aquecimento
  • Elevador
  • Tv
  • Toalhas
  • Lençóis
8.6Muito bom | 3926 avaliações
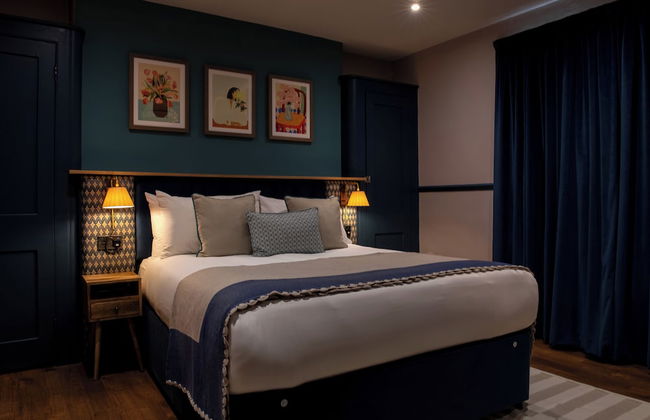
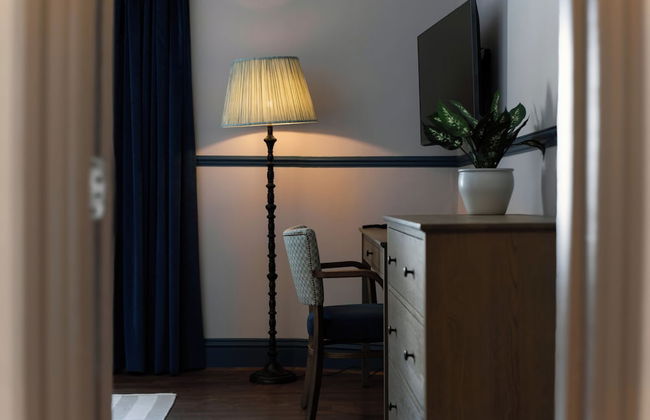
Round House Apartments - Foto 1
Round House Apartments - Foto 2
Round House Apartments - Foto 3
Round House Apartments - Foto 4
Round House Apartments - Foto 5
Round House Apartments - Foto 6
Round House Apartments - Foto 7
Round House Apartments - Foto 8
Round House Apartments - Foto 9
Round House Apartments - Foto 10
Round House Apartments - Foto 11
Round House Apartments - Foto 12
Round House Apartments - Foto 13
Round House Apartments - Foto 14
Round House Apartments - Foto 15
Round House Apartments - Foto 16
Round House Apartments - Foto 17
Round House Apartments - Foto 18
Round House Apartments - Foto 19
Round House Apartments - Foto 20
Round House Apartments - Foto 21
Round House Apartments - Foto 22
Round House Apartments - Foto 23
Round House Apartments - Foto 24
Round House Apartments - Foto 25
Round House Apartments - Foto 26
Round House Apartments - Foto 27
Round House Apartments - Foto 28
Round House Apartments - Foto 29
Round House Apartments - Foto 30
Round House Apartments - Foto 31
Round House Apartments - Foto 32
Round House Apartments - Foto 33
Round House Apartments - Foto 34
Round House Apartments - Foto 35
Round House Apartments - Foto 36
Round House Apartments - Foto 37
Round House Apartments - Foto 38
Round House Apartments - Foto 39
Round House Apartments - Foto 40
Round House Apartments - Foto 41
Round House Apartments - Foto 42
Round House Apartments - Foto 43
Round House Apartments - Foto 44
Round House Apartments - Foto 45
Round House Apartments - Foto 46
Round House Apartments - Foto 47
Round House Apartments - Foto 48
Round House Apartments - Foto 49
Round House Apartments - Foto 50
Round House Apartments - Foto 51
Round House Apartments - Foto 52
Round House Apartments - Foto 53
Round House Apartments - Foto 54
Round House Apartments - Foto 55
Round House Apartments - Foto 56
Round House Apartments - Foto 57
Round House Apartments - Foto 58
Round House Apartments - Foto 59
Round House Apartments - Foto 60
Round House Apartments - Foto 61
Round House Apartments - Foto 62
Round House Apartments - Foto 63
Round House Apartments - Foto 64
Round House Apartments - Foto 65
Round House Apartments - Foto 66
Round House Apartments - Foto 67
Round House Apartments - Foto 68
Round House Apartments - Foto 69
Round House Apartments - Foto 70
Round House Apartments - Foto 71
Round House Apartments - Foto 72
Round House Apartments - Foto 73
Round House Apartments - Foto 74
Round House Apartments - Foto 75
Round House Apartments - Foto 76
Round House Apartments - Foto 77
Round House Apartments - Foto 78
Round House Apartments - Foto 79
Round House Apartments - Foto 80
Round House Apartments - Foto 81
Round House Apartments - Foto 82
Round House Apartments - Foto 83
Round House Apartments - Foto 84
Round House Apartments - Foto 85
Round House Apartments - Foto 86
Round House Apartments - Foto 87
Round House Apartments - Foto 88
Round House Apartments - Foto 89
Round House Apartments - Foto 90
Round House Apartments - Foto 91
Round House Apartments - Foto 92
Round House Apartments - Foto 93
Round House Apartments - Foto 94
Round House Apartments - Foto 95
Round House Apartments - Foto 96
Round House Apartments - Foto 97
Round House Apartments - Foto 98
Round House Apartments - Foto 99
Round House Apartments - Foto 100
Round House Apartments - Foto 101
Round House Apartments - Foto 102
Round House Apartments - Foto 103
Round House Apartments - Foto 104
Round House Apartments - Foto 105
Round House Apartments - Foto 106
Round House Apartments - Foto 107
Round House Apartments - Foto 108
Round House Apartments - Foto 109
Round House Apartments - Foto 110
Round House Apartments - Foto 111
Round House Apartments - Foto 112
Round House Apartments - Foto 113
Round House Apartments - Foto 114
Round House Apartments - Foto 115
Round House Apartments - Foto 116
Round House Apartments - Foto 117
Round House Apartments - Foto 118
Round House Apartments - Foto 119
Round House Apartments - Foto 120
Round House Apartments - Foto 121
Round House Apartments - Foto 122
Round House Apartments - Foto 123
Round House Apartments - Foto 124
Round House Apartments - Foto 125
Round House Apartments - Foto 126
Round House Apartments - Foto 127

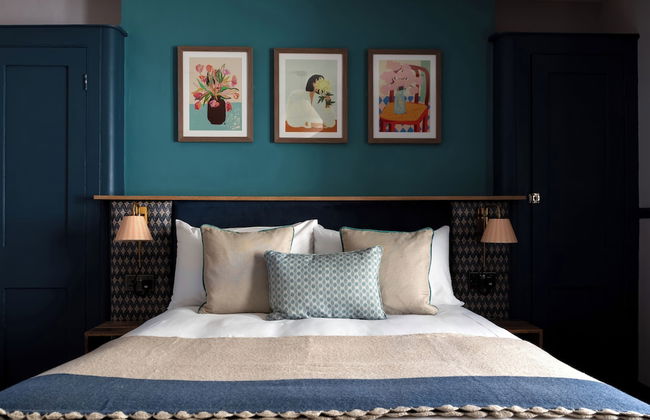
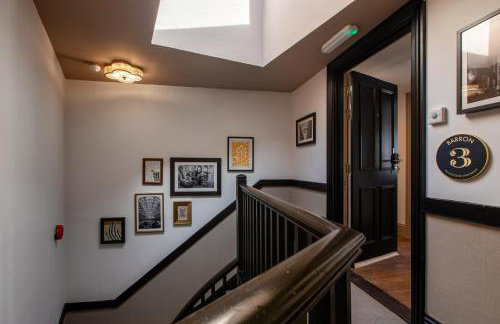
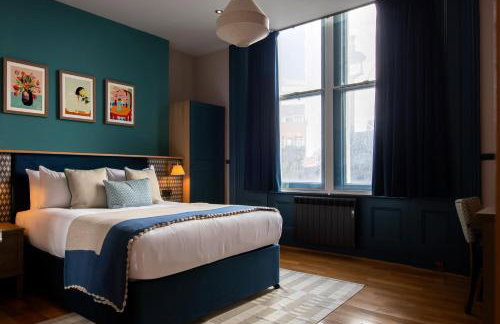
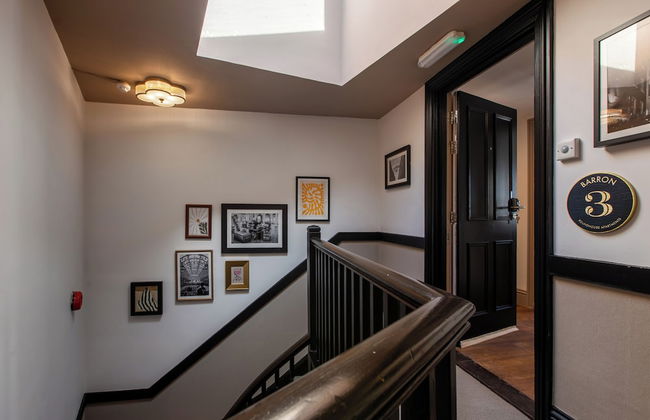
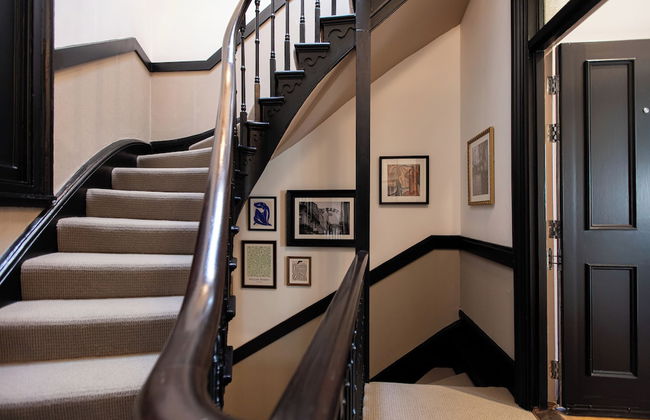
Round House Apartments

Londres - Charing - No centro

  • 71 M2
  • 2 quartos
  • 6 pessoas
  • Kitchenette
  • Aquecimento
  • Tv
  • Máquina de lavar roupa
  • Toalhas
  • Lençóis
10Magnífico | 16 avaliações
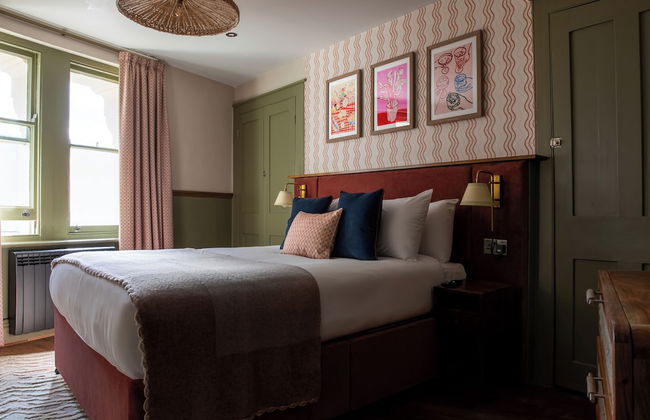
Central London (West End) two bedroom flat - Foto 1
Central London (West End) two bedroom flat - Foto 2
Central London (West End) two bedroom flat - Foto 3
Central London (West End) two bedroom flat - Foto 4
Central London (West End) two bedroom flat - Foto 5
Central London (West End) two bedroom flat - Foto 6
Central London (West End) two bedroom flat - Foto 7
Central London (West End) two bedroom flat - Foto 8

Central London (West End) two bedroom flat

Londres - Charing - No centro

  • 2 quartos
  • 4 pessoas
  • Estacionamento
  • Elevador
9.5Excepcional | 46 avaliações
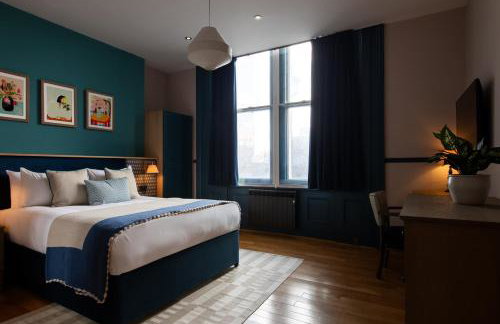
Welcome London Trafalgar Townhouse - Foto 1
Welcome London Trafalgar Townhouse - Foto 2
Welcome London Trafalgar Townhouse - Foto 3
Welcome London Trafalgar Townhouse - Foto 4
Welcome London Trafalgar Townhouse - Foto 5
Welcome London Trafalgar Townhouse - Foto 6
Welcome London Trafalgar Townhouse - Foto 7
Welcome London Trafalgar Townhouse - Foto 8
Welcome London Trafalgar Townhouse - Foto 9
Welcome London Trafalgar Townhouse - Foto 10
Welcome London Trafalgar Townhouse - Foto 11
Welcome London Trafalgar Townhouse - Foto 12
Welcome London Trafalgar Townhouse - Foto 13
Welcome London Trafalgar Townhouse - Foto 14
Welcome London Trafalgar Townhouse - Foto 15
Welcome London Trafalgar Townhouse - Foto 16
Welcome London Trafalgar Townhouse - Foto 17
Welcome London Trafalgar Townhouse - Foto 18
Welcome London Trafalgar Townhouse - Foto 19
Welcome London Trafalgar Townhouse - Foto 20
Welcome London Trafalgar Townhouse - Foto 21
Welcome London Trafalgar Townhouse - Foto 22
Welcome London Trafalgar Townhouse - Foto 23
Welcome London Trafalgar Townhouse - Foto 24
Welcome London Trafalgar Townhouse - Foto 25
Welcome London Trafalgar Townhouse - Foto 26
Welcome London Trafalgar Townhouse - Foto 27
Welcome London Trafalgar Townhouse - Foto 28
Welcome London Trafalgar Townhouse - Foto 29
Welcome London Trafalgar Townhouse - Foto 30
Welcome London Trafalgar Townhouse - Foto 31
Welcome London Trafalgar Townhouse - Foto 32
Welcome London Trafalgar Townhouse - Foto 33
Welcome London Trafalgar Townhouse - Foto 34
Welcome London Trafalgar Townhouse - Foto 35
Welcome London Trafalgar Townhouse - Foto 36
Welcome London Trafalgar Townhouse - Foto 37
Welcome London Trafalgar Townhouse - Foto 38
Welcome London Trafalgar Townhouse - Foto 39
Welcome London Trafalgar Townhouse - Foto 40
Welcome London Trafalgar Townhouse - Foto 41
Welcome London Trafalgar Townhouse - Foto 42
Welcome London Trafalgar Townhouse - Foto 43
Welcome London Trafalgar Townhouse - Foto 44
Welcome London Trafalgar Townhouse - Foto 45
Welcome London Trafalgar Townhouse - Foto 46
Welcome London Trafalgar Townhouse - Foto 47
Welcome London Trafalgar Townhouse - Foto 48
Welcome London Trafalgar Townhouse - Foto 49
Welcome London Trafalgar Townhouse - Foto 50
Welcome London Trafalgar Townhouse - Foto 51
Welcome London Trafalgar Townhouse - Foto 52
Welcome London Trafalgar Townhouse - Foto 53
Welcome London Trafalgar Townhouse - Foto 54
Welcome London Trafalgar Townhouse - Foto 55
Welcome London Trafalgar Townhouse - Foto 56
Welcome London Trafalgar Townhouse - Foto 57
Welcome London Trafalgar Townhouse - Foto 58
Welcome London Trafalgar Townhouse - Foto 59
Welcome London Trafalgar Townhouse - Foto 60
Welcome London Trafalgar Townhouse - Foto 61
Welcome London Trafalgar Townhouse - Foto 62
Welcome London Trafalgar Townhouse - Foto 63
Welcome London Trafalgar Townhouse - Foto 64
Welcome London Trafalgar Townhouse - Foto 65
Welcome London Trafalgar Townhouse - Foto 66
Welcome London Trafalgar Townhouse - Foto 67
Welcome London Trafalgar Townhouse - Foto 68
Welcome London Trafalgar Townhouse - Foto 69
Welcome London Trafalgar Townhouse - Foto 70

Welcome London Trafalgar Townhouse

Londres - Charing - No centro

  • 312 M2
  • 5 quartos
  • 10 pessoas
  • Aquecimento
  • Terraço
9.3Excepcional | 21 avaliações
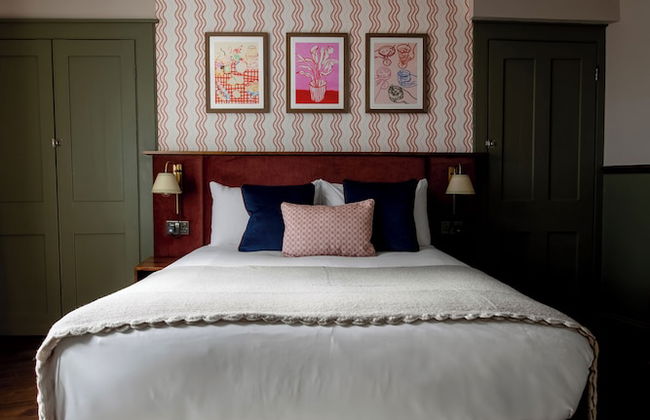
Welcome London The York - Foto 1
Welcome London The York - Foto 2
Welcome London The York - Foto 3
Welcome London The York - Foto 4
Welcome London The York - Foto 5
Welcome London The York - Foto 6
Welcome London The York - Foto 7
Welcome London The York - Foto 8
Welcome London The York - Foto 9
Welcome London The York - Foto 10
Welcome London The York - Foto 11
Welcome London The York - Foto 12
Welcome London The York - Foto 13
Welcome London The York - Foto 14
Welcome London The York - Foto 15
Welcome London The York - Foto 16
Welcome London The York - Foto 17
Welcome London The York - Foto 18
Welcome London The York - Foto 19
Welcome London The York - Foto 20
Welcome London The York - Foto 21
Welcome London The York - Foto 22
Welcome London The York - Foto 23
Welcome London The York - Foto 24
Welcome London The York - Foto 25
Welcome London The York - Foto 26
Welcome London The York - Foto 27
Welcome London The York - Foto 28
Welcome London The York - Foto 29
Welcome London The York - Foto 30
Welcome London The York - Foto 31
Welcome London The York - Foto 32
Welcome London The York - Foto 33
Welcome London The York - Foto 34
Welcome London The York - Foto 35
Welcome London The York - Foto 36
Welcome London The York - Foto 37
Welcome London The York - Foto 38
Welcome London The York - Foto 39
Welcome London The York - Foto 40
Welcome London The York - Foto 41
Welcome London The York - Foto 42
Welcome London The York - Foto 43
Welcome London The York - Foto 44
Welcome London The York - Foto 45
Welcome London The York - Foto 46
Welcome London The York - Foto 47
Welcome London The York - Foto 48
Welcome London The York - Foto 49
Welcome London The York - Foto 50
Welcome London The York - Foto 51
Welcome London The York - Foto 52
Welcome London The York - Foto 53
Welcome London The York - Foto 54
Welcome London The York - Foto 55
Welcome London The York - Foto 56
Welcome London The York - Foto 57
Welcome London The York - Foto 58
Welcome London The York - Foto 59
Welcome London The York - Foto 60
Welcome London The York - Foto 61
Welcome London The York - Foto 62
Welcome London The York - Foto 63
Welcome London The York - Foto 64
Welcome London The York - Foto 65
Welcome London The York - Foto 66
Welcome London The York - Foto 67
Welcome London The York - Foto 68
Welcome London The York - Foto 69
Welcome London The York - Foto 70
Welcome London The York - Foto 71
Welcome London The York - Foto 72
Welcome London The York - Foto 73
Welcome London The York - Foto 74
Welcome London The York - Foto 75
Welcome London The York - Foto 76
Welcome London The York - Foto 77
Welcome London The York - Foto 78
Welcome London The York - Foto 79
Welcome London The York - Foto 80

Welcome London The York

Londres - Charing - No centro

  • 146 M2
  • 3 quartos
  • 8 pessoas
  • Aquecimento
  • Elevador
9.1Excepcional | 464 avaliações
Welcome London The Garrick - Foto 1
Welcome London The Garrick - Foto 2
Welcome London The Garrick - Foto 3
Welcome London The Garrick - Foto 4
Welcome London The Garrick - Foto 5
Welcome London The Garrick - Foto 6
Welcome London The Garrick - Foto 7
Welcome London The Garrick - Foto 8
Welcome London The Garrick - Foto 9
Welcome London The Garrick - Foto 10
Welcome London The Garrick - Foto 11
Welcome London The Garrick - Foto 12
Welcome London The Garrick - Foto 13
Welcome London The Garrick - Foto 14
Welcome London The Garrick - Foto 15
Welcome London The Garrick - Foto 16
Welcome London The Garrick - Foto 17
Welcome London The Garrick - Foto 18
Welcome London The Garrick - Foto 19
Welcome London The Garrick - Foto 20
Welcome London The Garrick - Foto 21
Welcome London The Garrick - Foto 22
Welcome London The Garrick - Foto 23
Welcome London The Garrick - Foto 24
Welcome London The Garrick - Foto 25
Welcome London The Garrick - Foto 26
Welcome London The Garrick - Foto 27
Welcome London The Garrick - Foto 28
Welcome London The Garrick - Foto 29
Welcome London The Garrick - Foto 30
Welcome London The Garrick - Foto 31
Welcome London The Garrick - Foto 32
Welcome London The Garrick - Foto 33
Welcome London The Garrick - Foto 34
Welcome London The Garrick - Foto 35
Welcome London The Garrick - Foto 36
Welcome London The Garrick - Foto 37
Welcome London The Garrick - Foto 38
Welcome London The Garrick - Foto 39
Welcome London The Garrick - Foto 40
Welcome London The Garrick - Foto 41
Welcome London The Garrick - Foto 42
Welcome London The Garrick - Foto 43
Welcome London The Garrick - Foto 44
Welcome London The Garrick - Foto 45
Welcome London The Garrick - Foto 46
Welcome London The Garrick - Foto 47
Welcome London The Garrick - Foto 48
Welcome London The Garrick - Foto 49
Welcome London The Garrick - Foto 50
Welcome London The Garrick - Foto 51
Welcome London The Garrick - Foto 52
Welcome London The Garrick - Foto 53
Welcome London The Garrick - Foto 54
Welcome London The Garrick - Foto 55
Welcome London The Garrick - Foto 56
Welcome London The Garrick - Foto 57
Welcome London The Garrick - Foto 58
Welcome London The Garrick - Foto 59
Welcome London The Garrick - Foto 60
Welcome London The Garrick - Foto 61
Welcome London The Garrick - Foto 62
Welcome London The Garrick - Foto 63
Welcome London The Garrick - Foto 64
Welcome London The Garrick - Foto 65
Welcome London The Garrick - Foto 66
Welcome London The Garrick - Foto 67
Welcome London The Garrick - Foto 68
Welcome London The Garrick - Foto 69
Welcome London The Garrick - Foto 70
Welcome London The Garrick - Foto 71
Welcome London The Garrick - Foto 72
Welcome London The Garrick - Foto 73
Welcome London The Garrick - Foto 74
Welcome London The Garrick - Foto 75
Welcome London The Garrick - Foto 76
Welcome London The Garrick - Foto 77
Welcome London The Garrick - Foto 78
Welcome London The Garrick - Foto 79
Welcome London The Garrick - Foto 80

Welcome London The Garrick

Londres - Charing - No centro

  • 85 M2
  • 3 quartos
  • 7 pessoas
  • Aquecimento
  • Elevador
9Excepcional | 38 avaliações
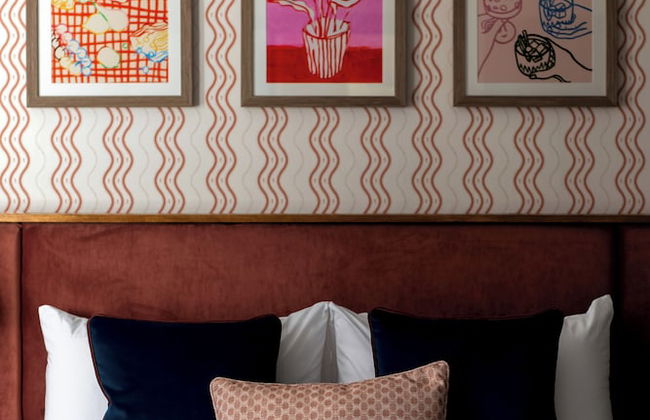
Charming Studio Next to Leicester Sq - Foto 1
Charming Studio Next to Leicester Sq - Foto 2
Charming Studio Next to Leicester Sq - Foto 3
Charming Studio Next to Leicester Sq - Foto 4
Charming Studio Next to Leicester Sq - Foto 5
Charming Studio Next to Leicester Sq - Foto 6
Charming Studio Next to Leicester Sq - Foto 7
Charming Studio Next to Leicester Sq - Foto 8
Charming Studio Next to Leicester Sq - Foto 9
Charming Studio Next to Leicester Sq - Foto 10
Charming Studio Next to Leicester Sq - Foto 11

Charming Studio Next to Leicester Sq

Londres - Charing - No centro

  • 3 pessoas
9.3Excepcional | 10 avaliações
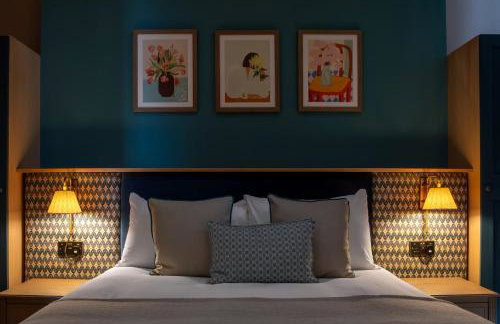
Welcome London St Martin's - Foto 1
Welcome London St Martin's - Foto 2
Welcome London St Martin's - Foto 3
Welcome London St Martin's - Foto 4
Welcome London St Martin's - Foto 5
Welcome London St Martin's - Foto 6
Welcome London St Martin's - Foto 7
Welcome London St Martin's - Foto 8
Welcome London St Martin's - Foto 9
Welcome London St Martin's - Foto 10
Welcome London St Martin's - Foto 11
Welcome London St Martin's - Foto 12
Welcome London St Martin's - Foto 13
Welcome London St Martin's - Foto 14
Welcome London St Martin's - Foto 15
Welcome London St Martin's - Foto 16
Welcome London St Martin's - Foto 17
Welcome London St Martin's - Foto 18
Welcome London St Martin's - Foto 19
Welcome London St Martin's - Foto 20
Welcome London St Martin's - Foto 21
Welcome London St Martin's - Foto 22
Welcome London St Martin's - Foto 23
Welcome London St Martin's - Foto 24
Welcome London St Martin's - Foto 25
Welcome London St Martin's - Foto 26
Welcome London St Martin's - Foto 27
Welcome London St Martin's - Foto 28
Welcome London St Martin's - Foto 29
Welcome London St Martin's - Foto 30
Welcome London St Martin's - Foto 31
Welcome London St Martin's - Foto 32
Welcome London St Martin's - Foto 33
Welcome London St Martin's - Foto 34
Welcome London St Martin's - Foto 35
Welcome London St Martin's - Foto 36
Welcome London St Martin's - Foto 37
Welcome London St Martin's - Foto 38
Welcome London St Martin's - Foto 39
Welcome London St Martin's - Foto 40
Welcome London St Martin's - Foto 41
Welcome London St Martin's - Foto 42
Welcome London St Martin's - Foto 43
Welcome London St Martin's - Foto 44
Welcome London St Martin's - Foto 45
Welcome London St Martin's - Foto 46
Welcome London St Martin's - Foto 47
Welcome London St Martin's - Foto 48
Welcome London St Martin's - Foto 49
Welcome London St Martin's - Foto 50
Welcome London St Martin's - Foto 51
Welcome London St Martin's - Foto 52
Welcome London St Martin's - Foto 53
Welcome London St Martin's - Foto 54
Welcome London St Martin's - Foto 55
Welcome London St Martin's - Foto 56
Welcome London St Martin's - Foto 57
Welcome London St Martin's - Foto 58
Welcome London St Martin's - Foto 59
Welcome London St Martin's - Foto 60
Welcome London St Martin's - Foto 61
Welcome London St Martin's - Foto 62
Welcome London St Martin's - Foto 63
Welcome London St Martin's - Foto 64
Welcome London St Martin's - Foto 65
Welcome London St Martin's - Foto 66
Welcome London St Martin's - Foto 67
Welcome London St Martin's - Foto 68
Welcome London St Martin's - Foto 69
Welcome London St Martin's - Foto 70
Welcome London St Martin's - Foto 71
Welcome London St Martin's - Foto 72
Welcome London St Martin's - Foto 73
Welcome London St Martin's - Foto 74
Welcome London St Martin's - Foto 75

Welcome London St Martin's

Londres - Charing - No centro

  • 60 M2
  • 2 quartos
  • 6 pessoas
  • Aquecimento
9.1Excepcional | 122 avaliações
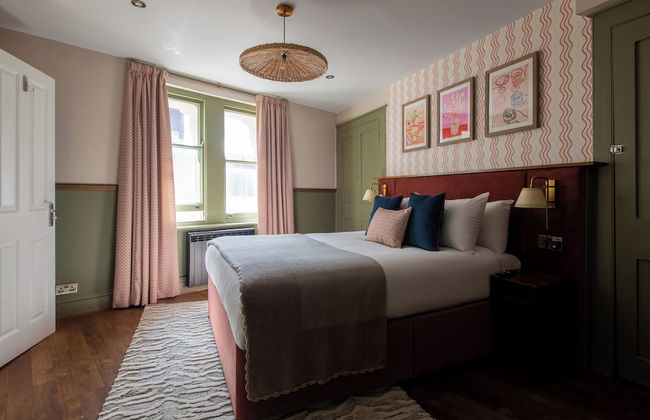
Apt 3, Trafalgar Sq Duplex, 3rd & 4th floor by Indigo Flats - Foto 1
Apt 3, Trafalgar Sq Duplex, 3rd & 4th floor by Indigo Flats - Foto 2
Apt 3, Trafalgar Sq Duplex, 3rd & 4th floor by Indigo Flats - Foto 3
Apt 3, Trafalgar Sq Duplex, 3rd & 4th floor by Indigo Flats - Foto 4
Apt 3, Trafalgar Sq Duplex, 3rd & 4th floor by Indigo Flats - Foto 5
Apt 3, Trafalgar Sq Duplex, 3rd & 4th floor by Indigo Flats - Foto 6
Apt 3, Trafalgar Sq Duplex, 3rd & 4th floor by Indigo Flats - Foto 7
Apt 3, Trafalgar Sq Duplex, 3rd & 4th floor by Indigo Flats - Foto 8
Apt 3, Trafalgar Sq Duplex, 3rd & 4th floor by Indigo Flats - Foto 9
Apt 3, Trafalgar Sq Duplex, 3rd & 4th floor by Indigo Flats - Foto 10
Apt 3, Trafalgar Sq Duplex, 3rd & 4th floor by Indigo Flats - Foto 11
Apt 3, Trafalgar Sq Duplex, 3rd & 4th floor by Indigo Flats - Foto 12
Apt 3, Trafalgar Sq Duplex, 3rd & 4th floor by Indigo Flats - Foto 13
Apt 3, Trafalgar Sq Duplex, 3rd & 4th floor by Indigo Flats - Foto 14
Apt 3, Trafalgar Sq Duplex, 3rd & 4th floor by Indigo Flats - Foto 15
Apt 3, Trafalgar Sq Duplex, 3rd & 4th floor by Indigo Flats - Foto 16
Apt 3, Trafalgar Sq Duplex, 3rd & 4th floor by Indigo Flats - Foto 17
Apt 3, Trafalgar Sq Duplex, 3rd & 4th floor by Indigo Flats - Foto 18
Apt 3, Trafalgar Sq Duplex, 3rd & 4th floor by Indigo Flats - Foto 19

Apt 3, Trafalgar Sq Duplex, 3rd & 4th floor by Indigo Flats

Londres - Charing - No centro

  • 65 M2
  • 2 quartos
  • 7 pessoas
  • Aquecimento
9.1Excepcional | 106 avaliações

Stunning Covent Garden DREAM COME TRUE Super Quiet HOTEL Alike HOME - Foto 1
Stunning Covent Garden DREAM COME TRUE Super Quiet HOTEL Alike HOME - Foto 2
Stunning Covent Garden DREAM COME TRUE Super Quiet HOTEL Alike HOME - Foto 3
Stunning Covent Garden DREAM COME TRUE Super Quiet HOTEL Alike HOME - Foto 4
Stunning Covent Garden DREAM COME TRUE Super Quiet HOTEL Alike HOME - Foto 5
Stunning Covent Garden DREAM COME TRUE Super Quiet HOTEL Alike HOME - Foto 6
Stunning Covent Garden DREAM COME TRUE Super Quiet HOTEL Alike HOME - Foto 7
Stunning Covent Garden DREAM COME TRUE Super Quiet HOTEL Alike HOME - Foto 8
Stunning Covent Garden DREAM COME TRUE Super Quiet HOTEL Alike HOME - Foto 9
Stunning Covent Garden DREAM COME TRUE Super Quiet HOTEL Alike HOME - Foto 10
Stunning Covent Garden DREAM COME TRUE Super Quiet HOTEL Alike HOME - Foto 11
Stunning Covent Garden DREAM COME TRUE Super Quiet HOTEL Alike HOME - Foto 12
Stunning Covent Garden DREAM COME TRUE Super Quiet HOTEL Alike HOME - Foto 13
Stunning Covent Garden DREAM COME TRUE Super Quiet HOTEL Alike HOME - Foto 14
Stunning Covent Garden DREAM COME TRUE Super Quiet HOTEL Alike HOME - Foto 15
Stunning Covent Garden DREAM COME TRUE Super Quiet HOTEL Alike HOME - Foto 16
Stunning Covent Garden DREAM COME TRUE Super Quiet HOTEL Alike HOME - Foto 17
Stunning Covent Garden DREAM COME TRUE Super Quiet HOTEL Alike HOME - Foto 18
Stunning Covent Garden DREAM COME TRUE Super Quiet HOTEL Alike HOME - Foto 19
Stunning Covent Garden DREAM COME TRUE Super Quiet HOTEL Alike HOME - Foto 20
Stunning Covent Garden DREAM COME TRUE Super Quiet HOTEL Alike HOME - Foto 21
Stunning Covent Garden DREAM COME TRUE Super Quiet HOTEL Alike HOME - Foto 22
Stunning Covent Garden DREAM COME TRUE Super Quiet HOTEL Alike HOME - Foto 23
Stunning Covent Garden DREAM COME TRUE Super Quiet HOTEL Alike HOME - Foto 24
Stunning Covent Garden DREAM COME TRUE Super Quiet HOTEL Alike HOME - Foto 25
Stunning Covent Garden DREAM COME TRUE Super Quiet HOTEL Alike HOME - Foto 26

Stunning Covent Garden DREAM COME TRUE Super Quiet HOTEL Alike HOME

Londres - Charing - No centro

  • 167 M2
  • 3 quartos
  • 6 pessoas
  • Ar-condicionado
  • Aquecimento
  • Elevador
10Magnífico | 5 avaliações
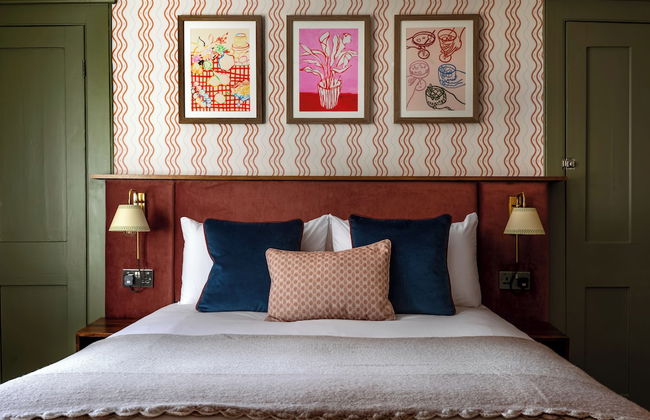
London Eye 8 M - Foto 1
London Eye 8 M - Foto 2
London Eye 8 M - Foto 3
London Eye 8 M - Foto 4
London Eye 8 M - Foto 5
London Eye 8 M - Foto 6
London Eye 8 M - Foto 7
London Eye 8 M - Foto 8
London Eye 8 M - Foto 9
London Eye 8 M - Foto 10
London Eye 8 M - Foto 11

London Eye 8 M

Londres - Charing - No centro

  • 80 M2
  • 2 quartos
  • 4 pessoas
  • Aquecimento
  • Elevador
8.6Muito bom | 49 avaliações
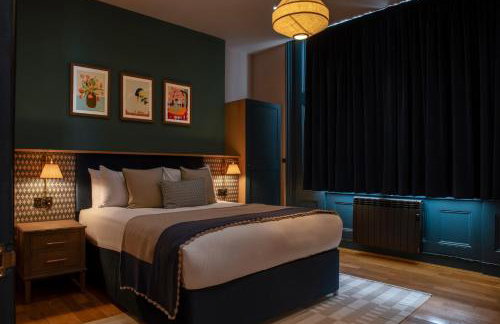
Welcome London National Gallery - Foto 1
Welcome London National Gallery - Foto 2
Welcome London National Gallery - Foto 3
Welcome London National Gallery - Foto 4
Welcome London National Gallery - Foto 5
Welcome London National Gallery - Foto 6
Welcome London National Gallery - Foto 7
Welcome London National Gallery - Foto 8
Welcome London National Gallery - Foto 9
Welcome London National Gallery - Foto 10
Welcome London National Gallery - Foto 11
Welcome London National Gallery - Foto 12
Welcome London National Gallery - Foto 13
Welcome London National Gallery - Foto 14
Welcome London National Gallery - Foto 15
Welcome London National Gallery - Foto 16
Welcome London National Gallery - Foto 17
Welcome London National Gallery - Foto 18
Welcome London National Gallery - Foto 19
Welcome London National Gallery - Foto 20
Welcome London National Gallery - Foto 21
Welcome London National Gallery - Foto 22
Welcome London National Gallery - Foto 23
Welcome London National Gallery - Foto 24
Welcome London National Gallery - Foto 25
Welcome London National Gallery - Foto 26
Welcome London National Gallery - Foto 27
Welcome London National Gallery - Foto 28
Welcome London National Gallery - Foto 29
Welcome London National Gallery - Foto 30
Welcome London National Gallery - Foto 31
Welcome London National Gallery - Foto 32
Welcome London National Gallery - Foto 33
Welcome London National Gallery - Foto 34
Welcome London National Gallery - Foto 35
Welcome London National Gallery - Foto 36
Welcome London National Gallery - Foto 37
Welcome London National Gallery - Foto 38
Welcome London National Gallery - Foto 39
Welcome London National Gallery - Foto 40
Welcome London National Gallery - Foto 41
Welcome London National Gallery - Foto 42
Welcome London National Gallery - Foto 43
Welcome London National Gallery - Foto 44
Welcome London National Gallery - Foto 45

Welcome London National Gallery

Londres - Charing - No centro
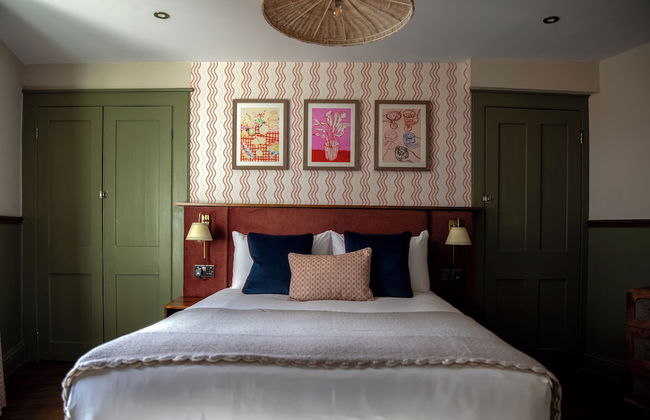
  • 42 M2
  • 1 quarto
  • 4 pessoas

  • Aquecimento
8.9Muito bom | 88 avaliações
Welcome London Trafalgar & Covent Garden - Foto 1
Welcome London Trafalgar & Covent Garden - Foto 2
Welcome London Trafalgar & Covent Garden - Foto 3
Welcome London Trafalgar & Covent Garden - Foto 4
Welcome London Trafalgar & Covent Garden - Foto 5
Welcome London Trafalgar & Covent Garden - Foto 6
Welcome London Trafalgar & Covent Garden - Foto 7
Welcome London Trafalgar & Covent Garden - Foto 8
Welcome London Trafalgar & Covent Garden - Foto 9
Welcome London Trafalgar & Covent Garden - Foto 10
Welcome London Trafalgar & Covent Garden - Foto 11
Welcome London Trafalgar & Covent Garden - Foto 12
Welcome London Trafalgar & Covent Garden - Foto 13
Welcome London Trafalgar & Covent Garden - Foto 14
Welcome London Trafalgar & Covent Garden - Foto 15
Welcome London Trafalgar & Covent Garden - Foto 16
Welcome London Trafalgar & Covent Garden - Foto 17
Welcome London Trafalgar & Covent Garden - Foto 18
Welcome London Trafalgar & Covent Garden - Foto 19
Welcome London Trafalgar & Covent Garden - Foto 20
Welcome London Trafalgar & Covent Garden - Foto 21
Welcome London Trafalgar & Covent Garden - Foto 22
Welcome London Trafalgar & Covent Garden - Foto 23
Welcome London Trafalgar & Covent Garden - Foto 24
Welcome London Trafalgar & Covent Garden - Foto 25
Welcome London Trafalgar & Covent Garden - Foto 26
Welcome London Trafalgar & Covent Garden - Foto 27
Welcome London Trafalgar & Covent Garden - Foto 28
Welcome London Trafalgar & Covent Garden - Foto 29
Welcome London Trafalgar & Covent Garden - Foto 30
Welcome London Trafalgar & Covent Garden - Foto 31
Welcome London Trafalgar & Covent Garden - Foto 32
Welcome London Trafalgar & Covent Garden - Foto 33
Welcome London Trafalgar & Covent Garden - Foto 34
Welcome London Trafalgar & Covent Garden - Foto 35
Welcome London Trafalgar & Covent Garden - Foto 36
Welcome London Trafalgar & Covent Garden - Foto 37
Welcome London Trafalgar & Covent Garden - Foto 38
Welcome London Trafalgar & Covent Garden - Foto 39
Welcome London Trafalgar & Covent Garden - Foto 40
Welcome London Trafalgar & Covent Garden - Foto 41
Welcome London Trafalgar & Covent Garden - Foto 42
Welcome London Trafalgar & Covent Garden - Foto 43
Welcome London Trafalgar & Covent Garden - Foto 44

Welcome London Trafalgar & Covent Garden

Londres - Charing - No centro

  • 43 M2
  • 2 quartos
  • 4 pessoas
  • Aquecimento
8.9Muito bom | 41 avaliações
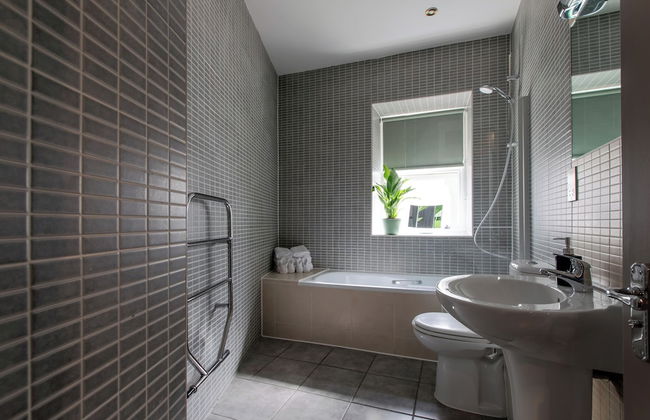
Modern Apartment & Rooms at Charing Cross - Foto 1
Modern Apartment & Rooms at Charing Cross - Foto 2
Modern Apartment & Rooms at Charing Cross - Foto 3
Modern Apartment & Rooms at Charing Cross - Foto 4
Modern Apartment & Rooms at Charing Cross - Foto 5
Modern Apartment & Rooms at Charing Cross - Foto 6
Modern Apartment & Rooms at Charing Cross - Foto 7
Modern Apartment & Rooms at Charing Cross - Foto 8
Modern Apartment & Rooms at Charing Cross - Foto 9
Modern Apartment & Rooms at Charing Cross - Foto 10
Modern Apartment & Rooms at Charing Cross - Foto 11
Modern Apartment & Rooms at Charing Cross - Foto 12
Modern Apartment & Rooms at Charing Cross - Foto 13
Modern Apartment & Rooms at Charing Cross - Foto 14
Modern Apartment & Rooms at Charing Cross - Foto 15
Modern Apartment & Rooms at Charing Cross - Foto 16
Modern Apartment & Rooms at Charing Cross - Foto 17
Modern Apartment & Rooms at Charing Cross - Foto 18
Modern Apartment & Rooms at Charing Cross - Foto 19
Modern Apartment & Rooms at Charing Cross - Foto 20
Modern Apartment & Rooms at Charing Cross - Foto 21
Modern Apartment & Rooms at Charing Cross - Foto 22
Modern Apartment & Rooms at Charing Cross - Foto 23
Modern Apartment & Rooms at Charing Cross - Foto 24
Modern Apartment & Rooms at Charing Cross - Foto 25
Modern Apartment & Rooms at Charing Cross - Foto 26
Modern Apartment & Rooms at Charing Cross - Foto 27
Modern Apartment & Rooms at Charing Cross - Foto 28
Modern Apartment & Rooms at Charing Cross - Foto 29
Modern Apartment & Rooms at Charing Cross - Foto 30
Modern Apartment & Rooms at Charing Cross - Foto 31
Modern Apartment & Rooms at Charing Cross - Foto 32
Modern Apartment & Rooms at Charing Cross - Foto 33

Modern Apartment & Rooms at Charing Cross

Londres - Charing - No centro

  • 90 M2
  • 2 quartos
  • 4 pessoas
  • Ar-condicionado
  • Aquecimento
8.7Muito bom | 75 avaliações
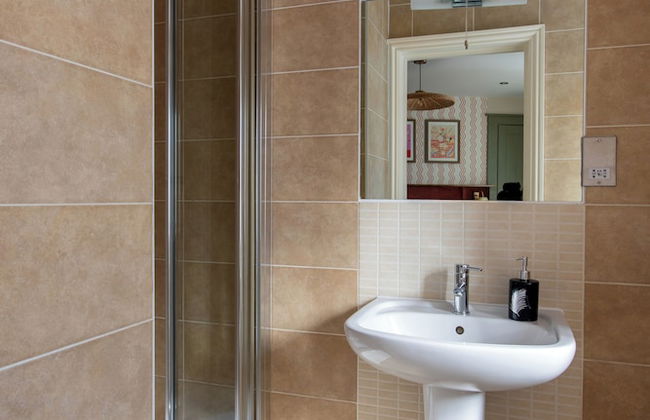
Apt 1, Trafalgar Square 1st Floor by Indigo Flats - Foto 1
Apt 1, Trafalgar Square 1st Floor by Indigo Flats - Foto 2
Apt 1, Trafalgar Square 1st Floor by Indigo Flats - Foto 3
Apt 1, Trafalgar Square 1st Floor by Indigo Flats - Foto 4
Apt 1, Trafalgar Square 1st Floor by Indigo Flats - Foto 5
Apt 1, Trafalgar Square 1st Floor by Indigo Flats - Foto 6
Apt 1, Trafalgar Square 1st Floor by Indigo Flats - Foto 7
Apt 1, Trafalgar Square 1st Floor by Indigo Flats - Foto 8
Apt 1, Trafalgar Square 1st Floor by Indigo Flats - Foto 9
Apt 1, Trafalgar Square 1st Floor by Indigo Flats - Foto 10
Apt 1, Trafalgar Square 1st Floor by Indigo Flats - Foto 11
Apt 1, Trafalgar Square 1st Floor by Indigo Flats - Foto 12
Apt 1, Trafalgar Square 1st Floor by Indigo Flats - Foto 13
Apt 1, Trafalgar Square 1st Floor by Indigo Flats - Foto 14
Apt 1, Trafalgar Square 1st Floor by Indigo Flats - Foto 15
Apt 1, Trafalgar Square 1st Floor by Indigo Flats - Foto 16
Apt 1, Trafalgar Square 1st Floor by Indigo Flats - Foto 17
Apt 1, Trafalgar Square 1st Floor by Indigo Flats - Foto 18

Apt 1, Trafalgar Square 1st Floor by Indigo Flats

Londres - Charing - No centro

  • 65 M2
  • 1 quarto
  • 4 pessoas
  • Aquecimento
  • Terraço
  • Jardim
8.5Muito bom | 99 avaliações
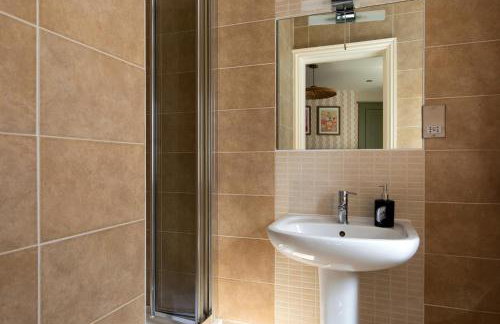
1st Class Covent Garden Residences for 1st Class Guests - Foto 1
1st Class Covent Garden Residences for 1st Class Guests - Foto 2
1st Class Covent Garden Residences for 1st Class Guests - Foto 3
1st Class Covent Garden Residences for 1st Class Guests - Foto 4
1st Class Covent Garden Residences for 1st Class Guests - Foto 5
1st Class Covent Garden Residences for 1st Class Guests - Foto 6
1st Class Covent Garden Residences for 1st Class Guests - Foto 7
1st Class Covent Garden Residences for 1st Class Guests - Foto 8
1st Class Covent Garden Residences for 1st Class Guests - Foto 9
1st Class Covent Garden Residences for 1st Class Guests - Foto 10
1st Class Covent Garden Residences for 1st Class Guests - Foto 11
1st Class Covent Garden Residences for 1st Class Guests - Foto 12
1st Class Covent Garden Residences for 1st Class Guests - Foto 13
1st Class Covent Garden Residences for 1st Class Guests - Foto 14
1st Class Covent Garden Residences for 1st Class Guests - Foto 15
1st Class Covent Garden Residences for 1st Class Guests - Foto 16
1st Class Covent Garden Residences for 1st Class Guests - Foto 17
1st Class Covent Garden Residences for 1st Class Guests - Foto 18
1st Class Covent Garden Residences for 1st Class Guests - Foto 19
1st Class Covent Garden Residences for 1st Class Guests - Foto 20
1st Class Covent Garden Residences for 1st Class Guests - Foto 21
1st Class Covent Garden Residences for 1st Class Guests - Foto 22
1st Class Covent Garden Residences for 1st Class Guests - Foto 23
1st Class Covent Garden Residences for 1st Class Guests - Foto 24
1st Class Covent Garden Residences for 1st Class Guests - Foto 25
1st Class Covent Garden Residences for 1st Class Guests - Foto 26
1st Class Covent Garden Residences for 1st Class Guests - Foto 27
1st Class Covent Garden Residences for 1st Class Guests - Foto 28
1st Class Covent Garden Residences for 1st Class Guests - Foto 29
1st Class Covent Garden Residences for 1st Class Guests - Foto 30
1st Class Covent Garden Residences for 1st Class Guests - Foto 31
1st Class Covent Garden Residences for 1st Class Guests - Foto 32
1st Class Covent Garden Residences for 1st Class Guests - Foto 33
1st Class Covent Garden Residences for 1st Class Guests - Foto 34
1st Class Covent Garden Residences for 1st Class Guests - Foto 35
1st Class Covent Garden Residences for 1st Class Guests - Foto 36
1st Class Covent Garden Residences for 1st Class Guests - Foto 37
1st Class Covent Garden Residences for 1st Class Guests - Foto 38
1st Class Covent Garden Residences for 1st Class Guests - Foto 39
1st Class Covent Garden Residences for 1st Class Guests - Foto 40
1st Class Covent Garden Residences for 1st Class Guests - Foto 41
1st Class Covent Garden Residences for 1st Class Guests - Foto 42
1st Class Covent Garden Residences for 1st Class Guests - Foto 43
1st Class Covent Garden Residences for 1st Class Guests - Foto 44
1st Class Covent Garden Residences for 1st Class Guests - Foto 45
1st Class Covent Garden Residences for 1st Class Guests - Foto 46
1st Class Covent Garden Residences for 1st Class Guests - Foto 47
1st Class Covent Garden Residences for 1st Class Guests - Foto 48
1st Class Covent Garden Residences for 1st Class Guests - Foto 49
1st Class Covent Garden Residences for 1st Class Guests - Foto 50

1st Class Covent Garden Residences for 1st Class Guests

Londres - Charing - No centro

  • 190 M2
  • 3 quartos
  • 6 pessoas
9Excepcional | 55 avaliações
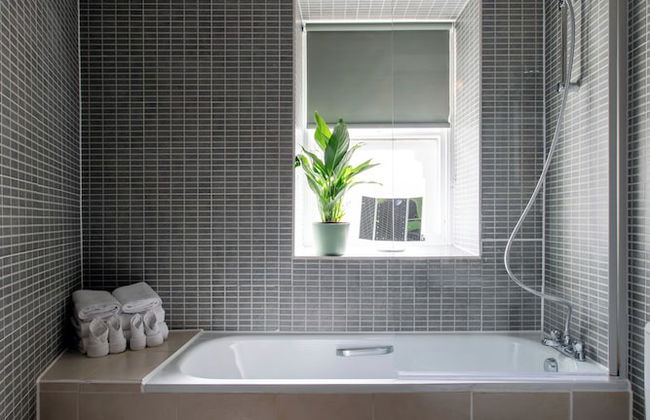
Apt 2, Trafalgar Square 2nd Floor by Indigo Flats - Foto 1
Apt 2, Trafalgar Square 2nd Floor by Indigo Flats - Foto 2
Apt 2, Trafalgar Square 2nd Floor by Indigo Flats - Foto 3
Apt 2, Trafalgar Square 2nd Floor by Indigo Flats - Foto 4
Apt 2, Trafalgar Square 2nd Floor by Indigo Flats - Foto 5
Apt 2, Trafalgar Square 2nd Floor by Indigo Flats - Foto 6
Apt 2, Trafalgar Square 2nd Floor by Indigo Flats - Foto 7
Apt 2, Trafalgar Square 2nd Floor by Indigo Flats - Foto 8
Apt 2, Trafalgar Square 2nd Floor by Indigo Flats - Foto 9
Apt 2, Trafalgar Square 2nd Floor by Indigo Flats - Foto 10
Apt 2, Trafalgar Square 2nd Floor by Indigo Flats - Foto 11
Apt 2, Trafalgar Square 2nd Floor by Indigo Flats - Foto 12
Apt 2, Trafalgar Square 2nd Floor by Indigo Flats - Foto 13

Apt 2, Trafalgar Square 2nd Floor by Indigo Flats

Londres - Charing - No centro

  • 45 M2
  • 1 quarto
  • 5 pessoas
  • Aquecimento
8.8Muito bom | 123 avaliações
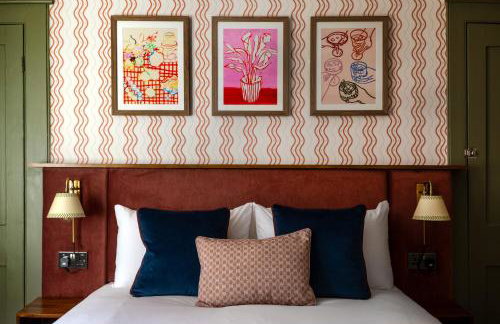
Citadines Trafalgar Square London - Foto 1
Citadines Trafalgar Square London - Foto 2
Citadines Trafalgar Square London - Foto 3
Citadines Trafalgar Square London - Foto 4
Citadines Trafalgar Square London - Foto 5
Citadines Trafalgar Square London - Foto 6
Citadines Trafalgar Square London - Foto 7
Citadines Trafalgar Square London - Foto 8
Citadines Trafalgar Square London - Foto 9
Citadines Trafalgar Square London - Foto 10
Citadines Trafalgar Square London - Foto 11
Citadines Trafalgar Square London - Foto 12
Citadines Trafalgar Square London - Foto 13
Citadines Trafalgar Square London - Foto 14
Citadines Trafalgar Square London - Foto 15
Citadines Trafalgar Square London - Foto 16
Citadines Trafalgar Square London - Foto 17

Citadines Trafalgar Square London

Londres - Charing - No centro

  • 70 M2
  • 2 quartos
  • 6 pessoas
  • Ar-condicionado
  • Aquecimento
  • Elevador
8.2Muito bom | 3817 avaliações
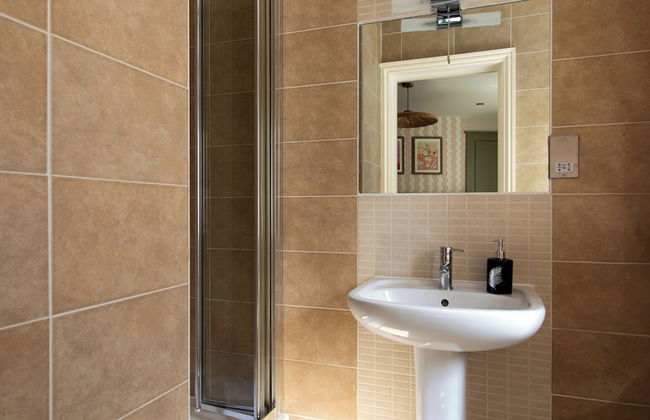
RoyalPark Apartments - Foto 1
RoyalPark Apartments - Foto 2
RoyalPark Apartments - Foto 3
RoyalPark Apartments - Foto 4
RoyalPark Apartments - Foto 5
RoyalPark Apartments - Foto 6
RoyalPark Apartments - Foto 7
RoyalPark Apartments - Foto 8
RoyalPark Apartments - Foto 9
RoyalPark Apartments - Foto 10
RoyalPark Apartments - Foto 11
RoyalPark Apartments - Foto 12
RoyalPark Apartments - Foto 13
RoyalPark Apartments - Foto 14
RoyalPark Apartments - Foto 15
RoyalPark Apartments - Foto 16
RoyalPark Apartments - Foto 17
RoyalPark Apartments - Foto 18
RoyalPark Apartments - Foto 19
RoyalPark Apartments - Foto 20
RoyalPark Apartments - Foto 21
RoyalPark Apartments - Foto 22
RoyalPark Apartments - Foto 23
RoyalPark Apartments - Foto 24

RoyalPark Apartments

Londres - Charing - No centro

  • 42 M2
  • 1 quarto
  • 3 pessoas
  • Aquecimento
8.7Muito bom | 34 avaliações
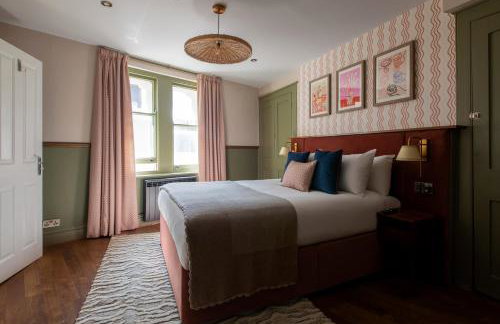
Leicester Square Apartment - Foto 1
Leicester Square Apartment - Foto 2
Leicester Square Apartment - Foto 3
Leicester Square Apartment - Foto 4
Leicester Square Apartment - Foto 5
Leicester Square Apartment - Foto 6
Leicester Square Apartment - Foto 7
Leicester Square Apartment - Foto 8
Leicester Square Apartment - Foto 9
Leicester Square Apartment - Foto 10
Leicester Square Apartment - Foto 11
Leicester Square Apartment - Foto 12
Leicester Square Apartment - Foto 13
Leicester Square Apartment - Foto 14
Leicester Square Apartment - Foto 15
Leicester Square Apartment - Foto 16
Leicester Square Apartment - Foto 17
Leicester Square Apartment - Foto 18
Leicester Square Apartment - Foto 19
Leicester Square Apartment - Foto 20
Leicester Square Apartment - Foto 21
Leicester Square Apartment - Foto 22

Leicester Square Apartment

Londres - Charing - No centro

  • 1 quarto
  • 4 pessoas
8.8Muito bom | 32 avaliações
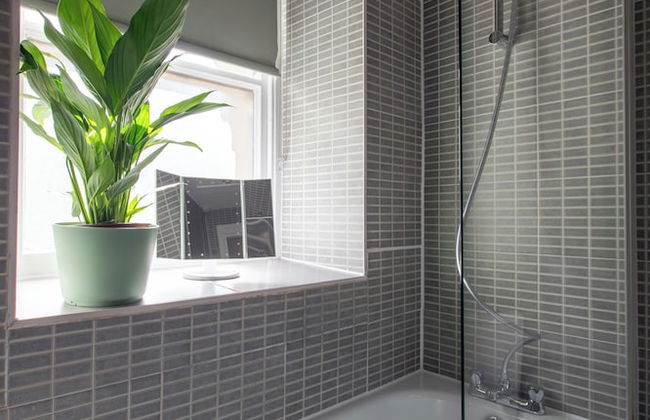
Destinos relacionados