
8 Apartamentos em Chester


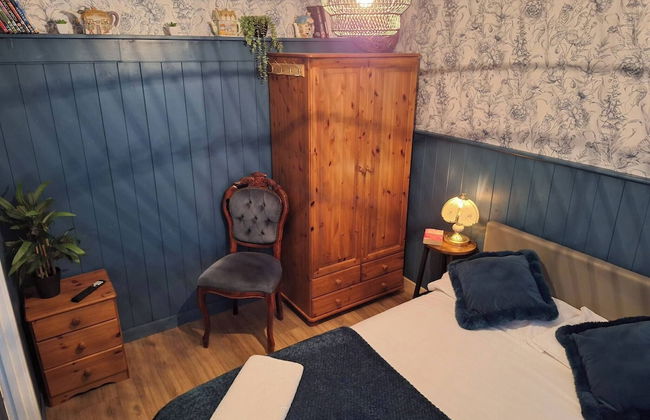
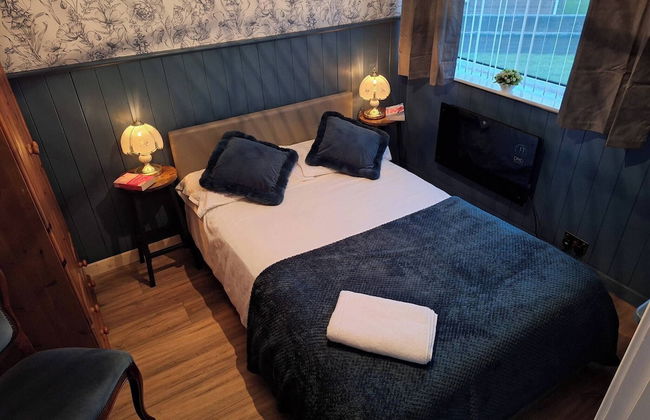
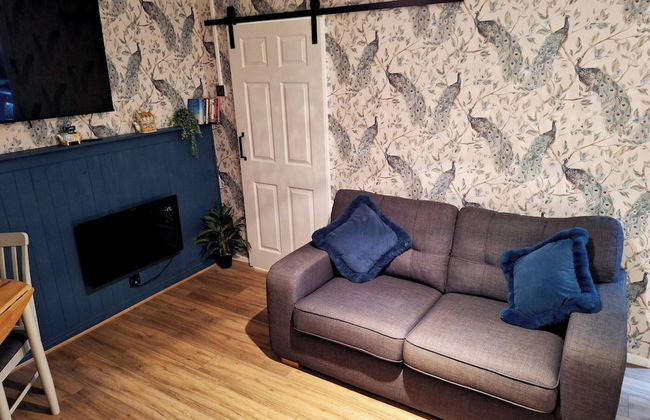
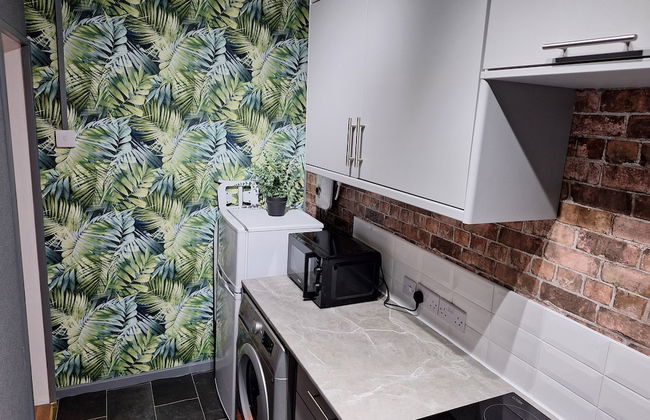
Birtley's Amethyst, 3 Bedroom Apt ,sleeps 6 Guest
Chester - Birtley
- 6 pessoas
- Aquecimento
- Terraço
- Estacionamento
- Jardim
- Tv
- Máquina de lavar roupa
- Toalhas
- Lençóis
1 avaliação


Birtley's Diamond 3 bed Apt, Sleeps 6 Guests
Chester - Birtley
- 75 M2
- 6 pessoas
- Aquecimento
- Terraço
- Estacionamento
- Tv
- Máquina de lavar roupa
- Toalhas
- Lençóis


Ouston Oasis, Beamish
Chester - Ouston
- 50 M2
- 4 pessoas
- Aquecimento
- Estacionamento
- Tv
- Máquina de lavar roupa
- Lençóis


Grange Villa Amethyst 3 Bed House
Chester - Grange
- 75 M2
- 6 pessoas
- Aquecimento
- Estacionamento
- Tv
- Máquina de lavar roupa
- Toalhas
- Lençóis


Grange Villas Diamond ,nr Chester le Street ,3 Bed
Chester - Grange
- 6 pessoas
- Aquecimento
- Estacionamento
- Tv
- Máquina de lavar roupa
- Toalhas
- Lençóis


