
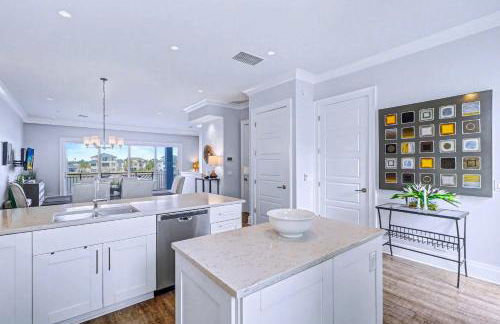
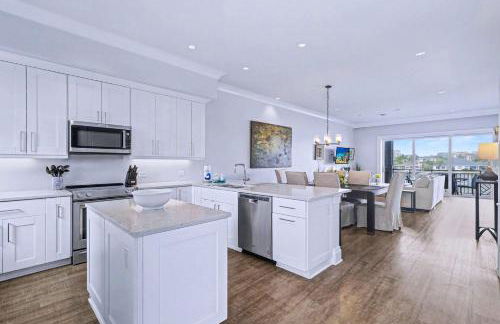
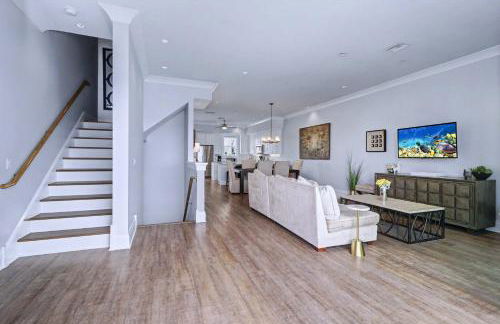
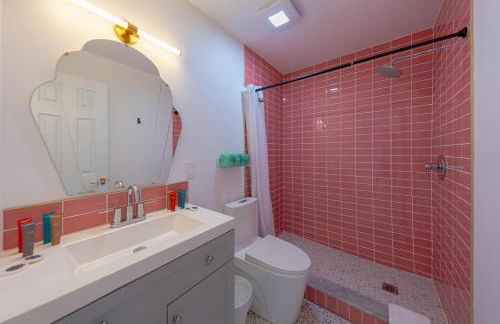
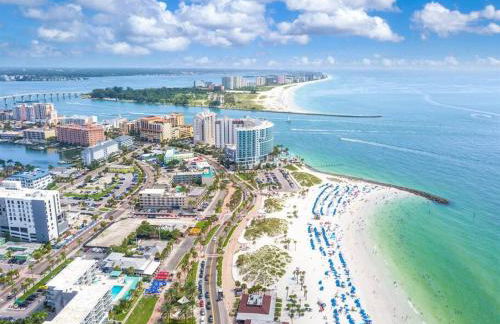
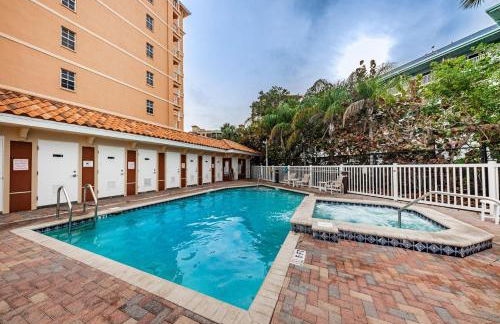
290 Apartamentos em Clearwater Beach


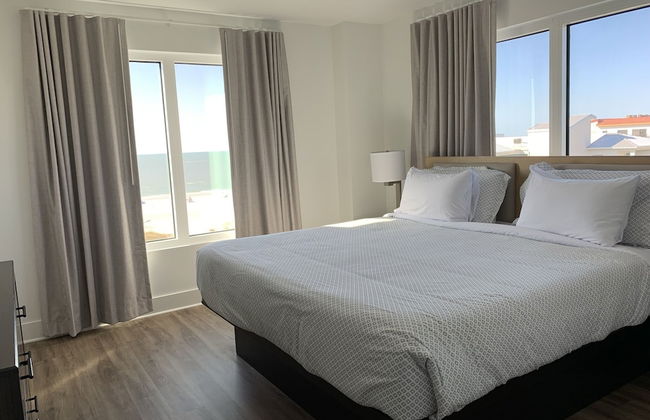


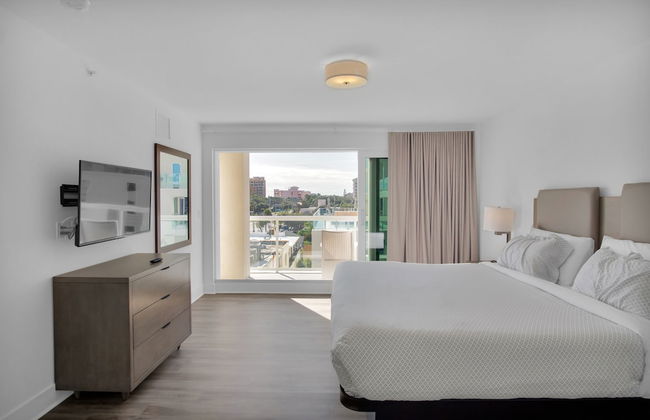


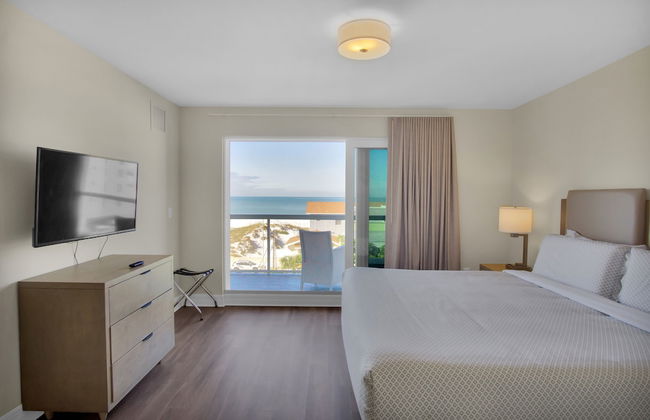


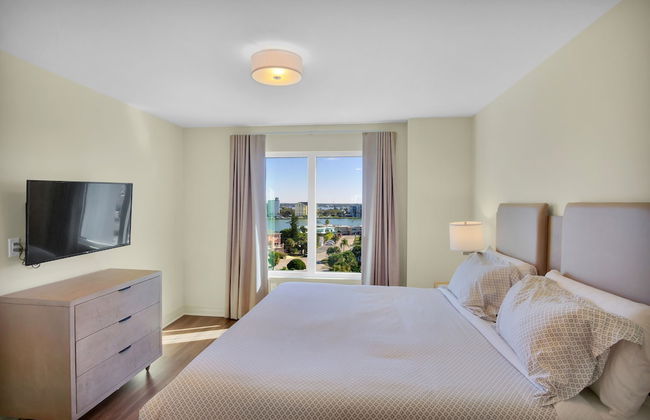


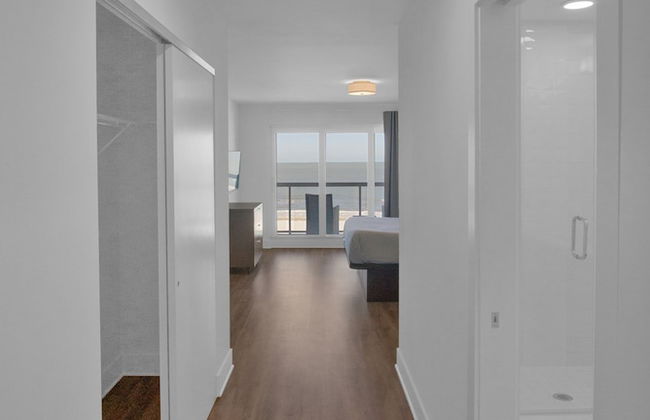
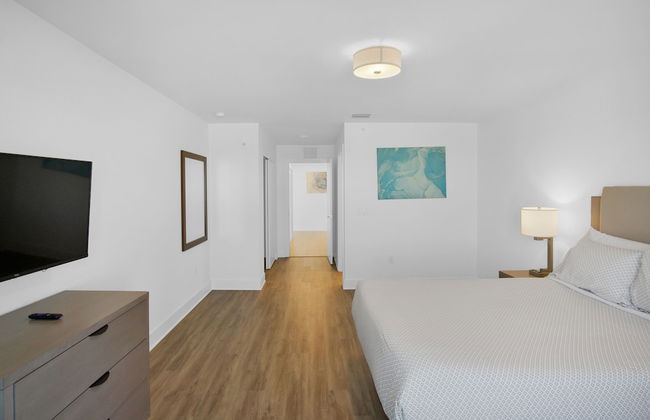

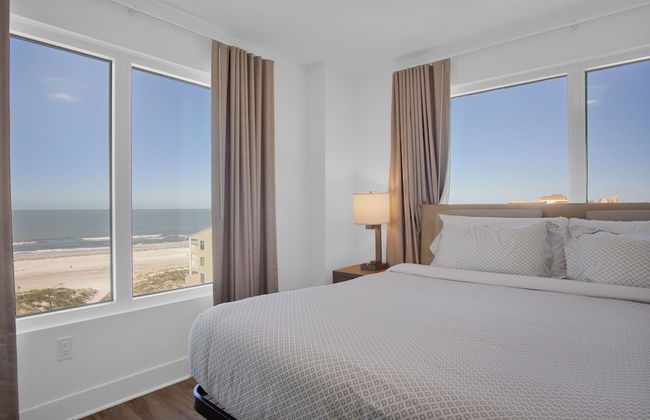
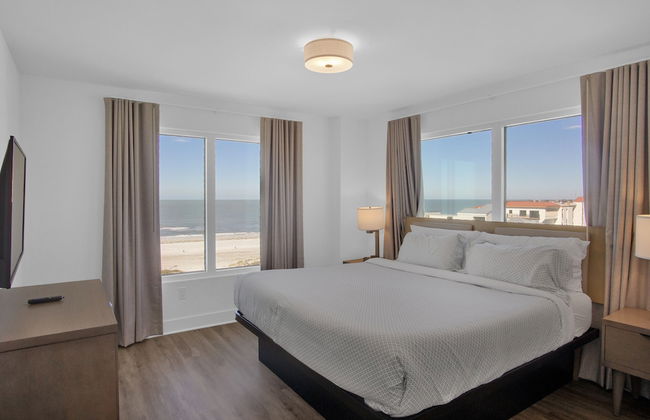


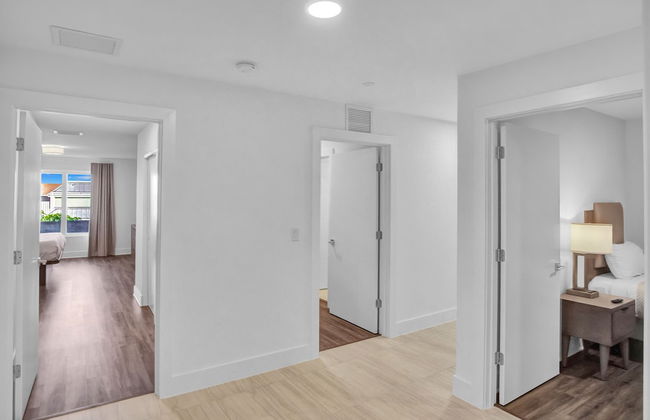


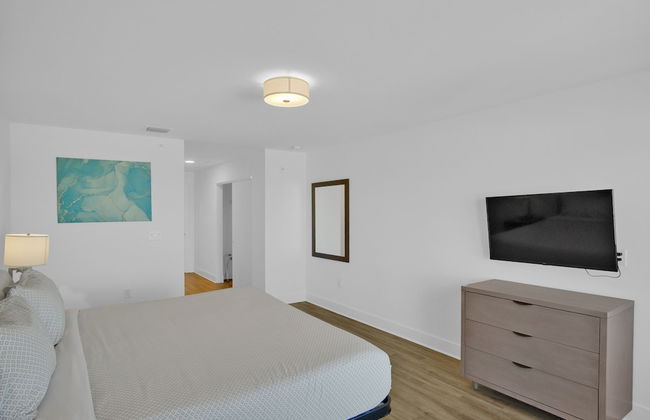
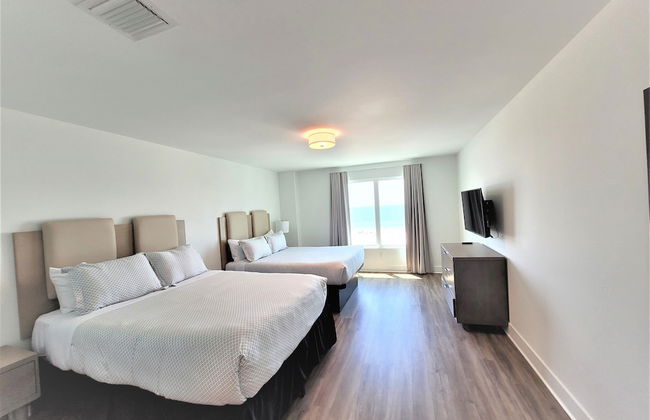


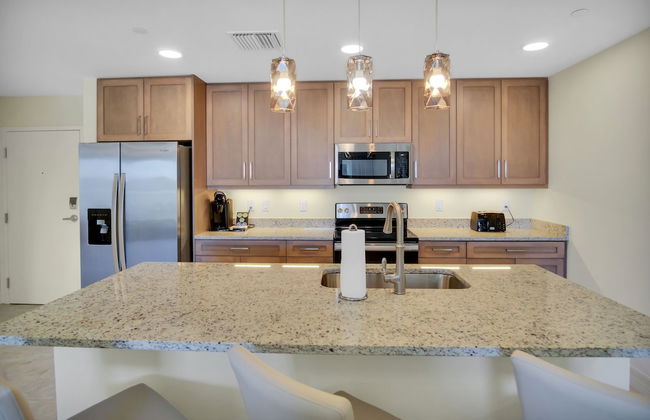


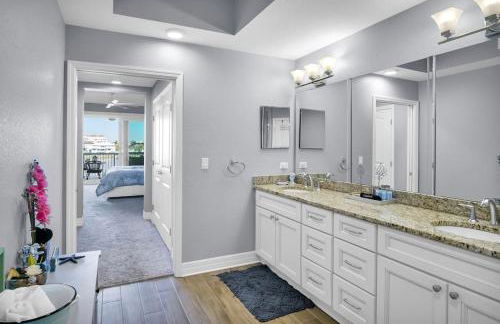
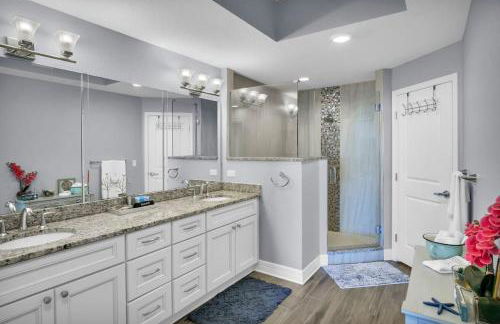
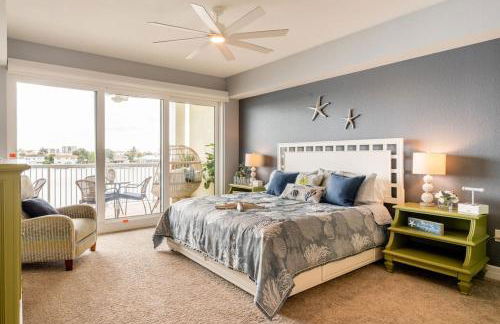
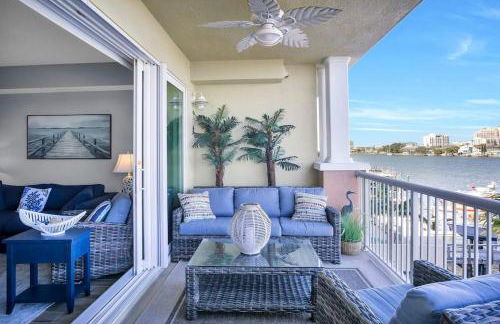
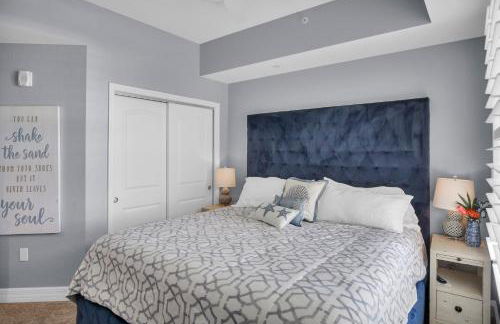
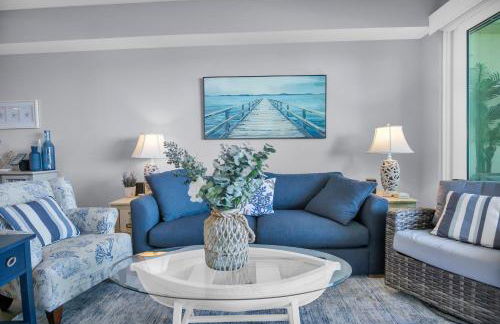
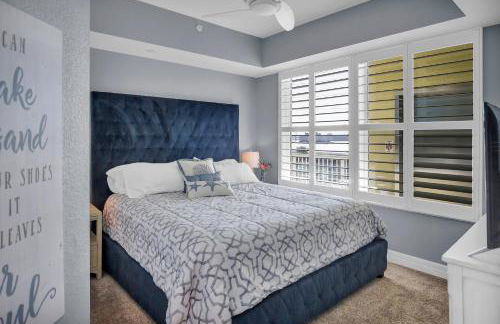
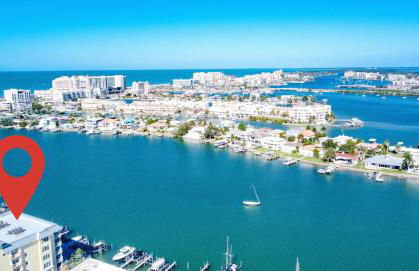
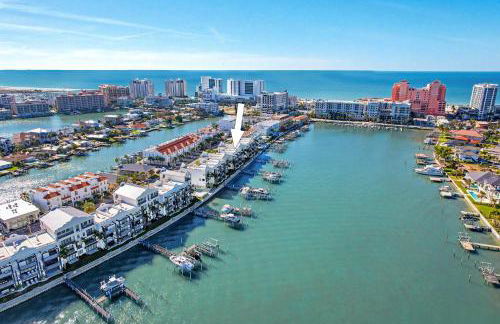
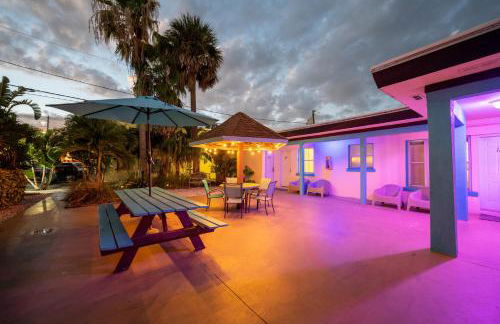
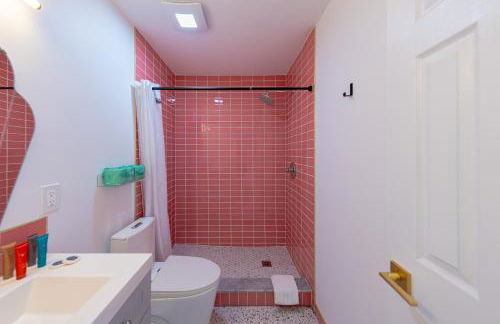
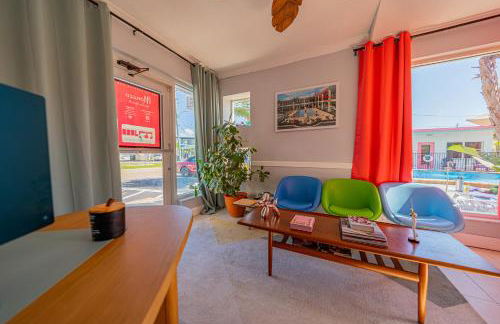
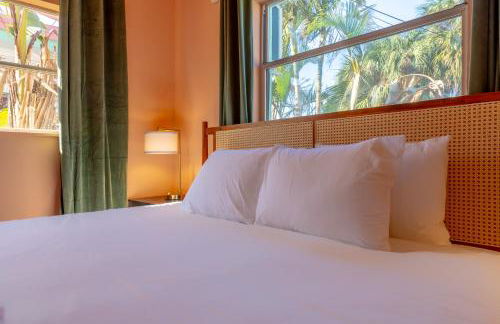
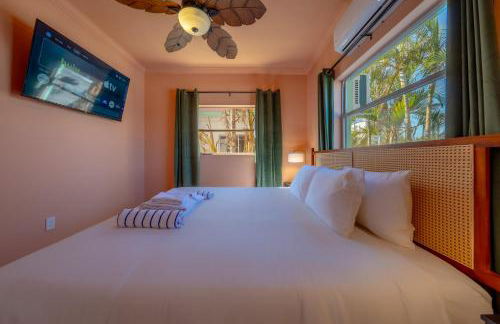
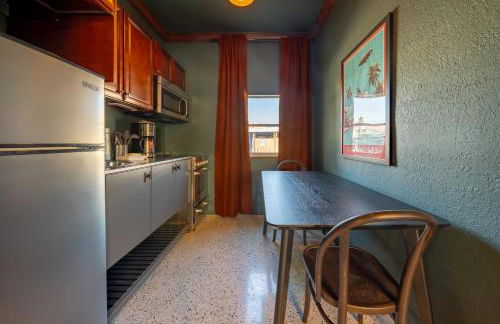
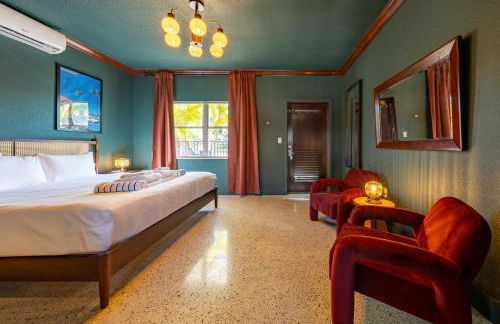
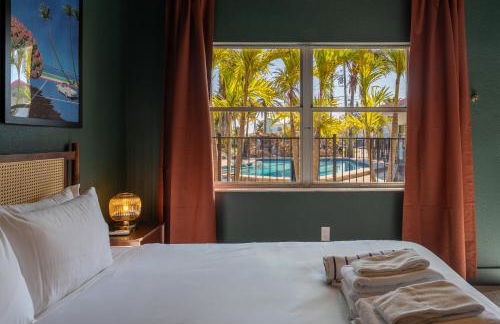
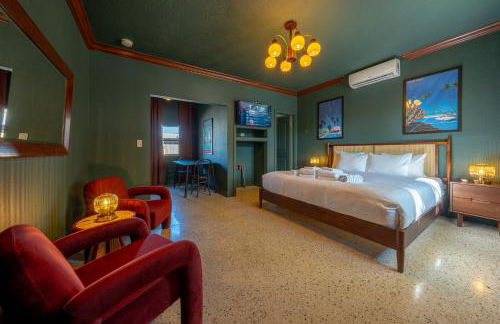
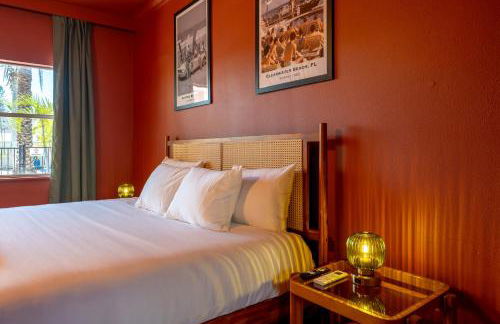
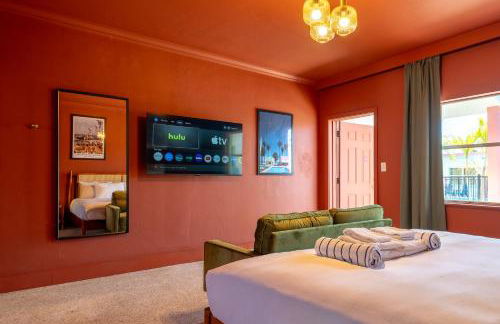
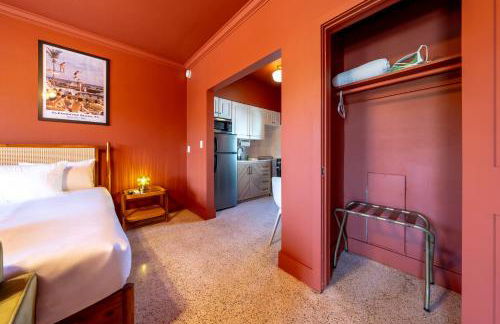
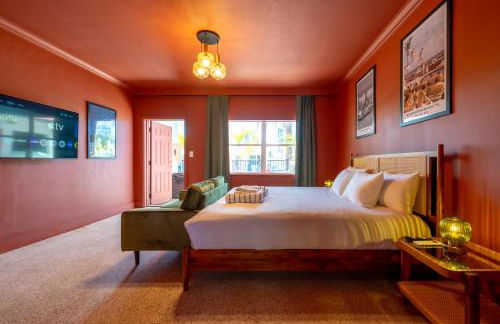
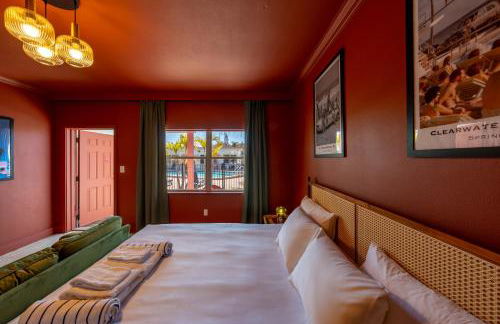
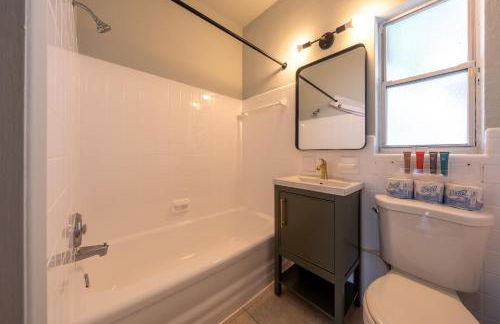
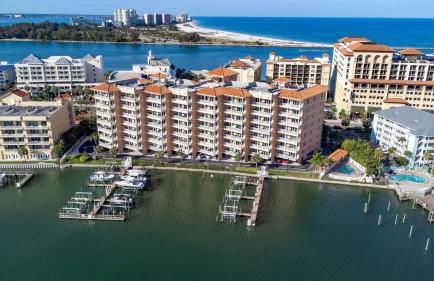
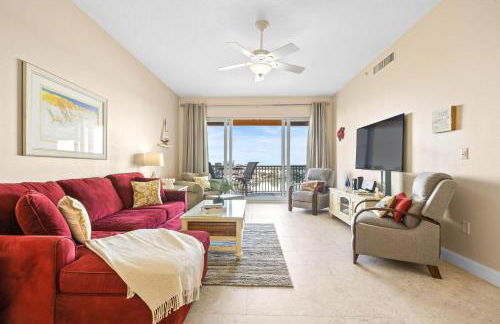
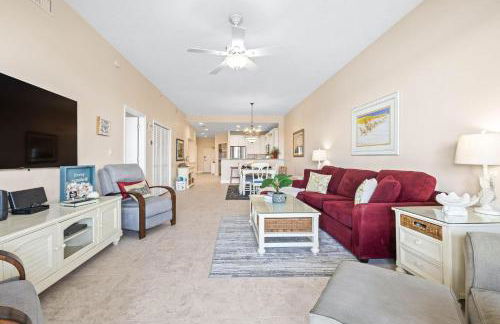
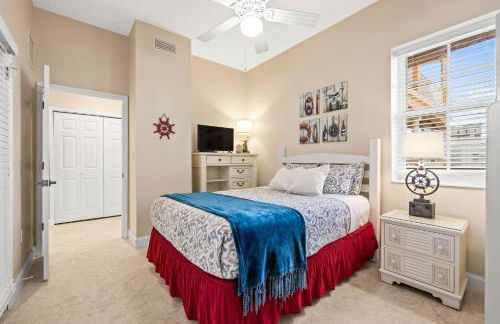
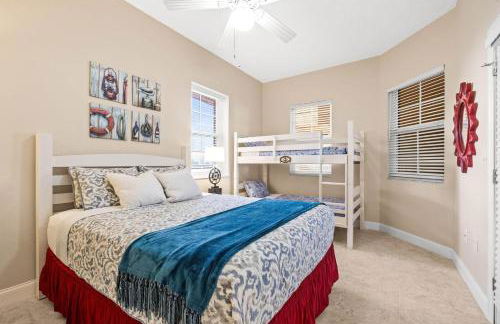
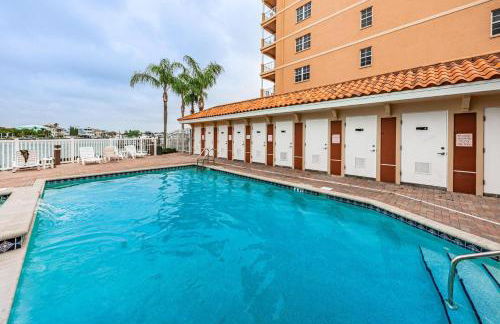
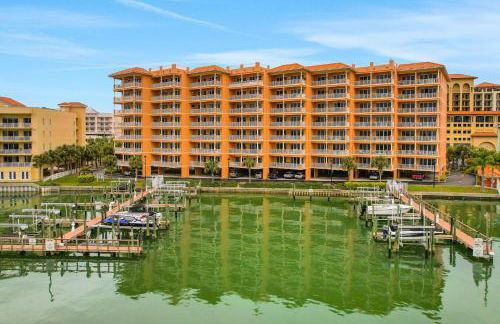
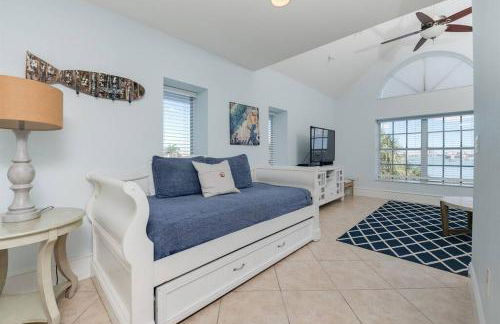
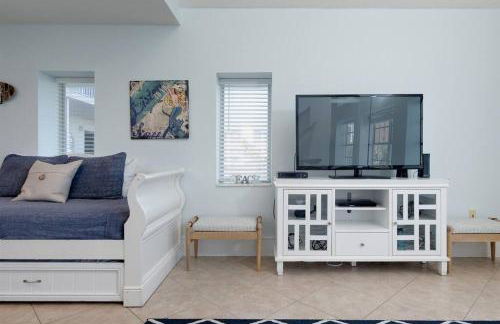
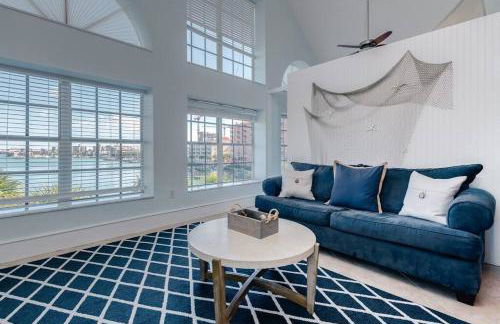
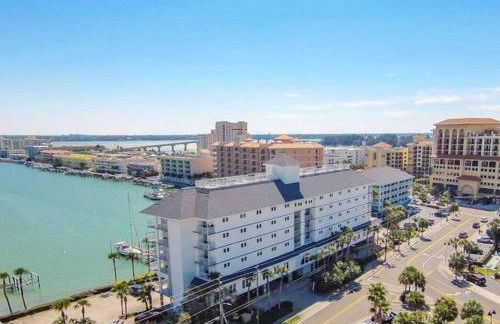
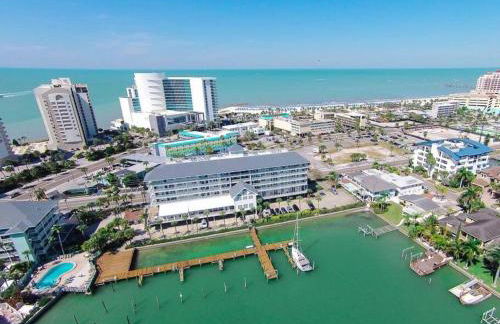
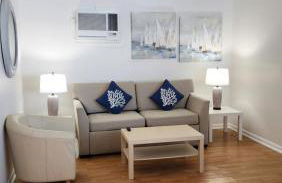
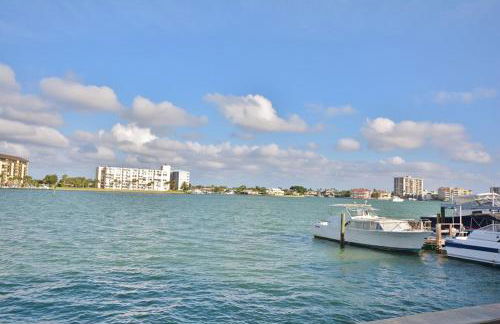
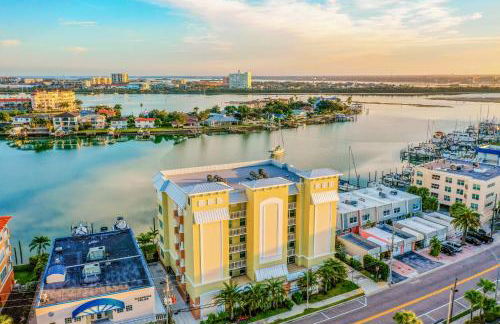
The Avalon Club
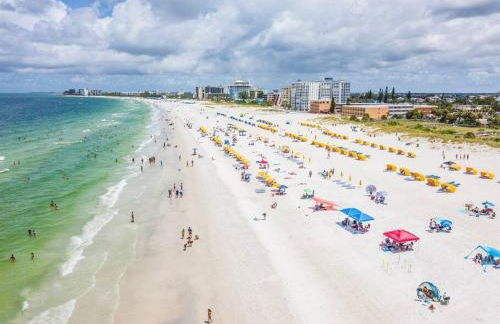
Clearwater Beach
- 196 M2
- 10 pessoas
- Ar-condicionado
- Aquecimento
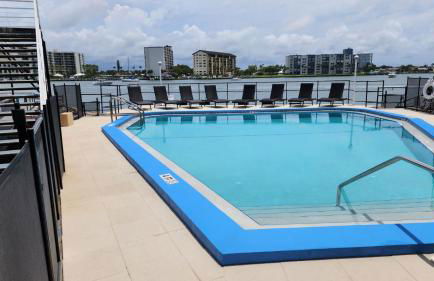
- Piscina
- Estacionamento
- Elevador
- Varanda
- Tv
- Toalhas
- Lençóis
402 avaliações


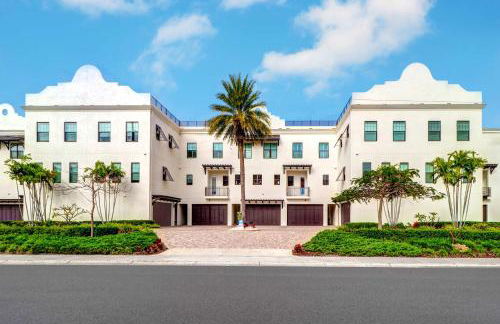
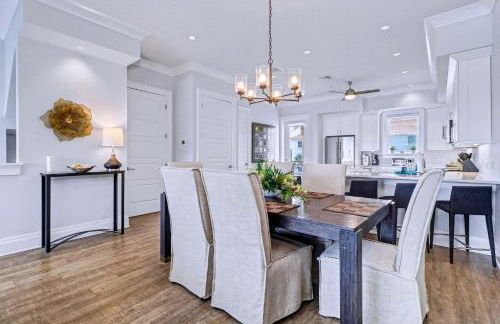
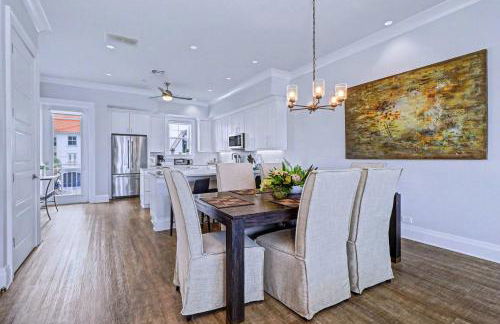
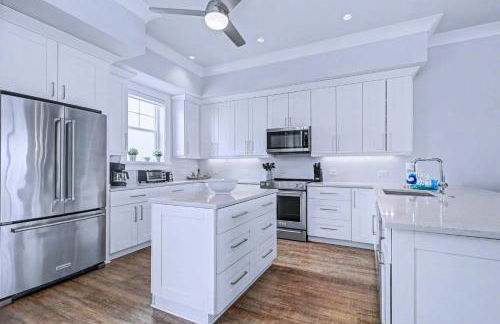
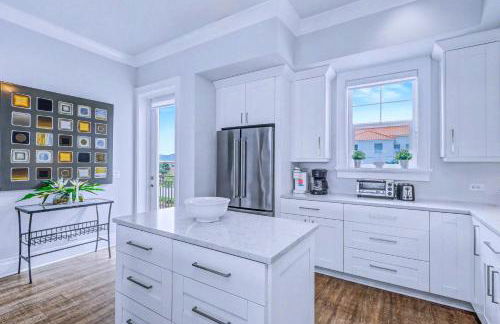
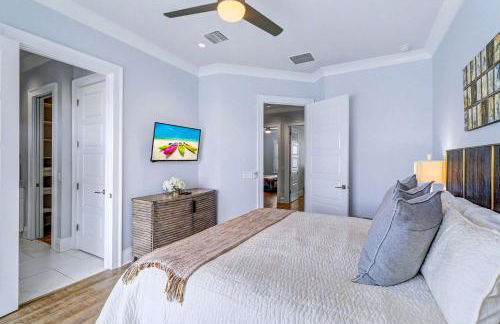
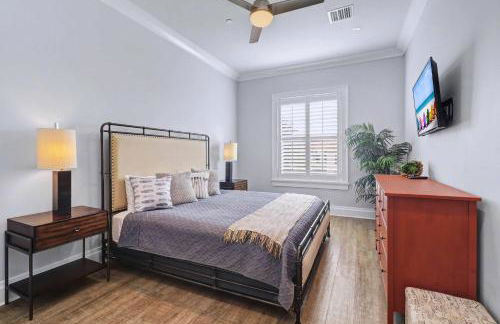
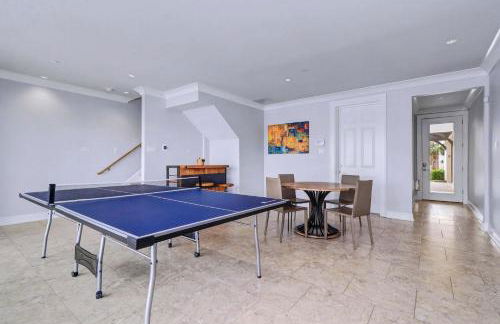
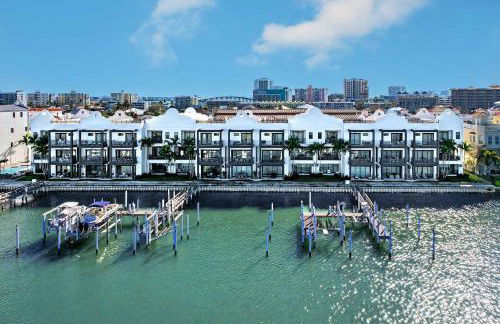
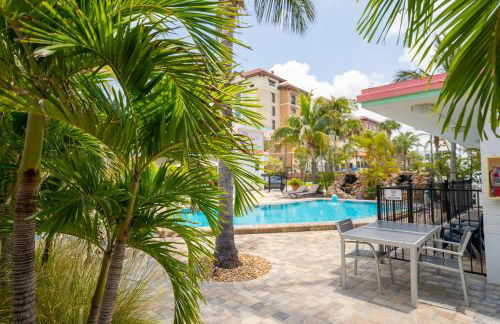
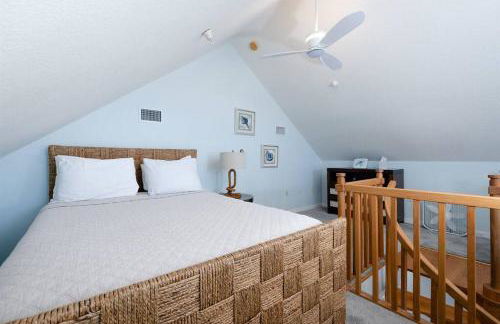
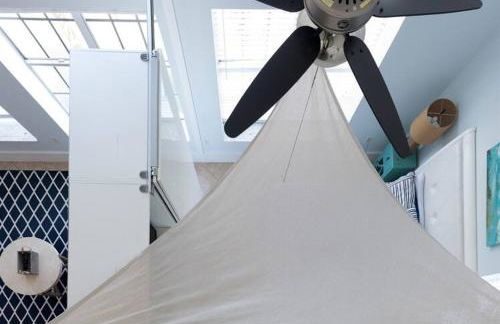
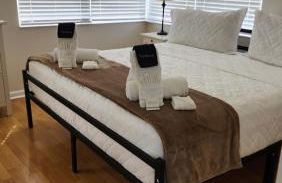
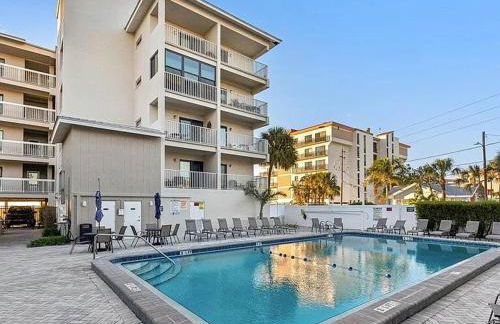
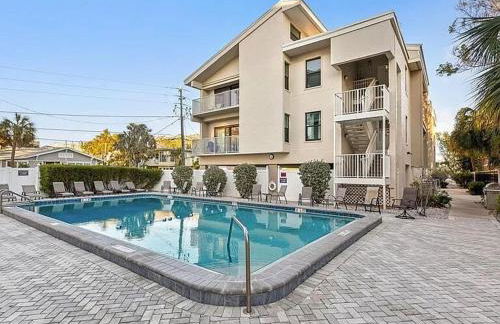
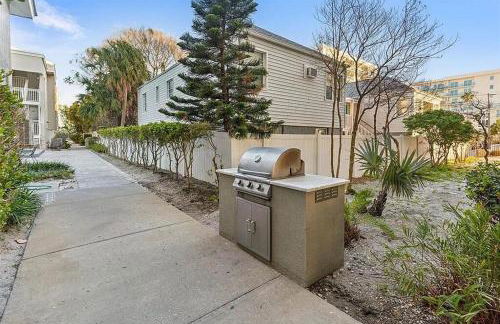
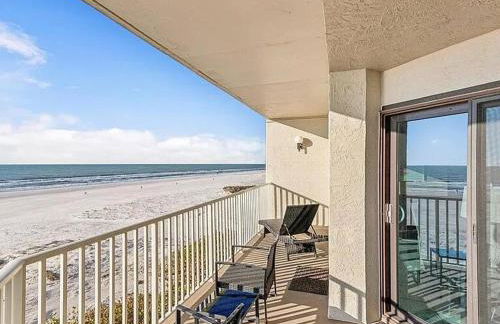
The Akoya & Pearl Houses at the Gemma - 2 Homes with Private Pools Just Steps to Clearwater Beach
Clearwater Beach
- 303 M2
- 12 quartos
- 16 pessoas
- Ar-condicionado
- Aquecimento
- Terraço
- Piscina
- Estacionamento
- Elevador
- Varanda
- Jardim
- Tv
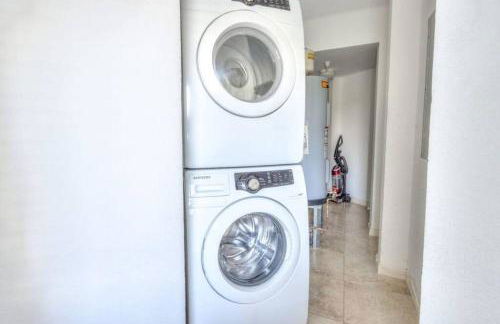
- Máquina de lavar roupa
- Churrasco
- Toalhas
- Lençóis
2 avaliações


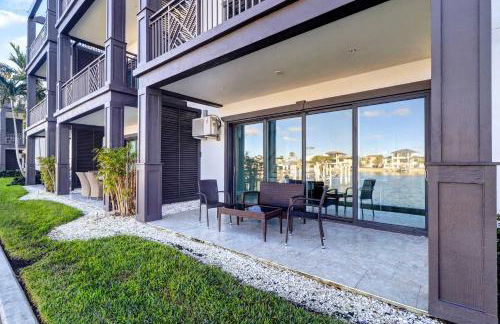
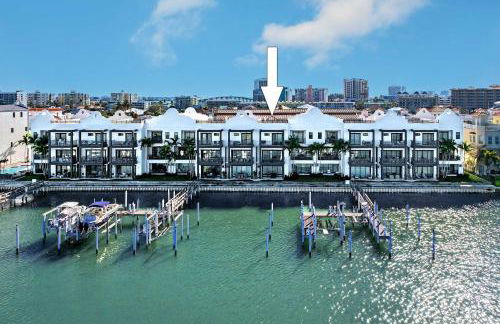
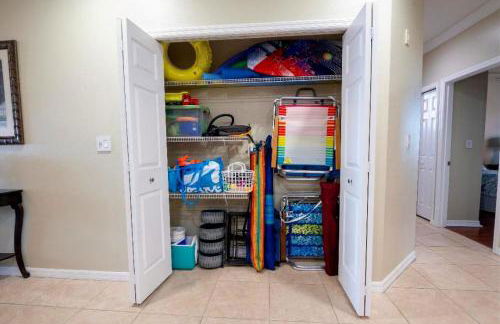
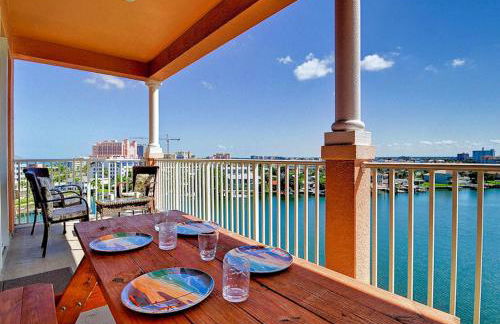
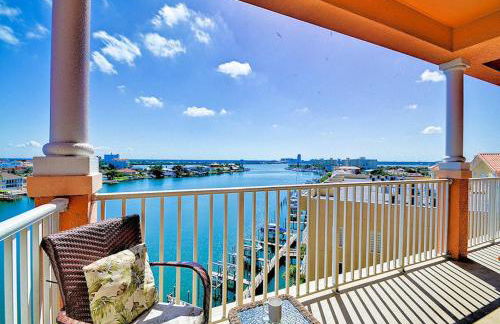
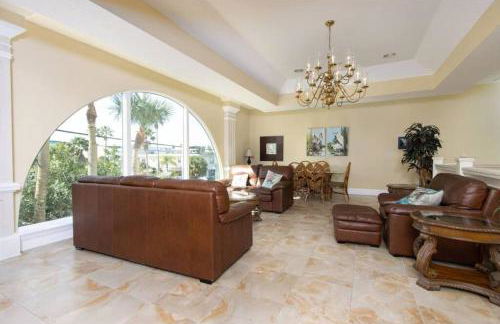
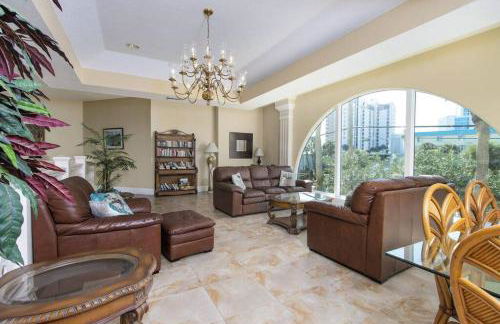
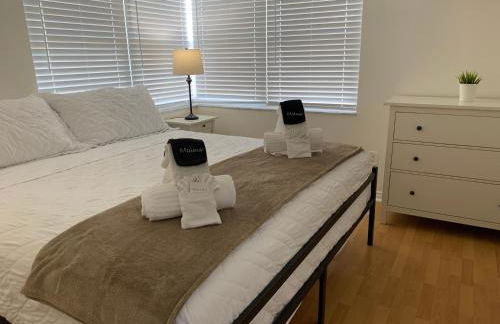
Clearwater Penthouse 5 min Beach walk Heated Pool
Clearwater Beach
- 279 M2
- 4 quartos
- 7 pessoas
- Ar-condicionado
- Terraço
- Piscina
- Estacionamento
- Elevador
- Jardim
- Churrasco
12 avaliações


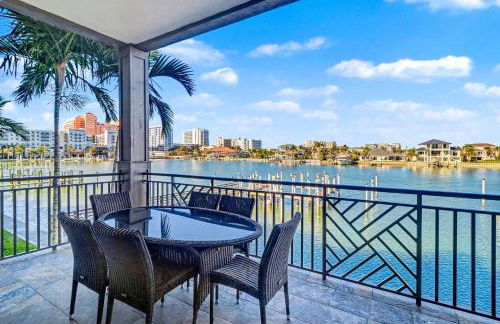
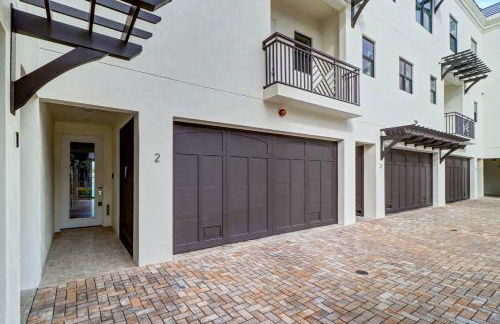
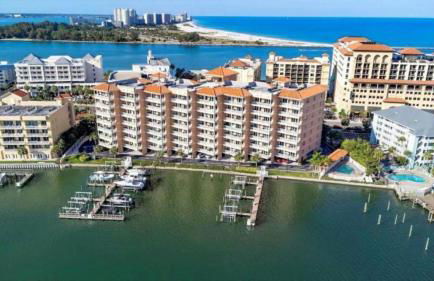
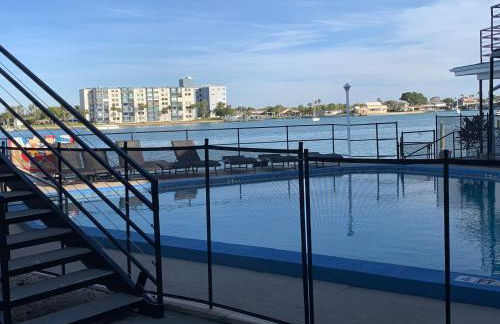
Waterfront -3BR - 2Kings -Pool Balcony - Beach
Clearwater Beach
- 153 M2
- 3 quartos
- 7 pessoas
- Ar-condicionado
- Aquecimento
- Terraço
- Piscina
- Estacionamento
- Elevador
- Jardim
- Churrasco
6 avaliações


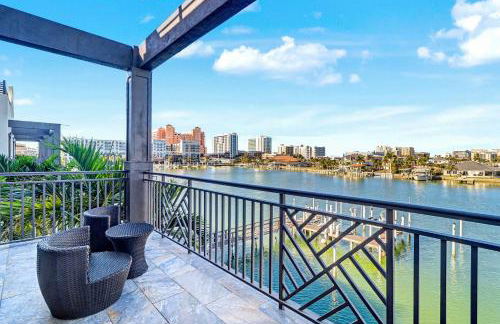
Luxury and Spacious Waterside Getaway
Clearwater Beach
- 214 M2
- 4 quartos
- 13 pessoas
- Ar-condicionado
- Terraço
- Piscina
- Estacionamento
- Elevador
12 avaliações


BrightWater Blue 158-2
Clearwater Beach
- 120 M2
- 3 quartos
- 6 pessoas
- Ar-condicionado
- Piscina
- Estacionamento
- Jardim
12 avaliações


Sea Turtle Suite Condo with Clearwater Beach Views
Clearwater Beach
- 65 M2
- 1 quarto
- 4 pessoas
- Piscina
- Estacionamento
11 avaliações


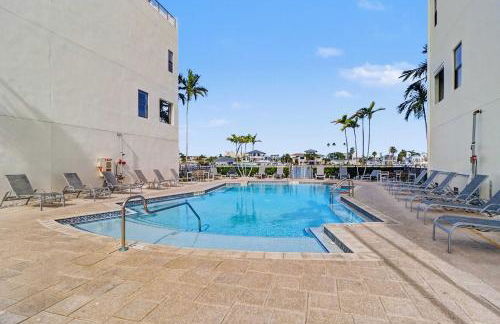
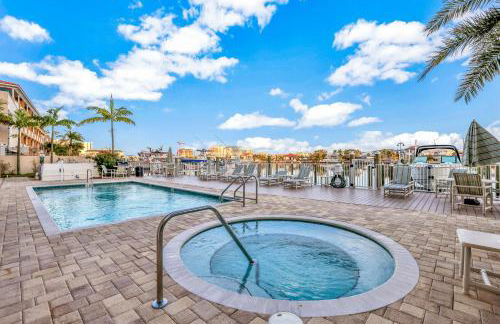
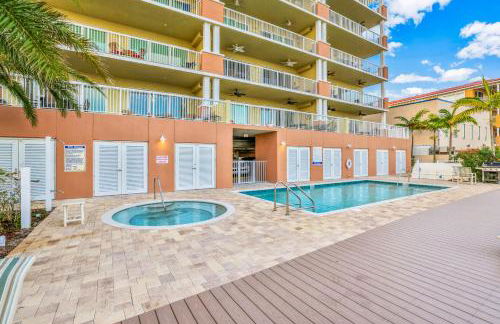
Luxury 5 Star Waterfront Condo 3 Bdr 2 Bath Pool Hot-Tub Panoramic Gulf and Intracoastal Waterway Views
Clearwater Beach
- 172 M2
- 3 quartos
- 8 pessoas
- Ar-condicionado
- Aquecimento
- Terraço
- Piscina
- Estacionamento
- Elevador
- Jardim
5 avaliações
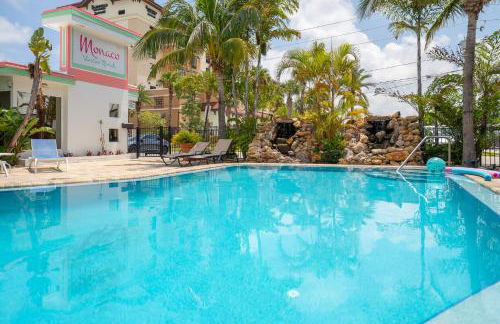
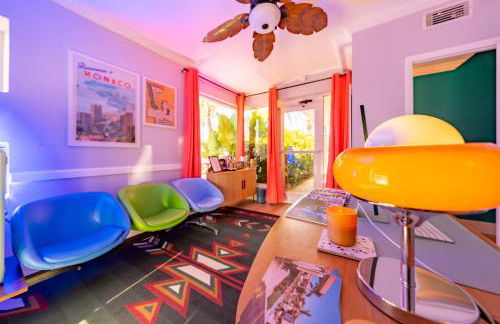
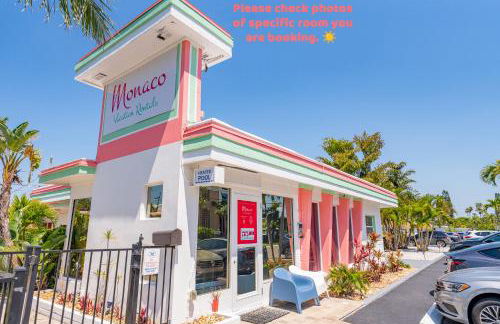
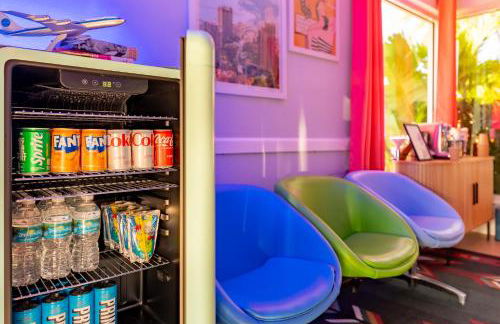
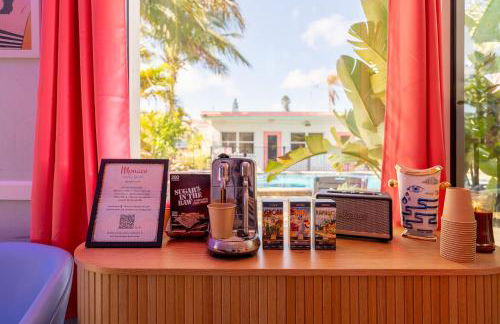
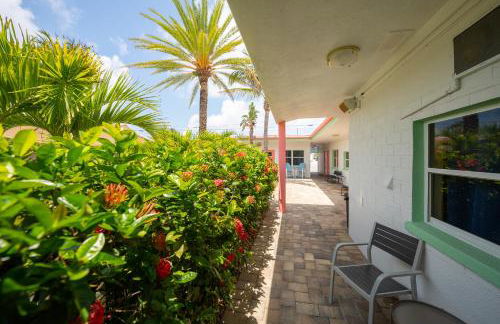
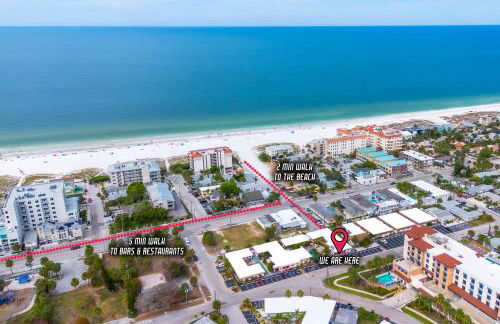
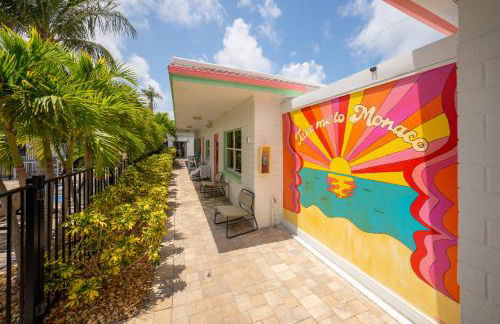
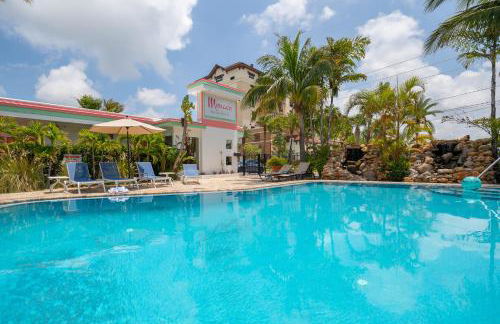
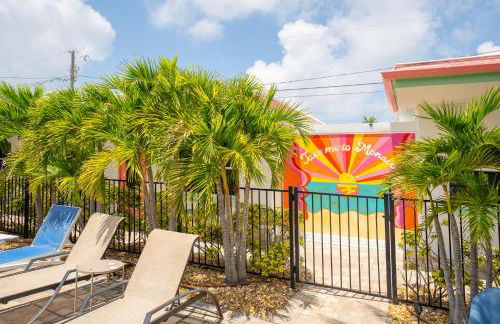
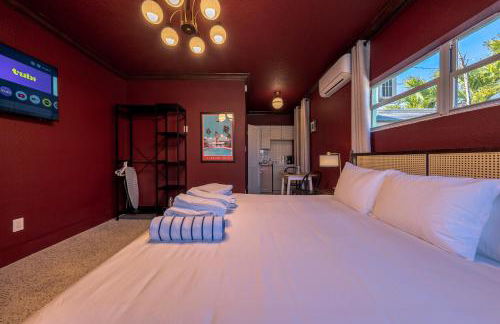
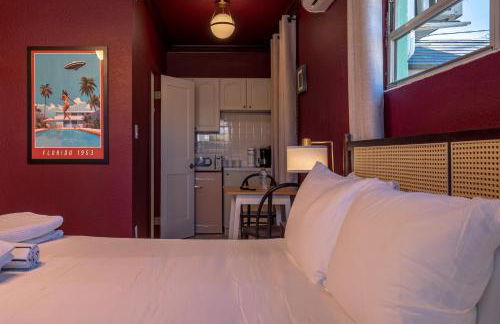


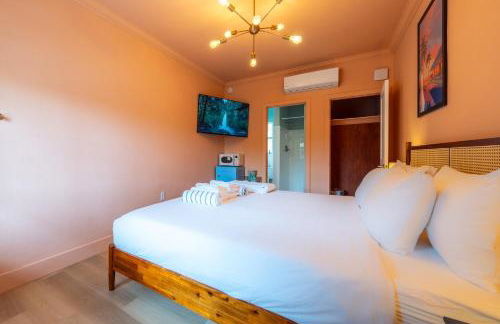
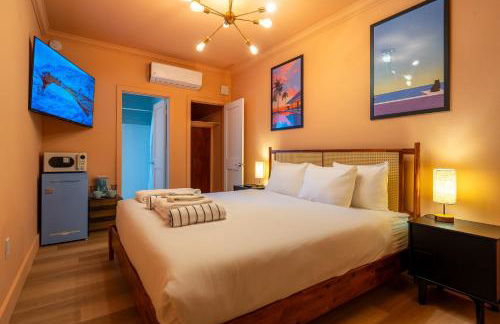
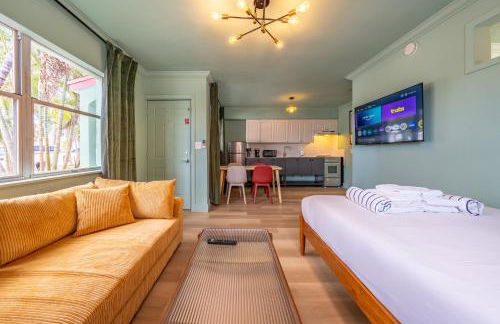
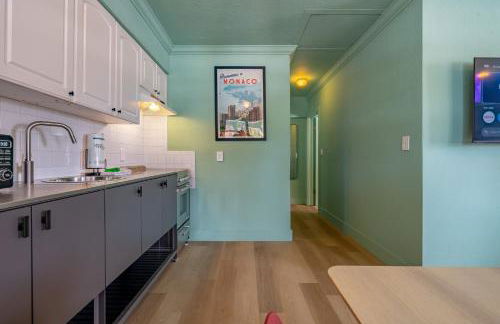
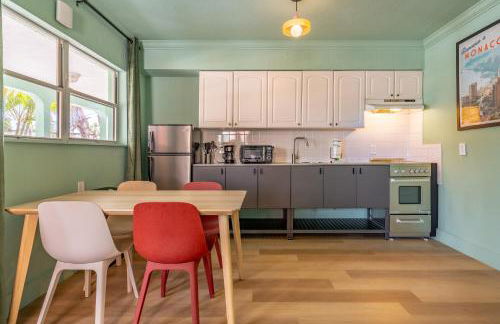
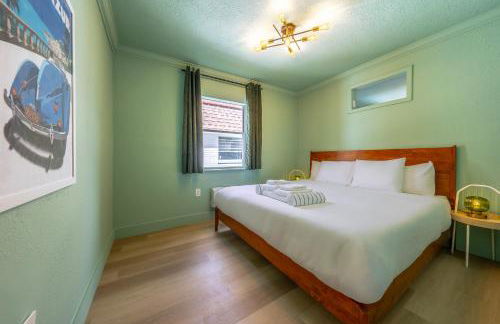
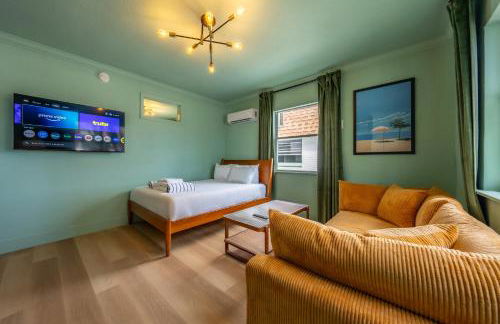
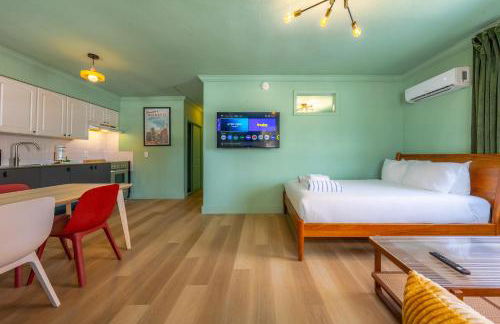


Monaco Vacation Rentals
Clearwater Beach
- 63 M2
- 2 quartos
- Ar-condicionado
- Terraço
- Piscina
- Estacionamento
- Jardim
299 avaliações


Coastal Condo Amazing Location! 50 Steps to the Beach
Clearwater Beach
- 98 M2
- 2 quartos
- 6 pessoas
- Ar-condicionado
- Piscina
- Estacionamento
18 avaliações


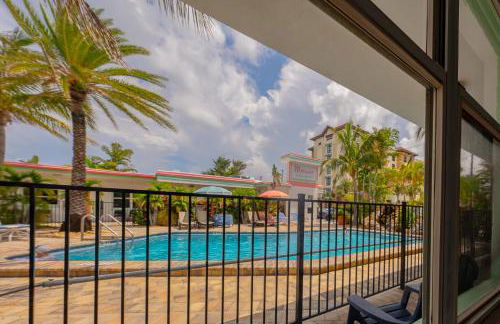
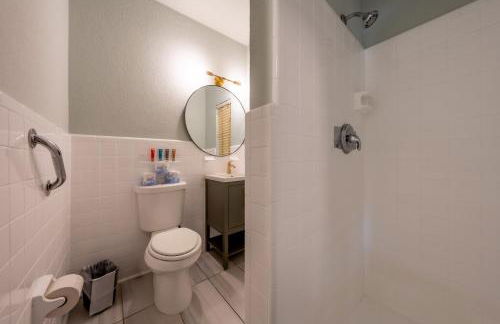
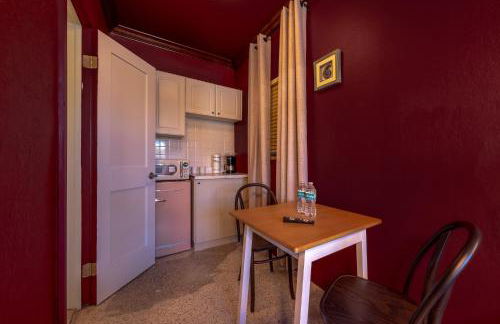
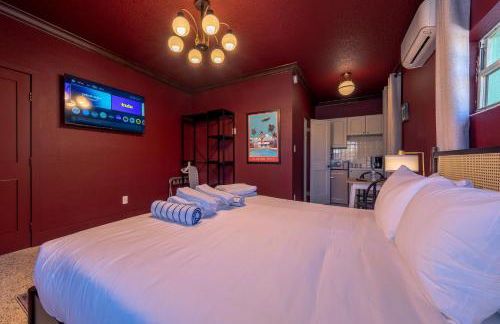
Mandaly Bay Efficiency Comfort
Clearwater Beach - Coral Resort
- 28 M2
- 1 quarto
- Ar-condicionado
- Aquecimento
- Piscina
- Estacionamento
- Jardim
15 avaliações


Waterfront Breeze Condo
Clearwater Beach
- 167 M2
- 3 quartos
- 10 pessoas
- Aquecimento
- Terraço
- Piscina
- Estacionamento
- Elevador
2 avaliações
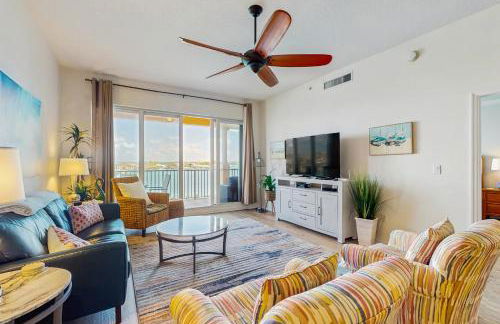
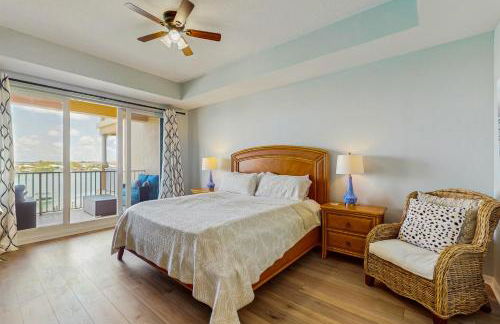
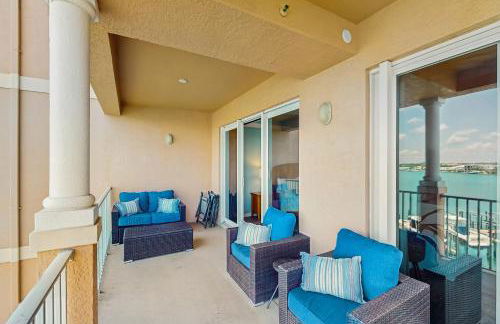
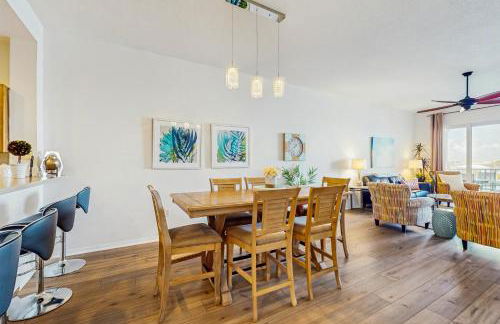


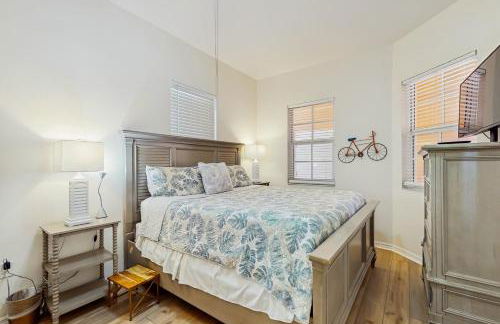
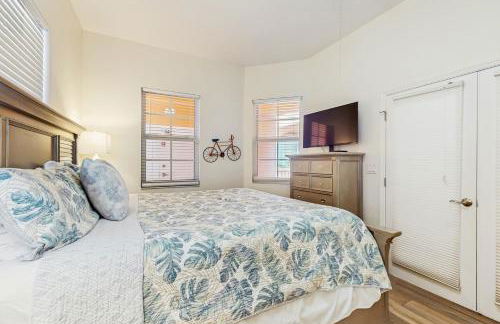
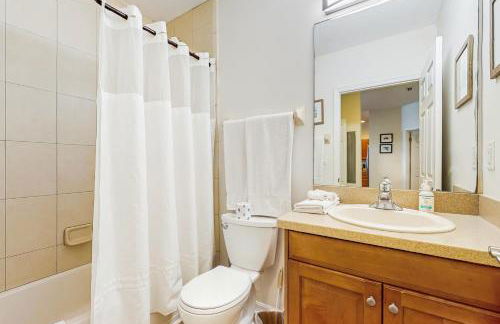

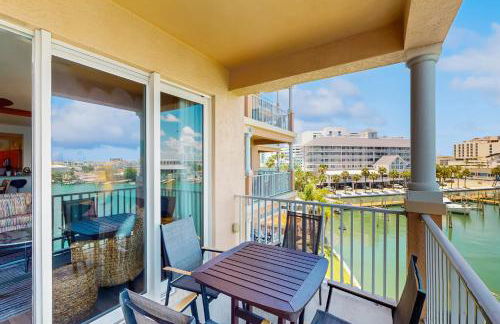
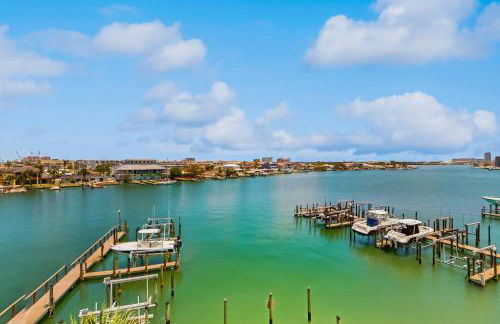
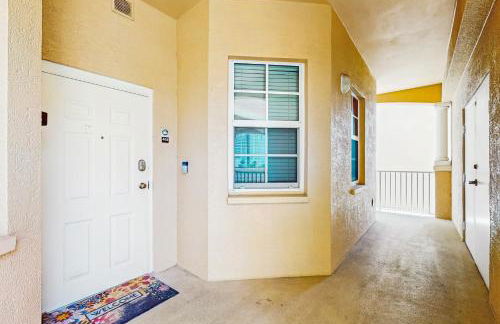

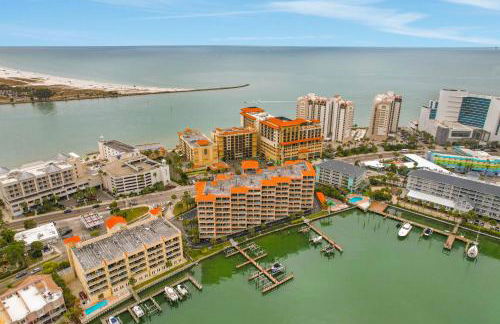
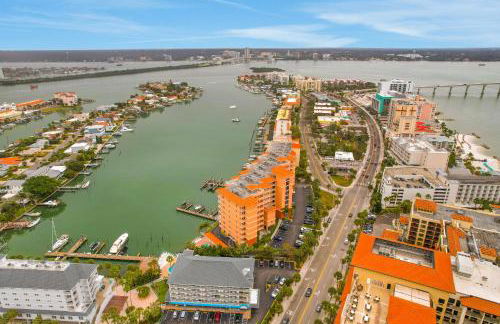
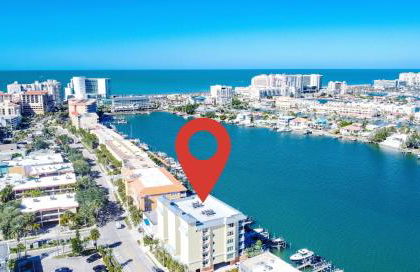
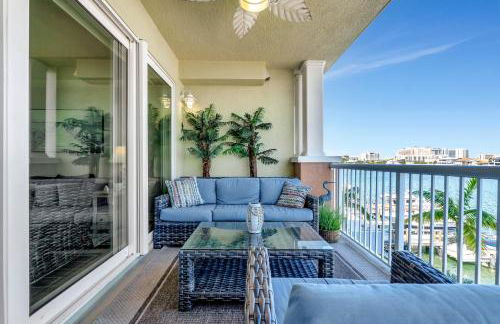
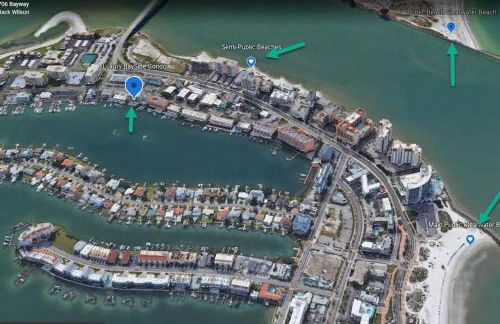
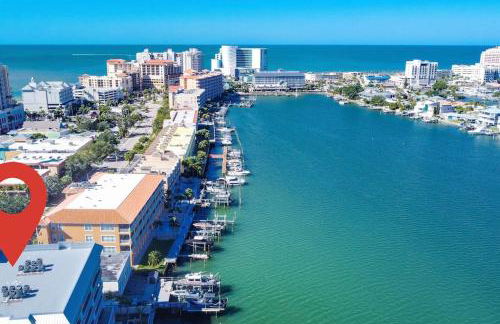
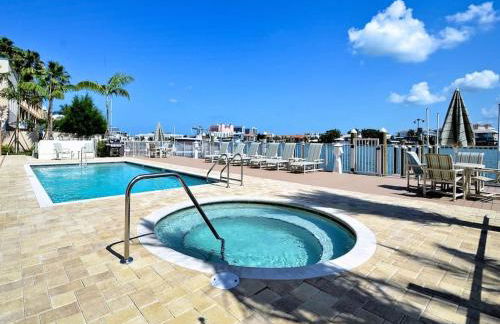
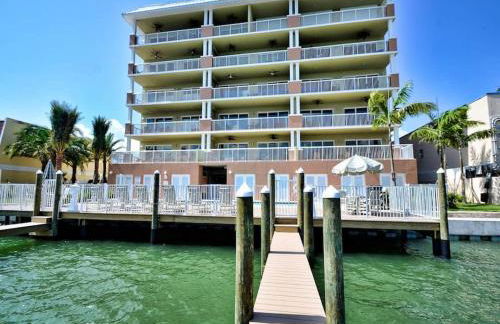
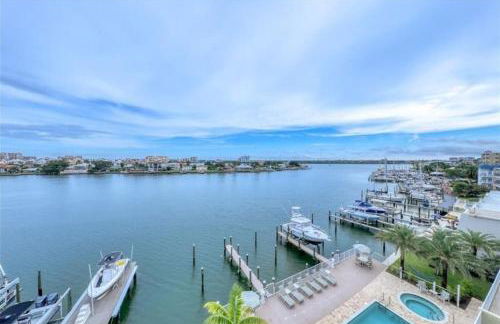
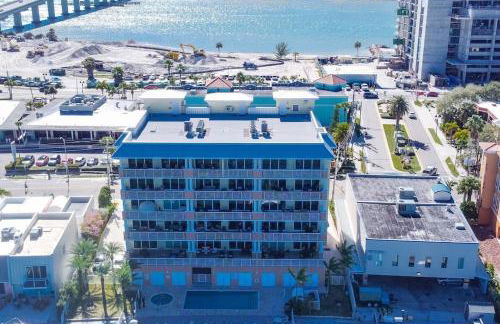
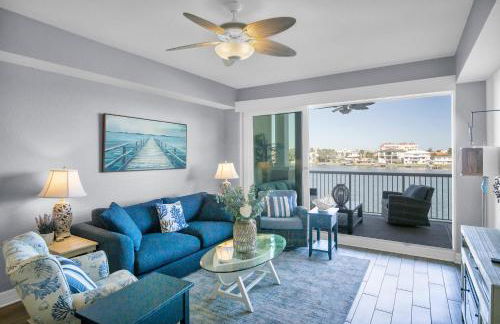
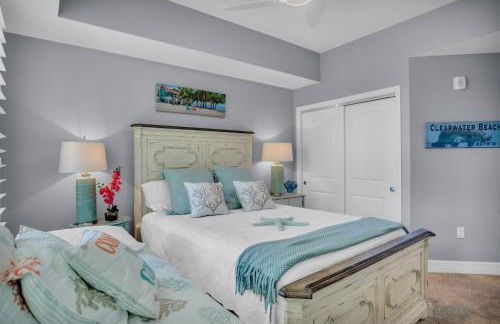
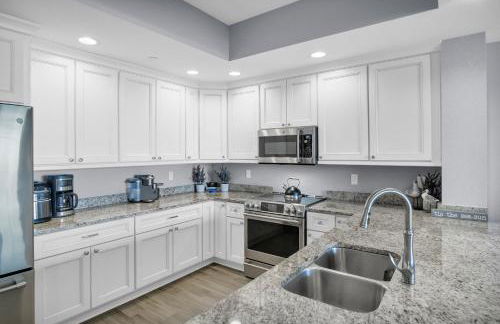
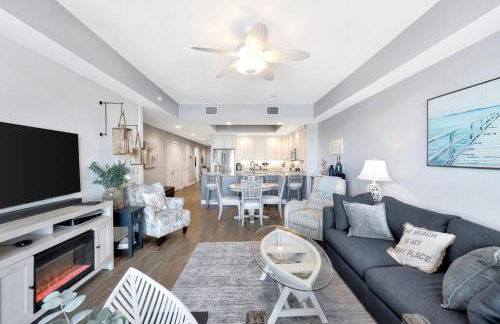
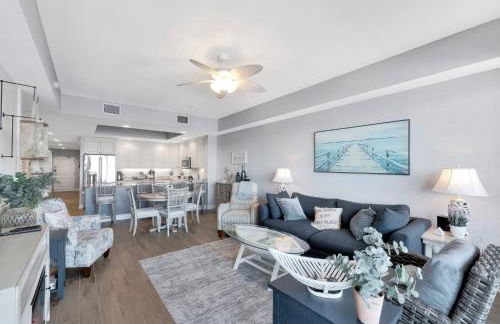
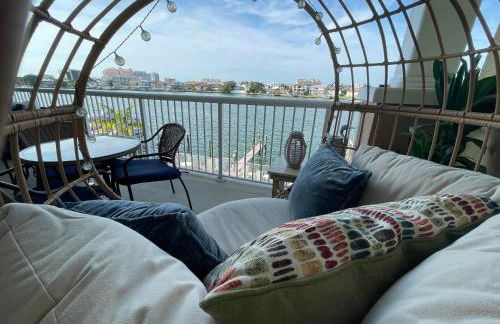
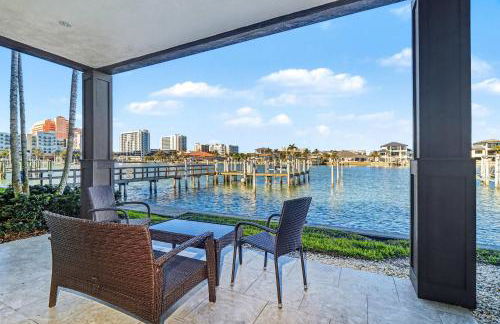
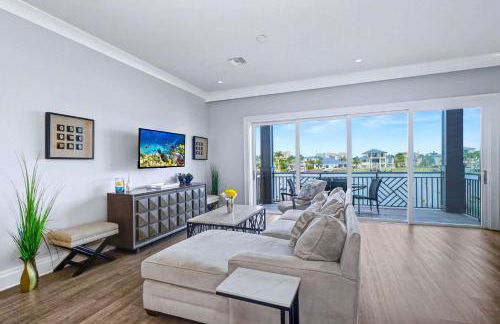
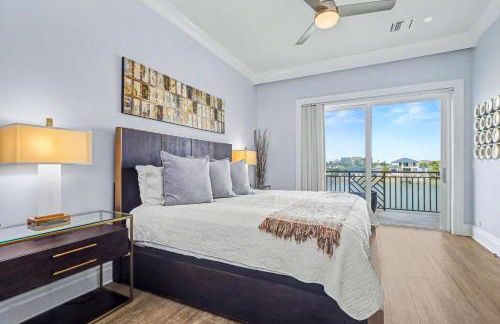
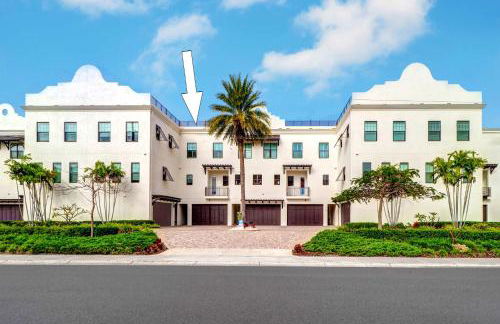
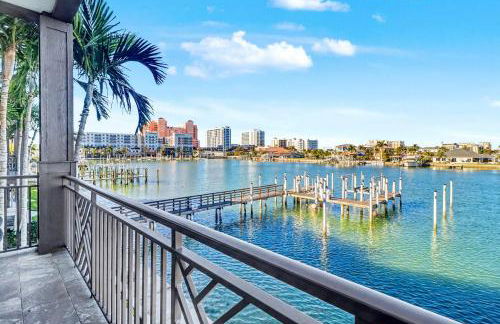
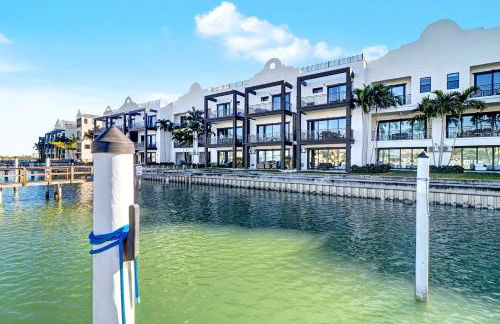
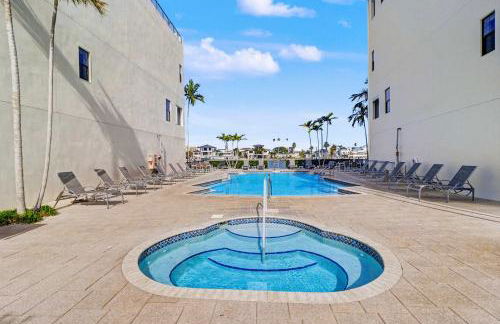
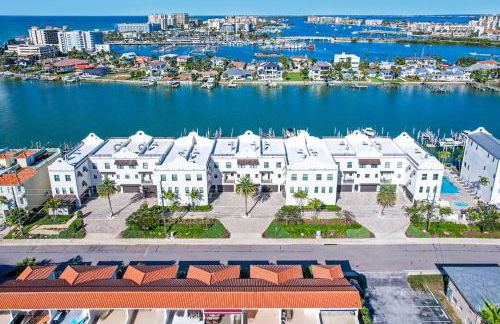
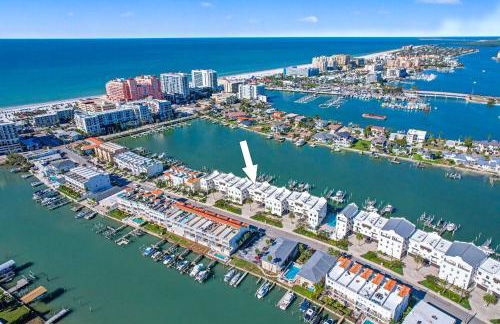
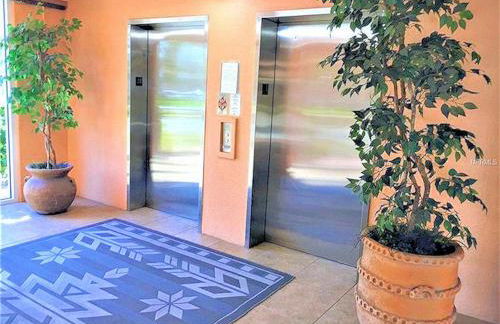
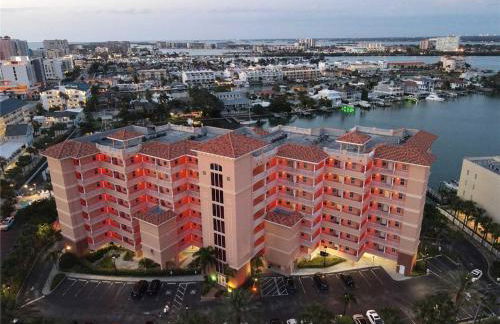
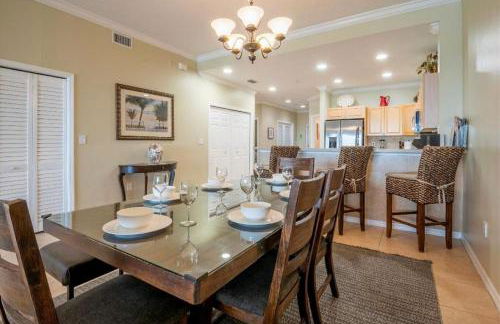
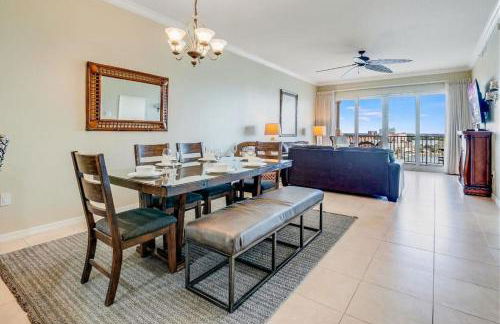
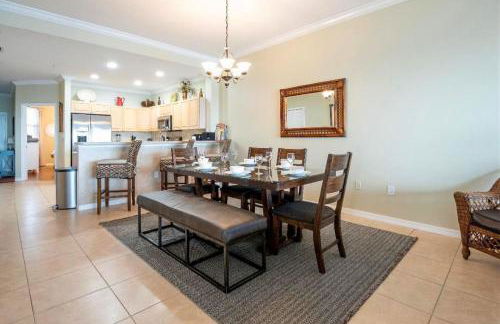
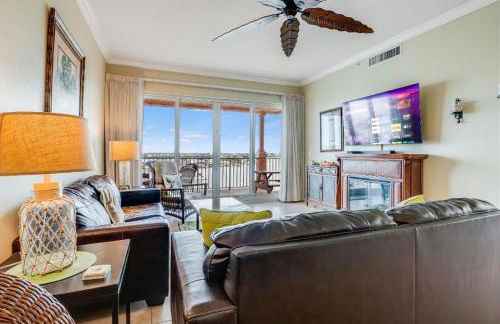
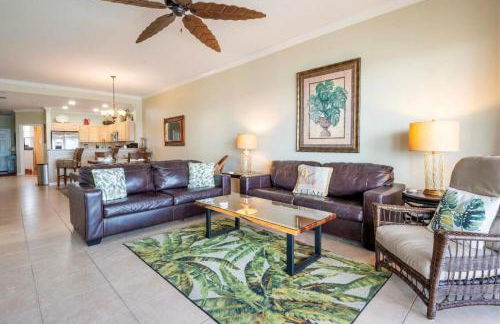
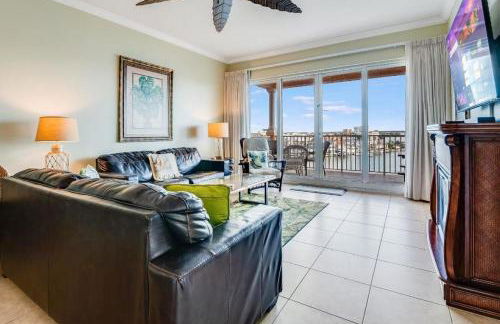
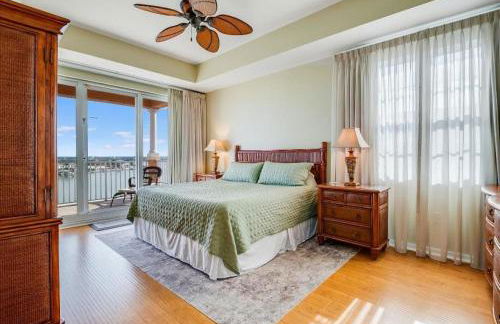
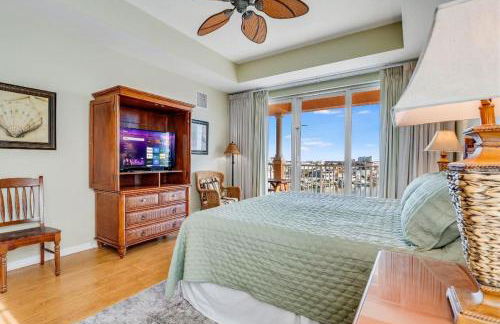
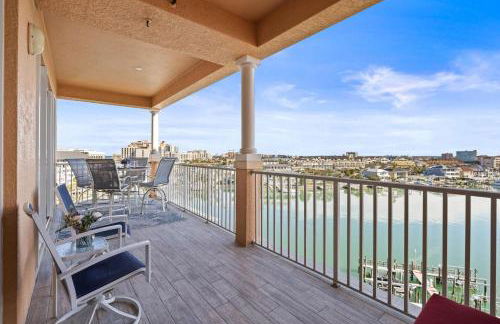
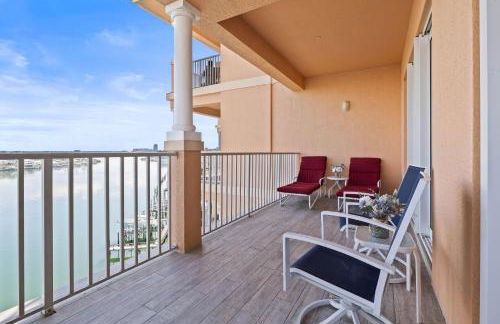
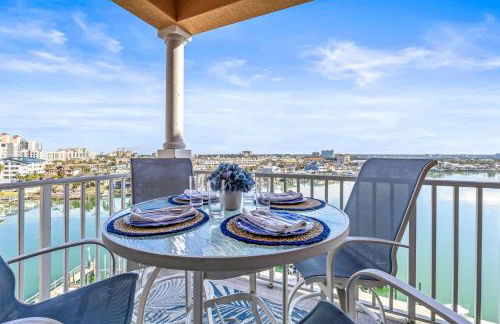
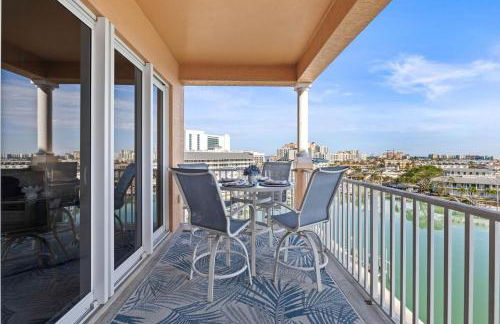
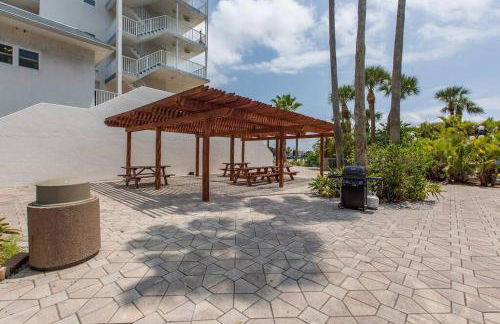
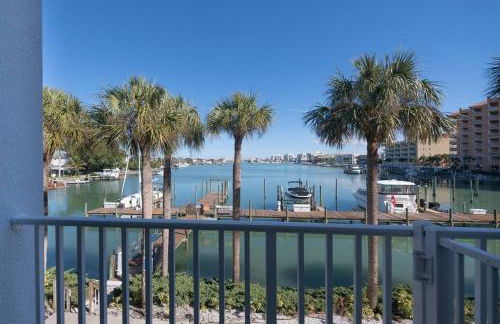
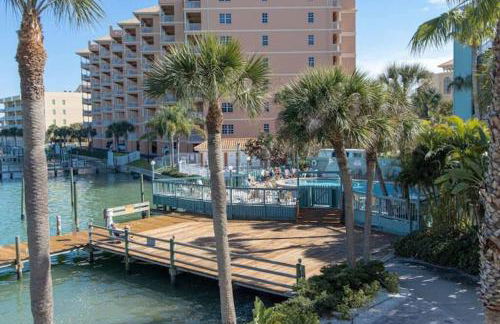
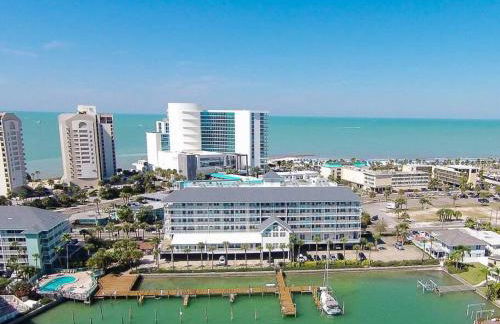
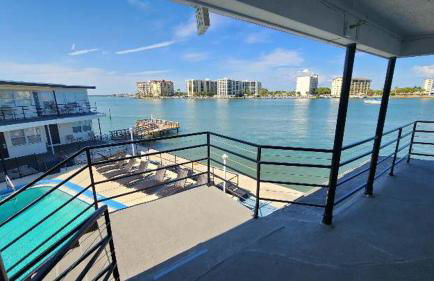
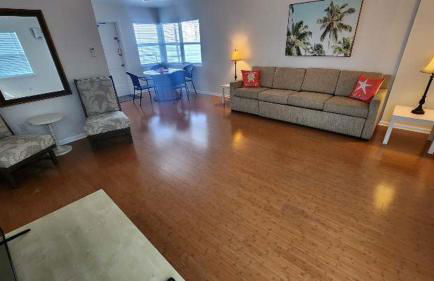
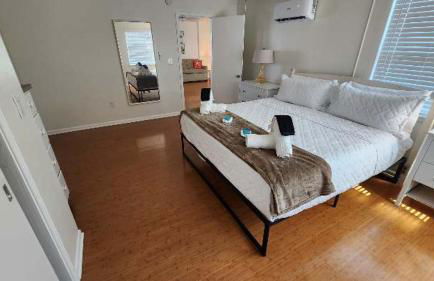
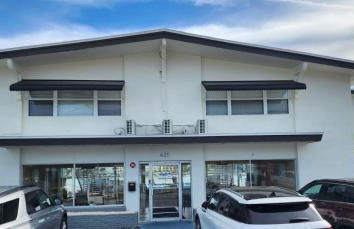
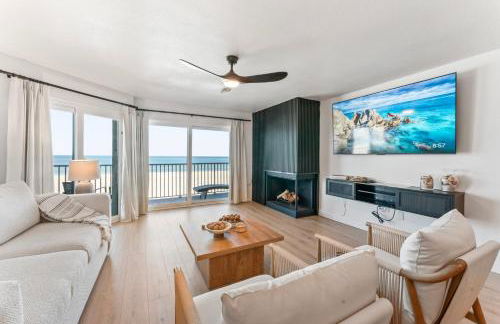
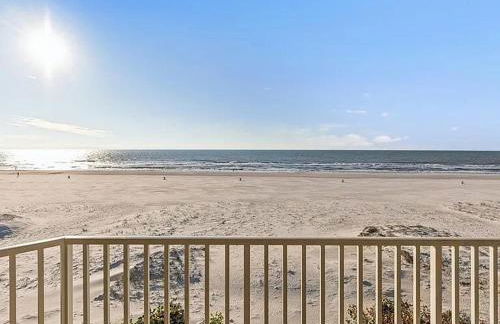
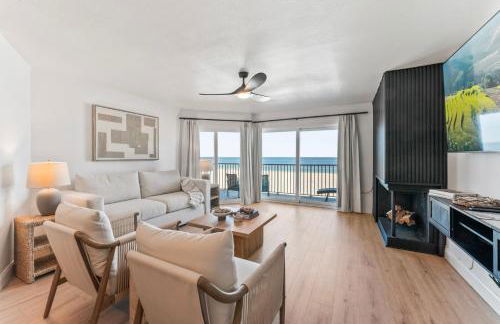
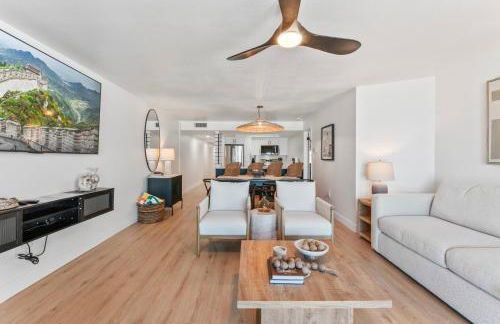
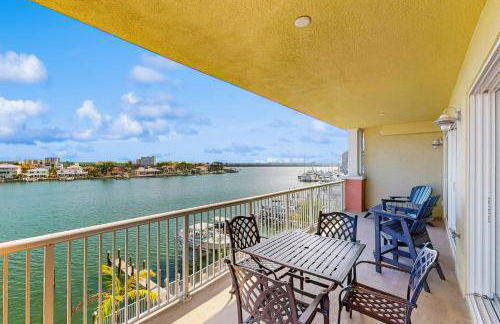
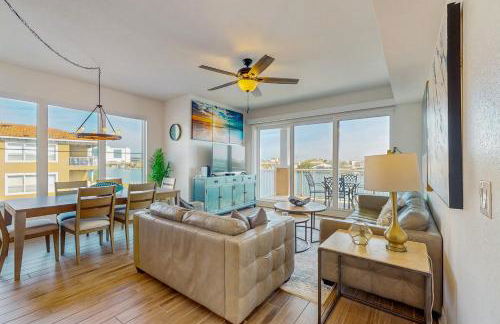
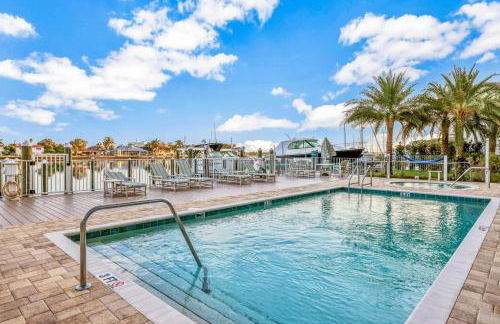
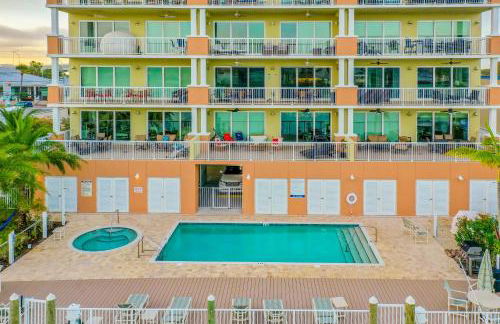
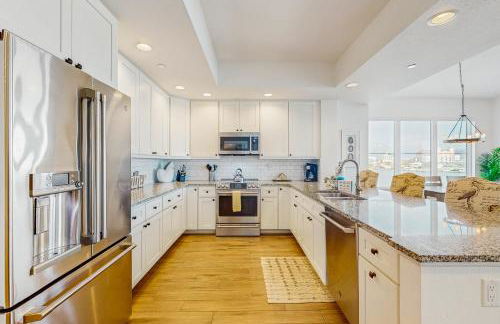
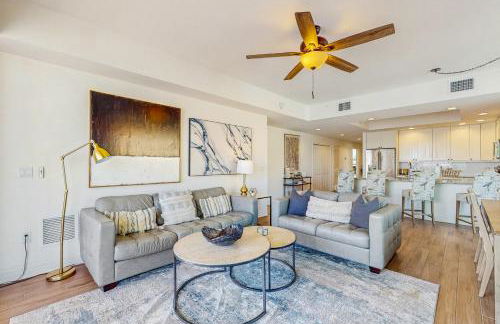
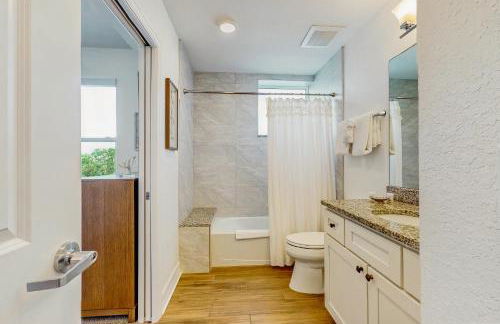
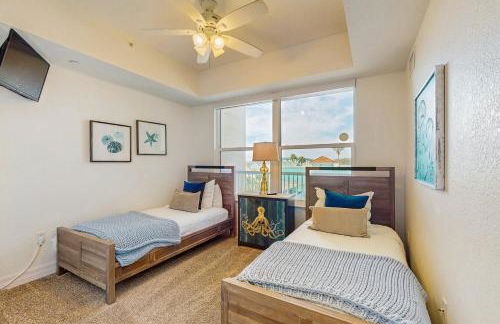
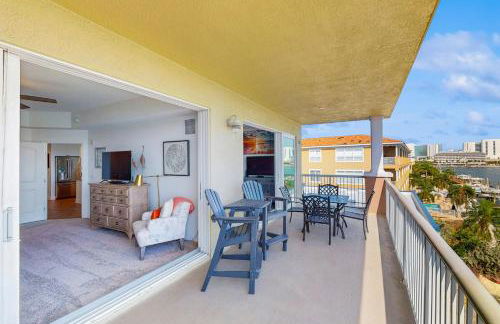
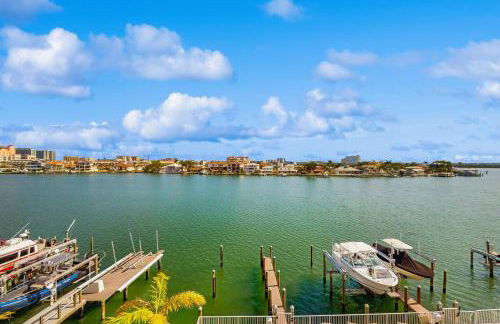
Harborview Grande 402
Clearwater Beach
- 168 M2
- 3 quartos
- 8 pessoas
- Ar-condicionado
- Aquecimento
- Piscina
- Estacionamento
- Elevador
4 avaliações


Beach Haven in South Clearwater Beach
Clearwater Beach
- 2332 M2
- 3 quartos
- 10 pessoas
- Ar-condicionado
- Piscina
- Estacionamento
- Elevador
- Churrasco
8 avaliações


Tropical Breeze
Clearwater Beach
- 52 M2
- 2 quartos
- 6 pessoas
- Ar-condicionado
- Aquecimento
- Piscina
- Estacionamento
- Jardim
452 avaliações


By the Beach Rentals
Clearwater Beach
- 60 M2
- 2 quartos
- Ar-condicionado
- Aquecimento
- Piscina
- Estacionamento
- Jardim
- Churrasco
131 avaliações


Newly Reno Beachfront Escape I Steps to Beach
Clearwater Beach
- 1000 M2
- 6 pessoas
- Ar-condicionado
- Piscina
- Estacionamento
- Elevador
- Churrasco
2 avaliações


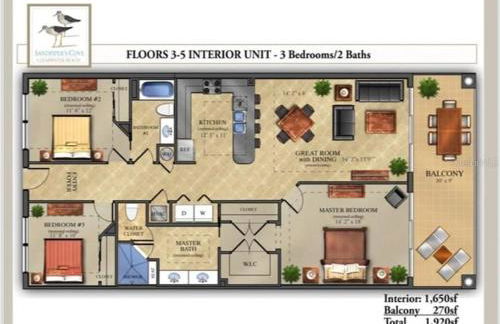
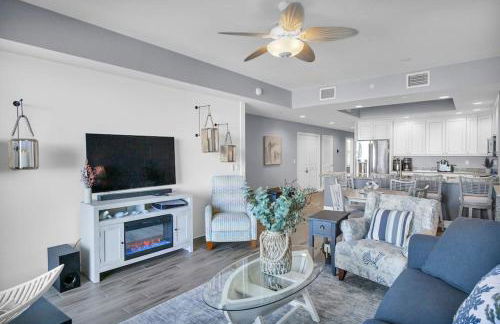
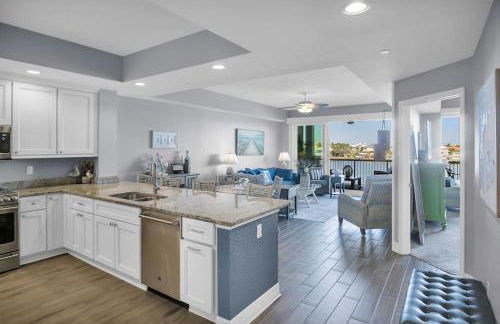
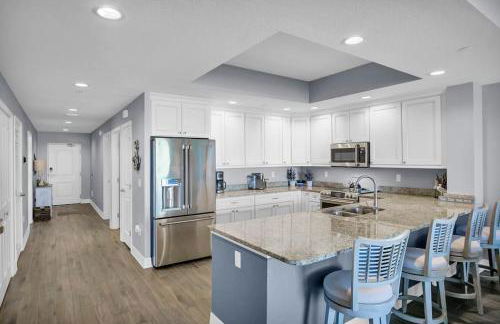
Dolphin's Cove - Clearwater Beach, FL
Clearwater Beach
- 161 M2
- 3 quartos
- 6 pessoas
- Ar-condicionado
- Piscina
- Estacionamento
- Elevador
2 avaliações


Steps to Beach & Pool - Resort Amenities Galore!
Clearwater Beach
- 195 M2
- 3 quartos
- Ar-condicionado
- Aquecimento
- Terraço
- Piscina
- Estacionamento
- Elevador
- Jardim
- Churrasco
2 avaliações


Bayfront Bounty
Clearwater Beach
- 229 M2
- 3 quartos
- 7 pessoas
- Ar-condicionado
- Aquecimento
- Piscina
- Estacionamento
- Elevador
- Jardim
5 avaliações